HOLIDAY DONATION DRIVE - SUPPORT MSW - DO YOUR PART TO KEEP THIS GREAT FORUM GOING! (Only 36 donations so far out of 49,000 members - C'mon guys!)
×


Kevin Kenny
-
Posts
1,484 -
Joined
-
Last visited
Content Type
Profiles
Forums
Gallery
Events
Everything posted by Kevin Kenny
-
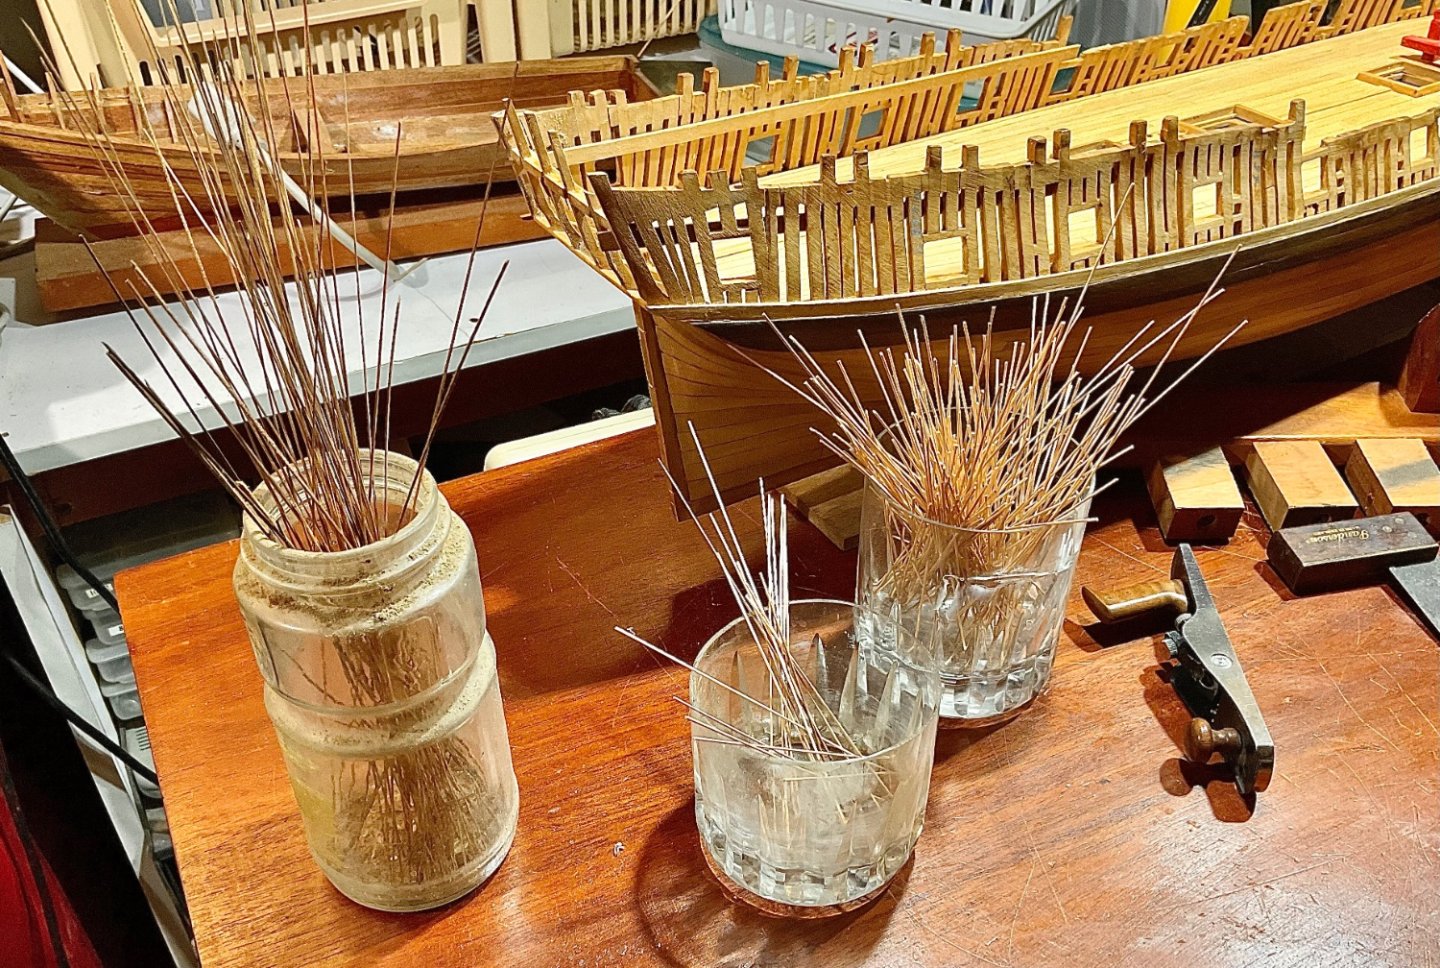
got dome small needles and they were too small,
I just got some bigger needles and will try again to make some treenails using your method.
A question,
1. do i need to remove the angled point as the smaller ones bent.
2. what RPM do i need to drill with
-
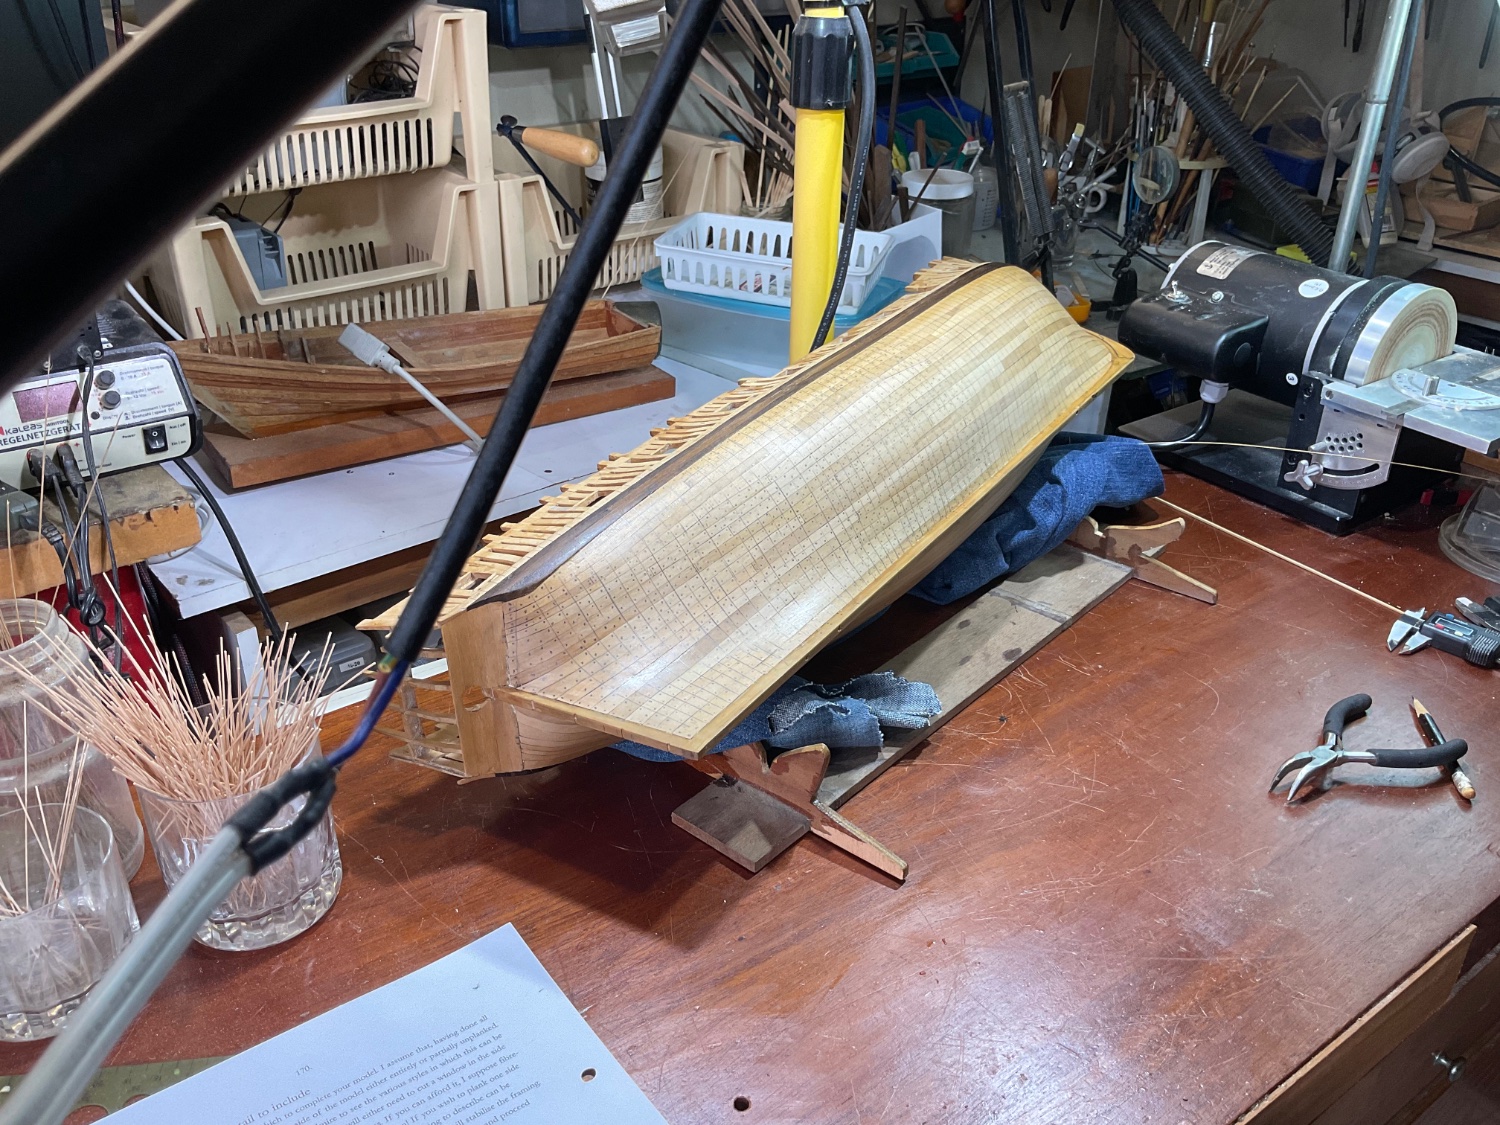
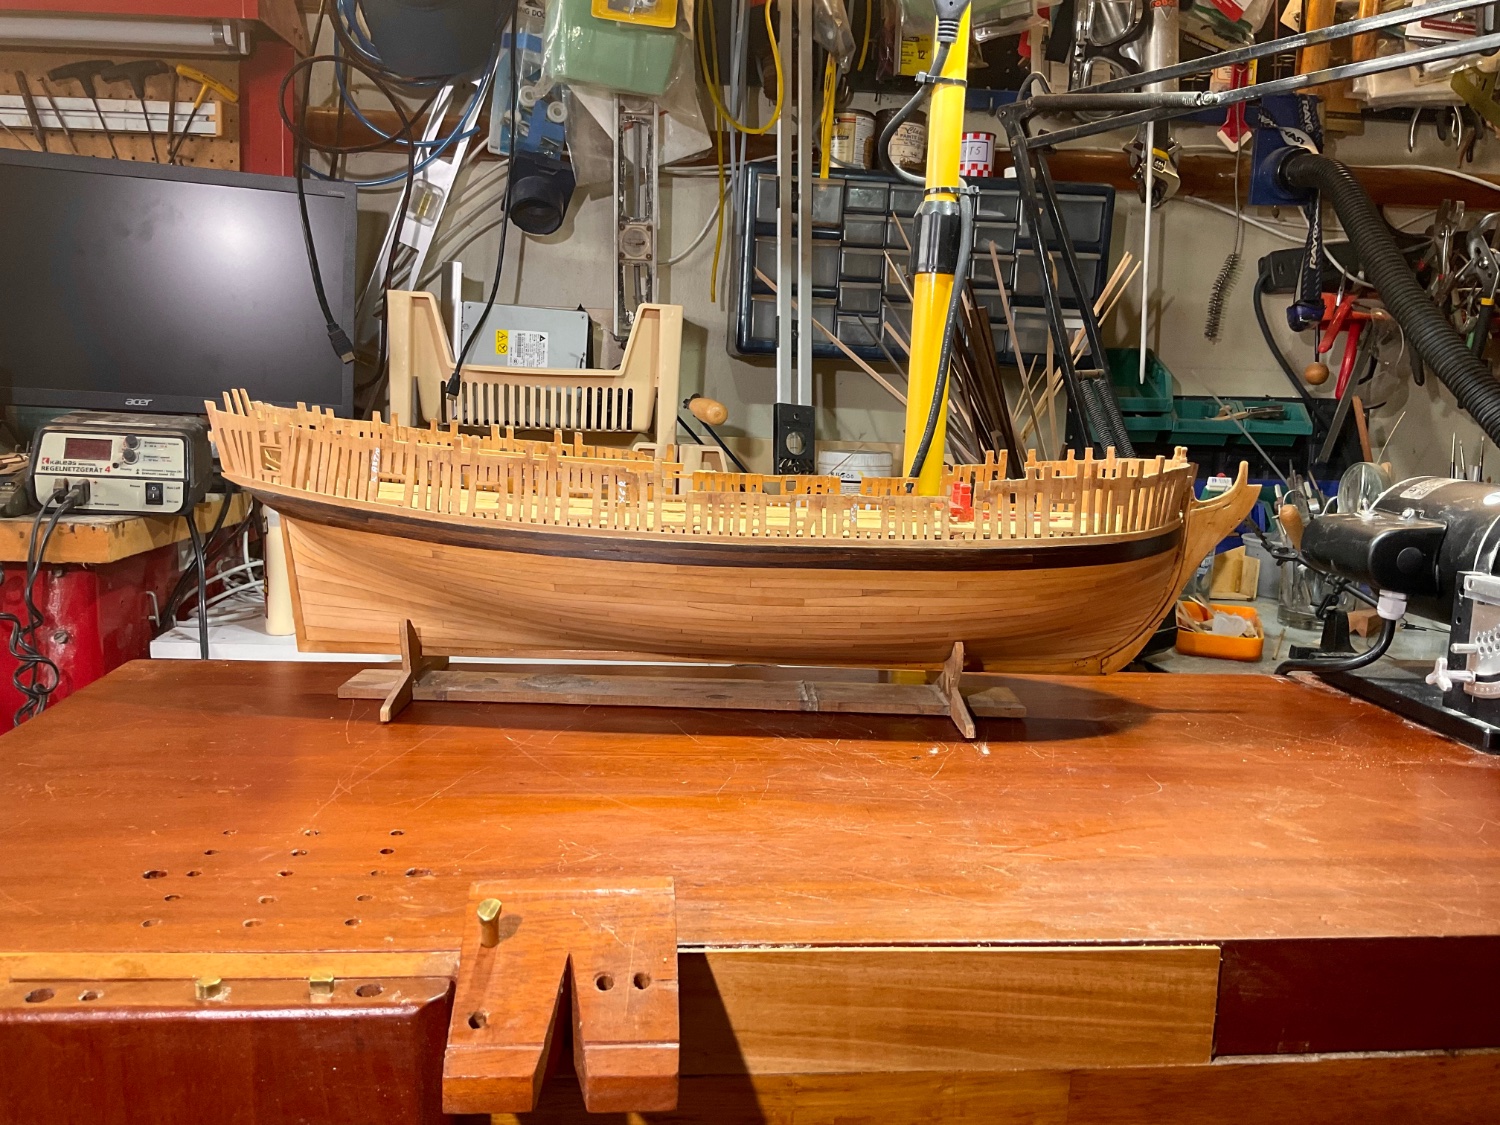
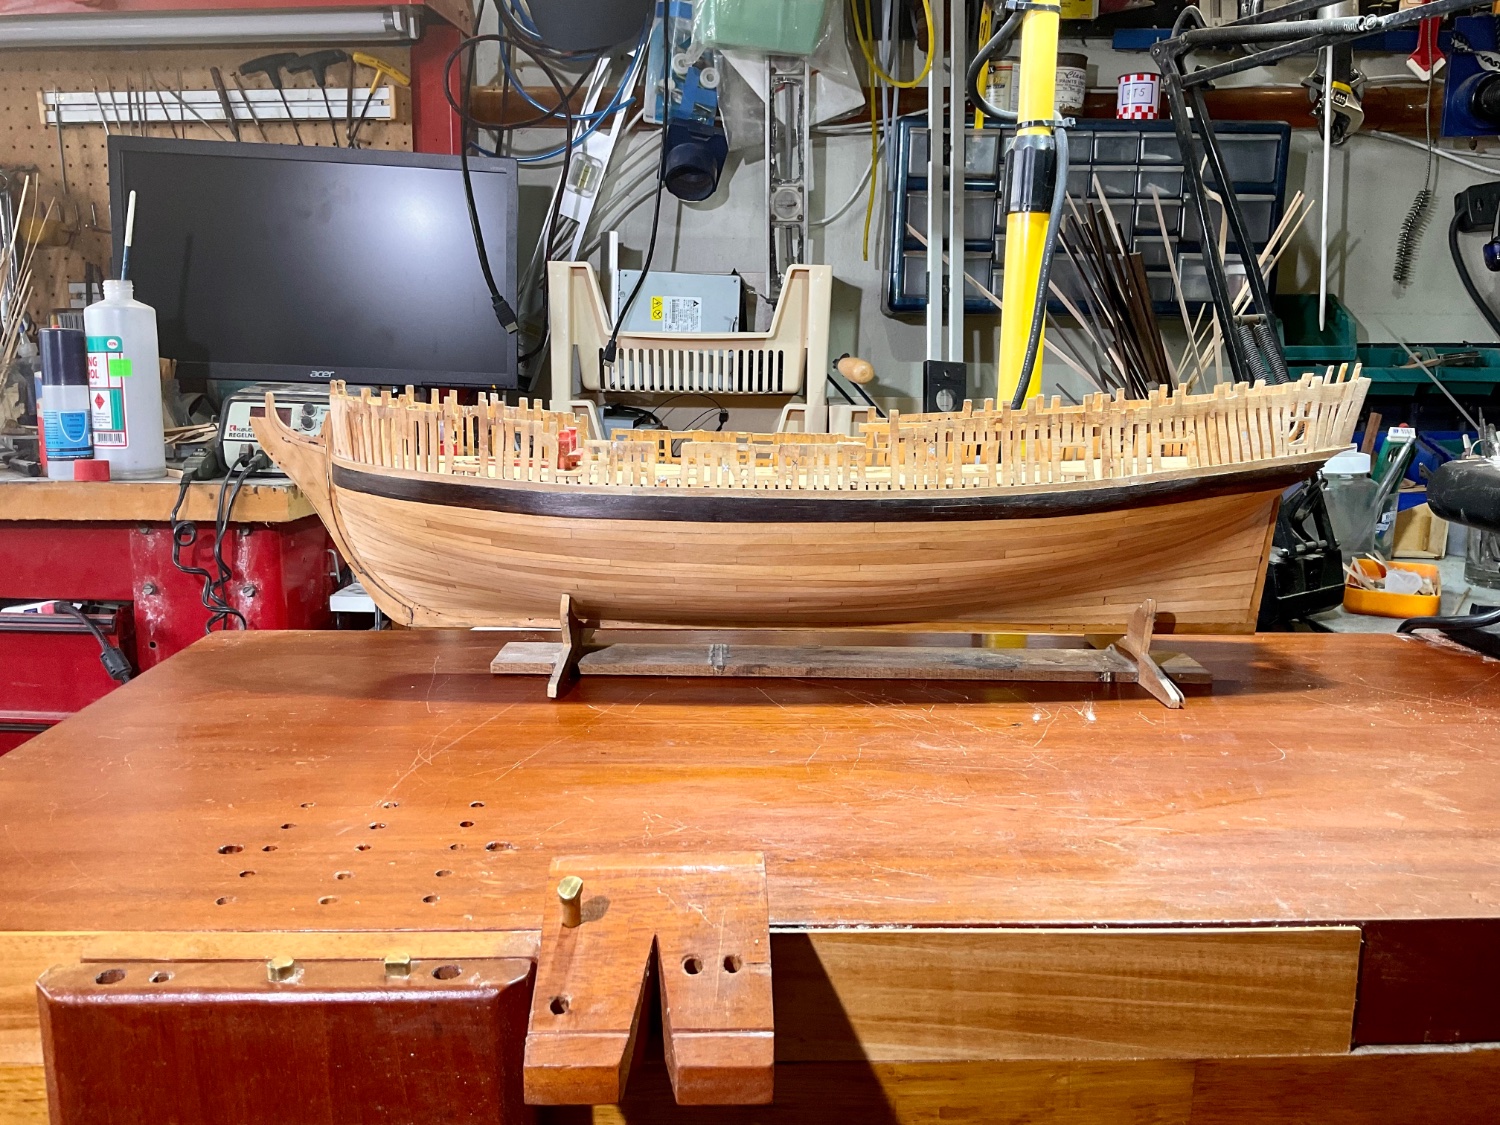
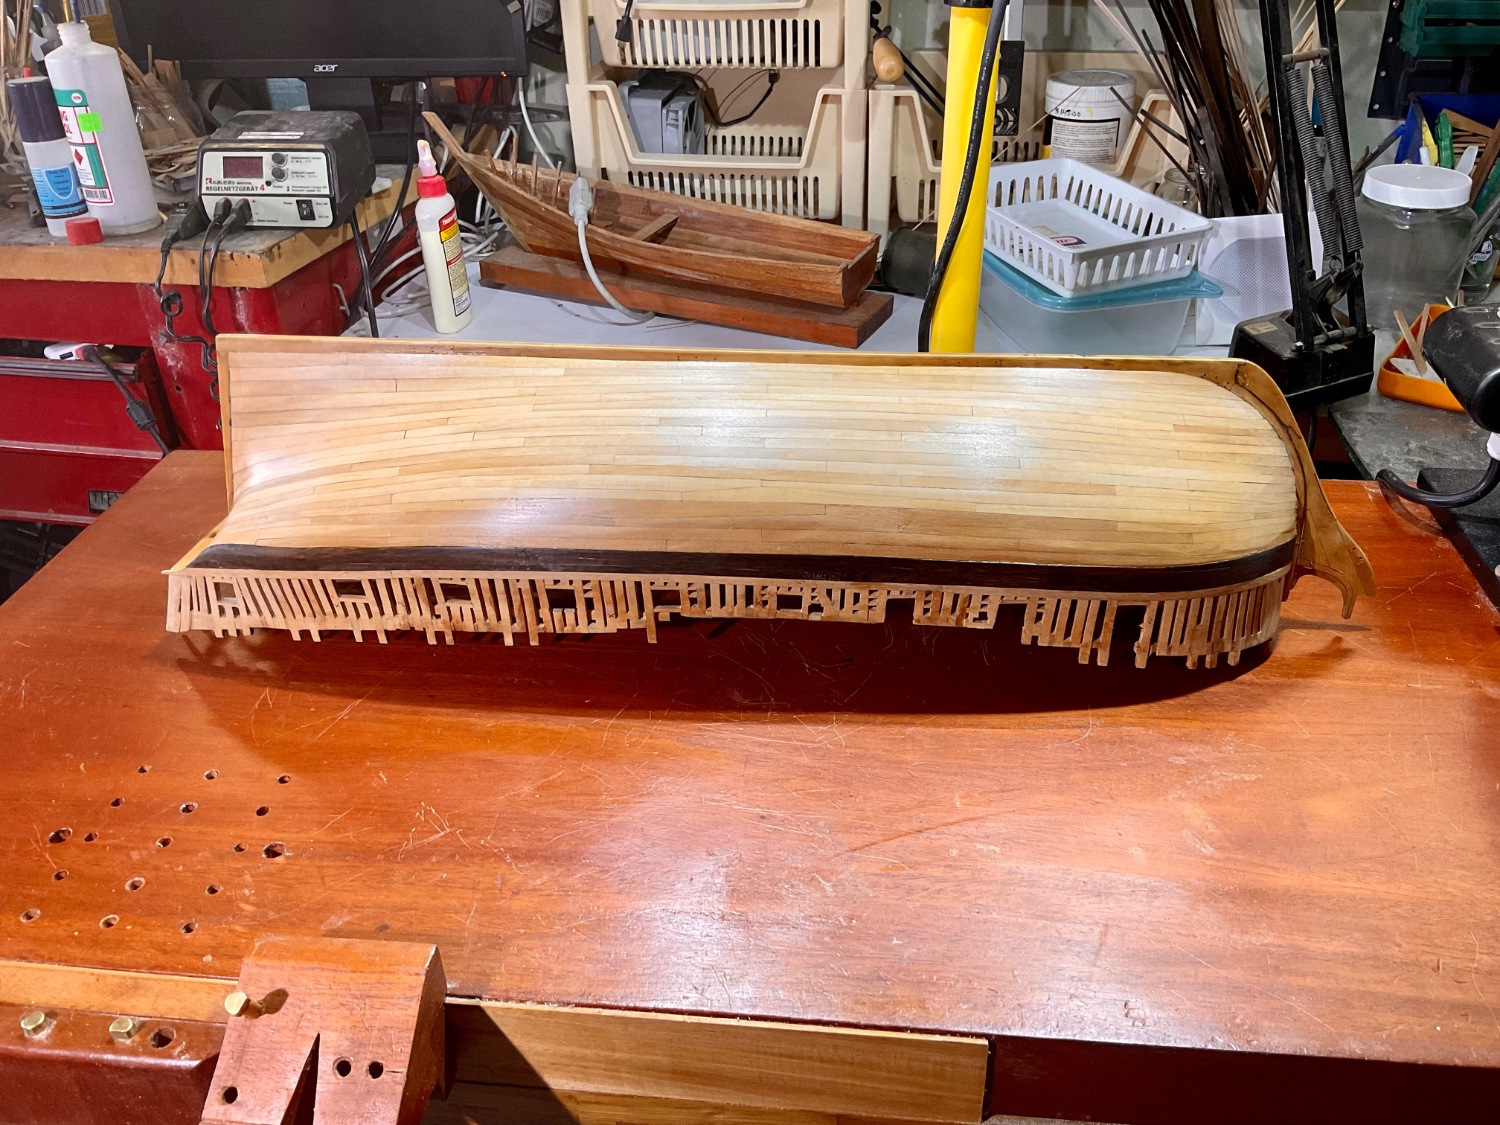
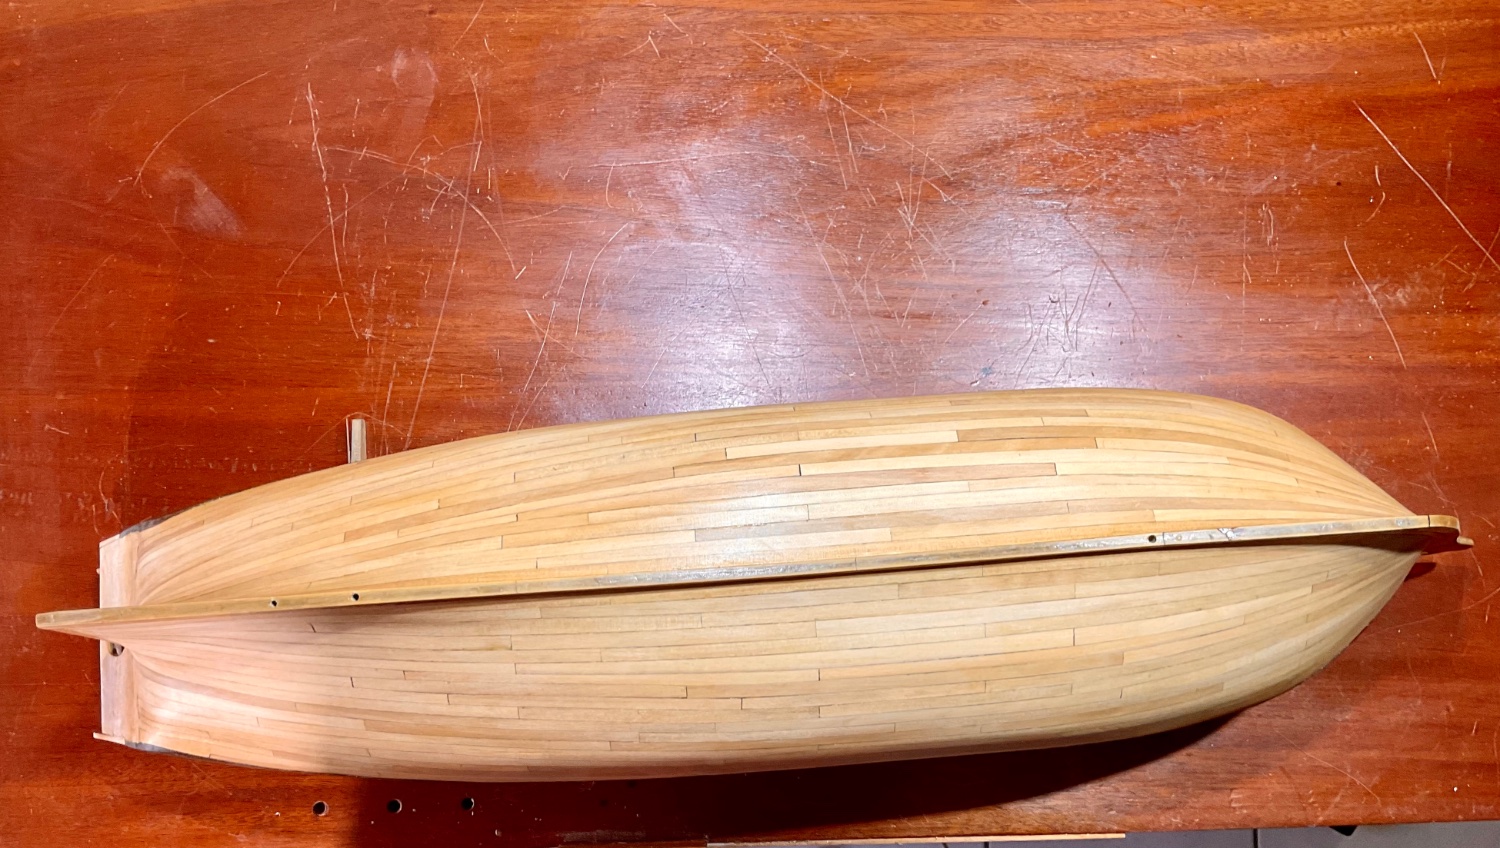
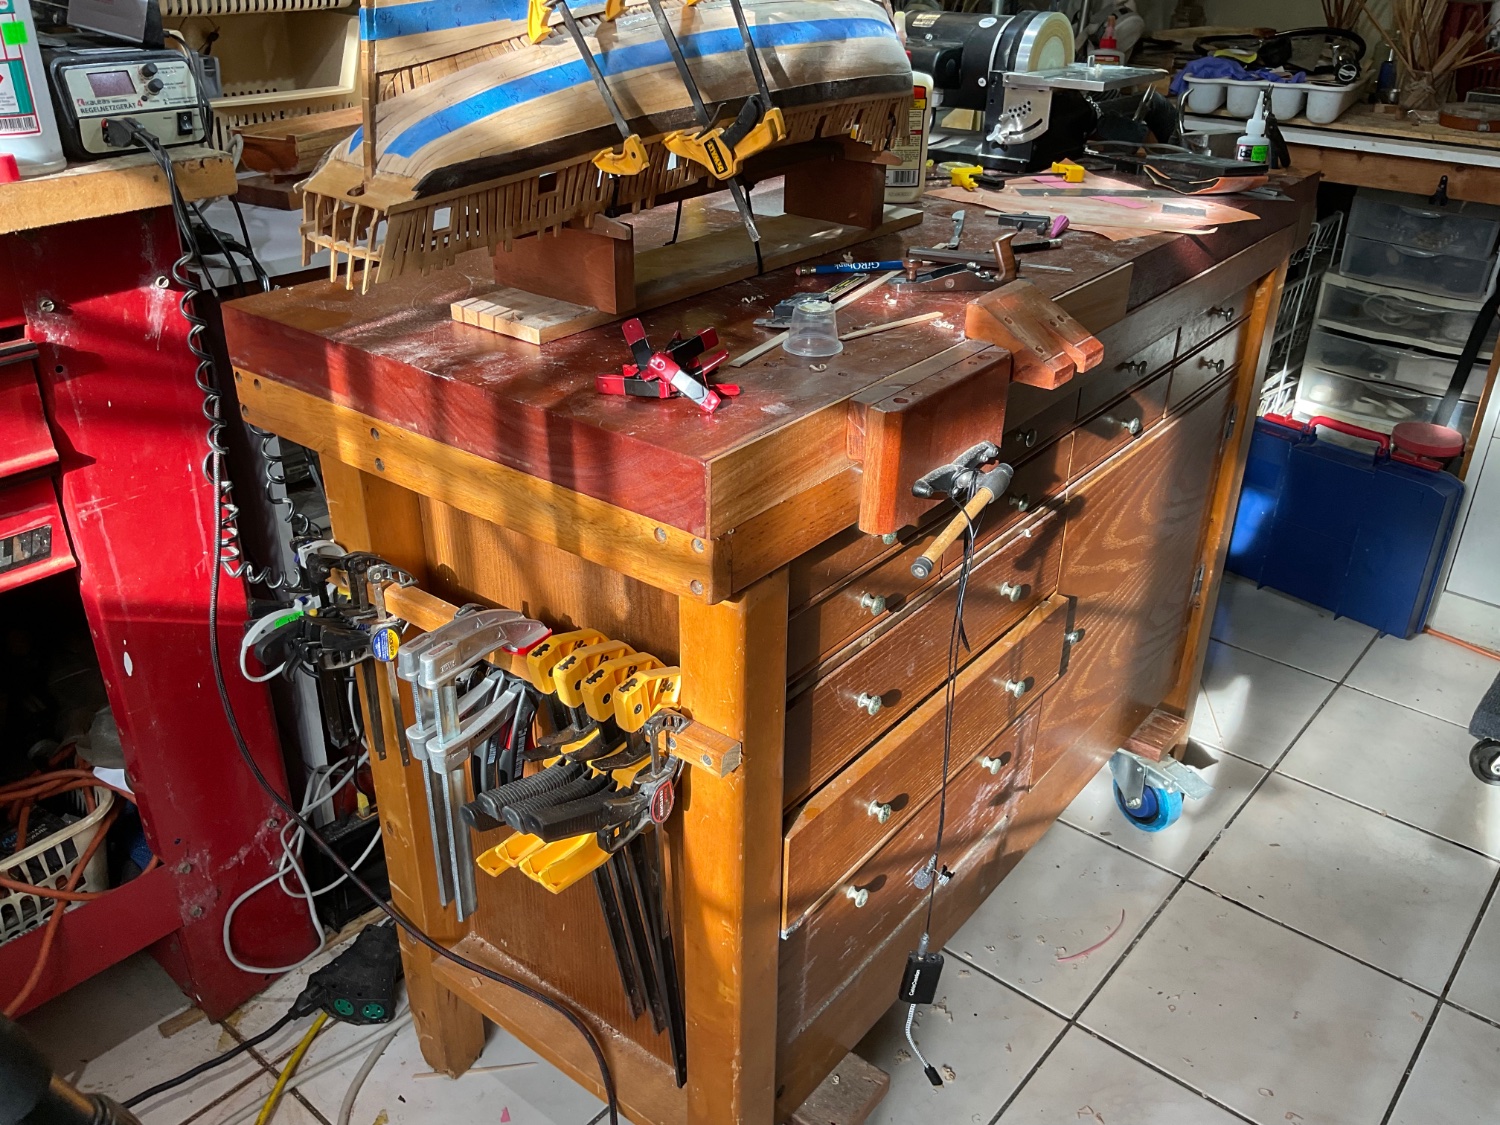
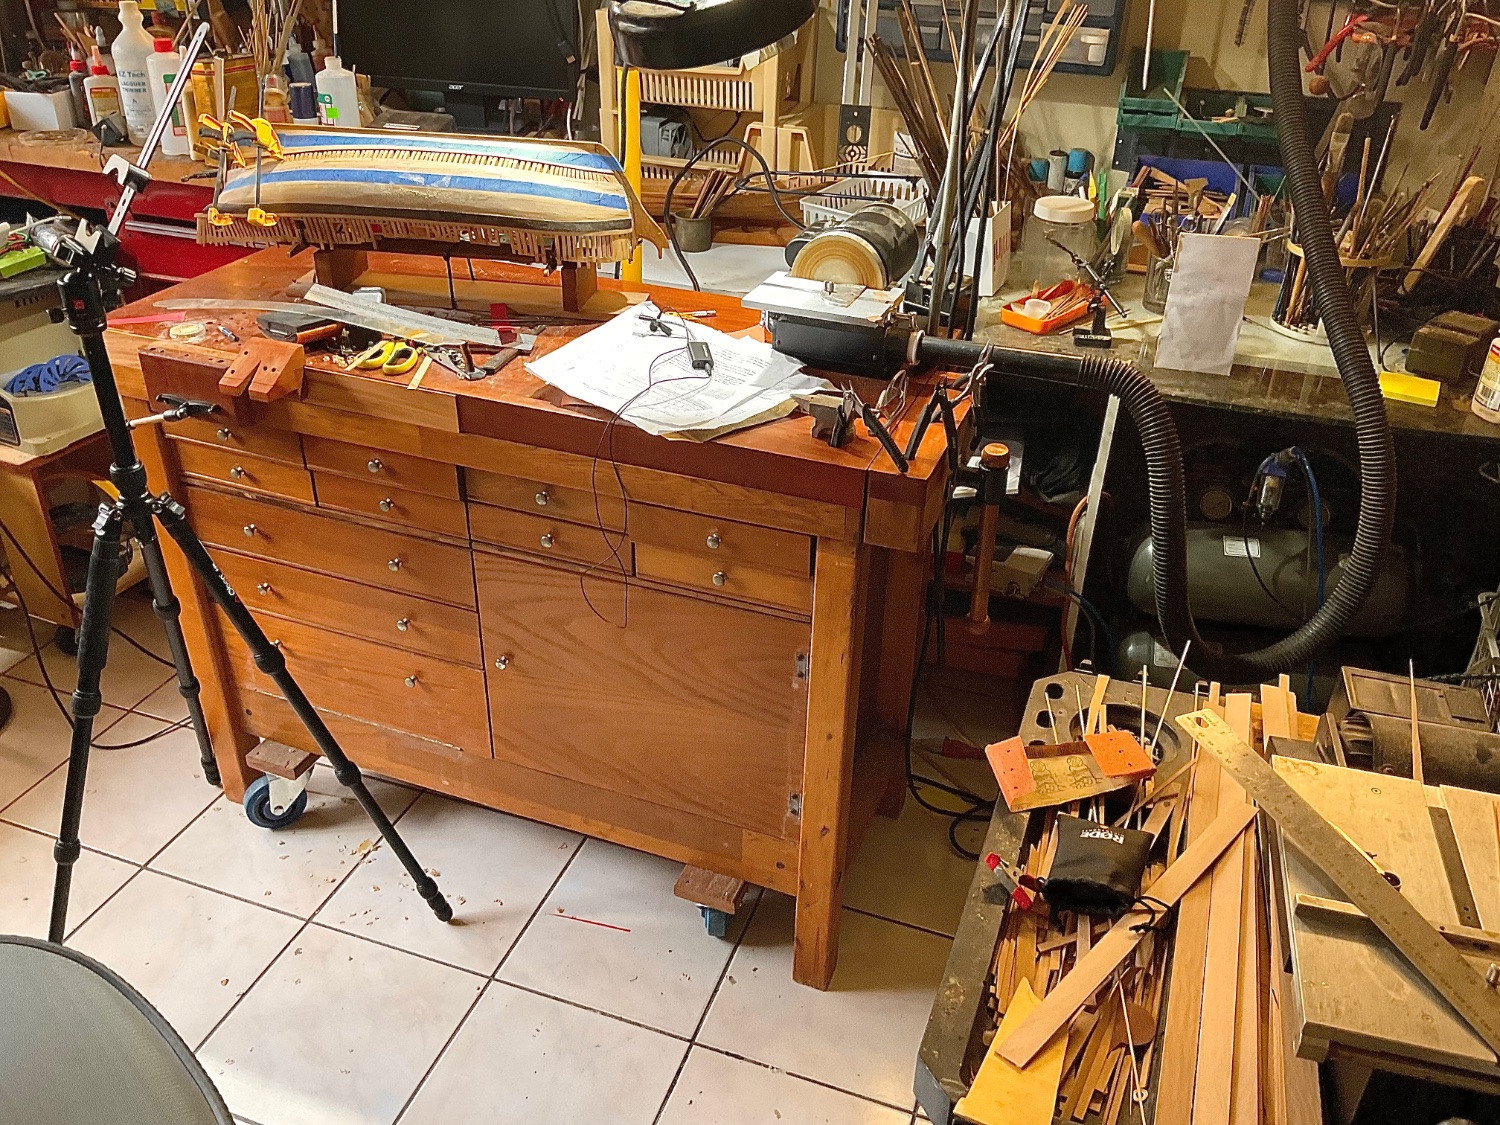
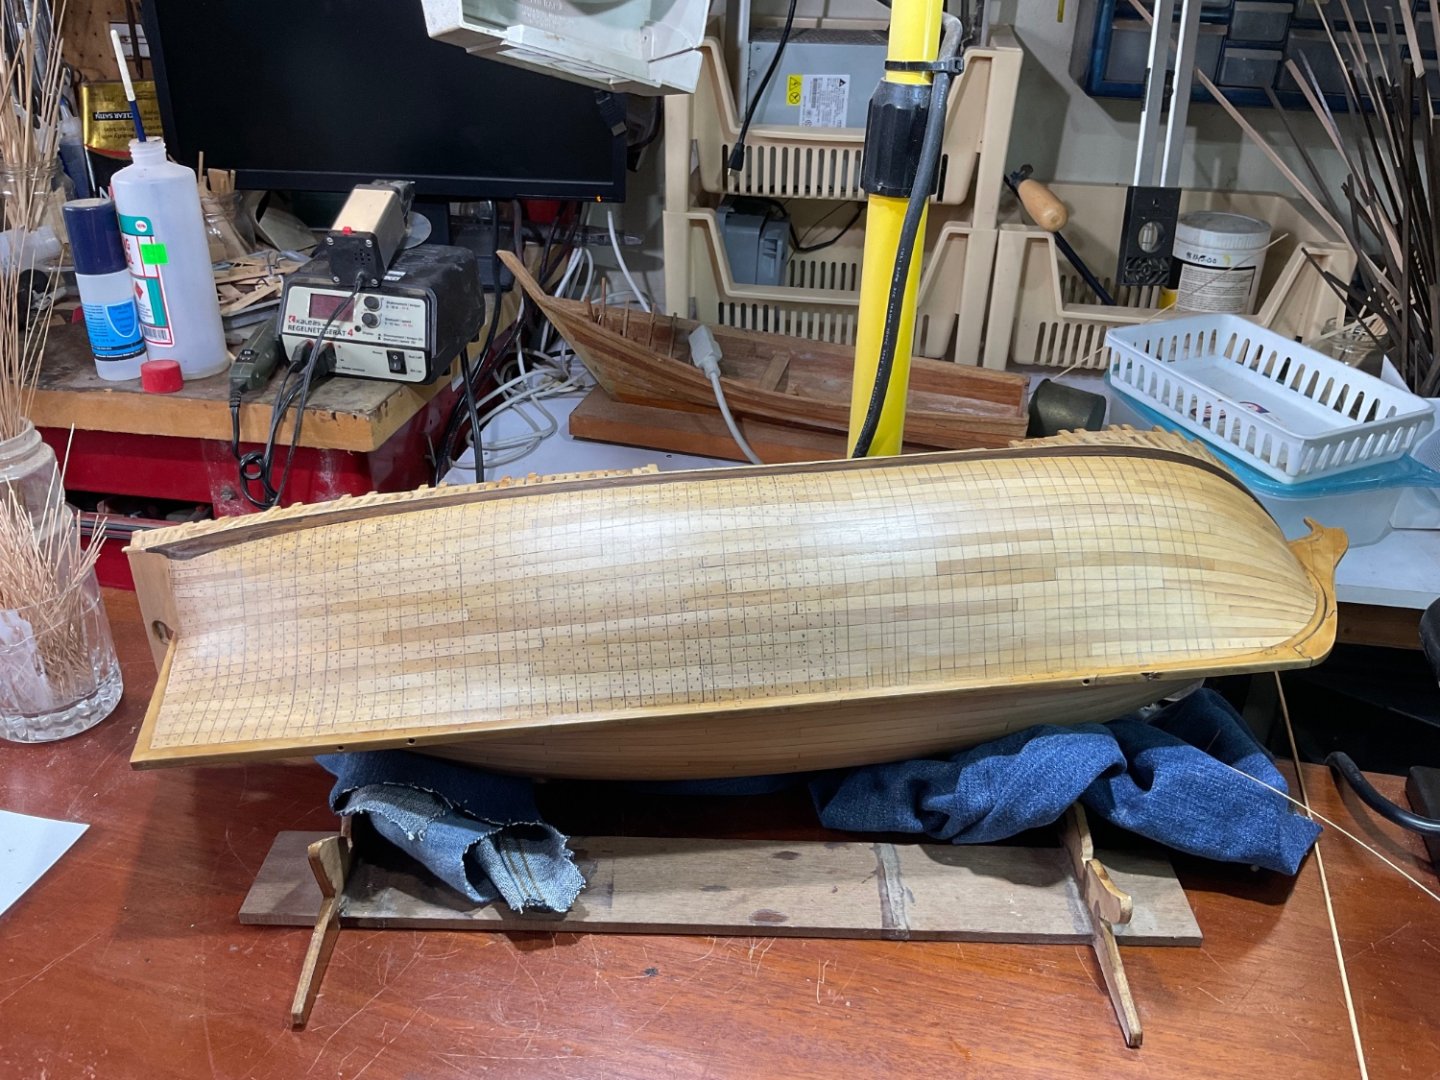
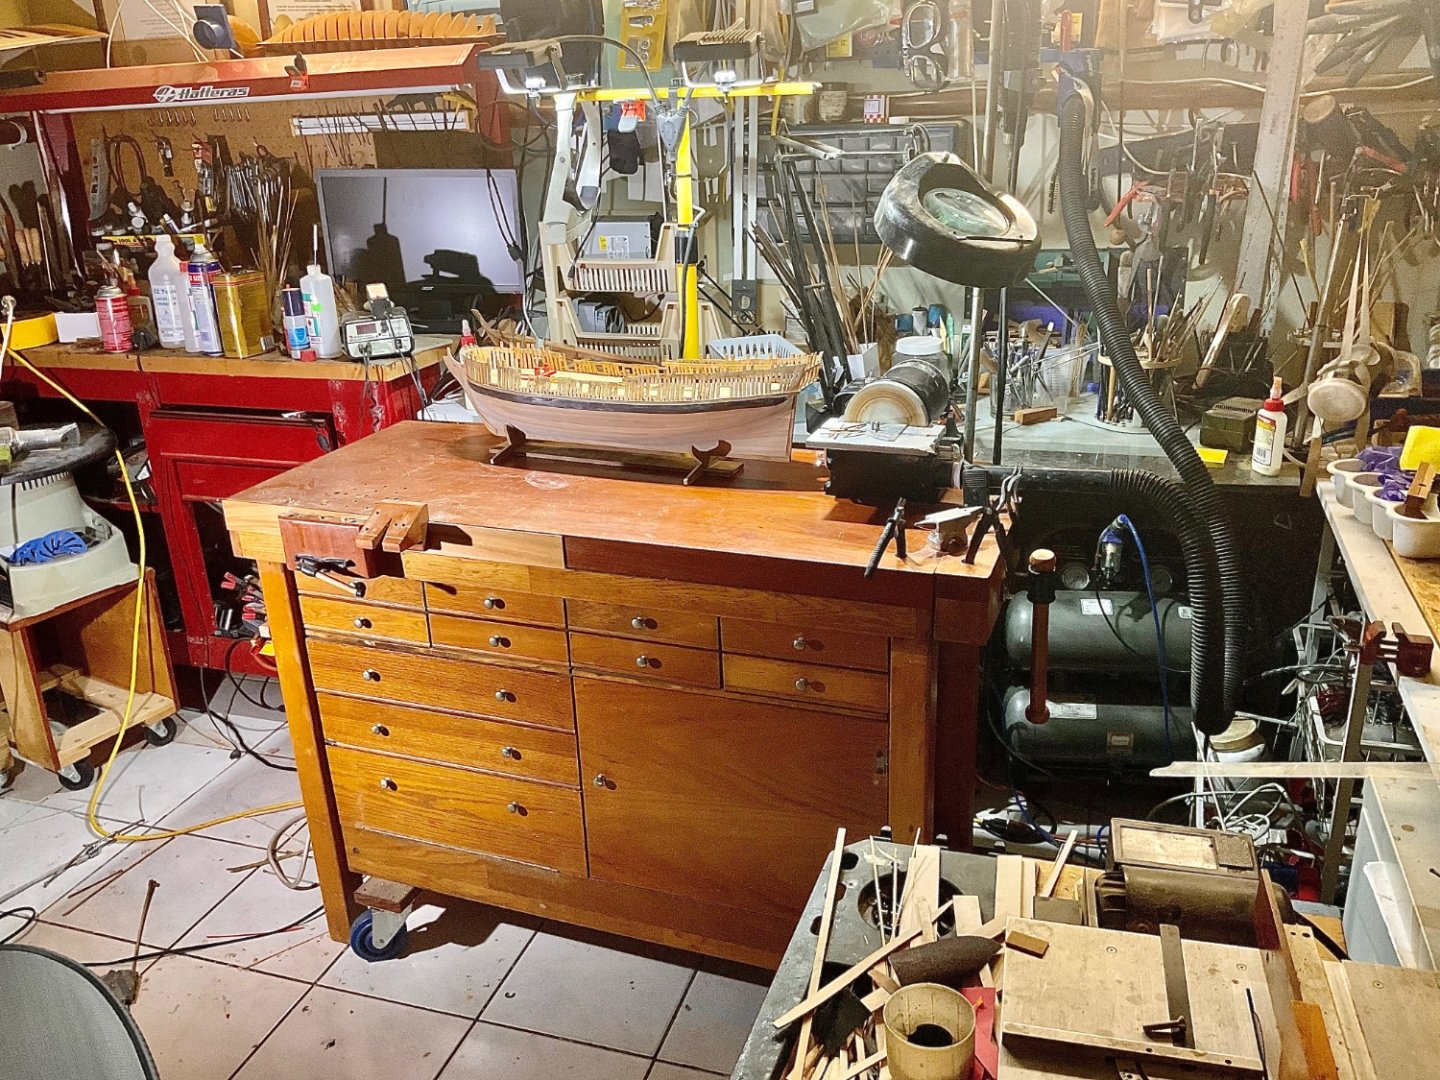
 The layout has started. 3 hours in and i had to take a break. Just over half laid out. Another 3 hours to complete the pencil location of the treenails. Then to use a point to set the starter hole. Then drill and place the treenails.

-
Alan What a wonderful paper. Thank you so much, it is every thing and more that I needed to know. I will read it a few times before i start.
-
Any suggestions on how i should approach this tree nail exercise for the hull? kevin

-
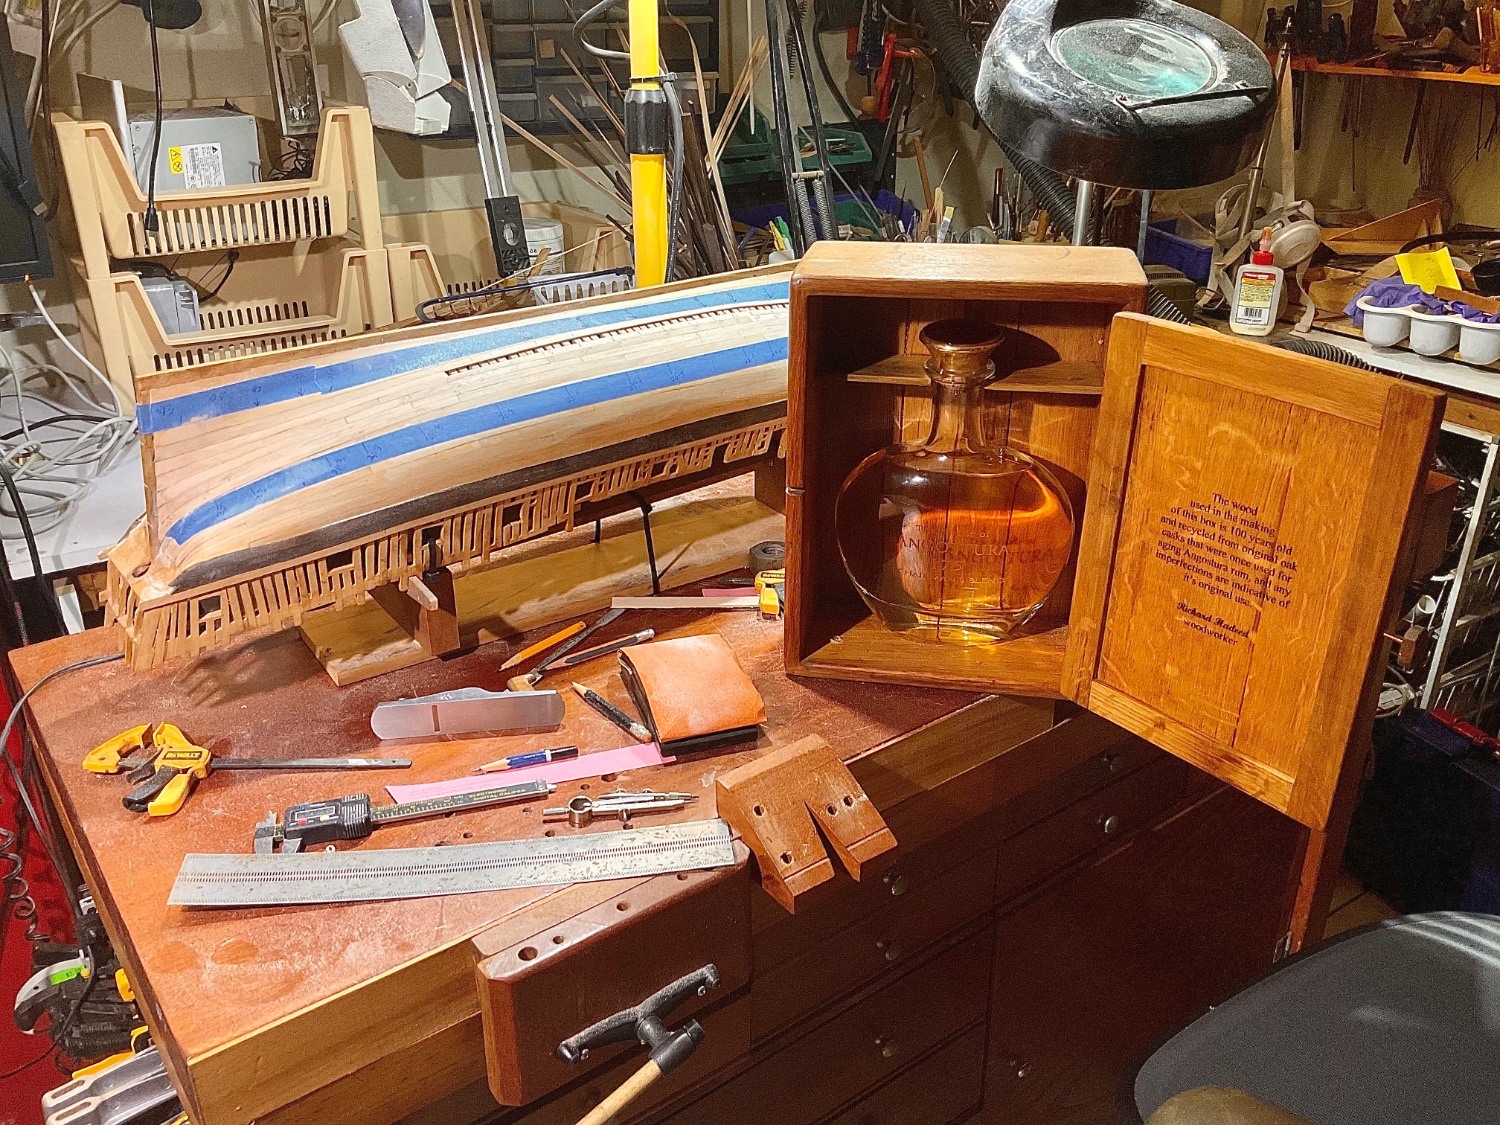
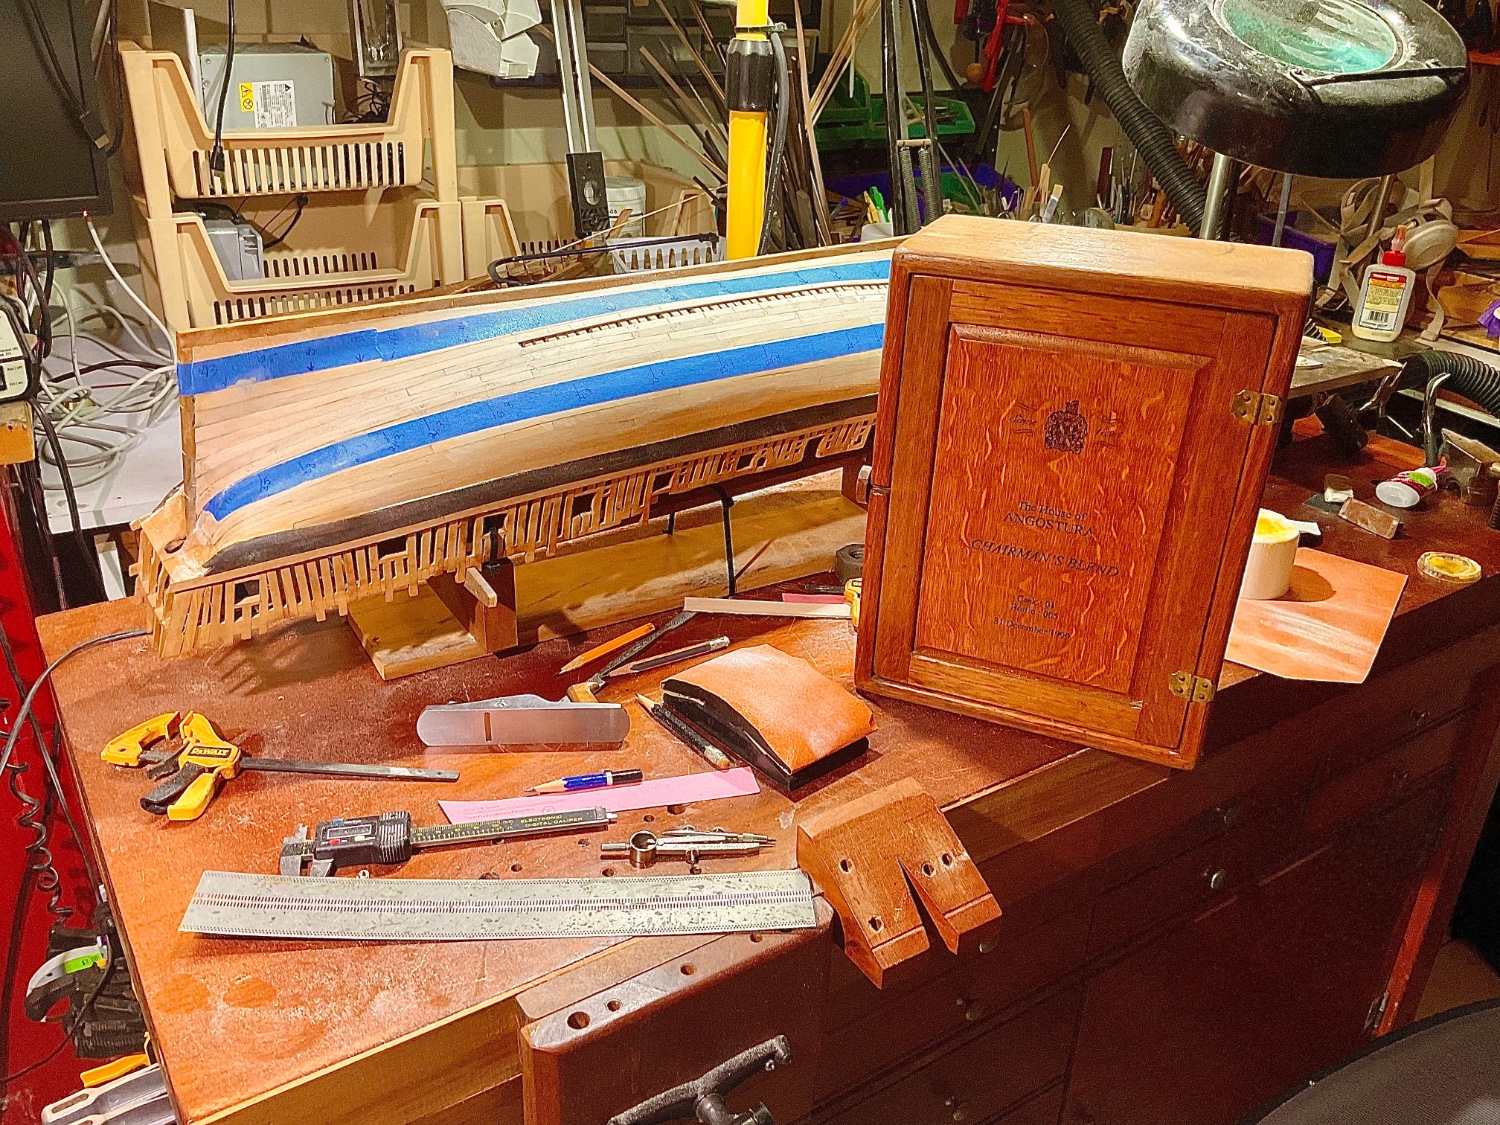
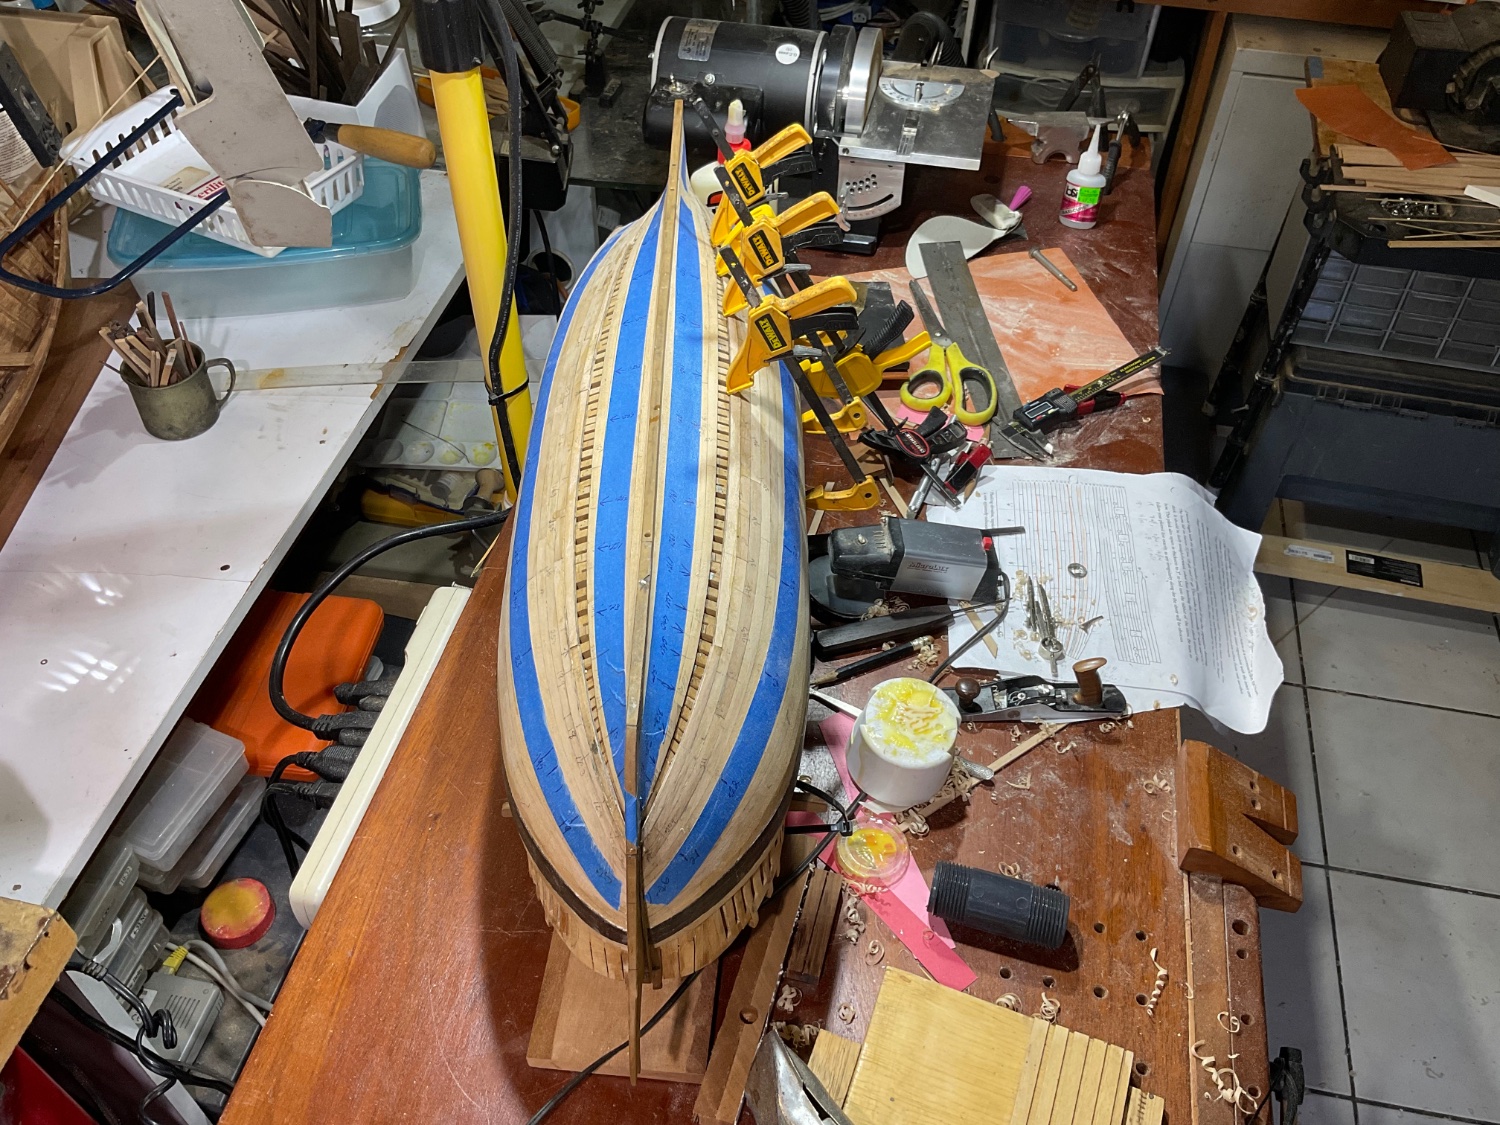
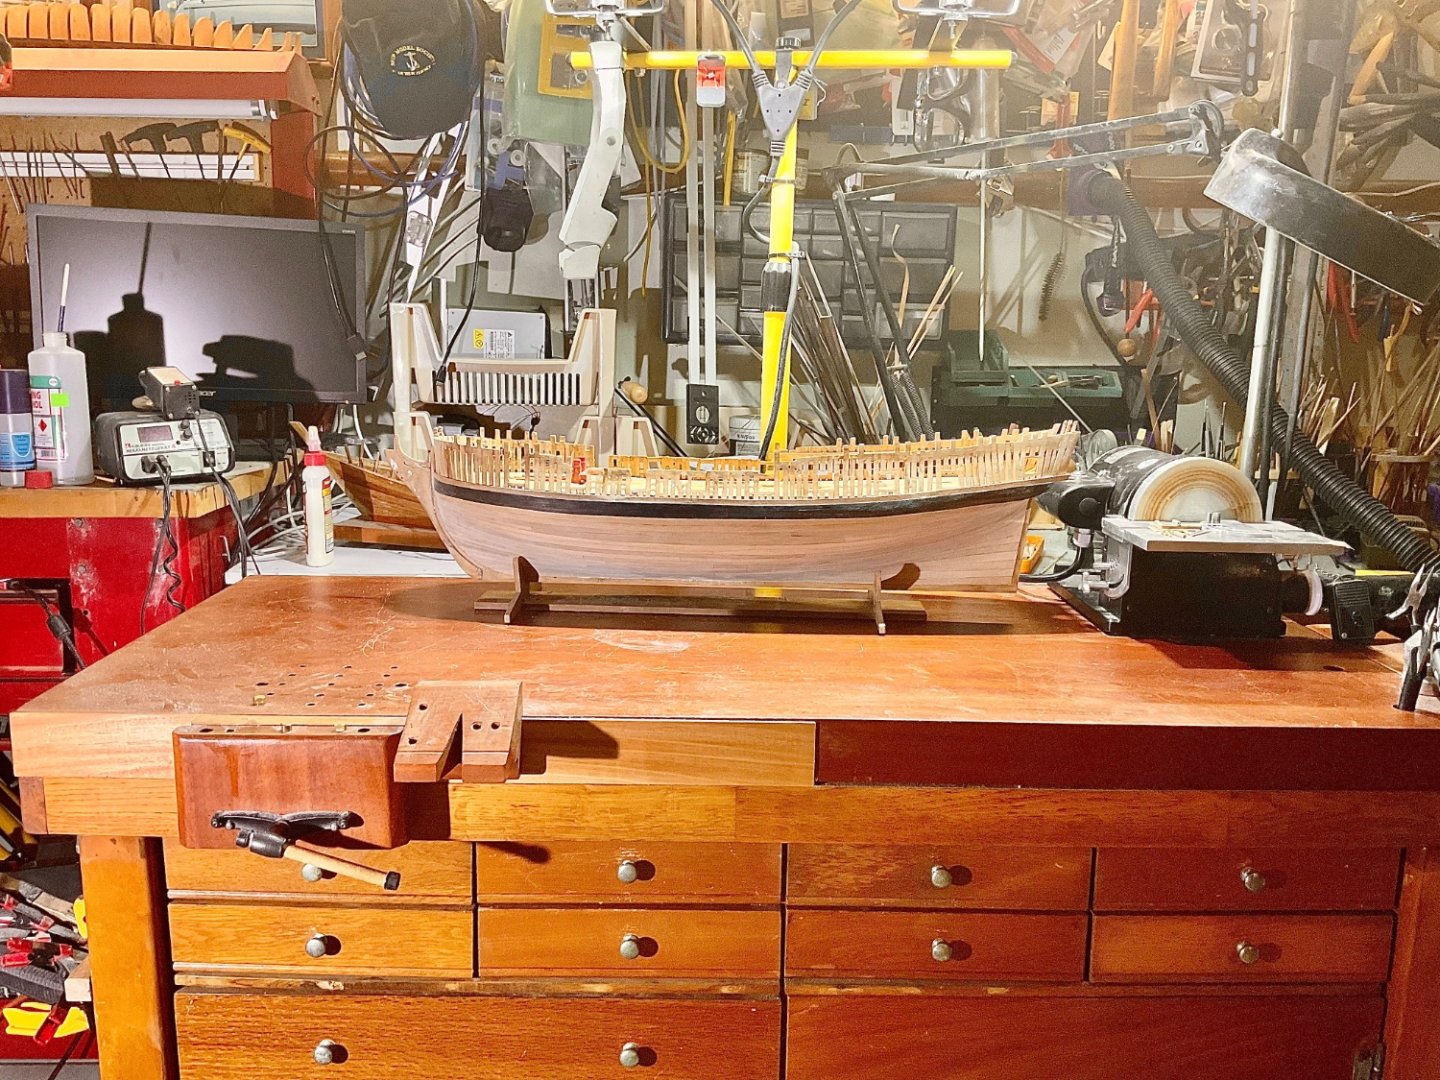
Still cleaning up but very happy with the job. It could have been better. The next one will be better. next tree nails and the rudder.
-
-
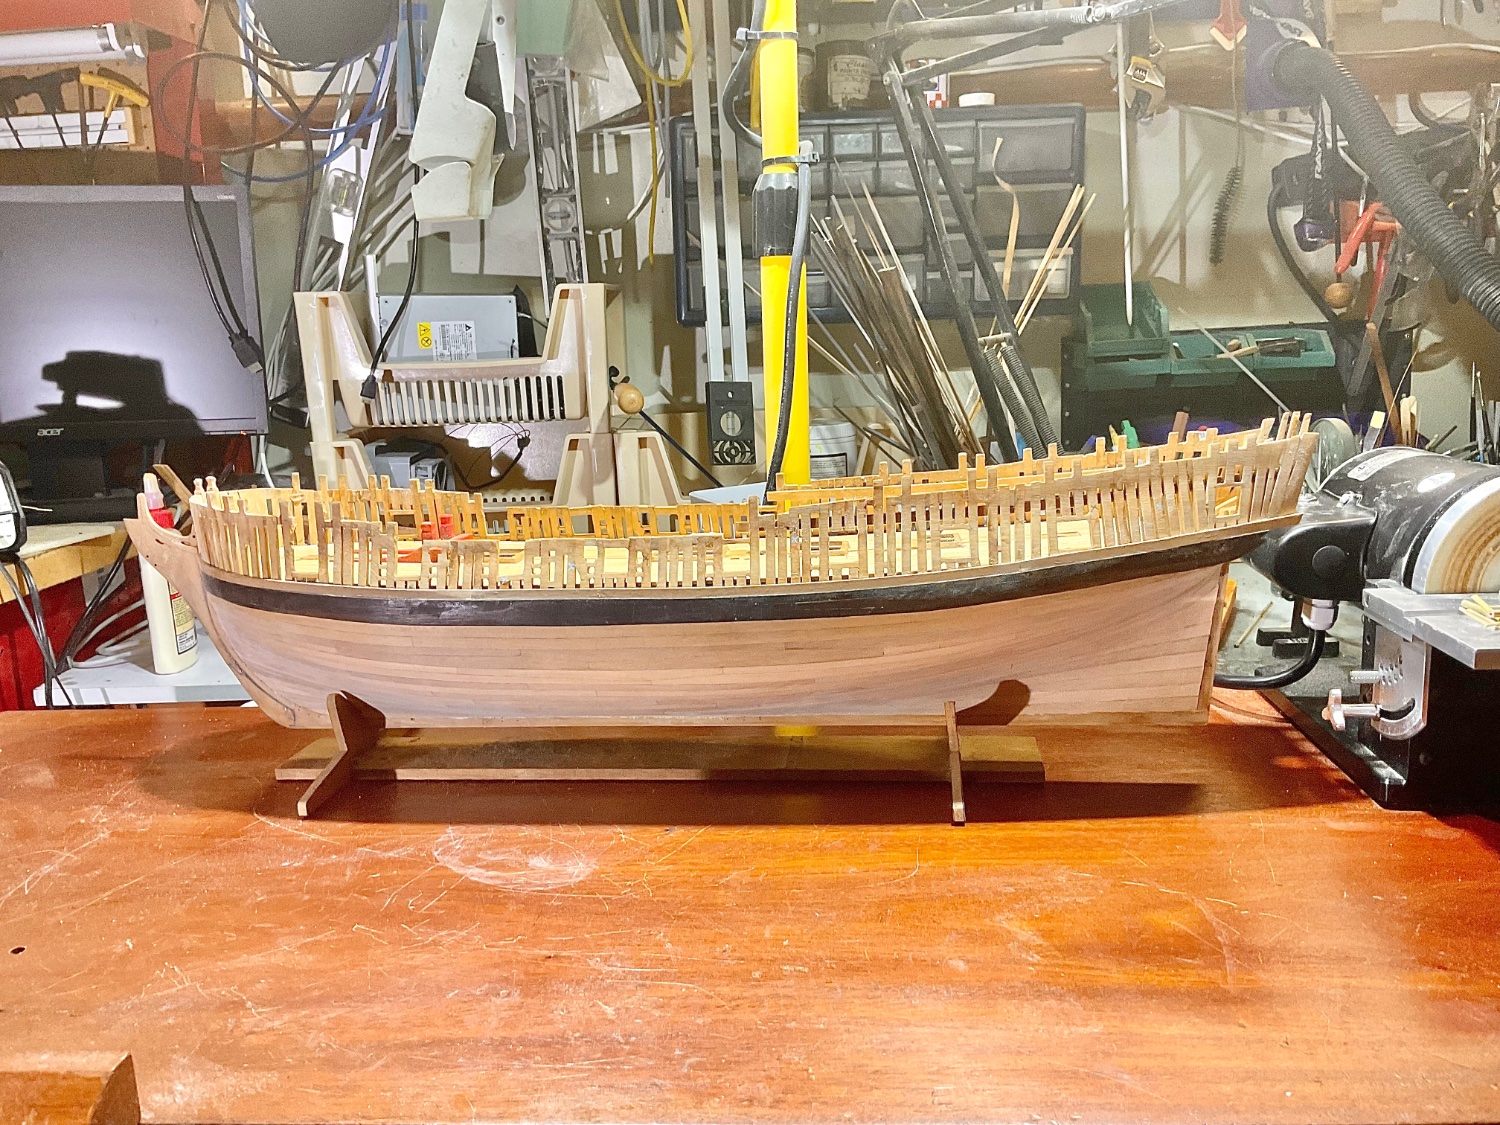
I just followed the line on the plan. The first piece #22 was easy. I have my videos on this installation if you wish to take a look. Its at the stern that i really struggled.
- 257 replies
-
- 2
-

-
- pegasus
- Swan-class
- (and 1 more)
-
I follow the art of boat building as well and you are right. What i find so interesting is that we follow as much as we can, the same techniques in model building. Sometimes it so hard to see the techniques but in full scale it becomes so obvious . kevin
-
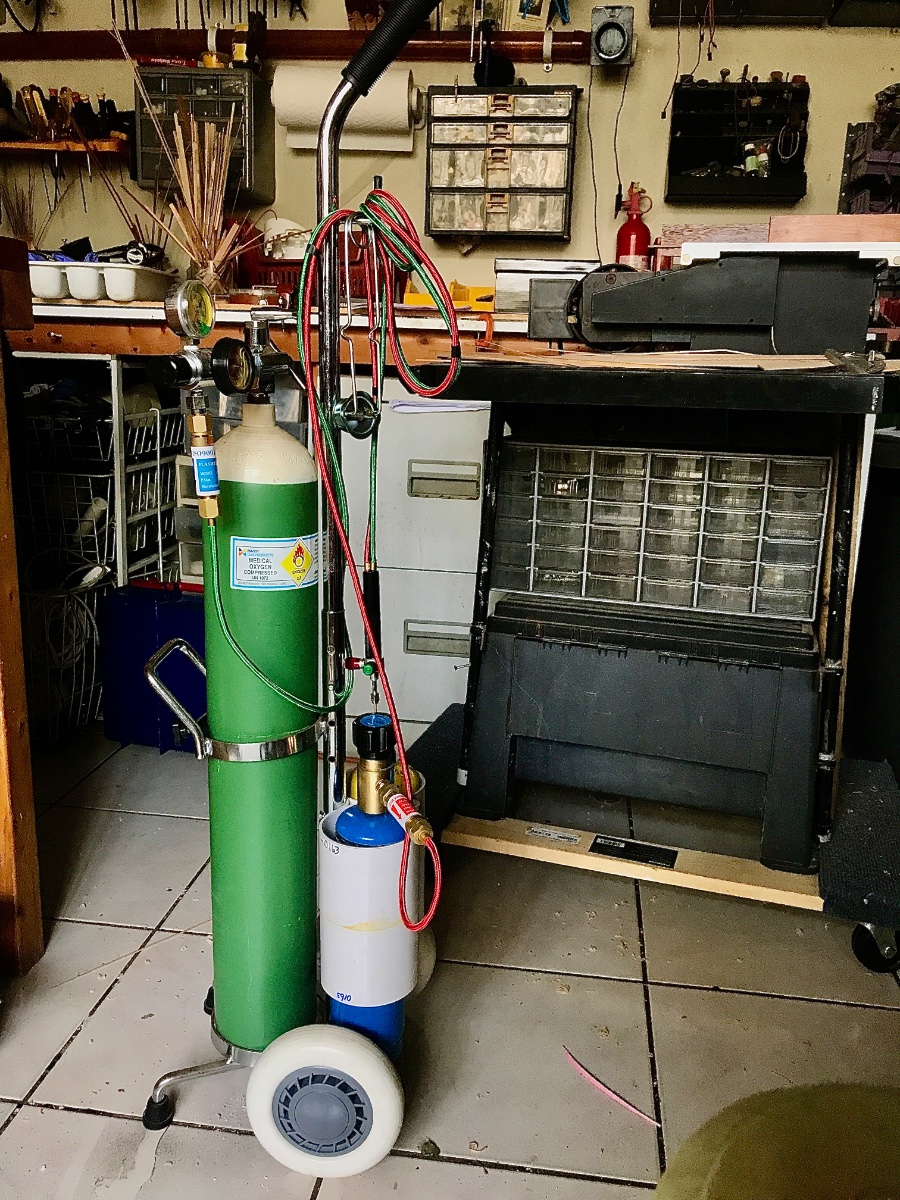
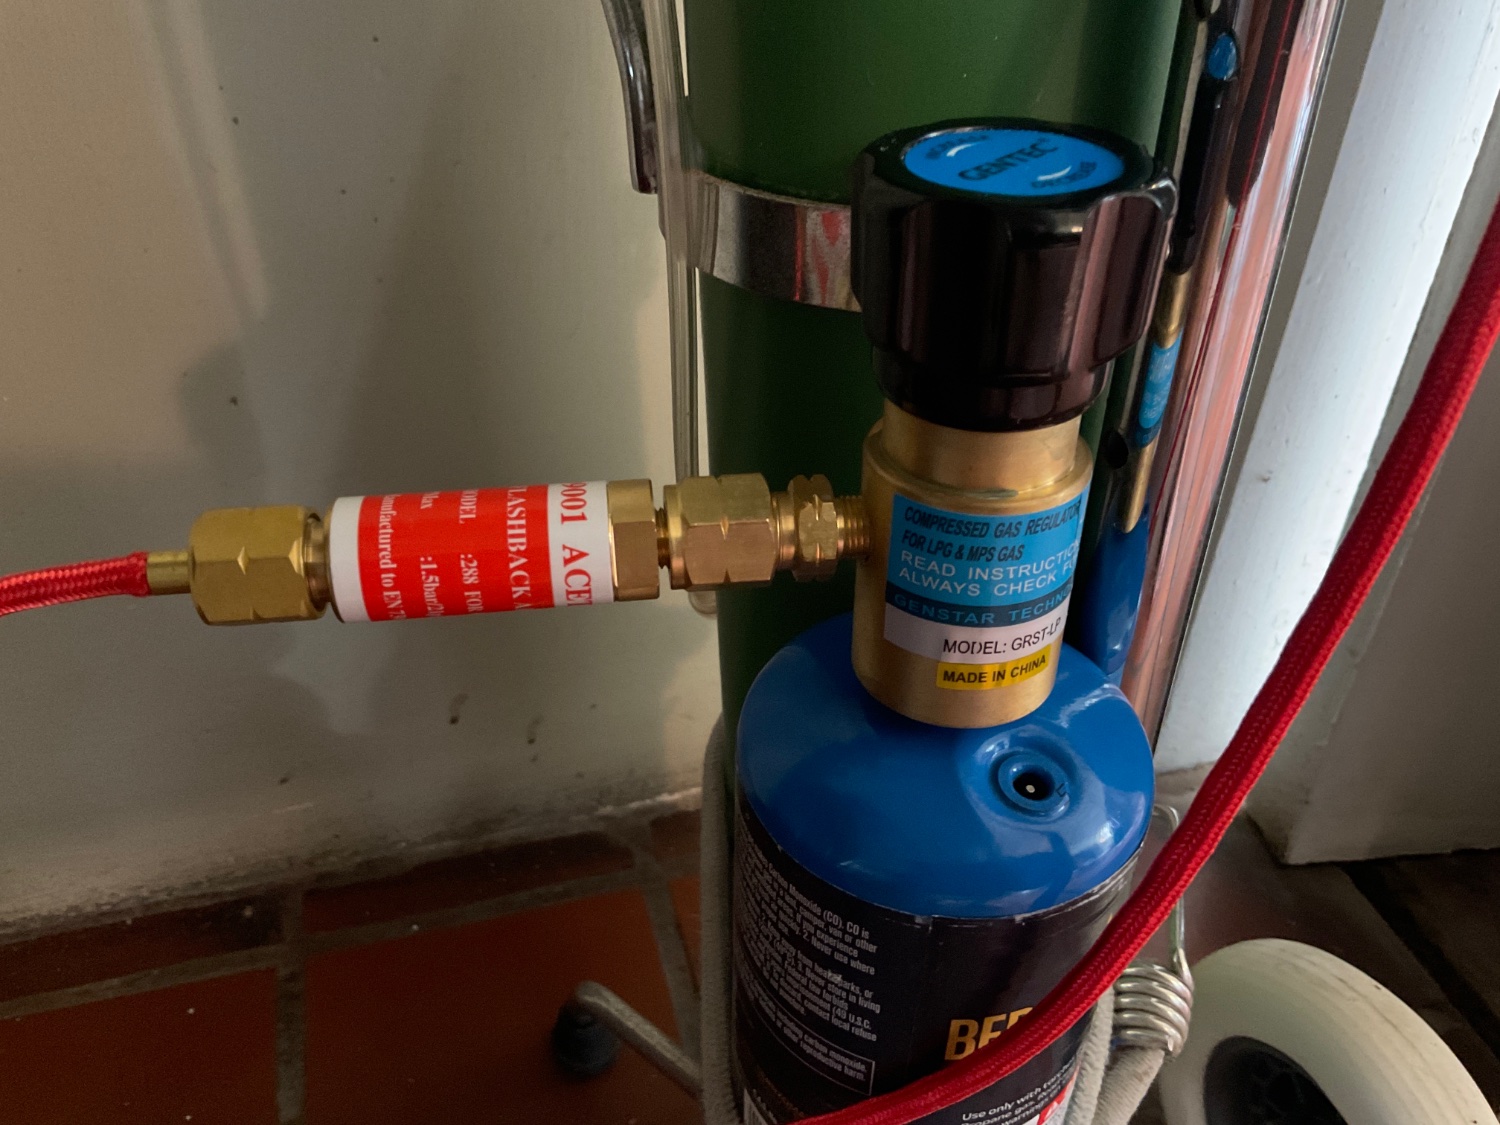
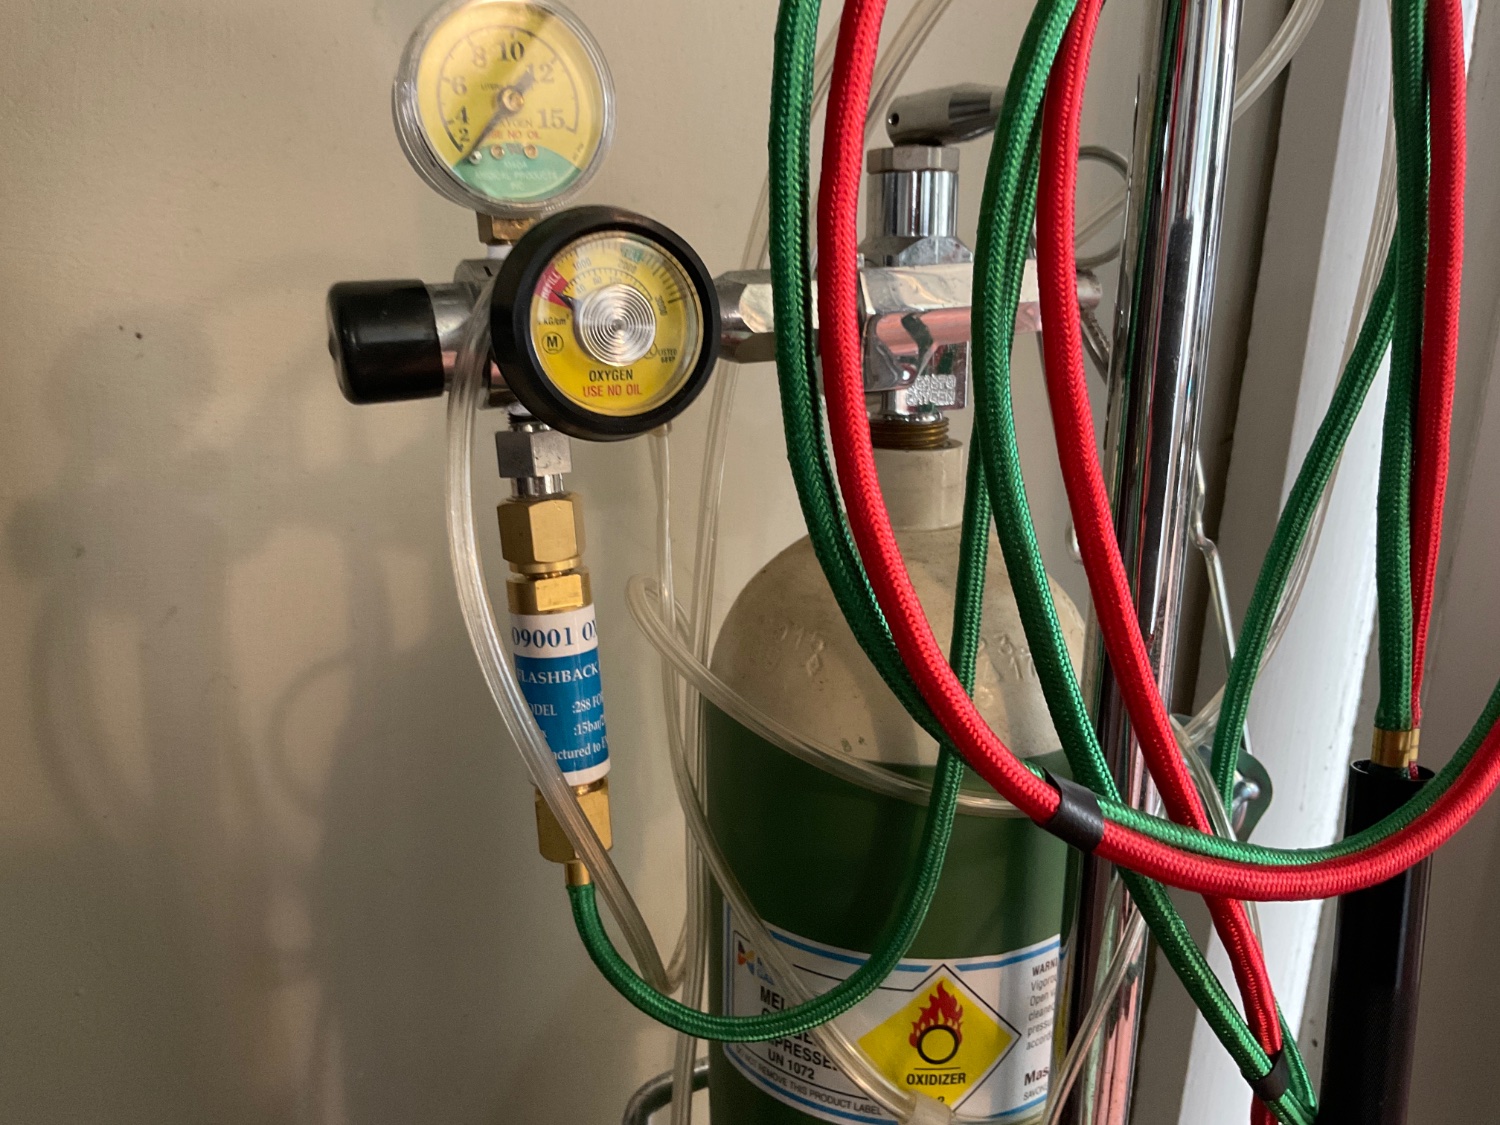
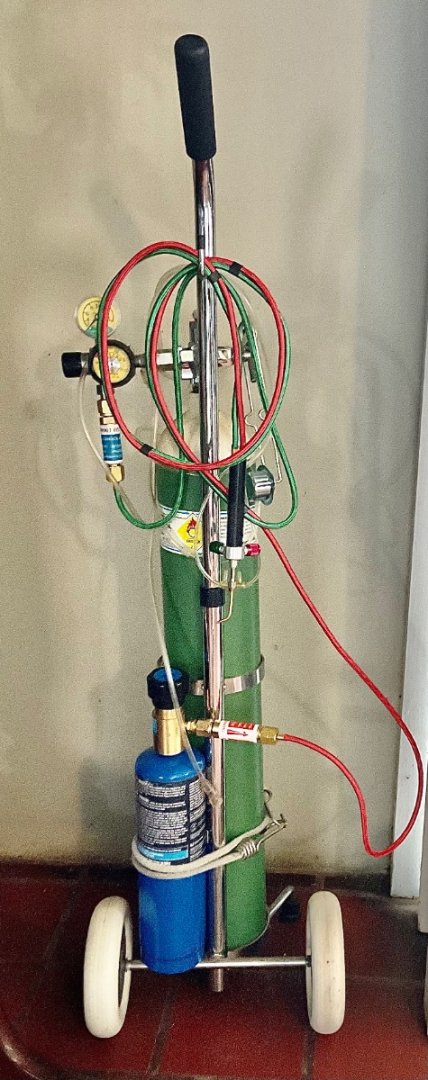
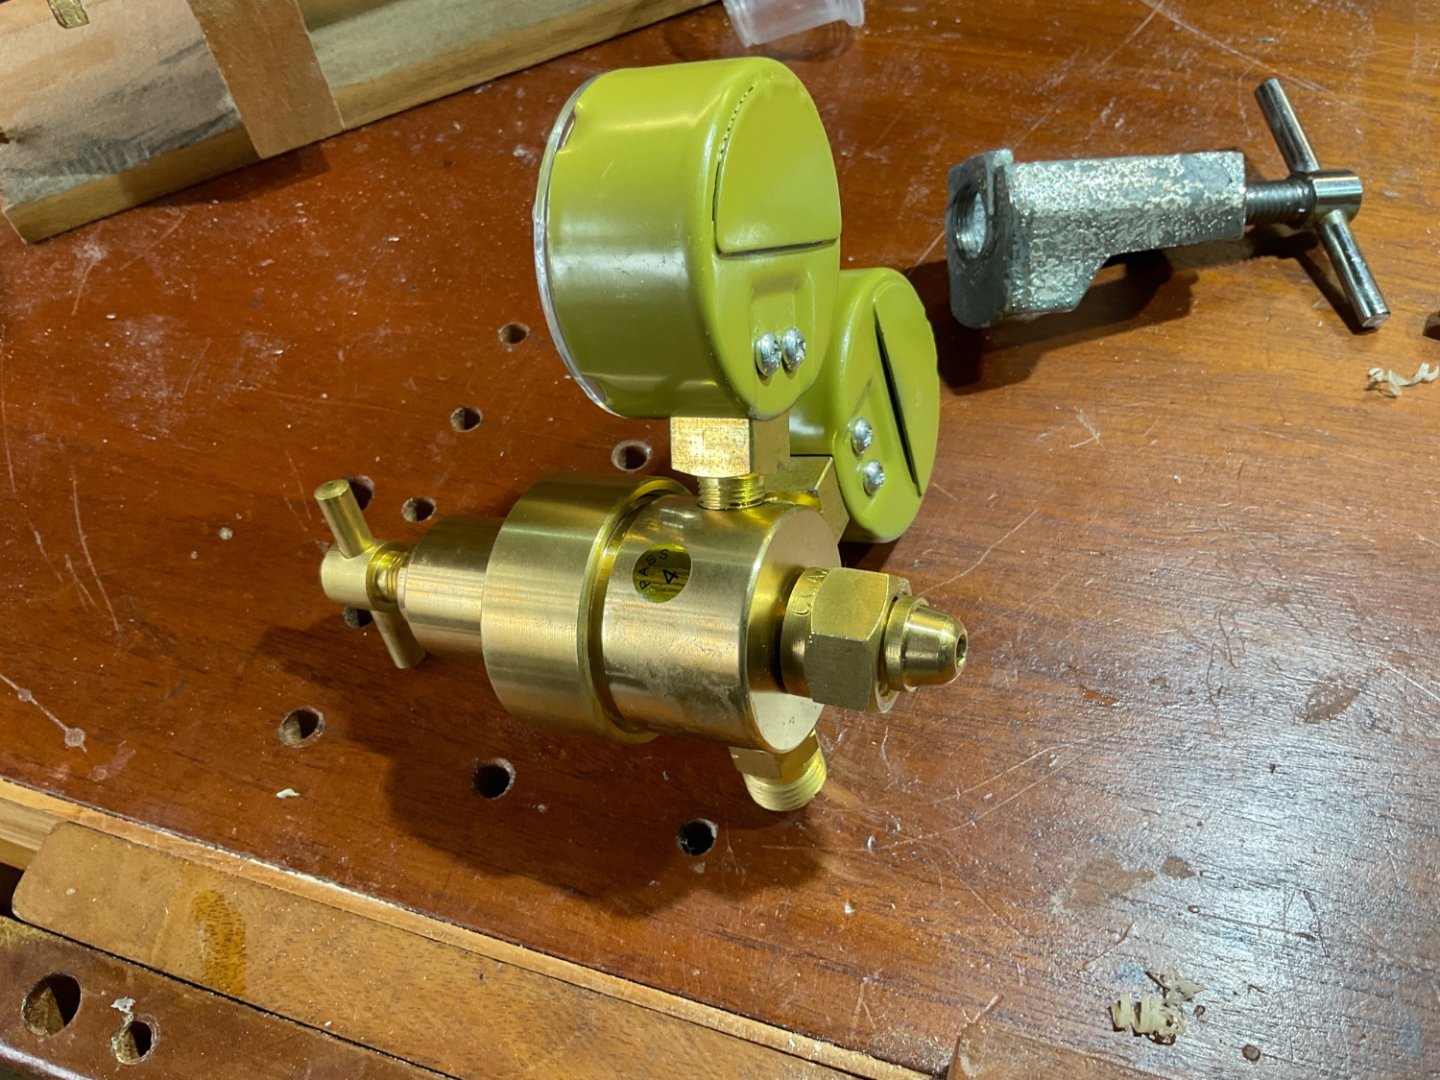
When you dont know what you are doing you can purchase all sorts of useless crap on line. I purchased the gauges along with the portable valves (just to cover my donkey) to set up the Chinese knockoff of the Smith Little torch. The oxygen worked fine but when i tried to connect the gas gauge (LPG) there was no local supplier that could accommodate me with the CGA 200 connection on the gauge. Then i went to at least 10 different wielding suppliers and non could help me find an adaptor. Thank goodness i purchased the small bottle valves. eventually i was able to hook up a medical oxygen bottle ( of which i have 2) to the Bernzomatic gas and got it to work. A real pain in the donkey


-
I like it. I tried to do this with one of my models the Naparima. The problem is that after installing it the string did not work and i could not retrieve it to get it fixed. You might want to think about how you can retrieve it if it need to be serviced. kevin
- 257 replies
-
- 2
-
-
- pegasus
- Swan-class
- (and 1 more)
-
Why not blacken brass or copper?