-
Posts
2,213 -
Joined
-
Last visited
Content Type
Profiles
Forums
Gallery
Events
Posts posted by GuntherMT
-
-
The thinner lanyards look much better. One thing though. You have too much line wrapped around the shrouds. Other than that, it looks very good.
Russ
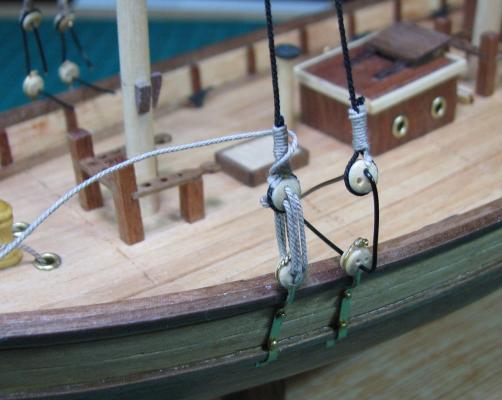
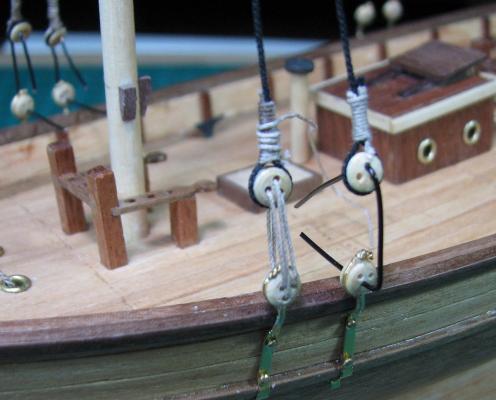
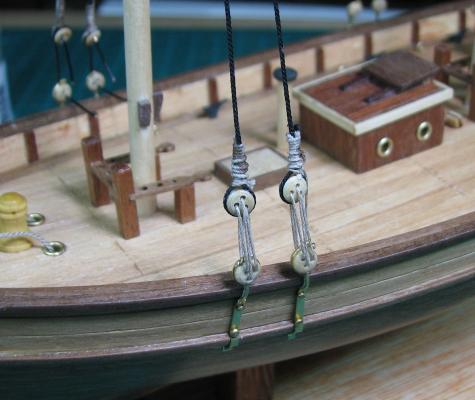
Looking at the Syren instructions, it actually shows three very small seizings instead of the one large one that I did, and also it appears that those seizings are done with thread instead of the small line.
Would you say that this is correct, the seizings on the shrouds should be multiple small seizings done with thread?
-
I have to say, that I am beginning to think the "industry" is it's own worst enemy when it comes to these kits. While in theory, an 'average' model maker could buy a kit off the shelf at the local store, and assemble it into some sort of a finished model, it is quite easy to understand why the vast majority of kits are probably never finished, and either get tossed, or placed into the back of a closet or garage, and collect dust.
If the manufacturers included decent instructions (and they needn't be extensive, but should have basic things like what knots to use in different places on the rigging), and slightly different parts (correct line sizes for the rigging - not sure how including 3 or 4 sizes of line instead of 2 would change the cost by more than a buck or two), the kits would come together much better, and with much less frustration.
If it wasn't for the amazing resources found online at this site, and others that I've found linked from various builds and resource links on this site, my ship would be looking vastly different I'm sure.
This morning I'm working on my first shrouds, and after finishing the first assembly, I thought it ended up looking like crap, so started browsing builds again, and ran across a link to Chuck's instructions for the Syren. In the chapter for the standing rigging, it clearly shows (and explains!) that the lanyards connecting the deadeyes are a much smaller line than the rigging line, but the kit only has the single size of line included, so even though I was using Chuck's line, it was simply too large. Luckily, I had purchased one package of a smaller line (.012) when I got the line to match the kits, and when I used it, even though it's larger than the lanyard line used in the Syren instructions, it instantly looked 5x better. Also, his instructions give the correct type of tie-off for the lanyard (Lark's Head) which was also huge.
Other small details, like using small pieces of wire to hold the deadeyes in place for spacing and making them consistent.
First try - using .025 lanyard (Chuck's line, but same size as provided by kit to use for this).
Re-do - using .012 lanyard from Syren, and the first shroud pair complete.
If the kits were to include stuff like this, it would probably keep many more people in the hobby, rather than throwing their kits out in frustration. The goofy thing is, they would only need to 'produce' this sort of instructions once, because they are applicable to every kit that has shrouds and deadeyes, so the cost wouldn't really be an issue at all.
- Bindy, themadchemist and shipcarpenter
-
 3
3
-
Looks fantastic!
I've seen a number of people in here using a yellow/green masking tape. Is that a specific type of tape that's preferred over generic painters tape (which is typically blue)?
-
Thank you Sal & Richard, and all the others for the likes.
By the way, have you read all those books?
All of them and many more besides, and some of them more than once!
-
Very nice yacht you have building Lmdave!
PS you have never lived unless you have had the Spinnaker "sky the pole". I.e. some idiot did not keep the downhaul taught. This idiot (yes me) got lifted off the deck and for a few seconds Hanging over the water off the port bow.

PPS if you are crewing on a race boat you should remember to let go when something bad starts to happen.

I've done that! Good times. After things calmed down, I was given that PPS advice by the skipper too!
-
Thanks Bindy, too bad you can't send me some of that awesome looking cooking and peppers.

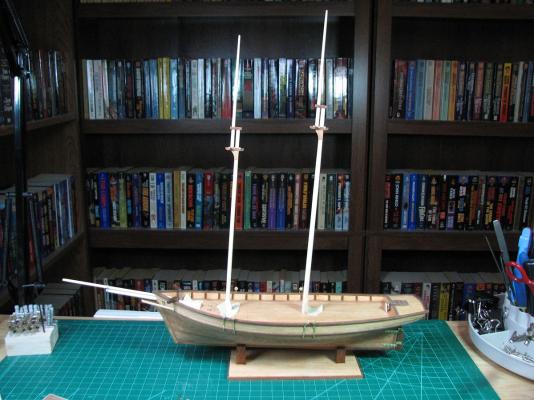
Today was a big day..
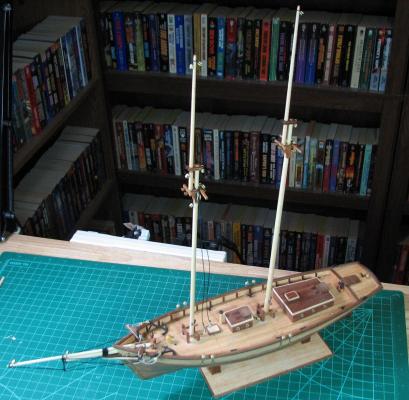
Masts!
After giving them a chance to set and making sure they remained correctly placed, I placed the deck stuff.
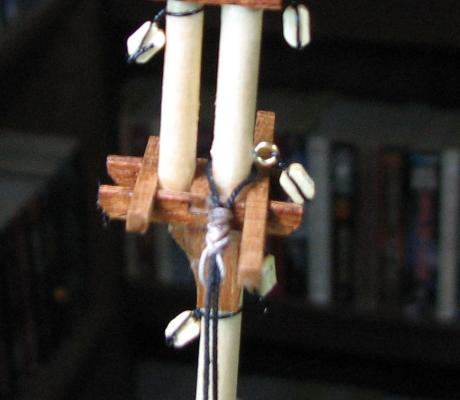
Here is a shot trying to show the blocks pre-rigged to the masts before they were stepped. I managed to put several of these in wrong, not just once, but twice. Yea..
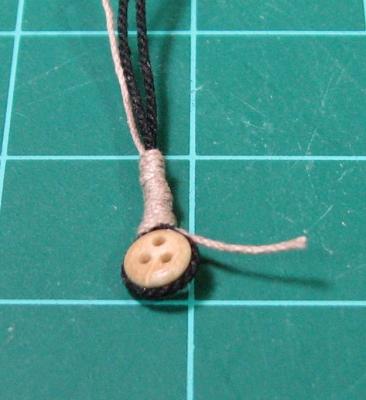
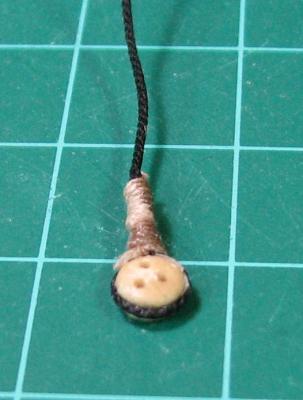
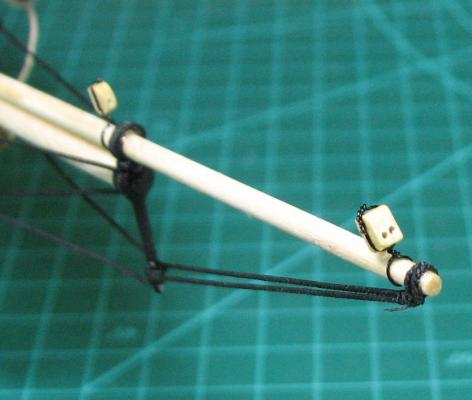
Thanks to a fantastic post with pictures by qwerty2008 here - http://modelshipworld.com/index.php/topic/7277-stropping-and-seizing/#entry214960 - I decided to try my hand at 'real' seizing on the shroud deadeyes. Here is the first one, then the second one done before and after trimming.
I had quite an entertaining time figuring out how to hold things in order to get the top of the seizing tight. Finally figured it out using a 'helping hands' thing along with a hemostat. Then of course, I needed to seize the top of the shrouds, and since it's attached to the mast, it gave me a lot of trouble. I got it done, but it's not very pretty. Need to figure out how to keep a seizing tight where I can't hold solid amounts of tension on all the lines. I didn't want to put a lot of stress on the mast without anything to balance it out, so wasn't able to hold a lot of tension on the lines while doing this.
Not sure how many hours a day I'll be able to stand fighting with the rigging in spots like that, it was a bear.
All in all, progress continues however, and while it's nothing like some of the truly amazing builds on here, I'm pretty happy with it, and will have no problem displaying it in my front room (or maybe at my office).
FYI - I have a bunch more pictures at much higher resolution that I'm not putting up, just sorting through them for the posts and resizing them to a reasonable size, but if anyone wants a higher resolution of something, or would like to see something that I haven't posted, feel free to ask, I might have a picture of it.
- themadchemist, The Sailor, Hawk42 and 2 others
-
 5
5
-
So I got a package in the mail today, perfect timing as I'm now starting to work on blocks in earnest in preparation for mounting the masts.
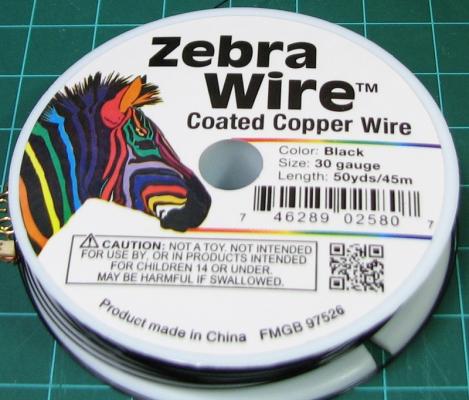
I've seen plenty of people talking about blackening the wire for block stroppings, and in someone's build log I saw where he was using blackened copper wire. When I realized that all of the stroppings on the Carmen were going to be the fine copper wire in the kit, and not the brass (except for the anchors and the stern block), I got on the web and did a search, and I found this:
I got 1 roll ea. of 20 gauge through 30 gauge black copper jewelry "Zebra" wire, and even with shipping costs, it was a whopping $16, as each roll is only about $2-$3 and that's for 30-50 yards of each size. I ordered it on the 4th, they shipped it that day, and it arrived today, so pretty good service from them, and it comes with everything you need to return it without even requesting an RMA if you don't like what you got from them.
Just started working with it after work today, and I have to say it's pretty nice, it's slightly stiffer than the copper wire from the kit, so easier to work with the tiny blocks, and the coloring is very difficult to get off, it only seems to come off by scraping it with something sharp. Gripping it firmly with pliers while twisting doesn't make it come off at all.
Good stuff, and while it's a small detail, I think it will be nice to not have copper colored stroppings on all my blocks.
-
This is a very interesting and unique model, nice work, very interesting to watch.
-
-
Good looking ship, I look forward to seeing your gunport solution, and the build as it progresses. The planking is great.
-
Thanks Russ.
I really do think this ship has great lines, really surprised there aren't more examples of it here on MSW.
I've seen a variety of different lashing examples on anchors, I am just surprised the kit doesn't bother to do anything with them other than toss them on the deck like that. Seems like a simple extra step to add in that bit.
On the chainplates, thanks. I really wasn't sure how they should have gone, and the instructions specifically show a step for bending them to go over the rub rail (instructions call it the guard rail). I tried to sort of form them over the rail instead of just having a gap on either side like the instructions show, but it's good to know for future that they should go under.
Are they typically under the rail on any ship that doesn't have the actual channel for them?
-
Thanks again Russ. I went to a .032 drill and opened up all of the double blocks that I currently have stropped, along with the catsheads. Seemed to go okay, so I'll do that for all of the blocks I suppose. Seems somewhat goofy that the kit gives you blocks with holes too small to use the rope that they provide, but I guess that such is the world of wooden models!
On to today's update. My last post had the little modification to the ships wheel mocked up, and after I finished that I finished up the masts, and did a first dry test fit.
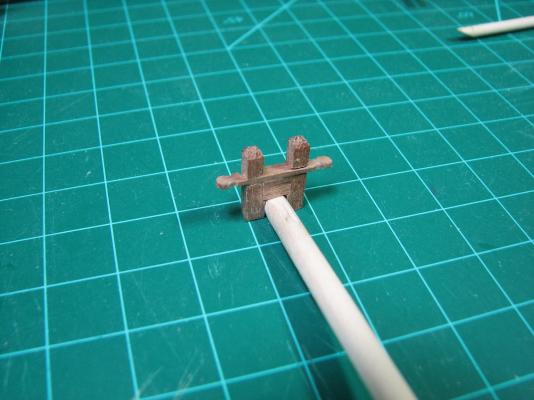
I also mentioned in one of my posts since my last update that I modified the bitt to actually do what the real bitt does, instead of just sitting on the deck straddling the bowsprit. This was the result. Certainly not up to the amazing standards of Dubz where I got the idea from, but it actually worked quite well to help position the bowsprit later when I mounted it.
Blackened the pot metal wheel after cleaning it up a bit, and began mounting the deck fittings. I also trimmed the wheel a-frame I made down a bit, and I think it looks better now. No rope behind the wheel, I'm going on the theory that all the actual workings for the steering gear are behind the bulkhead. That's my story and I'm sticking to it.
I'll spare you the pictures of the block stropping, I'm sure everyone here has seen plenty of that. The kit provides small copper wire to strop all the blocks, instead of the brass wire used for the deadeyes.
I installed the bowsprit, and then realized that I had gotten the martingale crooked while I tweaked everything, and of course it dried that way. So, off to the store and got some acetone. Used some cotton swabs and acetone and it broke it right free without too much difficulty after just a few minutes. Remounted it and this time got it straight!
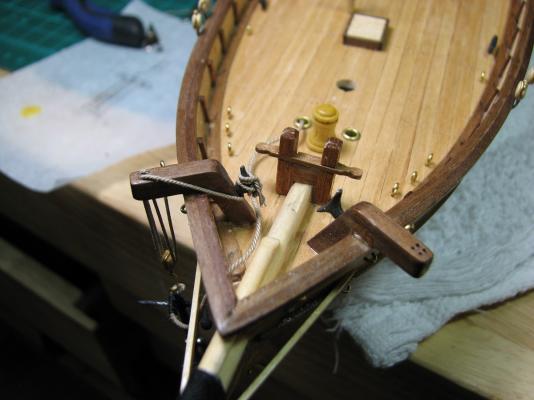
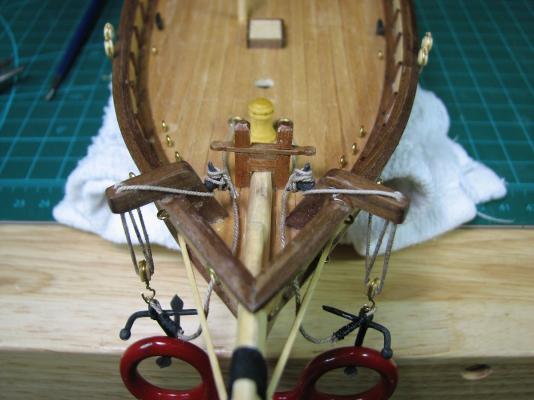
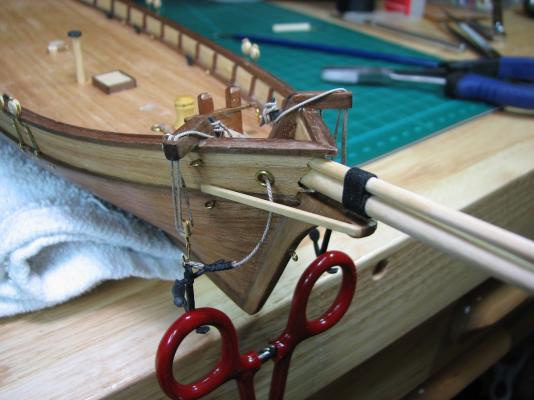
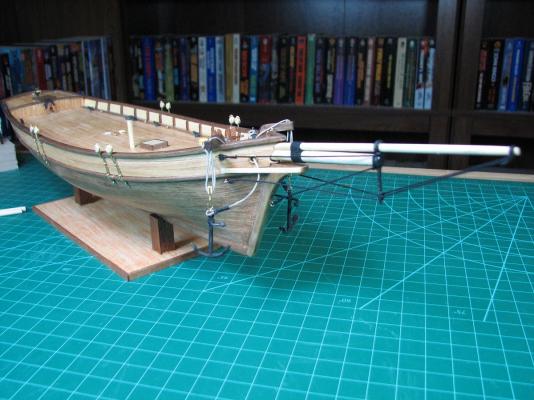
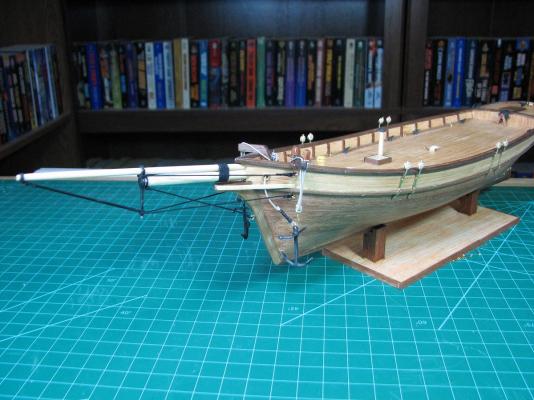
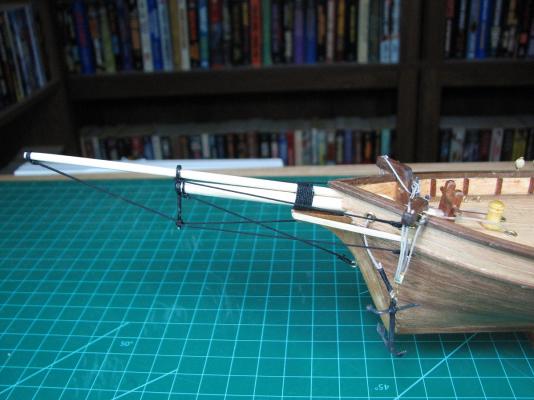
The kit has nothing about anything like gannoning on the bowsprit, but I thought that the pictures looked a little too bare, so I added some just because. I really should have done a proper gannon through the top of the stem, but there isn't enough gap between the bowsprit and jib to get the rope through, and in order to slot the stem I'd have to remove the braces, so I just did one 'for looks'. Outside of this forum, nobody looking at this ship will have a clue that it's not right anyway!
That picture also does a great job of showing that my hole for the bowsprit is too big. Woops.
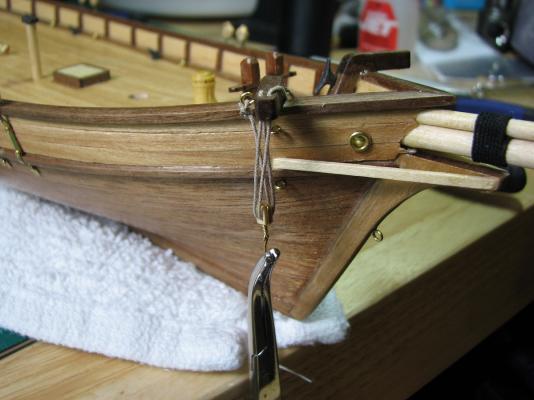
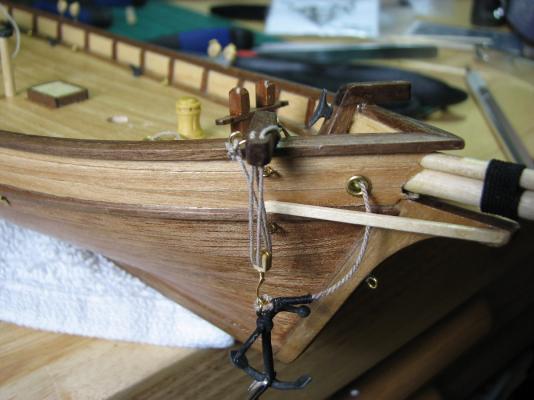
Started working on the catshead rigging. I have no idea what sort of knot I should have used to secure the rope to the eyebolt, and the instructions are no help at all, but I just used a normal knot. Hung a little weight on the rig to straighten the ropes out a bit and applied thinned white glue.
A week ago, my plan for the rigging was still what it was at the beginning, just do it simple like the plans show, using basic knots and glue where needed. You might notice a terrible precedent starting on this anchor line.
I'm sure I did it wrong, and probably too much for the scale, but the seizing (or is it serving?) began here.
Secured the line to the cleat the same way we used to tie up the boat (spent a lot of time on a boat in my youth, both power boats and sailing), and the same way I tie off the halyard on my flagpole out front. Not sure what it's called, but conveniently the pictures in the instructions show the same sort of tie off. I guess the way cleats are tied hasn't really changed in hundreds of years.
Finished the other side as well.
Moved on to begin rigging the bowsprit. The instructions say exactly nothing about how to secure the lines to the bowsprit or to the eyebolts, so I ended up just using loops, and seizing everything. Since it's black thread, the seizing doesn't really show up, but it seemed like the best way to get things tight against a round piece of wood. I really need to learn to tie more kinds of knots I think.
I had a lot of problems with the thread loosening up while I was trying to wrap it around the rope, so I ended up just using a half-hitch for every single loop of every seizing, as that kept it tight as I worked. I don't think any of them will be coming loose now.
And finally, here is how the instructions show the anchors stowed. Doesn't strike me as a very brilliant way to stow large iron objects on your ship, but I'll worry about whether I want to do something different with them later.
Thanks to everyone who wanders through my log, and for the likes and comments. Always open to criticism and suggestions, even if it's too late for this build, I can always incorporate improvements in my next one!
Cheers!

- WackoWolf, themadchemist, teloo and 2 others
-
 5
5
-
Russ, I opened up the holes a bit in one block, to .031 (the next bit up that doesn't currently fit), but the blocks have a frighteningly small amount of room left to do this, and I'm a bit worried about breaking them if I try to open them up much at all.
Of course I've also got quite a few blocks already stropped and mounted to eyebolts in the hull and on the masts, so those will be a bit of a pain to drill out too. Oh well, I'll keep working with it, I was just wondering if there was a 'technique' that is commonly used to thread the blocks. In the mean time I'll continue to use the CA glue and cut method.
Here is the first one I managed to get threaded, along with the catshead.
-
Nice to see another AVS starting up. I've got the kit staring at me now, waiting for me to finish the Carmen, and then I'll be starting on this one. Will follow along in the meantime, and it looks like you are off to a good start.
-
What method does everyone use to get the rigging line through the tiny little holes in the blocks?
As best I can measure with calipers, the provided rope is about .028" diameter for the small size. I also have some .025" diameter rope from Syren that I am actually going to use. Neither size rope can be threaded through the blocks without doing something to it, and if I were to try using a needle threader, it would double up the rope that is already almost the same size as the hole, so that's a non-starter.
I used micro drill-bits to measure the size of the holes in the blocks, and a .0292 bit (#69) will pass through the hole, not tight, but it's very close to size. A .031 bit (#68) will not pass through the hole. I tried soaking the rope in 50/50 white glue mix and letting it dry, but that doesn't work. I can't even get the rope through the catshead that I've drilled to .032" (#67) with that method.
The only method I've found that worked so far, and the non-drilled stock blocks are still quite a challenge, is to take CA glue and dip the end of the rope into it, wait a few seconds, wipe it off, then let it harden, and then use a razor and cut the rope at an angle to use the CA section of rope itself as a needle.
Is this the method everyone uses, or am I missing an obvious (or not so obvious) trick of the trade here?
Thanks,
-
Looking great, and as this is my first time viewing this log, let me say that the canoe in your first post is gorgeous, great work.
-
So many little tiny ropes...

-
-
-
-
Looking good. I'll be starting on this model when I finish the Carmen, looking forward to it, and good to see where you've hit snags (like the doors), so maybe I can avoid them!
-
Some good looking work there Rich. I really like that top piece that ends in the stop for the 2nd section, very nicely done.
I'm not overly impressed with the Constructo plans now that I have another kit to compare them with (Armed Virginia Sloop by Model Shipways). How many sheets of plans does the Victory kit come with? The Constructo Carmen has a single plan sheet, while the AVS, which is a similar size model has 7 sheets!
On the other hand, with how nicely you are doing with that kit, think how easy a kit with proper plans will be in the future!
-
Nice work Timmo. I'm going to seriously have to consider some tools like that lathe when I get the other room cleaned out and turned into a proper hobby/shop room. Not enough room on the single workbench where I'm working now for that, but small power tools of all kinds are much cheaper than I ever imagined that they could be, and would make a lot of things in this ship building hobby pretty nice.
-
Thank you Keith. I may try this blackening on a bit of scrap brass and see how it works, and just blacken all the brass if that's what it should actually be. I may have to just paint the chain-plates though, as they are already mounted to the ship, and I'm not going to pull them off for that, as they are attached with CA and nails.
The AVS that I ordered expecting a mid-late October delivery showed up today. I opened it up and took inventory, and am sort of wishing I hadn't now. Every single thing about that kit makes the Carmen kit look cheap in comparison, and apparently, wildly out of scale. The AVS is 1:48, while the Carmen is 1:80, yet all the little fittings (eye bolts, deadeyes, blocks, etc.) on the AVS are actually smaller (and very much sharper and better quality) than the fittings on the Carmen. All of the wood is much nicer, and the laser cut pieces absolutely blow away the pre-cut pieces on the Carmen both in sharpness, and in the quality of wood.
Oh well, I still think it's looking nice and will turn into a nice looking model, but it certainly points out that there is a huge variation of quality between the two kits. Does the quality within a specific manufacturer vary a lot as well? I.e. is the Constructo Constitution better quality, or similar to the Carmen. Makes me wonder for future kit purchases.
Finished up the 2nd mast, and have the bowsprit all shaped and fit to the bitt that I modified.
Edit: Eh, I'm wishy-washy. After I blackened the cast fittings, I played with the brass a bit, and decided since the chain-plates are brass, I'm just going to leave all the brass fittings as brass to match them. Time will tell if that's the right decision, but I've started putting in the eye-bolts, so it's decided now.


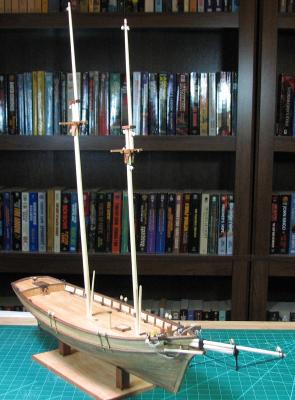
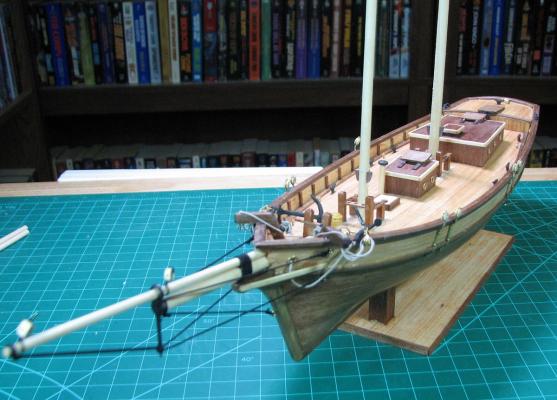
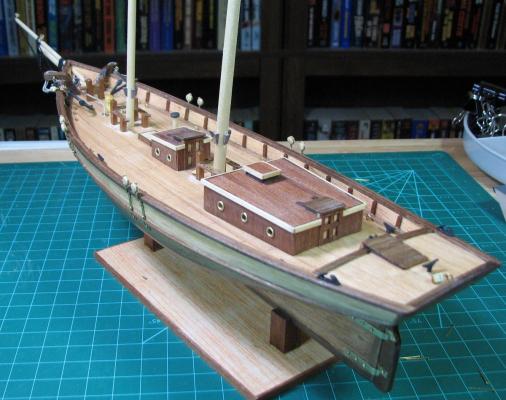
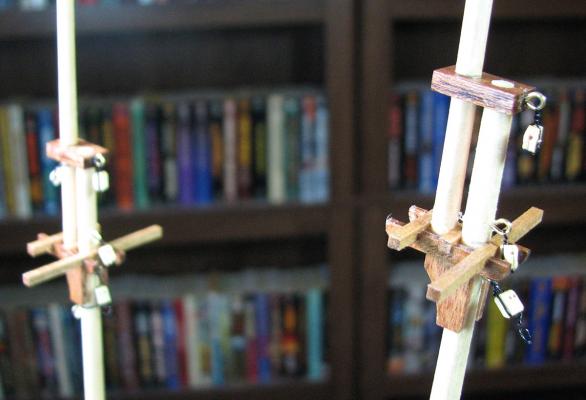
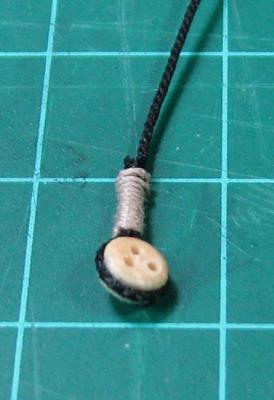
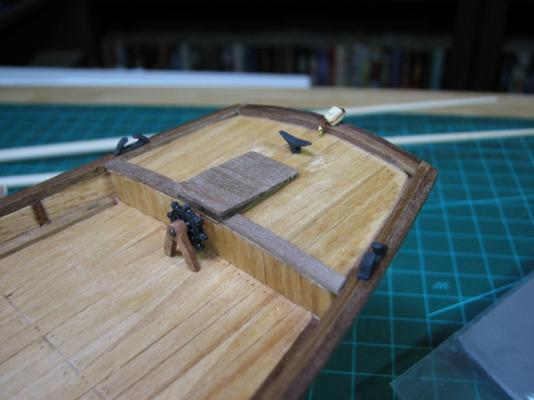
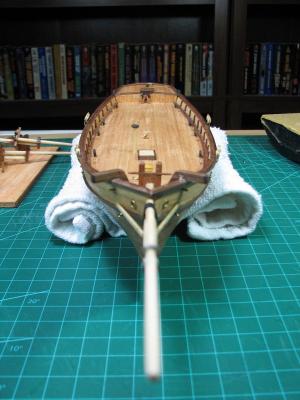
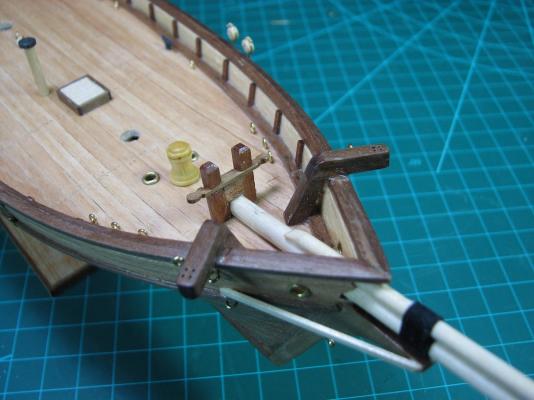
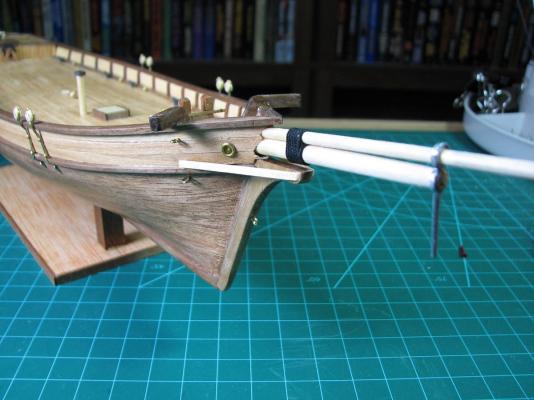
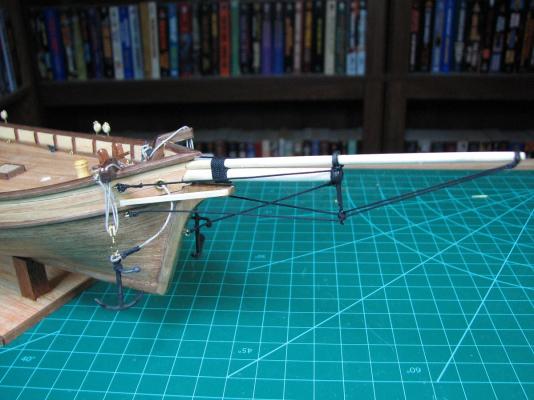
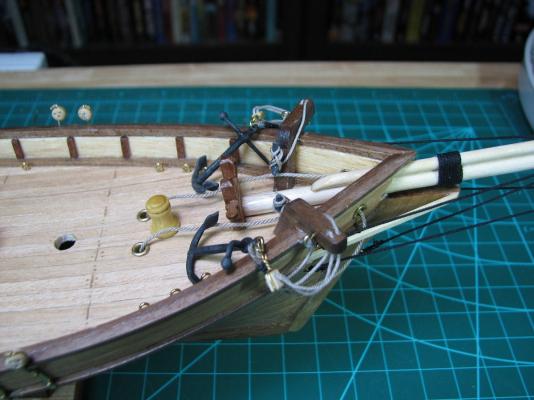
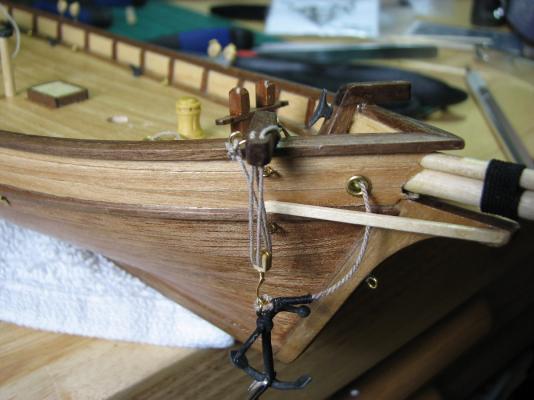
Carmen 1850 by GuntherMT - FINISHED - Constructo - Scale 1: 80 - pailebote (Schooner) - first wooden ship build
in - Kit build logs for subjects built from 1801 - 1850
Posted · Edited by GuntherMT
I only did two Lark's Heads on each shroud, while the Syren instructions say to do 5 or 6 hitches. I think most of what you see is the seizings, as I used the same .012 line to seize the shrouds to the deadeyes as I used for the lanyards. I'll switch to thread for the seizings on the mainmast, even though it will make them different than the foremast shrouds, I'd like to see the result 'in action' as it were.
Do you have a good example of what I should be shooting for? I'm sure there are dozens on here, it's just finding them amidst all the other awesome stuff can be time consuming and somewhat hit and miss.