Canute
-
Posts
6,389 -
Joined
-
Last visited
Content Type
Profiles
Forums
Gallery
Events
Everything posted by Canute
-
 They all look like fun. I like the Vulcan.
 -
Andy, you've got a gem there. You doing up the full interior? I've seen some items for walls and flooring. Paper rugs, etc. And 3D printed overhead racks, too.
-
I'd second OC's recommendation, based on reviews I've read over the years. And their PE instructions.
-
Some of our old kits were forgotten about by the canopy masking designers. Your job looks pretty good, Denis. That doohickey next to the penny, might be the gunner's sighting system for the ball turret. That's was one job I'd never been qualified for, thanks to being too tall.
-
I'm in, too. Looks like a car show day there, with the custom job across the street. Where was that, Rutherford?
-
SBD-3 Dauntless 1:48 Hasegawa - Edwardkenway-FINISHED
Canute replied to Edwardkenway's topic in Non-ship/categorised builds
Nicely done Edward. -
Is this an E wing, OC? Clipped or normal Spitfire wingtips.
-
I forgot, Chief.
-
Well, he is your henchman, Bob. The bedrolls and assorted other stuff are looking good. 👍
-
Some Tamiya kits, both aircraft and ships, have these poly-caps that get built into the model ahead of time, so the prop or turret snaps in to permit turning the part. A 1/48 He-219 I'm contemplating has them, along with a pretty hefty metal chuck that sits under the cockpit. The UHU was tricycle gear do it would be a tail sitter without this bob-weight.
-
Bird looking good, Jack. 👍 You have square bottle Floquil, too? Definitely need that MicroMark mini eggbeater to resurrect old Floquil.
-
Hope the BBs are coated, if you use them in a water based paint. Stainless BBs are available from at least one shop: https://modelpaintsol.com/model-paint/stainless-steel-mixing-balls
-
Launching a massive airstrike off a straight deck carrier looked like a zoo. How many a/c were there on 1 ship. 90 or so? They'd jam them in anyway they could to make them all fit for launch. They had to launch in a sequence, usually fighters first to provide air cover, scout dive bombers next and finally, the torpedo bombers. The rendezvous to build the whole strike package must have been incredible, getting separate carriers' aircraft joined up. I remember our Linebacker launches from Korat in 1972, Over 100 aircraft from just one base. We had 4 bases launching. We had flow plans with all sorts of timing. Aircraft were parked all over the base; anywhere we had space to load and launch. We all launched to a fleet of aerial tankers and hung on them until the code word for executing the strike or weather cancelling was broadcast.
-
Coming along nicely, OC. Nice to have minimal seam filling. Spitfires always look good.
-
Ole' Slim is racking up rays. 😀 I like you layout for mooring the Philadelphia. Keep at it, Bob.
-
North American P-51D Mustang by Asat - Airfix - 1/48
Canute replied to ASAT's topic in Non-ship/categorised builds
We had it in the F-4s, but that was when they were close to new. The MAC guys used it a lot in their cargo compartments. -
North American P-51D Mustang by Asat - Airfix - 1/48
Canute replied to ASAT's topic in Non-ship/categorised builds
Looking good, Lou. Cockpit floors still use that, although they seem to use a tape nowadays. -
Bell UH-1H Huey By lmagna - Dragon - 1/35 - PLASTIC
Canute replied to lmagna's topic in Non-ship/categorised builds
Doesn't matter, Lou. They look good. very nice work. -
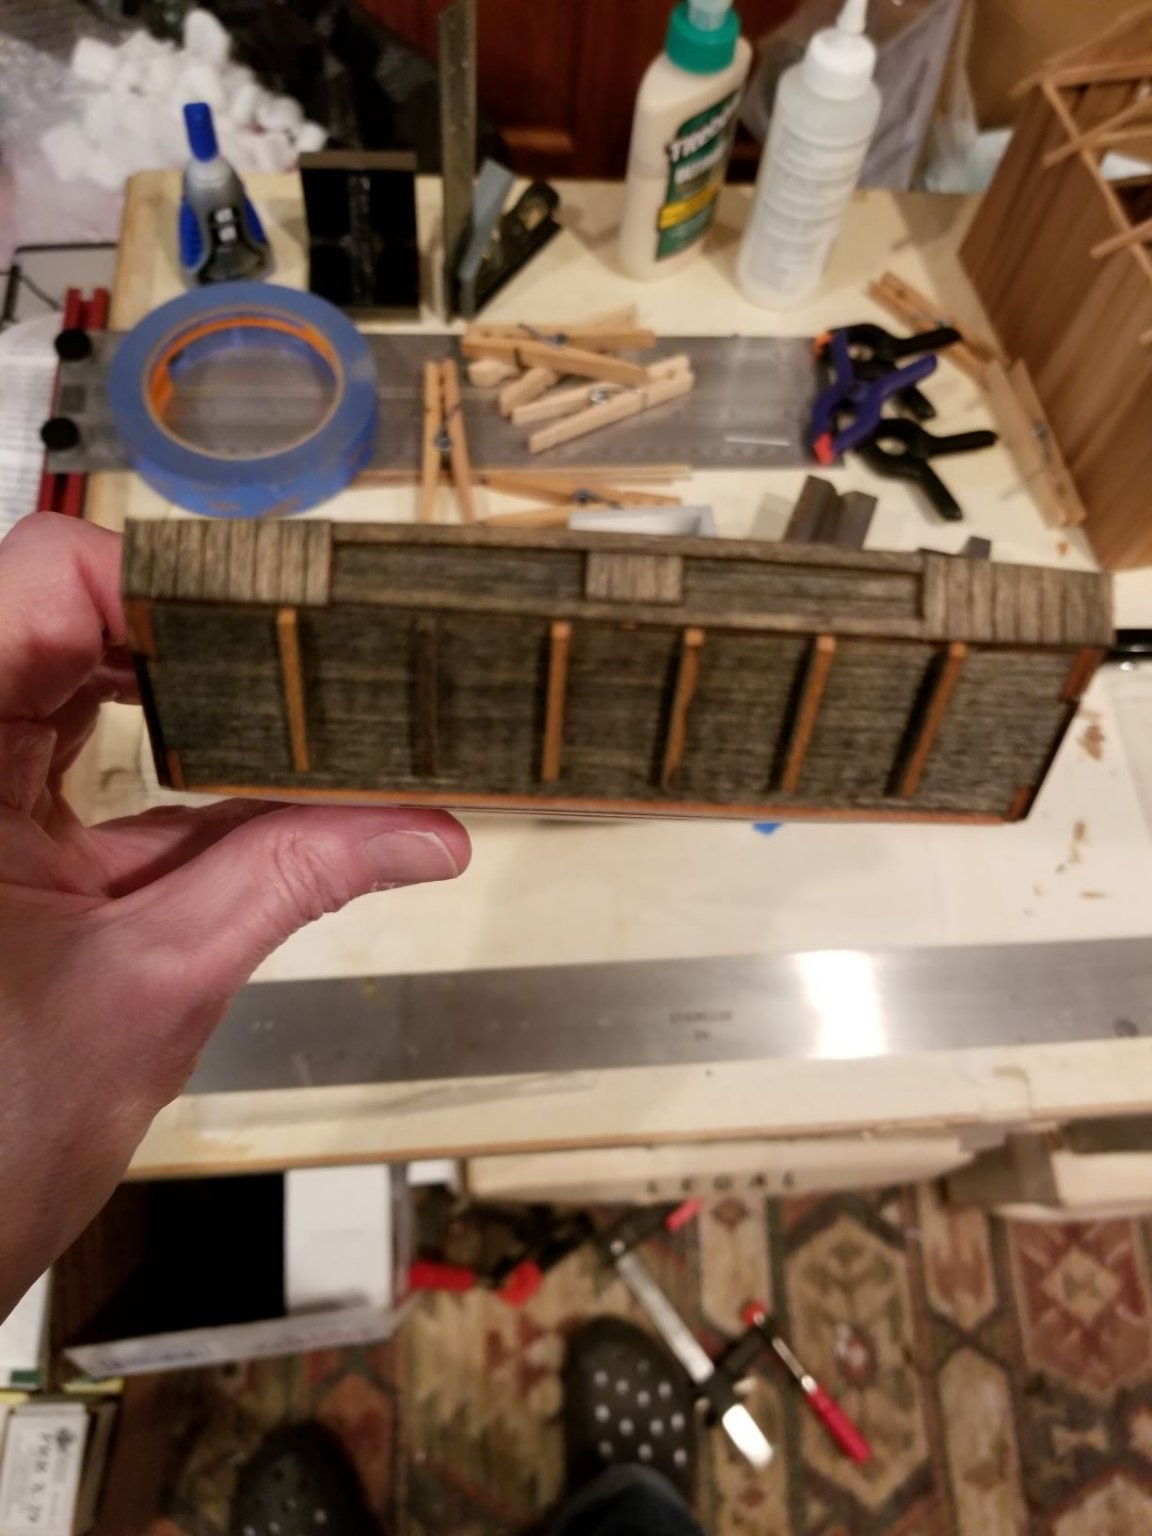
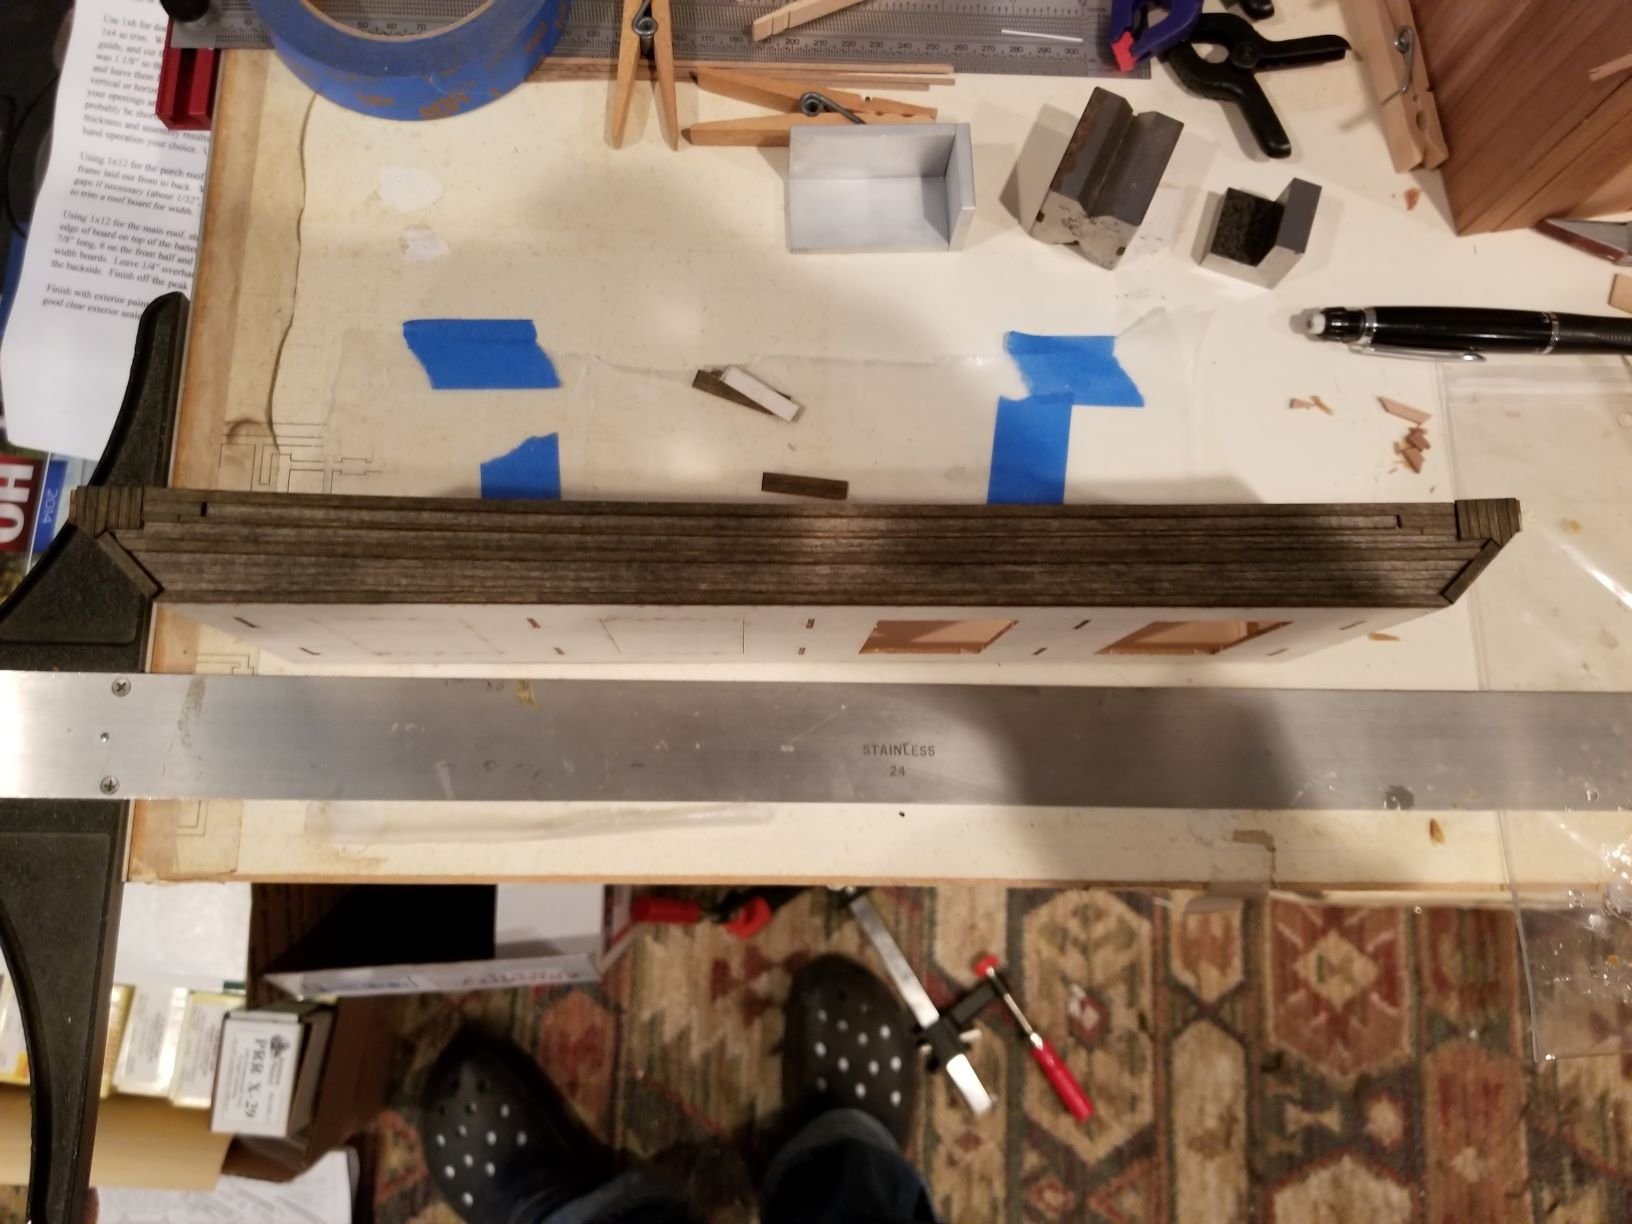
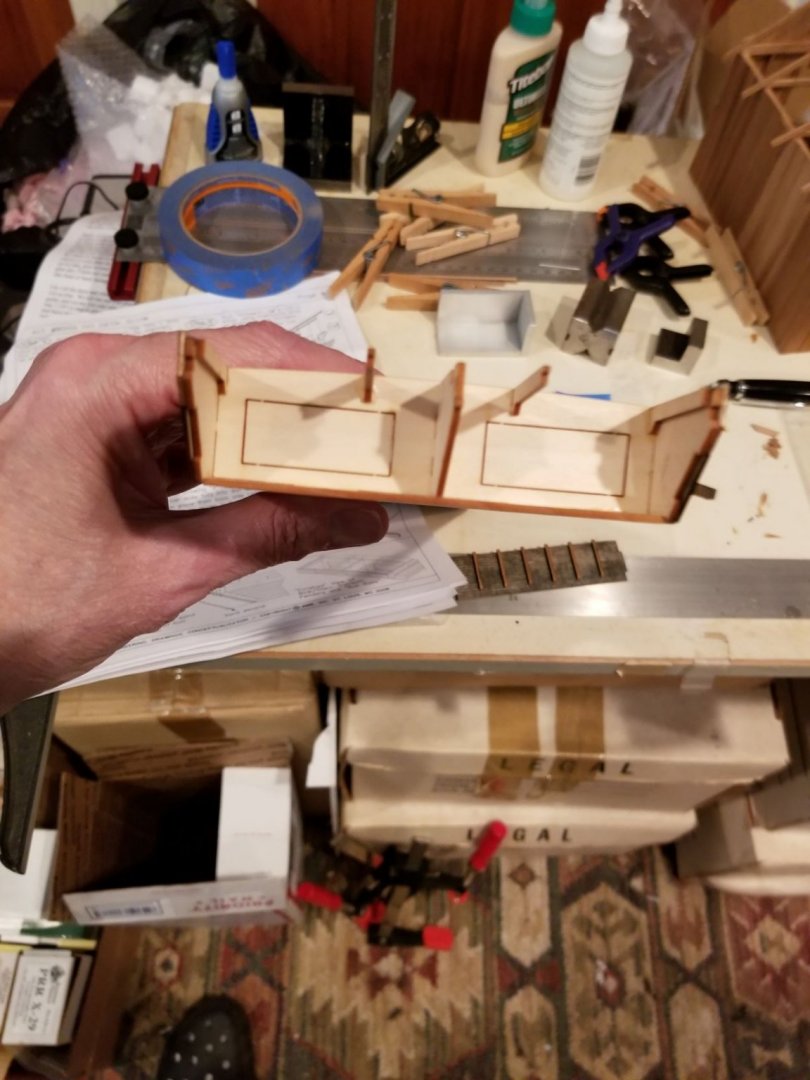
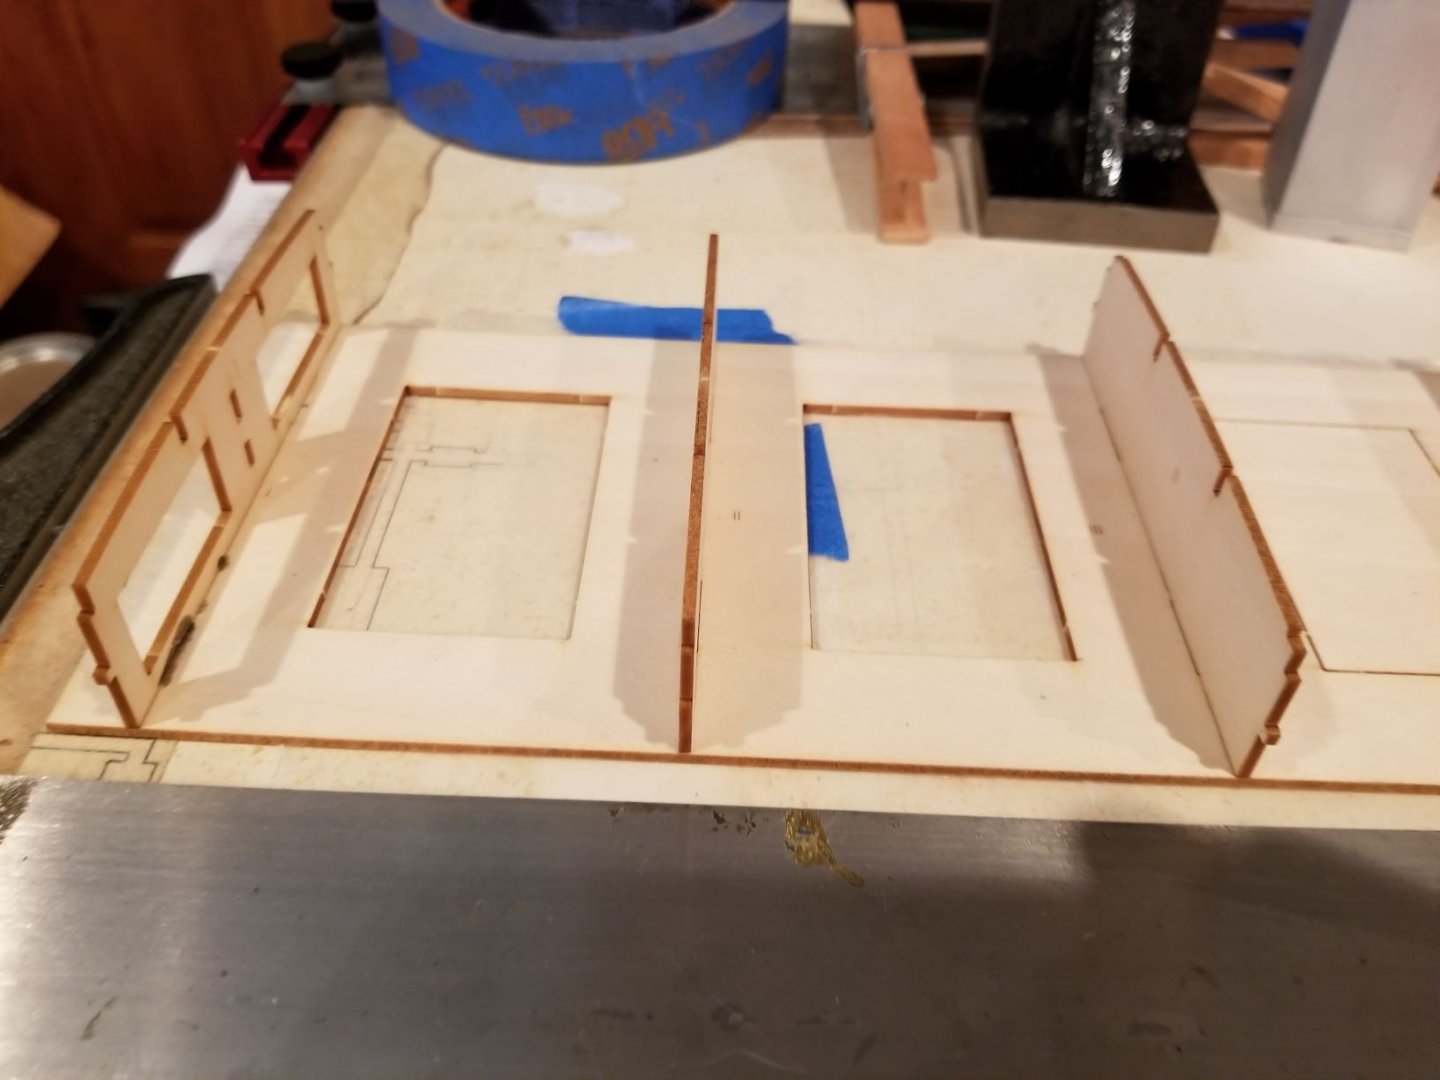
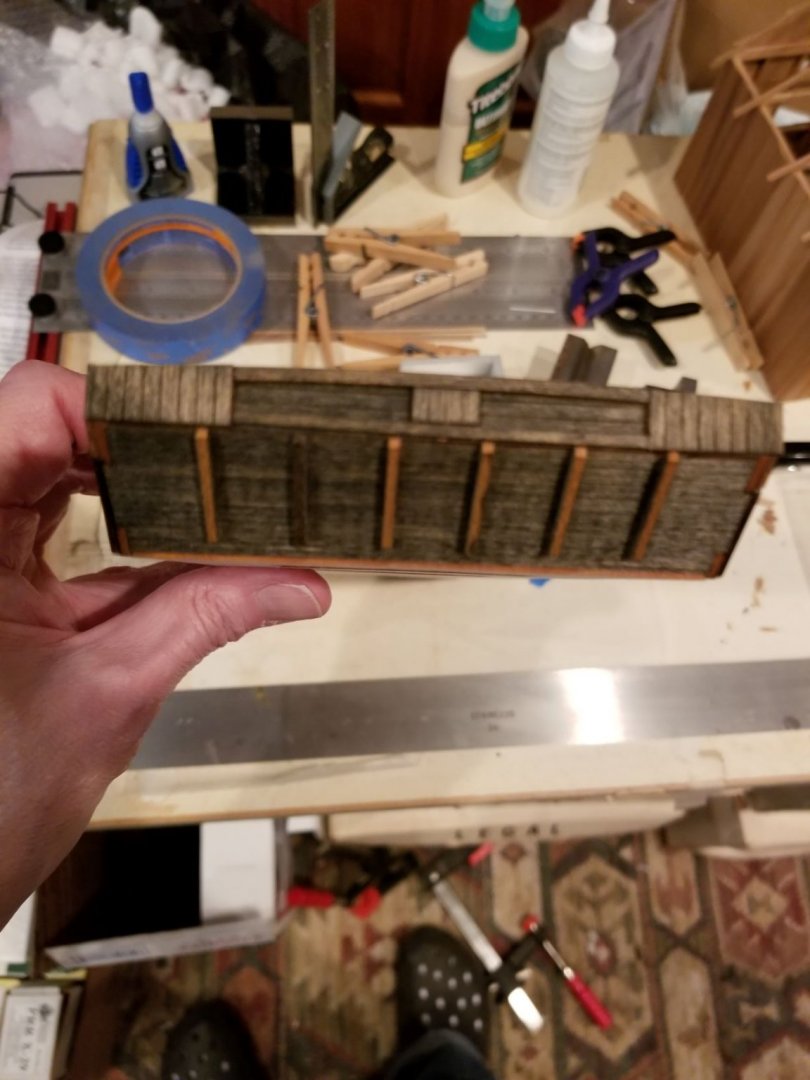
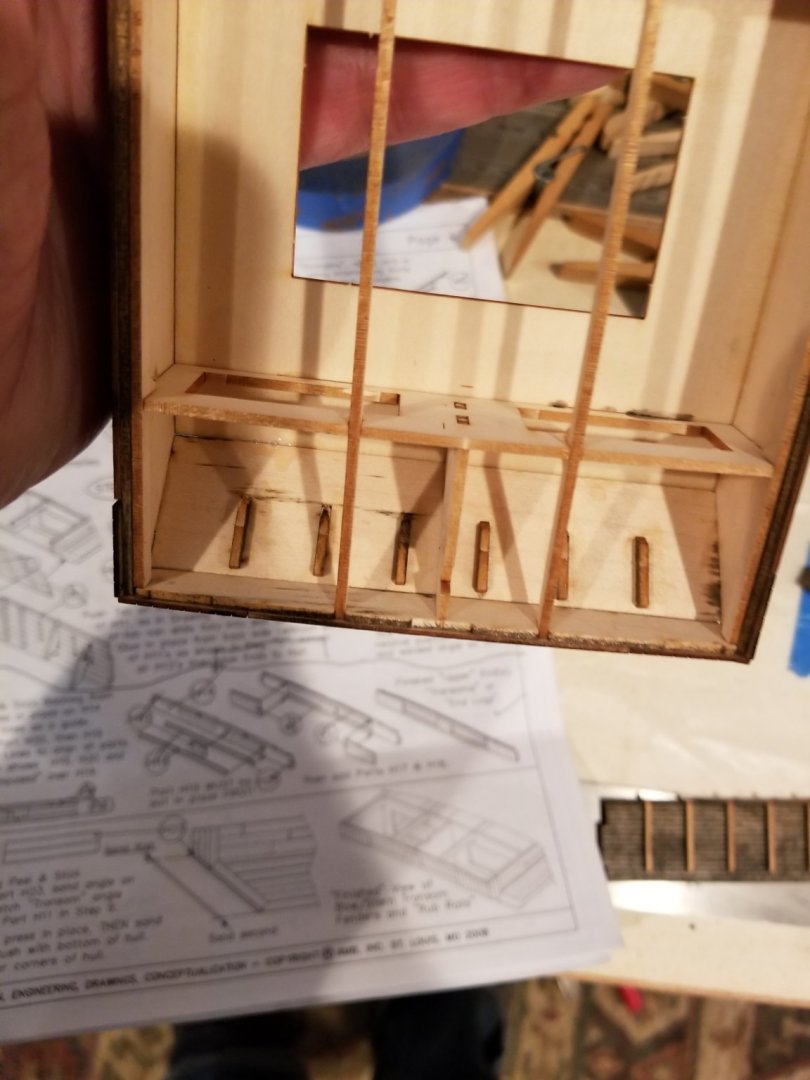
Well, more work done and I found a real prize buried in my RR cache: a pile driver barge. Could become the follow on to this little scow. On to the current work. The framework is pretty basic: floor, five bulkheads, some stringers and 2 end braces. Thanks to the laser cutting this craft has sheer and camber built in. The ends are identical, with buffer wood added in. Have to go back and add some creosote stain to these buffer boards. And this shows the camber, too. The stringers are added to support the deck and everything is left with the glue drying. I need to go back and touch up a few spots and fill in some gaps in the side strakes. Thanks for reading.

-
1931 Cadillac by CDW - FINISHED - JoHan - 1:25 Scale - PLASTIC
Canute replied to CDW's topic in Non-ship/categorised builds
Great job with the paint. Like EG says, looks real. -
Definitely looking like a Coast Guard Dolphin.
-
Carl, where's the fun in just a cockpit. Geewhiz, mate. We want to see more to that airplane. So, you are not expecting anymore parts to continue with this build. OK, I get it. I'm just a little too literal sometimes. And there is no wayinell I'd ever say anyone is dumb, especially looking at the artistry displayed by the folks on this forum. P.S. The DB605 is the Daimler Benz engine of the Me109G
-
Carl , are you building this Bf109G on the installment plan, ala the Dagostini models? My aircraft model instructions always seem to start with the cockpit and eventually progress through the rest of the build. So, you're awaiting a DB605? It will be a good build when it appears, Carl.
-
Looking good, OC. Seems if one has a problem with the fit of parts in these newer kits, the builder is the one in error. A far cry from the old kits we cut our teeth with, back in the day.