bdgiantman2
-
Posts
425 -
Joined
-
Last visited
Content Type
Profiles
Forums
Gallery
Events
Everything posted by bdgiantman2
-
 I like how you made the staircase myself. May have to try your technique on my models. Keep up the great work, Dennis!
 -
She is looking more and more like the real yacht. Great job, Patrick! Admirable work and detailing.
-
I am curious to know how different a Pinnace is from the Long Boat? The two look extremely alike without a trained eye.
-
Looking great there, Captain Patrick! Your ship is looking splendid and very accurate. Many of the large motoryachts (many boats over 90 feet in length, for sure anything over 110 feet long) would have a special area for an engineer to monitor and operate the machinery, as well as do the necessary maintenance as you have prepared for. The boatyard is humming along very nicely, she will be sailing in no time.
-
Found this build very late, but very impressive work. Your ship has clean lines, I personally admire ketches a lot. Should add this model to my future build list. Keep up the great construction.
-
Your yacht is getting more and more realistic and pretty. Looks great, wish was able to go on the real boat.
-
No, not the Yacht Mary. The boat I was suggested to wait on was the stretched Grand Banks idea I was mentioning on the last page. I have definitely learned a lot about model ship building and know plenty more to learn.
-
Actually some time ago I started it, but was told to put on hold for a while because of lack of experience as that had been my first real try at a scale wooden model that was not a solid hull. My idea is based off of the Grand Banks 49 Classic, then doubled her size. Would be in 1:48 scale, so would be large enough to see a lot of details inside. This is a plan completely from scratch that I drew up myself. Yes, I guess you can say I feeling bold and frisky
-
You're welcome, Patrick. I would suggest personally having a clear Polystyrene under each deck to hold it up completely level, and have pillars of some kind supporting the section furthest out from the hull. I am actually considering doing something similar to what you are planning to do for this model for a future project of mine, but mine would be a much larger scale and plan to not have any of the decking in place on this model but would have the planked superstructure and hull to see how she would look like, but allow for interior looks as well. Keep up your great work, you are doing a splendid job sir.
-
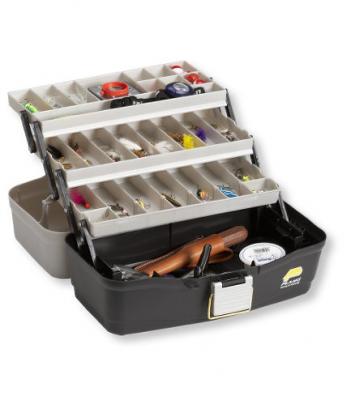
I like a lot what you are doing on this model and her superb looks so far. As for being able to show off the interiors, I would suggest something like a lot of tackle boxes do. That being, the layers slide back so that each barely overlays the one beneath so that one can see all the little compartments inside.
-
I am ready to go on a ride in her already. Looks great, Patrick! I love the 3D perspective pics you took of your model.
-
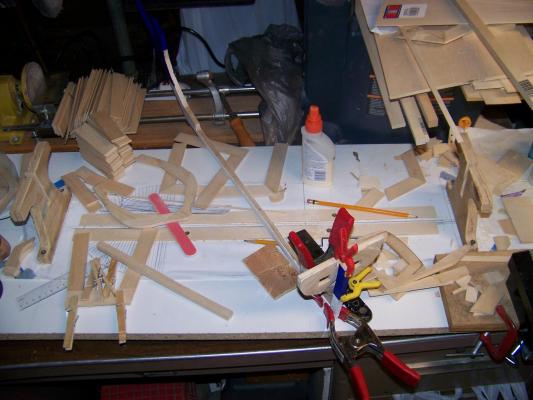
So last night I glued one of the forward frames, and am hoping to get to glue on another frame to the stern. Royal Yacht Mary is starting to slowly come together. Will be posting more pictures soon. Brian
-
Hello Laurence, and welcome to my blog. Thank you for the kind words and the cool picture. I am using the Mamoli plans as I am sure you have seen in my posted pics and notes, but their plans have several major errors, which is one reason I am building mine from scratch. Good luck to you on your build and I will have to make a visit to your boat yard to see your progress. Brian
-
Looks good, Bob! Glad to see the ship yard keeping busy. Miss you and keep up the great building Brian
- 196 replies
-
- 4
-

-
- higaki kaisen
- woody joe
- (and 1 more)
-
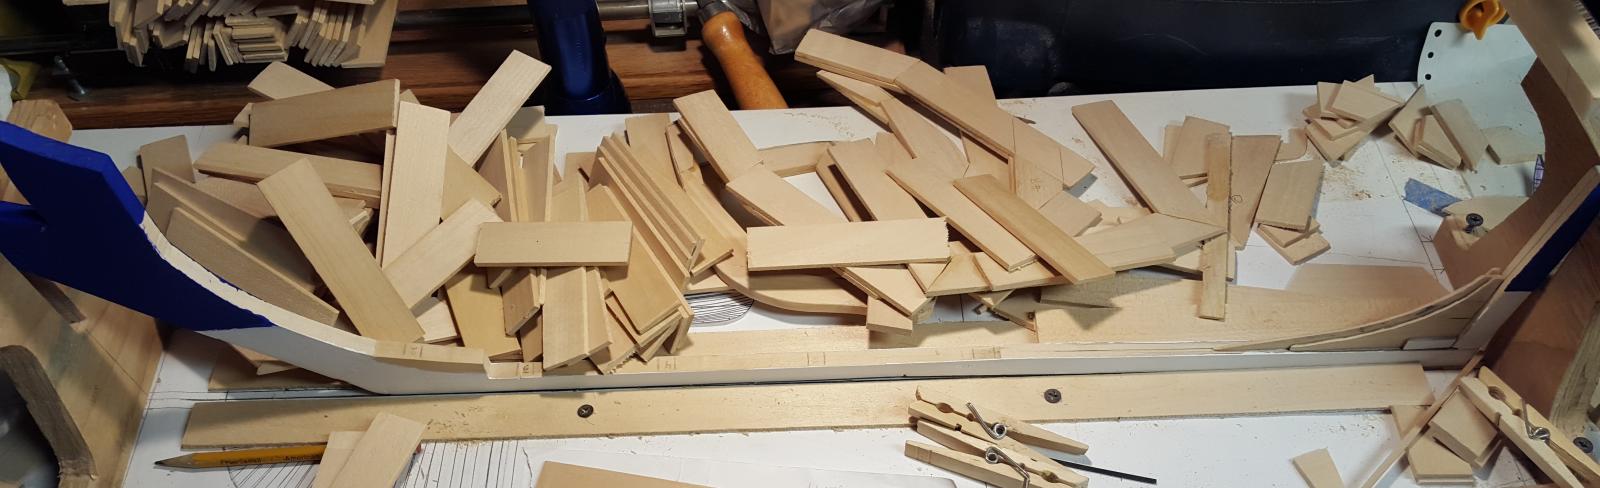
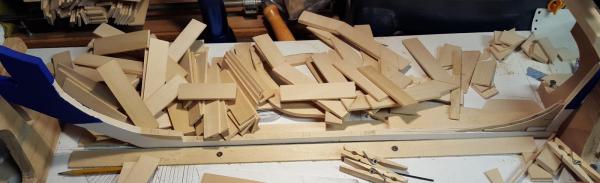
Progress from the ol' boatyard. The first of the hull frames is officially in place. Today glued in the deadwood and first of the stern templates. The boat builders are reported to have celebrated with a little white wine, despite how late the yacht is in building progress. But we will keep a secret about this from His Majesty the king for now. Inserts wicked grin of delight. Peace out! Brian
-
Your yacht model is looking very good so far, Patrick. The only thing I would say is that in real life a yacht of that size would also have a side thrust system in the stern like the bow. Keep up your great work, I am looking forward to more.
-
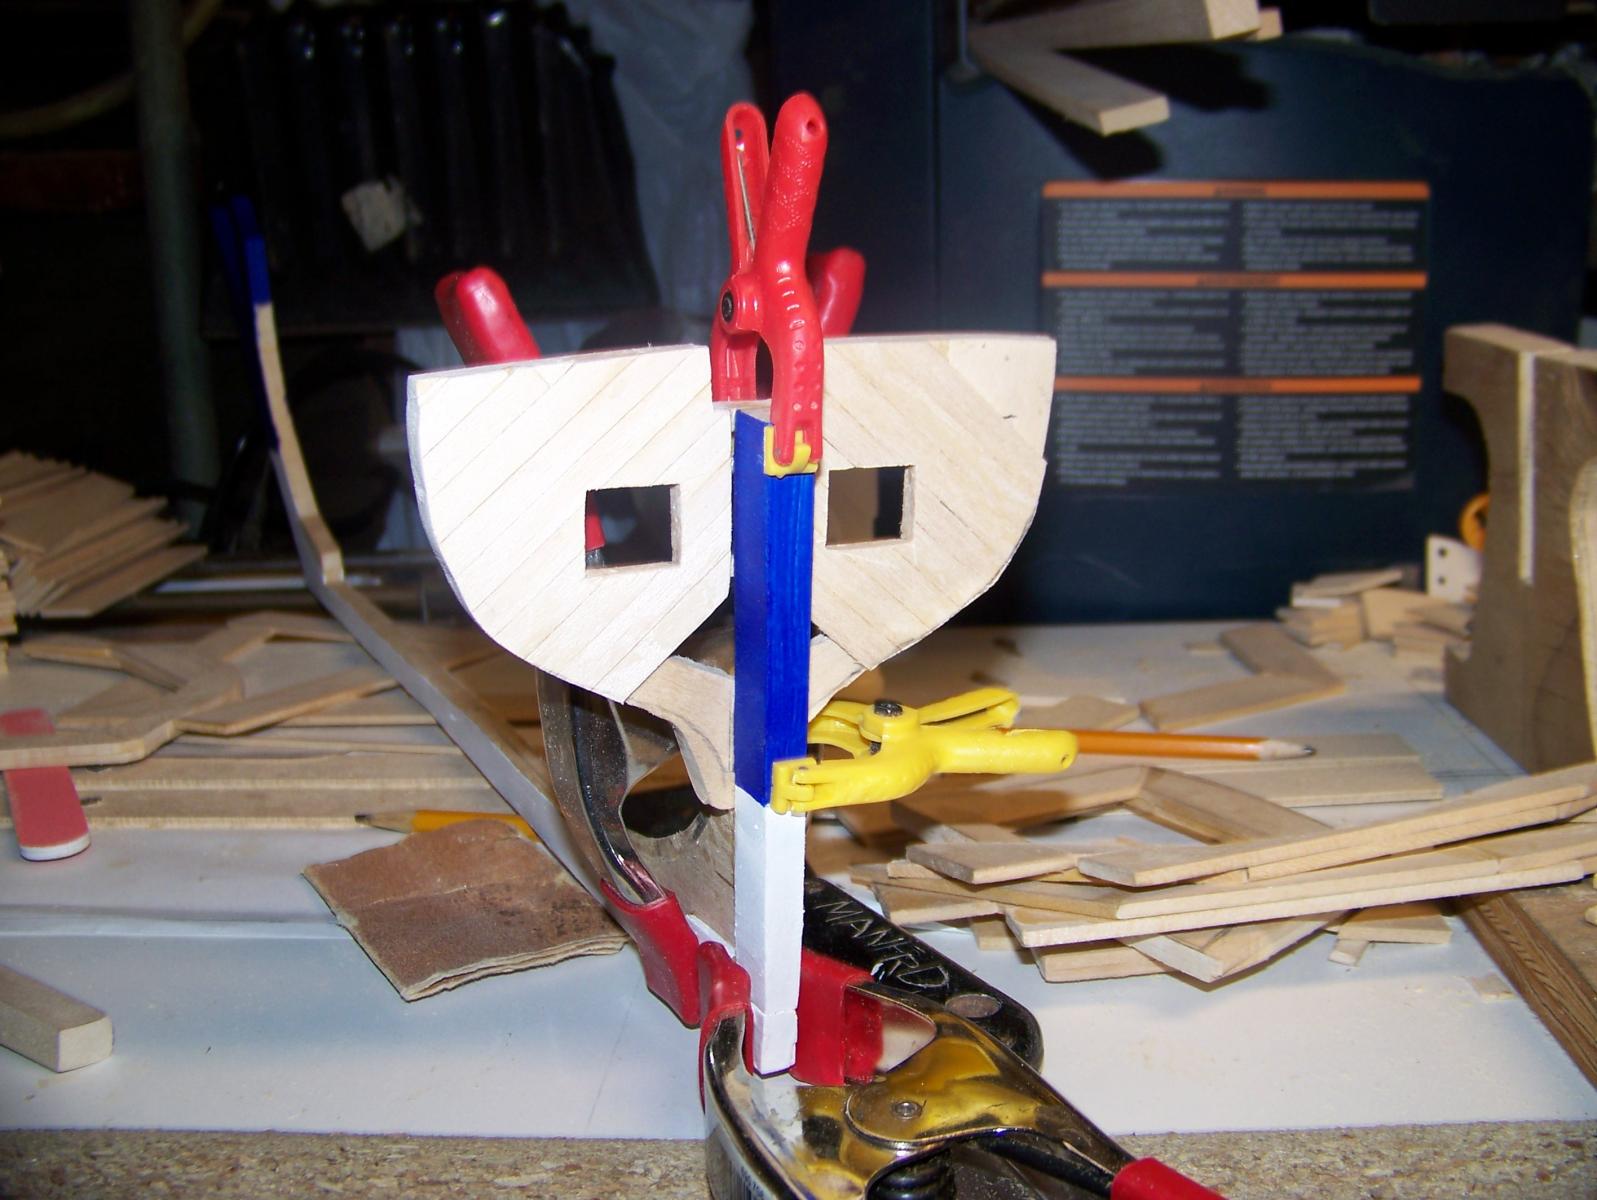
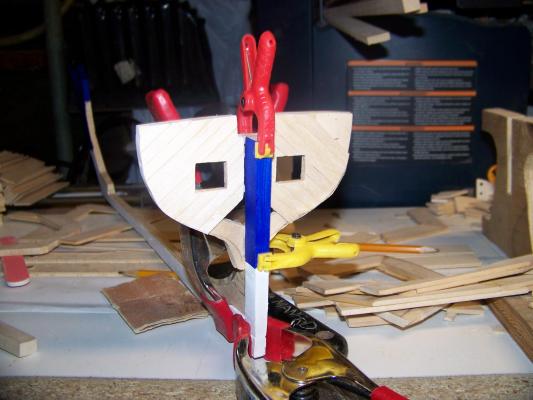
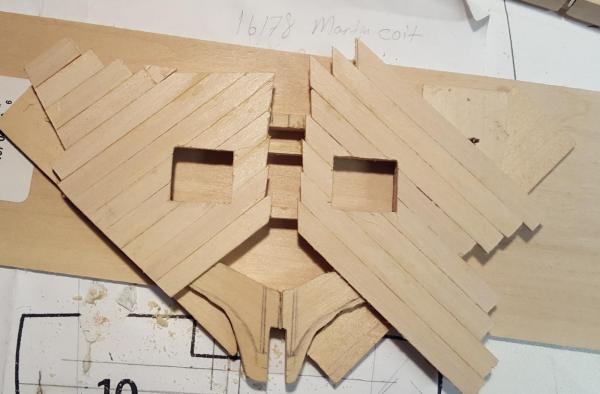
Well my followers, I am sorry that I have been gone for so long. Doing all the fun "adult" stuff and with some screwy hours and setbacks. Getting back on the horse again, and slowly making progress on Mary. Had to rebuild half the keel, got that done and also painted now. Mostly have been making frames for the ribs of the hull. In the enclosed photo you will see a nearly completed stern plate that will be mounted to the keel after I re-install the deadwood.
-
Pulling up a late chair myself. Your work building model ships is amazing and I like to follow your blogs. Nice job using the polystyrene to make the hull of your model, that stuff is fun to work with. Would love to see a larger scale model made of her as well as Symphony. Been getting back into my own ship model after taking off much more time than I desired to.
-
Pulling up a late chair, a beautifully made model. Nice job on the whole ship, as Royal Caroline is a popular model it seems to build.
-
Beautiful work, Patrick! Your tender looks incredibly realistic. You should set up your model in a case where the tender is tied up alongside Symphony and looks like floating in the water.
-
THE 74-GUN SHIP by Jeronimo
bdgiantman2 replied to Jeronimo's topic in - Build logs for subjects built 1751 - 1800
I have never personally seen sanders like those ones you are using, look like would be really helpful. Model looks great, can't wait to see how rest of her will turn out. -
Can I make a suggestion too? Will she be showing her steering wheel(s) in the stern cockpit? Keep up the amazing work on this model, very impressive
-
Cog, in the days of the old wooden sailing ships you would be right. However, these days yachts like Symphony and the big motor yachts can have small fireplaces like this in the cabin. Unlike most house fireplaces, the yacht ones burn oil or propane or maybe some diesel fuel, and are more for decoration purposes. Yes, they can produce can produce heat to the occupants when nearby, but the wood burning fireplaces produce more and better heat.
-
Looks very good so far, sir. I especially admire your building board and the track devise. How did you make that, if I may ask? Would like to do something similar for my model of Yacht Mary.