Angarfather
-
Posts
225 -
Joined
-
Last visited
Content Type
Profiles
Forums
Gallery
Events
Everything posted by Angarfather
-
 Wellcome and thanks for your sponsoring from Germany! Best regards Angarfather
 -
Hello Nils! what a forest of vents on the boatsdeck!!!! In my office there is an old, photo of the "Kaiser". A very heroic picture of the "proud of the merchant navy". But without such inconsistencys like vents. Very impressive work!! Cheers Hartmut
- 2,625 replies
-
- 9
-

-
- kaiser wilhelm der grosse
- passenger steamer
- (and 1 more)
-
Hello, Jack. Congrats to the begining of this nice modell. Cheers Angarvater
- 174 replies
-
- 2
-
-
- gaeta falcata
- marisstella
- (and 1 more)
-
Many thanks to Patrick and all the "likes". Today I have made the windows of the stern. Because of he curved tops of 3mm plywood. best regards Hartmut


-
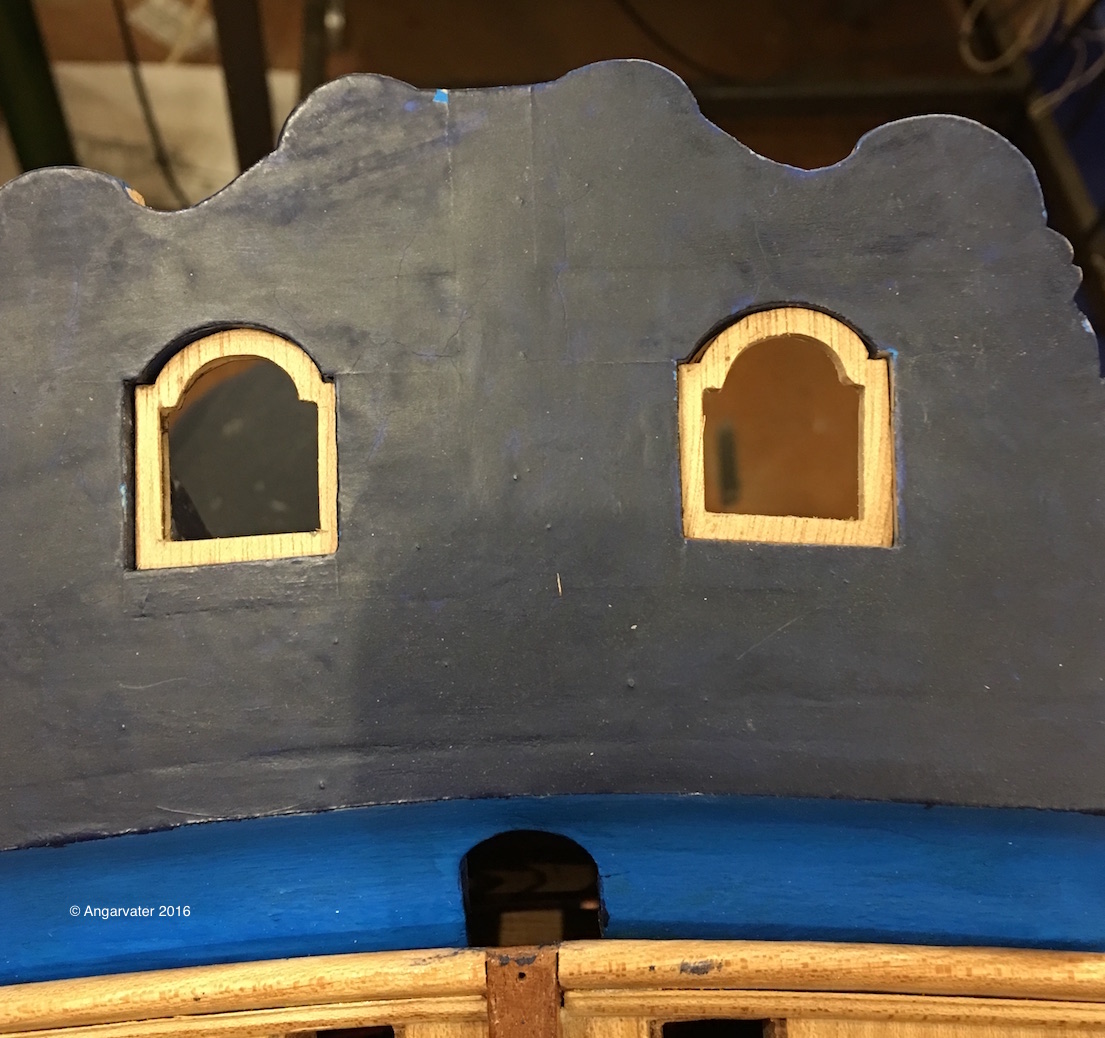
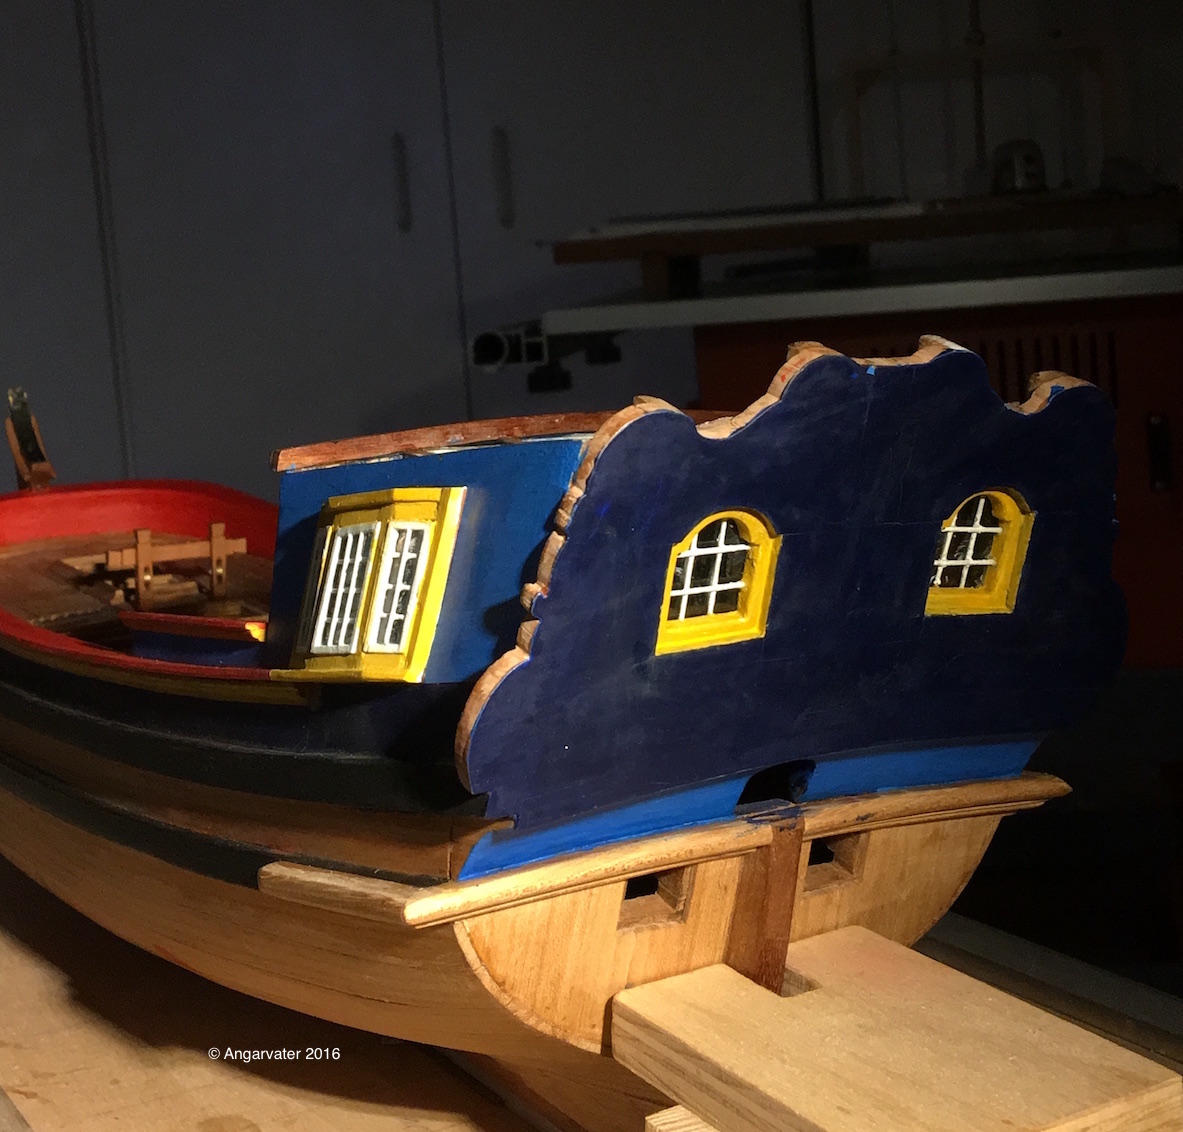
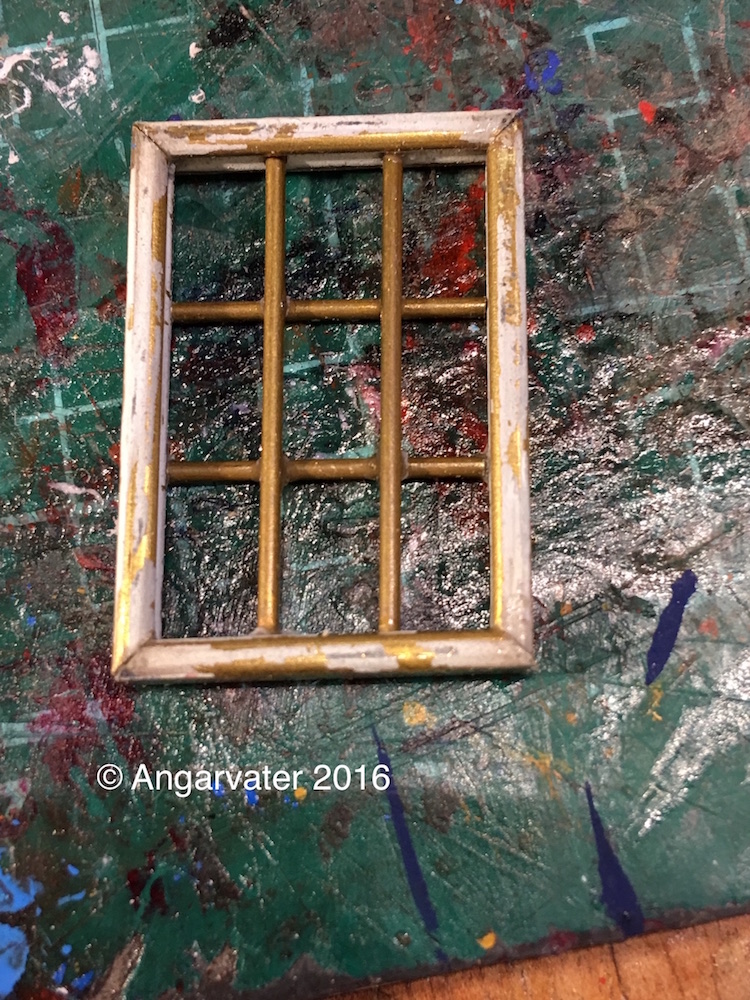
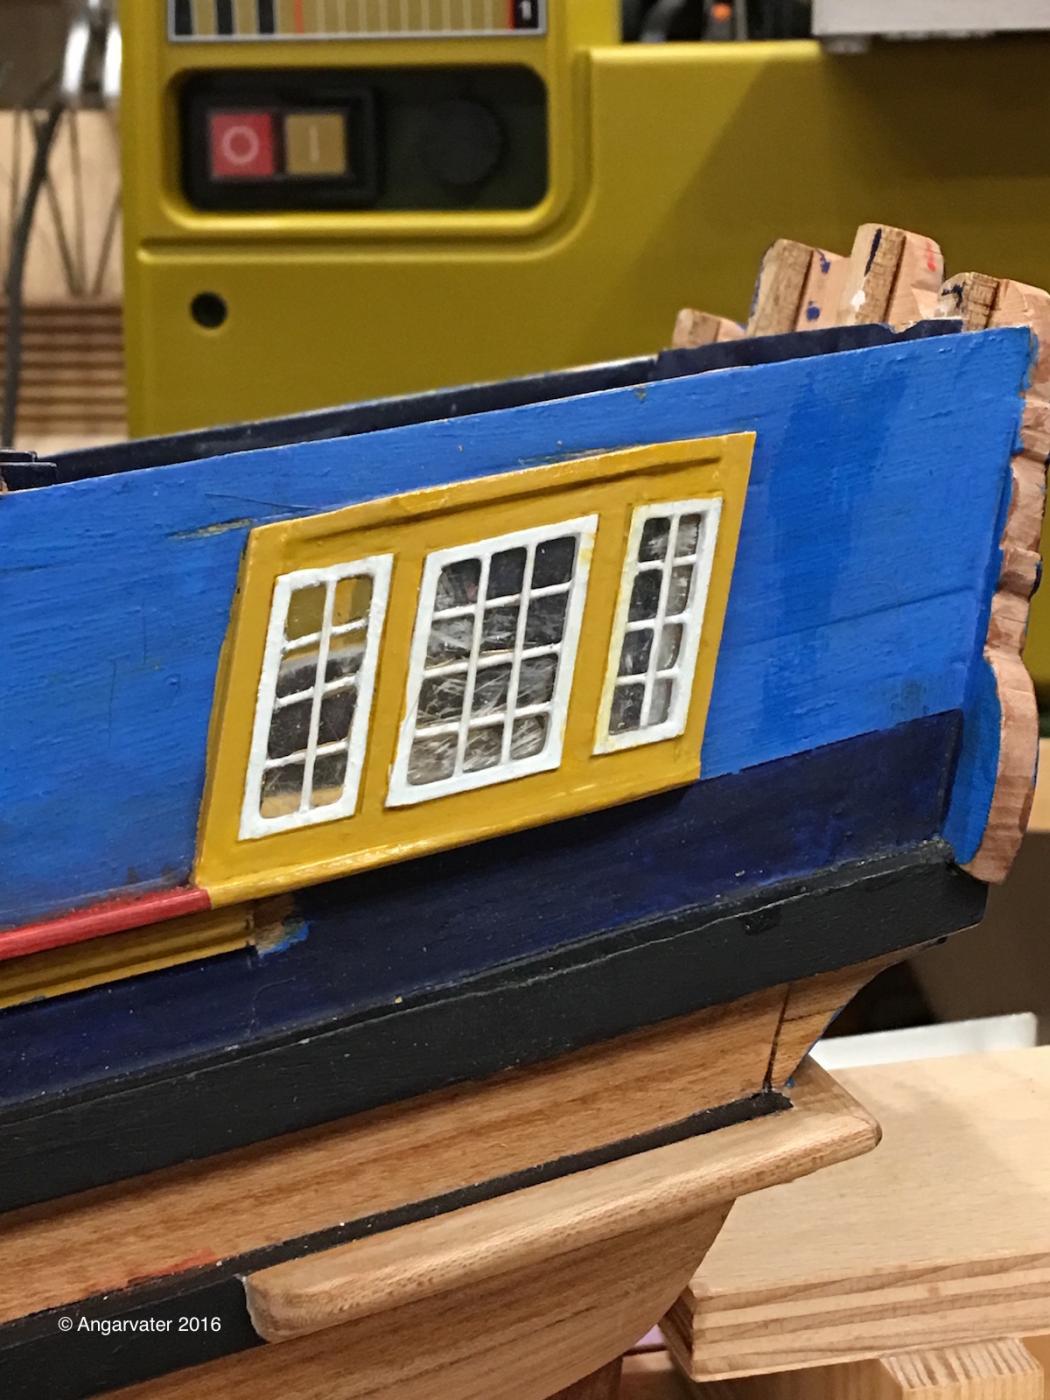
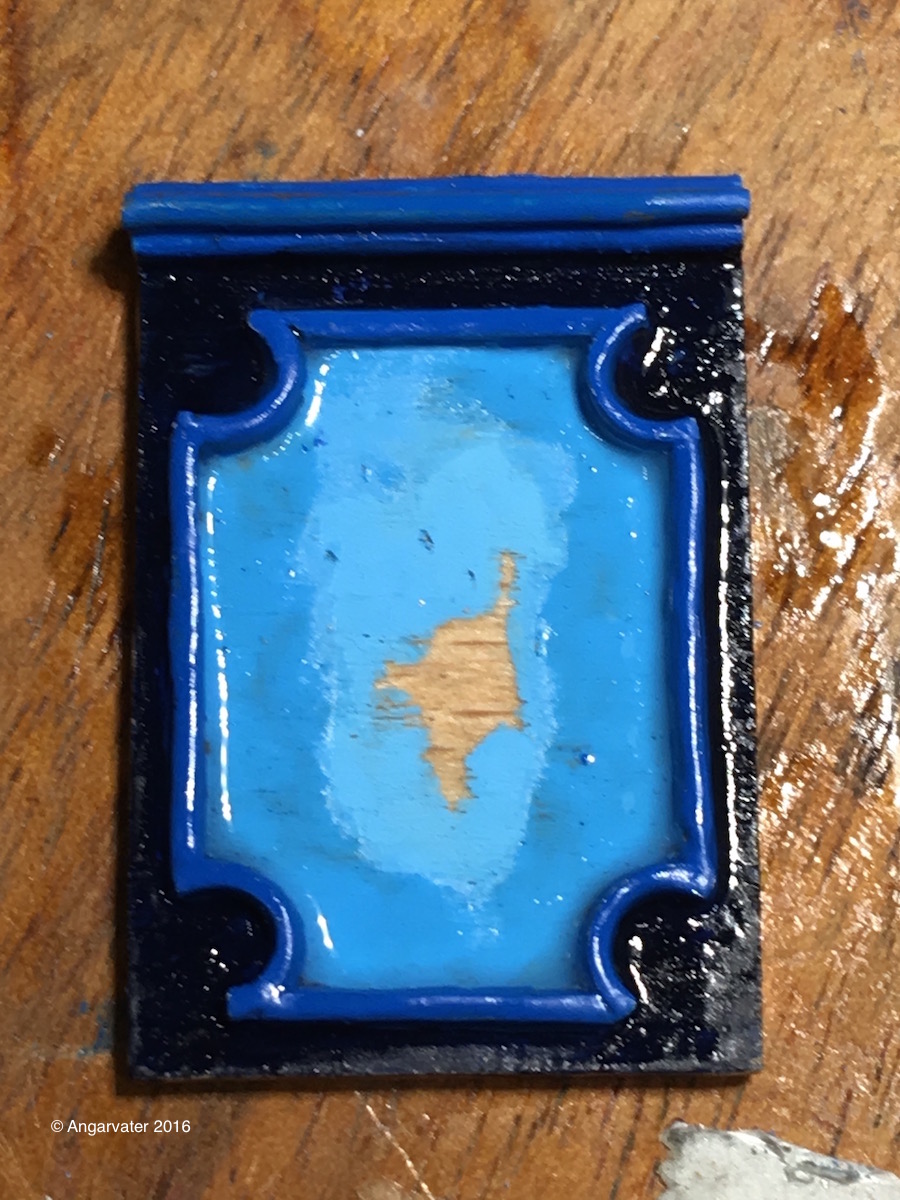
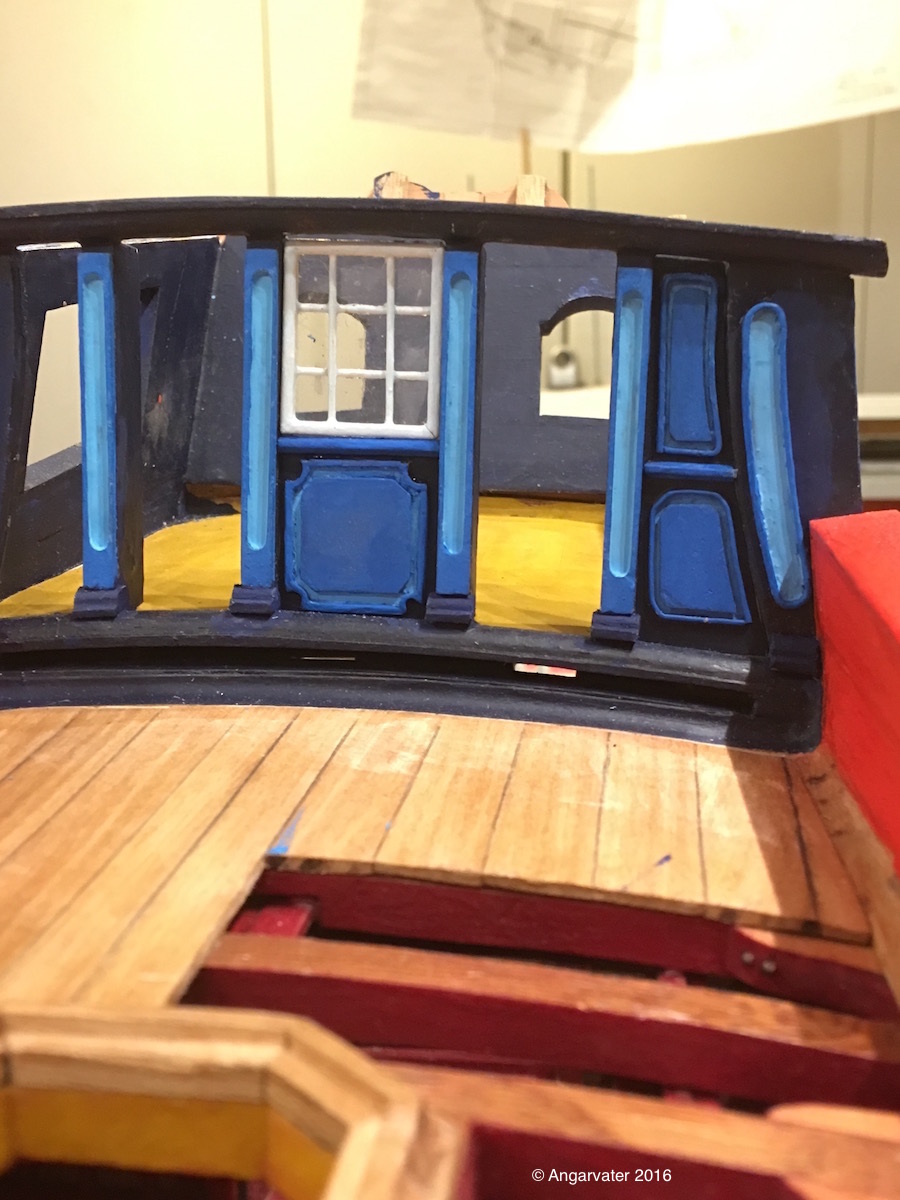
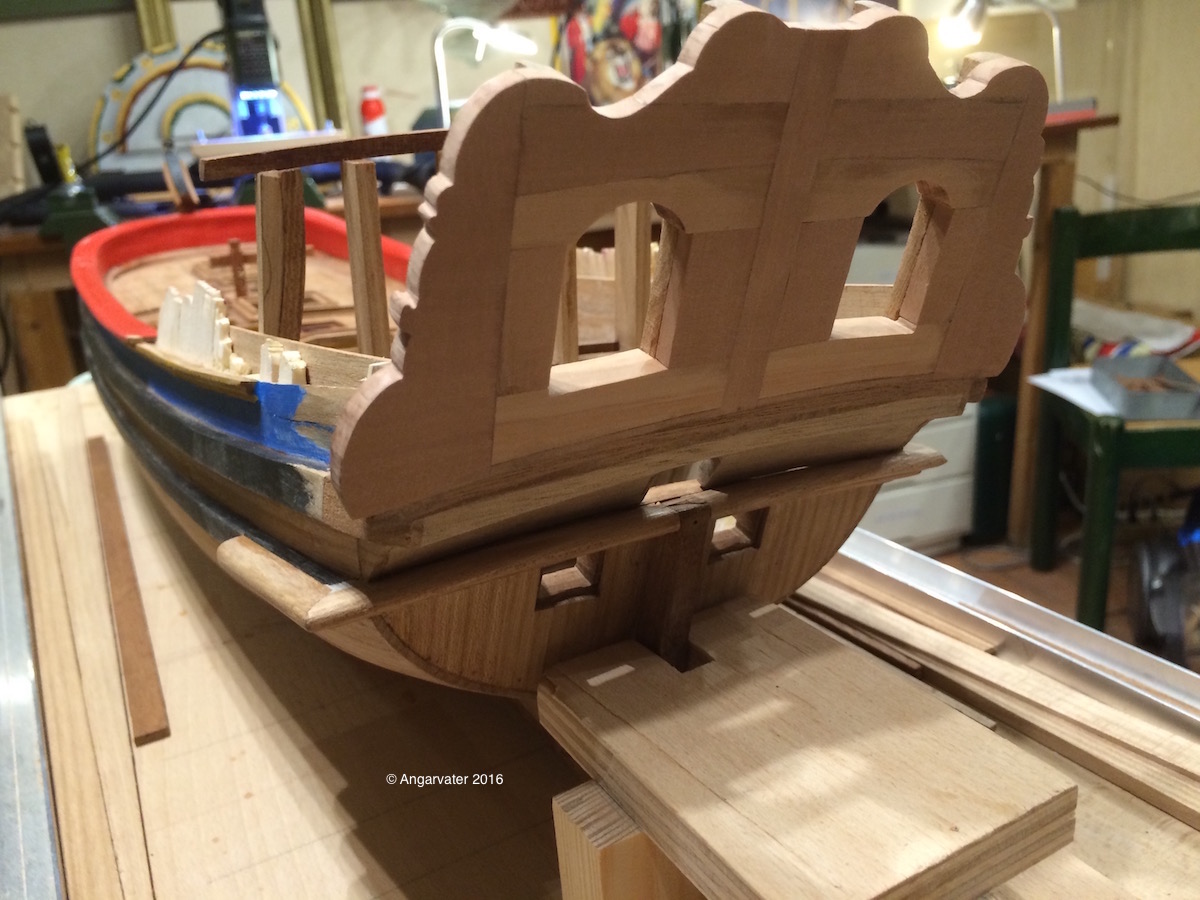
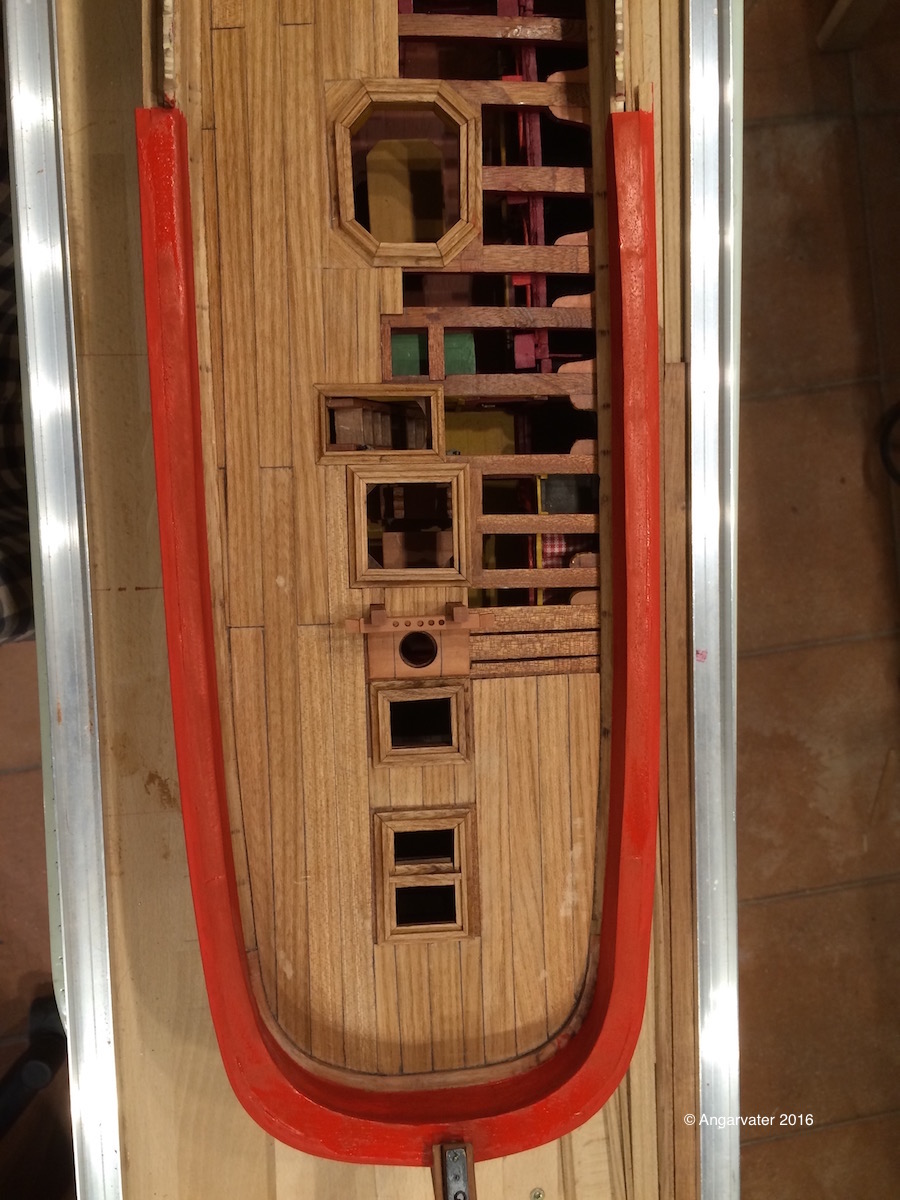
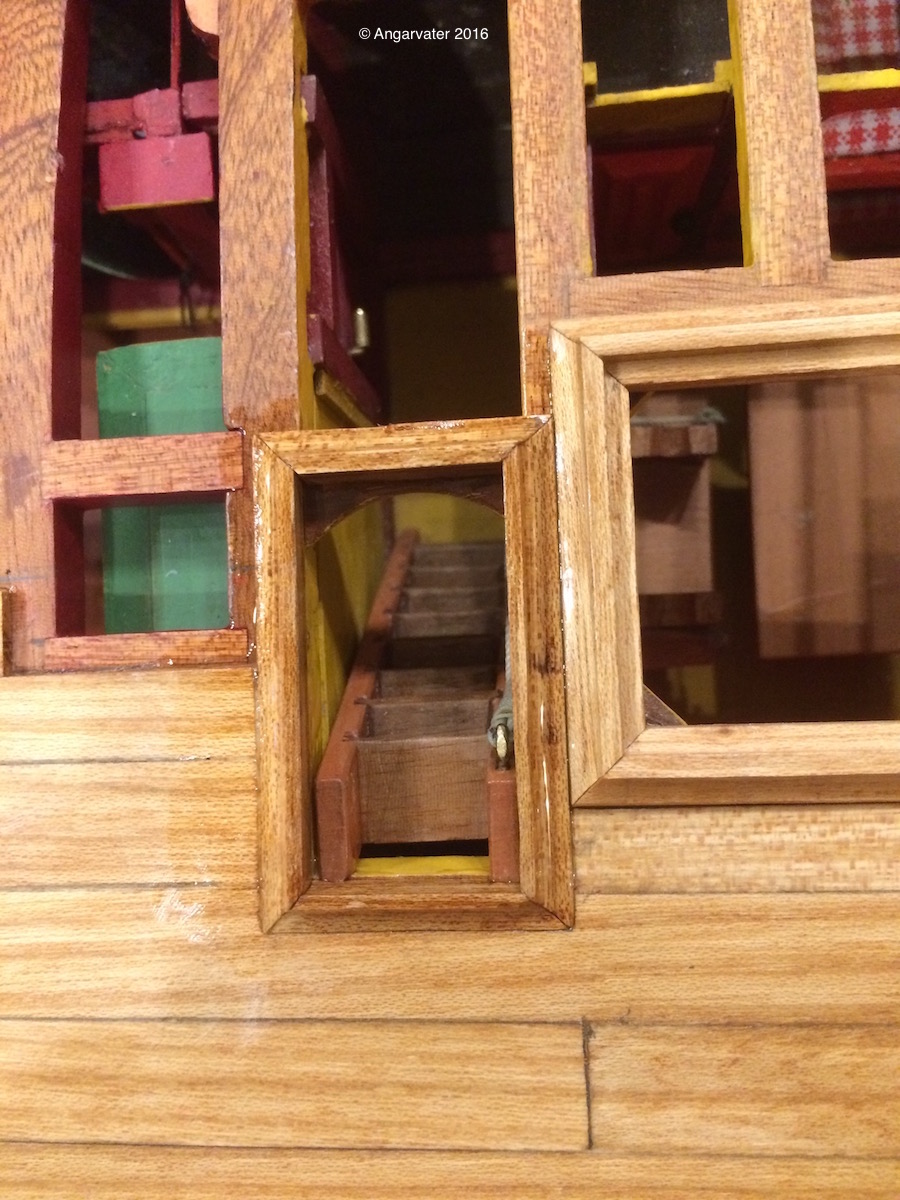
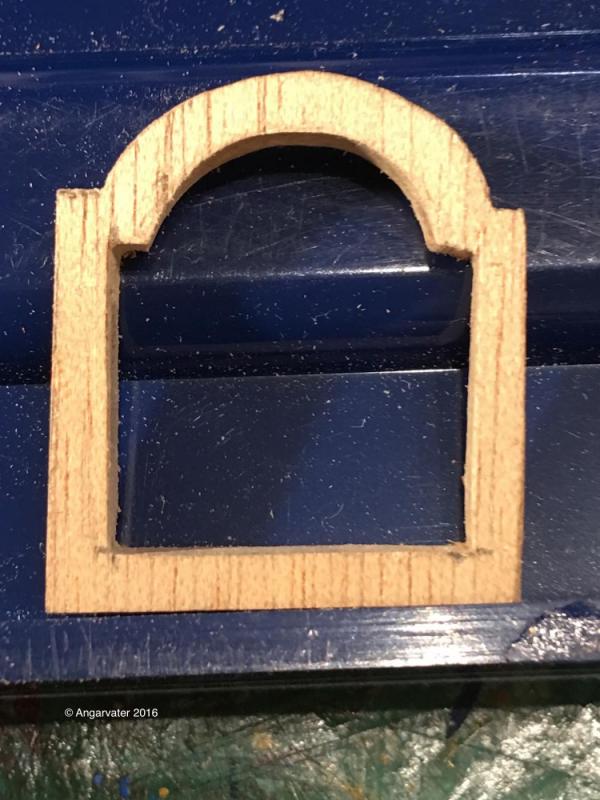
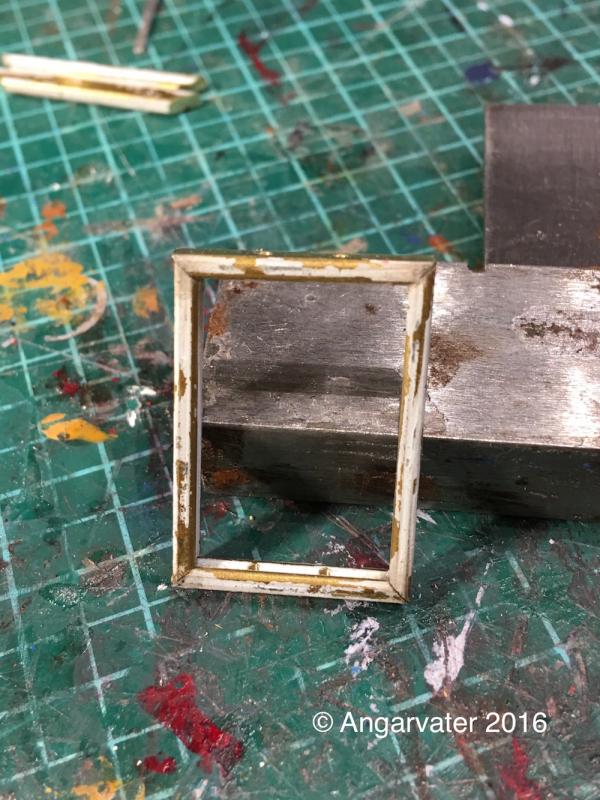
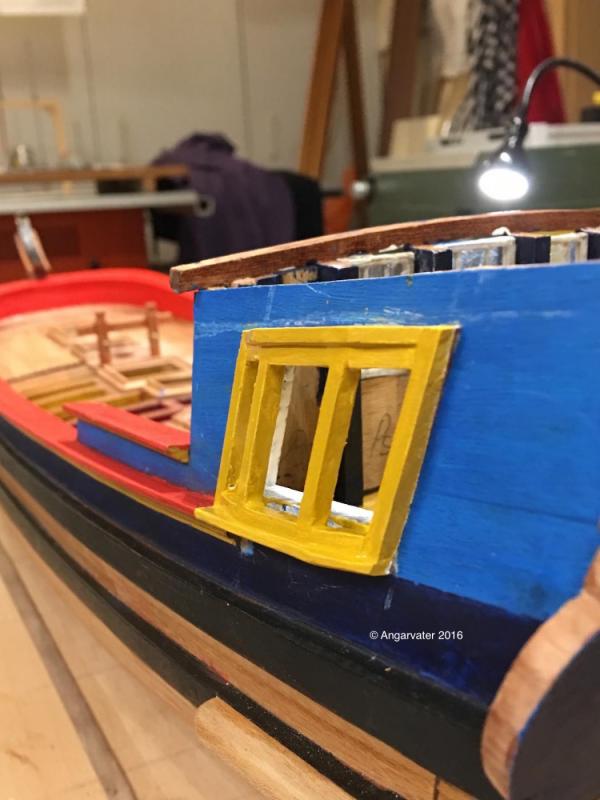
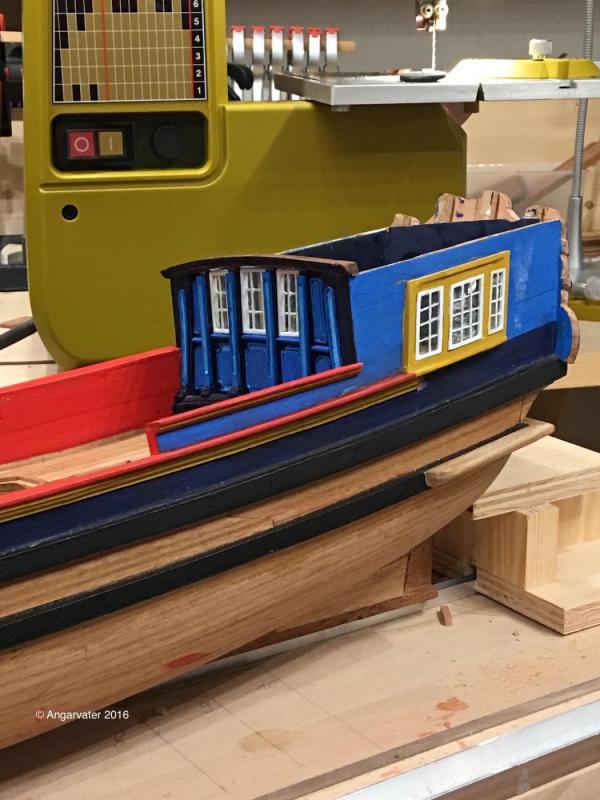
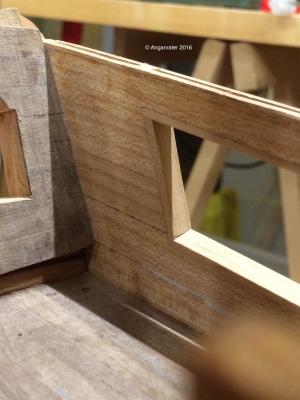
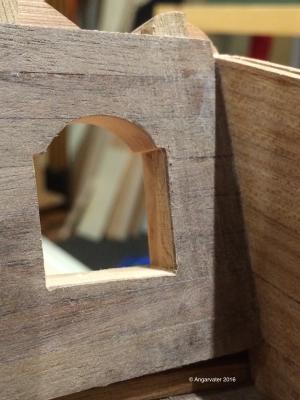
It had been a wonderfull sommer. Two journeys to Danmark, two most interesting jobs and last but not least the birth of my seventh grandchild, Richard. Therefore there was no time left for modeling. That was already o k. But now its time for working on. The windows of the pavillons frontwall. I have made it from quadrangular brass, and glued it with cyan acryl. To instal the windowpins ( 1mm brass wire) I have drilled in 1mm holes into the frames. the bay windows of the side walls. The woodwork ( pearwood ) This frames are made from square tube (1,5 x 1,5mm)brass Cheers Angarvater


-
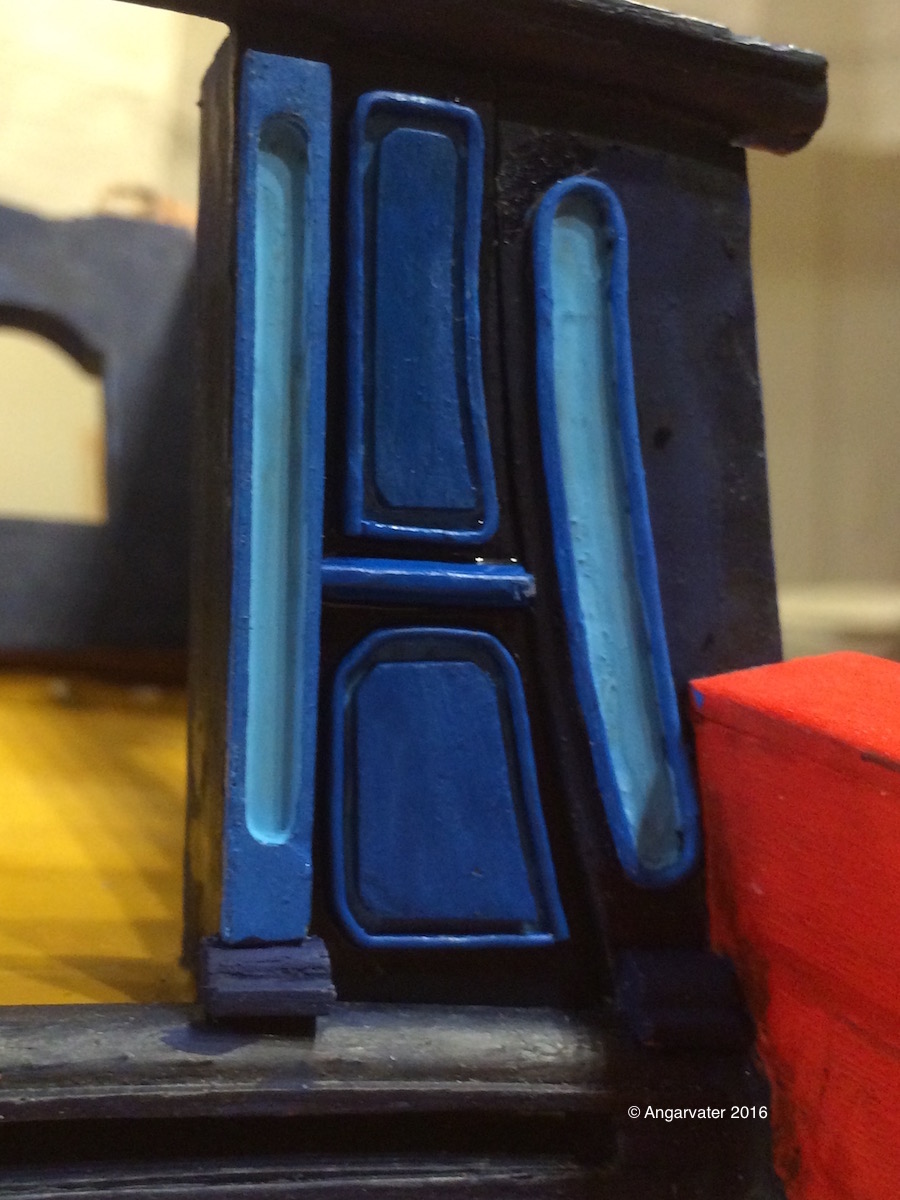
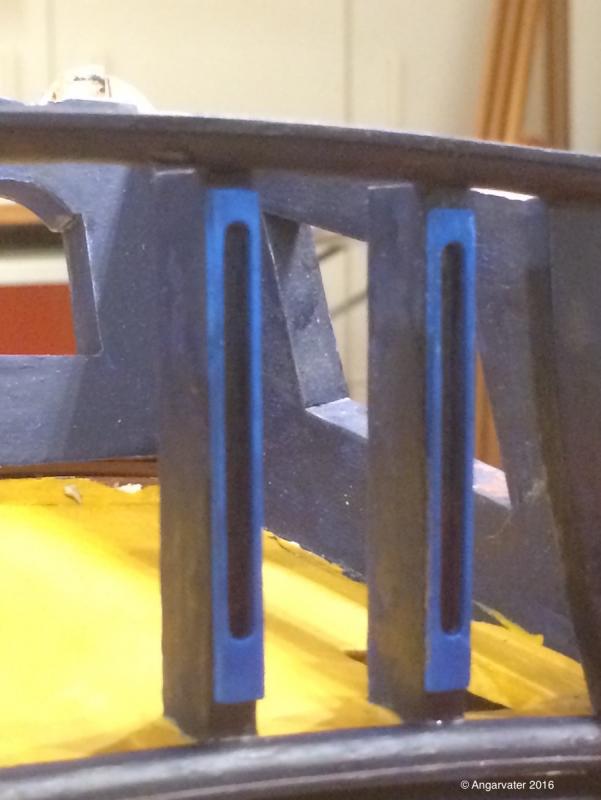
To make the front wall of the pavillon was very fiddly. At first I have made some decorations for the pillars. Next were some test pieces for the infills. After some more training in makeing this parts this is the way I will make them all. But now it's closing time in the dockyard for the next two weeks. Holidays in Danmark! Cheerio Hartmut


-
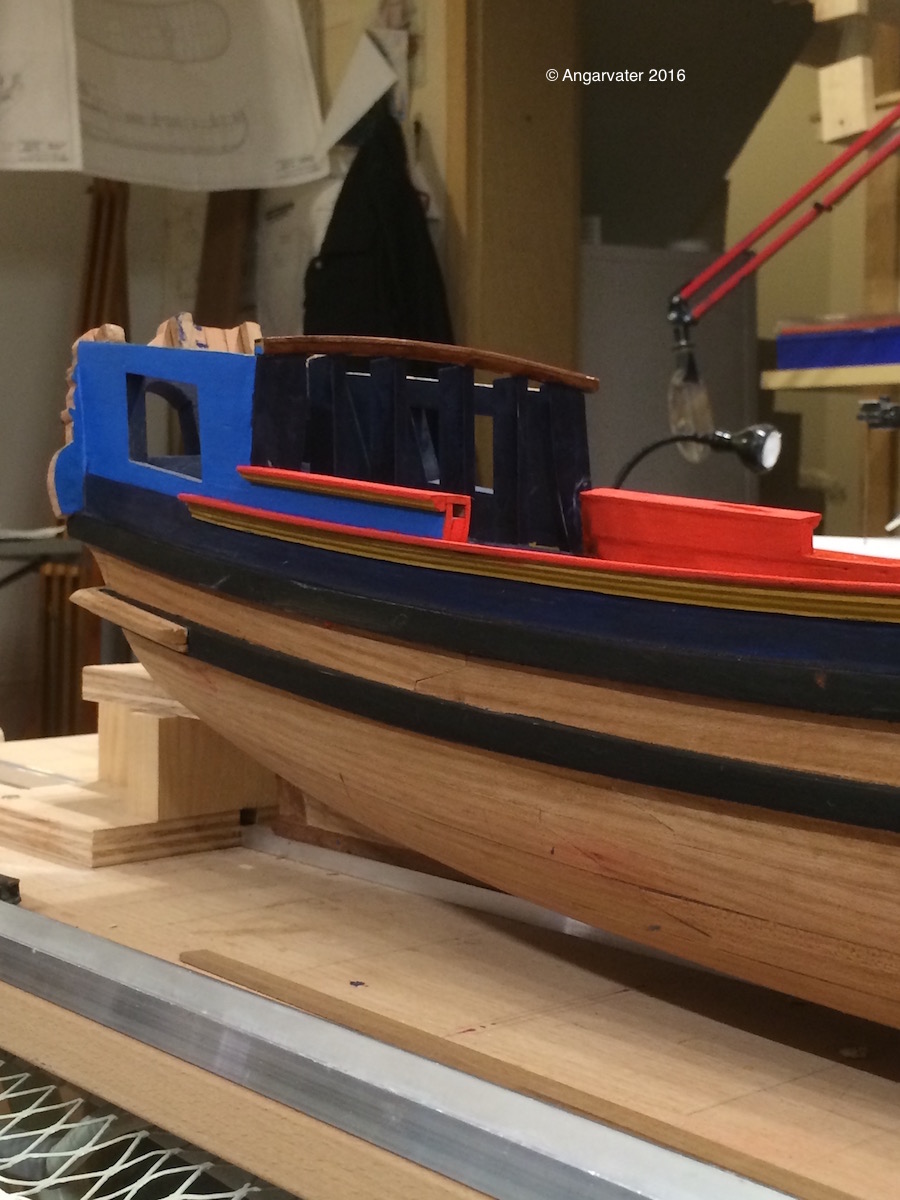
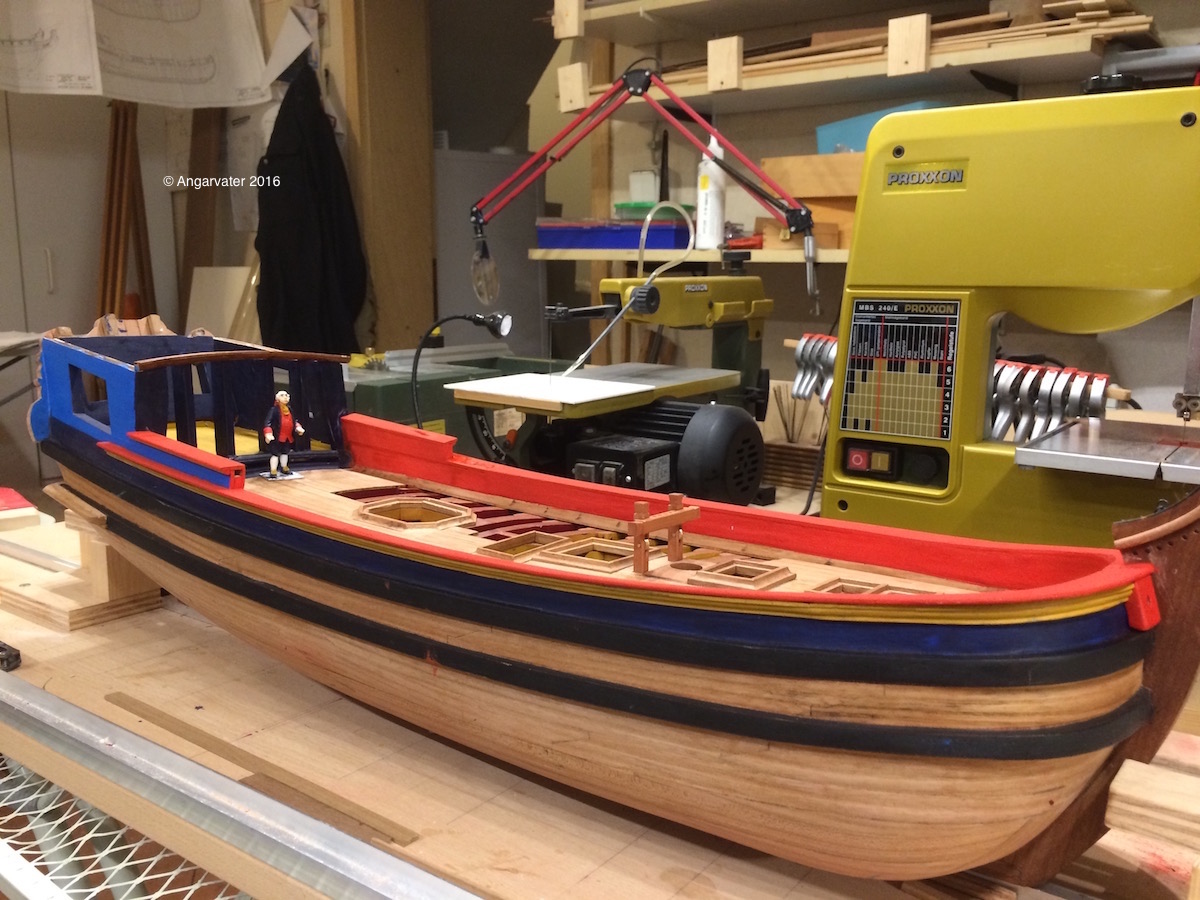
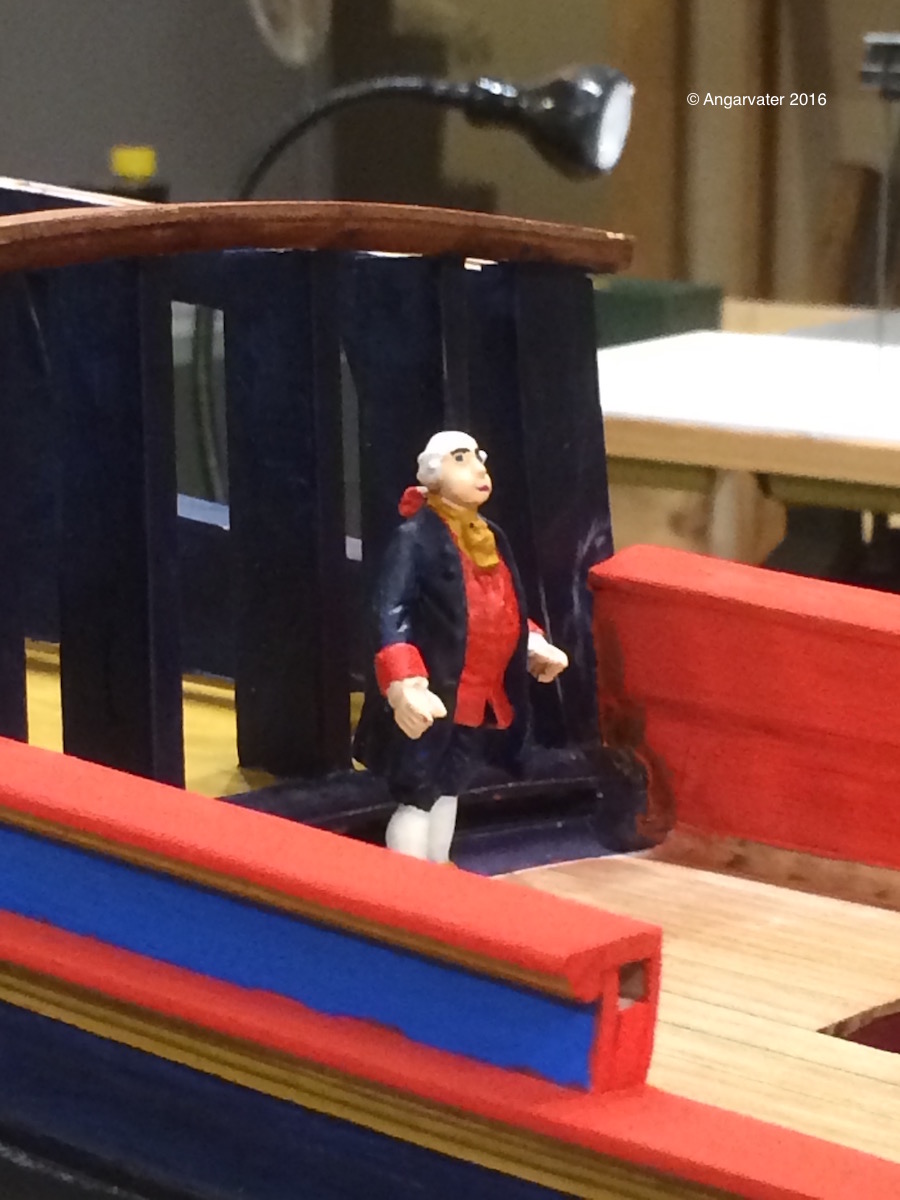
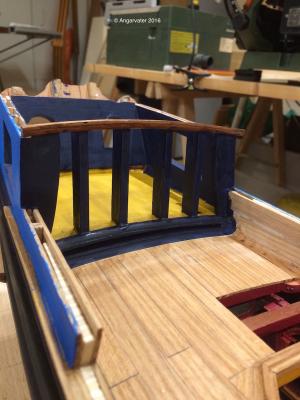
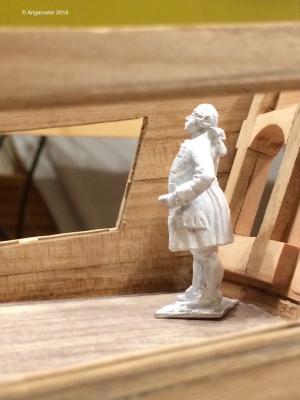
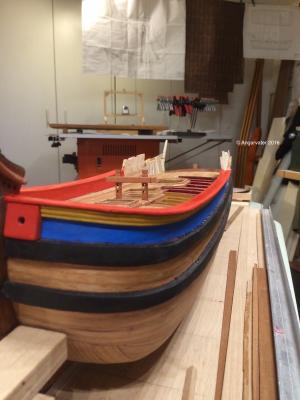
Thanks guys!! The last weeks I had to do a lot of little work steps. Some wood work and some painting. The window revals The last parts of the rails The skipper seems to be pleased. Closing time today Cheers Hartmut


-
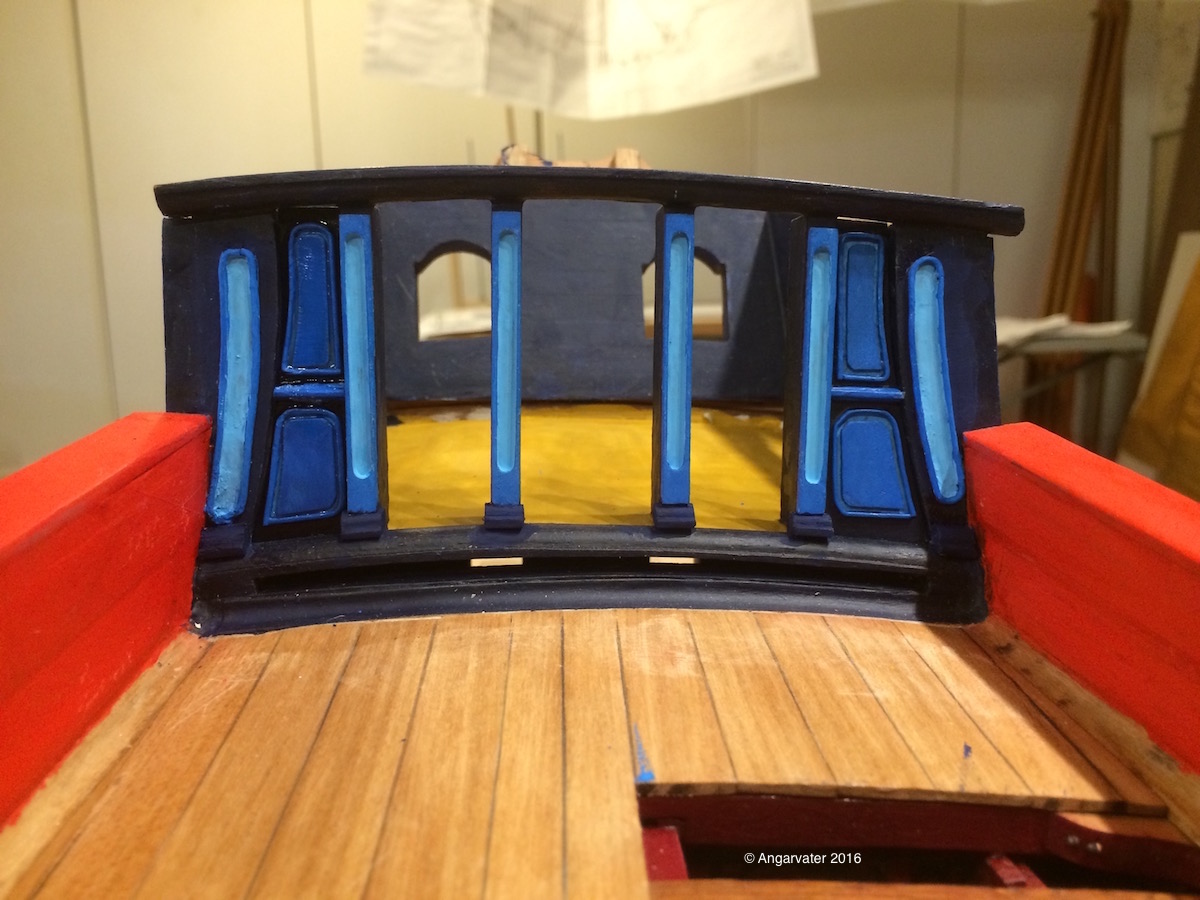
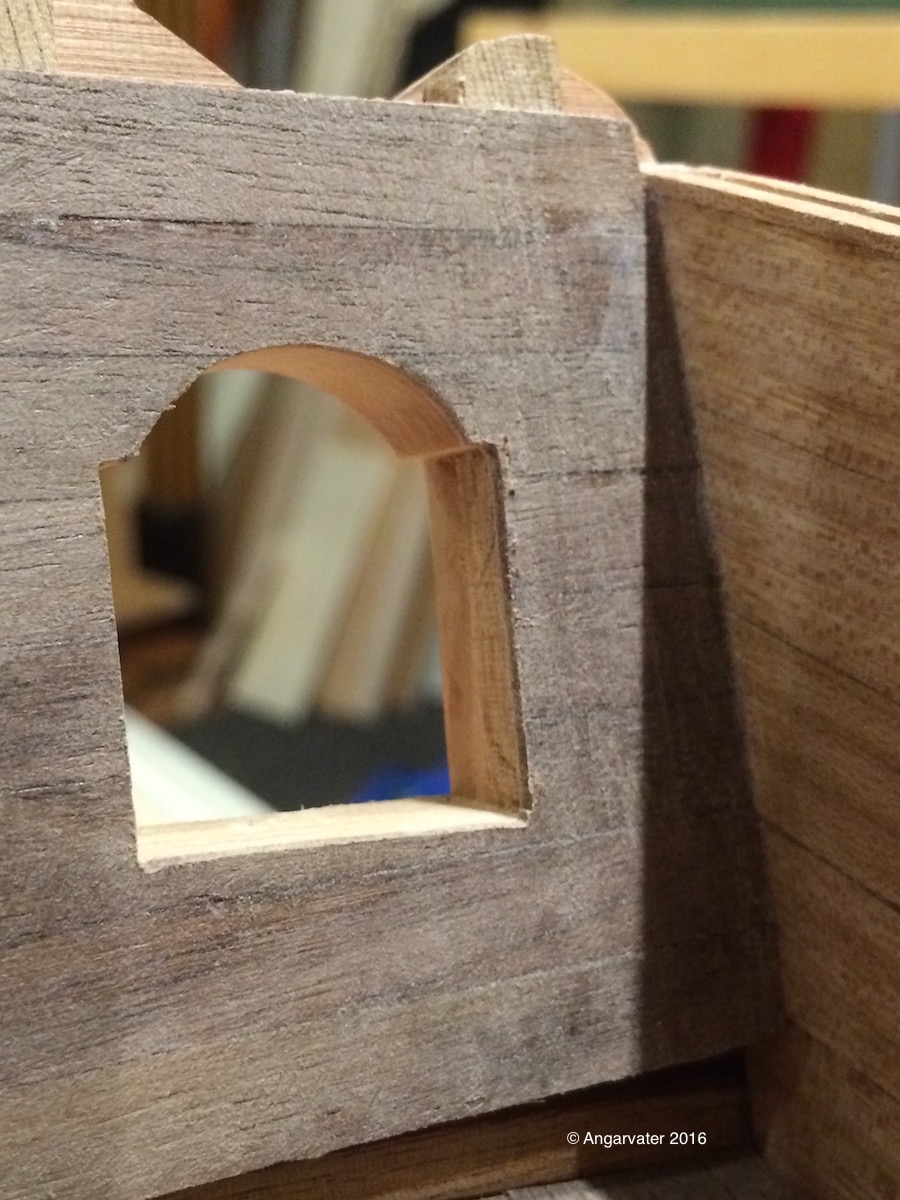
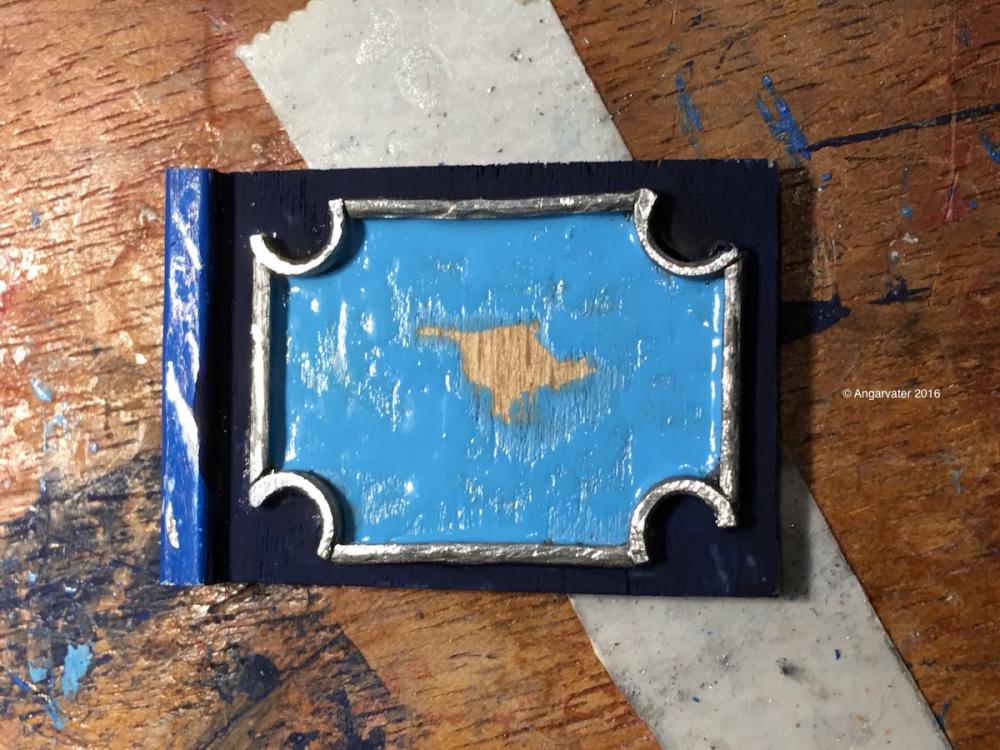
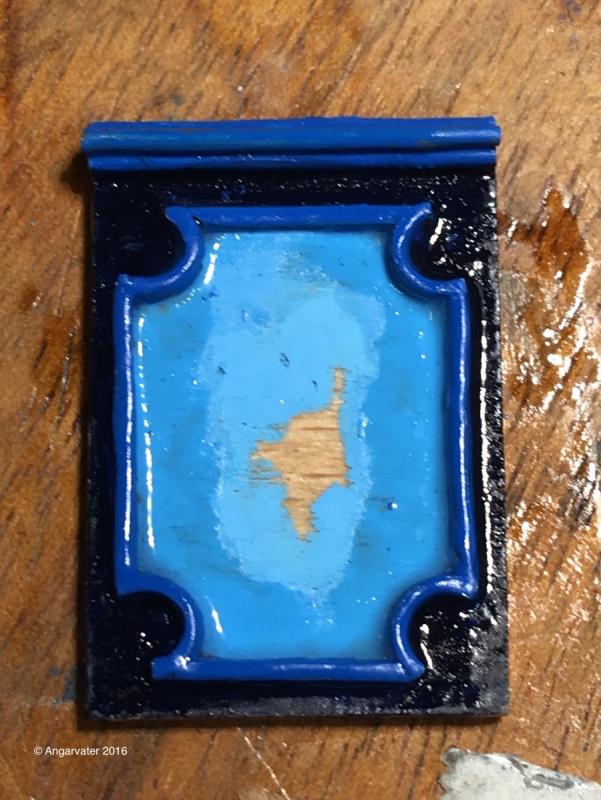
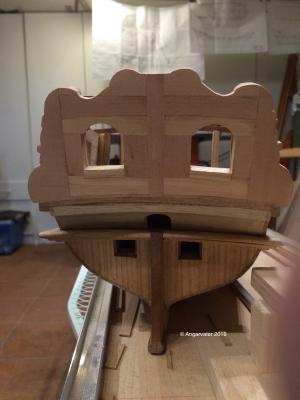
Thanks, guys!!!! The next steps to model the pavillon was to make the pavillons deck and the walls. And after this I had to cut in the windows. cheers Hartmut

-
Cutty Sark by NenadM
Angarfather replied to NenadM's topic in - Build logs for subjects built 1851 - 1900
Hello Nenad, What a fight against the Green beast! We also had three of this monsters in our garden. Of course in the northern Part of Germany it groths up very slowly. But after some years it started to Lift up the garden way. And I must say that it was a hard fight to kill her and to get out the roots.- 4,152 replies
-
- 4
-
-
- cutty sark
- tehnodidakta
- (and 1 more)
-
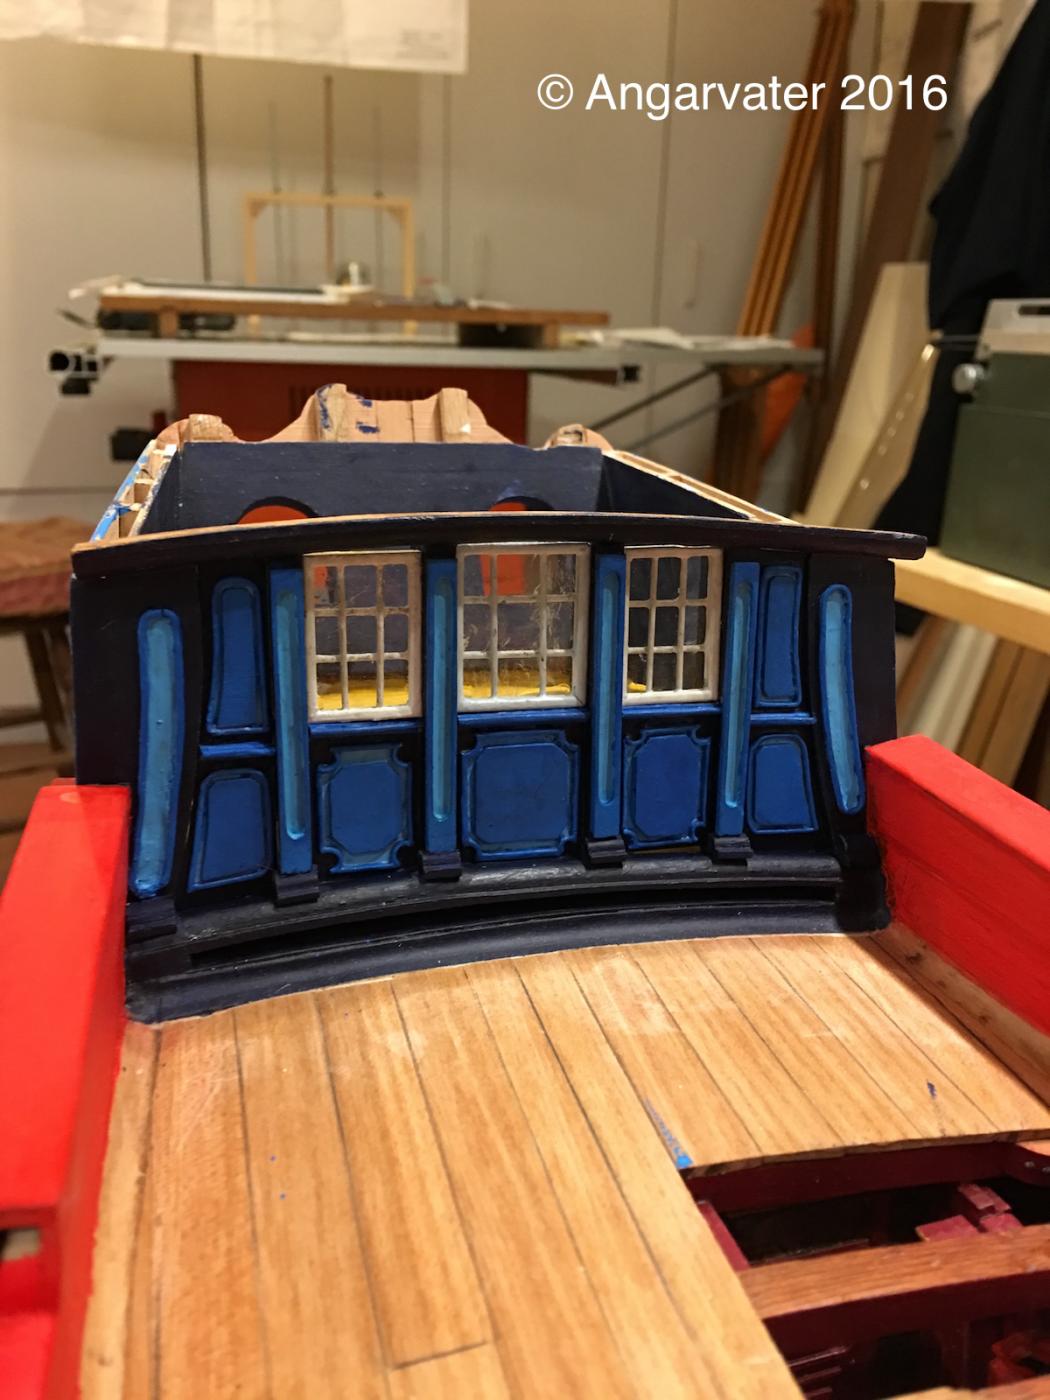
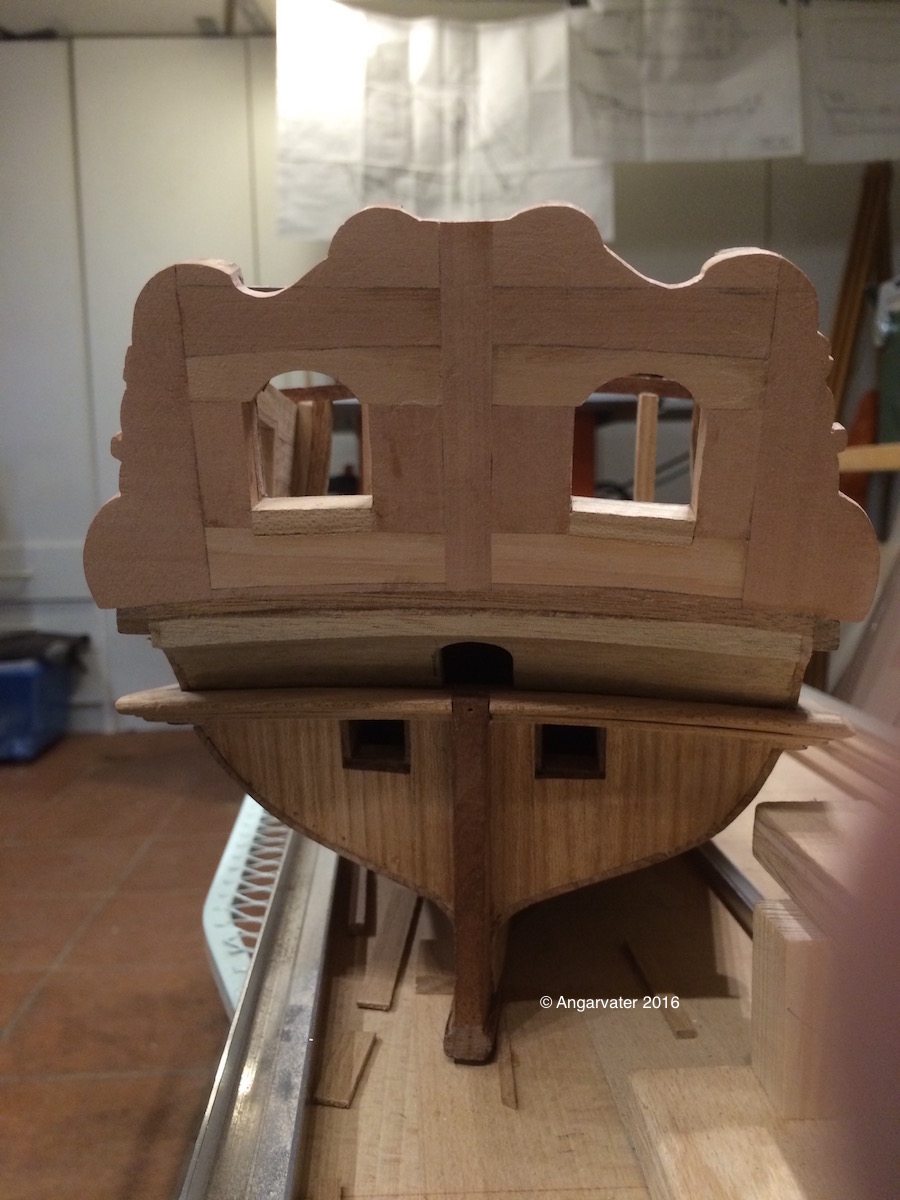
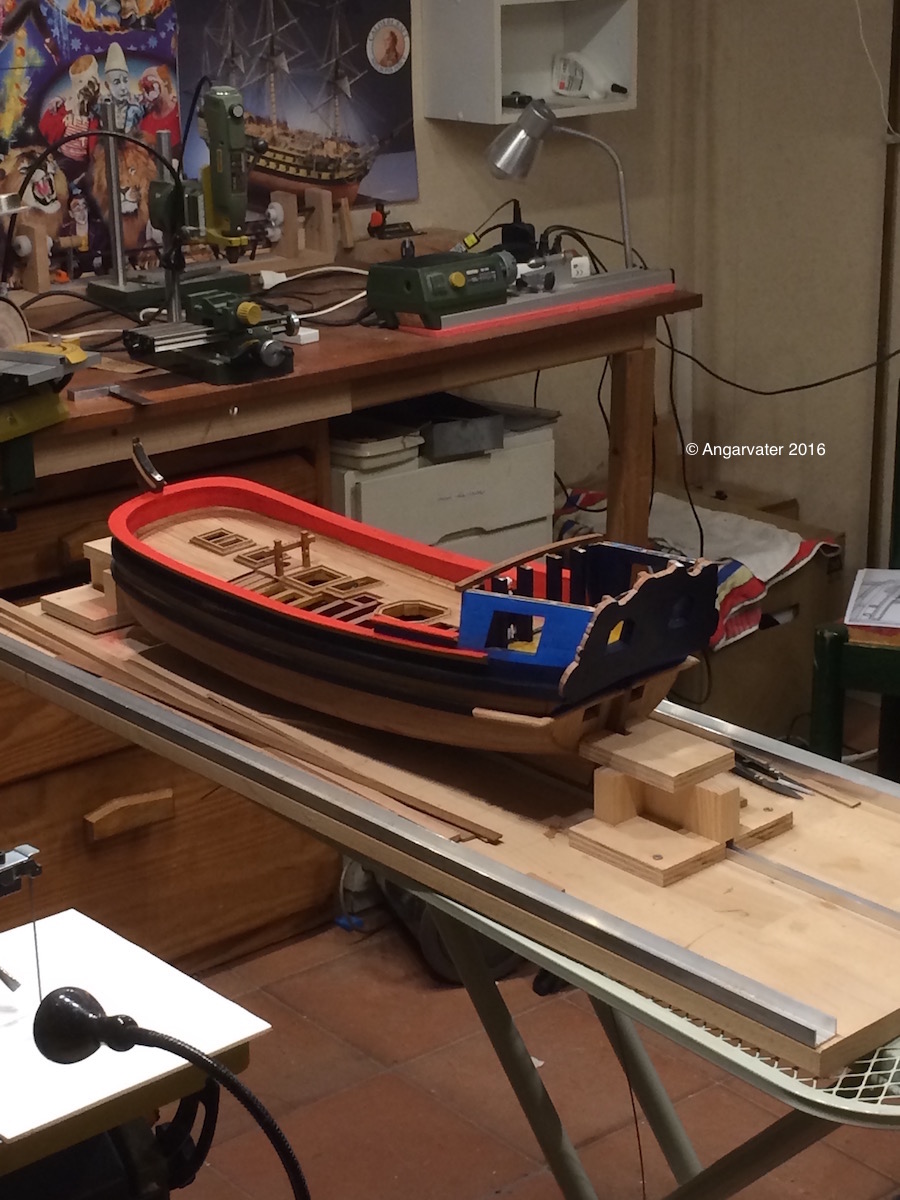
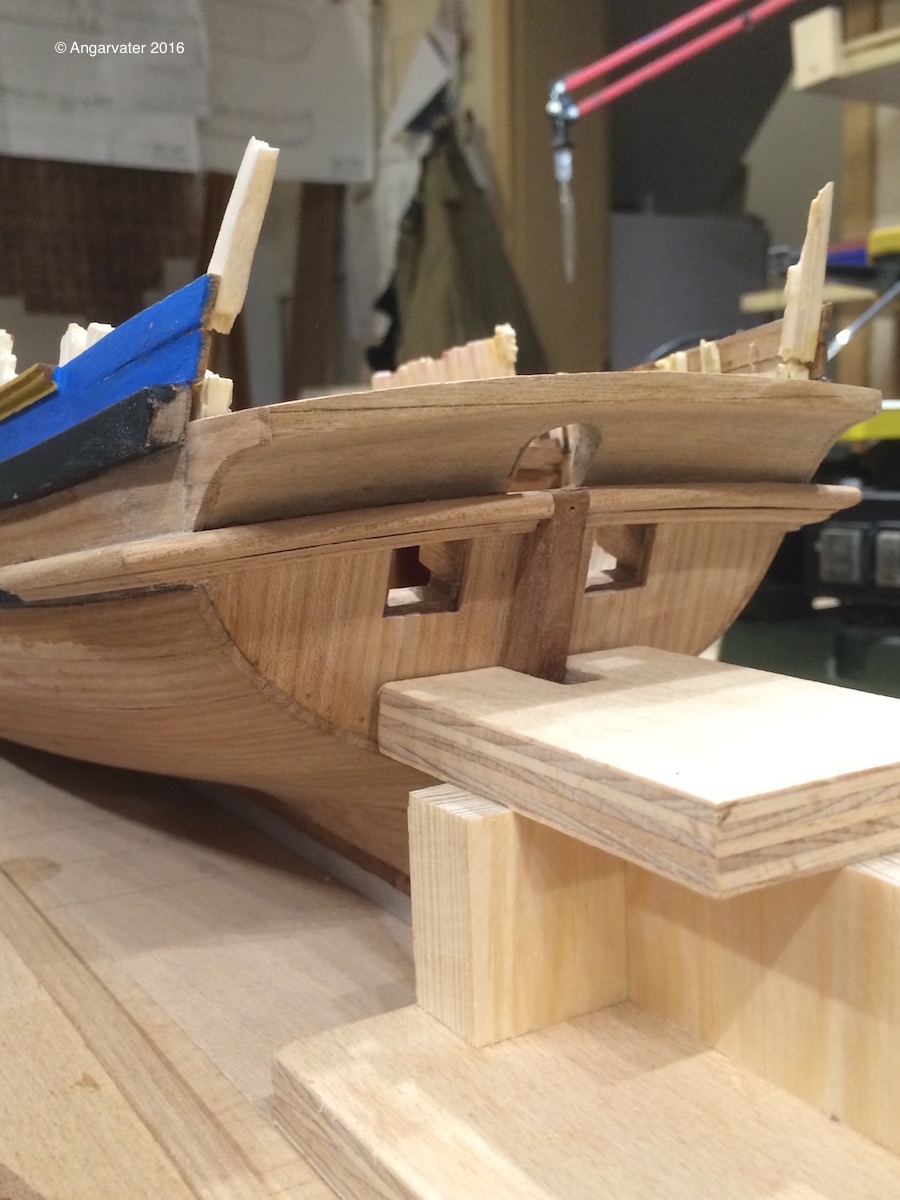
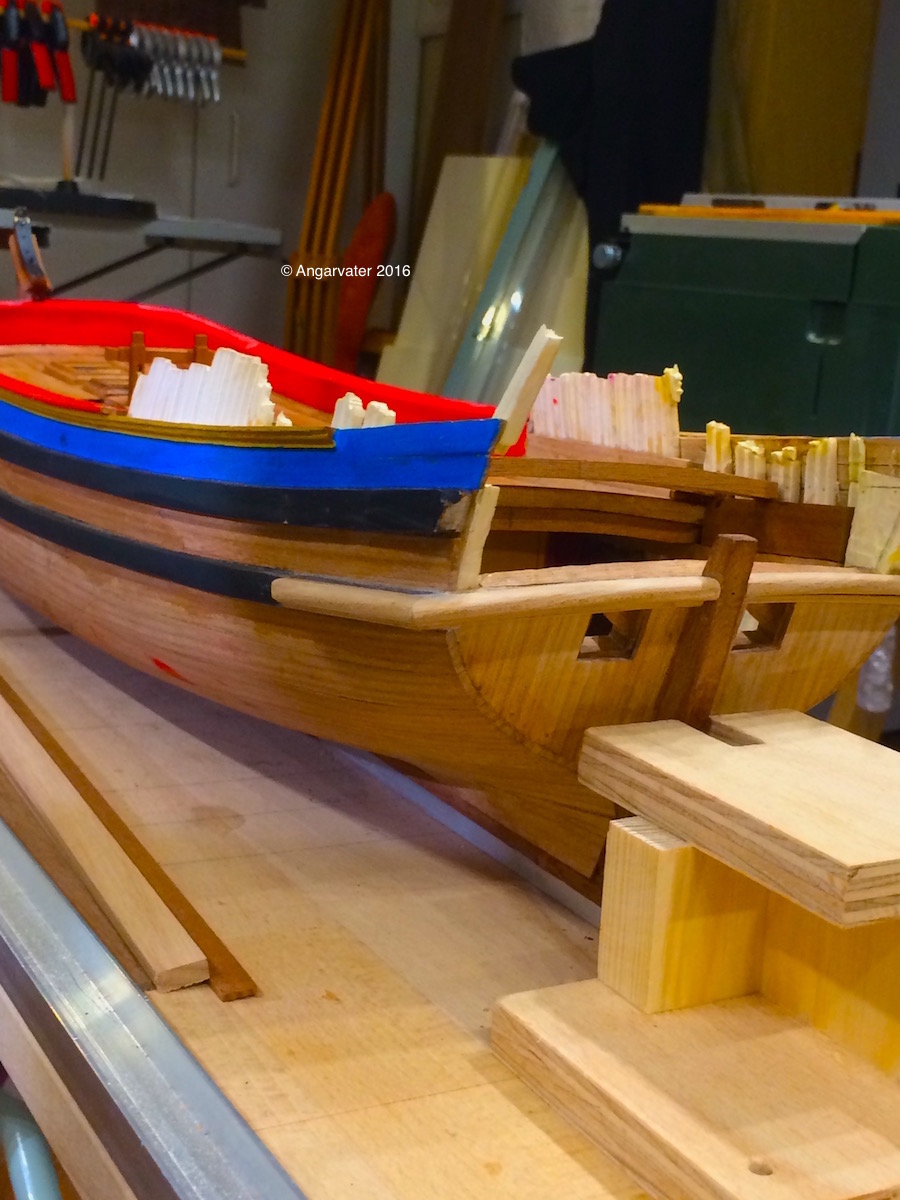
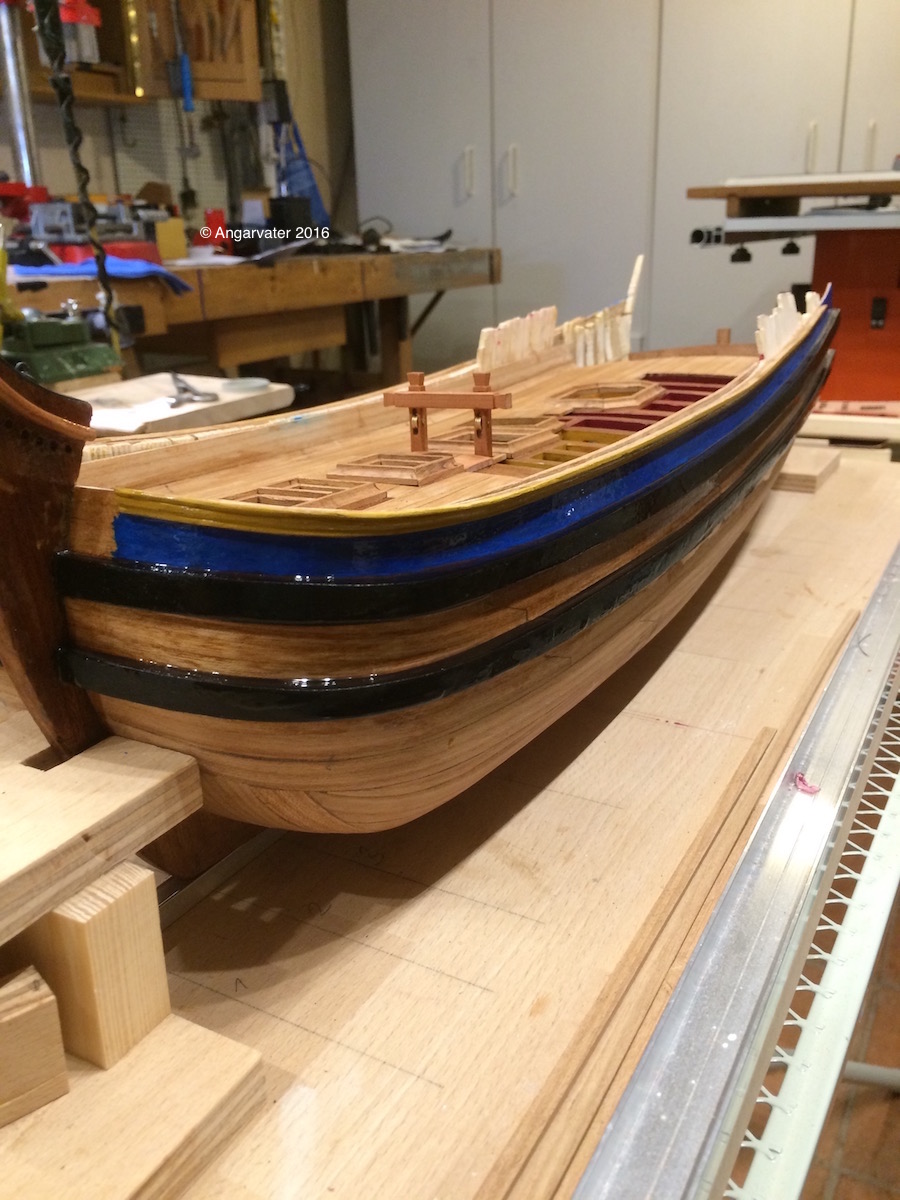
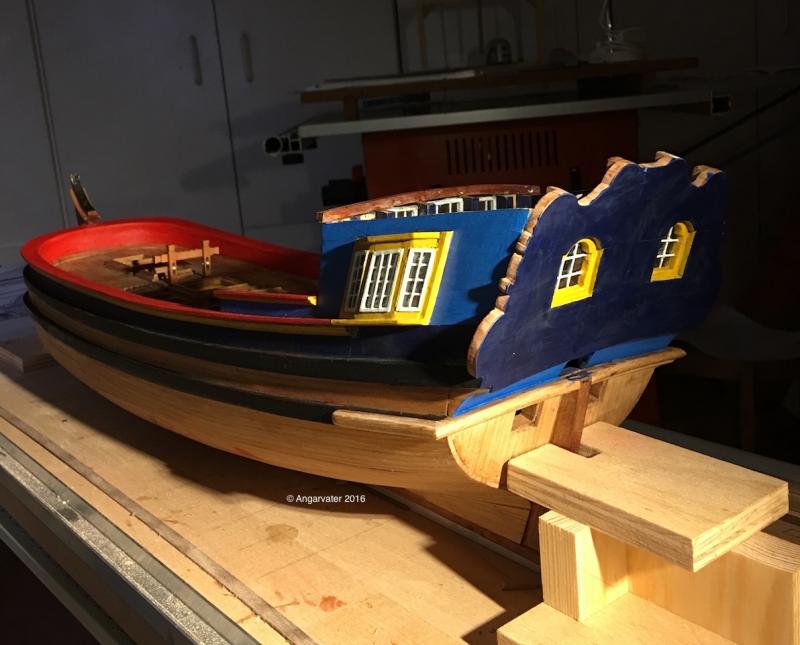
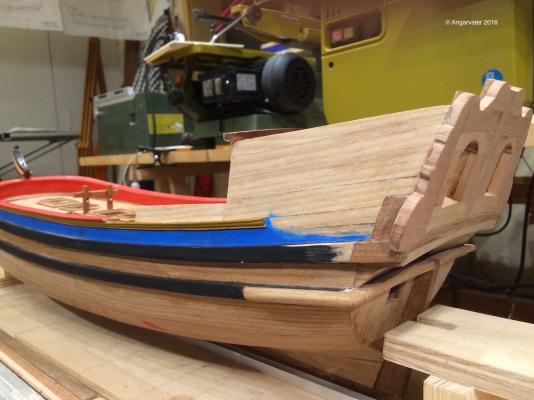
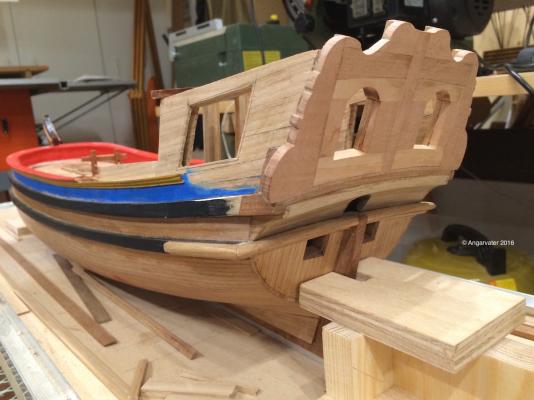
After some work on the house ( paintwork, remodeling the kitchen etc ) are done ,its time for going on with the Utrecht. The stern and the pavillon. First step was makeing the counter. I made it from one piece of wood. Next: the fore bulkhead of the pavillon And than the stern part Cheers Hartmut


-
Nils and druxey and all the Likes - Many thanks for your compliments. Today I begin to make the Pavillion. There are a lot of questions in planing and building this part of the ship. But most interessting! cheers Hartmut
-
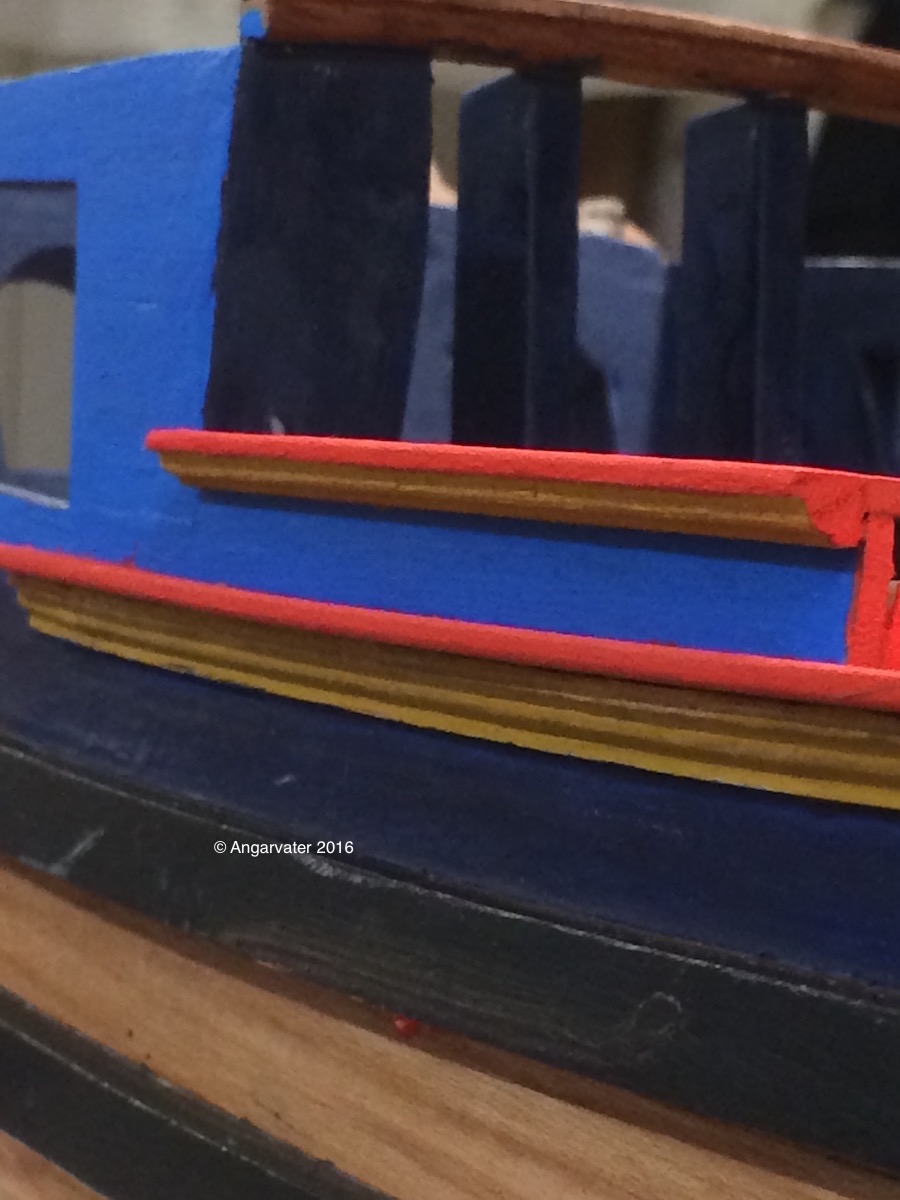
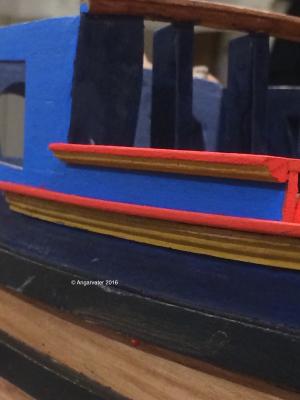
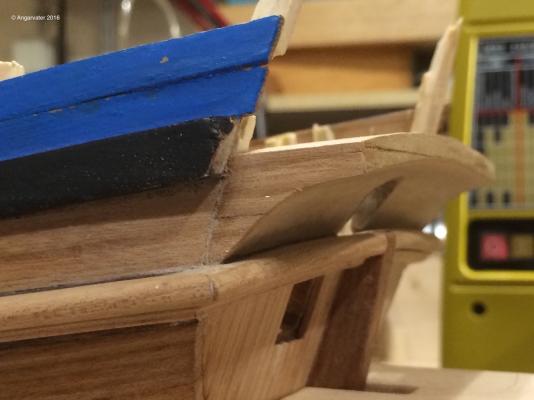
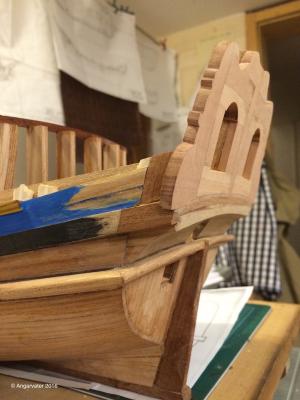
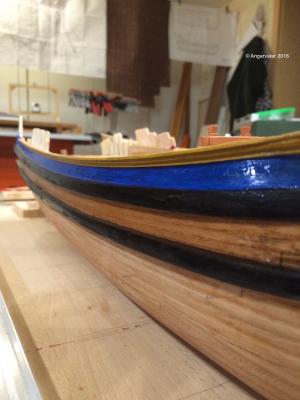
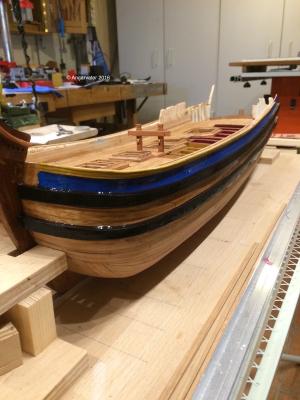
First step for building the Stern was this rail. It will be the base for the counter and the stern. Its a very big rail but it will be the base for the decorations. To make this rail in one operation was a little bit complicated. Therefore I have made it in to steps. First the big one, and than the smal decorationrail. Cheerio Hartmut

-
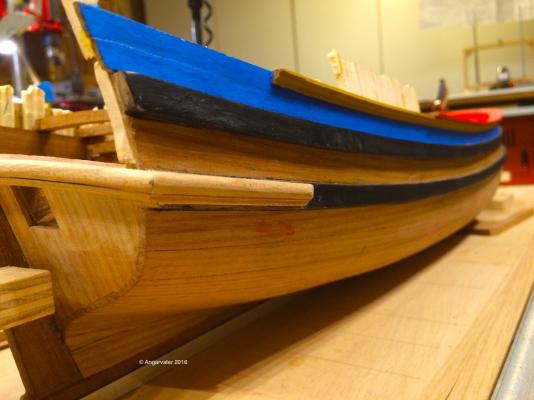
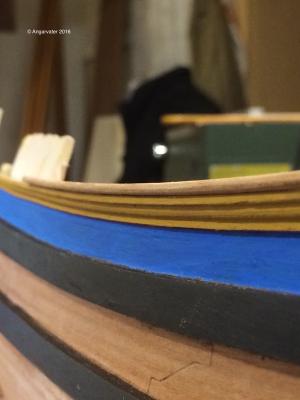
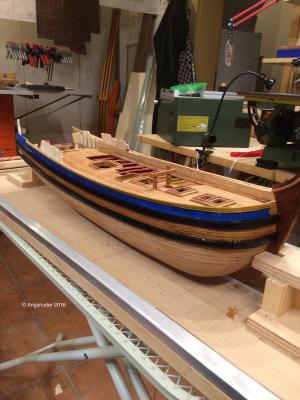
An update. After dinner there was time for painting the bullwark and the mainrail. Cheerio Hartmut


-
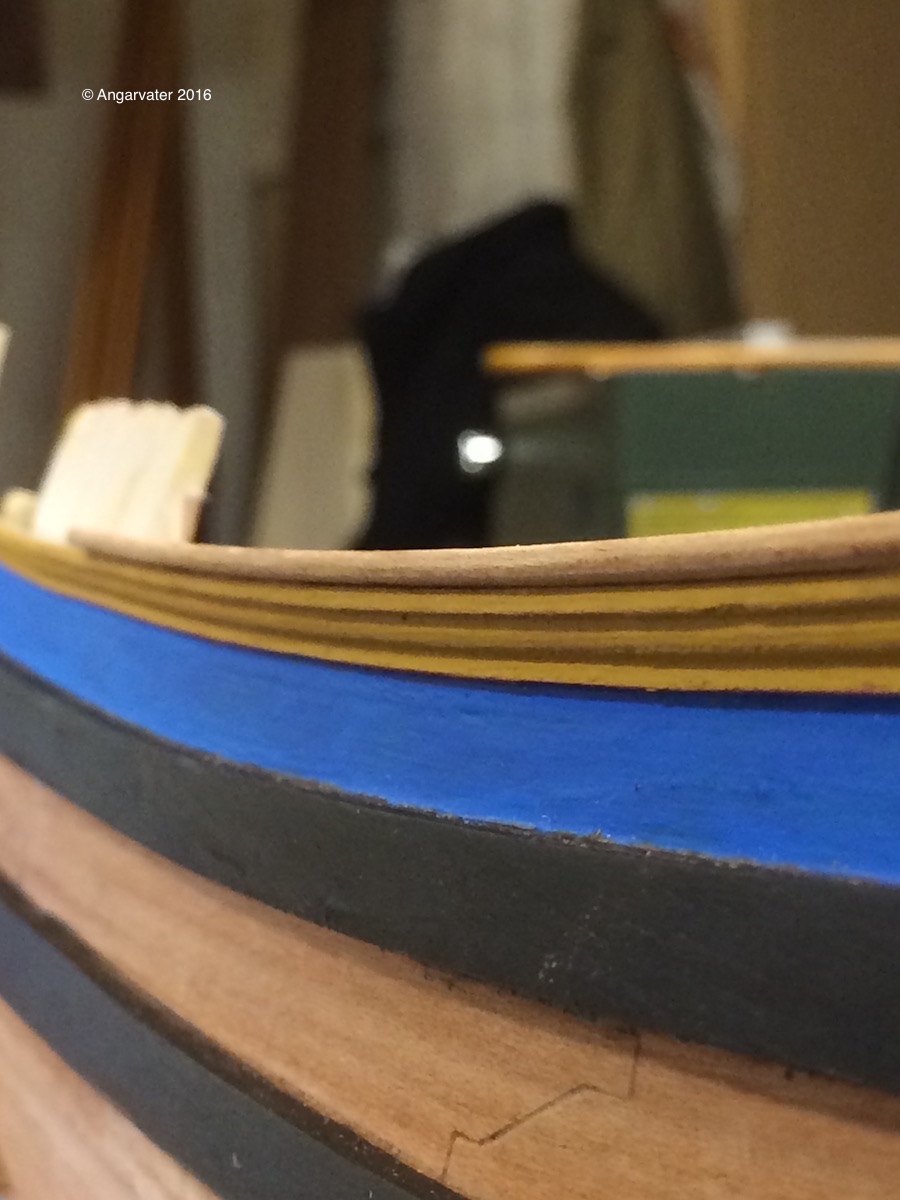
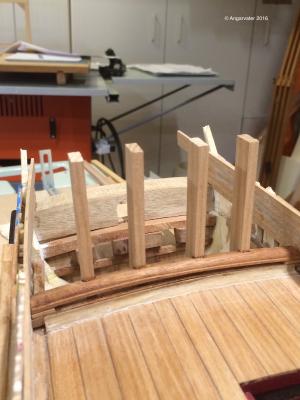
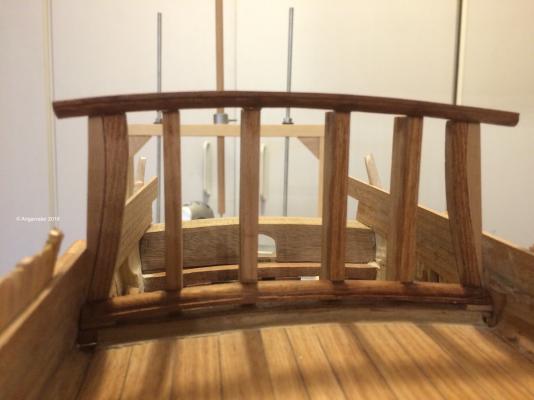
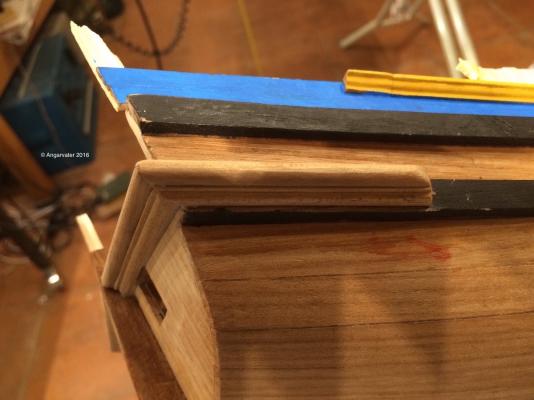
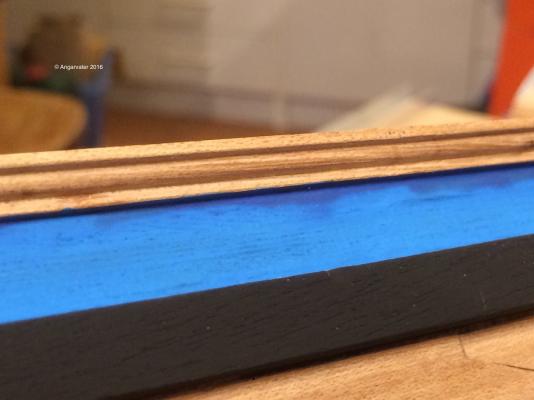
Thanks to Patrick and all the likes!! @Patrick It depends on whether I find a suitable tool. Otherwise I make my own scrapers. I have used this tool to make the profile rails. The mainrail is 2mm. For this job I have made a scraper by myself. This day I have finished the bullwark on maindeck. Cheers Hartmut


-
Many thanks, guys!! Before I could start to paint the walls and the bulwark I had to make and install a profile rail. Next step will be to make the mainrail. Cheers Hartmut
-
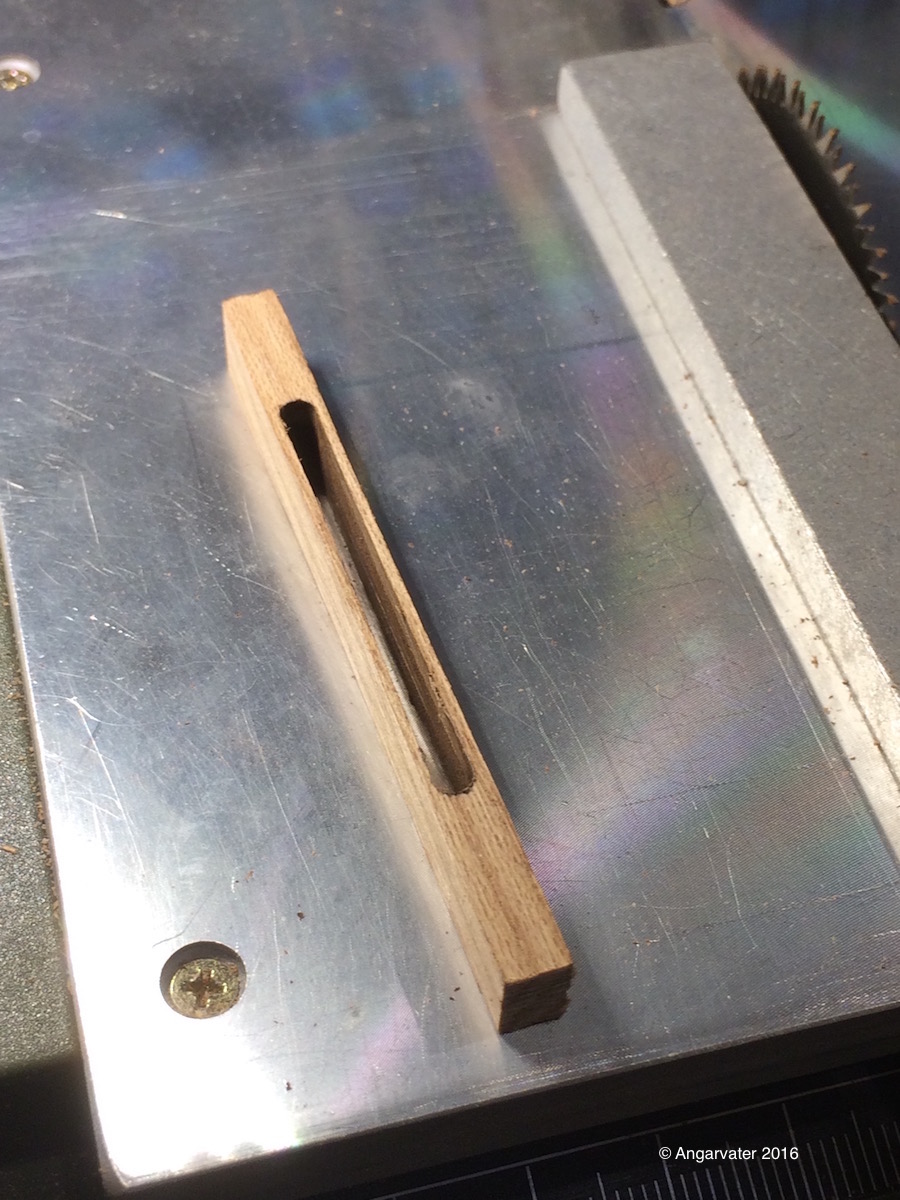
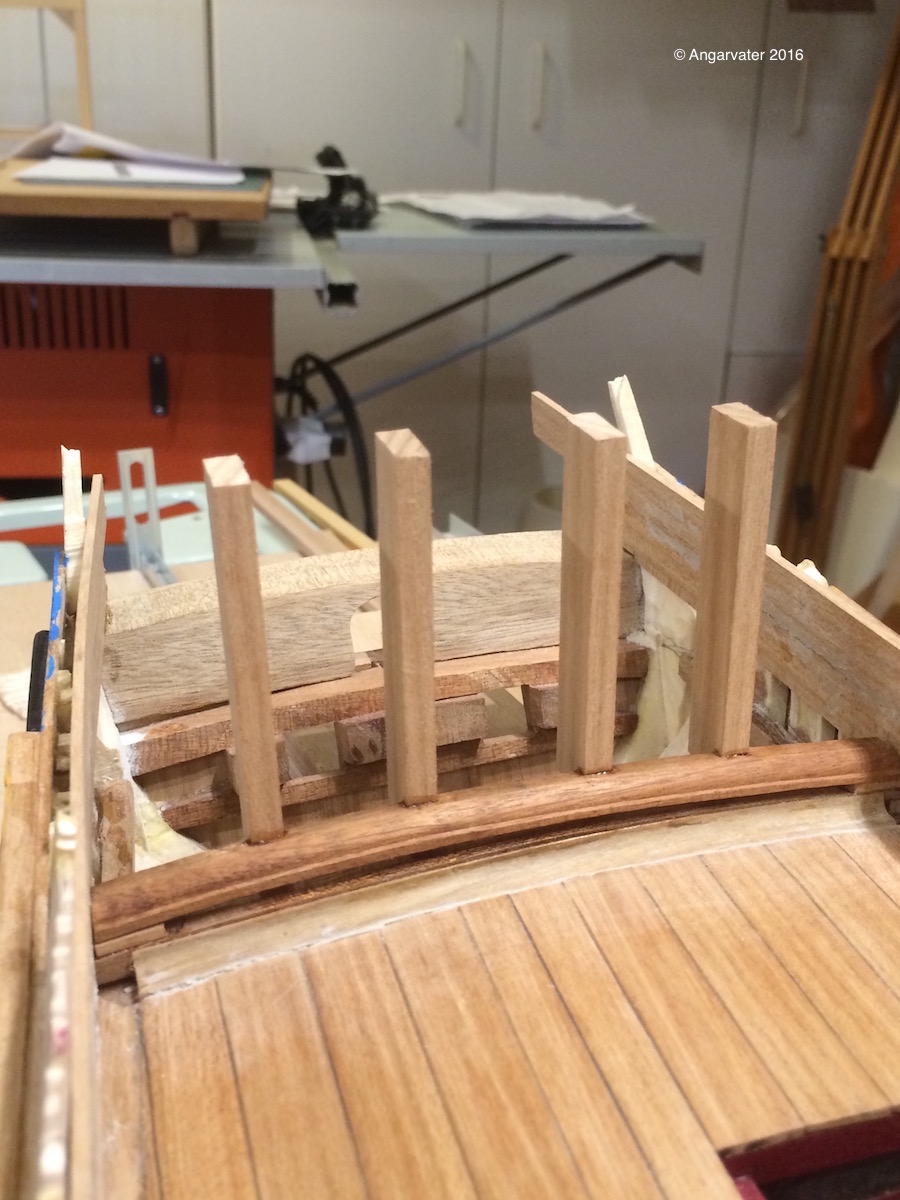
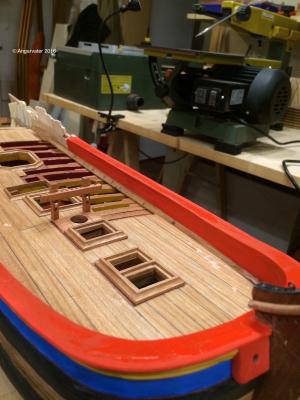
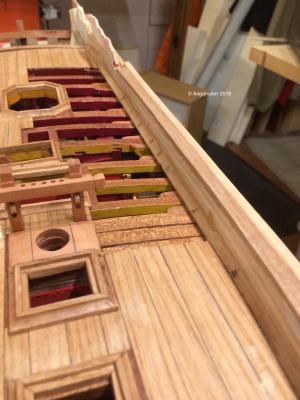
Thanks,guys!!! To finish the deck I had to model the pinrail. At first the wooden parts. one of the rolls Ready. Cheers Hartmut

-
ancre La Salamandre by tadheus - 1:24
Angarfather replied to tadheus's topic in - Build logs for subjects built 1751 - 1800
Hello Paul! Perfect craftmanship I must say! Cheers Hartmut -
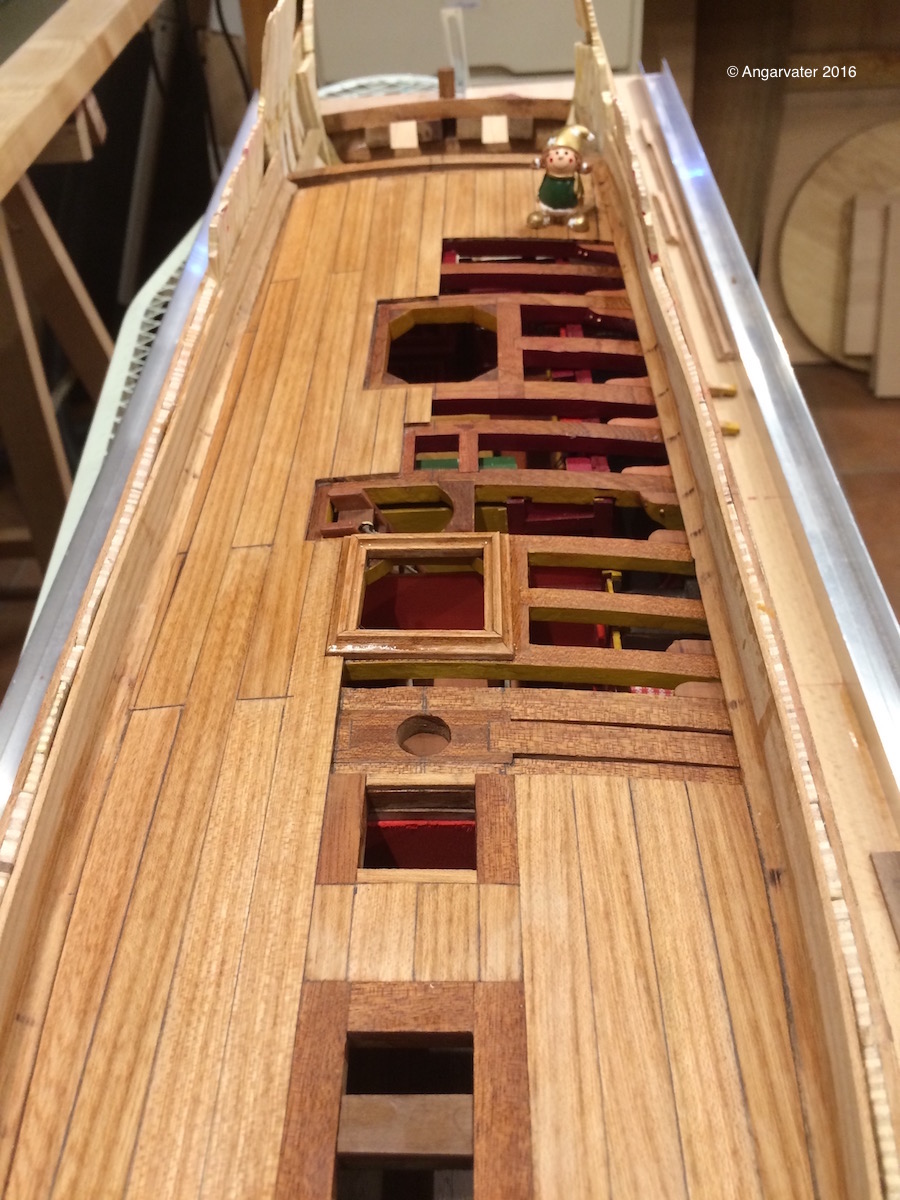
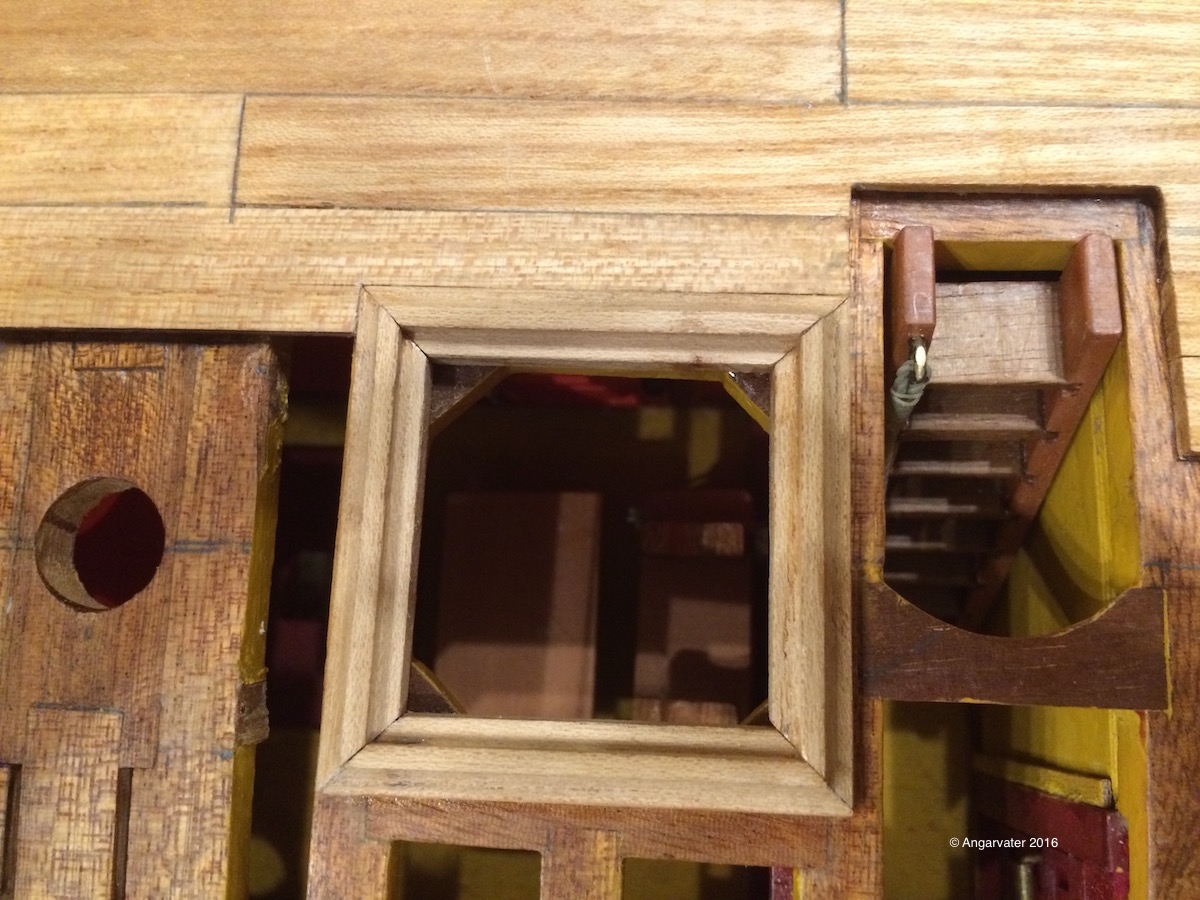
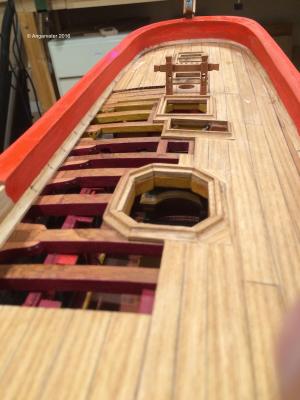
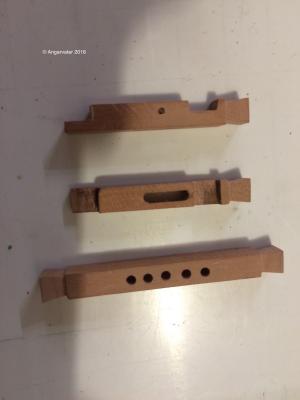
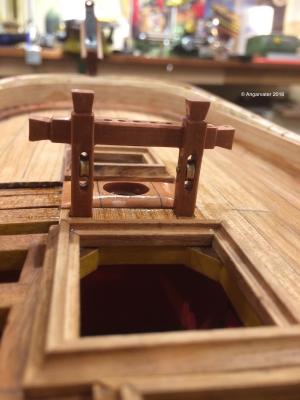
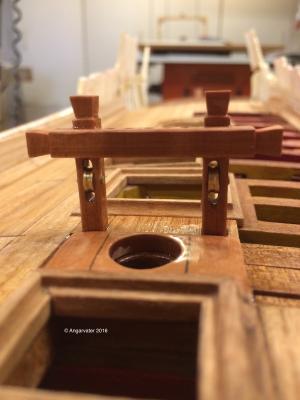
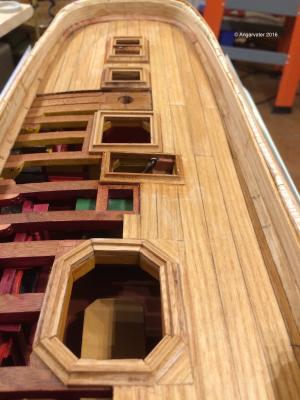
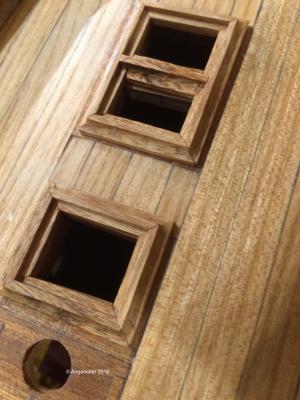
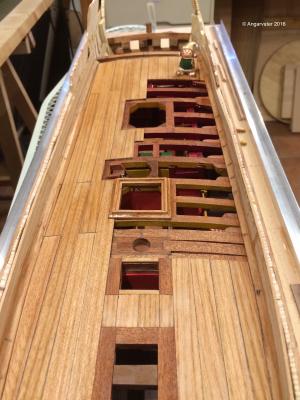
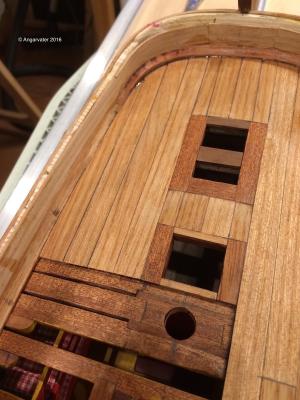
Hello again! All hatches on maindeck Cheers Hartmut

-
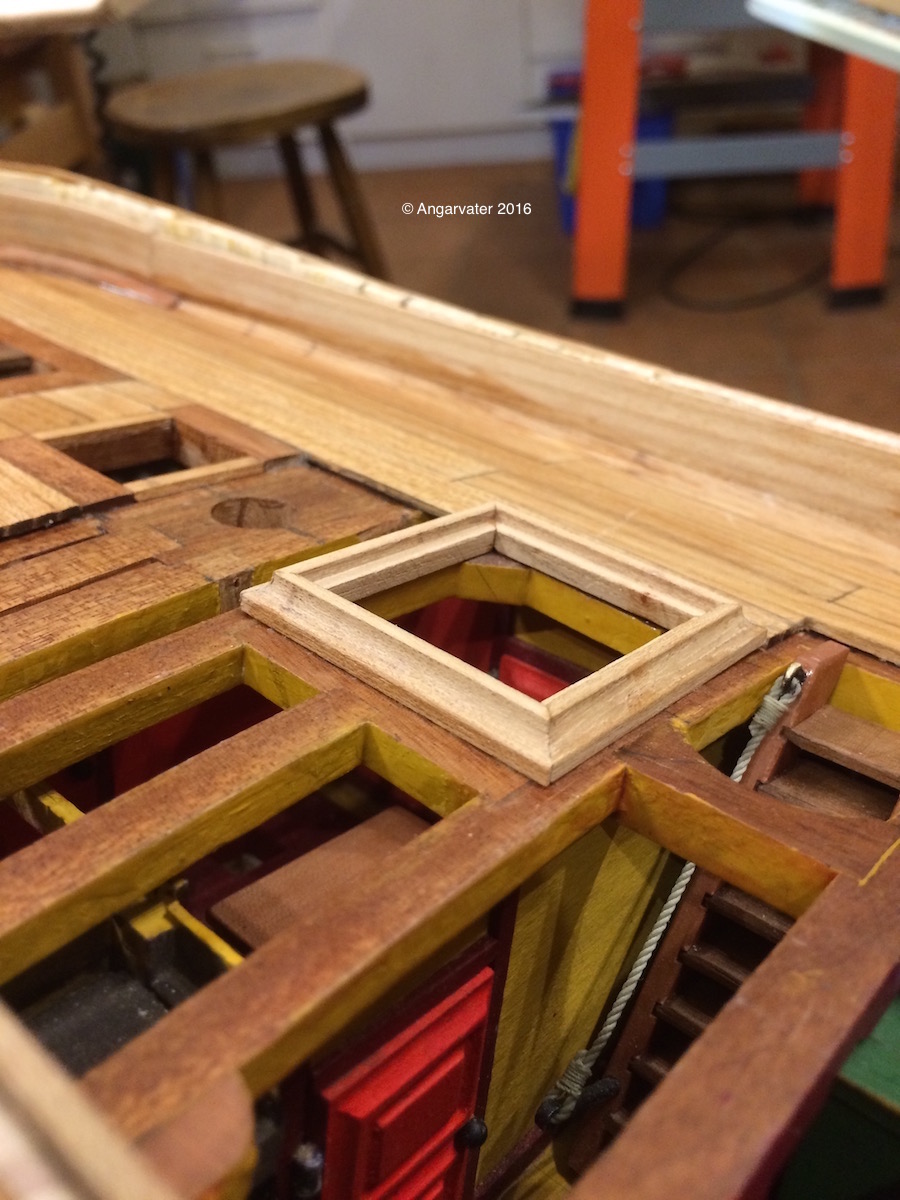
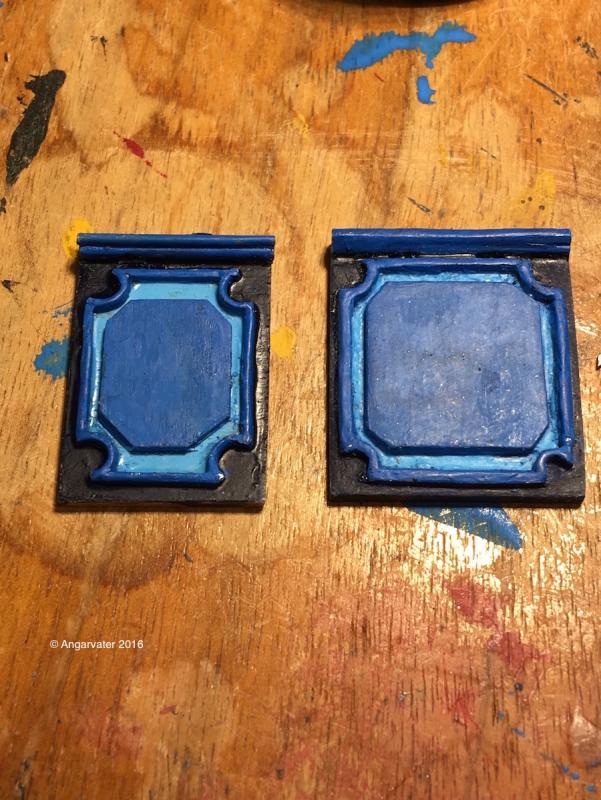
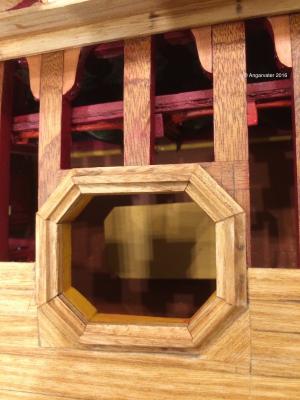
Many thanks, guys ! next job will be to make the other hatches. To make the hatch of the skylight of the cabin will be a little bit fiddly fore its an octagon. Regards Hartmut
-
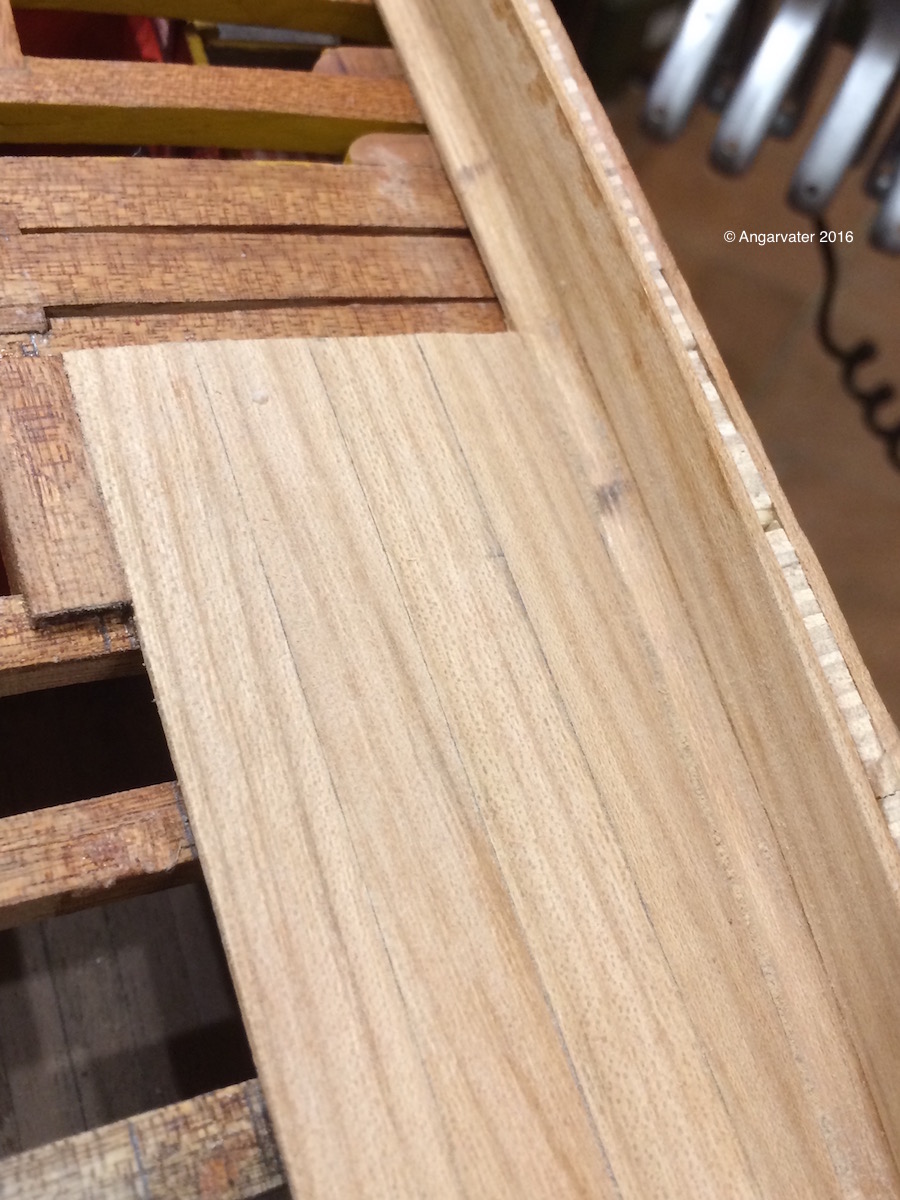
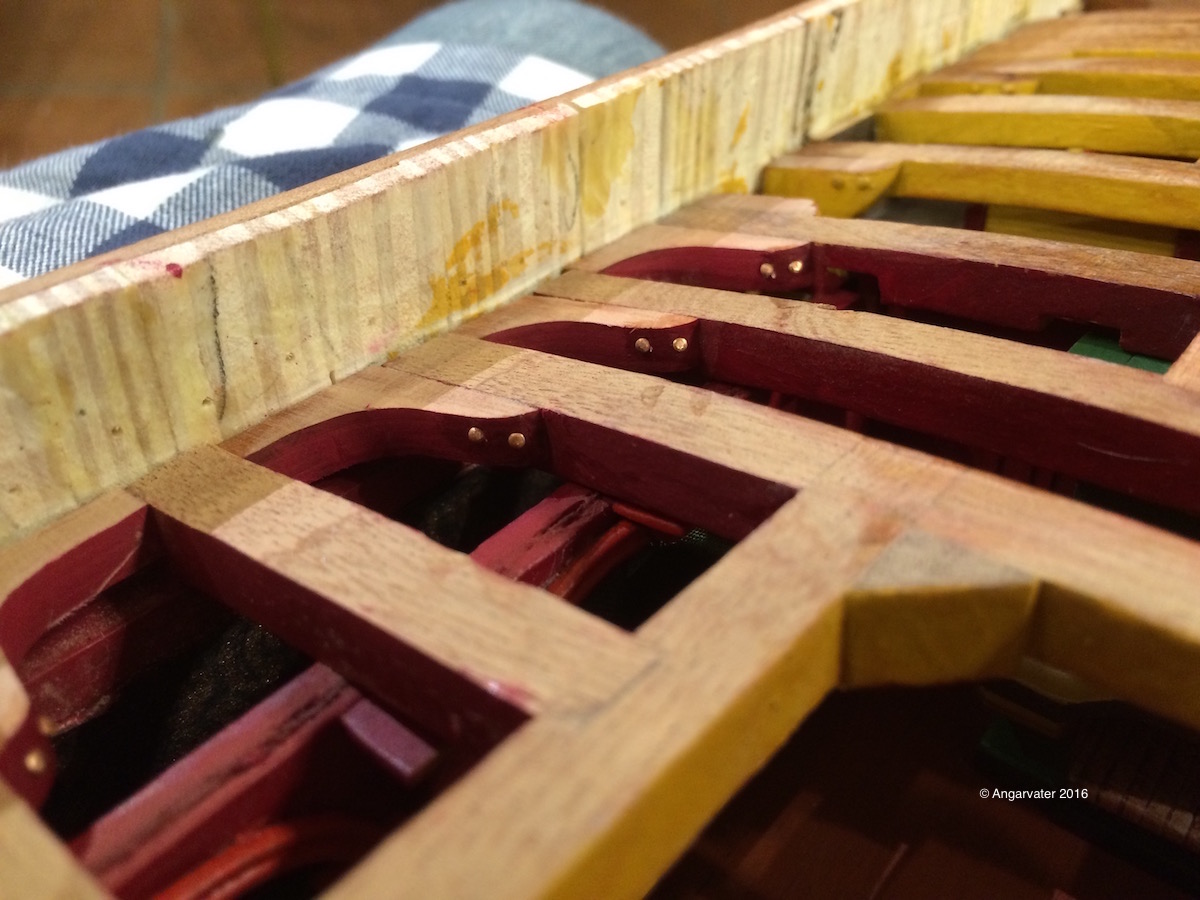
Planking the deck. First stepp: milling and mounting of the waterway Cheerio Hartmut


-
Hello Sjors, I work in the same way as Bob. Regards Hartmut
- 1,616 replies
-
- 4
-
-
- caldercraft
- agamemnon
- (and 1 more)
-
Hello Sjors! Nice work, and great progress in modelling the Aga. The goal? HMS Agamemnon on her place. Cheers Hartmut

- 1,616 replies
-
- 8
-
-
- caldercraft
- agamemnon
- (and 1 more)
-
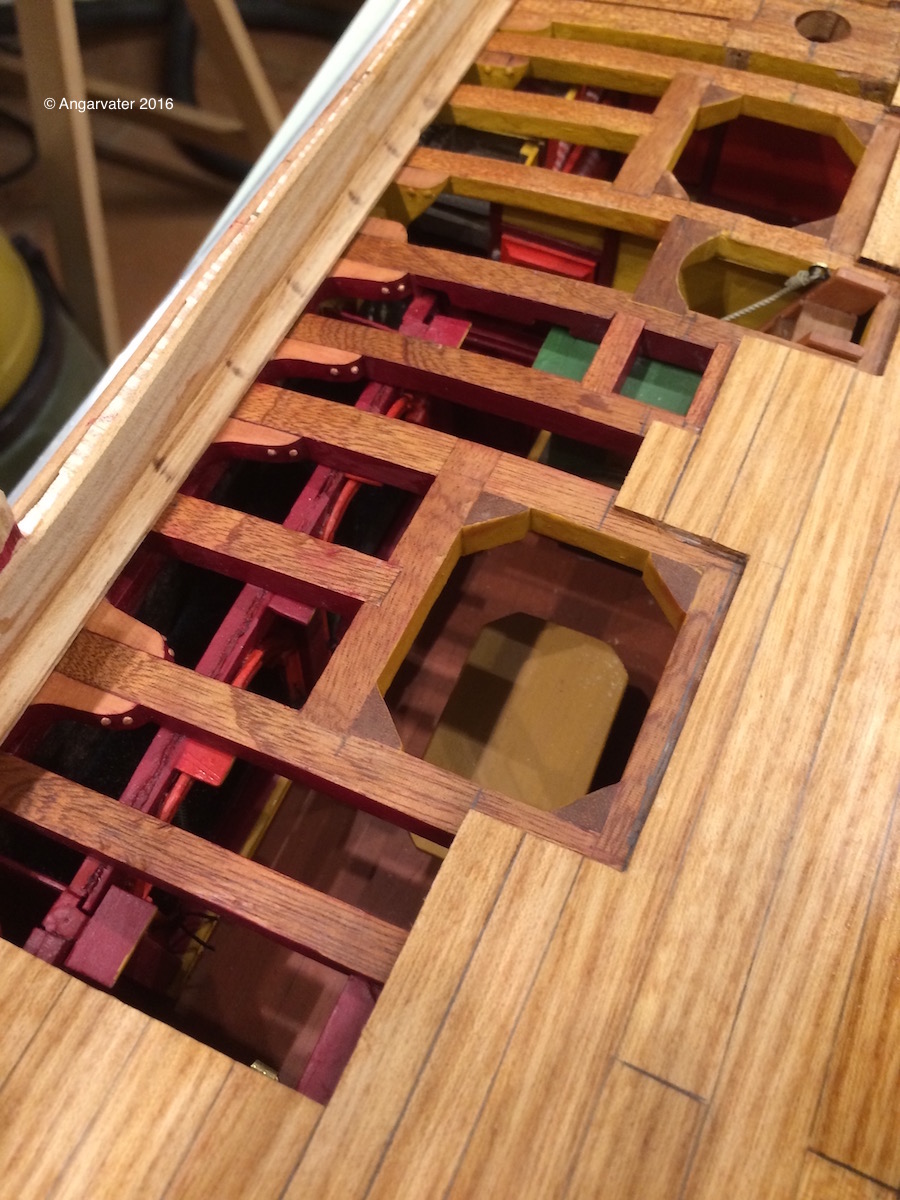
Thanks for your nice comments and all the Likes!! A little update. The deck beams in the cabin area. Cheers Hartmut


-
Iam so sorry to hear that Dave. Losing a beloved pet is losing a little friend. Regards Hartmut
- 962 replies
-
- 7
-
-
- sovereign of the seas
- ship of the line
- (and 1 more)