HOLIDAY DONATION DRIVE - SUPPORT MSW - DO YOUR PART TO KEEP THIS GREAT FORUM GOING! (Only 24 donations so far out of 49,000 members - C'mon guys!)
×


Jeff-E
-
Posts
699 -
Joined
-
Last visited
Content Type
Profiles
Forums
Gallery
Events
Everything posted by Jeff-E
-
Hi Anthony, Mobbsie and Patrick, Firstly thank you all for your kind words Anthony, the frames are just plywood although I don't know what type and yes the weights are a bit of a give away but sadly i have not had much of chance lately to use them what they are intended for Mobbsie , Space to display the model is one of the main reasons I am doing this kit. At the moment I am living in a small 2 bed townhouse and space is a bit of a premium but it also an interesting kit. Please ask as many questions as you like I just hope I can answer them Patrick, No I don't intend to frame below the decks. I would consider doing it if part of the decks were going to be cut awayand the planks left off but i wont be doing that on this build
-
Hi Slog , Thank you very much for the all of the info . I will see if I can get some over the weekend and give it a try
-
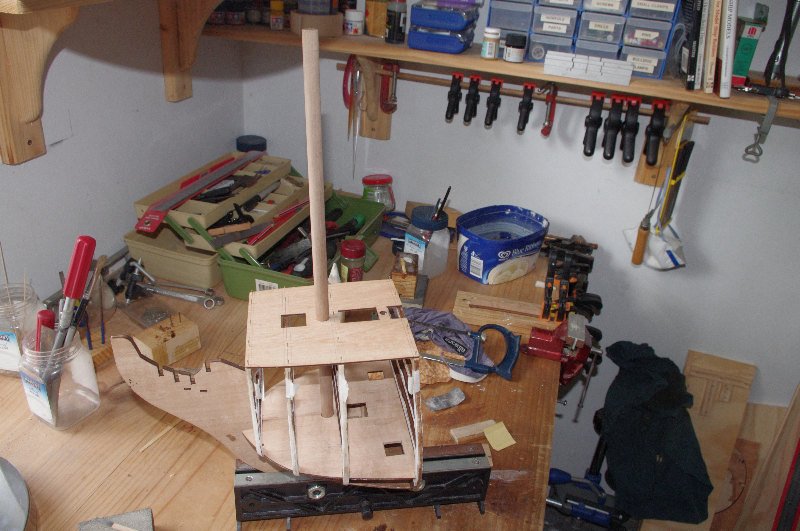
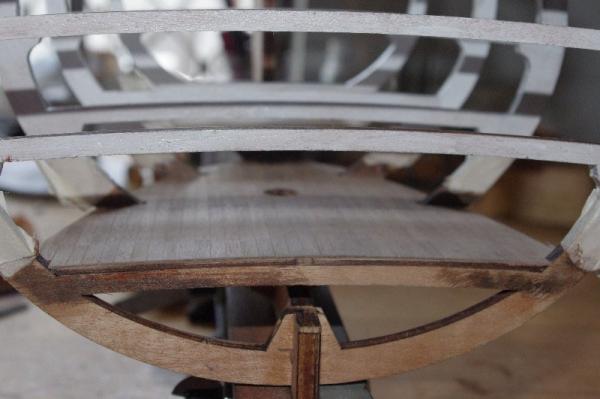
The fo'csle was left temporarily pinned for stability of the upper frames and to check the mast alignment with the lower decks The deck was then marked for planking and the planks laid

-
Hi Slog, Thanks. Yes making the deck furniture is also one my most enjoyable parts of a build, those and the rigging
-
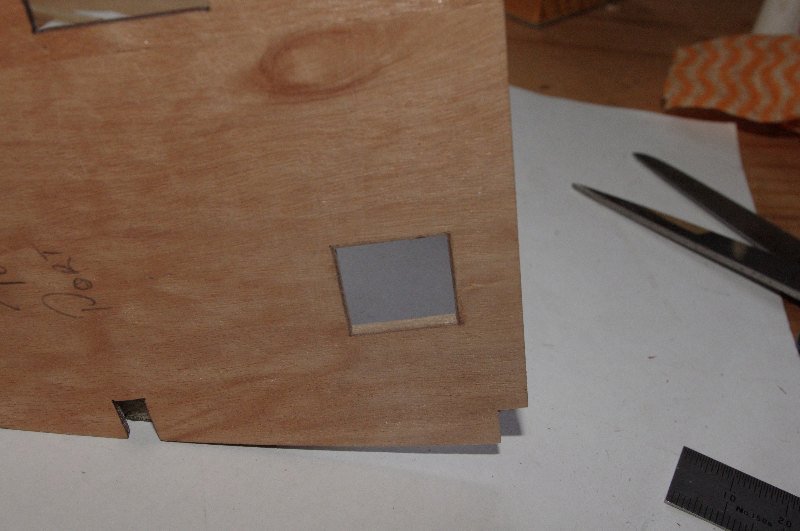
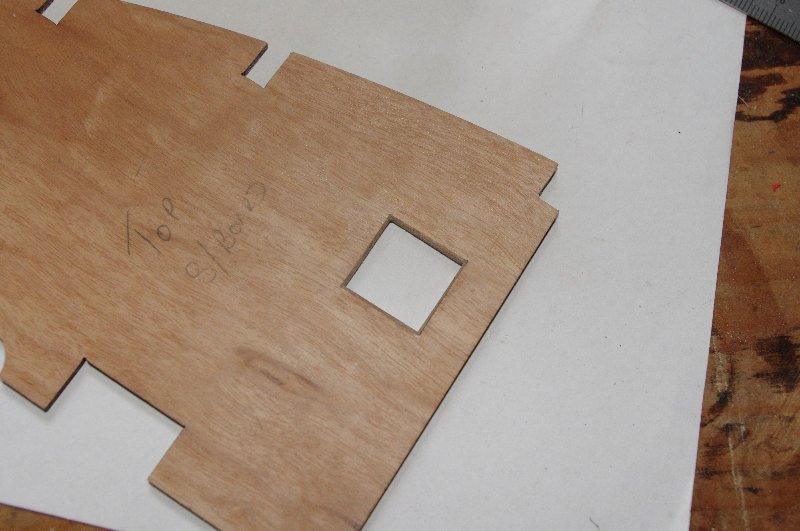
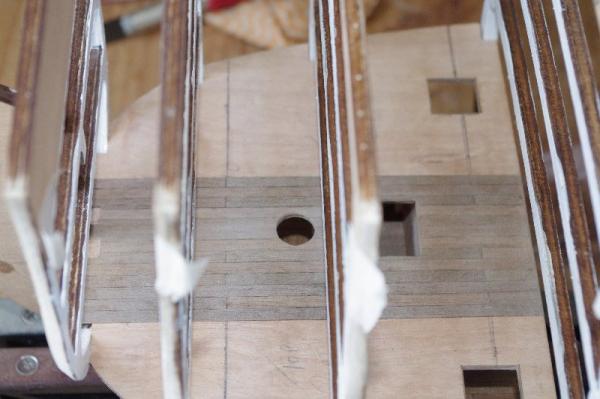
Hi All, Once the hold deck was complete 3 coats of clear varnish was applied to the deck of which I thought I had taken a photo of before the next deck was fitted, but if I did I can't find it So it is on to the next deck the Orlop. John Mckay's book shows a single companionway leading from the Orlop deck to the hold but the kit has 2 companionways going down. I have decided to stick with the kit version as I said in my opening post that this would be an out of the box build with a few modifcations. I lined the companionway openings with 0.5 x 4 mm walnut and the sanded them down to the thickness of the false deck. This was not in the instructions but I did it to cover the ply which would be seen when finished. The next job was to paint the underside of the false decks, the ceiling of the hold deck. The deck was then glued on ensuring the mast hole aligned with the deck below

-
Hi Anthony, Thank you. I'm really not that fast a builder as this part of the build was completed earlier this year before I put her into hibernation while I finnished the Norfolk. Sorry for any confusion I am currently just finnishing off the first planking and hope to catch up with that stage here soon
-
Hi Slog, The cannons turned out really well, they look much better than being painted. I might have to go to my local gun shop and get some of that solution for the Victory's guns
-
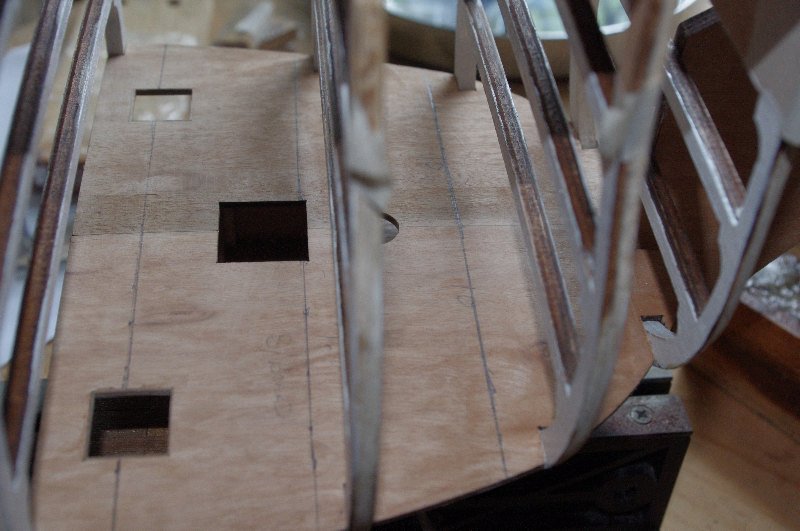
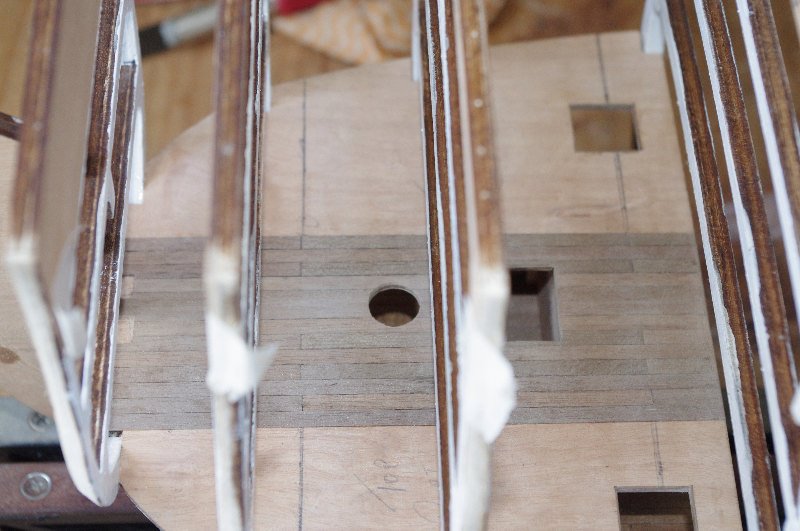
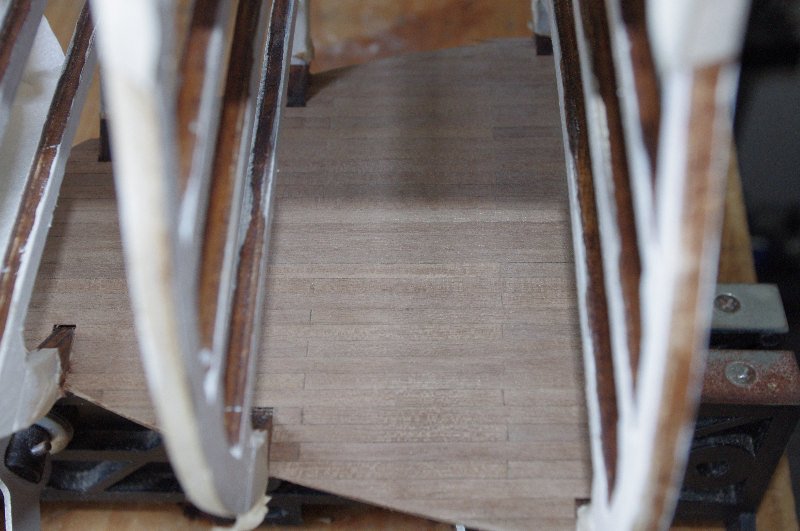
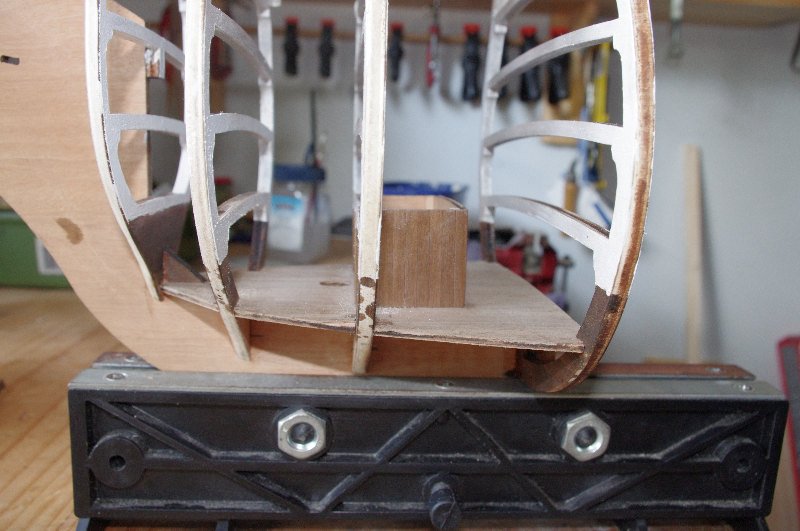
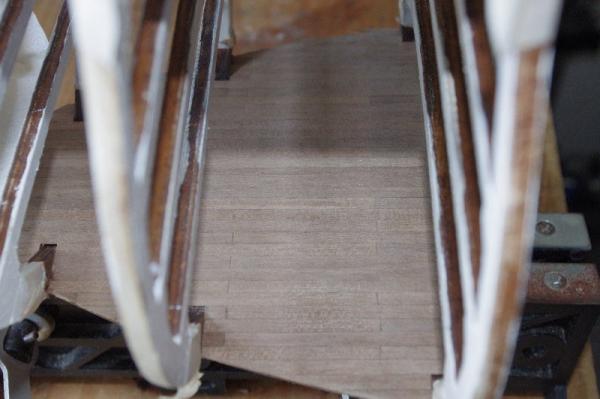
Hi All, Just A small update to complete the hold deck. It was planked with 0.5 x 4mm walnut strips in a 2 butt shift pattern, I will follow this pattern for all of the lower decks as you won't be able to see them once the model is complete however i will do a 4 butt shift pattern on the fo'csle. The deck waas then sanded and the magazine store was fitted Also as you can see in the last 2 photos the lower frames have been stained with walnut


-
Hi Kester, Yes I do have a couple of reference books to help me . I have C Neapean Longridges 'The Anatomy of Nelsons Ships' and John Mckay's 'Anatomy of the 100 Gun Ship Victory', the latter gives an excellent breakdown of each deck, which does differ somewhat form the model. I agree that the instructions are poor in some respects especially when it comes to the rigging they are also some what confusing in the build sequence. I will try to paint as much of the interior as I go as some spaces will be impossible to get to when the planking is finished
-
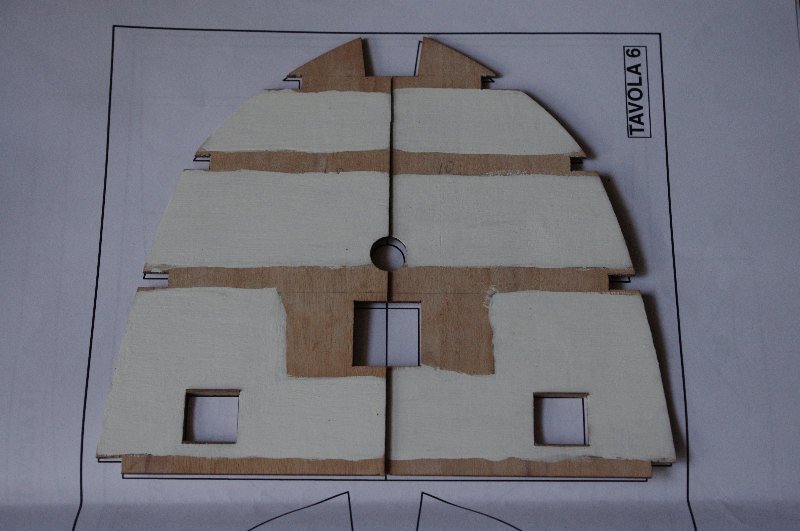
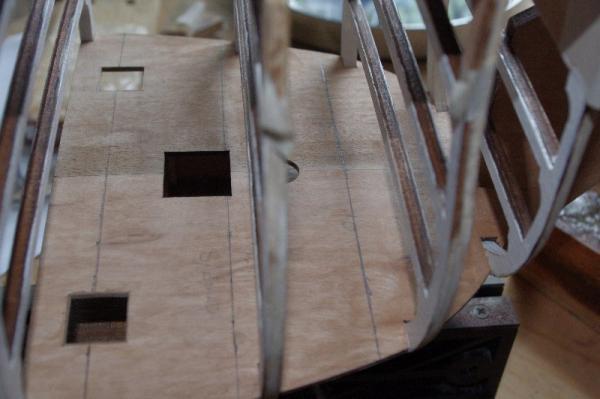
Hi All, After the frames were dry I faired them some more, very carefully, with a smooth file. As I said before I am going to paint the inside of the hull so my next job was to mask up and paint the frames before all the decks are fitted. the walls of the hold deck and the area below it, the bilge, will be left natural timber. So the frames in this area will be stained with a walnut stain. Afte masking up the frames I glued on the false deck for the hold and then painted the frames.


-
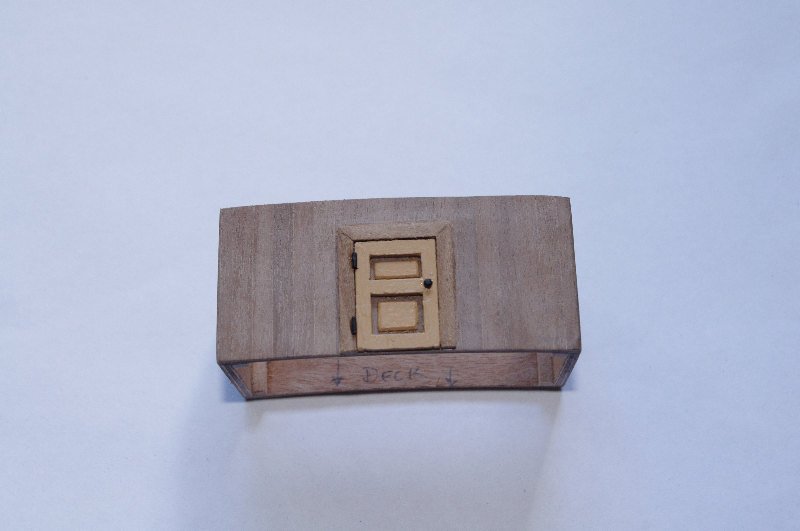
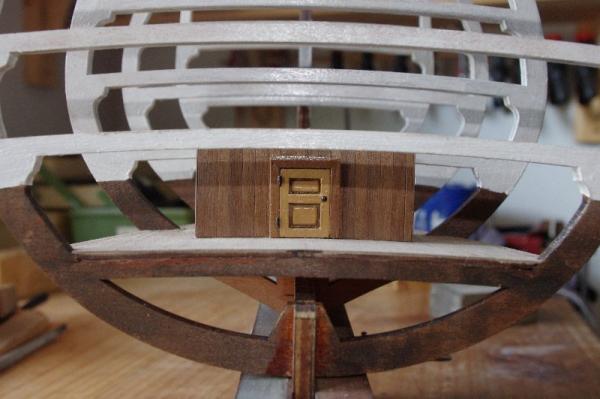
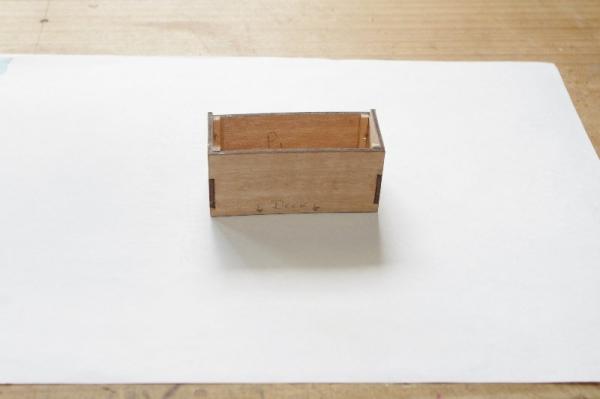
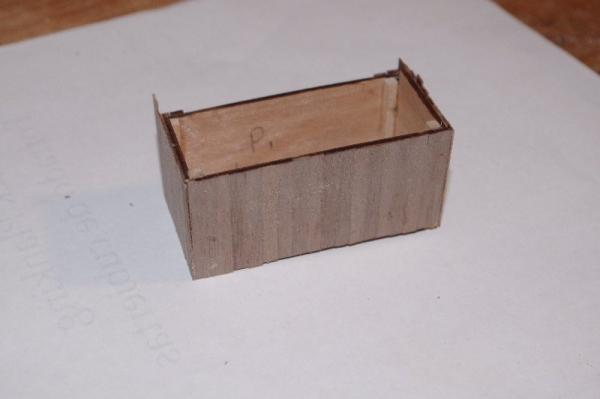
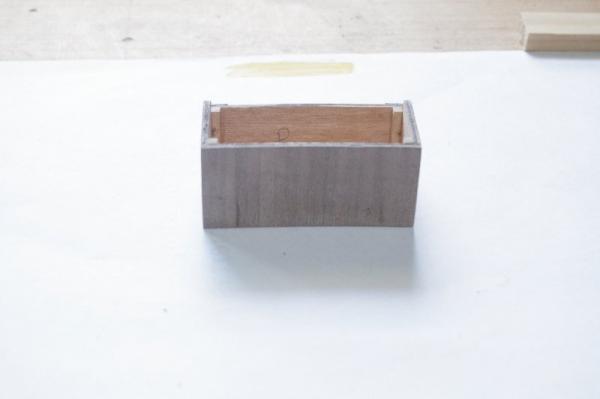
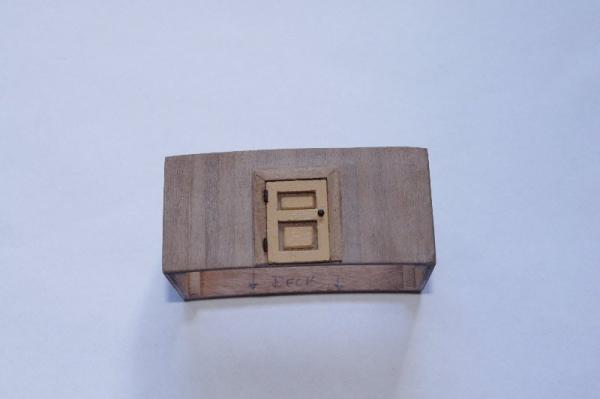
Hi Jared, The hinges are made form 2 pieces of 0.75mm brass wire and the door knob is the round head of a brass nail. Sorry the door is not fuctional Thanks for dropping in and for your comments
-
Hi Mobbsie, Just to echo everyone else's comments very nice work on the ships boats
- 1,279 replies
-
- 1
-

-
- agamemnon
- caldercraft
- (and 1 more)
-
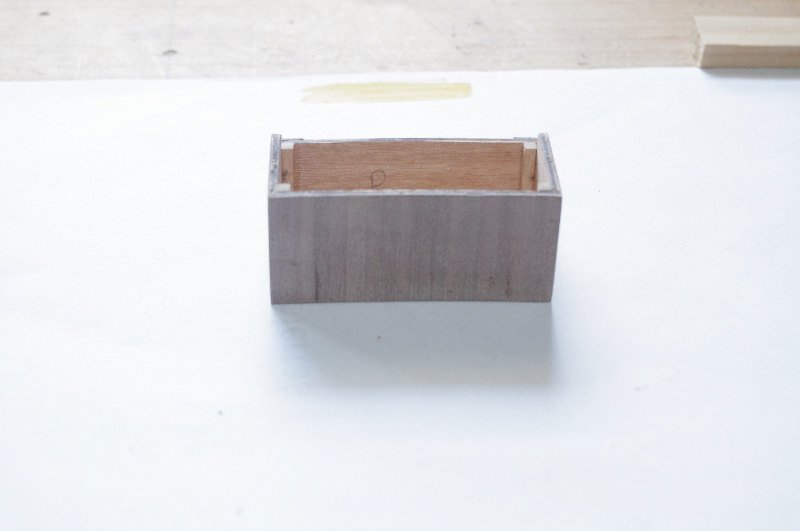
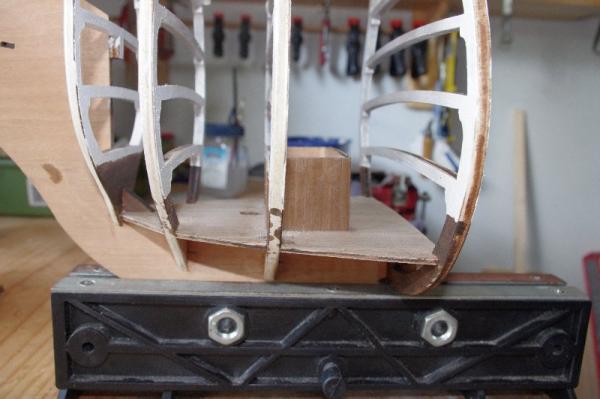
While I was waiting for the frames to dry I made up the magazine store which will be fitted to the hold deck It was then planked with 0.5 x 4mm walnut strips And finally the door was made up and fitted

-
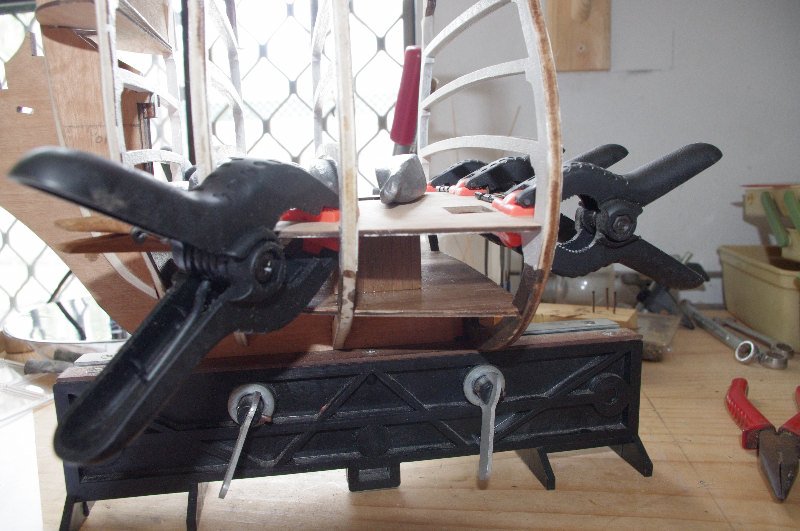
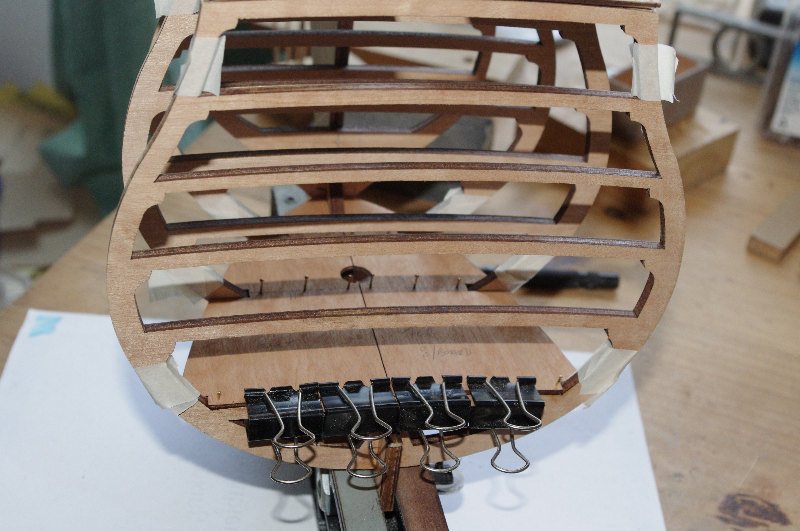
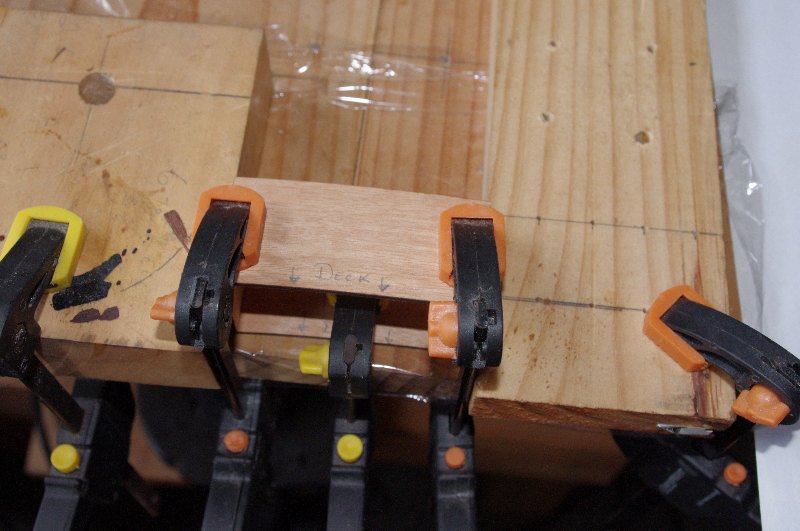
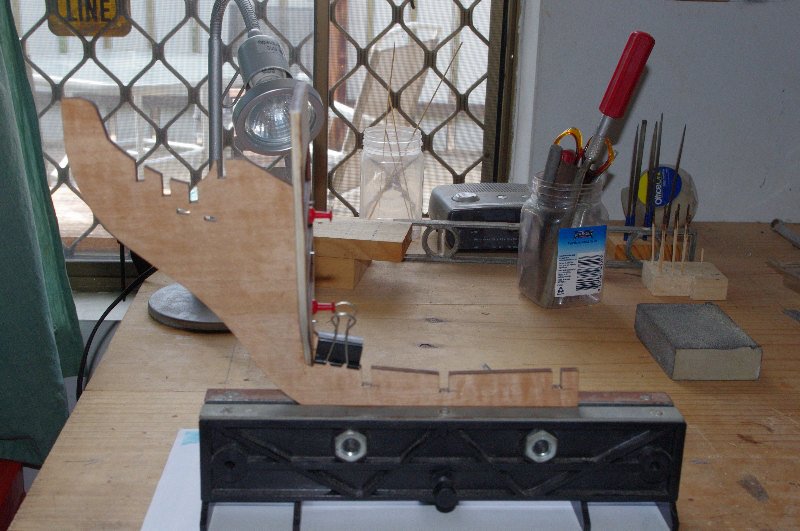
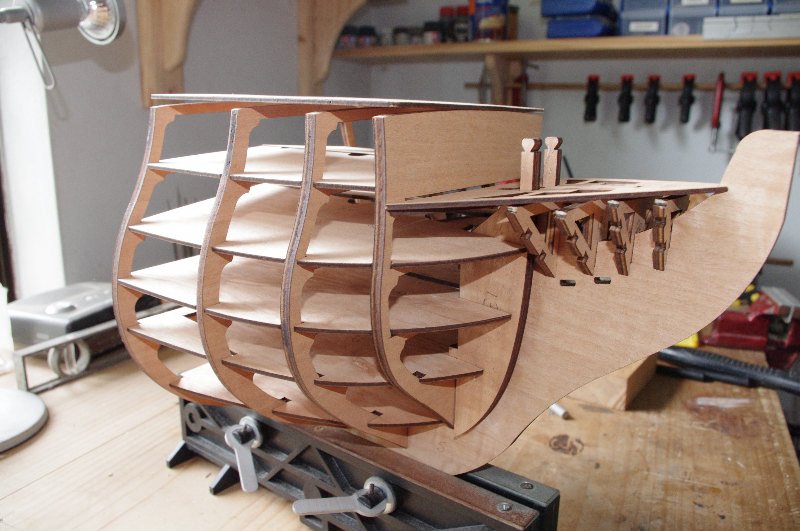
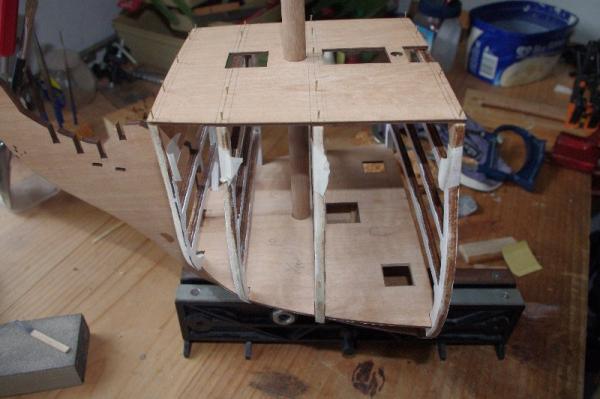
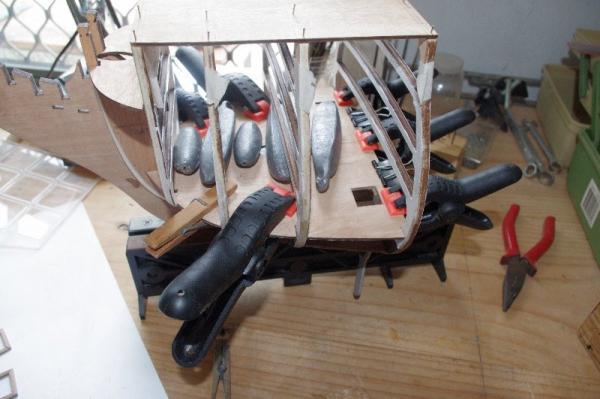
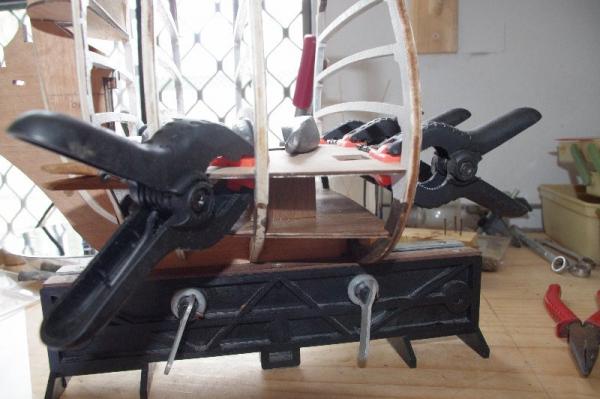
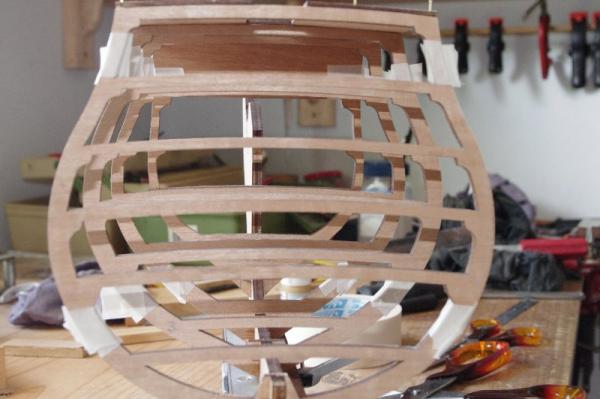
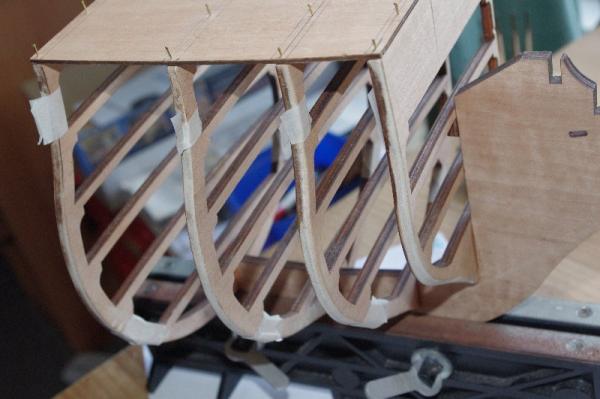
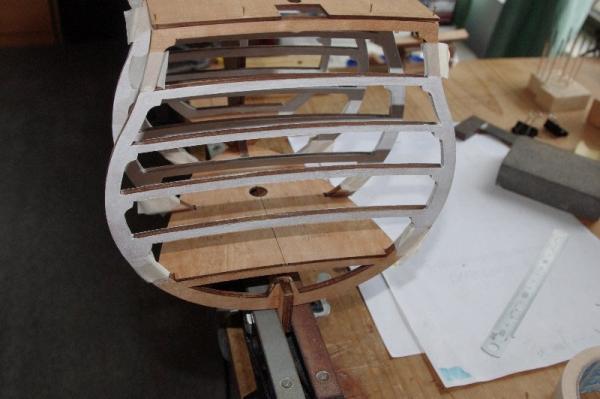
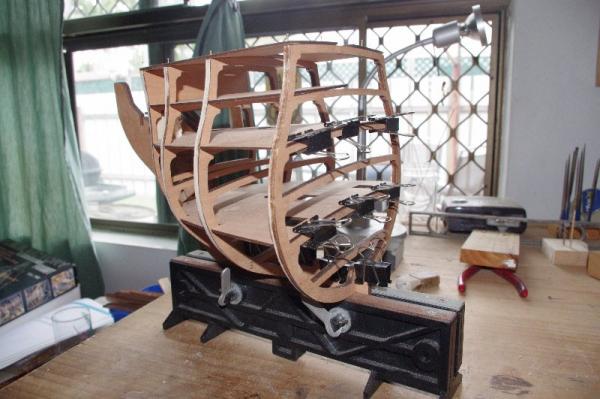
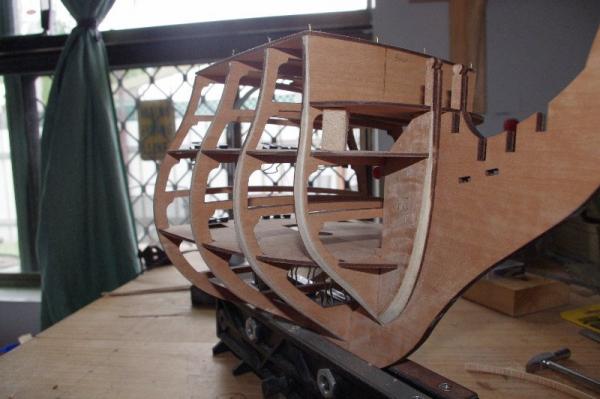
Hi All, After dry fitting the frames and ensuring a good fit the next step was to roughly fair the first three fames and the bow planking supports because I would not be able to support them properly once they were glued to the keel and it was easier to shape the bow planking supports before fitting them. I then glued the frames to the keel. The first frame was squared to the keel, glued on and allowed to dry then the other three frames were glued on using the decks, which were temporarily pinned and clamped to the frames to keep them square.


-
Hi Kester, Jared and J.Pett, Thankyou all for looking in and I hope you enjoy the build. Kester I too intend to paint the interior walls and ceilings white on the orlop adnd the lower and middle gun deck. I think the upper gun deck walls were yellow ochre and the cieling was white, while the in the hold the walss were left unpainted but the ceilng was white. That is based on photos of the ship as she is now from the official site but she may weel have had a different interior colour scheme at the time of Trafalgur. Your ideas to modify your kit sound great but I don't think my skills are up to that stage yet so I will build this one pretty much as comes out of the box with a few modifications as I go along. The figure head is the one part that I may change when I get to that stage. i have heard that the Caldercraft one is very good and much closer to the correct scale. Jared your seat is reserved J.Pett thank you for your kind words
-
Hi Slog, Excellent work on the studding sail booms and their brackets .I love the detail you are putting into this build
-
Hi Richard, Congratulations on an excellent build of the 'Pickle' it has been a pleasure following your log What have you got in mind for your next project?
-
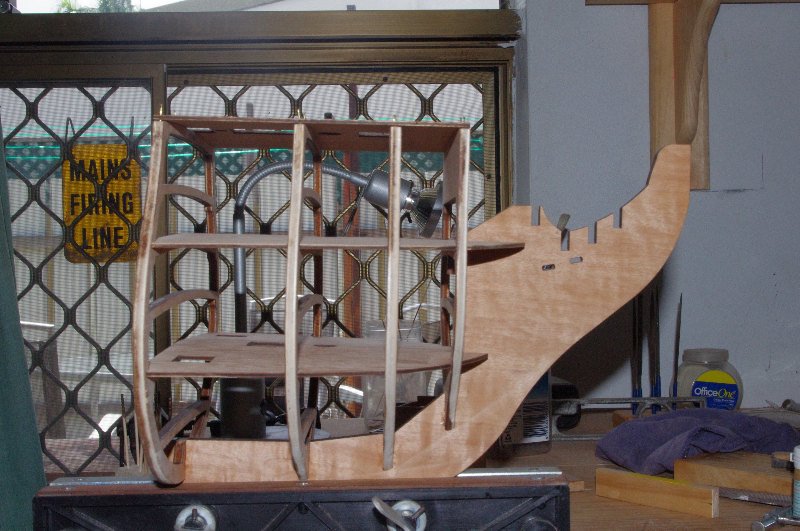
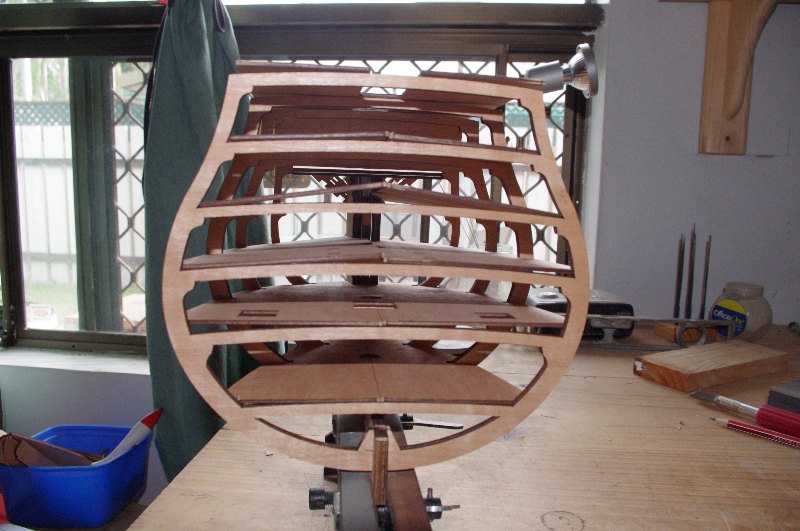
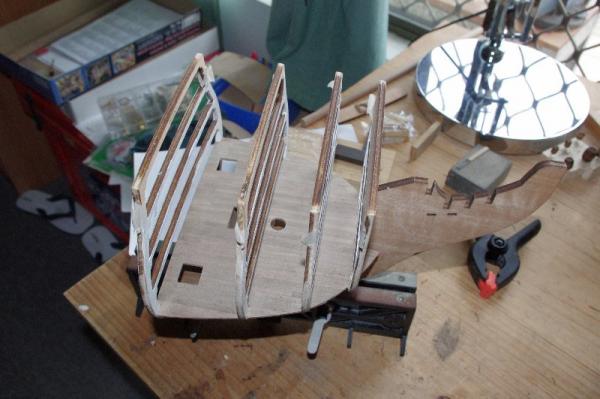
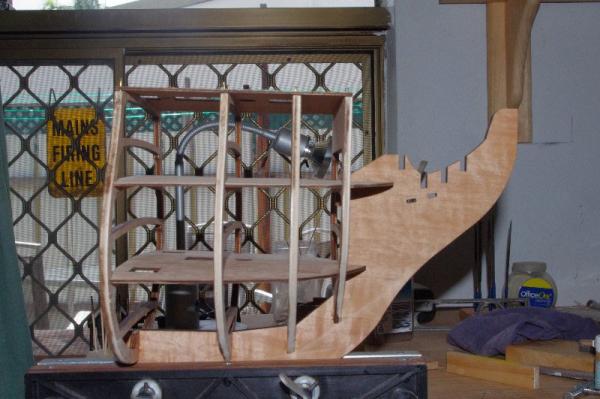
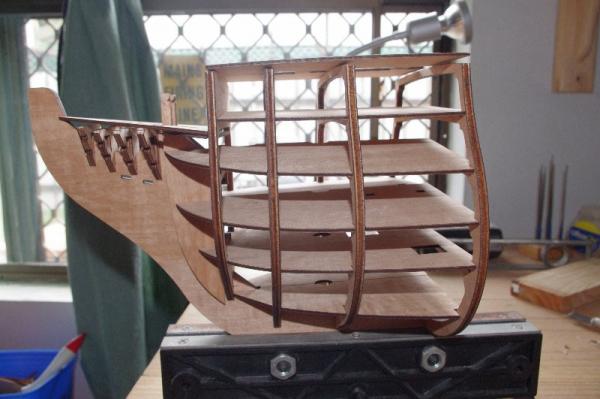
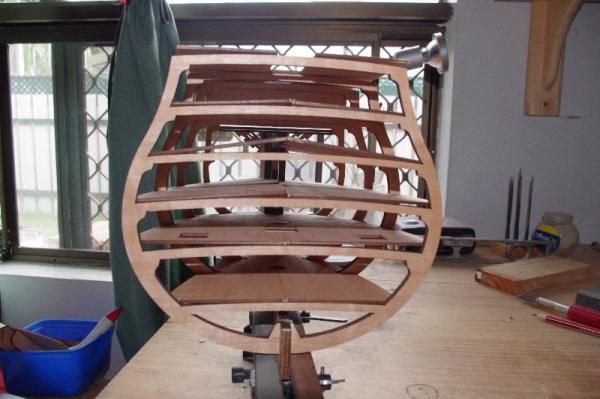
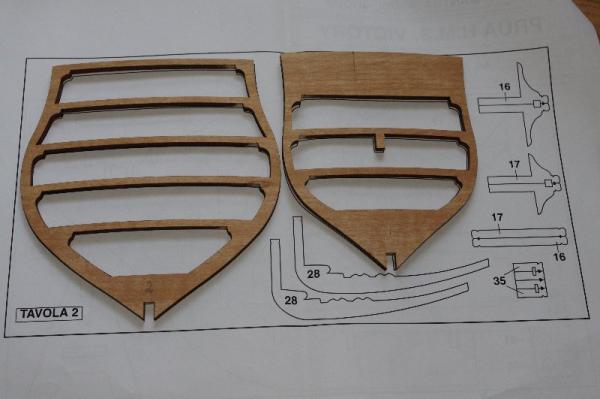
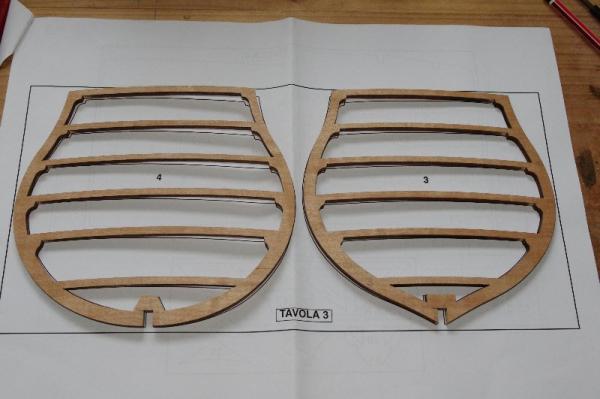
The rest of the decks And now the frames and decks dry fitted. These all fitted together very well with minimal adjustment required Well that is all for now I will post some more progress tomorrow

-
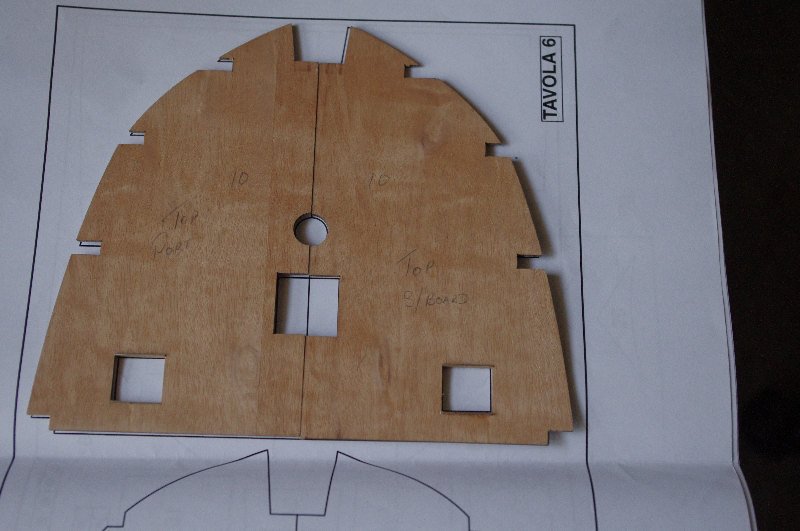
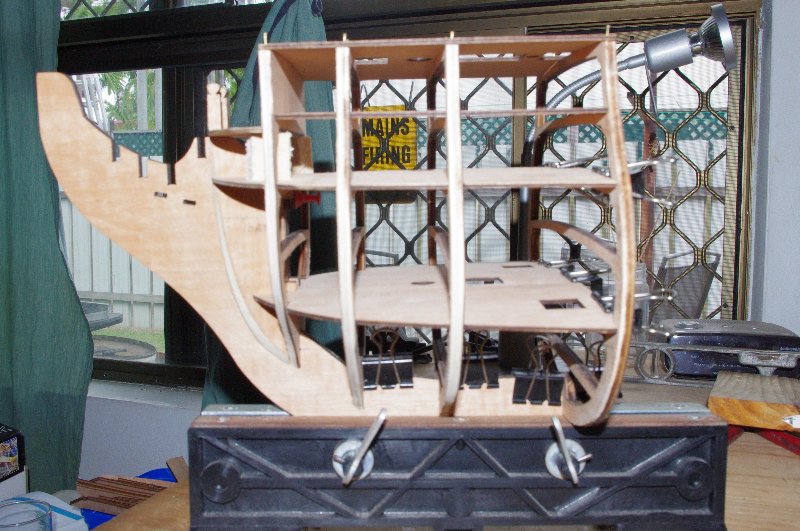
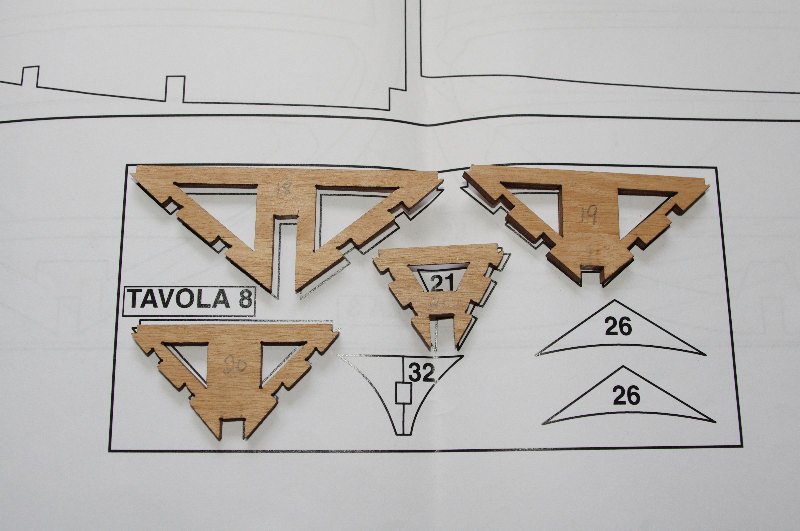
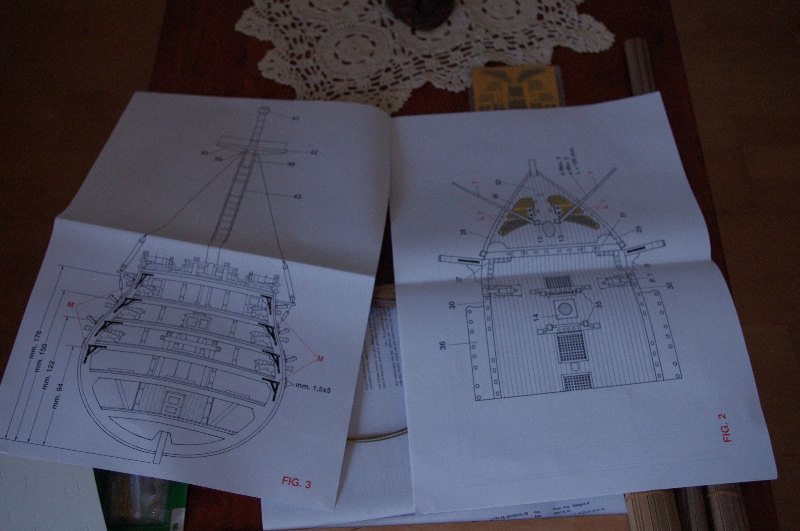
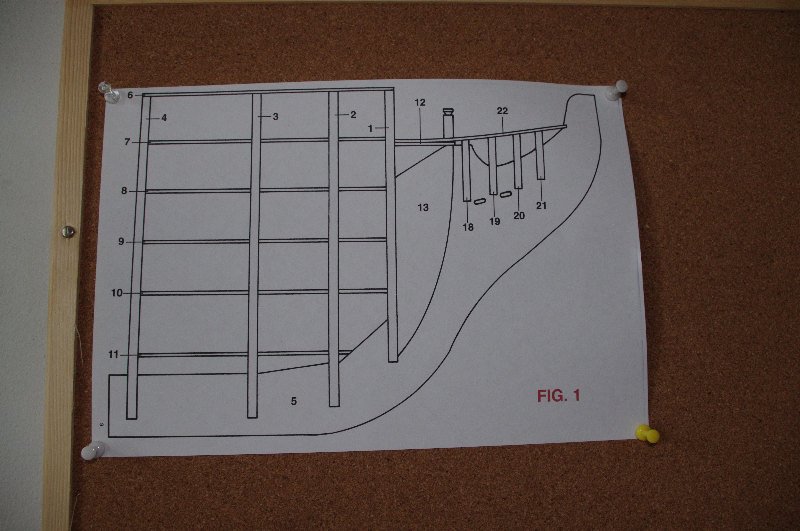
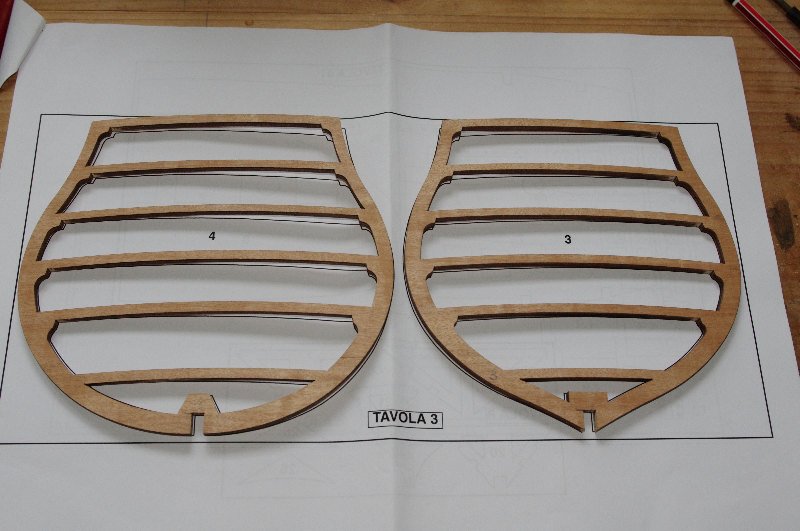
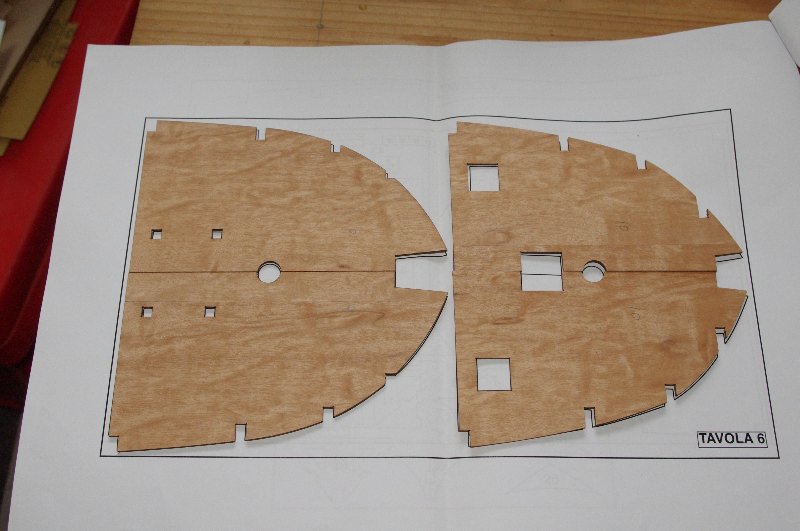
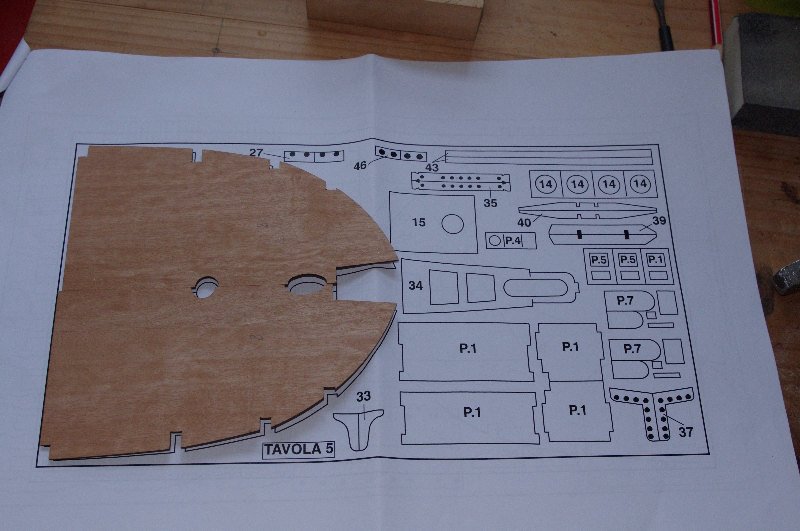
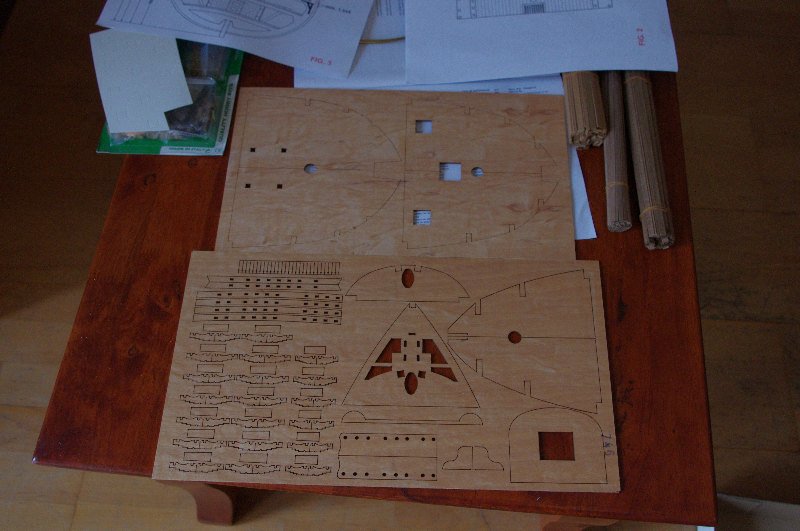
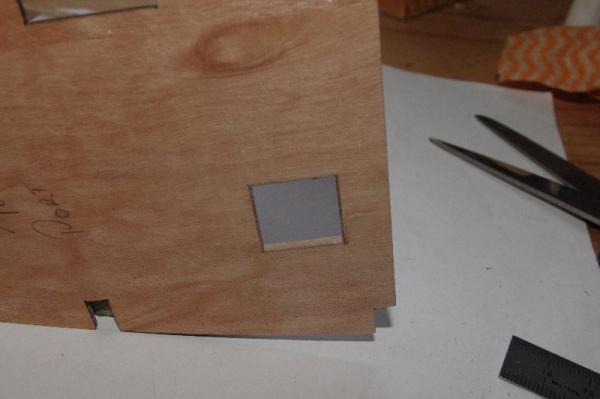
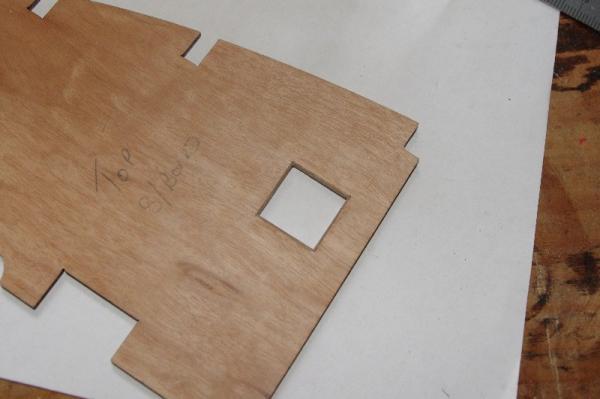
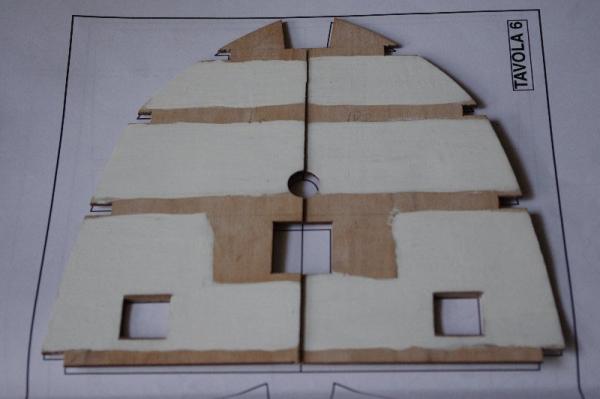
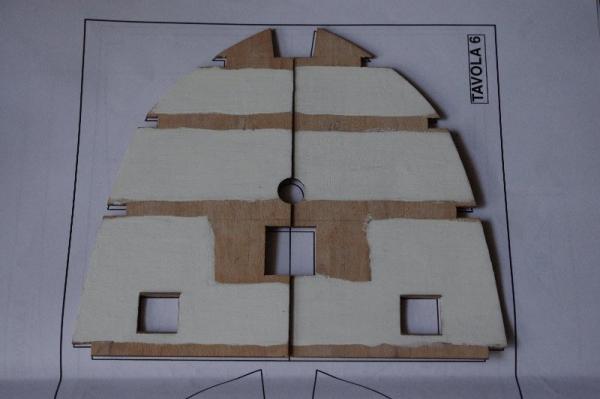
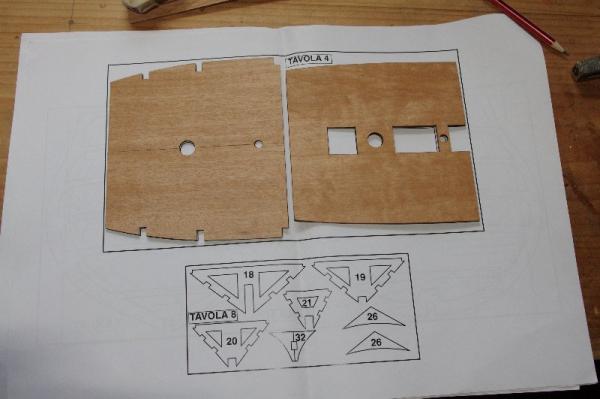
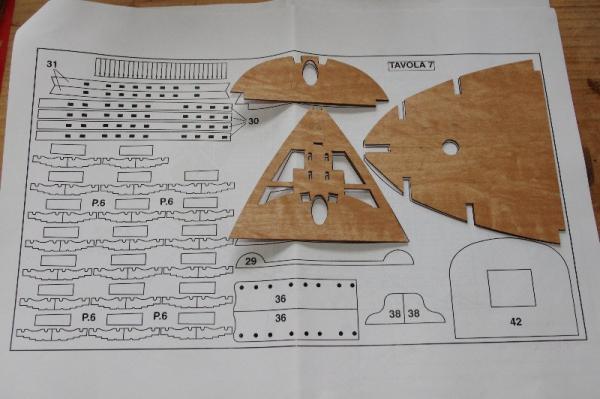
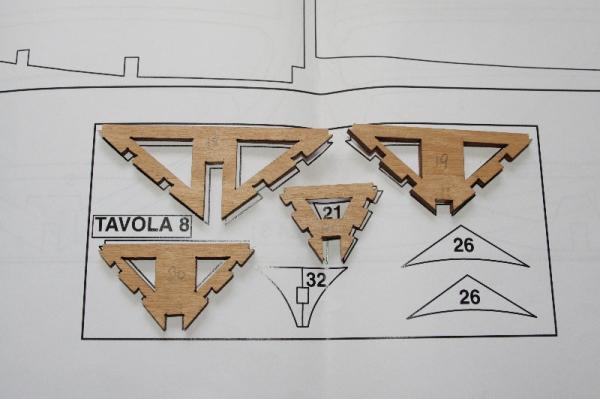
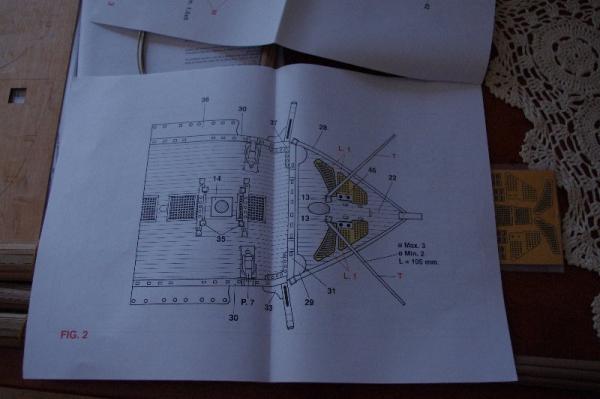
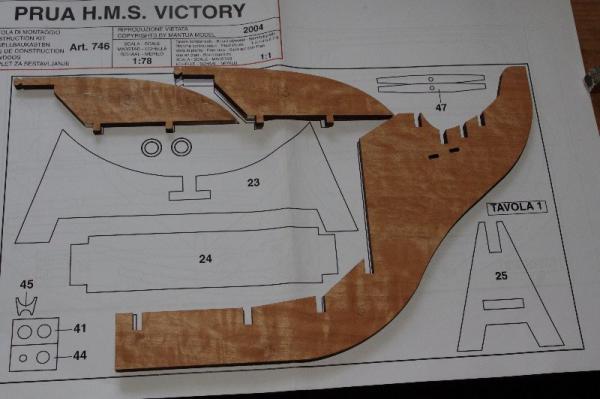
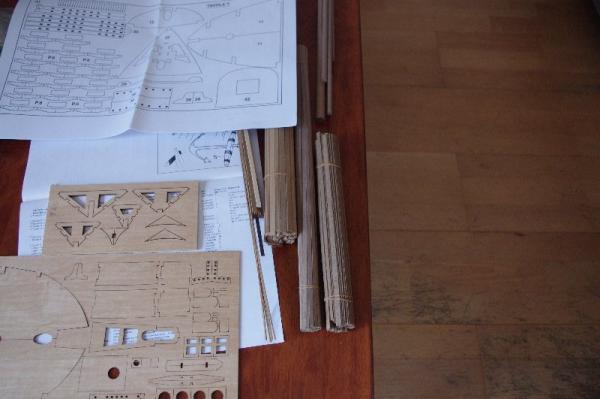
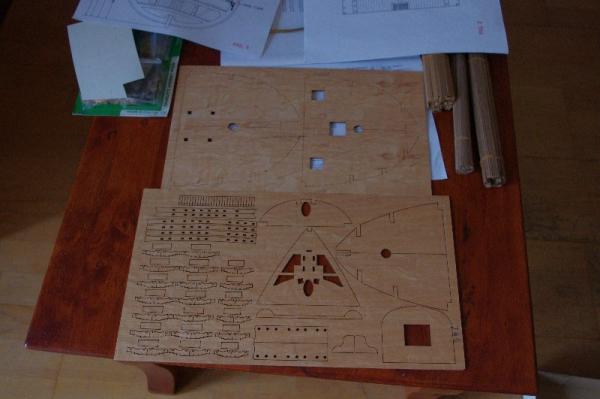
Hi All, First off acouple of pic's of the plans They are basic drawings but give you the necessary dimensions The next lot of photos is of the keel, frames and decks cutout also the assembly plan


-
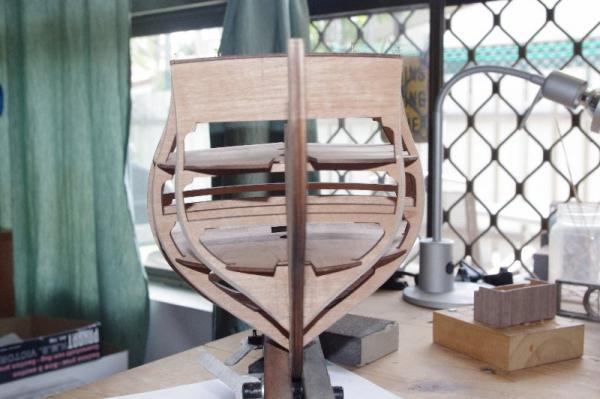
Hi Anthony and Patrick, Thank you both for looking in. Anthony this is the first cross section I've attempted so it will be a learning curve but I do like all the extra detail you get with a cross section of the different decks that you don't see on a normal model. I hope you enjoy the build Patrick , I have not seen a cross section of the stern in kit form but it would be interesting, maybe a scratch build in the future
-
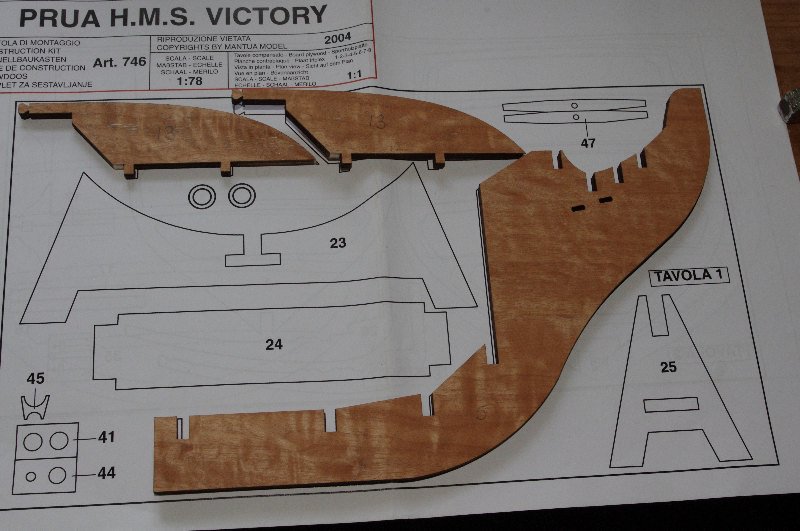
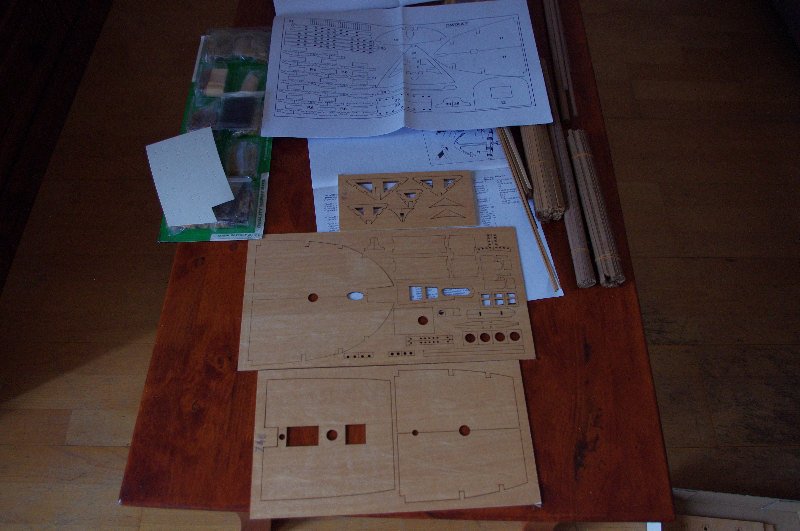
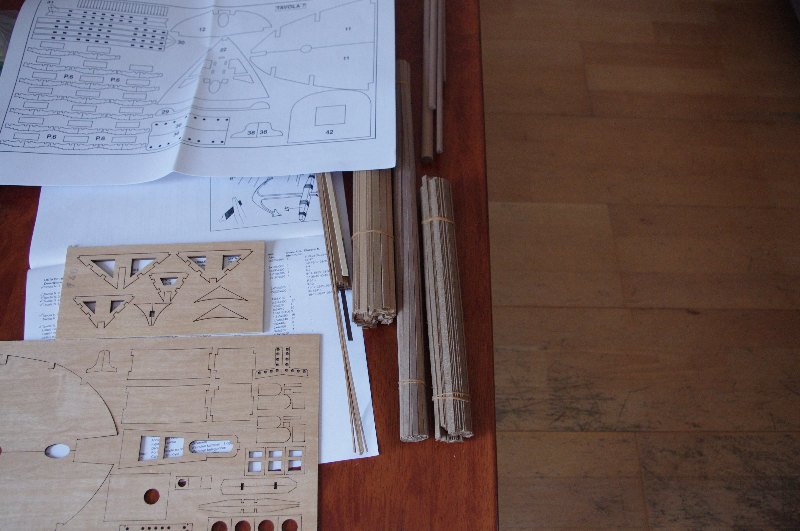
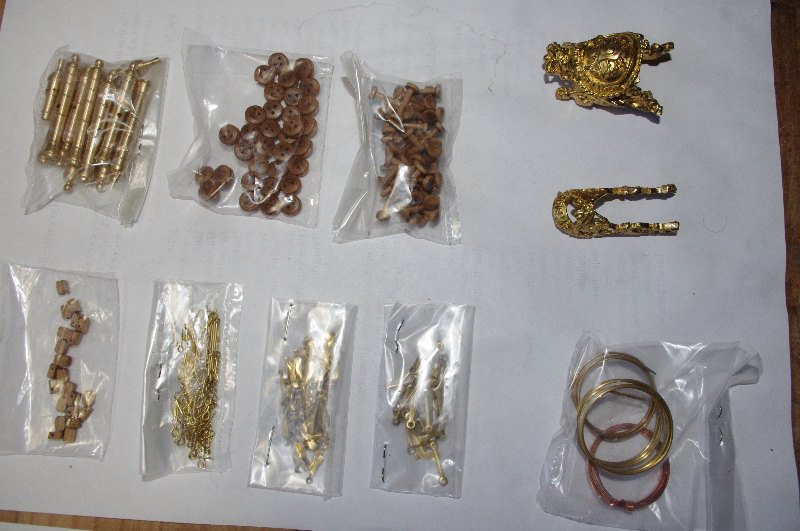
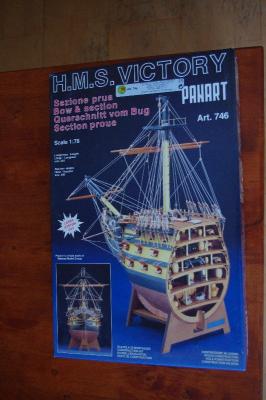
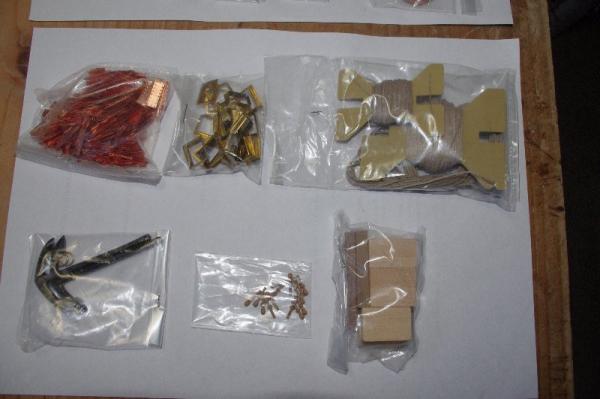
Hi All, I started this model last Christmas, sorry I have been so long in starting a log , but I was alsostill building the 'Norfolk'. Then the kit went back on the shelf while I finished the 'Norfolk' and I contemplated a problem I was having with the planking, that lasted for about 5 months!! I finally got her out of storage a couple of weeks ago and have been slowly building again in between house renovations. I have taken heaps of photos so please be patient while I upload them to catch up to where I am currently with the build. I would like to make a few comments about the kit. The timber and laser cut parts are all of good quality, however all of the planks including the deck planks are walnut this makes for a very dark interior on an open model. I think they should have supplied a lighter timber for the deck planks as a contrast. all of the fittings are of high quality material although the bow figuere head does seem a bit large and akward. There were a few parts missing which I have replaced. I also have brought some extra blocks and eye pins so I can fully rig the guns and some heart blocks to replace the 3 hole blocks they supplied for the forestay. I intend to fully rig the guns on the middle and upper gun deck and to rig at least the breeching ropes on the lower gun deck. My plan is to fit the middle and upper gun deck after the hull has been completed so I can rig the cannons on each deck before fitting the deck above. We will see how that plan works out Here are some pic's of the kit I will post some more pics later Enjoy


-
Hi Maslav, Awesome build, your detail work is superb and to echo ZyXuz's words Icould watch all day also!!!
- 206 replies
-
- 1
-
-
- royal caroline
- panart
- (and 1 more)
-
Hi Frederica You are making good progress on the build she is looking great. I agree with you I think pets of any kind and models don't usually mix well
-
Hi Richard, I see your on the home strech now . You have done a superb job on her, I look forward to the photos of the completed model