HOLIDAY DONATION DRIVE - SUPPORT MSW - DO YOUR PART TO KEEP THIS GREAT FORUM GOING! (Only 13 donations so far - C'mon guys!)
×


Jeff-E
-
Posts
699 -
Joined
-
Last visited
Content Type
Profiles
Forums
Gallery
Events
Everything posted by Jeff-E
-
Hi Ollie, Very nice work on the rudder and channels, the timber looks great.
- 803 replies
-
- 2
-

-
- colonial cutter
- modellers shipyard
- (and 1 more)
-
Hi Richard , Very nice and smooth first planking you are making excellent progress
- 55 replies
-
- 1
-
-
- mercury
- victory models
- (and 1 more)
-
Hi Kester and Jimmy, Thankyou both for your kind comments. Kester, that is what I am hoping for, we'll see how it turns out
-
Hi Ollie, John is totally correct the winch was operated by hand spikes which turned the main drum the handles are on the brass rod to release the pawls form the ratchet wheel. Also you may notice from John's photo that the windlass drum is hexagonal between the the outer bearing and the ratchet and pawl and not round
- 803 replies
-
- 2
-
-
- colonial cutter
- modellers shipyard
- (and 1 more)
-
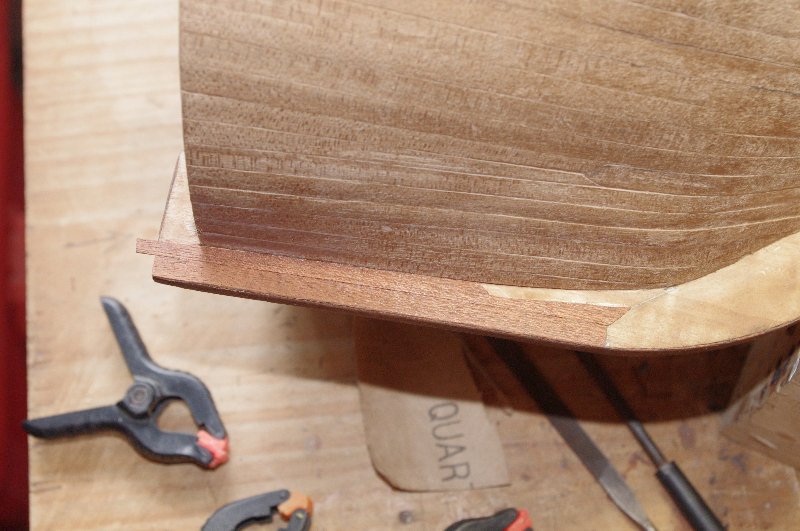
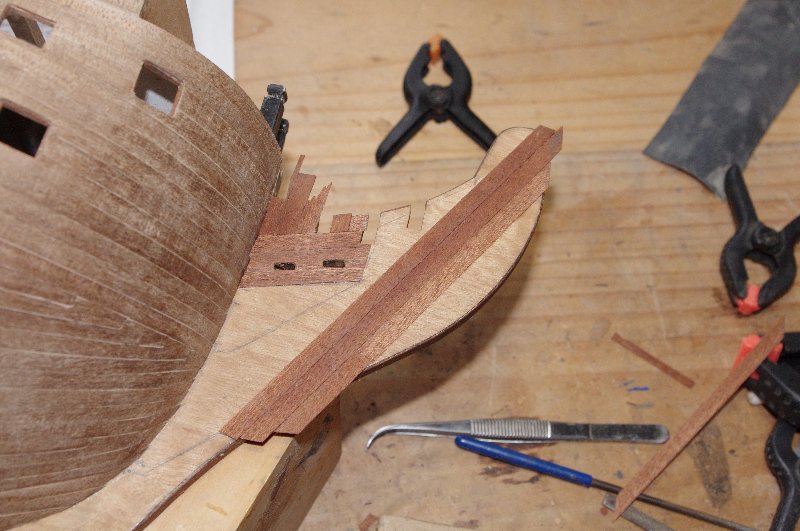
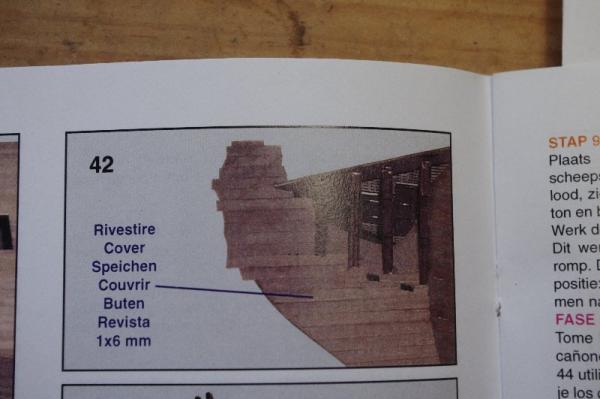
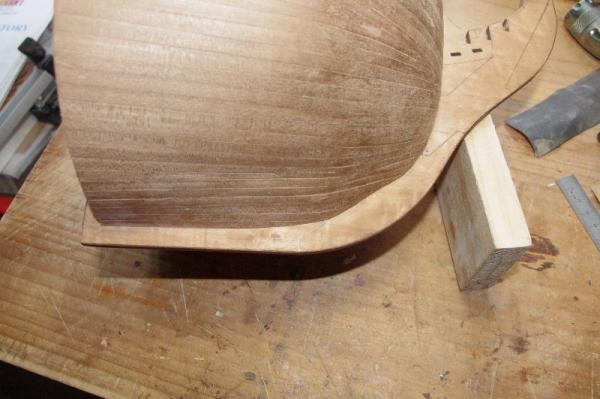
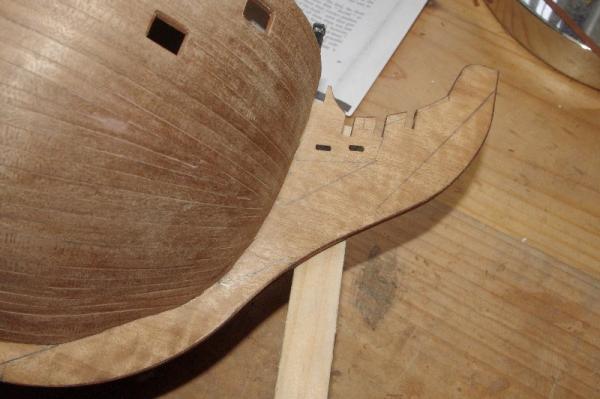
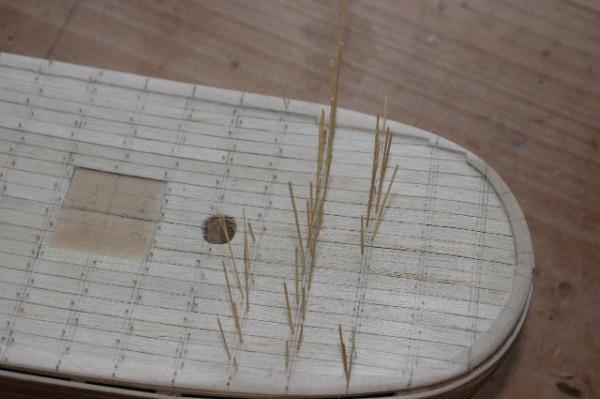
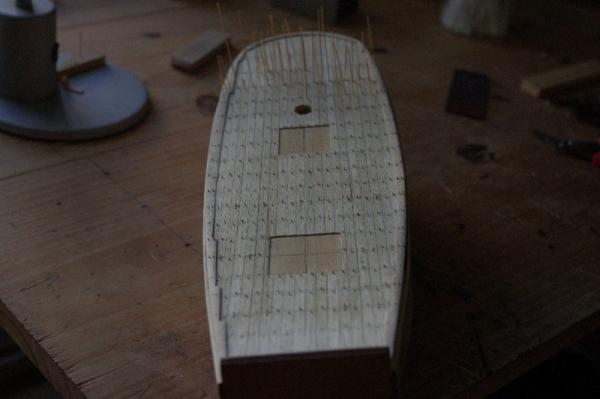
Hi All, I finished lining the gunports today and I will post some pictures once they are trimmed and sanded. My next project is to plank the stem an keel even though I am going to paint it and copper below the water line I would like some definition of it being planked under the paint, the instructions do call for you to plank the keel using 1 x 6mm walnut strips in a straight sort of pattern. The pic may will explain it better I have decided to go with the pattern in Longridge's book which I have drawn on the keel and stem I am using 0.5 x 5mm sapellie from another kit for the planks because I don't think there are not enough walnut planks left over to complete the job and I only have to widen the slots in the frames that support thebeakhead deck by 1mm instead of 2mm Some pics of the planking follows I will post some more soon.


-
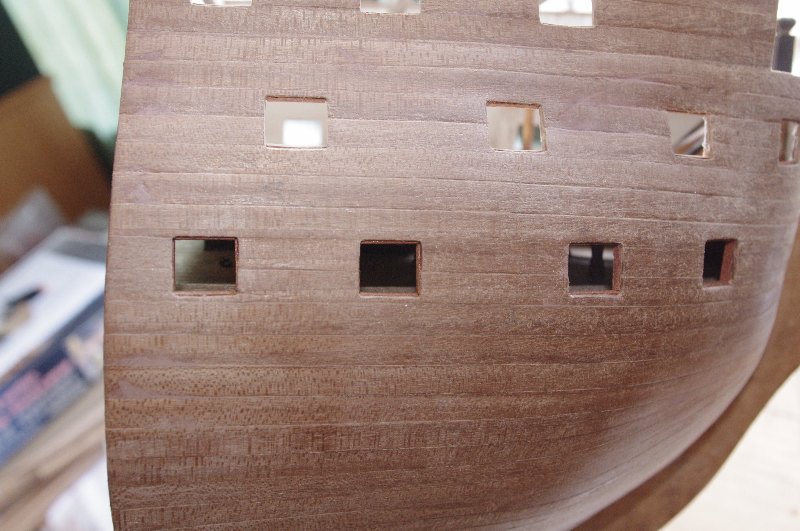
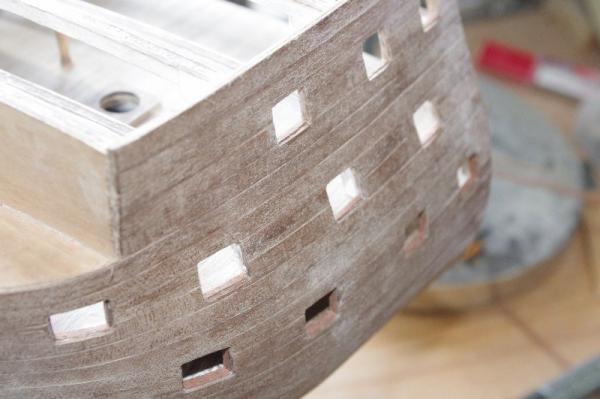
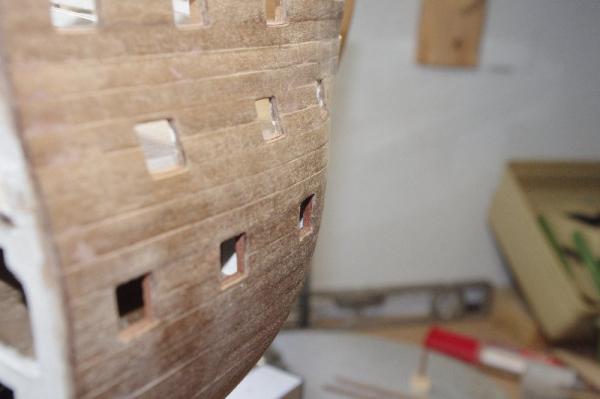
Hi All, I have been lining the gunports over the last few days and I hope to finish them tomorrow. They will need a little bit of trimming and a light sand but overall Iam happy with them. I lined the top and bottom of the ports first and then did the sides, I have 9 more ports to do to finnish them off. some pics follow

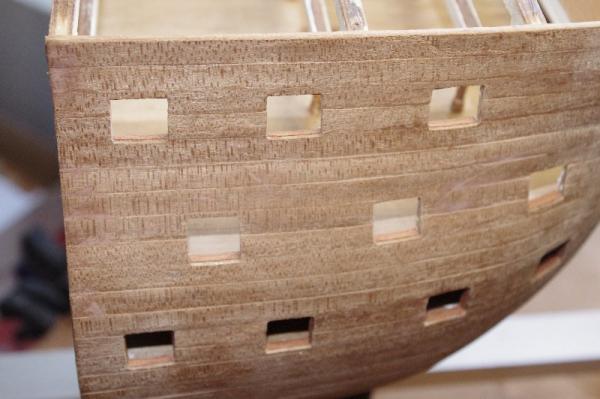
-
Hi Ollie, Your keel and stem look great much better than the supplied one
- 803 replies
-
- 2
-
-
- colonial cutter
- modellers shipyard
- (and 1 more)
-
Hi Richard, Your first planking looks excellent very clean and smooth, it doesn't look like any filler will be needed
-
Hi Richard, I have just found this log looks like an interesting build we don't hear much about other countries ships, like Russia, as she was not known as a great sea power at a time when England ruled the waves which is maybe why the kits of the main sea powers of the period are more popular. You have made a great start and I like how you over came your problem with the precut gunport patterns, very nice fix I will follow with interest
- 55 replies
-
- 1
-
-
- mercury
- victory models
- (and 1 more)
-
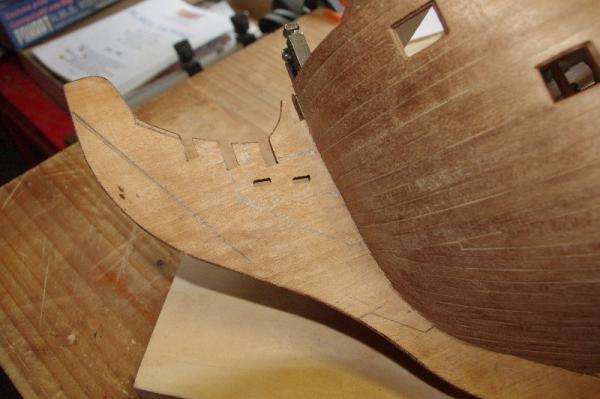
Hi Ollie, Your first planking looks very good , neat and smooth. To answer your question I like to make my rudders to be able to move but that is just a personal preference, if the kit is put into a display case it wont matter if it can move or not as you can't move it any way. You will need to drill a hole through th deck and hull for the rudder so that the tiller can be attached to the head of the rudder, may I suggest that you do this before laying the second planking to avoid damage to the second layer
- 803 replies
-
- 2
-
-
- colonial cutter
- modellers shipyard
- (and 1 more)
-
Hi Mobbsie, Just catching up on your build, you have made some great progress since I last looked in. Your lower masts look fanatstic
- 1,279 replies
-
- 1
-
-
- agamemnon
- caldercraft
- (and 1 more)
-
Hi Dragzz, Joe, Slog, Nick and Richard, Thank you all very much for your kind comments and for looking in
-
Hi Matt, Your deck fittings look great, nice fix with the pin rails, looks like they were meant to be that way . The capstan turned out really well, looks fantastic.
- 64 replies
-
- 1
-
-
- occre
- san marcos
- (and 1 more)
-
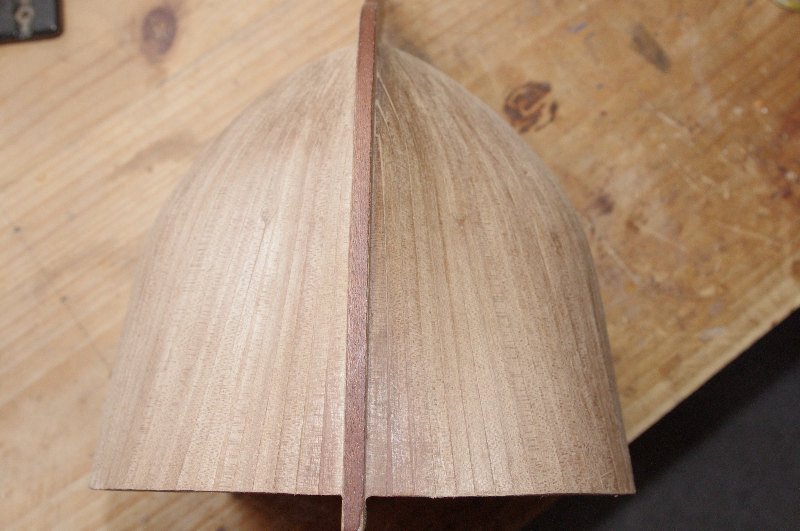
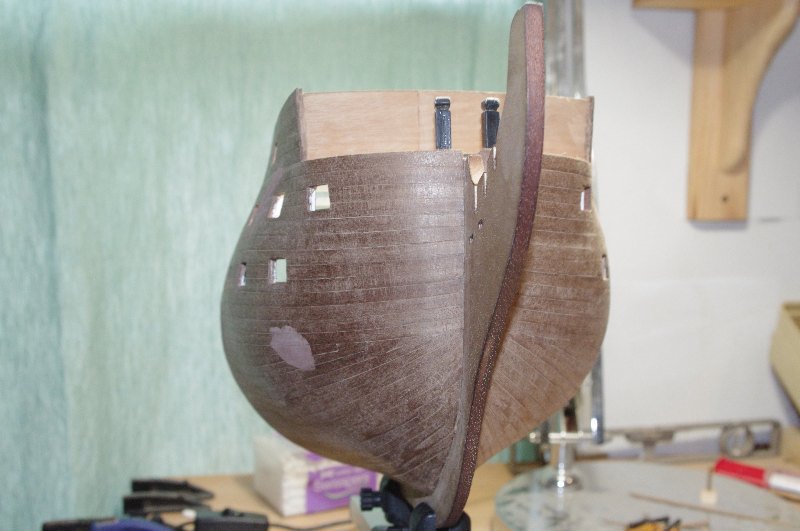
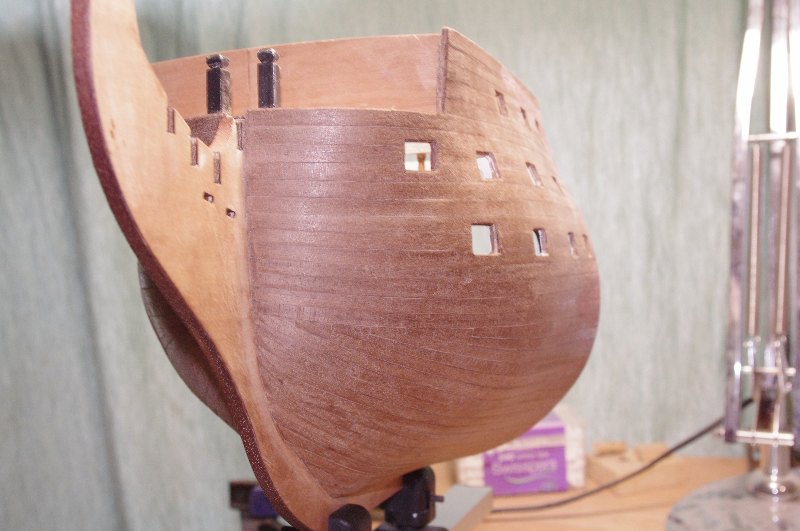
The next lot of photos shows the completed second planking The spot on the bow in photo 10 and 12 is filler
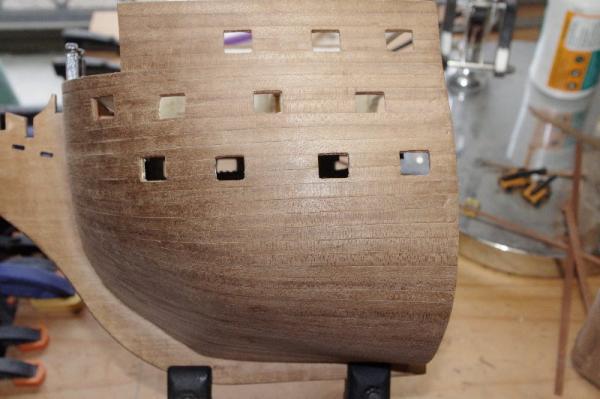
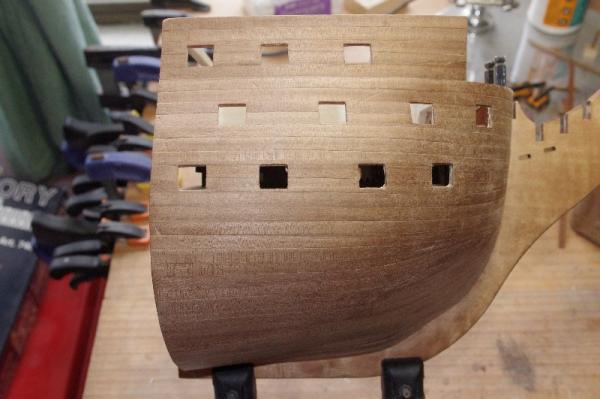


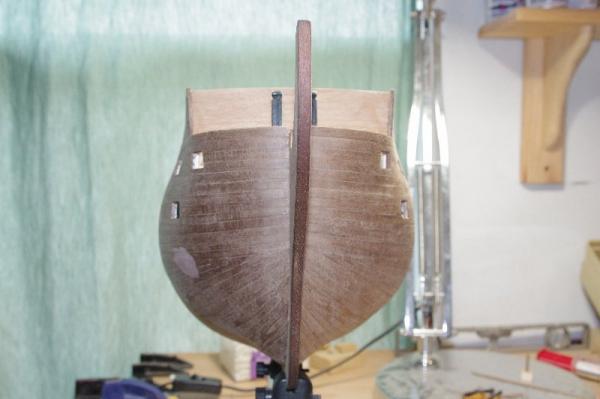
-
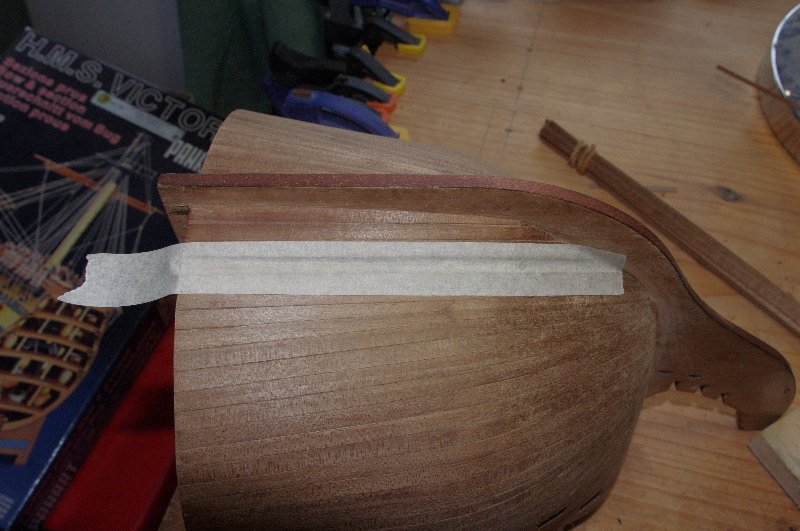
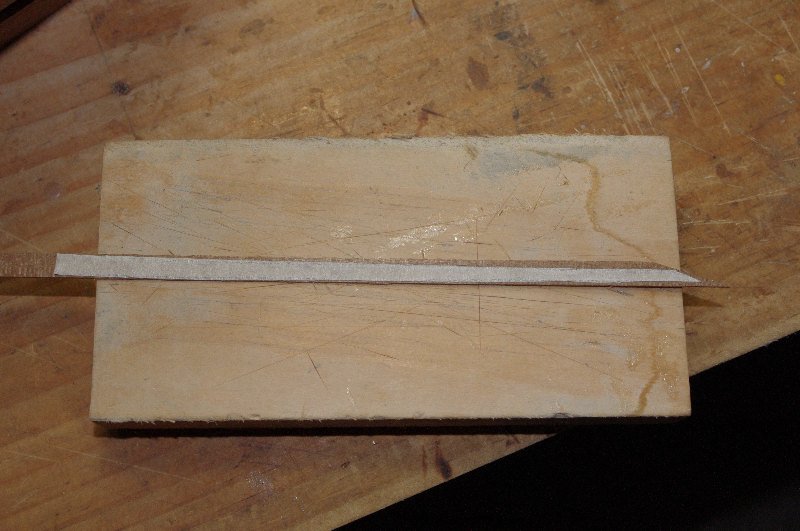
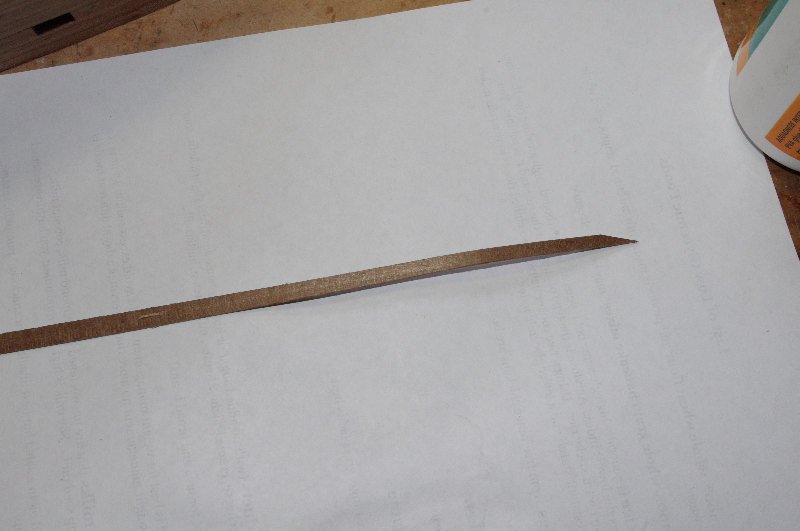
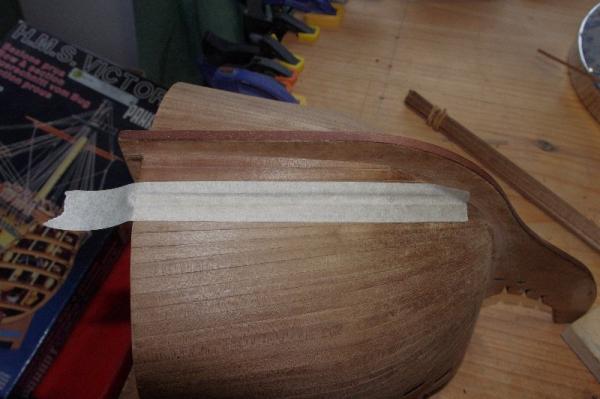
Hi All, Well the second layer of planking is finished . I think it turned out fairly well and I am quite happy with it. My next task is to fill a few small gaps and some dings in the planks which were caused by spring clamps used to hold them in place while they were wet , until I came up with the idea to place a piece of scrap between the plank and the clamp, a bit late for some of them but better late than never . After this is done then I'll sand it down and finish lining the gunports and then mark the waterline and the position of the wales. The first lot photos shows how I shaped the final plank, I find this method fairly easy and accurate. I take astrip of masking tape and lay it over the position where the plank is going to go and then outline it with a pencil. It is then cutout and laid onto the plank The plank is then cut and sanded to shape, saves a lot of measuring


-
Hi Ollie, Your first planking is coming along very well. Personally I would fit the keel and stem after completeing the first layer of planking as any adjustments can be made and if there are any small gaps between the planks and the keel these can be covered by the second layer. As Alistair says I wouldn't attach the stern post until the second layer is complete. Keep up the good work she is looking great.
- 803 replies
-
- 2
-
-
- colonial cutter
- modellers shipyard
- (and 1 more)
-
Hi Dragzz, Welcome to my log and thankyou for your kind words
-
Hi John, She is coming along nicely. If you are still after an idea to make rope coils there are two differnt methods I use, the firet if you want a stacked coil is to wrap the rope, four or five times around a small cylinder, like a pen or piece of dowel and then clip the ends with an aligator clip to keep them taught and then give it a coat of diluted PVA glue let it dry and slide it off the dowel. To make a flat coil I use two 25mm square pieces of plastic card about 0.75mm thick,Ipierce one side with a dress makers pin and insert the rope through the hole then insert the pin to trap the rope cover the surface of the the plastic with Diluted PVA glue and thea push the pin through the second piece of plastic to form a sanwich, coil the rope in between the two pieces of plastic to the desired diameter and let it dry. Pull the top off and you should have a nice rope coil which can be easily adjusted to your requirements I did have photos of this process but I cannot find them at the moment. I got this idea from another modeller 'pompey' on the old site
-
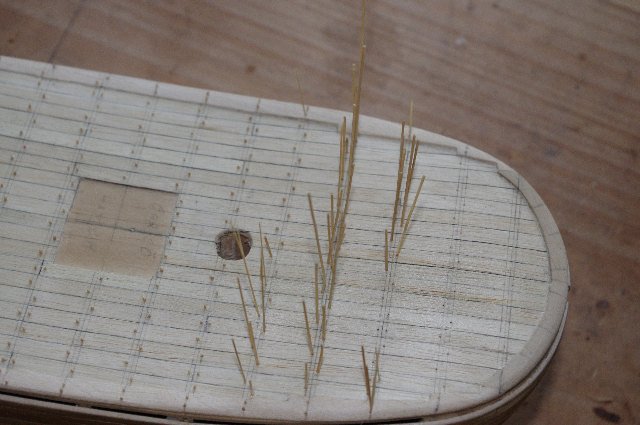
Hi Jimmy, My understanding is that most model kits supply brass nails to temporarily pin the first planking and the false decks to the bulkheads while the glue dries. Most of the instructions Iv'e read have said to leave the nails protruding by a couple of millimeters so that they can be removed after the glue has dried. I did make the mistake on my first wood model, the HM Bark Endeavour by Artenesia Lantina, to nail the first planking down with the supplied nails which happened to be brass coated steel nails which over time resulted in a rust stained mess. I think what you are refering to for the deck planks is treenailing and this effect can be achieved in many ways. The method I used on my last build was to use bamboo tree nails made from skewers cut down and drawn through a home made draw plate and glued into holes drilled into the deck and then cut level and sanded off I agree that brass nails would look good as long as they are brass and not coated steel but most of the supplied nails are out of scale. As for tree nailing the hull there are a quite a few builds on this forum that have done this a very good example is 'Dan Vads Build of the Norfolk' I hope this helps answer your questions and i look forward to seeing your Victory when you start her

-
Very nice method. I will try this next time Thankyou for posting
-
Hi Ron, Nice jig the simple ones always seem to work the best, the bulwarks look to be sitting nicely
-
Hi Slog, Excellent fix to a tricky problem I think it looks great, the bow sprit is sittng down nicely against the step
-
Hi Slog, Thanks for looking in and your kind words I had thought of leaving her varnished but I think I will still paint the upper works and copper the lower hull
-
Hi Jimmy, Thank you for looking in and your kind words and Which model do you have? Please don't have cold feet about starting your model and posting a build log you will recieve plenty of encourgement and answers to any questions you have on this forum In answer to your question I think they recomend contact cement because you are able to lay a greater number of planks at one time, making the process a lot quicker, but as you rightly point out if they are not positioned correctly or they are not tapered right to fit snug then it could turn out to be very hard to fix. Personally I use PVA wood glue for both layers of planking as it gives you time to adjust the plank into the right position it is then clamped down with pins or planking screws and left to dry. I will sometimes use a small spot of superglue, at certain points along a planks length to hold it at akward points where I can't get a clamp to hold it down but this is rare. The clamps can be seen in use on page 6 of this log This makes the planking process take a little longer but I think it is worth it I hope this helps to answer your question and I am looking forward to see you start a build log of your model on this forum