HOLIDAY DONATION DRIVE - SUPPORT MSW - DO YOUR PART TO KEEP THIS GREAT FORUM GOING! (83 donations so far out of 49,000 members - C'mon guys!)
×

Lt. Biggles
-
Posts
346 -
Joined
-
Last visited
Content Type
Profiles
Forums
Gallery
Events
Everything posted by Lt. Biggles
-
 Thanks, I’m glad you like the colours! If only you knew I was using Tamiya sky grey and dark grey! But in saying that they both have a few drops of each other mixed in along with drops of other colours to get the shadings. Keeping the ratios easy so when I do the super structure the colours will match but be slightly different just to add to the well worn effect! after the amount of washes I intend to do it won’t matter what the base colours were anyway. But these colours do look good together and probably are pretty close to official colours now. This pic is for you OC, I didn’t forget about it... kinda. But it’s added now!
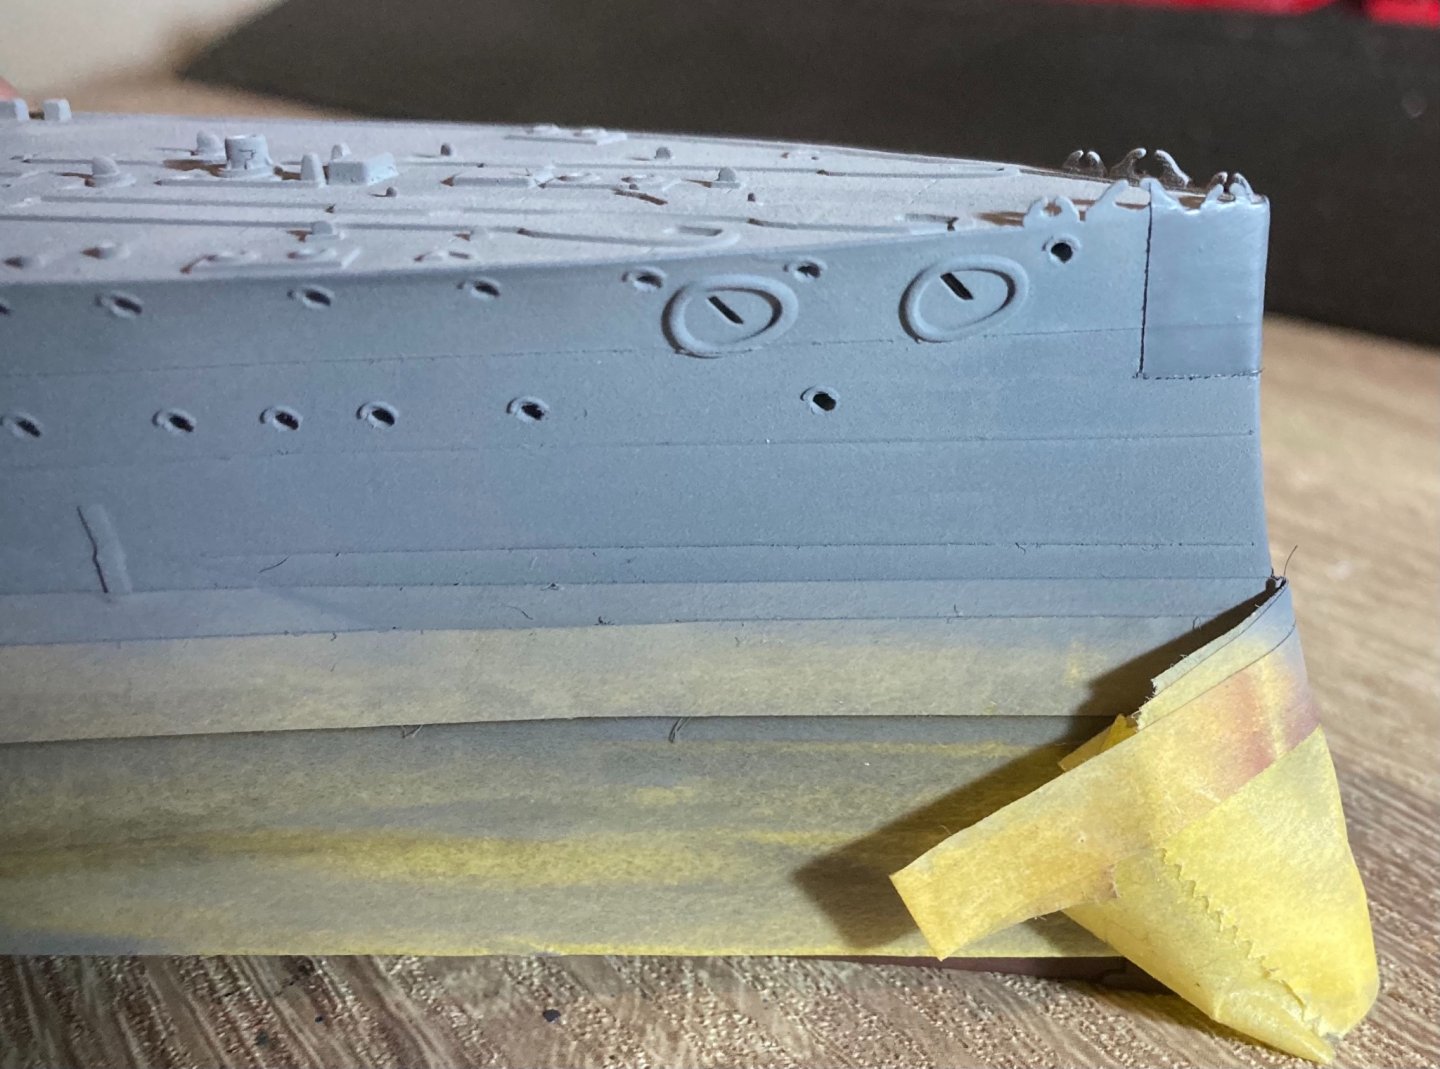
-
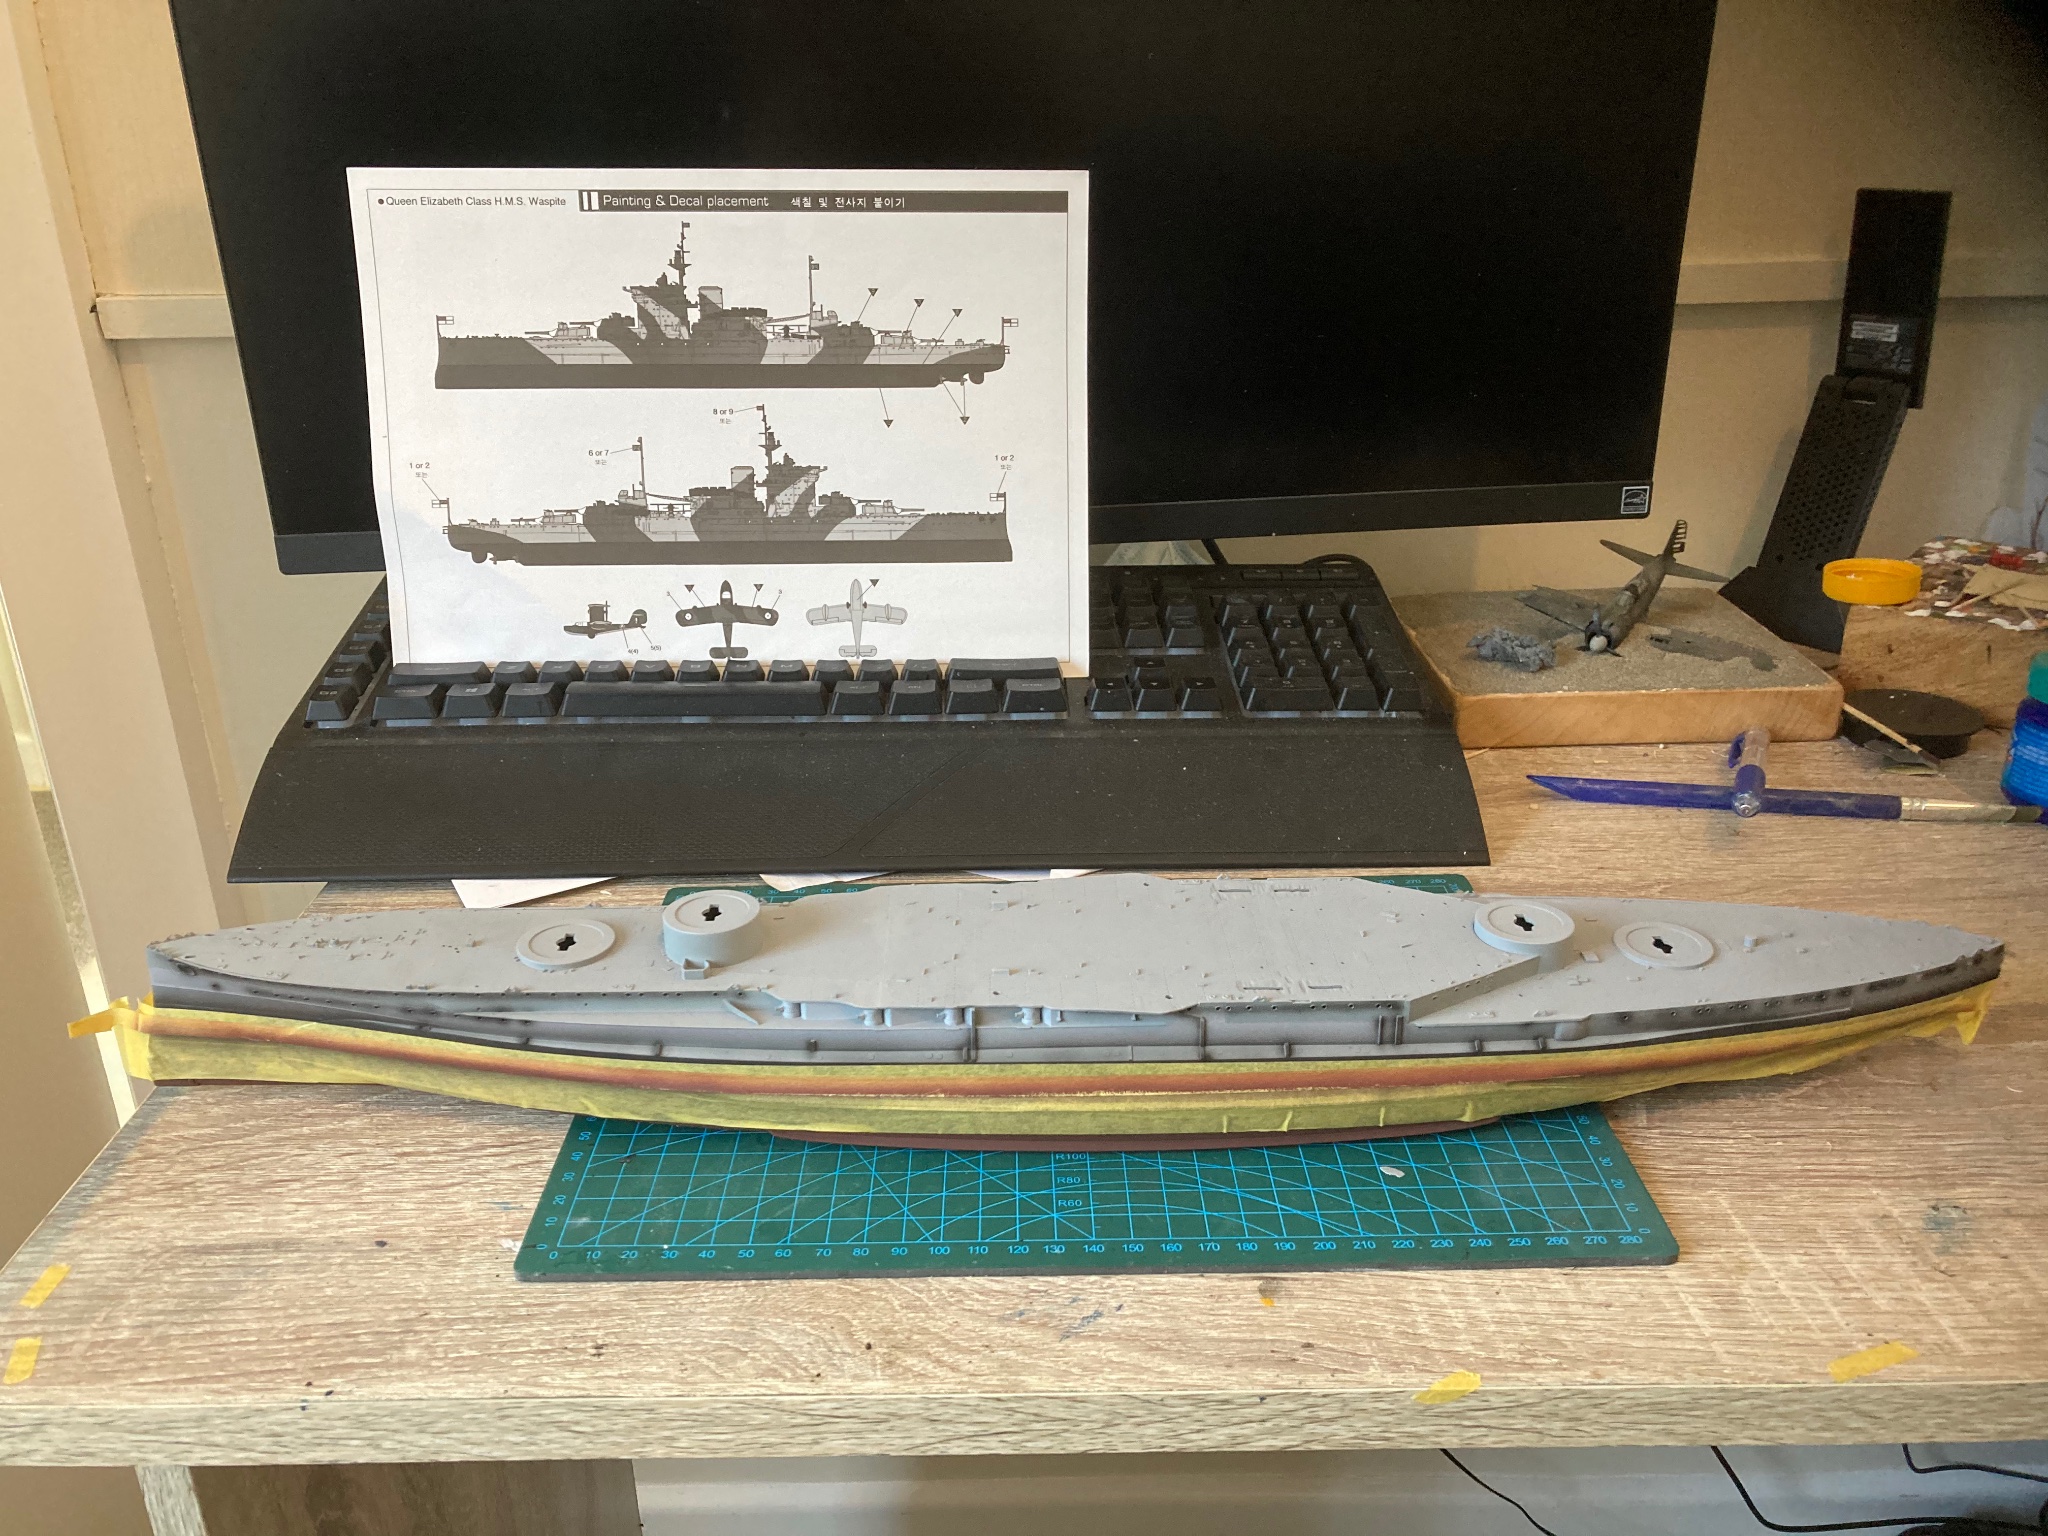
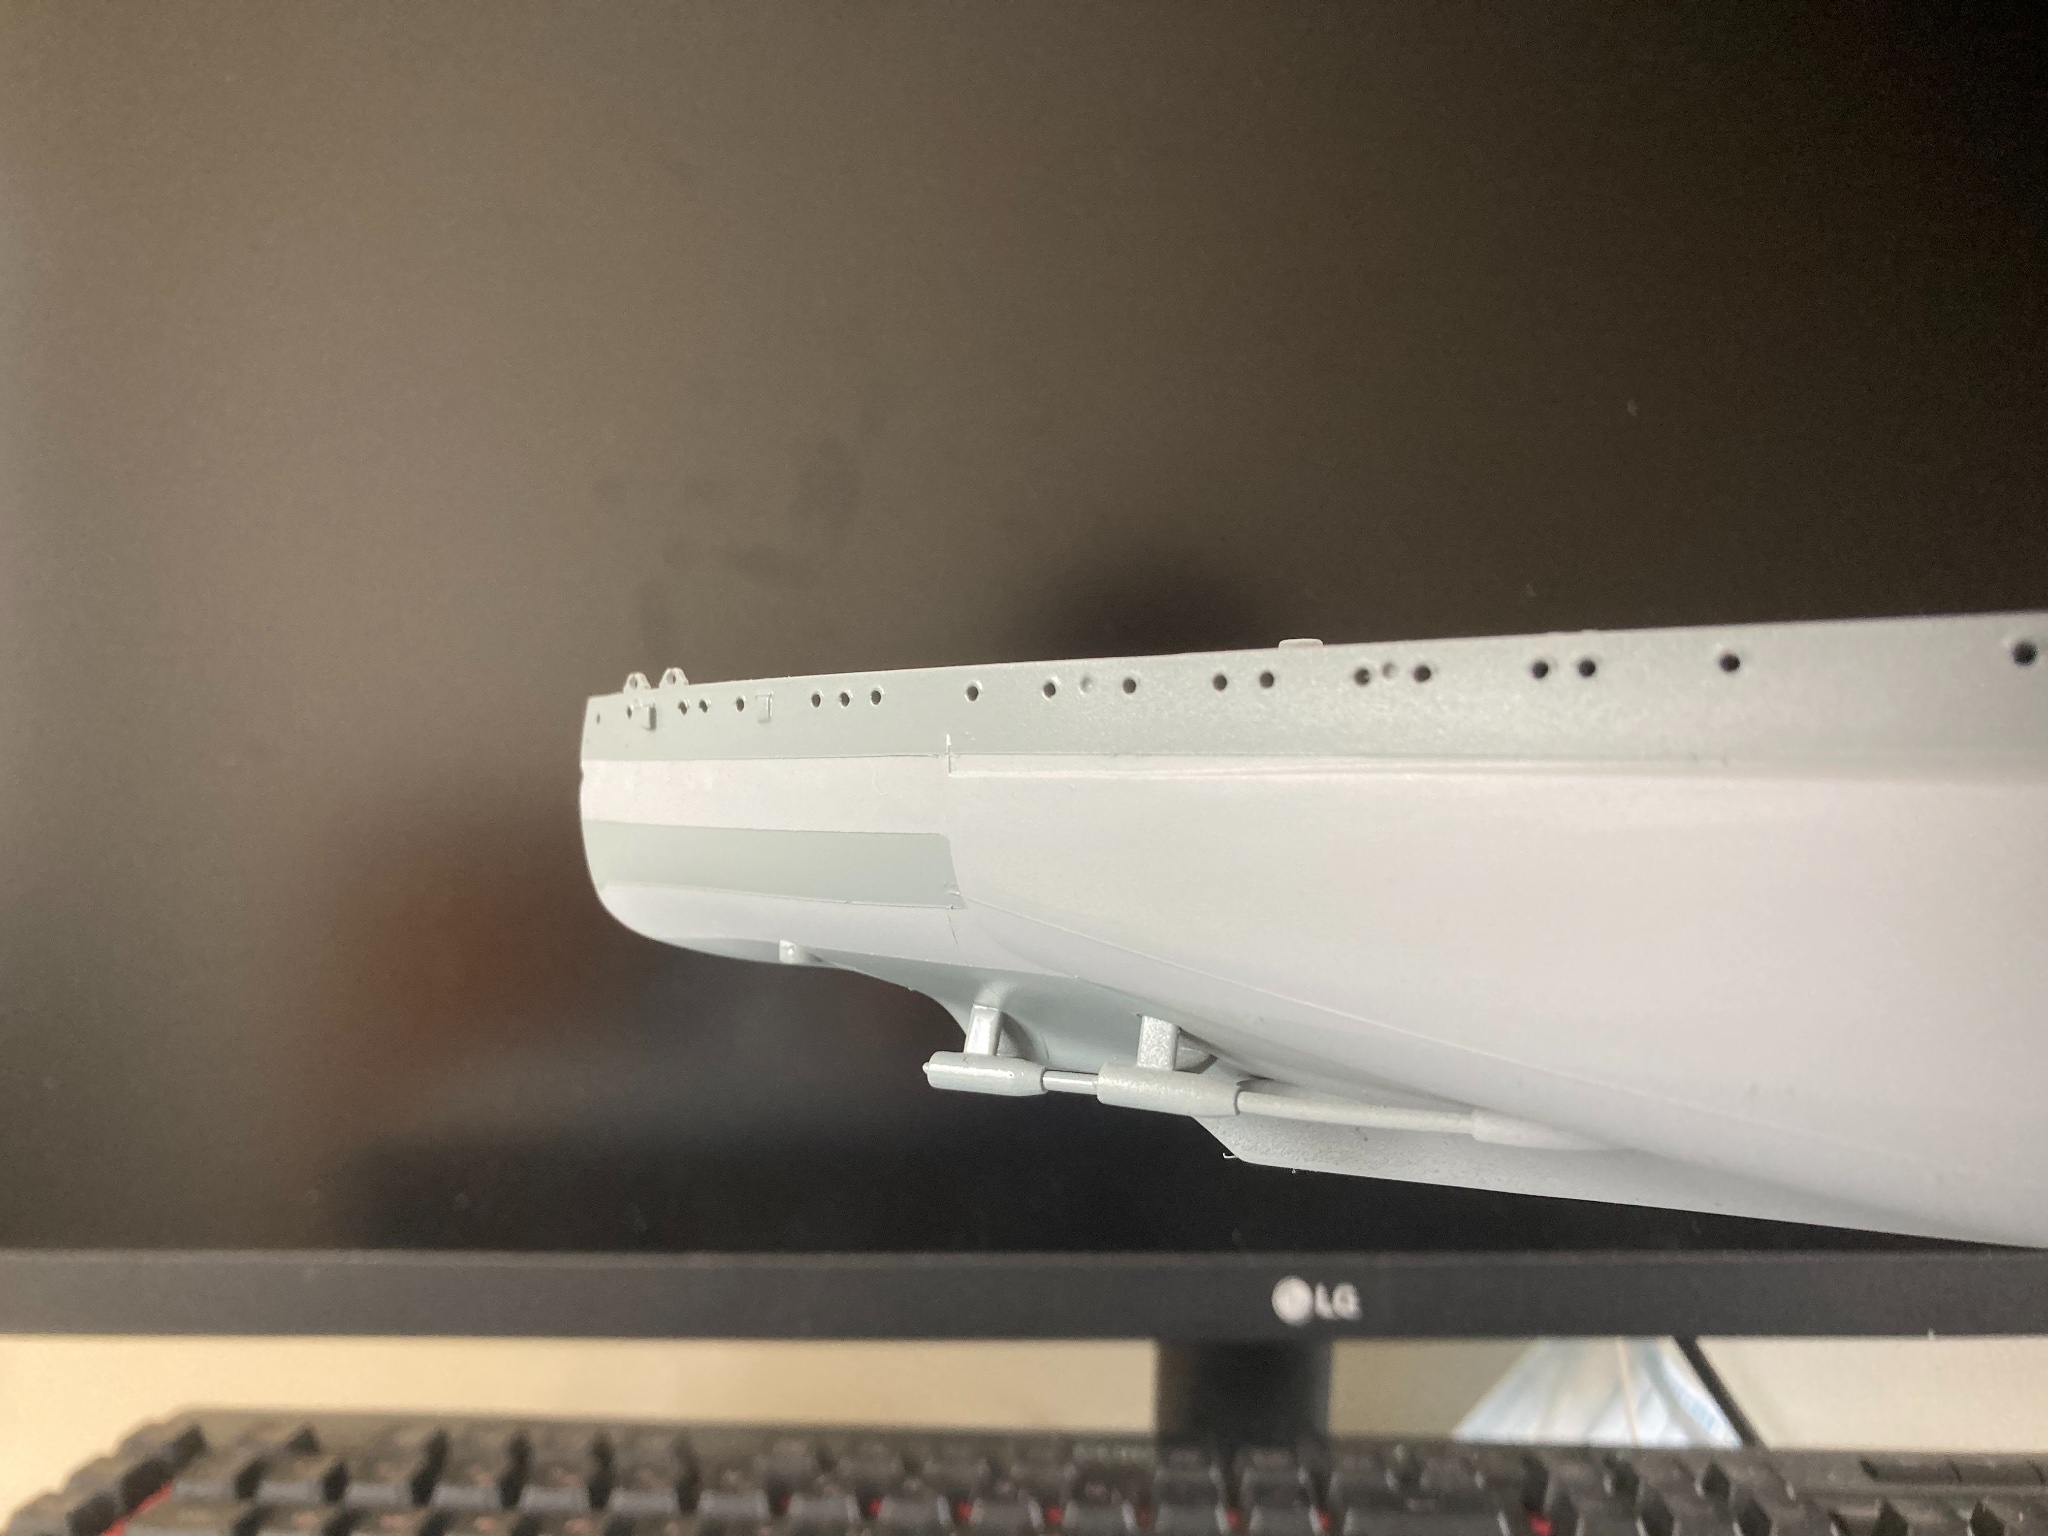
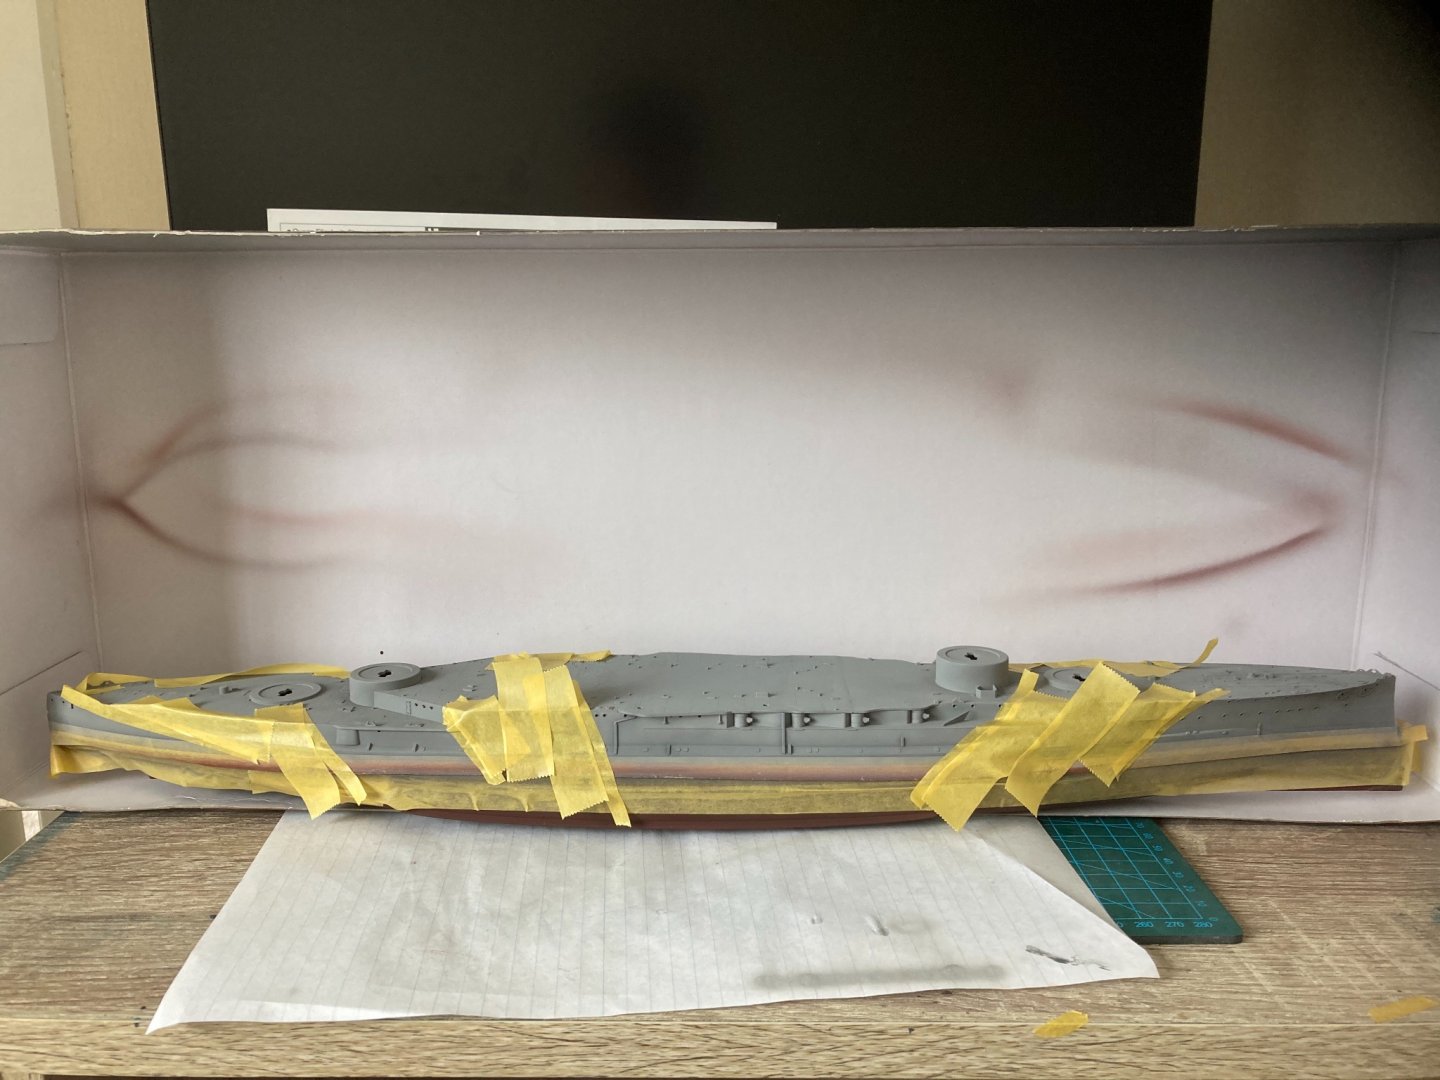
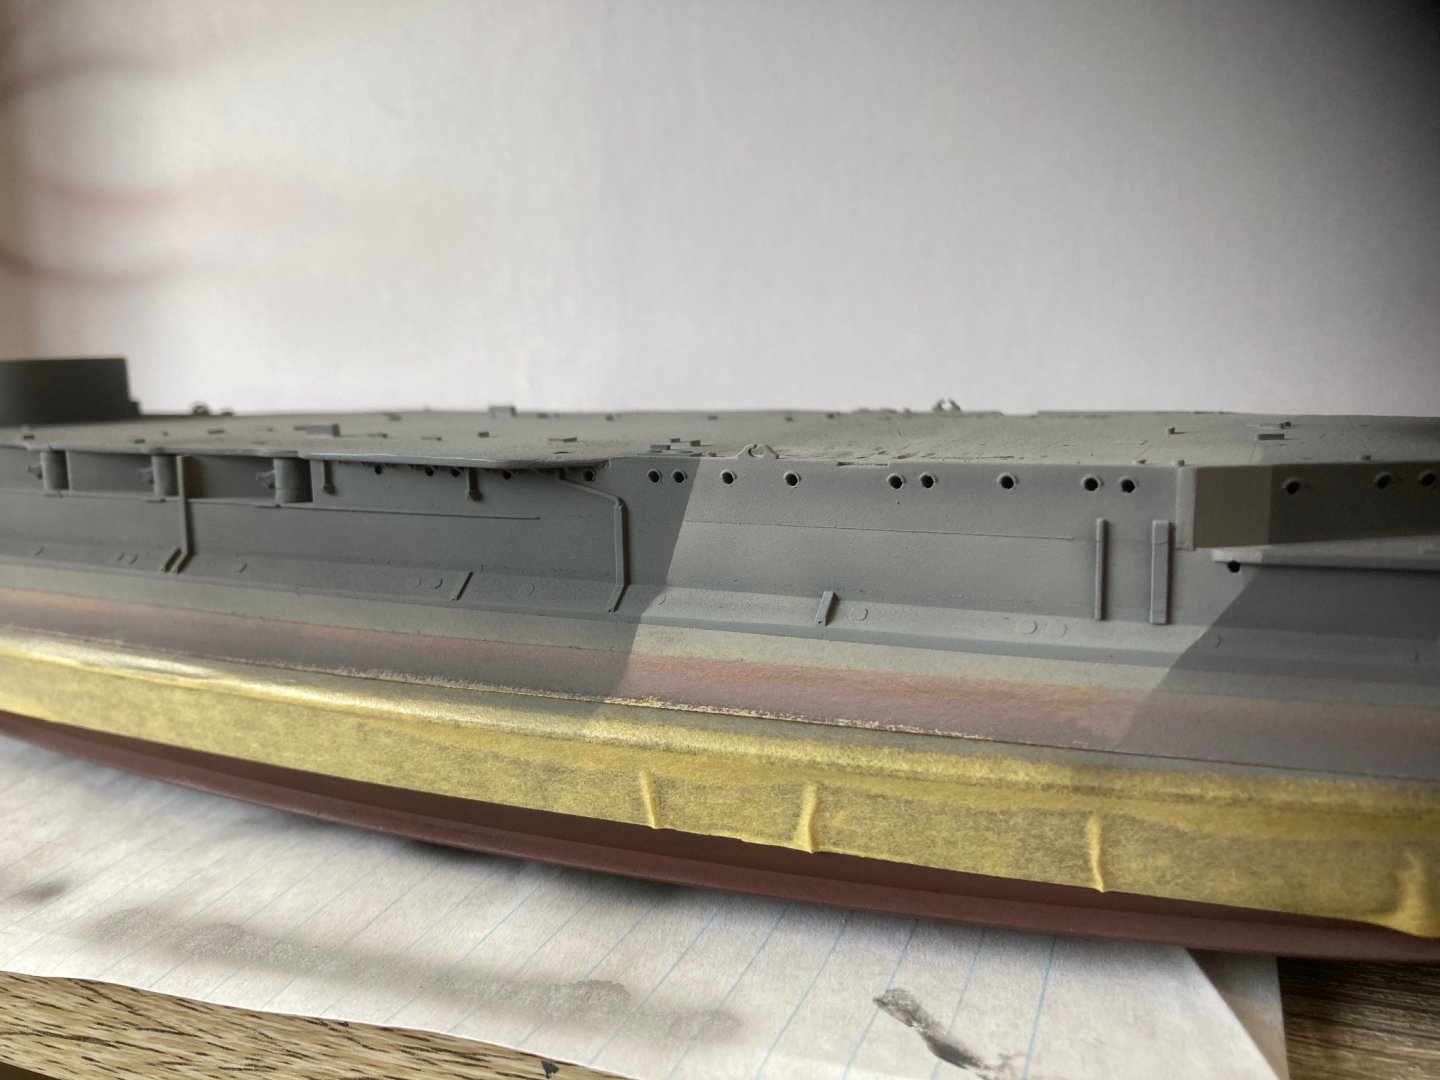
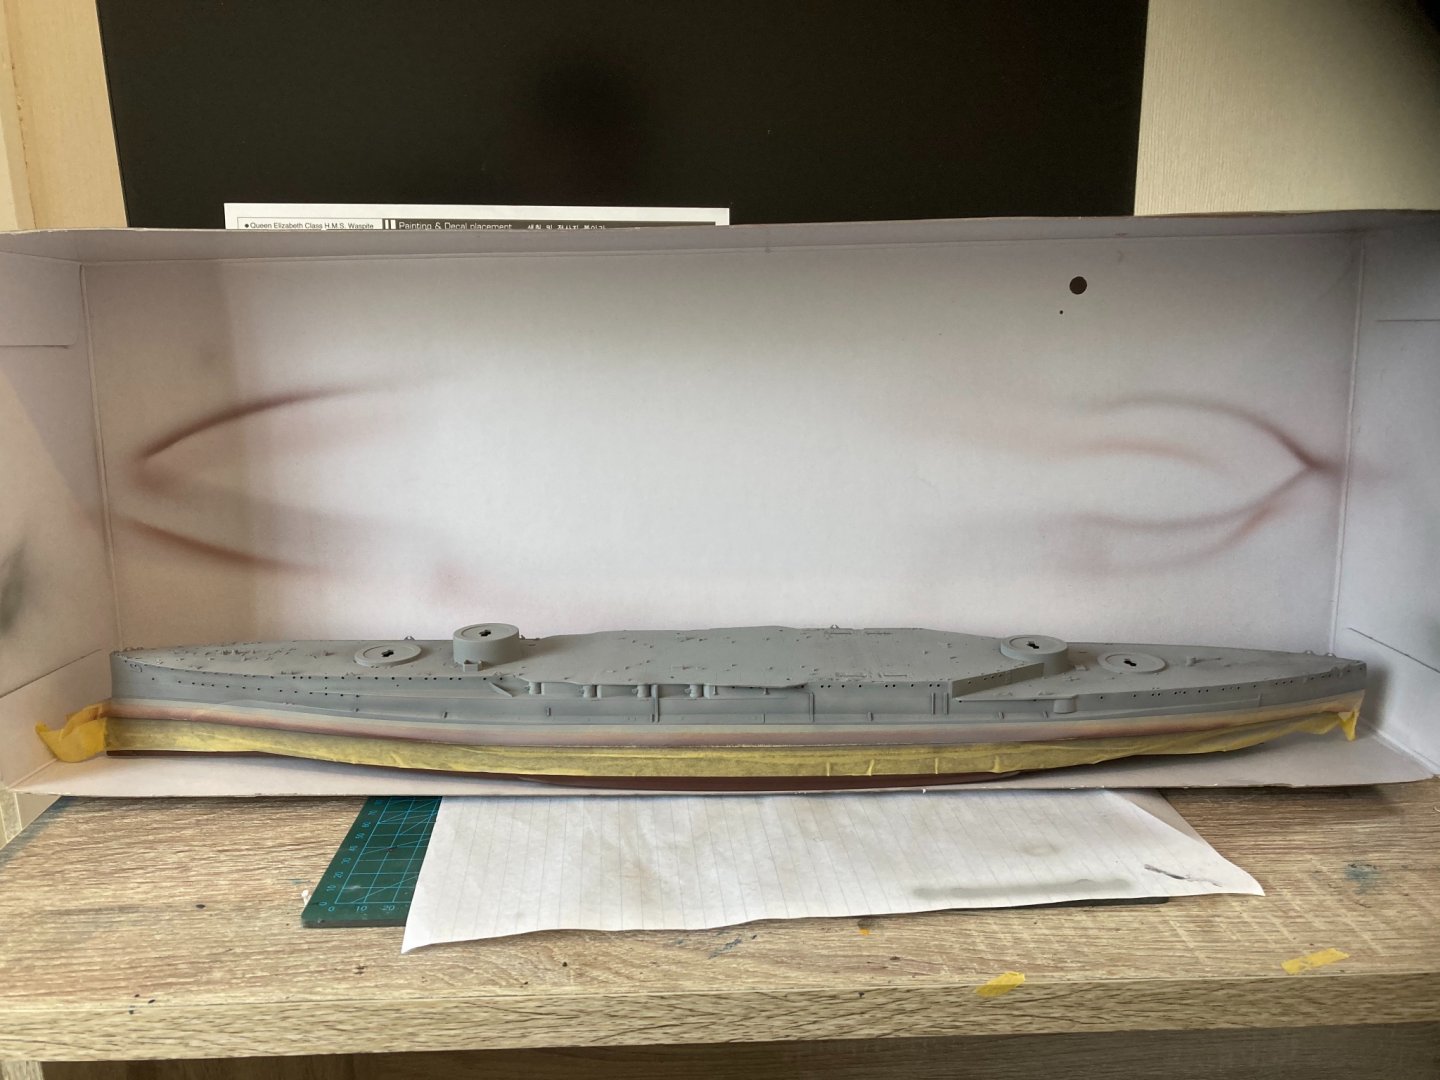
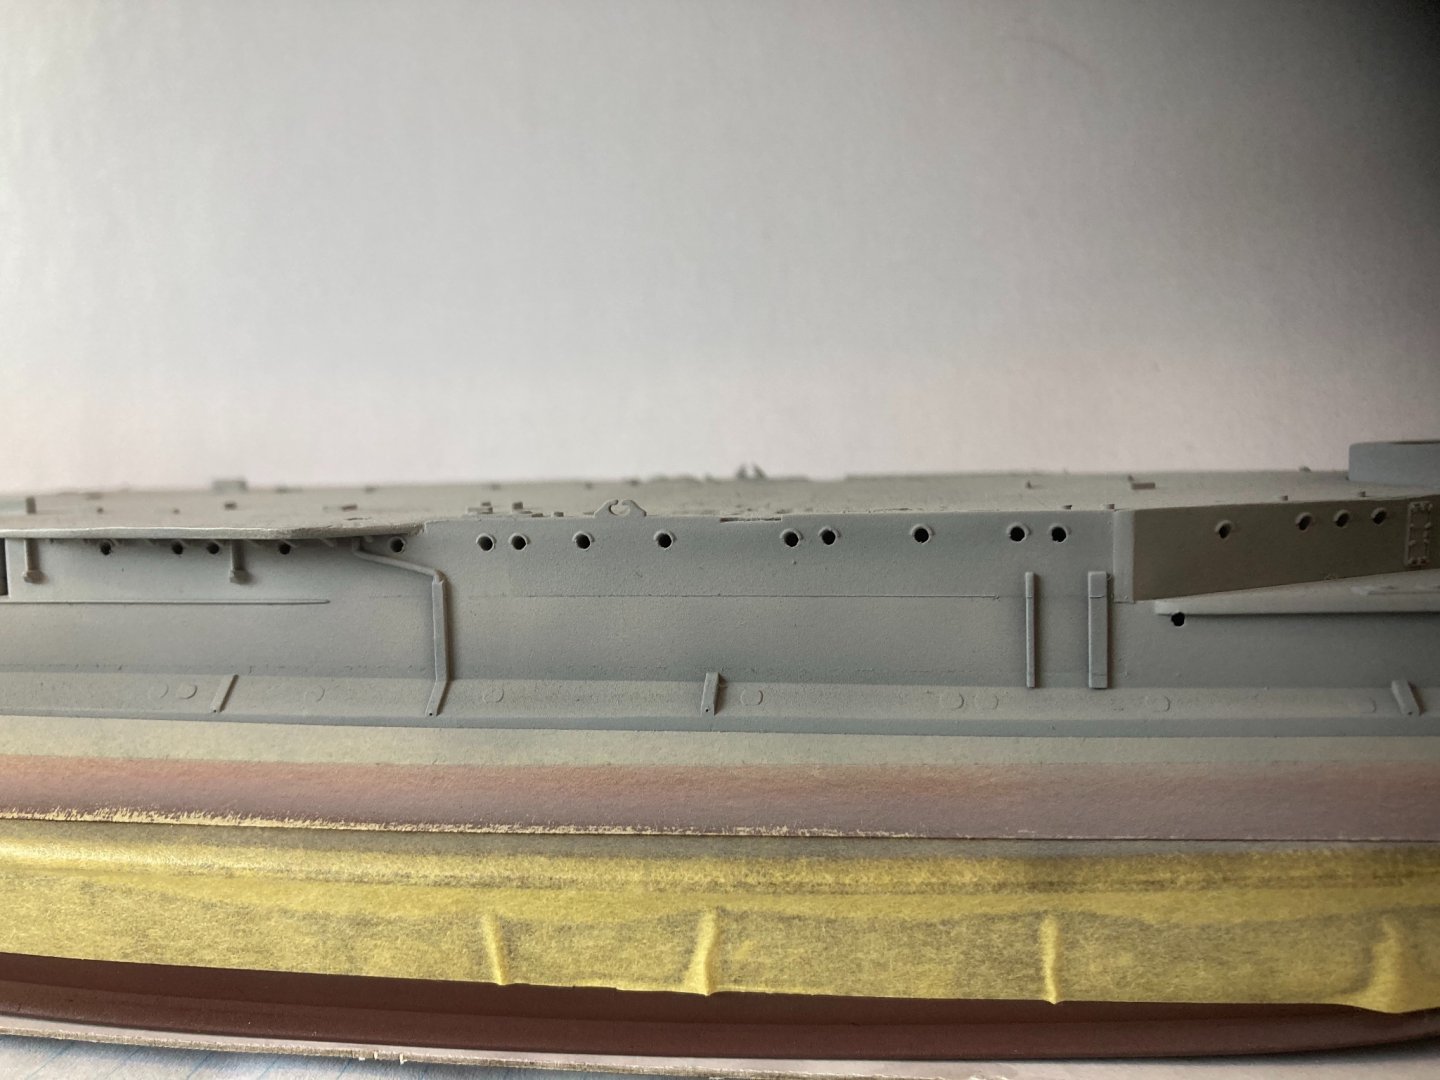
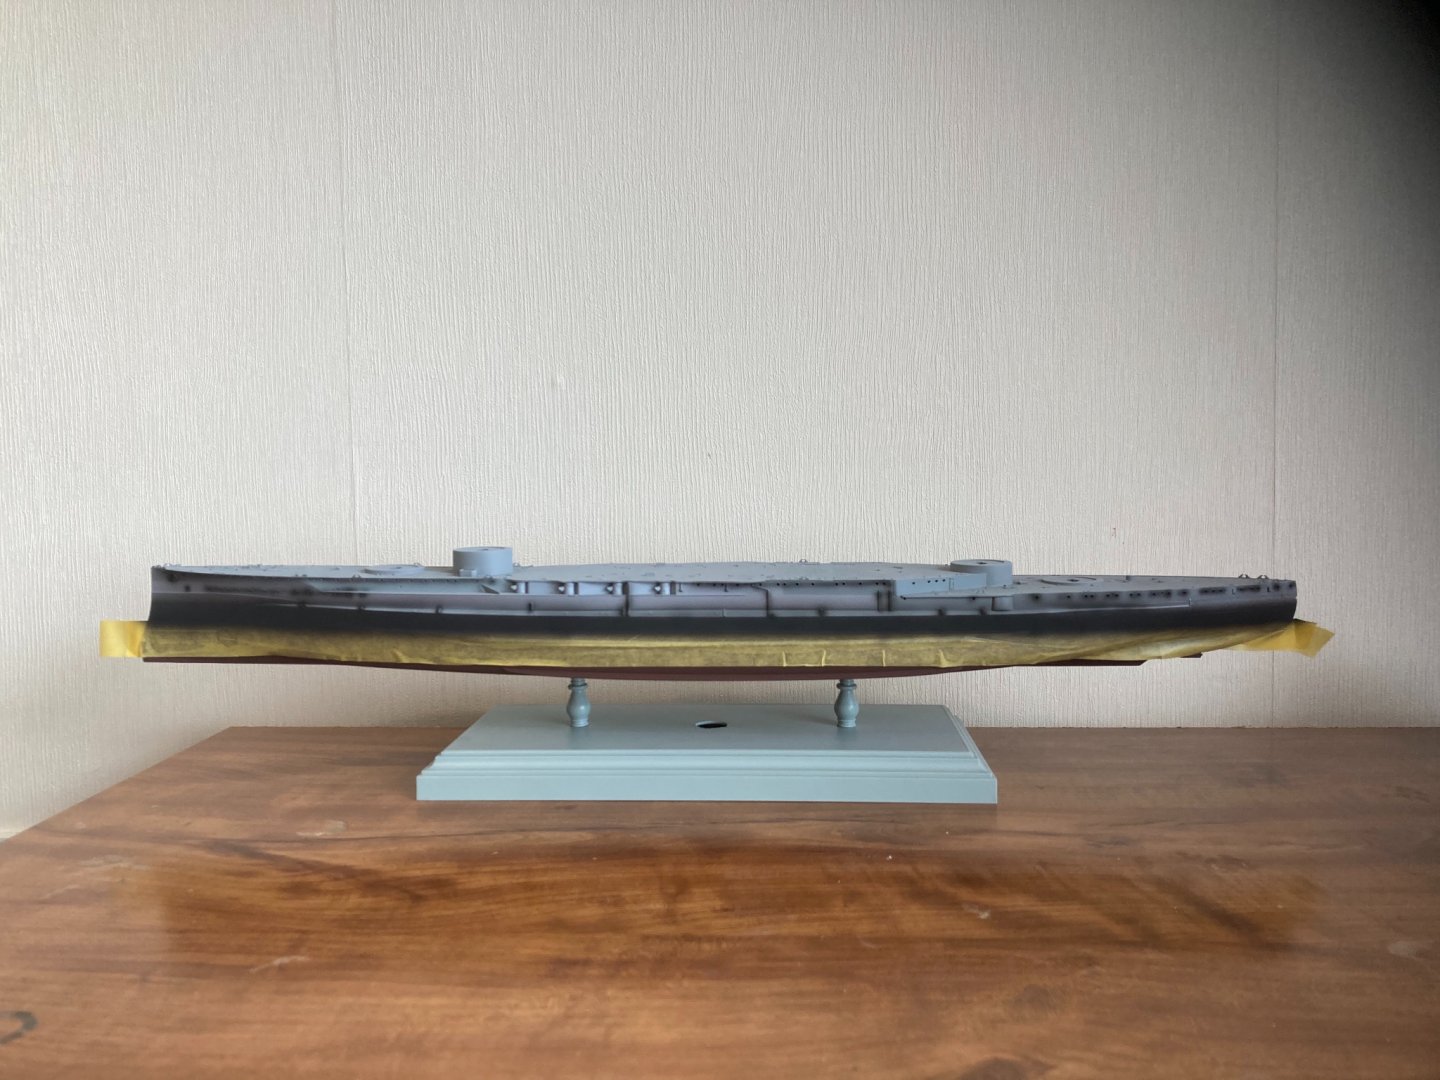
Well I gave the grey a day to dry and taped up the areas for the camo. lots of angles and shelves on the hull so will be fun for the weathering and fade but trickery to tape tight! I think for using the paints I already have the colours work well together. next I’ll do some washes to see if we can get some streaks and fades going while the rest of the hull is taped up. lighter colours are always easier to get a nice patchy look.

-
Admiralty dazzle is just the proper name for camo right? It wasn’t painted in one of those crazy black and white schemes that make you go cross eyed looking at pictures? im glad my track so far lines up with how she would have been. All the pics don’t show much rust streaks but very weathered paint so that’s how I decided my plan. Thanks for the info
-
Having an airbrush is a whole different world with so many options and effects available. It’s abit like PE once you use it, it’s hard to imagine doing a build without it! Do you have an airbrush now?
-
Masked off the painted hull and have started on the light grey. I added a few drops of darker grey to get some variation in the colour. just a pretty rough coat as I’ll paint in the dark grey and shade that and lots of washes and try get a well faded and well used look to it so need to have more obvious contrast otherwise it will all be hidden later. I’ll not go crazy with lots and lots of rust type washes but will try get the grey to look old

-
Yea I can imagine! Tornados and tsunamis you don’t want to be playing silly games with! the all clear has been given here so everything back to normal.
-
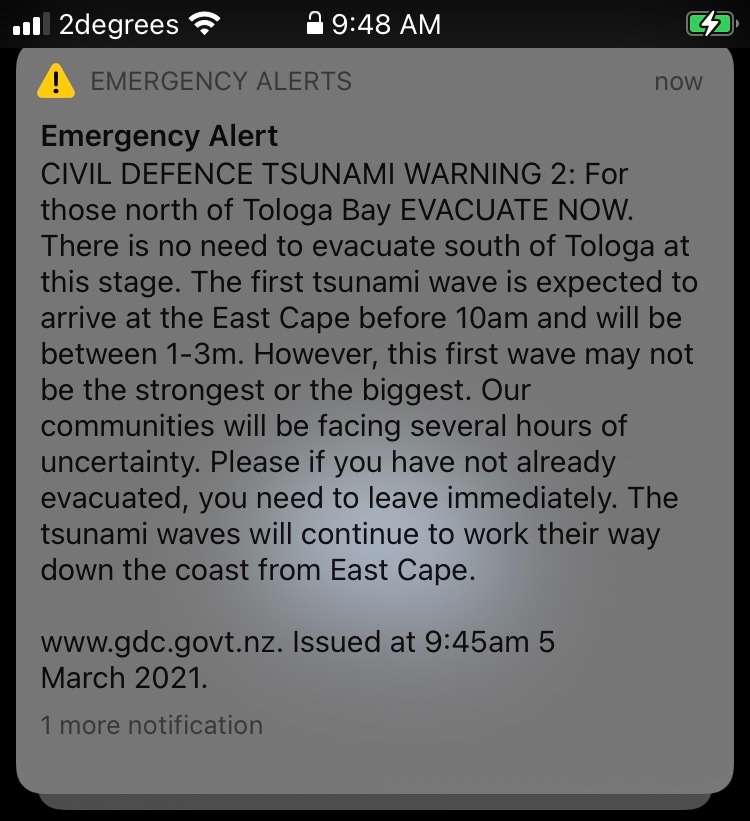
Off topic but if anyone is interested here is what a 15 min tsunami warning alert looks like, it arrives with an alarm that really gets your attention!
-
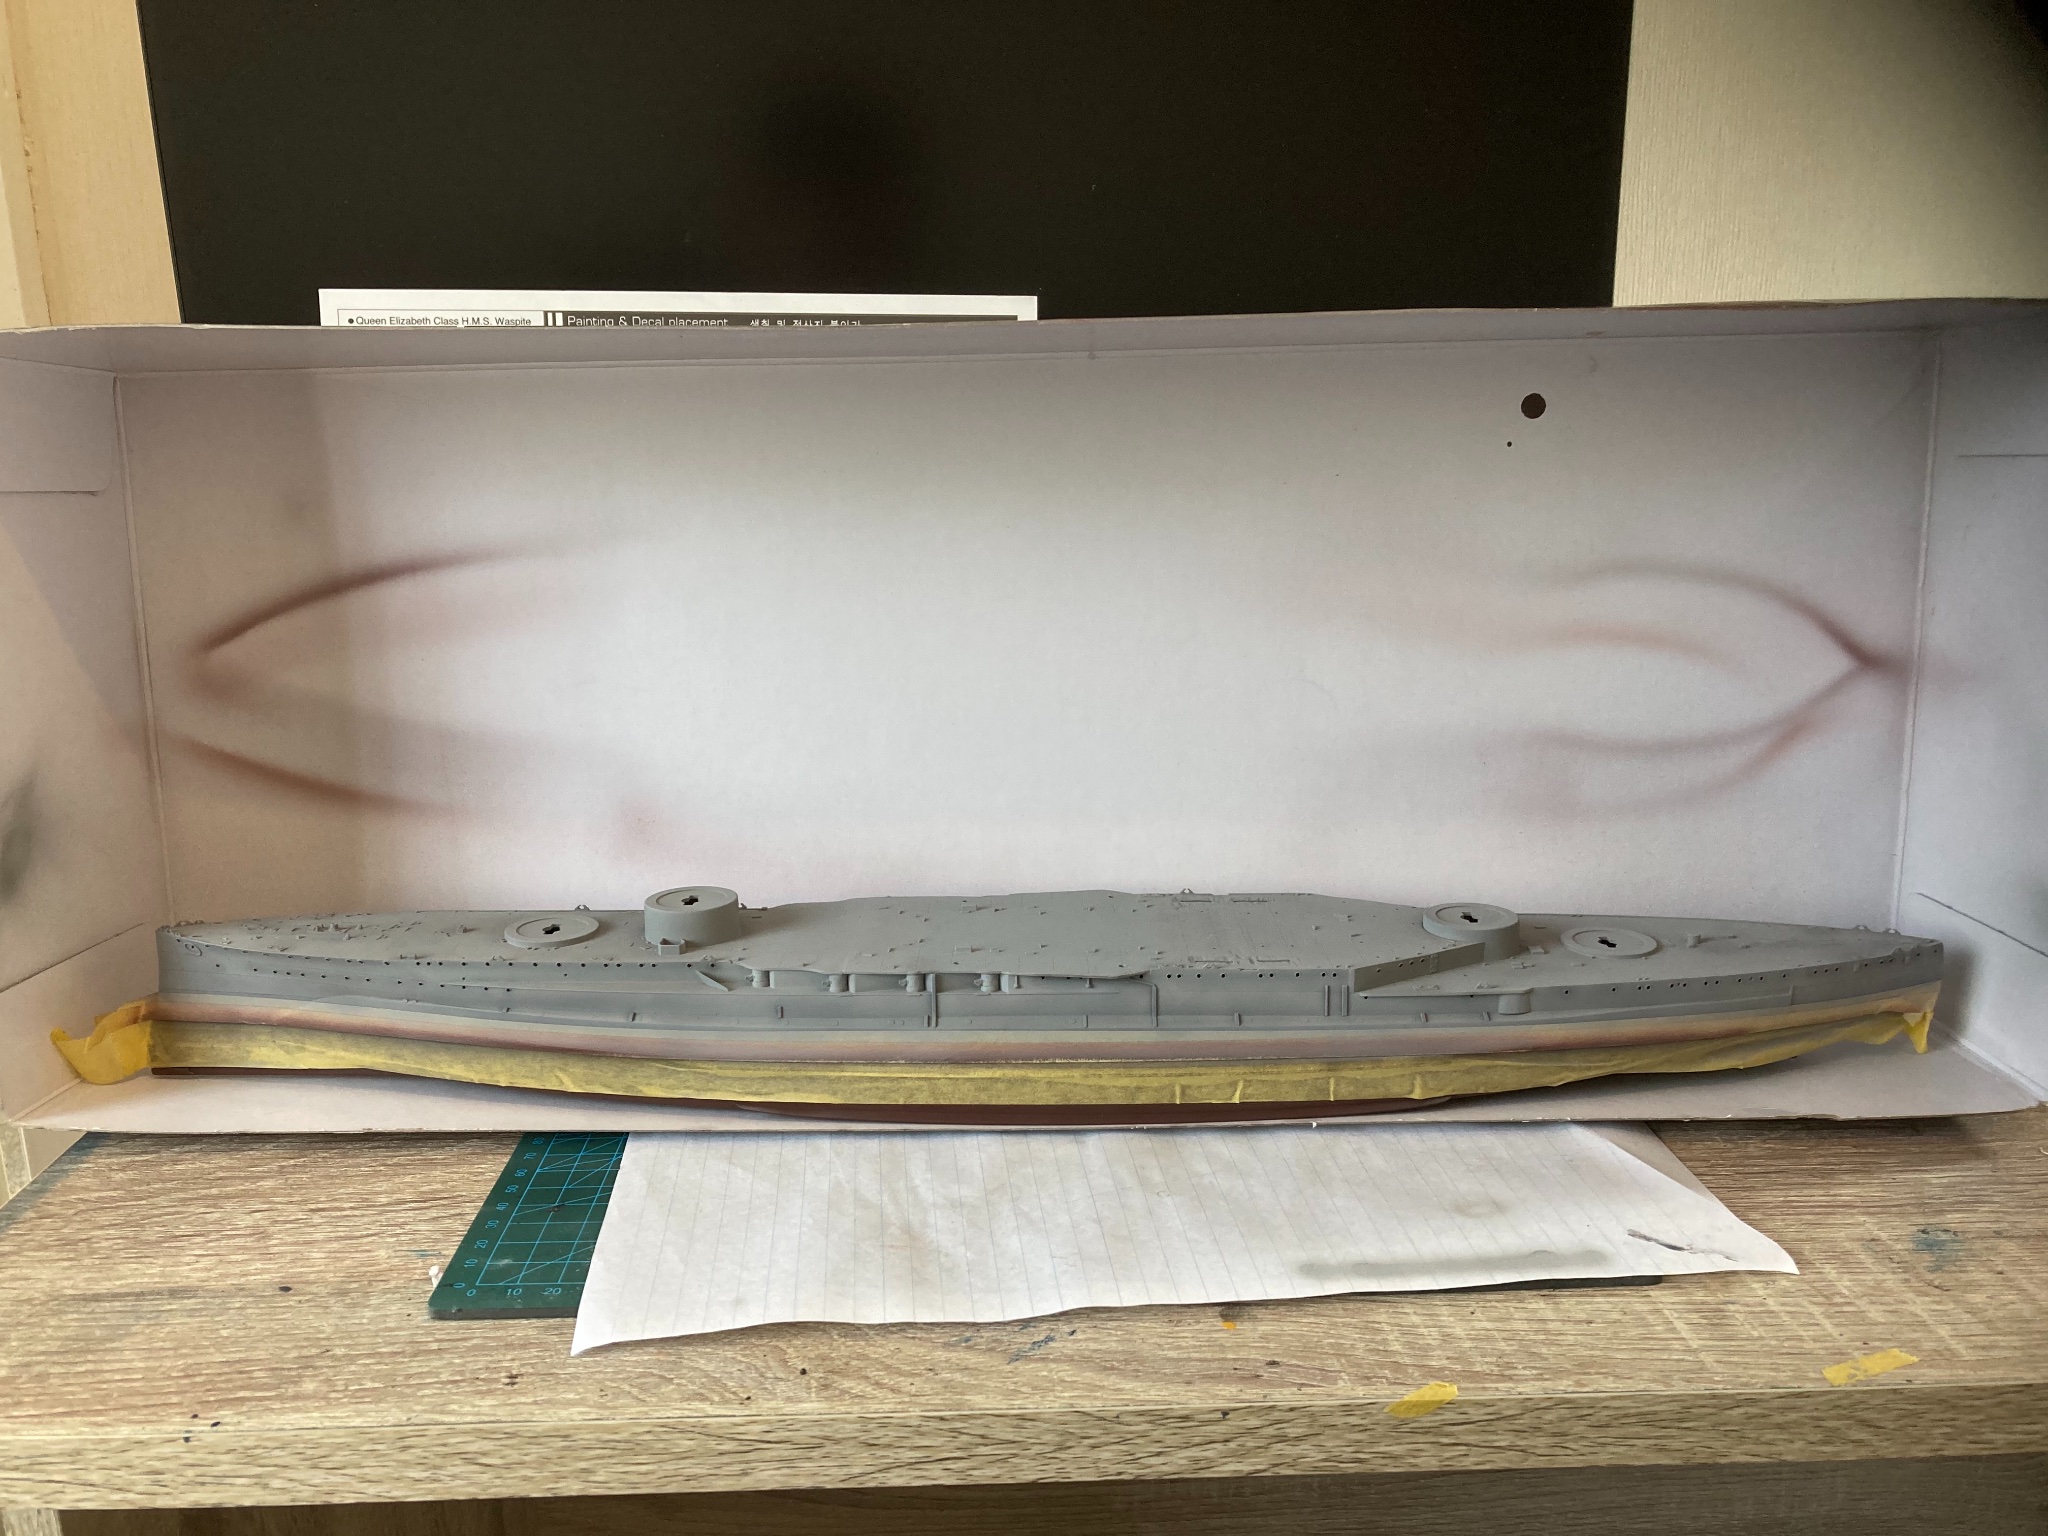
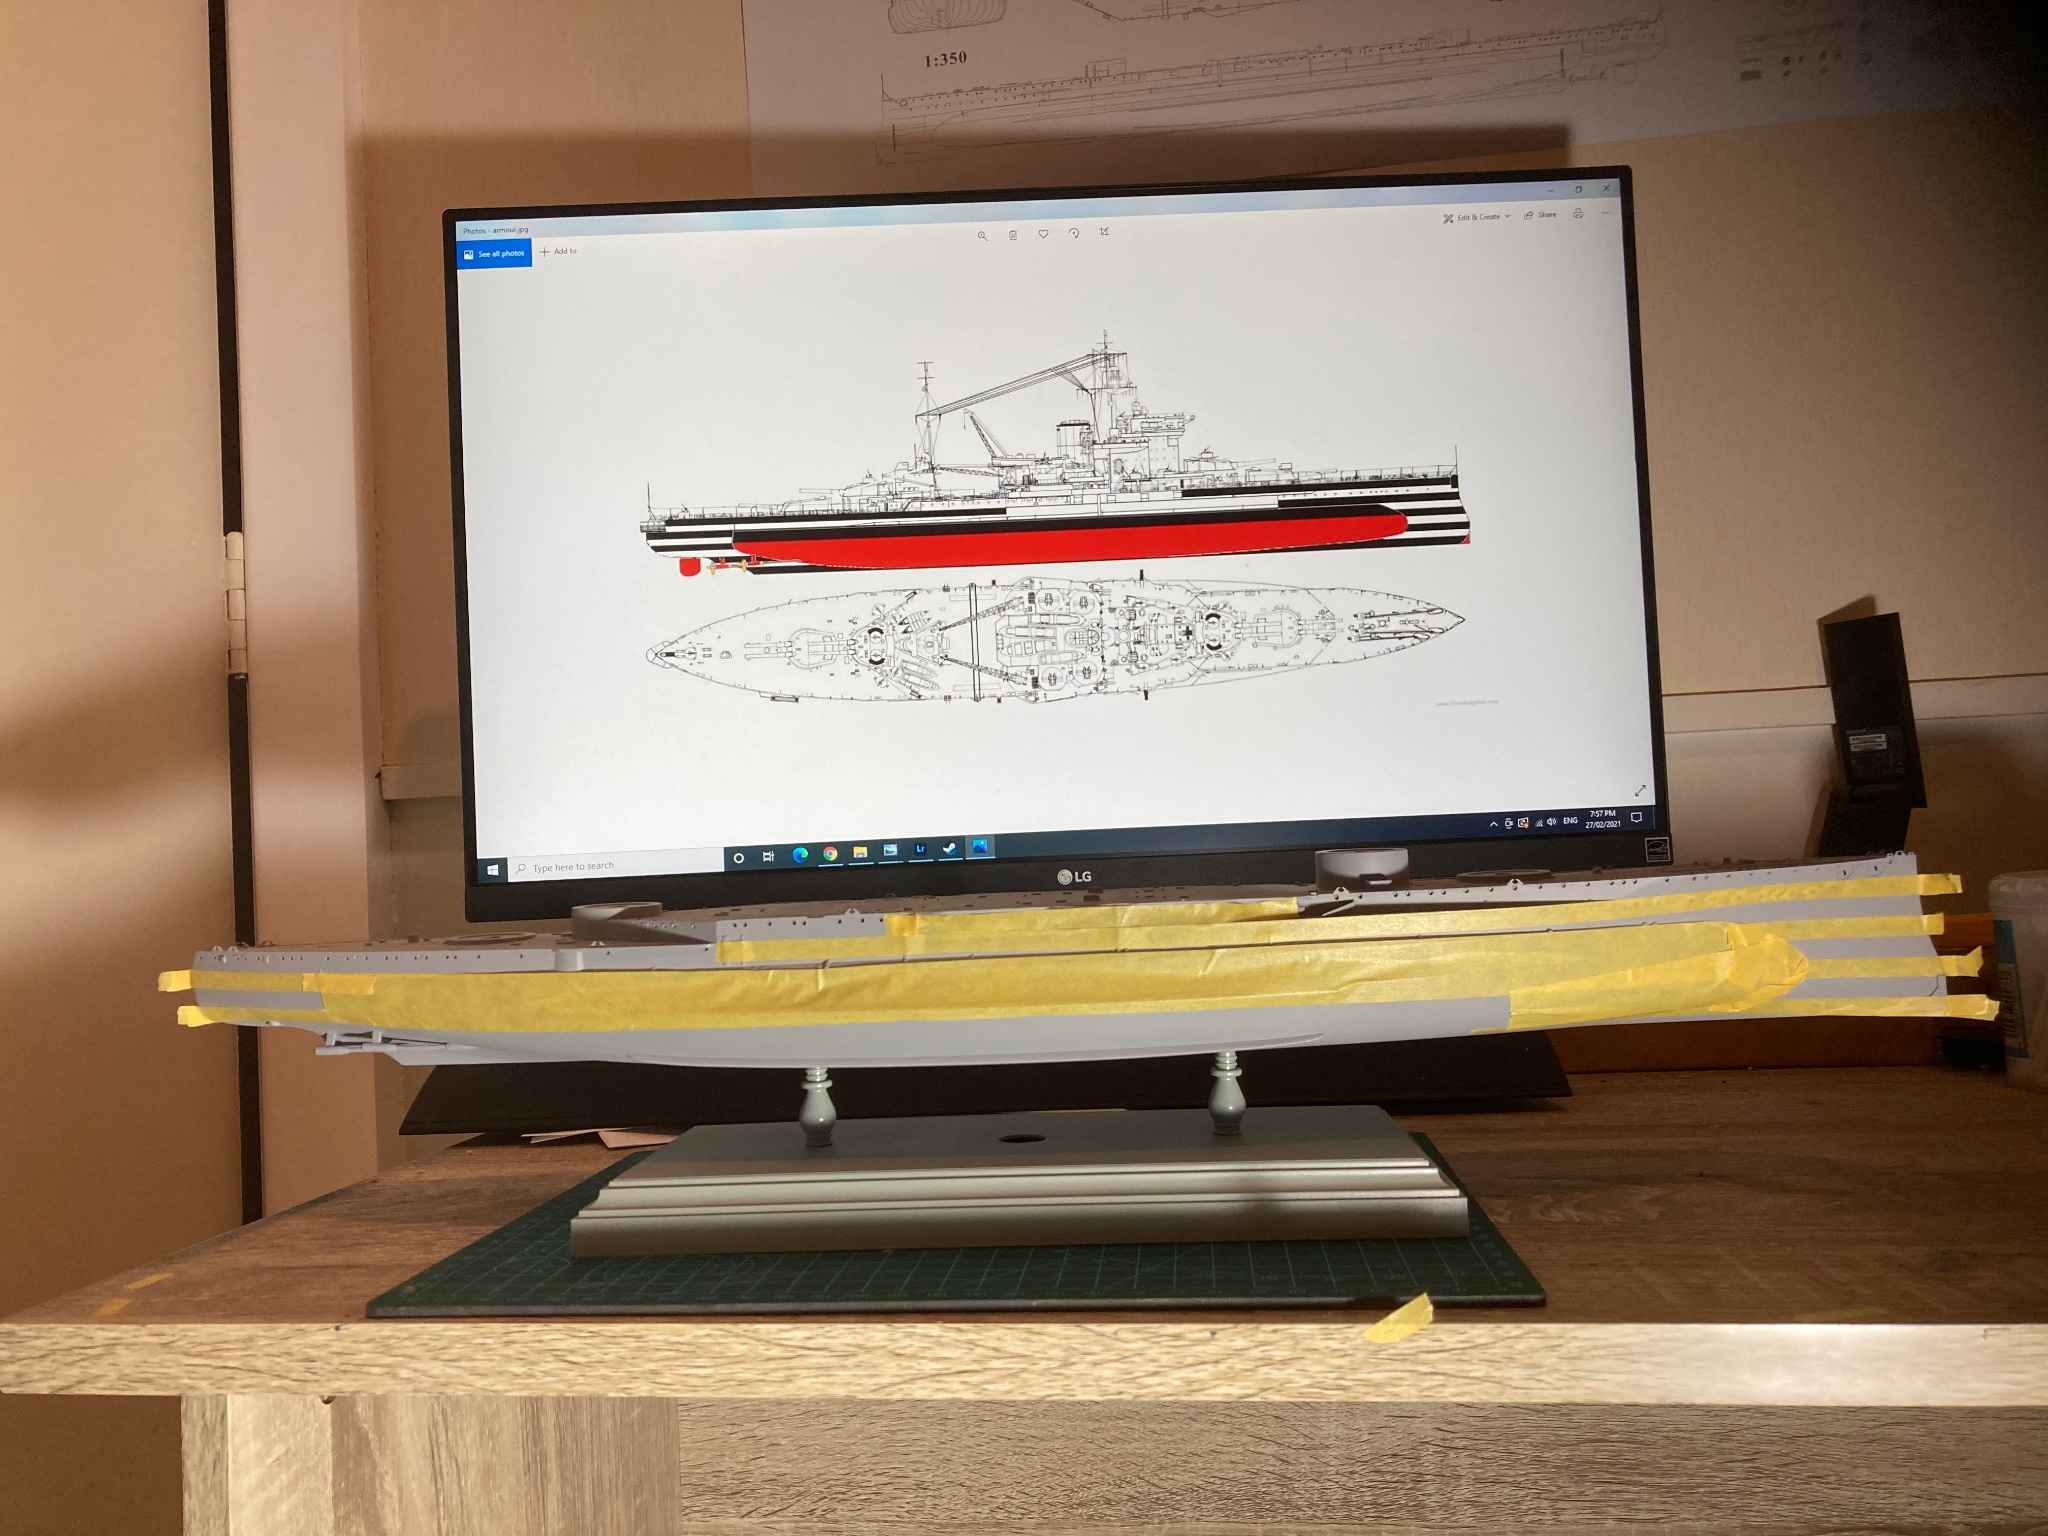
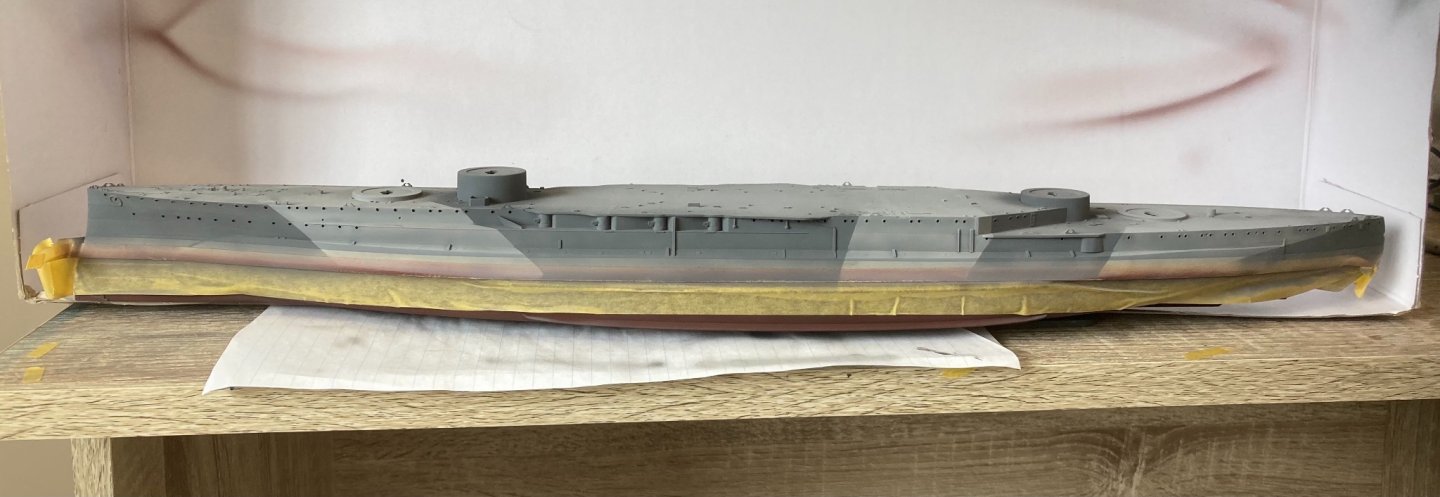
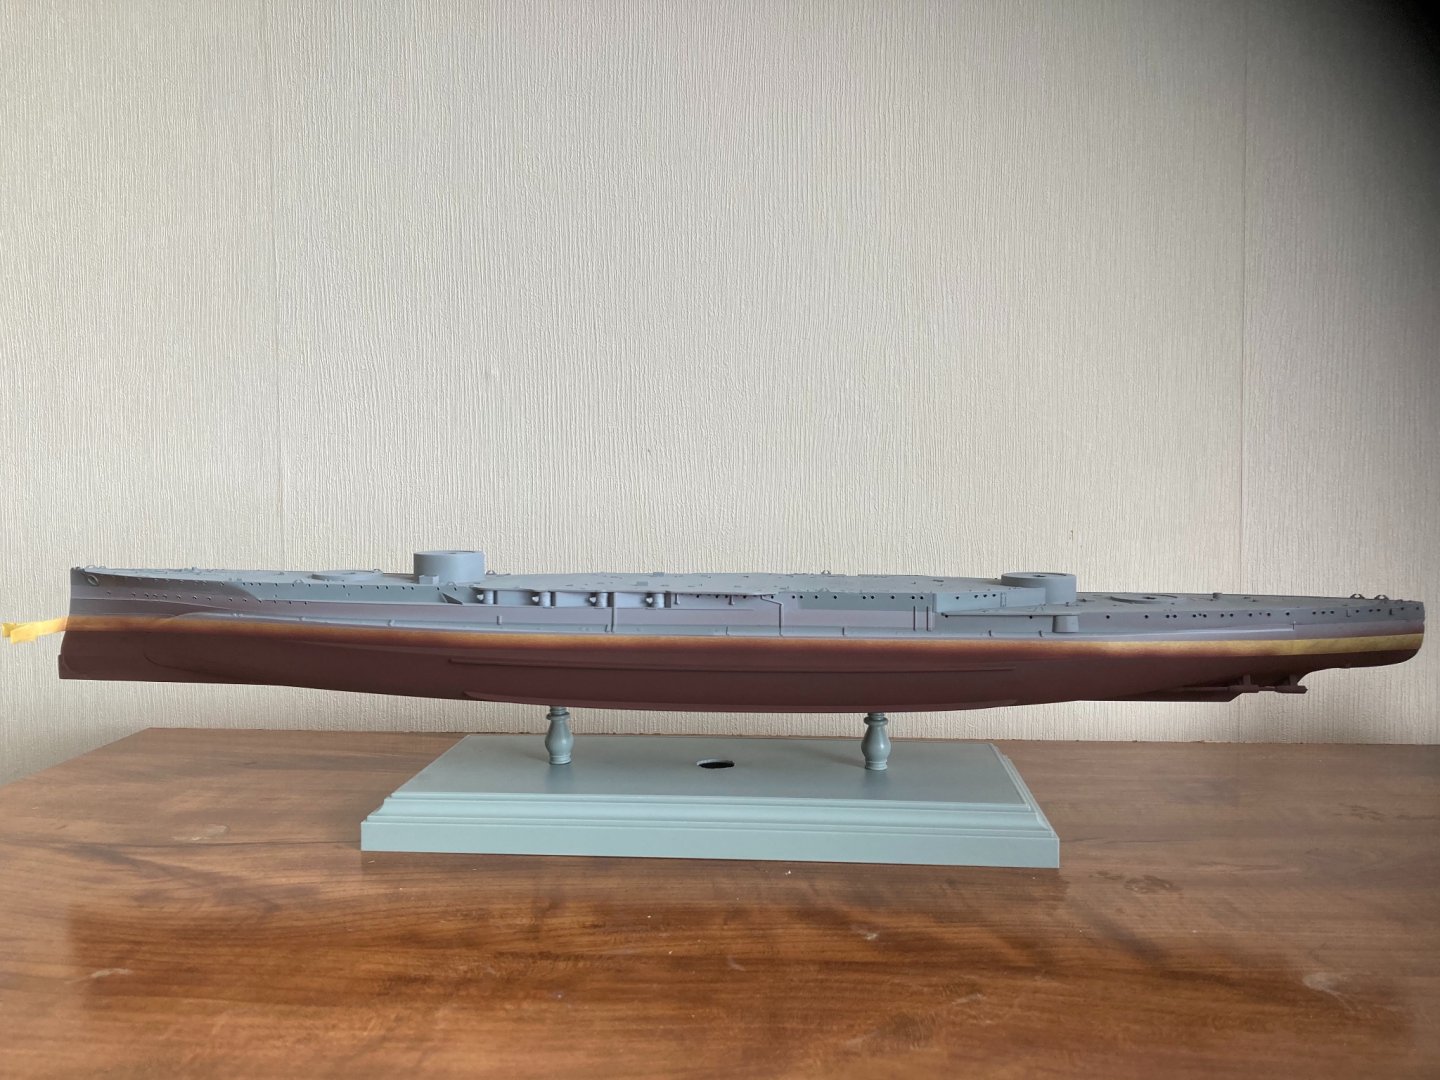
Didn’t get to do much work on her today as last night we had a pretty good earthquake (7.3) at 2:30am just off the coast, so left the house for high ground and slept most of the morning. But painted the black water line strip. At the time I’m going for it hadn’t been made thicker and the standard size for a battleship was 6ft so that’s what I’m doing. No markings on the hull to show where the waterline is so just looked at pics and drawings and gave it a go. Main thing was trying to get it straight and not looking like a banana so redid it a few times. also did some pre shading for the above waterline part of the hull. Which will be next.
-
Was wondering why I hadn’t seen this log earlier until I saw the dates! Haha looks fun! Will you do another group build eventually?
- 1,090 replies
-
- 6
-

-
- showcase models
- vendetta
- (and 2 more)
-
My thoughts exactly from what I’d seen! Plus at the risk of loosing my momentum as it’s getting me through this build in good time so far so will ride it as long as I can! don’t know why there aren’t little detail books or PDFs designed just for us model makers. With just useful info to help fill the gaps from the kits to the real thing. Armour plates, at what times what upgrades were implemented. What dates port holes were filled in and which ones. Guess during a war no one things about these things and then they get rapid repairs then broken down for parts and scrap so it just becomes the past. But a book with just model building in mind like that would be super helpful!
-
I agree! EG has a great set of knowledge on these things! I on the other hand never really looked into ship details at all until my last build! I’m constantly googling words that are used here to find out what’s being talked about! already this build has got details added or in the works just from bits you have all mentioned along the way! It’s why I really enjoy these build logs! Thanks
-
It’s a good question unfortunately well above my knowledge base to answer. But the armour surly isn’t just one long piece so must be joins along the whole armour strip? I’m interested to know though! Will that be your next build? 700 scale again?
-
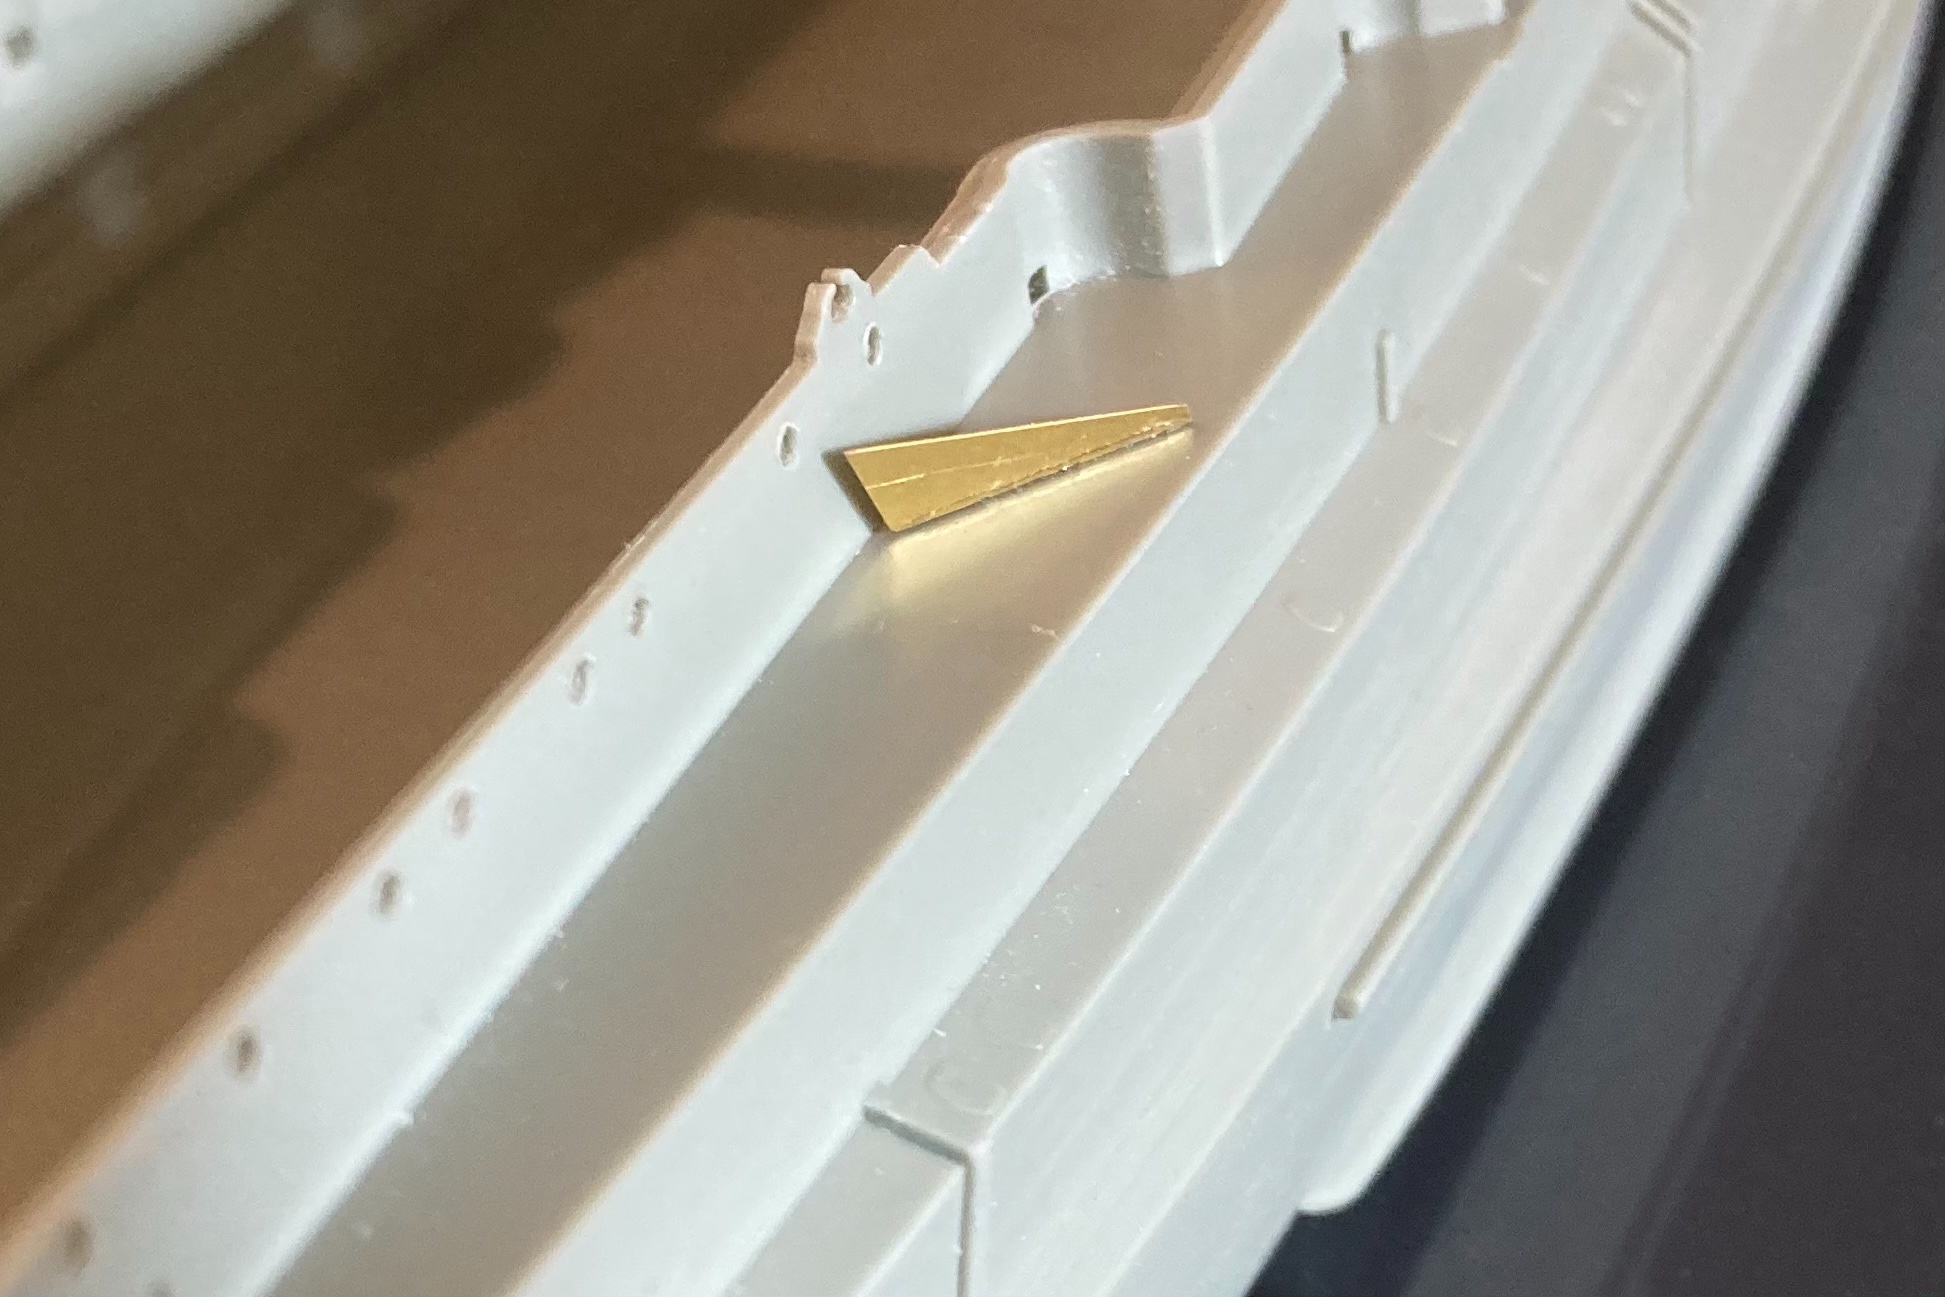
Hey mate, I haven’t done anything about vertical panel lines or armour plates, might shade some in later but unsure. From pictures they are almost not visible so at this scale not sure if it would work? Some ships they are a really prominent feature but Warspite seems to hide hers quite well. what are your thoughts on it?
-
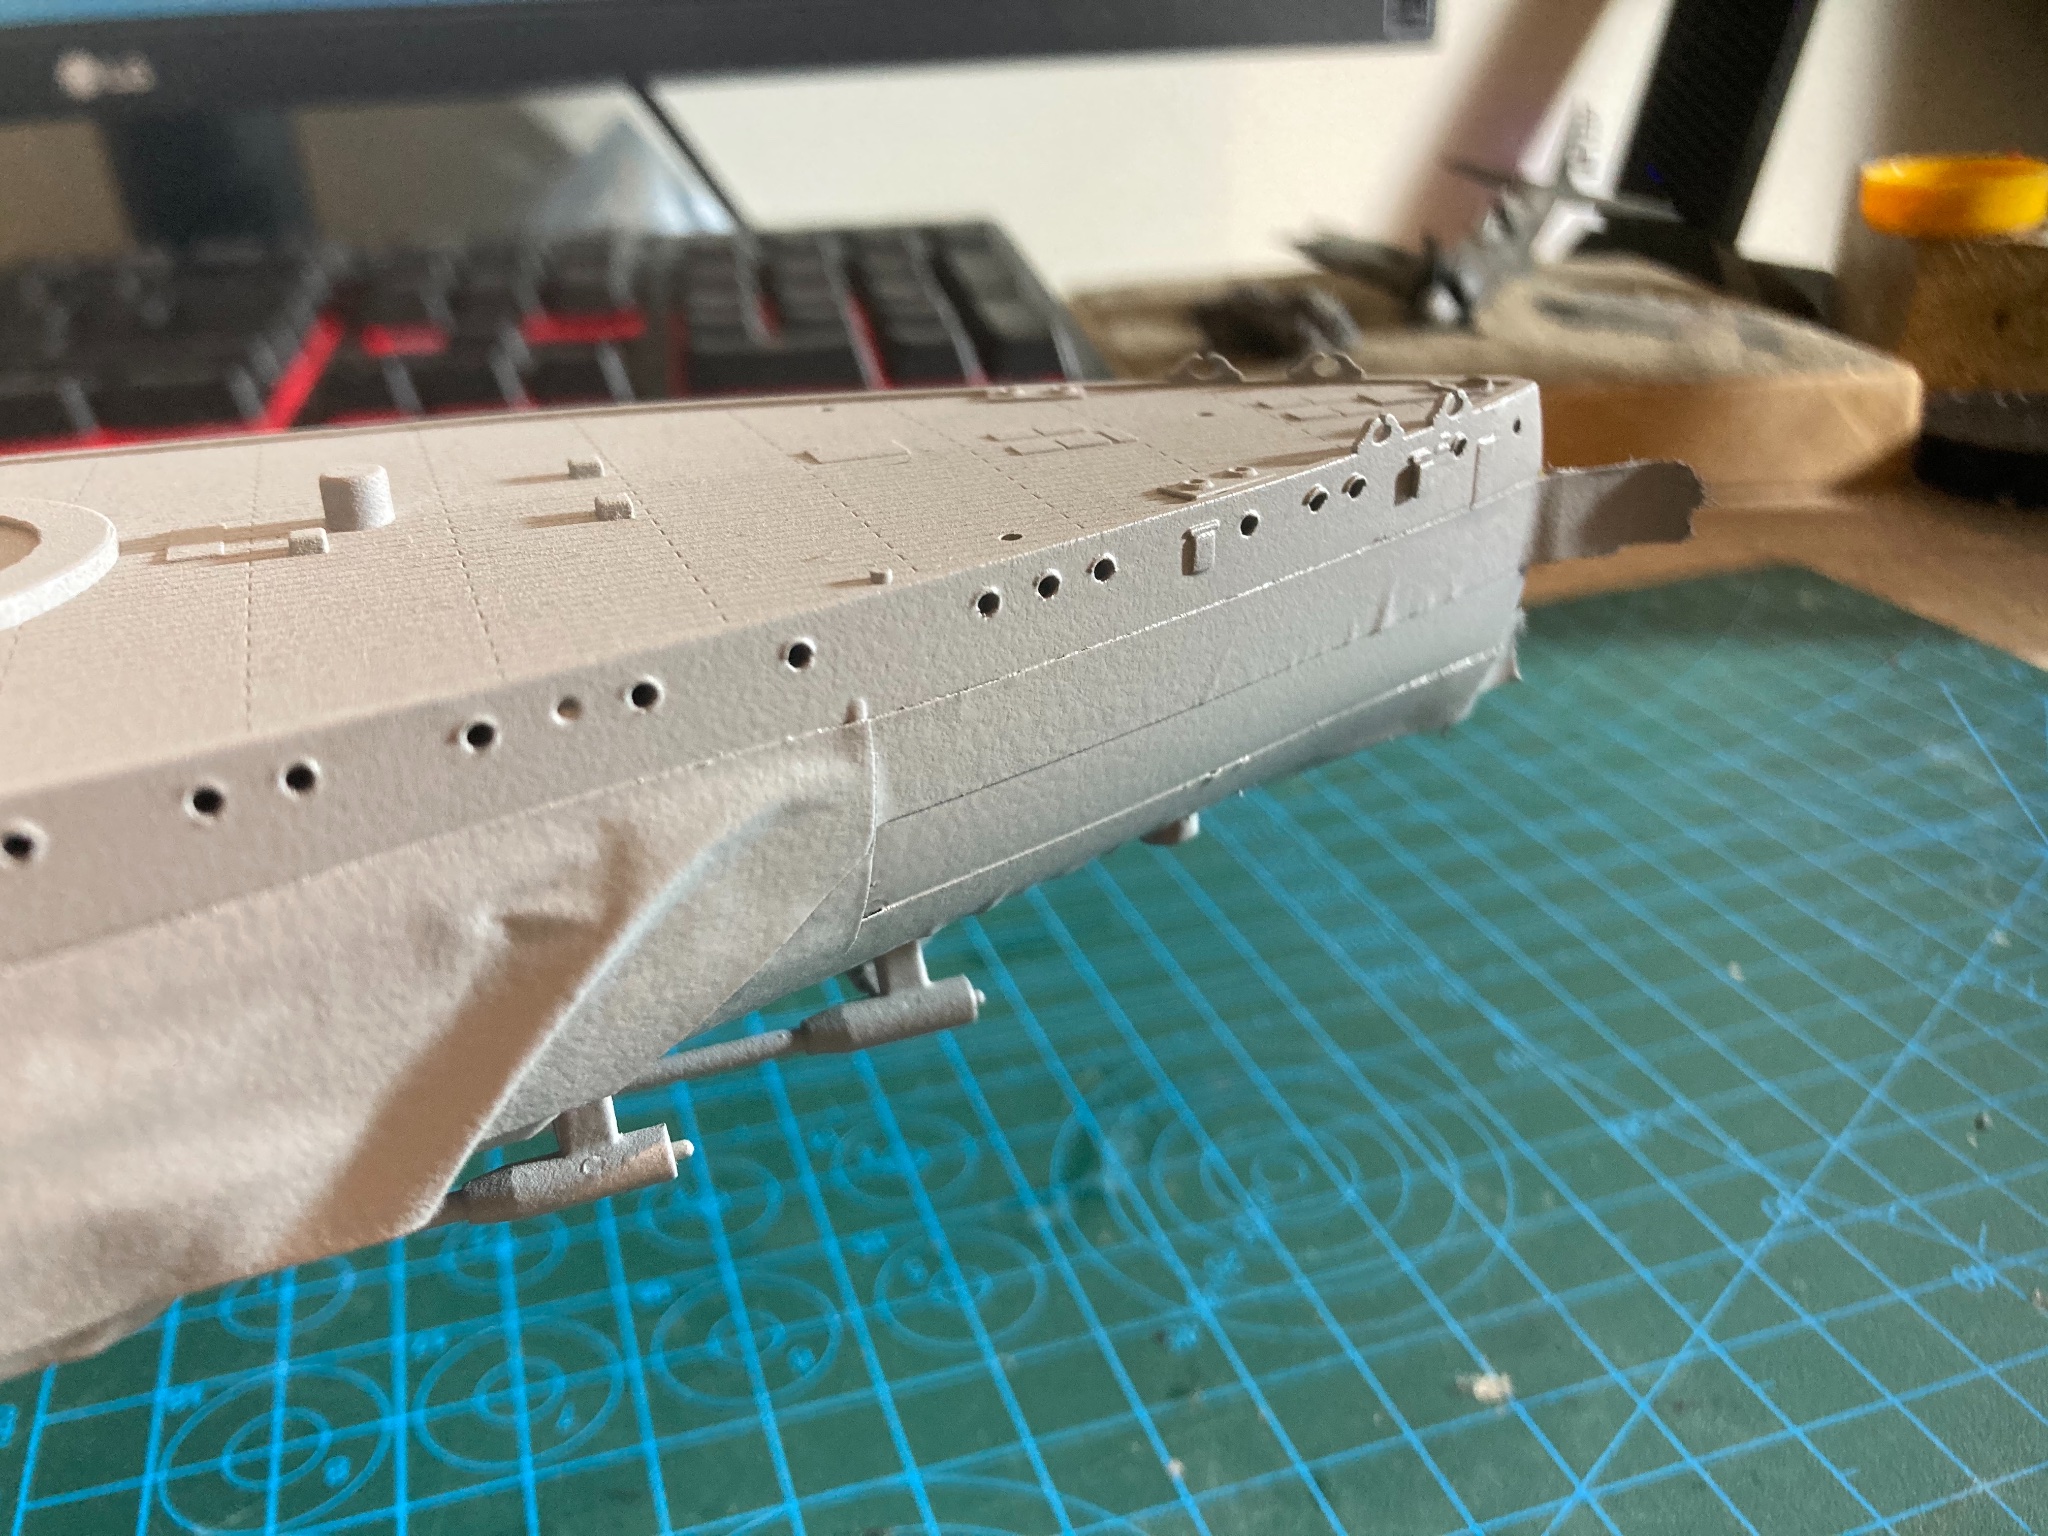
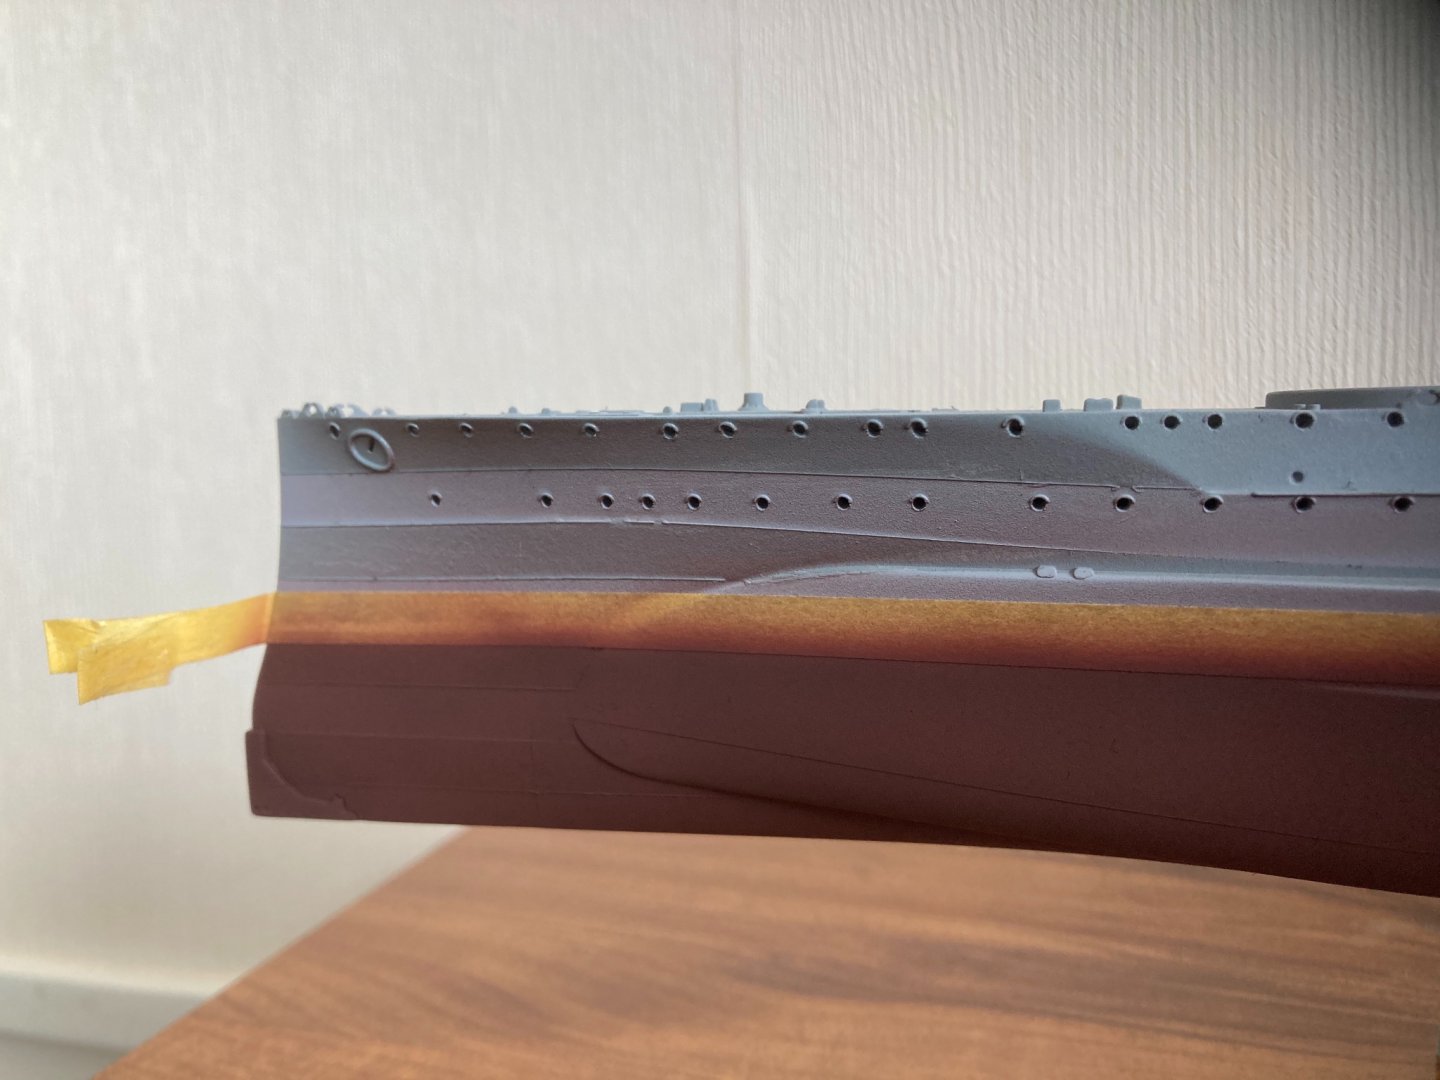
Thanks, it’s always a bit of a gamble if you should do one more coat or should have done one less! I’ve been riding the enthusiasm train with this build so making pretty good progress each day, I’ve a feeling eventually there will be a time where it doesn’t get touched for a few days but for now I’m pretty happy! antifouling paint is on today, will grubby it up later on in the build once the hull is painted. Armour plates are visible so wasn’t a waste of tape haha!
-
Also I’ve got so many shades of grey now that I’m not going to get more! So if the shades aren’t perfect then you will know why! But after all the washes and shading and weathering the original camo colours I use will be very different to the final colour so I’m ok with that.
-
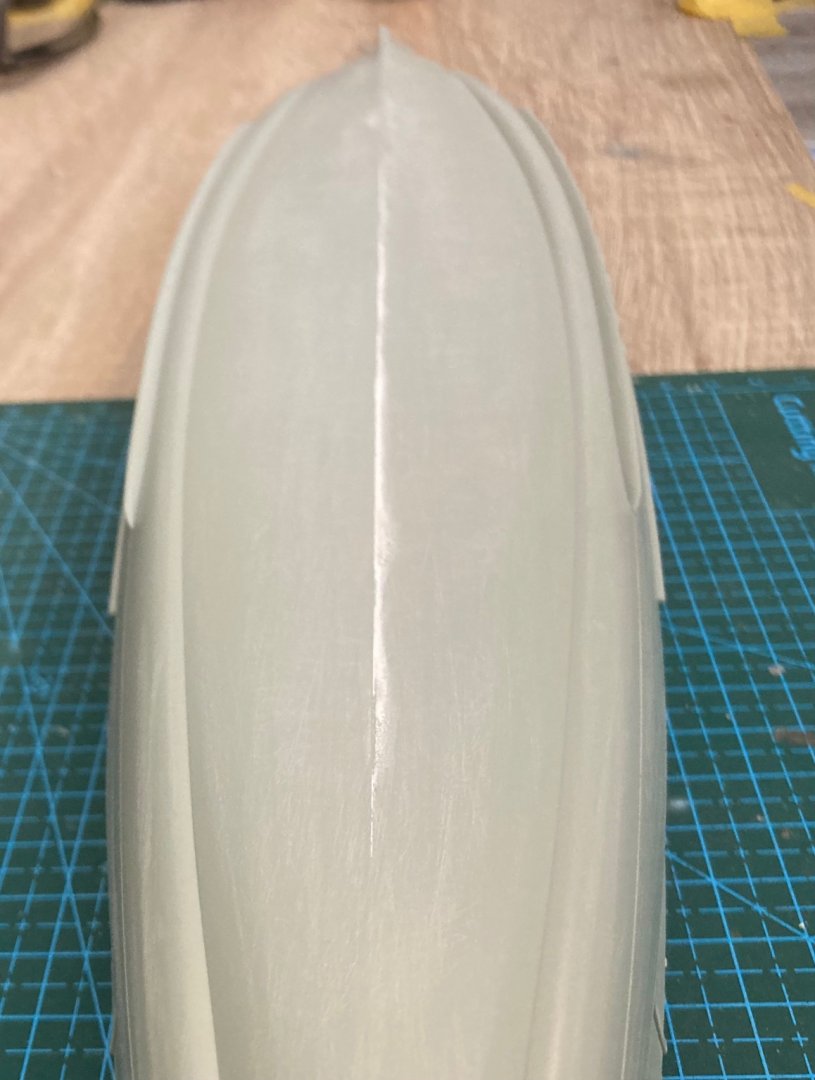
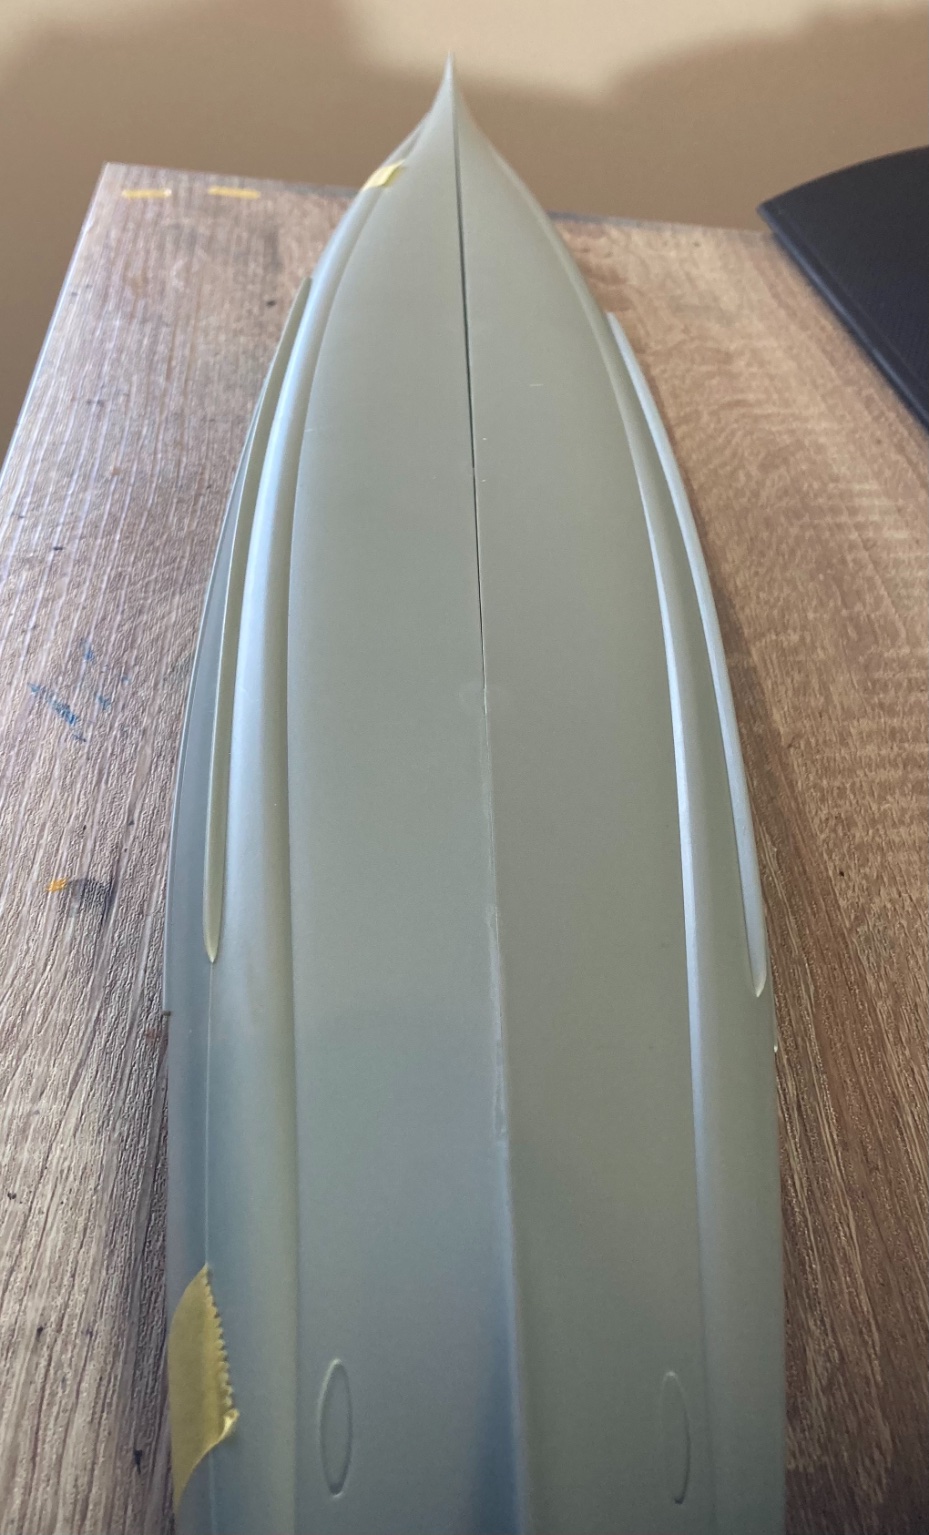
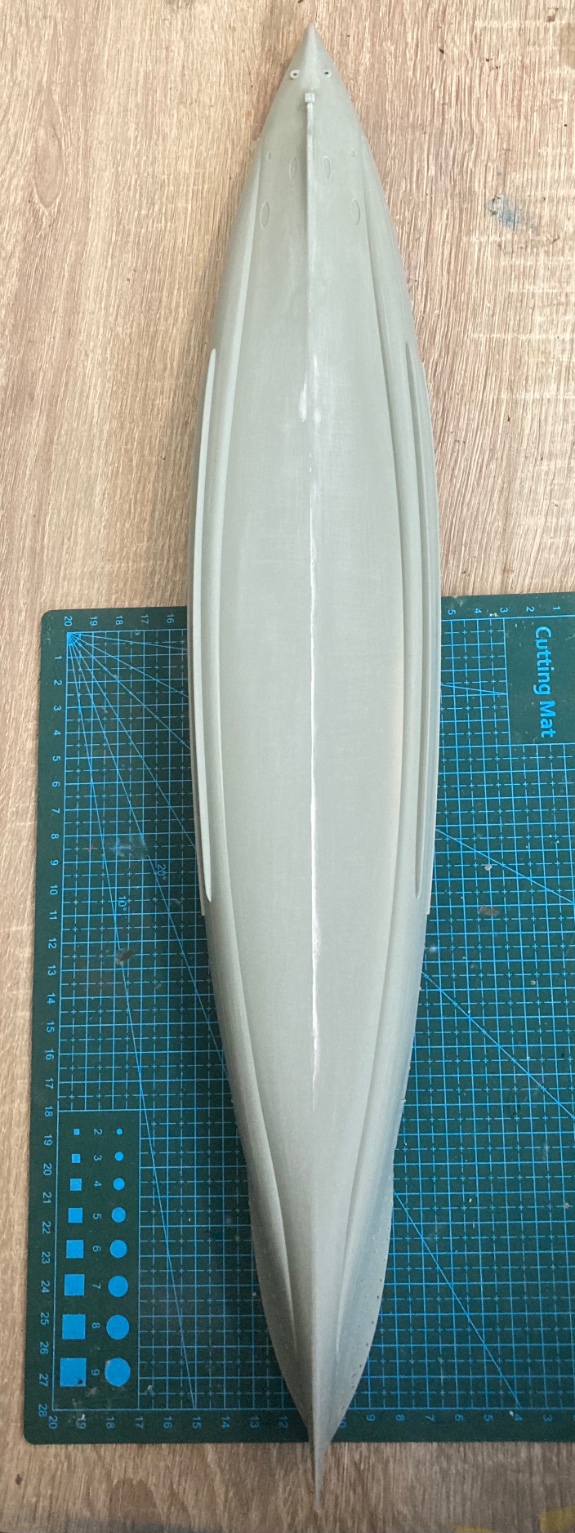
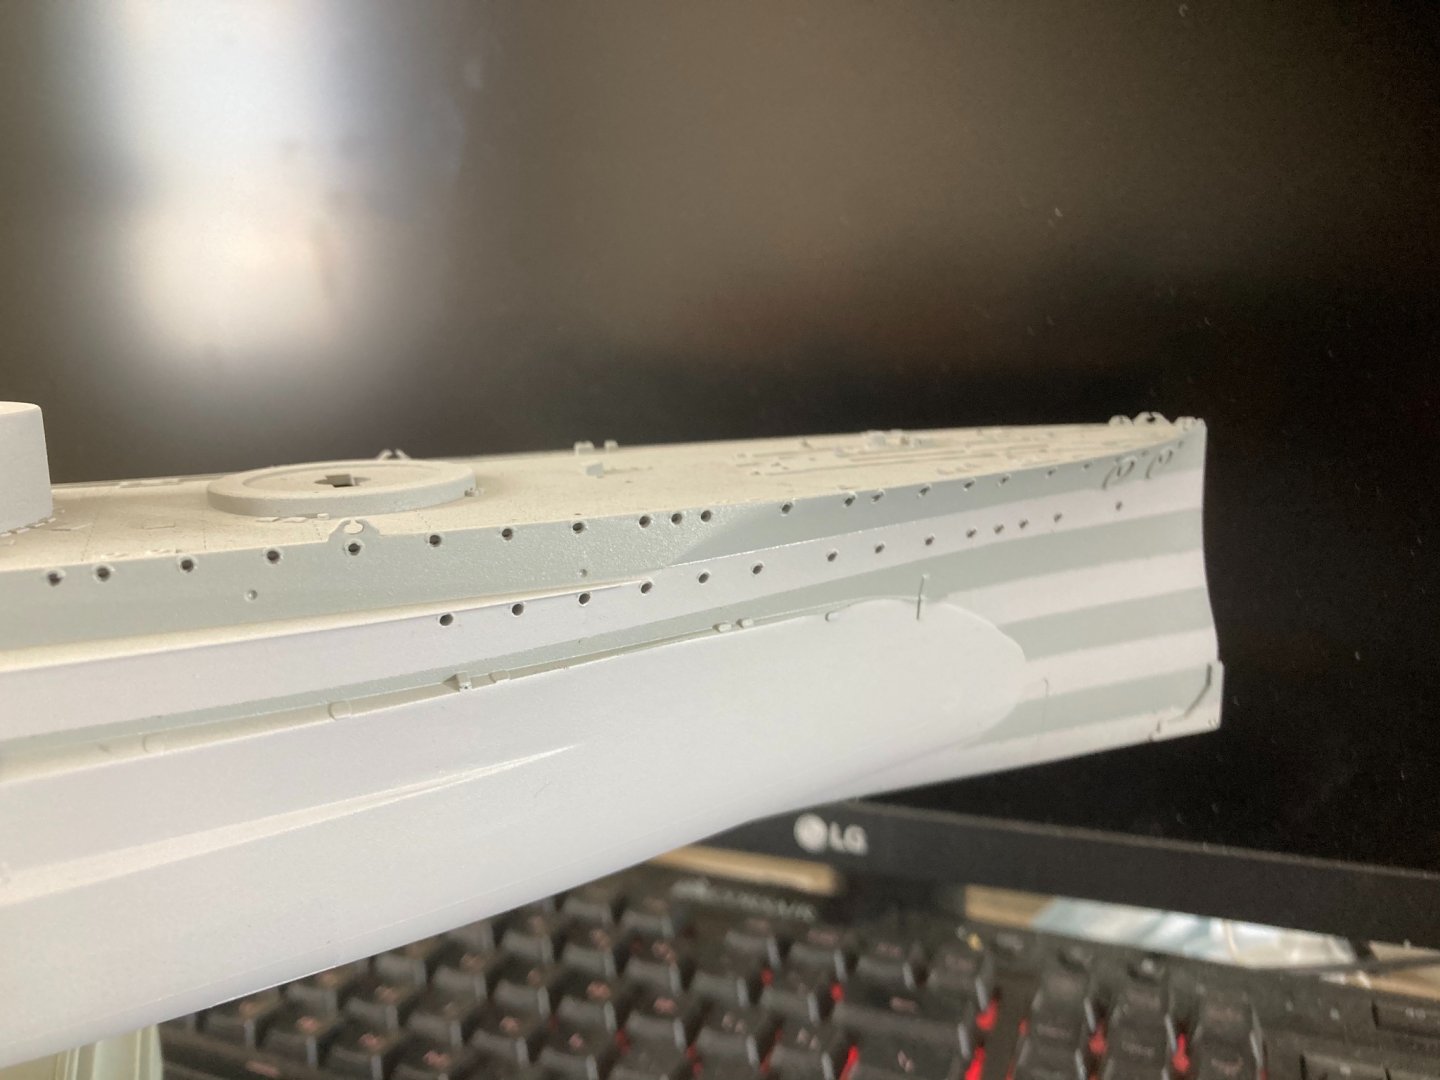
I did a few coats with tamiya spray on primer but ran out so did a few coats with just a spare grey paint. went over it a few extra times to try get a slight unsmooth surface but dried pretty flat once the paint layers were added. I’ll get all the edges nice and sharp and it should show through as a nice subtle effect. I was quite pleased


-
I was quite impressed with the quality of the pic! I enlarged it and it was still in super detail! Here are the results of your drawing.
-
Bet you are a little bit happy you don’t have to rig the entire ship!! Looks great!
-
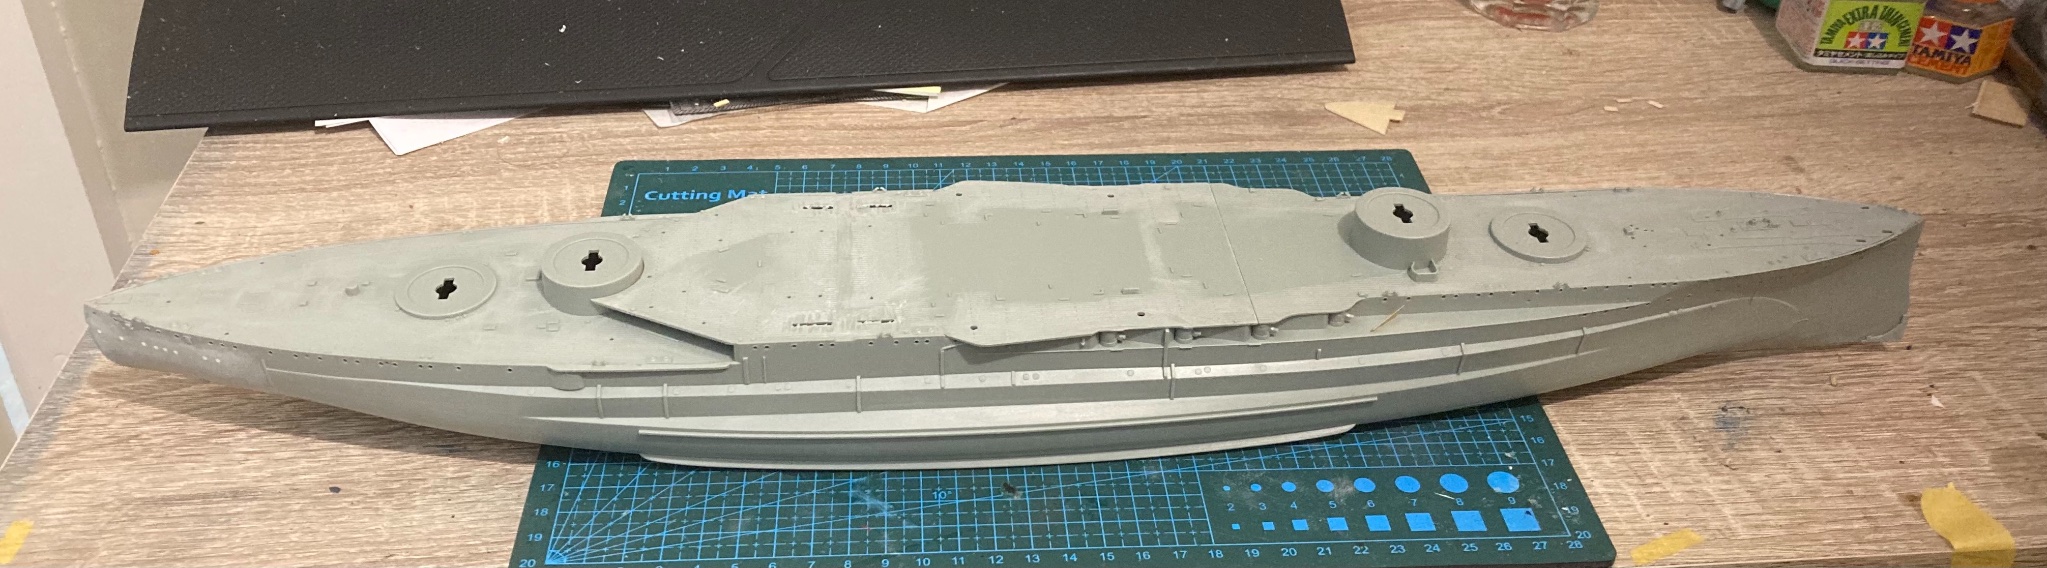
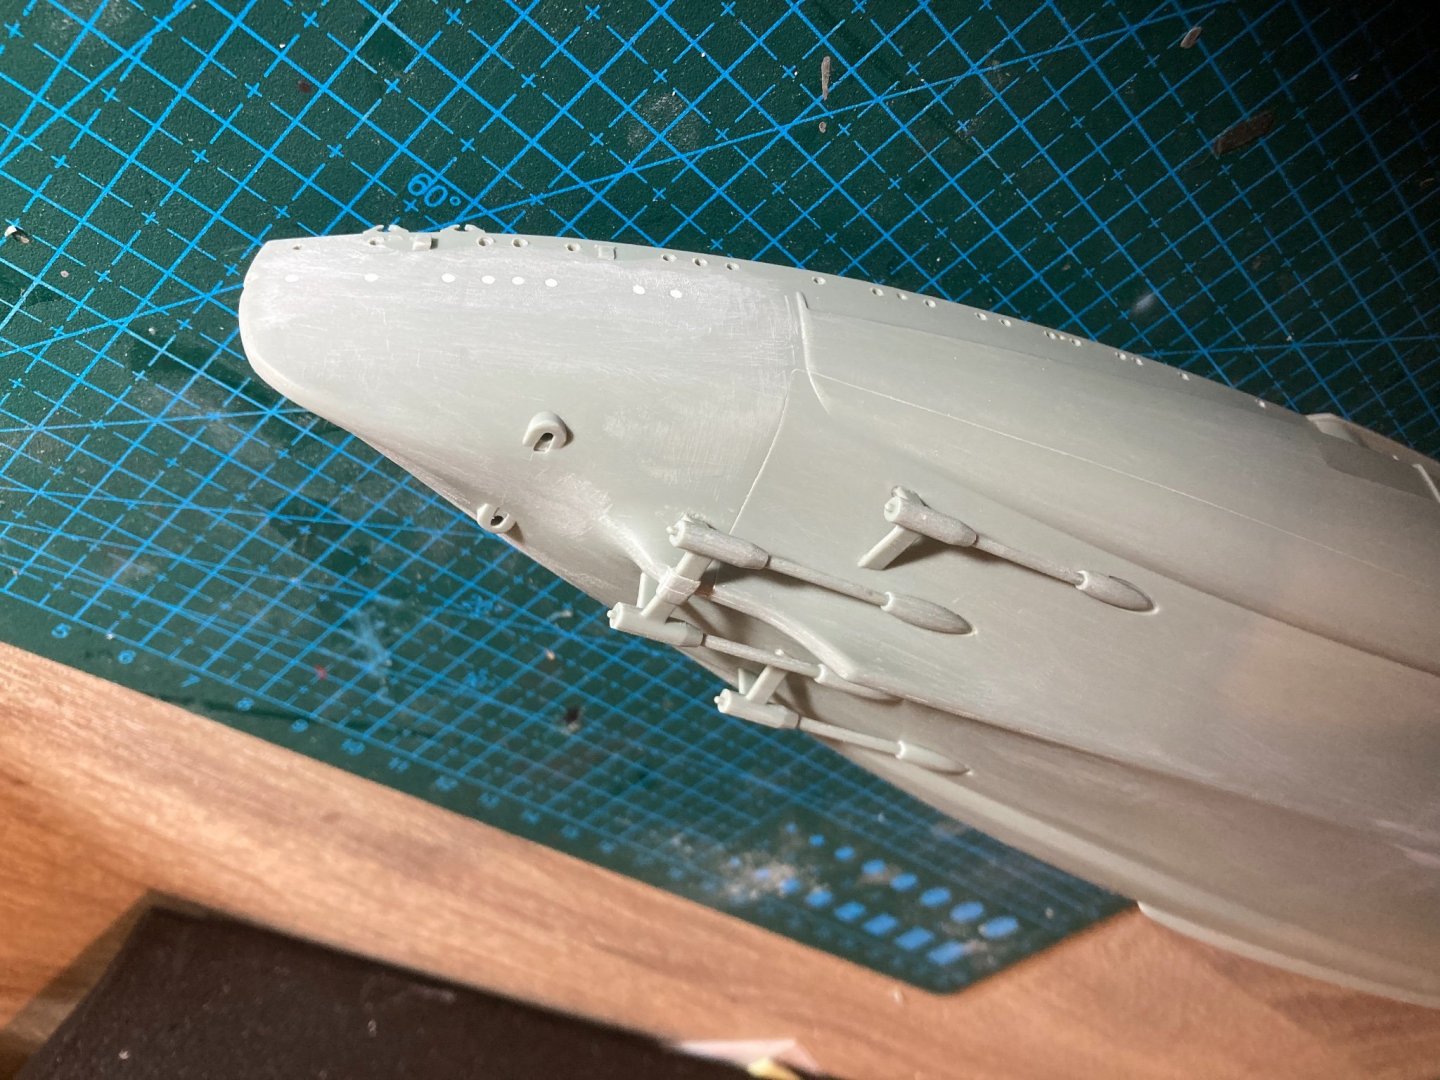
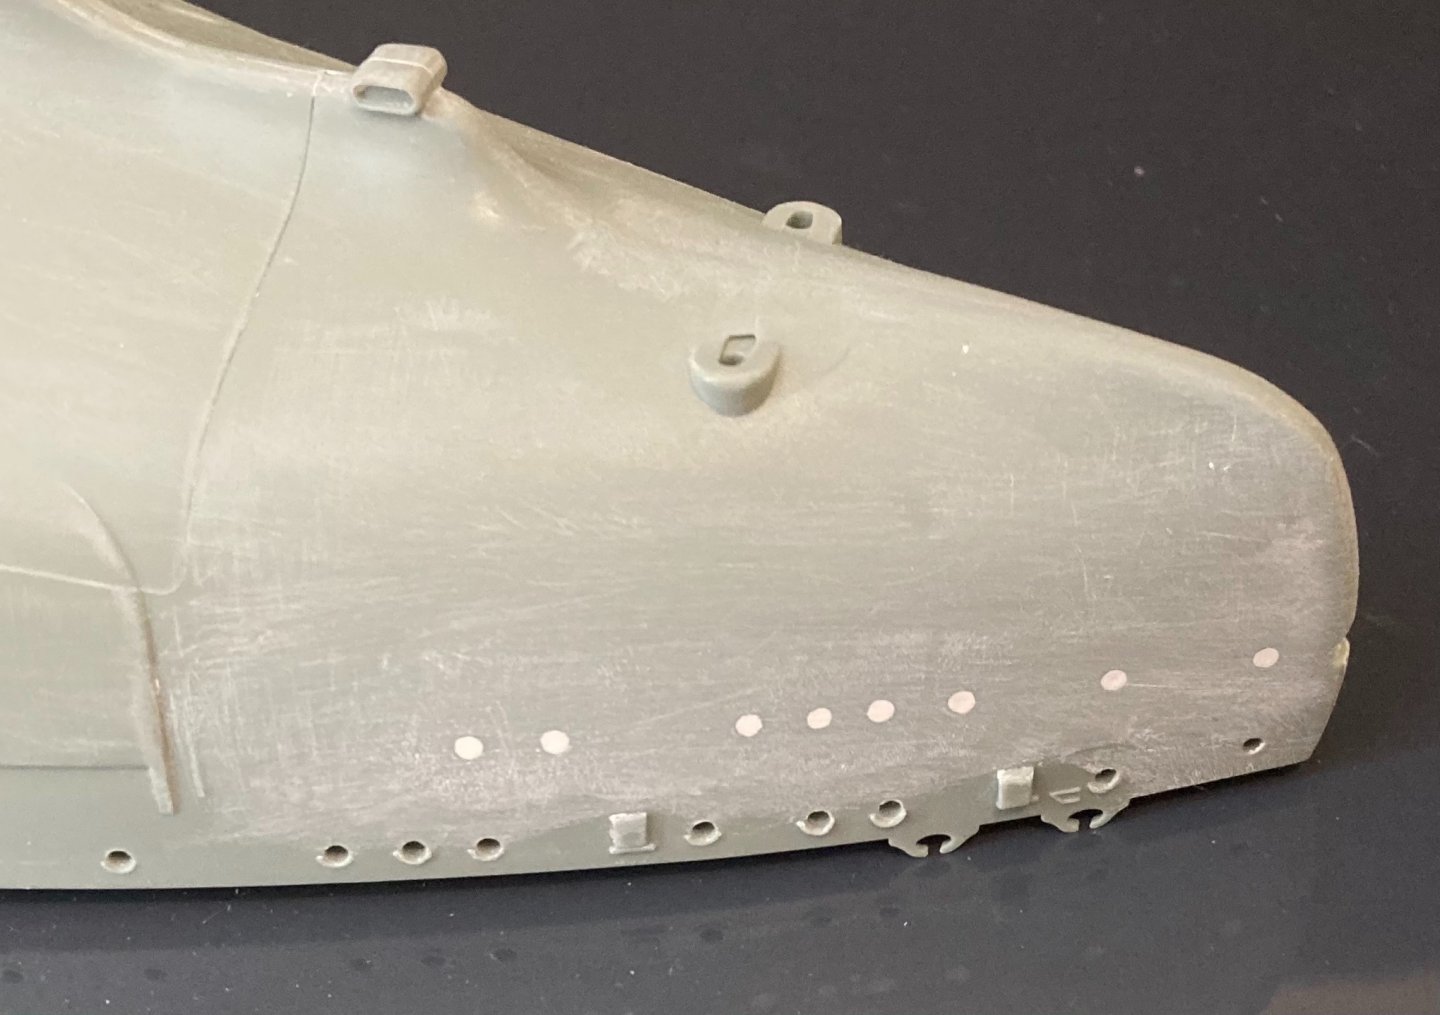
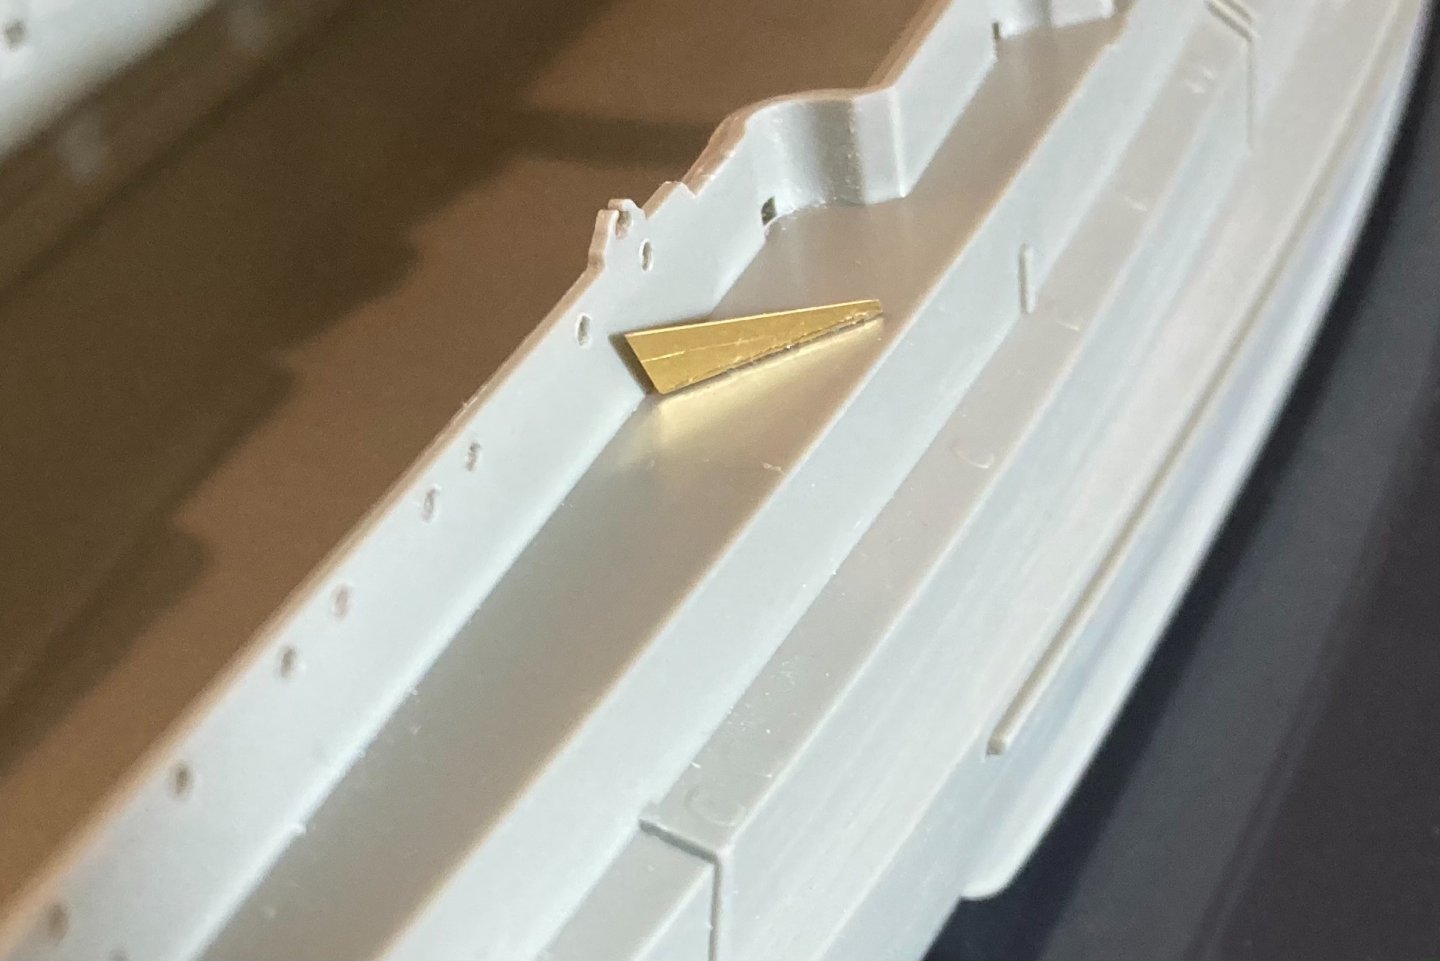
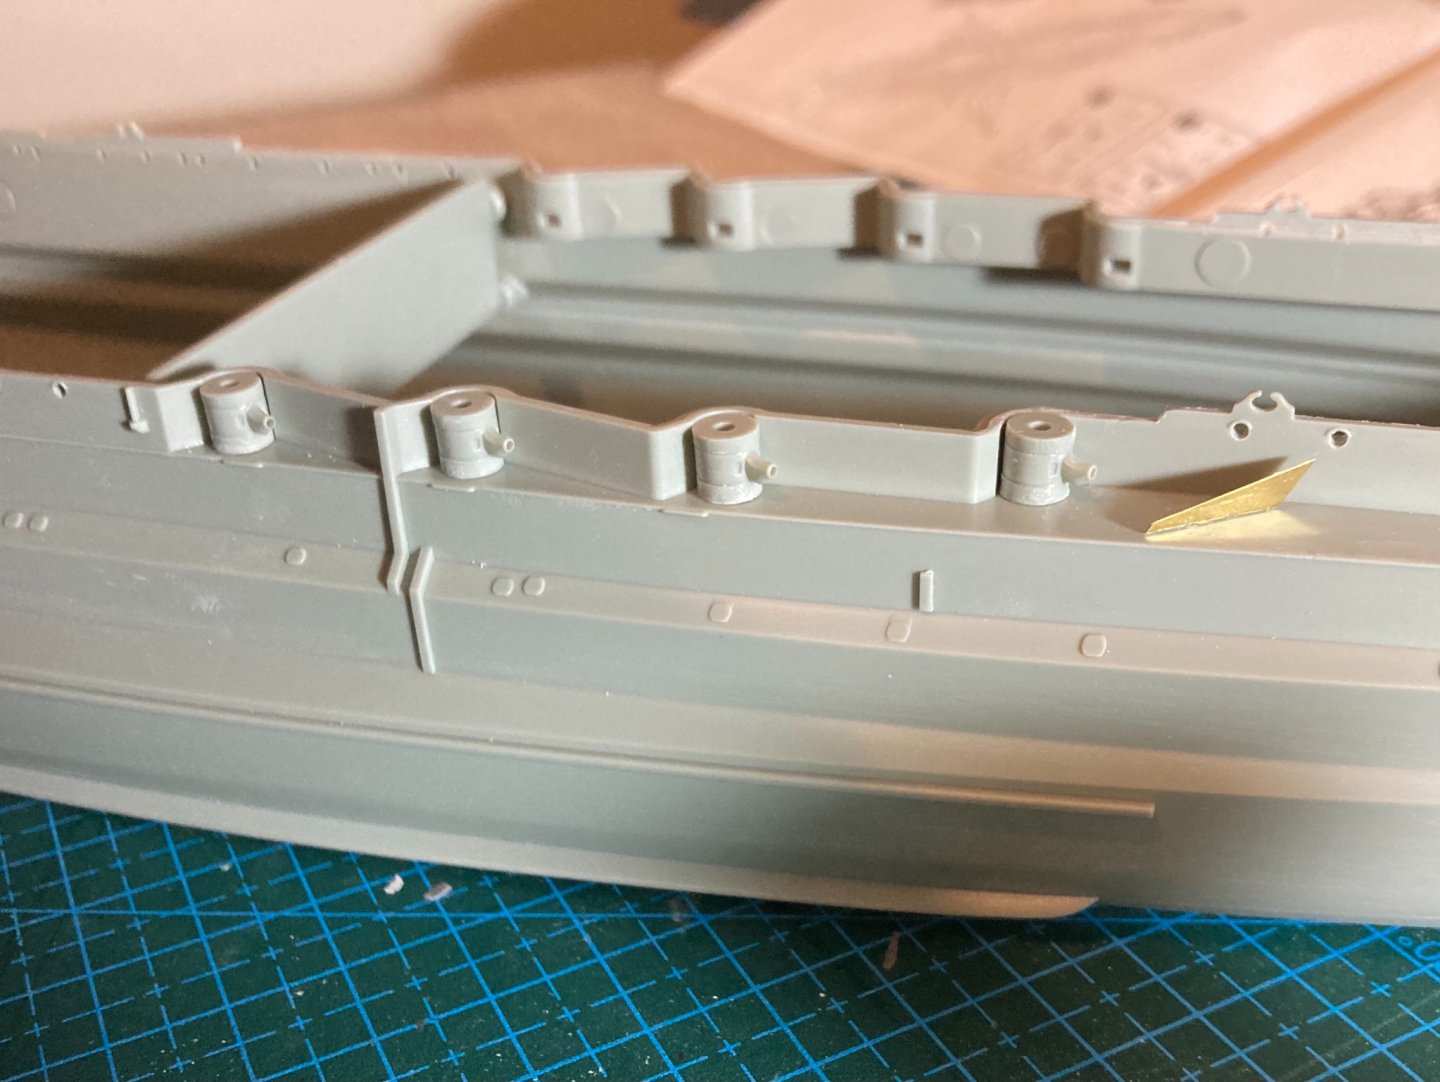
Basic hull all put together. I’m making a start on the armour plates... thanks to info provided by OC and RGL! Thanks guys, huge help!! should get the effect I’m after without spending a week getting them super super perfect!


-
Thanks, I’ll keep her as close as I can to when I’m going for, seems from what I can find her 6 inch guns were taken out and concreted in during her next refit near the end of 1943, that’s also when the boot strap was thickened. Can’t find anything on if the camo pattern changed so will just use the box camo as it is meant to be the 1943 version anyway.
-
I’m definitely not OCD but probably should have been haha. But been able to do a good amount over the weekend. Got most of the hull details on. From what I could find the stern lower port holes were covered up before mid 1943. I’ll wait till it’s painted before I add the barrels. My last build really taught me what stages to spend lots of time on and what parts don’t matter so can already tell this build will be abit faster and hopefully better than my last one... fingers crossed!

-
Good to know. But I’m only going to armour plate the sides of the hull and leave underneath alone. I think it will add a nice element to the hull.
-
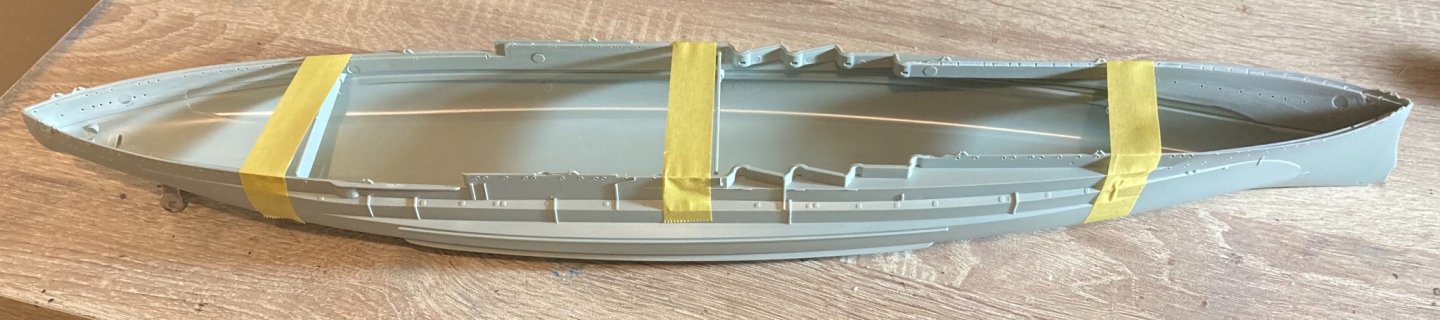
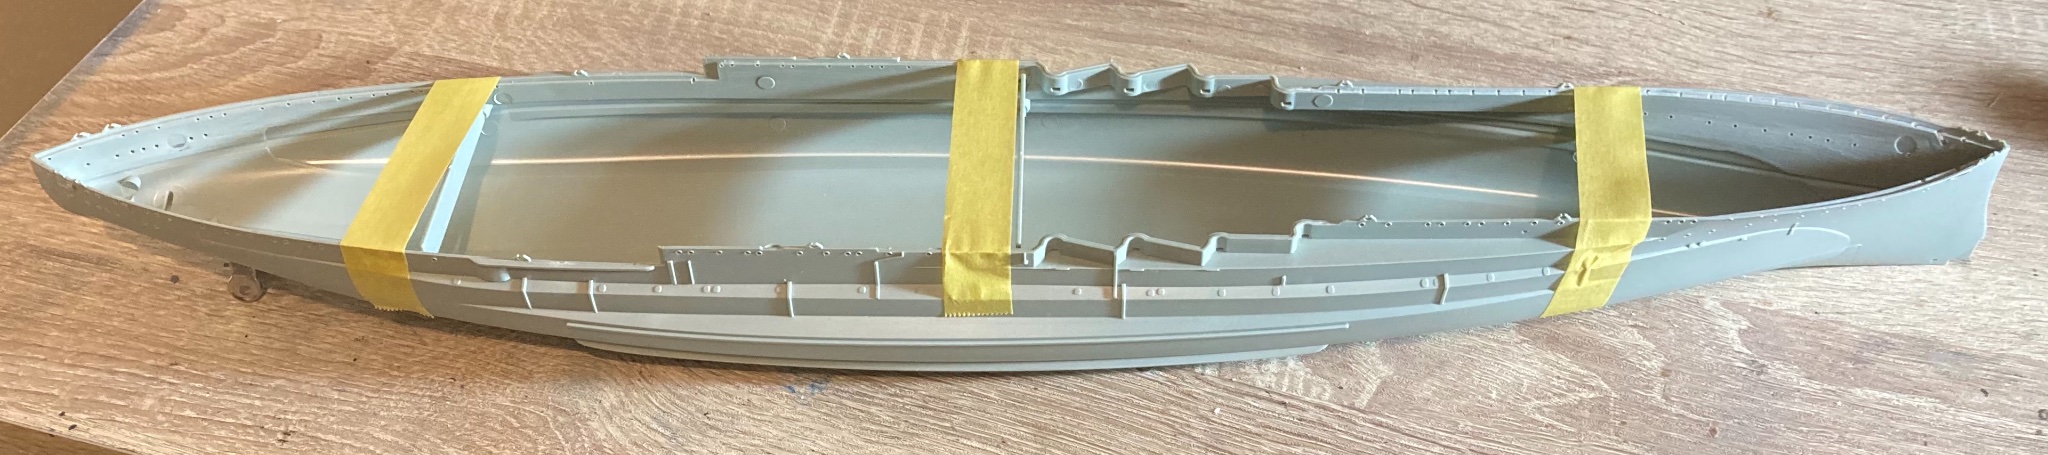
The hull has been glued together. the internal structure really helps keep the shape right. Glued them in first and let them set then glued the stern and slowly zipped it up to try get a smooth as possible join. fitted together well with just a bit of an edge. I used Tamiya filler. The Vallejo filler is great if you can wash off any excess and get it perfect before it goes off. But I find it’s too rubbery to sand. Tamiya is perfect for sanding but it’s a lot thicker can start to work on some of the hull details next