-
Posts
342 -
Joined
-
Last visited
Content Type
Profiles
Forums
Gallery
Events
Everything posted by Lt. Biggles
-
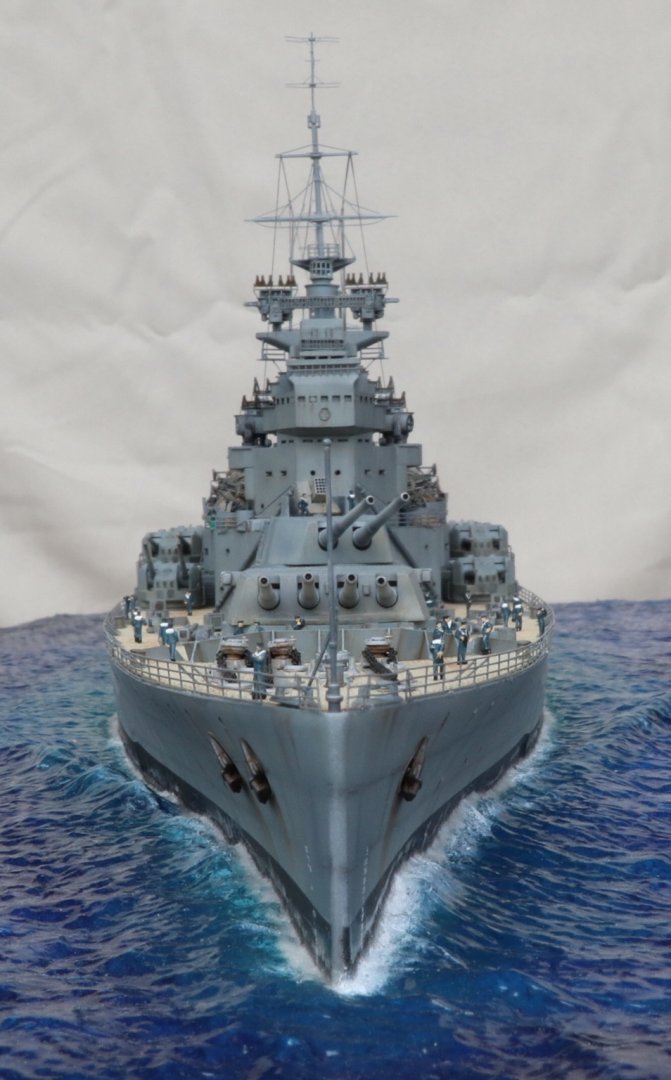
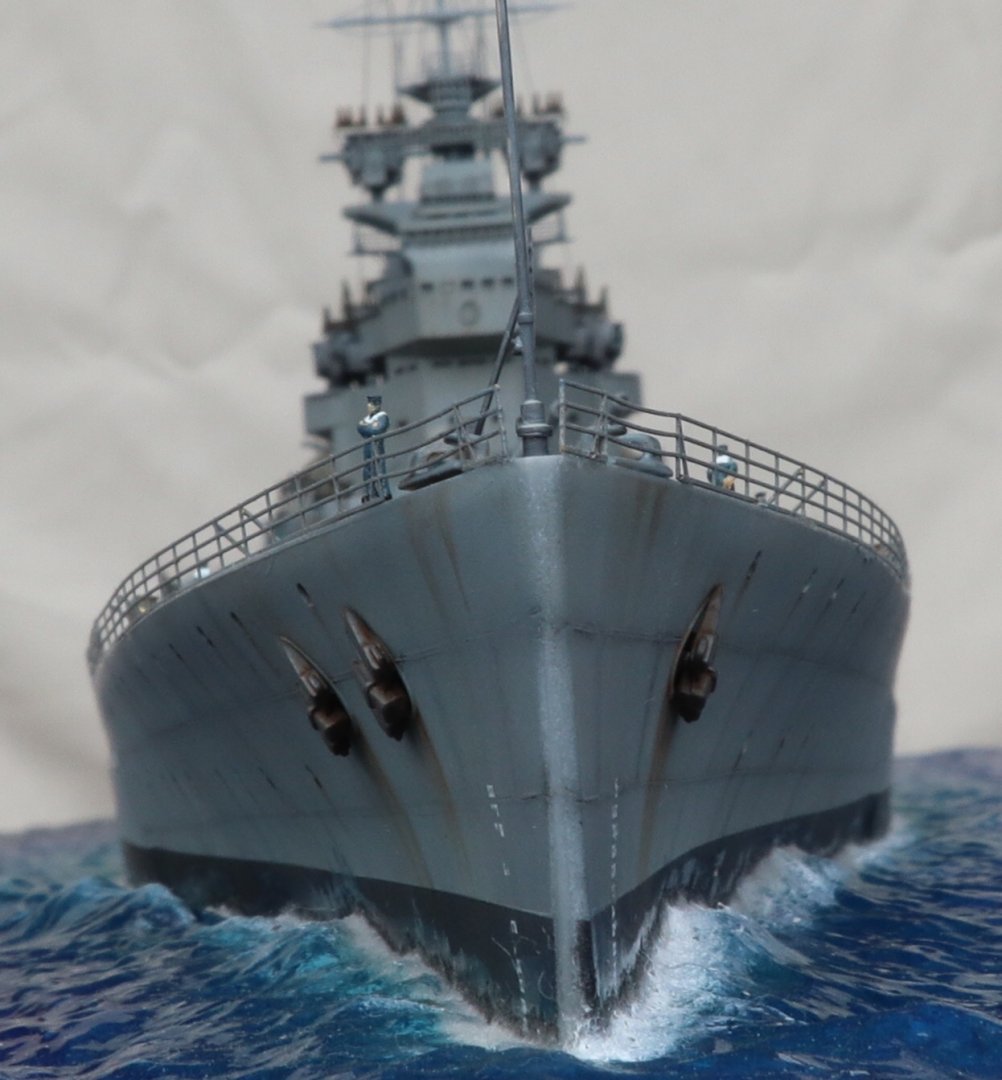
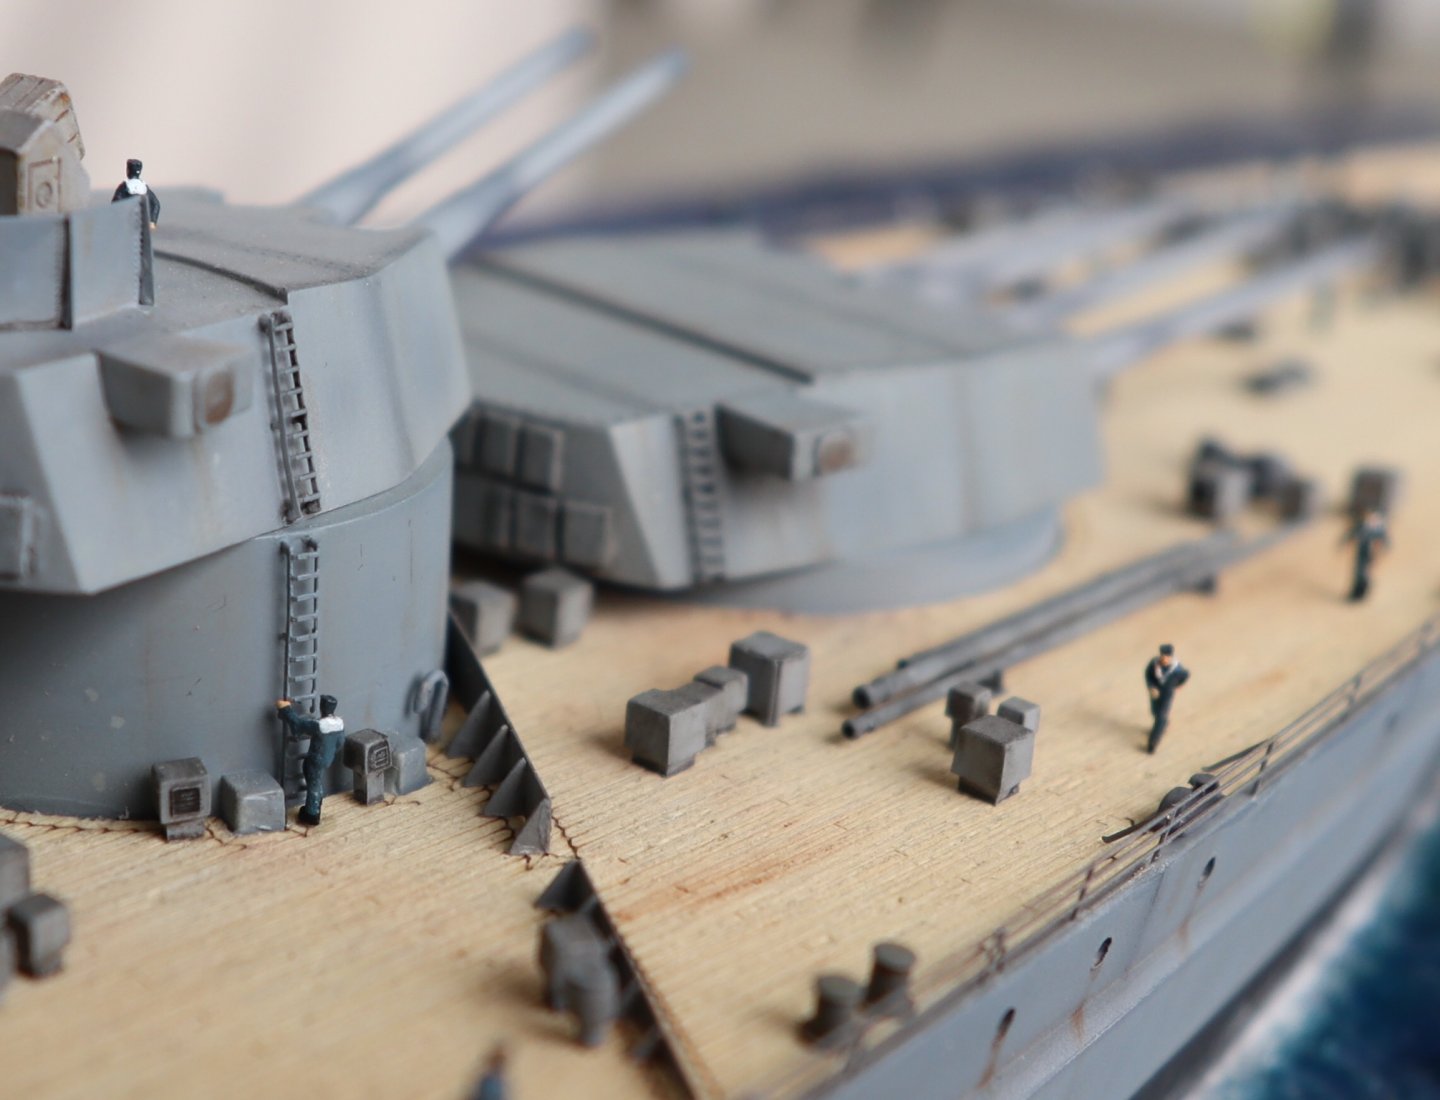
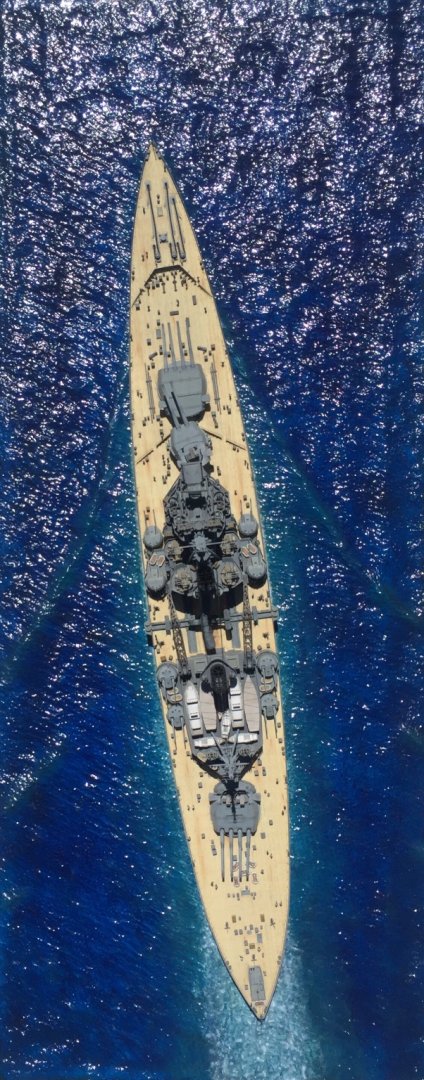
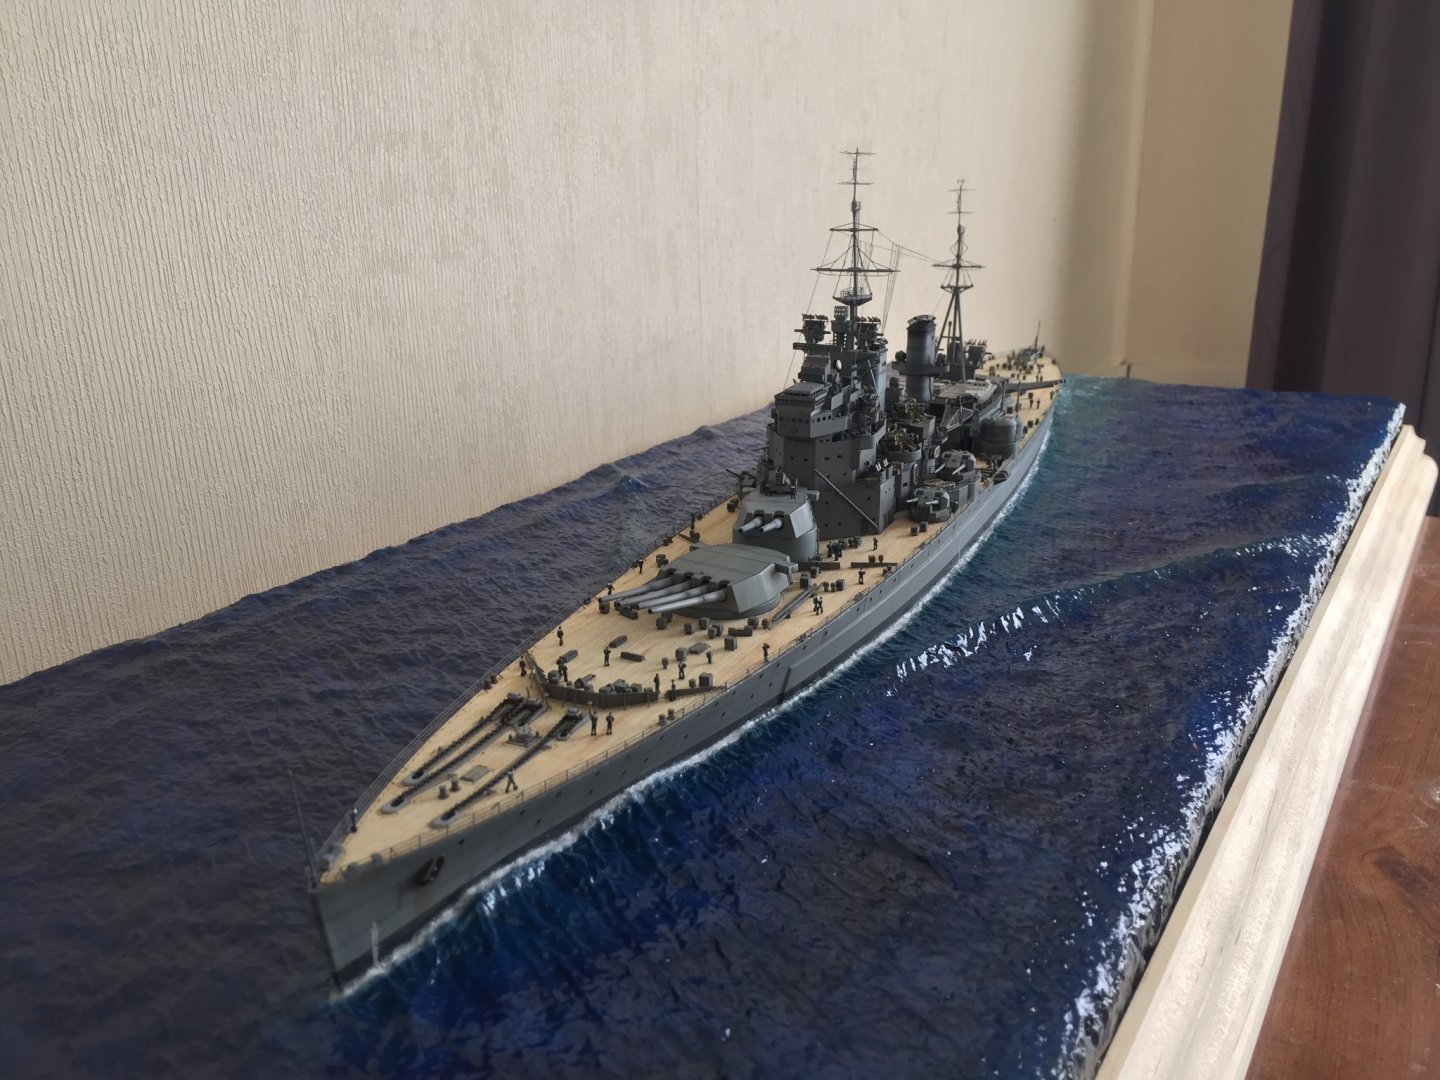
I stumbled across that angle and quite liked it! I have a canon g1x mkIII On a big Boxing Day sale. Much better cameras out there for model pictures but it’s ideal to have in my pocket while travelling... whenever that starts again!!
- 211 replies
-
- prince of wales
- tamiya
-
(and 2 more)
Tagged with:
-
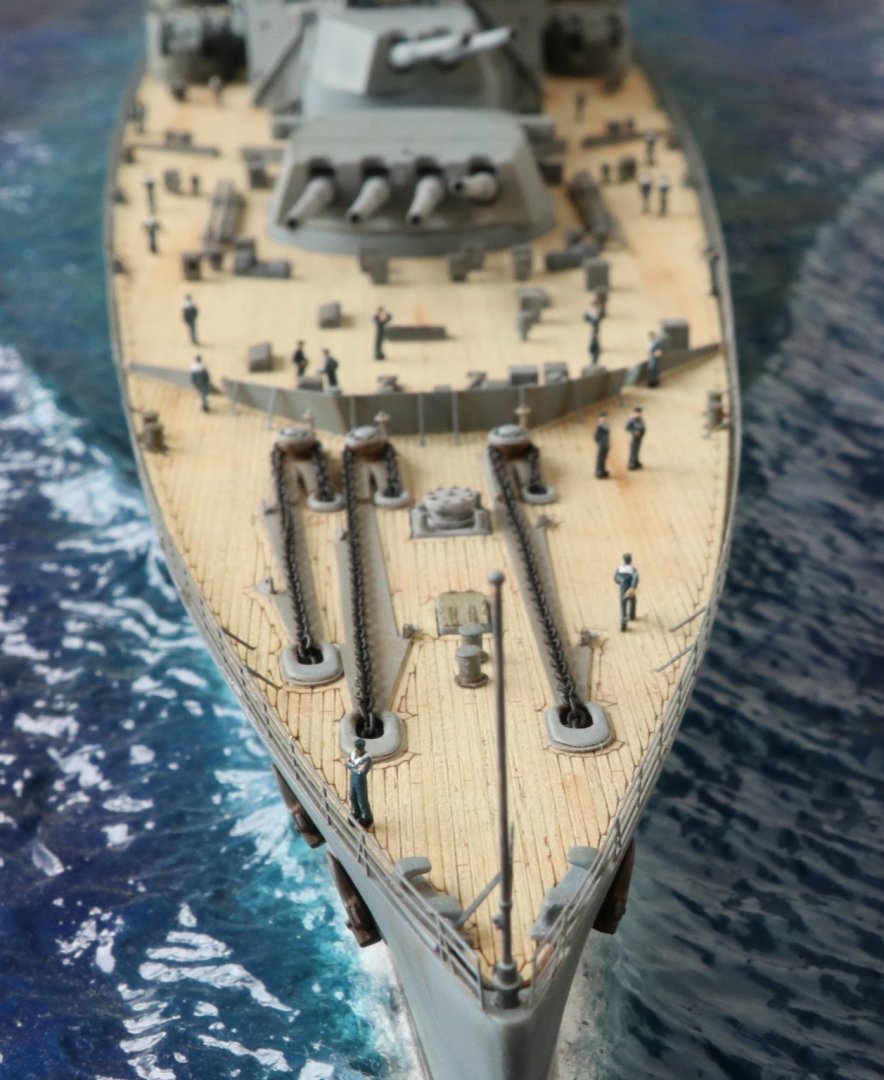
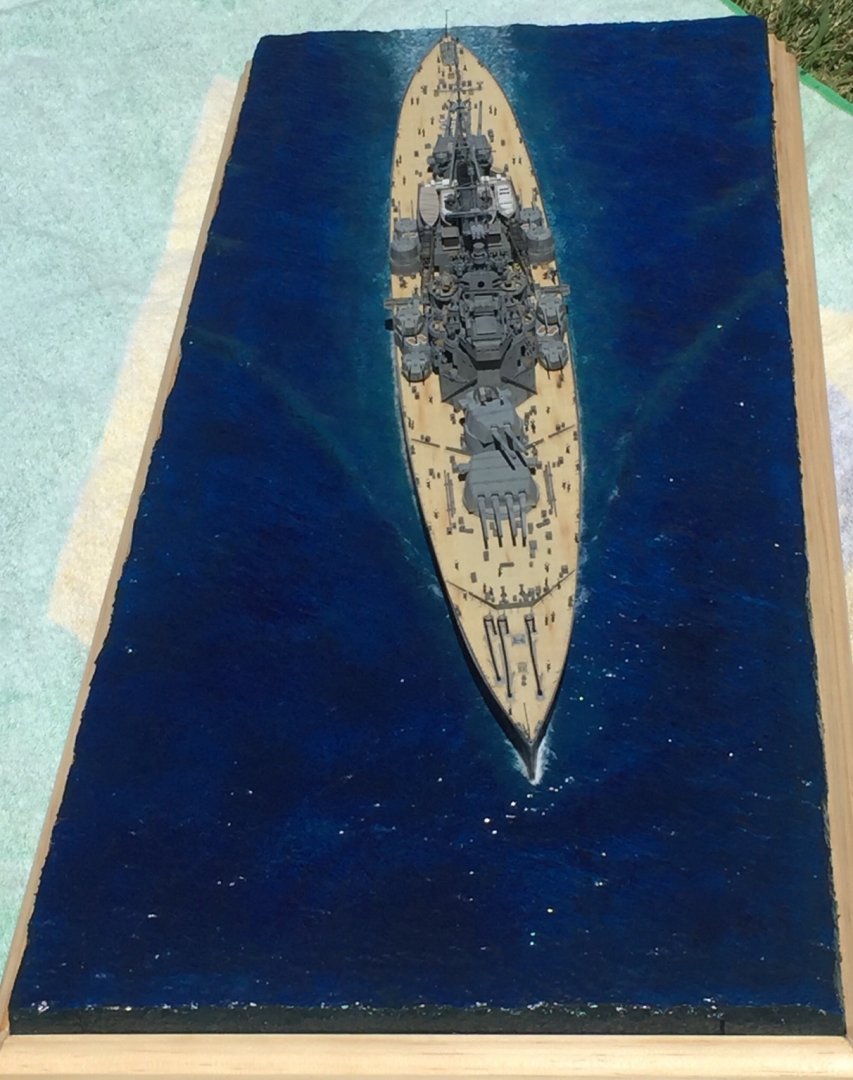
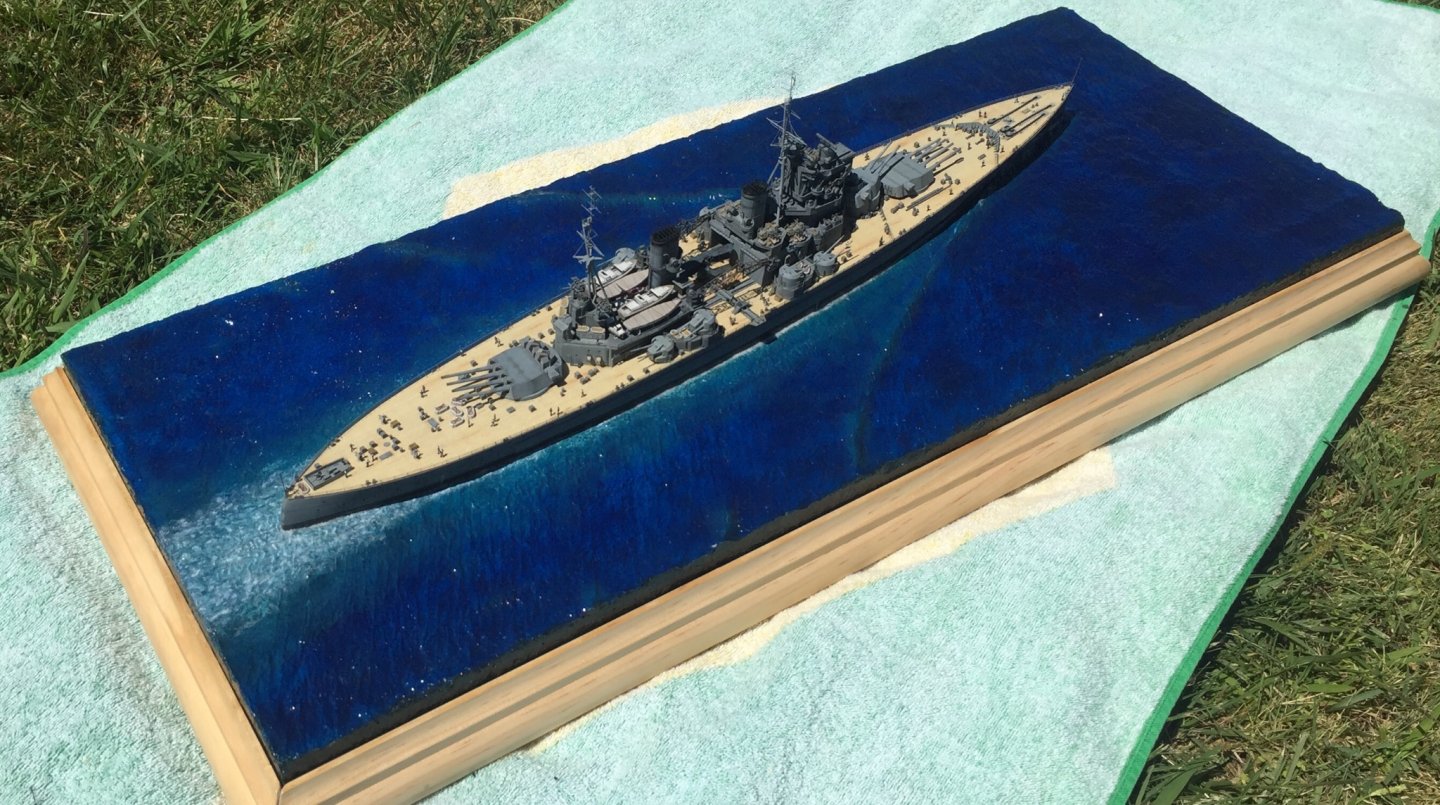
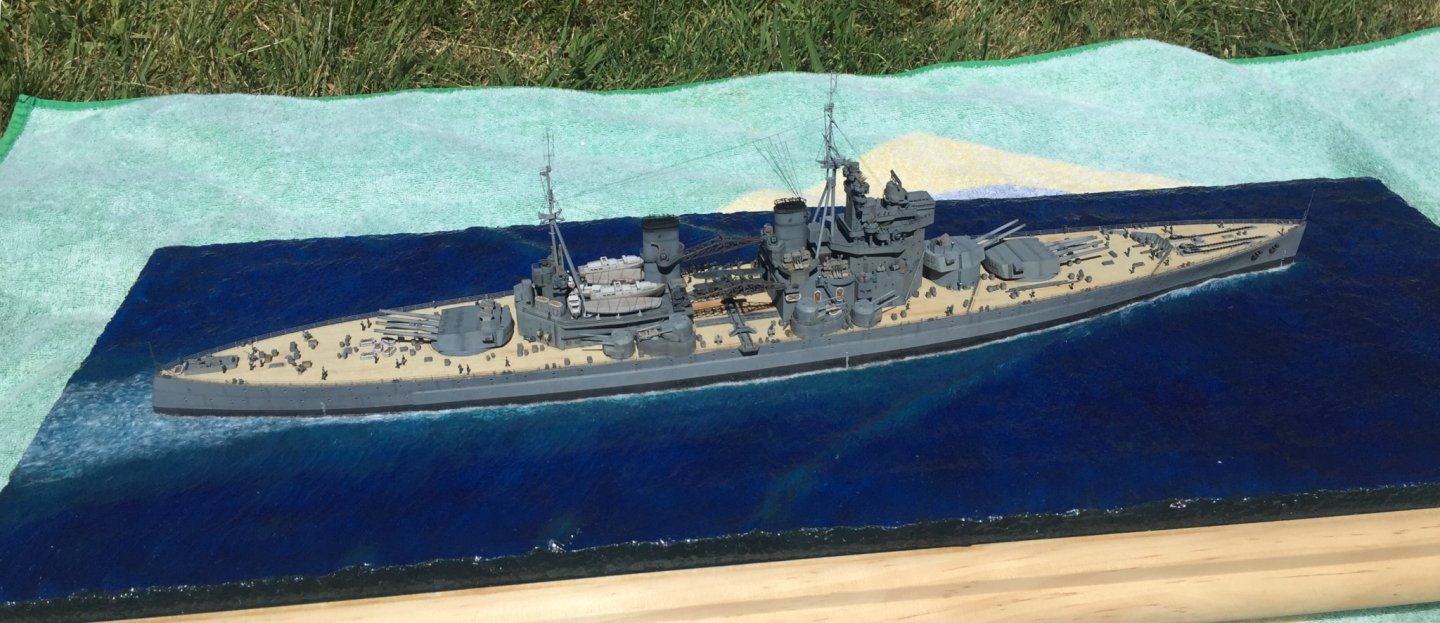
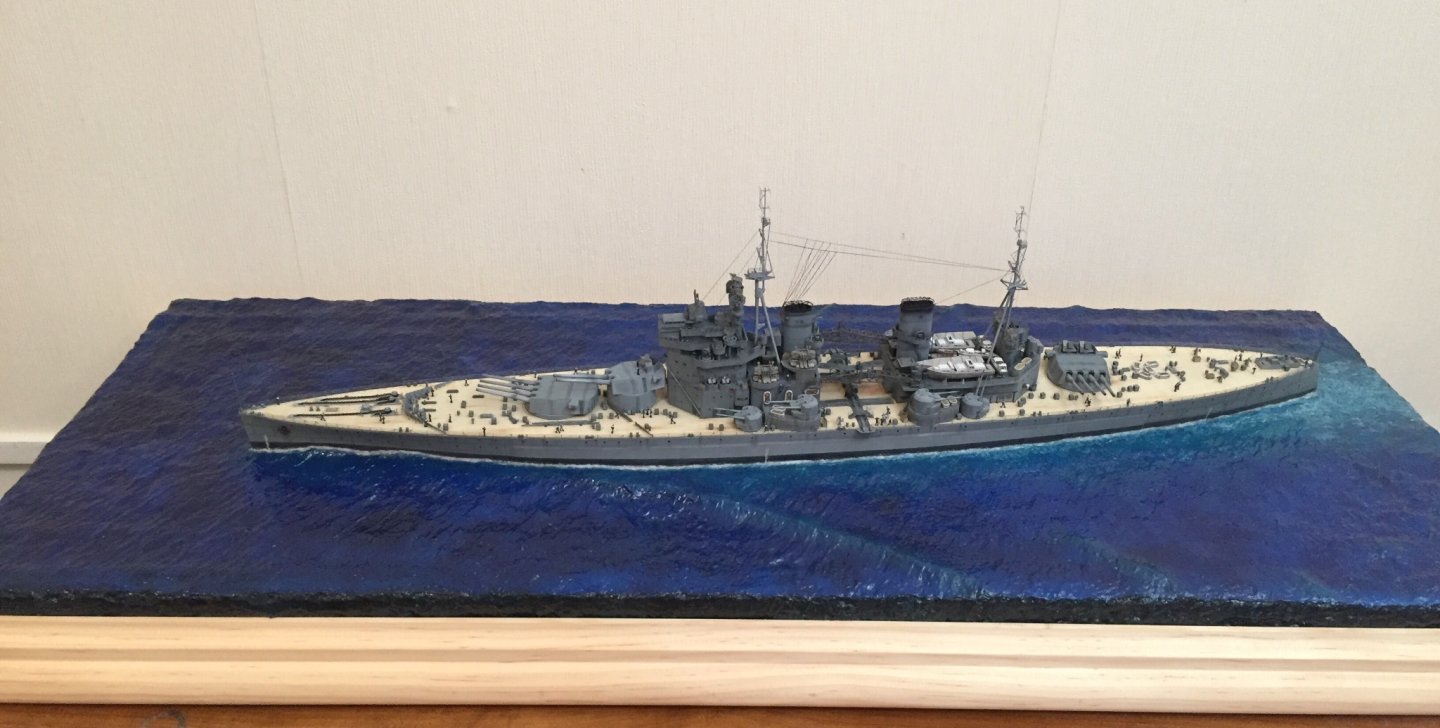
Hey small update, got an email today that the flags I ordered almost a month ago will be shipped next week! The joys of this time of year. Also I finally brought a new camera to replace the one that got stolen while on holiday a year ago so been learning its features and it can take more adventurous photos than my phone so here are a few.
- 211 replies
-
- prince of wales
- tamiya
-
(and 2 more)
Tagged with:
-
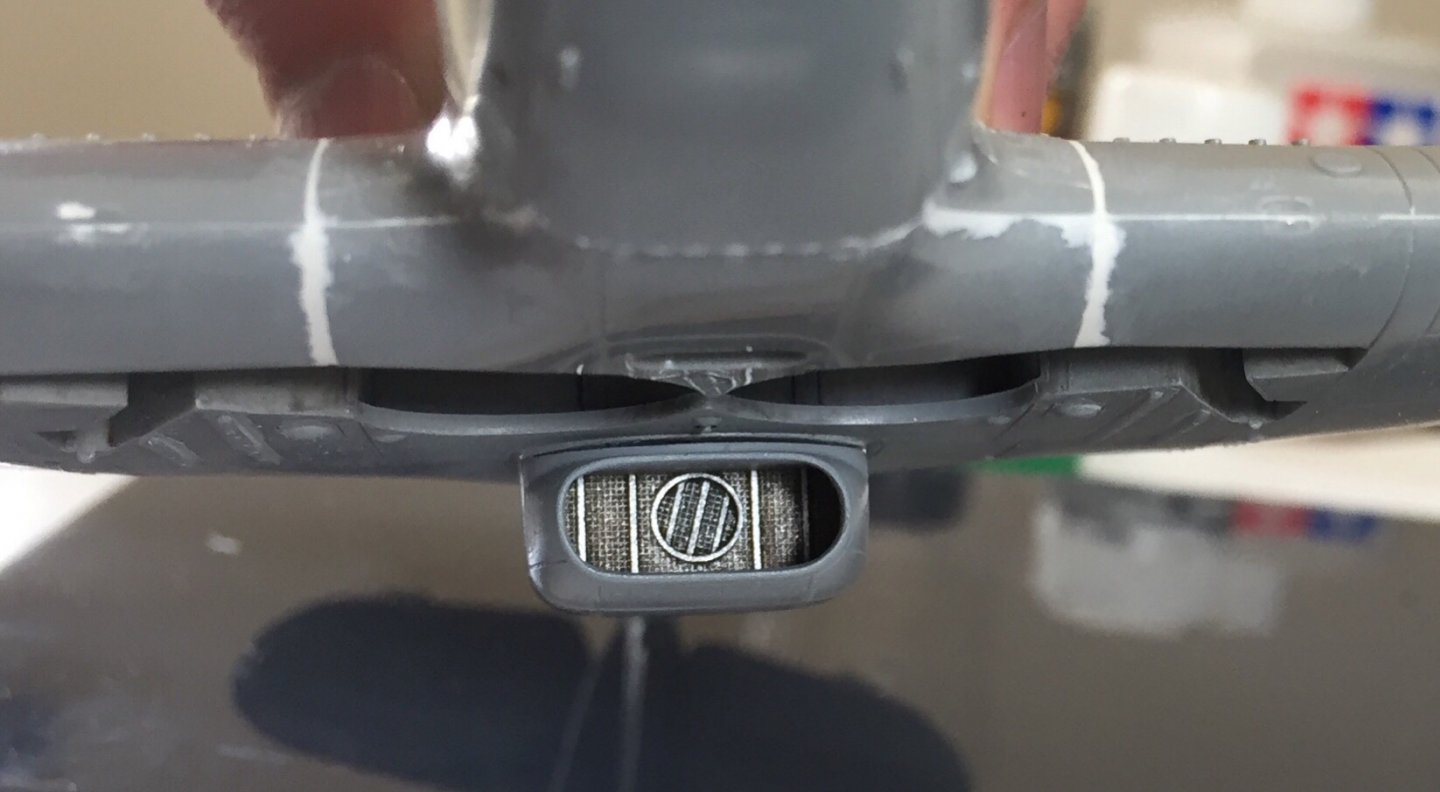
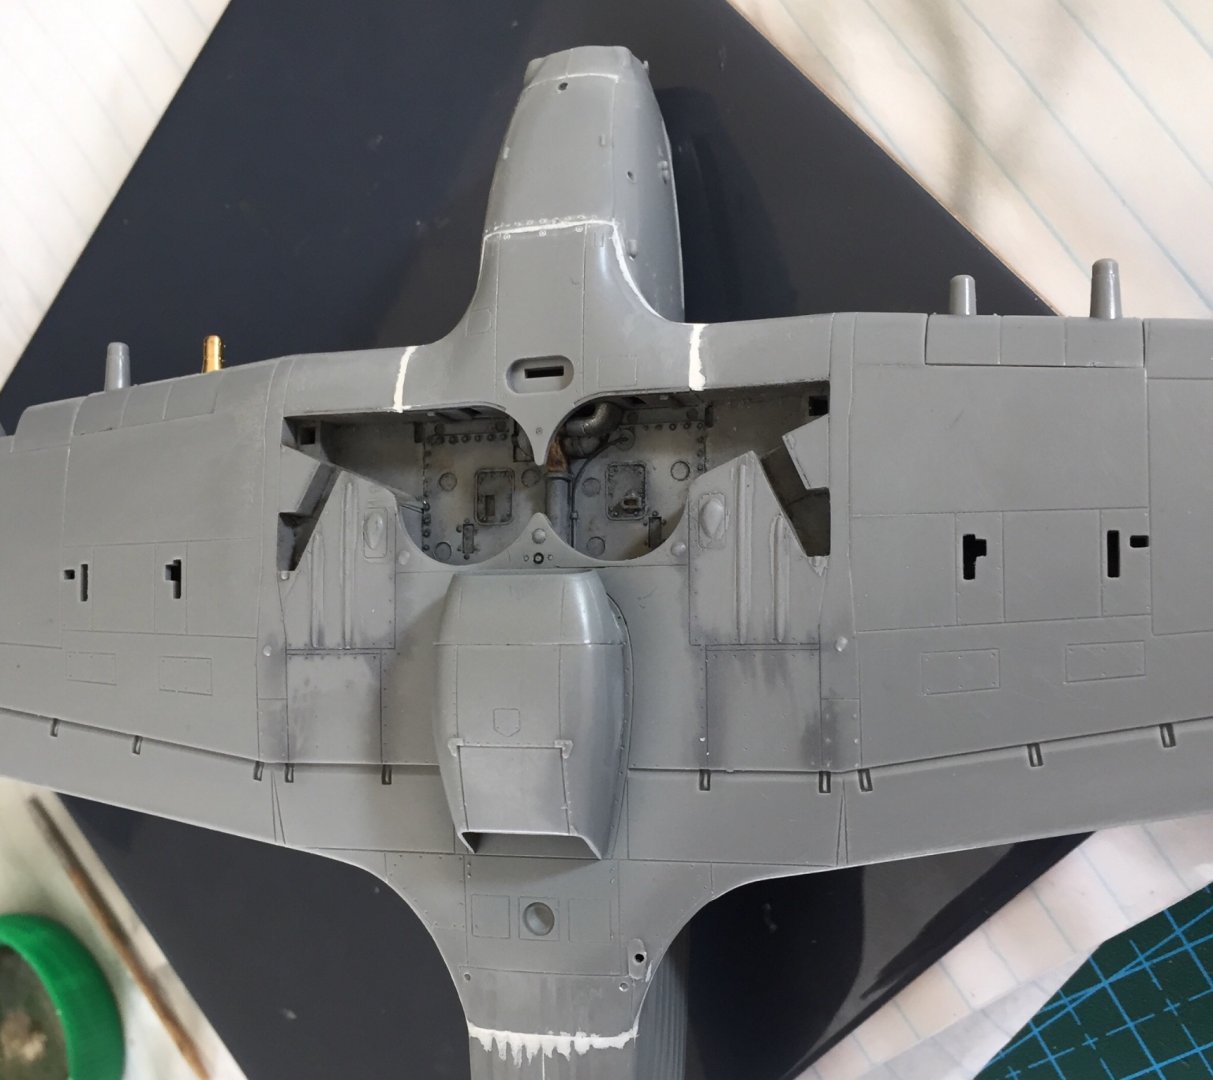
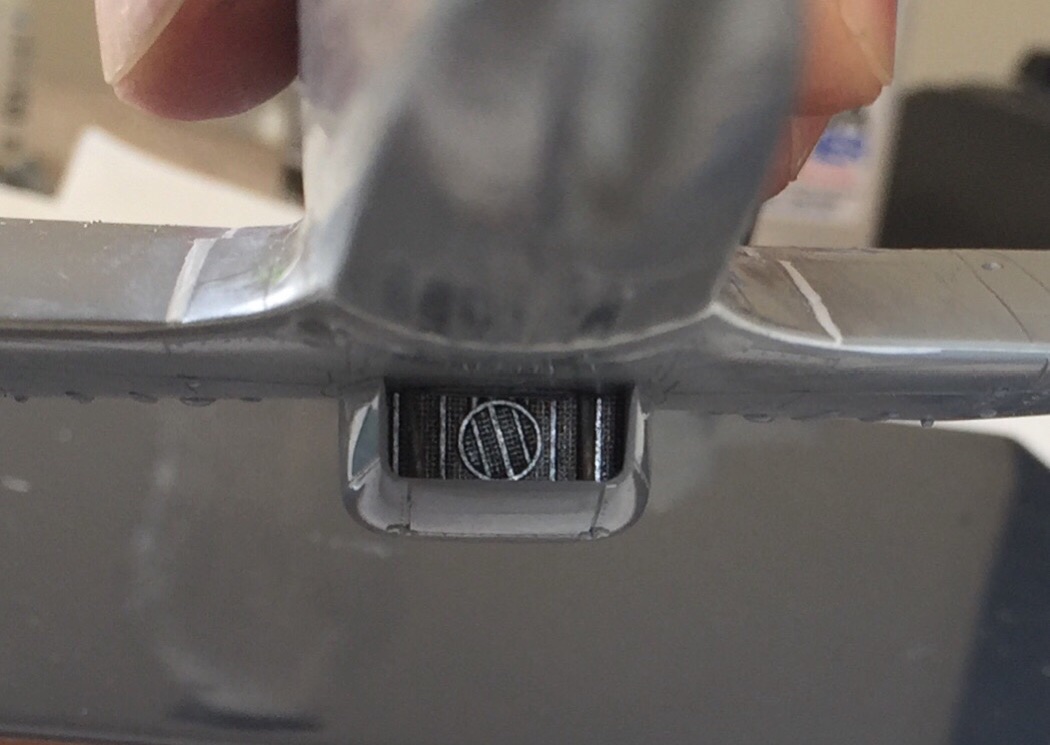
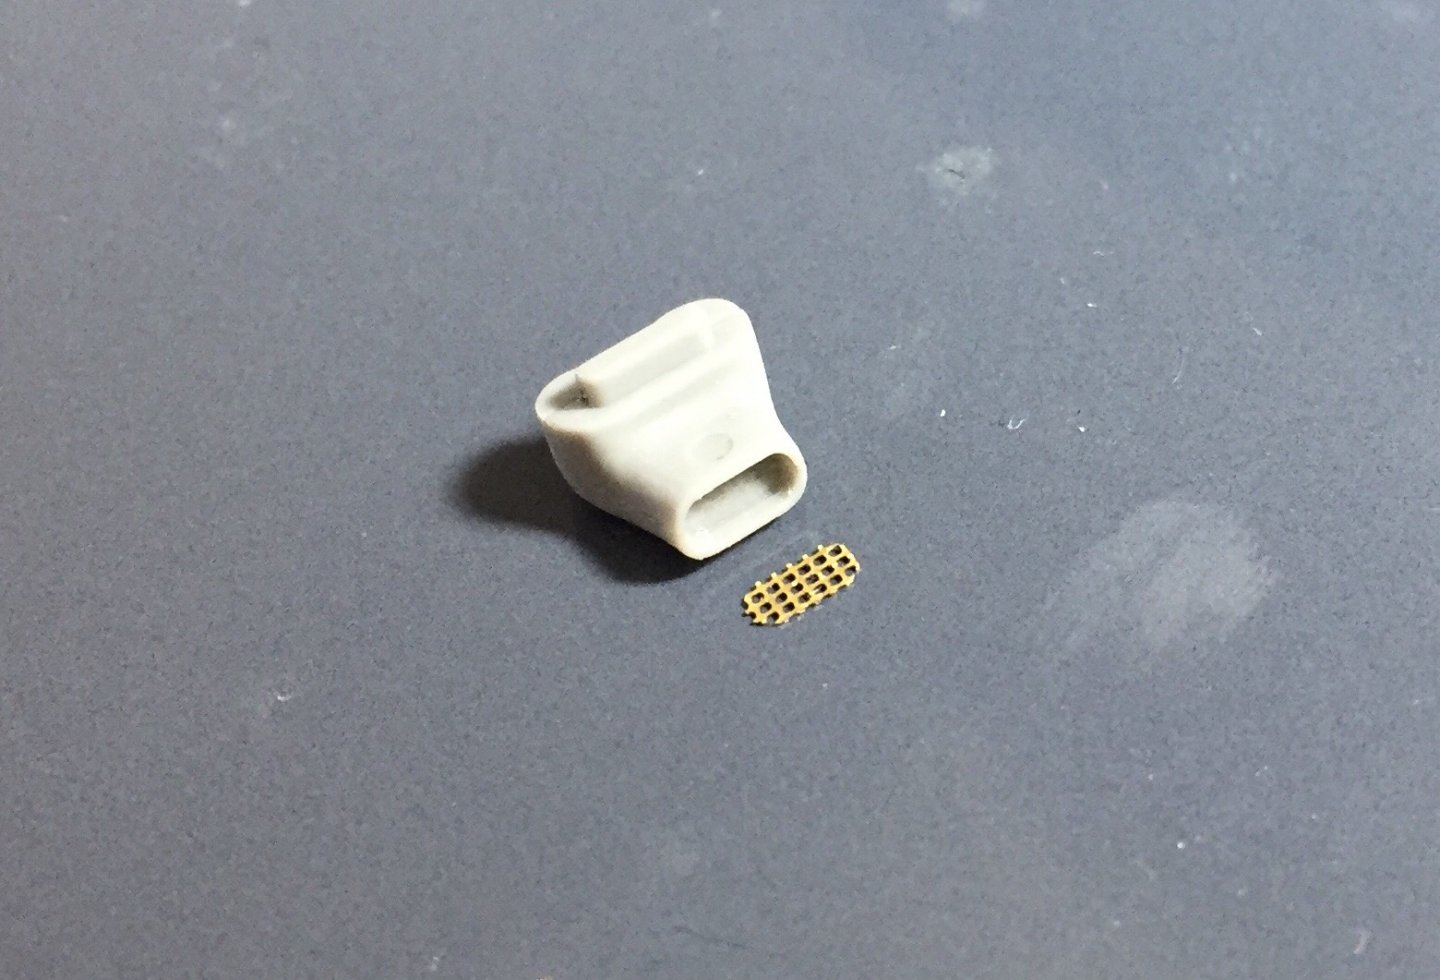
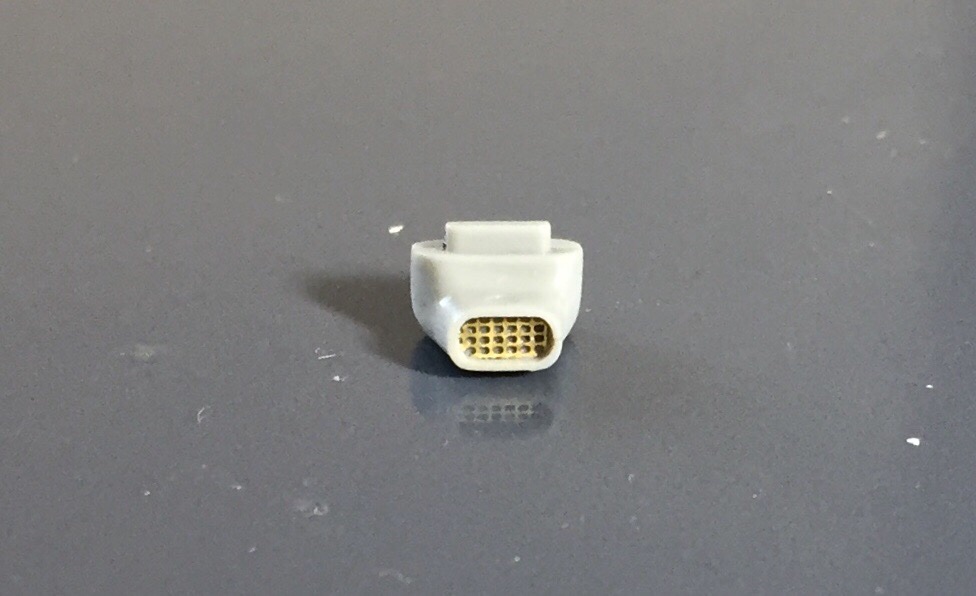
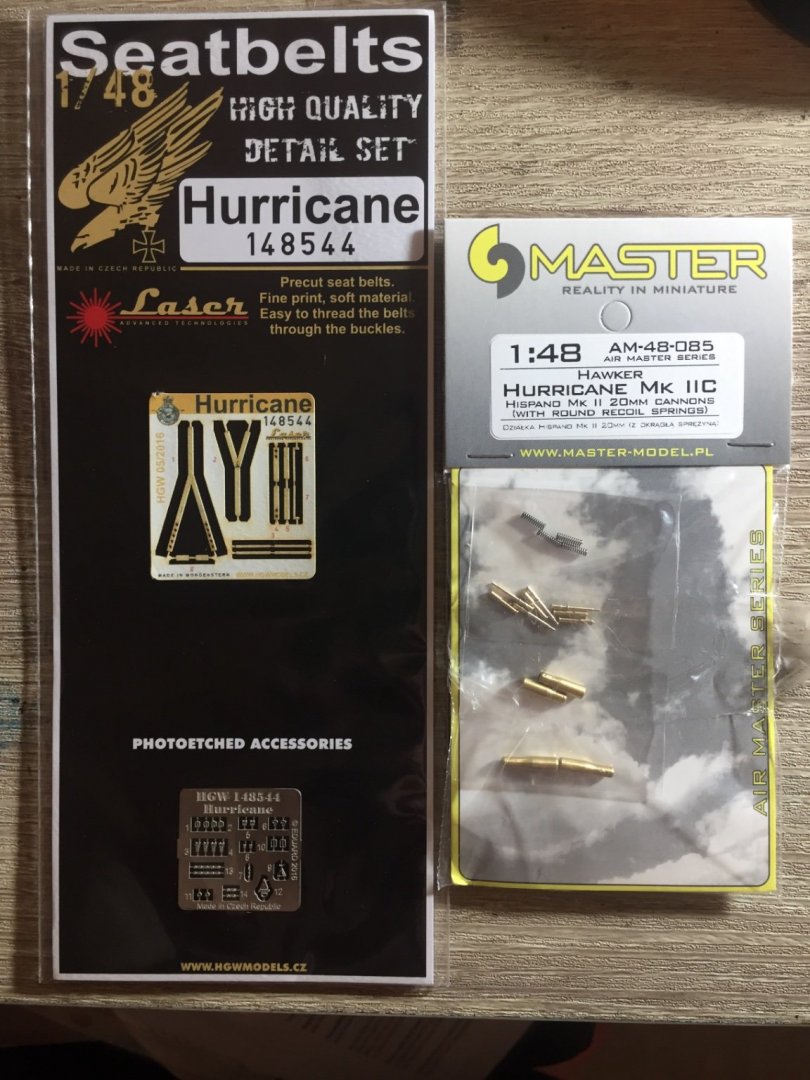
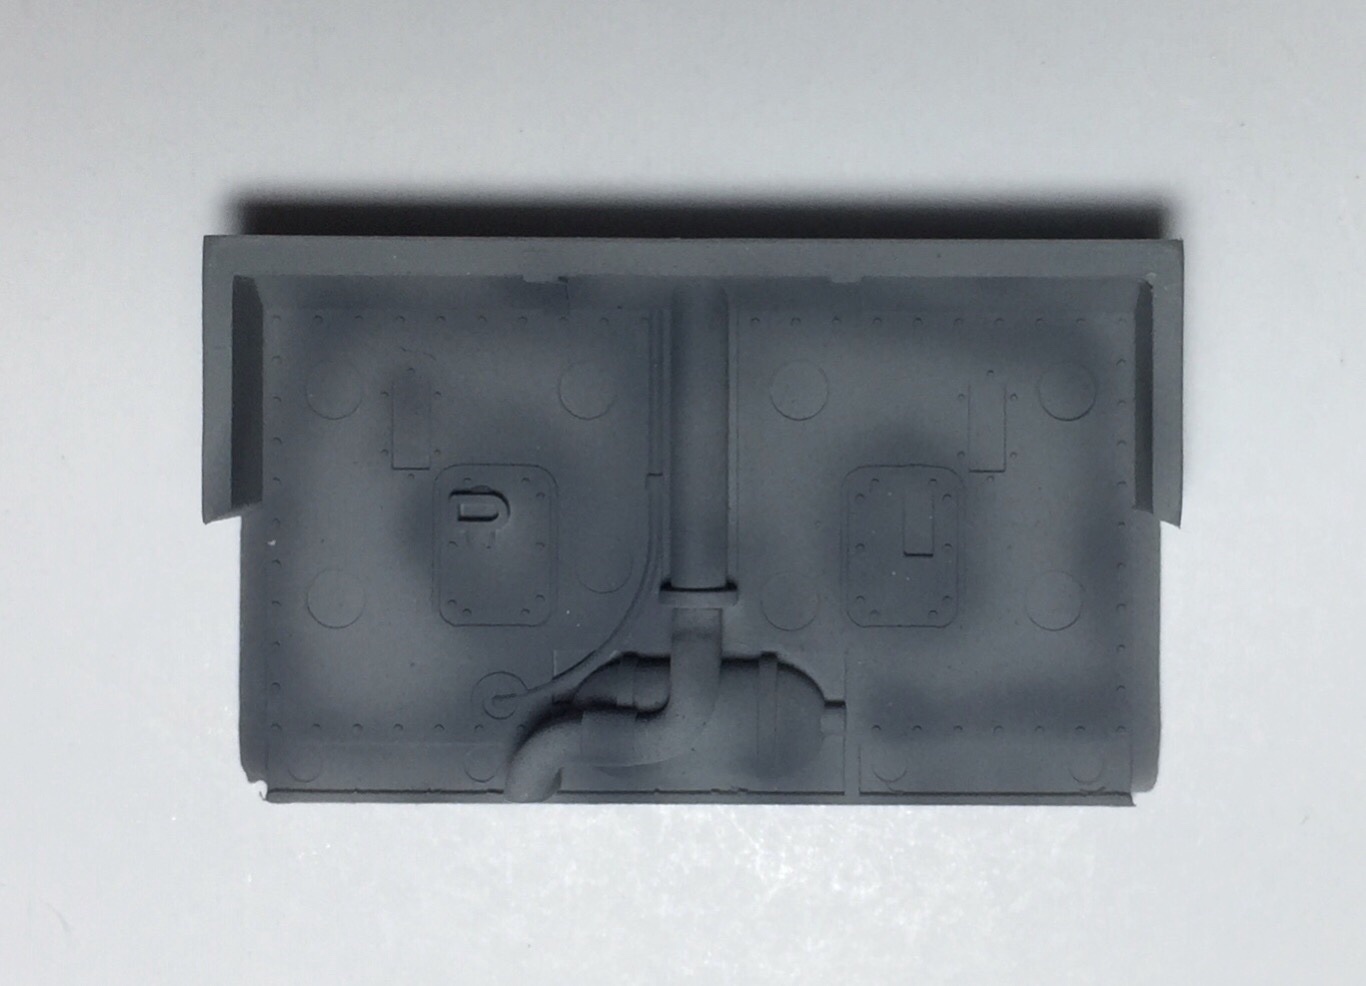
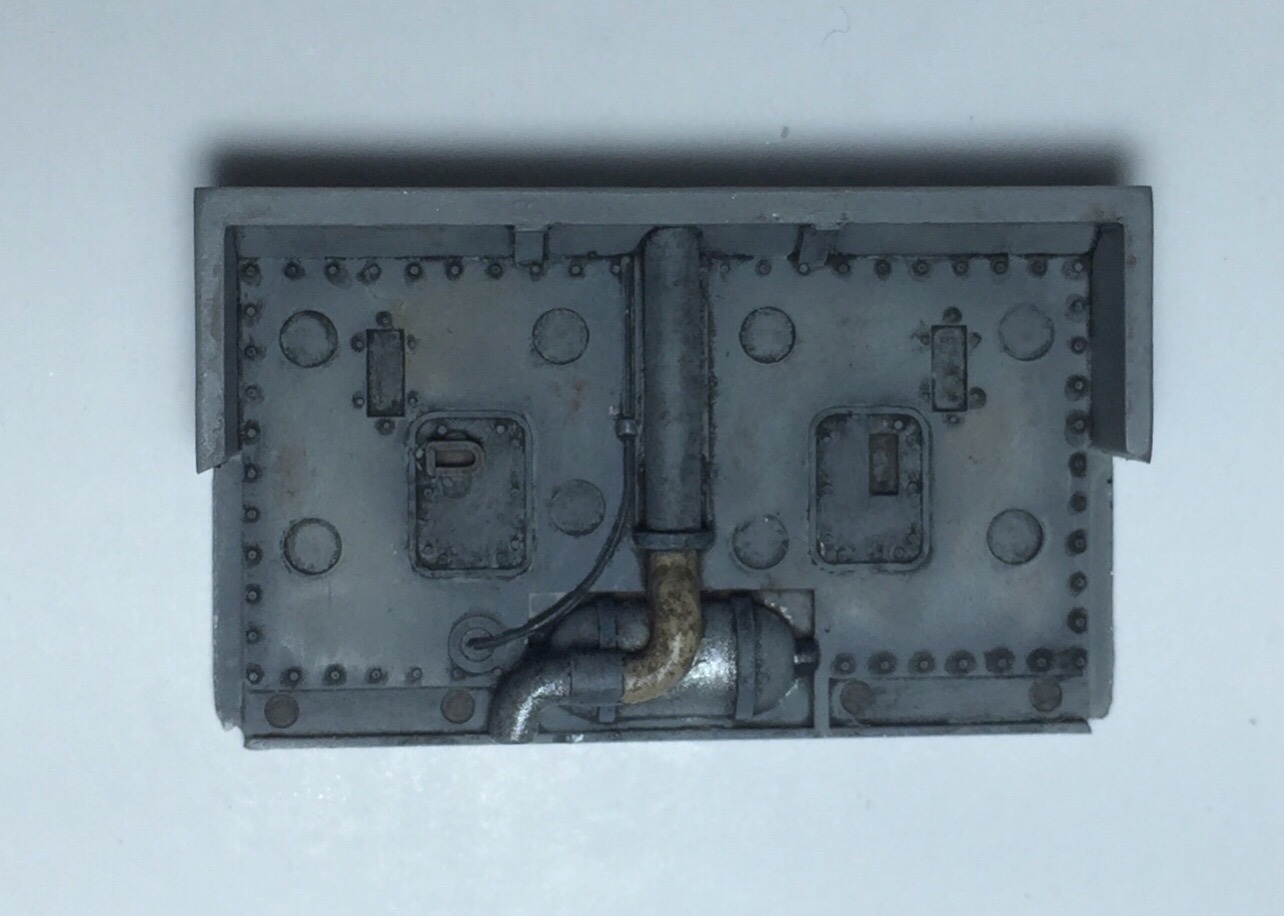
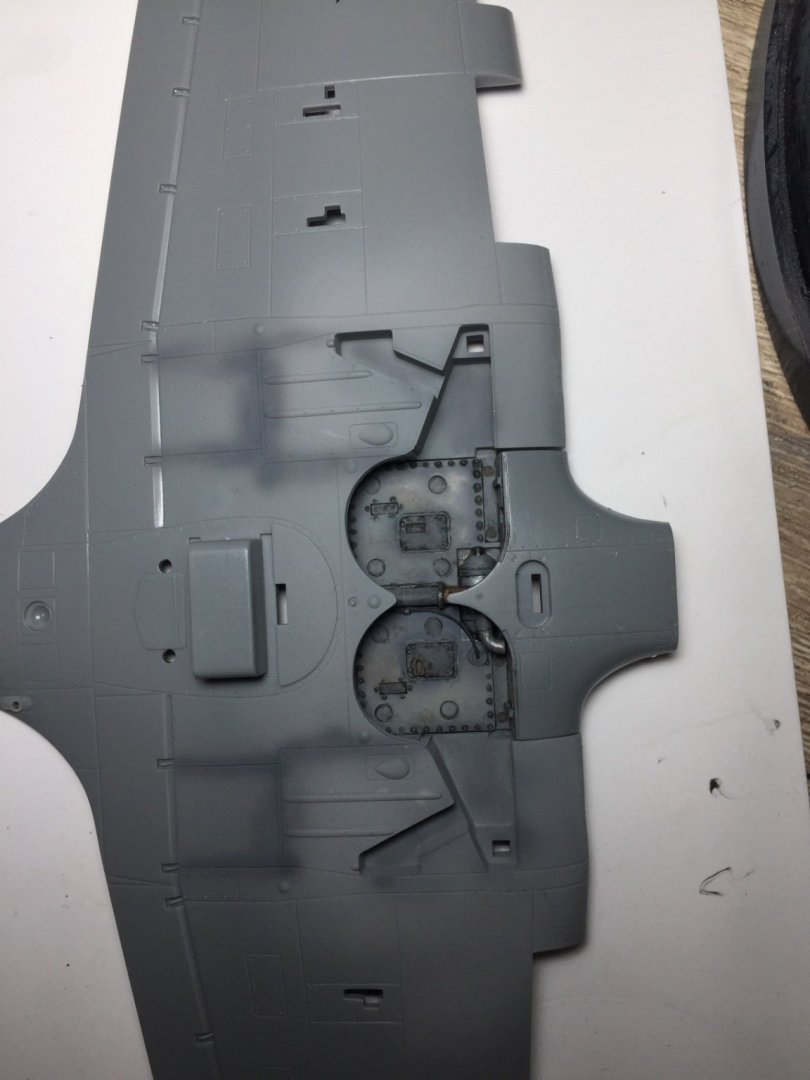
Day off today and it’s too hot to go to the beach so did some more work on this. Did the radiator intake tucked away and probably not seen again, but if anyone does have a sneaky peak it should pass the test! used streaking grime to get the reddish tinge it seems to have and then a thick black wash and highlights I’ve replaced one of the cannon bases with the brass one... 3 to go. Didn’t know the outer cannon stuck out more than the inner. All the small details you only learn when you have to work on it
-
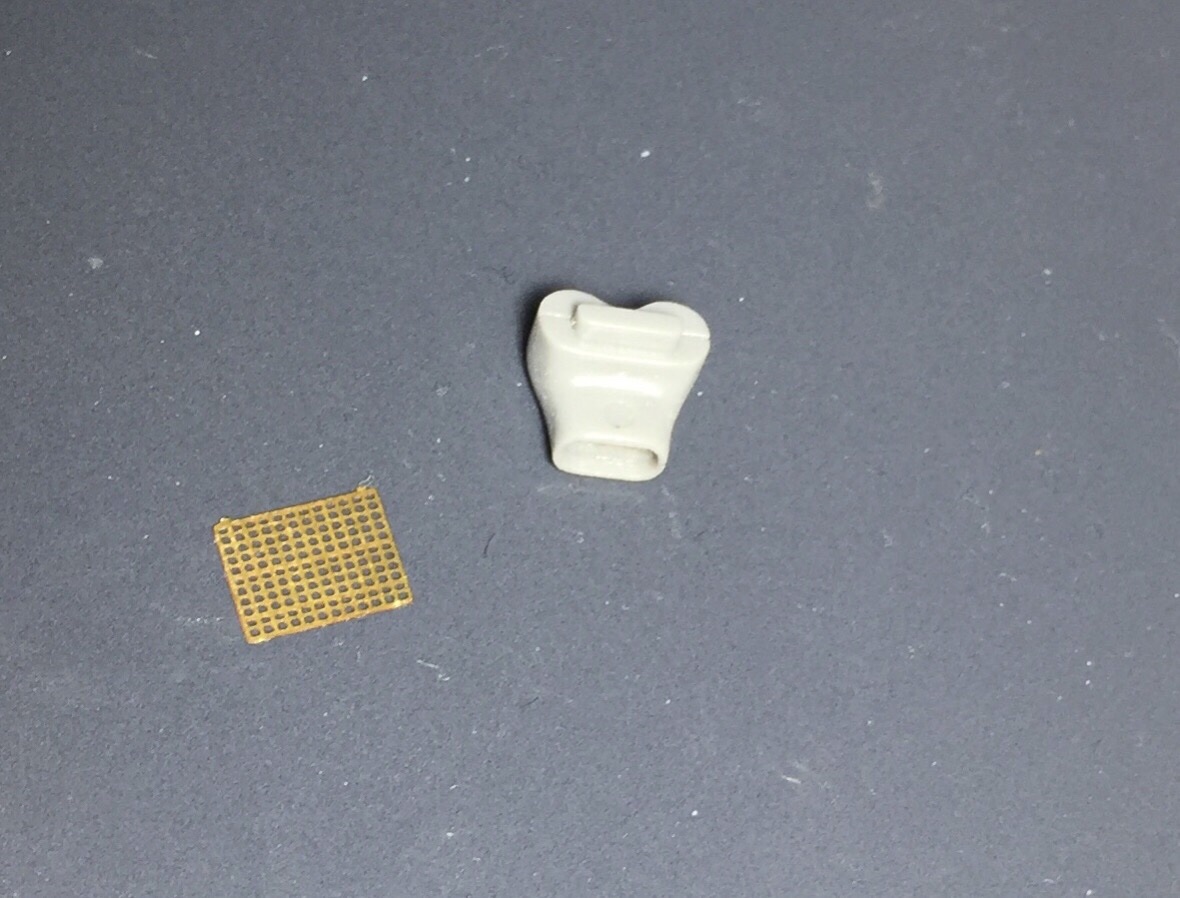
Hope 2021 is treating everyone well! ive been busy covering everyone’s shifts so they can have a holiday so haven’t done much on the hurricane. But put the carburettor intake together. and using a bit of spare PE from my HMS POW ship build added the grill. next is the radiator fairing and then the brass gun bases and basically ready for the base prime... whenever I get to that point!
-
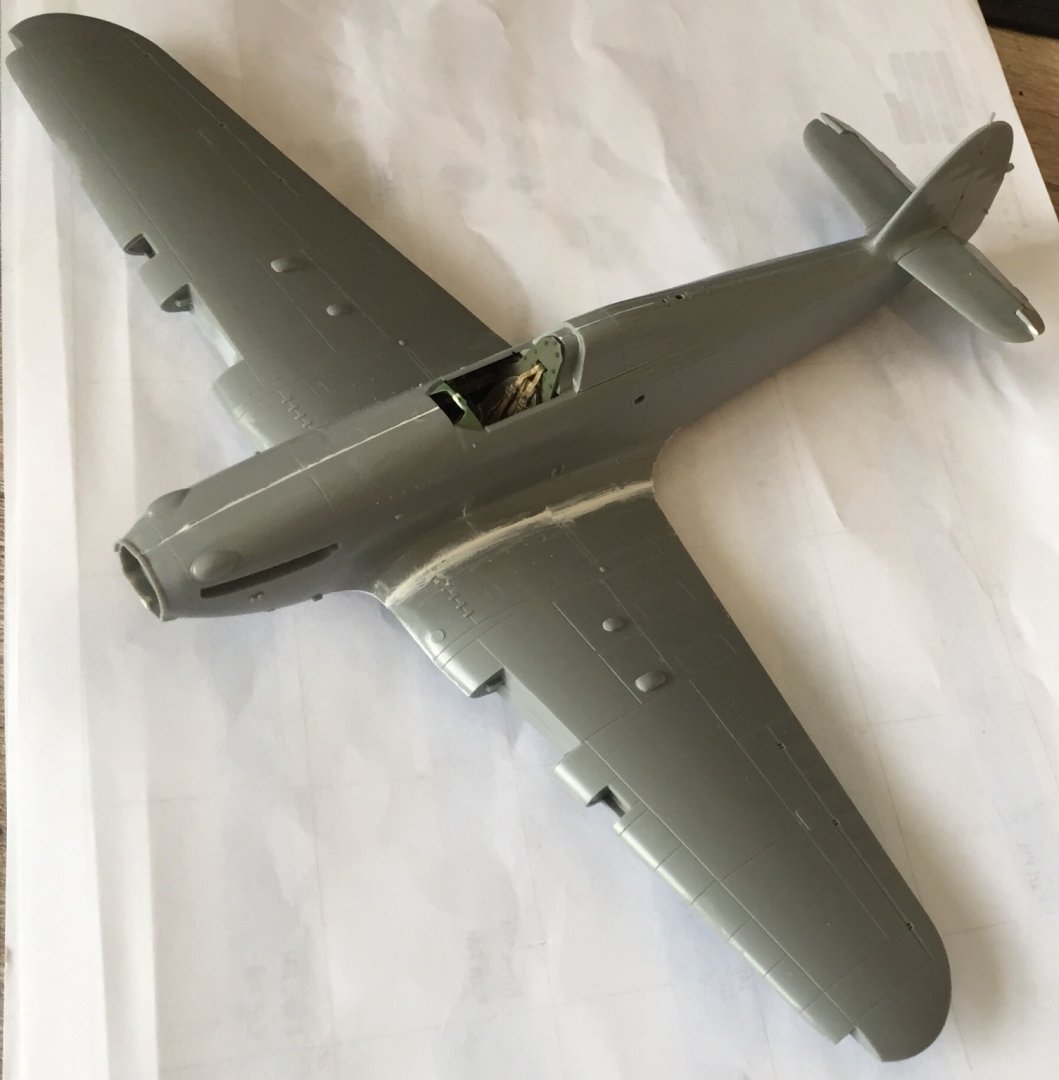
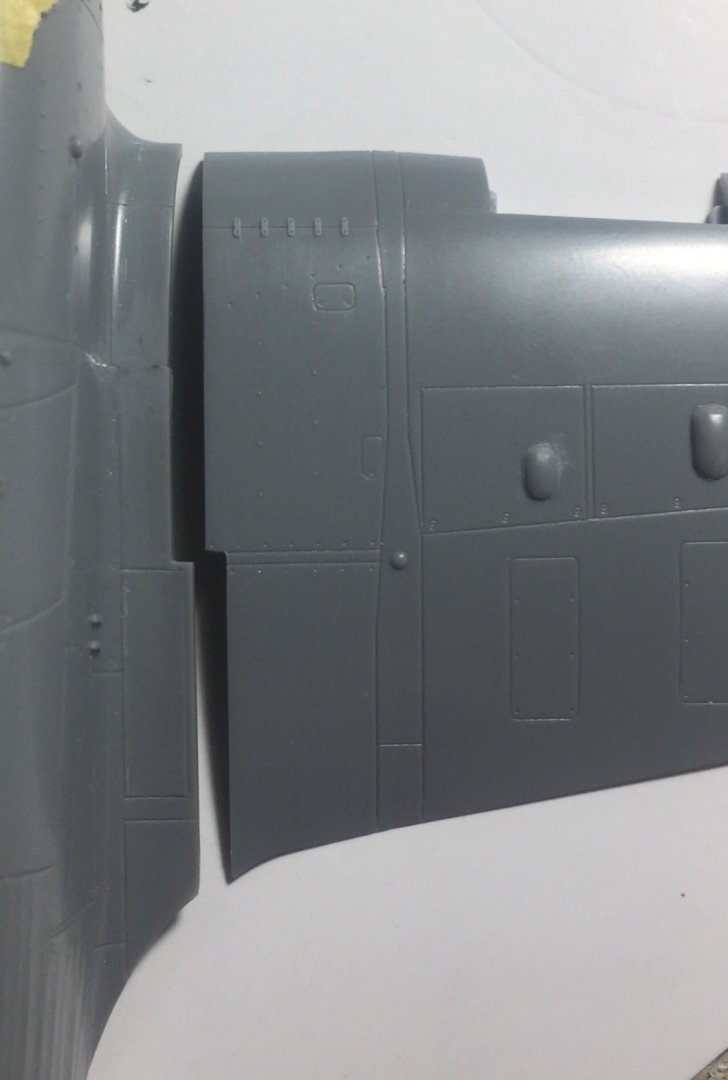
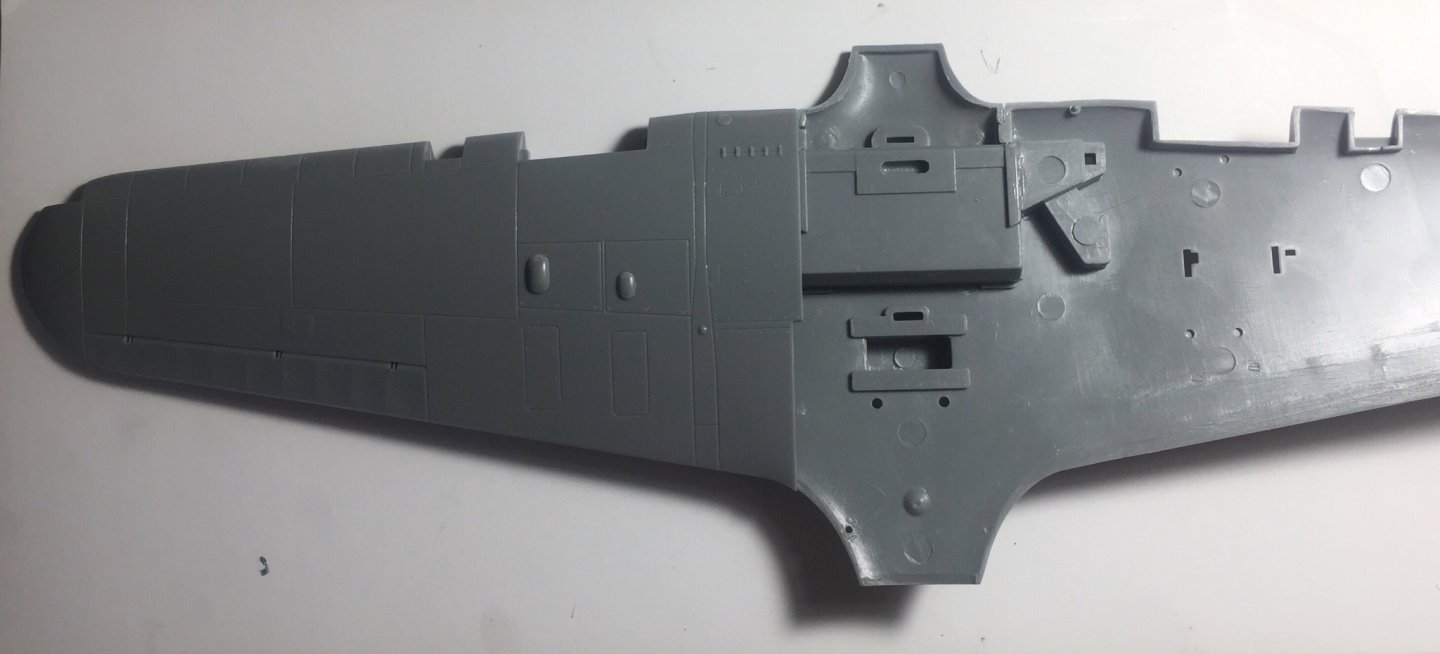
Well with the cockpit complete everything took a sudden huge leap! Was quite a surprise! Glued 3 joints and this was the result. some big big gaps in the wing roots which I’d already mentioned and discussed, went with building the wings as per the instructions. Ended up getting both types of Vallejo putty bottles and I like how runny it is. Just wish It would dry a bit harder as I’m finding if I’m not really careful sanding that chunks of the filler come off. The good side to that issue is because it’s a bit rubbery it’s got lots of play so won’t crack when it’s flexed. have a feeling it will take awhile to do all the filling and get the rest of the bits on before the prime.
-
I remember reading through the first few pages of this build ages ago and learning a lot of history and things I’d never known! Good to see the build is well underway! I’ve a feeling it’s going to be a very accurate model!! Good stuff mate
-
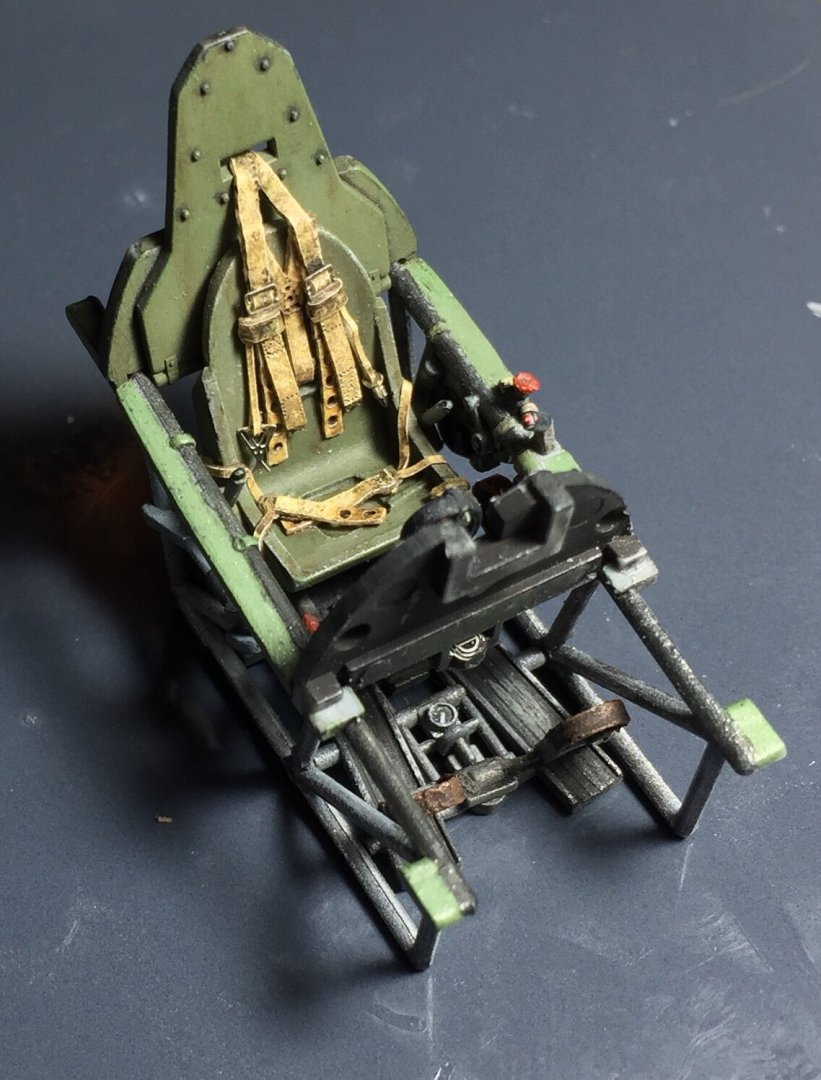
It’s less than 3 hours till Christmas and I’ve spent awhile working on the seatbelt which arrived a few days ago. Was a lot more parts than I thought and how they go together was quite unclear even with google. But I think it looks better than no seatbelt and finishes off the cockpit well. hope everyone one has a nice Christmas
-
I’ve got a question for all you plane builders. is it frowned upon to glue the top sides of the wings to the fuselage first. then once on attach the underside and do whats needed to make them fit? Pros would be the best possible fit on the upper surface meaning much less filler on the part you can actually see. a con would be if the underside doesn’t fit with the top in correct place could be a disaster. otherwise instructions say join wing halves together then attach to fuselage which dry fitting shows an awful join. any one attempted something like this before? Any ideas? Am kinda leaning towards glueing the tops to fuselage first at the moment just for that amazing join
-
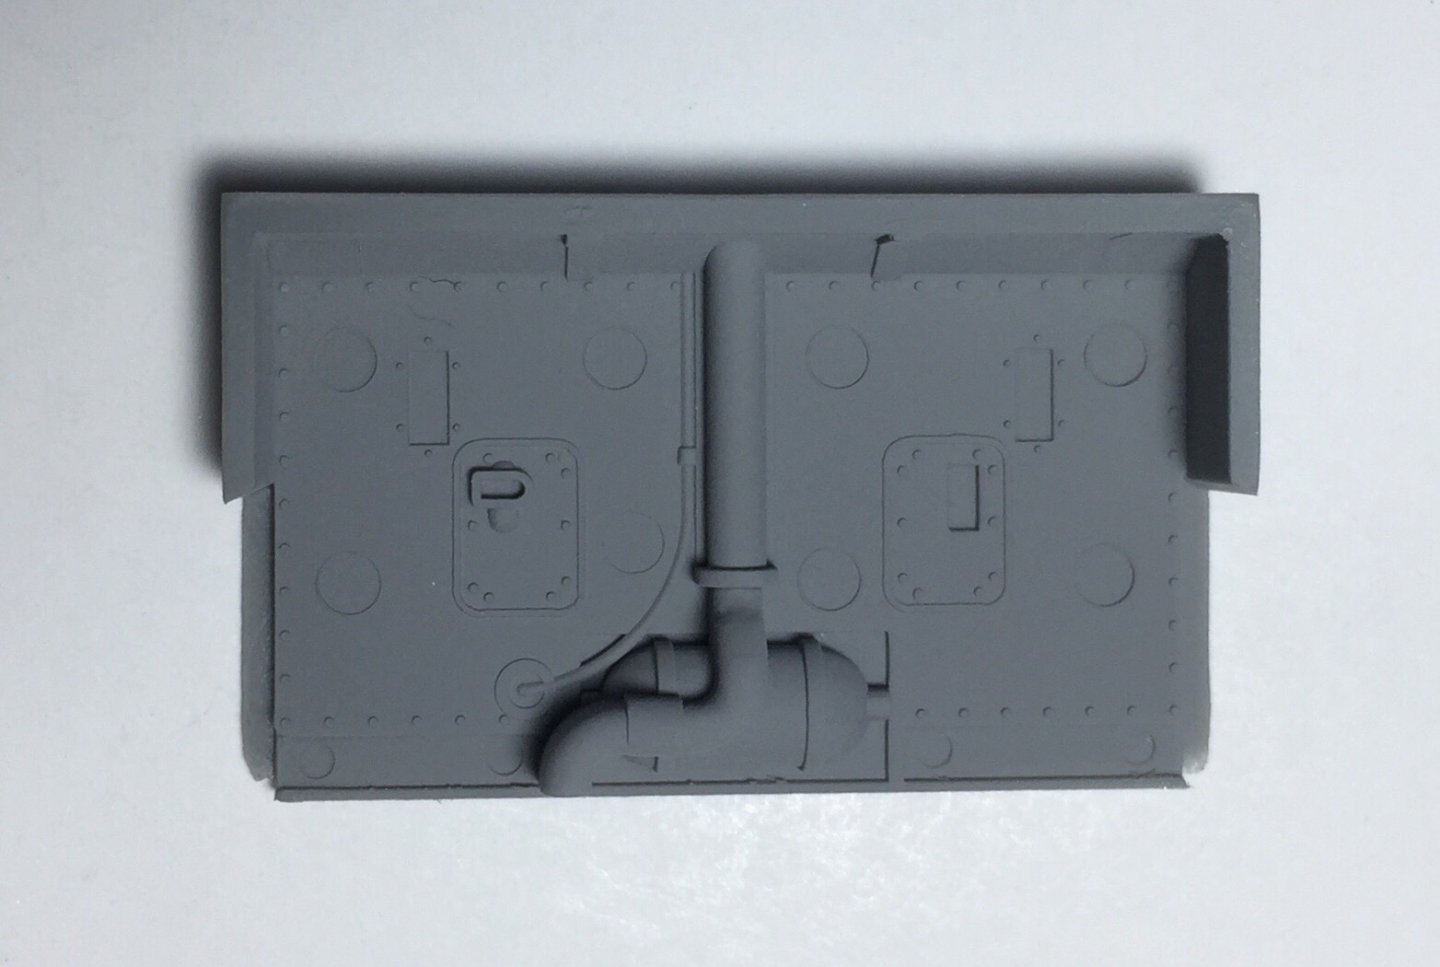
Where I can been working on the wheel bay. Seems out of the factory they were painted in a silver coloured dope and then with maintenance and new paints the colour could end up the same as the underside. So that how mine will be, well used and had a few coats of paint. painted with 2 shades of grey and then darker grey for some highlights. there are a few few pics of the wheel bay about so just mixed and matched. This part is pretty much never seen anyway. ill match the rest of the undercarriage bays with what I’ve done so far.
-
No need to send the critic!! 😅 You guys are right! I’ll leave her as is and add the flag and call it finished. Im really happy with how she came out. Ive ordered some flags and they will be here next year.
- 211 replies
-
- prince of wales
- tamiya
-
(and 2 more)
Tagged with:
-
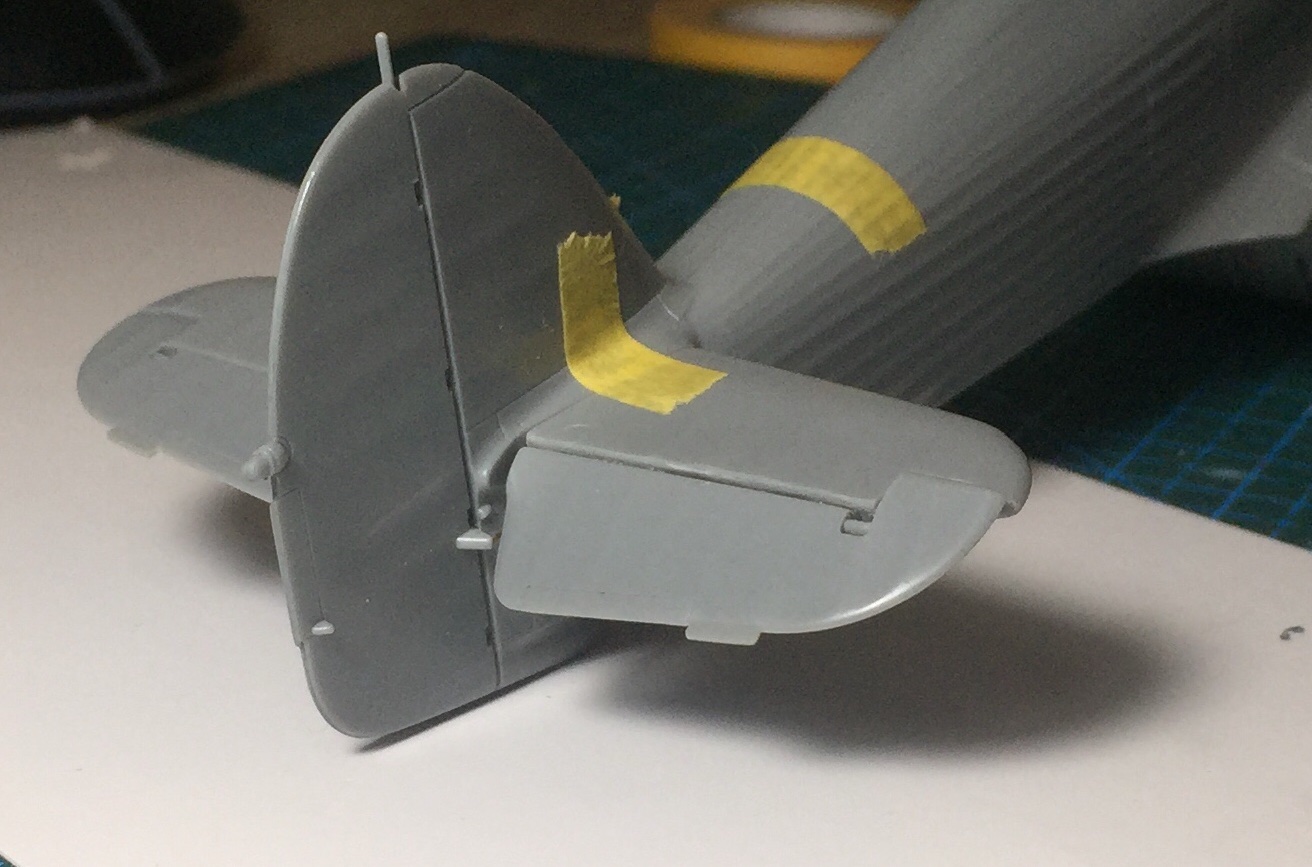
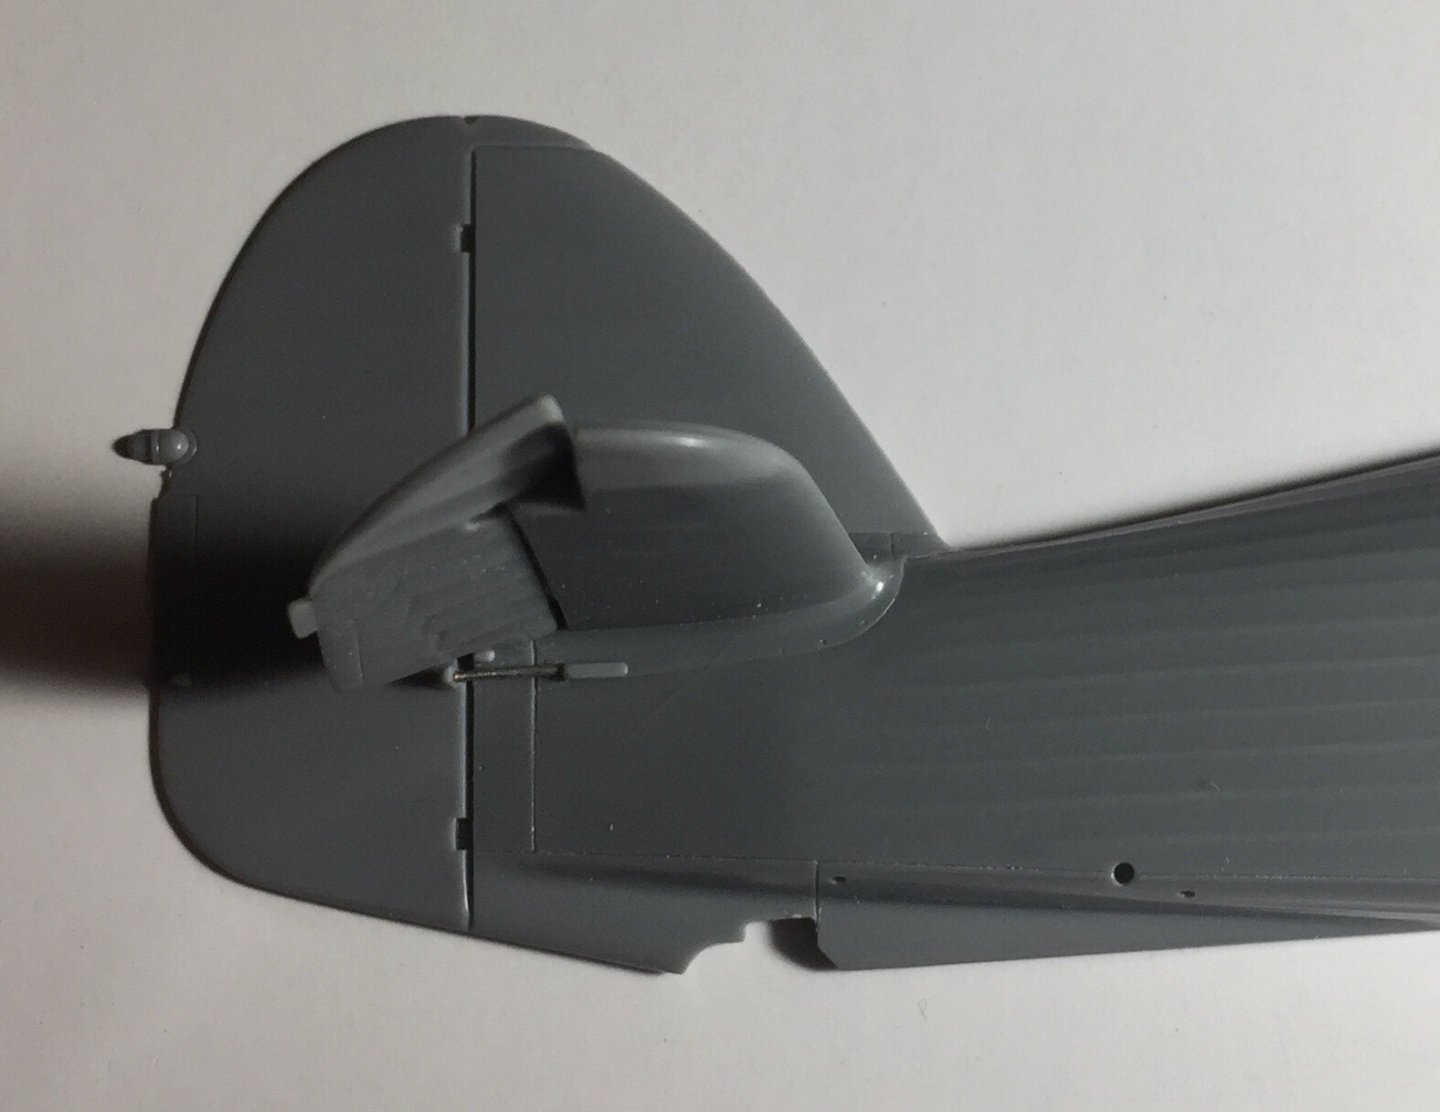
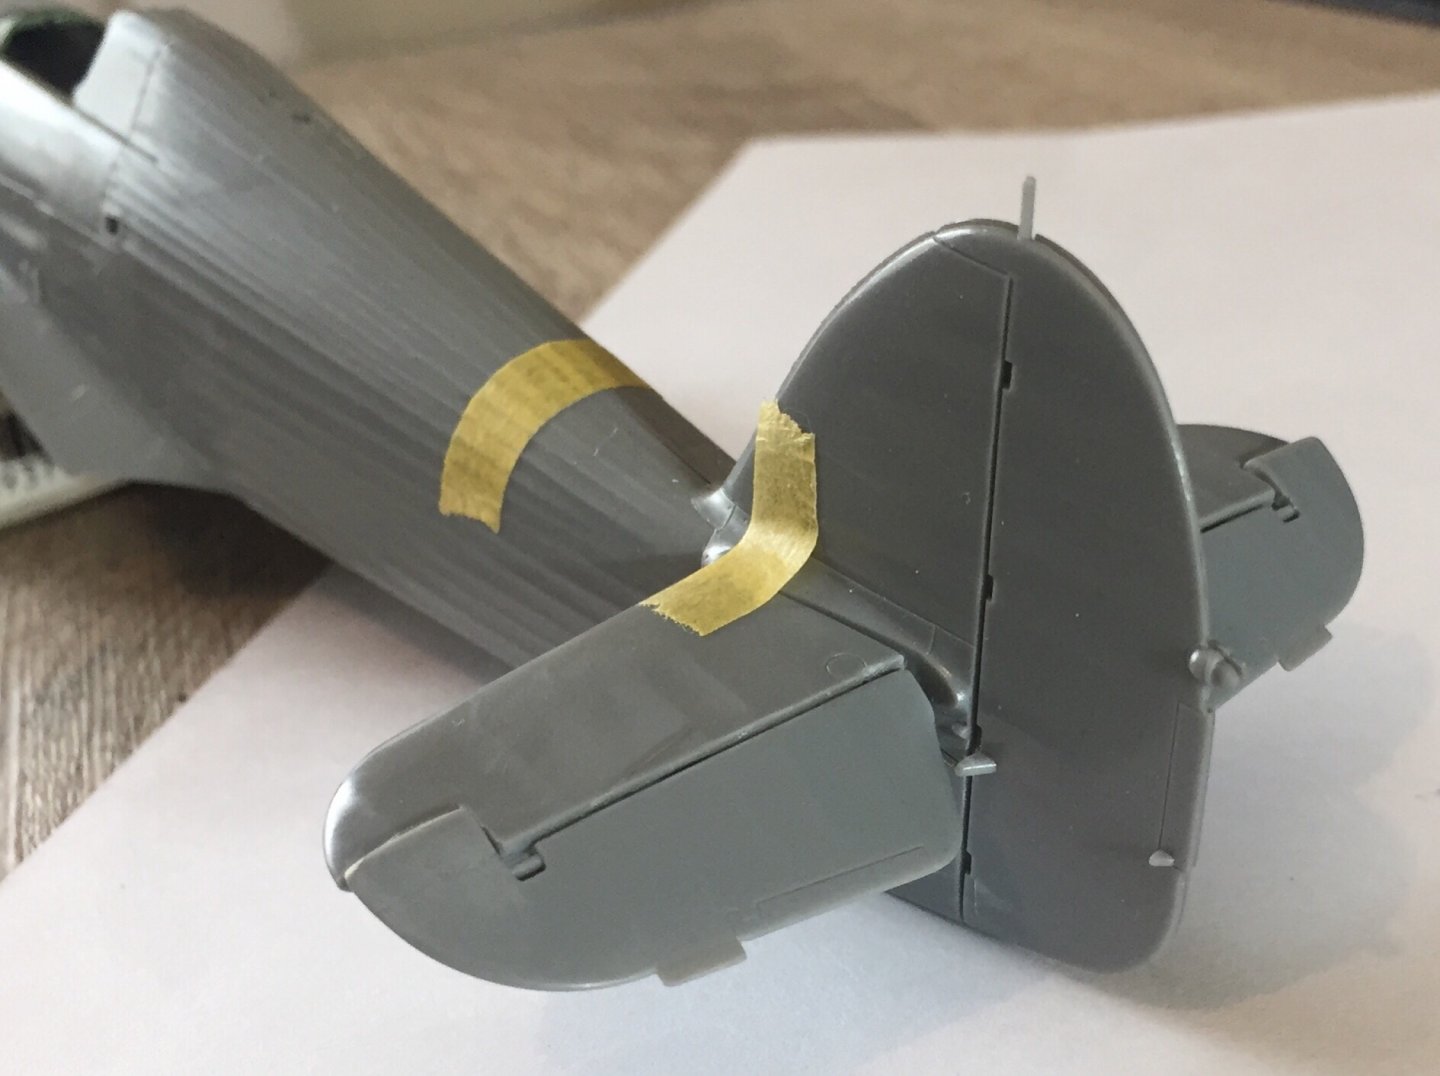
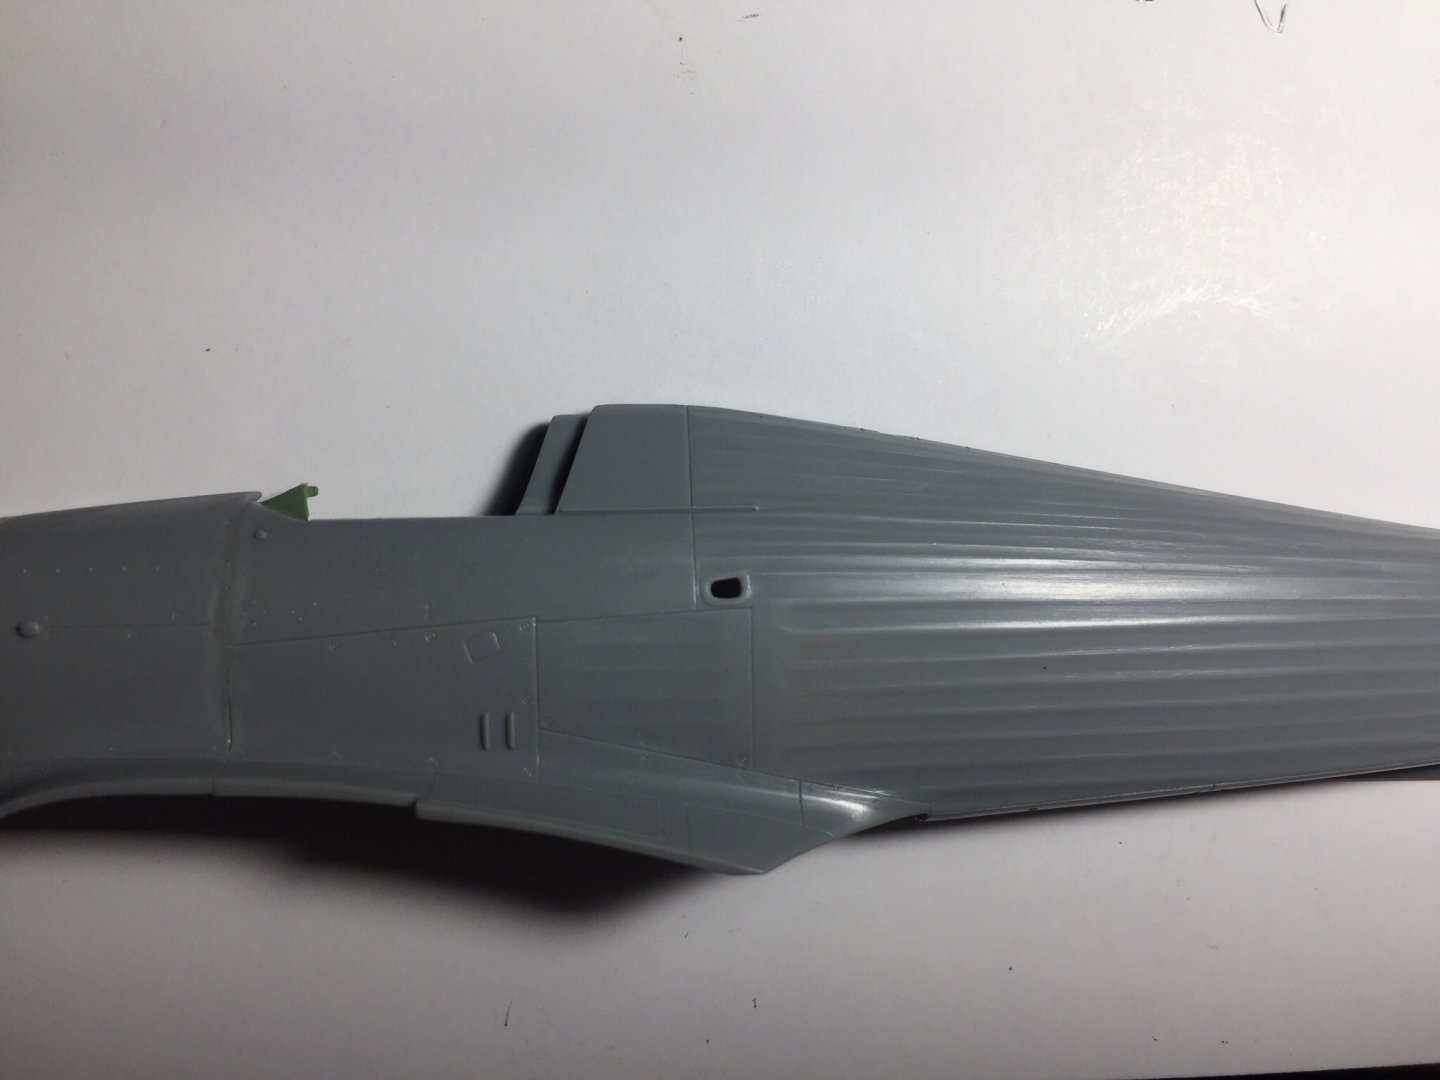
Decided I would model the plane with no control lock in place (I assume that’s the reason) so took the elevators and did a million cuts to separate them, breaking 2 brand new blade tips in the process! took some patience but got there in the end. I think it will not be directly noticeable but adds just a nice extra touch to the over all look. half done Managed to snap off one of the horn balances and it flew across my room and went through a grill and ended up inside my computer. So glued it up and sanded it so hopefully I’ve fixed it good enough that once primed it will be totally unnoticeable.
-
Wow there are a few little gadgets out there! Thanks for the links. Seems the technology isn’t quite ready for them to be used on a model plane... imagine it moving and snapping down on the base 😂 with all my projects so far I’ve tried to include something new, my ship I did the ocean base and a few years ago I built a uboat and put it in resin so that’s now my lamp. Thought it would be cool to try have an aircraft in flight for real! I cant do much on my hurricane until the seat belt arrives and then I can join the fuselage halves. i did cut out the hand grip though. its all I’ve done
-
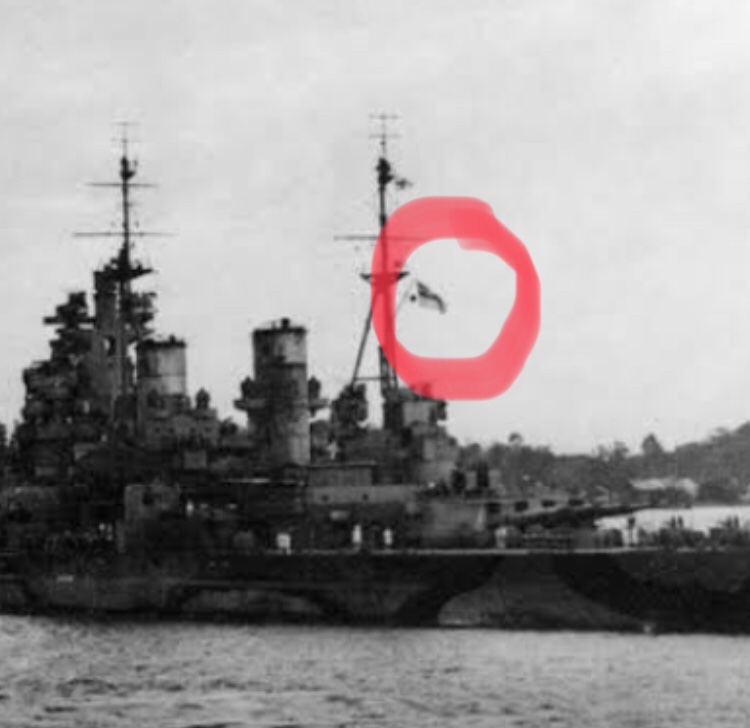
Thanks everyone for the kind words and more importantly for the tips and advice that’s been given! I’ve learnt way more than I ever wanted to know about this ship and the sea (in a good way though) I touched up the wake and for a few minutes thought she was finished!! Took some pics in the sun. Then I remembered about the ensign as I’d looked it up but had found no pics of her sailing with one flying until I did find some... so did more research and read the rules and etiquette of flags at sea and it says “an ensign must be flown when in foreign waters during daylight hours” so unless I’ve missed something that’s what I’ll now research and do. Is there any way to find out the correct halyard setup for flying flags and ensigns? All the official plans only have the main rigging but can’t find anything on all the small stuff. That pic shows the flag flying where there is no rope on any plans, drawings or pics I’ve ever seen.
- 211 replies
-
- prince of wales
- tamiya
-
(and 2 more)
Tagged with:
-
With the new information about white water this is the result. hope it’s not over done. Just prop wash to finalise.
- 211 replies
-
- prince of wales
- tamiya
-
(and 2 more)
Tagged with:
-
Thanks all for the tips and sites! Looks like those 2 coffees really did their job this morning LandLubber Mike! seems I had the right rough idea! But now have some good places to start my searching! It’s abit like researching a build, looking for those gems in all sorts of places! Move got enough aftermarket for this Hurricane but wondering if my next build is as internal as external. No idea what a/c that will be though but I do like the WW2 era European theatre.
-
I hope she is ready for trouble if it comes as I’ve put brass barrels on her! haha i had to fill in some gaps between ship and water so just did another thin round and tomorrow I’ll go over it and fit it to size with a coat of varnish. thanks again for the tips
- 211 replies
-
- prince of wales
- tamiya
-
(and 2 more)
Tagged with:
-
Too much of a good thing is an even better thing? Haha
- 211 replies
-
- prince of wales
- tamiya
-
(and 2 more)
Tagged with:
About us
Modelshipworld - Advancing Ship Modeling through Research
SSL Secured
Your security is important for us so this Website is SSL-Secured
NRG Mailing Address
Nautical Research Guild
237 South Lincoln Street
Westmont IL, 60559-1917
Model Ship World ® and the MSW logo are Registered Trademarks, and belong to the Nautical Research Guild (United States Patent and Trademark Office: No. 6,929,264 & No. 6,929,274, registered Dec. 20, 2022)
Helpful Links
About the NRG
If you enjoy building ship models that are historically accurate as well as beautiful, then The Nautical Research Guild (NRG) is just right for you.
The Guild is a non-profit educational organization whose mission is to “Advance Ship Modeling Through Research”. We provide support to our members in their efforts to raise the quality of their model ships.
The Nautical Research Guild has published our world-renowned quarterly magazine, The Nautical Research Journal, since 1955. The pages of the Journal are full of articles by accomplished ship modelers who show you how they create those exquisite details on their models, and by maritime historians who show you the correct details to build. The Journal is available in both print and digital editions. Go to the NRG web site (www.thenrg.org) to download a complimentary digital copy of the Journal. The NRG also publishes plan sets, books and compilations of back issues of the Journal and the former Ships in Scale and Model Ship Builder magazines.

