-
Posts
2,292 -
Joined
-
Last visited
Content Type
Profiles
Forums
Gallery
Events
Posts posted by dafi
-
-
Or simply protection reasons?
XXXDAn
-
The most difficuklt task for me: waaaaaaaaaaaaiiiiiiiiitiiiiing until the paint gets dry enough ...more trials with the casein paint ...
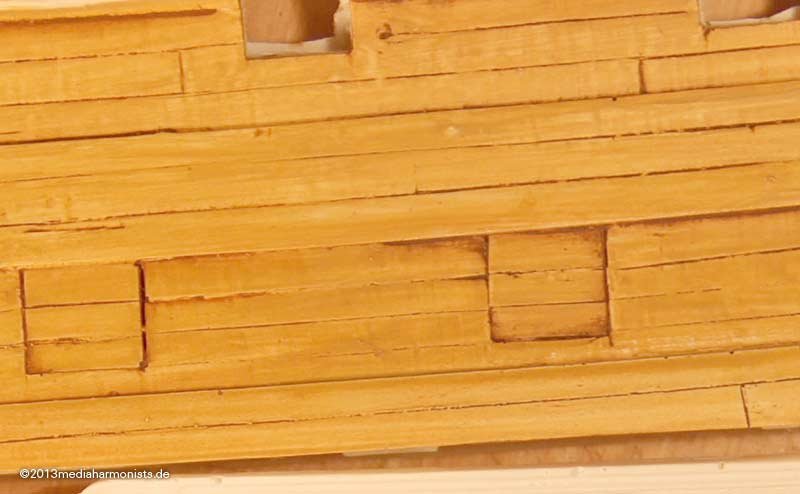
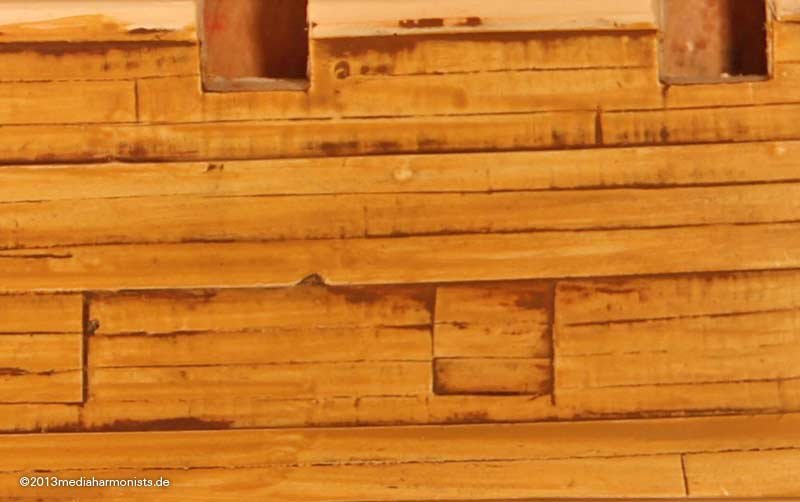 ... and oil paint diluted with original Zippo lighter fuel.
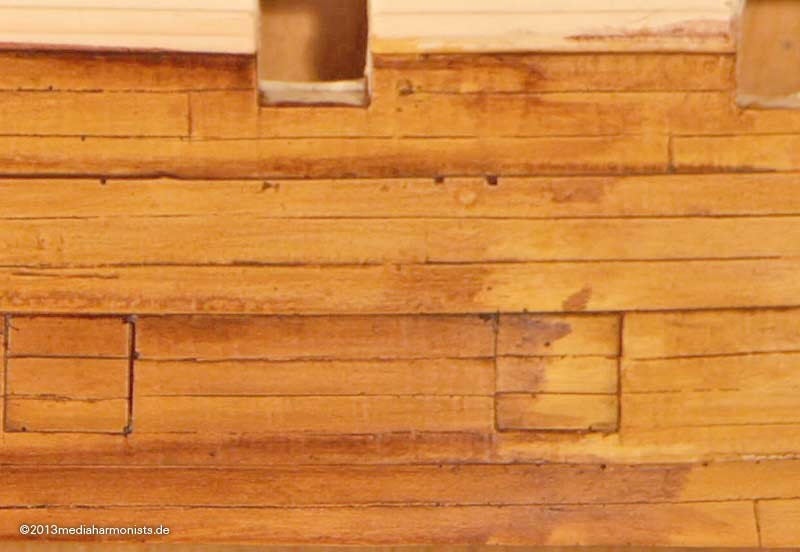 And it looks much different now.Also see some small thoughts about "As times go by" ...
XXXDAn -
Thanks B.E. :-)
Do not forget the repairs done on sea. Plenty of reports in the logs. If my memory serves me well, Captain Mars complaint shortly in his log that "rain spilled the fresh paint" (Not to mention the french broadside that spilt more shortly after including his life, source: "The voices of Trafalgar")
As I do not expect the paints having the same color qualities as today, I guess for a very patchworky appearence in repainted areas.
DAniel
-
For my small side project I was researching about the aging of ships. Unsually we tend to display the ships in a freshly build and painted state. Some bold versions show the ships in quite "wrecked" appearances. But I do believe, that most of their life, the ships were somewhere in between.
This made me have a closer look. I chose the following 3 ships, as I knew, that there is quite good documentation in the web.
First the Neptune in Genove (Google pictures: Neptune/ship/genova), light wooden hull
http://www.wanderingoverland.com/?p=855
http://photo.remgo.com/galeone-neptune/
http://www.flickr.com/photos/peer_gynt/8033111211/
http://en.wikipedia.org/wiki/File:Genova-Porto_antico-DSCF7741.JPG
http://en.wikipedia.org/wiki/File:Genova-Porto_antico-DSCF7743.JPG
http://en.wikipedia.org/wiki/Neptune_(galleon)
Funny to compare the freshly painted version with the neglected one. Nice to see the better condition in protected areas like underneath the channels. Exposed areas like underneath the cathead look much more tattered. Was this also on seagoing ships that extreme or is this more of a harboring effect? But also ships spent long times in harbor do to waiting, winter sleep or being in ordinary.
And the Gotheburg (Google: Gotheburg, ship), dark wooden hull
http://www.flickr.com/photos/maskofchina/311861497/
http://www.lemback.com/the-swedish-ship-gotheborg/
http://viktordonovan.blogspot.de/2011/07/replica-1745-sailing-ship-in-gothenburg.html
http://www.lifeinnorway.net/wp-content/uploads/2012/08/goteborg13.png
http://foto.arcor-online.net/palb/alben/62/8002362/3530663266666630.jpg
By the dark hull, the effects are not as visible like on the neptune. Funny to see the fresh scratch marks on the whales in some of the pictures
Then theHMS Surprise (Google: surprise, rose, san diego), painted hull
http://www.flickr.com/photos/arejay/165878016/
http://photos.lomara.org/index.php/camera/sandiego/100_0825
http://www.flickr.com/photos/seaveyfamily/215130447/lightbox/
and my favorites:
http://xpda.com/junkmail/junk163/pict9071.jpg
http://xpda.com/junkmail/junk163/pict9072.jpg
Also here by the degradation of the paint, one can exactly tell which year the picture was taken ;-)
The difference in between the fresh and the tattered is amazing.
Nice to see bleaching, rust, chipped color, algae on the waterline, patches and so
Also do not forget: Ships were build over some period, where the wood was alraedy exposed. So even a brand new ship usually was unlikely to show fresh wood in larger areas. But therefor repaired areas would stick out. On the other side I have never seen the patchwork on deckplanks like often shown in plastic models.
Amicalement, Daniel
-
Wonderful and interesting project :-)
Ciao, Daniel
-
The tulle has much more the problem, that it is to rigid ...
There is hexagonal ones which should be avoided and the square/diamond shape ones, which are much more suitable.
As they are polyester, they are neither fluffy or fuzzy but difficult to colorise. Markers work well and fast, but do not know how long this lasts.
For my small scale it worked well, I introduced a small frame to ease fixing and painting.
The garlic nets i tried too, but they are too unstable in the form as they are elastic.
All the best, Daniel
-
As usual a very profound and well received answer :-)
Would it look a bit like this?
http://collections.rmg.co.uk/collections/objects/66299.html
http://collections.rmg.co.uk/collections/objects/66475.html
Daniel
-
Dear Sirs,
before the yellow ochre and black stripes came into fashion in the Royal Navy and other countries, masy ships were paid in rosin, some more precisely in "bright" rosin.
If I understand well this was a natural resin diluted with some sort of oil (linseed?)
My question is aboiut the appearence: Was it a kind of reddish shade like violins today? Perhaps not as brilliant?
And how was it looking after some time exposed to the elements? Washed out?
Are there any contemporary sources or actual pictures about that?
Thank you in advance, Daniel
-
-
if you believe, you could escape of that one so easily, you could be wrong.Do not forget, model making is a serious business ;-)As said before, some color tests were to be done on a casein base ...
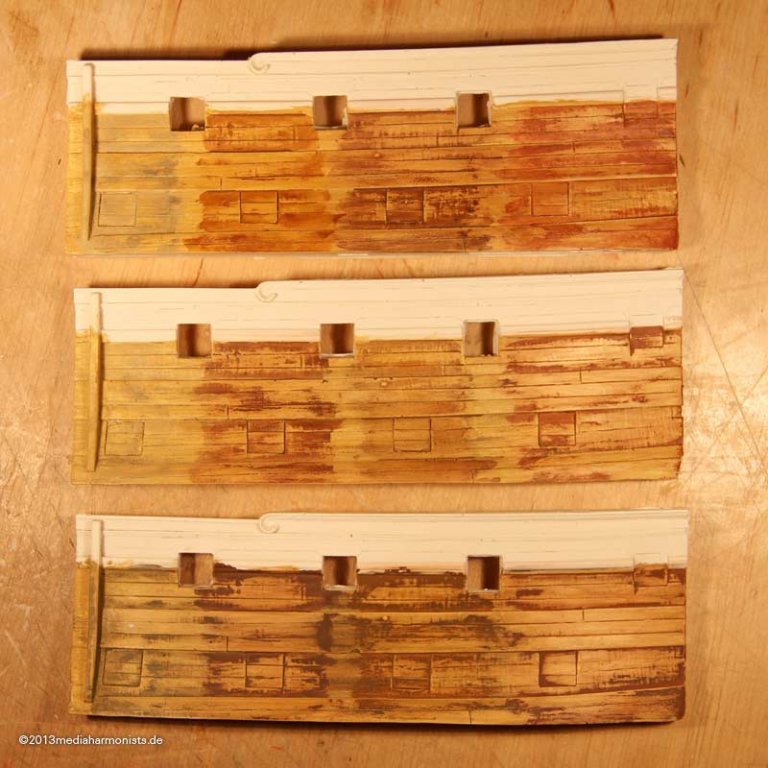 ... looking spectacular, but far too fooked up :-)The good thing on the casein paint is, take a wet cloth and just wipe and redo .-)Cheers, Daniel
-
And then some white priming and then the part I was most looking for - The color trials:
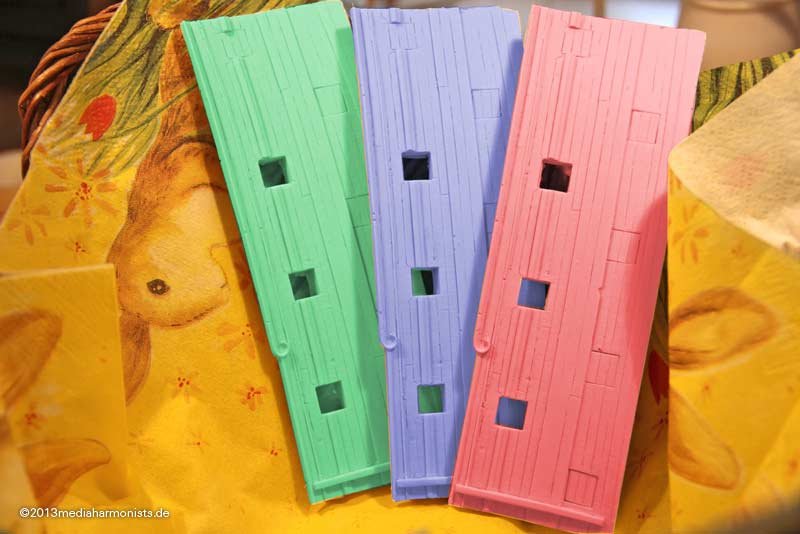 And this could have given a nice first of April Easter nest :-)...hihihihihi...XXXDAn
 -
-
Me too, I am curious ;-)
Next step already done: duplication :-)
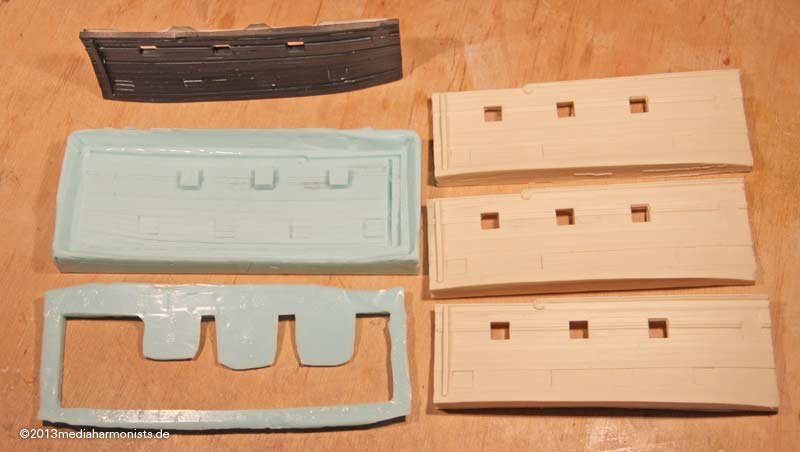
XXXDAn
-
-
Thank you Druxey, I am shure it will proove interesting and fun to myself.But where does this lead? To the usual twists and confusions in dafis world of modelism :-)After the first coat of primer I left the can on the balcony, stupid idea, as the color got to cold ...
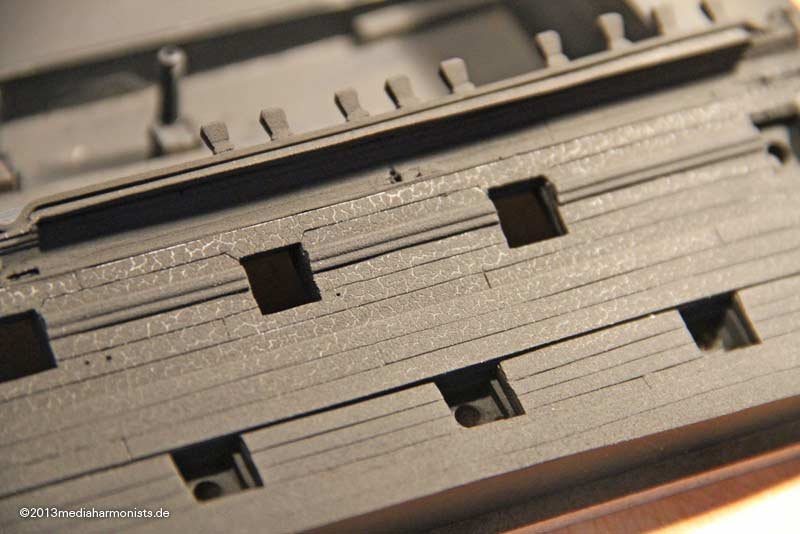 ... which I was mad aware by an apart giraffe pattern on the model :-(So back to zero and take down the paint with the help of a scaler.
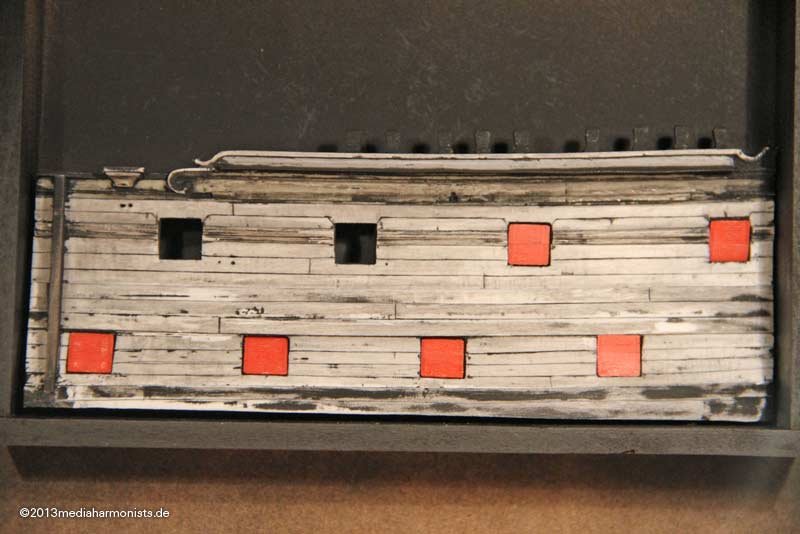 ... reworked the splitlines ...
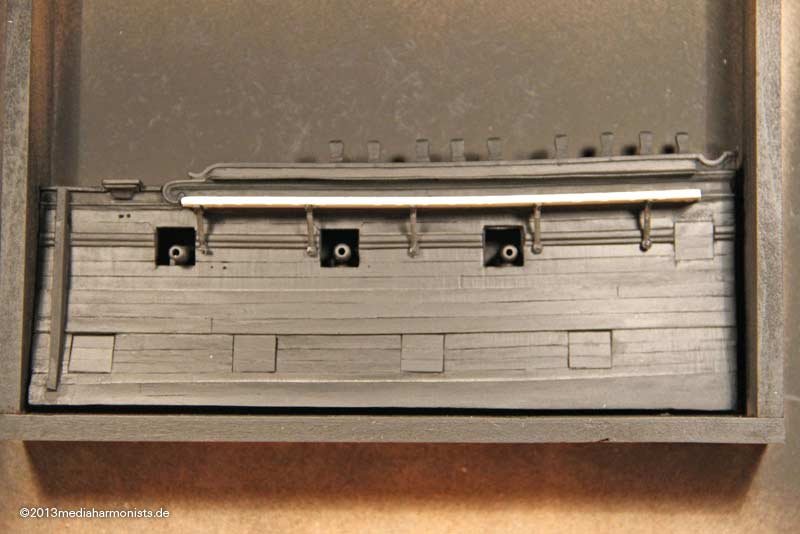 ... and saw (PUN!) the results of this unexpected action. The scratching down the color left some rattling marks.One needs to be able to see and realise, but these rattle marks look very much like the marks of handsawn wood, also seen on older ships.I was already looking for a long time how to differenciate a painted steel hull from a painted wooden hull. I think with the slightly uneven levels of the different planks, the different dimensions of the gaps in between the planks and the rattle marks, I am coming quite close to the look I am looking for :-)And now we come to the typical dafinistic approach in model making: Destruction!!!
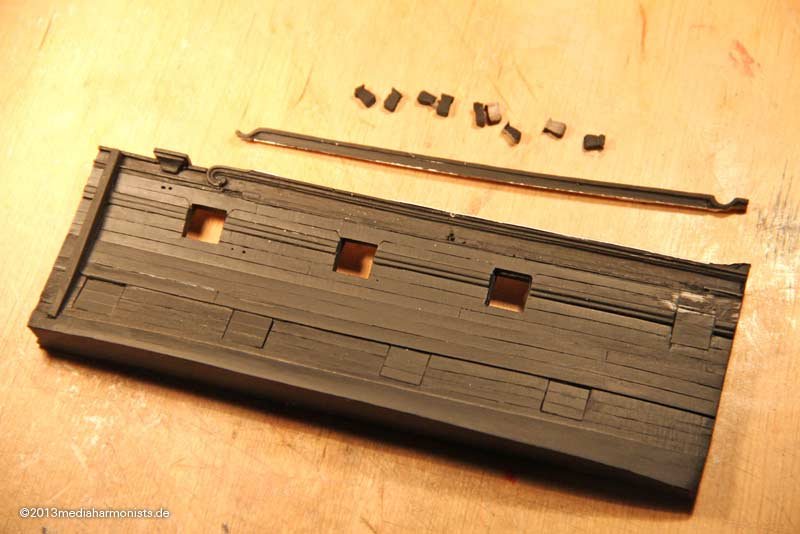 ... hihihihihihihi...... and hohoho, snailed around a bit ...
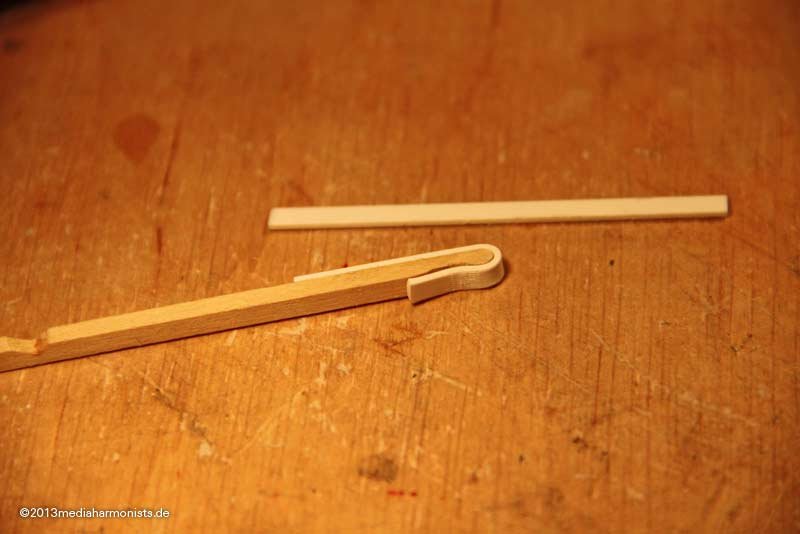 ... rebuild the rails to slightly different dimensions ...
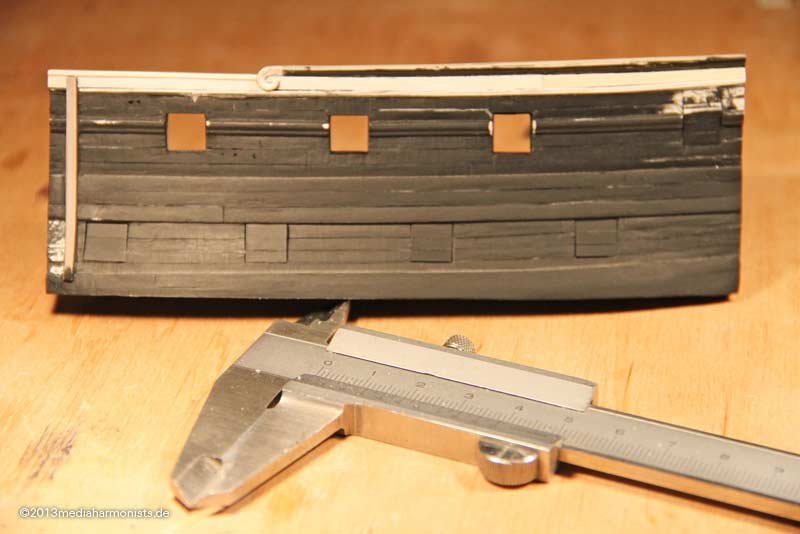 ... and redoing the splitlines with the help of Dymo tape.
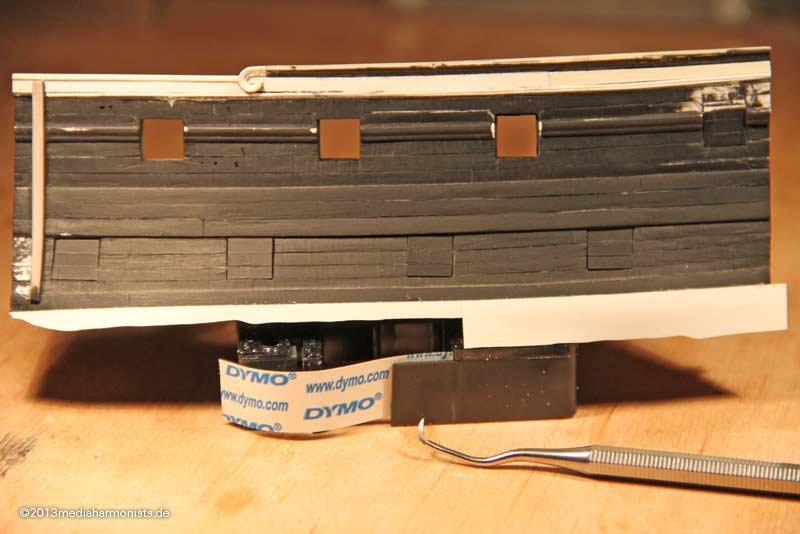 ...hihihihihihi...XXXDAn
 -
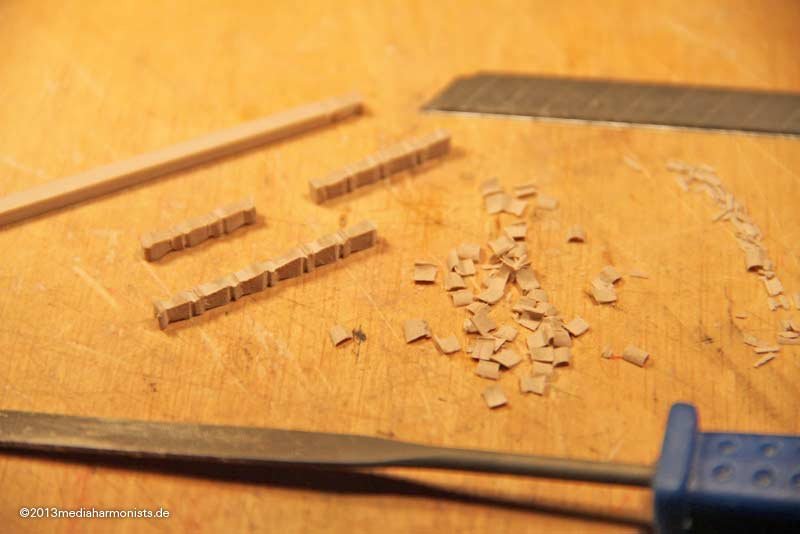
Next thing is mentioned neither in any book: The cutting is just one thing - the gluing is the bigger problem ...
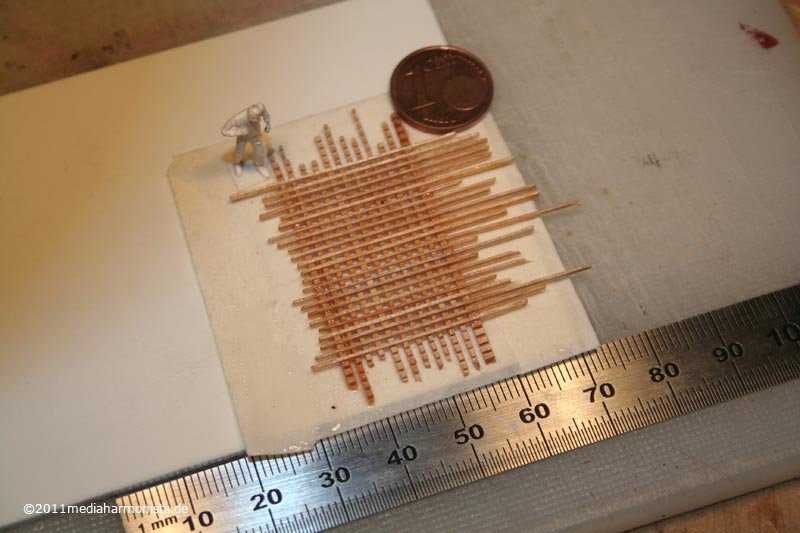 ... used some soft adhesive tape and tried to put it together with 0,5 x 0,5 mm toothless bars - looks nicely uneven ...
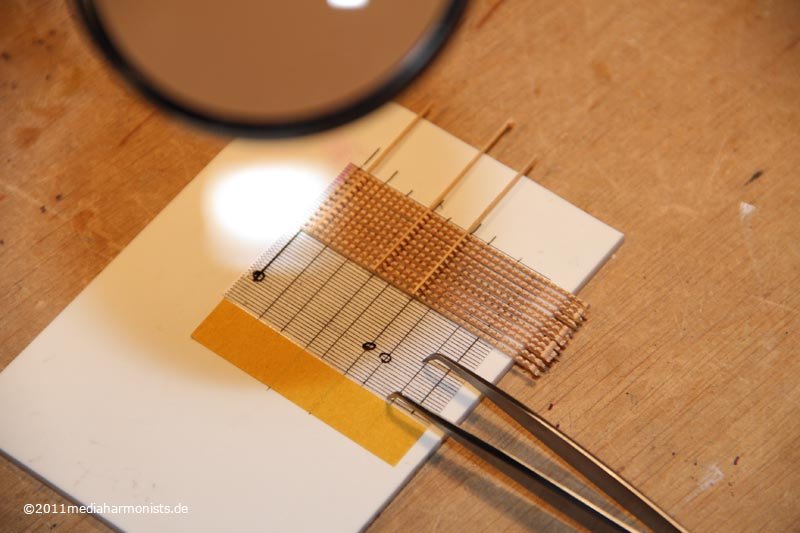 ... so printed a 0.7 grid onto paper and used transparent double sided tape and a loupe to fix them together. Nice meditational work :-)
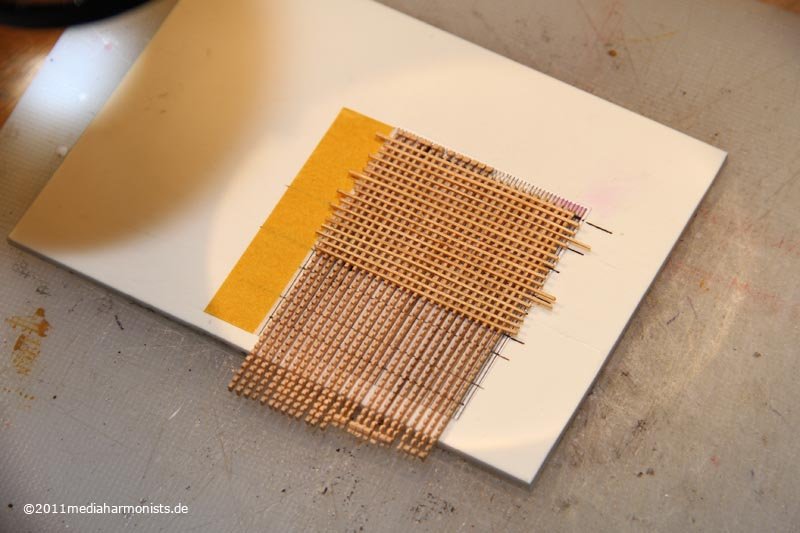 So it is filling up:
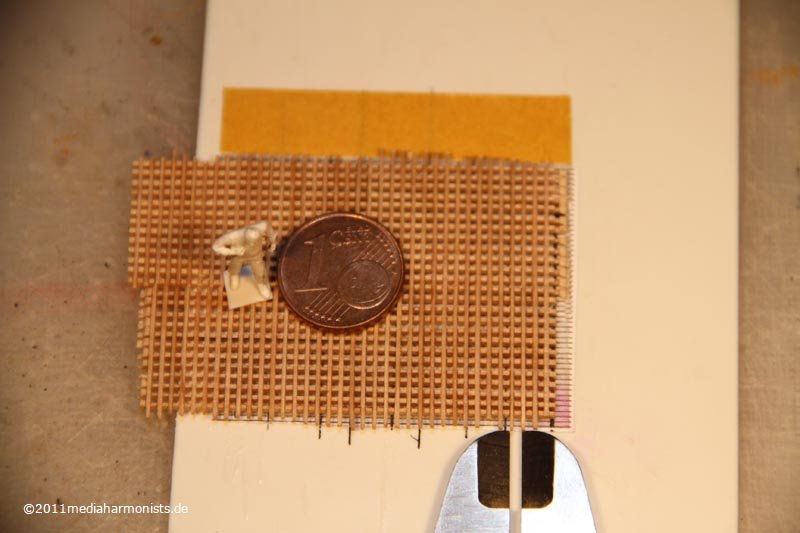 The caliper is set to 1.4 mm.And my little worker was so kind to lift one up to show the underneath :-)
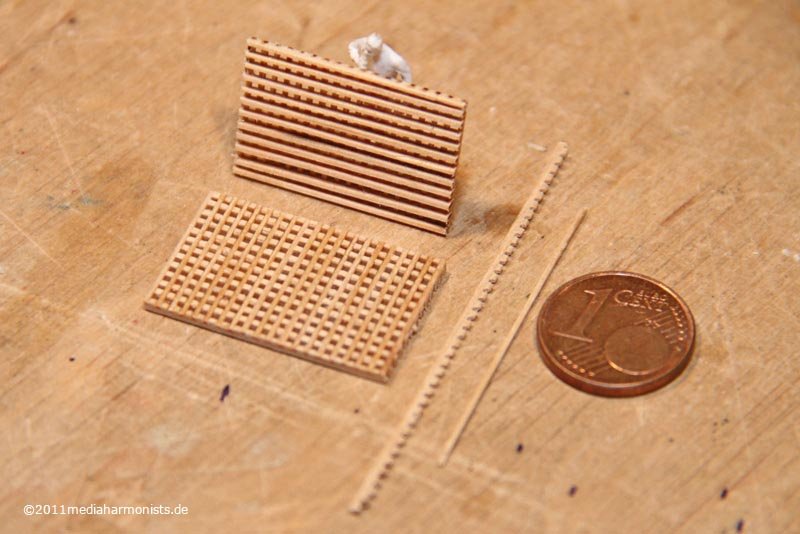 ... and the result is a cute 0.7 mm grating and soon I will be able to show where it will end up :-)My litte helper was so kind to lift on grating up to show the underneath:
 As promised, here is where the new gratings end up :-)
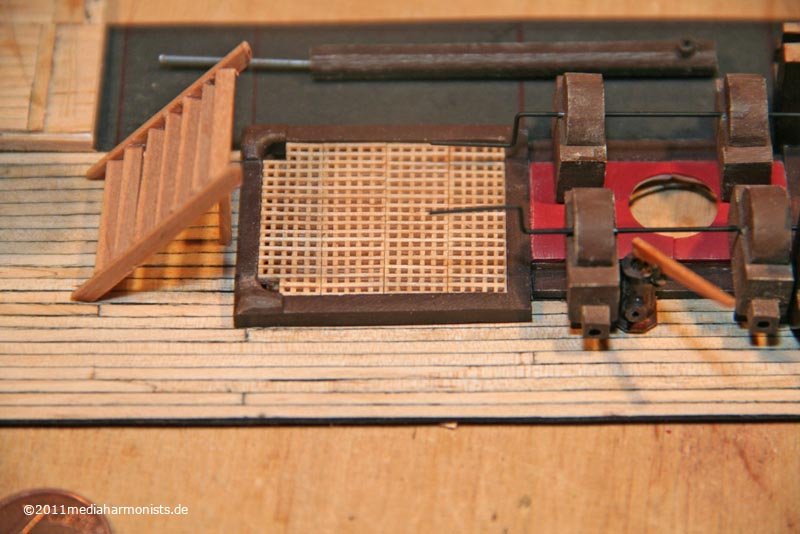 Even the split into four parts can be seen :-)
All the best, Daniel
- WackoWolf, sonicmcdude and tkay11
-
 3
3
-
... and believed the 1mm gratings from the shop still were too big for my purpose ...... and so the tests began ...... and her is the whole story ...Literature always indicates to use the circular saw with a small guide beside the blade. So far understandable and comprehensive and does not sound scary. A first test free hand prooved that my wood was suitable :-)Fastily changed the machine ...
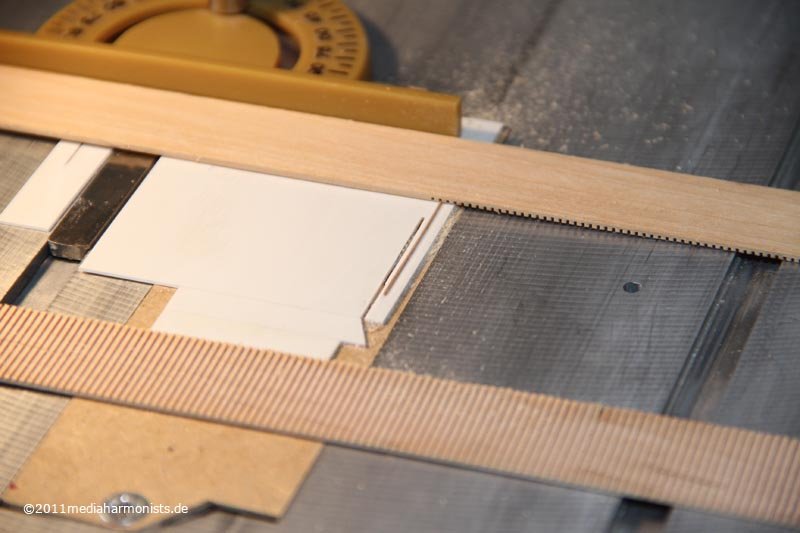 .... or not that fastily, because untill everything was adjusted to the 0.5 mm blade, the right hight of blade and suitable thickness of the guide, and smooth cutting worked, it took some time. But then putted stripes of 1.5 mm thickness to cut ...
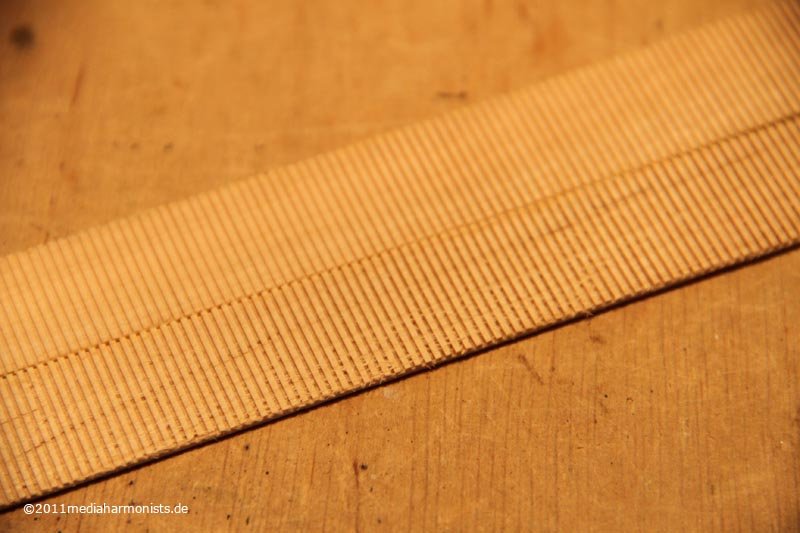 ... and it looked a little bit tattered, see the stripe in the front. So gave it some clear varnisch and the stripe startetd to bend in all directions :-( Used some plastic foil as a separation on the topside and clamped it against another piece of wood to let dry. And luckiely it came out straight and after the second time through the saw it looked clean, see the stripe behind :-)
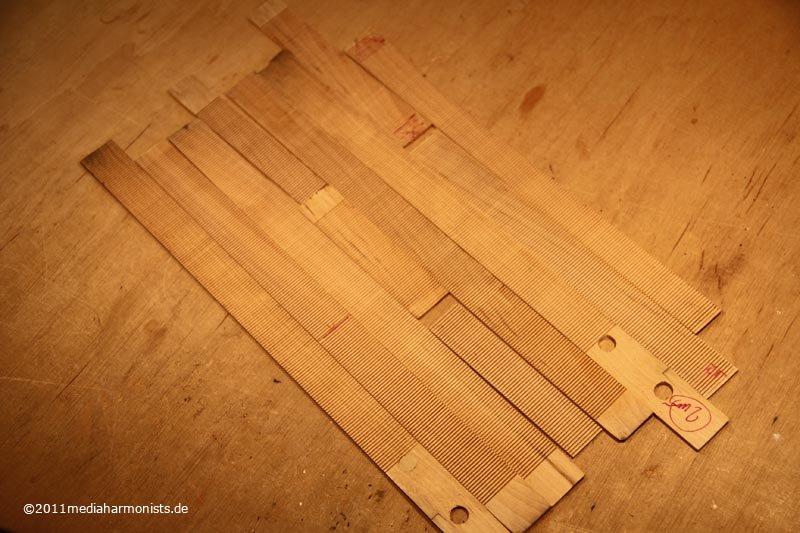 ... and this is the bounty: material for the next years to come :-)So came the next task: Cutting it into 0.5 mm bars without breaking its tiny teeth and without the bars disappearing in the machine. The latter was easily resolved with some tape. The first came out of the problem, that with the standard guide, the line was rubbing against the blade. So made a new shorter guide that releases the bars immediately ...
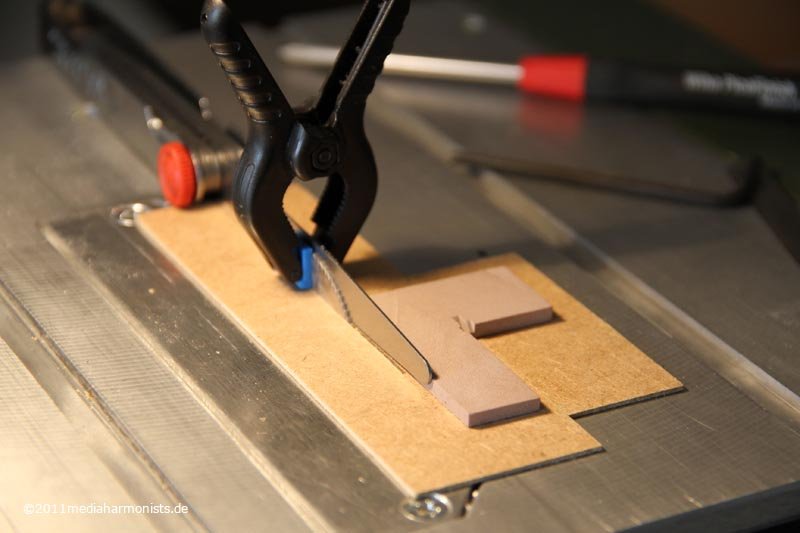 ... adjusted the distance with a 0.5 feeler gauge ...
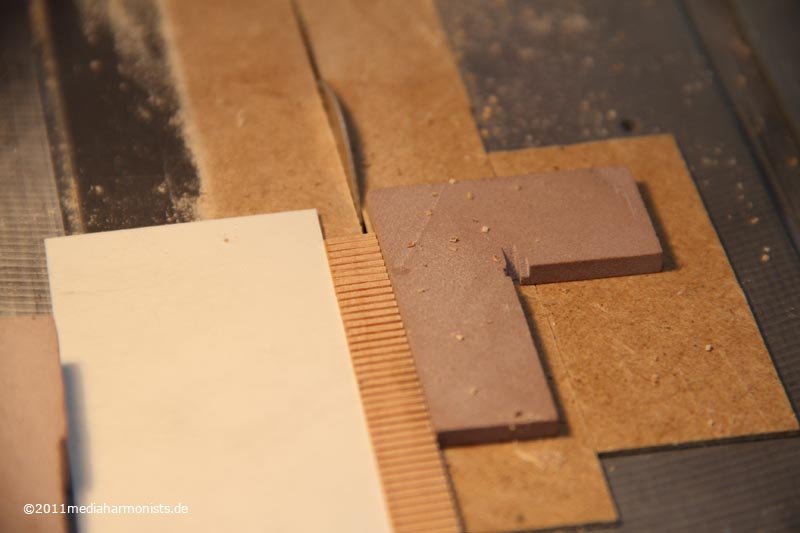 ... and glued same sheet on the side of the wood to get the fingers further off the blade. So managed to cut nice bars :-)
-
Fixed on the display by a screw ...
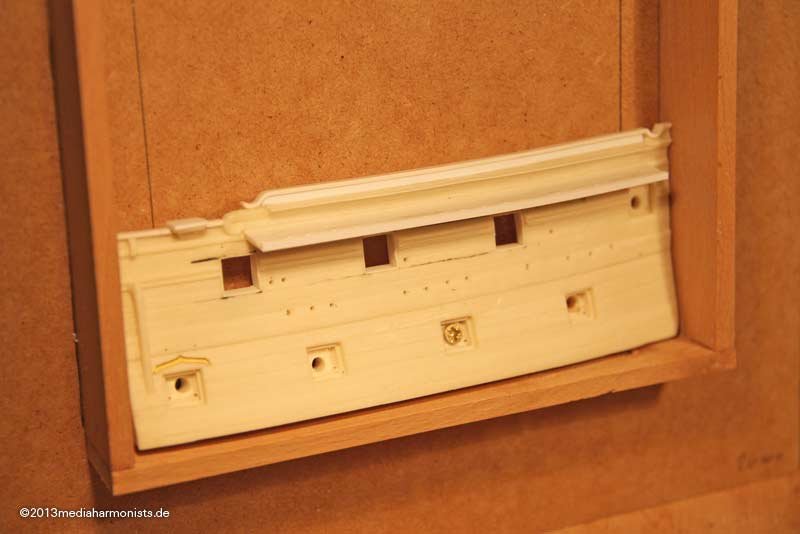 ... etch parts and new rails fitted ...
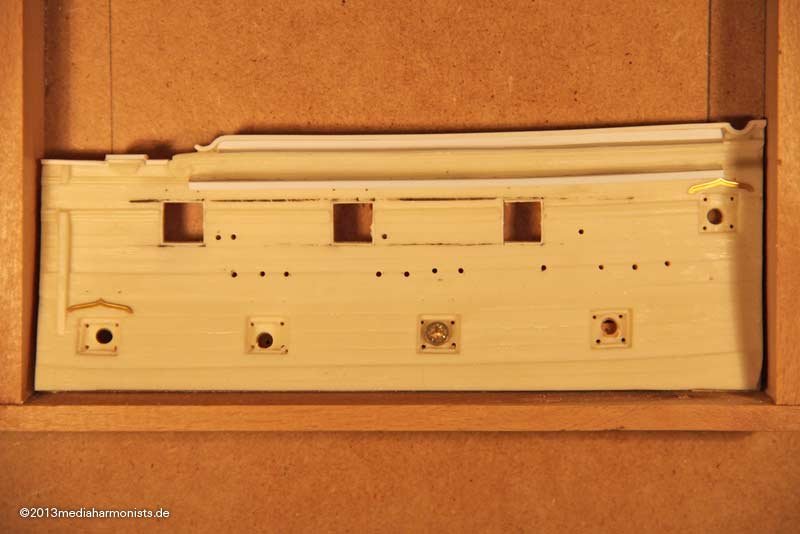 ... and pictures we know from my Victory build like carving timberheads ...
 ... filling the badly drilled dead eyes ...
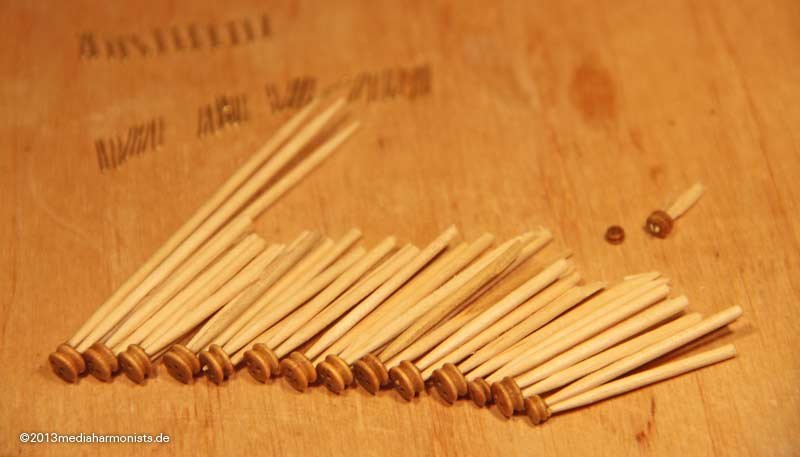 ... making the chainplates ...
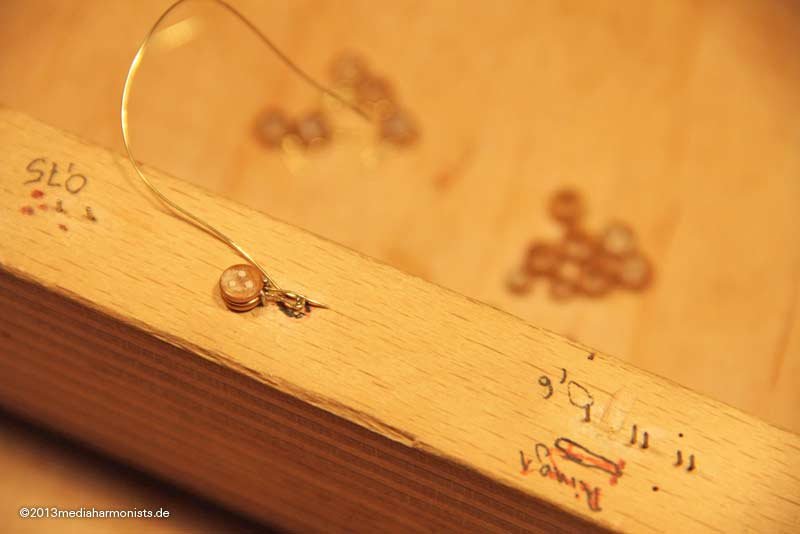 ... the channels - at least one - ...
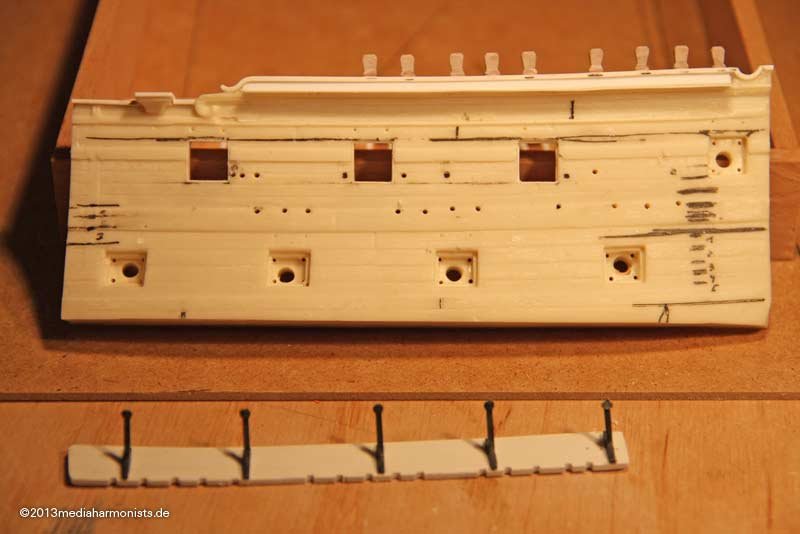 ... new profiles and the first blow bigger of the project: the hull got new planks of better dimensions ...
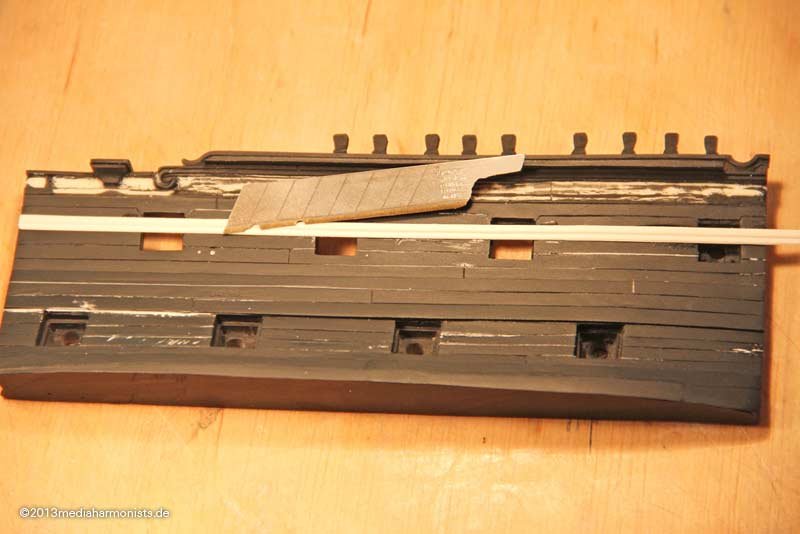 ... and a tad of color to see what I am doing.
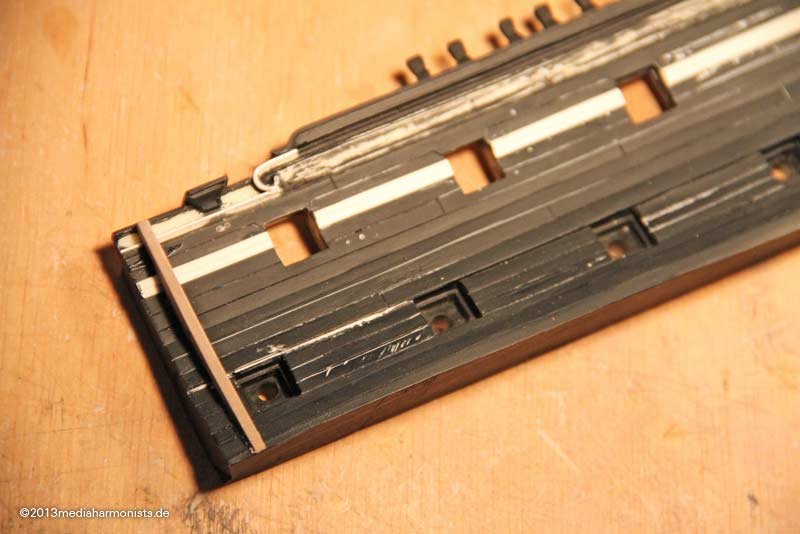 Happy Easter, Daniel
-
As a small Easter surprise, a small project I am working on to try out some things, just to see ...Small flash back: From my first casting trials, i had left a piece of formed resin ...
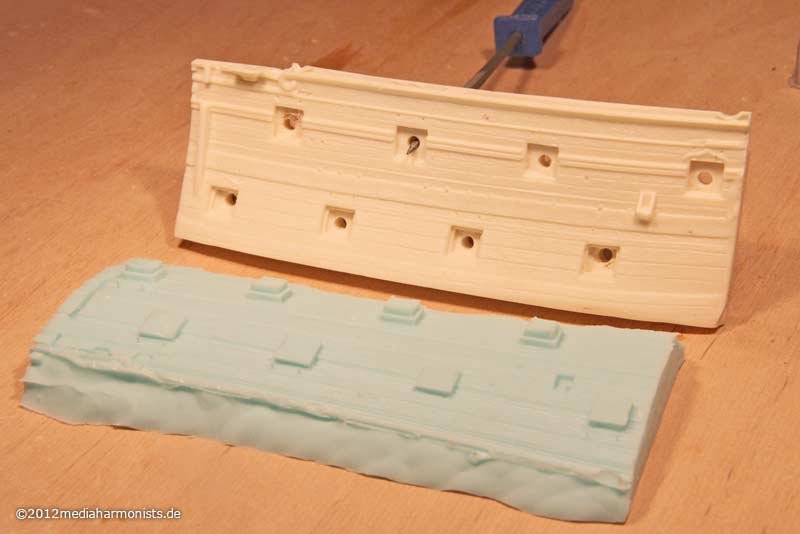 ... uand it was saying "Hy" to me all the time 🙂First the standards: out the scaler and eliminating the "wood"-grains ...
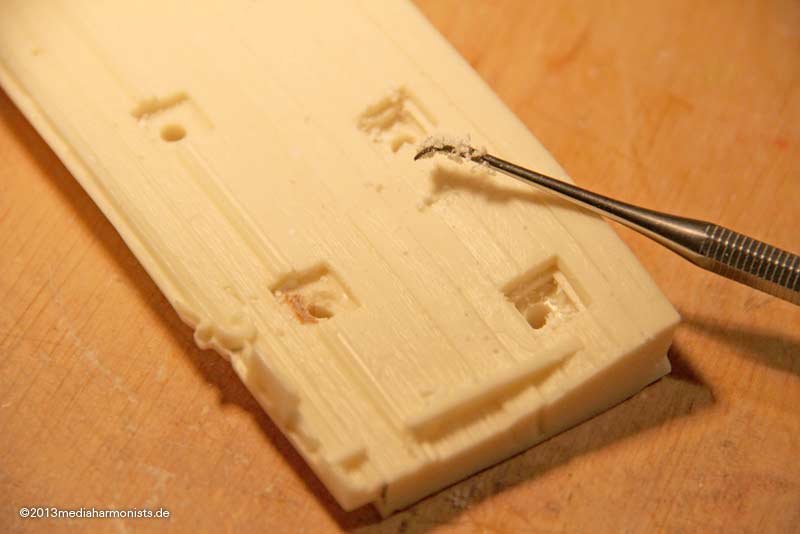 .... thinning the backsides ...
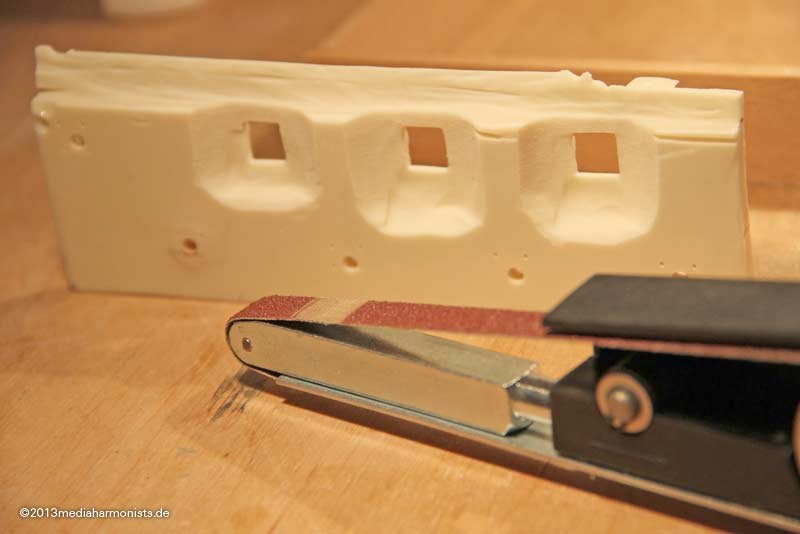 ... redoing the ports (middle) ...
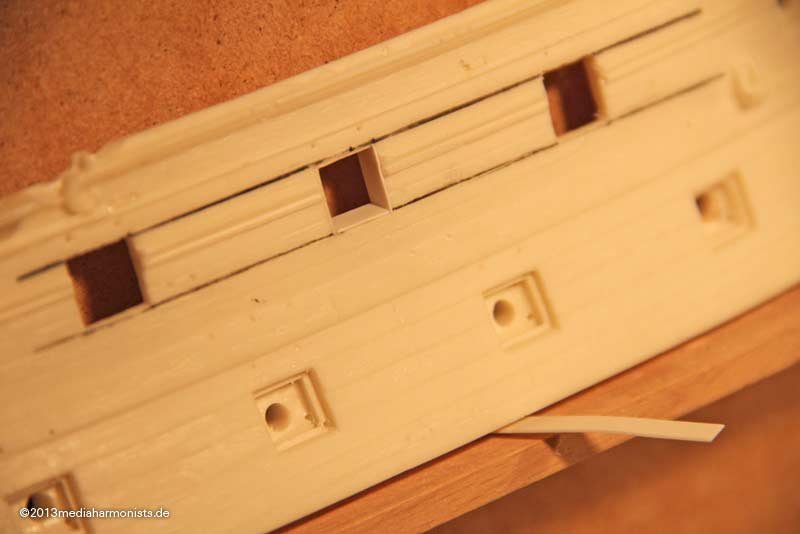 ... nicely to be seen from the back.
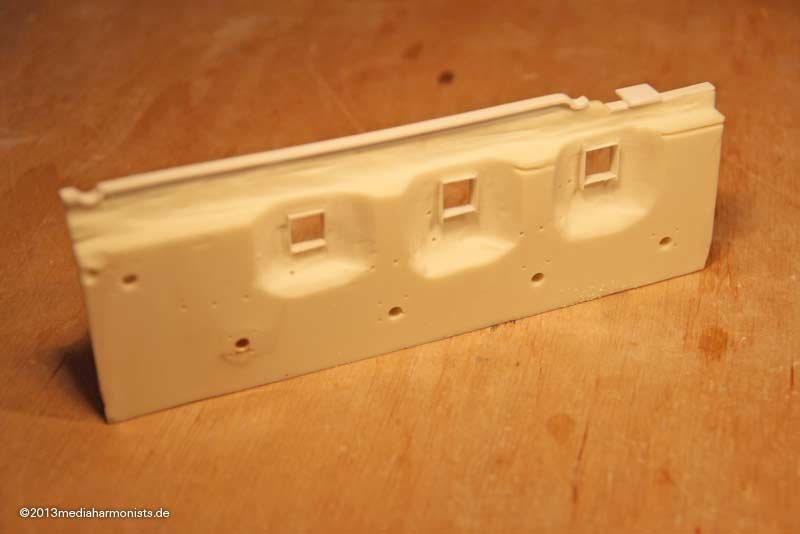
- CaptainSteve and Mirabell61
-
 2
2
-
If I remember well, it was a while a feature of the royal navy for the plates to finish at an angle with a batten, while continental ships (and american?) preferred 1 to 3 layers of horizontal layers on the waterline.
Is this correct?
Daniel
-
Oh Popeye, you must be joking, me - being stuck on the lower gundeck now for about 4 years ...
;-)
XXXDAn
........your fast.......
-
:-)
Thank you Sirs! Will try my best to keep you entertained. And Popeye, it was worth your work!!!
XXXDAn
-
-
Great research and great read!!!
Love it :-)
On another place we had a discussion about the dates of the first two ships of the class.
HMS Cruizer 1797
HMS Snake 1797/1798
Wikipedia gives the ordering date of both vessels on 19 December 1796 and the launch for Snake 18 December 1797 and Cruizer 20 December 1797.
http://en.wikipedia.org/wiki/Cruizer_class_brig-sloop
Two things: Many sources give the launch date for Snake in 1798 and also, if Snake was launched earlier, why is it not called Snake Class?
Any information about these mysteries that are most possibly linked?
Thank you, Daniel


By the Deep 17 by dafi - FINISHED - Royal Navy 1780/1805 diorama
in - Build logs for subjects built 1751 - 1800
Posted