HOLIDAY DONATION DRIVE - SUPPORT MSW - DO YOUR PART TO KEEP THIS GREAT FORUM GOING! (Only 24 donations so far out of 49,000 members - C'mon guys!)
×


M. Pajulahti
-
Posts
126 -
Joined
-
Last visited
Content Type
Profiles
Forums
Gallery
Events
Everything posted by M. Pajulahti
-
 I mean this.
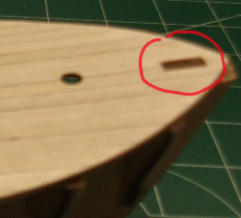
-
Yeah looking good, but i'm just wondering why you left that rectangular hole in the bow? There's no suppose to be that and you are ment to plank over it! It's just a hole in the false deck to help you align the deck properly.
-
Hey Elijah, you should draw a centerline to the deck so you know you're glueing the planks straight! Markku
-
You better fill that center cut for the keel and make your own cut there. I don't understand why italian kit producers make those ready-made cuts and holes etc when nothing isn't where they should be. Better to use thinner planks for the deck. That scale is very challenging, i believe. But you're off to a good start, keep it coming. Markku
-
Looks you're making a good start. Looking good.
-
That was my first wooden model. It is nice kit and very instructive. If you like to see, my Mare Nostrum is in the gallery: http://modelshipworld.com/index.php/gallery/album/364-al-mare-nostrum/ Hope it gives you some tips. I also built the interiors. Have fun.
-
I think those decks are even ment to be planked and pre-printed lines are just there for guide how to plank. Your planking looks good. Markku
-
Here's the deck planking plan i've made based on photos, so this could be pretty close to the real. What i don't know is the lenght of the planks. Markku

-
Probably you've seen this, but this is a great image to show how Hermione's deck planking goes. I once calculated there is 11 rows of planks between the cuts (if i remember correct). I've also done a deck planking plan for Hermione if you want to see it. Just if you want to do the decks like in the real ship. http://1.bp.blogspot.com/-CHTEu7VUPyM/UE9WzLEGHKI/AAAAAAAAAVk/qKTJBYxc21w/s1600/L'Hermione+(2).JPG
-
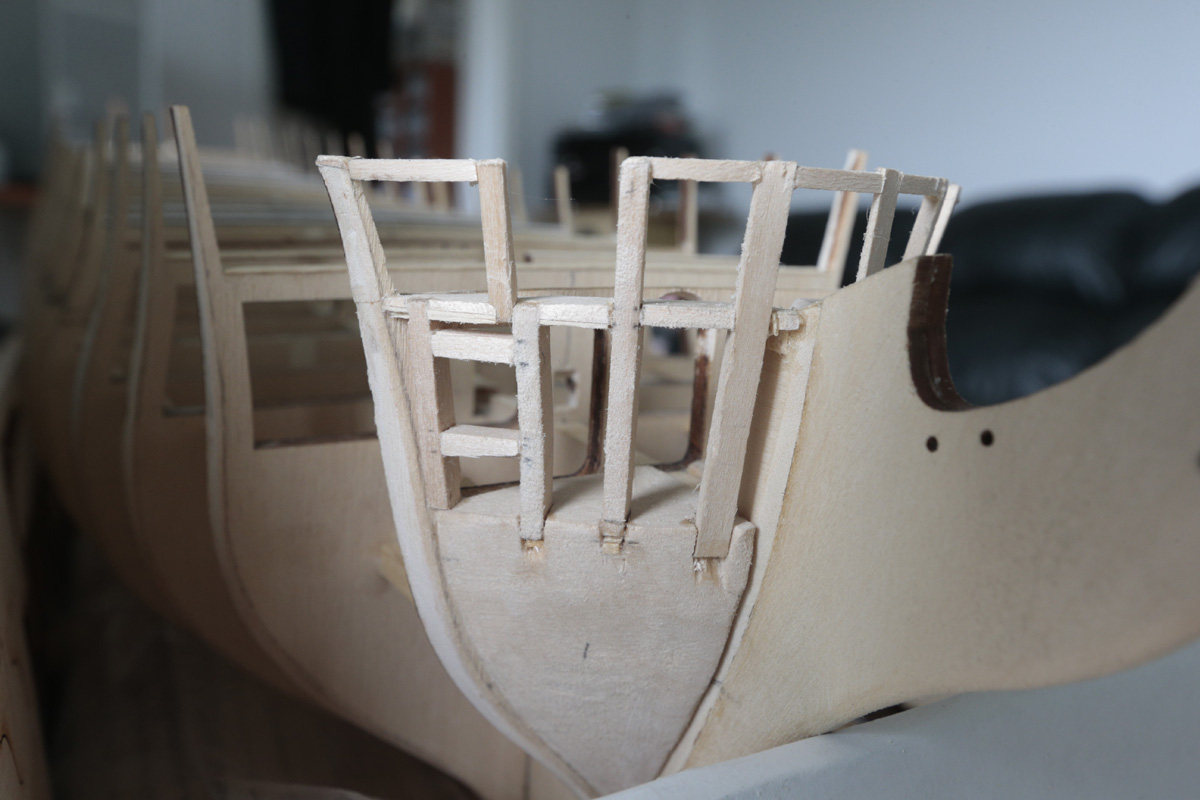
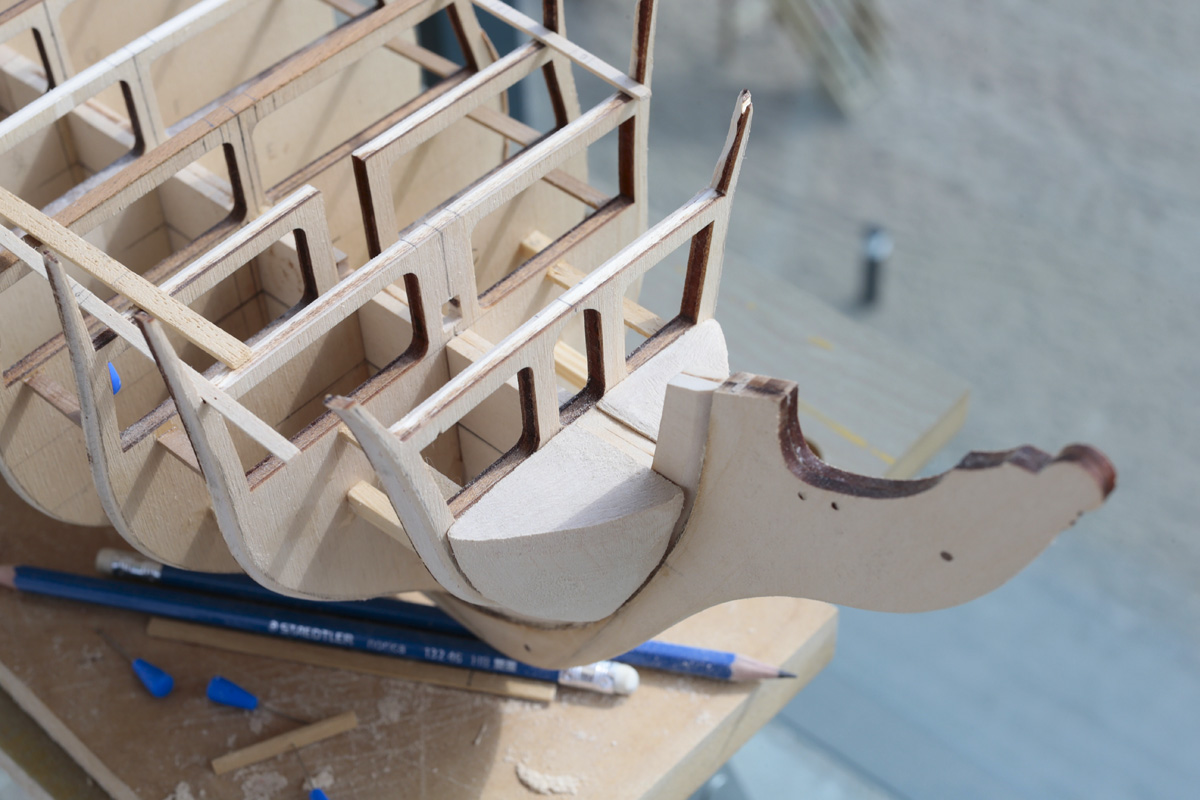
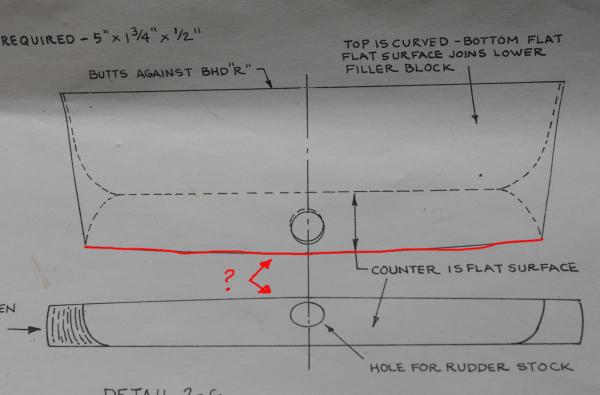
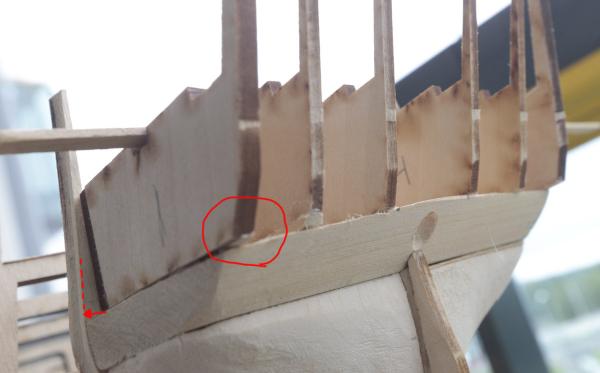
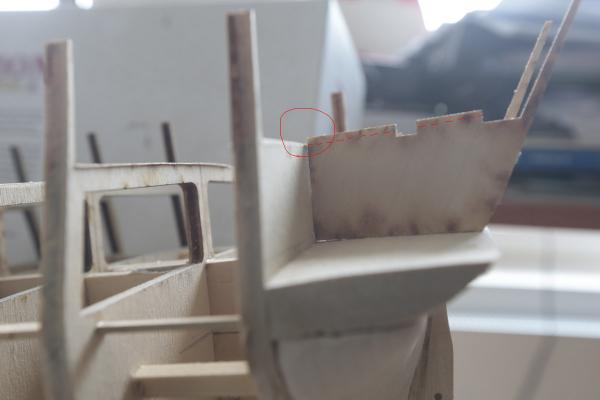
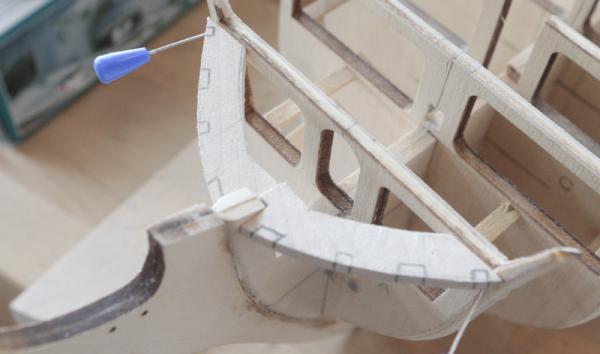
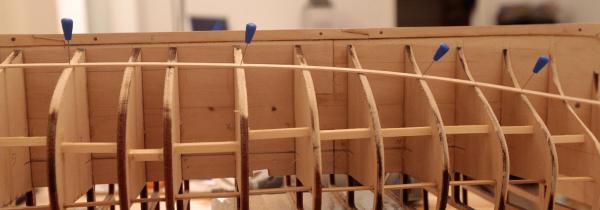
Almost losed my mind yesturday thinking what's wrong with my transom and how could the plans show some things so different and even impossible, but finally got this solved. The answer might be here. The plans show how top of the counter block goes downward from the middle to the sides, and that causes the backside going curved as you can see there: But is that counter block ment to go like that after all? Maybe it should be just straight? Because with curved backside transom frame 3 goes way too over and that was what disrupted me, because i tryed to get that frame to fit like the plans show. But cutting frame 3 shorter makes the extension of it (what goes to main rail) going so strangely, that it couldn't be the right way. Also, with where the extension needs to be, it was impossible to get the other side of the frame to right position so the edge would be in the same level with bulkhead R edge, right there (the arrow): So after that all, I've changed the angle and finished glueing all the 6 transom frames! I was very happy to get them done. Needed to use some wood strips to help me get the places right. It felt like i'm building an aeroplane Markku

-
Tom, Thank you from your tips. Yes, i've already filed the filler block top more flat and it's as low as it can be if comparing to plans. Also i've noticed the frame 3 is way too large so it can be filed to fit in place. Following the same logic, I think i can cut off the extra 1mm from the stern frames, as you did. Markku
-
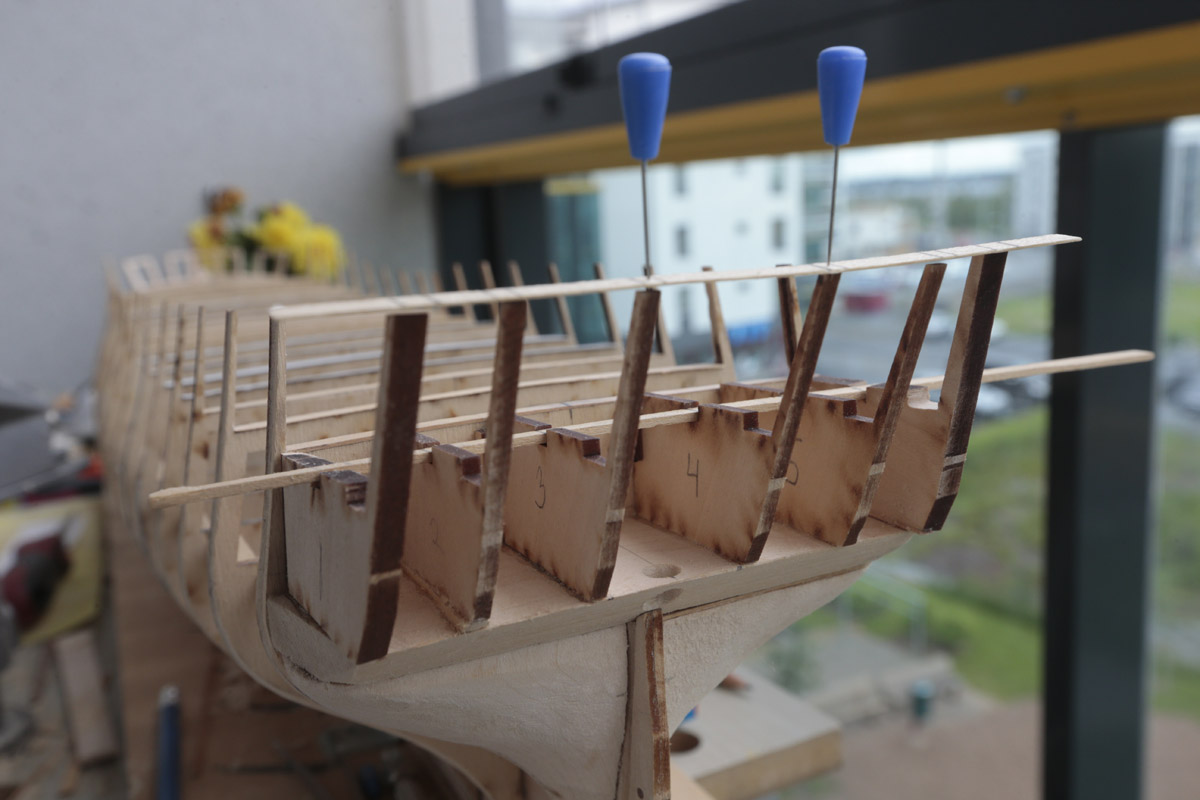
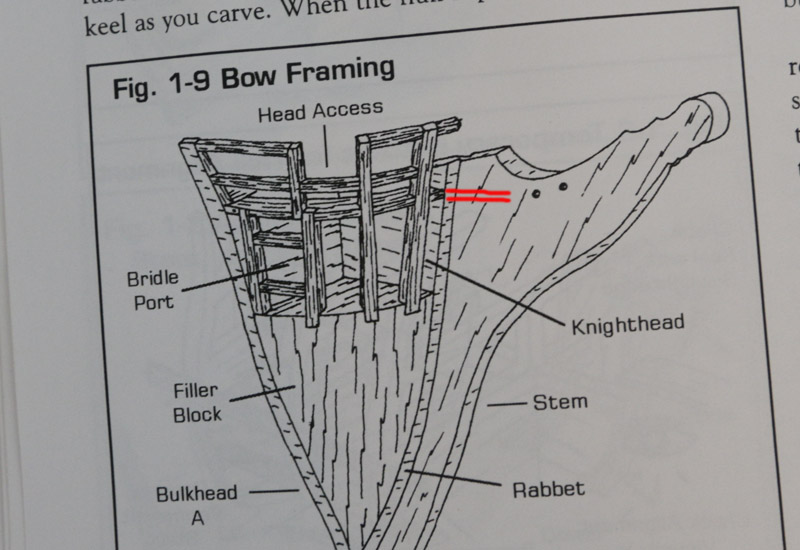
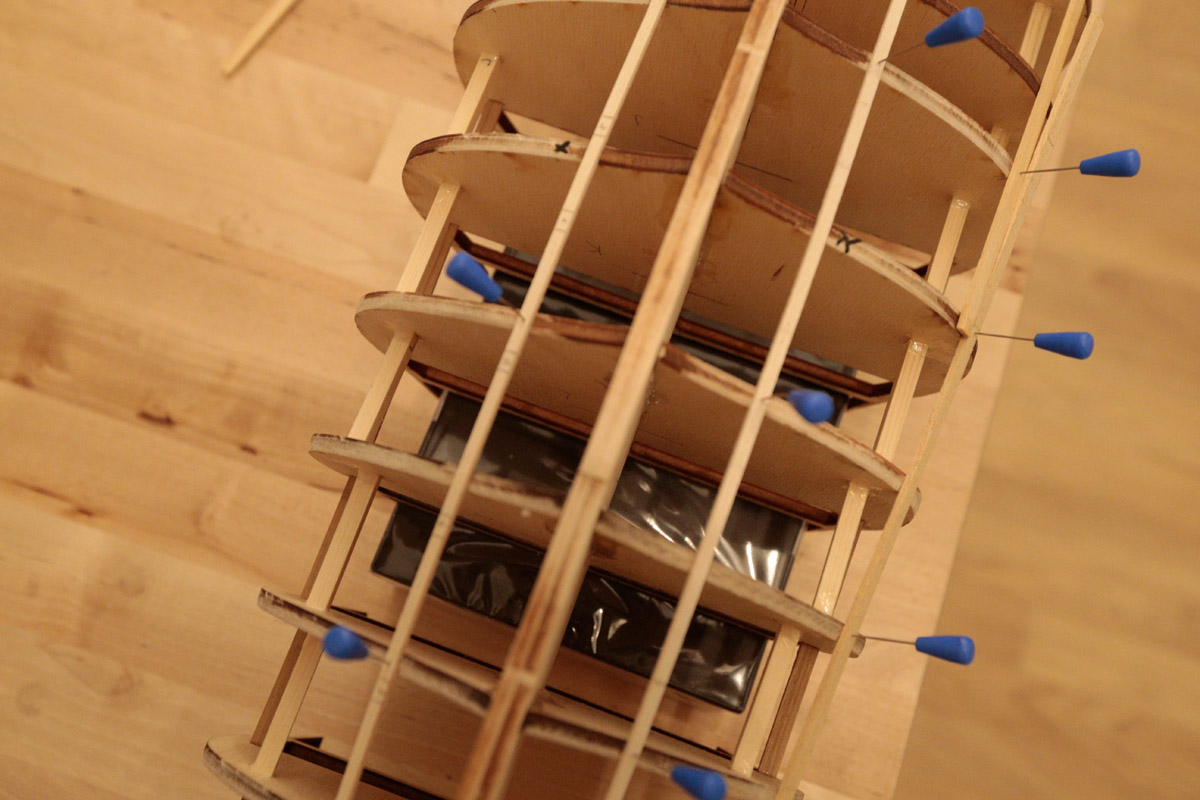
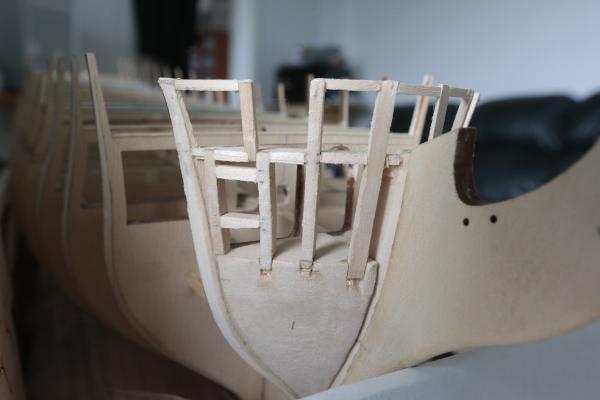
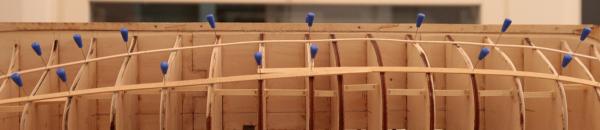
The bow framing is finished now. I've been making the stern filler blocks and found out the stern frames are too high. I've checked the hights of my filler blocks and also the deck level from bulkhead R is correct. So.. could anybody tell me, are these stern frames ment to cut from there? Markku

-
Your planking looks good. I've always liked the black colouring on the plank sides. The end result will be very nice. Markku
-
Hi DeeDee, What an interesting build. I've build Corel's Flattie, and it's great to see how different those little boats really are. Great work so far! Markku
-
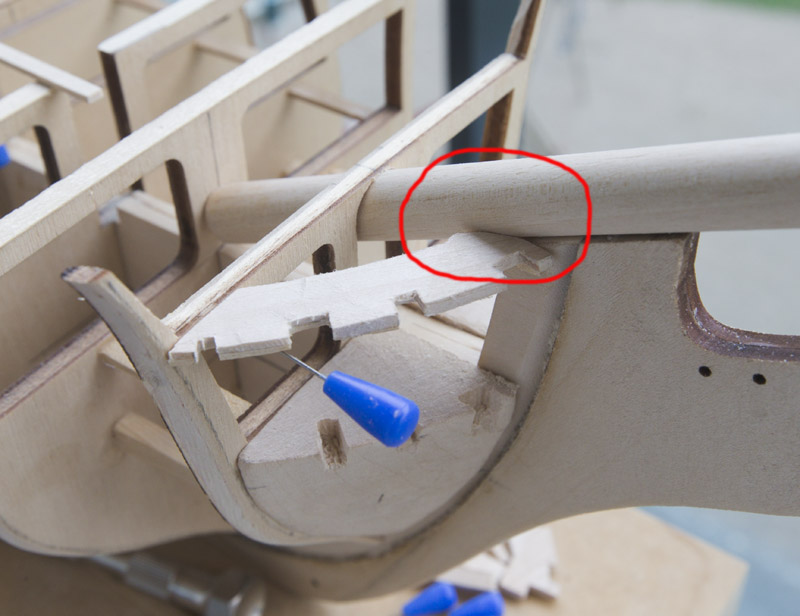
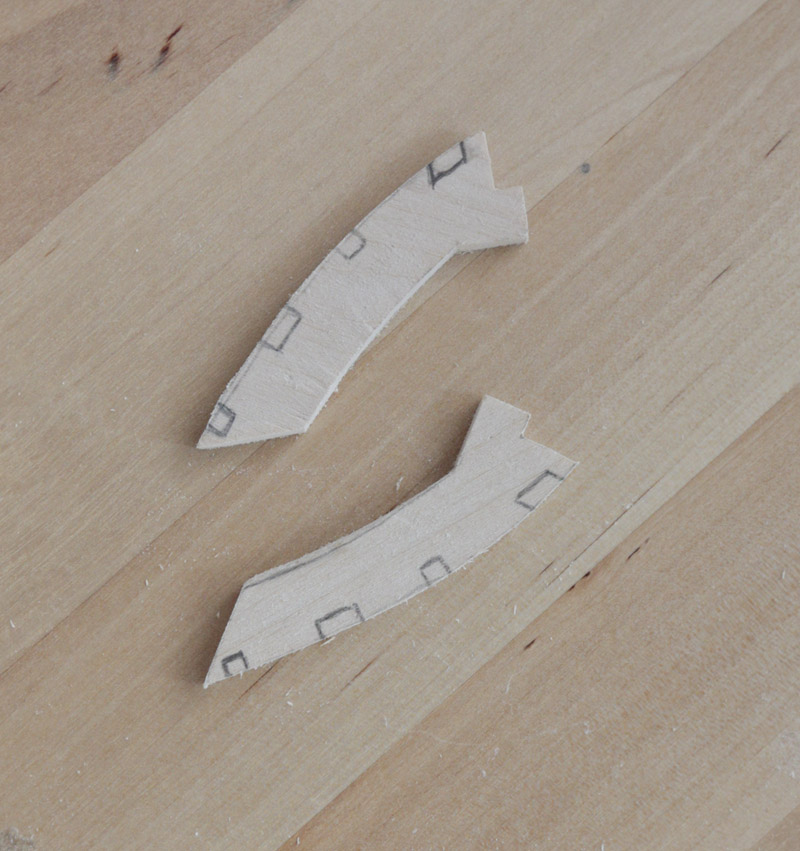
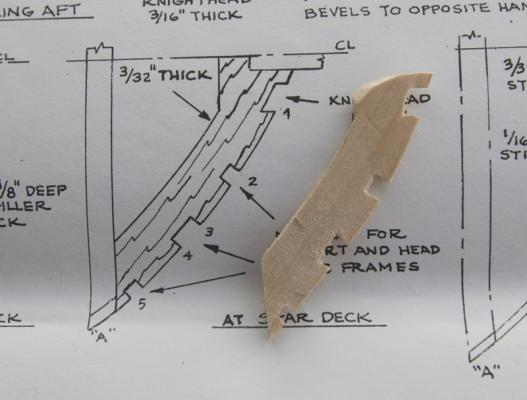
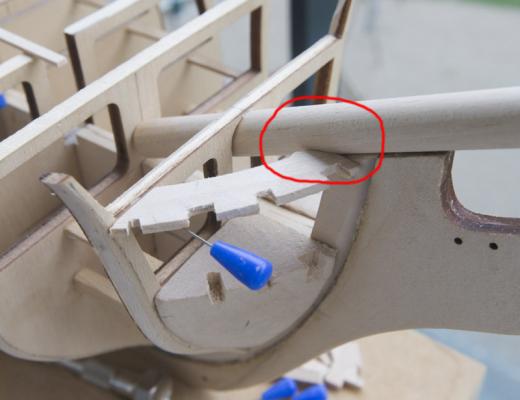
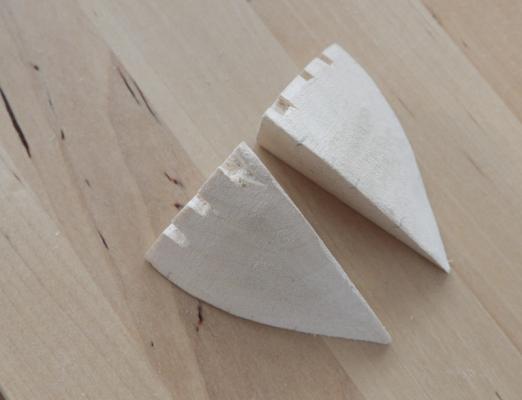
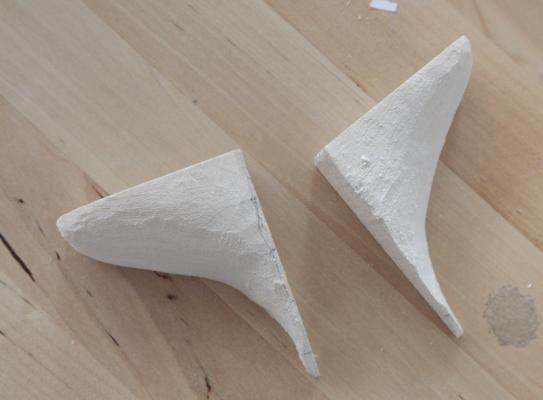
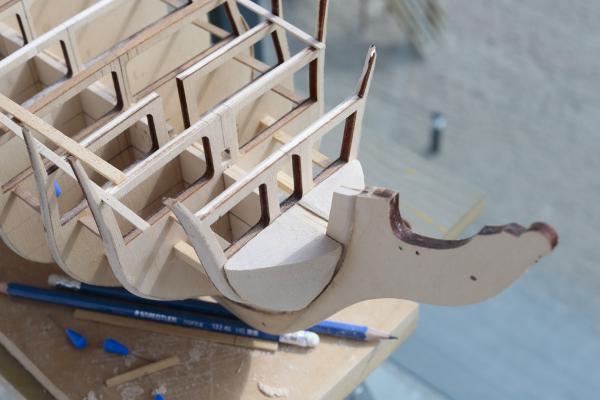
And the solution for that problem is... This is the wrong shape in the plans and the right shape how that part should be: Because like that the bowsprit has space enough. This is also the best time to test fit the bowsprit in this area. And of course I haven't done the bowsprit yet, so i just used the dowel. Markku
-
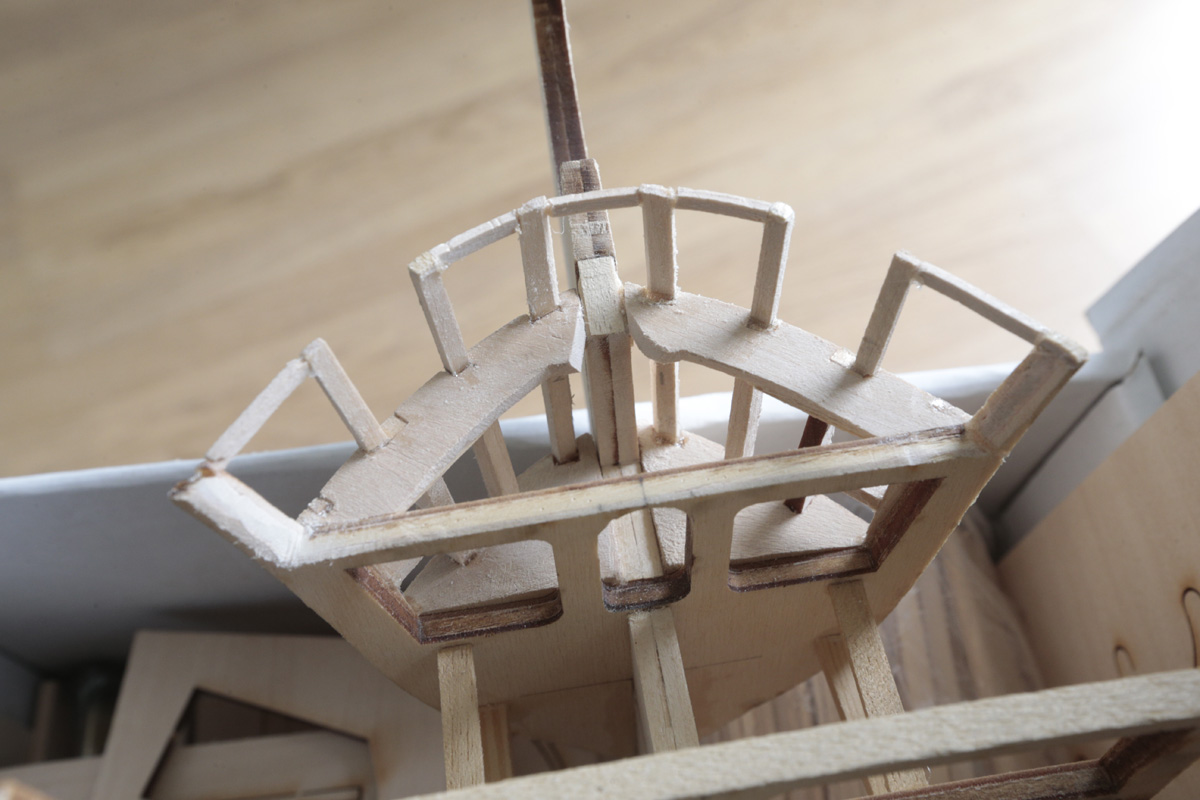
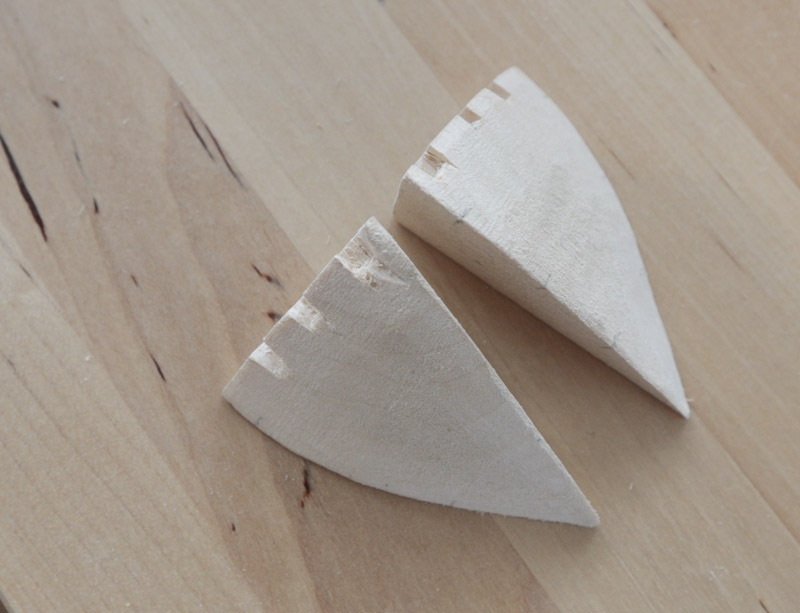
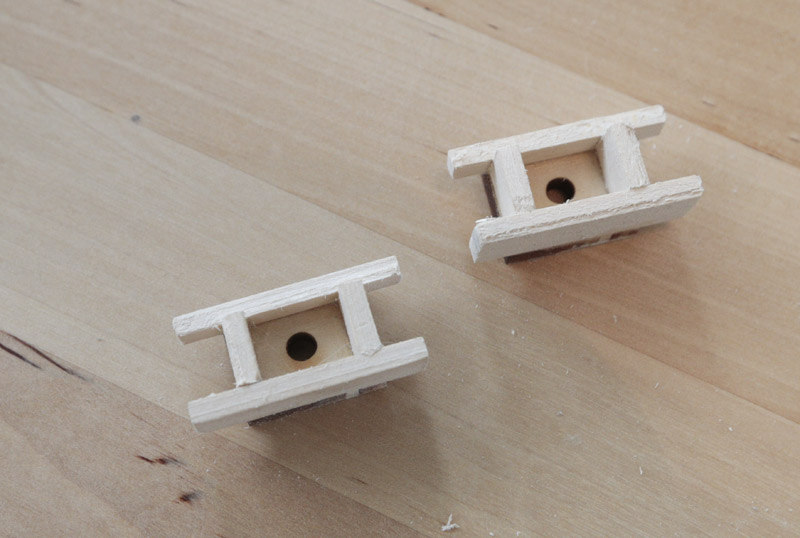
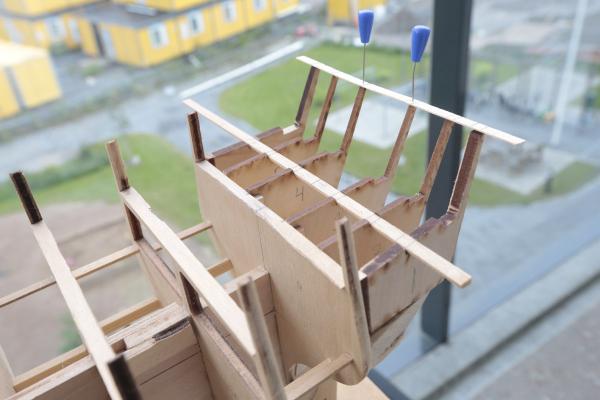
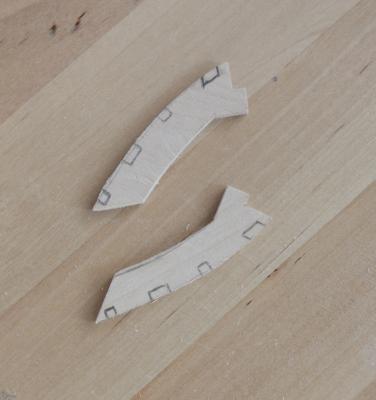
A little progress and a problem. First, i've finished the bow filler blocks. And the stern filler blocks are almost in final shape too. I also made the first gun ports. They are good. Then, i'm starting to build the bow framing and here's the first parts: And there we have a problem, because this is where they will be: But what is the right level for them? In plans we have them here, almost in top, at spar deck level where i believe they are ment to be: But in the other hand... in instruction book the level is this: I think the spar deck level is correct, but then we gonna have a problem with bowsprit later, because those pieces in bow framing are too high and bowsprit don't fit. Are those parts ment to file away where bowsprit will go thru them? Or should i add them where the instrucion book picture shows them to be? Markku


-
Actually the wheels on Hermione are red: http://en.wikipedia.org/wiki/File:Hermione16.JPG
-
Your ship is looking great and so do those windows! What glue you used for them? Markku
- 1,756 replies
-
- 1
-

-
- constitution
- constructo
- (and 1 more)
-
Patrick, nice to hear. Thank you. Of course I don't mind. And I'm also following yours.
-
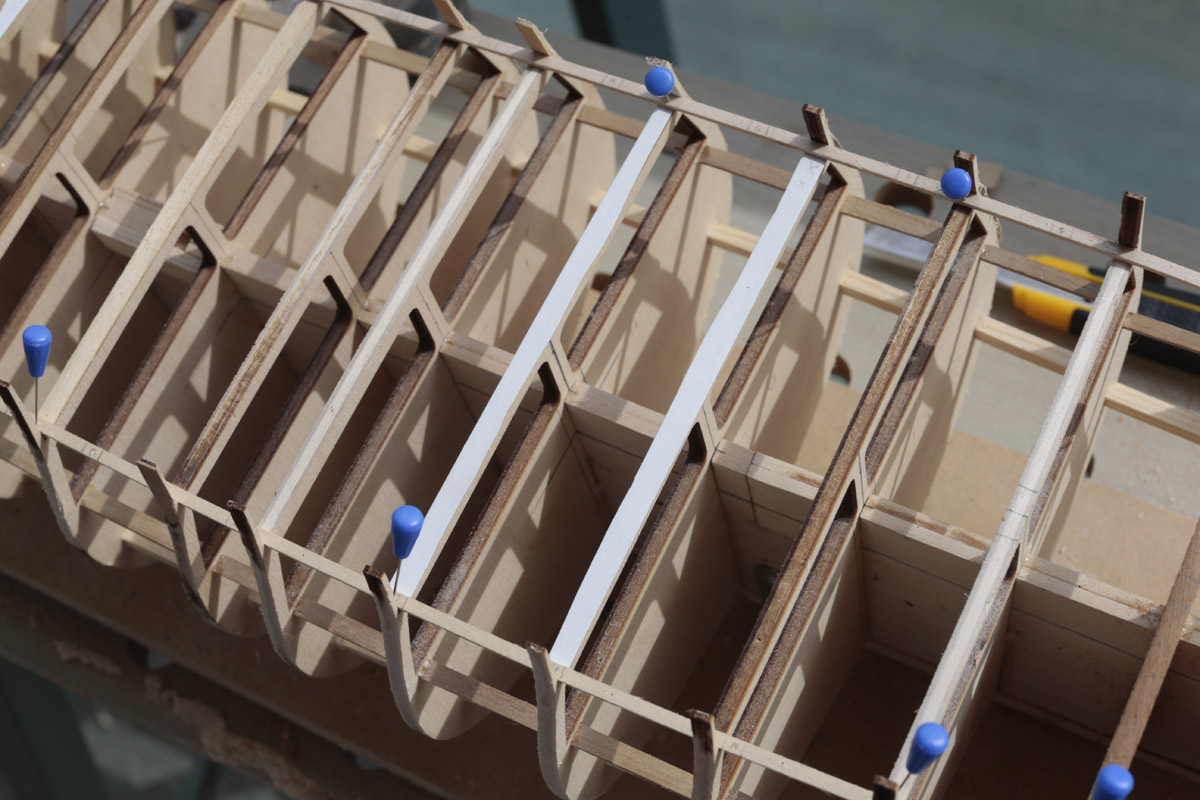
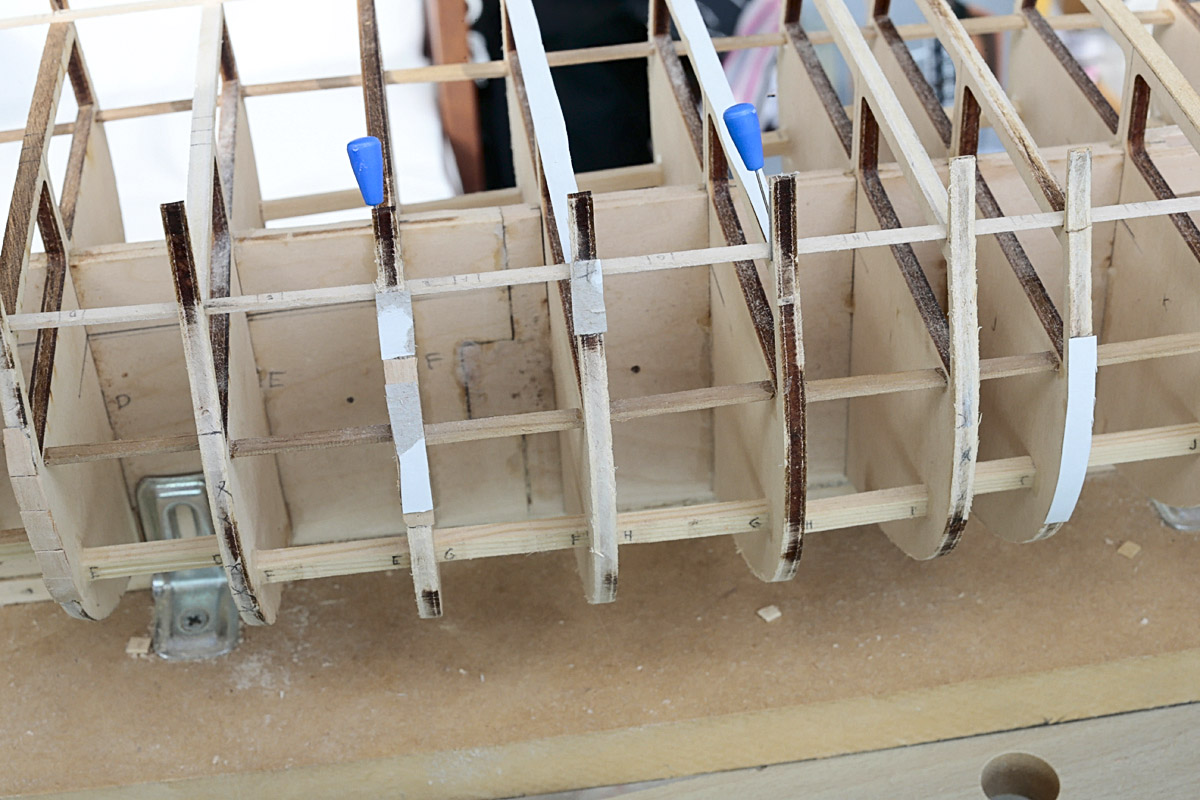
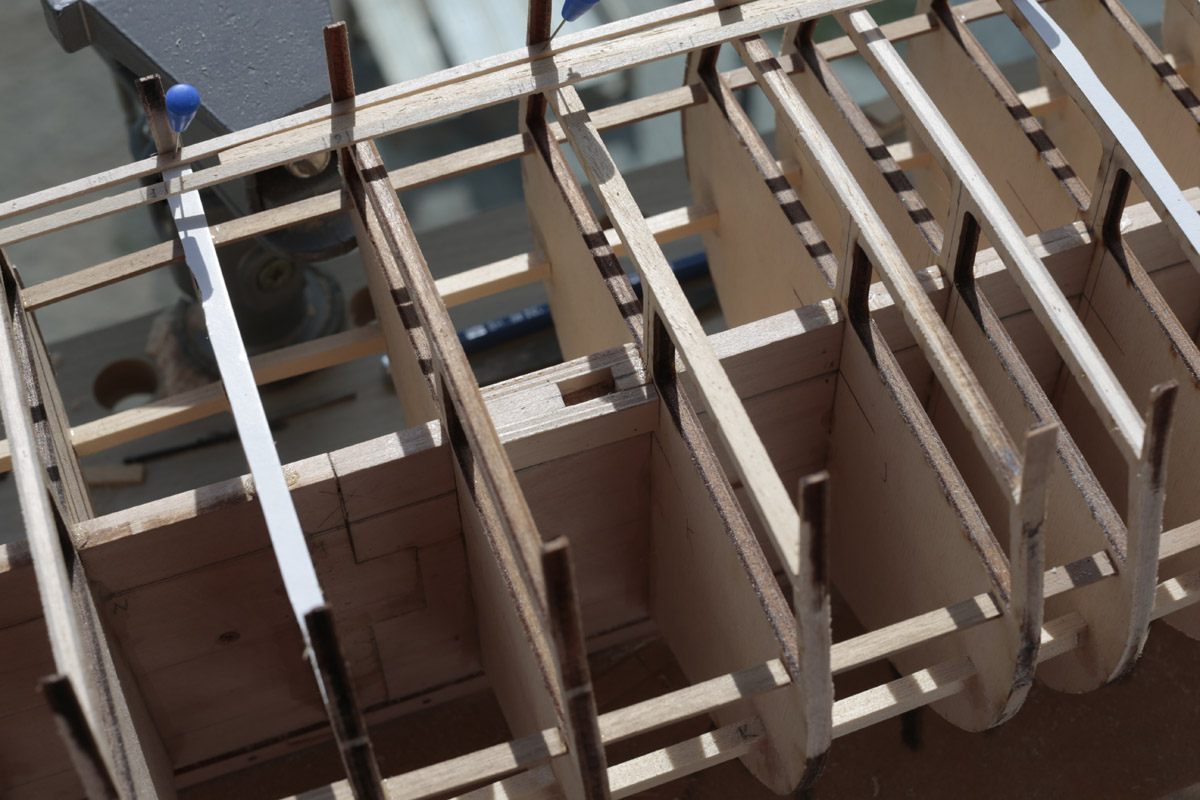
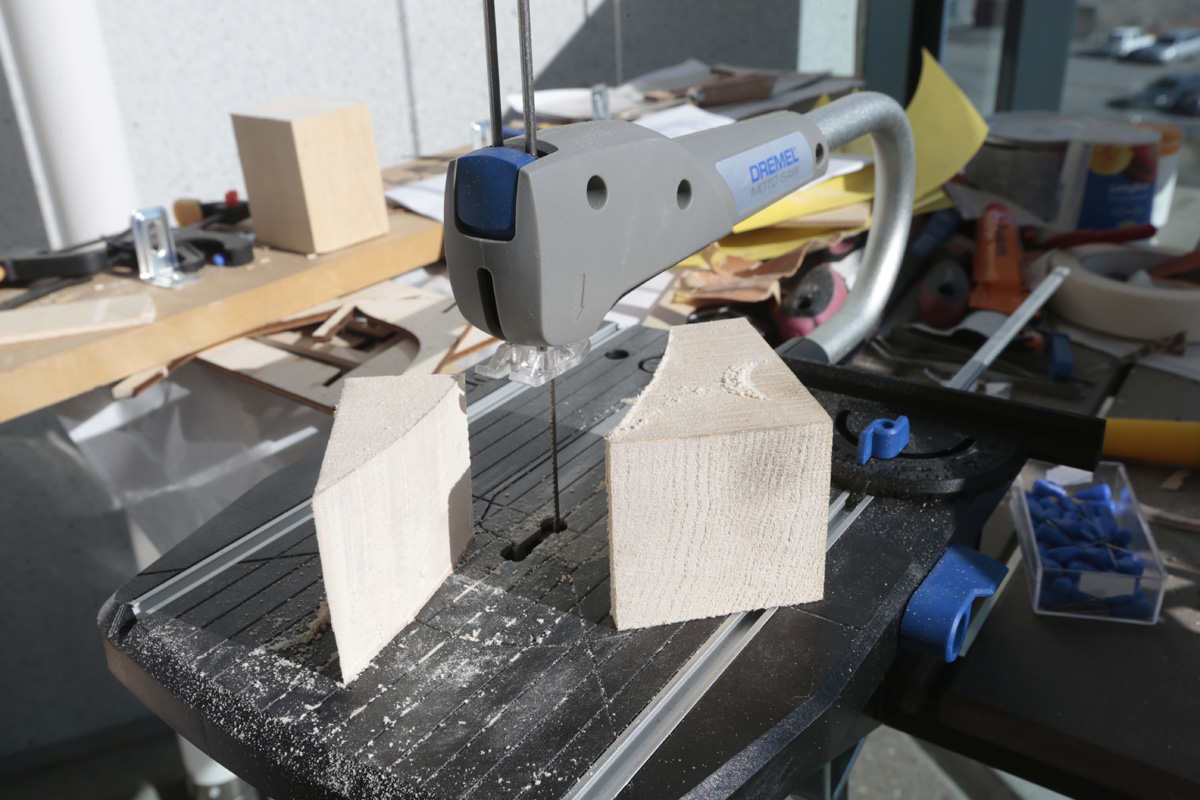
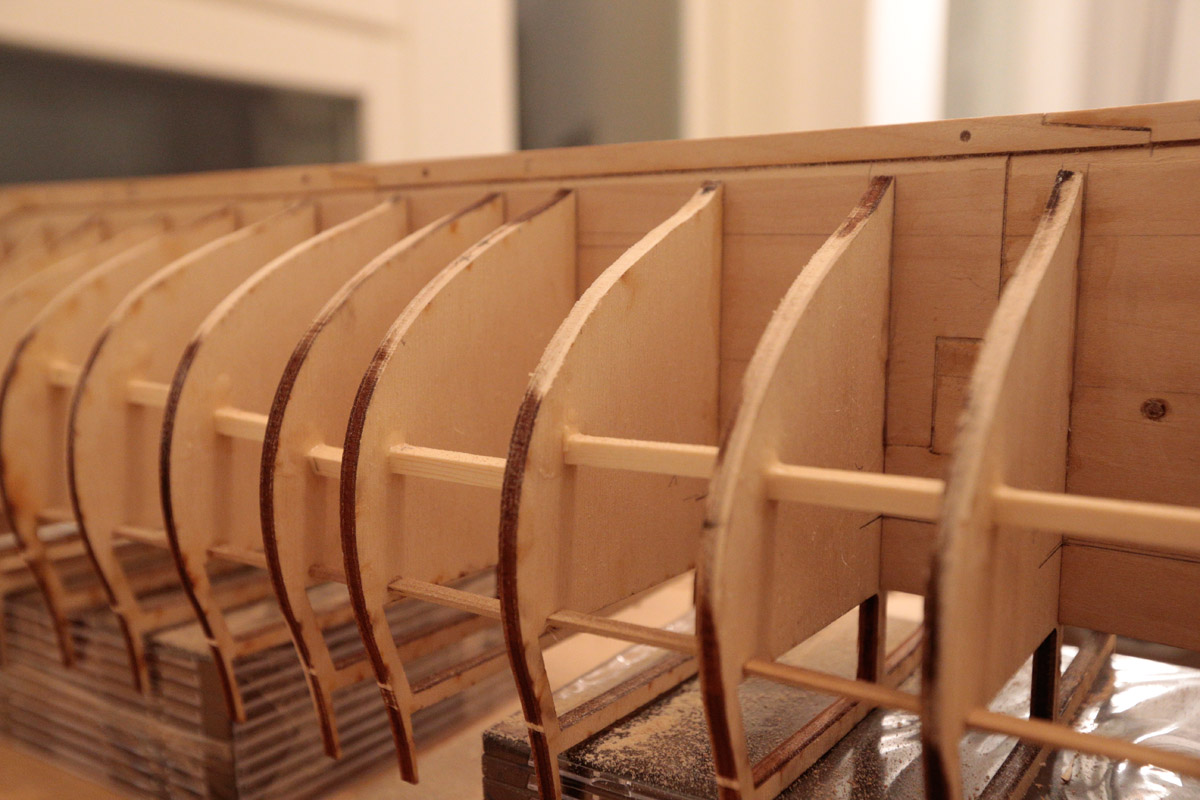
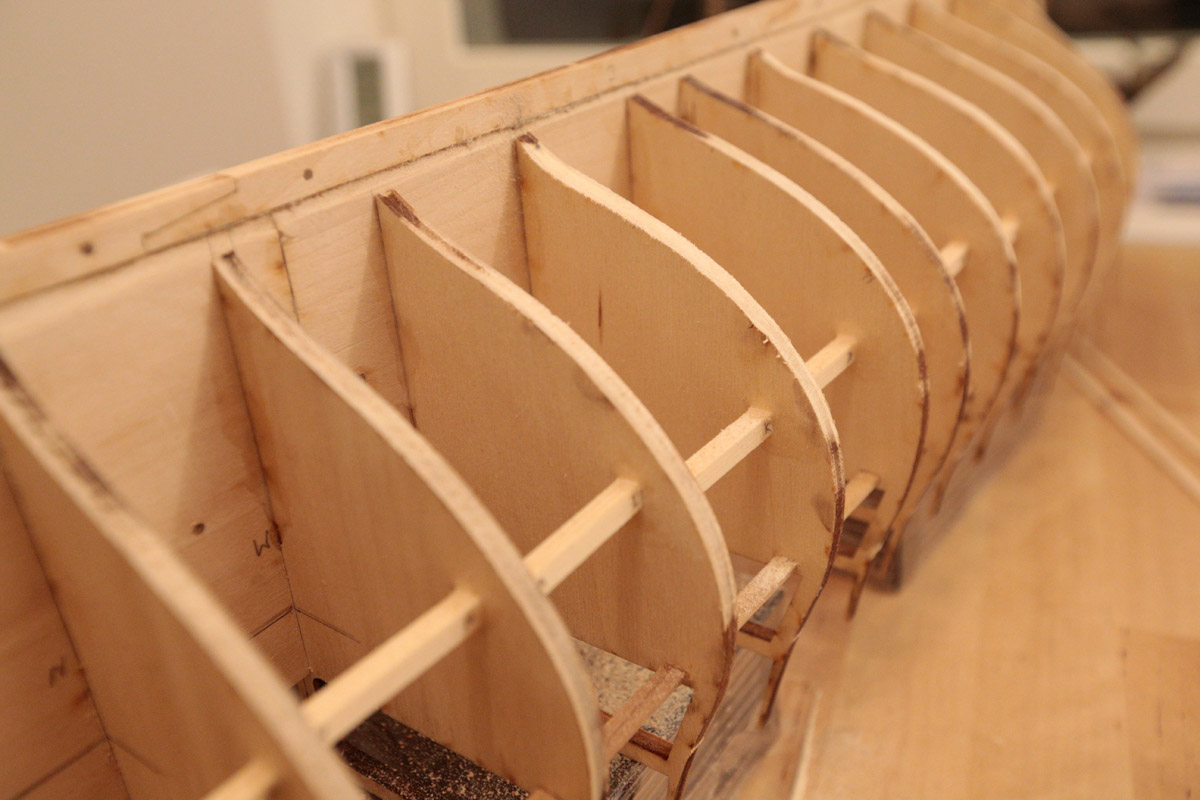
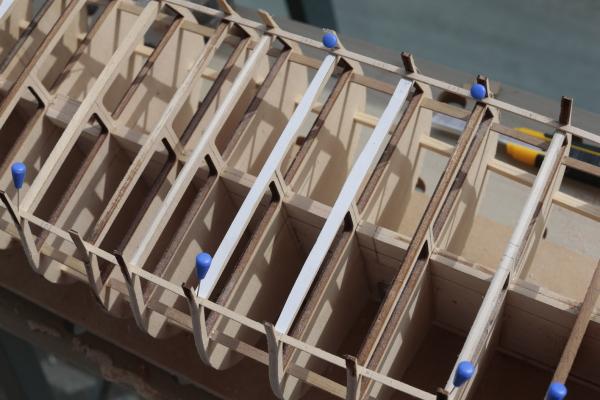
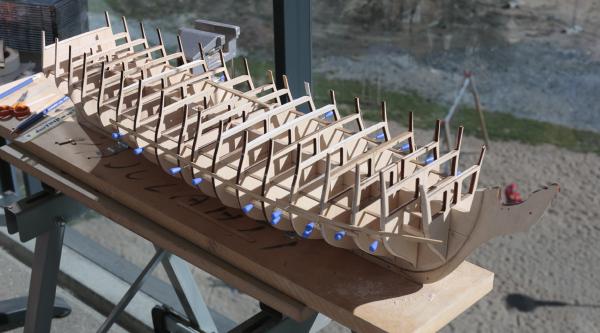
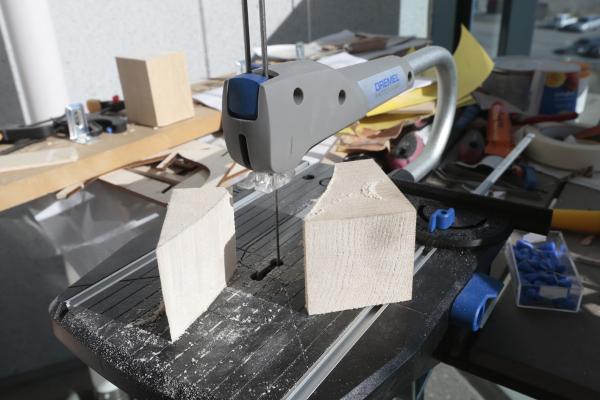
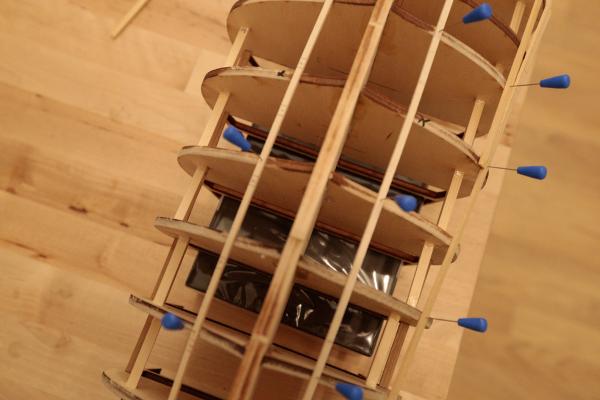
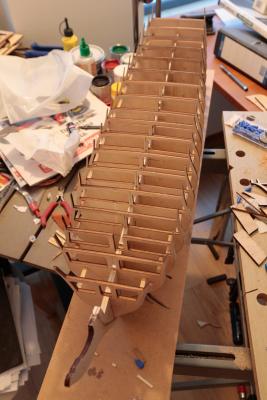
I've been busy with work, so not much time to continue my build. However, there's some small progress i've made. Deck line corrections first. I added more wood or filed some away, so the lines go smooth now. Oh, and those are not the waterways yet, I'm just testing the lines and correcting the bulkhead extensions. Hull line corrections... what a job. These took a lot of time to make sure it's correct. As a reminder, some bulkheads were 1mm too wide from the other side, and some were not symmetrical from the middle, so needed to add more stuff and remove from other side. I've also added the mast supports. Then i started to make the filler blocks. I'm glad these are the biggest blocks to saw, because this was hard job enough for my Dremel Saw. But it came out ok. Not in final shape yet, and not glued. Markku


-
Thank you, Bob. Markku
-
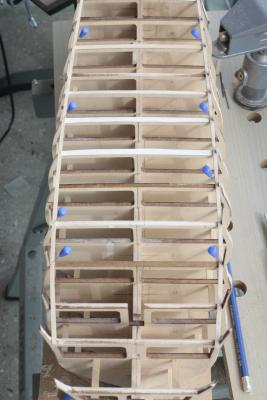
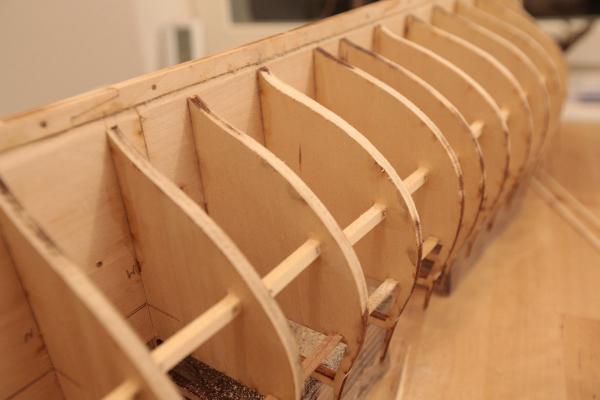
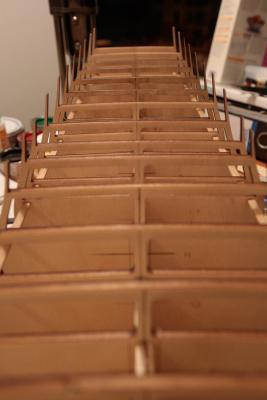
Dremel tools - gotta love it! It was fun and easy to saw some wood pieces, which I added between bulkheads to make the hull stronger, because my forthcoming sanding and correction process. Also added wood glue to bulkheads, yes, just at this point. Earlier, I used just few drops of yellow special glue to hold the bulkheads in place. Then I added the permanent struts and more wood strips to support the whole hull shape. Now it's possible to add as much glue as I want when can be sure the glue won't twist the hull shape when it dries. Then I have checked the shapes and started correcting the bow. Dremel is very good tool in this. Here we can see the difference. Bow line before, very bumpy: And after: Markku

-
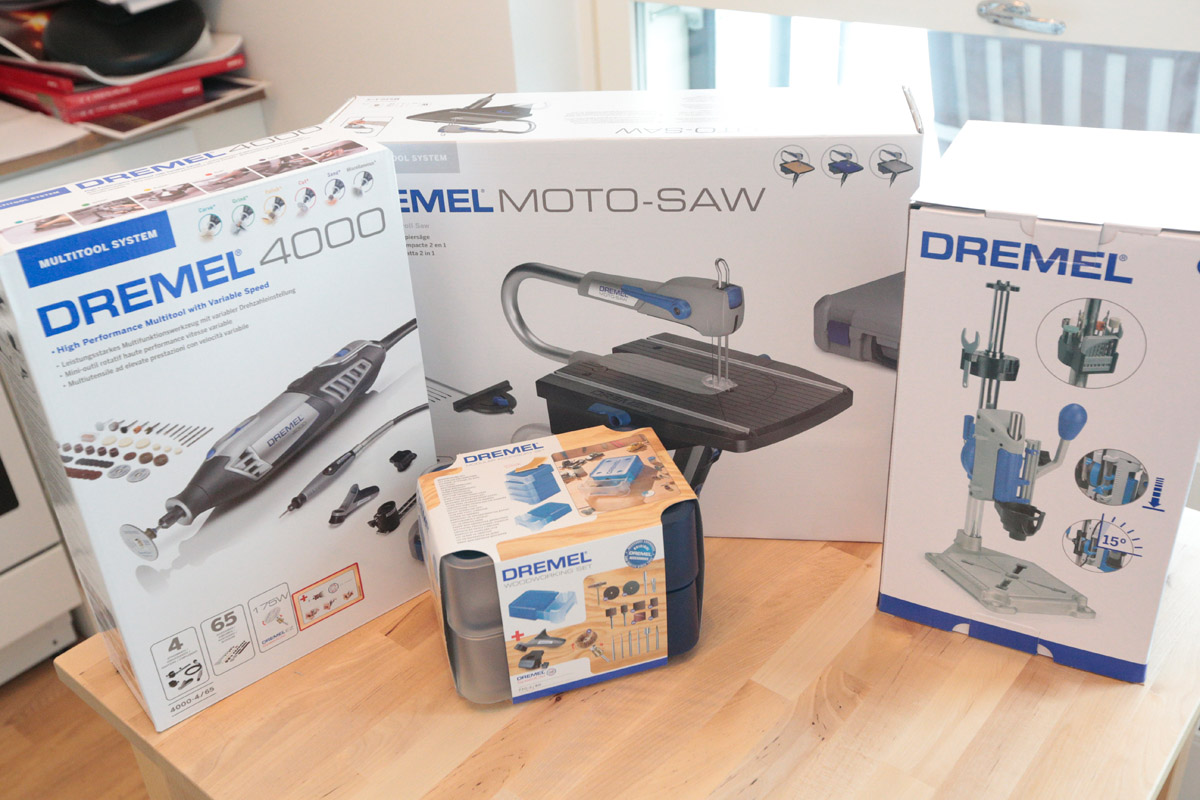
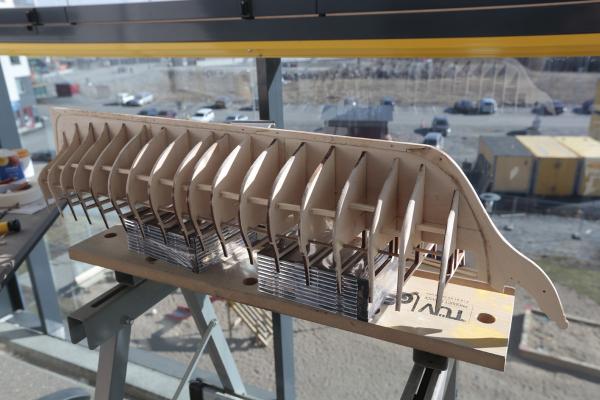
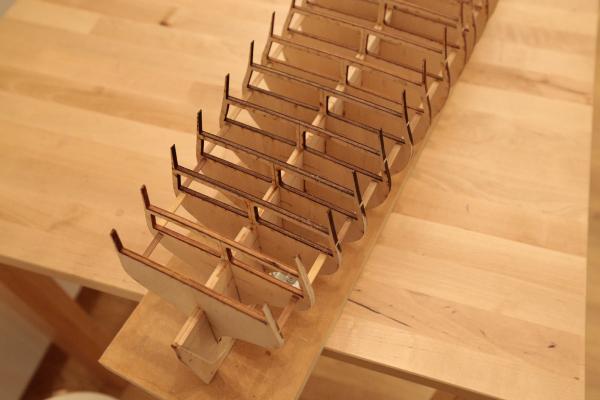
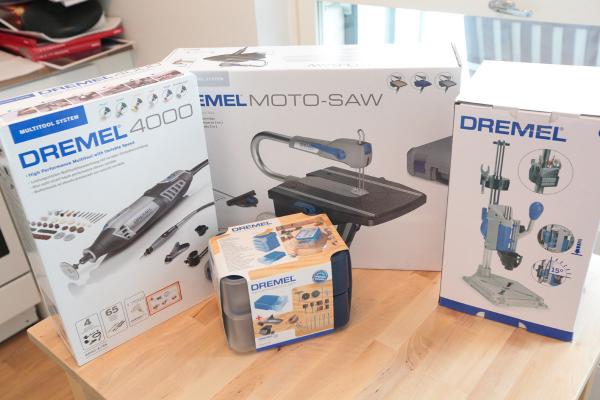
All the bulkheads are glued now. They are not perfect, but after corrections, fileing and sanding I believe it's going to be very good. At least the hull is straight and there are no bigger problems. Also my new tools arrived today. They are my first power tools. Here they are: Hope they will be very helpful during my build. Markku

-
Looks like we have samekind of problems with bulkheads, even we're building different ships. I've noticed that you shouldn't trust those plan sheet drawings about bulkheads too much. Especially forget their center lines - they may not be at center! I'm suggesting you should take the gun deck lines (they will probably be vertically ok) and measure everything from there. Also use more the plan sheet picture, where is the whole ship's side view. You can see many things from there, where the deck lines should be and where the bottom of the bulkheads. Markku
-
Hello Nick and greetings from North Europe. You have so warm there that you can work outside? Wow. I can't even think about working in my balcony in this weather, but here in Finland we almost have polar bears walking in the streets, haha. Nice to see you're still had time to continue your build. Parts you have made are excellent! I stopped working my own Hermione. It felt there is way too much things to modify. Now I'm working USS Constitution, but I'm still following your nice build! Markku