HOLIDAY DONATION DRIVE - SUPPORT MSW - DO YOUR PART TO KEEP THIS GREAT FORUM GOING! (Only 13 donations so far - C'mon guys!)
×


rafine
-
Posts
2,932 -
Joined
-
Last visited
Content Type
Profiles
Forums
Gallery
Events
Everything posted by rafine
-
 Ed: Rings, eyebolts and chains can be obtained from (among others) Model Expo. They can also be made from wire. I'm not aware of anyone that supplies them in black. As far as coloring the brass parts, I alternate between using chemical blackeners and paint. The blackeners can be frustrating, and I often give up and use paint. If you paint, try sticking the eyebolts (or the made up ringbolts) in holes in a block of wood to paint them. Let the paint dry thoroughly and use at least 2 coats. Try not to handle them too much and expect to have to touch them up. Bob
 -
Thanks, Grant. I hope so too. Bob
-
Ed: The breaching rope is seized to the ring bolts. The tackles (2 single blocks) are hooked to the eyebolts. Bob
-
A whole lot of very beautiful work since your last update, Len. Bob
-
It's looking good, Ken. Filler can be very helpful on a painted model. With regard to the margin plank, I followed the lead of Pete Jaquith (on MSW 1) because I liked the look of it. I also followed Pete in using a waterway, rather than the coverboard arrangement shown on the plans. It looks to me from your photos that you've also used a waterway. Bob
-
Thanks so much, Patrick and Alistair. Your very kind words are always appreciated. Bob
-
Thanks, Robert. Your interest is always appreciated. Bob
-
Thanks, Chuck, Augie and Sjors. I'm hoping that you are all right about the outcome. At the moment I'm feeling like the guy who jumped from the 20th floor window and shouts as he passes the 15th floor, "so far, so good". Sam, I had to adjust the bow bulkheads as I did with the aft ones. I beveled them using battens, but as I've said, it remains to be seen how it will work out. The quarter deck may need to be adjusted, but I've already used more isopropyl than I've ever used before, so a little more will be no big deal. Bob
- 1,477 replies
-
- 8
-

-
- essex
- model shipways
- (and 1 more)
-
Augie, if you're equating "interesting" with painful, then I'd have to agree with you. Bob
- 2,191 replies
-
- 3
-
-
- confederacy
- Model Shipways
- (and 1 more)
-
Wow -- a 3/32" treenail. That really puts the size of those frames in some perspective. They are looking very good. Bob
- 421 replies
-
- 1
-
-
- granado
- bomb ketch
- (and 2 more)
-
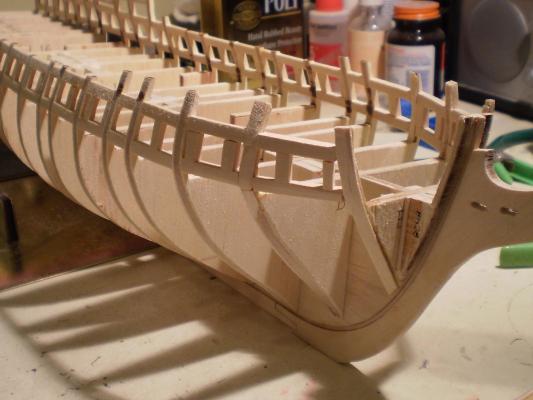
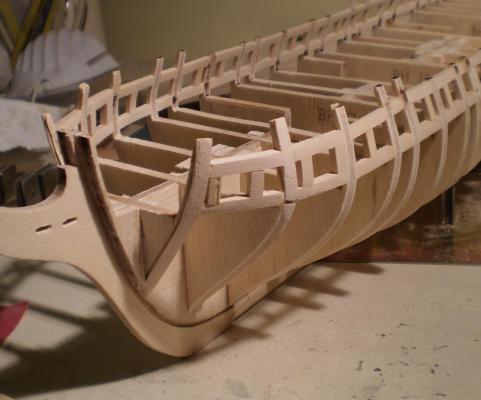
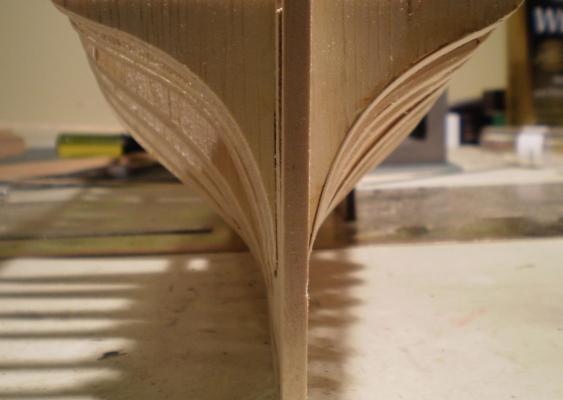
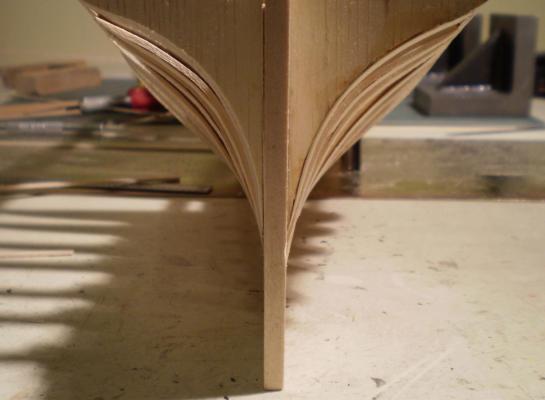
Thomas, I wish that I were as confident as you about the outcome of this one. The bow section of the framing is now "done". I thought the aft end was a challenge, but the bow turned out to be at least as difficult. The problems were the same -- incorrect drawings, dimensionally incorrect parts and really no way to know if I was getting it right when I was done. Again, the best that I can say is that the framing is now "fair" and hopefully can be planked. I still need to make and add the bow filler pieces. I'm going to do the stern framing now. I'm hoping that the stern frames are correct, but I know that there are discrepancies between the drawings and Sam's prototype photos, so we'll have to wait and see. Bob

- 1,477 replies
-
- 9
-
-
- essex
- model shipways
- (and 1 more)
-
Very nice going, Augie. Watching your progress has made me wonder if I shouldn't have gone for Confederacy. Bob
-
Thanks Lee. Post a log so we can all get a look. Bob
-
Thanks, guys for all of your support and encouragement. It comes in very handy at times of frustration. Bob
- 1,477 replies
-
- 3
-
-
- essex
- model shipways
- (and 1 more)
-
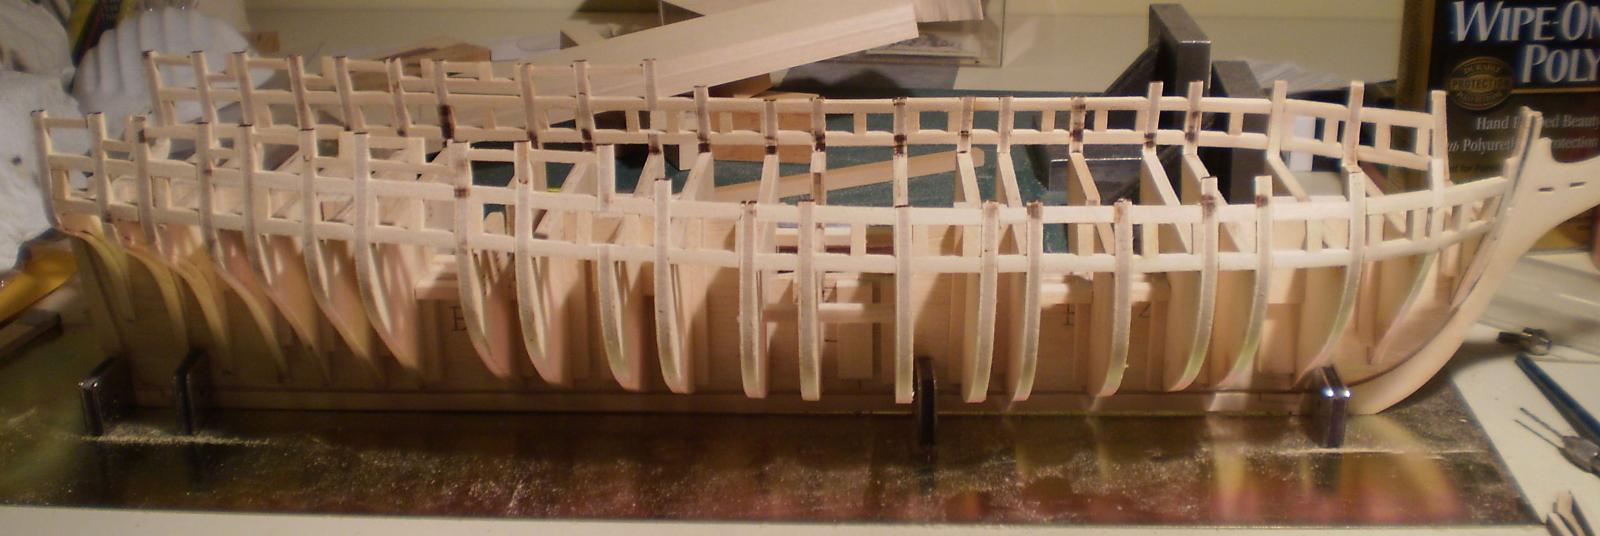
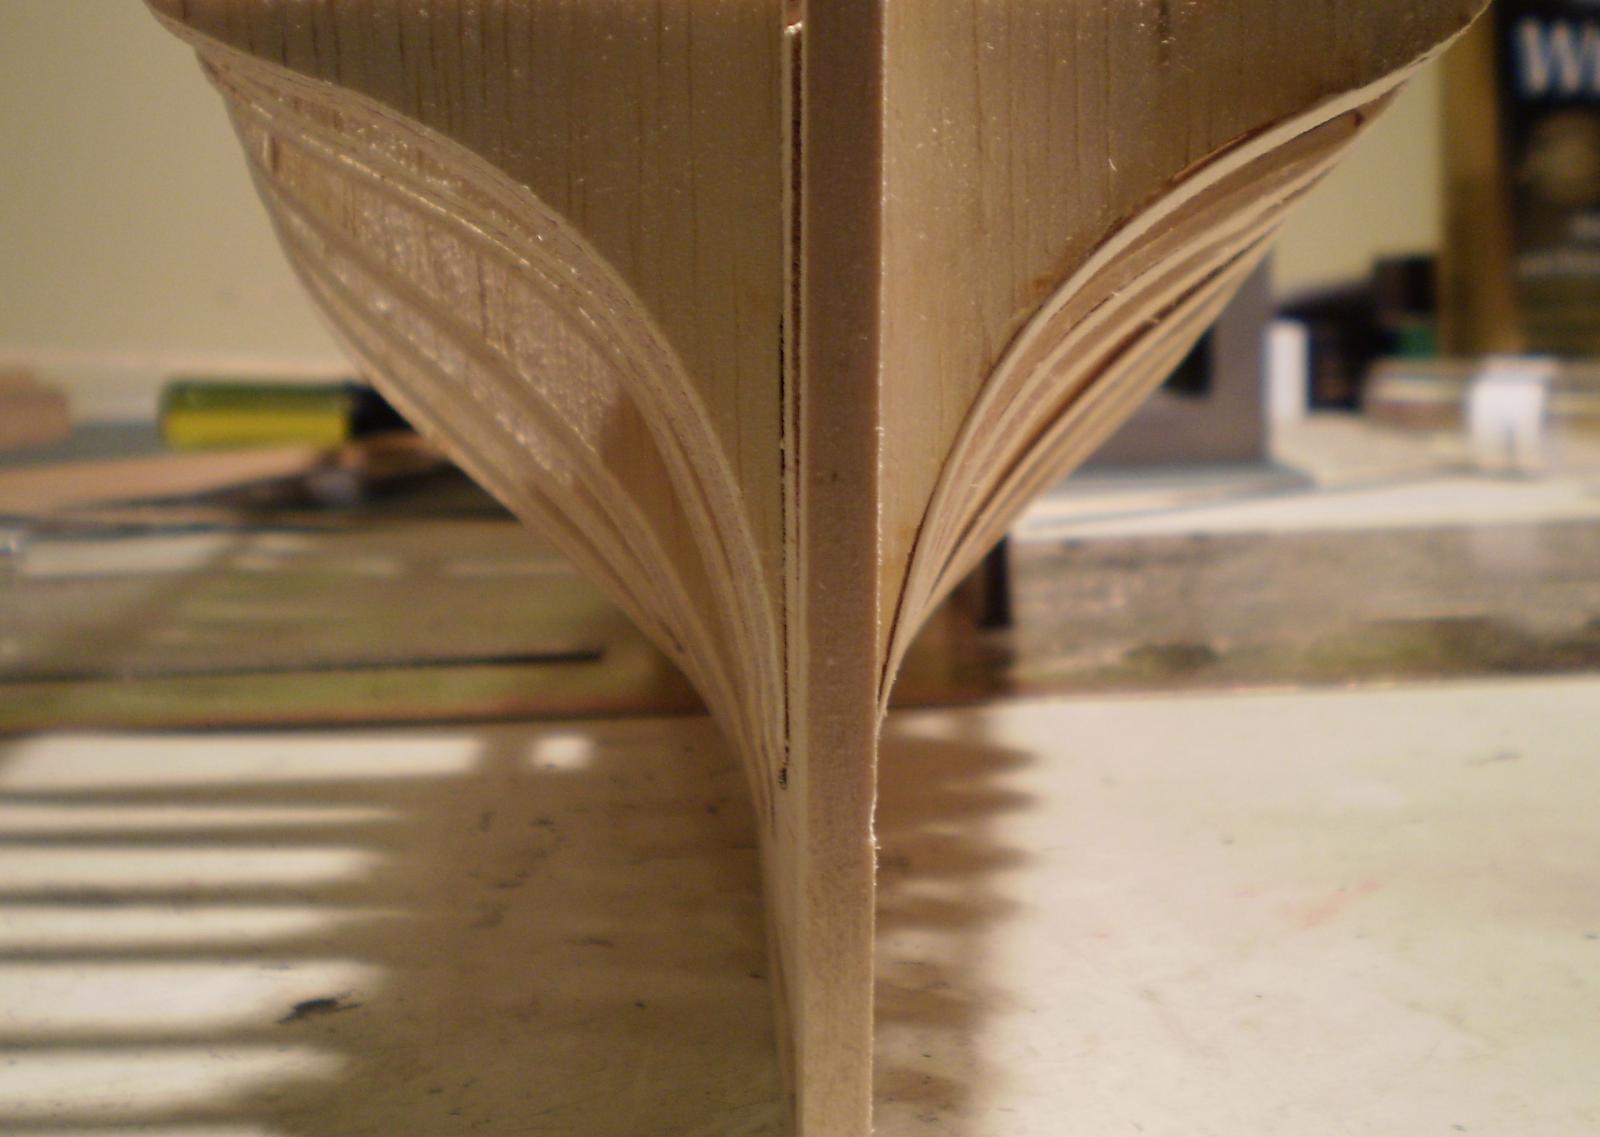
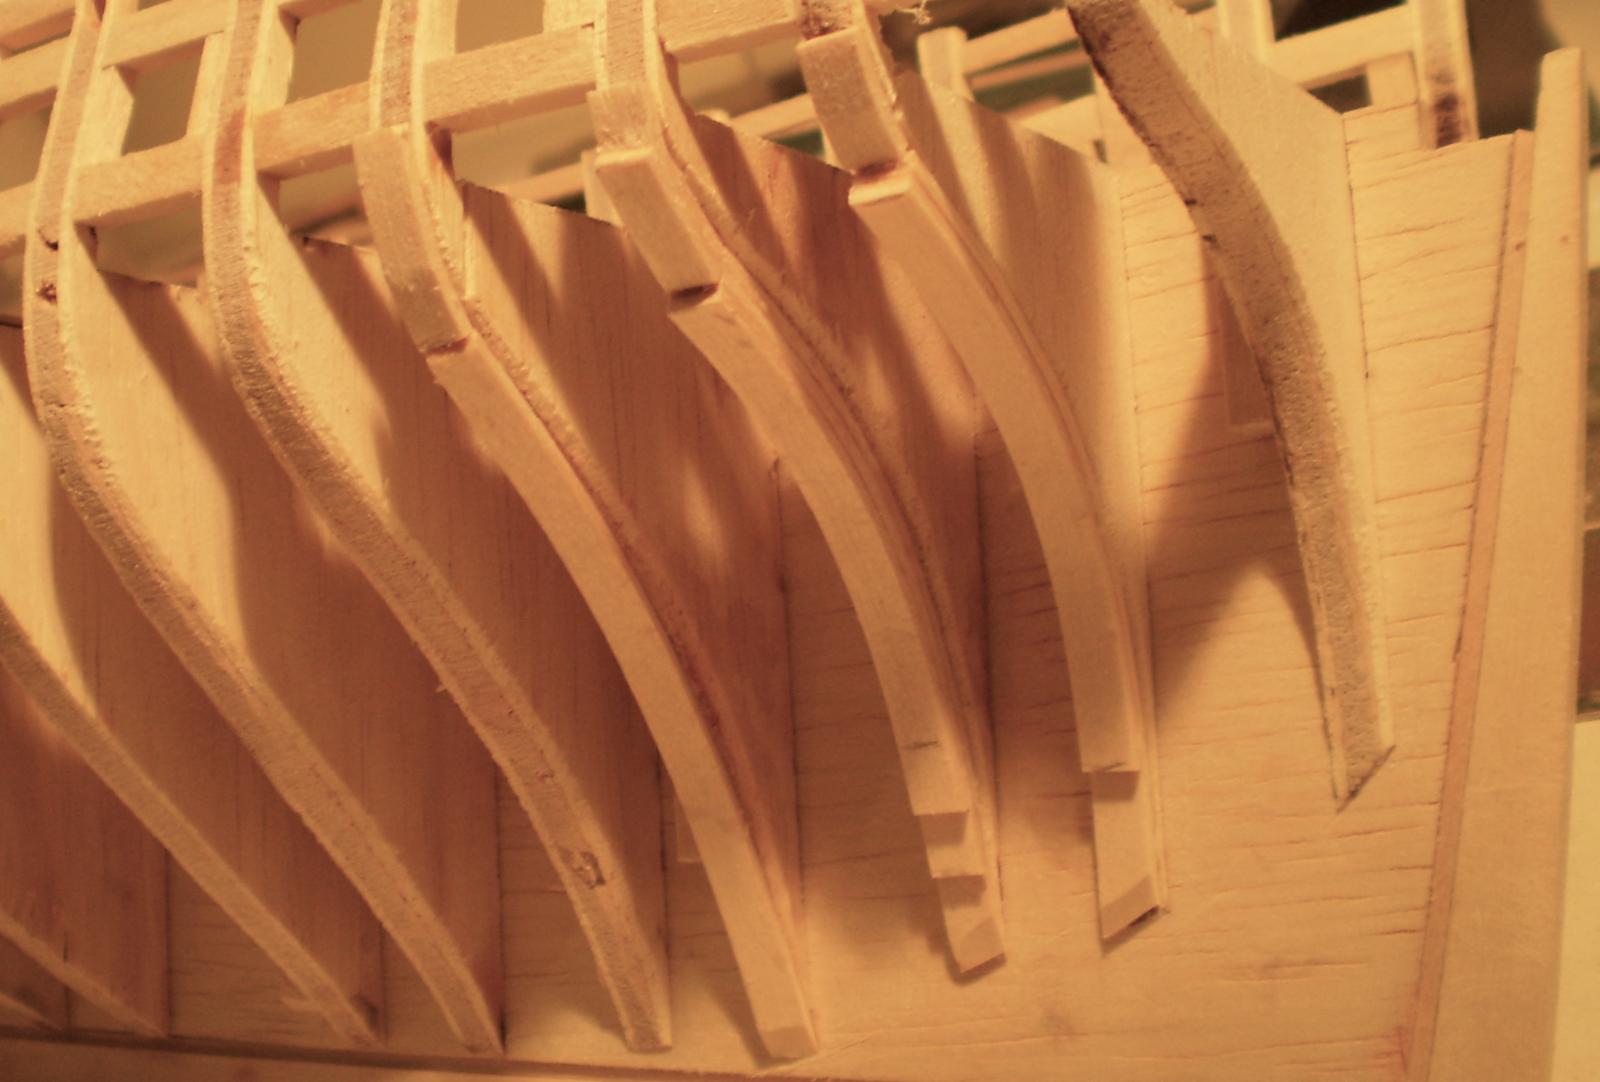
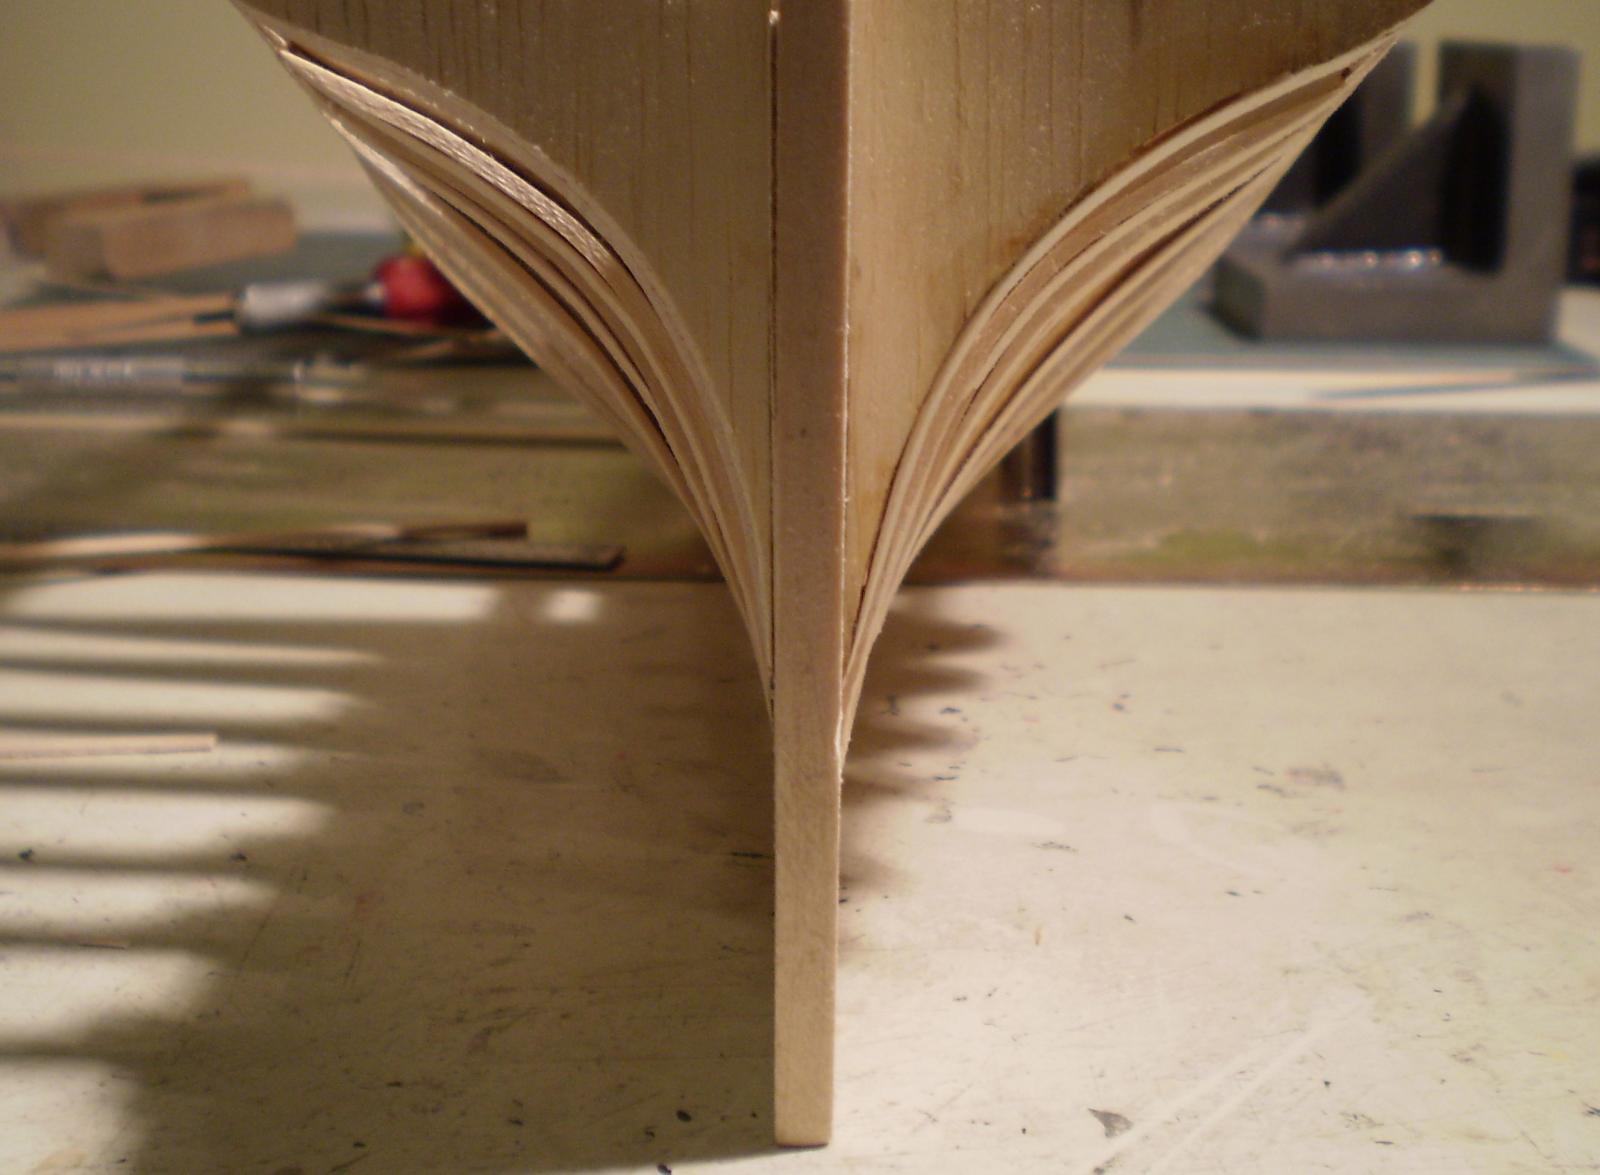
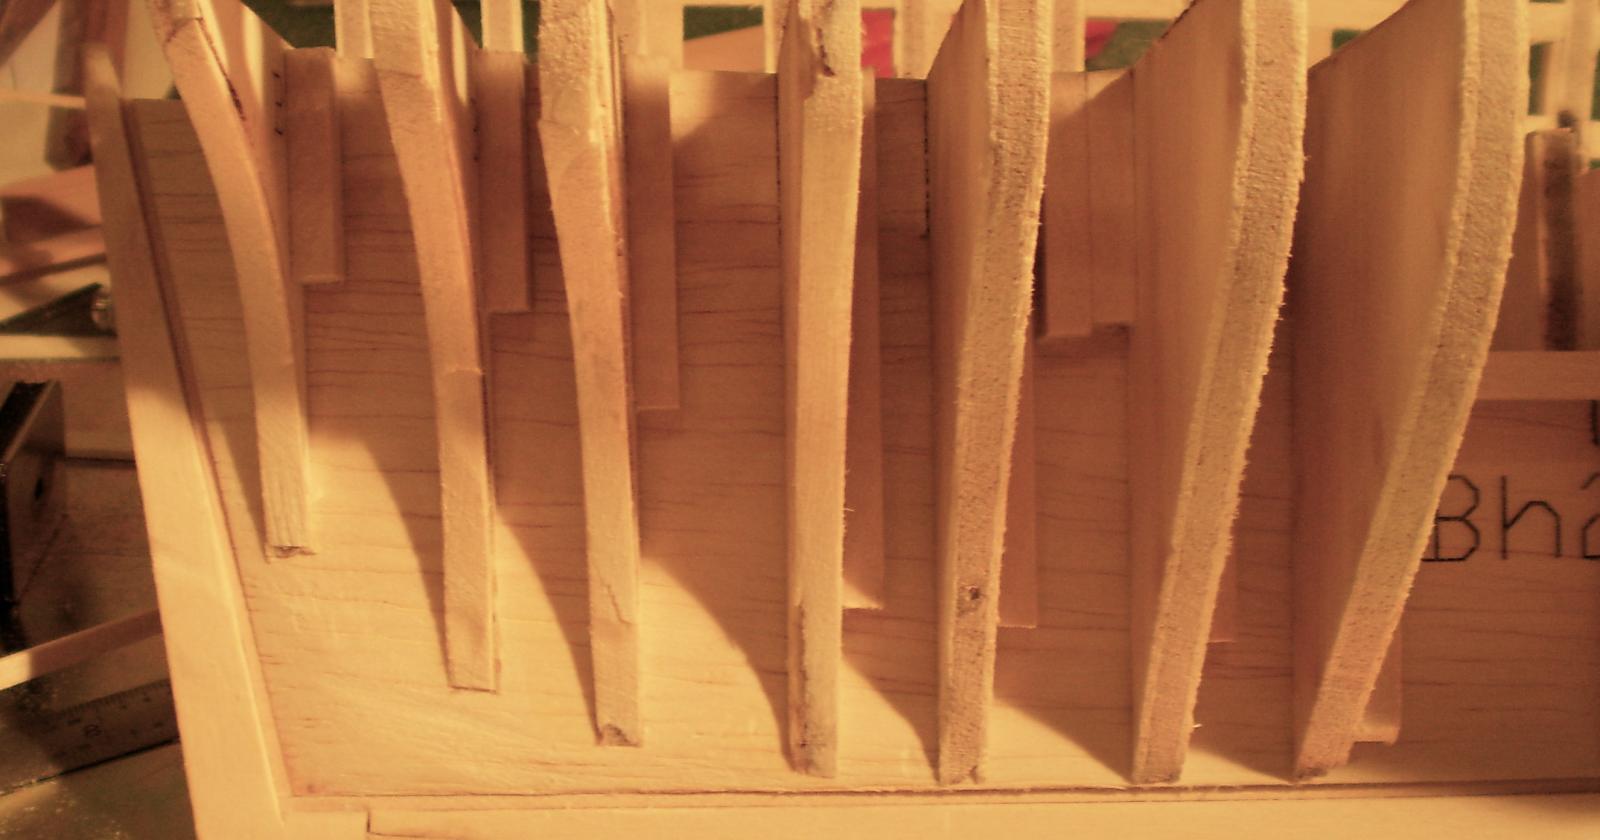
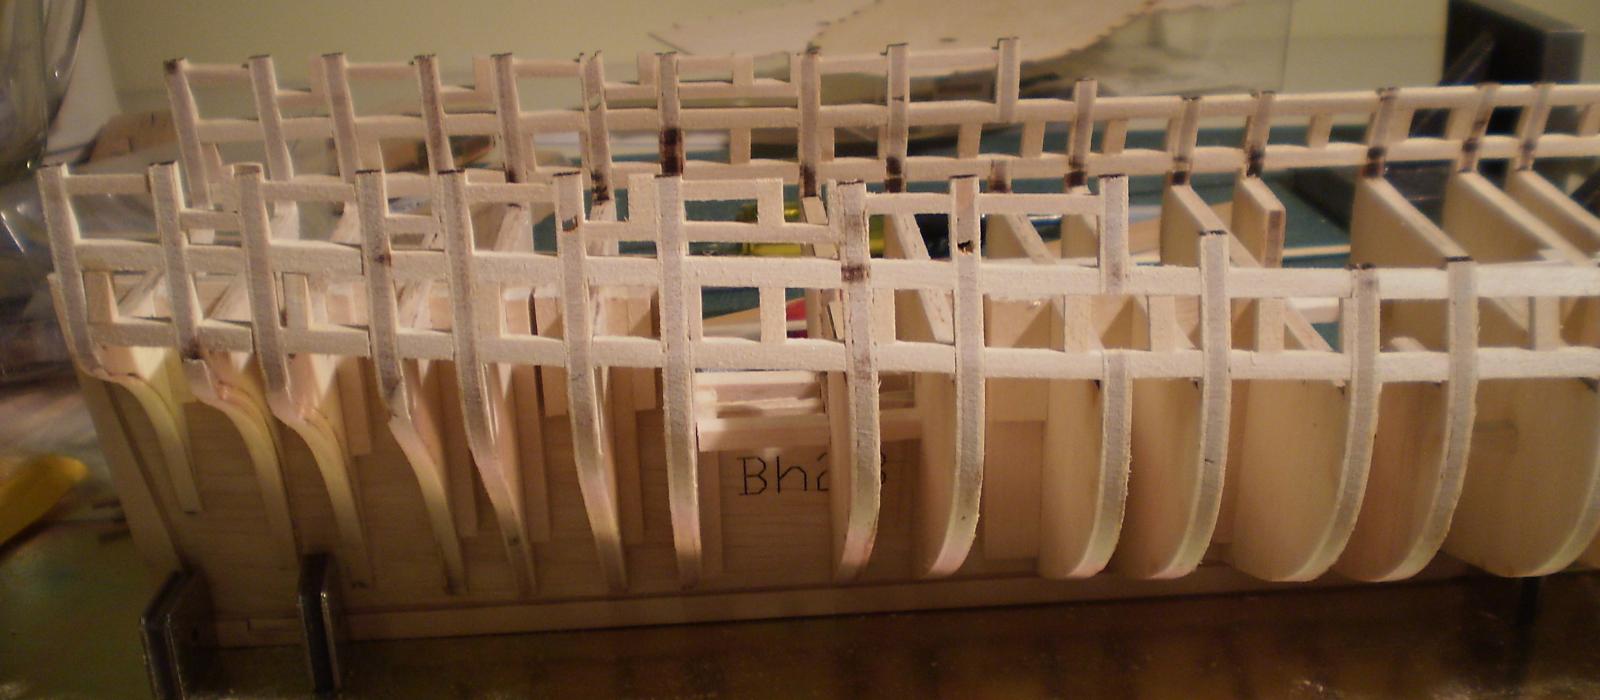
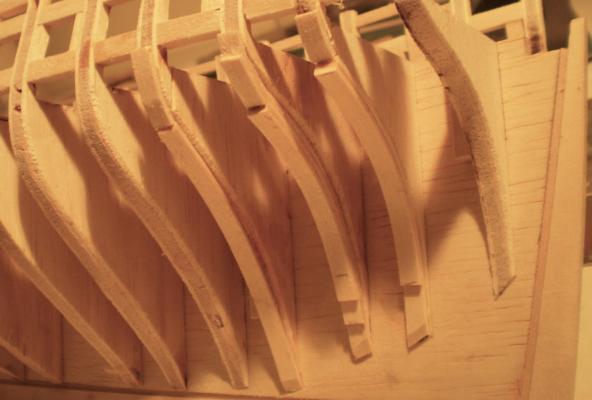
I finally made my decision. The choices were: 1) abandon the project (totally unacceptable); 2) try to get a whole new kit from ME and begin again ( not likely to happen); 3) get replacement parts from ME and tear out the bow and stern framing (possible, but not likely for a while and probably a pain to accomplish); 4) try to correct the bulkheads (worth at least a try, since I'd still be able to remove them later). I started with the stern bulkheads. The last four were improperly sized and shaped. The simplest fix seemed to be to add wood to them and then sand to shape, which is what I have done. I added 1/16" x 3/16 " strips that were wet heat bent to shape and glued on in layers as seemed to be needed. The two sides were different because I had previously tried to fair one side. After these had set up, I faired both sides. I can only say that now the stern area is faired to a point where battens fit. I have no idea whether the lines I have faired to are "correct" or whether the port framing I have done by extrapolating from incorrect drawings will turn out right down the road. I'm hoping for the best. The photos show the sequence of the work and the current state of the stern area. Now it's on to the bow. Bob

- 1,477 replies
-
- 14
-
-
- essex
- model shipways
- (and 1 more)
-
It's all looking really good, Ken. I'm looking forward to your planking. Bob
-
I appreciate the votes of confidence. Still going back and forth and having further discussion with Sam. Bob
-
Thanks all for your thoughts. I'm having trouble deciding what to do. One side of me says to just leave it until there is some resolution of the problem by ME. The other side of me sees a challenge that's hard to resist. Stay tuned. Bob
- 1,477 replies
-
- 5
-
-
- essex
- model shipways
- (and 1 more)
-
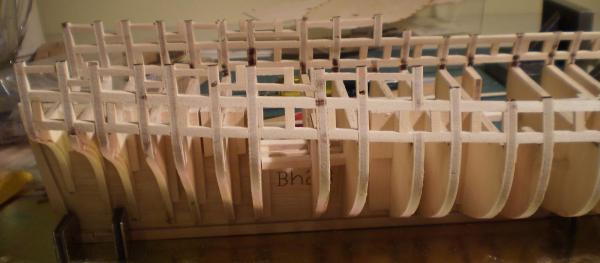
I really hate to say this, but this build is becoming a frustrating pain in the neck. After framing out a portion of the gun ports and doing some fairing of the hull, a few things have become clear. Whether due to design problems or manufacturing issues, or to some combination of them, there are serious issues with the accuracy and consistency of the drawings and with the dimensional accuracy of the framing parts. Without listing the full litany of the problems I've encountered, I will summarize by saying that the model cannot be built as delivered without making significant alterations to the kit parts and without a lot of interpretation of the drawings that may or may not lead to a correct result down the road. I have exchanged a number of messages with Sam Cassano, who also seems frustrated, but I would prefer if he would speak for himself on this. Although I'm going to try to work myself through this for at least a while longer, It is my opinion that Model Expo should withdraw the kit from the market until the problems are resolved and that the kits already delivered should be recalled and/or replaced in whole or part with proper ones. Bob
- 1,477 replies
-
- 4
-
-
- essex
- model shipways
- (and 1 more)
-
The best answer that I can give you is that the rudder passes behind that window and is probably enclosed, making a real window useless. Bob
-
That makes three of us. Bob
-
I'm late to the party as usual. The hull framing is looking very good. Bob
- 2,191 replies
-
- 1
-
-
- confederacy
- Model Shipways
- (and 1 more)
-
Good to see you back at it. Nice looking frames. Bob
-
Thanks, Ben, Alistair and Patrick. This is always the part of the build that's a chore you have to get by to get to the good stuff. Bob
- 1,477 replies
-
- 1
-
-
- essex
- model shipways
- (and 1 more)
-
Thanks Augie and Ryland. Those long "horns" are one reason that I'm going to do the port framing before doing any fairing, Augie. Bob
- 1,477 replies
-
- 2
-
-
- essex
- model shipways
- (and 1 more)