baskerbosse
-
Posts
212 -
Joined
-
Last visited
Content Type
Profiles
Forums
Gallery
Events
Everything posted by baskerbosse
-
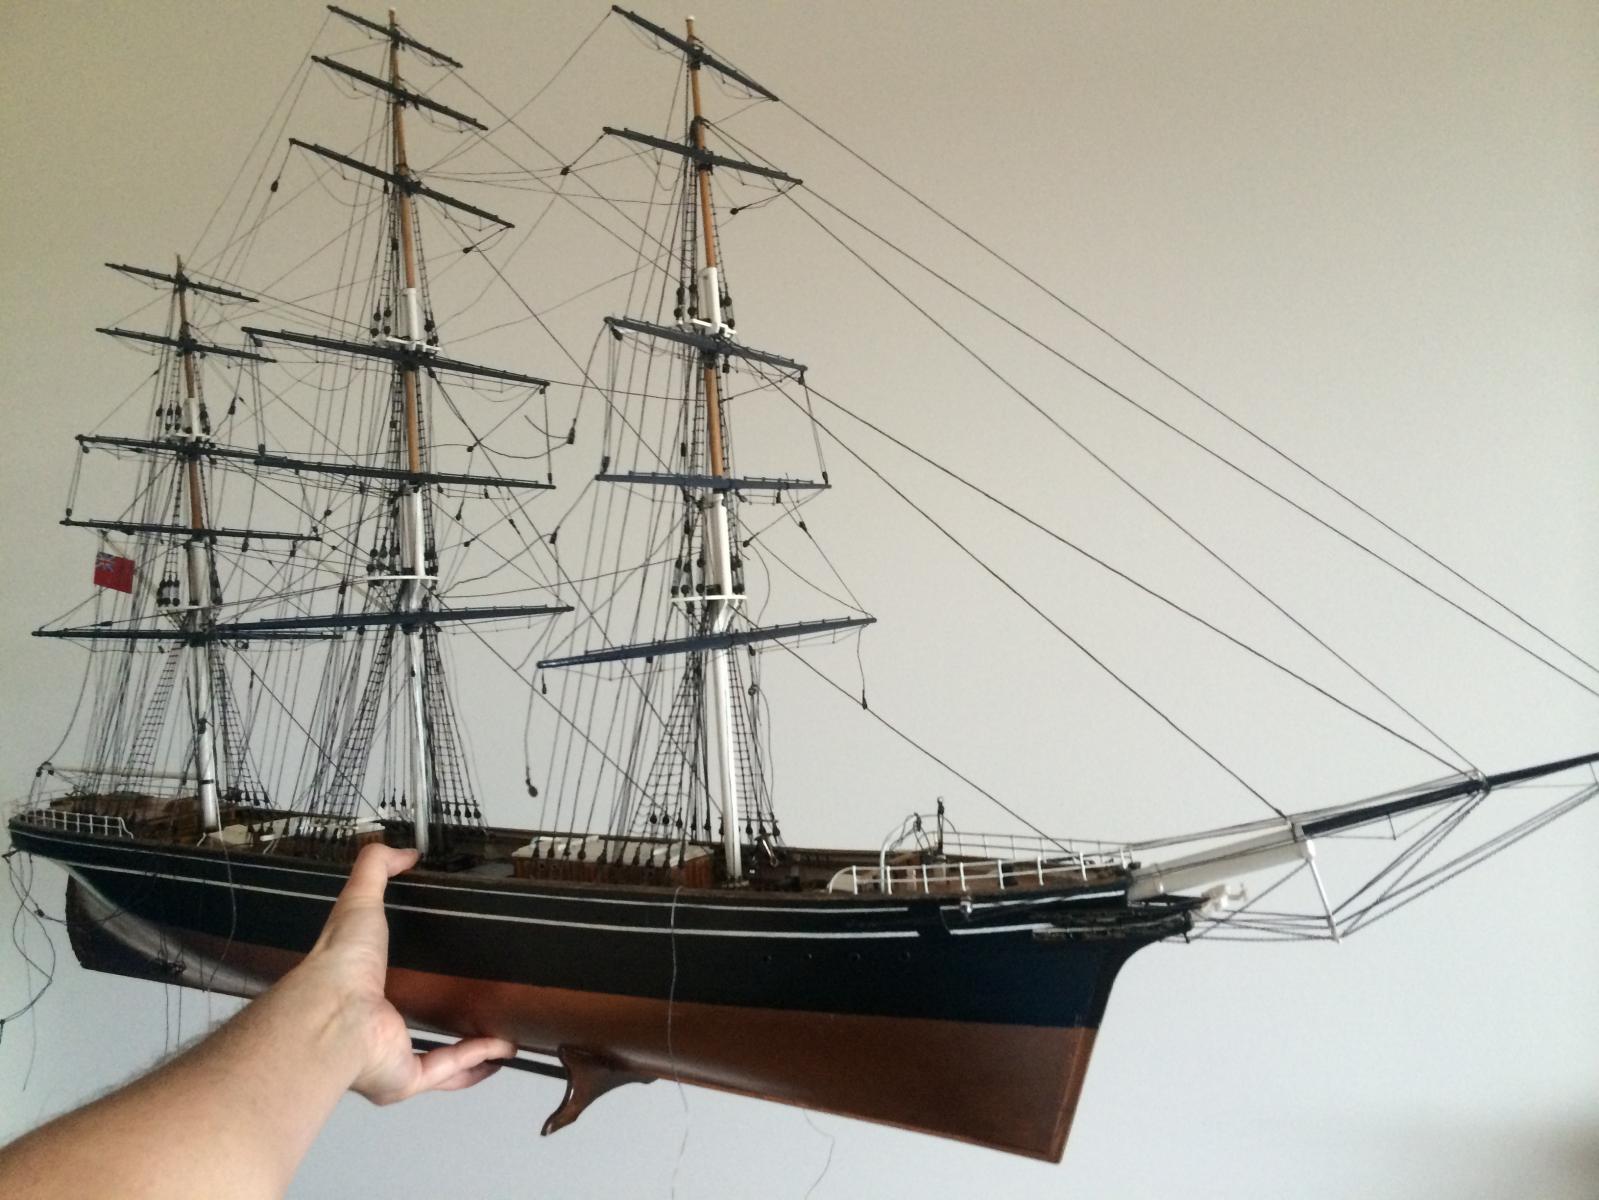
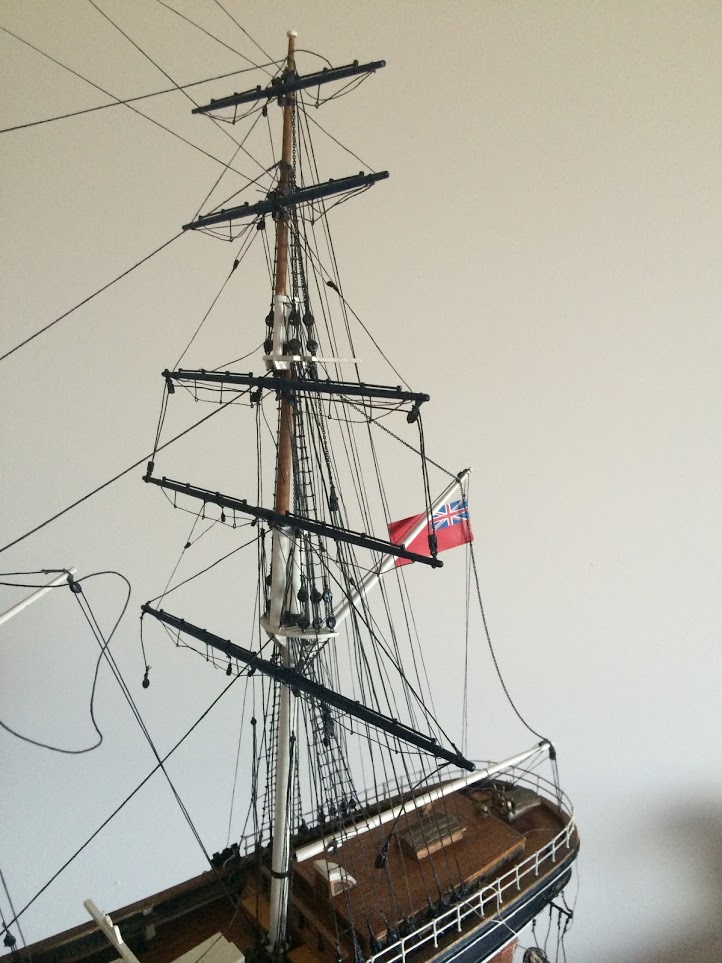
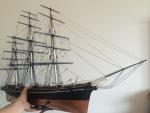
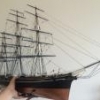 Slowly getting there.. Fore braces coming along. (I unfortunately haven't got much modelling time at the moment. A couple of hours a week is the current speed..)
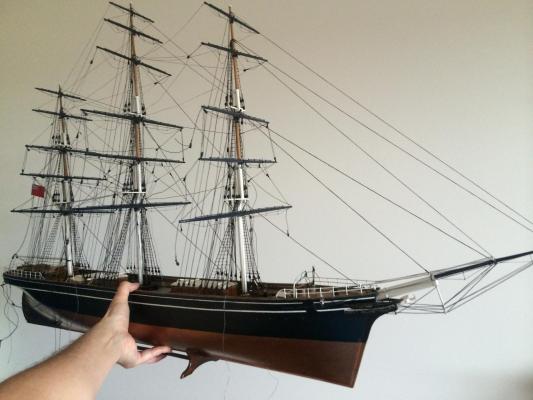
- 92 replies
-
- 4
-

-
- Cutty Sark
- Billing Boats
- (and 2 more)
-
Hi Bob, Welcome back! Pity about the black dots. Hope they're not too much trouble cleaning up. /Peter
-
Cutty Sark by NenadM
baskerbosse replied to NenadM's topic in - Build logs for subjects built 1851 - 1900
Hi Nenad, I think the 'flower pot' shelf does not say 'stop', rather 'step'? Looks like it's a bit of a bad copy. Cheers, Peter- 4,152 replies
-
- 5
-
-
- cutty sark
- tehnodidakta
- (and 1 more)
-
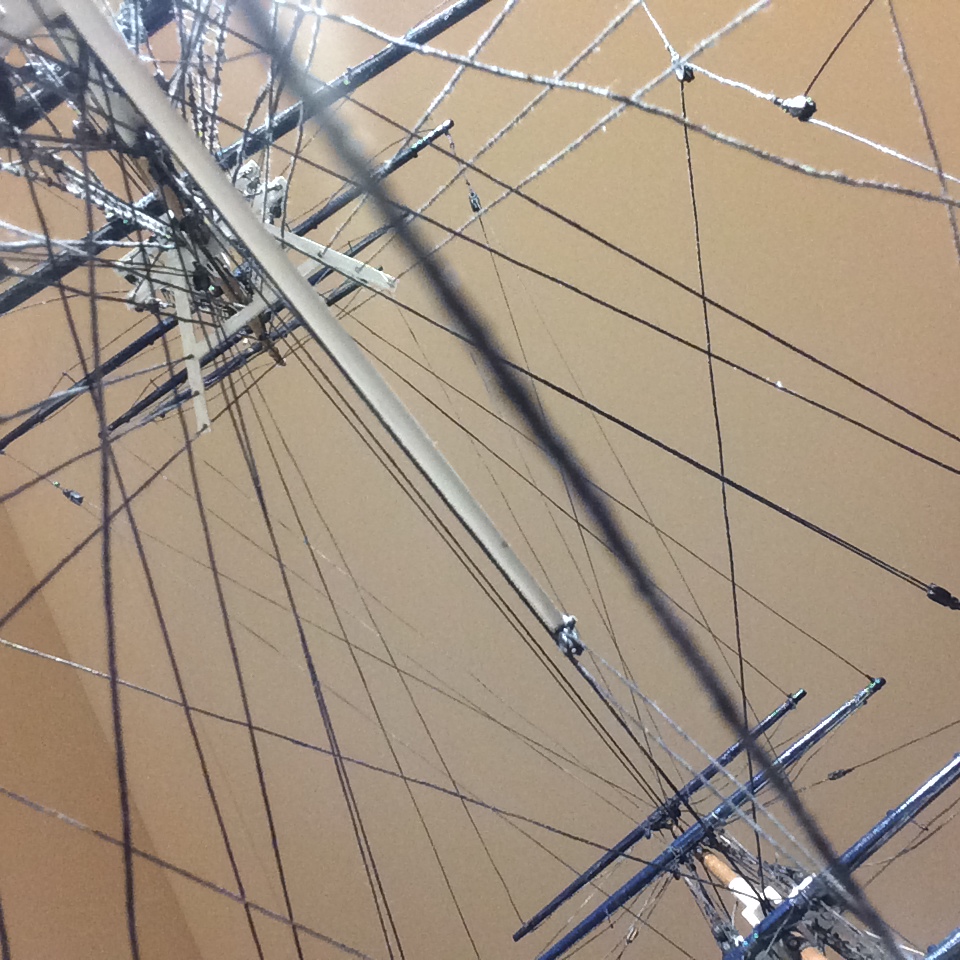
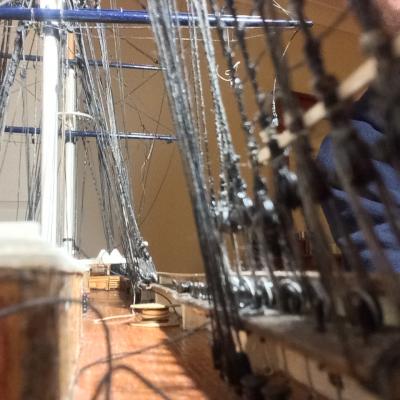
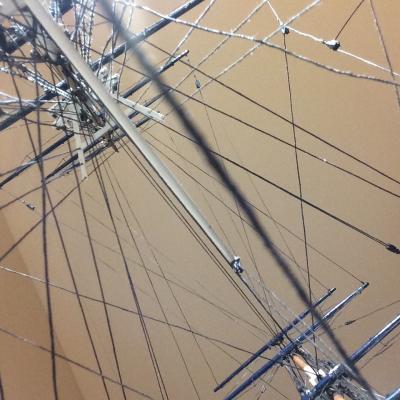
Yes, careful with the fingers! More than once got caught on the backstays. A miracle I haven't snapped anything yet! iPhone fits better than my big hands though, so here are some 'onboard' pics; Looking aft from the foremast. View up from 'standing on' aft hatch (or possibly the deck house?)
- 92 replies
-
- 5
-
-
- Cutty Sark
- Billing Boats
- (and 2 more)
-
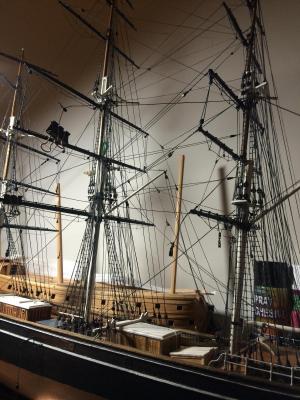
Working on braces.. A lot of belaying and re-belaying in order to square everything up.
- 92 replies
-
- 10
-
-
- Cutty Sark
- Billing Boats
- (and 2 more)
-
Yes I know what you mean by Cat's Cradle. I kind of get it why Billings decided to omit most pendants. (The Billings plans only have pendants on the lower yards, plus for and main topsail yards.) I'm adding them for the mizzen topsail yards and the fore and main topgallant yards. Also, Billings have all the mizzen braces going through blocks in the pinrail next to the main shrouds, so I can't belay these on the fife rail anyway. I will probably belay all the main mast sheets on the fife rail. From what I have learnt, best sequence is probably, -first standing rigging, each step aft to front; Step the masts install lower stays install shrouds install topmast stays and corresponding backstays install topmast stays and corresponding backstays Rig the bowsprit (tensioning this rigging improves tension in the whole rig) Then running rigging, remember, installing lower braces makes access to the pinrails harder. As does adding the ships boats; Starting with mizzen; halyards first, followed by lifts then sheets, -if installed (leave the lowest til later, they need to be held in place with the tacks, which again will block big hands from reaching the deck) Do the same for the main mast, because main and mizzen braces need to be rigged together. Start rigging main and mizzen braces from the top down, the lines for these go innermost, so it's easier that way. Lower sail sheets and tacks for mizzen and main go next followed by braces. (Probably time to install the boats now) Fore mast halyards can really go on at any time during running rigging of main and mizzen, but needs to be complete now. Lifts, sheets and braces go on, -same as for main and mizzen, top to bottom. Last thing to go on is probably fore tacks, tensioning the bowsprit if necessary. Anchors, details on the fore deck and anything else that may have been left off to protect it from being knocked during rigging.. /Peter
- 92 replies
-
- 1
-
-
- Cutty Sark
- Billing Boats
- (and 2 more)
-
Has anyone tried rigging the tacks the same as the real ship? I.e. held out by the reef tackles. On Campbell's plans the reef tackles are not used for this at all, as well as most models I can find.. Peter
-
Fixed it! (download, rotate, -repost :-) ) I'm having some trouble with belaying the mizzen braces. Billings pinrails are just plain wrong. Looking at Campbell did not help either, as he suggests the royal and topgallant mizzen braces should go through fairleads at the bottom of the main backstays, and then belay on the fife rails(!) I'm just going to belay where it seams reasonable for now.. :-) /Peter
- 92 replies
-
- 1
-
-
- Cutty Sark
- Billing Boats
- (and 2 more)
-
Thanks! Sorry about the flipped image. Looks fine on the iPhone, once uploaded, it flips. Only happens on Apple devices for some reasons. (I'll see if I can redo it later when I can get to a computer..)
- 92 replies
-
- 1
-
-
- Cutty Sark
- Billing Boats
- (and 2 more)
-
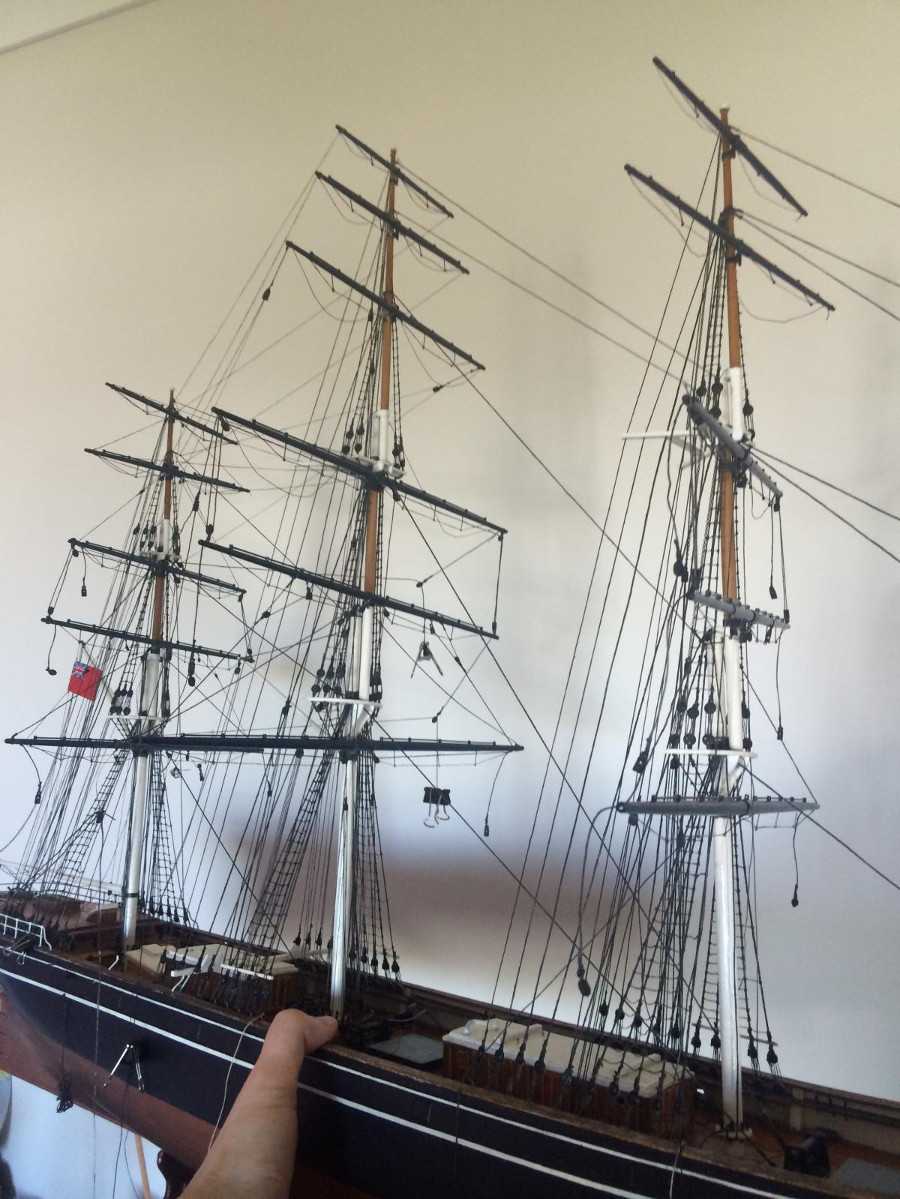
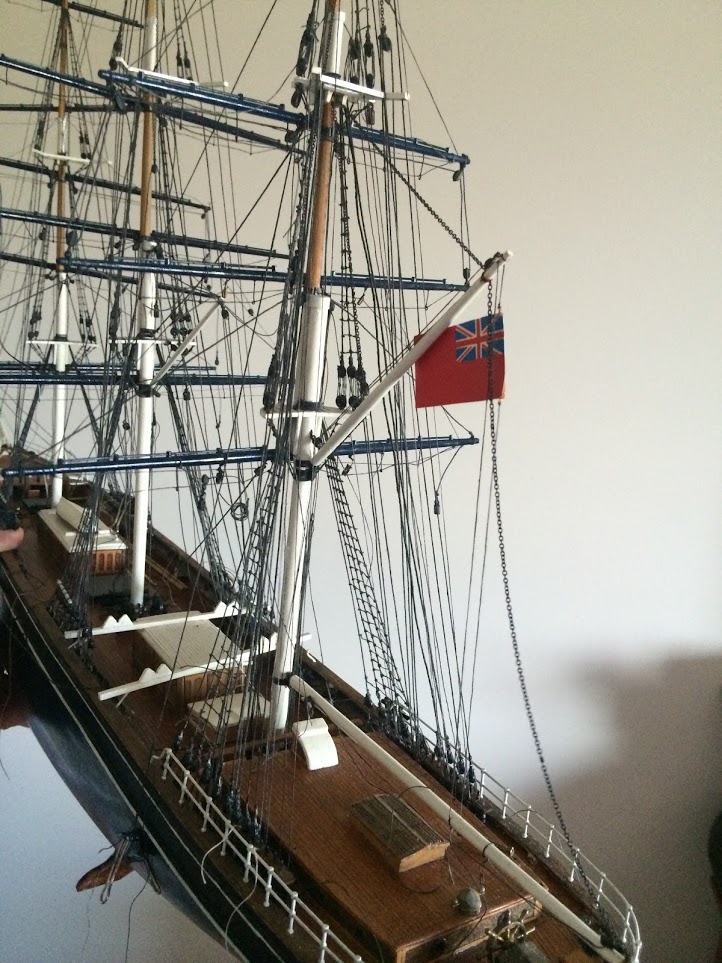
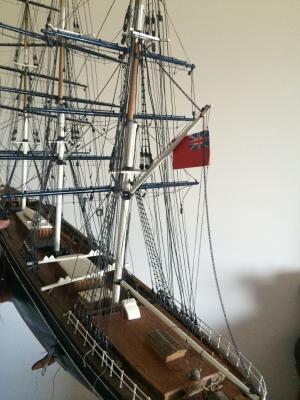
Rigged the halliards on the fore mast. Had to move the attachment points on the deck aft, as the Billings position means the halliards push outwards on the shrouds. Also done most of the braces between the mizzen and the main mast. Main topsail braces cannot be correct as on Billings plan, as they would go straight through the mizzen course..

- 92 replies
-
- 4
-
-
- Cutty Sark
- Billing Boats
- (and 2 more)
-
Oh, that looks horrible! Does CA really do that to brass? Wow! The foredeck doesn't exactly look clean either. Has the model been sitting in a shed or an attic? Ship restoration is a bit like old cars it seems. What seems pretty ok can quickly deteriorate as you start checking closer.. It sure looks like you have a lot of work to do! /Peter
- 59 replies
-
- 4
-
-
- norske lowe
- billing boats
- (and 1 more)
-
Looks very nice indeed! (Such a neat little, sweet little craft! -G&S. ;-) )
- 745 replies
-
- 1
-
-
- francis pritt
- mission ship
- (and 1 more)
-
Cutty Sark by NenadM
baskerbosse replied to NenadM's topic in - Build logs for subjects built 1851 - 1900
I'm really sorry to hear that your mother in law is unwell. I hope she gets better soon.- 4,152 replies
-
- 7
-
-
- cutty sark
- tehnodidakta
- (and 1 more)
-
Cutty Sark by NenadM
baskerbosse replied to NenadM's topic in - Build logs for subjects built 1851 - 1900
Looking good. Just make sure to plan for threading the lanyards. Once the deadeyes are installed, there is a railing in front of the holes.. :-/ Make sure you can get to them. I had to rip a couple of mine out and redo because there was not enough room to work. I found it easier to thread the lanyards to the top deadeye without tightening before installing. (Most of them, I had to thread in place with masts and shrouds in the way, and I found that much harder) /Peter- 4,152 replies
-
- 4
-
-
- cutty sark
- tehnodidakta
- (and 1 more)
-
Main mast halliards done. So now the fife rails (where some mizzen braces are belayed) can be installed without being in the way of rigging in that rather busy area of the deck. So I'm now moving on to mizzen braces, main sheets and fore halliards. Then I'm going to do main braces and fore sheets, followed by fore braces. Tighten and square up everything before installing ships boats and cranes and call it done. :-) /Peter
- 92 replies
-
- 2
-
-
- Cutty Sark
- Billing Boats
- (and 2 more)
-
The Billings Cutty I'm fixing up at the moment only has one size deadeyes, approximately 6mm across. Unfortunately, deadeyes are almost used up, only 13 left.. I also found 5 more very large Billings deadeyes, about 8mm diameter. I have no idea where I got them from, there not from the Cutty. (I have more of blocks and double blocks)
- 59 replies
-
- 4
-
-
- norske lowe
- billing boats
- (and 1 more)
-
Looking better already. Will you be needing any additional Billings plastic blocks? I might have some spare.. Cheers, /Peter
- 59 replies
-
- 4
-
-
- norske lowe
- billing boats
- (and 1 more)
-
Hi Danny, That's some interesting rigging sequence you have there.. I suspect for the novice looking at a ships rig, it might make sense to work outwards. Shrouds may look like they would be very much in the way for belaying (-well, honestly .. aren't they? ;-) ) I like the idea of finishing like the original builder would have. I have a couple of old plastic models I built as a child to renovate. The first one (Revell USS Constitution) I did some time ago and is now on display. I adjusted the rigging, adding missing lines, moving misplaced lines etc. I also fixed up some sloppy paint job at the quarter galleries. Relatively minor changes, but it somewhat changes the model so it's not quite the model I built as a child.. For the next two (Sovereign of the Seas and Victory), I've done some minor fixes, but I'm stopping at that, see how it goes. If it doesn't have any of the knots I tied, the paint I put on and the bad glue joints, I may just as well buy a new kit and assemble it from scratch much easier for not much money and the same result.. It's really hard to do the appropriate balance, because leaving them as is is not an option, they have all been dismasted through several moves and can't really be displayed like that. Much admiration to you for doing this. It seems a very difficult task to me. /Peter
- 59 replies
-
- 4
-
-
- norske lowe
- billing boats
- (and 1 more)
-
Using the recently made small blocks to rig sheets on the mizzen. Mizzen pretty much done, except for the braces. View from stern getting to look rather busy. Currently working on halliards for the yards on the main mast. Only one to go actually. For reasons of access to the belaying of the halliards, I need to do these before I can do the mizzen braces.. /Peter

- 92 replies
-
- 6
-
-
- Cutty Sark
- Billing Boats
- (and 2 more)
-
Nice repair! -The word you are looking for is "Gammoning" I believe.. /Peter
-
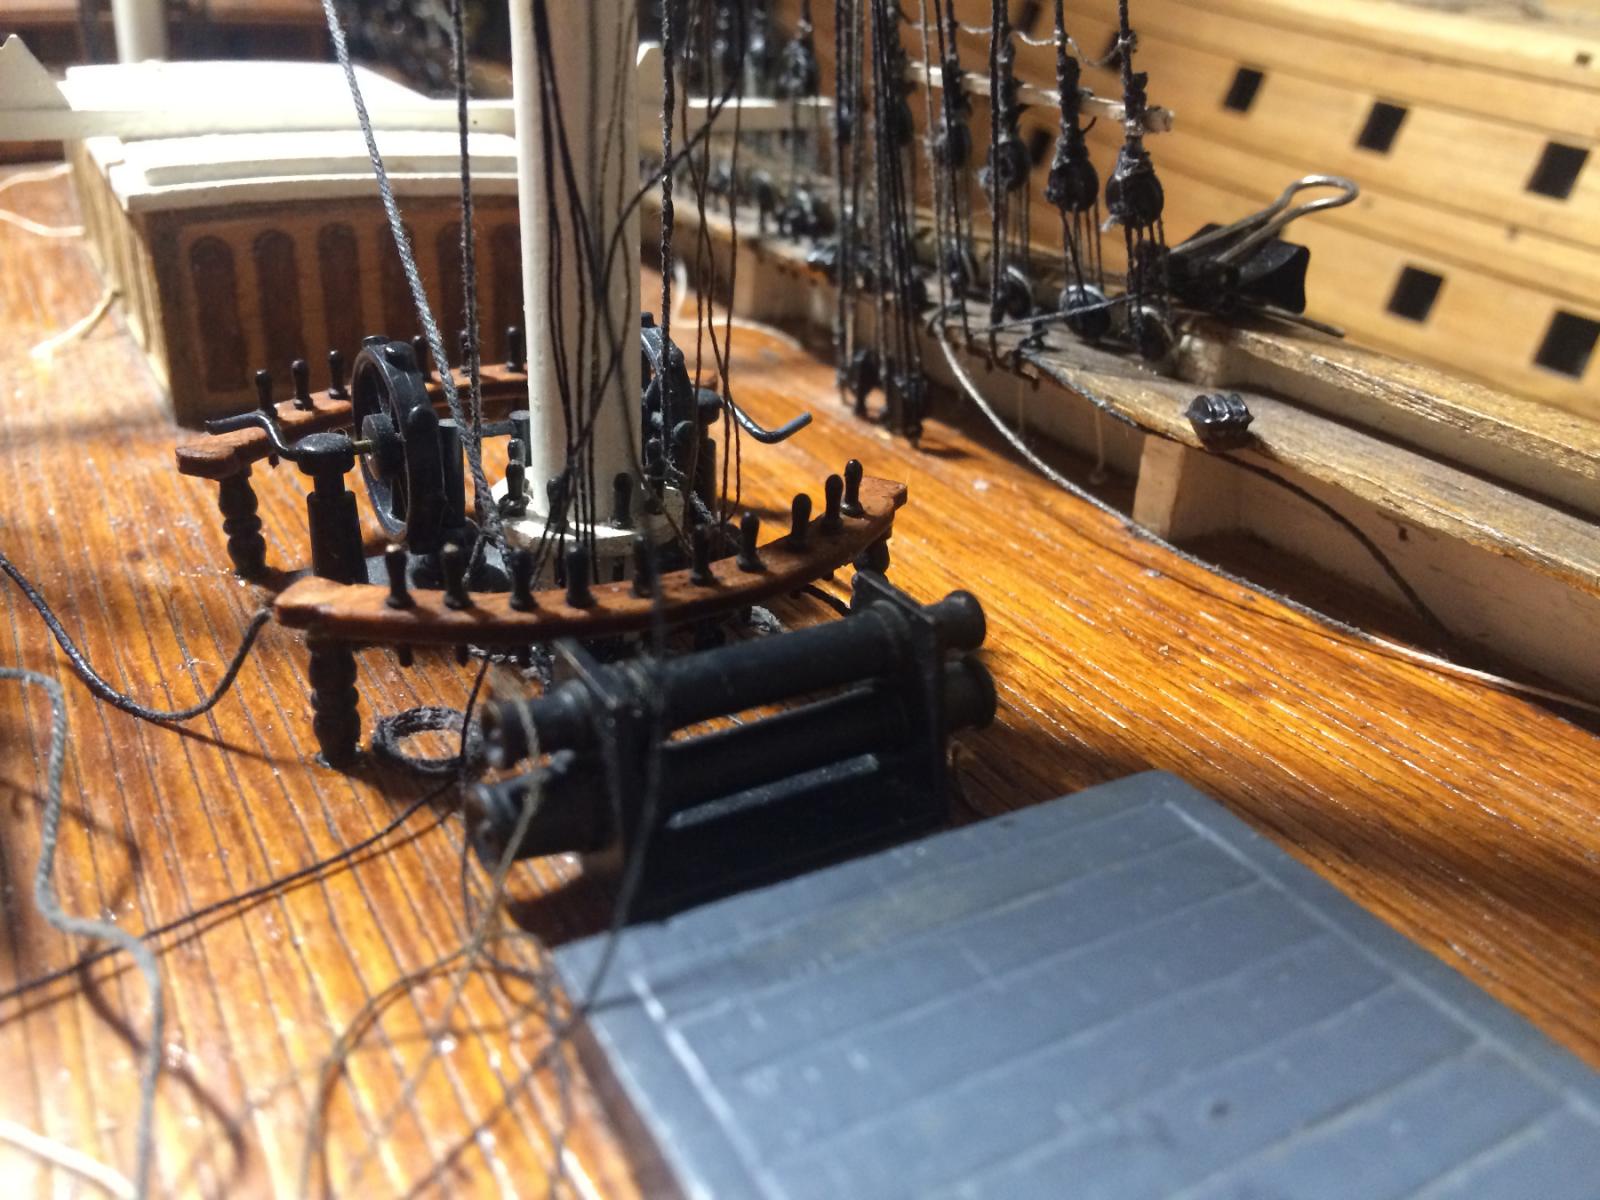
Probably the wrong time to drill these holes: ;-)

- 92 replies
-
- 2
-
-
- Cutty Sark
- Billing Boats
- (and 2 more)
-
Cutty Sark by NenadM
baskerbosse replied to NenadM's topic in - Build logs for subjects built 1851 - 1900
That's some small deadeyes. Remember with laser cutting, if you make a hole, the hole will be slightly conical. The entry hole will be slightly bigger than the exit hole. In the end, I'd probably try drilling.. (-Or buying them :-) I think small boxwood deadeyes are about $4 for 20) /Peter- 4,152 replies
-
- 4
-
-
- cutty sark
- tehnodidakta
- (and 1 more)
-
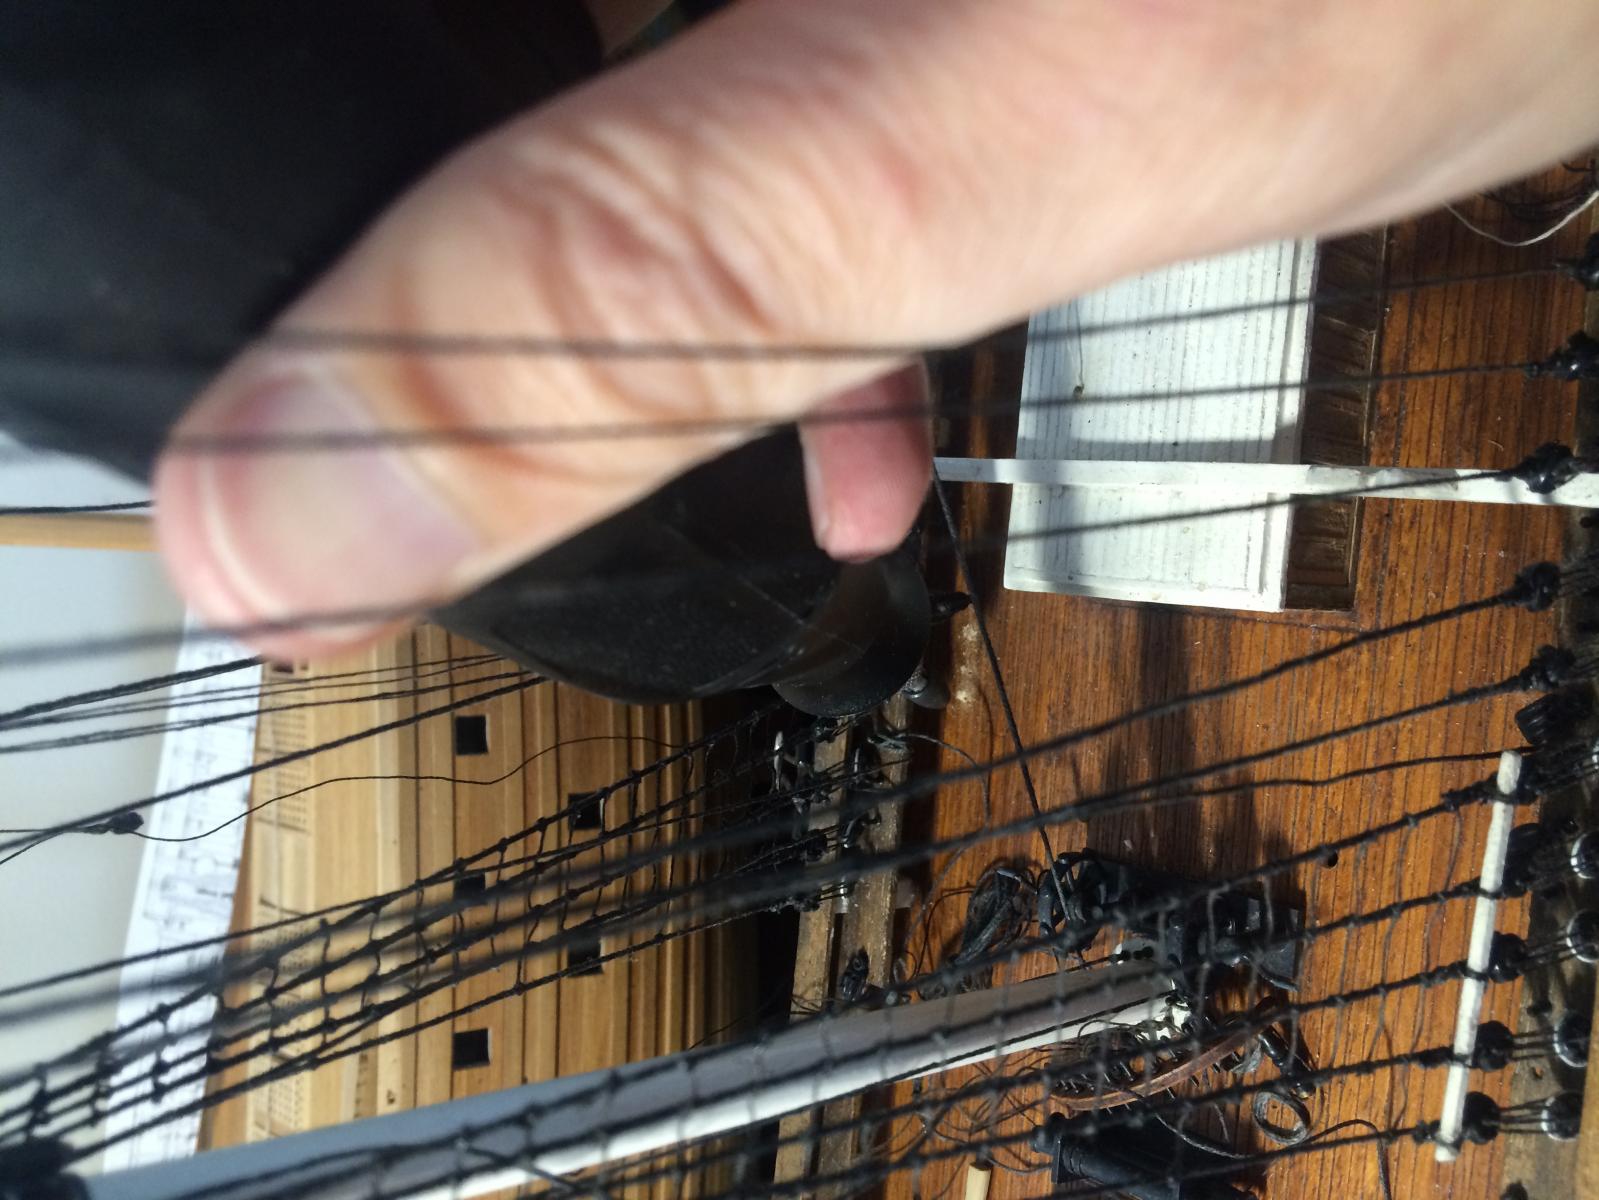
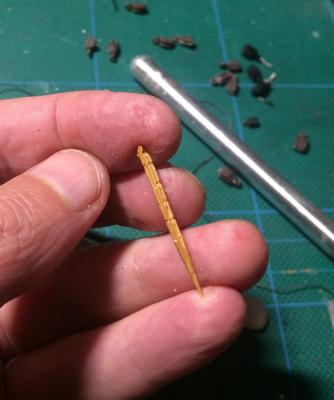
Thanks guys, Quite a few of these little ones will be required. I had rigged the sheets, -up and downhaul- (I believe based on a photo I had seen of the real ship in the drydock having them rigged) That's about 30 of these little things to make. Production line toothpick blocks:
- 92 replies
-
- 2
-
-
- Cutty Sark
- Billing Boats
- (and 2 more)
-
Cutty Sark by NenadM
baskerbosse replied to NenadM's topic in - Build logs for subjects built 1851 - 1900
Very nice detail work indeed!- 4,152 replies
-
- 3
-
-
- cutty sark
- tehnodidakta
- (and 1 more)