HOLIDAY DONATION DRIVE - SUPPORT MSW - DO YOUR PART TO KEEP THIS GREAT FORUM GOING! (Only 13 donations so far - C'mon guys!)
×

baskerbosse
-
Posts
212 -
Joined
-
Last visited
Content Type
Profiles
Forums
Gallery
Events
Everything posted by baskerbosse
-
 Vasa gun carriages would have been painted with lamp black, I'm pretty sure.. Looks good though. /Peter
 -
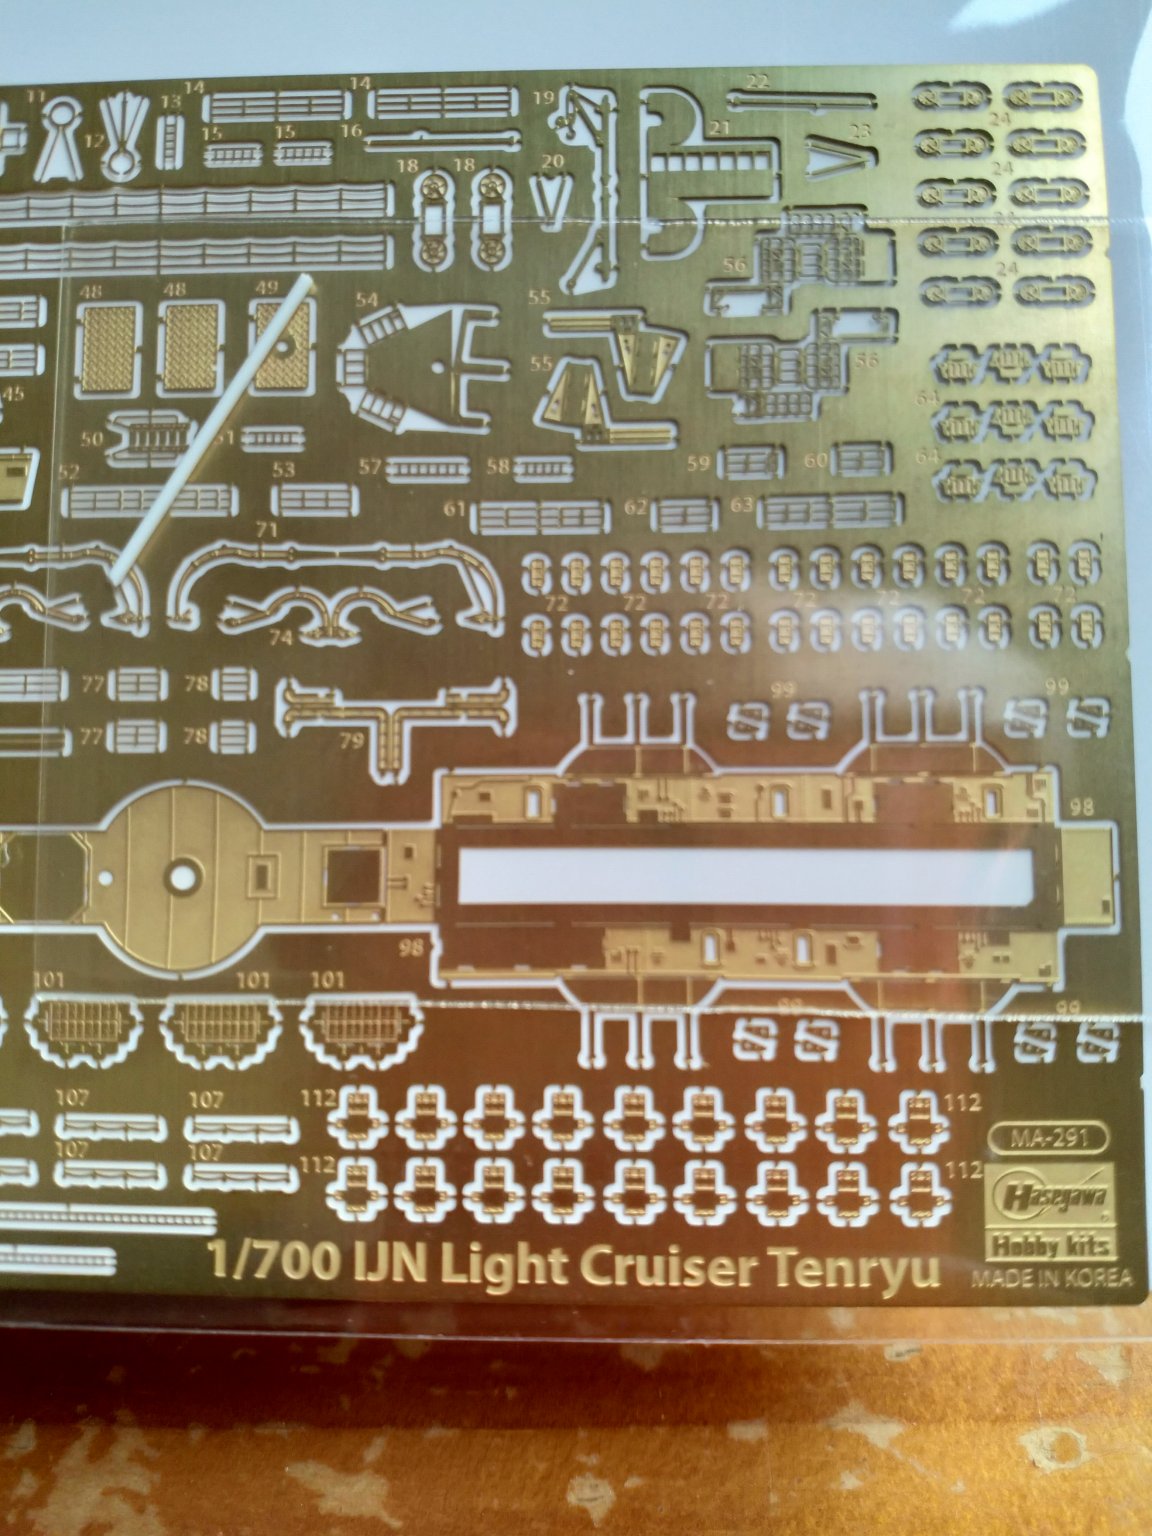
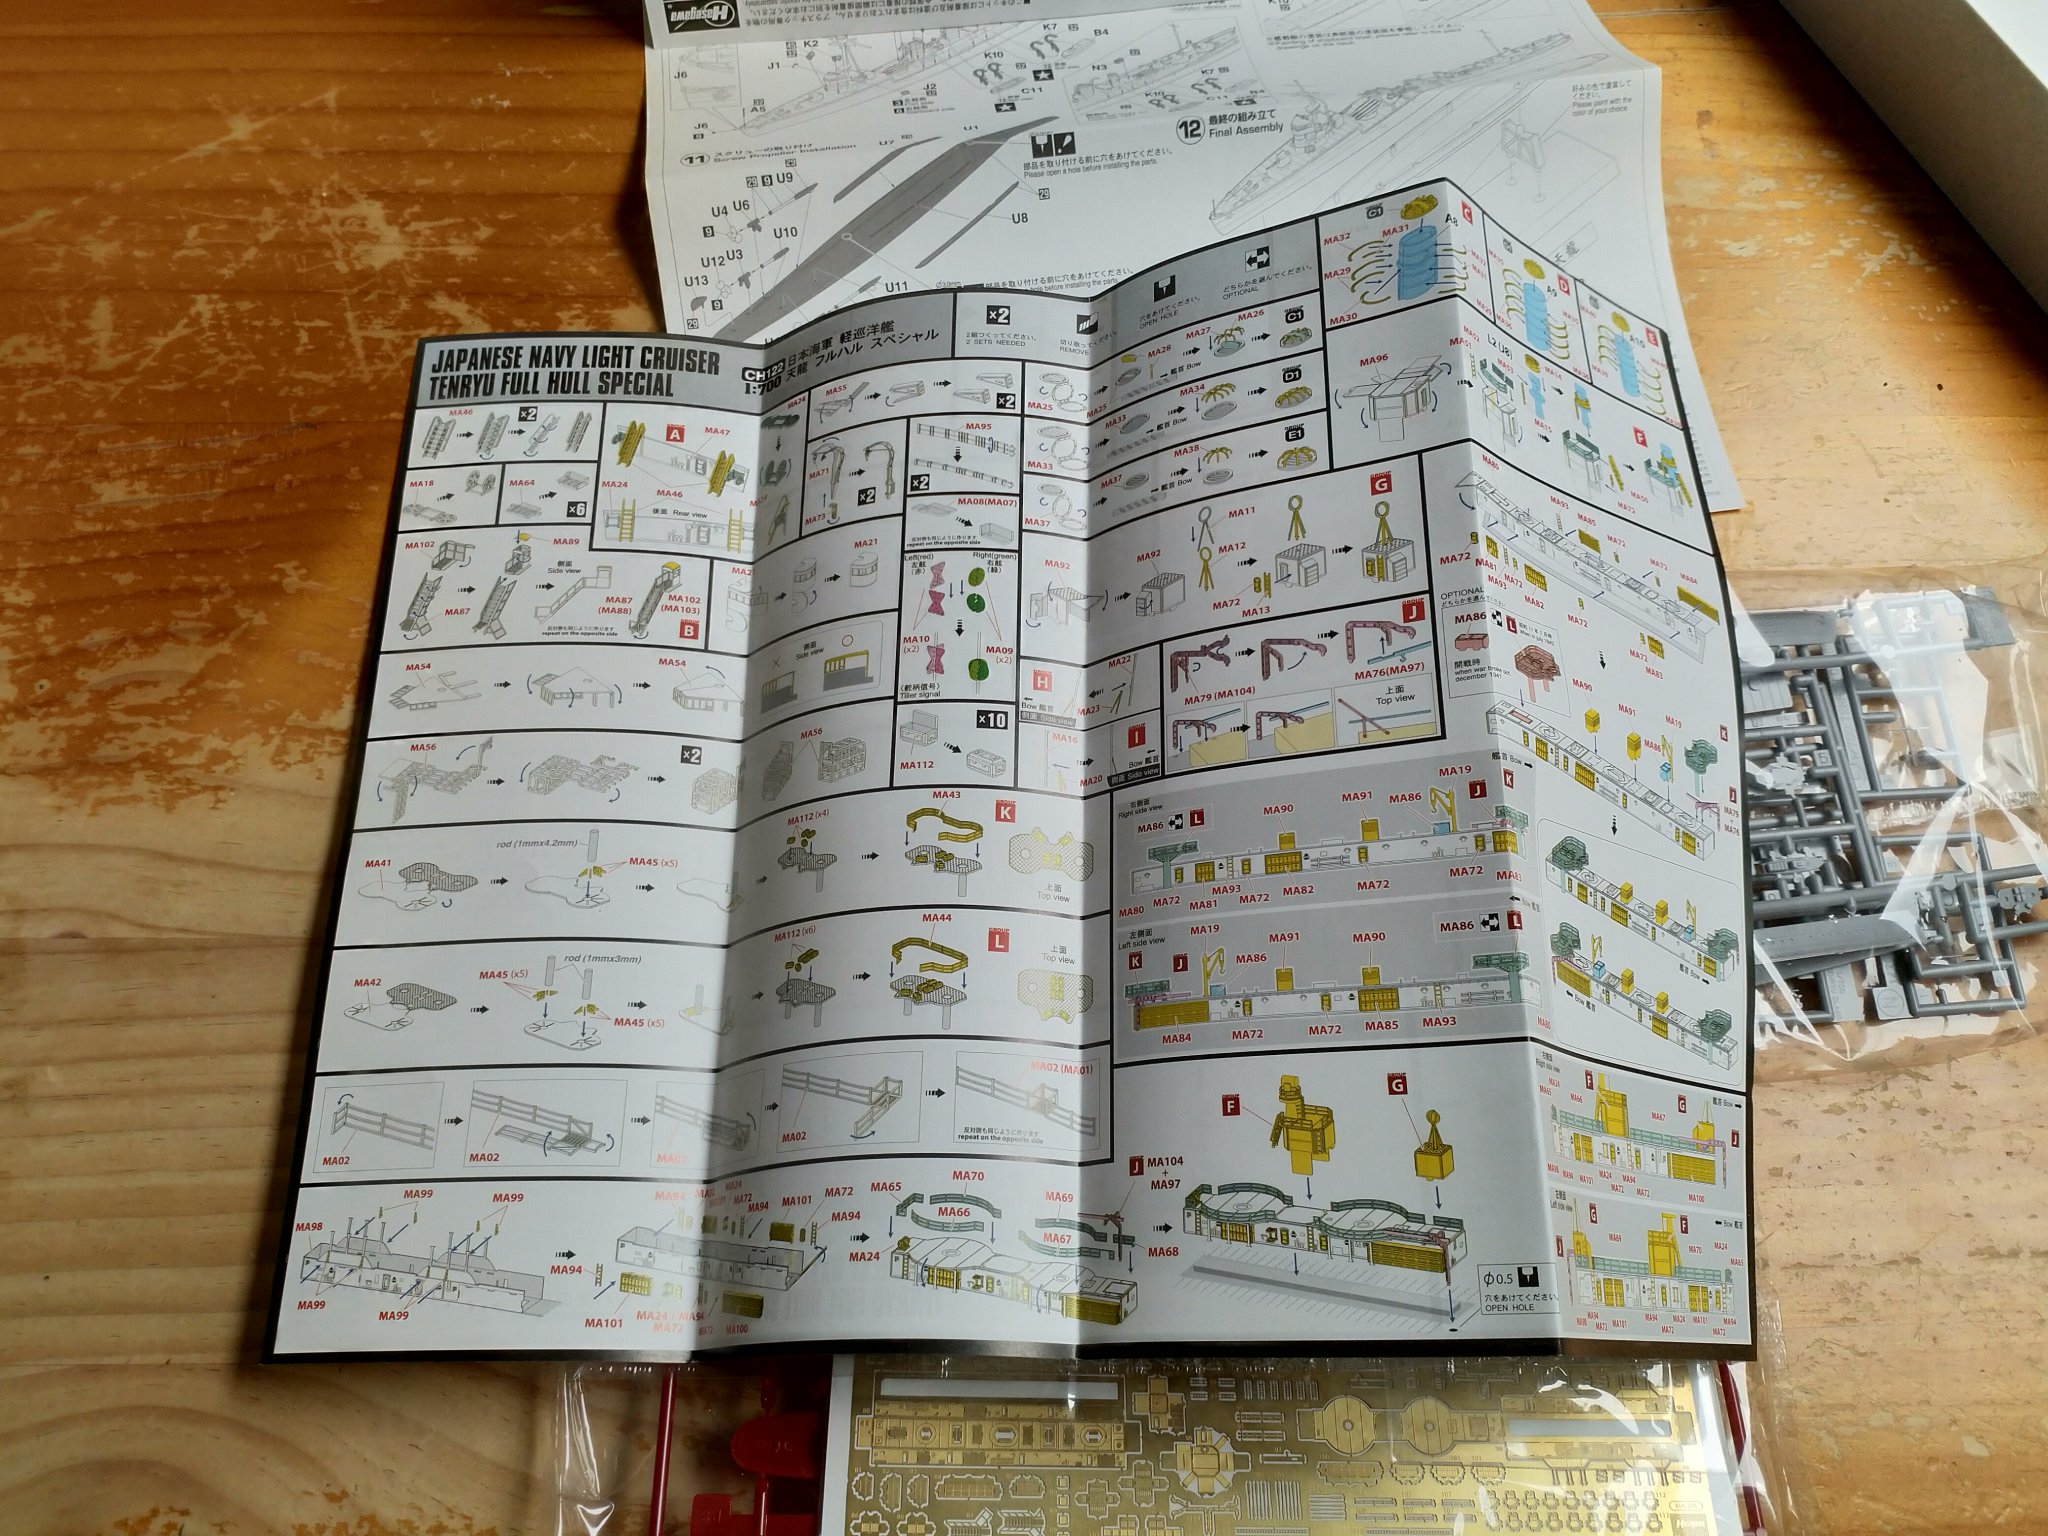
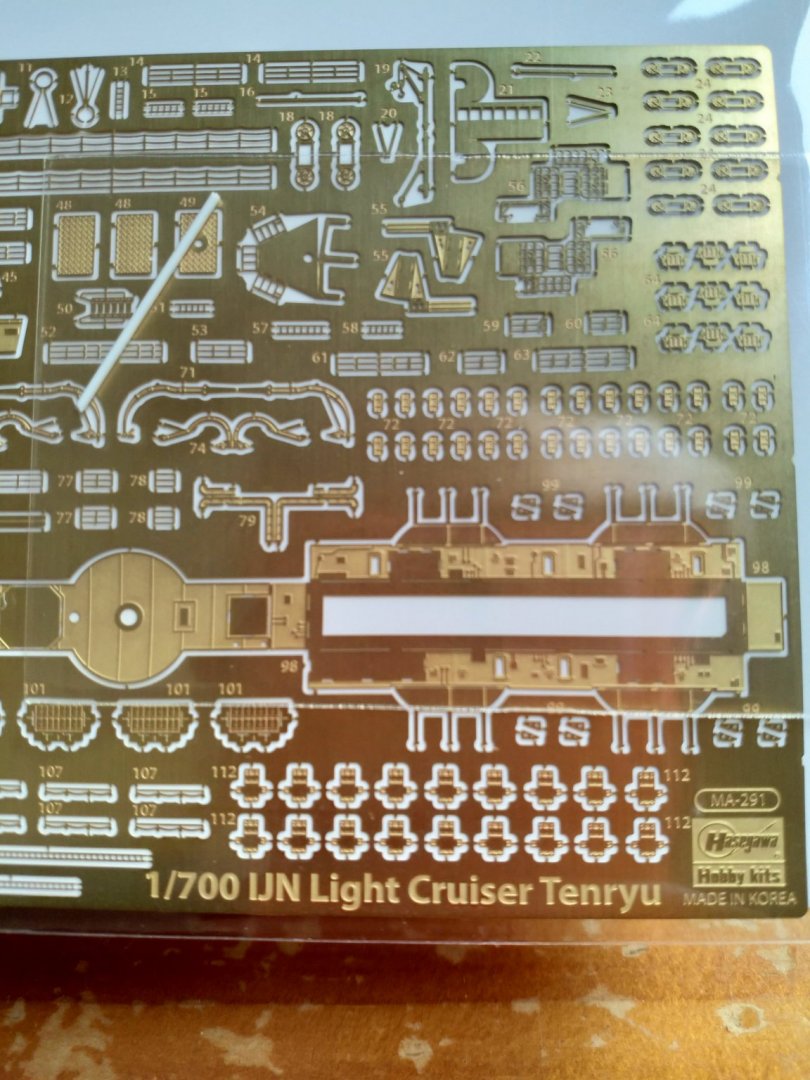
The kit is well detailed, good fit and the photoetch covers a lot. From entire superstructures to the oars of the ships boats, you can see on the box photo as they left the PE unpainted.. Now, i don't have much to compare with until I have actually built some others. This was the first one of modern ship models so far. Really enjoyable build. Spur of the moment buy from the hobbyshop, thinking I'd finish it in a week or two :-). Underestimated the amount of work needed for the photoetch by a bit.. The Akagi I have is 1/700 scale late configuration (one flight deck), Hasegawa full hull edition. I saw the discussion a while back around cutting surface for PE. For what it's worth, I found that a curved scalpel blade and a piece of glass is perfect for me. No bending and easy to get a clean cut.
- 179 replies
-
- 9
-

-
- hatsuzakura
- pit road
- (and 2 more)
-
Built it a year ago, log here I have the Akagi in 1/700 as well, but I'm yet to get any PE for it. The Sendai looks cool with the plane and catapult.. 🙂
- 179 replies
-
- 9
-
-
- hatsuzakura
- pit road
- (and 2 more)
-
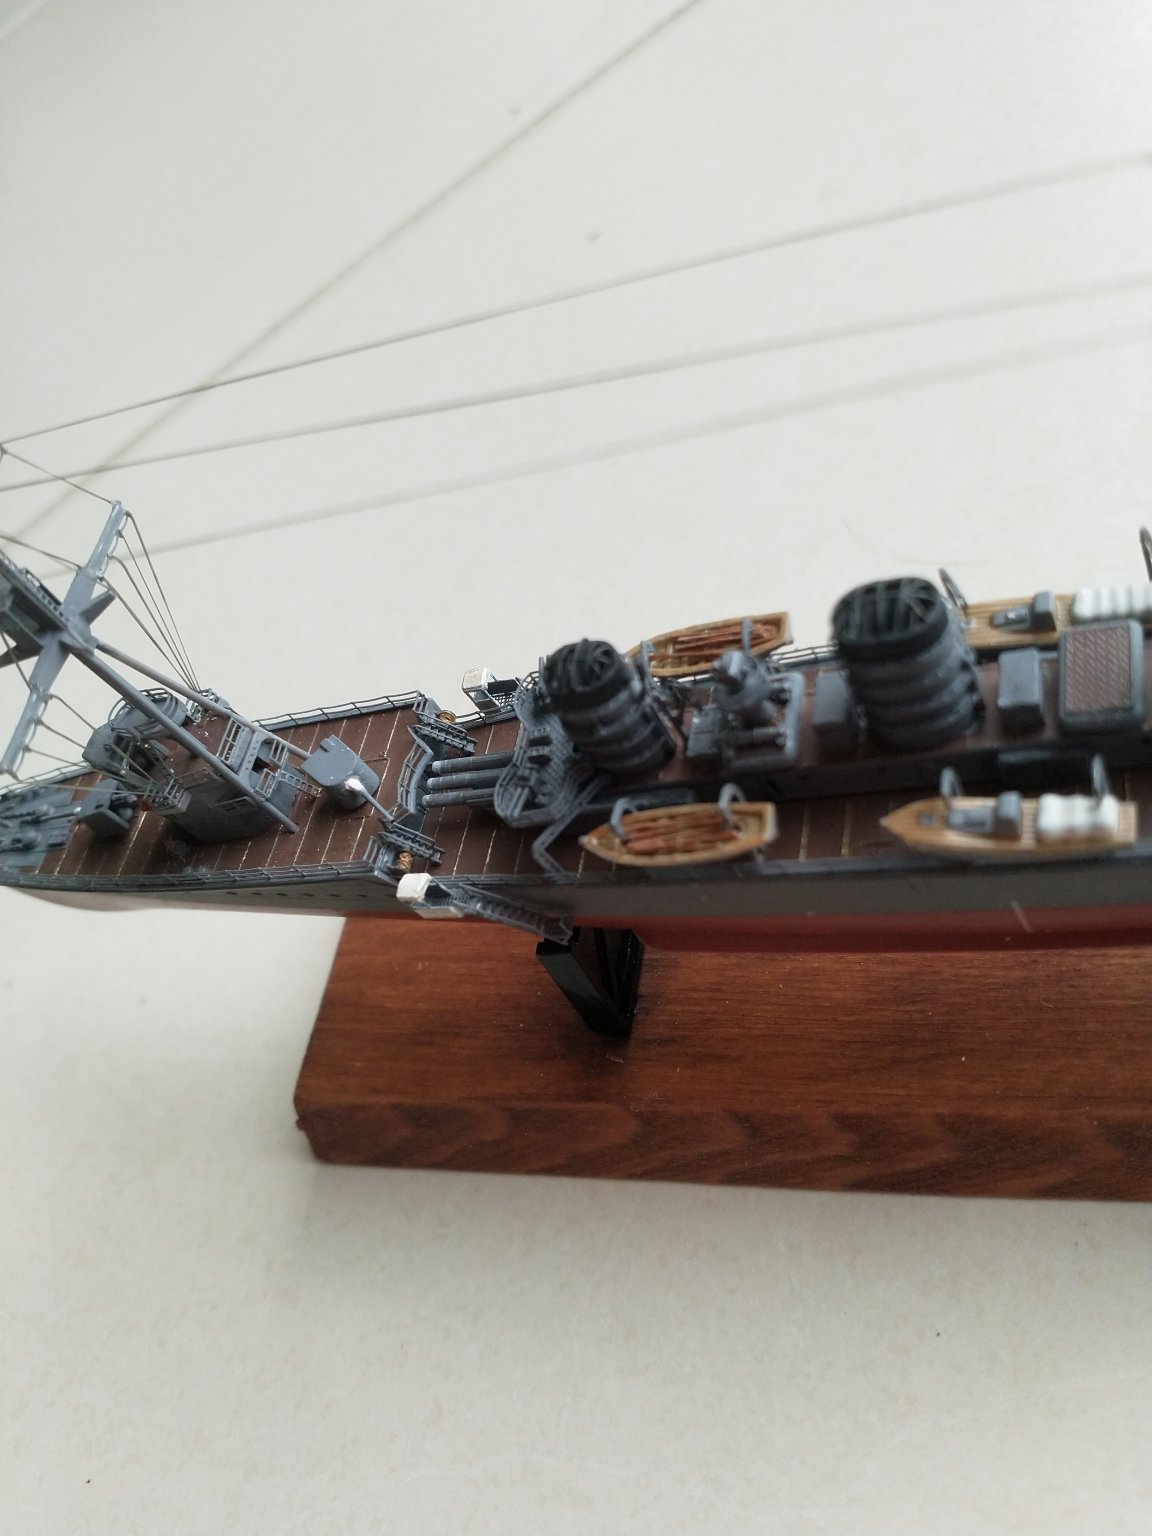
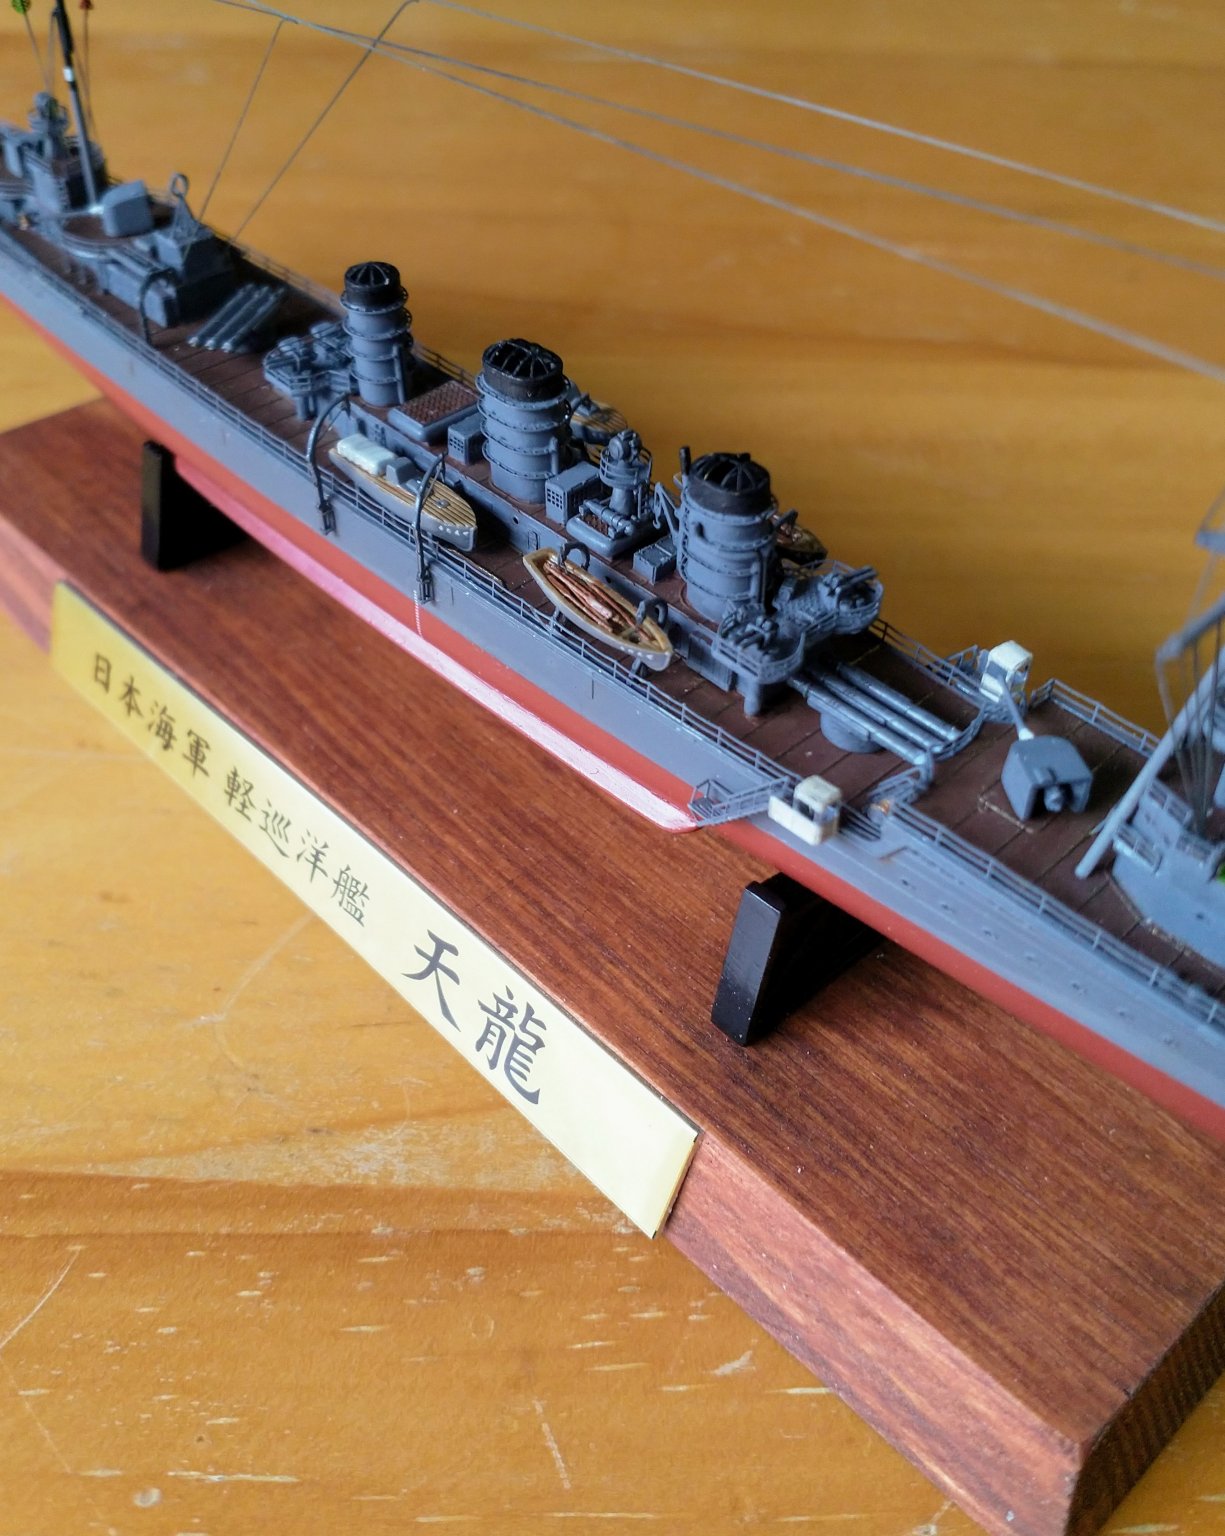
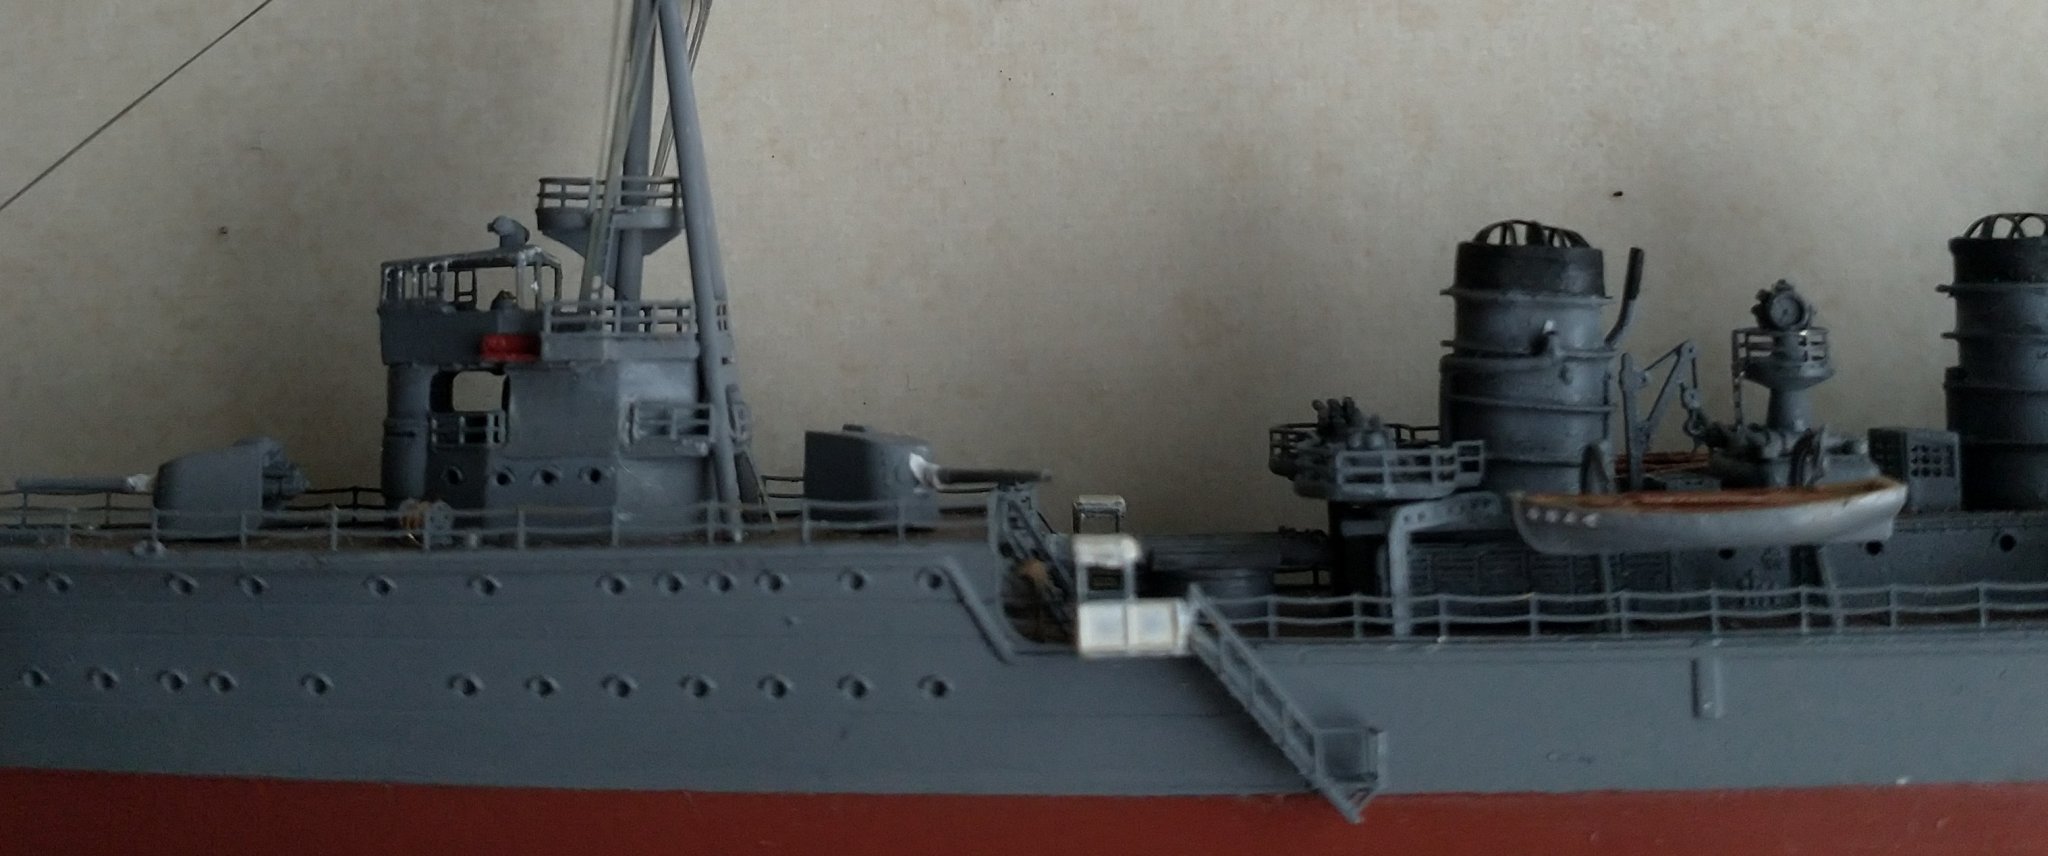
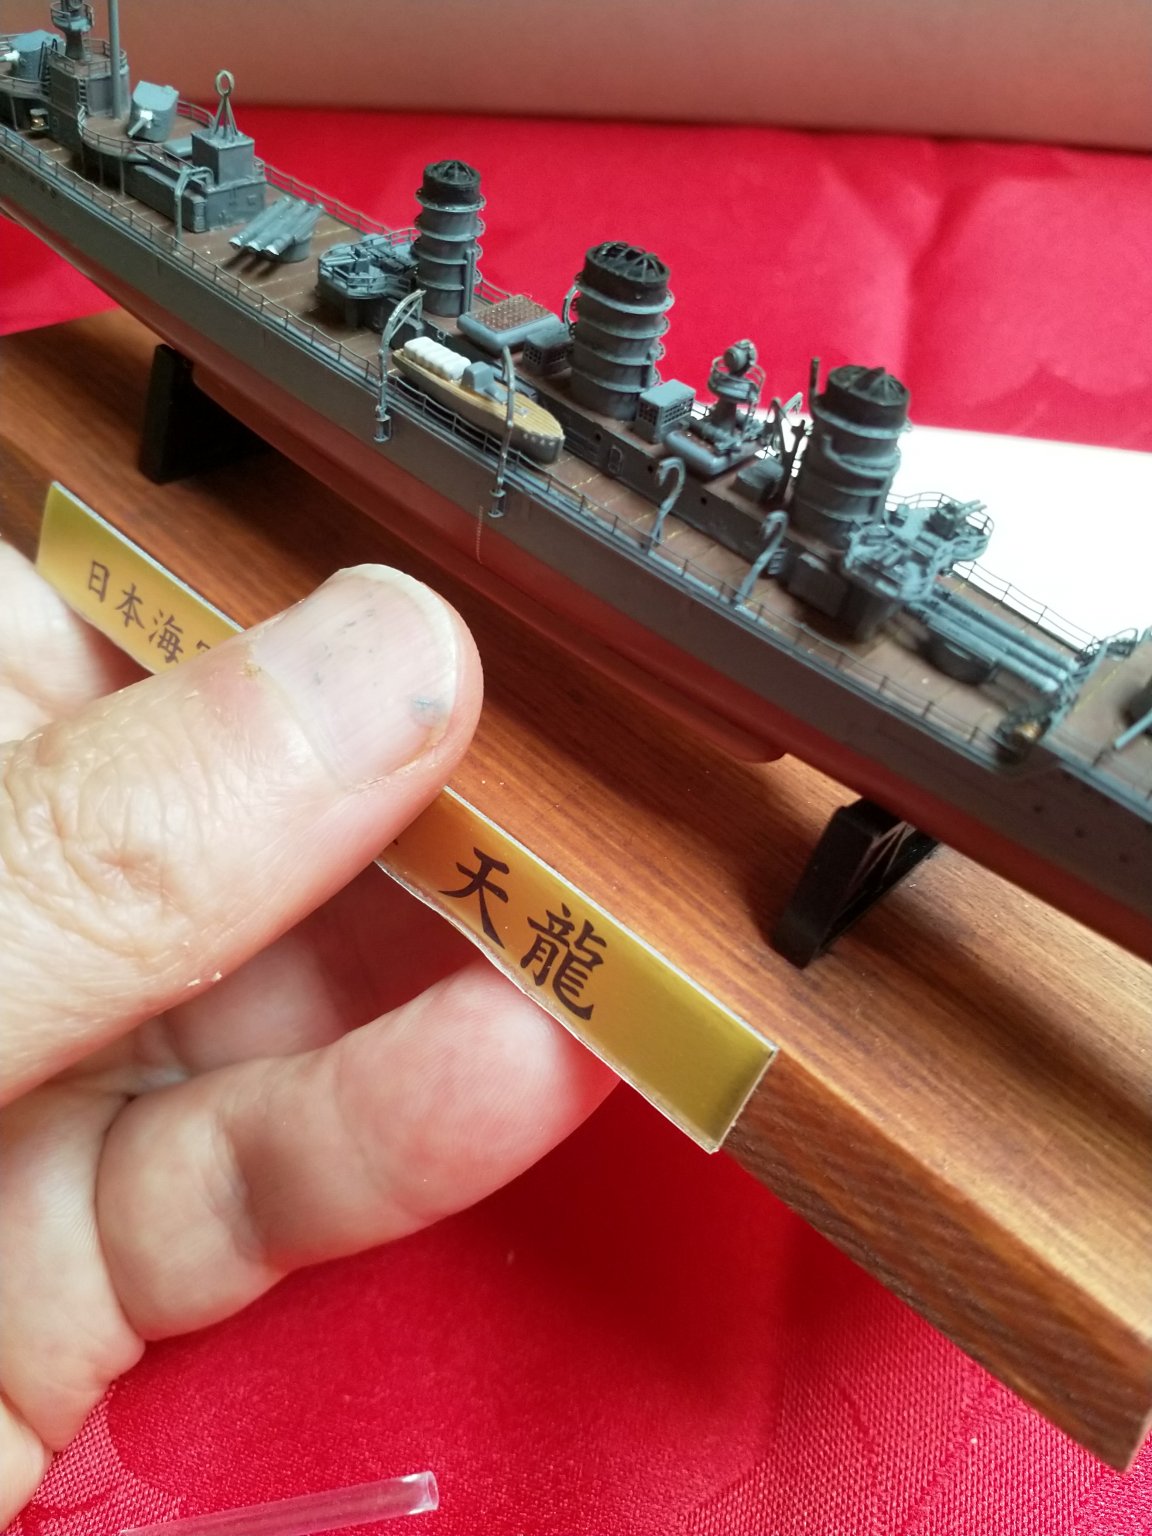
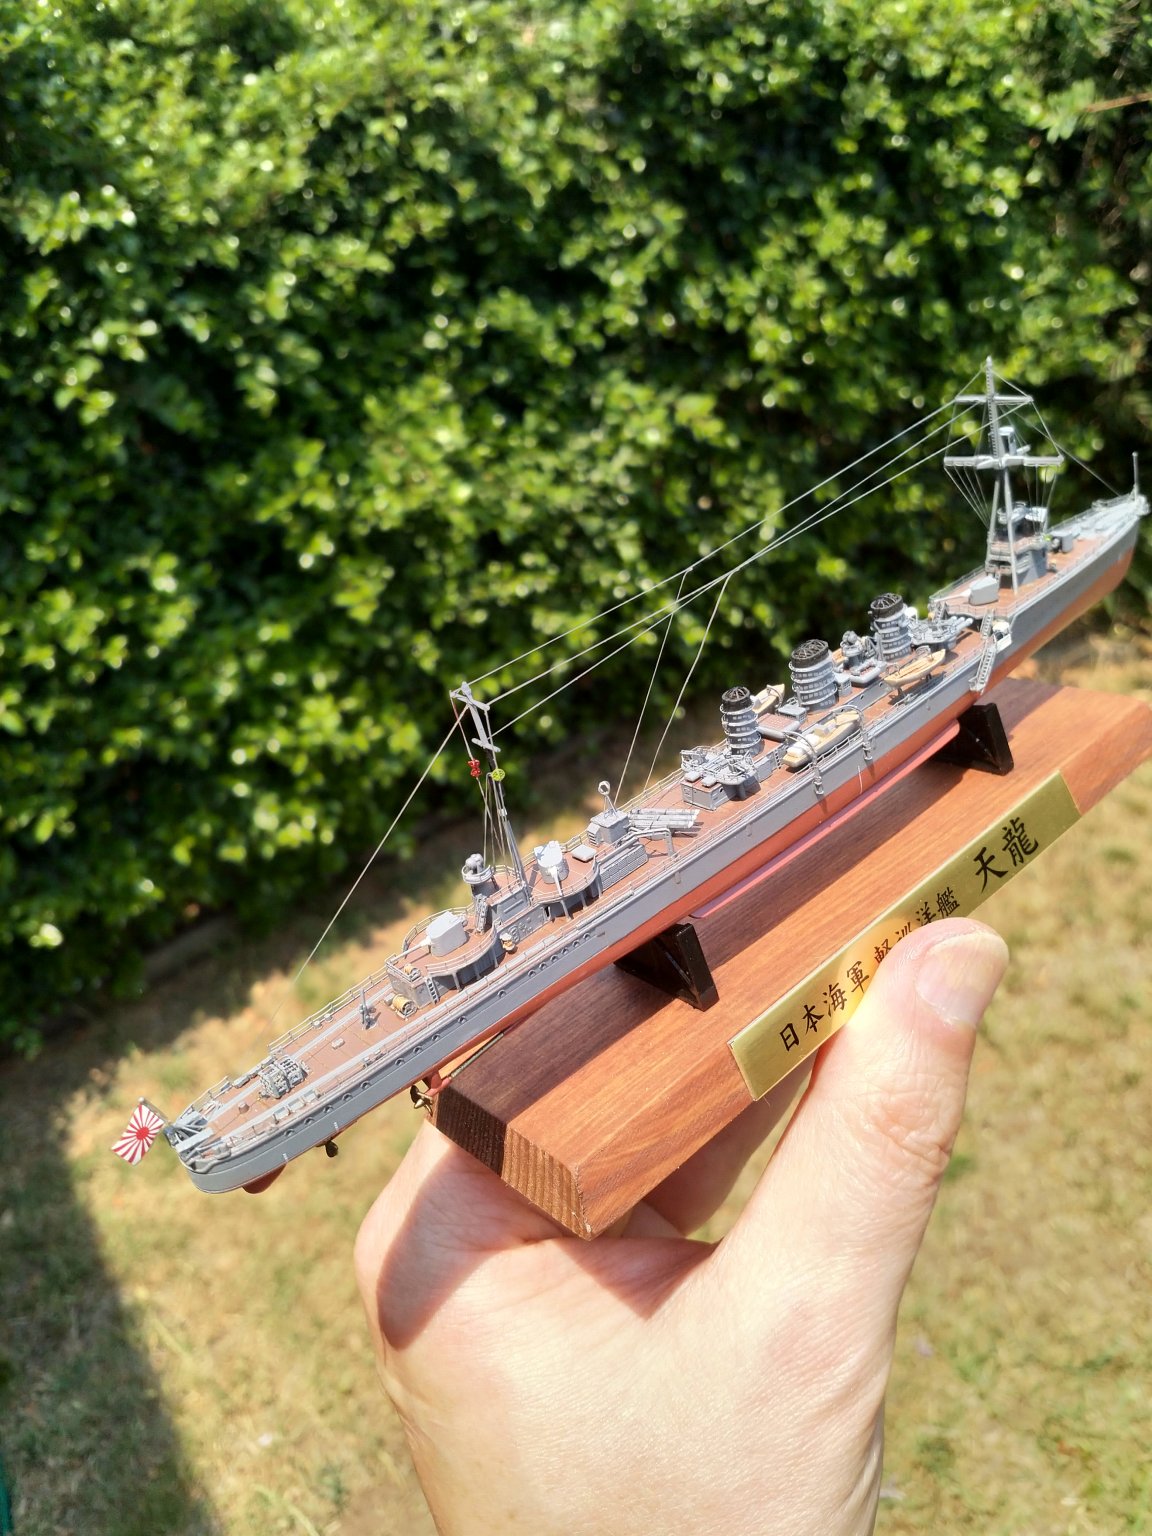
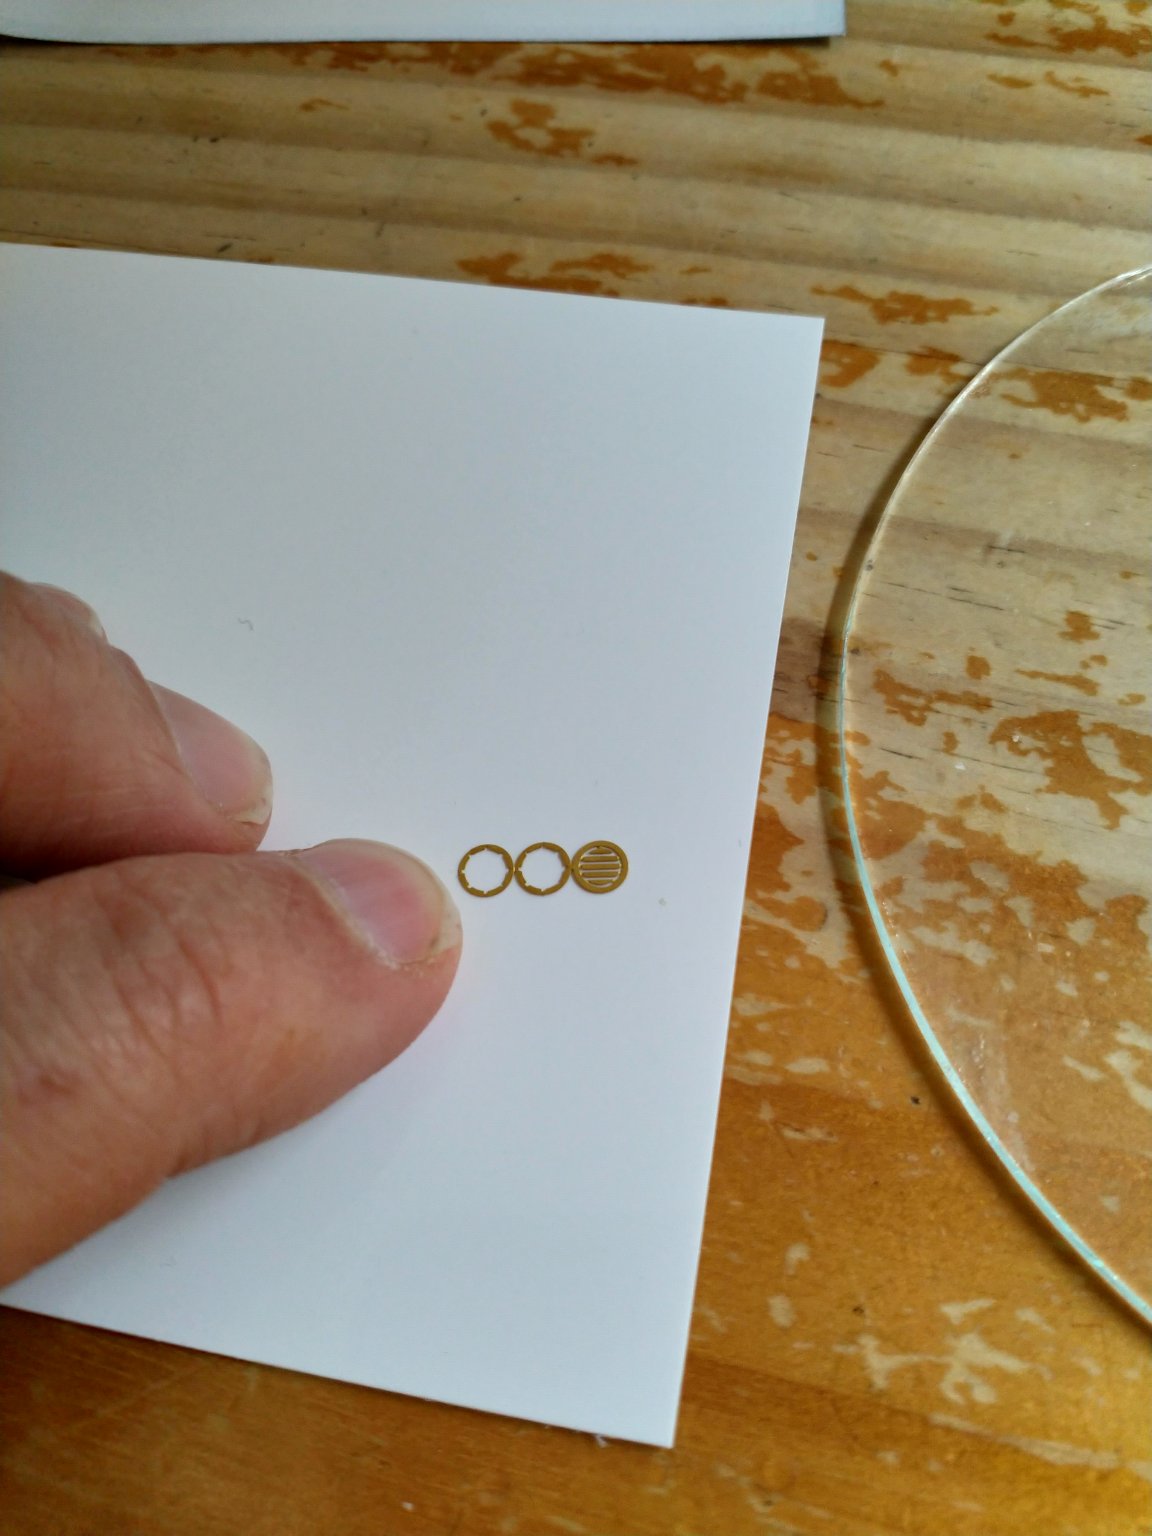
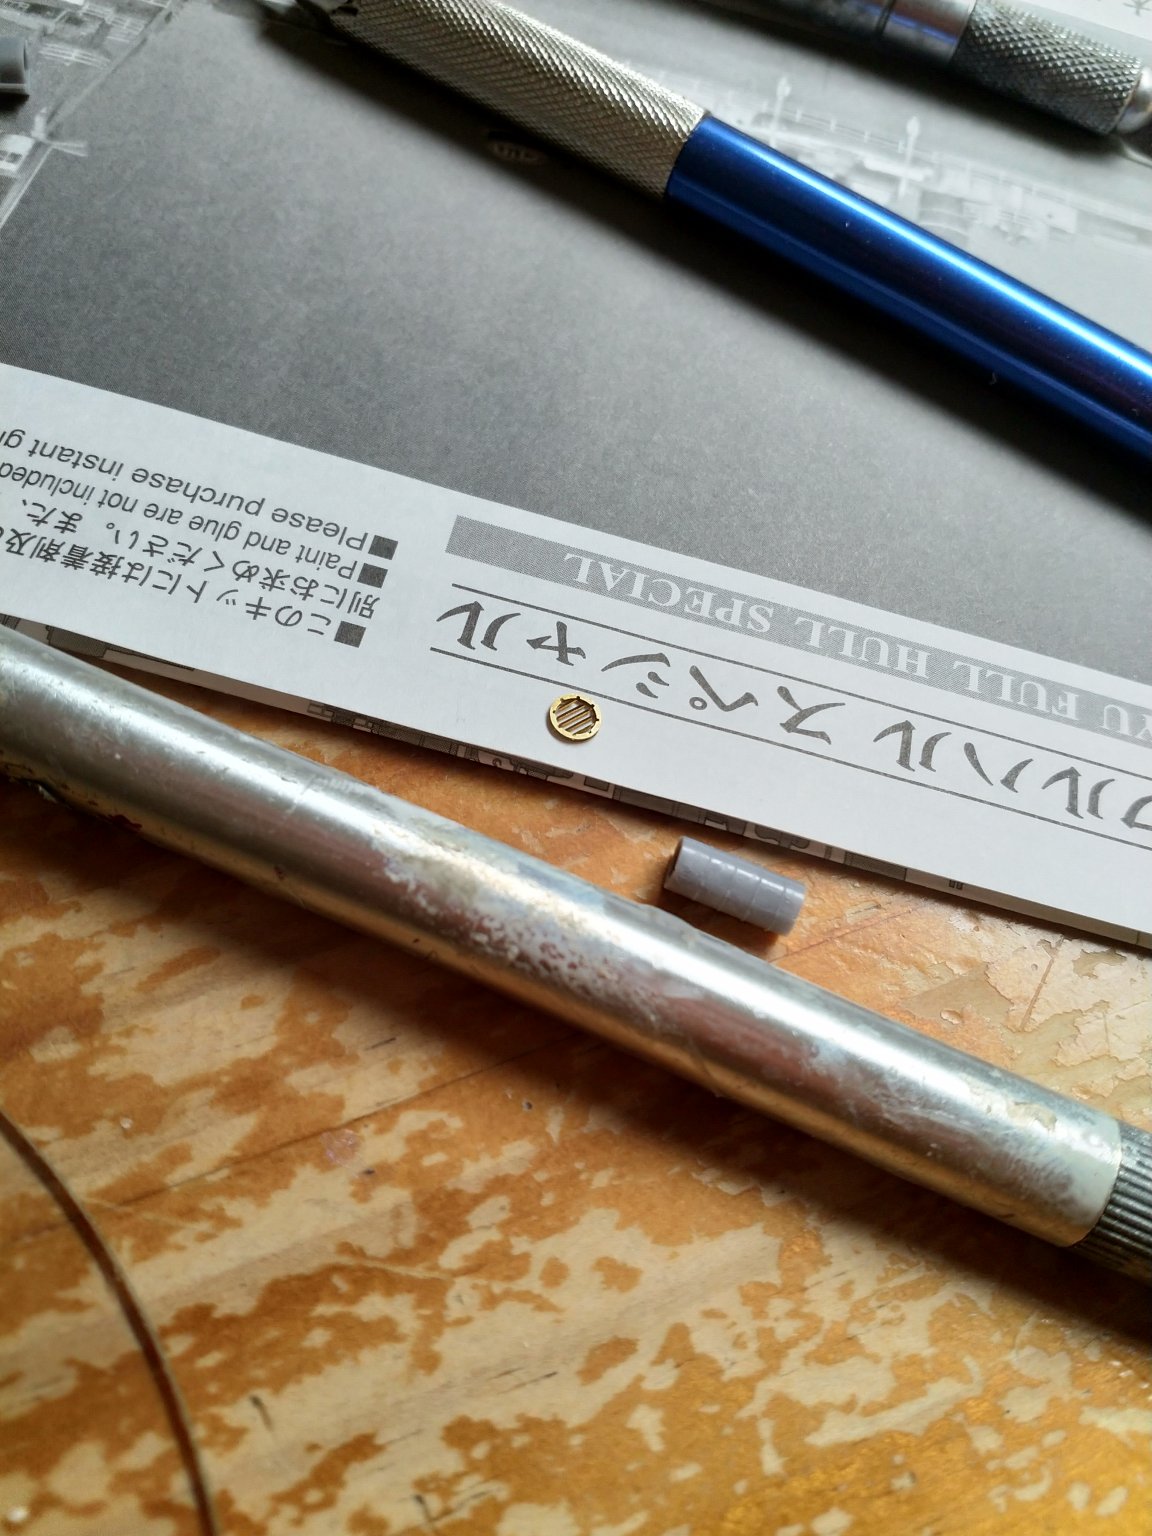
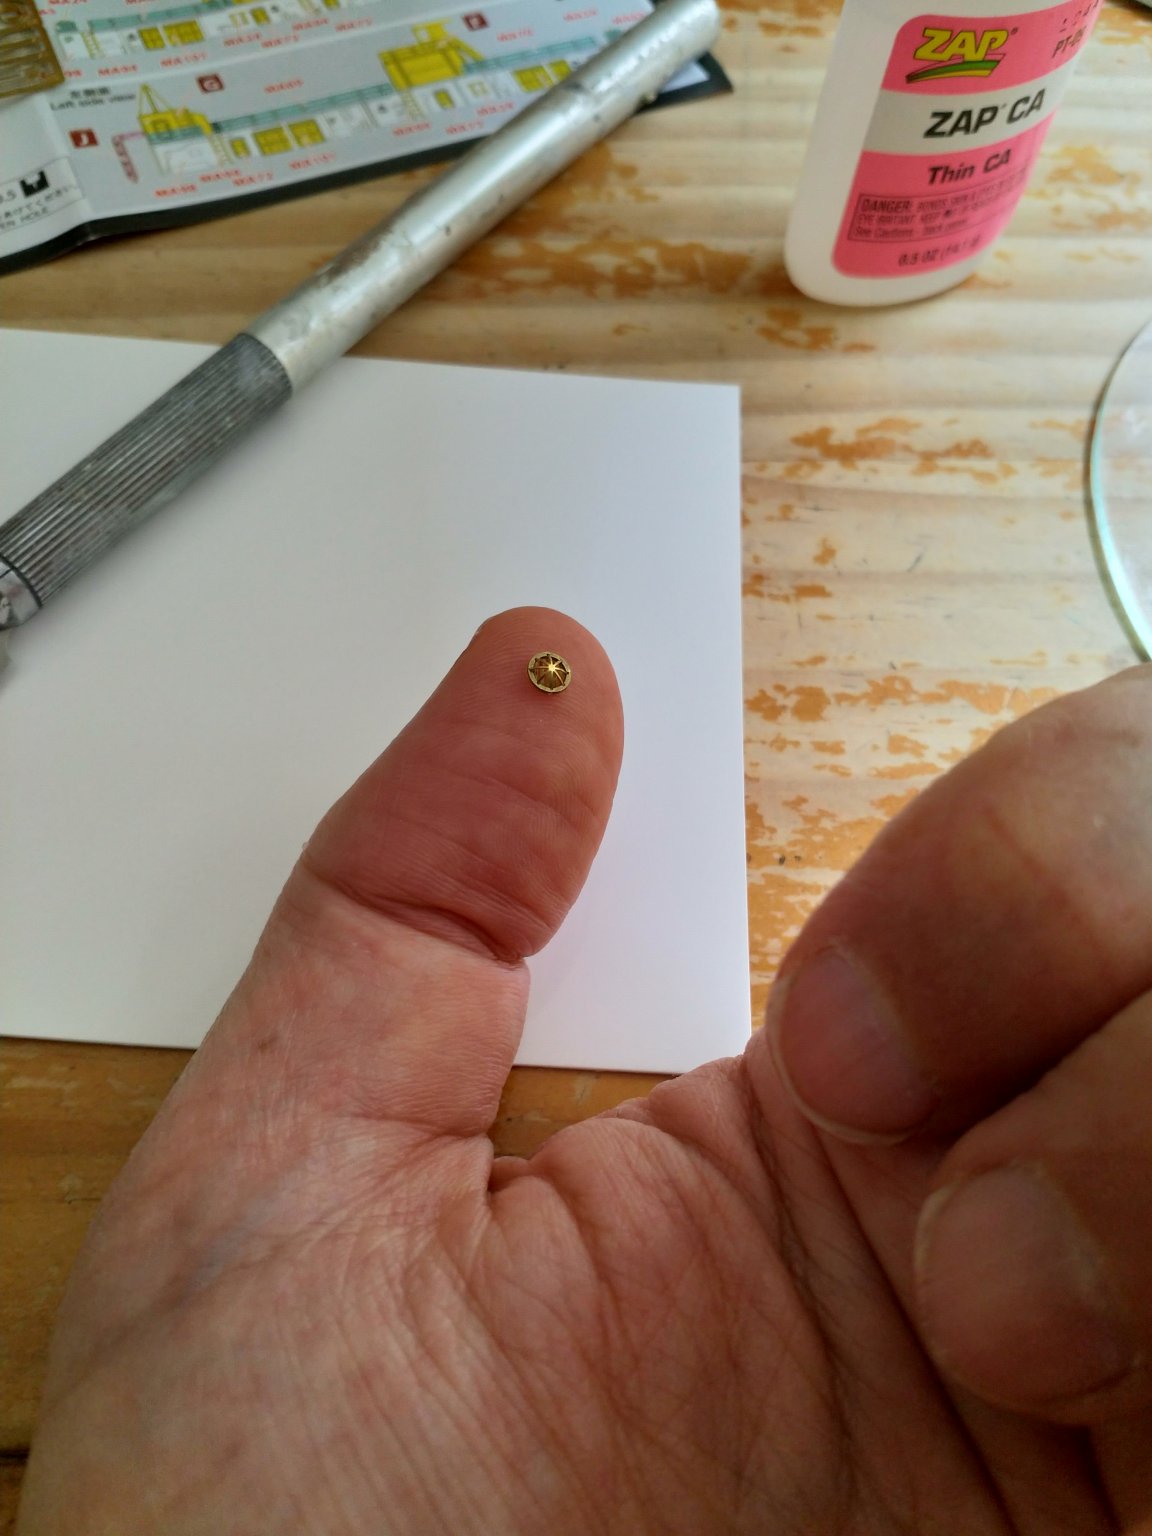
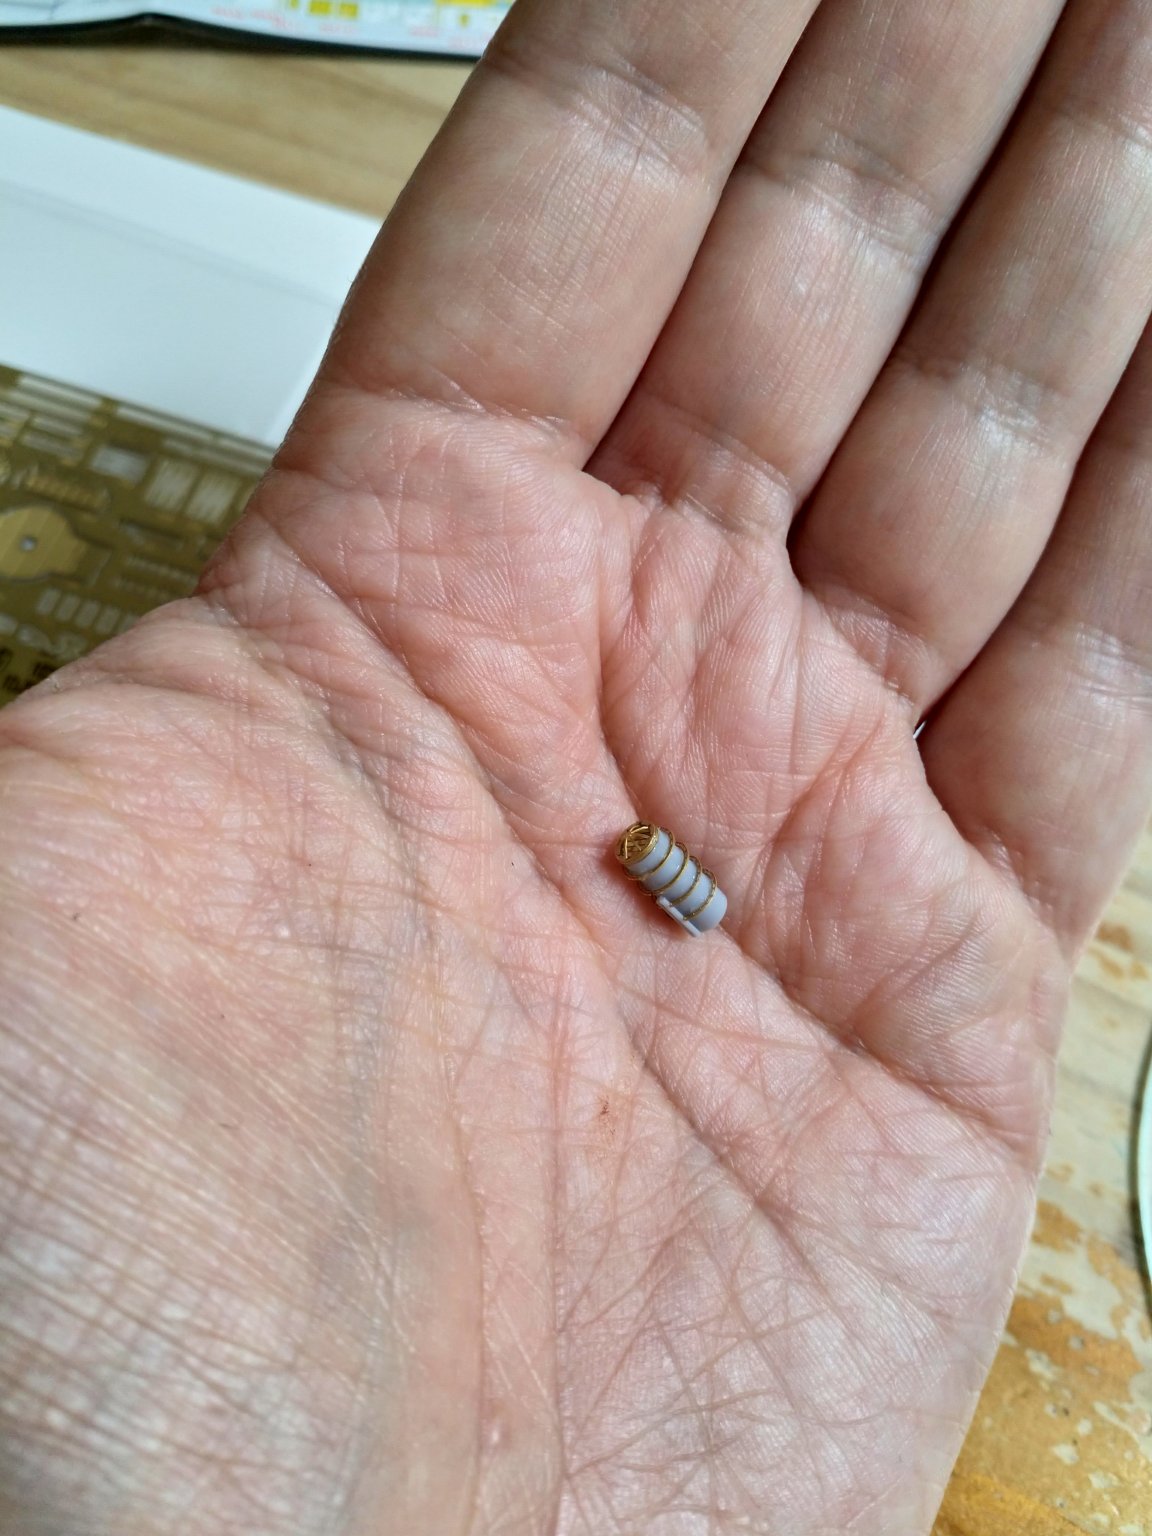
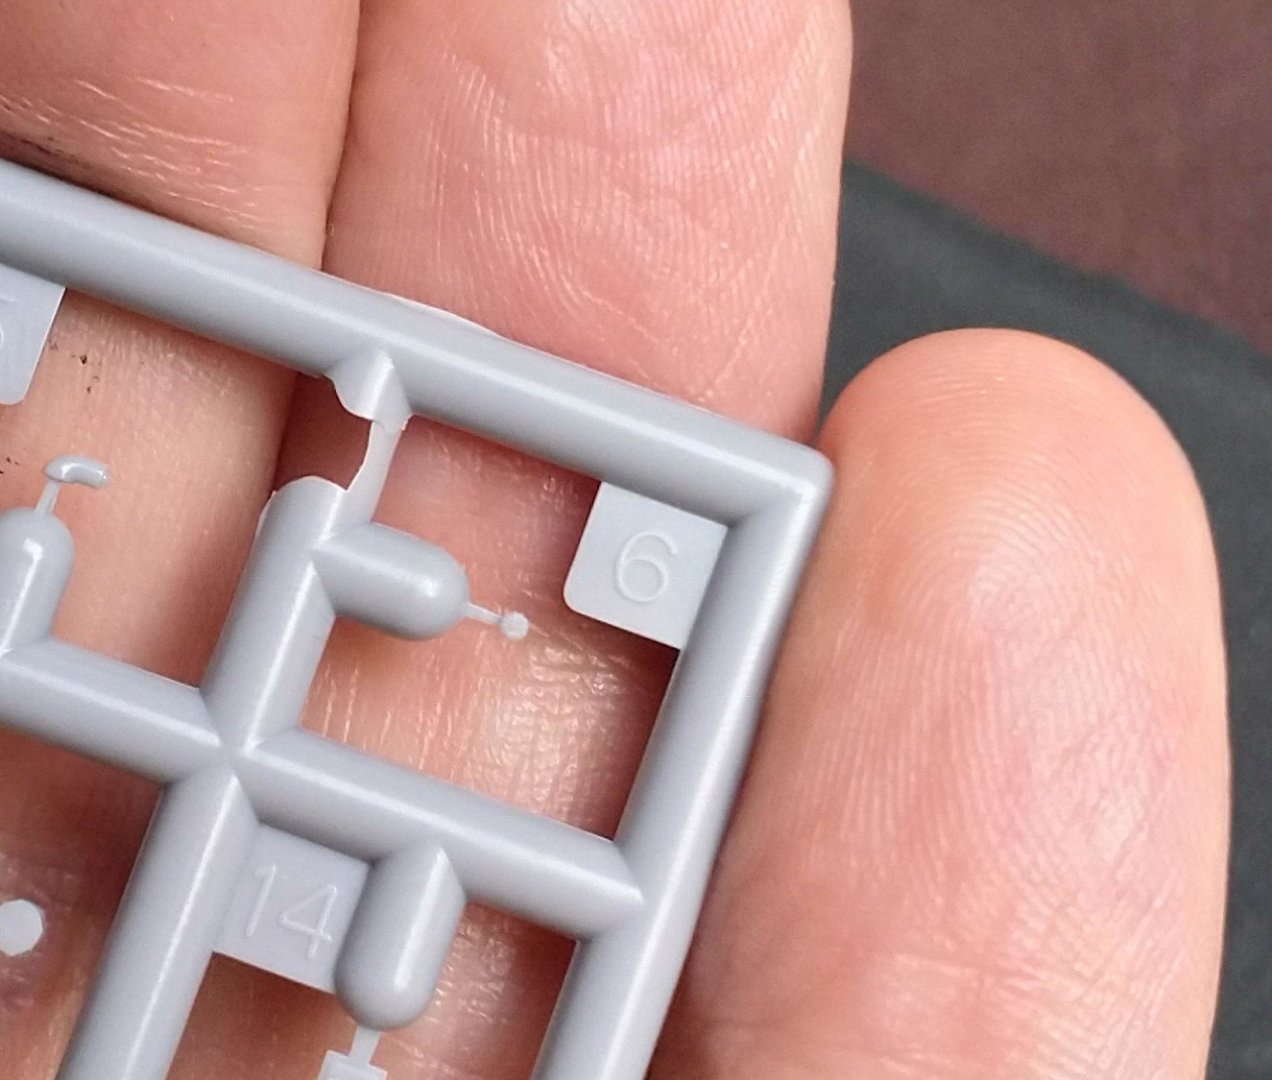
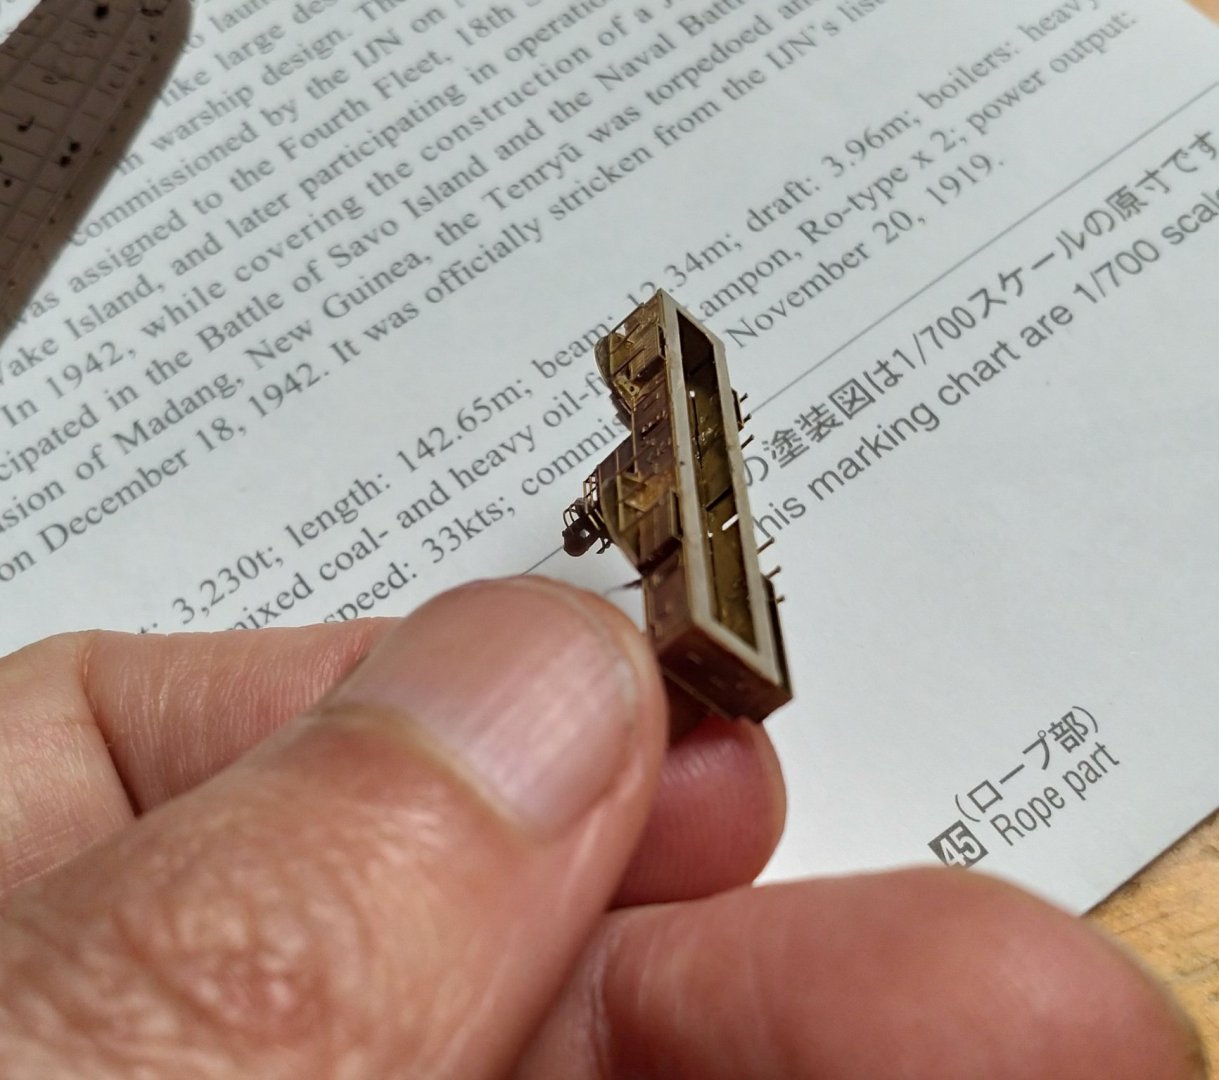
Here's Hasegawa 1/700 chrysanthemum for cruiser Tenryu. Quite small..:
- 179 replies
-
- 9
-
-
- hatsuzakura
- pit road
- (and 2 more)
-
Viking bilge keels?!
-
I would suggest line goes on both sides of the sail without danger of damaging it. It is not a major line, and is not kept very tight, as it only holds the flag. Once the flag is up, it is astern of the sail, can therefore fly on either side of the sail and wouldn't be any cause of concern.
-
The trick is to, after masking, paint once with the colour that is under the tape already. (Not 'paint under the tape') That way, any bleed under the tape will be the first colour. Then apply the second colour. That's what I also do.
- 87 replies
-
- 3
-
-
- bluejacket shipcrafters
- red baron
- (and 3 more)
-
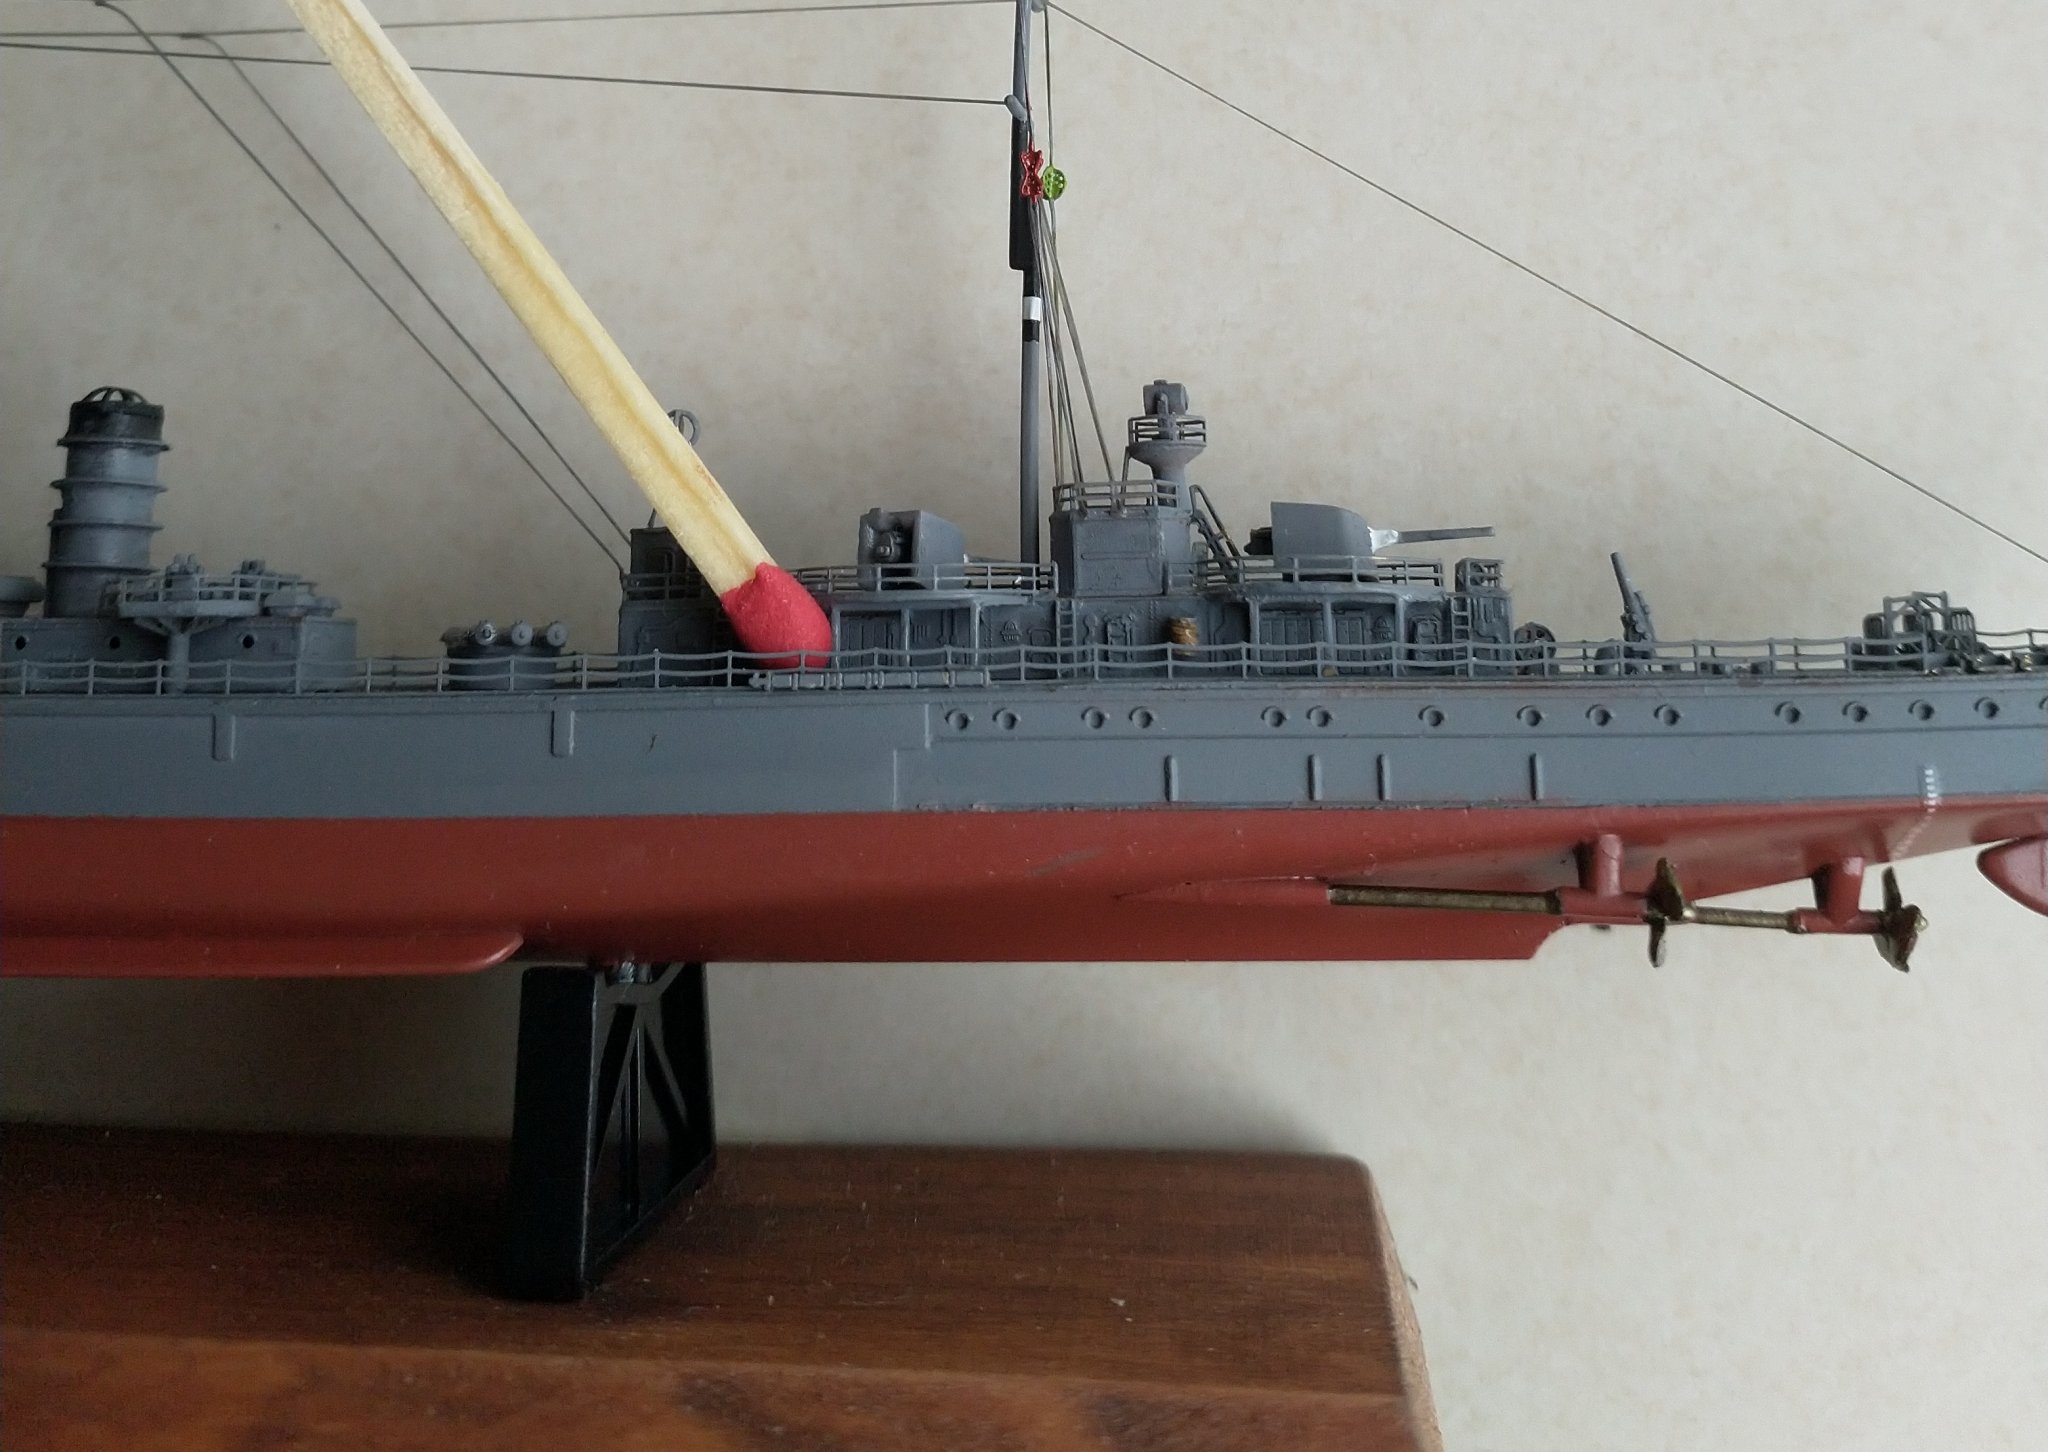
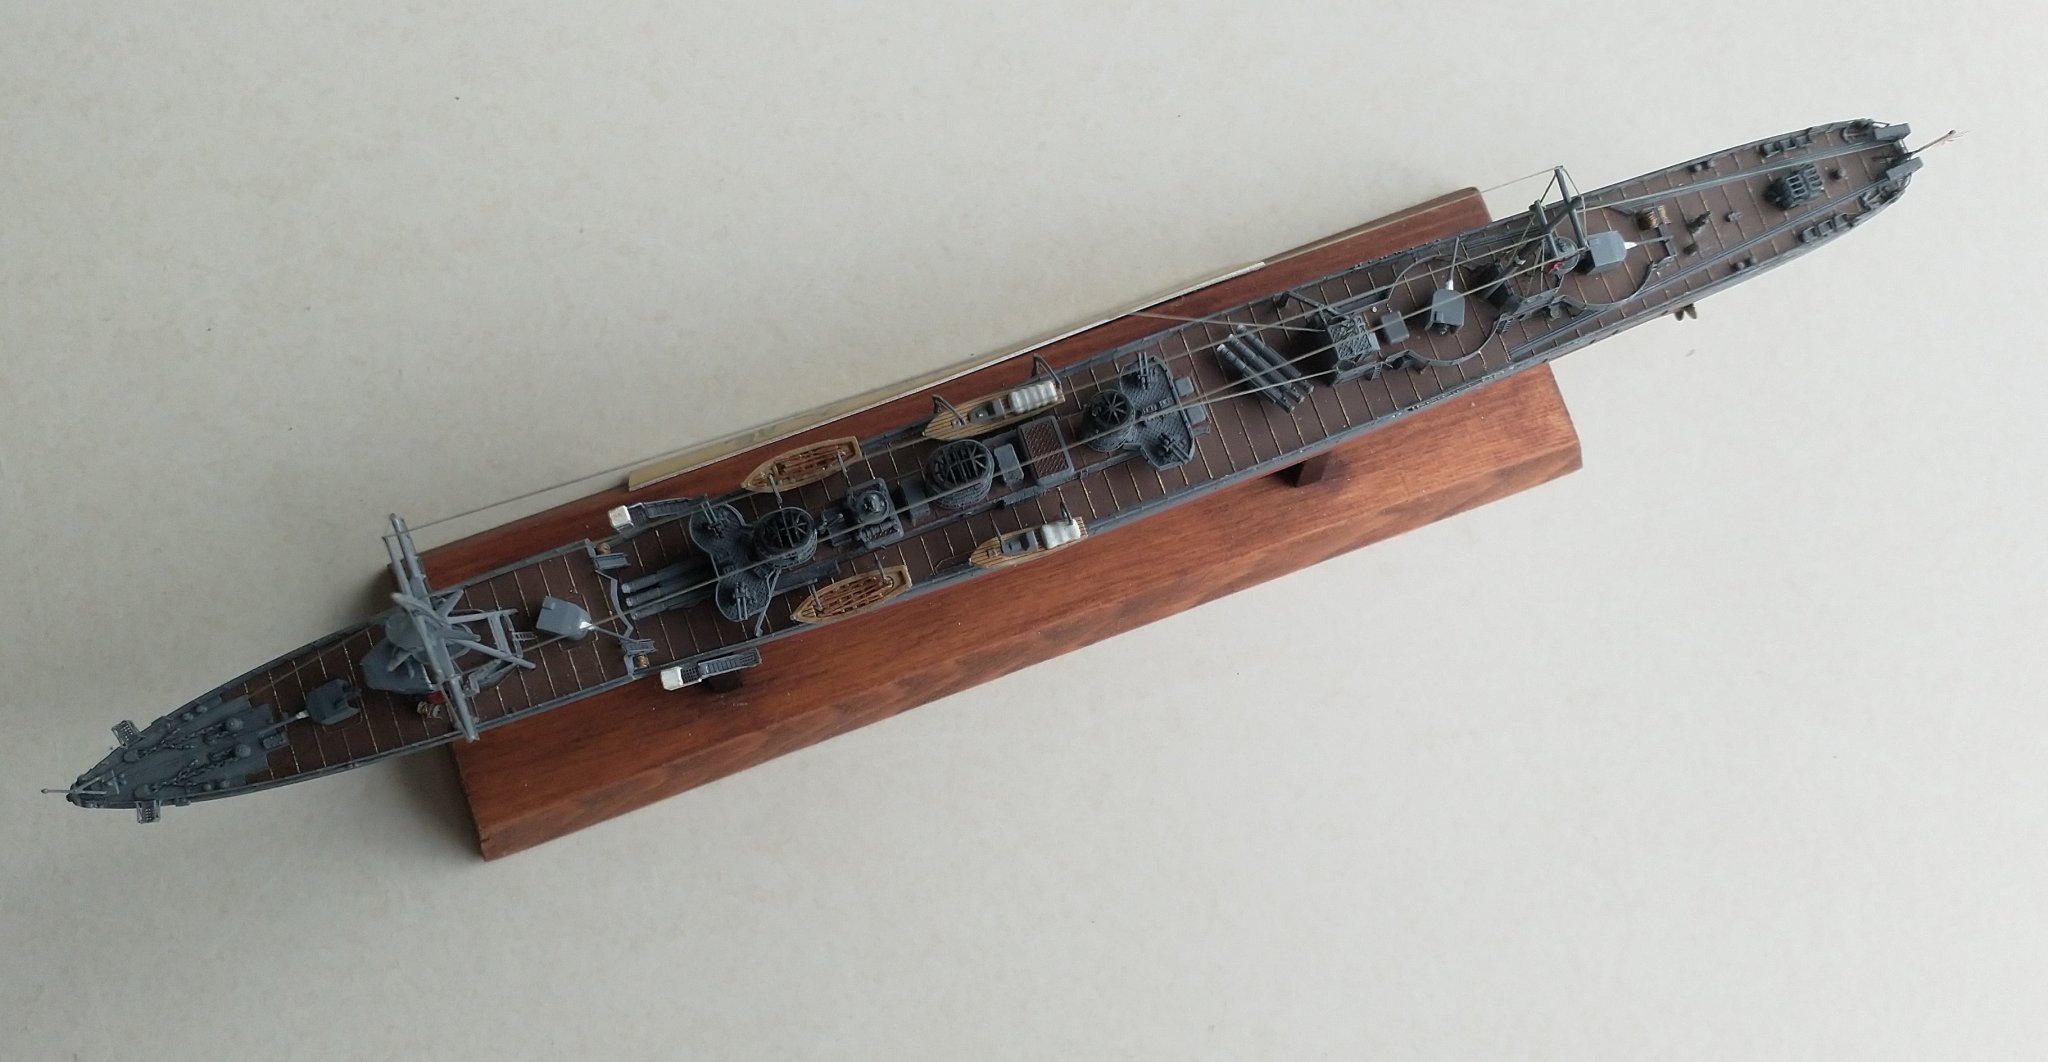
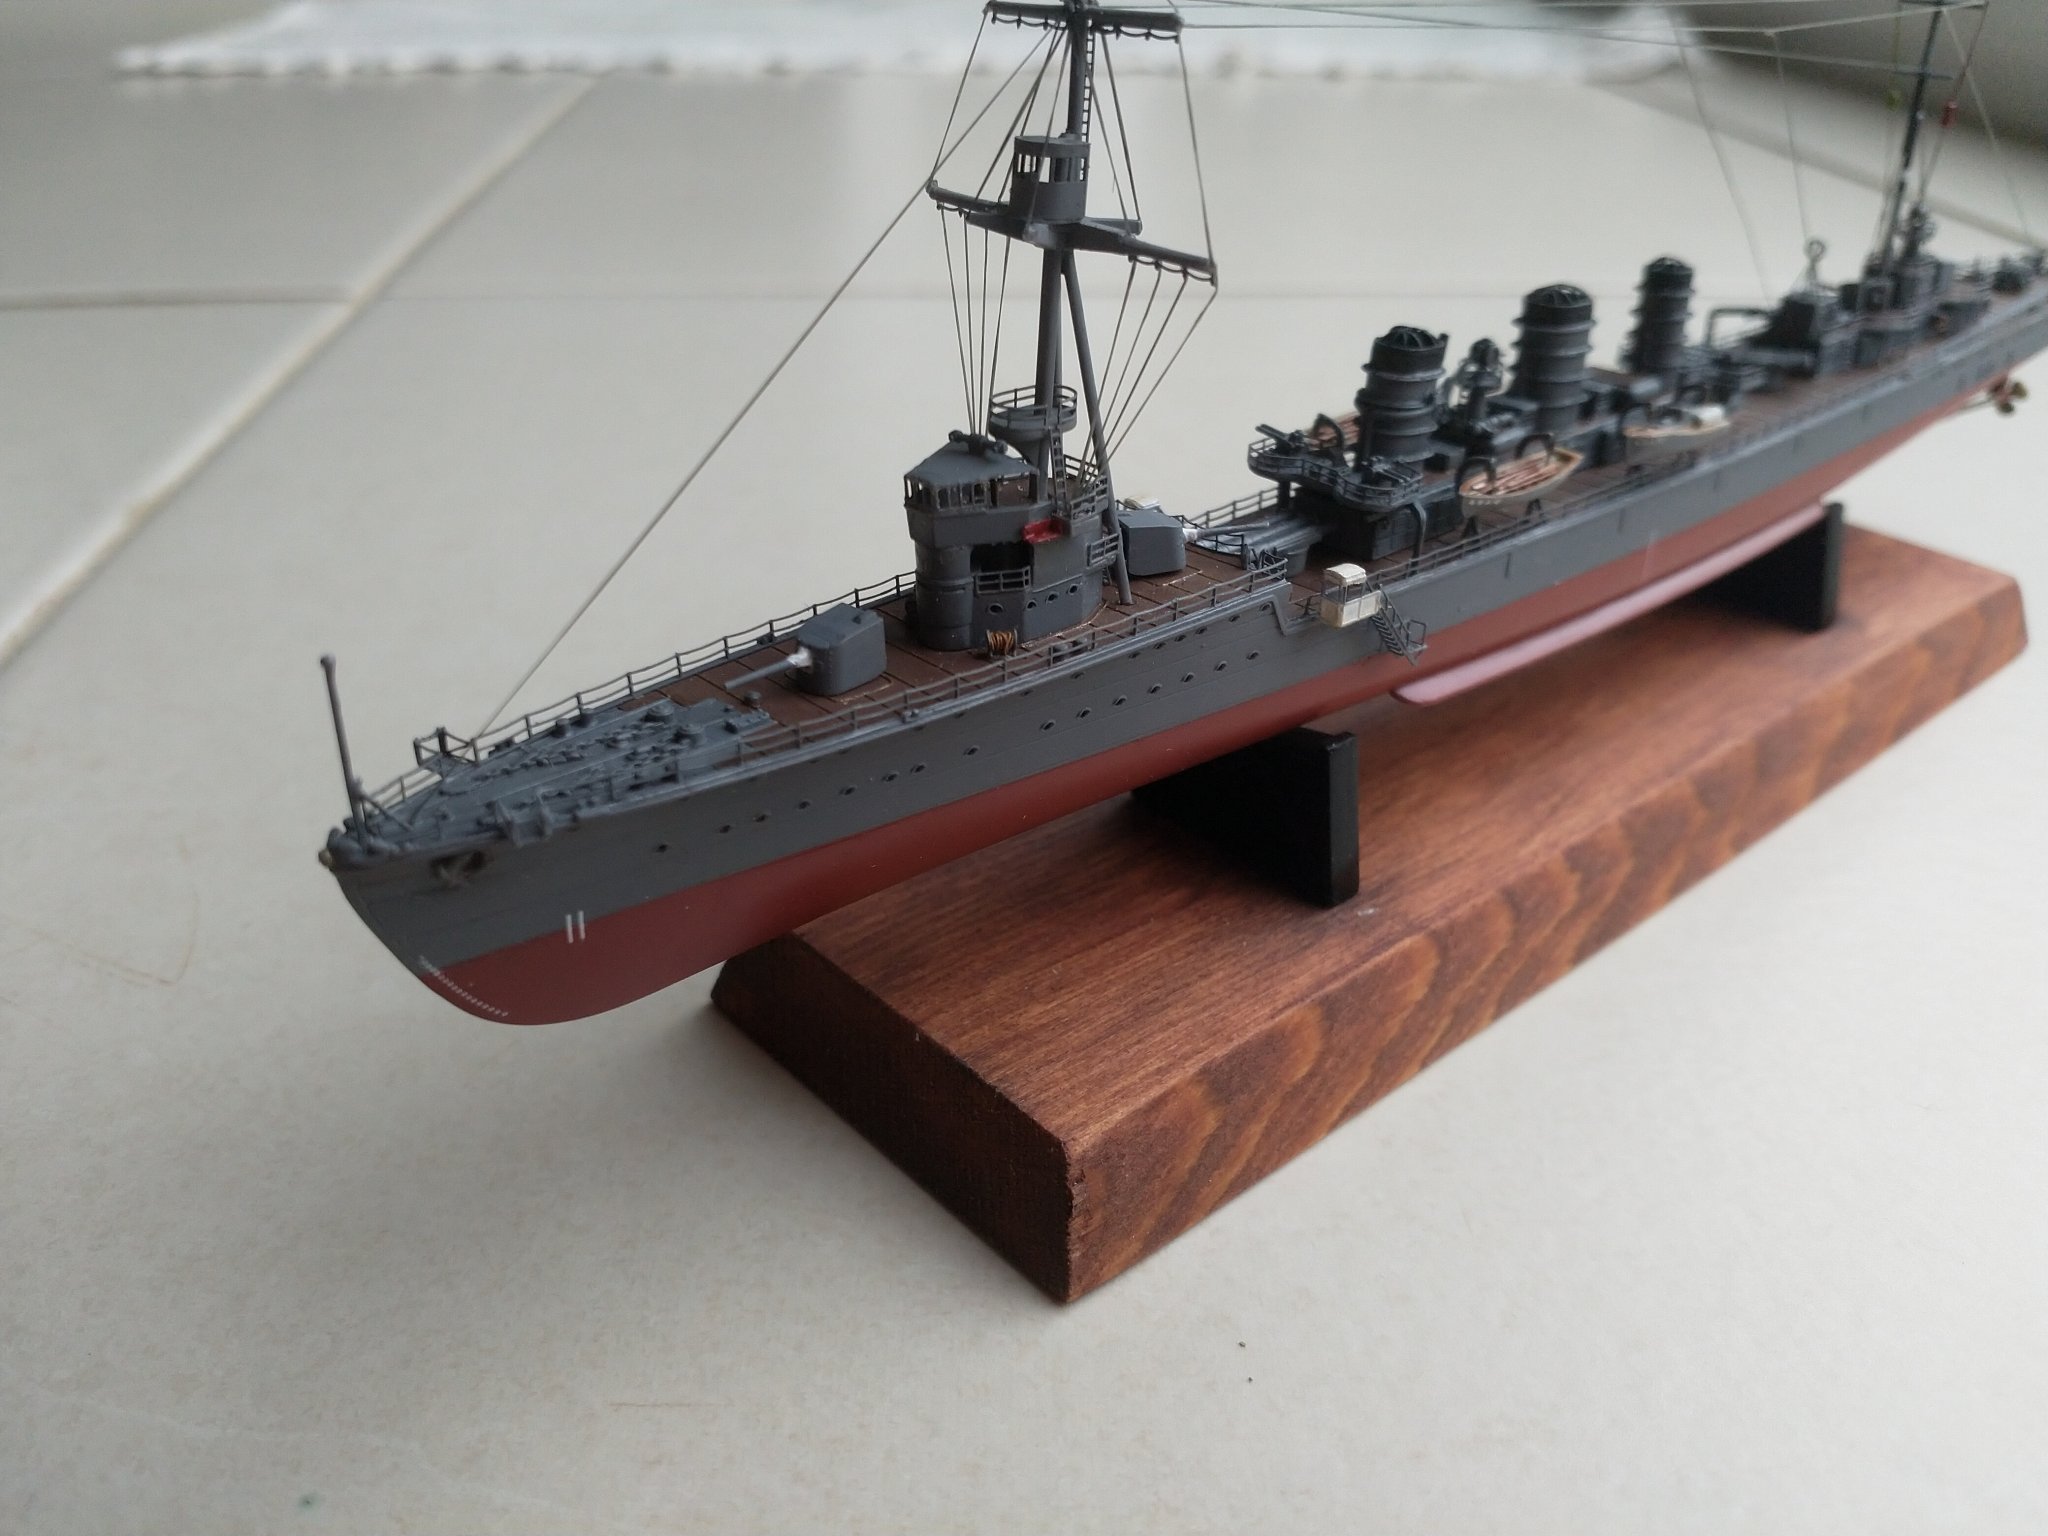
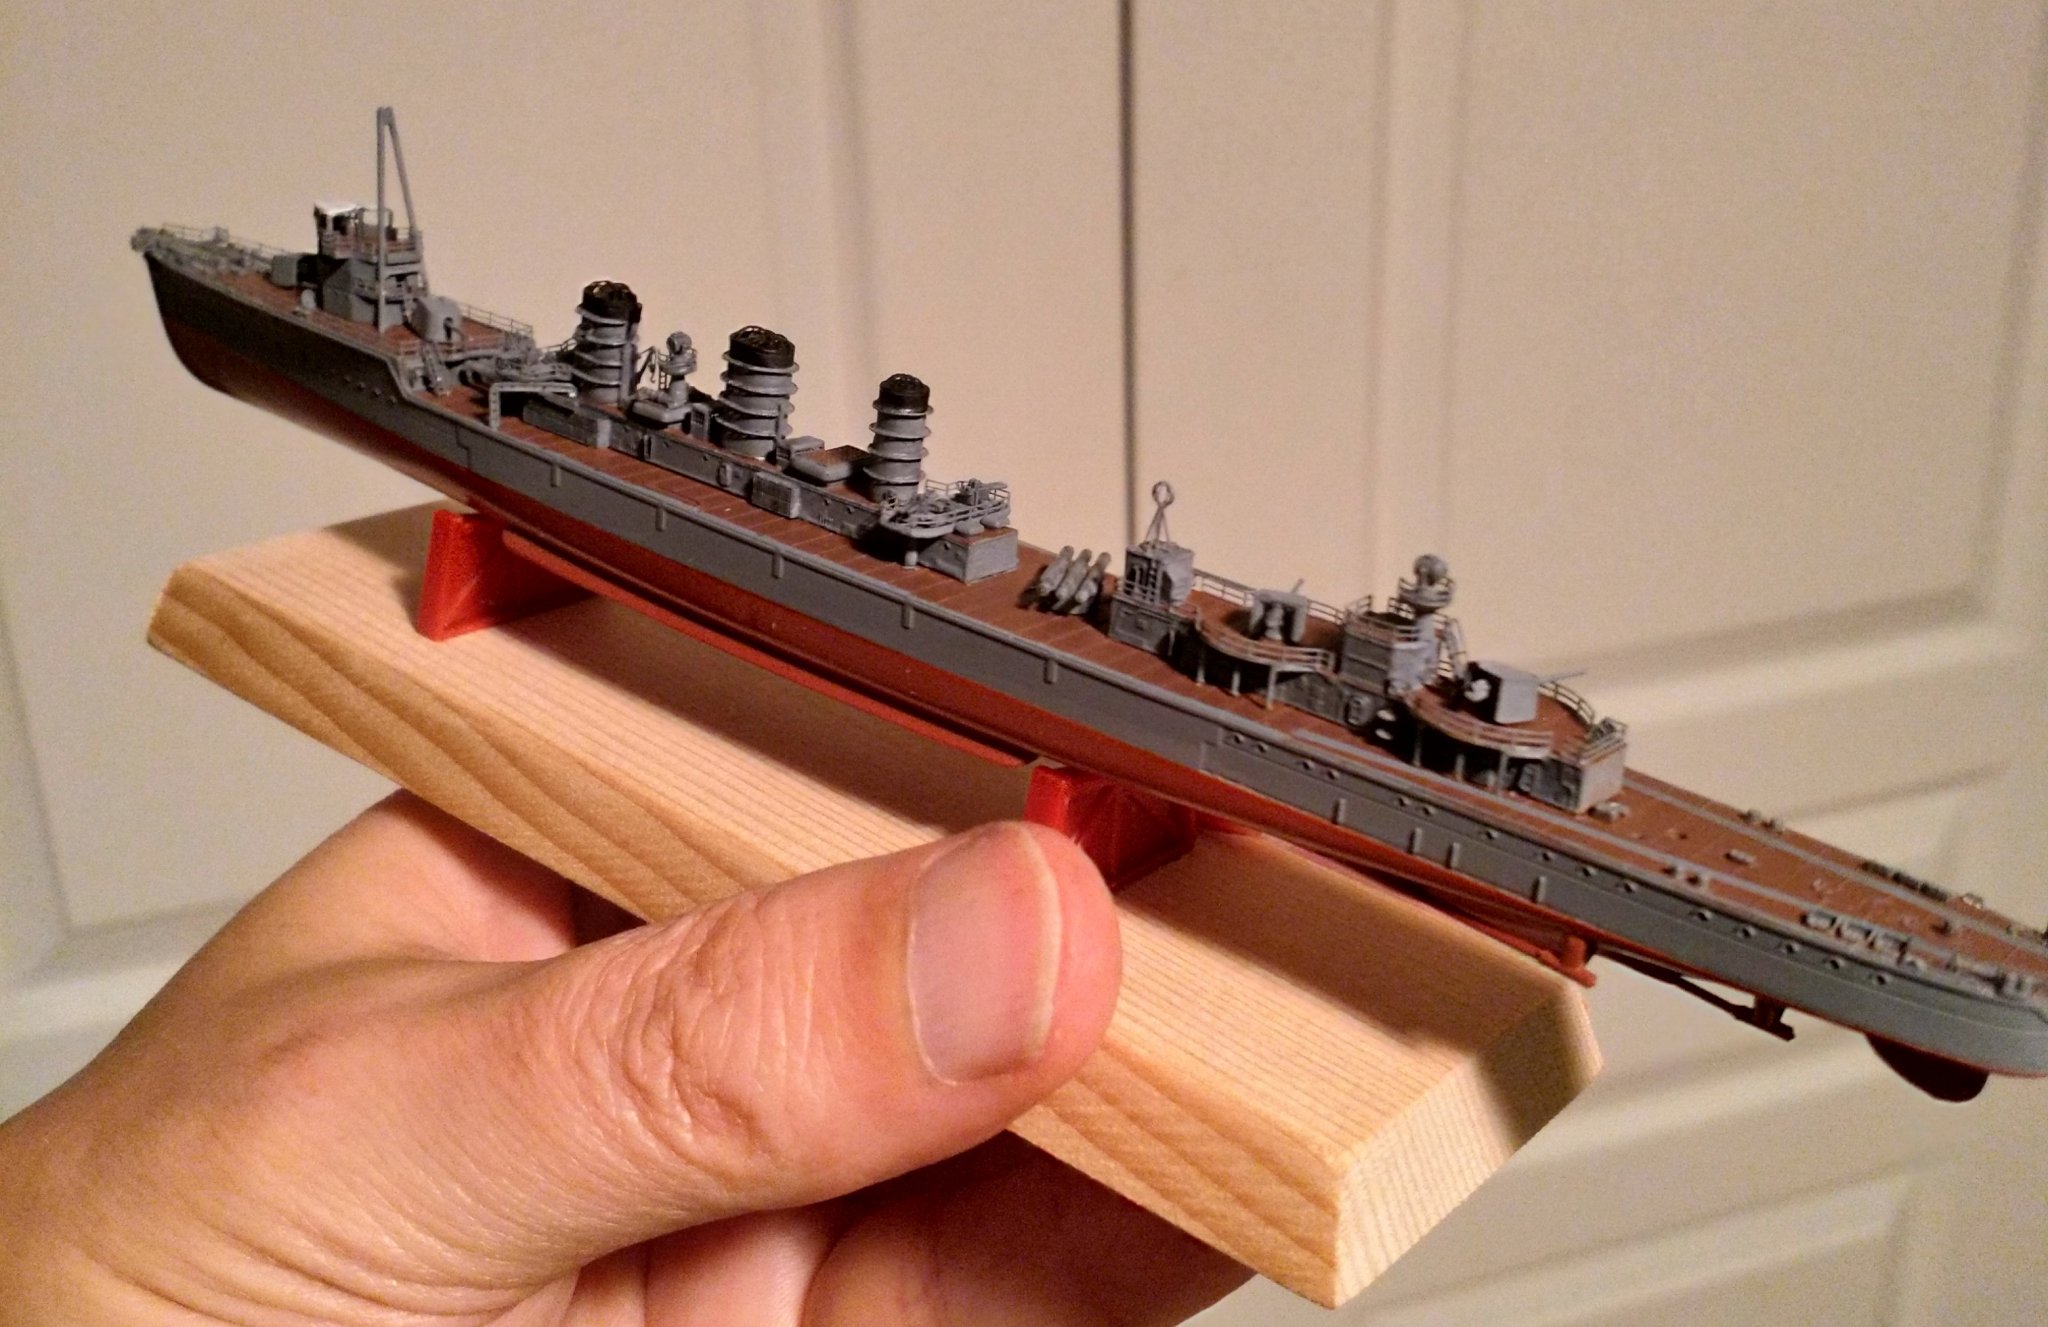
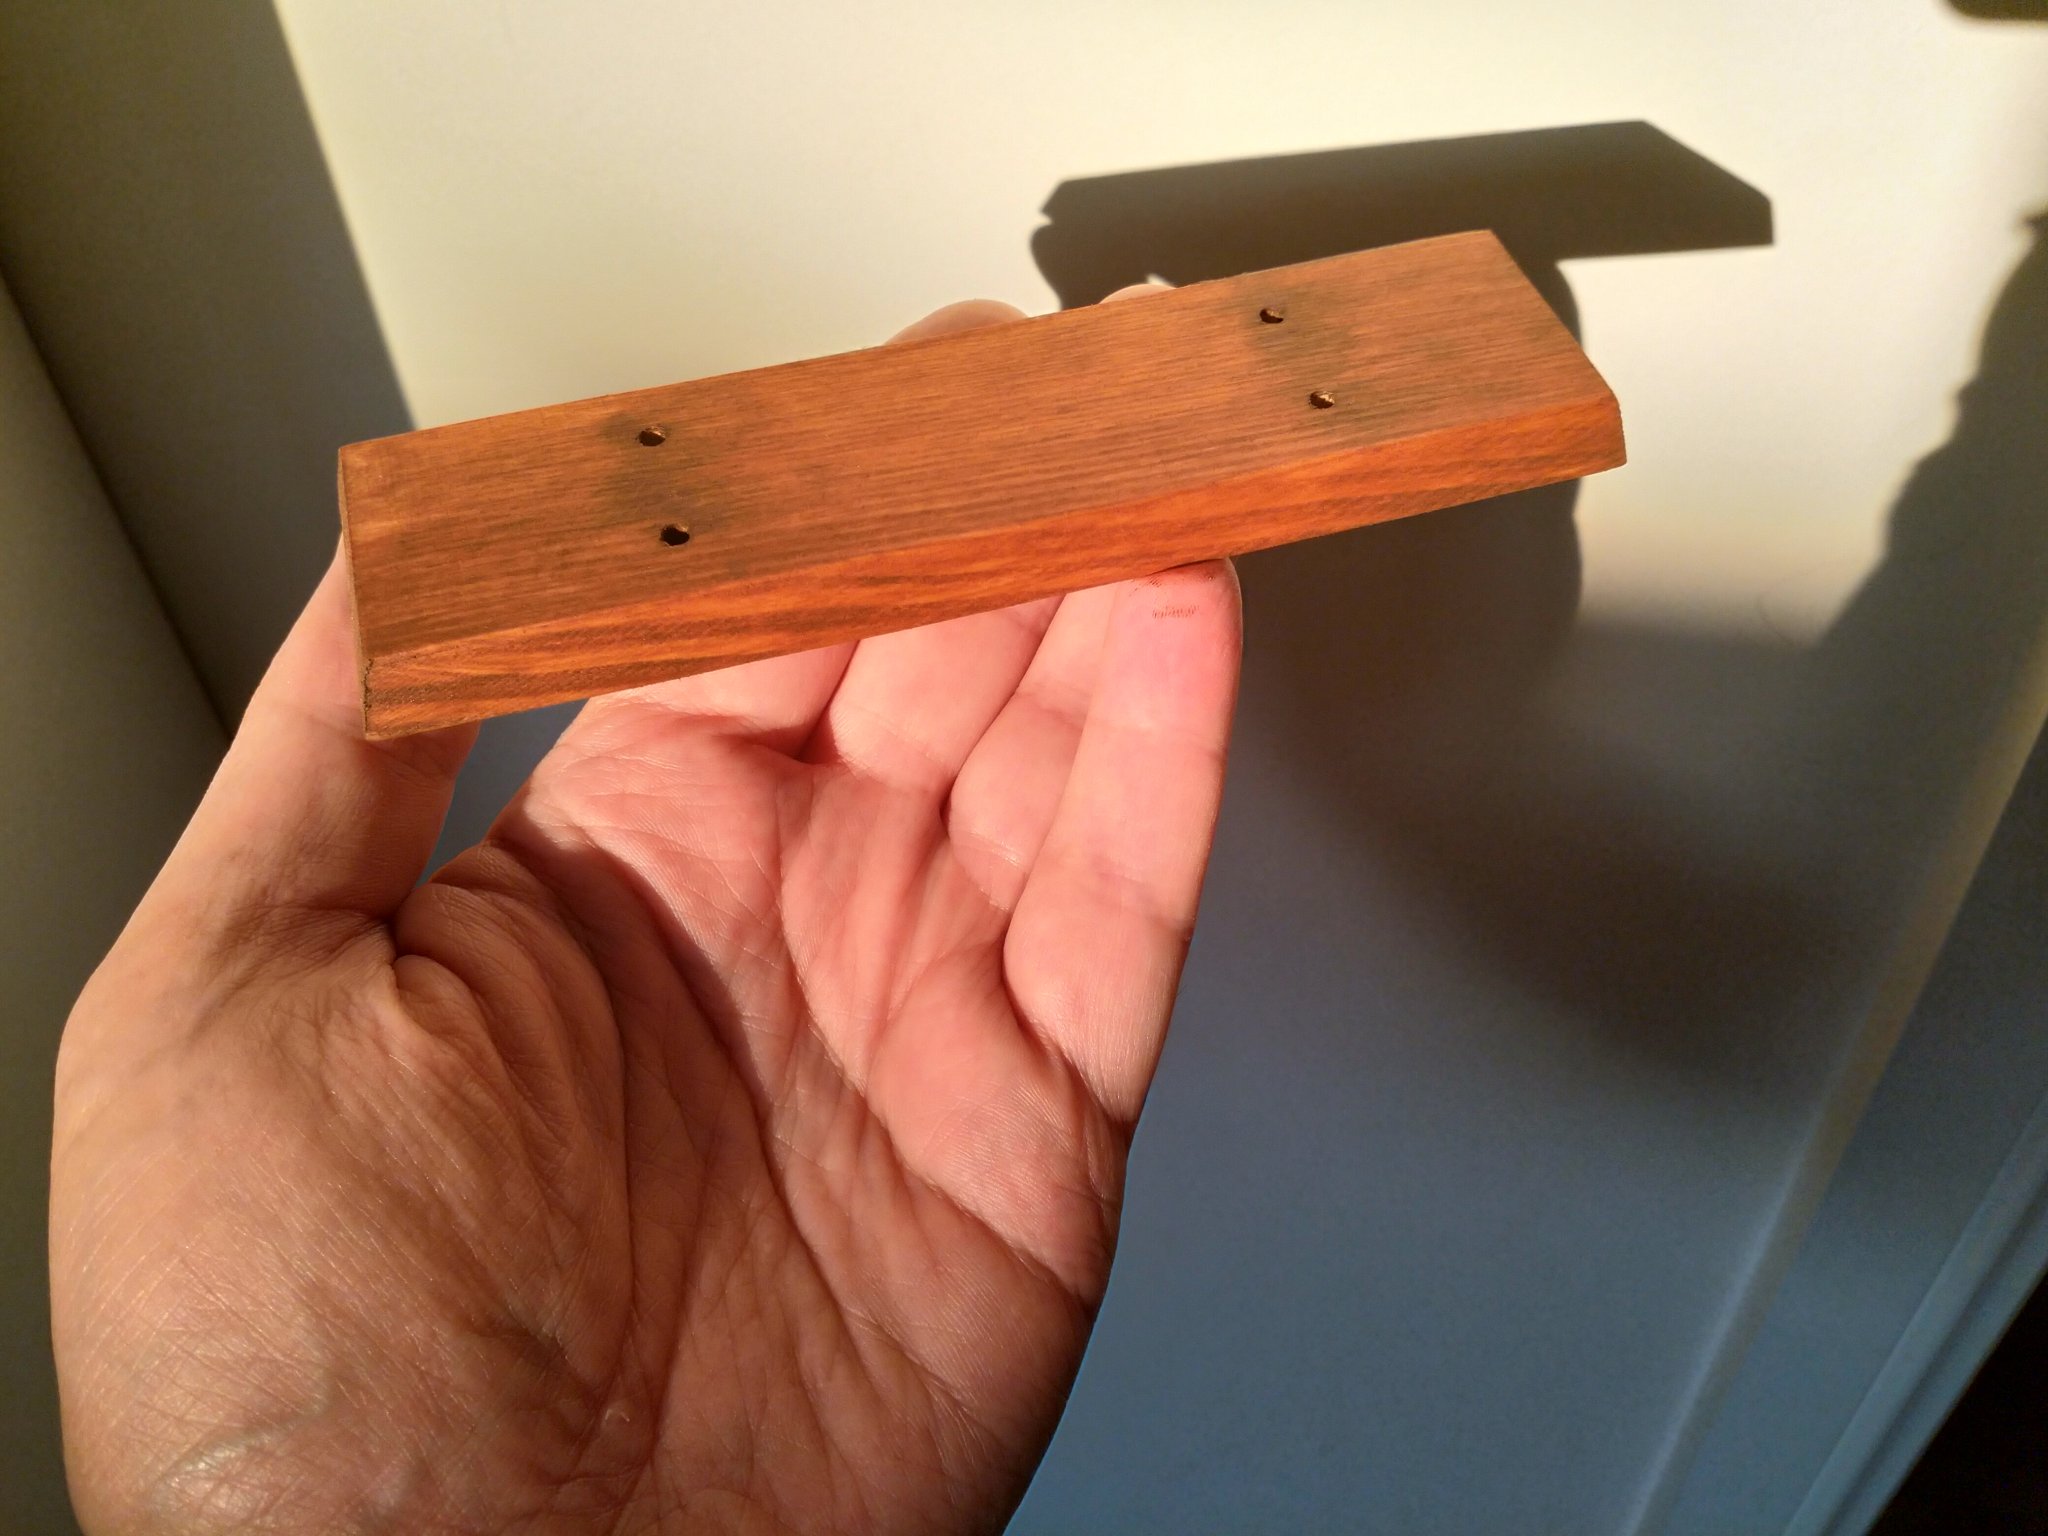
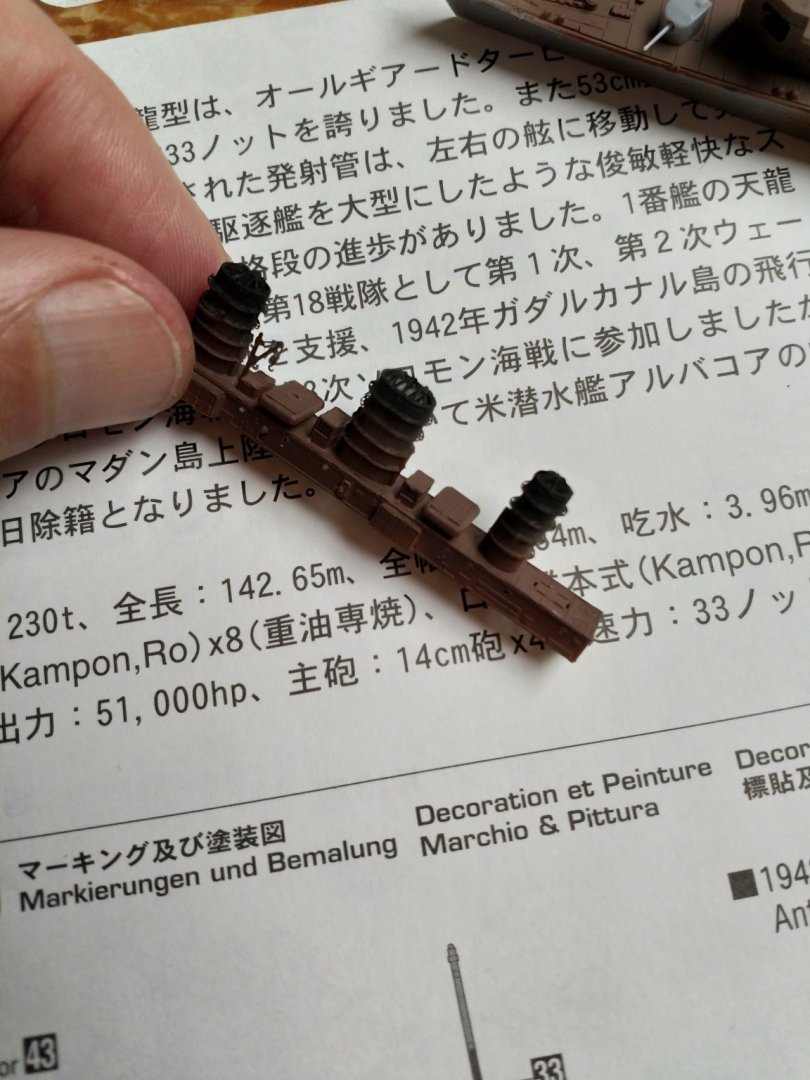
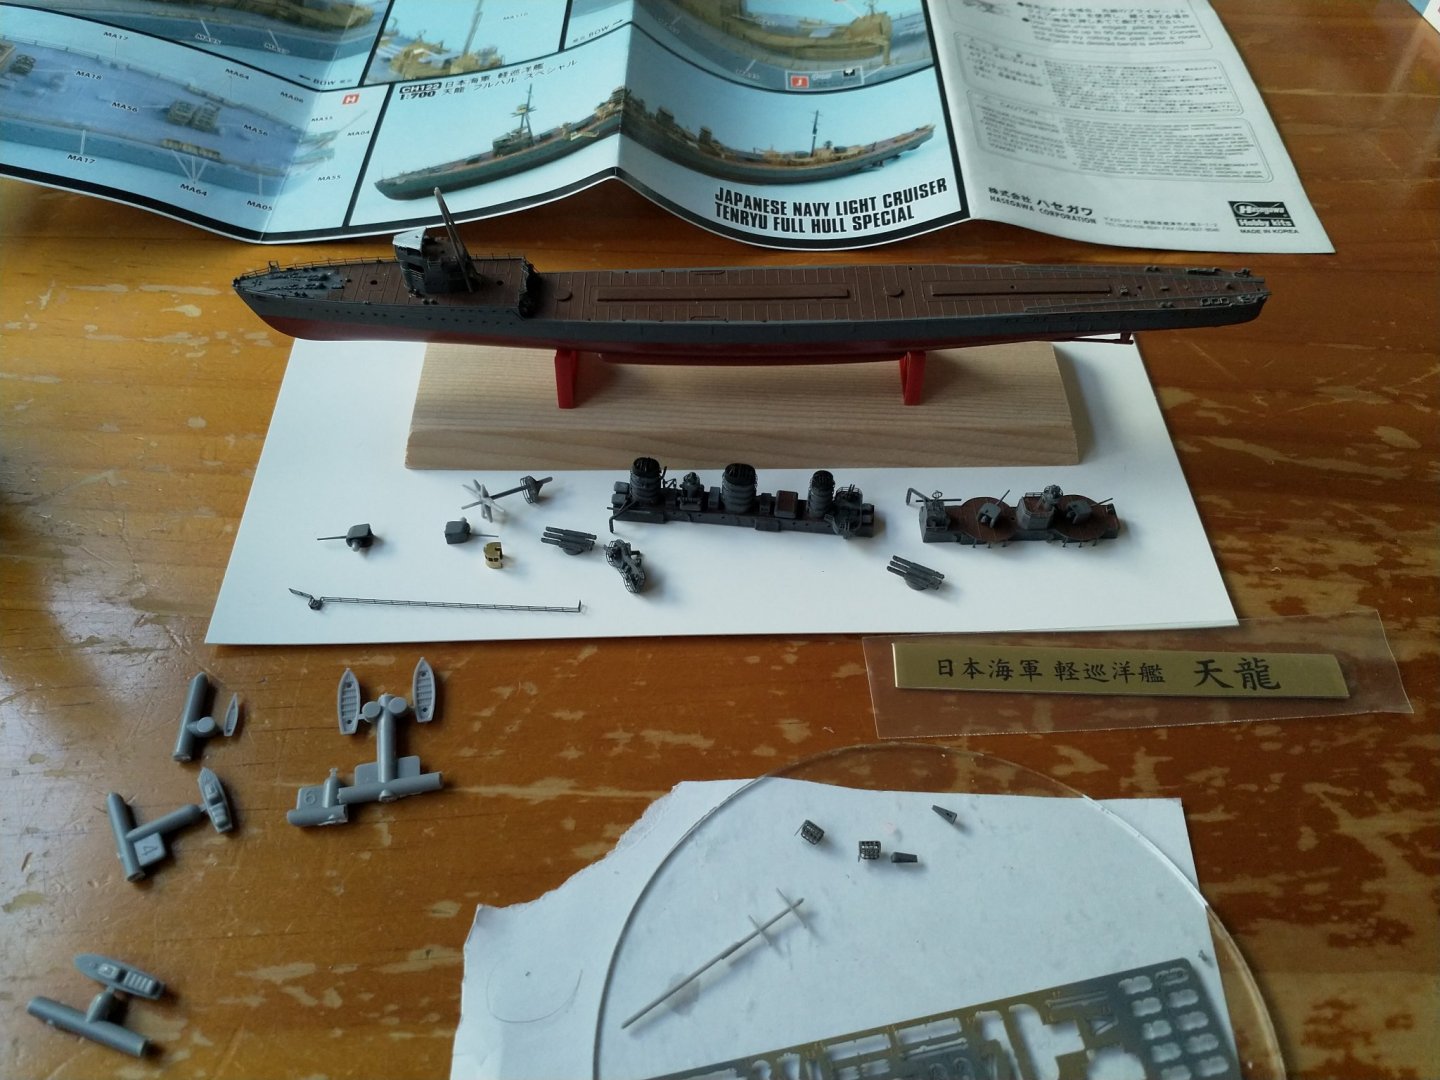
Midships superstructure and funnels with some initial paint on. Assembled hull and assembled superstructures. Stand looks a bit toy like and needs painting. Peter
-
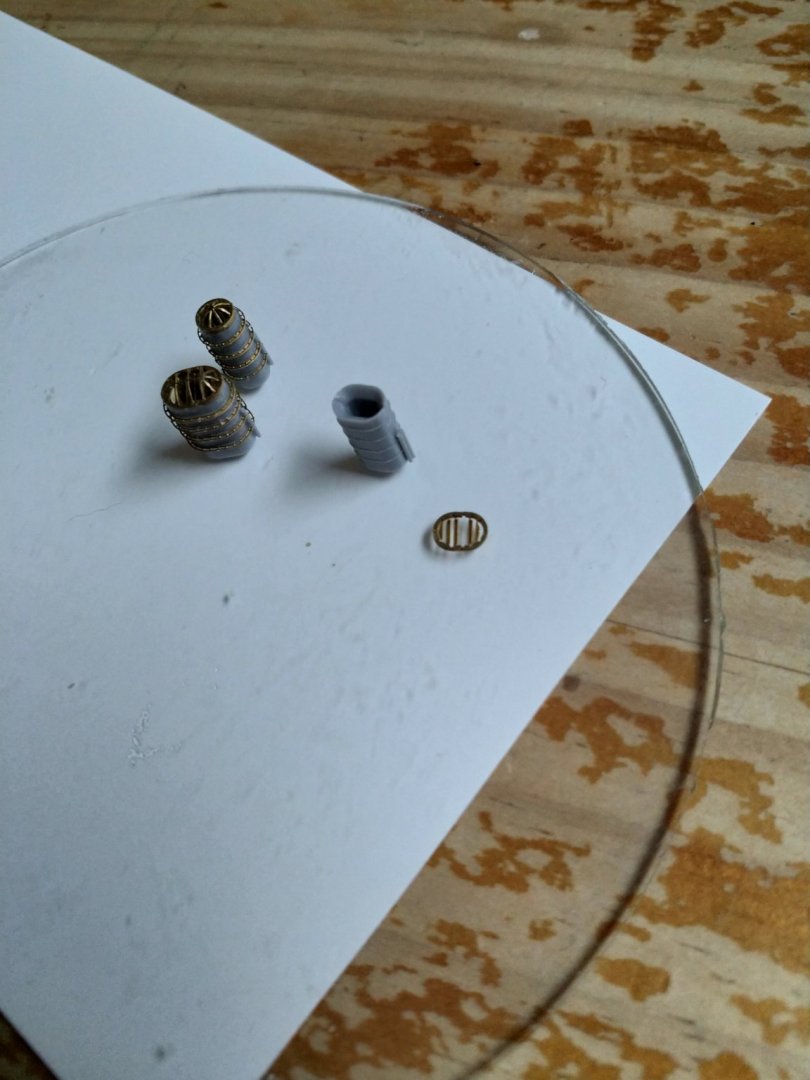
The rest of the funnels and a photo etch replacement superstructure. I would say the triangular support brackets under the deck here are the most difficult parts of this kit..
-
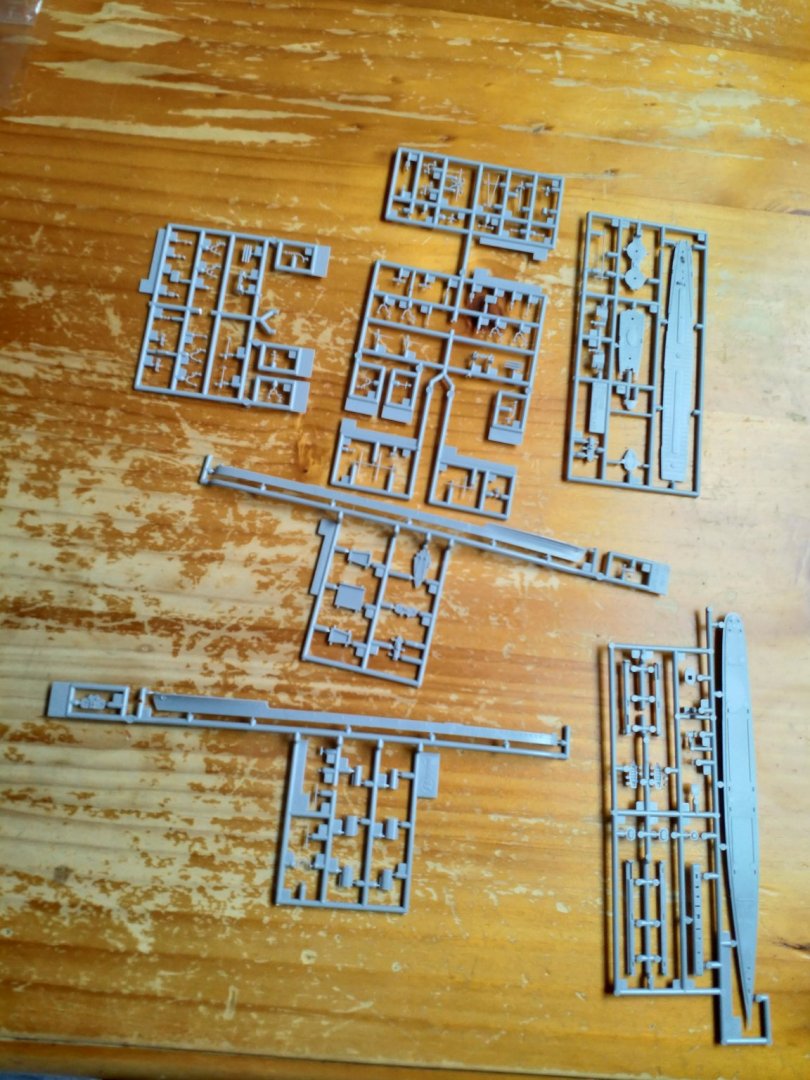
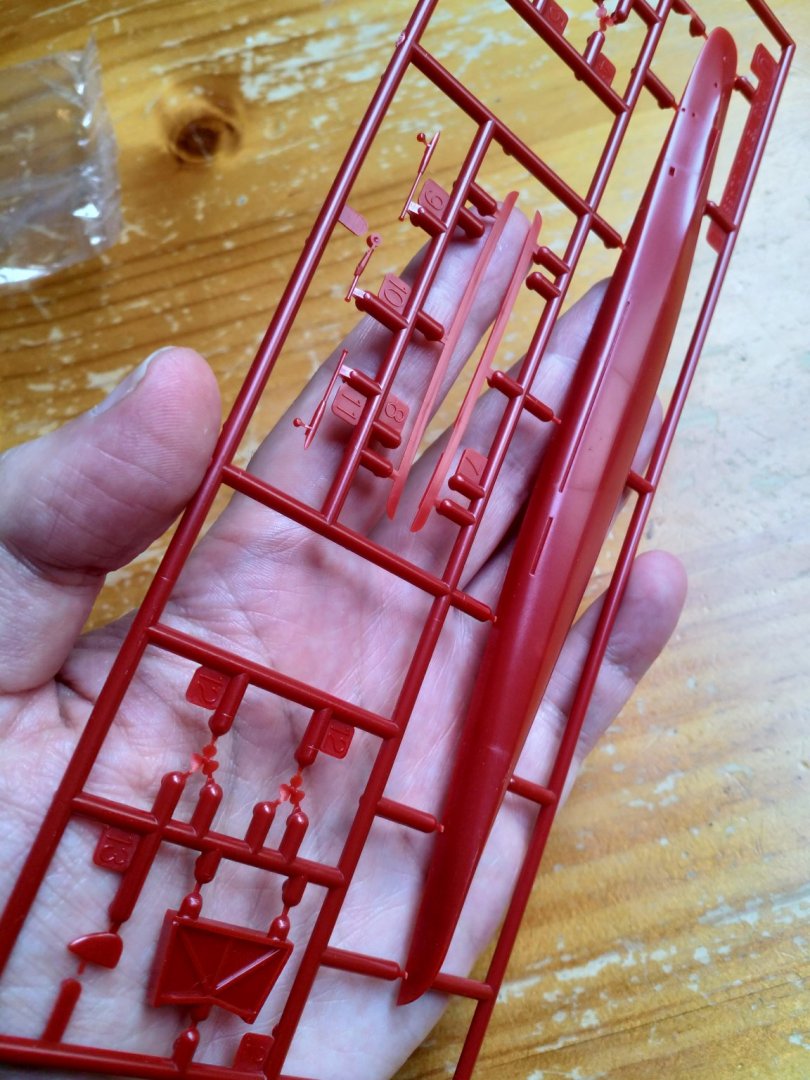
Essentially, the kit consists of a waterline model, a lower hull and additional photoetch details.
-
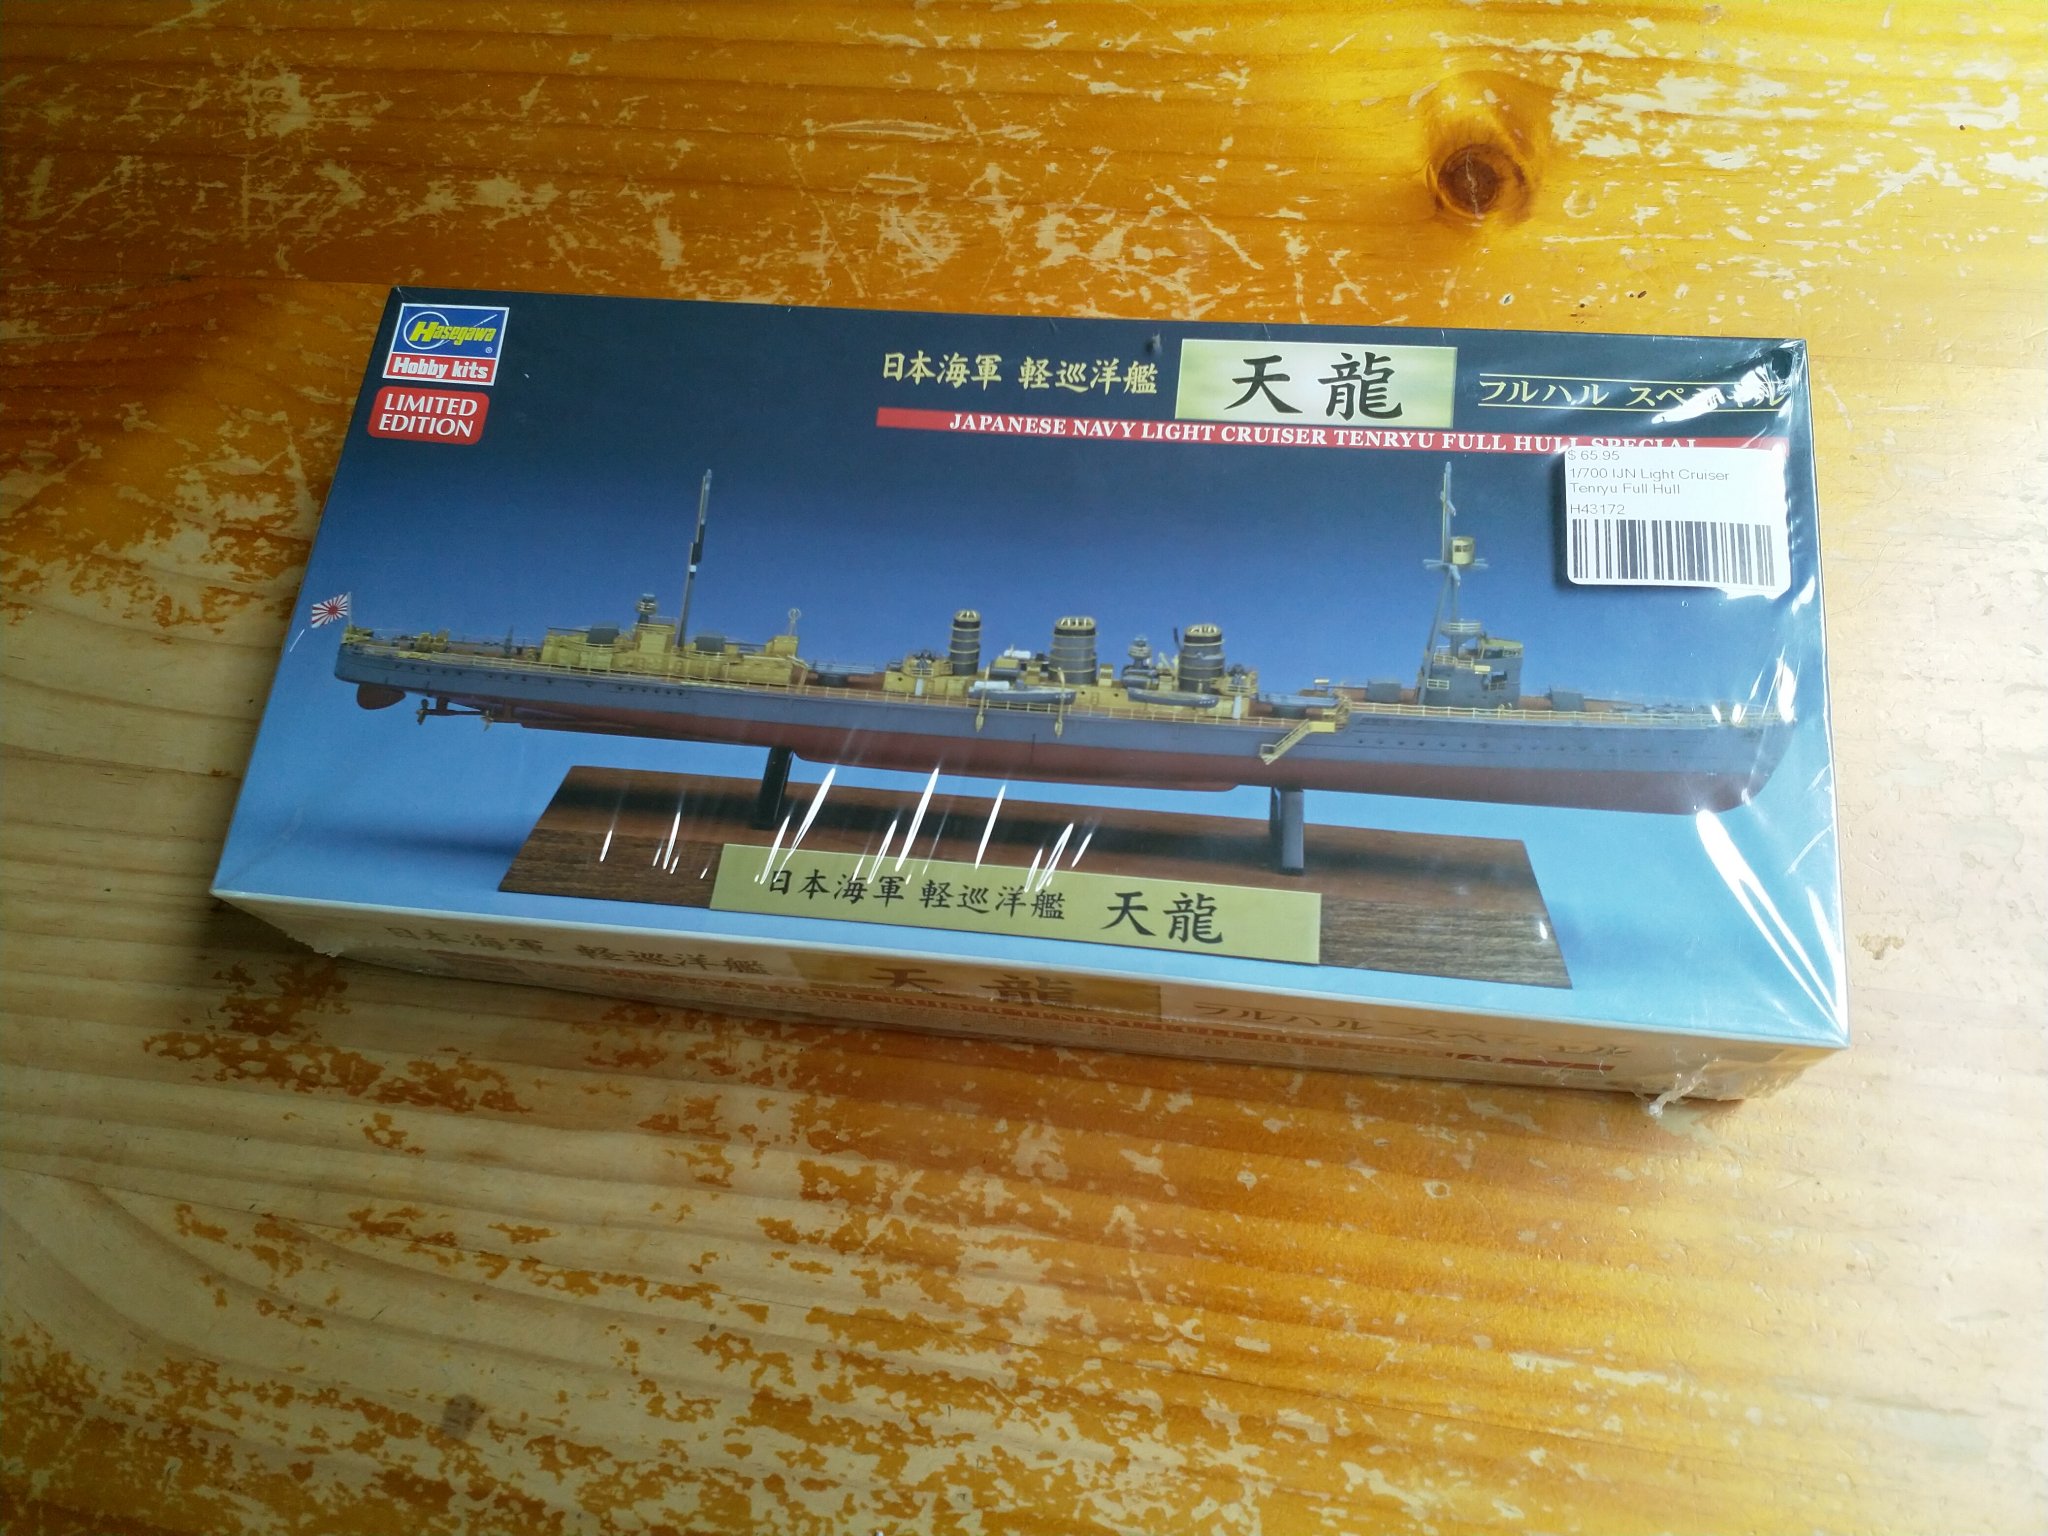
Hi all, Technically this model is already completed, but I took some photos for a build log in case anyone is interested. Here's the kit. Photo etch included. Peter


-
Looks really crisp and clean! Every time I see Woody Joe kit builds for the last couple of years now, I'm thinking I should get one. Particularly the medium sized kits. (I like the the look of Hacchoro for size and detail) A few years back, I saw your Yakatabune build, and nearly bought a kit back then. This year, I have started studying Japanese and so getting even a bit more interested. The Kitamaebune seems to me to be a bit too large to start with. Having built all of the Woody Joe traditional Japanese ship/boat kits, have you got any recommendations? Thanks, Peter
-
Hi Clare, Looks great. This Takasabune, is it also a Woody Joe model? Cheers, Peter
-
Indeed. Look at those braces..! That's unusual... 😞 Might be good to look for an alternative rigging plan. Rest looks good though. Peter
- 74 replies
-
- 3
-
-
- mantua
- thermopylae
- (and 1 more)
-
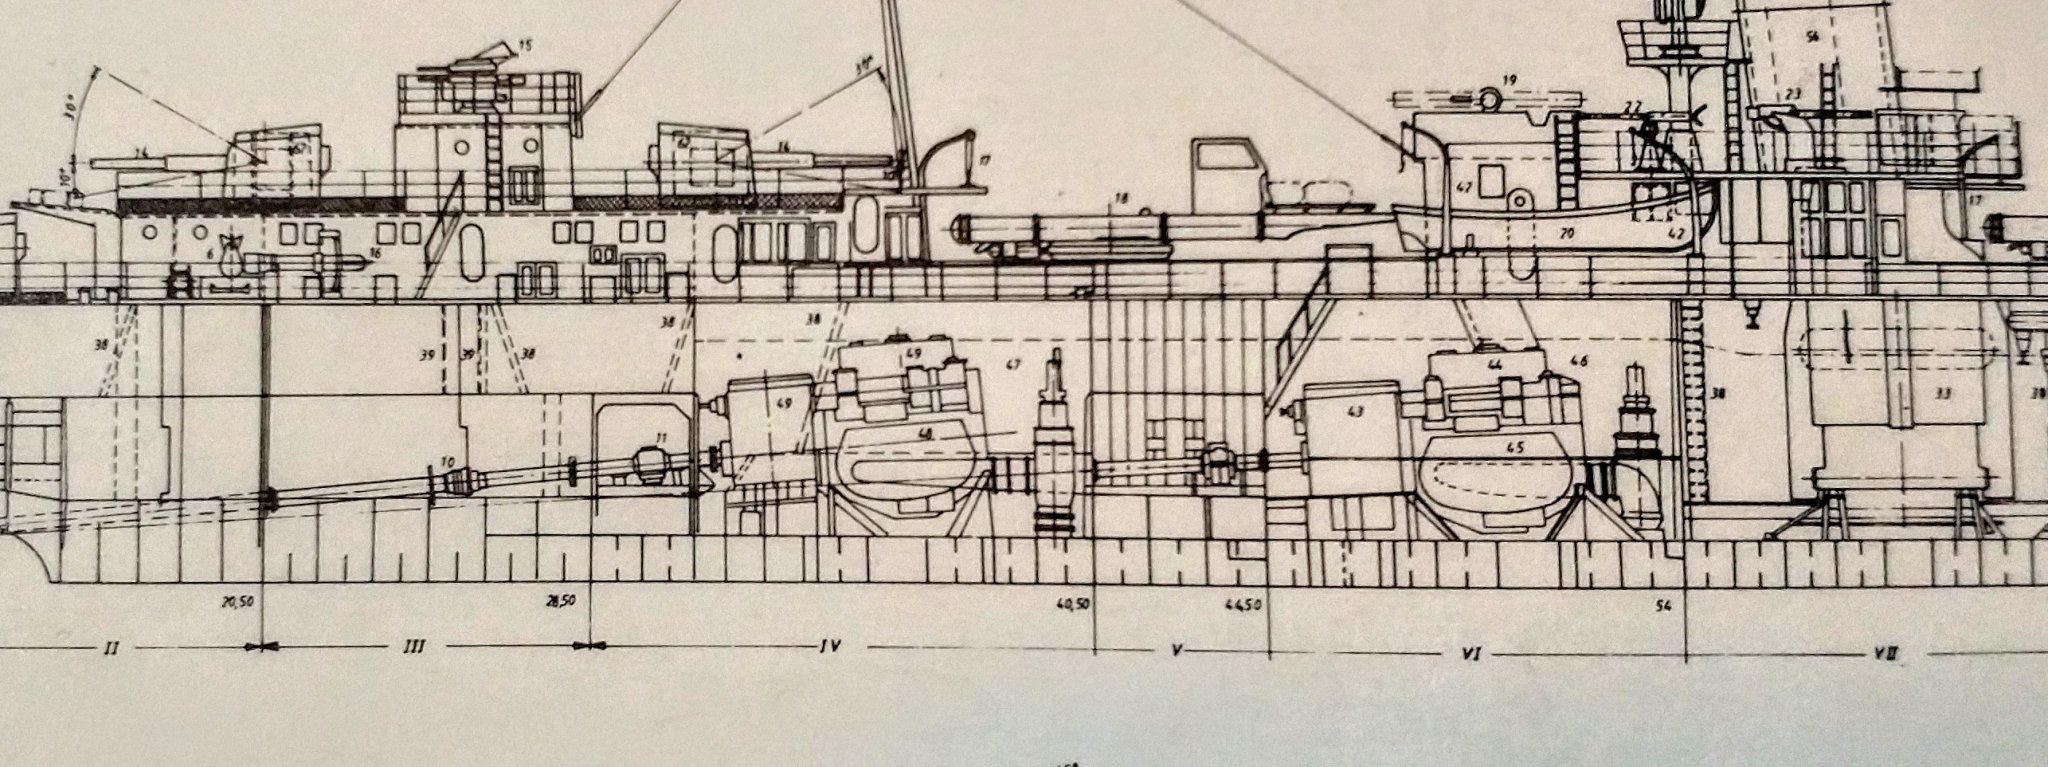
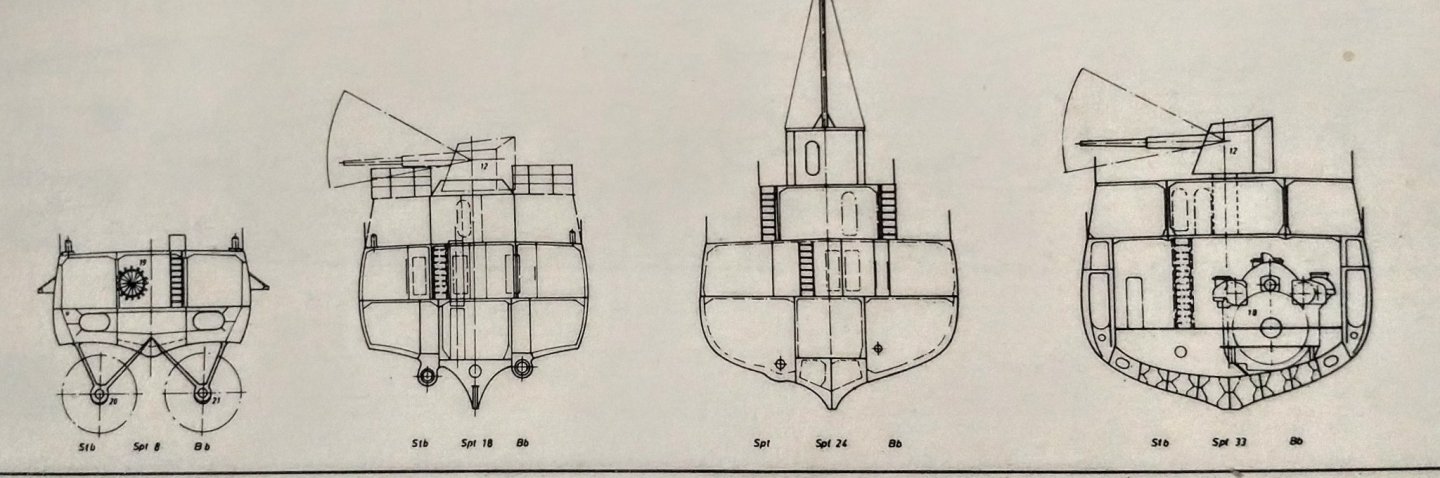
They do, It's only the angle of the axles that differ. Since the stern turbine has an axle that points steeper downwards, it exits the hull further aft. The screws are then side by side.

-
Following! I used to scuba dive on the destroyer wrecks in Narvik many years ago. Somwhere I have a half built smaller scale model. This one looks nice. Note that the starboard propeller shaft should exit the hull ahead of the port one, as the Wagner turbines do not sit side by side, but rather one in front of the other. Peter
-
Hi Bruce, Dave Sorry for the delay. It's been a while since I logged in. Billings is still around, instructions are available for download from their site: https://www.billingboats.com/index.php/modelboats-footer/76/120/boats/the-expert/P-bb564-cutty-sark Chains for lower yards 1, 6 and 12 should be attached to the mast (looks a bit wrong on the Billings plans) For the blocks, I have mostly tied them around the yards Hope this helps? Peter
-
Hi Michael! A huge congratulations on an excellent model! Looks great! I'm feeling the pressure now.. What happened to the pegasues (pegasi?)? ;-) Cheers, Peter
-
:-) I don't know much about the Oseberg ship, only very few details on Viking ship construction in general and only a rough idea on the various types of viking ships.. Looking forward to watching your progress though. Cheers, Peter
-
Hi Michael, Thanks. Whatever knowledge I may have here comes in large part from years of discussion with more knowledgeable people. The weatherdeck nails would be iron nails, not treenails. Scroll down for Fred’s comment: http://warshipvasa.freeforums.net/thread/100/deck-planking To be honest, at the scale we’re working in with the Corel model, a treenail would not be visible. (if you can see it, it’s probably not a treenail, if you can’t, it is a reasonable omission :-) ) The rigging is really looking great! I am too looking forward to the results of the deAngostini builds. I know Fred is building one too. Cheers, Peter