HOLIDAY DONATION DRIVE - SUPPORT MSW - DO YOUR PART TO KEEP THIS GREAT FORUM GOING! (Only 13 donations so far - C'mon guys!)
×


baskerbosse
-
Posts
212 -
Joined
-
Last visited
Content Type
Profiles
Forums
Gallery
Events
Everything posted by baskerbosse
-
 This looks like rather impressive gun casting. (My Corel kit came with some generic guns, not anything like the actual Vasa guns) I don't think it would be a 1 pounder or 3 pounder though. They would be a lot more slender. Looks like a 'Stormstycke' that goes on the forecastle. Also, red for the Vasa carriages is probably not historically correct. The accounts book states black paint purchased specifically for the gun carriages. Seems to be a great kit so far. /Peter
- 305 replies
-
- 3
-

-
- deagostini
- vasa
- (and 1 more)
-
Looking great, I'll be following if you don't mind (wait, -there's popcorn! :-) -any left? :-) ) DeAgostini kits seem to be getting more and more common. They seem to be pretty good quality. /Peter
-
Looks interesting. By the look of the first parts anyway, looks like better accuracy than Corel. The bow section is looking promising. /Peter
-
Cutty Sark by NenadM
baskerbosse replied to NenadM's topic in - Build logs for subjects built 1851 - 1900
Looking great! Amazing as usual. -Just make sure you don't leave rigging the deadeyes until too late. Can be quite tricky to run the lanyards for the mizzen deadeyes in my experience.. Keep on with the great work! Cheers! Peter- 4,152 replies
-
- 6
-
-
- cutty sark
- tehnodidakta
- (and 1 more)
-
Cutty Sark by NenadM
baskerbosse replied to NenadM's topic in - Build logs for subjects built 1851 - 1900
Epoxy and microballoons is an excellent filler and should not shrink much. It's also lightweight. Hobby shops that sell RC planes might have microballoons. Back in the 80s when I used to build windsufingboards, you used to be able to by them in the surf shop in larger amounts, as well as epoxy resin. Probably not likely these days, I don't know. If you use microballoons, wear a mask. They are actually made of glass, and can fly around like dust. You do not want to breathe glass balloons.. /Peter- 4,152 replies
-
- 4
-
-
- cutty sark
- tehnodidakta
- (and 1 more)
-
Cutty Sark by NenadM
baskerbosse replied to NenadM's topic in - Build logs for subjects built 1851 - 1900
Hi Nenad, Probably best to be careful with the glue type. Is a large percentage of the filling glue? How much does it shrink when it dries? As Patrick said above, perhaps resin would be better. It doesn't shrink much and does not need evaporation to harden. If the hull is to a large percentage filled with water based glue (the rest being wood, leaving no air), it will dry very slowly, and shrink as it does. If air cannot come in to replace the lost volume, the hull might come under strong (imploding) stress! Might deform the planking inwards, perhaps not straight away, but if the glue takes a very long time to dry, perhaps in a year or more. Please be careful. /Peter- 4,152 replies
-
- 5
-
-
- cutty sark
- tehnodidakta
- (and 1 more)
-
Ornamentation looks really good! I see you made a new figurehead. That was the main part I was unhappy with when I first opened the box. It's so bad that they didn't even use it on the model in their catalogue! :-) /Peter
- 188 replies
-
- 1
-
-
- cutty sark
- billing boats
- (and 1 more)
-
Absolut! :-) Jag är Svensk med Norska förfäder, men förstår dansk! ;-D /Peter
- 188 replies
-
- 1
-
-
- cutty sark
- billing boats
- (and 1 more)
-
Hi Wim, It's looking awesome! My wife advises that it looks like you have the name plate on upside down (not that I would know). You might want to double check.. Keep up the great work, Peter
- 96 replies
-
- 3
-
-
- Turtle Ship;
- Korean Turtle War Ship
- (and 1 more)
-
The lower small port is what is known as a 'mail port' or 'messaging port'. /Peter
- 86 replies
-
- 4
-
-
- billing boats
- wasa
- (and 1 more)
-
Hi Rob, If you look at the hull and the main cabin at this point, there is a window here. I suspect the 'door' was mere conjecture, and it makes more sense that it was only a cutout in the quarter galleries, made to let light in through the window into the main cabin. /Peter
- 86 replies
-
- 1
-
-
- billing boats
- wasa
- (and 1 more)
-
Cutty Sark by NenadM
baskerbosse replied to NenadM's topic in - Build logs for subjects built 1851 - 1900
Thanks Nenad, (I don't know what's up with the ants!? They have not been doing any work for two weeks now!)- 4,152 replies
-
- 3
-
-
- cutty sark
- tehnodidakta
- (and 1 more)
-
Cutty Sark by NenadM
baskerbosse replied to NenadM's topic in - Build logs for subjects built 1851 - 1900
Looking excellent!- 4,152 replies
-
- 4
-
-
- cutty sark
- tehnodidakta
- (and 1 more)
-
Very nice work on the tops! I'm taking notes for when I get to that point (hopefully sometime in the next decade! ;-) ) /Peter
-
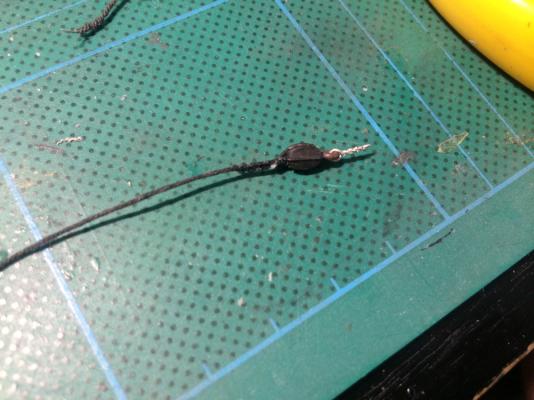
Thanks! Now for the tacks; Drilled a hole at the end of the block to attach a rope. Ready to install, approximately where Campbell's plans have them. Looking at pictures of the real ship, the tacks, sheets, clewlines and reef tackles are all rigged up together. Most models omit the reef tackles, Billing's rigging plan does not have tack lines either. (I may leave out the reef tackles as well, not sure yet) Cheers! /Peter
- 92 replies
-
- 3
-
-
- Cutty Sark
- Billing Boats
- (and 2 more)
-
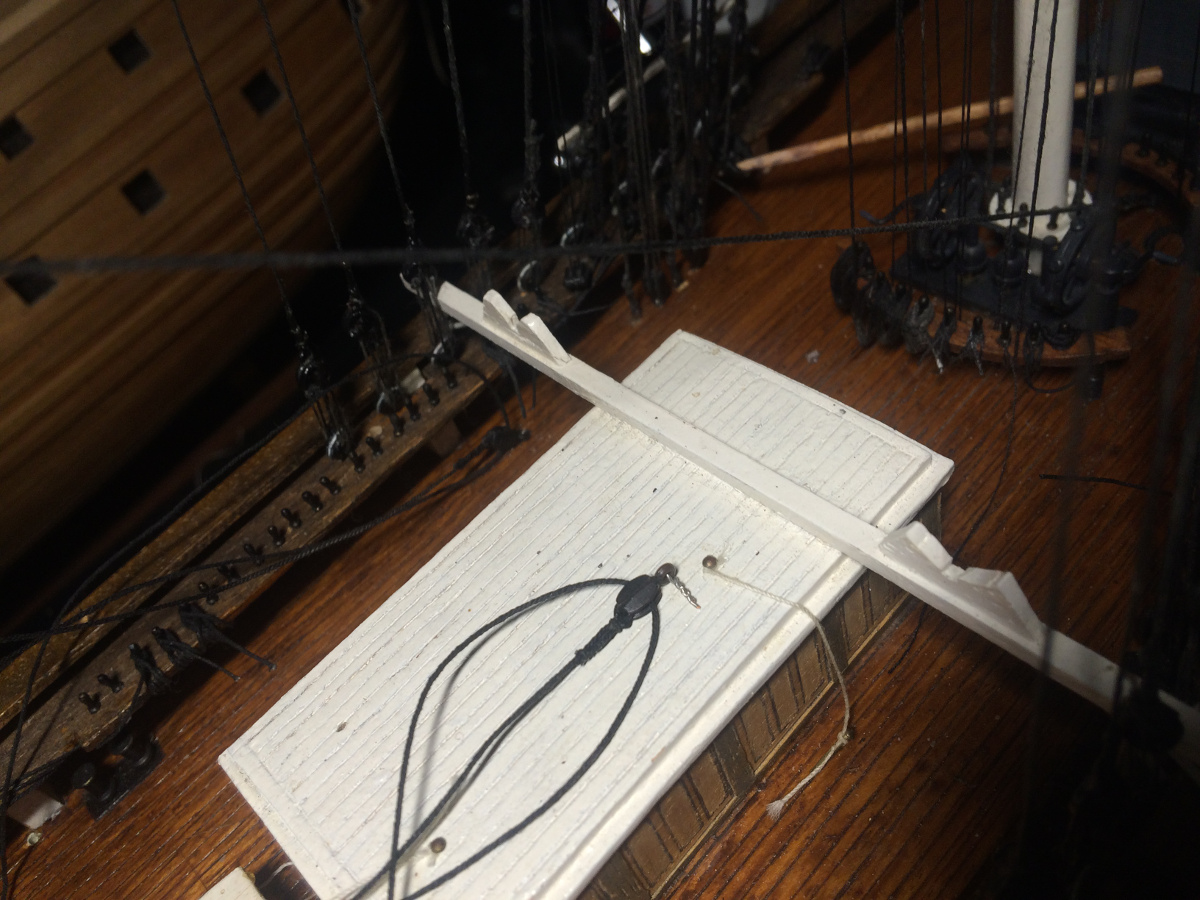
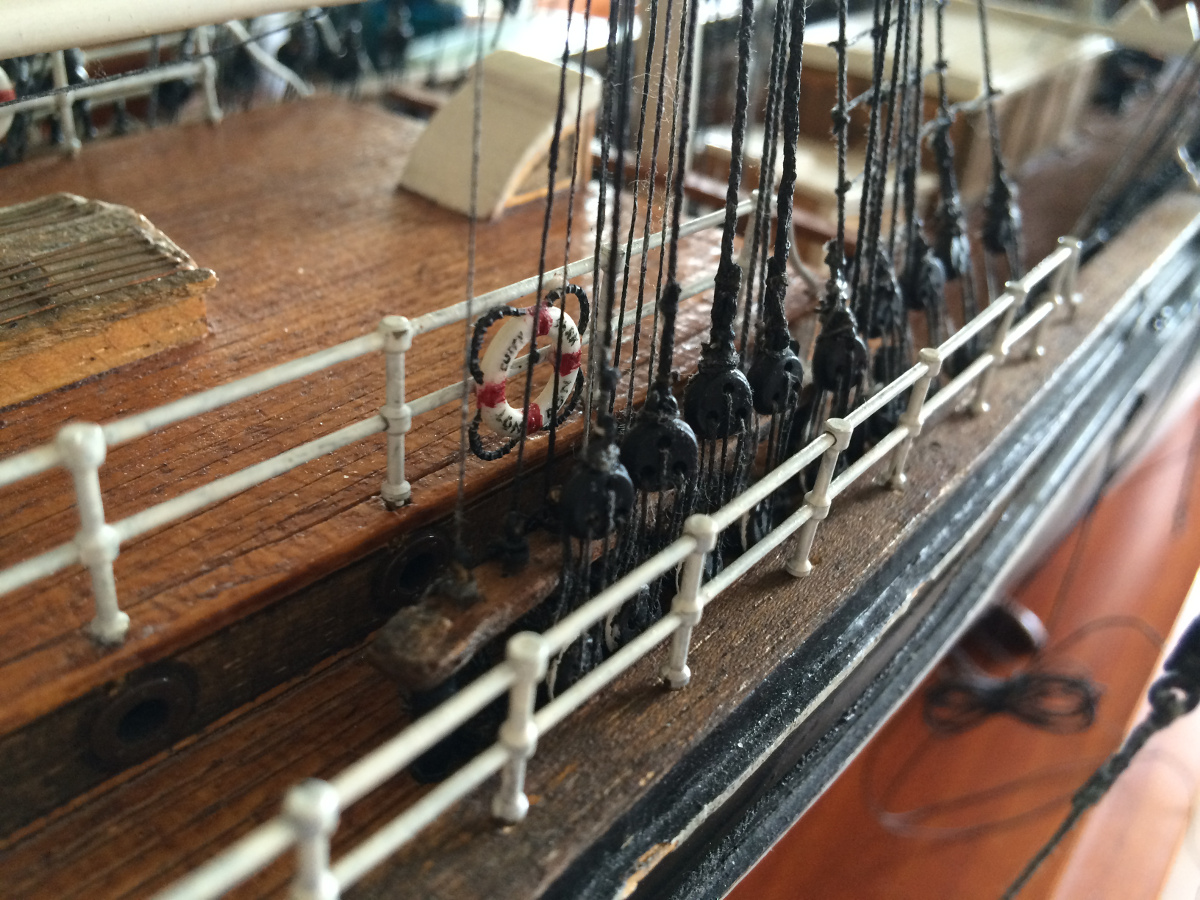
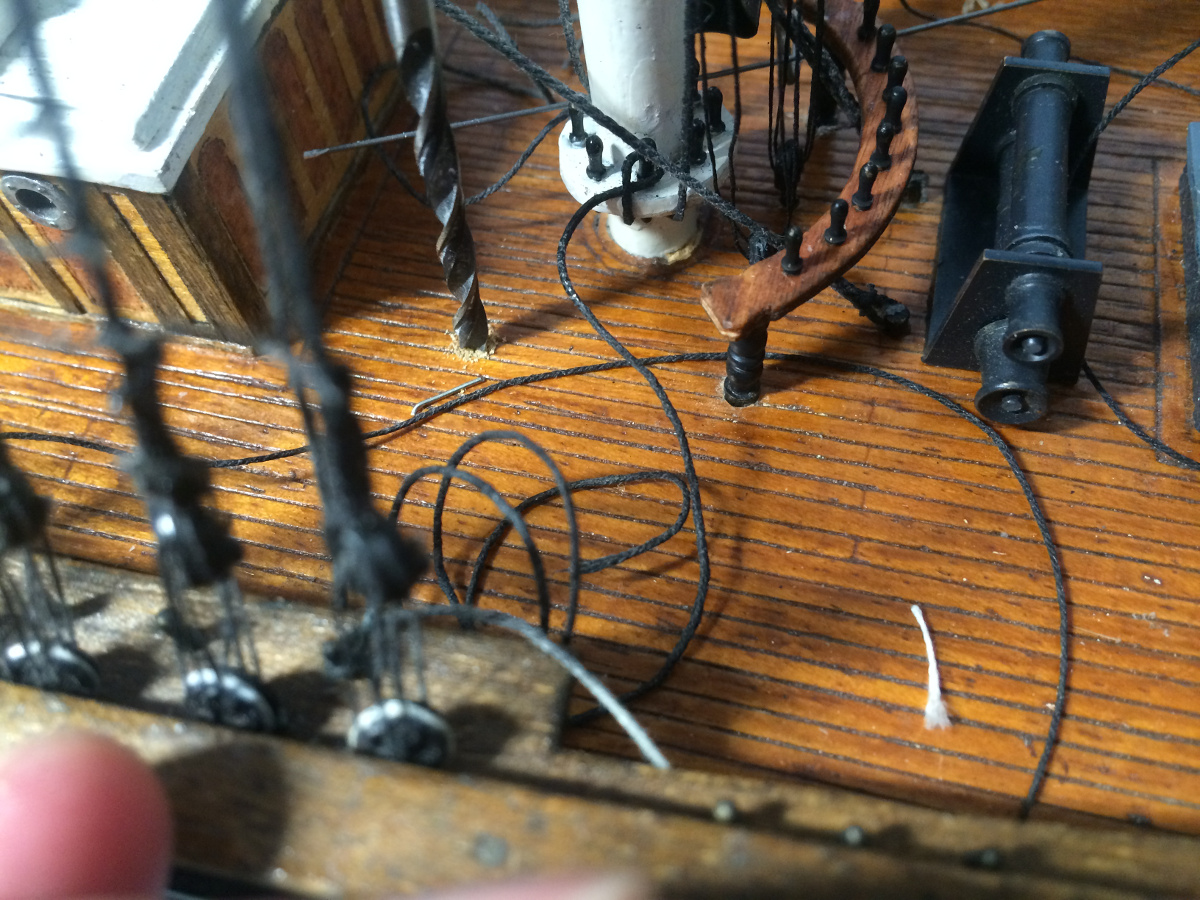
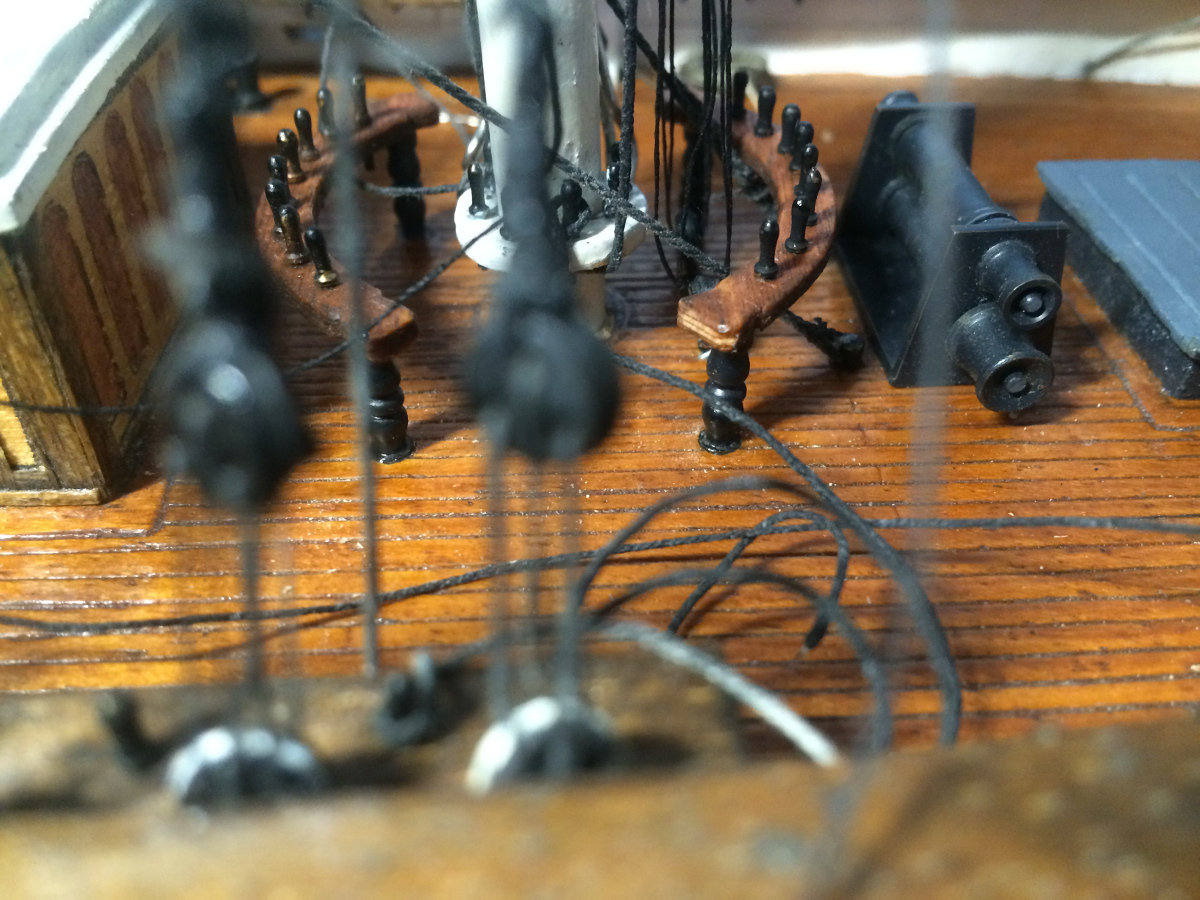
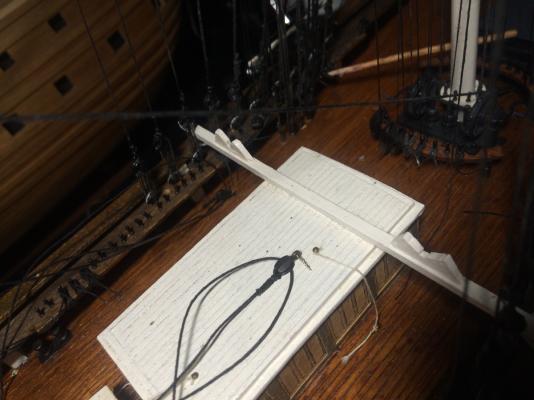
Have not had much time to work on this. Current state: Now adjusting lines to straighten up the yards. Once it looks good enough, trim the lines and add coils of rope. First area for finalising the belaying like this is the area around the mizzen and the main mast. The cleaned up mizzen belaying rail.
- 92 replies
-
- 5
-
-
- Cutty Sark
- Billing Boats
- (and 2 more)
-
Thanks, In the early 80's, the parts were just printed on different sheets of wood and you had to cut them out yourself (I was using my dad's bandsaw which made my mum a bit nervous). The deck was on one sheet of wood (1.5mm veneer I think), and if I remember correctly; the deck houses were marked, and the masts as well as the deck plank pattern was also printed, -but no markings for the fife rails.. Anyway, once I had cut out the deck and drilled the mast holes, I scribed the planking with a knife and sanded off the printing. The deck was then finished with a coat of varnish, a dark wash followed by a second coat of varnish. Not very realistic, but looks nice enough.. The main reason the holes were still not drilled for the fife rails is probably the same as for the rest of the missing rigging around the fore mast. I had just quick-rigged the foremast (not finishing it) and left the model at my parents house when I was going off to university. It then remained there until about ten years ago when the whole rigging was taken down for ease of transport.
- 92 replies
-
- 1
-
-
- Cutty Sark
- Billing Boats
- (and 2 more)
-
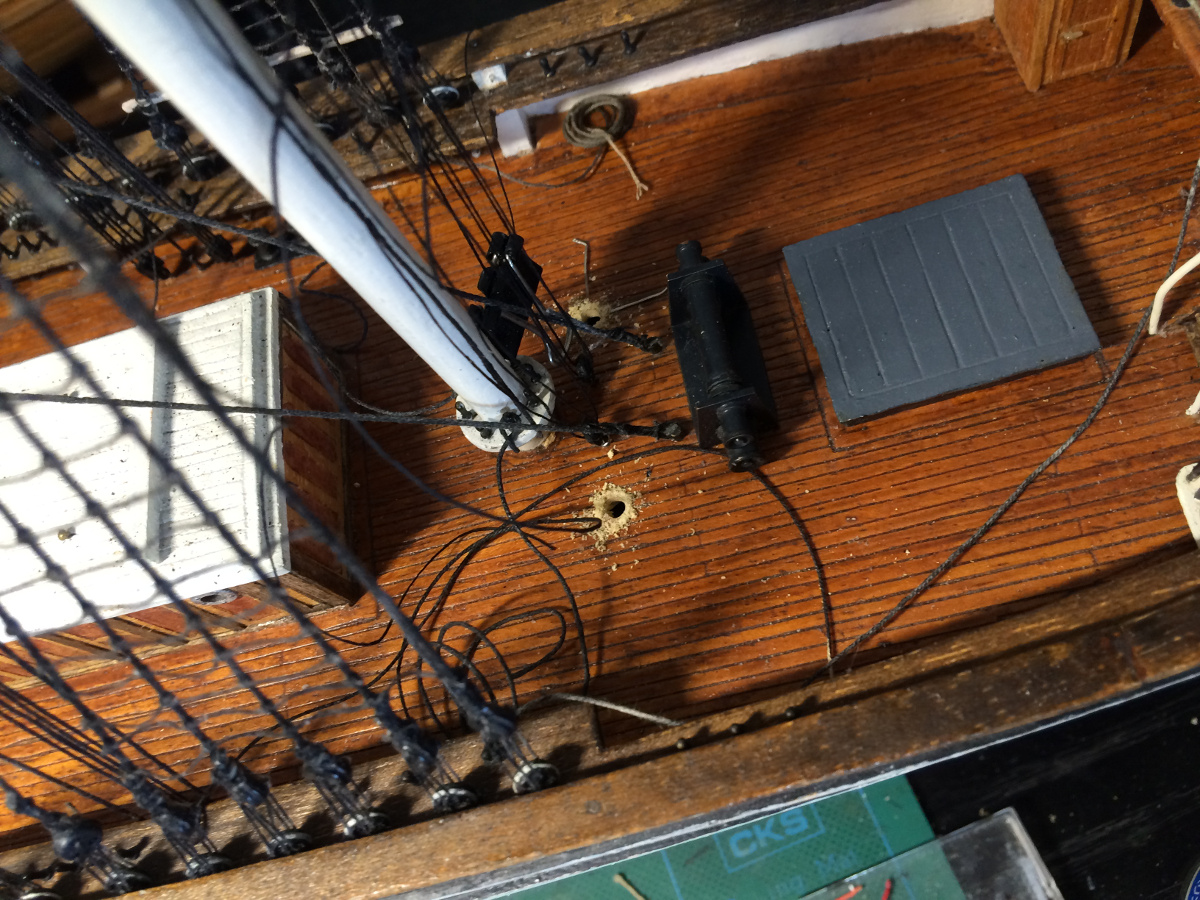
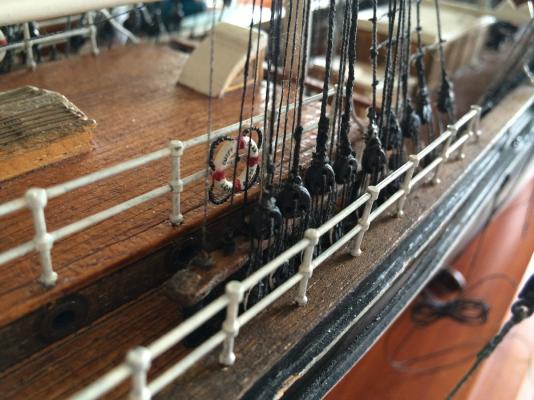
Fore mast fife rails were never installed: First holes: Fits alright! :-) : Next! (careful.. not much elbow room here..: All done: And the braces boom too:


- 92 replies
-
- 6
-
-
- Cutty Sark
- Billing Boats
- (and 2 more)
-
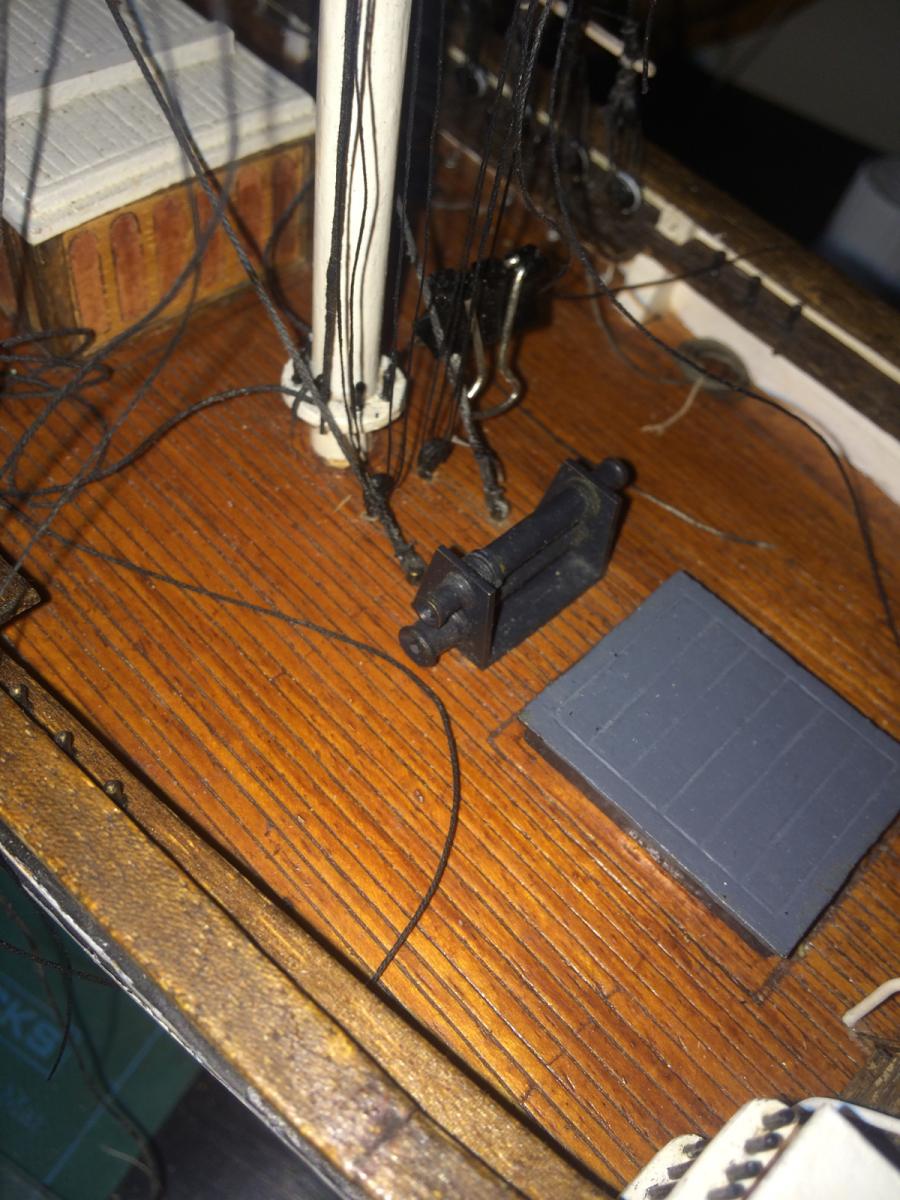
Some of the little bits that were missing: (for whatever reason never made initially) Making attachment point for the fore braces and fore fife rails. Painted..
- 92 replies
-
- 3
-
-
- Cutty Sark
- Billing Boats
- (and 2 more)
-
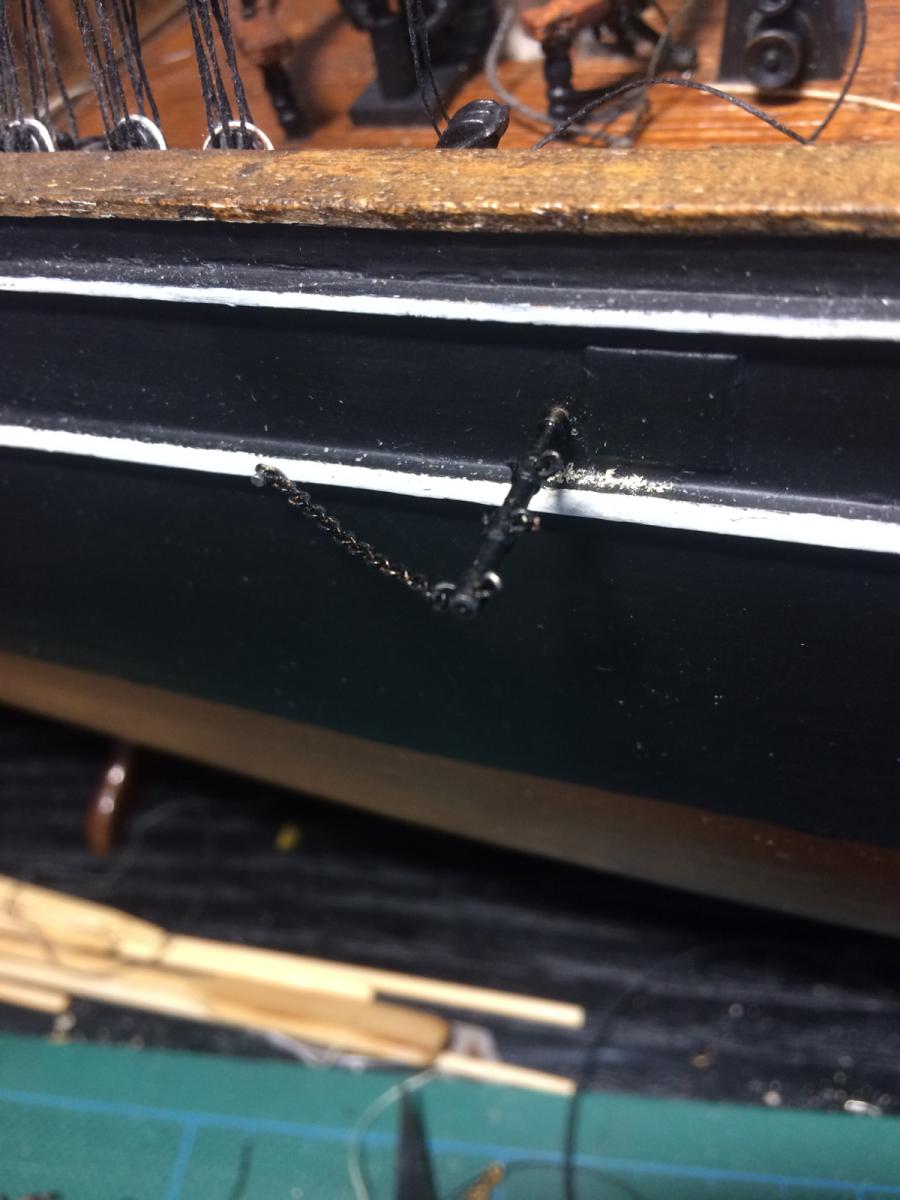
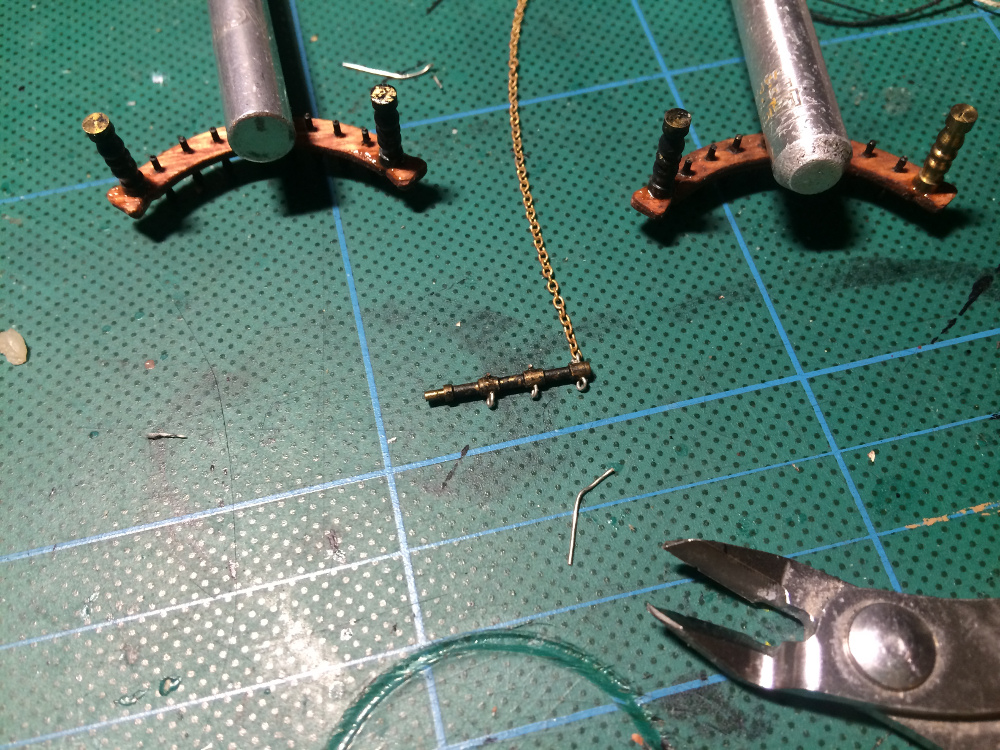
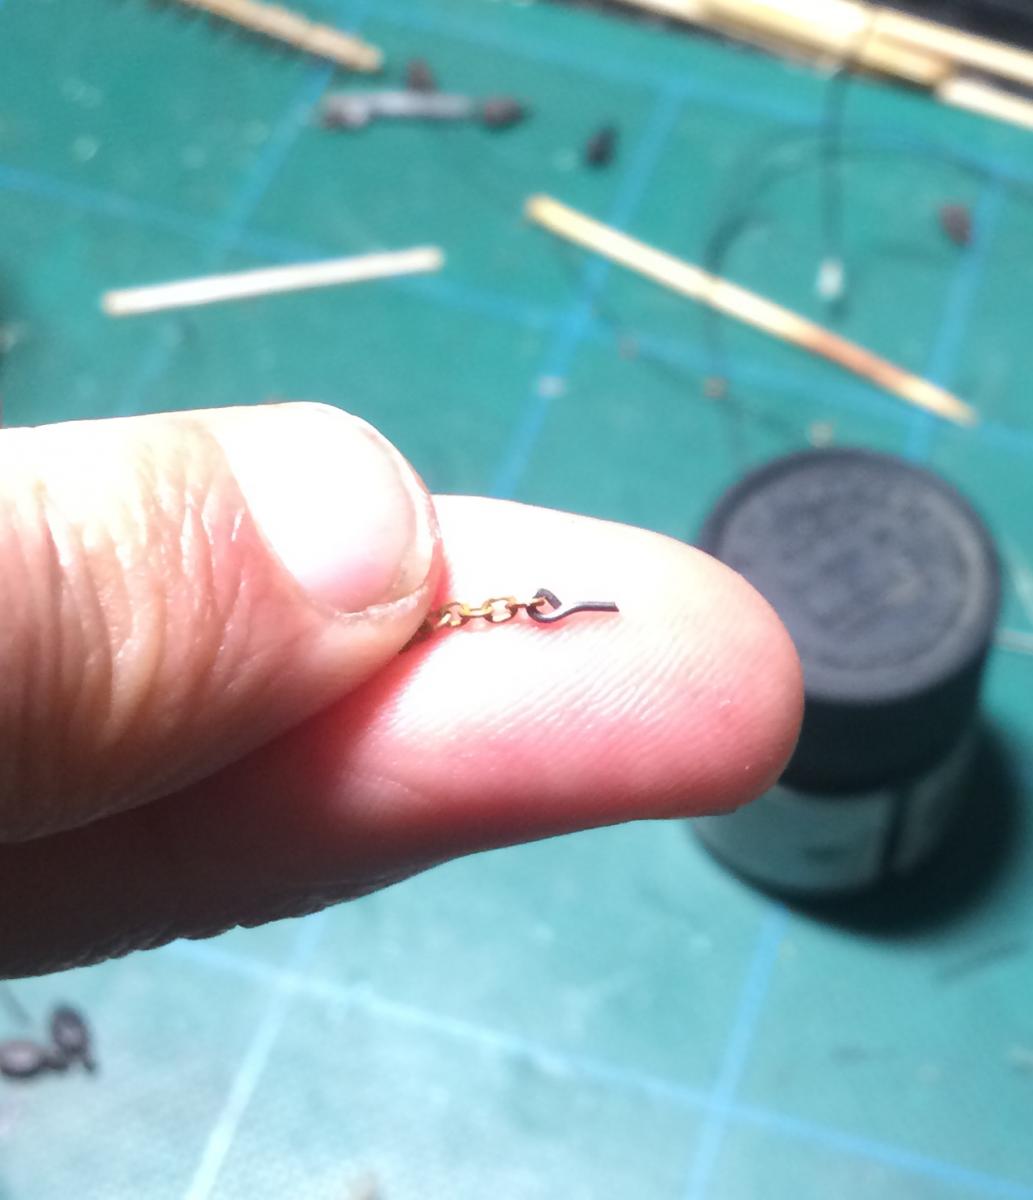
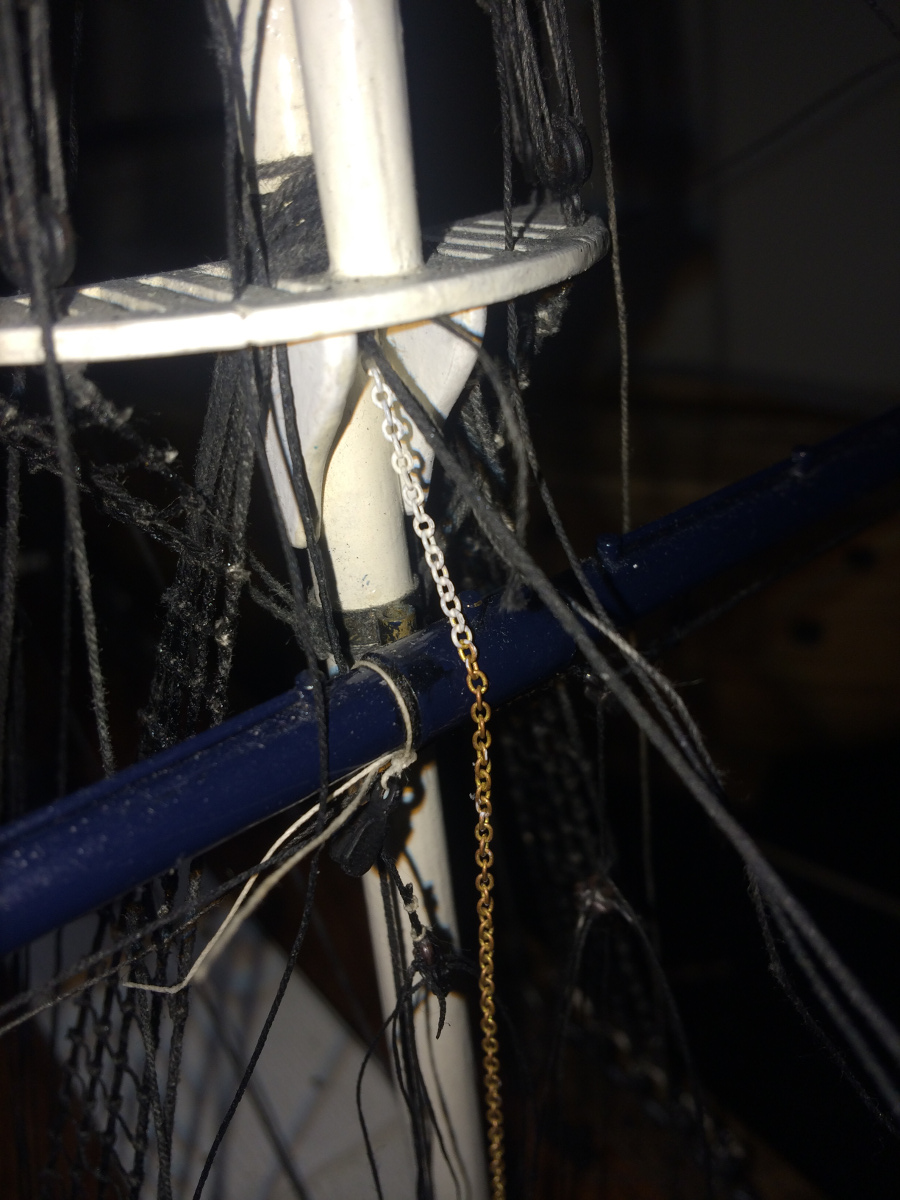
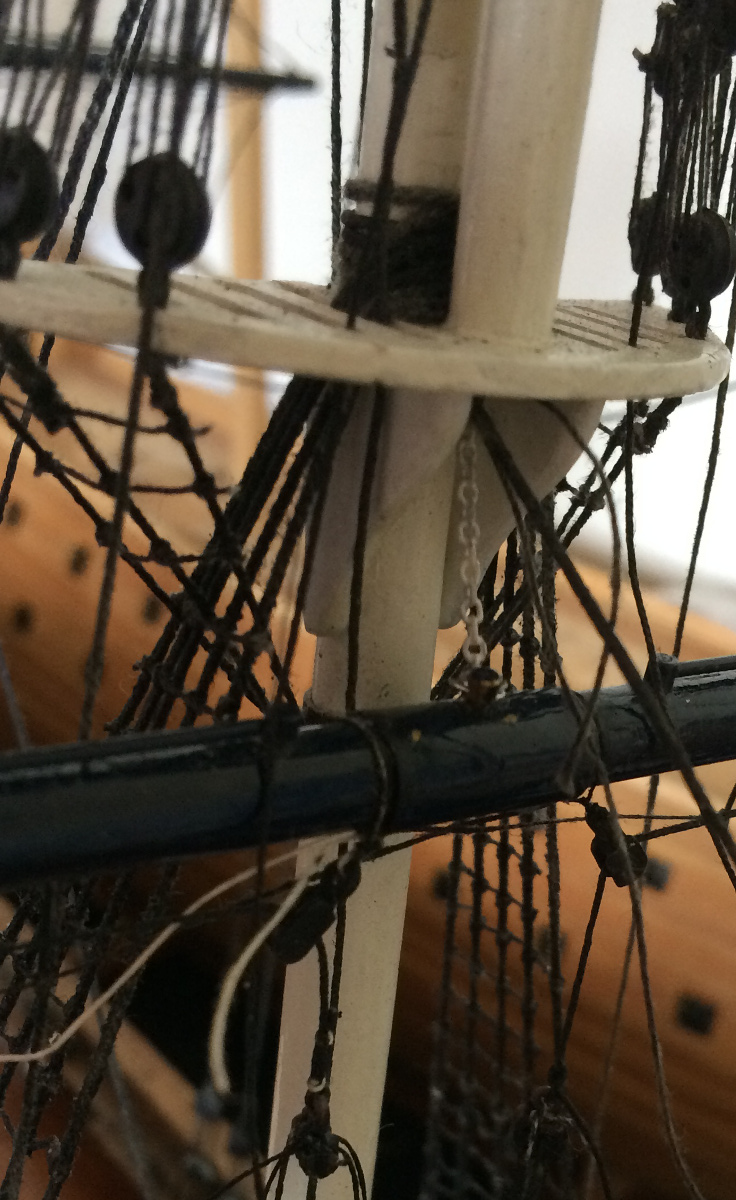
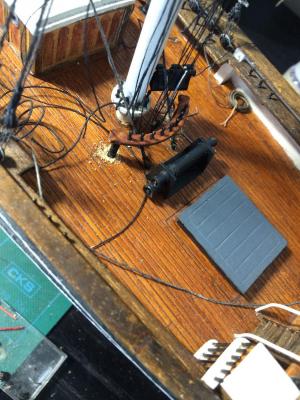
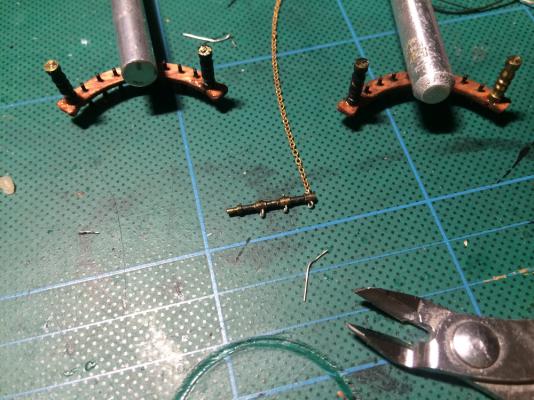
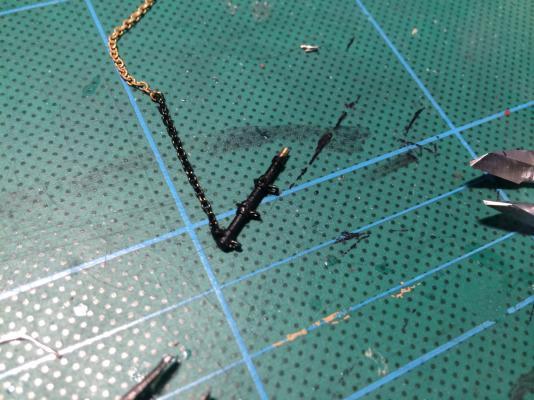
I think when it comes to the gammoning, usually they are indeed rope, however, I believe Campbell has this one right and for the Cutty Sark, the gammoning is actually chain. Thanks, Peter
-
Cutty Sark by NenadM
baskerbosse replied to NenadM's topic in - Build logs for subjects built 1851 - 1900
Looks great! You mentioned you are adjusting deck camber when installing them, -just don't forget the roof camber! :-) Are you doing both deck houses at the same time? (Looking at mine, it's pretty obvious that they were made at different times as the work finish and the colour hues don't quite match! :-( ) /Peter- 4,152 replies
-
- 5
-
-
- cutty sark
- tehnodidakta
- (and 1 more)
-
Cutty Sark by NenadM
baskerbosse replied to NenadM's topic in - Build logs for subjects built 1851 - 1900
Really nice detail work. That's a really tiny door. Deck houses are coming along very nicely! /Peter- 4,152 replies
-
- 4
-
-
- cutty sark
- tehnodidakta
- (and 1 more)
-
Thanks Nenad, There are several simplifications though. I have skipped a couple of brace pendant blocks, omitted the upper topsail sheets and most of the running rigging to do with sails. I may install reef tackles for the lower yards, but have not decided yet. Cheers! /Peter