-
Posts
797 -
Joined
-
Last visited
Content Type
Profiles
Forums
Gallery
Events
Everything posted by Seventynet
-
Nice steady accurate work. It will pay off as you move ahead. Ian
- 92 replies
-
Very nice job and something to be proud of! Ian
- 82 replies
-
- half hull planking project
- half hull
-
(and 2 more)
Tagged with:
-
Paul this build is just beautiful, such clean and crisp work!
- 201 replies
-
- Oyster Sharpie
- first scratch build
-
(and 1 more)
Tagged with:
-
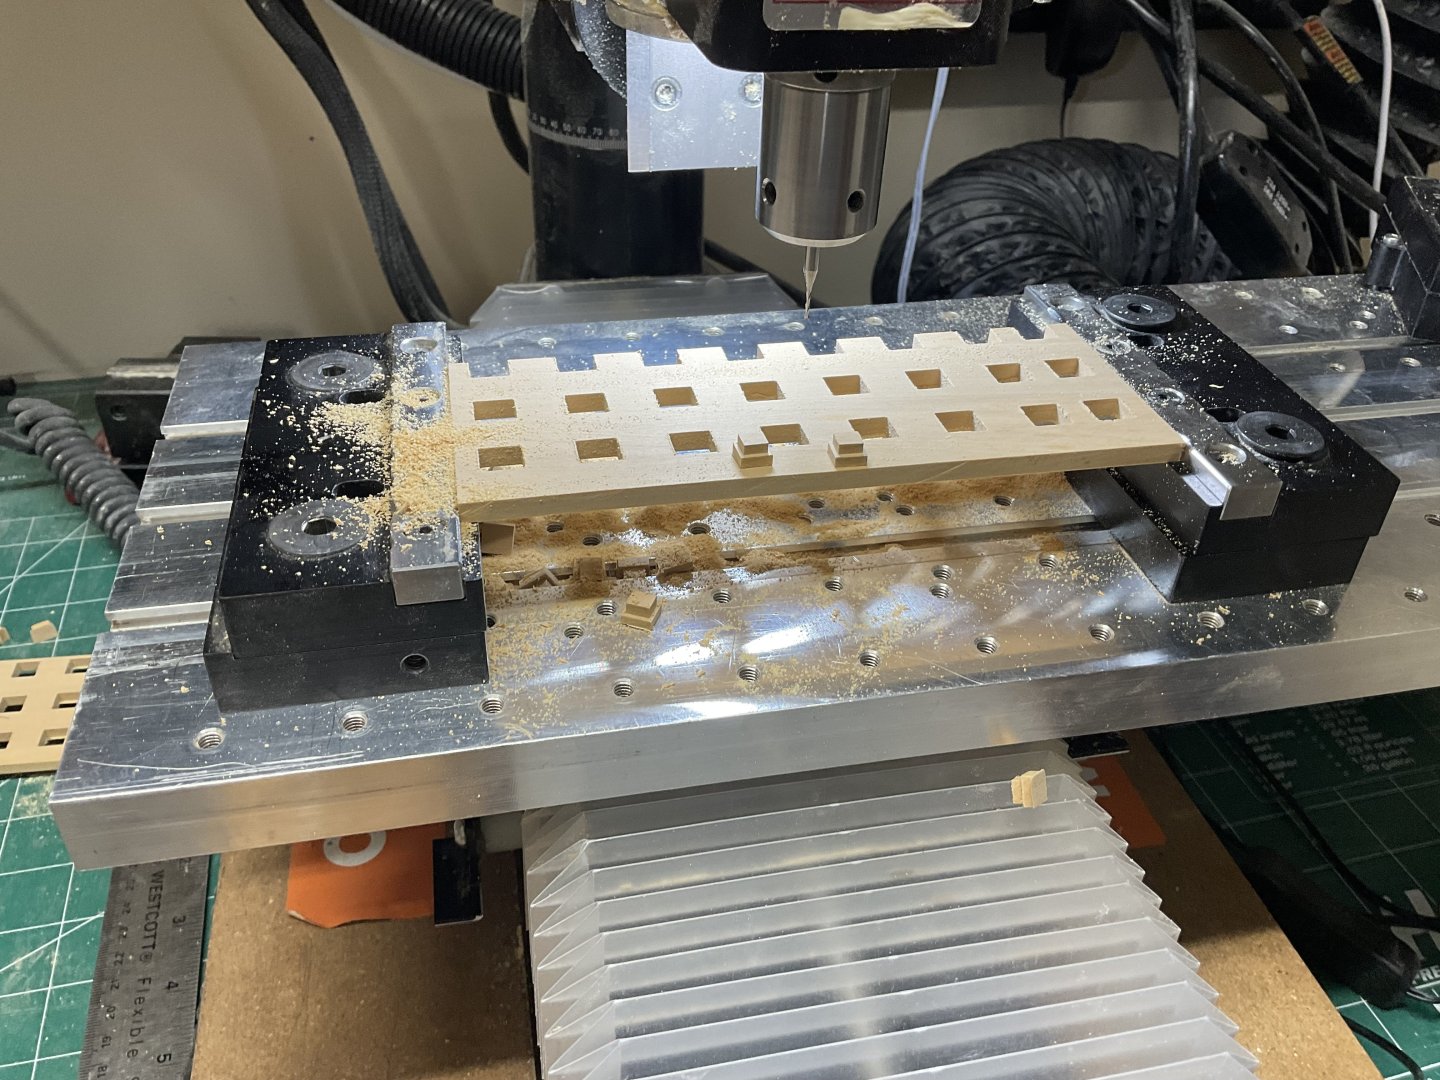
Hi all, thank you for the comments and likes, I really appreciate it. I just wanted to post a quick update. There’s not a lot to tell to this point. My approach to the sweep ports was to mill a sort of plug to position the port with the idea that I could snug the planks right up to them. It wasn’t a perfect approach and in many cases I removed the port after tracing the outline and cut the planks against the pencil outline. However, it is very fiddly work and far from perfect. I built a little jig to outline the gun ports as shown. I have decided that I am going to plank the starboard side with Holly whilst I wait for chapter 3. I will install the second layer of wales before I start the hull because it will be easier to place the lower wale that way. I also plan to treenail both above and below the wales but am in the waiting mode for the fishing line and necessary bits.
-
Thanks Rick, you must be referring to the standard (at least that’s what I think it’s called). After breaking it off for the 3rd time I decided to wait until much further into the build when I don’t need to turn it over anymore. I kind of knew that I would break it and made a few extra standards. I look forward to your next instalment Rick. Cheers, Ian
-
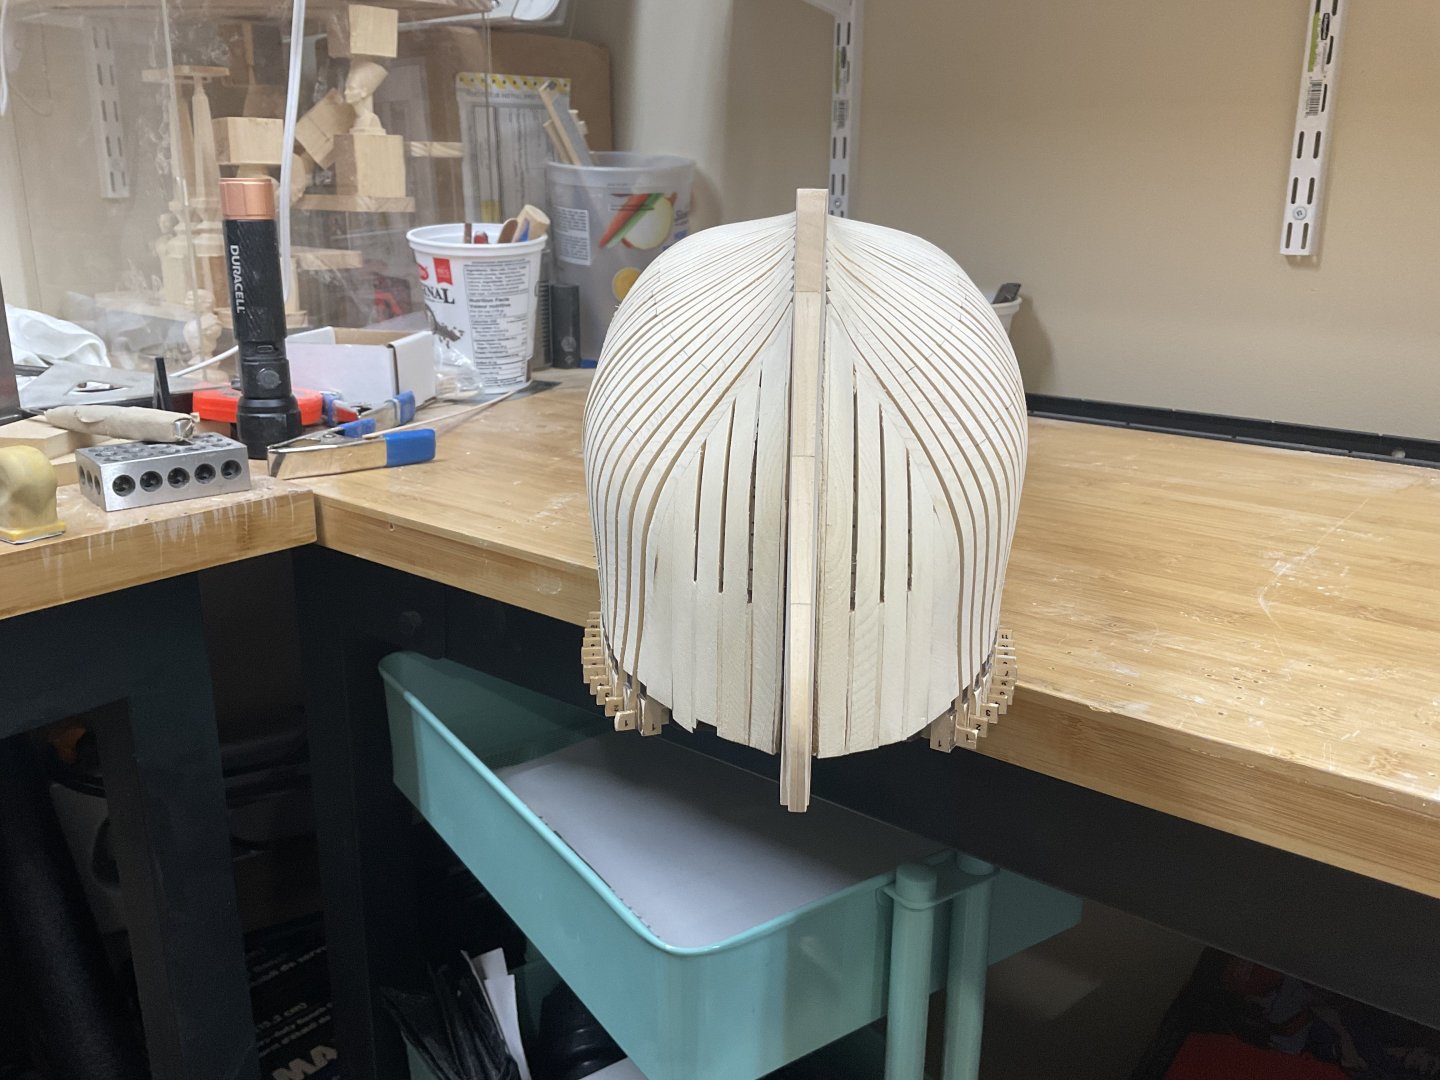
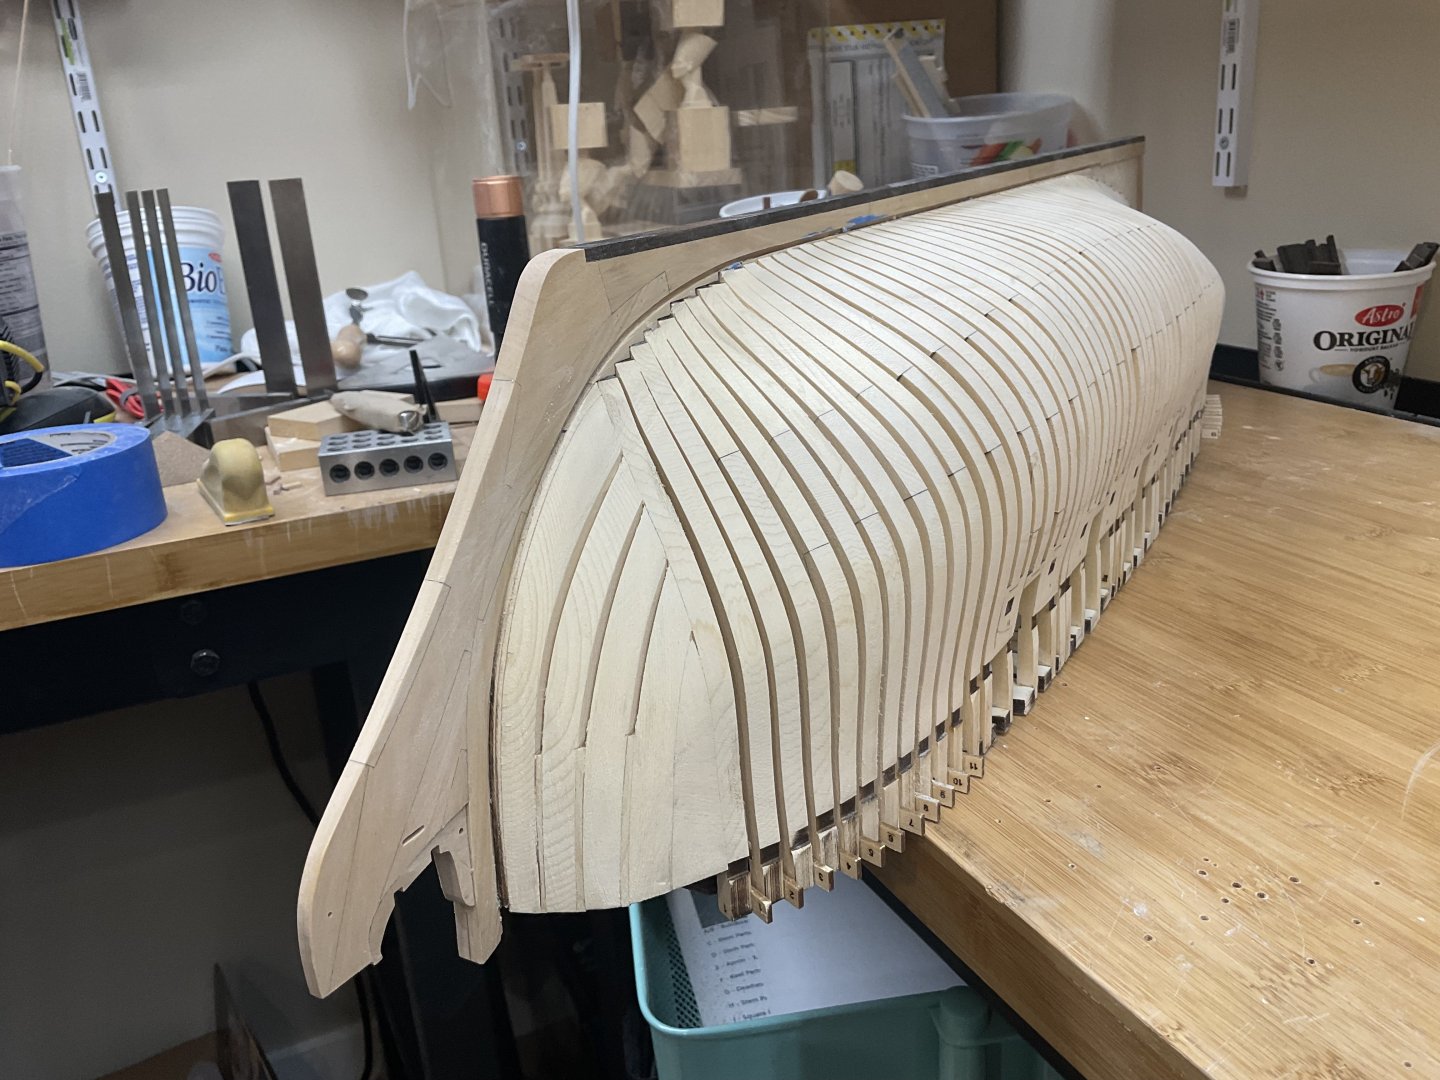
Hi Rusty, your work is great as usual. I feel compelled to share my regret in not getting a clean enough fit for all the can’t frames where they join the keel. Another thing that I perhaps should have done is to have removed the char so that it doesn’t show up in that area. I just didn’t pay enough attention as I motored along and now feel that I have no choice but to plank the hull. Although I suppose I could do a partial plank job to cover those areas. Just so you know what I am talking about here is a photo. I am sure I do not even need to mention this to you given your beautiful work.
-
Your planking is looking really nice and clean. Well done. Ian
- 210 replies
-
- San Martin
- OcCre
-
(and 1 more)
Tagged with:
-
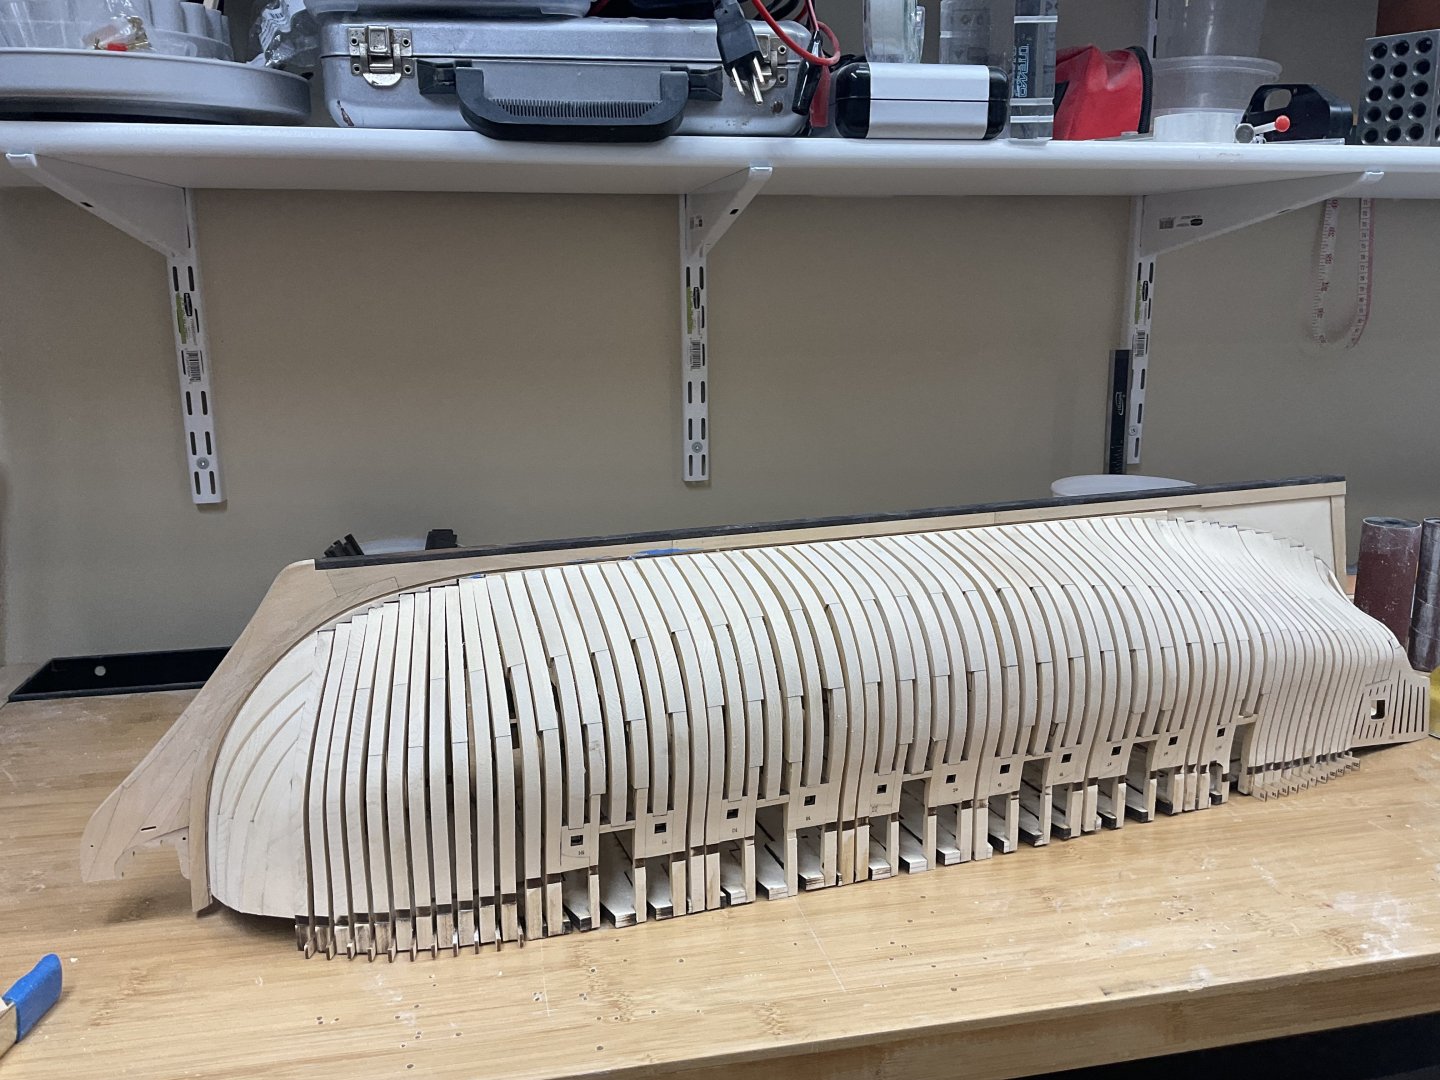
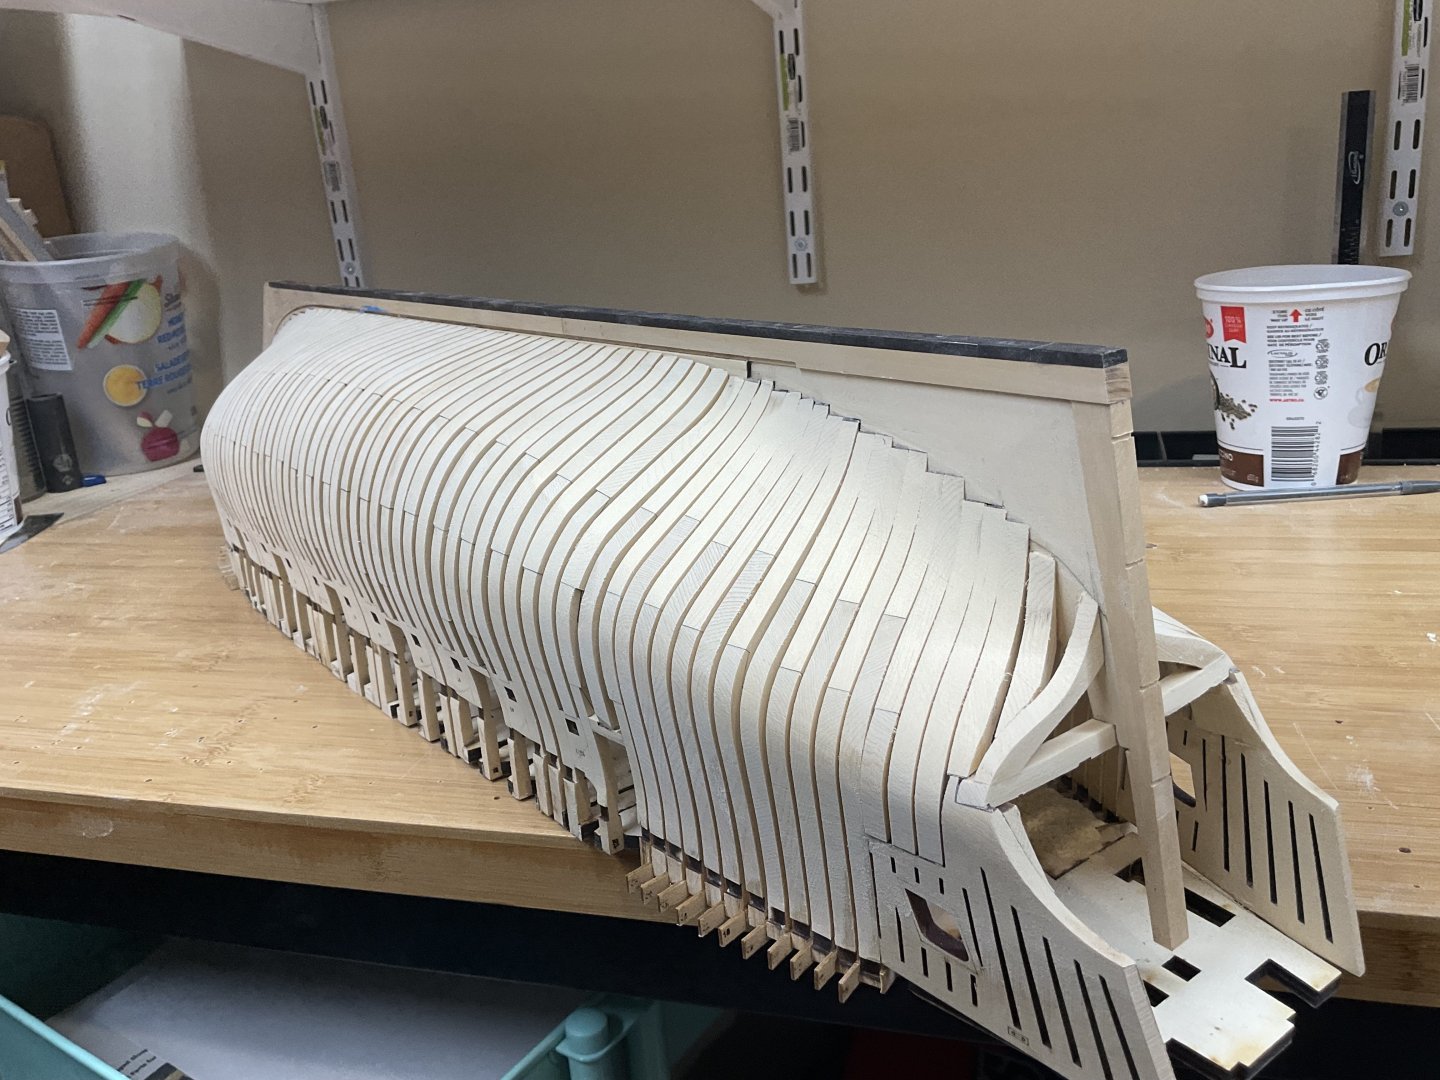
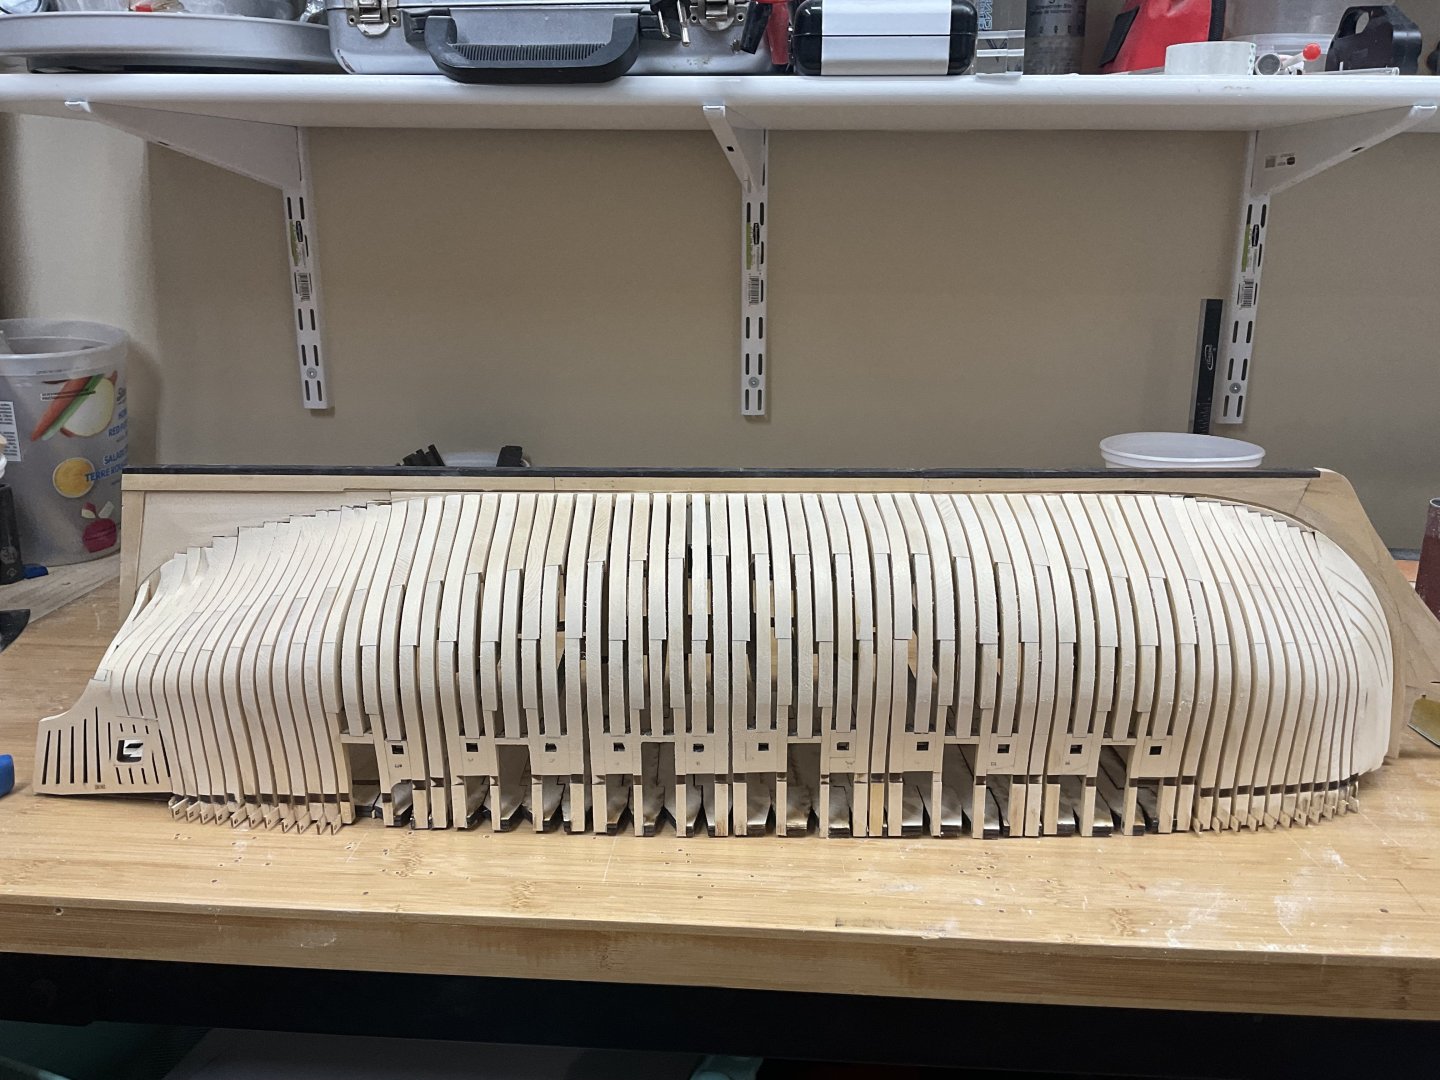
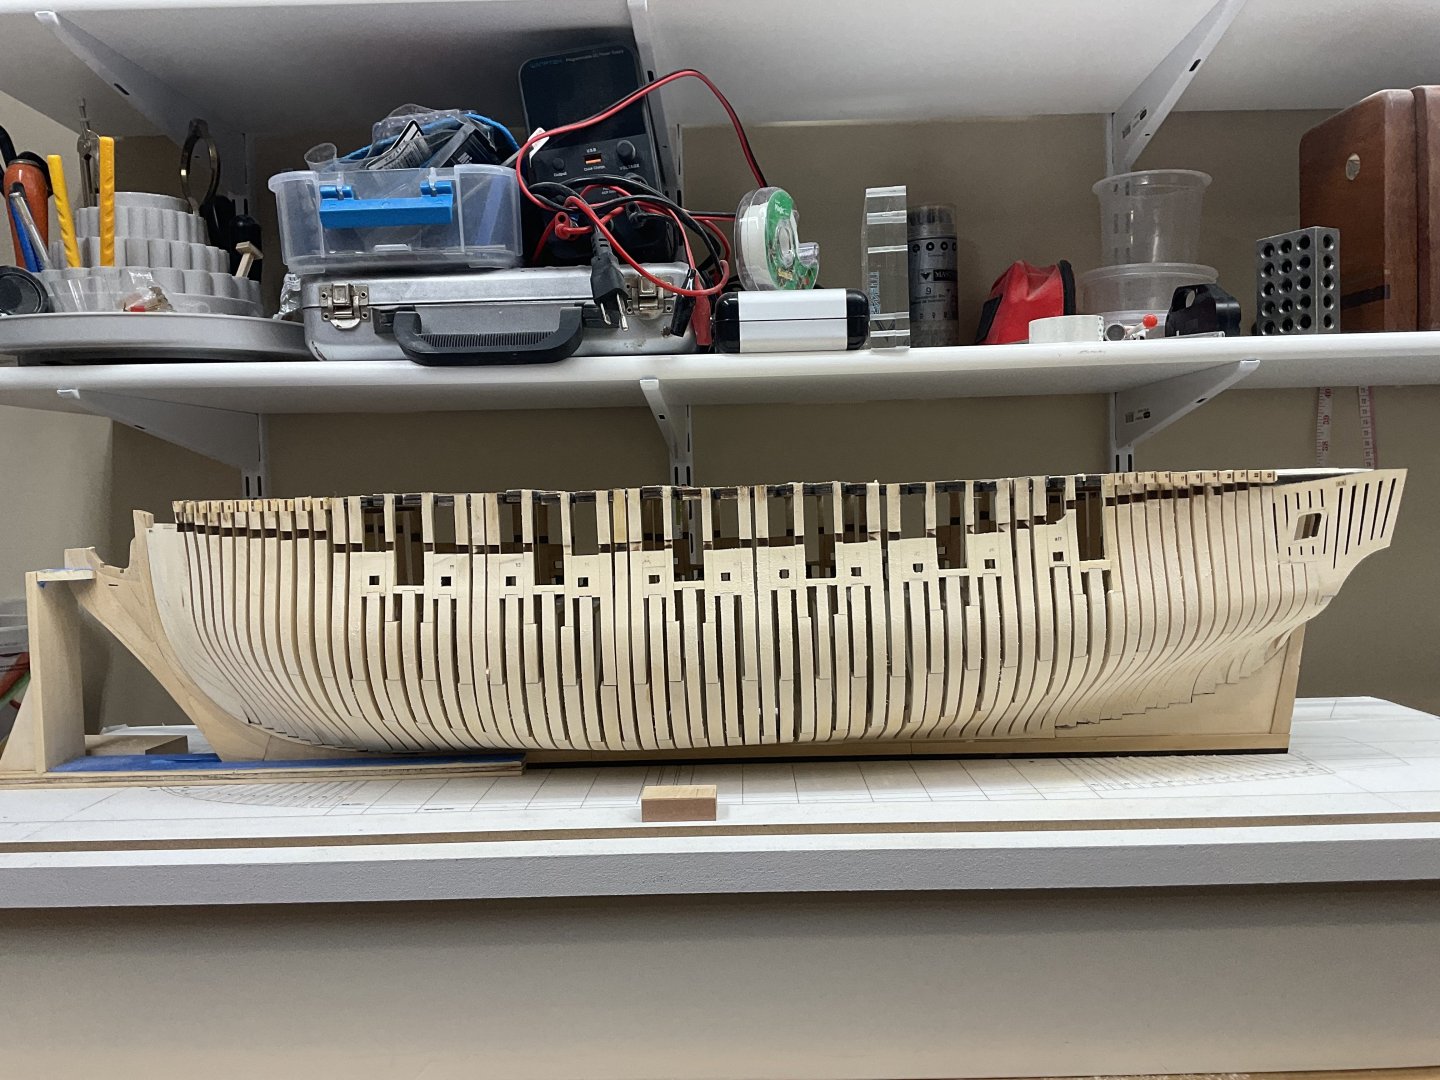
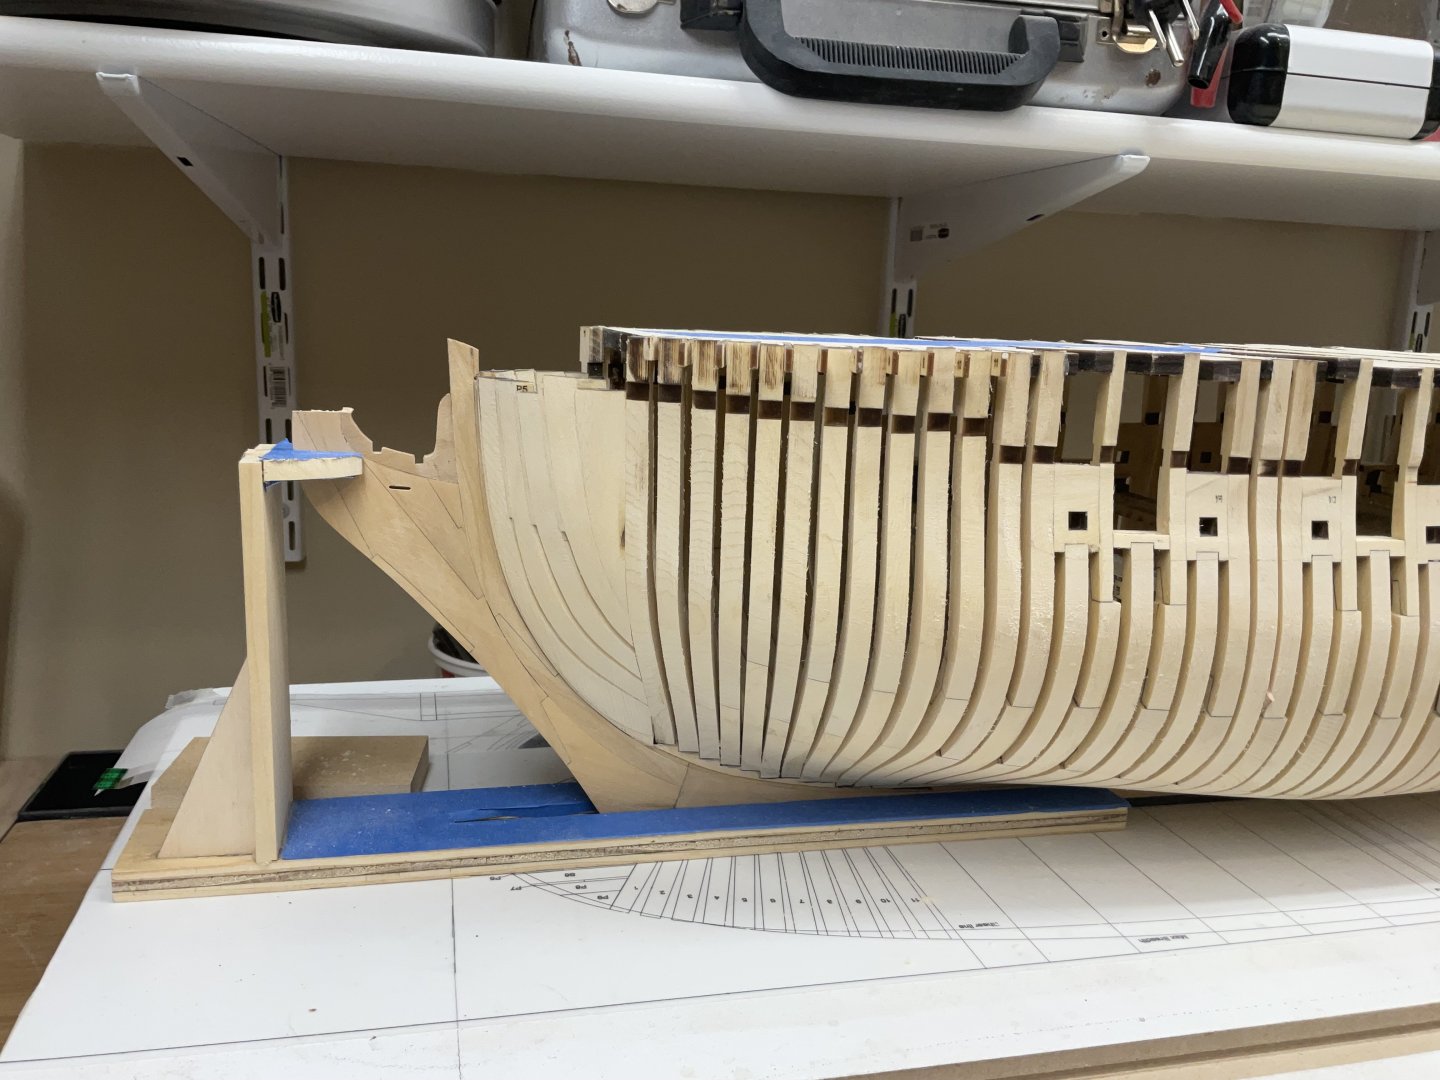
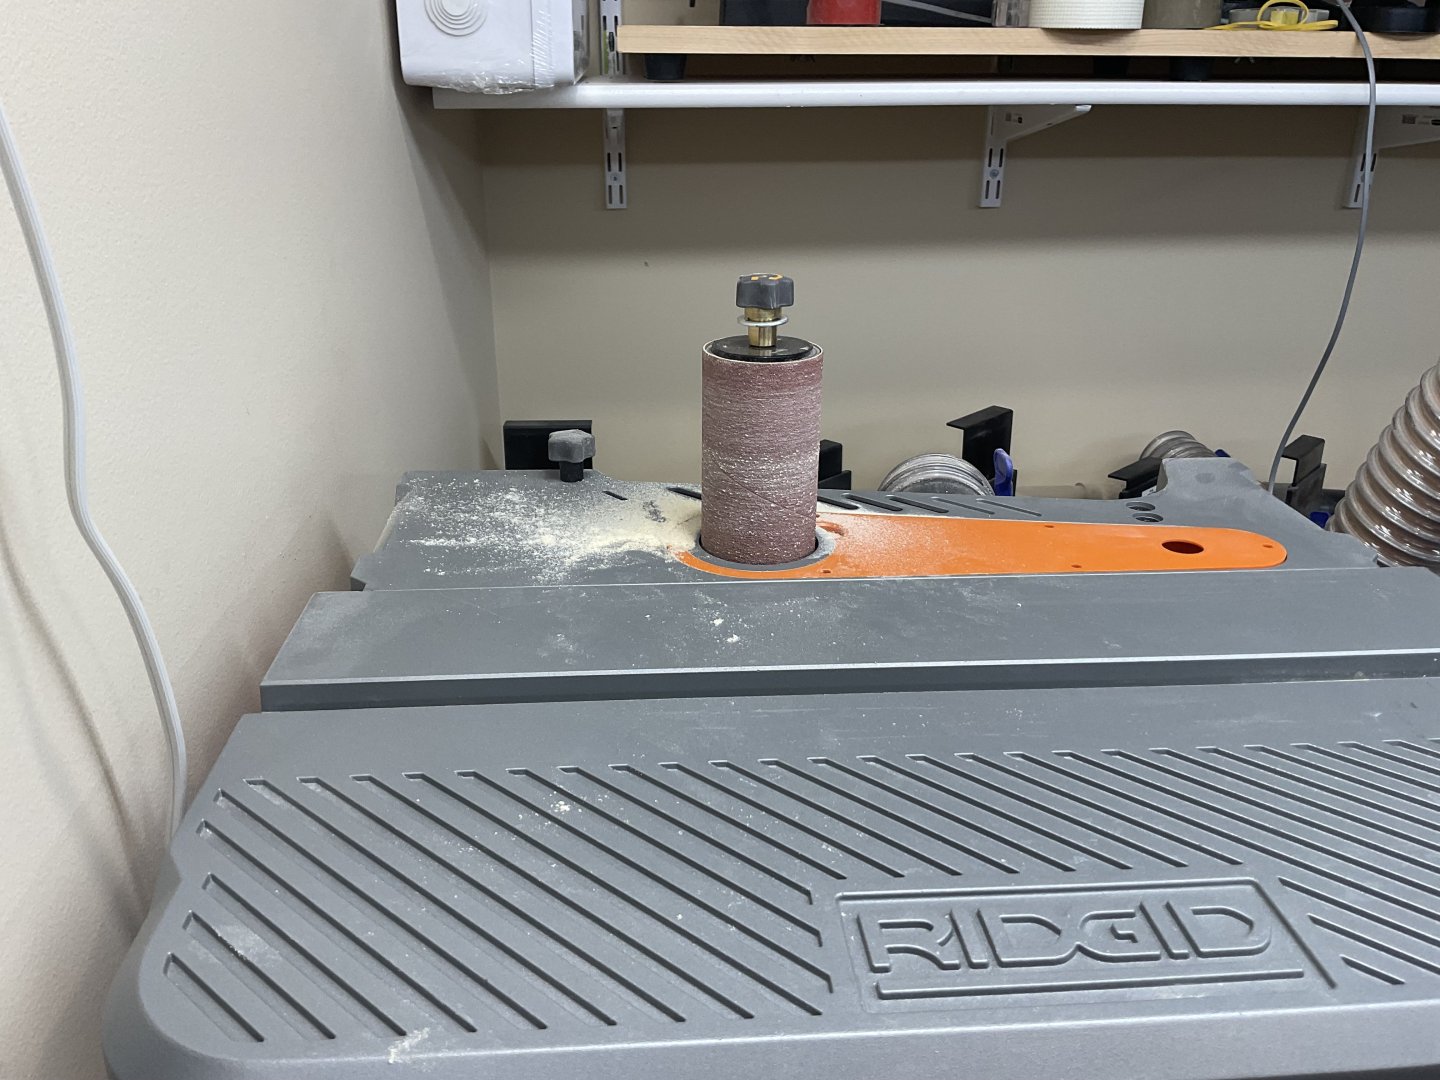
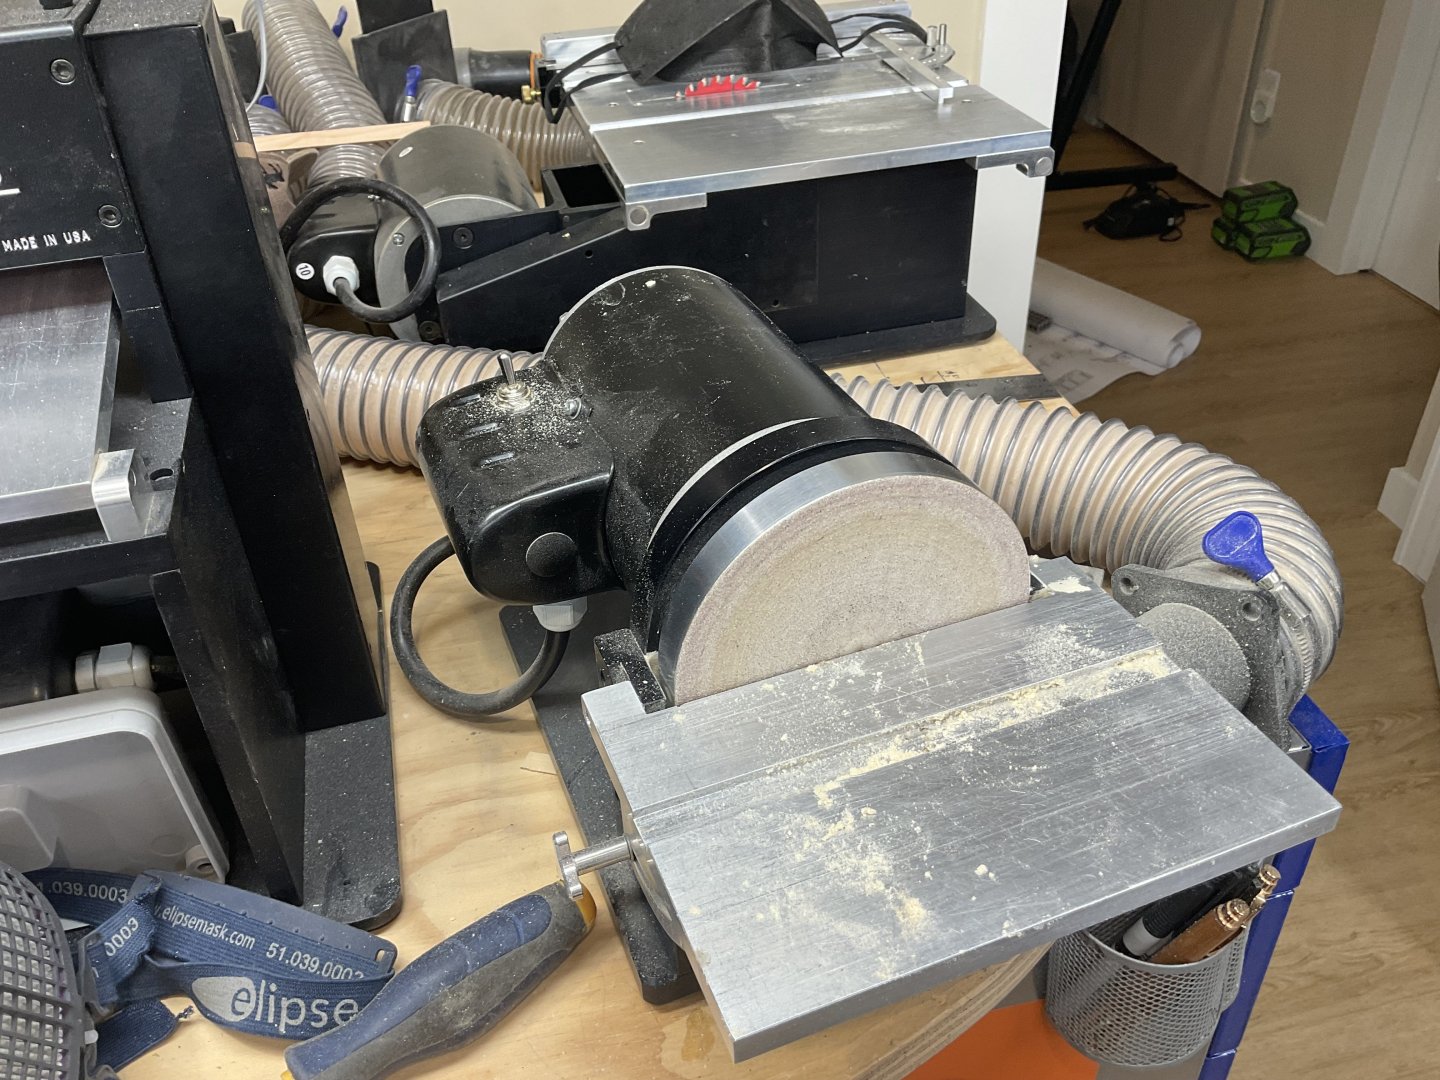
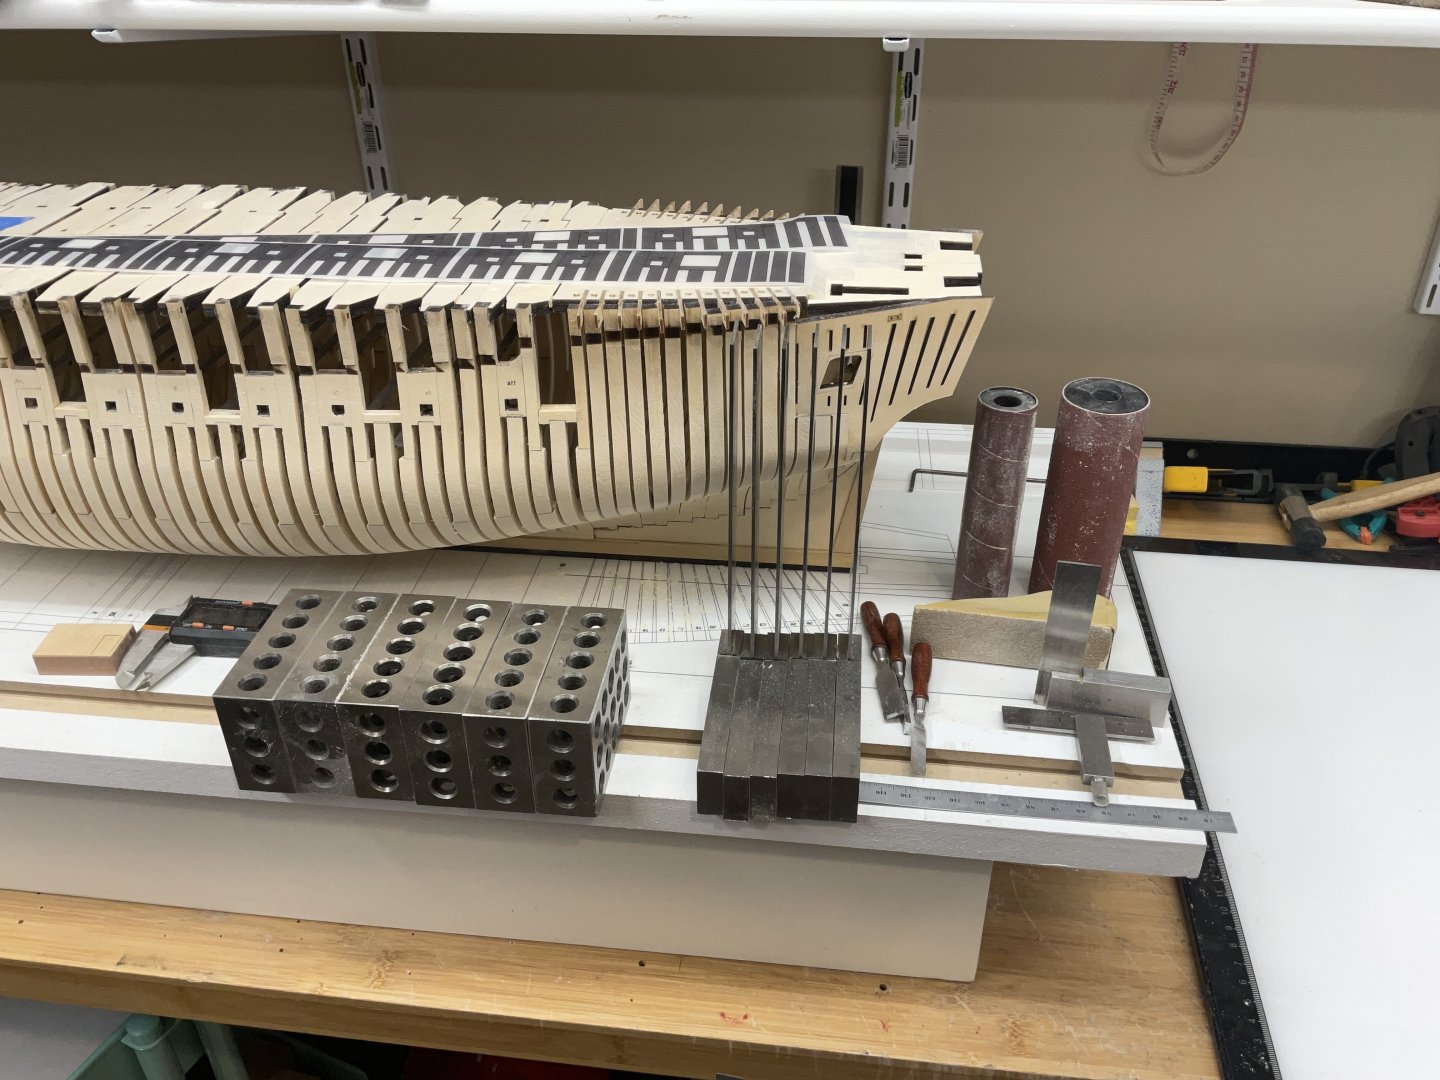
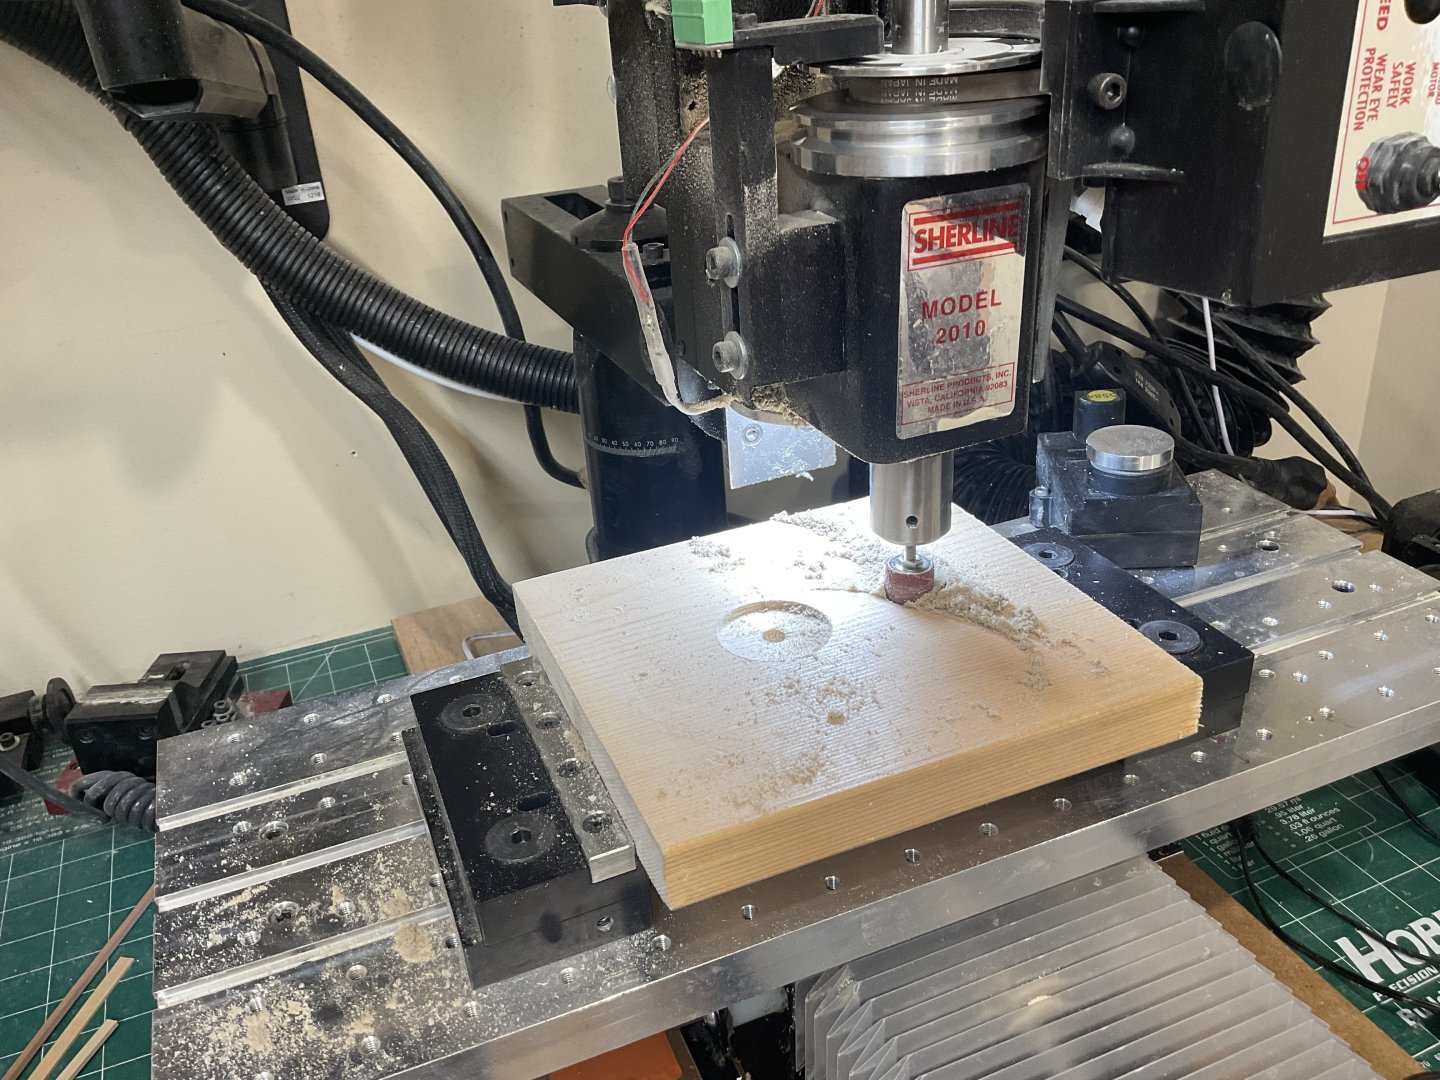
Hello and thanks for all the comments and likes. I have almost gotten to the end of Chapter two. I have the stern framing left not to mention a final fairing on the outside. I didn’t do any of the interior so that will be a hunk of work when I get around to it. Everything fit together beautifully and when there were problems it was always my fault. Most of my errors were corrected but not all but I think/hope I’ll be okay down the road. Following shows where I am right now with pictures of my most used tools. Cheers, Ian
-
Beautiful work! Your attention to detail is second to none. Thanks for documenting your build. Ian
- 562 replies
-
- vanguard models
- alert
-
(and 2 more)
Tagged with:
-
I would not use anything bigger than a 2 or 3 mm end mill and do multiple passes to achieve the depth you need and always on the face of the joint. A DRO and tilting table make life easier. I just don’t have the skill or patience to do that many joints by hand.
- 92 replies
-
I’m sure I’m stating the obvious but I found that gluing templates to the piece and then cutting to the outline for each piece was the key to getting the tightest scarps joints. I always used my mill to cut the joints, milling right to the line gave me perfect scarps joints (perhaps that’s for others to judge 🤓). Keep up the good work! Ian
- 92 replies
About us
Modelshipworld - Advancing Ship Modeling through Research
SSL Secured
Your security is important for us so this Website is SSL-Secured
NRG Mailing Address
Nautical Research Guild
237 South Lincoln Street
Westmont IL, 60559-1917
Model Ship World ® and the MSW logo are Registered Trademarks, and belong to the Nautical Research Guild (United States Patent and Trademark Office: No. 6,929,264 & No. 6,929,274, registered Dec. 20, 2022)
Helpful Links
About the NRG
If you enjoy building ship models that are historically accurate as well as beautiful, then The Nautical Research Guild (NRG) is just right for you.
The Guild is a non-profit educational organization whose mission is to “Advance Ship Modeling Through Research”. We provide support to our members in their efforts to raise the quality of their model ships.
The Nautical Research Guild has published our world-renowned quarterly magazine, The Nautical Research Journal, since 1955. The pages of the Journal are full of articles by accomplished ship modelers who show you how they create those exquisite details on their models, and by maritime historians who show you the correct details to build. The Journal is available in both print and digital editions. Go to the NRG web site (www.thenrg.org) to download a complimentary digital copy of the Journal. The NRG also publishes plan sets, books and compilations of back issues of the Journal and the former Ships in Scale and Model Ship Builder magazines.


