Seventynet
-
Posts
797 -
Joined
-
Last visited
Content Type
Profiles
Forums
Gallery
Events
Everything posted by Seventynet
-
 Toni, could you explain why square wire is preferable to round wire especially considering the hole must be drilled round? thanks, Ian
 -
Thank you Tobias, very much appreciated. I’m afraid my work pales in comparison to yours. I hope to get back to work on the Hoy soon now that I’ve completed Toni’s highly distracting (NRG) capstan project. 🤓
-
Very nice work! Ian
-
Congratulations Dave, beautiful work! Ian
-
Terrific job Glenn! That AYC sure is beautiful.
- 840 replies
-
- 3
-

-
- winchelsea
- Syren Ship Model Company
- (and 1 more)
-
Thank you Greg, that’s an excellent idea. I will do that before I turn it over. Ian
-
Thanks Paul, I appreciate it. I have found this part of the build to be very enjoyable and working with these woods makes life very easy. Ian
-
Hi all, Thanks for all the likes. I have planked the deck and fitted bulwark planking and am now ready to turn it over to plank the hull. Nothing remarkable about these last steps. I am not certain that the holly decking fore and aft can remain but I'll decide what to do once I've finished the hull planking. Ian
-
I am totally impressed with how you have everything squared up with that building board. It's going to be a lovely model. Ian
- 55 replies
-
- 1
-
-
- Nordlandsbaaden
- Billing Boats
- (and 1 more)
-
Gorgeous build!
-
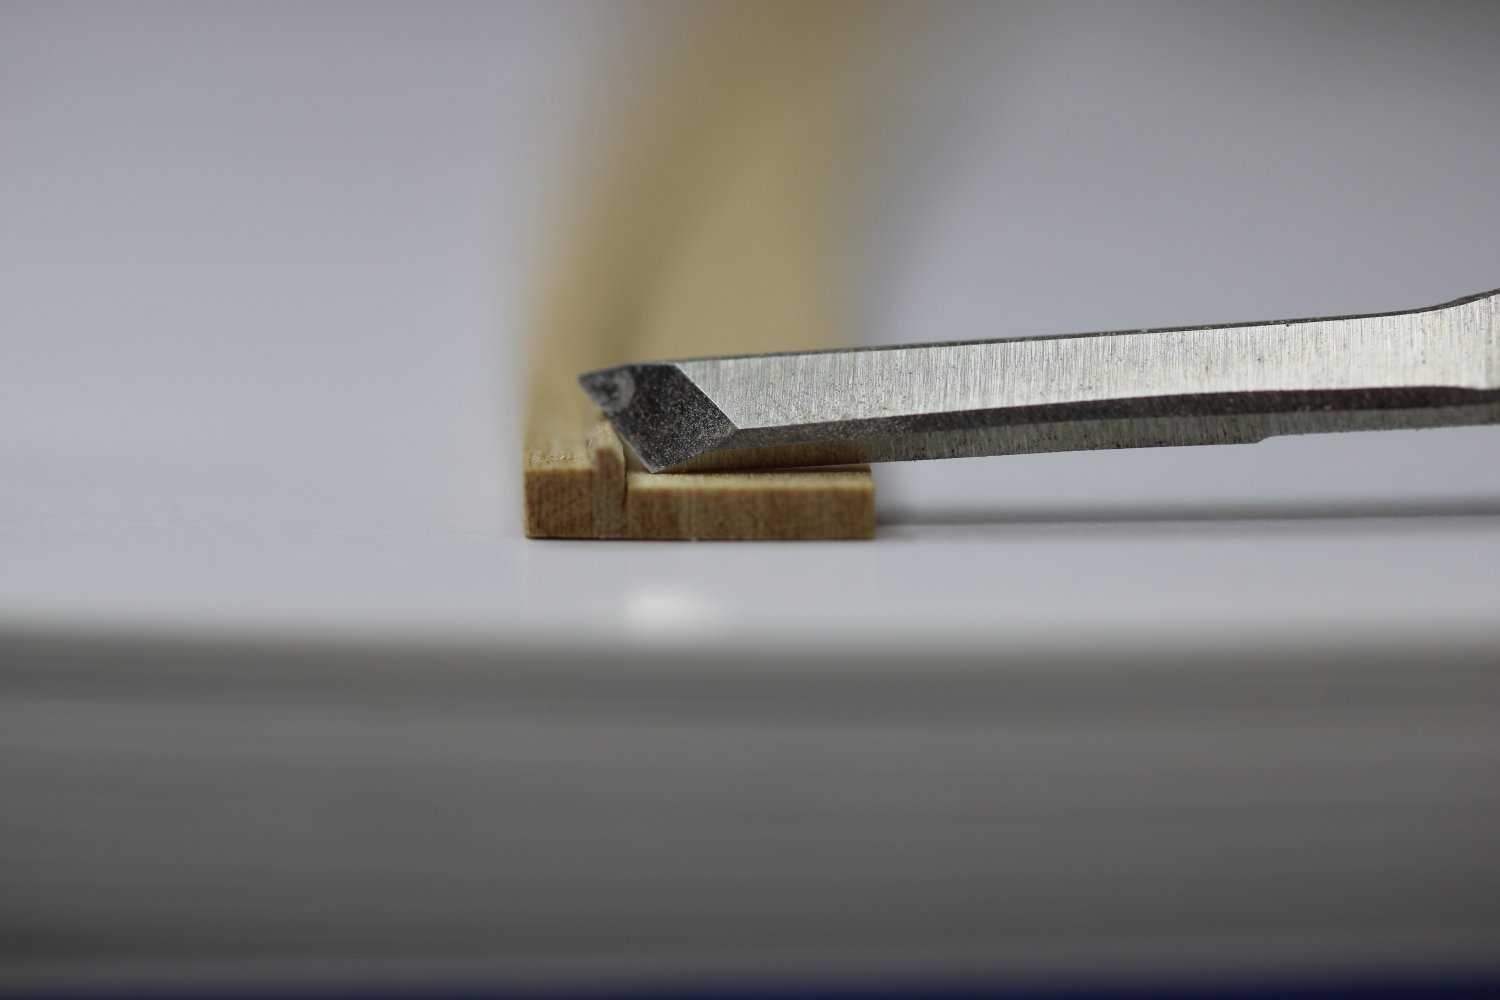
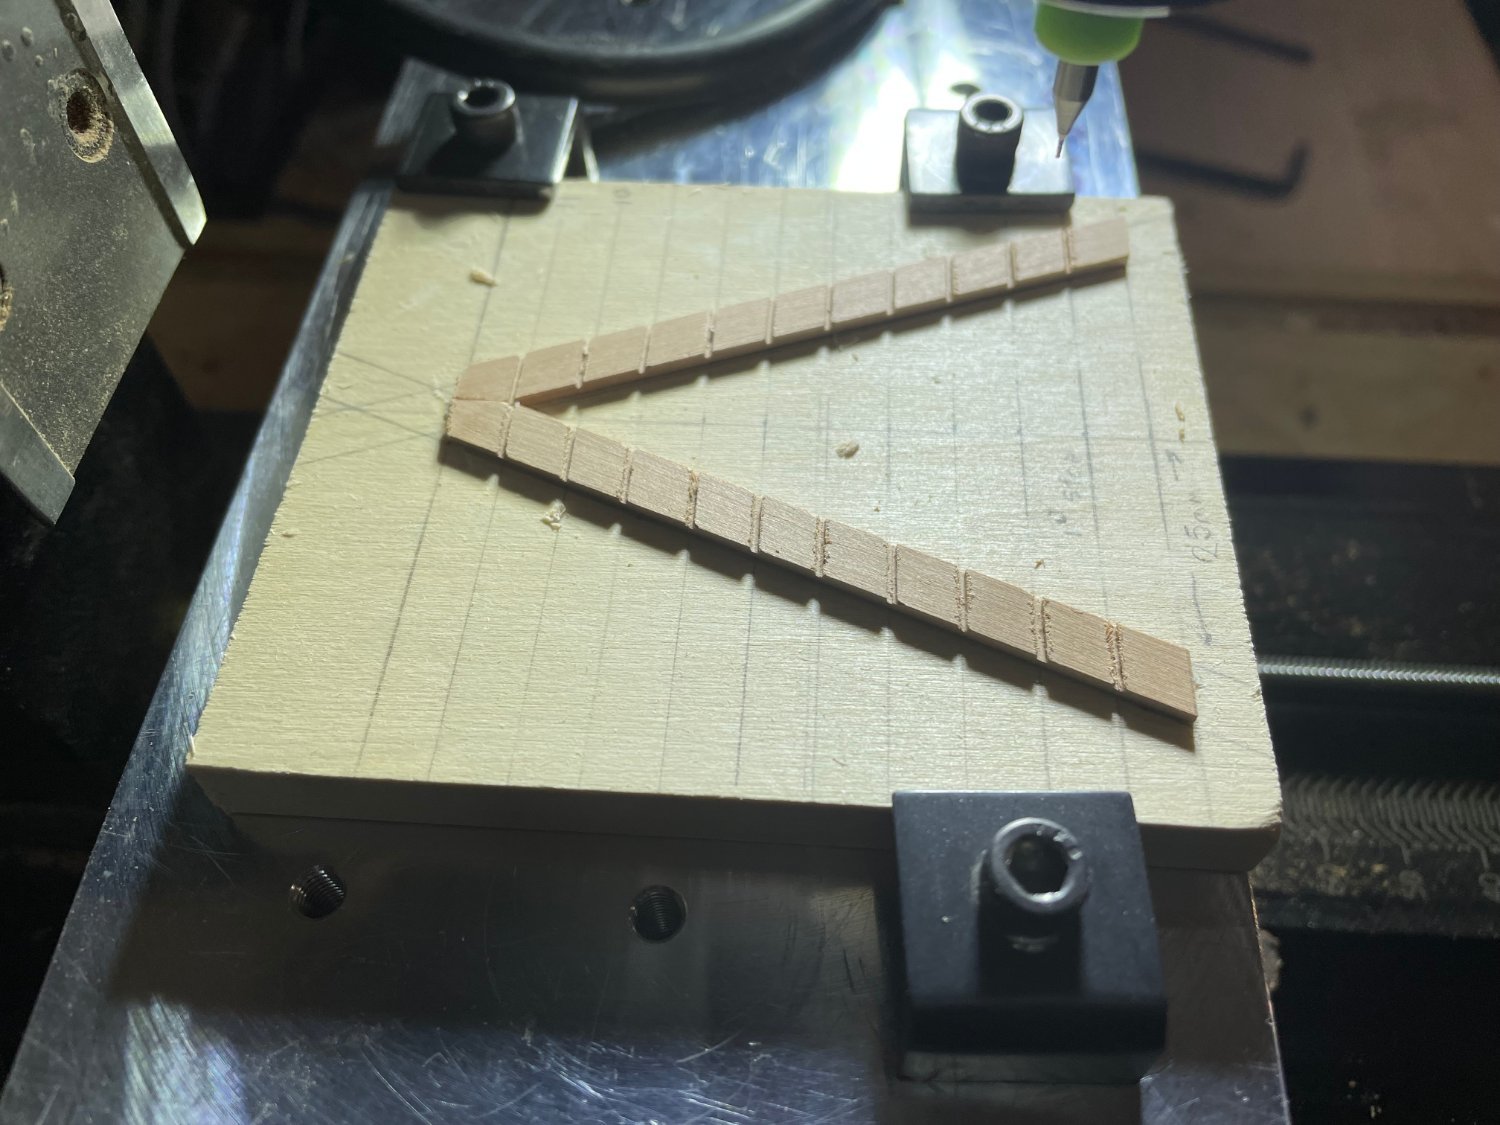
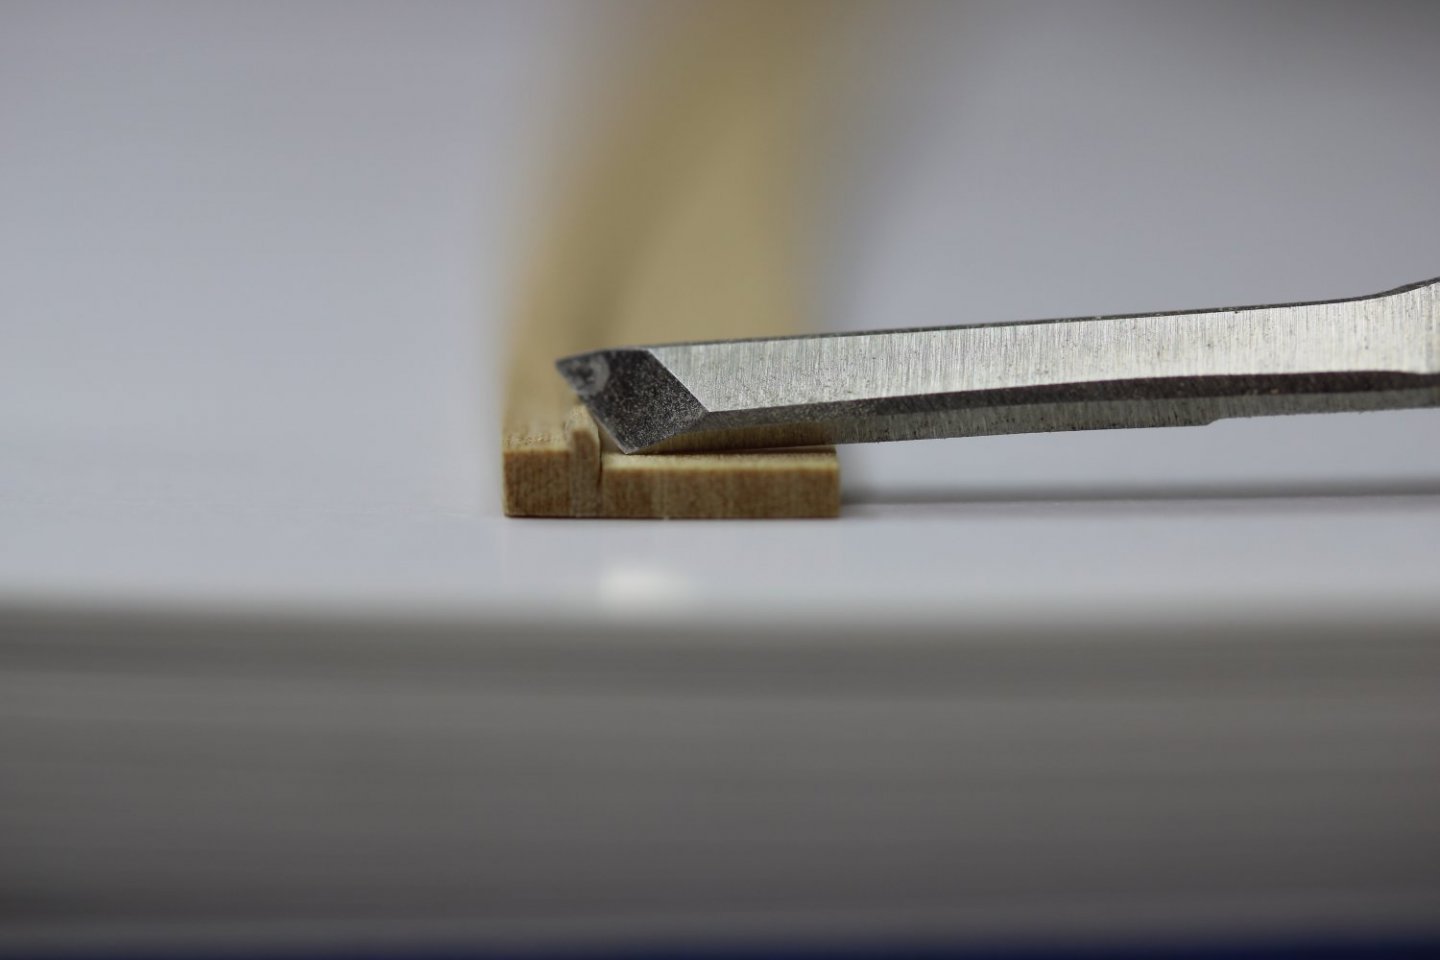
Hi all, I constructed the waterway using three pieces laminated together. The widest piece was edge bent to a card pattern and then the two other thinner pieces were laminated to the main plank. I used a chisel to scrape the waterway to 45 degrees. Black acrylic paint was used on the outboard piece to represent caulking between the waterway and side planking. The ladder was milled using the approach shown in David's book. I had to redo the tread slots on the carriages because of a poor end mill (prior try shown). The 8-sided pump tubes were made on the mill using a highly sophisticated tailstock and broken end mill :-). Carlings and ledges were installed to enclose the 10 inch tubes. They extend into the limber channel and are topped with a 3inch faux iron band. Note I wish I had read ahead to see that I could have made the carling and ledge notches before installing the beams. The photo shows a 10 sided pear tube which I switched out for boxwood and proper 8-sided configuration. Scupper holes were carefully filed in and tube holders inserted between frames in 4 locations. The outboard holes were located one and a half strakes above the wale so that they don't emerge between strakes. Top view: Thanks all for the comments and likes. I am on to planking the deck. However I think I will plank the upper decks with Castello instead of Holly because otherwise there seems to be too much color. I don't see any good reason to pull out the existing holly decks and restart.


-
Off to a nicely organized start. I’m pulling up a chair!
- 55 replies
-
- 1
-
-
- Nordlandsbaaden
- Billing Boats
- (and 1 more)
-
Masterful job Paul! I look forward to following and learning from your next log. ian
- 112 replies
-
- 2
-
-
- Cheerful
- Syren Ship Model Company
- (and 1 more)
-
Welcome back and lovely job so far! ian
-
Thanks druxey, the QCC is getting pretty full right now.😁
-
Wow I just caught up on this fascinating log and beautiful build. Thanks for sharing your wealth of information. Ian
-
Thanks very much Keith. I was angling for the admiral to talk me out of the redo but she said I very well knew I’d always regret it.
-
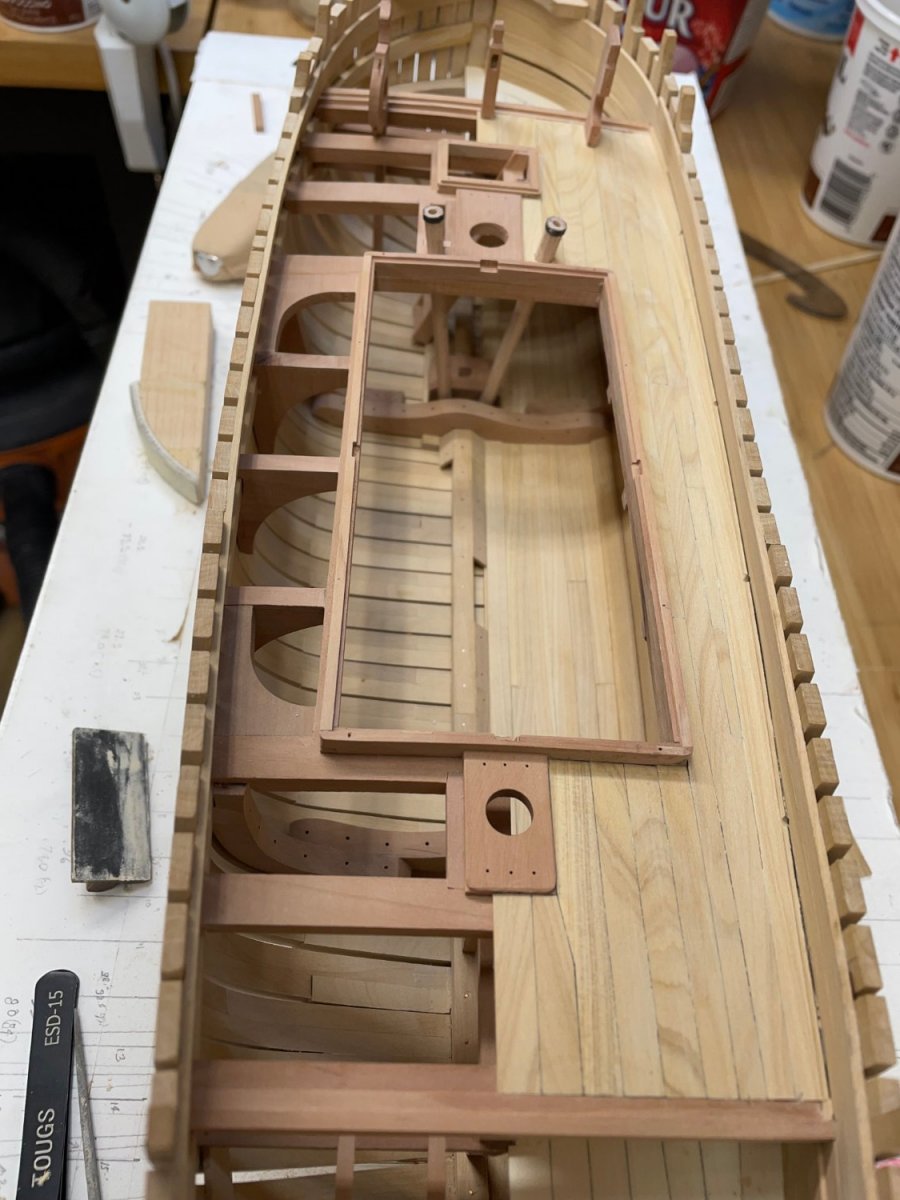
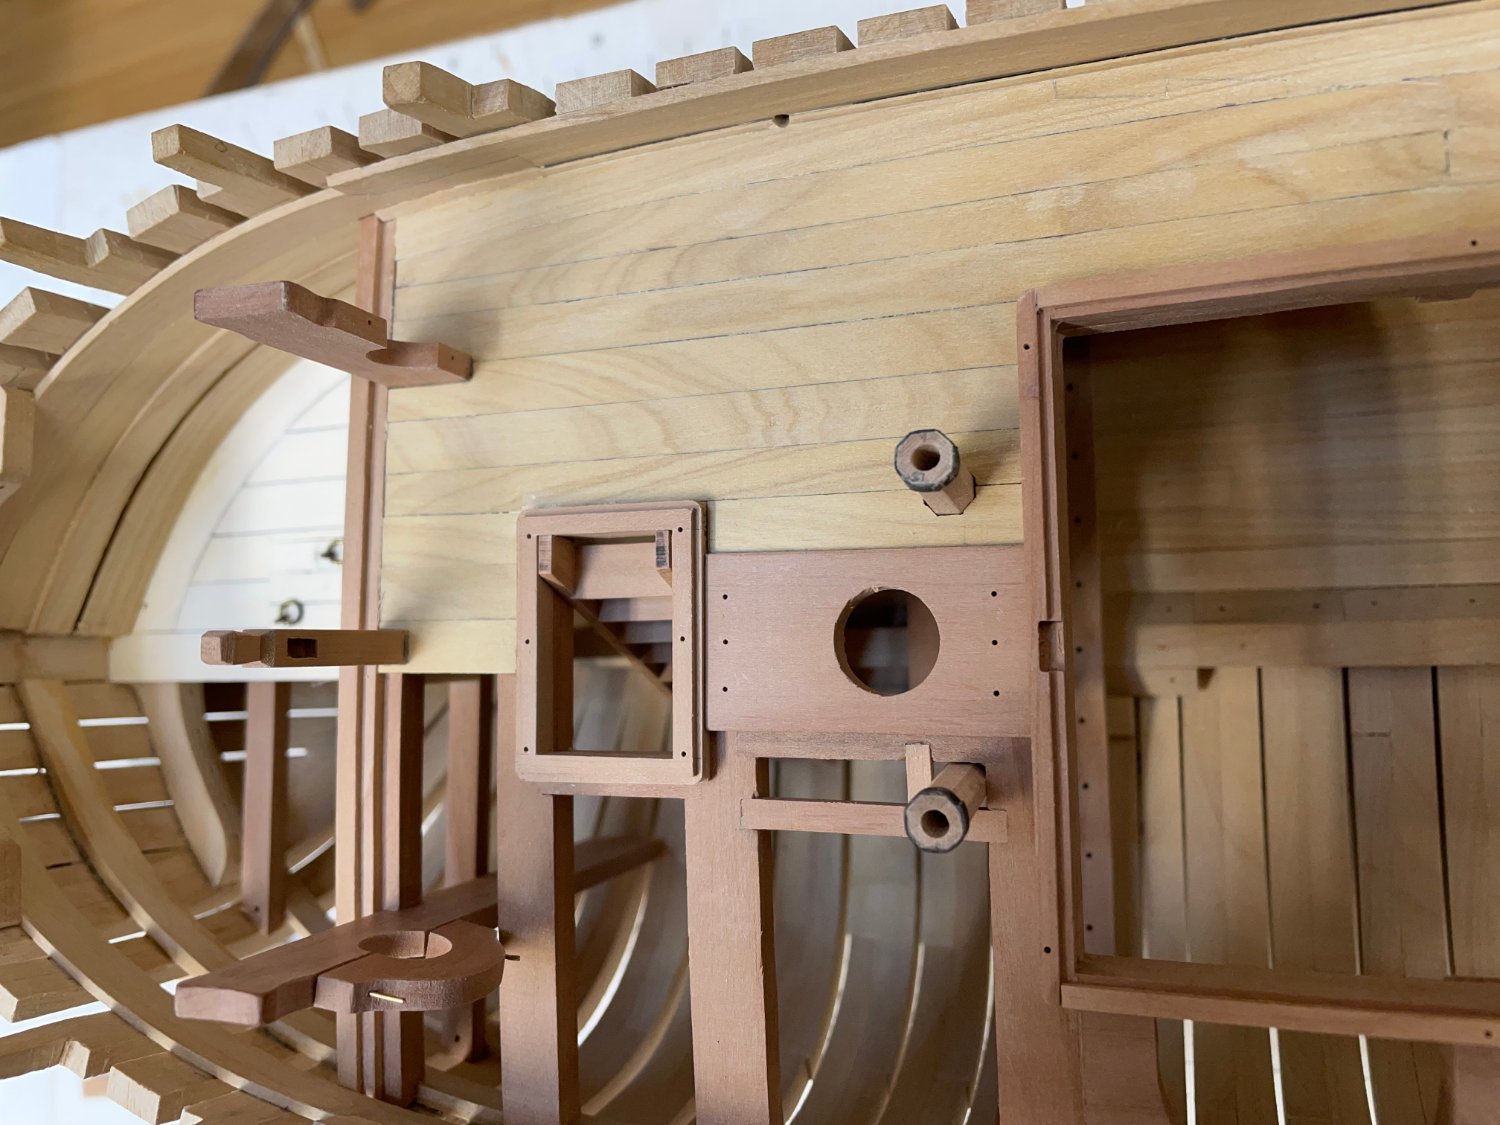
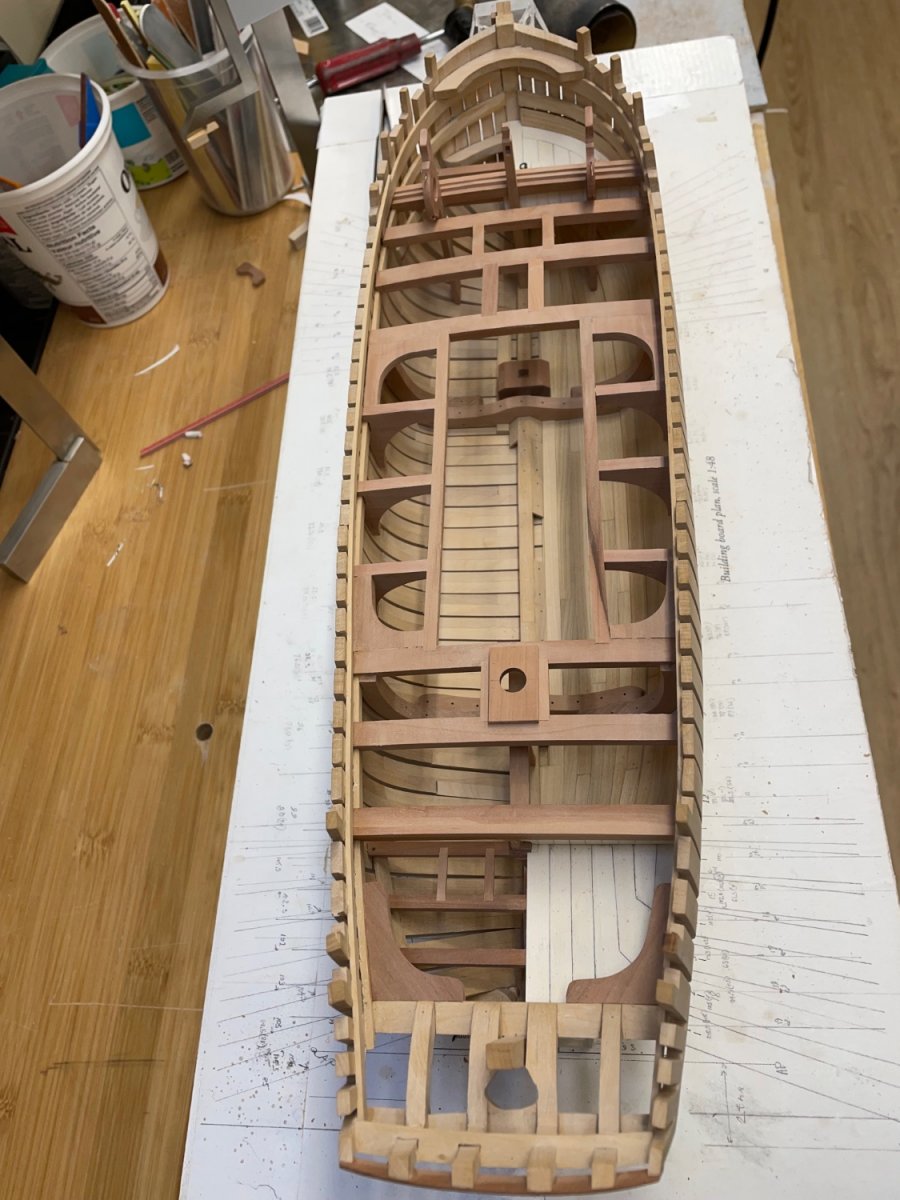
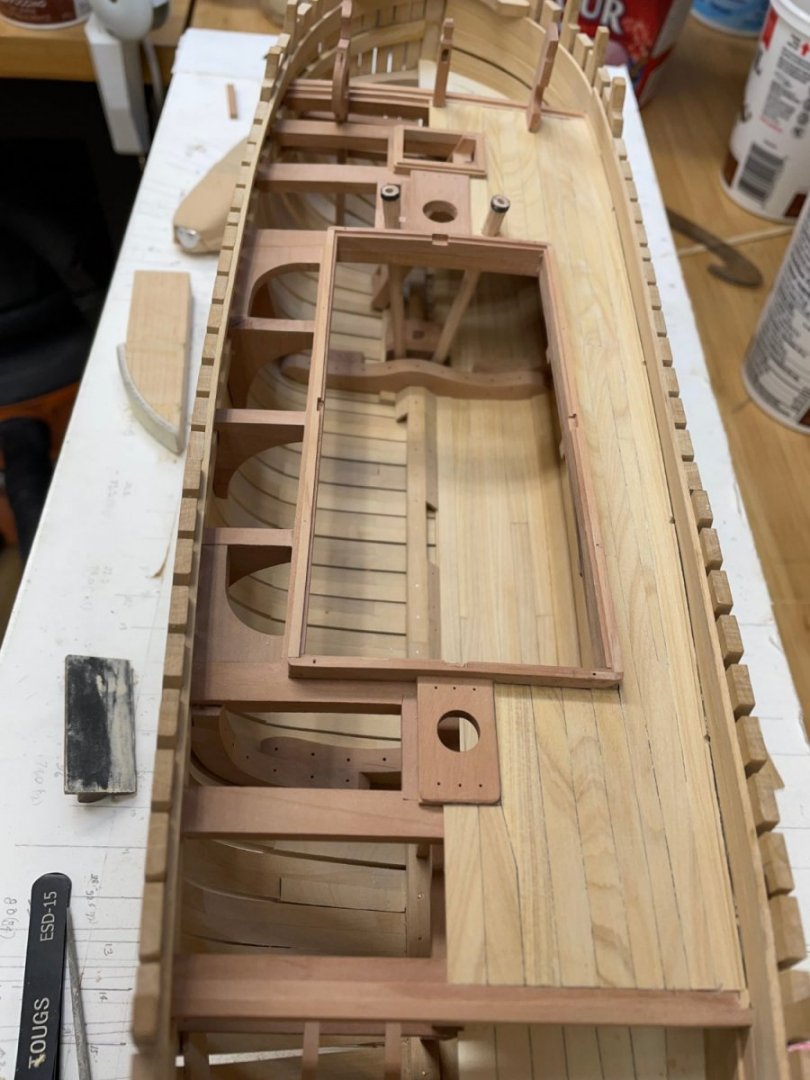
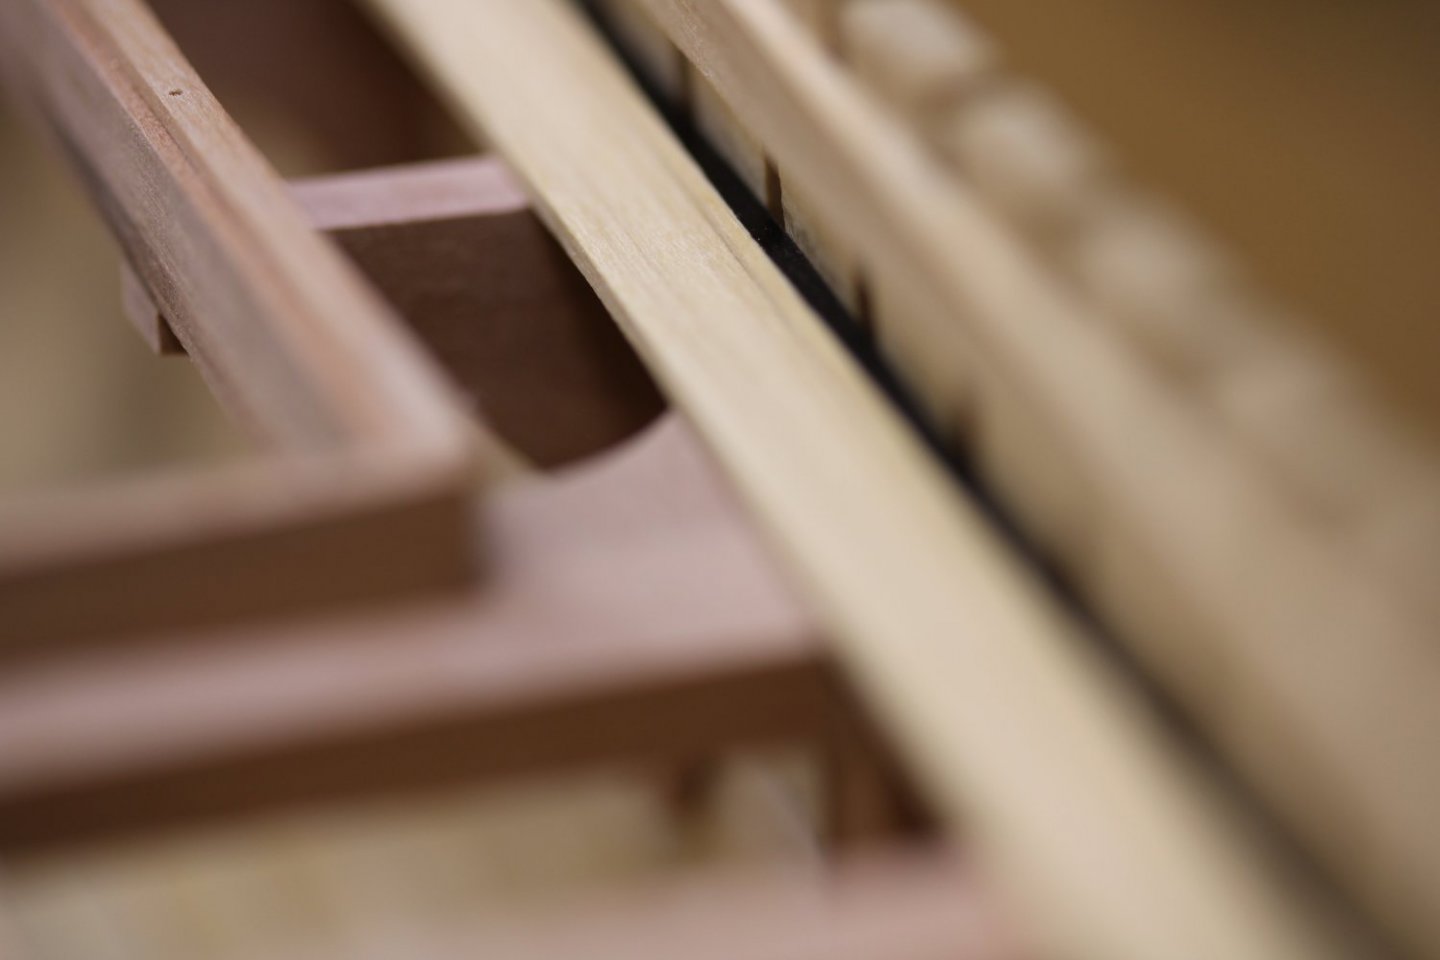
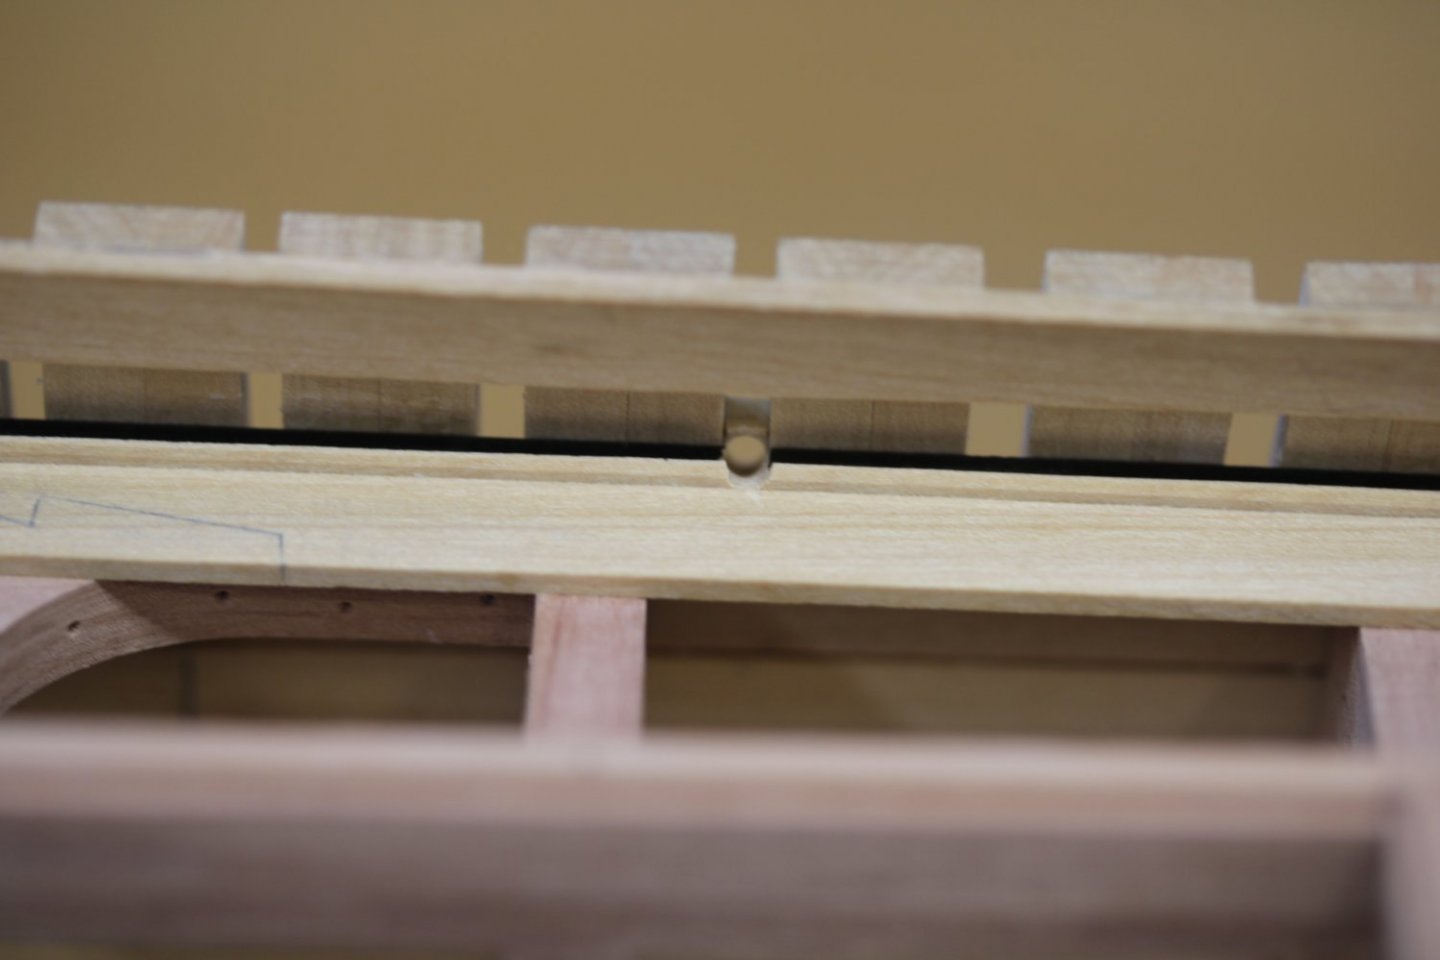
Well it turns out the massive main hatch wasn't big enough. I made a measurement booboo which meant that the hatch was 1 cm too narrow. So...I had to rip everything out and redo most of the supporting structures. After I made the repairs I started on the main hatch coamings and ledges. They were assembled by forming the same 90" radius for the longitudinals and the 26" radius for the ledges (concave and convex) and milling half lap joints. A strip was laminated onto the logitudinals to form an inside rabbet while the rabbet was milled into the ledges before they were bent. The strip on the longitudinals was extended to overlap the gap on the ledges. The cross pieces (battens) were tricky to make and I will redo them at some point in the future. The end stops are very difficult for someone of my limited chiseling skills. They too must be bent to match their respective orientations. Mast parteners were straightforward and dropped about 2mm below the carlings and the underside rounded up to fit the respective curves. The mast is raked 2 degrees so I was as precise as I could be in positioning it (although it is not glued in place yet). The companion coaming abuts the forward end of the parteners and will be later fitted with a ladder. Cheers, Ian


-
Thanks very much Albert. Your Victory build is absolutely stunning! Ian
-
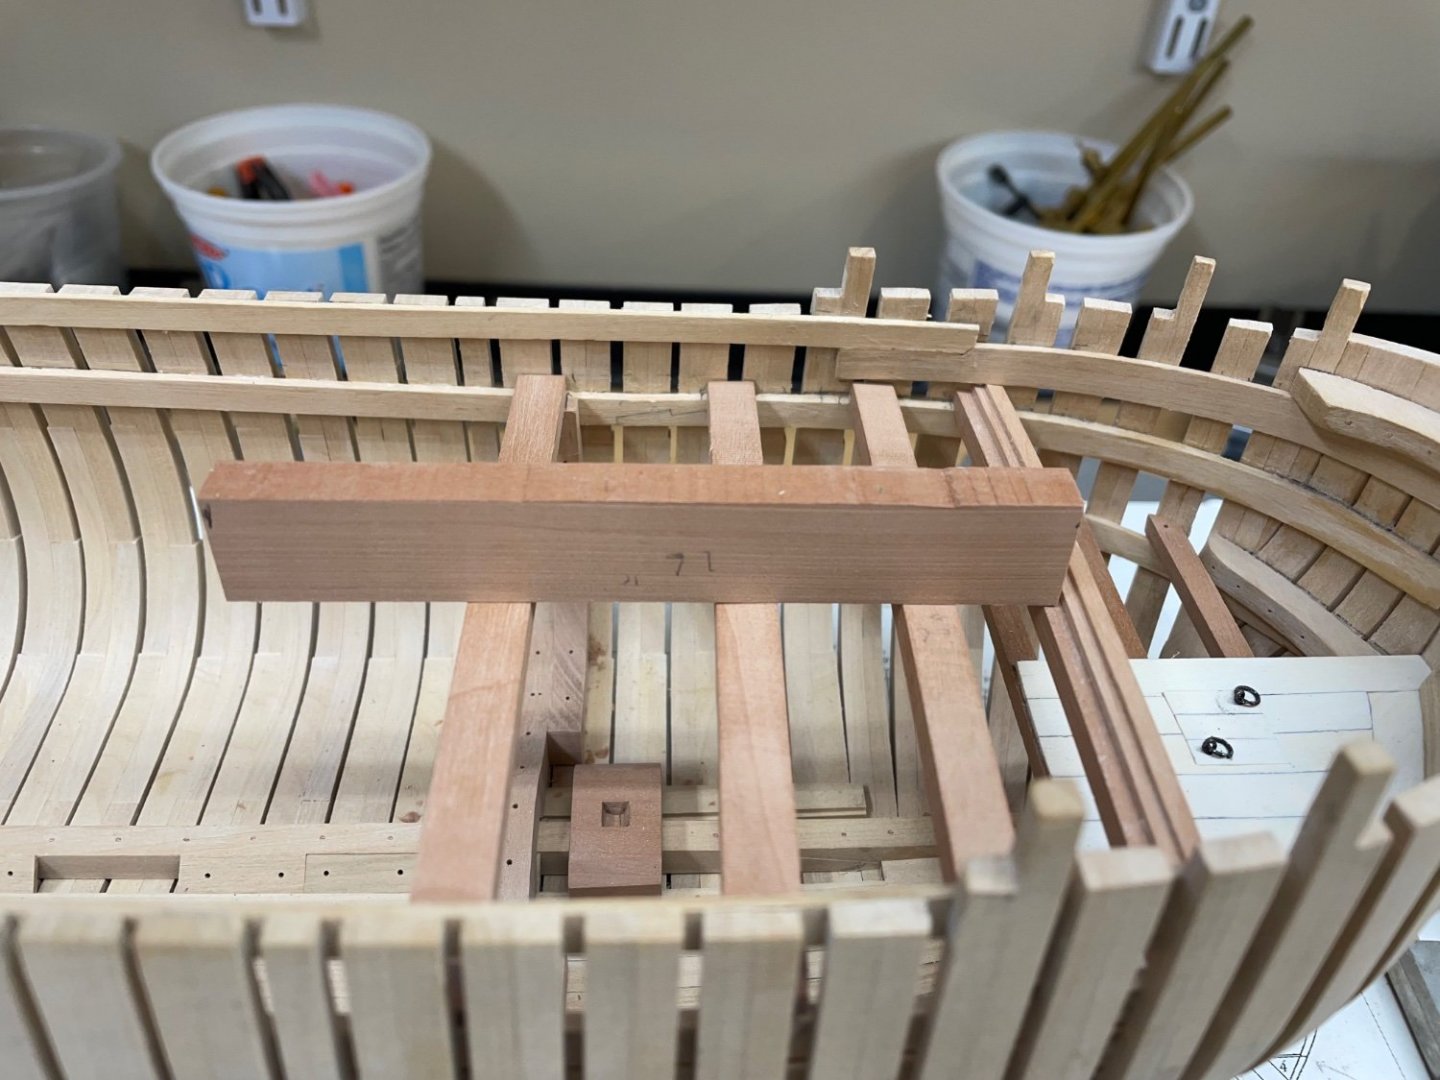
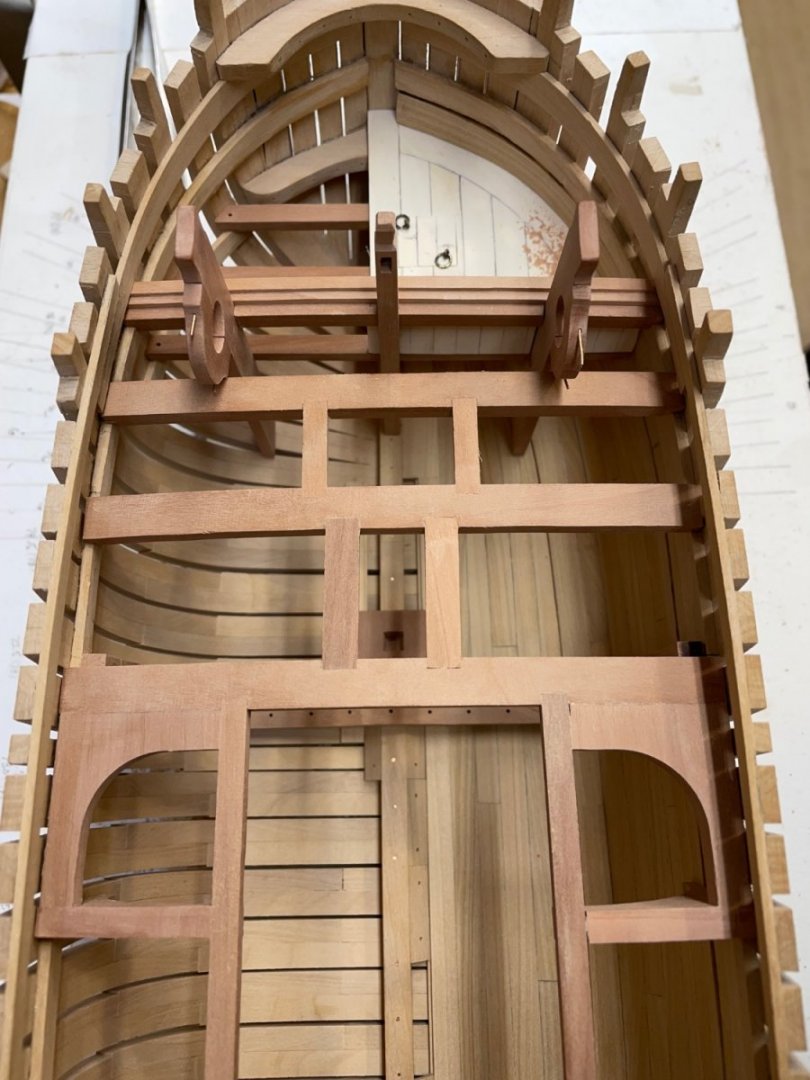
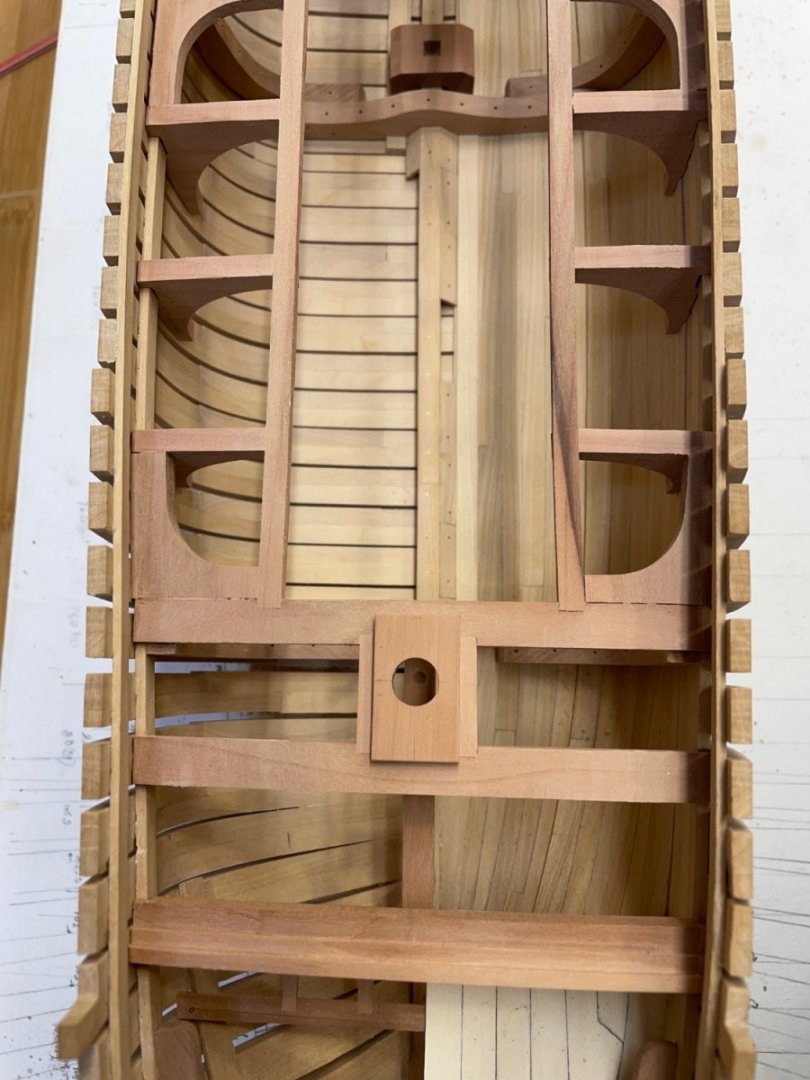
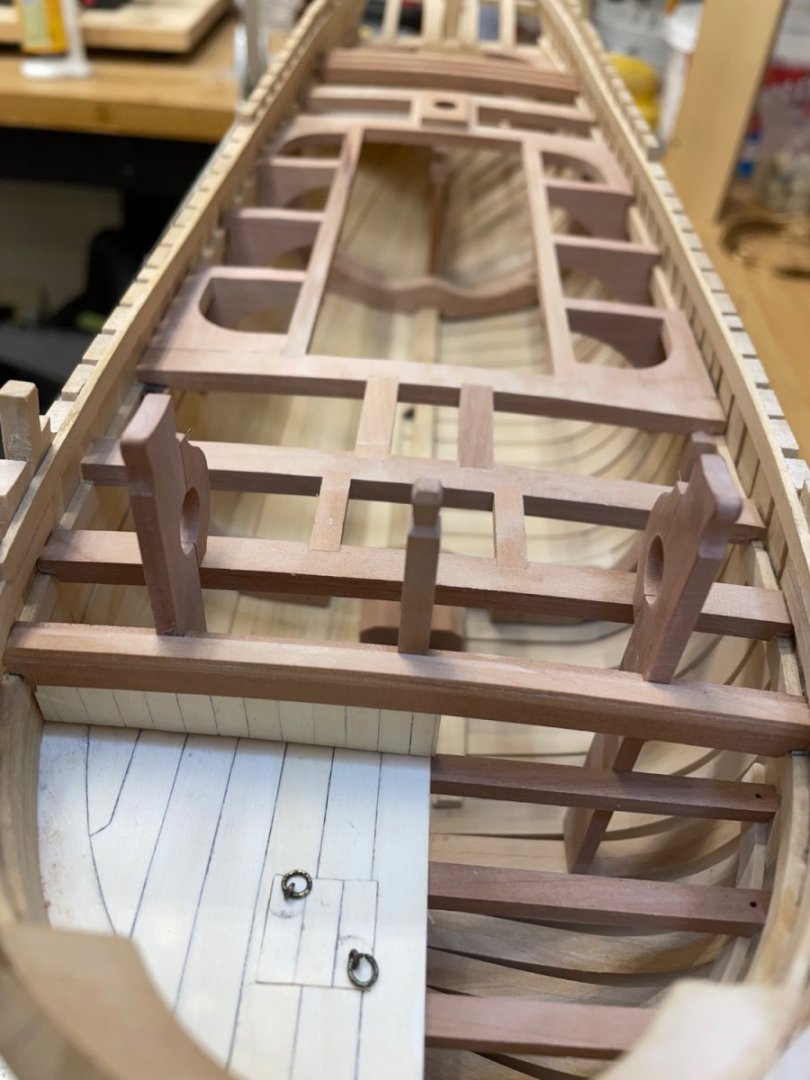
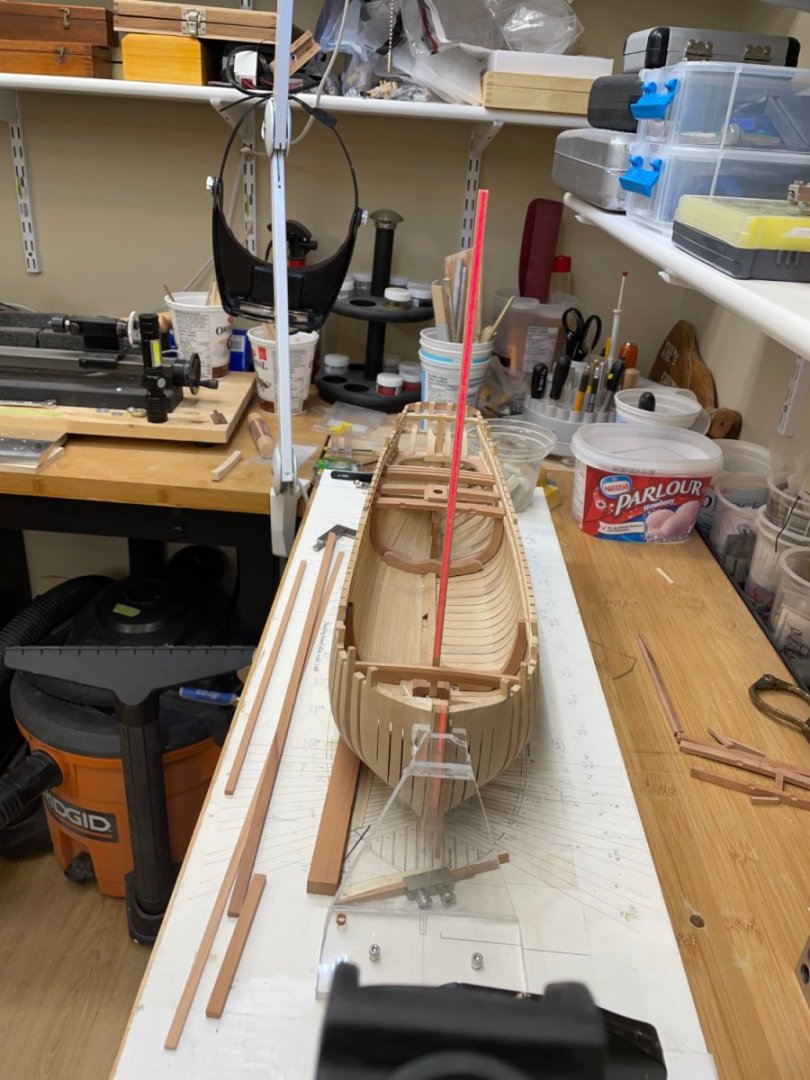
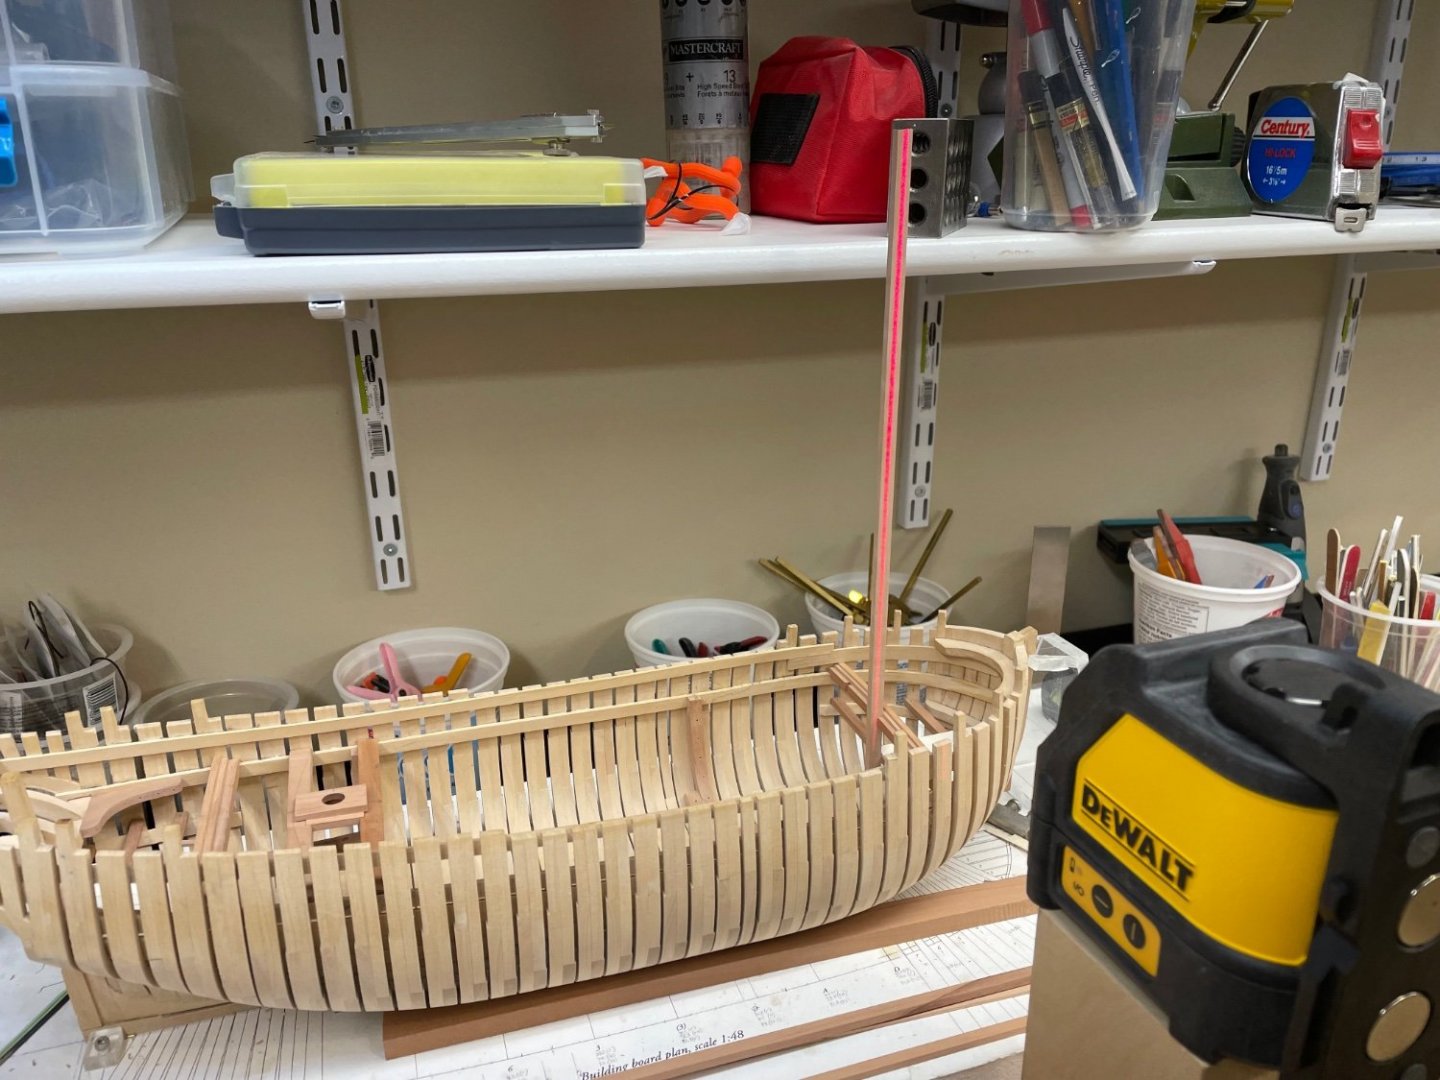
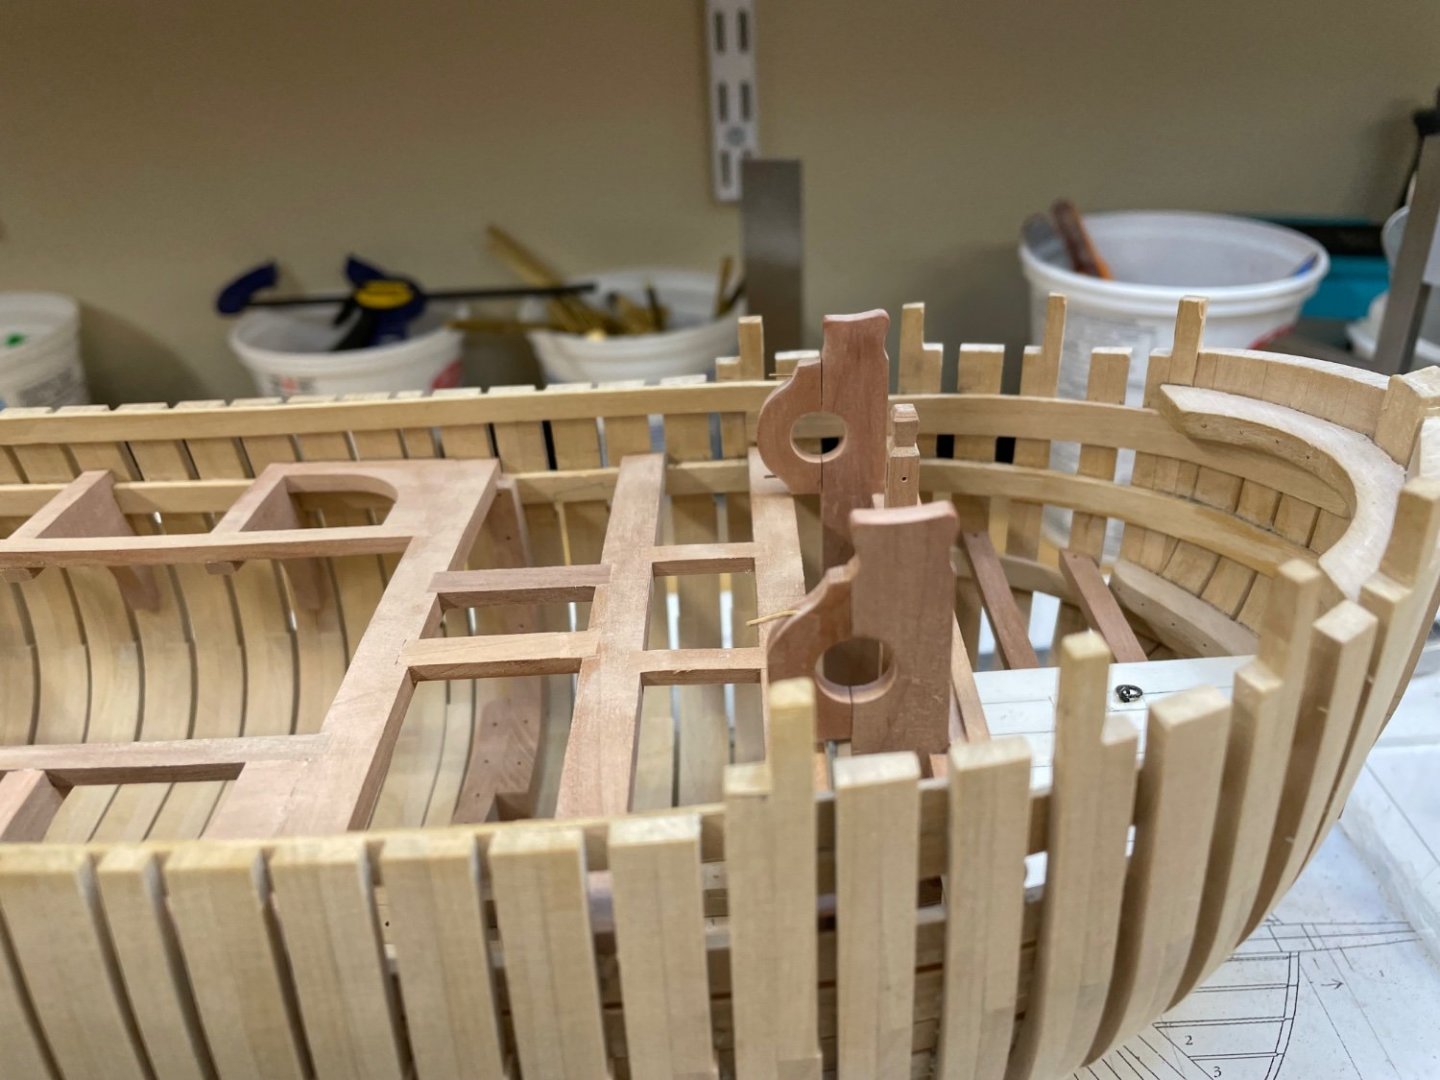
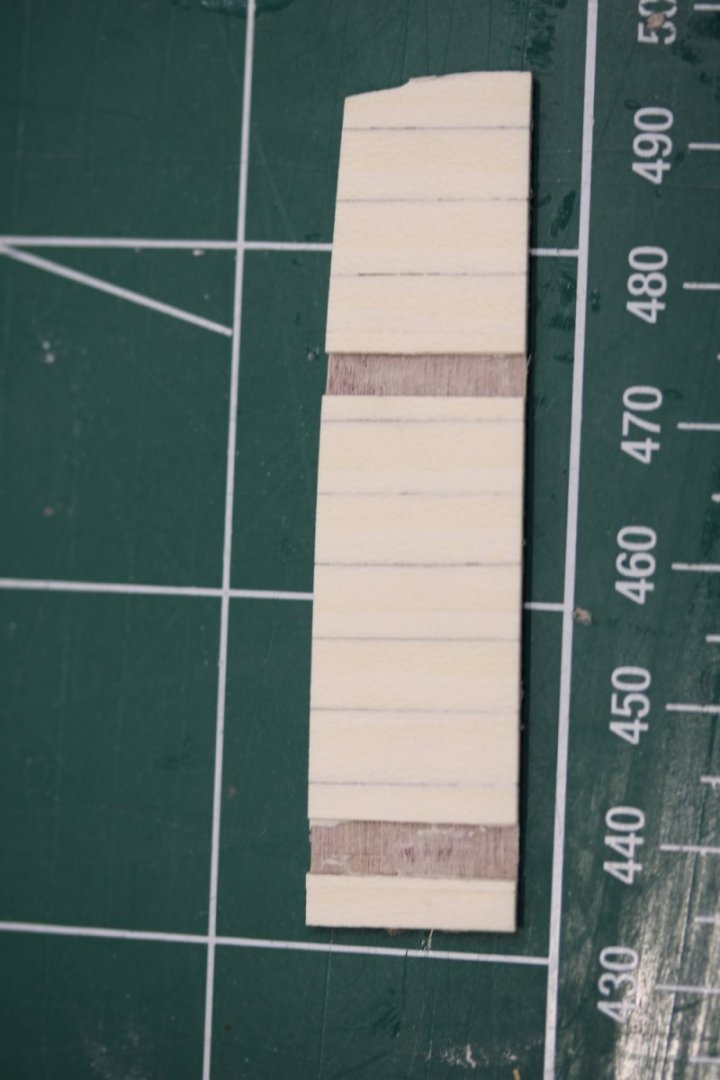
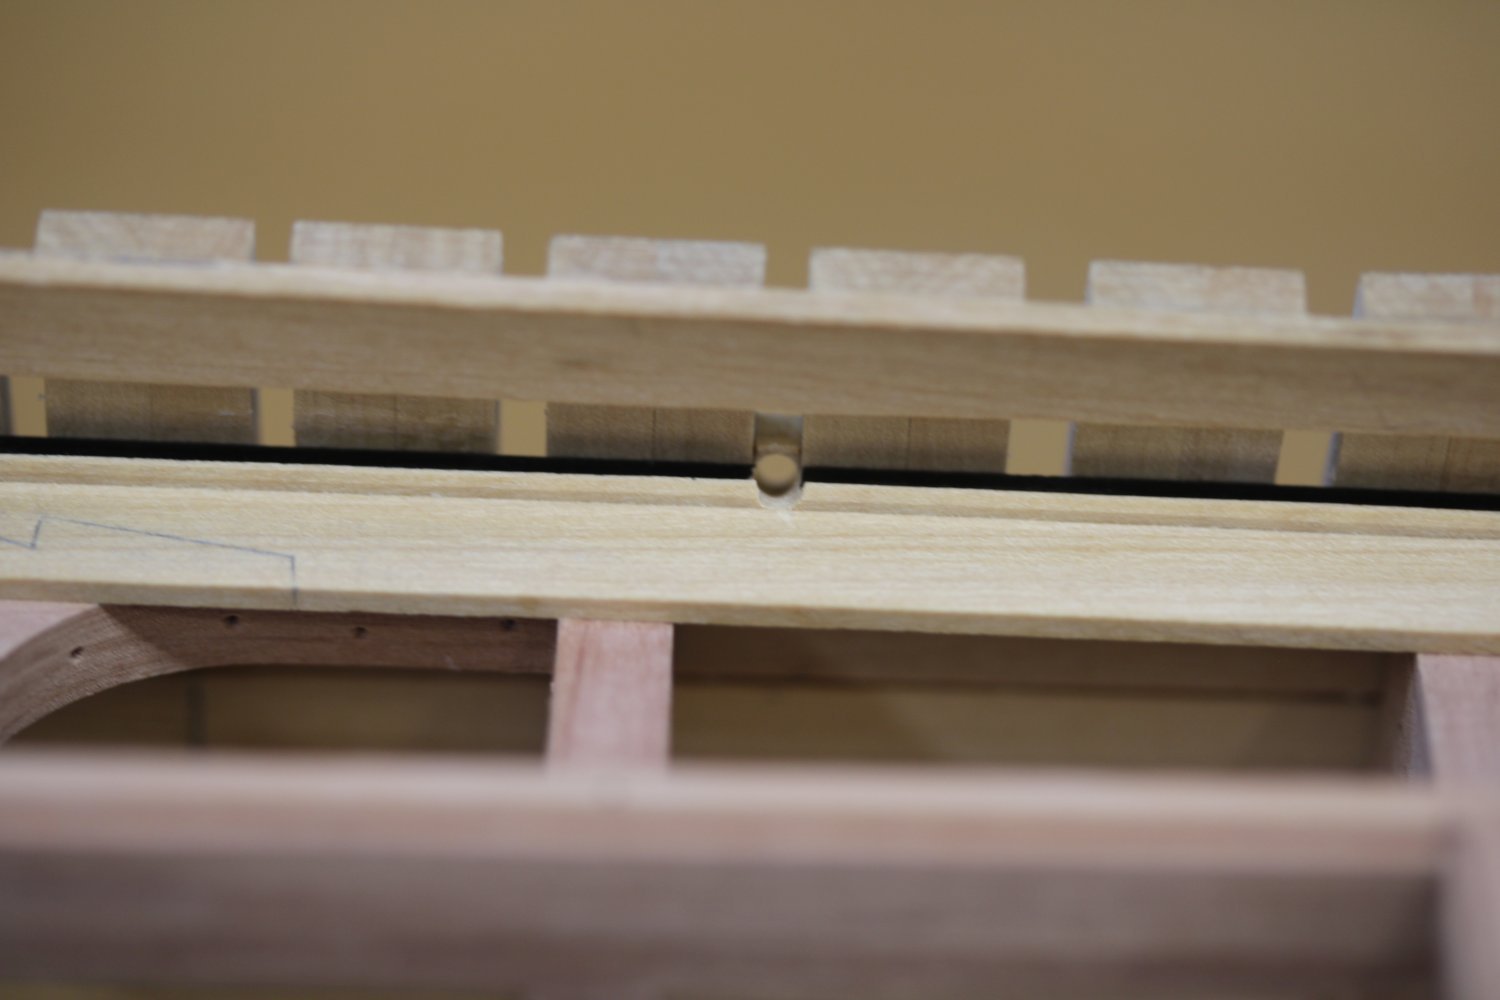
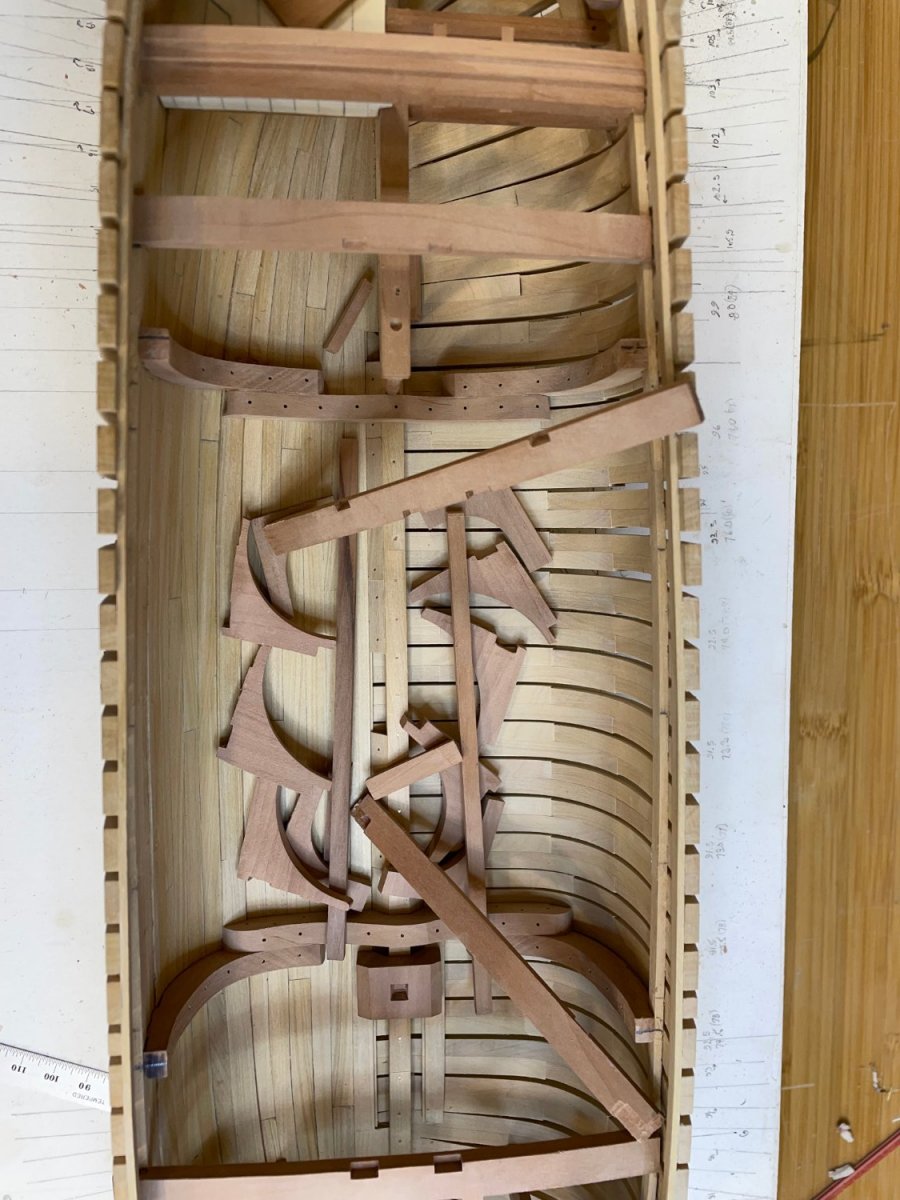
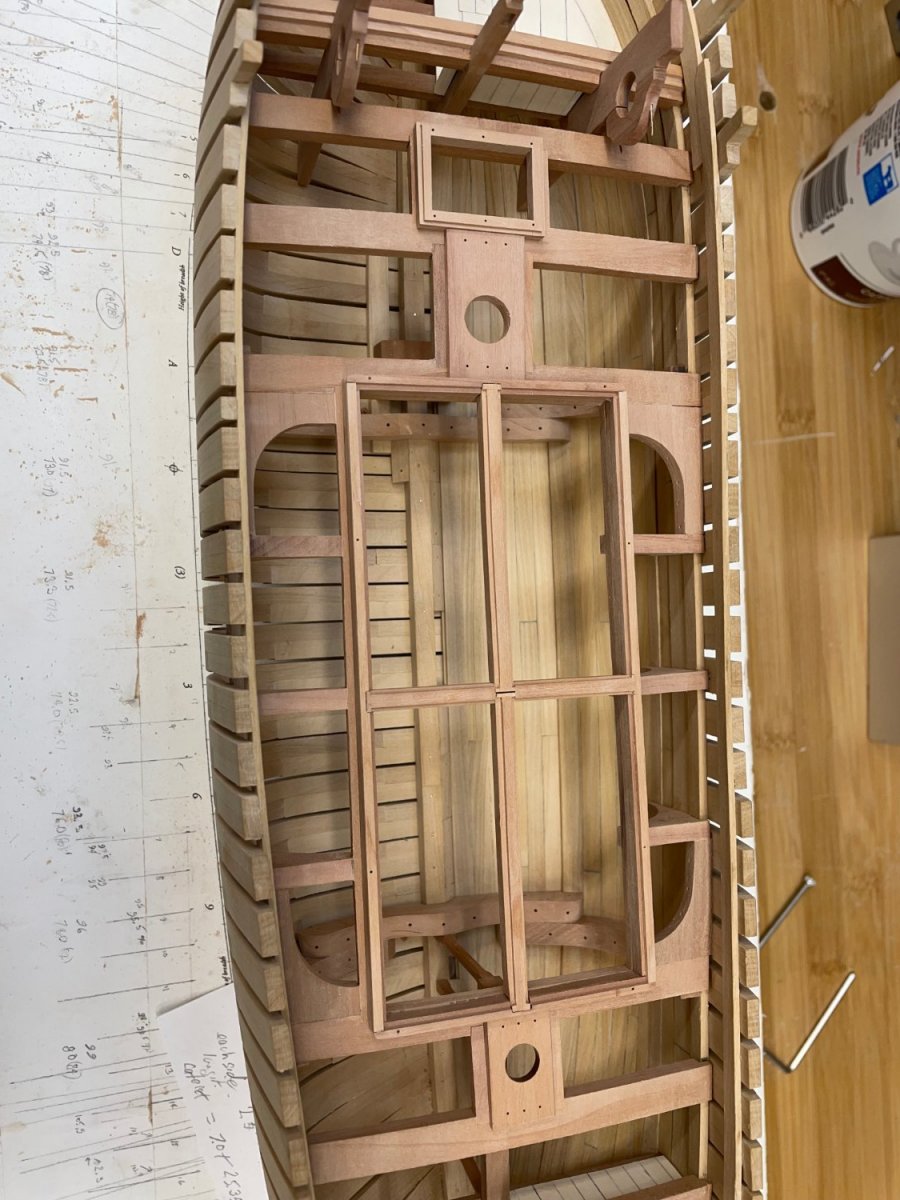
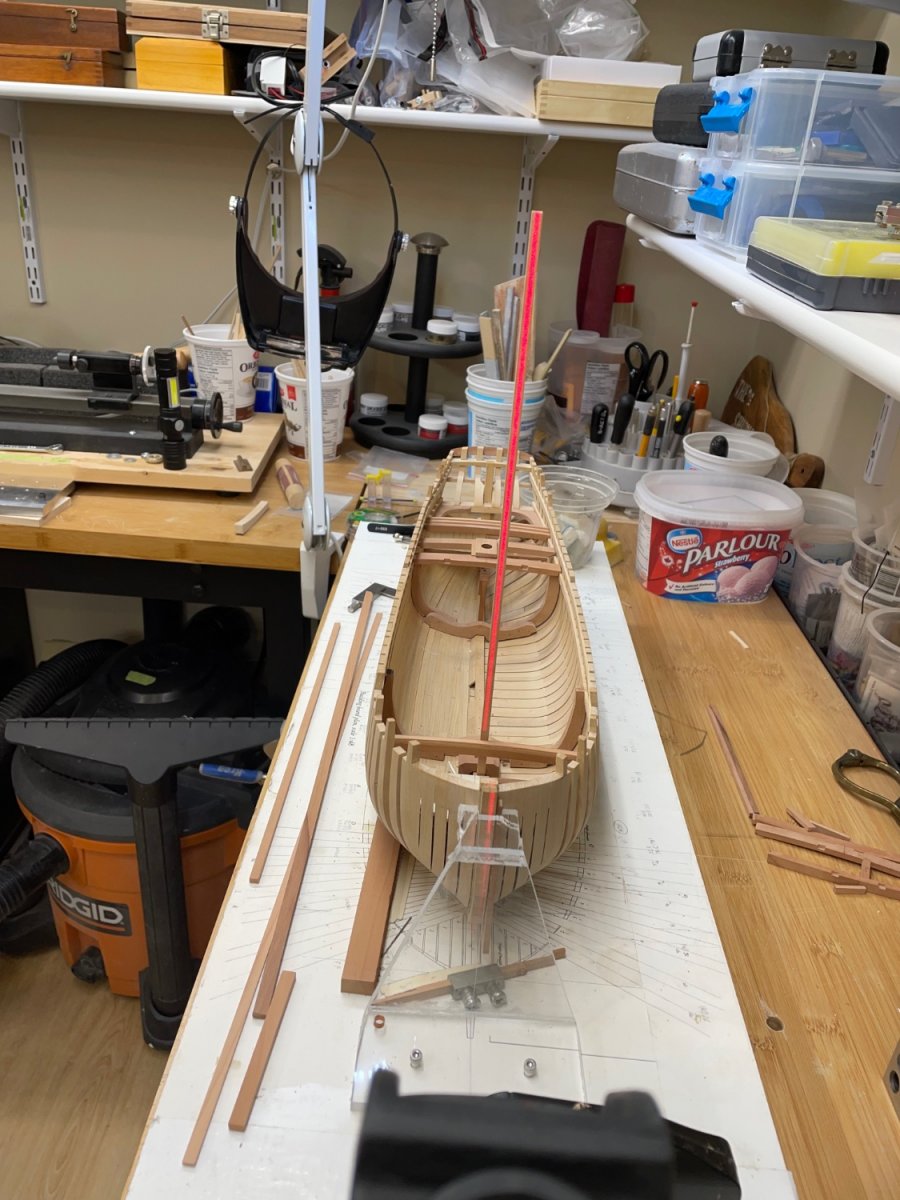
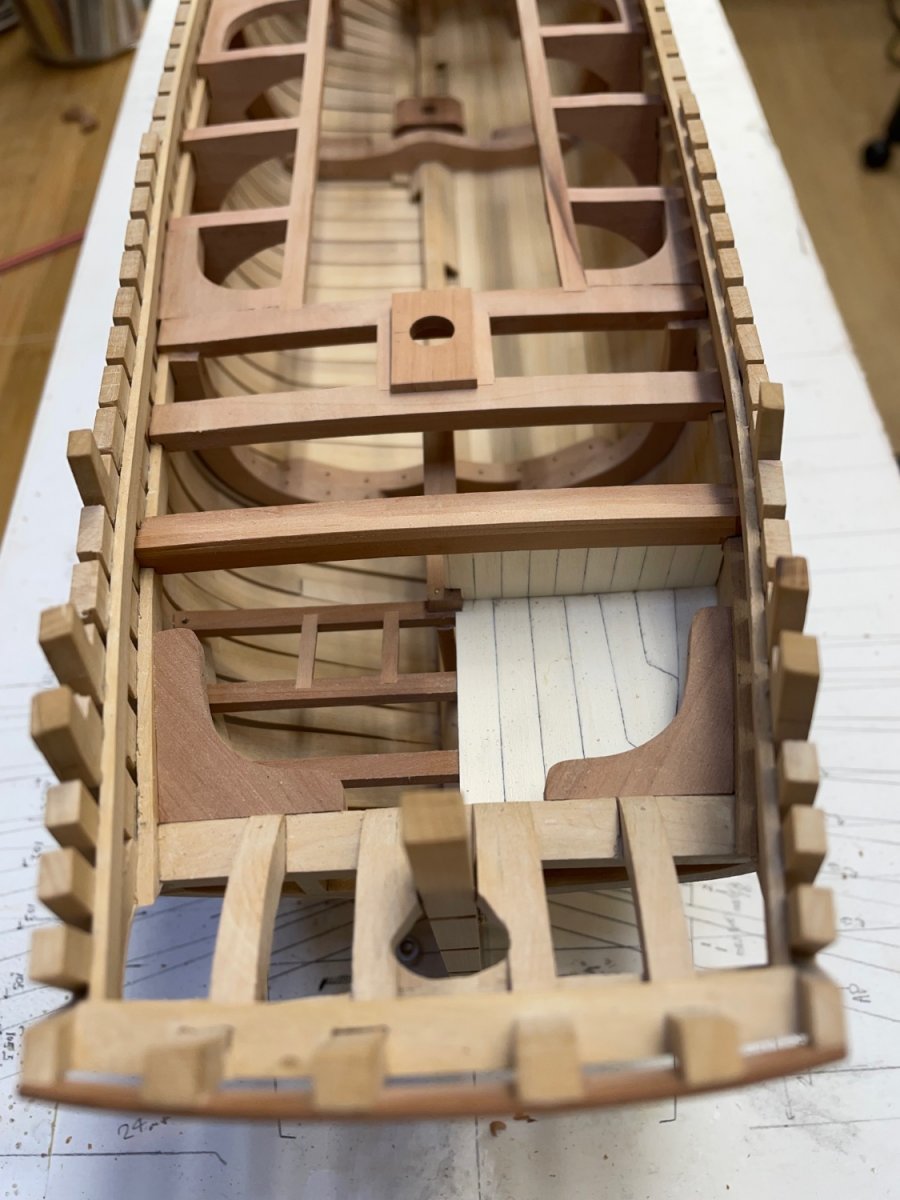
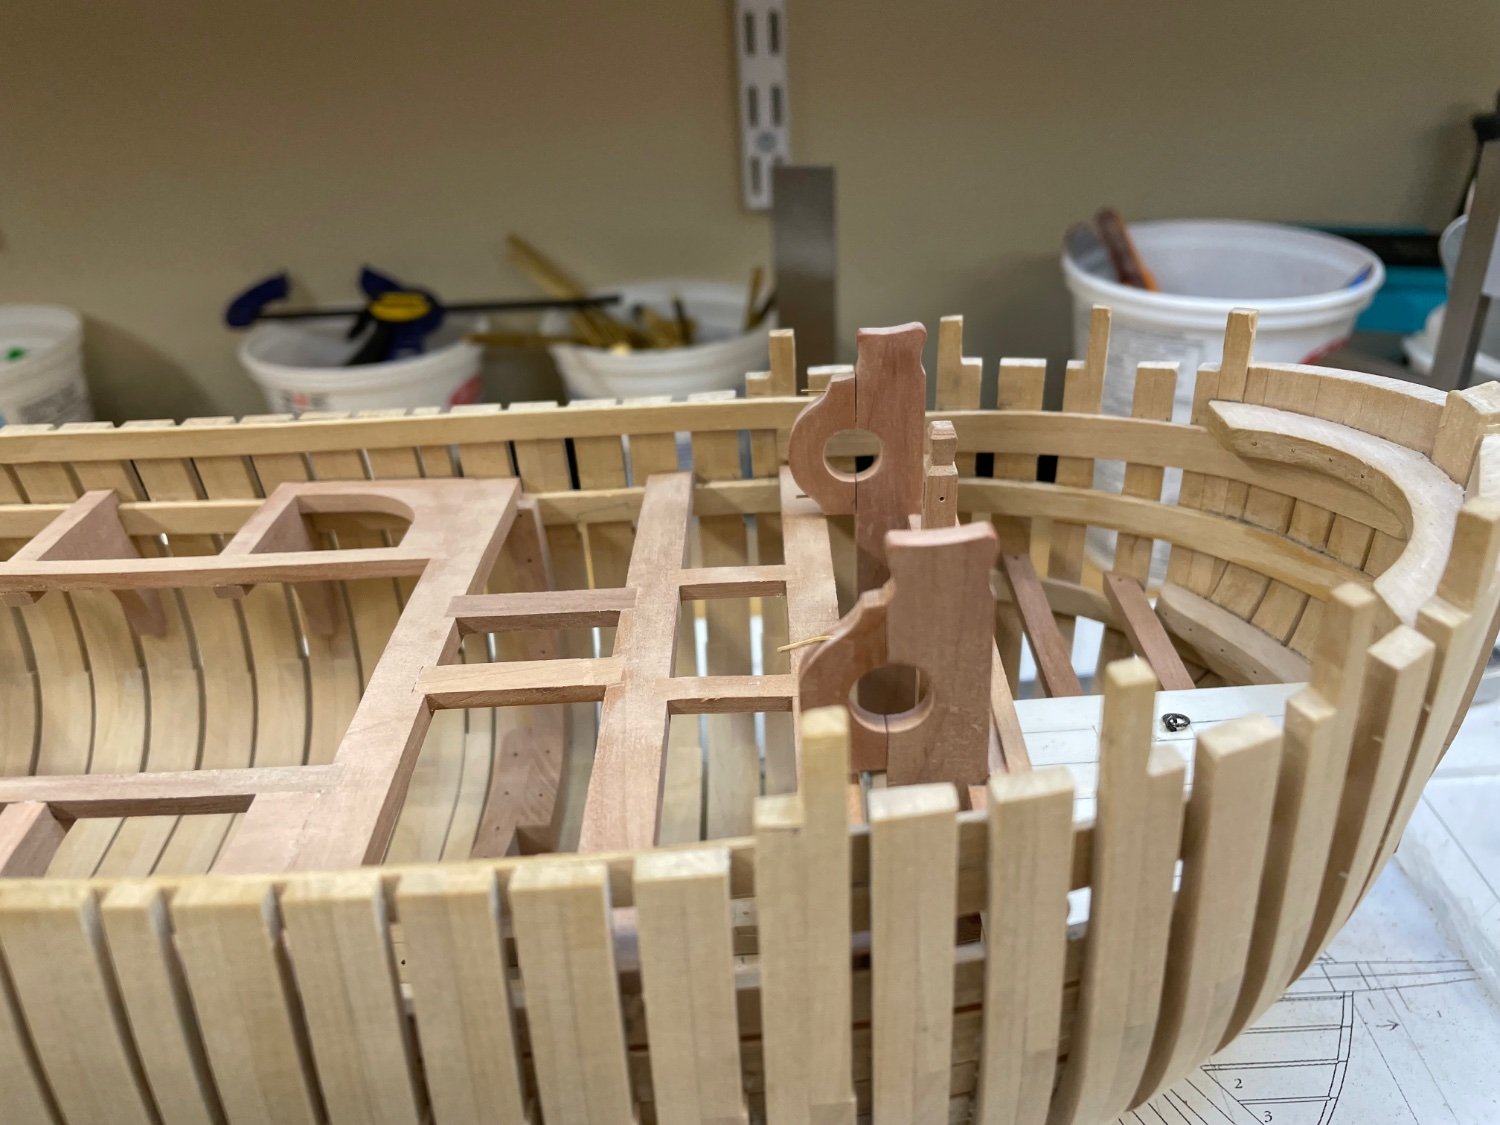
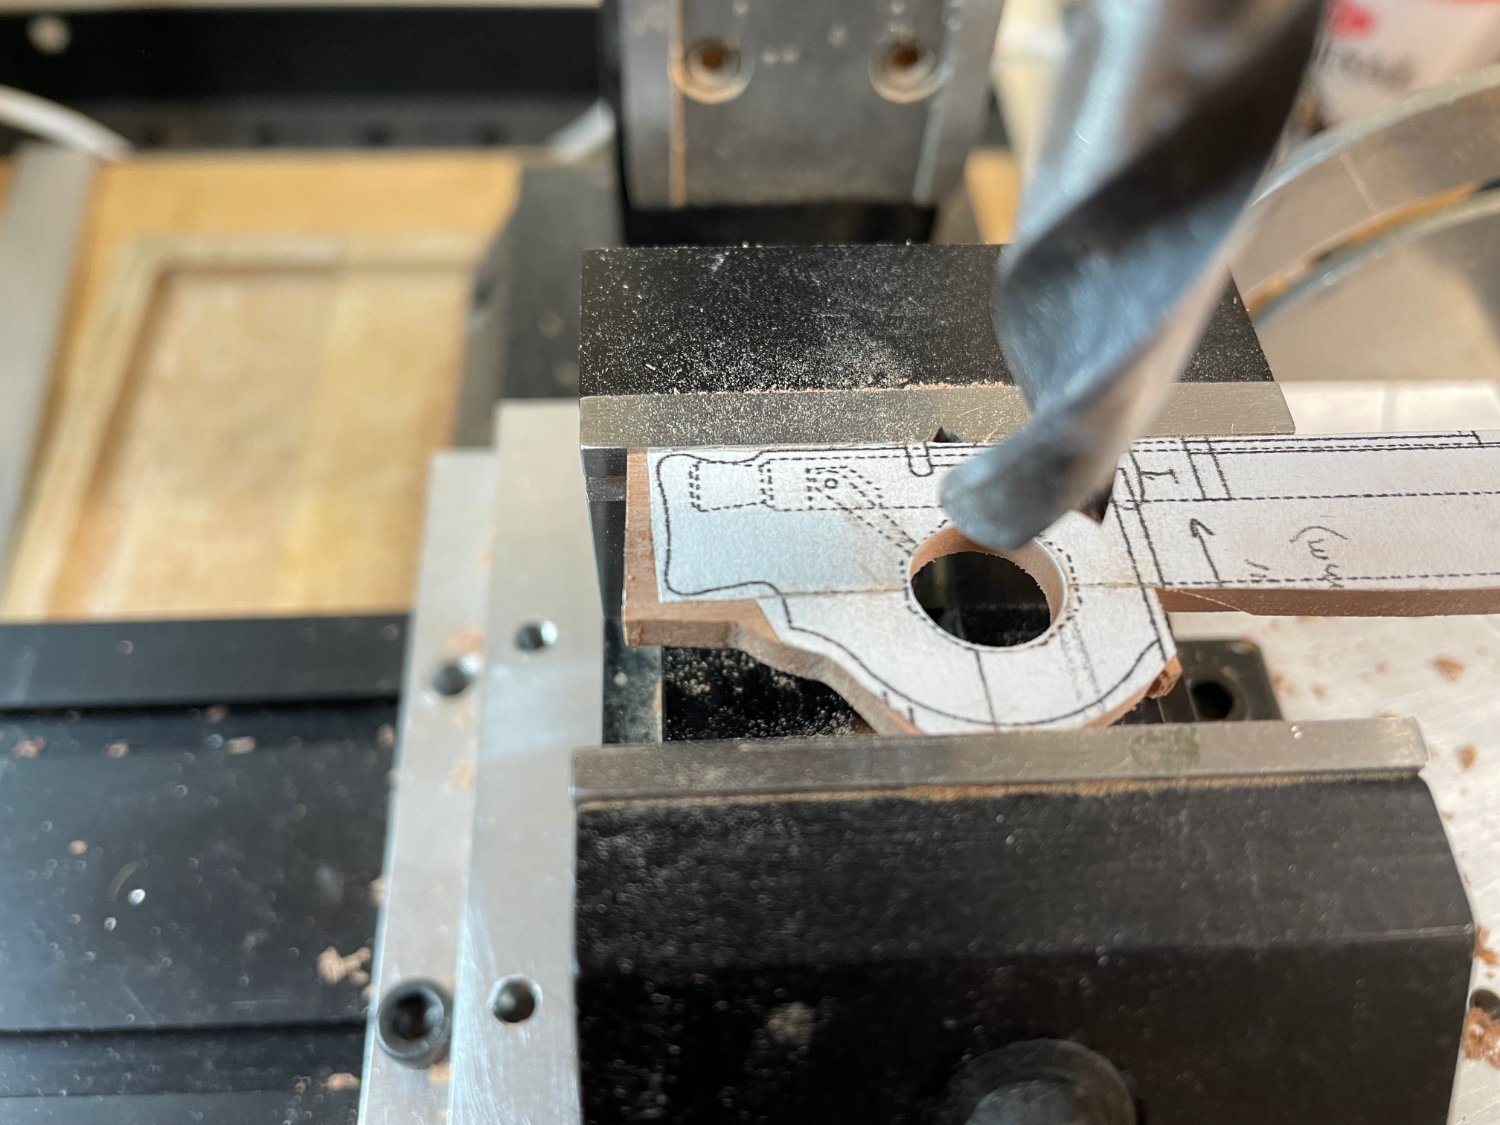
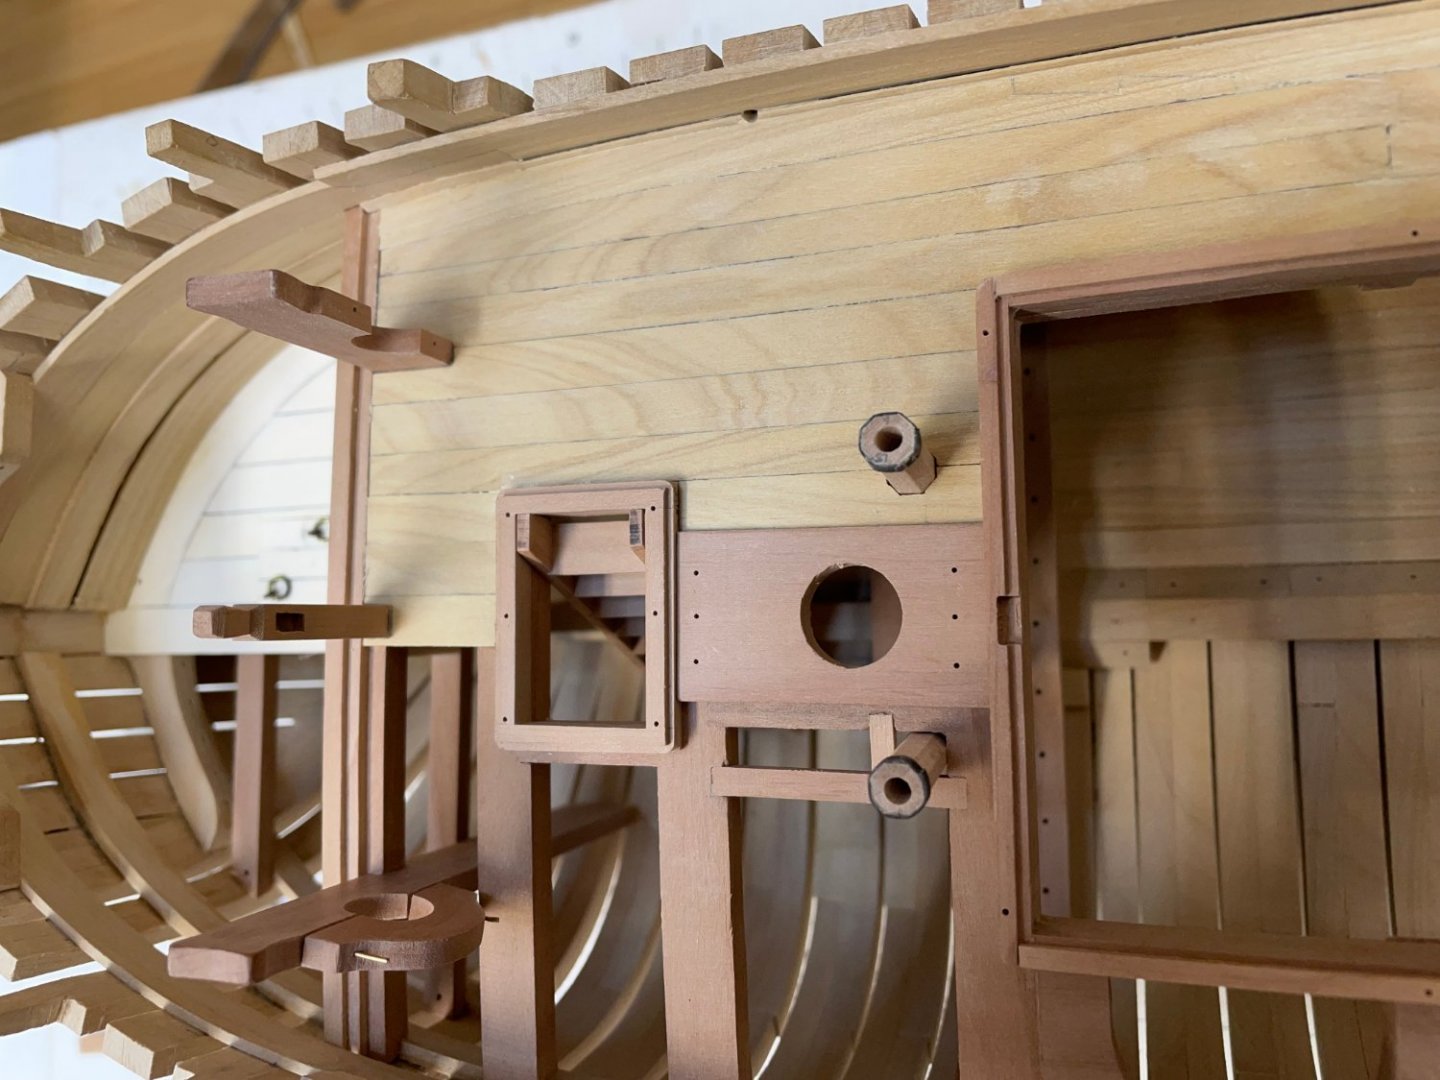
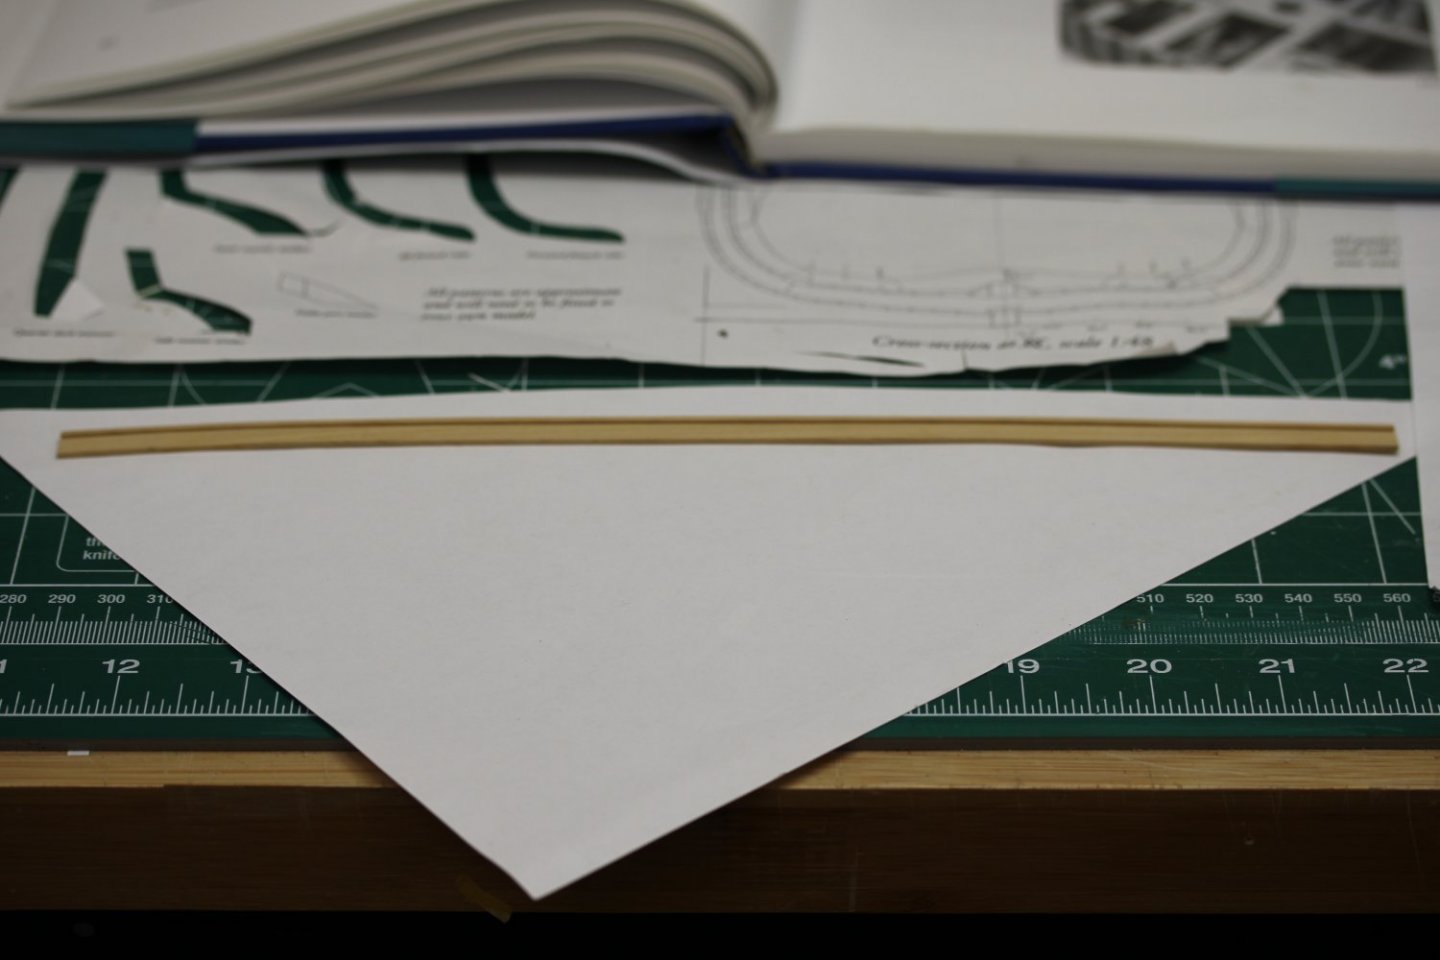
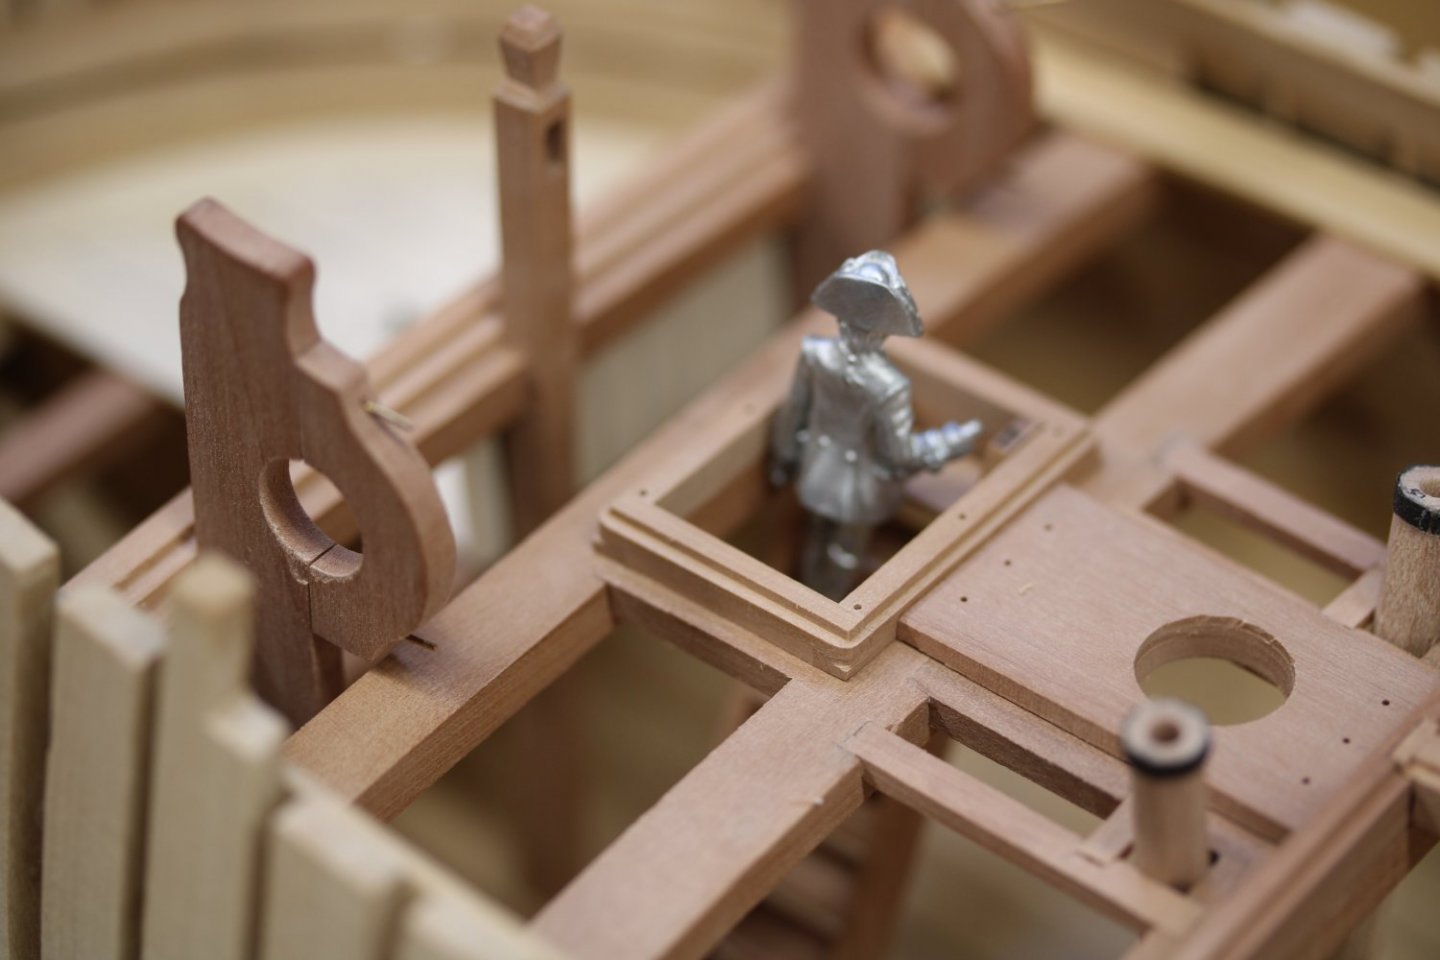
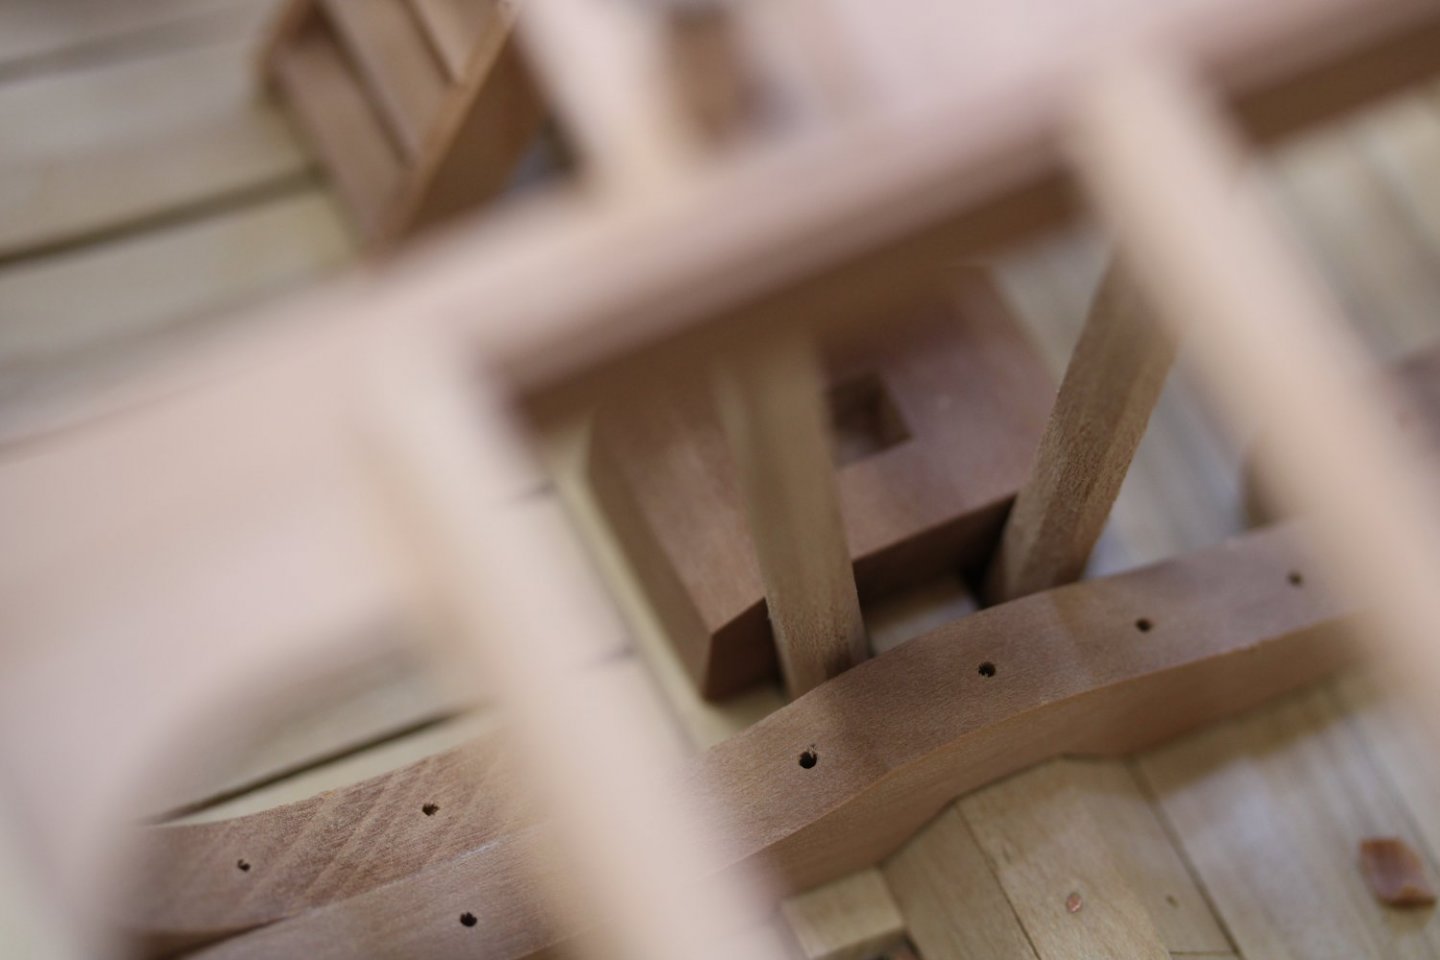
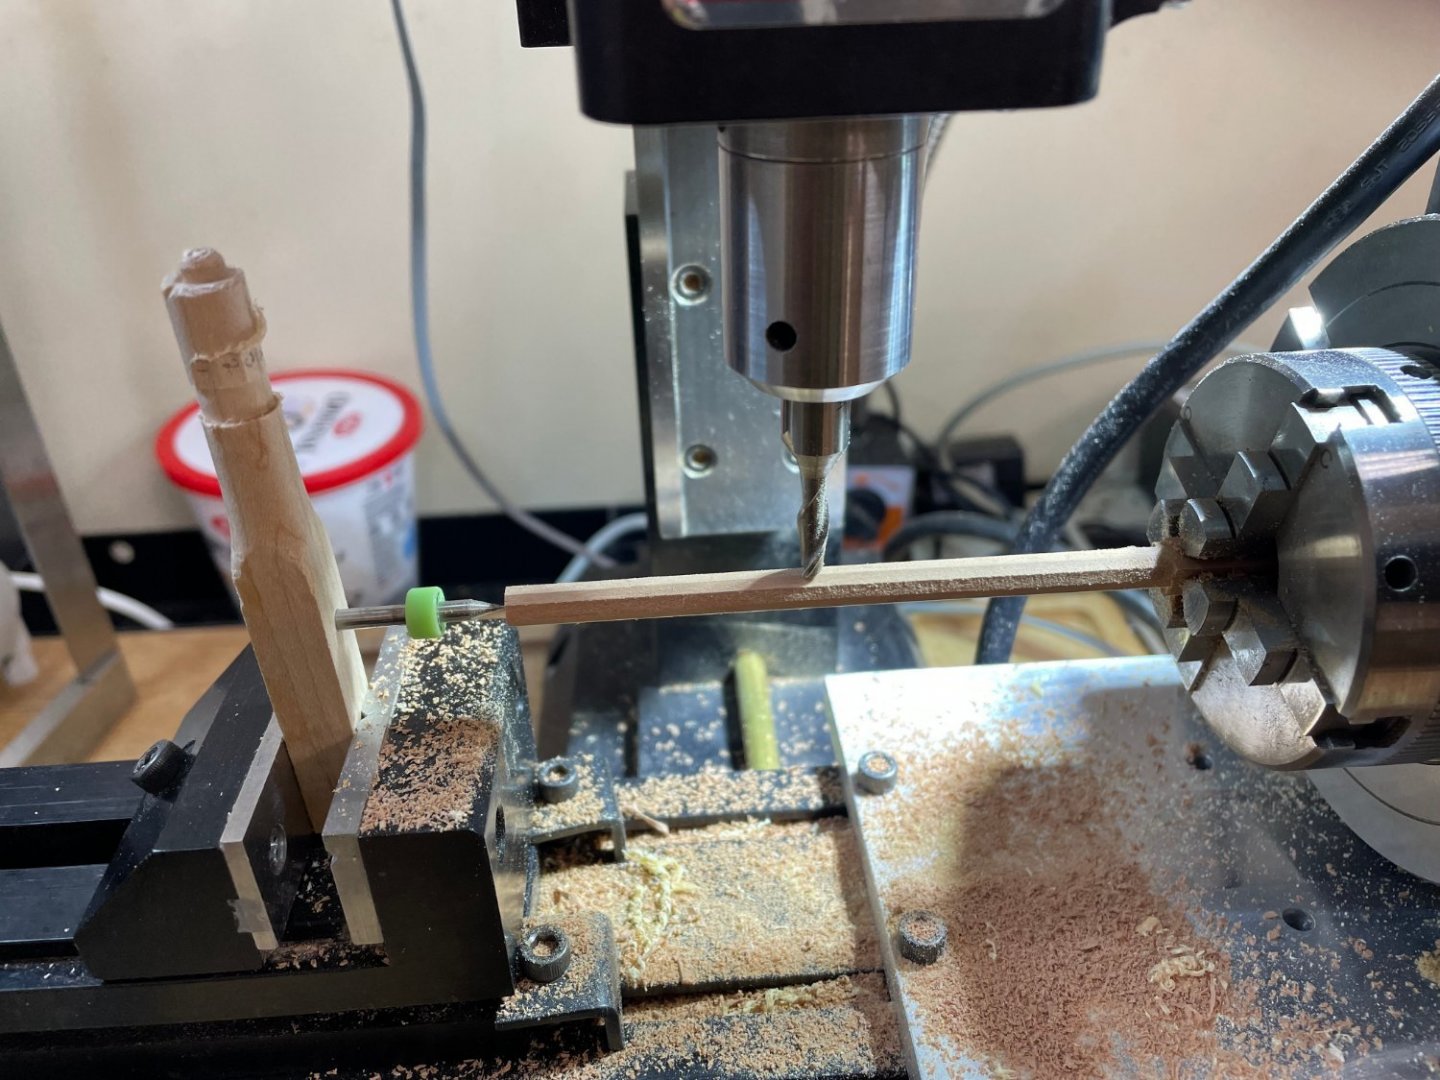
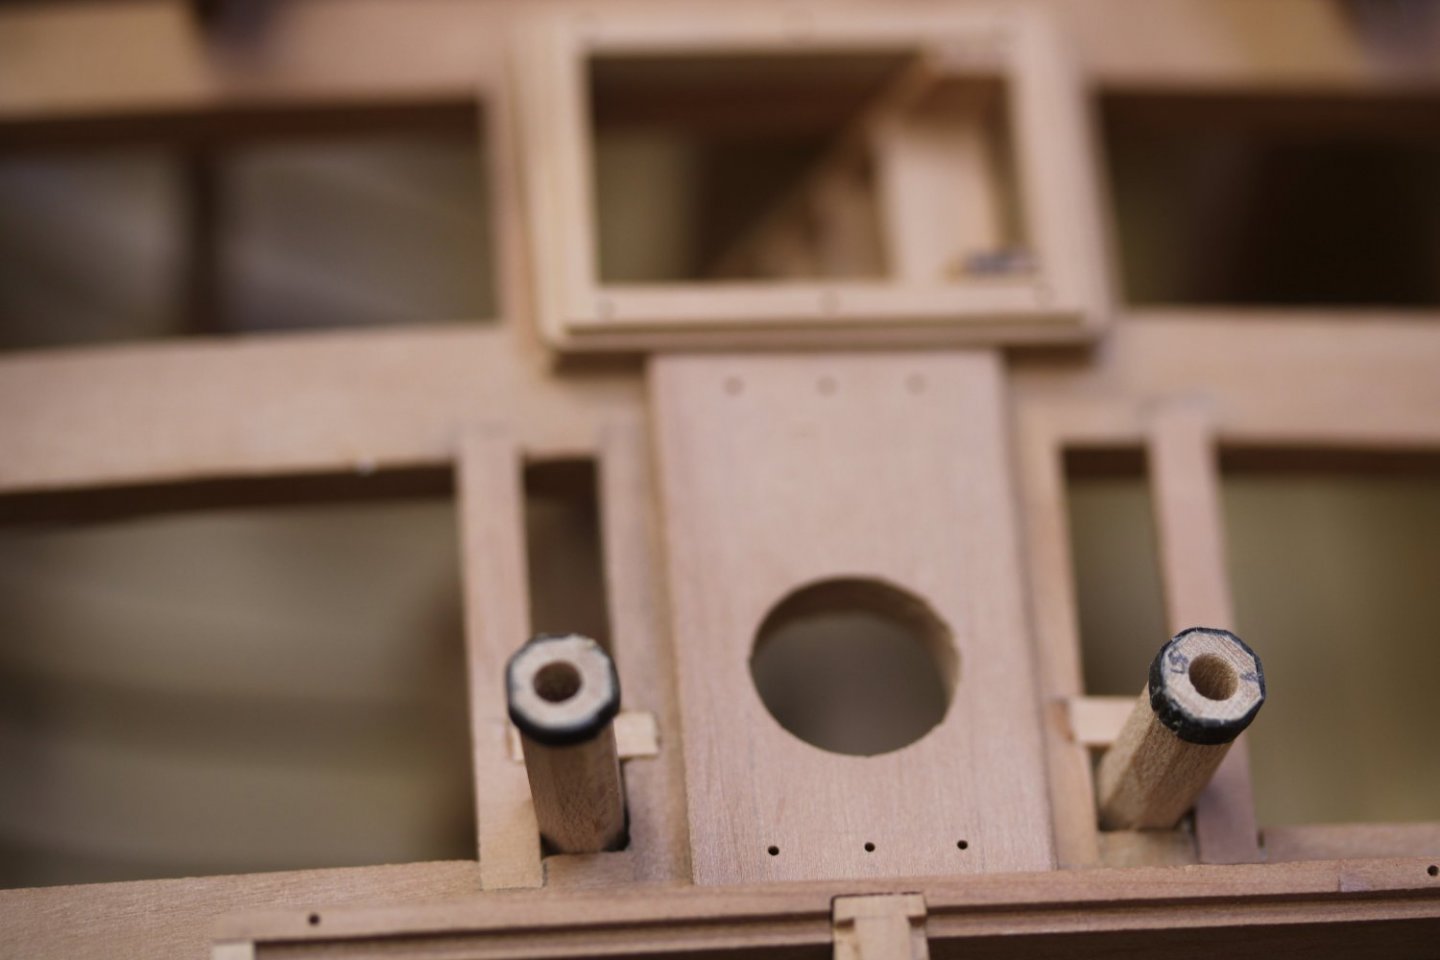
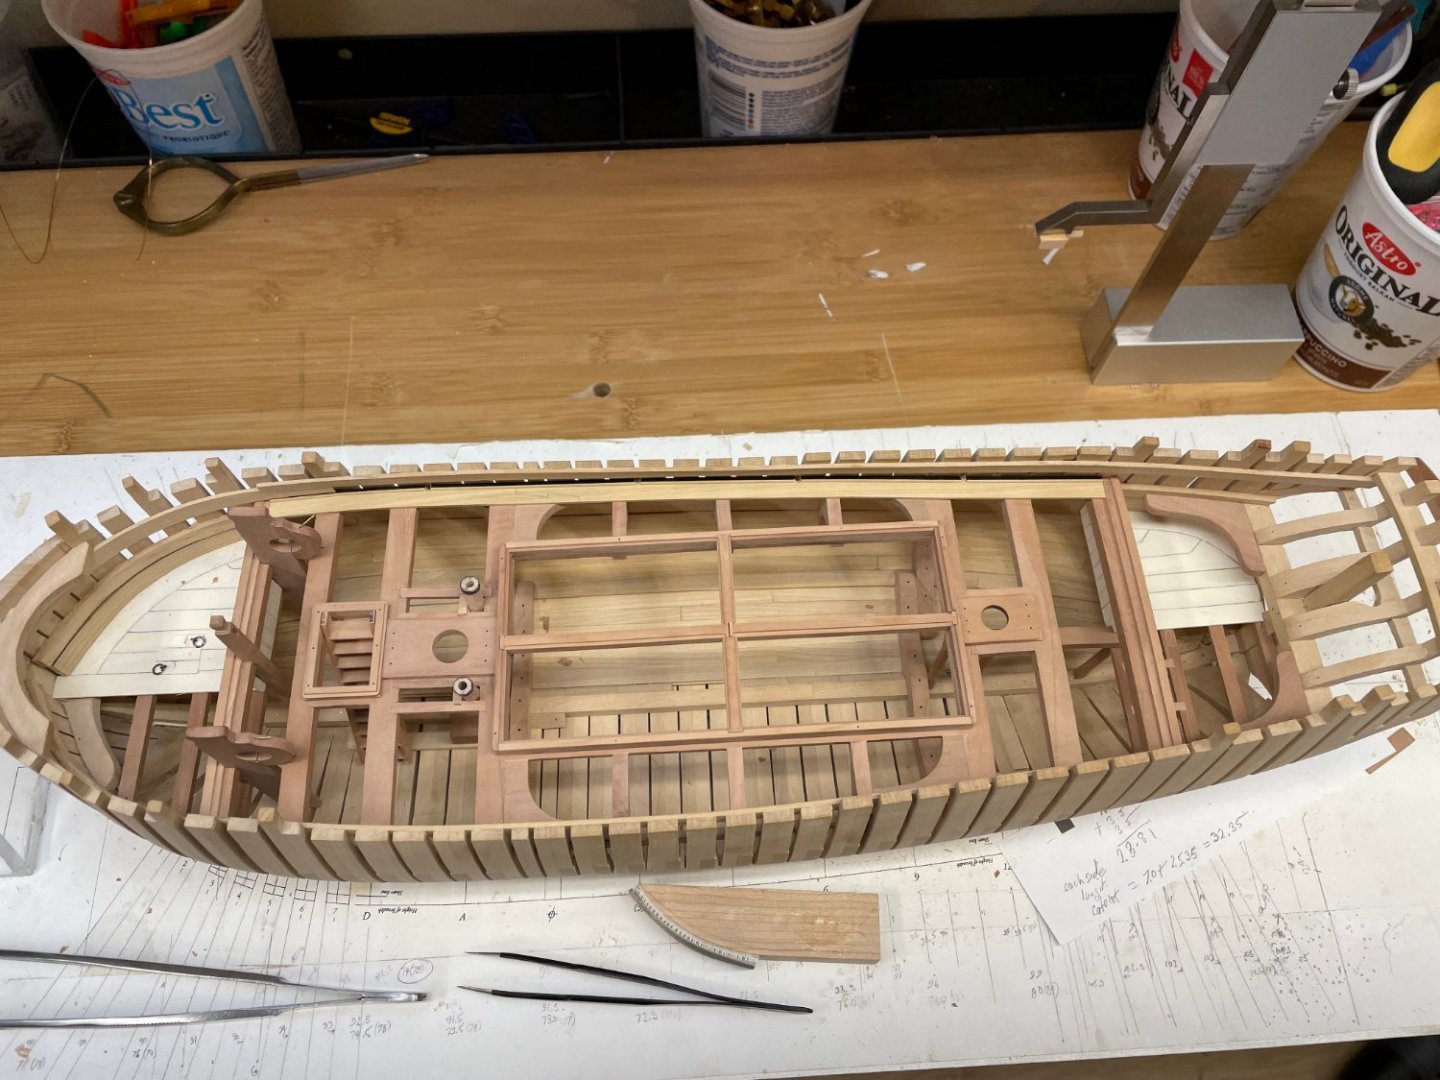
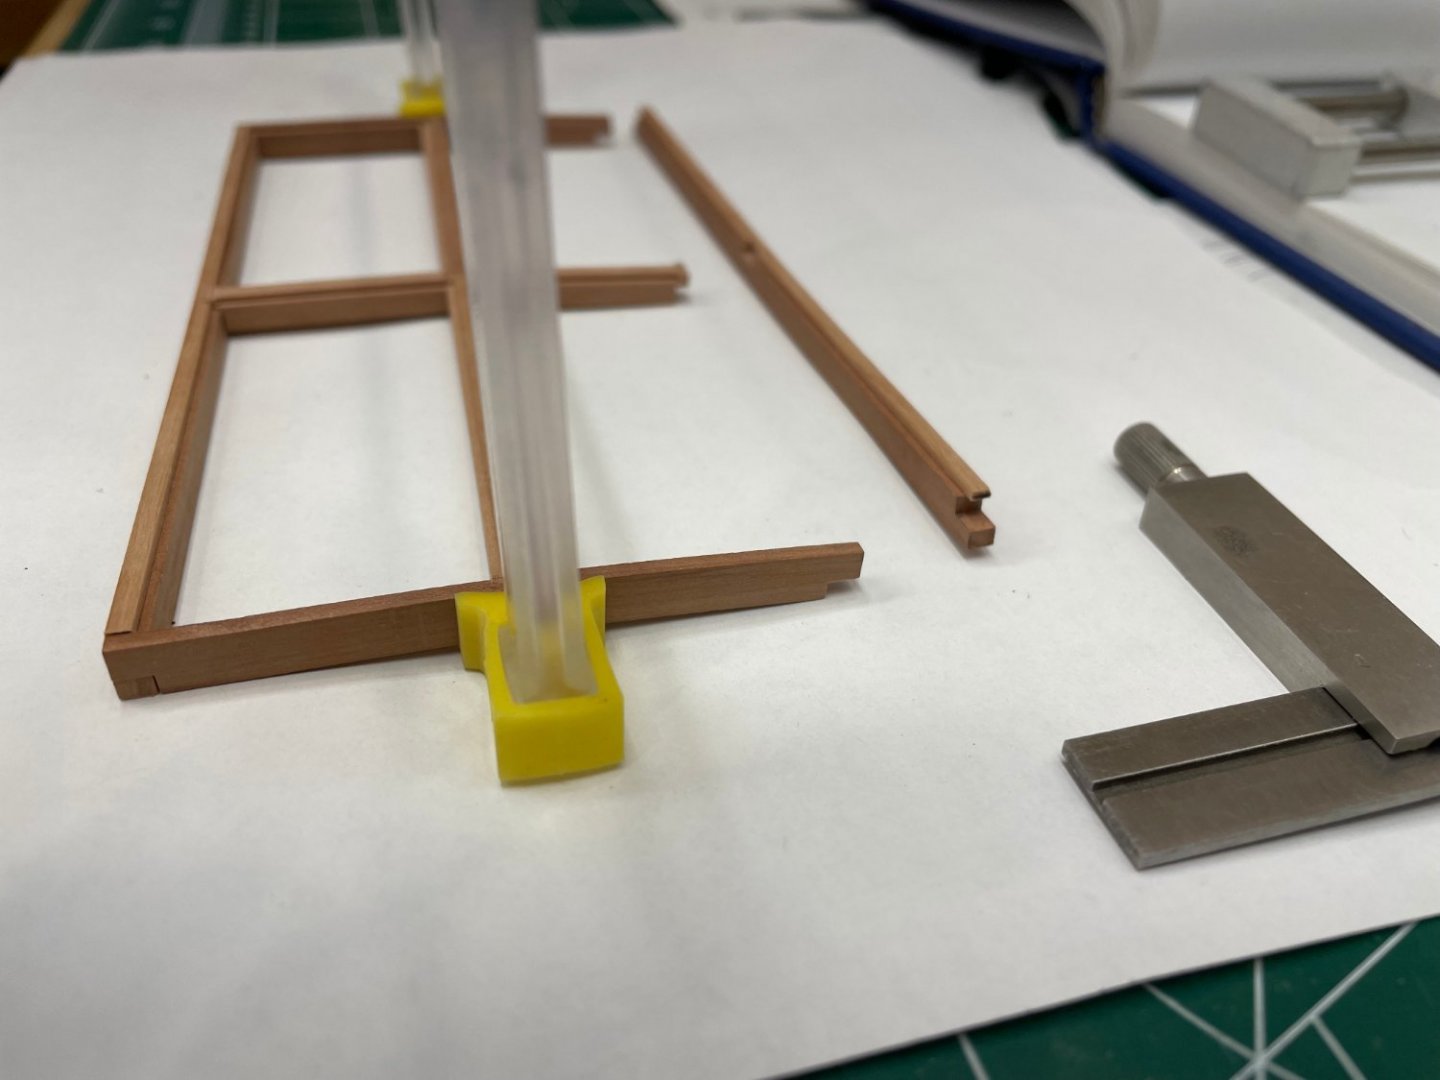
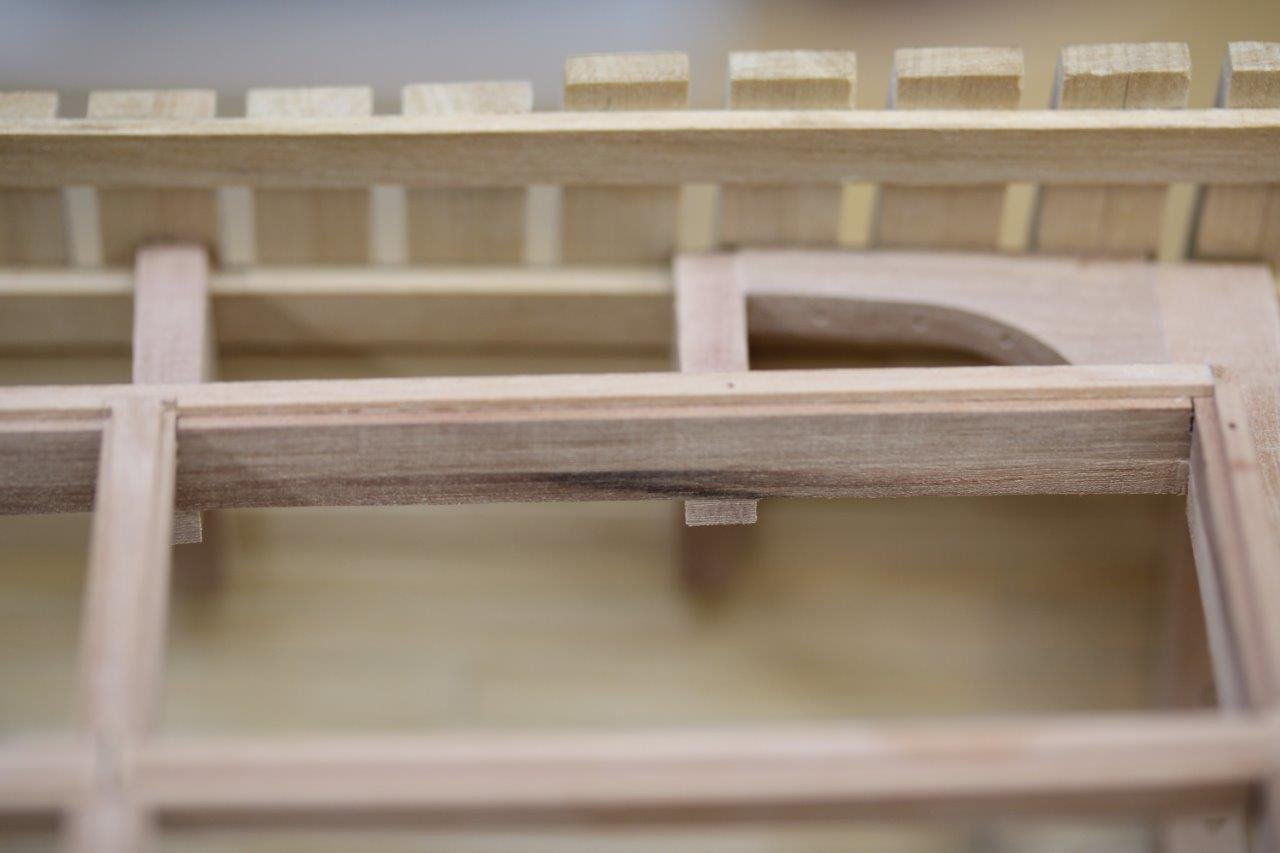
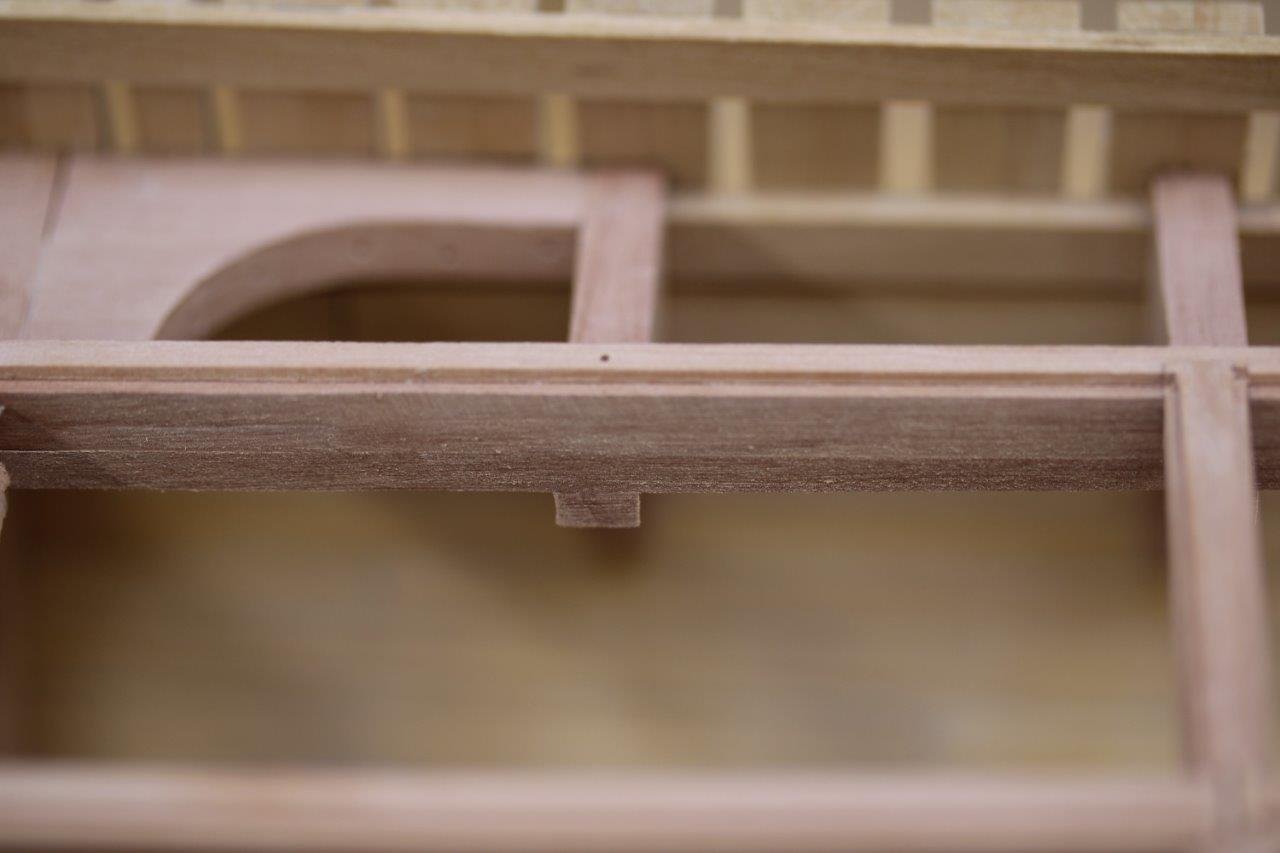
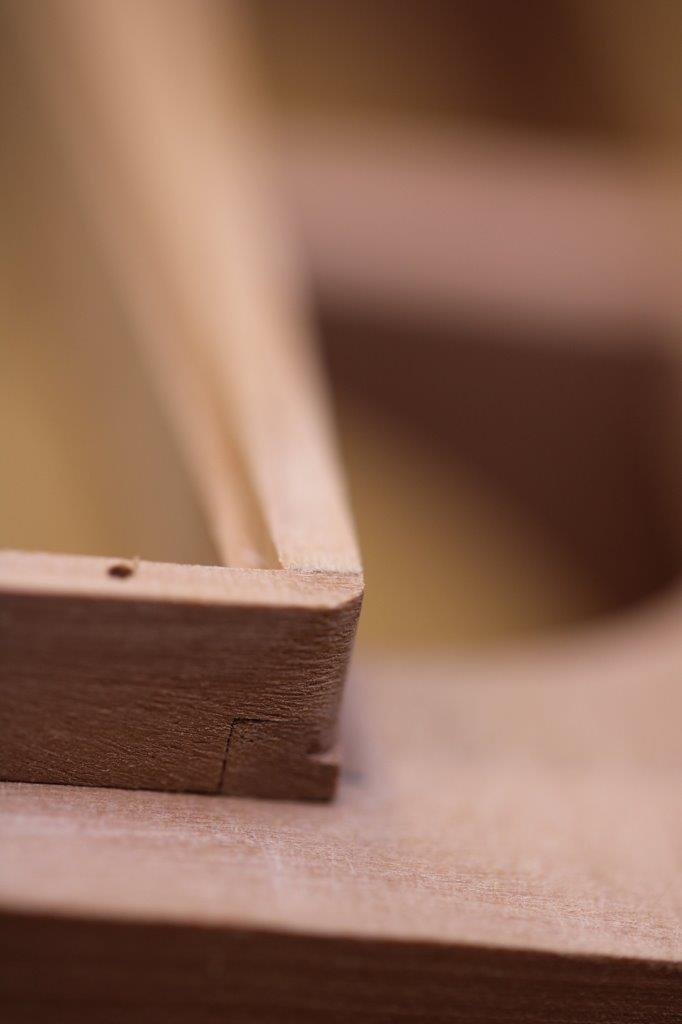
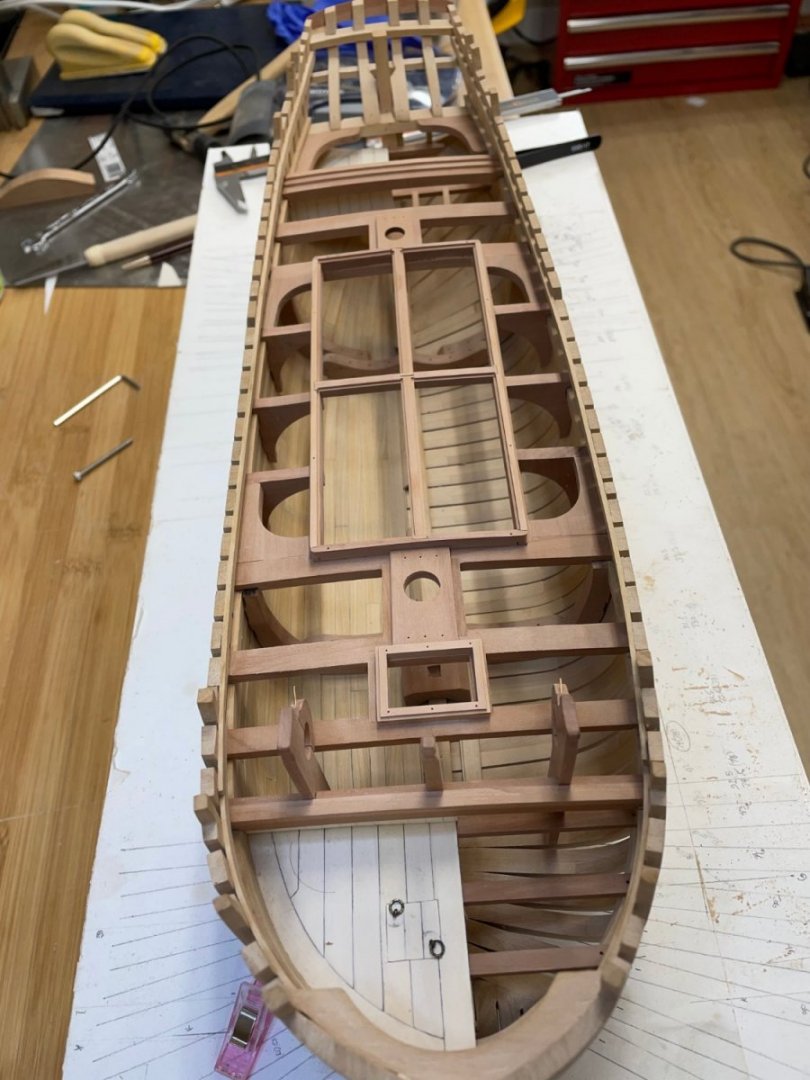
Time for a brief update. Everything has gone without too many redos 🙂. I must say David’s book explains things very well and I rarely have to go beyond it for guidance. A few notables: I found my self-levelling laser quite helpful for getting things to stand vertically. If I would just find the energy to build a proper height gauge I would accomplish the same goal, but the laser is a pretty good substitute. When it came time to make the windlass pins I was puzzled about how to make a round hole on both holders considering each holder is in two parts (pins and retaining caps). This is likely elementary to many of you. My solution was to first slice the mid part of where the hole would go using a slitting blade. I then made sure I could get a solid clamp with my mill so that it would hold firmly when I used my 3/8 inch Brad bit. The carlings for the huge main hatch follow the deck sheer so they should be pre-bent before installation. Ian Laser setup. Checking deck beams for height. Hole for windlass pins and retaining caps. Windlass pins installed. Carlings, hanging and lodging knees. Forward starboard bulkhead made of baltic birch core and 9 inch holly planks with dados to key into pawl post and windlass pin. Forward starboard bulkhead installed. Capstan holder (unattached). Tapered to be level. View from stern. Bow to stern.