Seventynet
-
Posts
797 -
Joined
-
Last visited
Content Type
Profiles
Forums
Gallery
Events
Everything posted by Seventynet
-
 Looking very good Mikki. The walnut is going to make it great. Ian
 -
Nicely done Steve! Ian
-
Very nice job and something to be proud of! Ian
- 82 replies
-
- 4
-

-

-
- half hull planking project
- half hull
- (and 2 more)
-
Paul this build is just beautiful, such clean and crisp work!
- 201 replies
-
- 5
-
-
-
- Oyster Sharpie
- first scratch build
- (and 1 more)
-
Thanks very much Rick and thanks to everyone for the likes! I forgot to mention that I’m not going to tackle the inner hull fairing until I’ve planked the hull because then I have a nice flat surface onto which I can rest the topside.
-
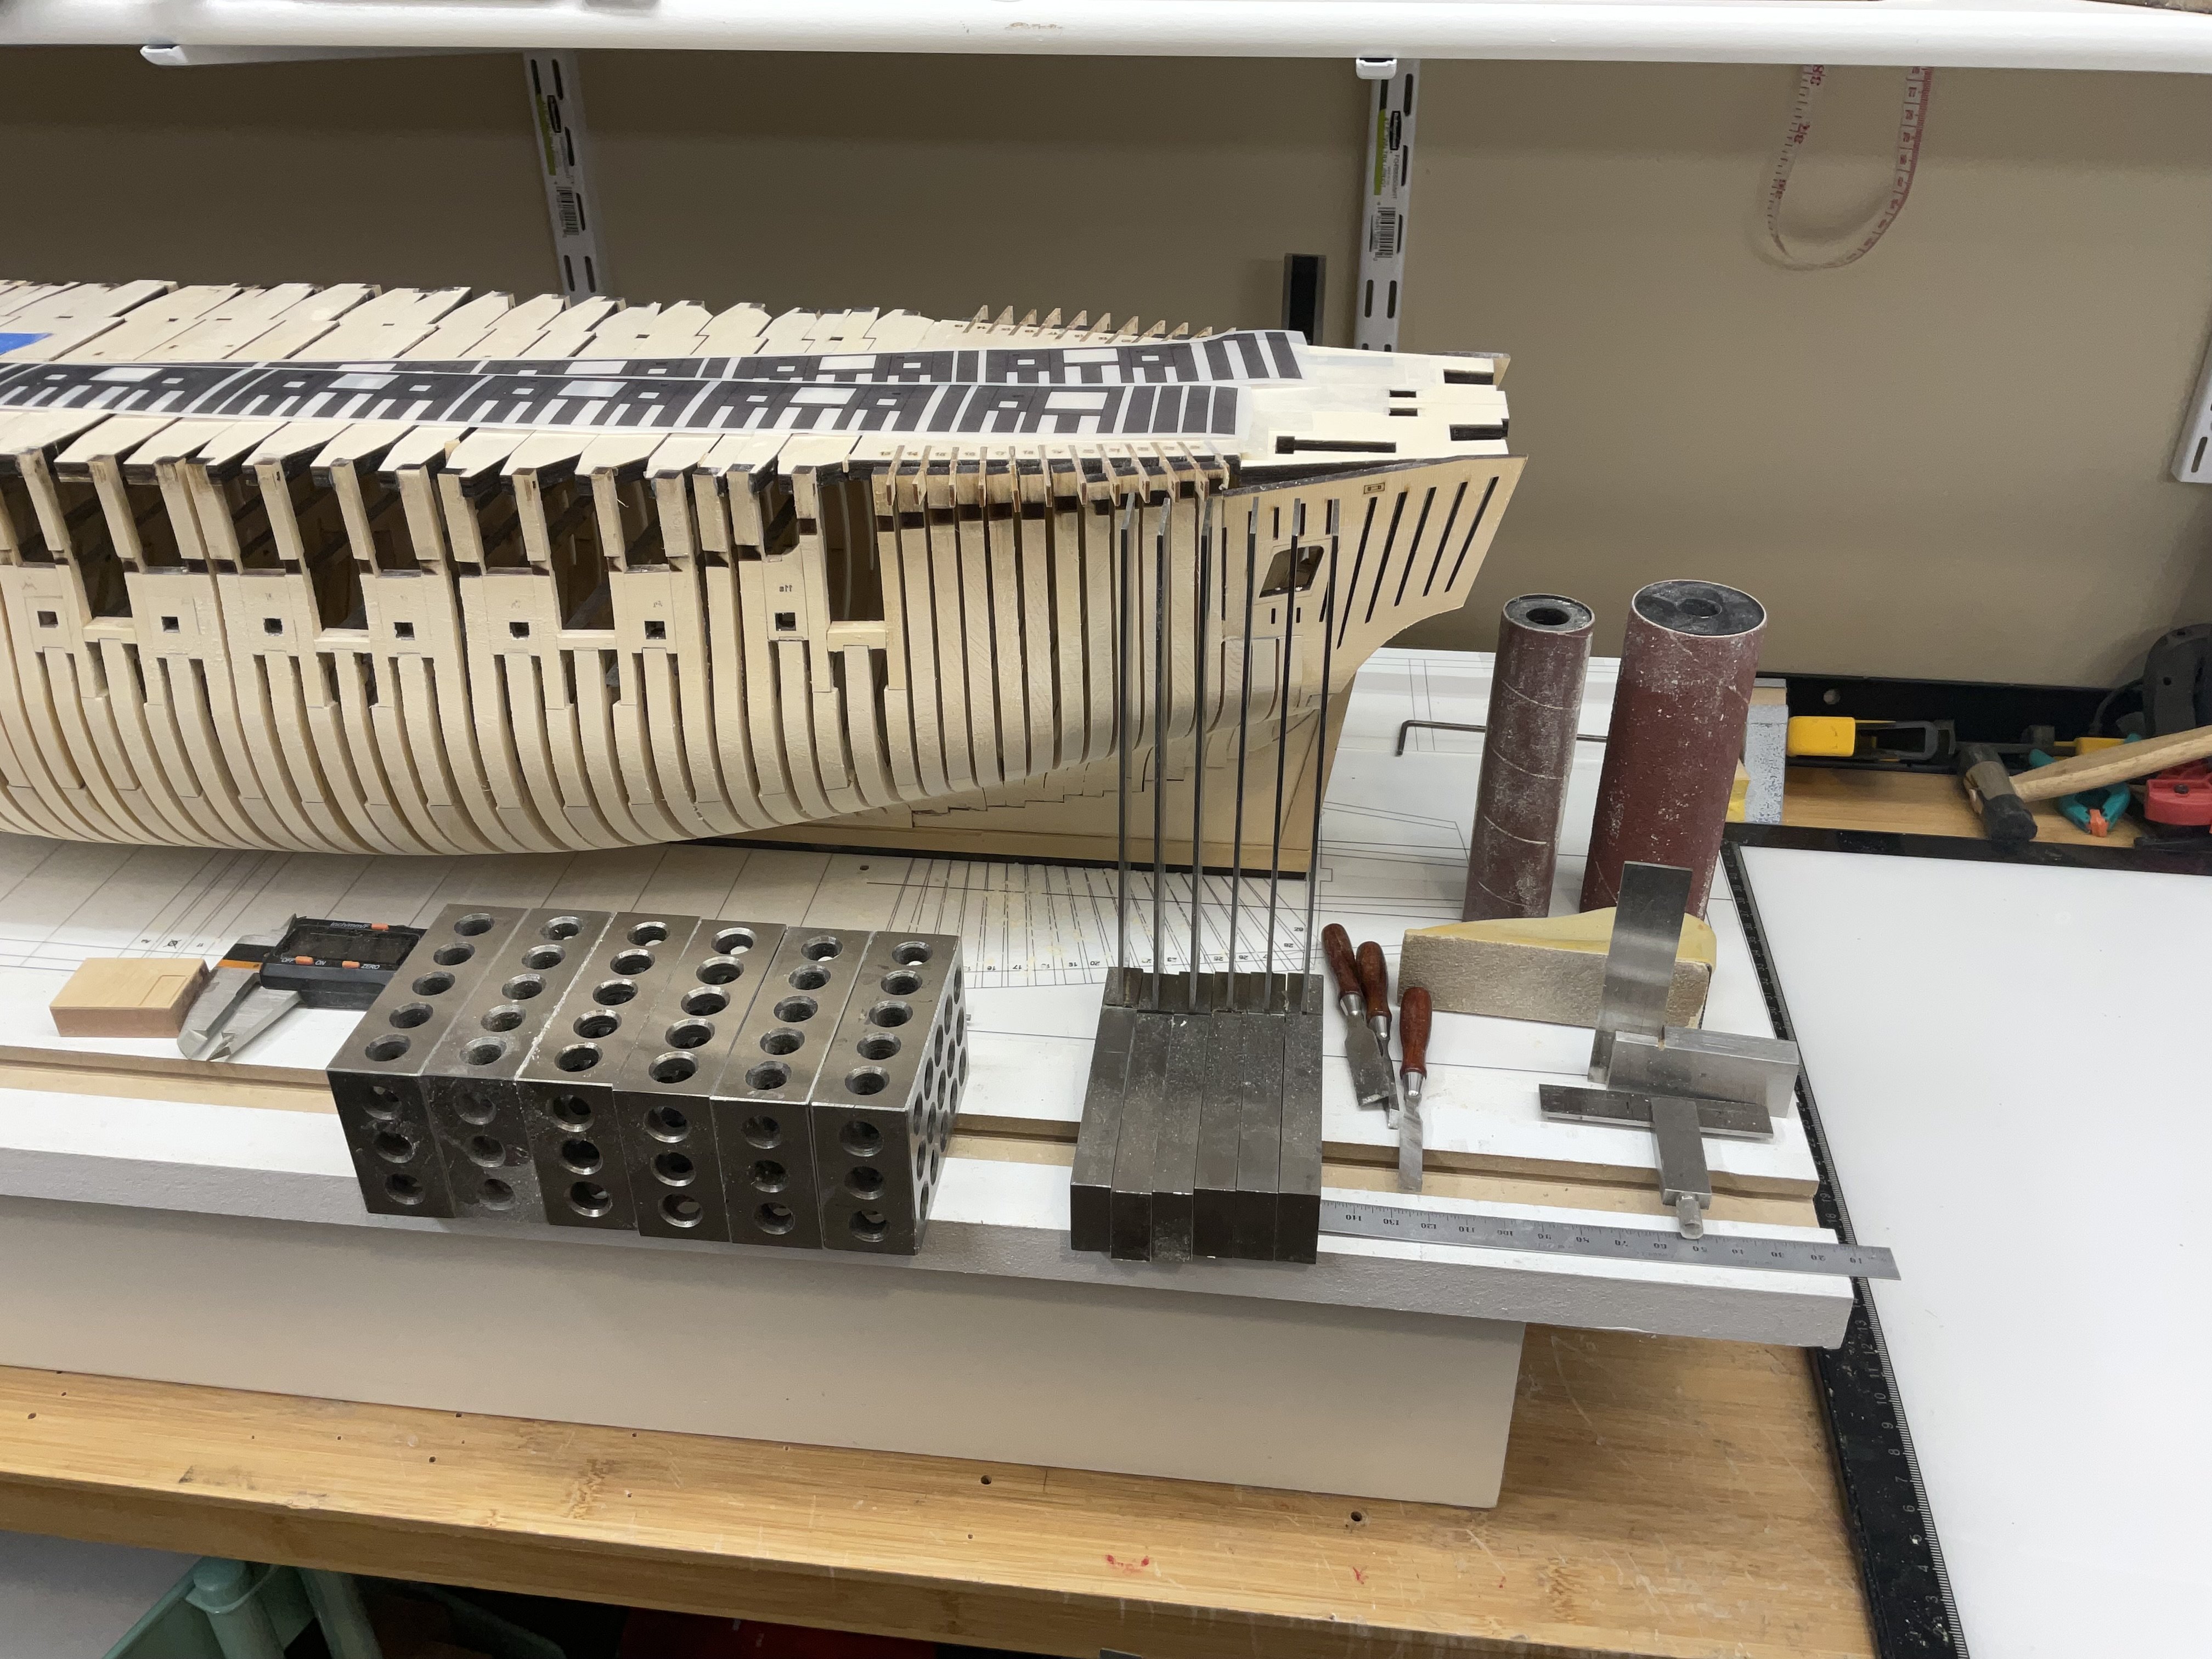
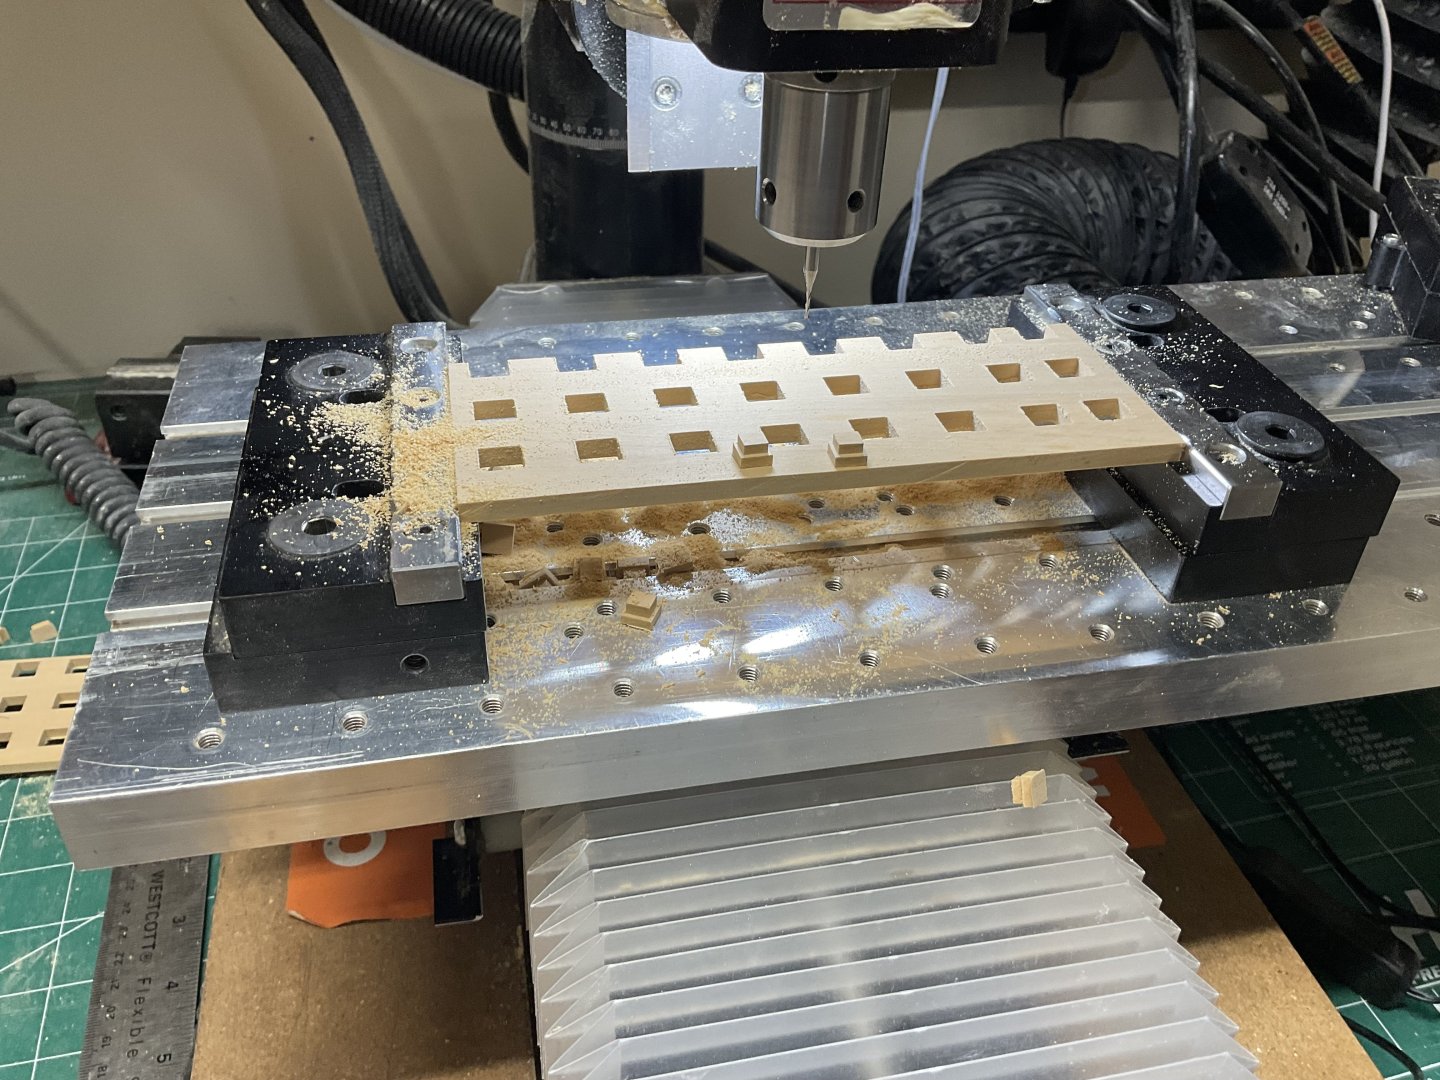
Hi all, thank you for the comments and likes, I really appreciate it. I just wanted to post a quick update. There’s not a lot to tell to this point. My approach to the sweep ports was to mill a sort of plug to position the port with the idea that I could snug the planks right up to them. It wasn’t a perfect approach and in many cases I removed the port after tracing the outline and cut the planks against the pencil outline. However, it is very fiddly work and far from perfect. I built a little jig to outline the gun ports as shown. I have decided that I am going to plank the starboard side with Holly whilst I wait for chapter 3. I will install the second layer of wales before I start the hull because it will be easier to place the lower wale that way. I also plan to treenail both above and below the wales but am in the waiting mode for the fishing line and necessary bits.


-
Hey Rick, good luck with the knee surgery. Today has been a bad modeling day. Nothing seemed to go right so I’ve thrown up my hands and moved on to something mindless and less stressful.😩 Ian
-
Thanks Rick, you must be referring to the standard (at least that’s what I think it’s called). After breaking it off for the 3rd time I decided to wait until much further into the build when I don’t need to turn it over anymore. I kind of knew that I would break it and made a few extra standards. I look forward to your next instalment Rick. Cheers, Ian
-
Thanks a lot Greg, I will try that. In any event I am warming to the idea of Holly planking the whole hull anyway a la Greg and David models. 🤓
-
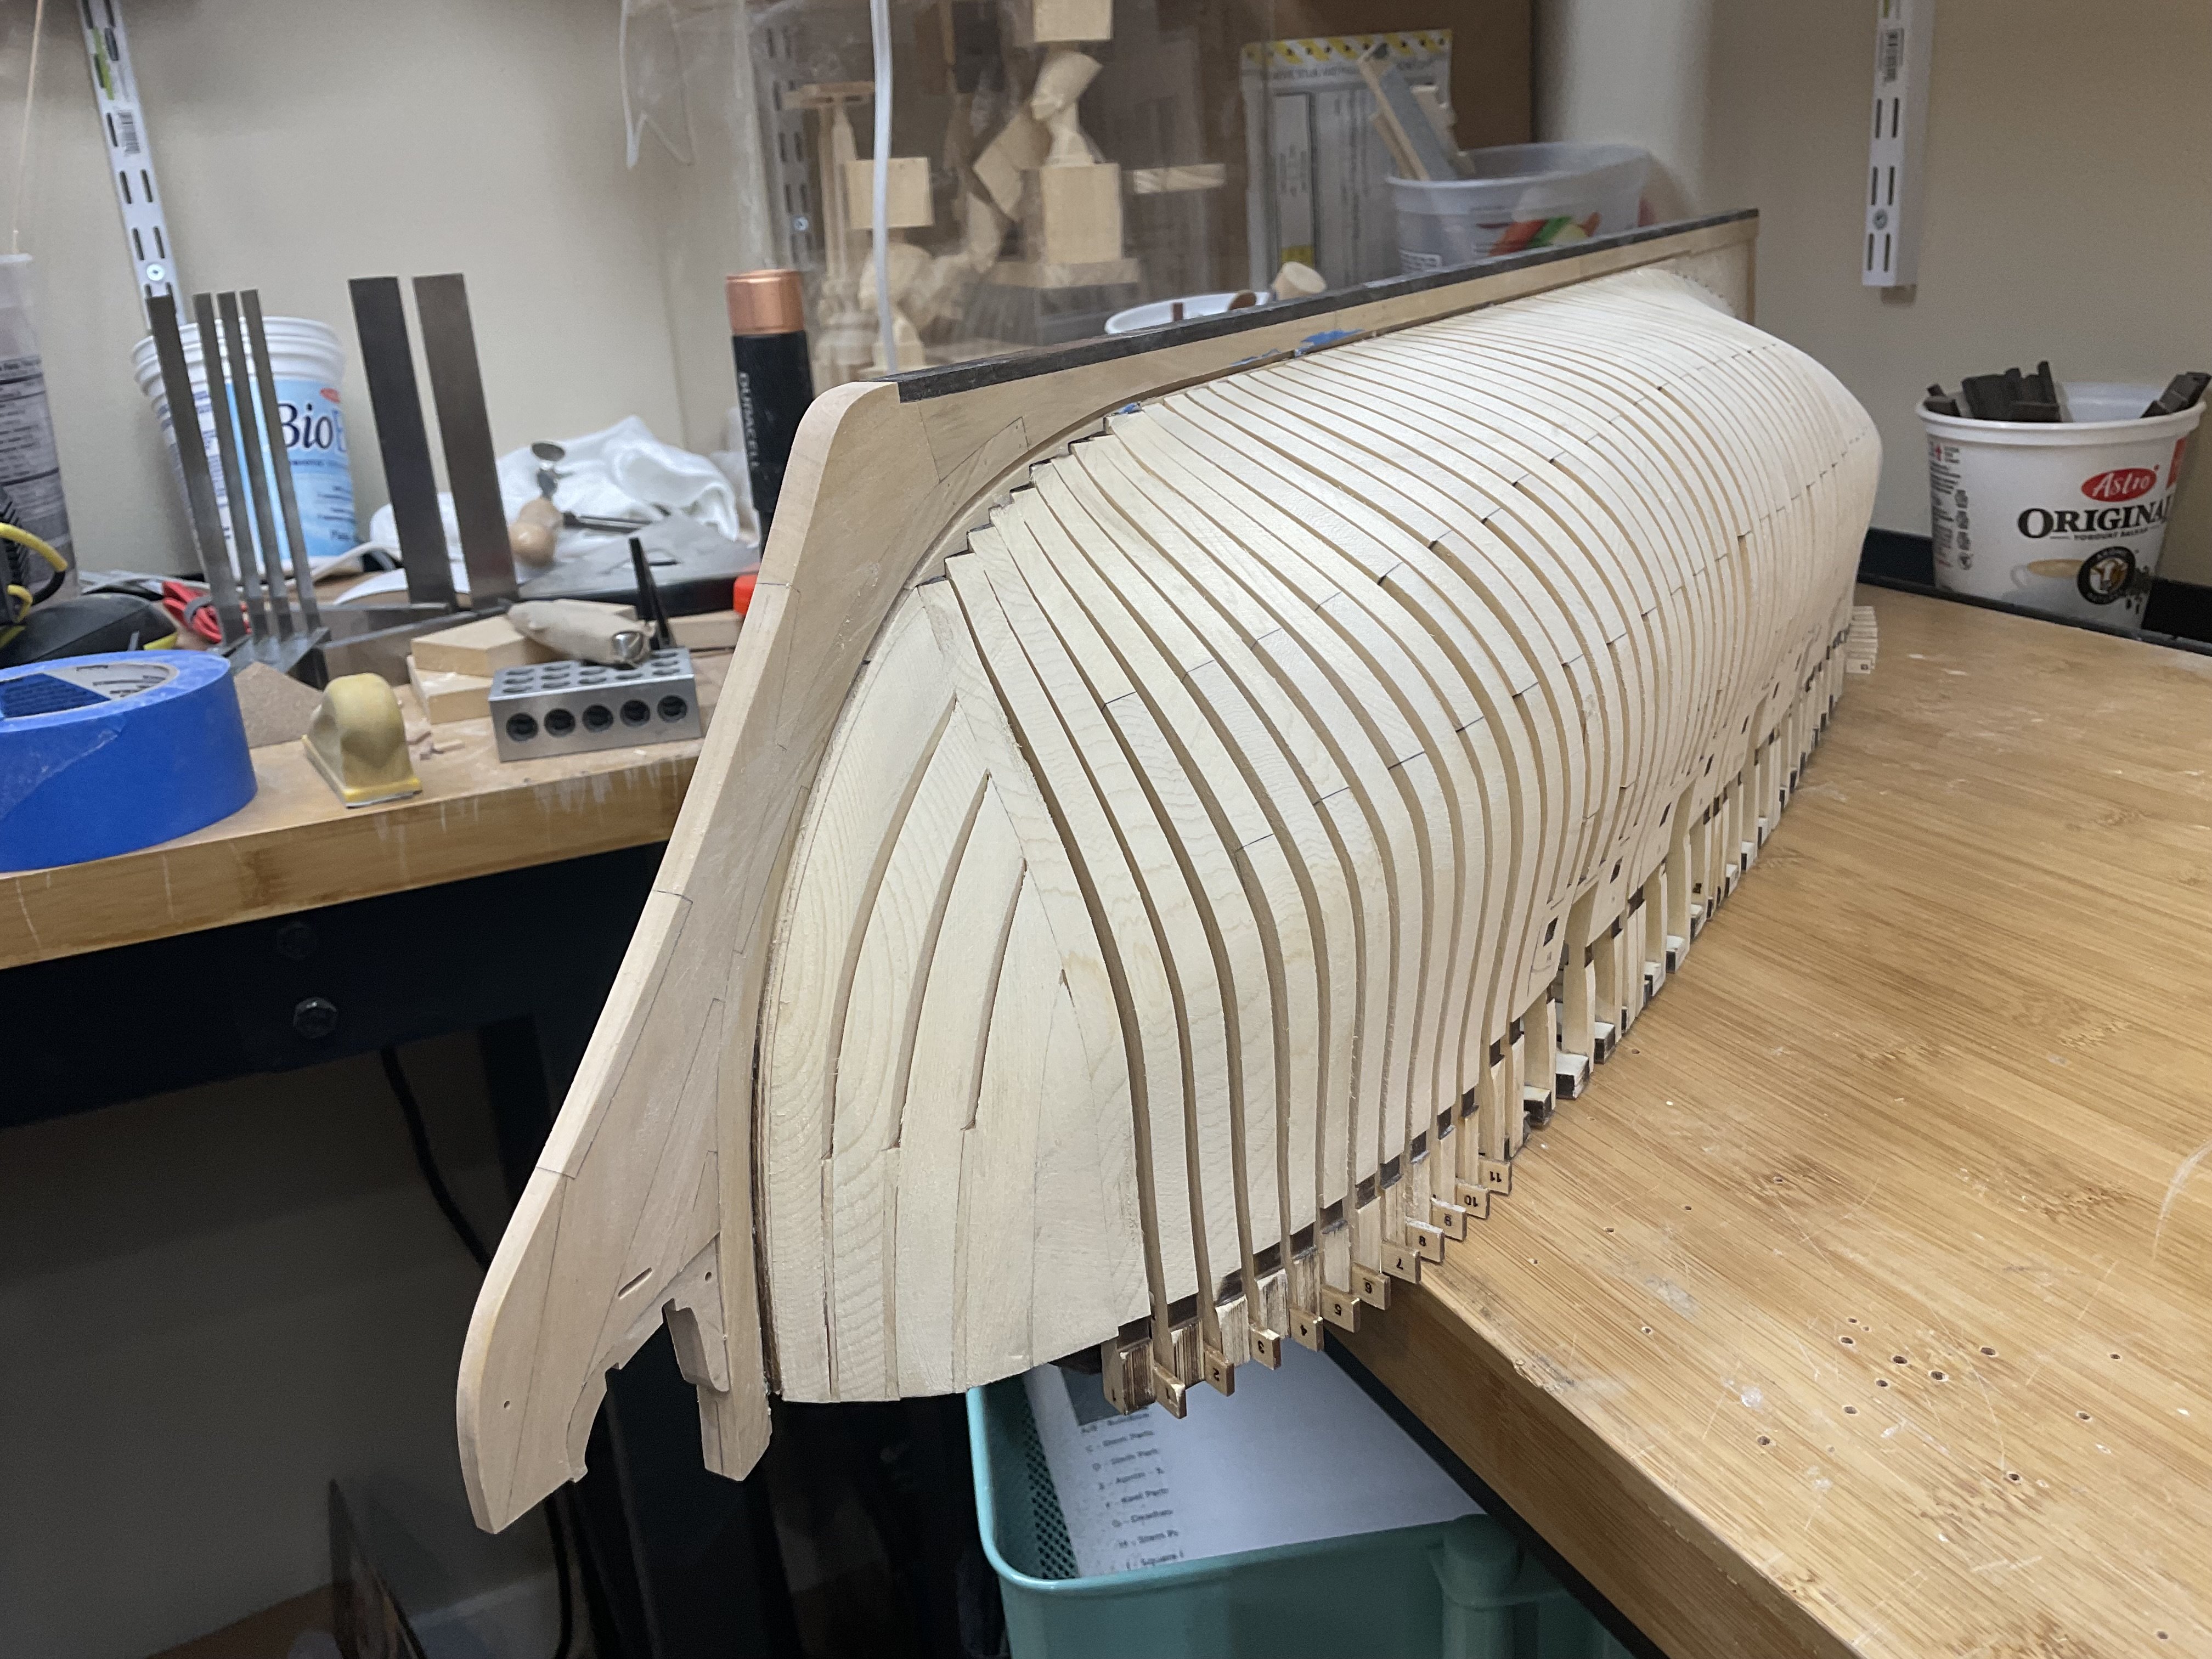
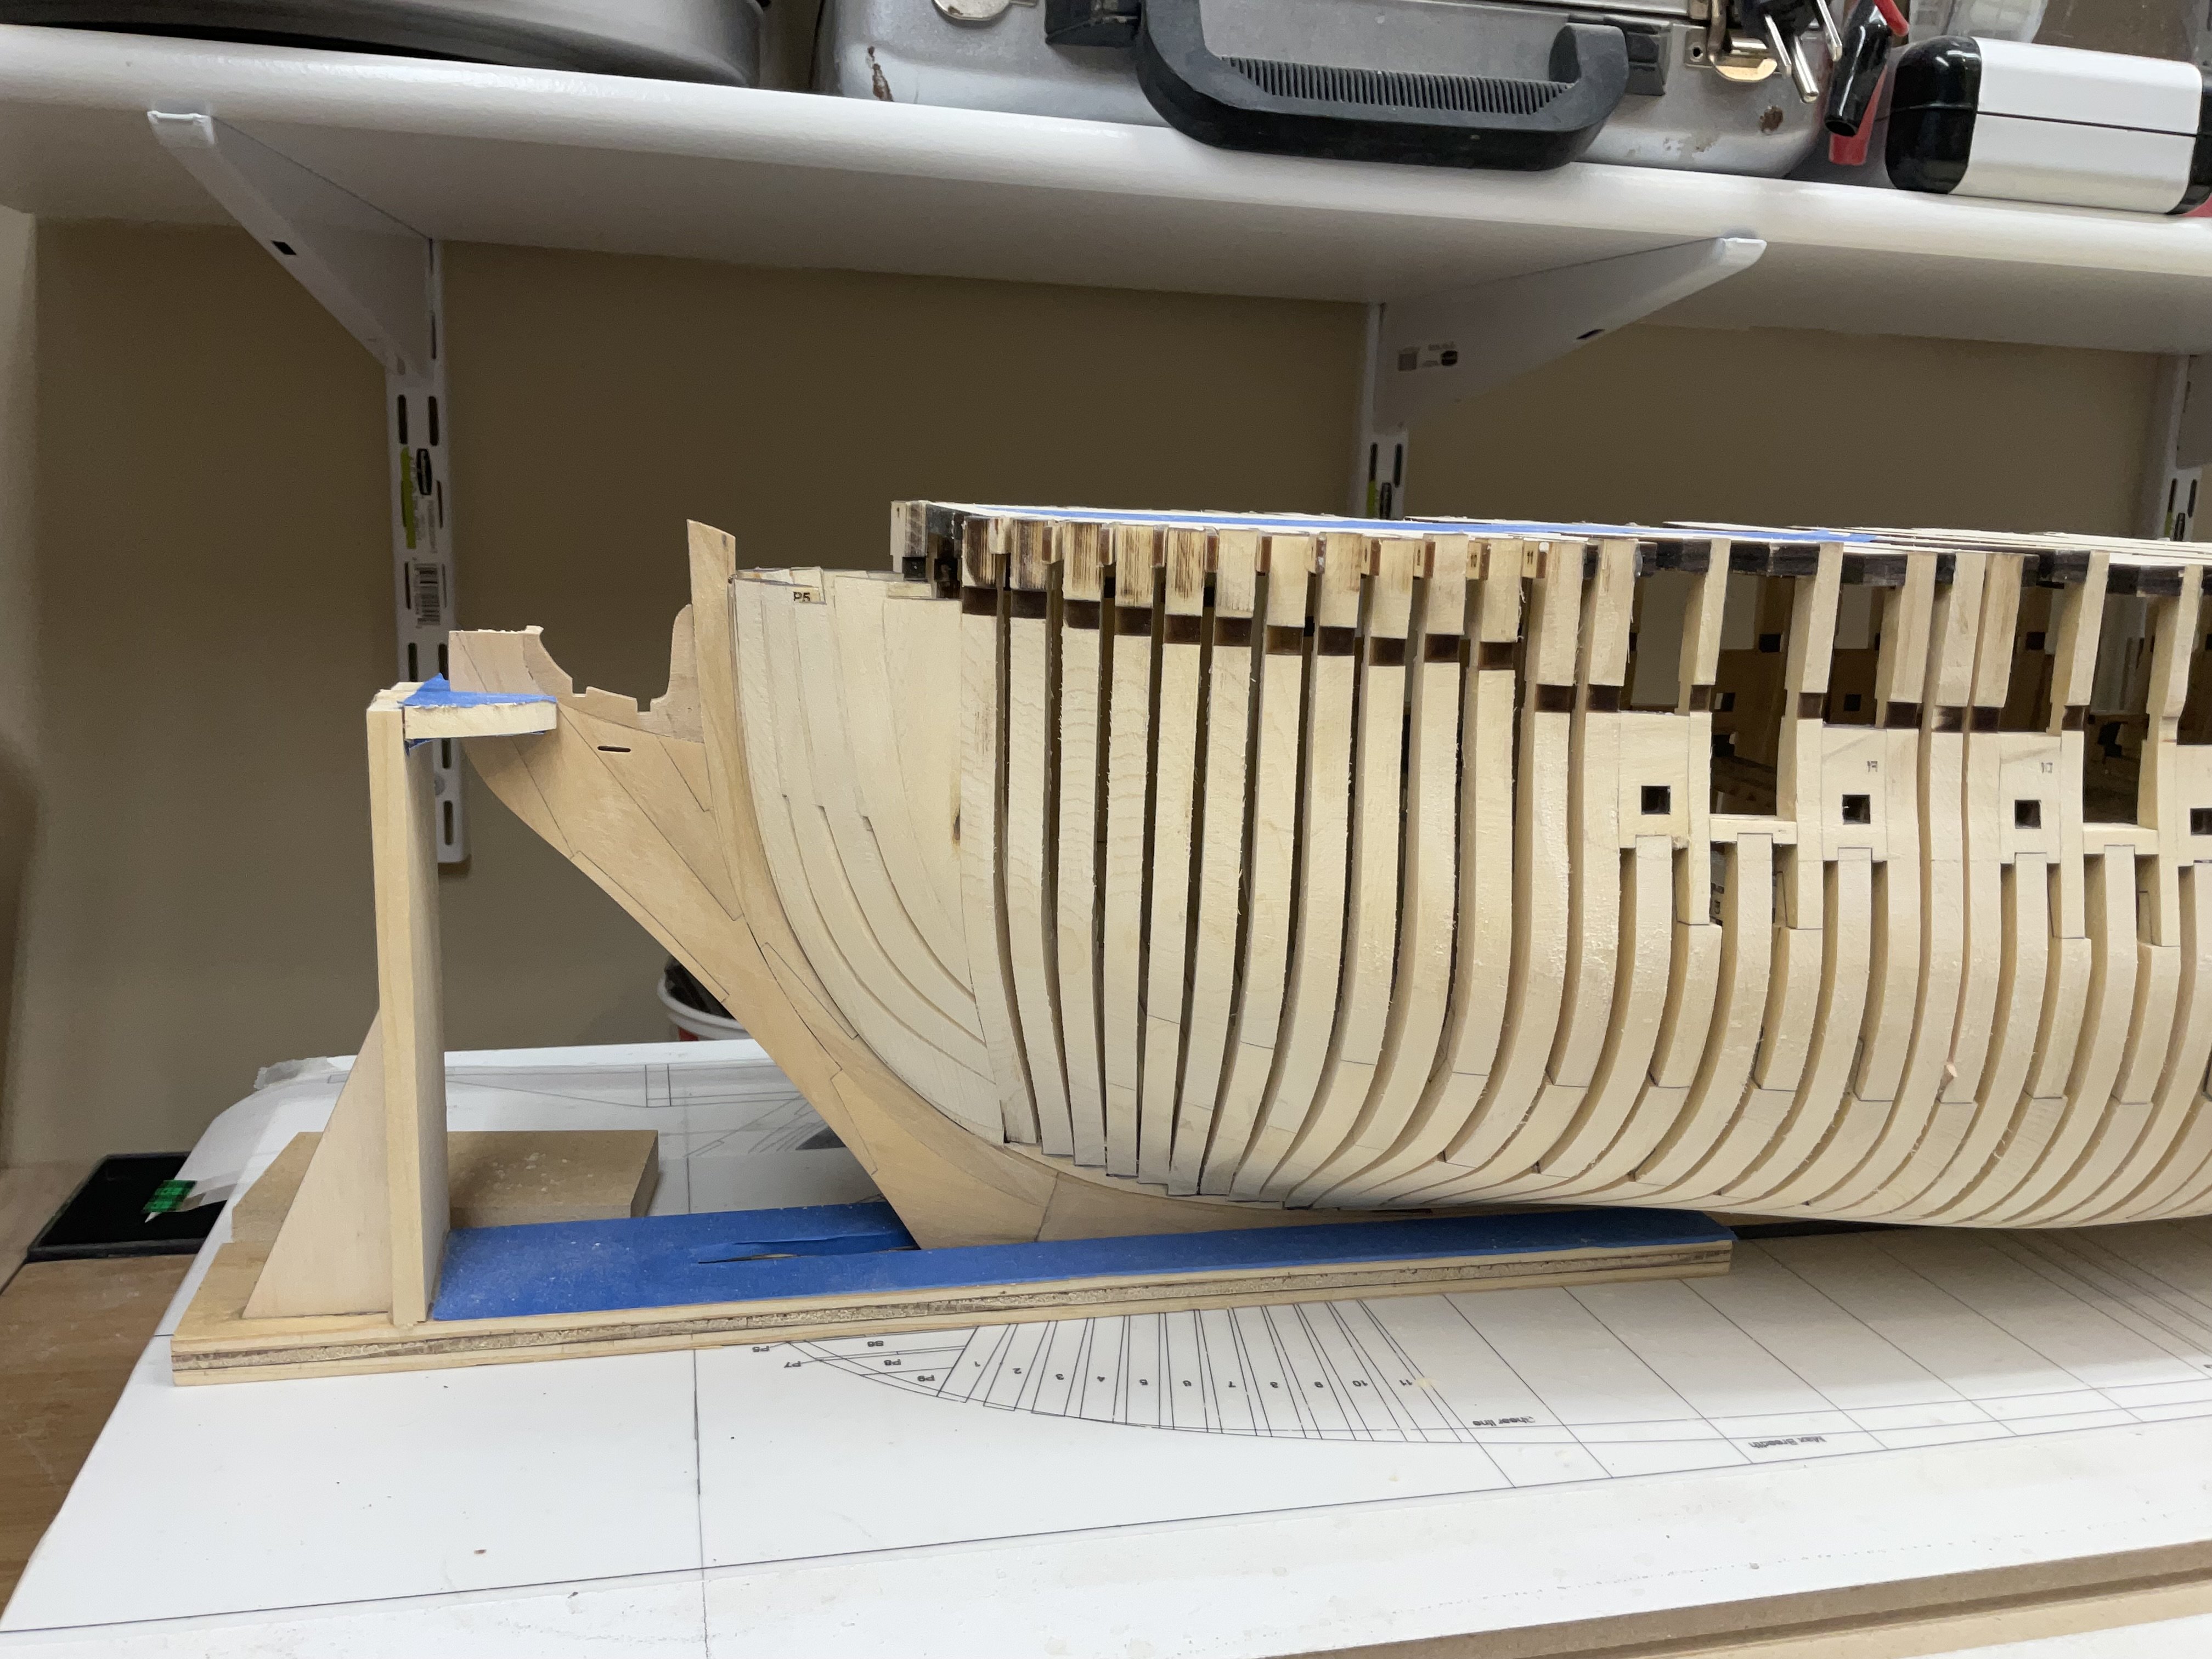
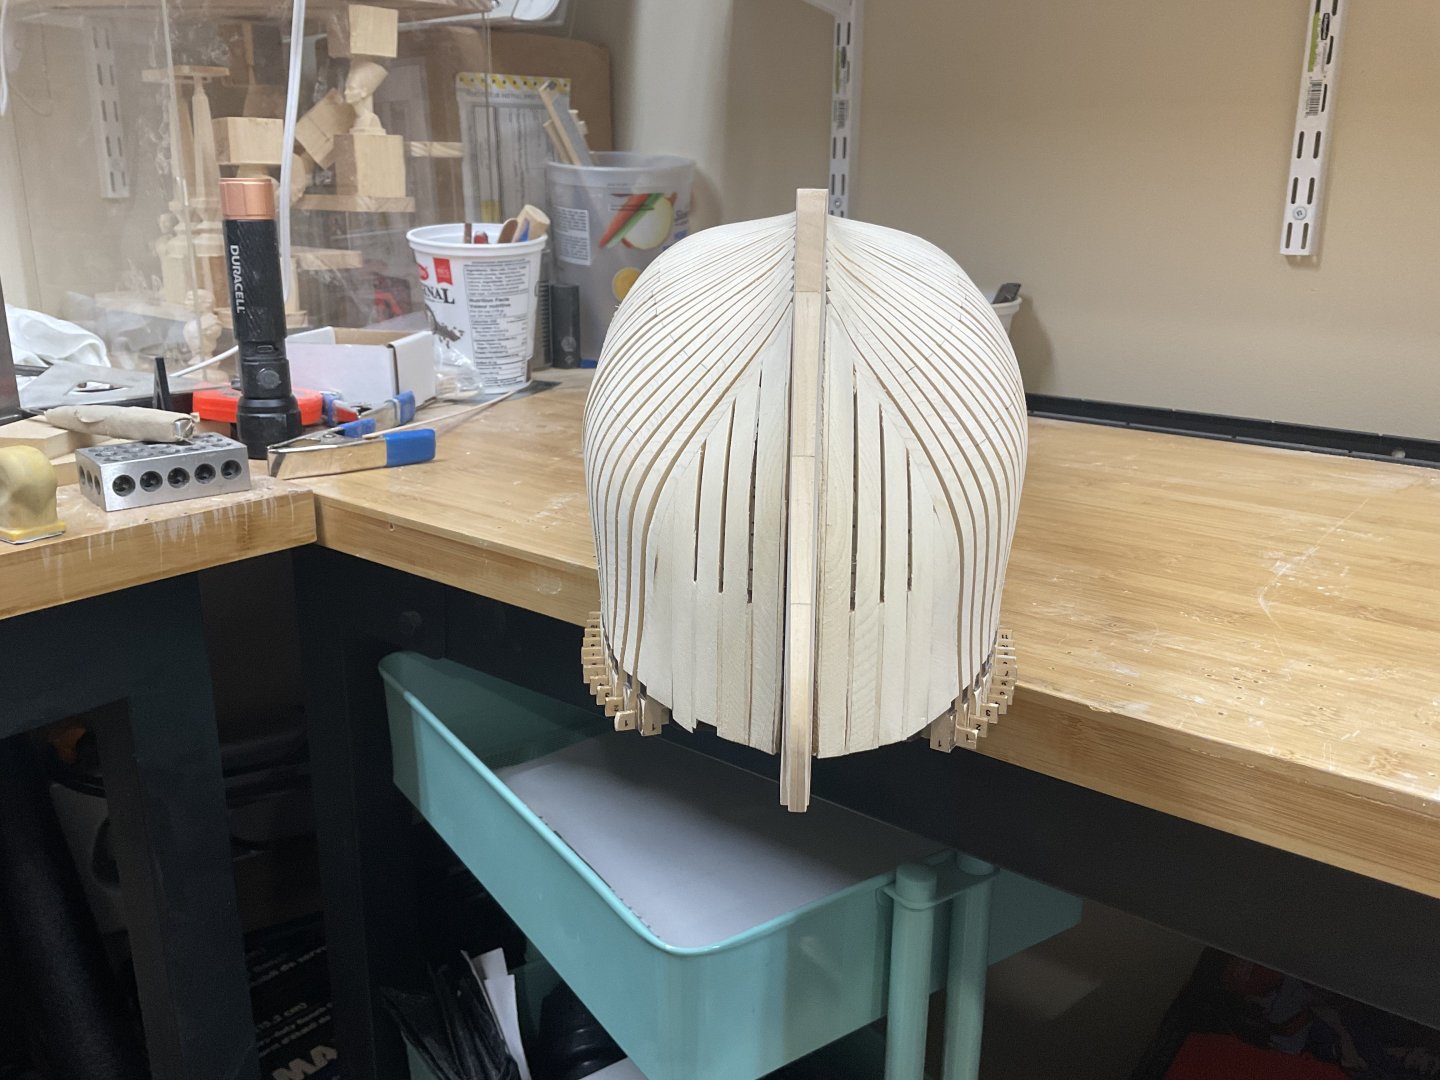
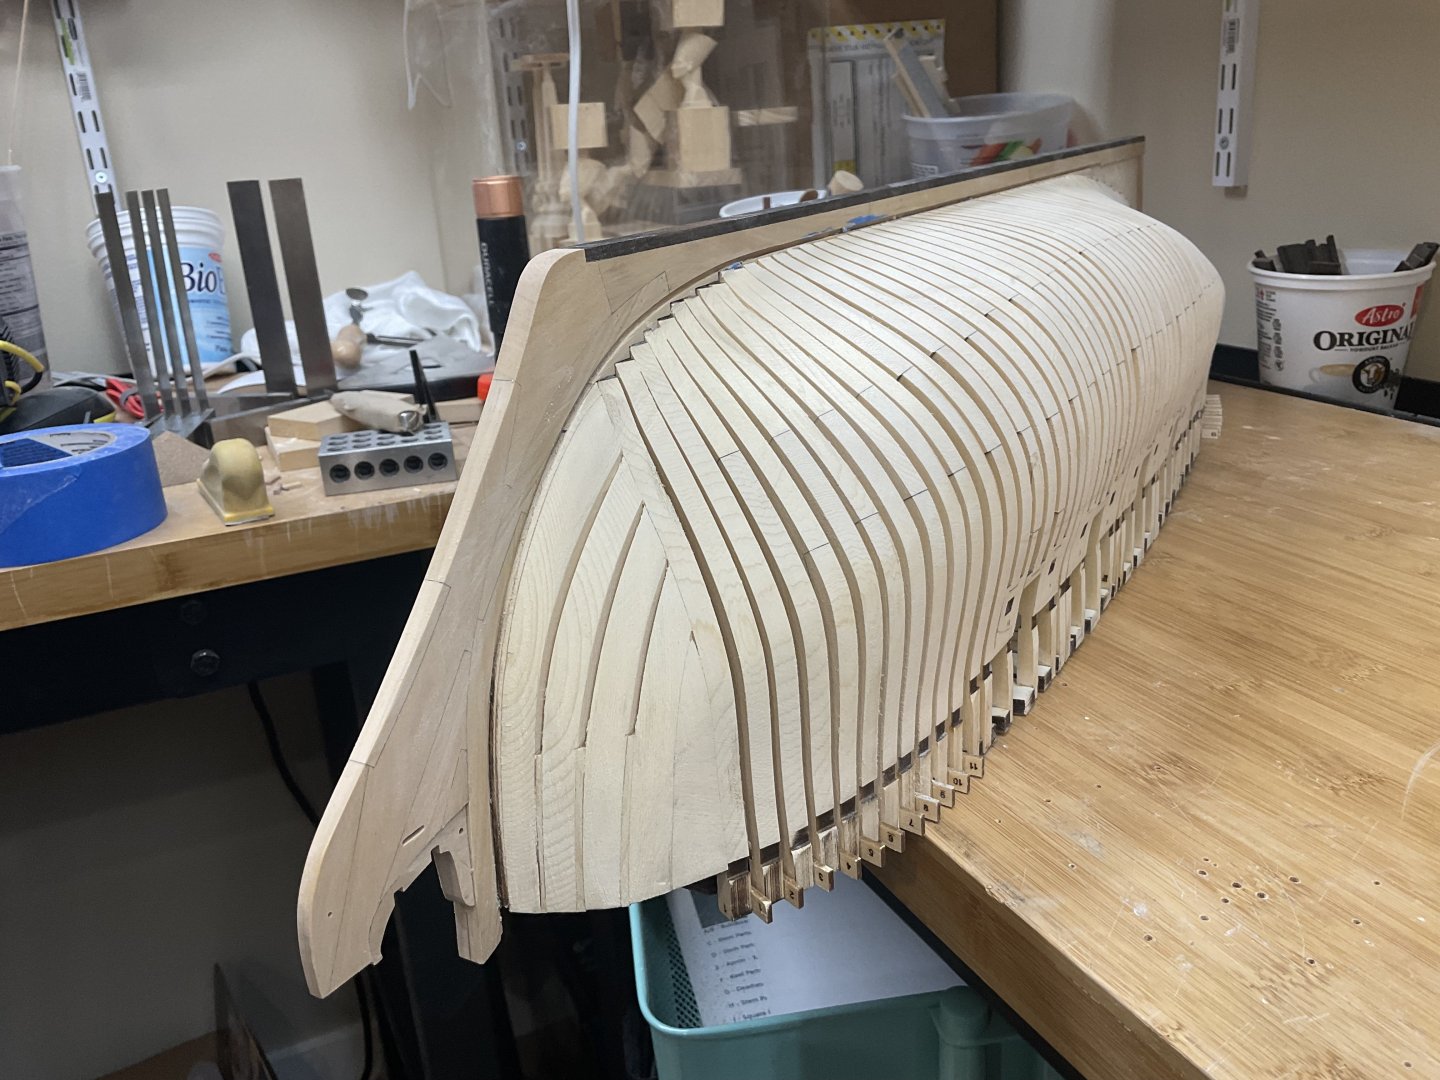
Hi Rusty, your work is great as usual. I feel compelled to share my regret in not getting a clean enough fit for all the can’t frames where they join the keel. Another thing that I perhaps should have done is to have removed the char so that it doesn’t show up in that area. I just didn’t pay enough attention as I motored along and now feel that I have no choice but to plank the hull. Although I suppose I could do a partial plank job to cover those areas. Just so you know what I am talking about here is a photo. I am sure I do not even need to mention this to you given your beautiful work.

-
Your planking is looking really nice and clean. Well done. Ian
-
Thank you kindly, Mikki. I greatly admire anyone that builds without power tools. So good for you. And thanks for your praise, I really appreciate it. Keep up the good work on your San Martin, it’s looking beautiful. Ian
-
Thank you so much Todd! Ian
-
Lookin good, Mikki!
-
Thanks a lot Jeff. I have the benefit of being retired so I can spend as much time as I want in the Shipyard. Even so there’s no way I’ve been motoring on this. It’s really just the ease with how everything goes together. Ian
-
Thanks very much Chuck, I am indeed enjoying this build. It goes together like a dream with all your precision cuts and jigs. Just perfect. Ian
-
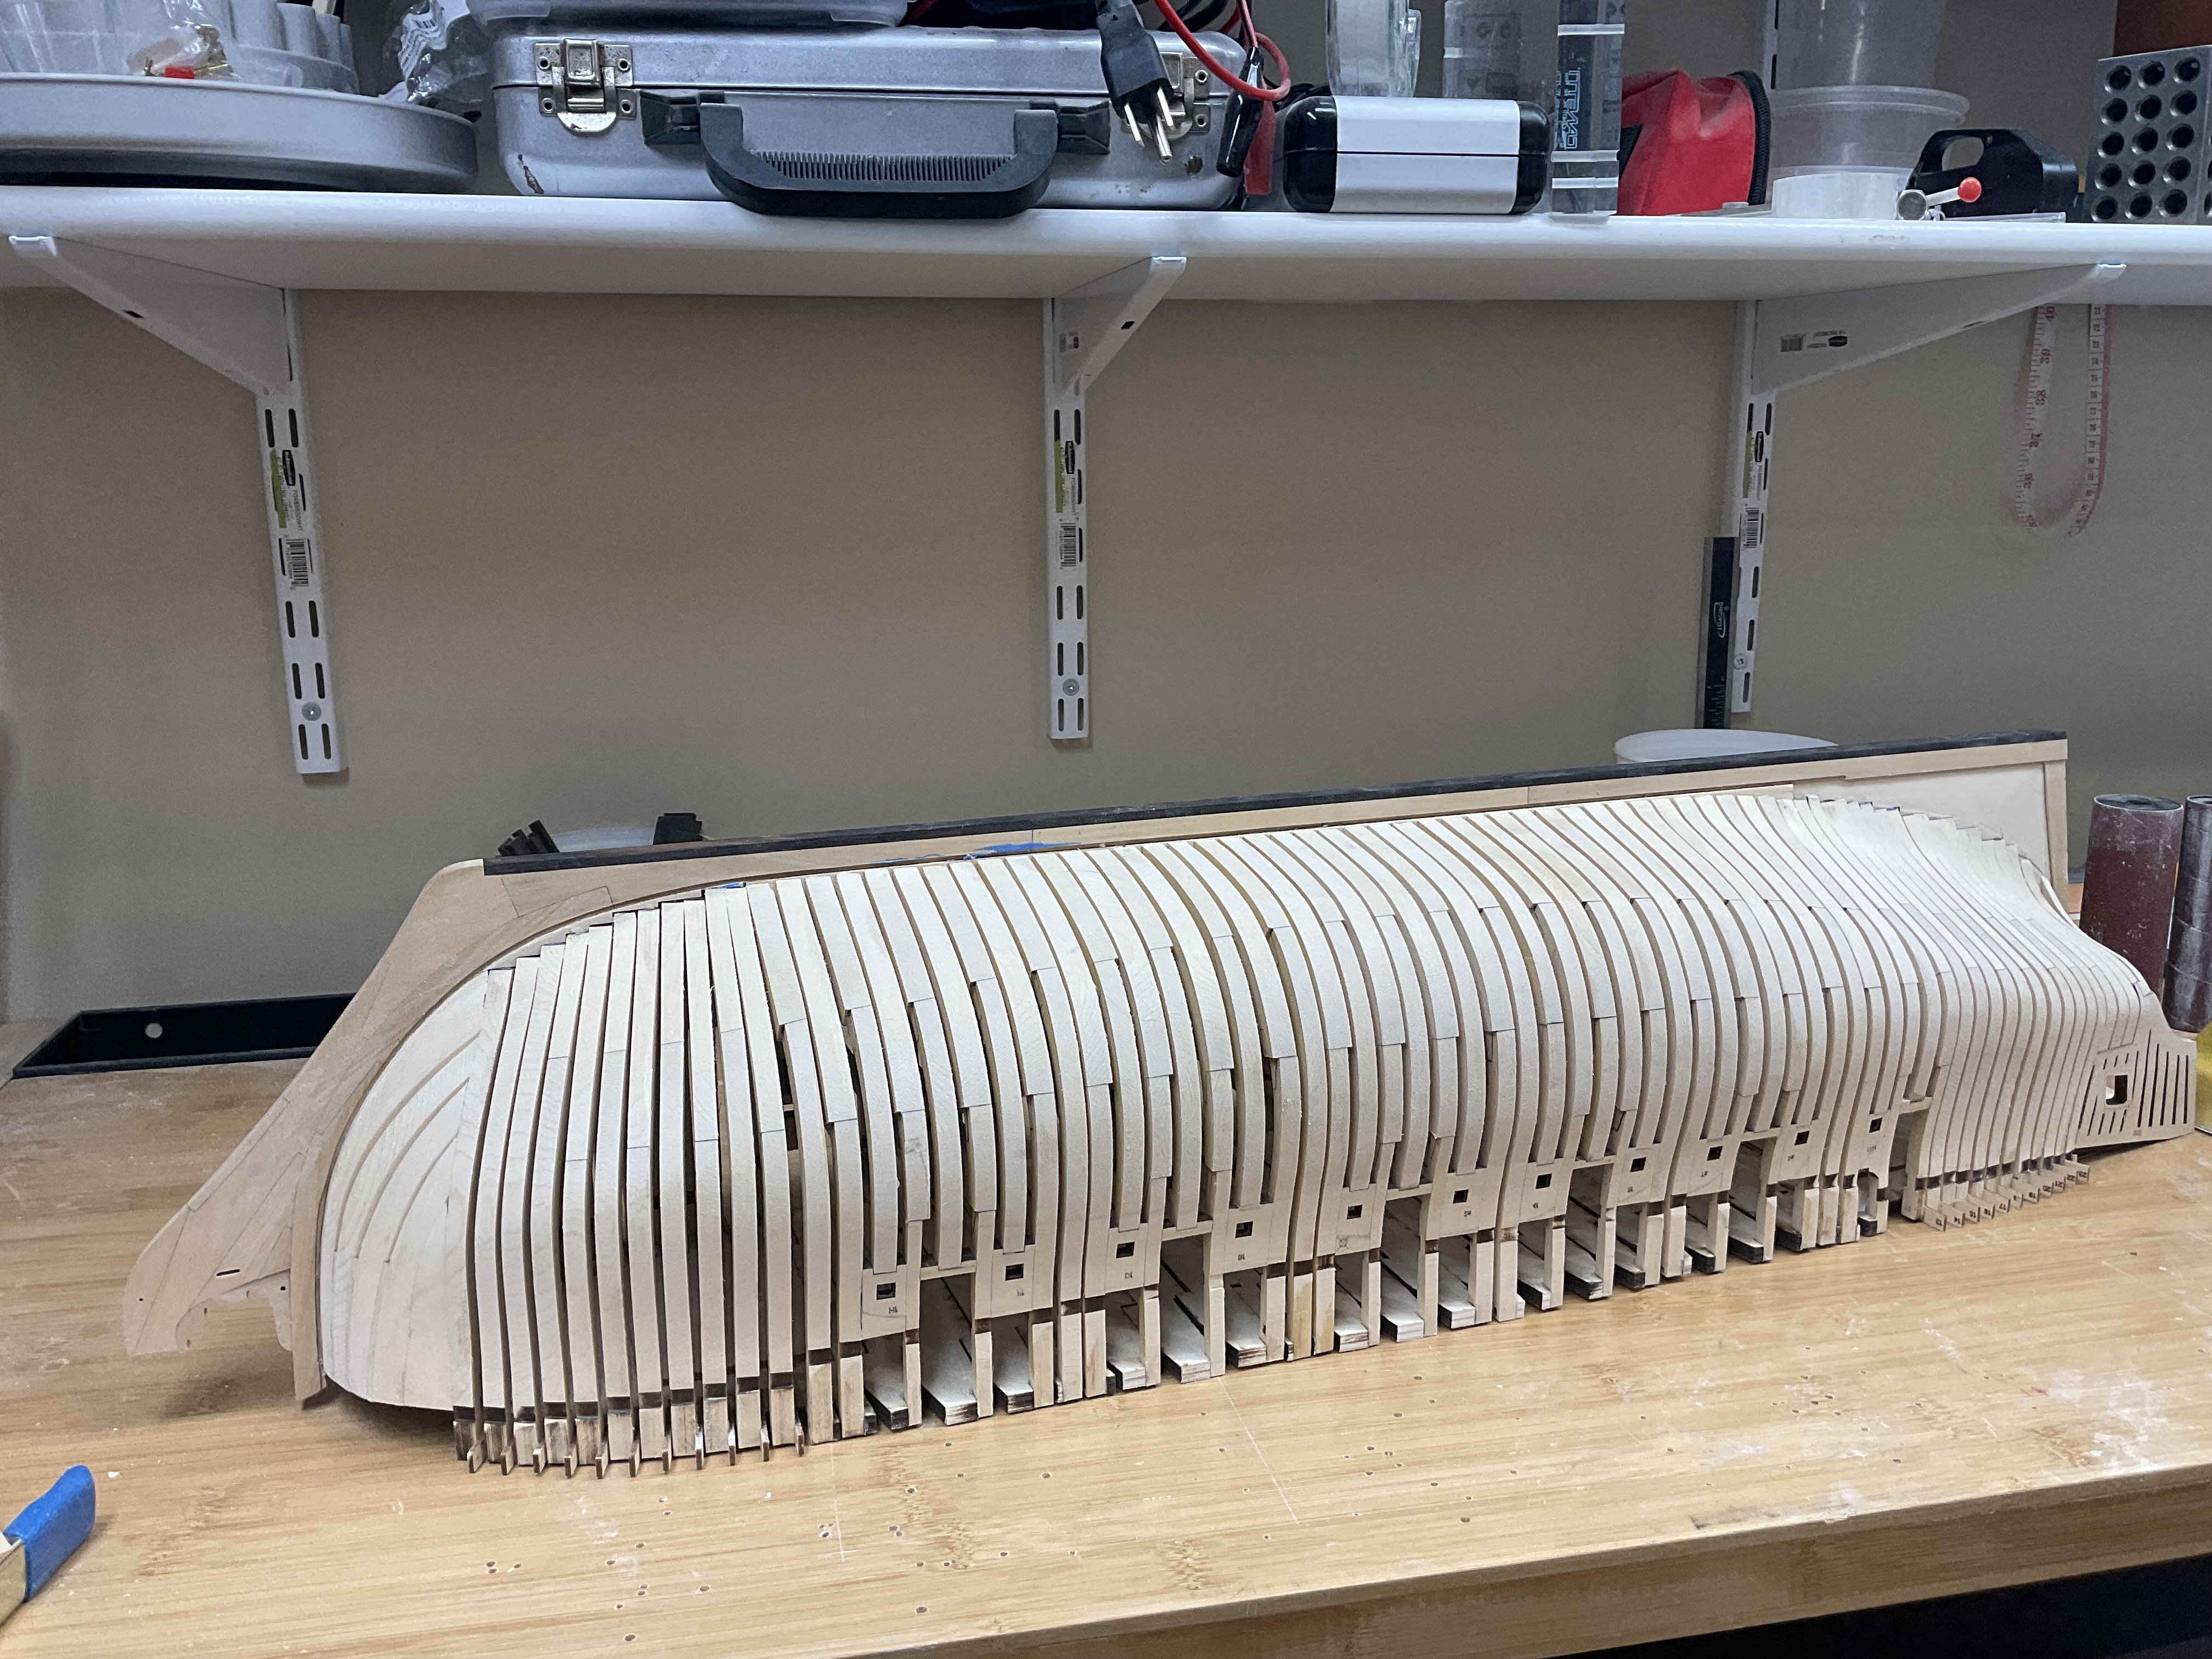
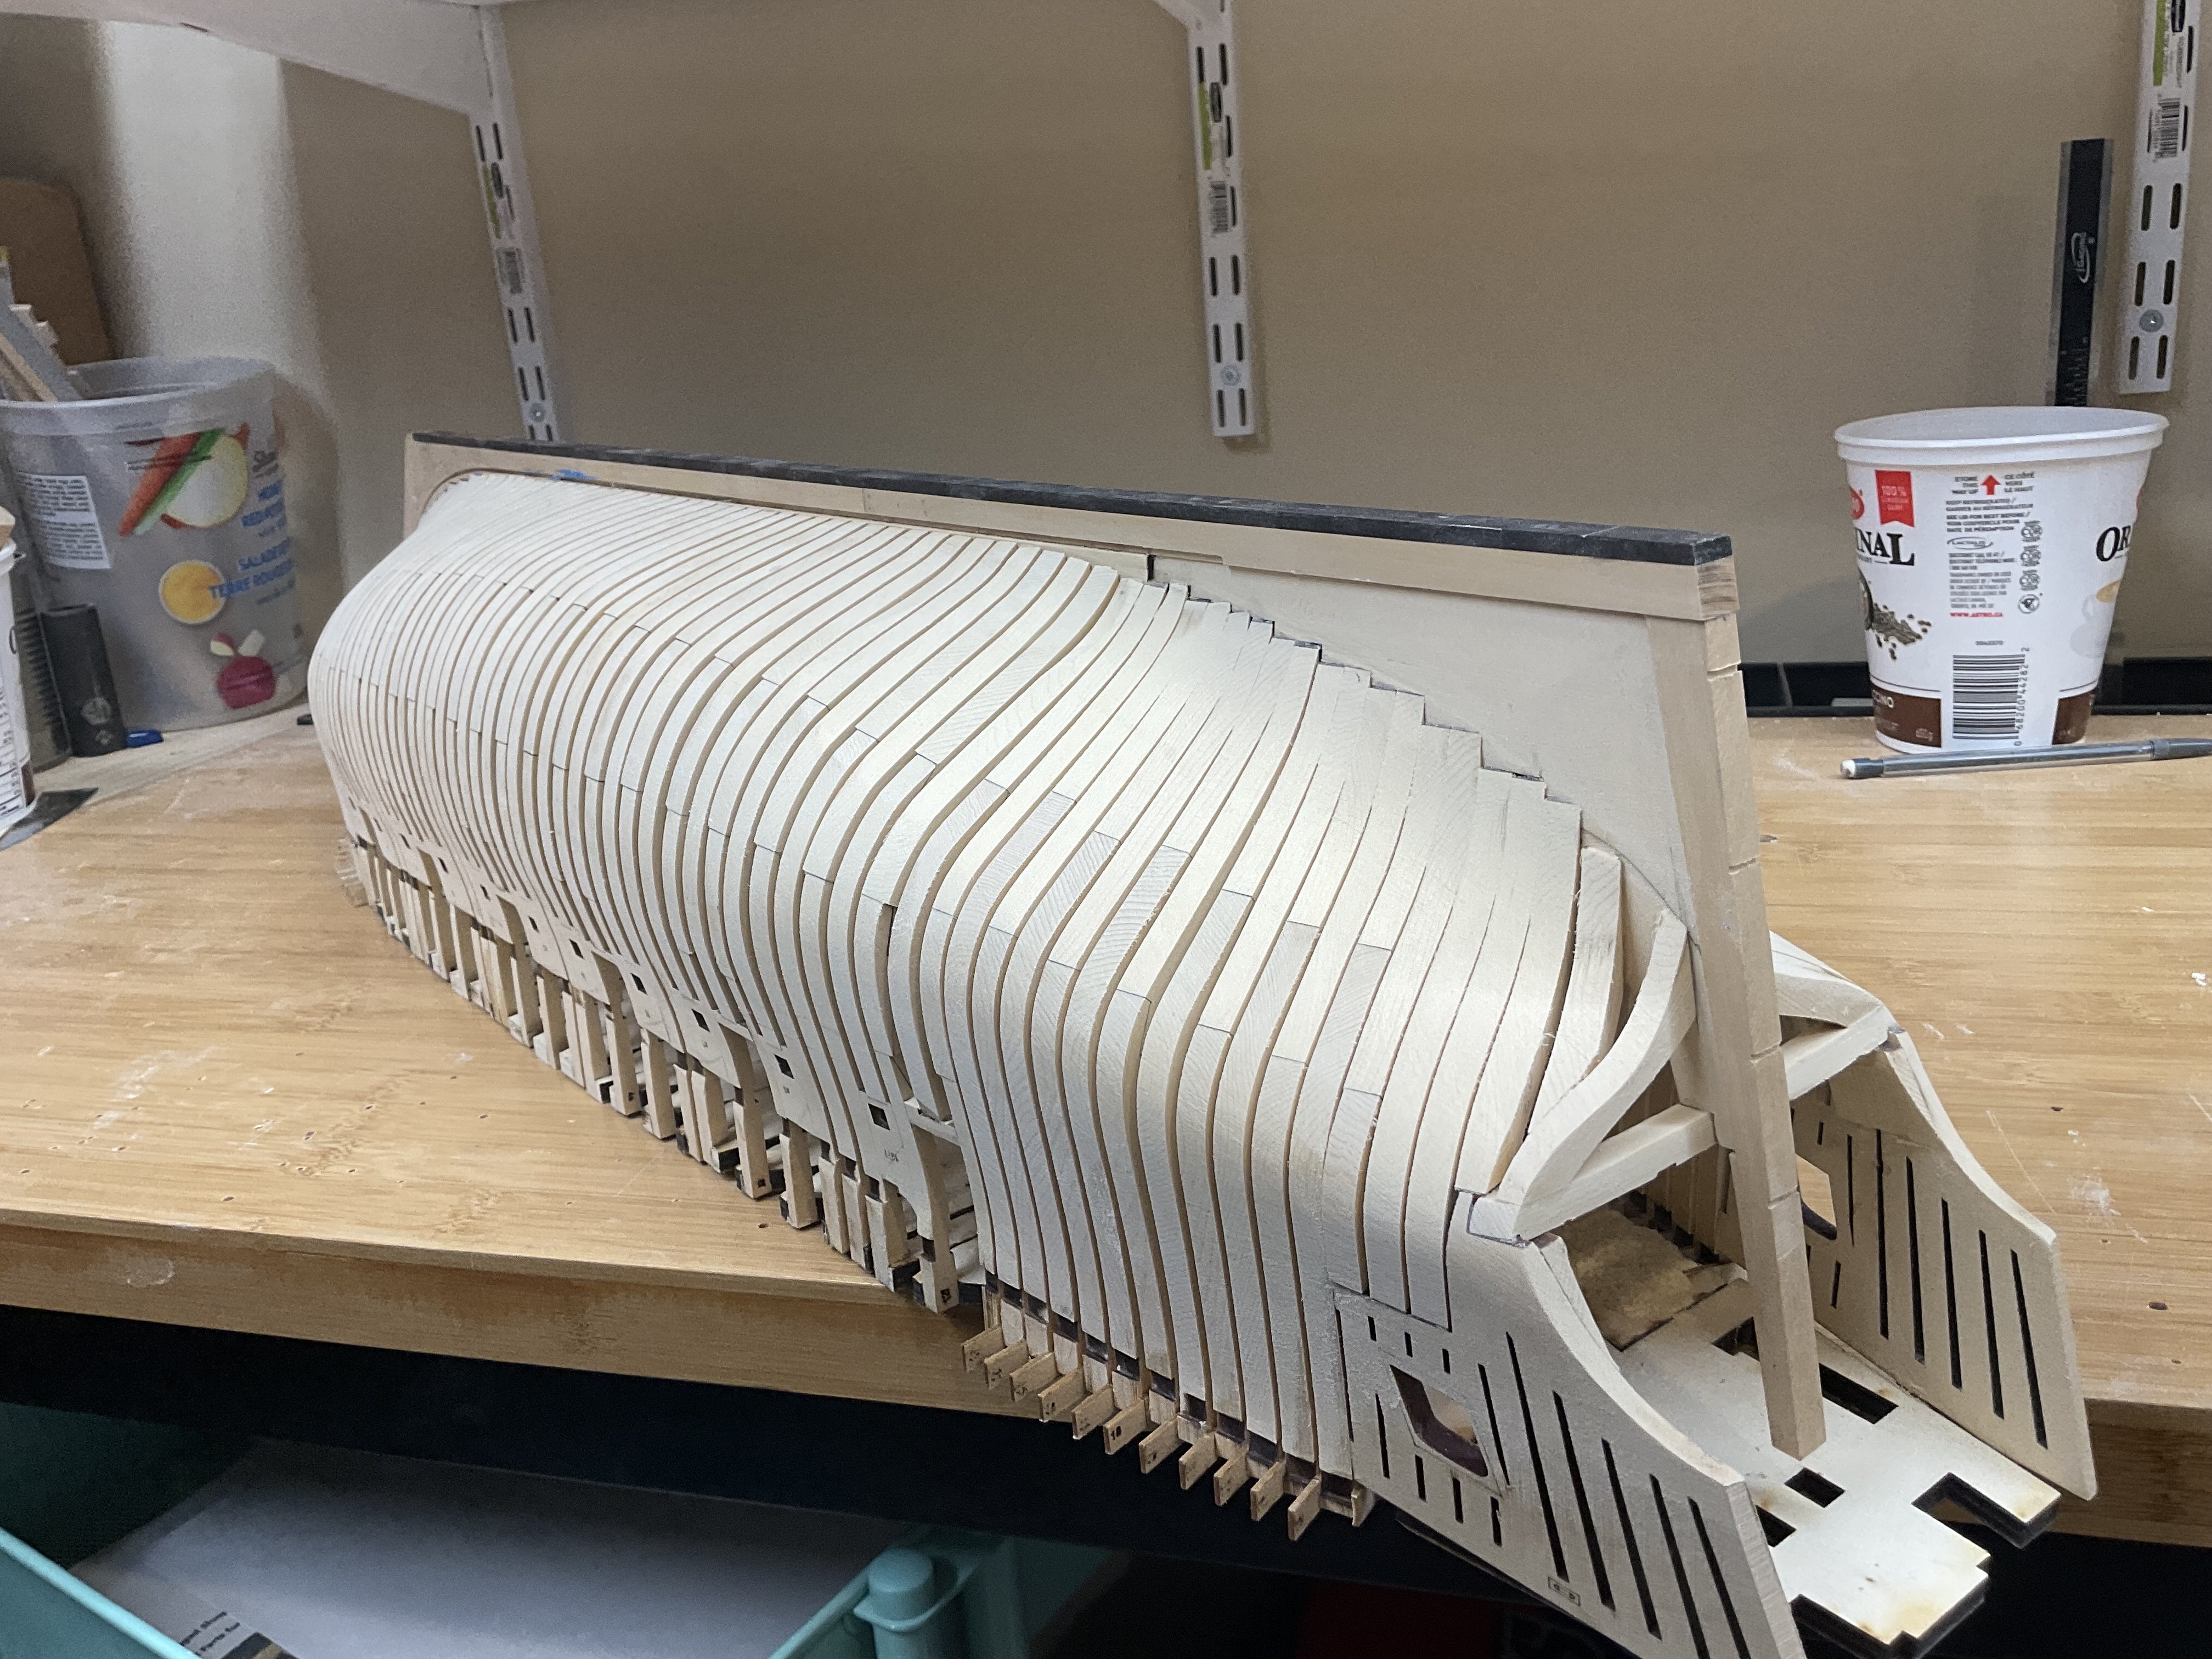
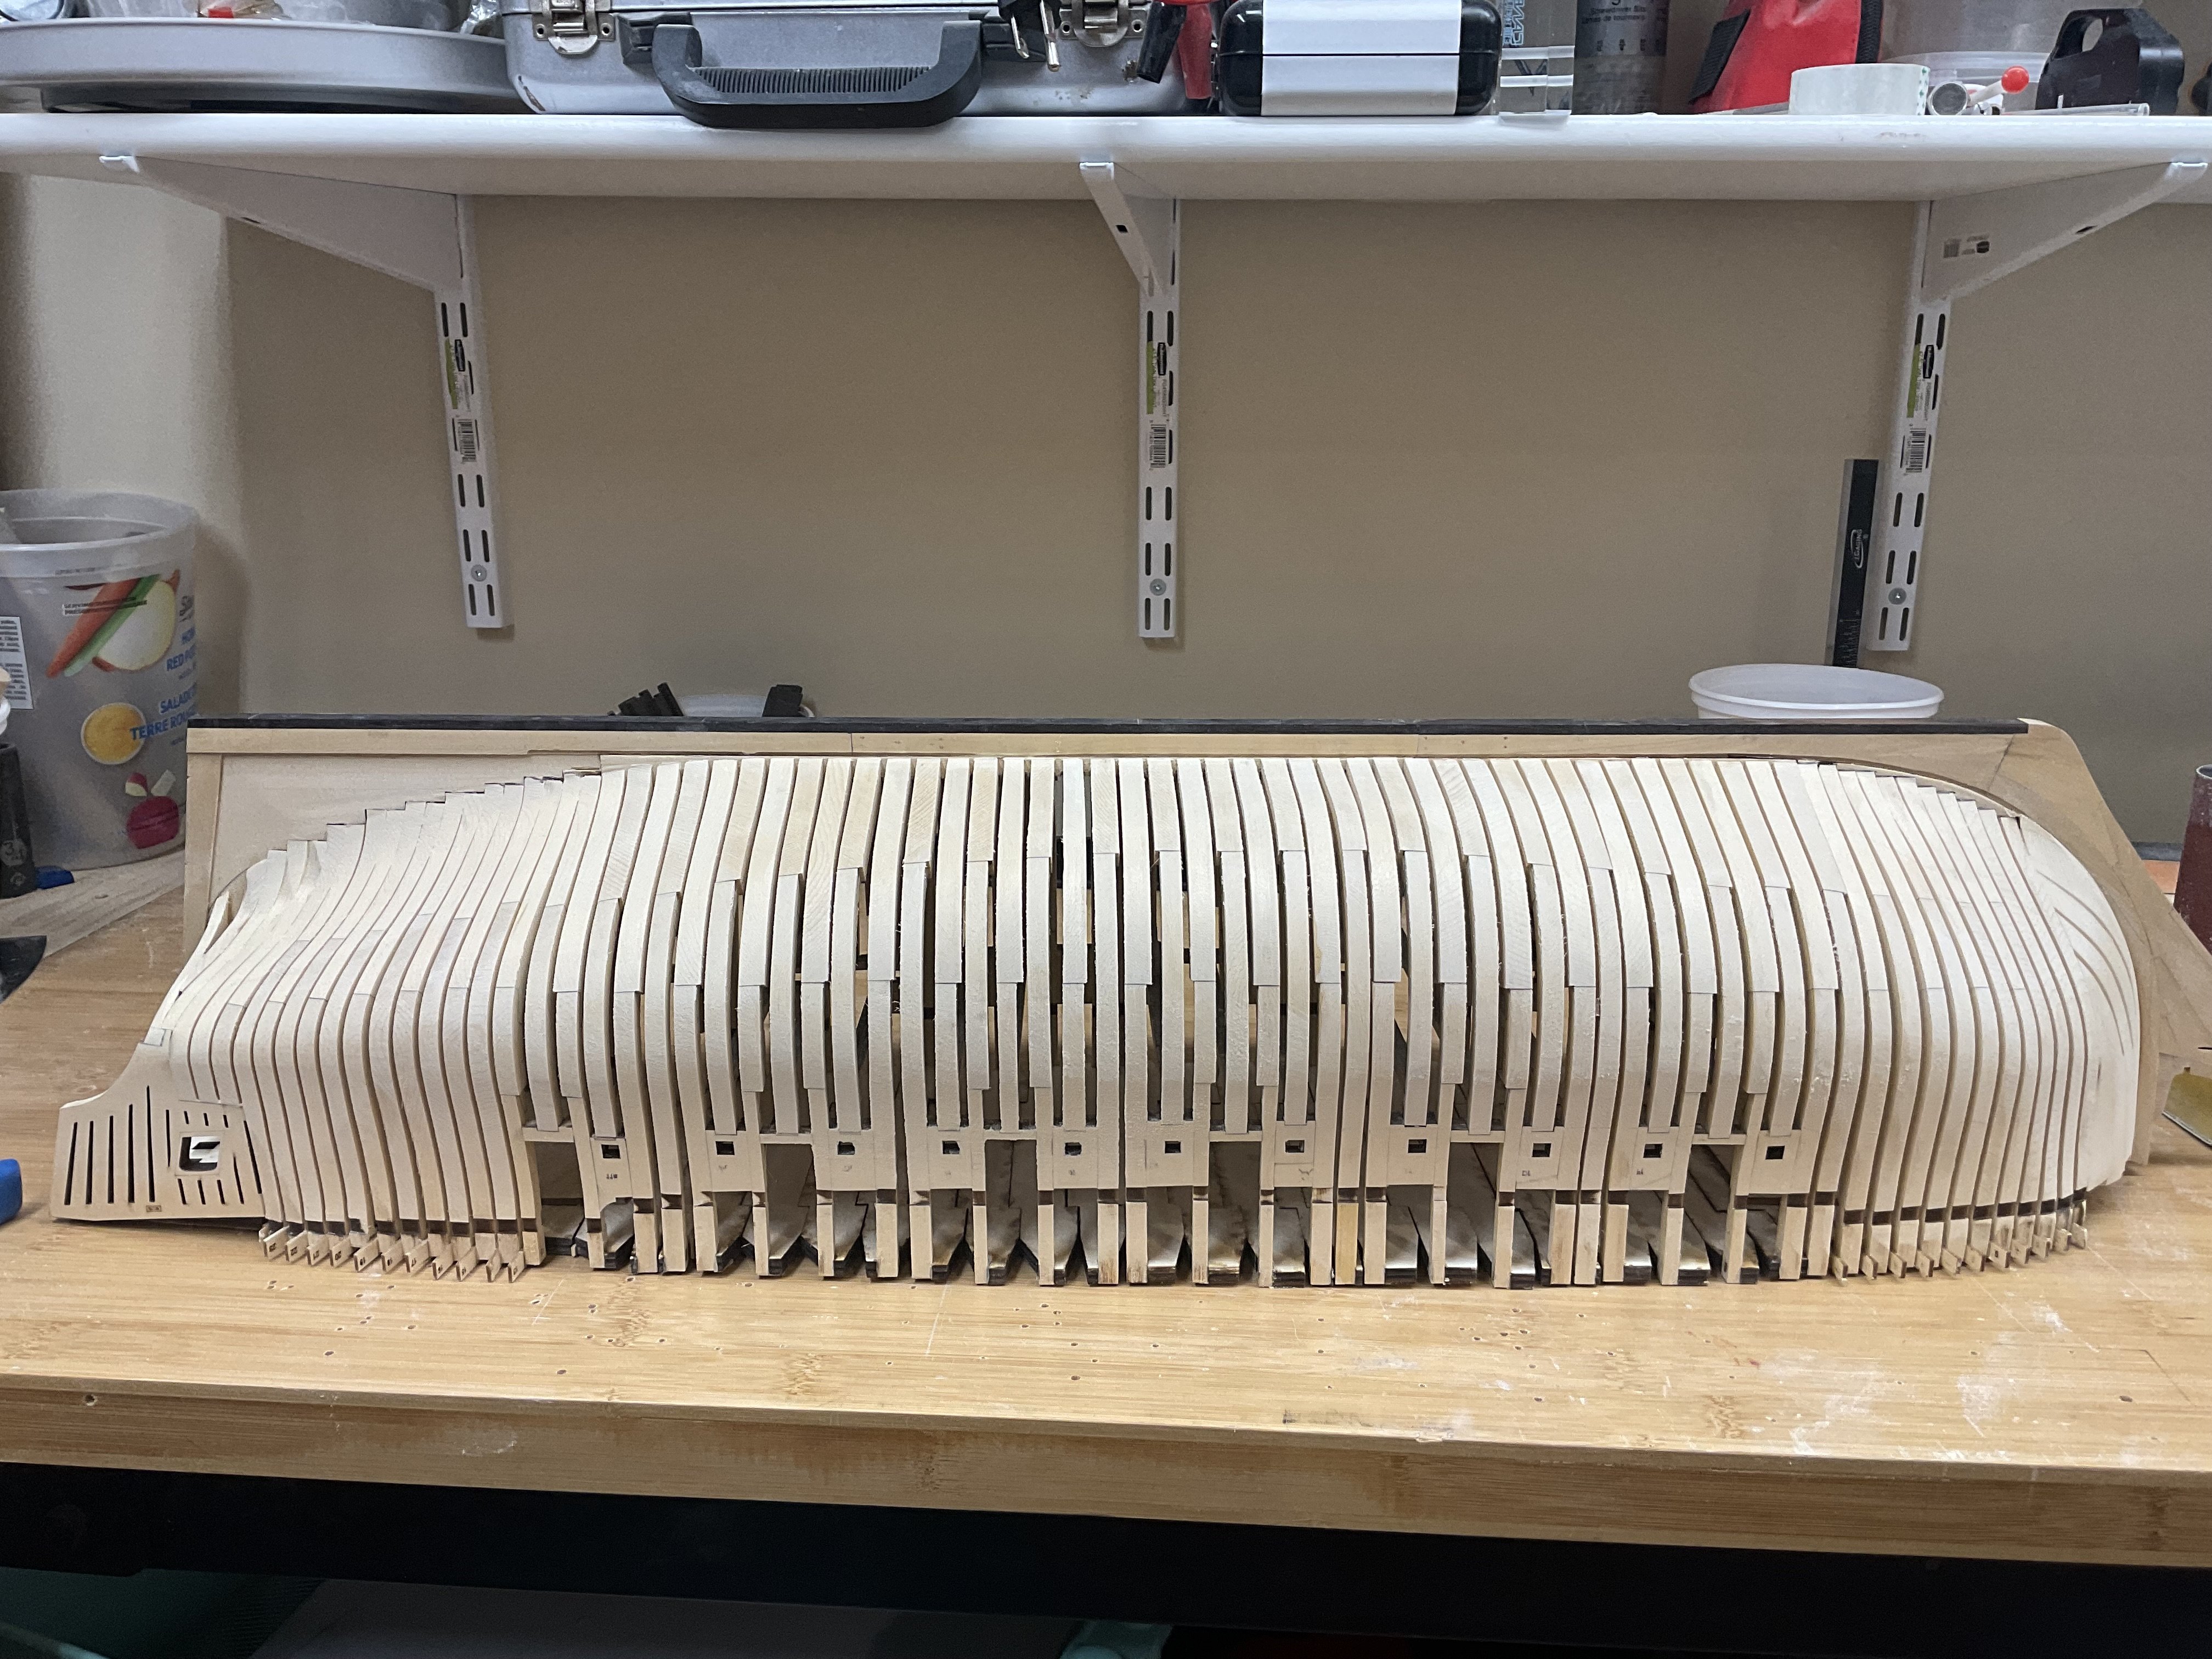
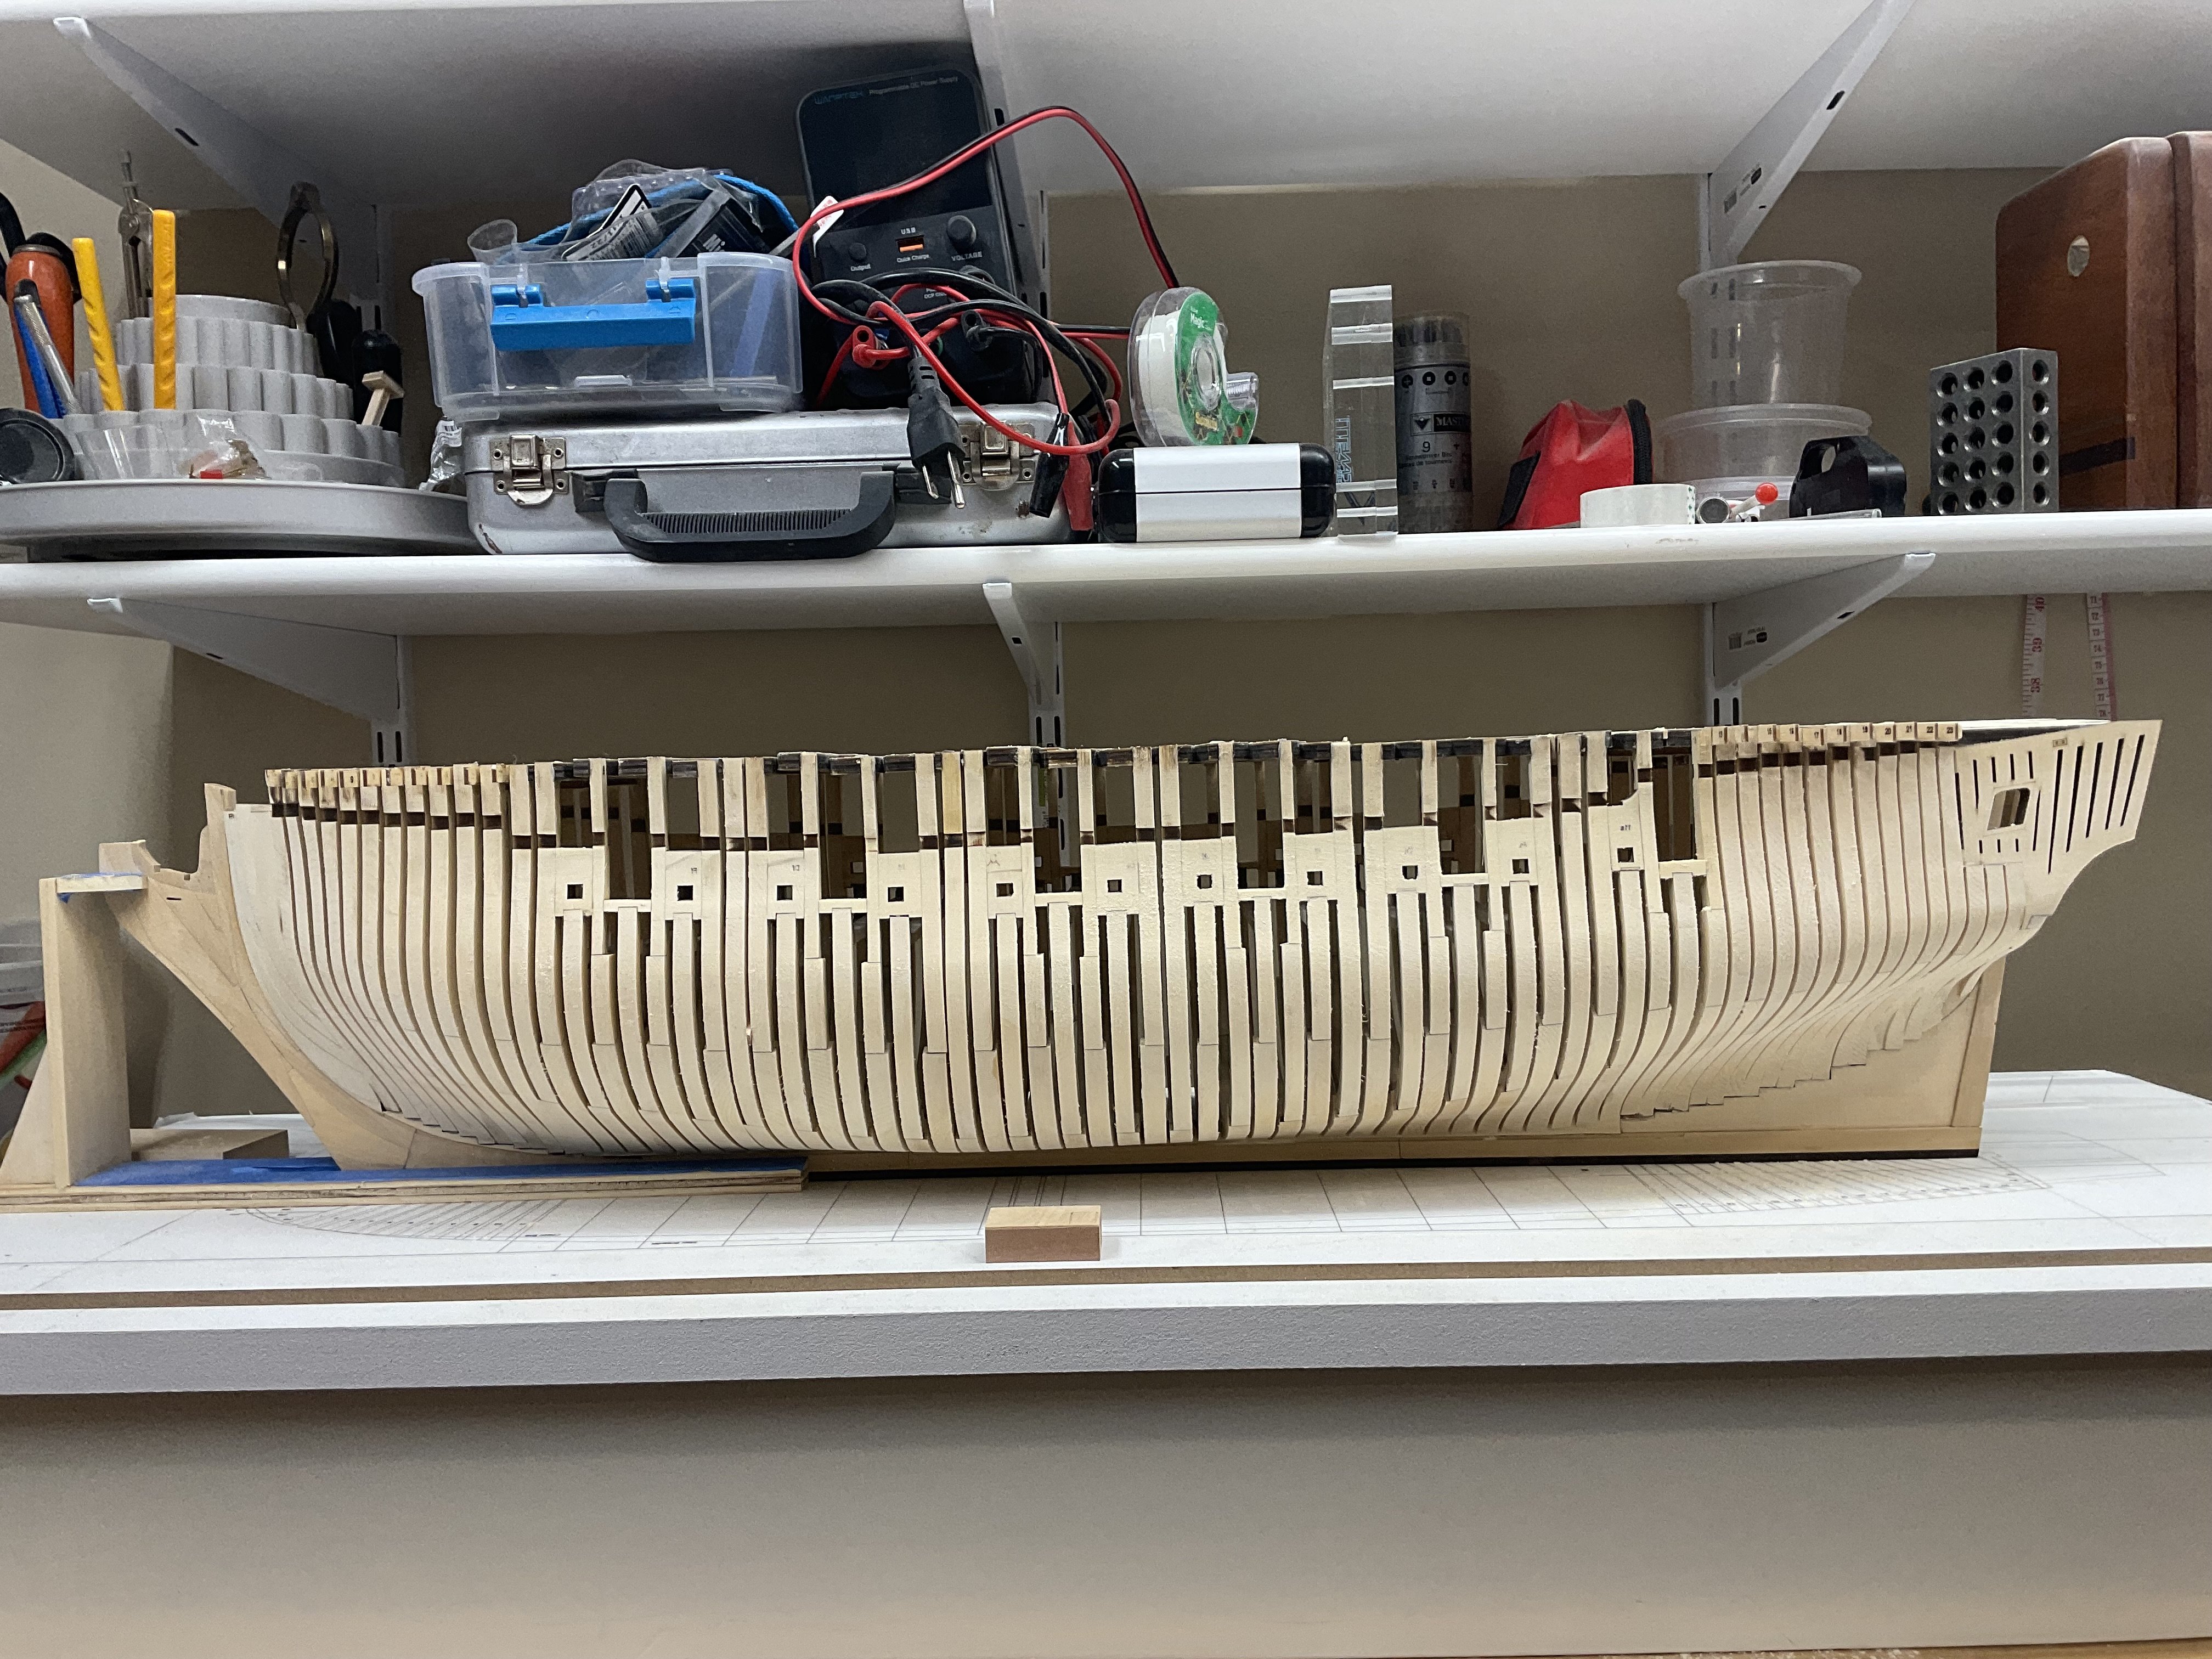
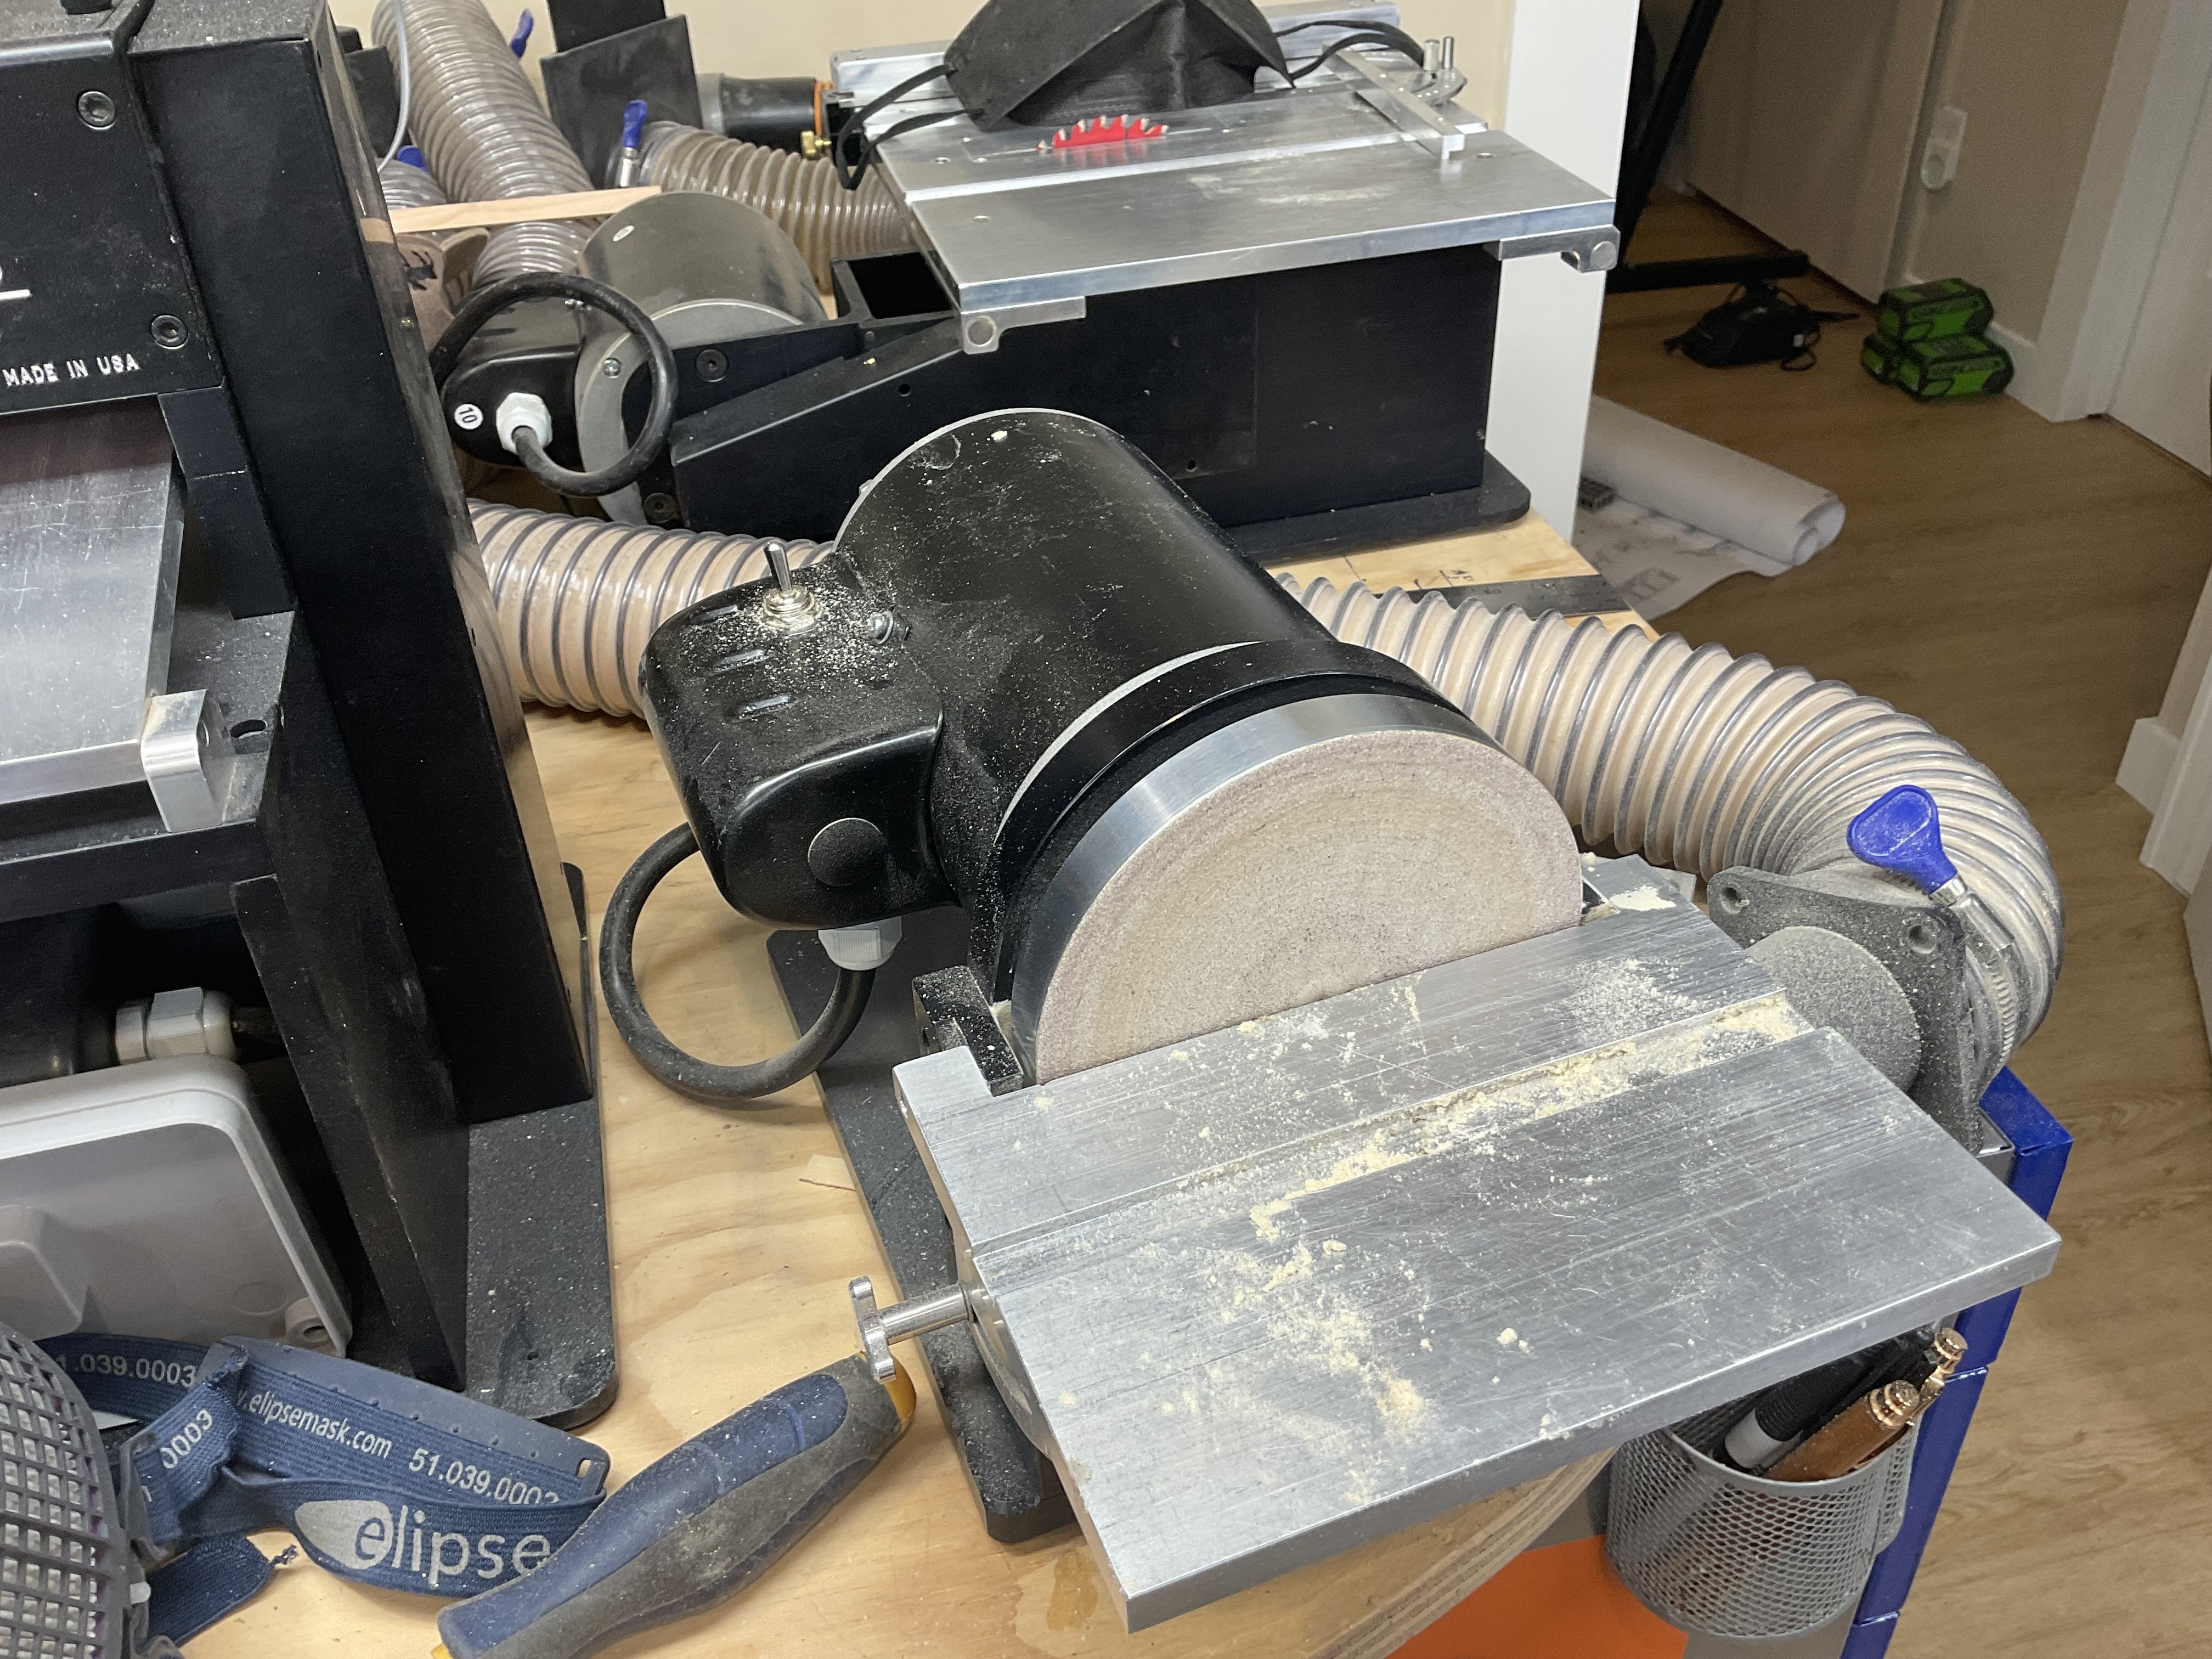
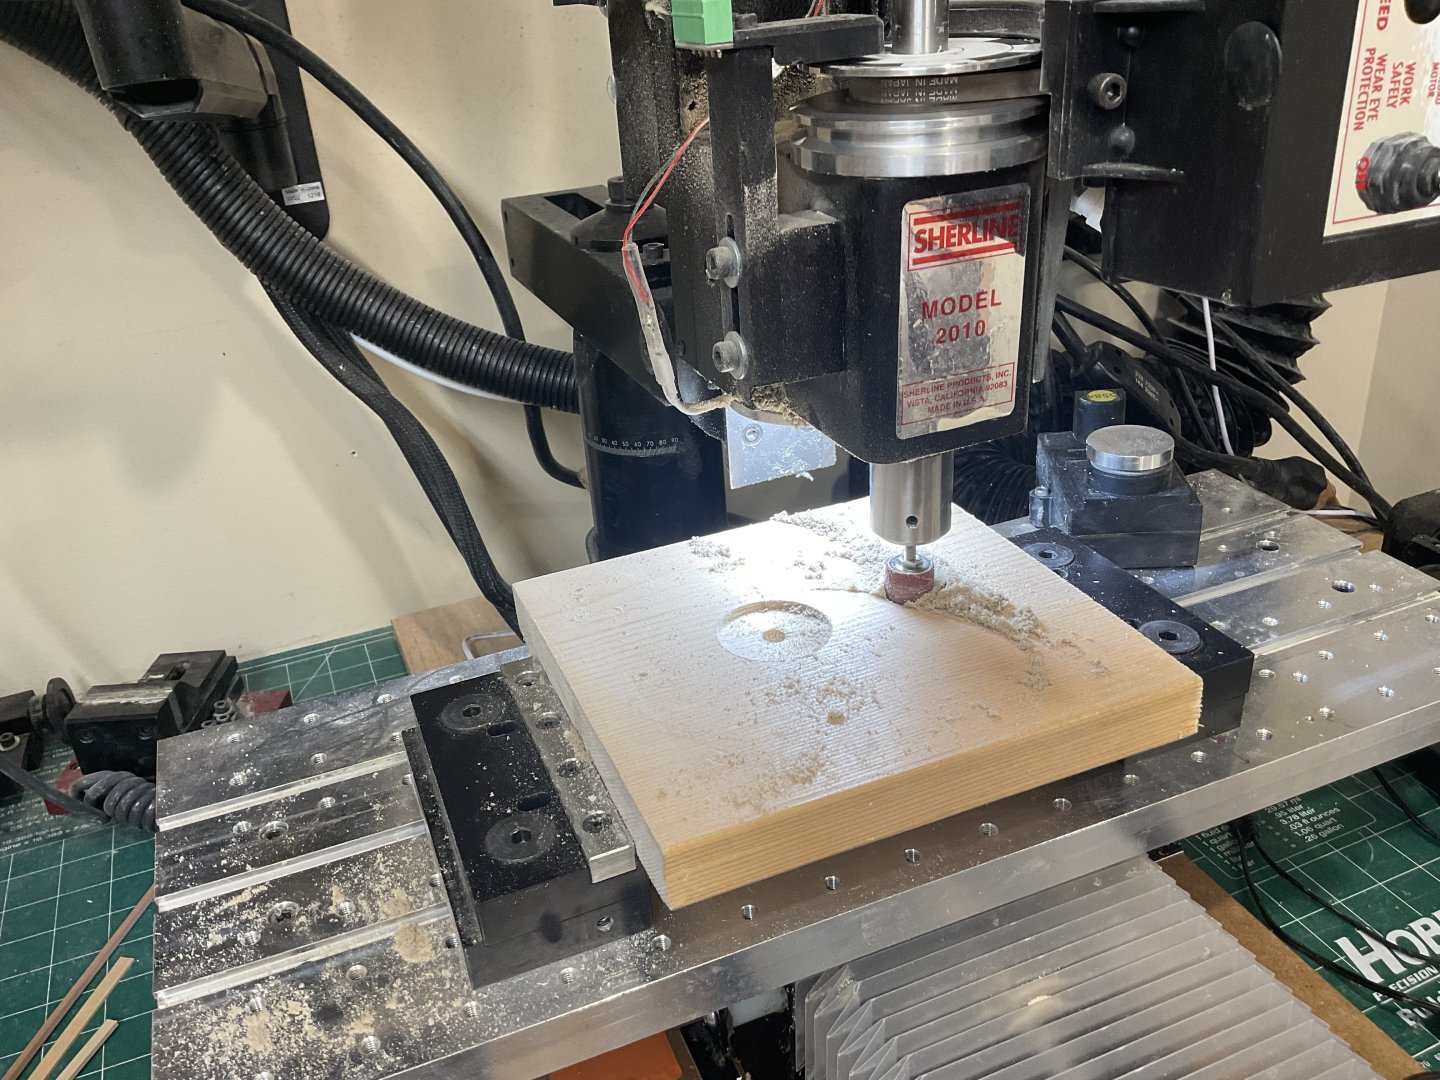
Hello and thanks for all the comments and likes. I have almost gotten to the end of Chapter two. I have the stern framing left not to mention a final fairing on the outside. I didn’t do any of the interior so that will be a hunk of work when I get around to it. Everything fit together beautifully and when there were problems it was always my fault. Most of my errors were corrected but not all but I think/hope I’ll be okay down the road. Following shows where I am right now with pictures of my most used tools. Cheers, Ian


-
Looking good Rusty! Ian
-
Hi MikkiC, I’m pulling up a chair for this. I got this PoB kit years ago when Dusek was having a sale and I’ve been eyeballing it ever since but it will have to wait until I’ve finished my current build. I look forward to learning from you. Ian
-
Beautiful work! Your attention to detail is second to none. Thanks for documenting your build. Ian
- 562 replies
-
- 2
-
-
-
- vanguard models
- alert
- (and 2 more)
-
I would not use anything bigger than a 2 or 3 mm end mill and do multiple passes to achieve the depth you need and always on the face of the joint. A DRO and tilting table make life easier. I just don’t have the skill or patience to do that many joints by hand.
-
I’m sure I’m stating the obvious but I found that gluing templates to the piece and then cutting to the outline for each piece was the key to getting the tightest scarps joints. I always used my mill to cut the joints, milling right to the line gave me perfect scarps joints (perhaps that’s for others to judge 🤓). Keep up the good work! Ian