HOLIDAY DONATION DRIVE - SUPPORT MSW - DO YOUR PART TO KEEP THIS GREAT FORUM GOING! (Only 27 donations so far out of 49,000 members - C'mon guys!)
×


KirbysLunchBox
-
Posts
221 -
Joined
-
Last visited
Content Type
Profiles
Forums
Gallery
Events
Everything posted by KirbysLunchBox
-
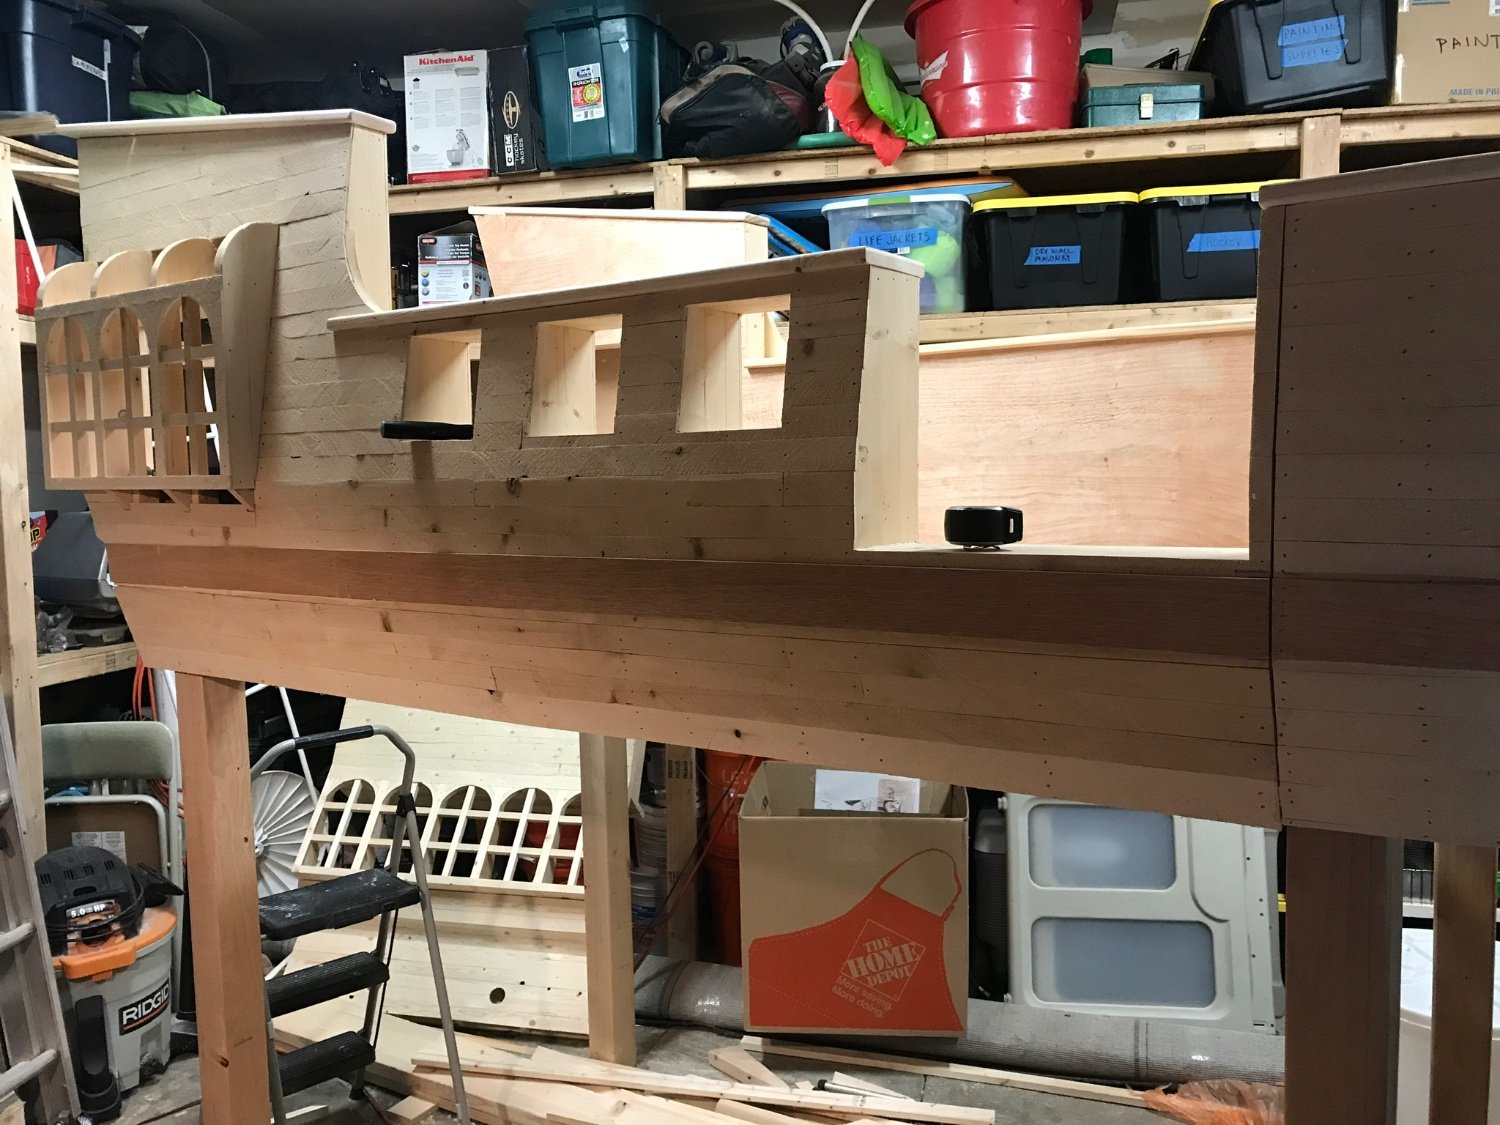
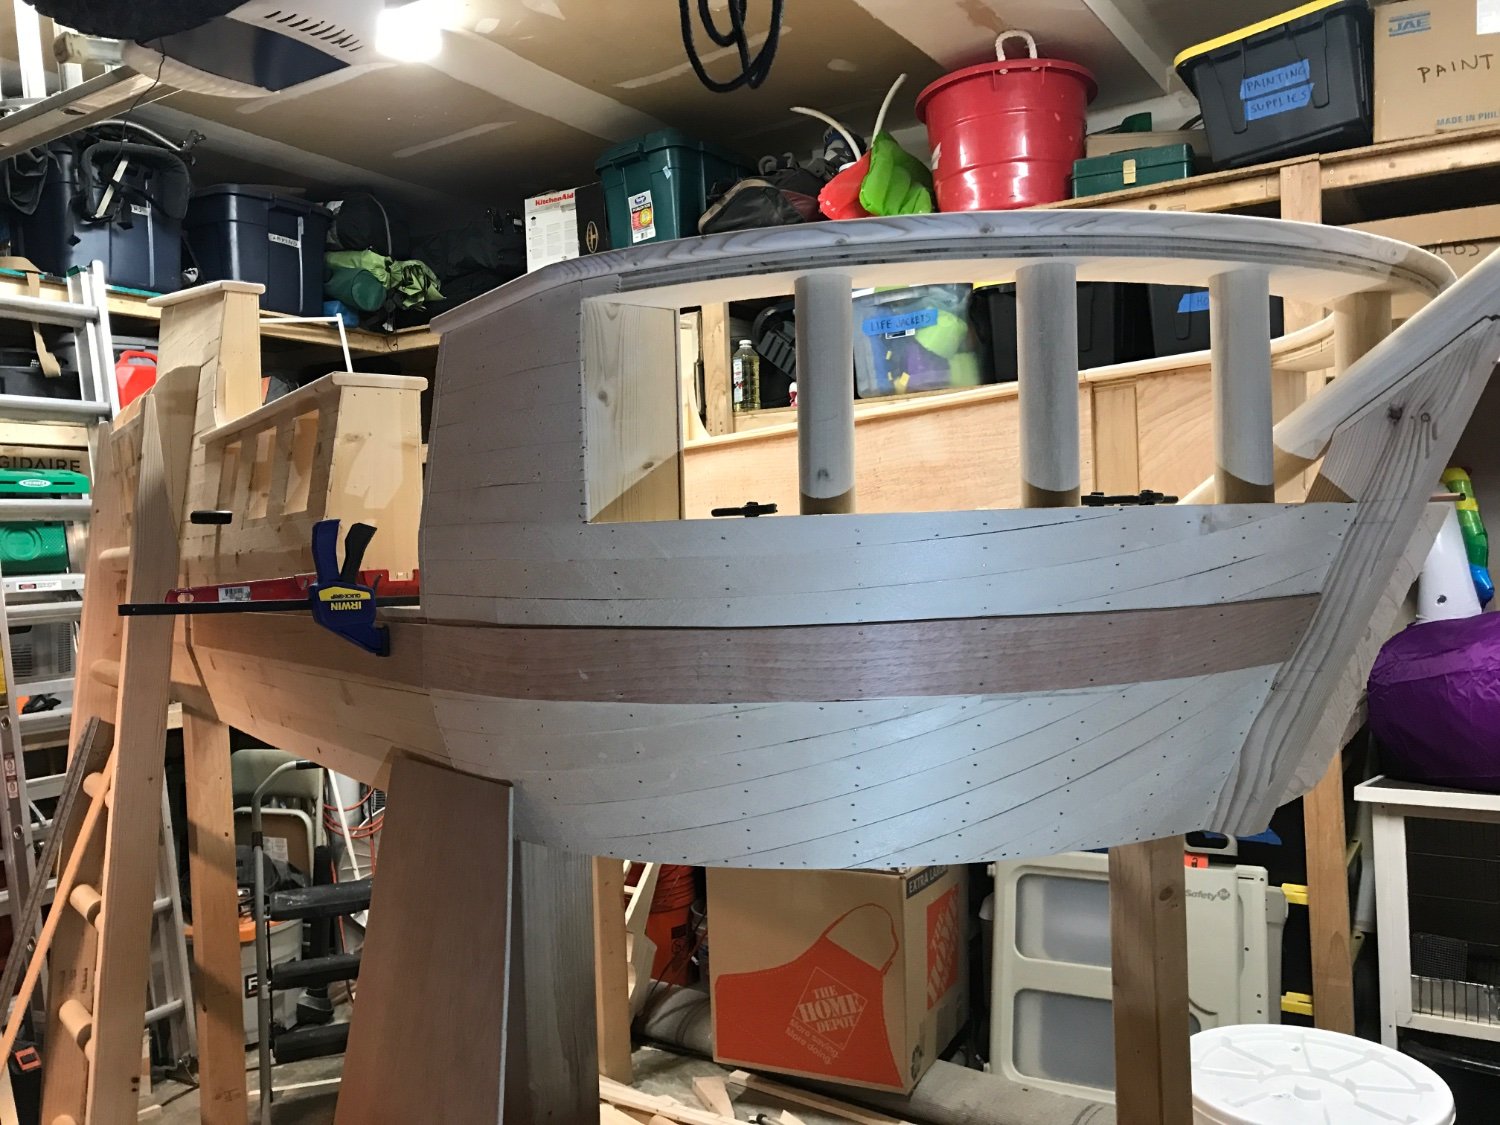
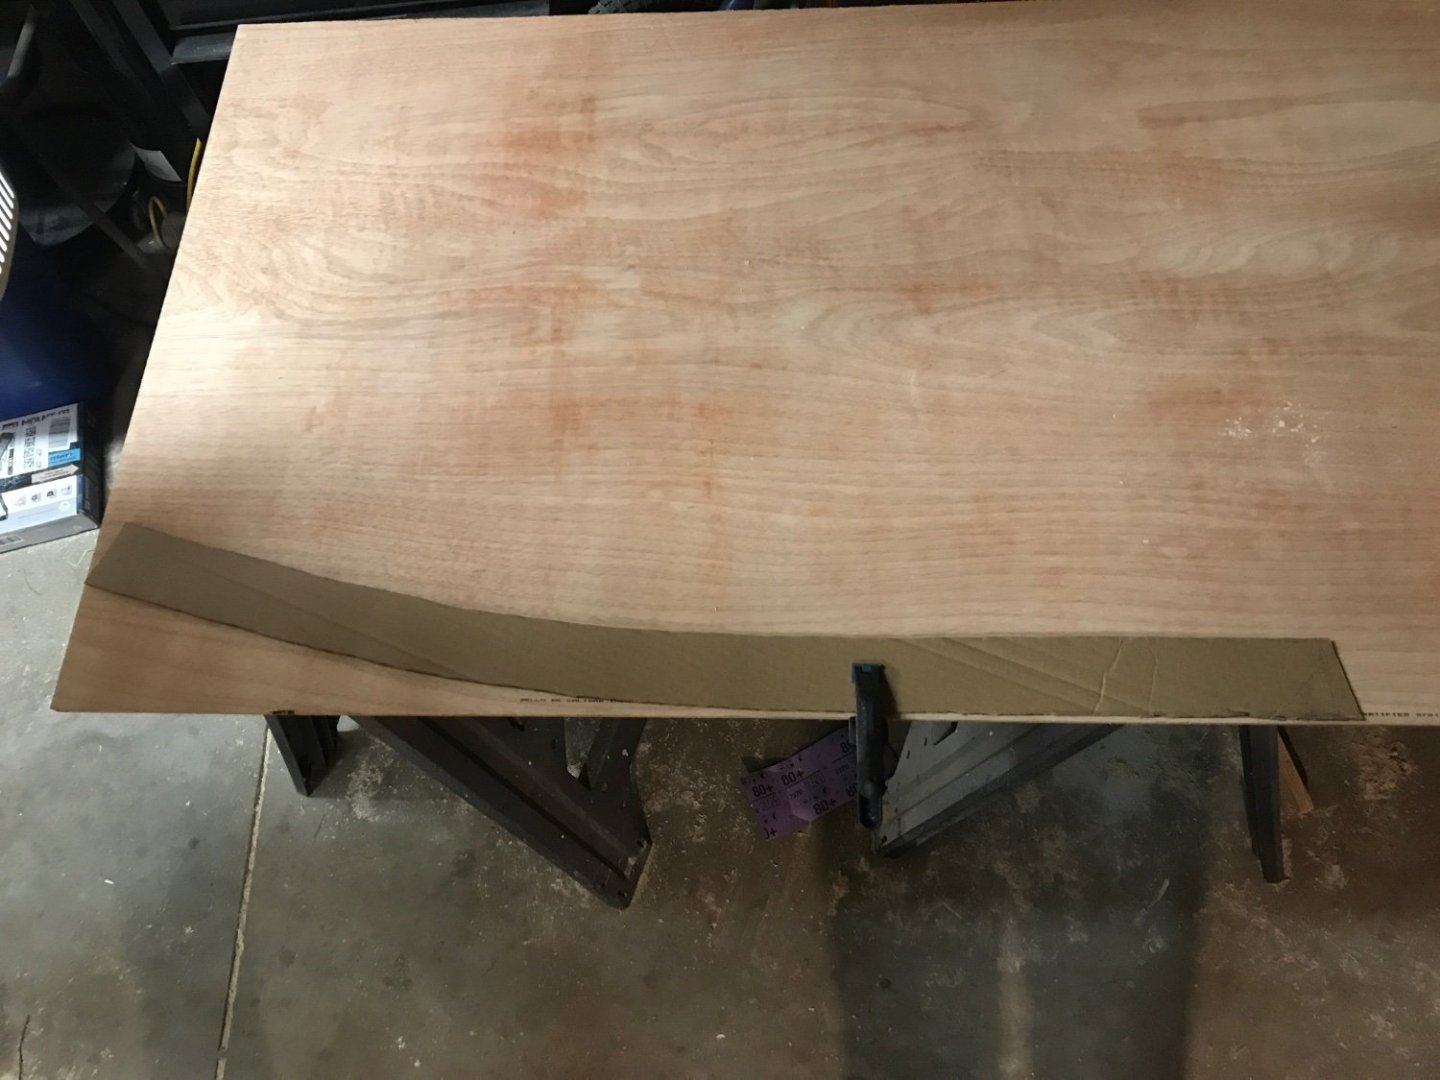
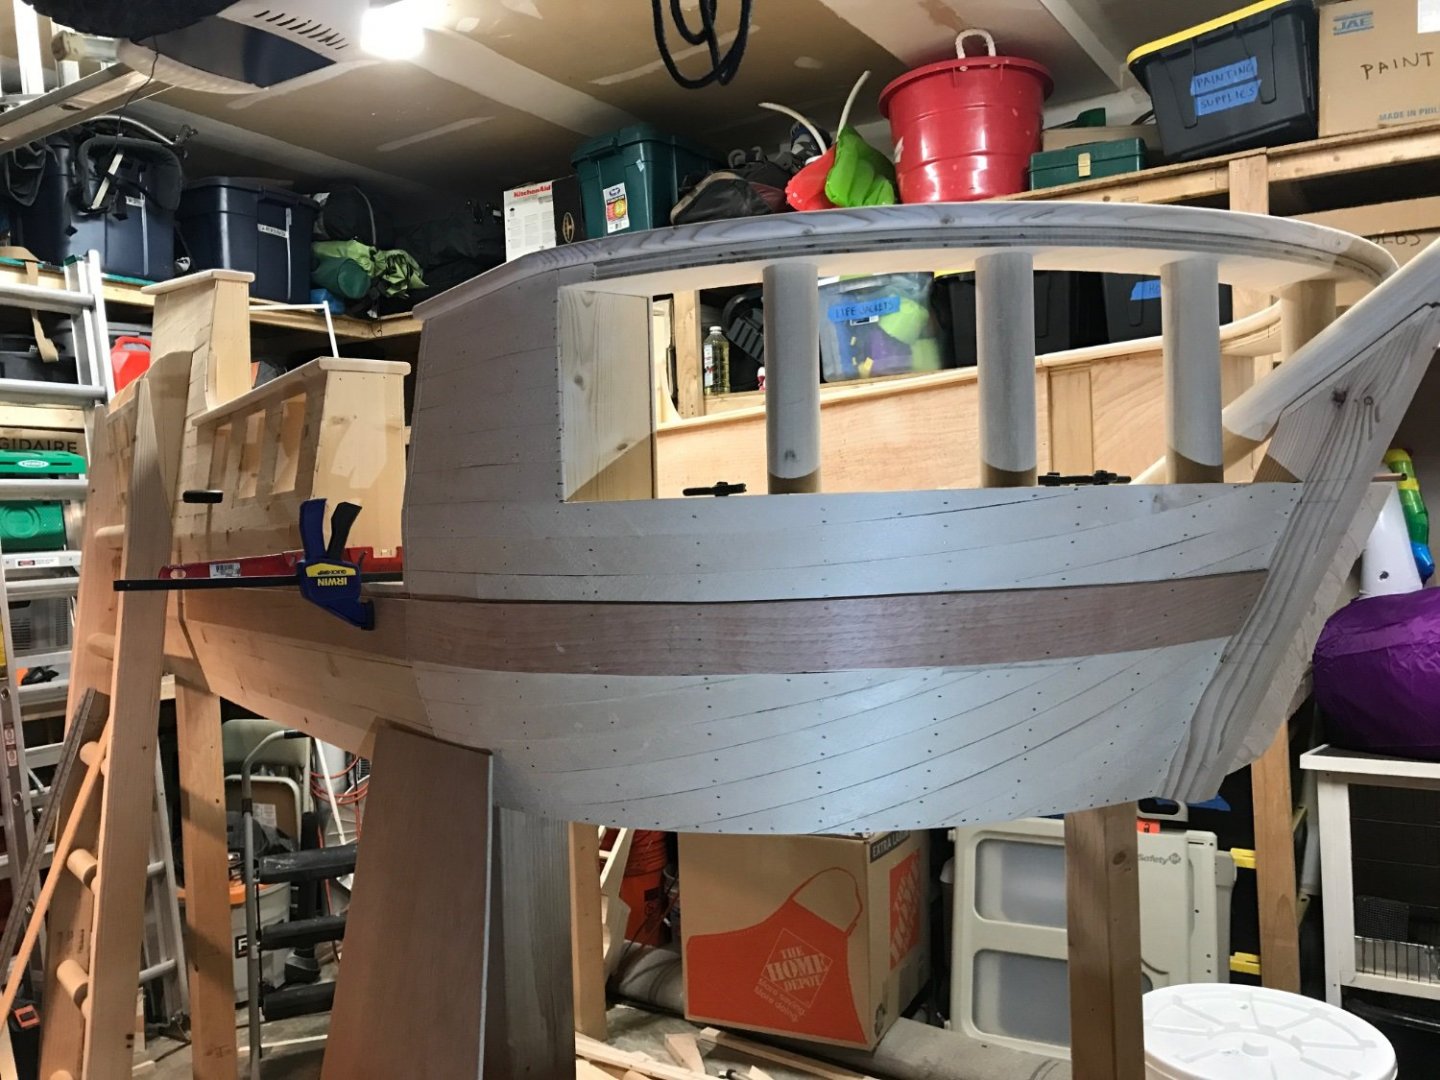
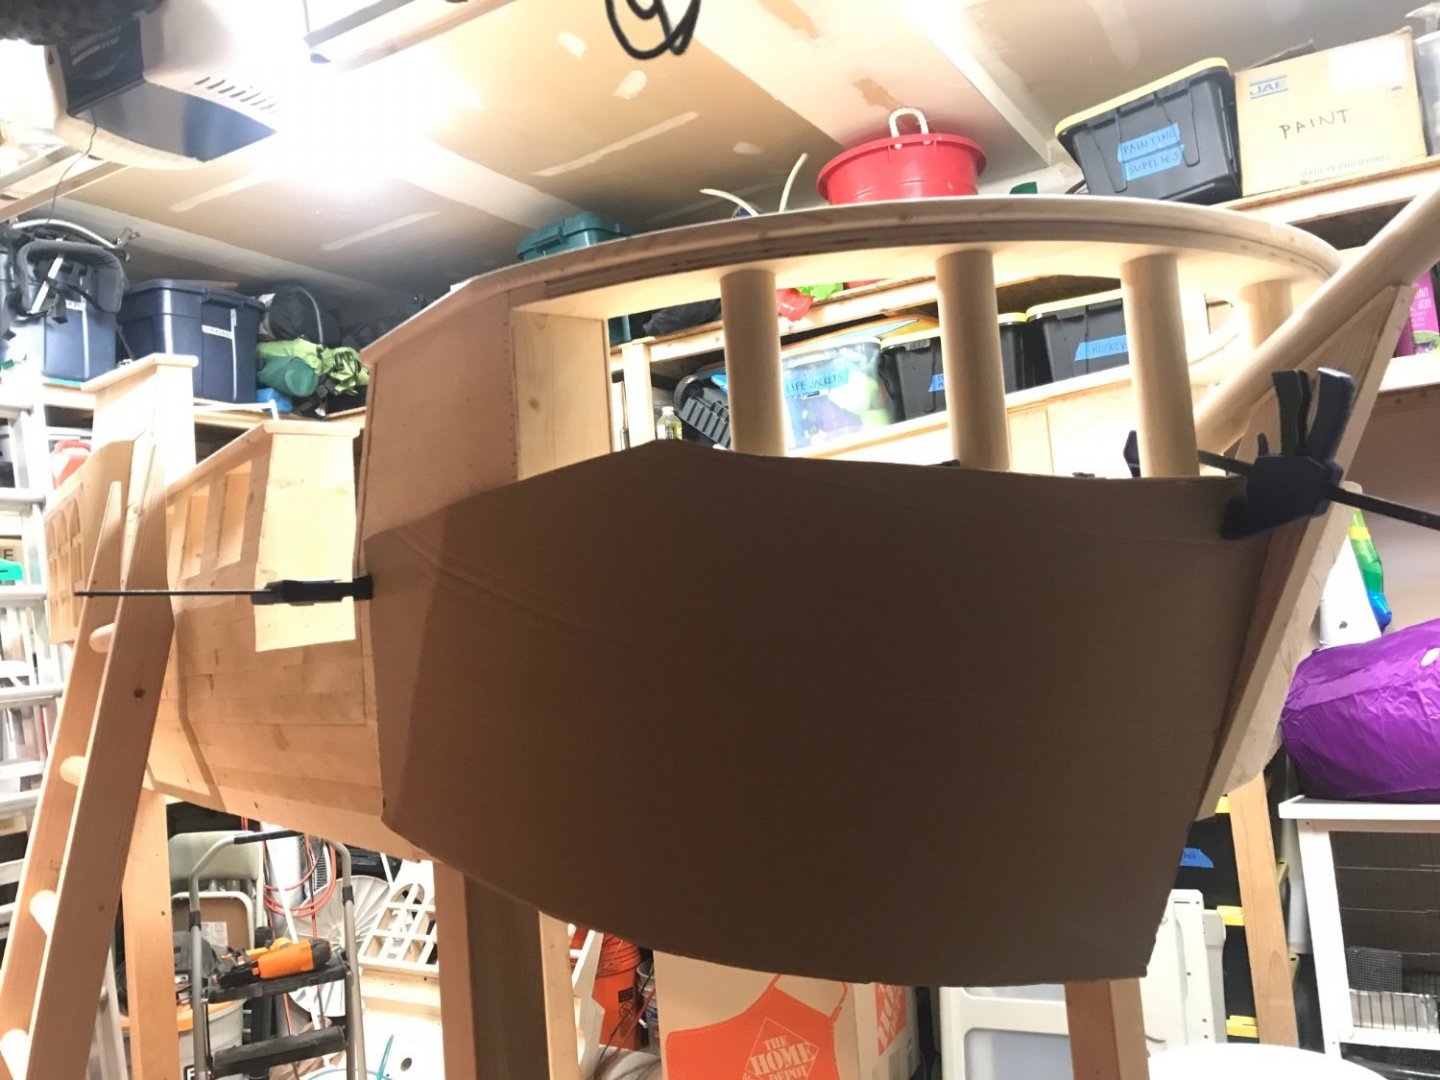
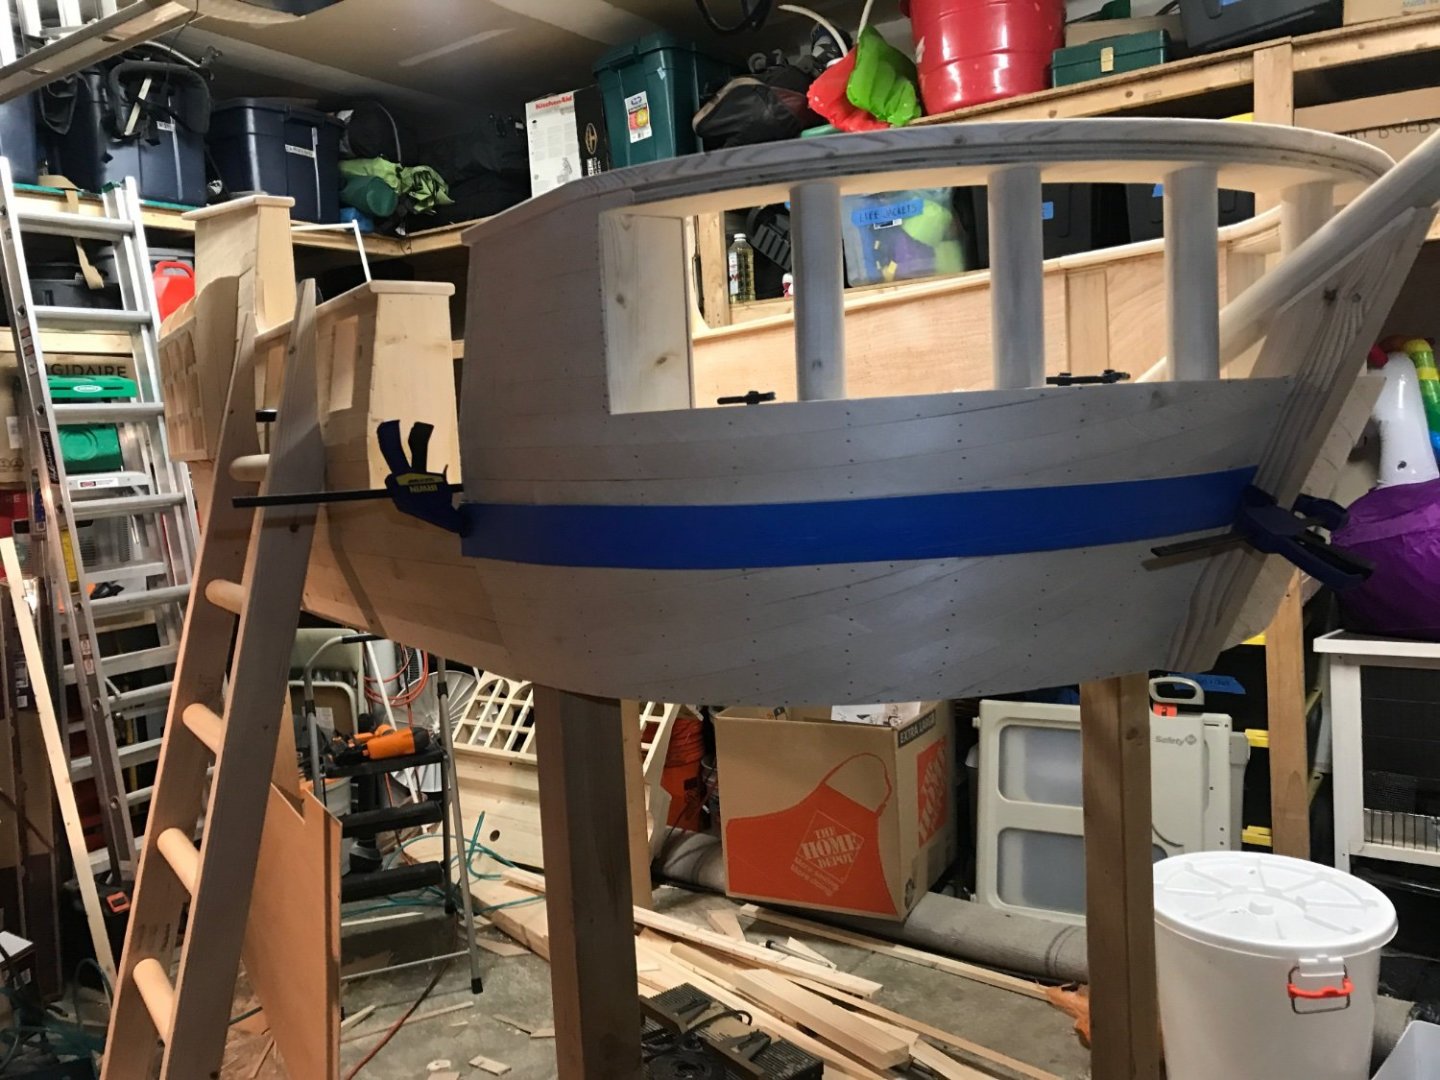
And now the whales. These are made from 1/4” plywood. Again the straight piece was easy, but making the curve took a lot of trial and error fitting with cardboard and tape. The end result was pretty good though.

-
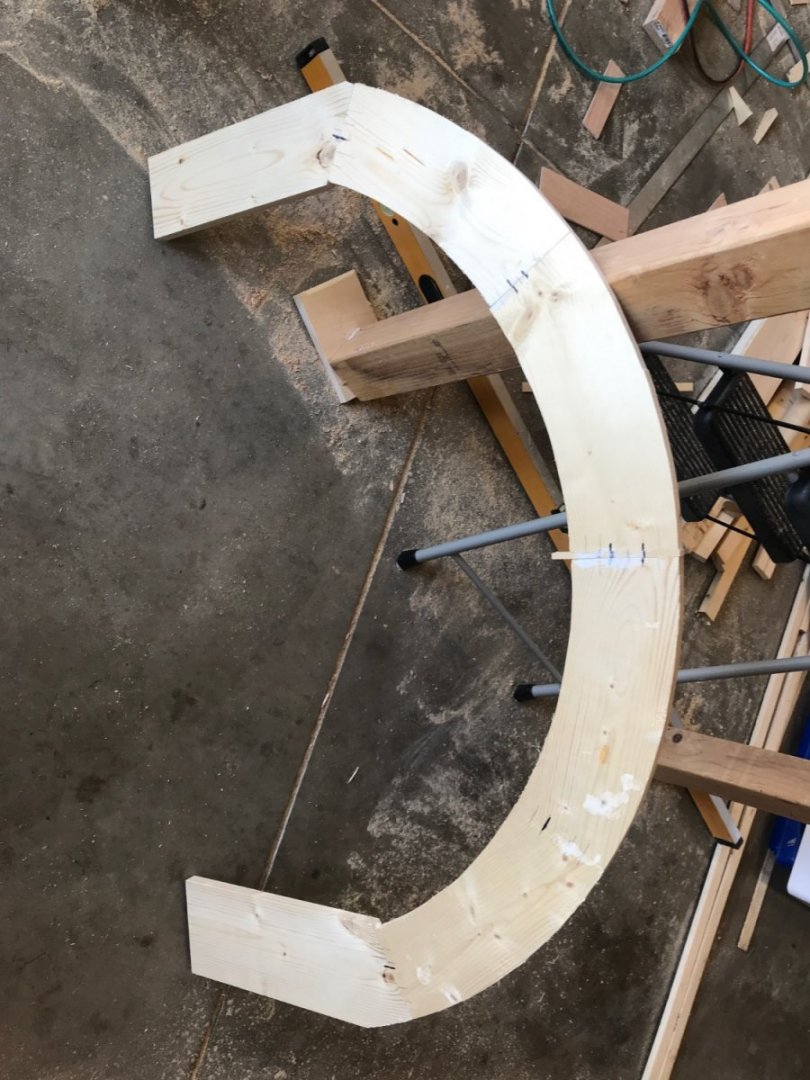
Next up are the moldings. The straight pieces are just 1x6’s with 1/4” over round. The bow was much more of a pain in the butt. I used a combination of CAD and trial and error with cardboard to get the angles right. The pieces were then doweled and glued together before cutting to the final shape.


-
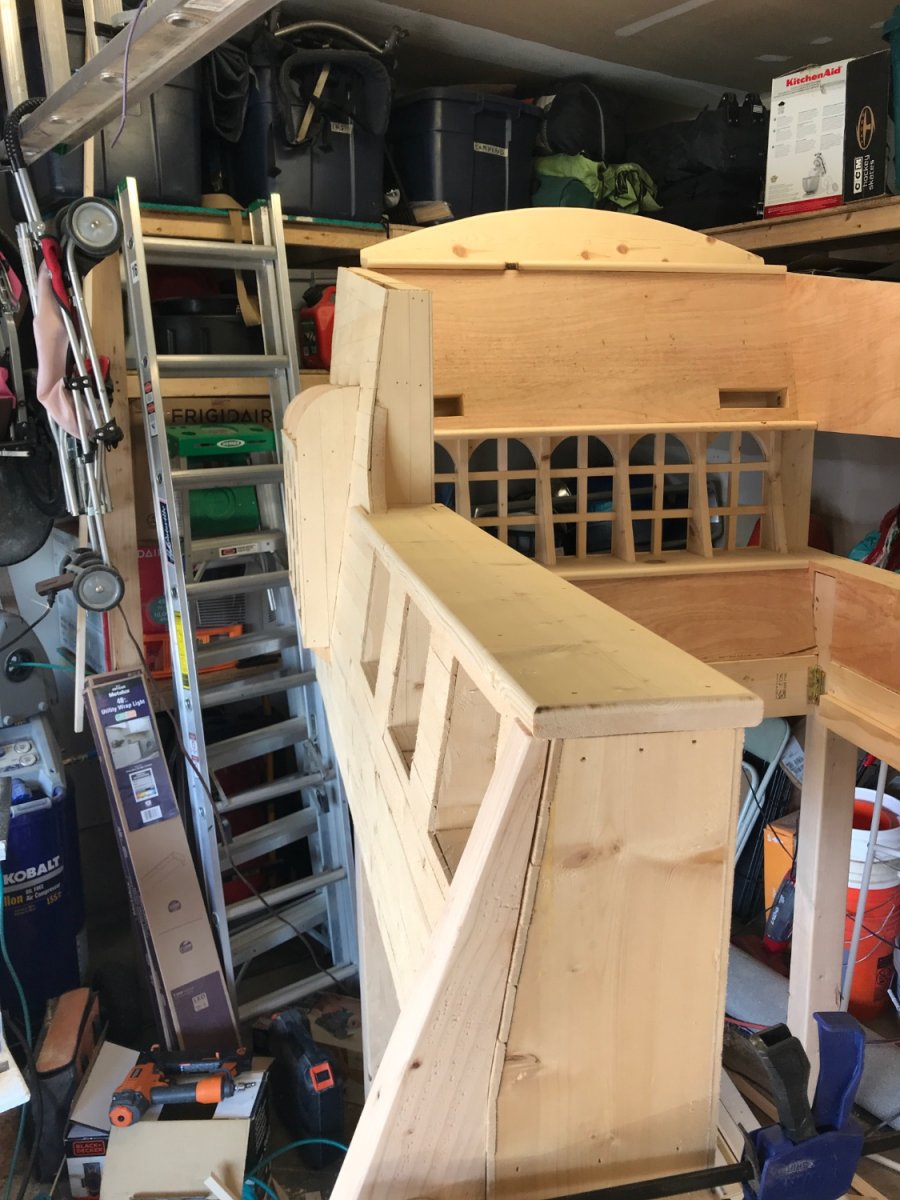
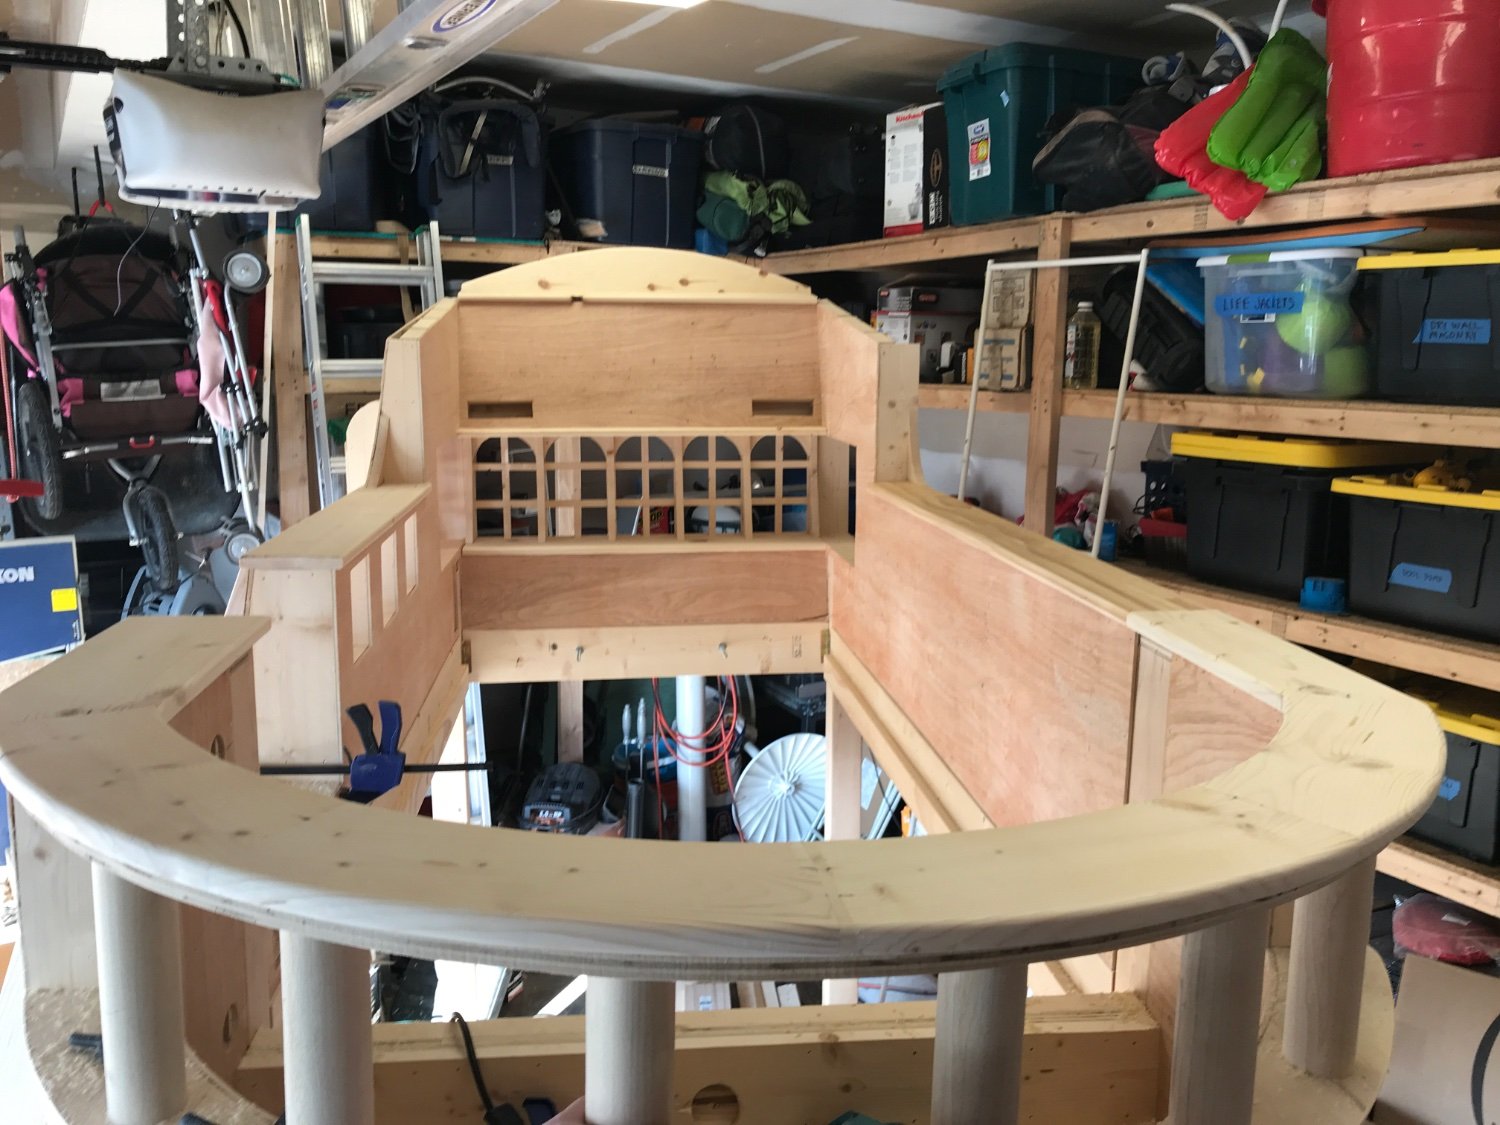
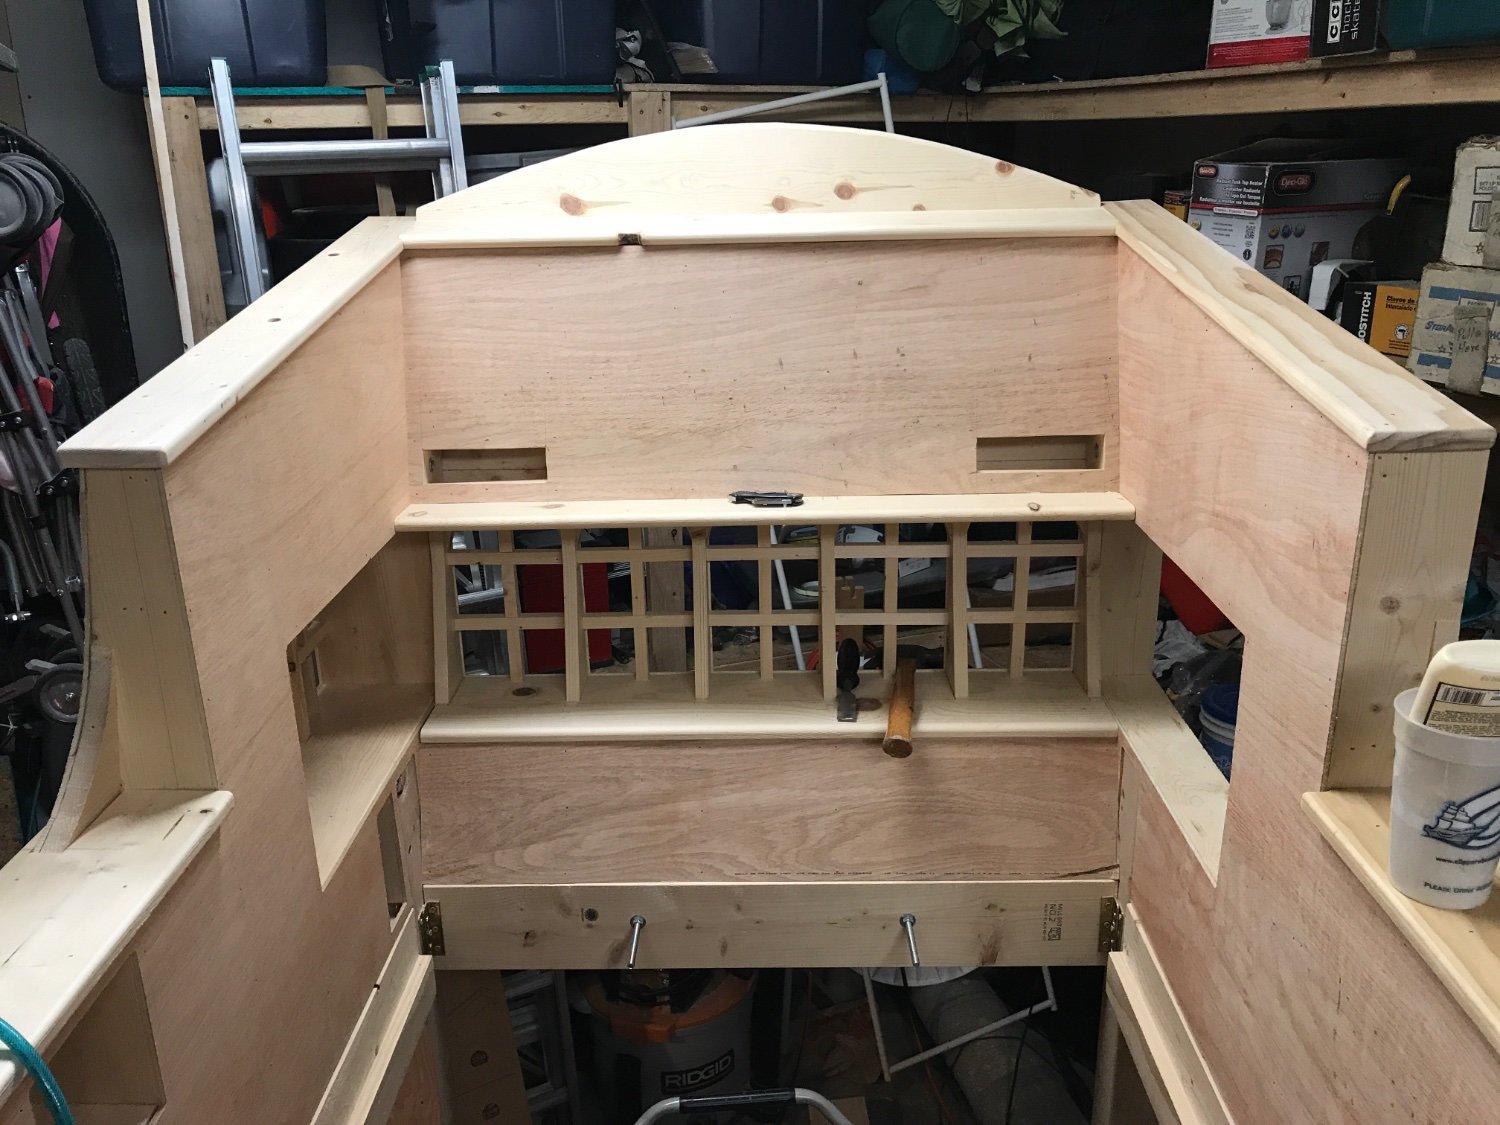
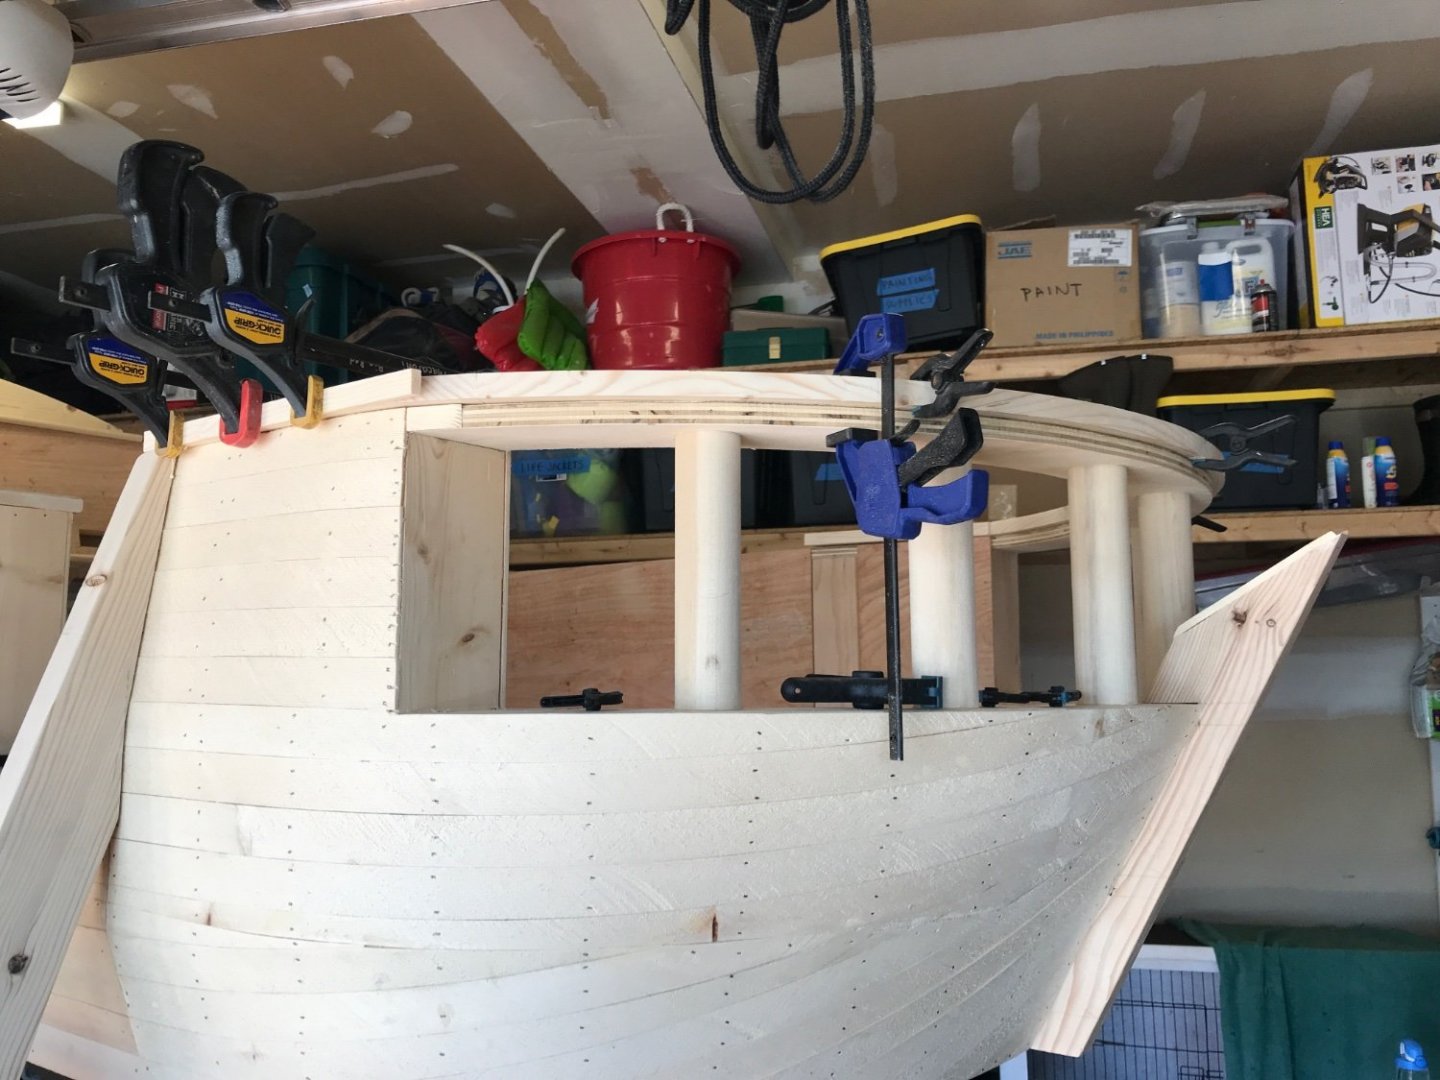
It’s been a long while since I posted. The bed has since been completed, just need to catch up the log…
-
Great success!! I am almost ready for the second planking on my build. I am still working through the paint on the bulwarks. One more coat I think. I have not glued the upper transom piece on. The instructions are very confusing about that part. It looks like it doesn’t really matter the order from your build though.
- 362 replies
-
- 4
-

-
- Amati
- Lady Nelson
- (and 2 more)
-
I have thought about that quite a bit actually. I haven’t found a good source for proper dimensions yet. Thank you for the support! I have read through your 1/100 Victory so many times. Such great inspiration!
-
Looking great! I think you could just add some filler to smooth the transition for that last plank in my non expert opinion.
- 362 replies
-
- 2
-
-
- Amati
- Lady Nelson
- (and 2 more)
-
Looking good!! I know my patience would be tested taking it so carefully!
- 476 replies
-
- 2
-
-
- sphinx
- vanguard models
- (and 1 more)
-
The split hatches really do look nice! Those details make all the difference. Keep it coming!
- 857 replies
-
- 2
-
-

-
- Sphinx
- Vanguard Models
- (and 1 more)
-
Dave, there are a lot of references you can use here, but I find the best path is the one you choose to take. Do your research, run some tests, and make it happen. If you can build a musical instrument, you can build one of these ships. I doubt many here can do the opposite!
- 362 replies
-
- 1
-
-
- Amati
- Lady Nelson
- (and 2 more)
-
I started at the bow and placed a drop of CA on the first four frames and just held the plank in place by hand for a count of 20 or so until it stayed put and then did the next three frames and then whatever was last. No pins or tape. The frame numbers might need adjusted to your liking, I just remember that you didn’t want to have to lift the plank too much to get CA under it or it would break the previous bond point loose.
- 362 replies
-
- 2
-
-
-
- Amati
- Lady Nelson
- (and 2 more)
-
Are you using any hot water to soften the strip? I just soaked the bow end to make the curve and then edge bent and used an iron to steam the water back out. I made a jig to do both sides. I would taper and then soak while I was edge bending and drying the other. I just went back and forth. I also used CA gel to glue in place.
- 362 replies
-
- 1
-
-
- Amati
- Lady Nelson
- (and 2 more)
-
Looking good! I know distractions myself. I have this whole week off of work, but I doubt I will get to work on my ship at all. I am also in the middle of a bathroom renovation… that I started Thanksgiving week with the intentions of finishing Thanksgiving week.
-
Just make sure you check out Chuck’s edge bending technique and you will be fine!
- 362 replies
-
- 3
-
-
- Amati
- Lady Nelson
- (and 2 more)
-
Beautiful work! Also some amazing remembering of stories of lore!
- 857 replies
-
- 2
-
-
- Sphinx
- Vanguard Models
- (and 1 more)
-
I don’t have a resin printer and I plan to have a friend print the final versions of my cannons, otherwise I would have offered to print some for you as well.
-
I can send the .stl for my cannon as well if you have access to a printer.
-
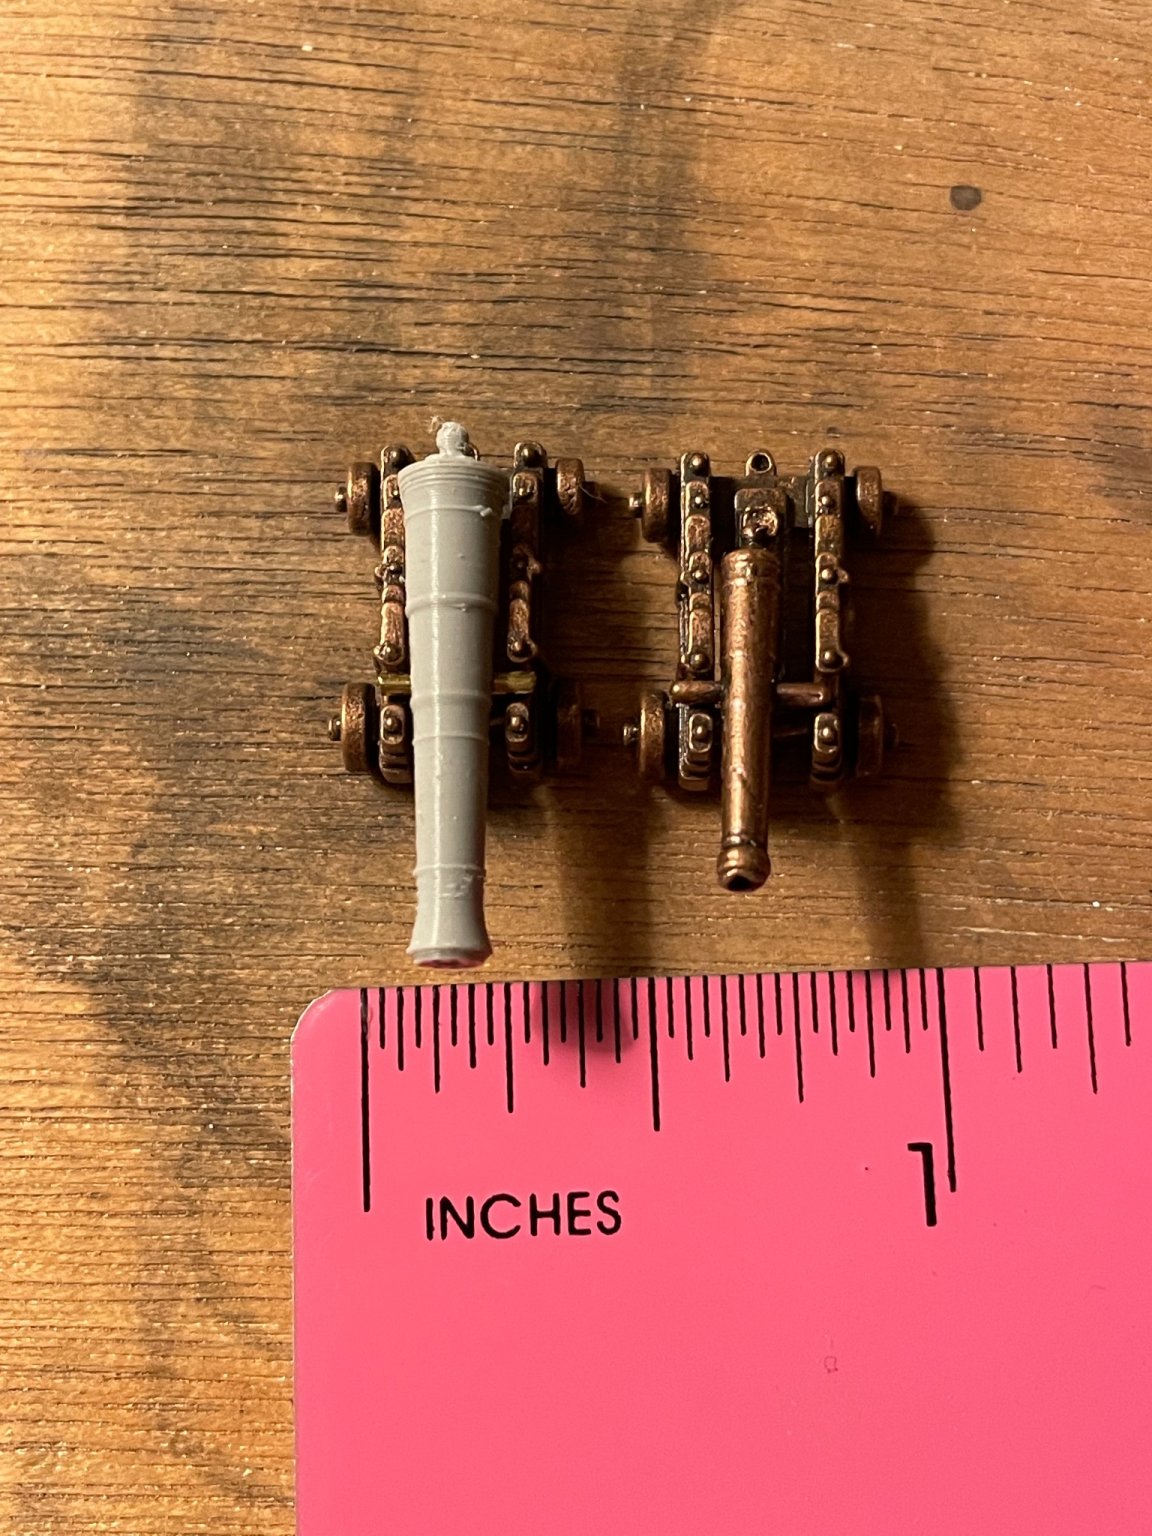
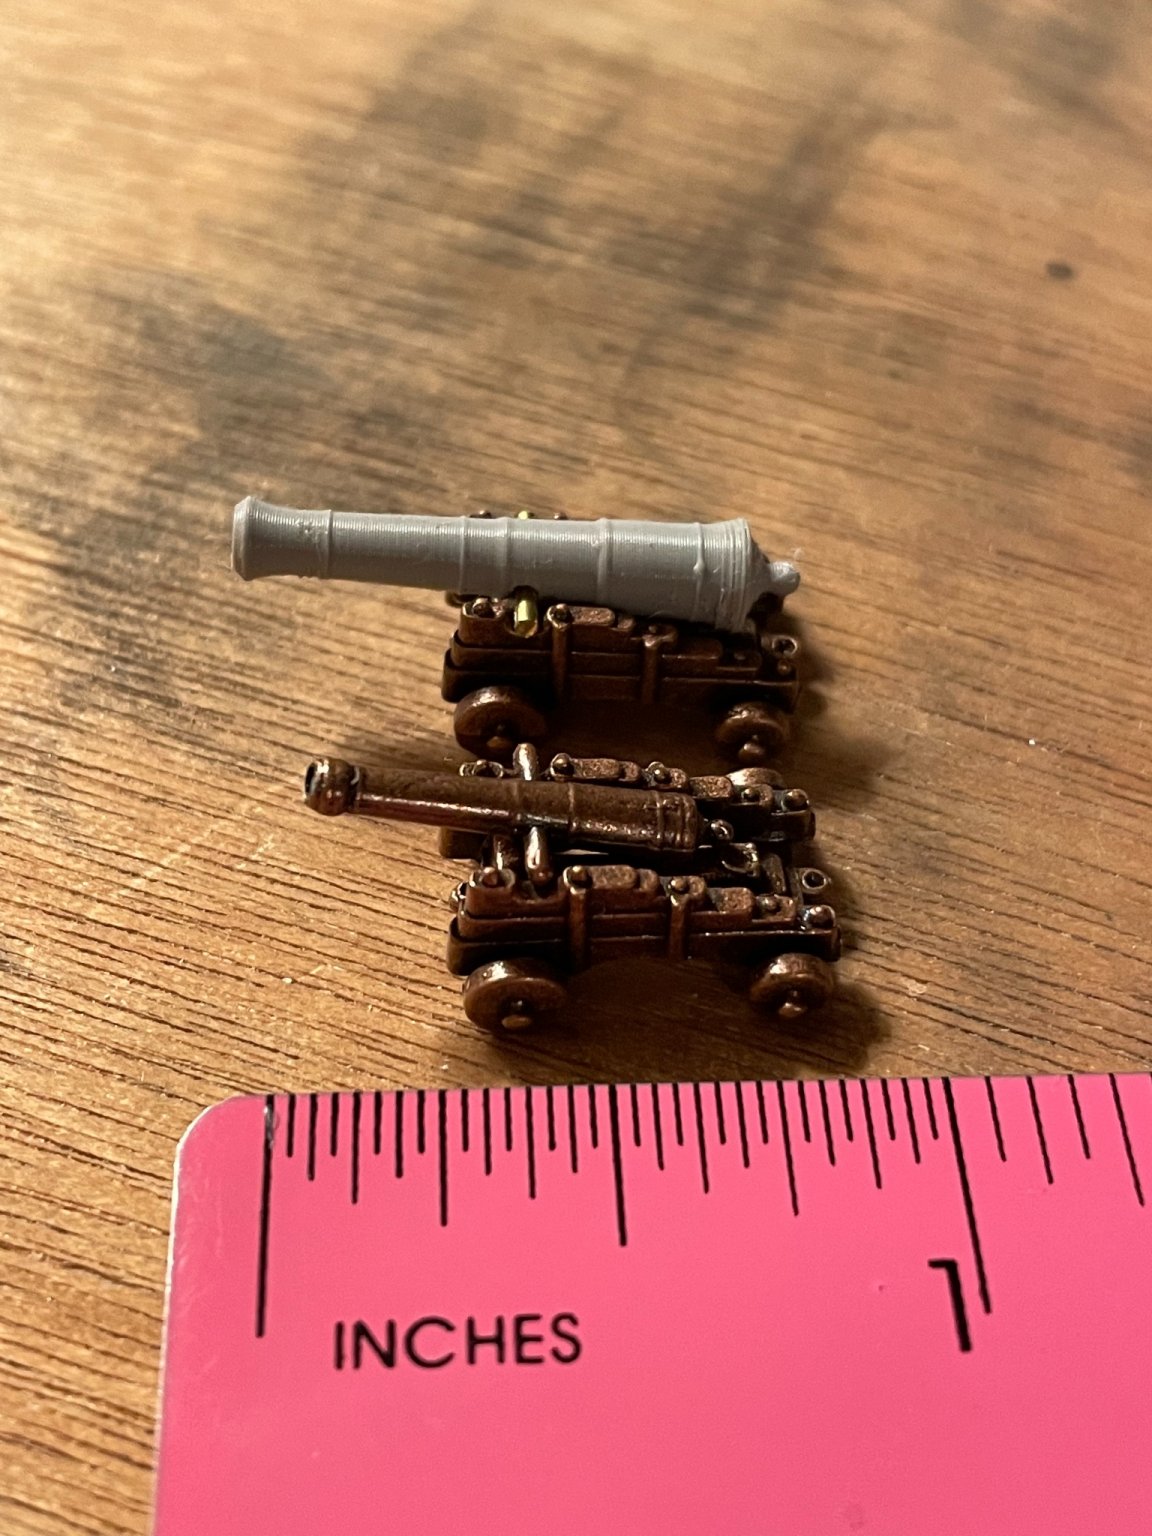
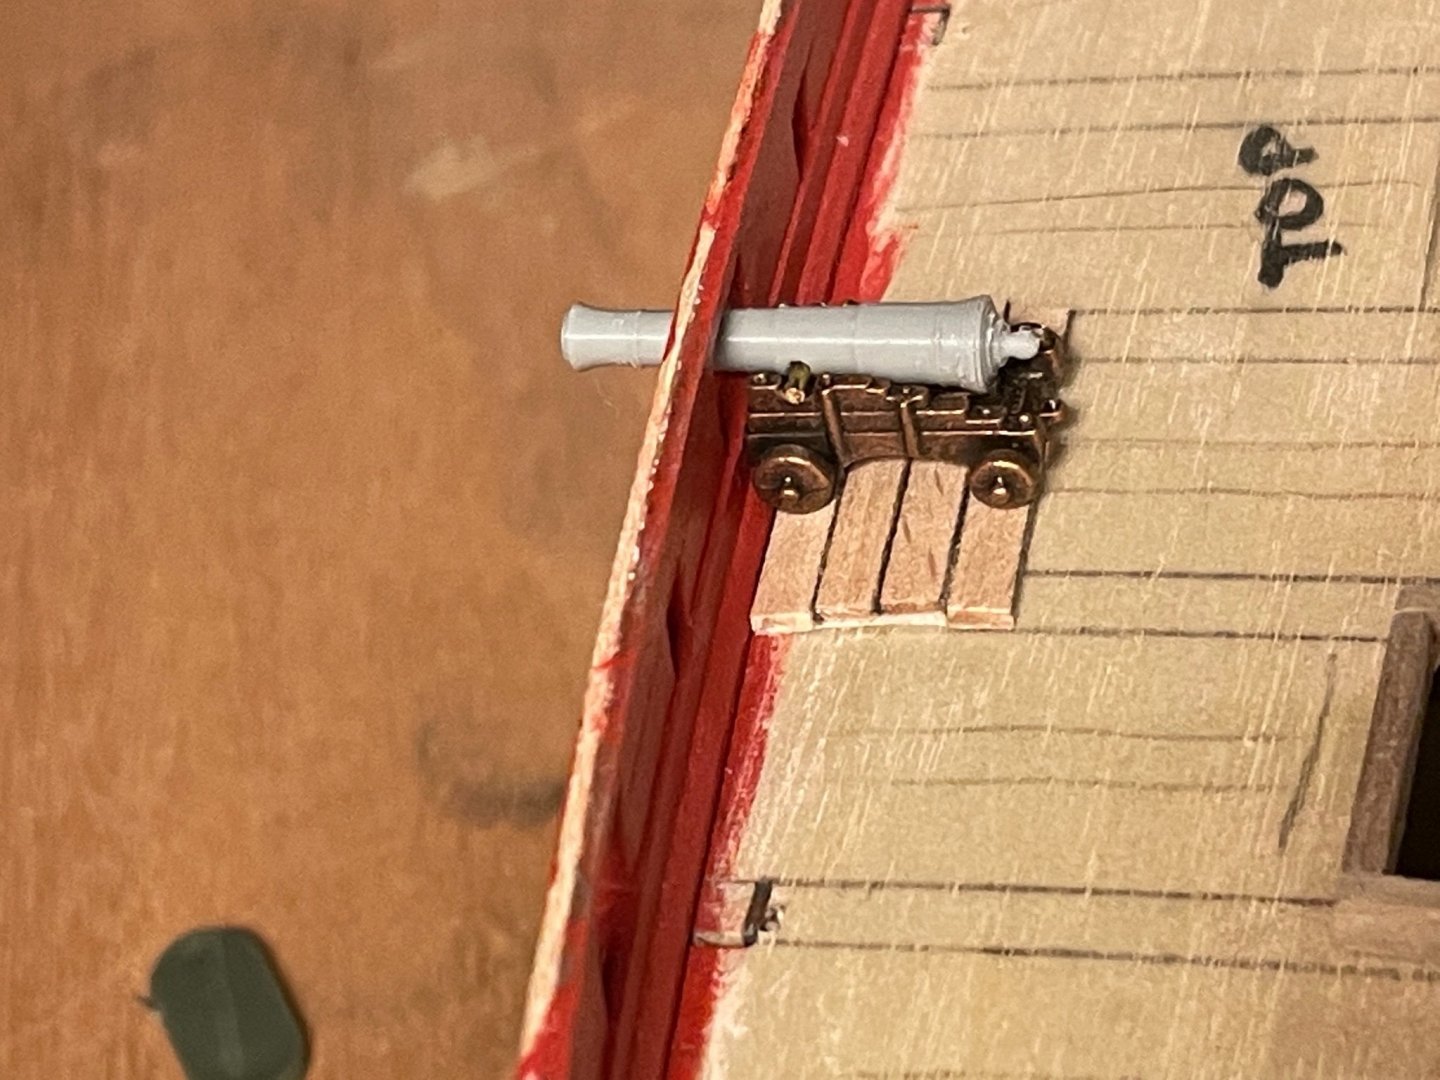
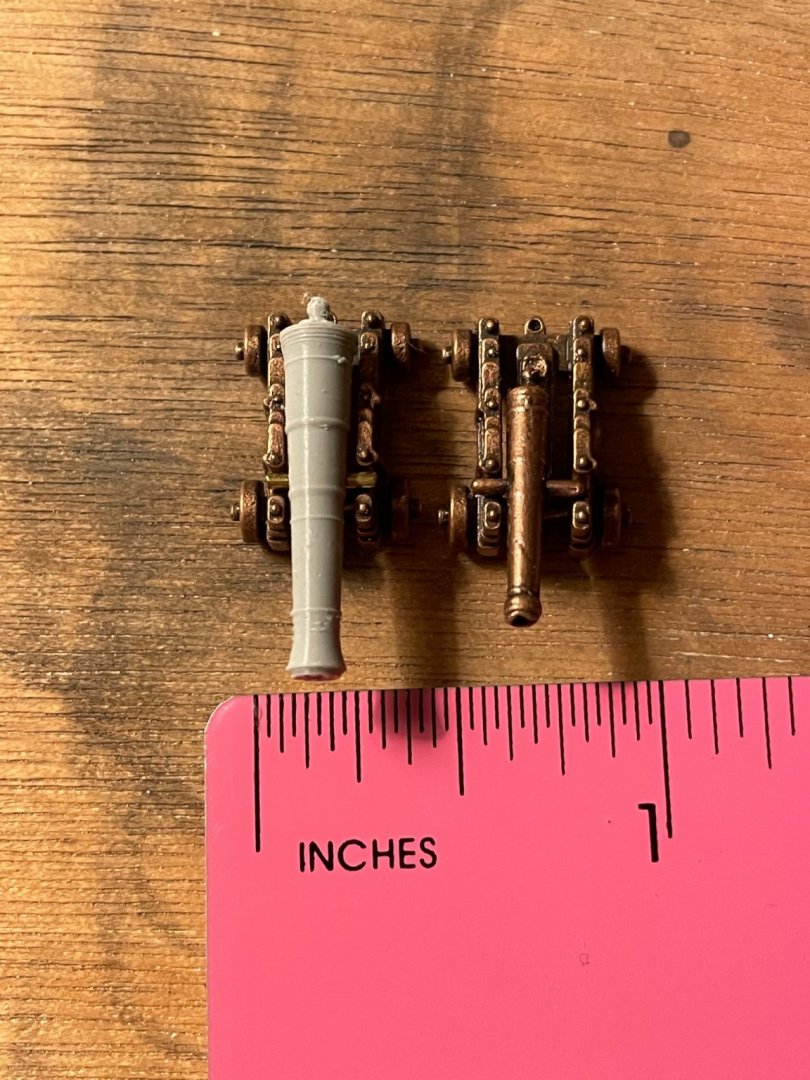
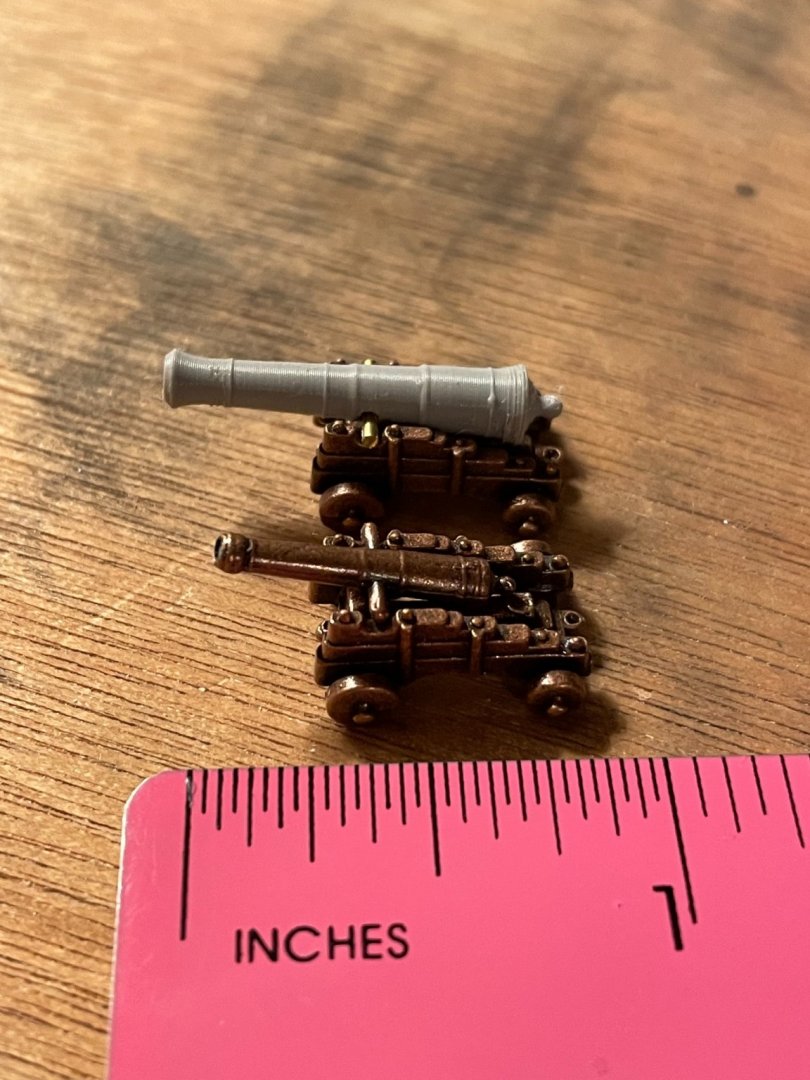
I decided to 3D print new cannons for my LN. The kit provided ones are not really to scale. This is just my prototype and no post processing has been done yet, but it is more to scale. I got the dimensions off of this site for a 3 pounder. https://www.arc.id.au/ArmstrongPattern.html i think someone else bought some cannons from syrenshipmodels for their LN. that might be another option for you.

-
Thank you for explanation. So much stuff to learn and it is all very fascinating to me!
- 857 replies
-
- 2
-
-
- Sphinx
- Vanguard Models
- (and 1 more)
-
I am very much a newbie here in the subject; is the print out a representation of painted artwork or painted carvings?
-
This is looking really nice!
-
Progress is being made, slowly. I keep bouncing back and forth between prepping the bulwarks for second planking and deck furniture for deck planking. I decided to completely redo the companionway. More details coming, but I decided to model it open with a ladder going down. 😬
- 362 replies
-
- 1
-
-
- Amati
- Lady Nelson
- (and 2 more)
-
I truly appreciate you guys watching in on my build and the likes! I have barely scratched the surface on this thing and I will need your help to get it done right!
- 139 replies
-
- 1
-
-
- Lady Nelson
- Amati
- (and 2 more)
-
Never gonna give up! Just might take me longer than it should!
- 139 replies
-
- 3
-
-
- Lady Nelson
- Amati
- (and 2 more)