CDW
-
Posts
7,755 -
Joined
-
Last visited
Content Type
Profiles
Forums
Gallery
Events
Everything posted by CDW
-
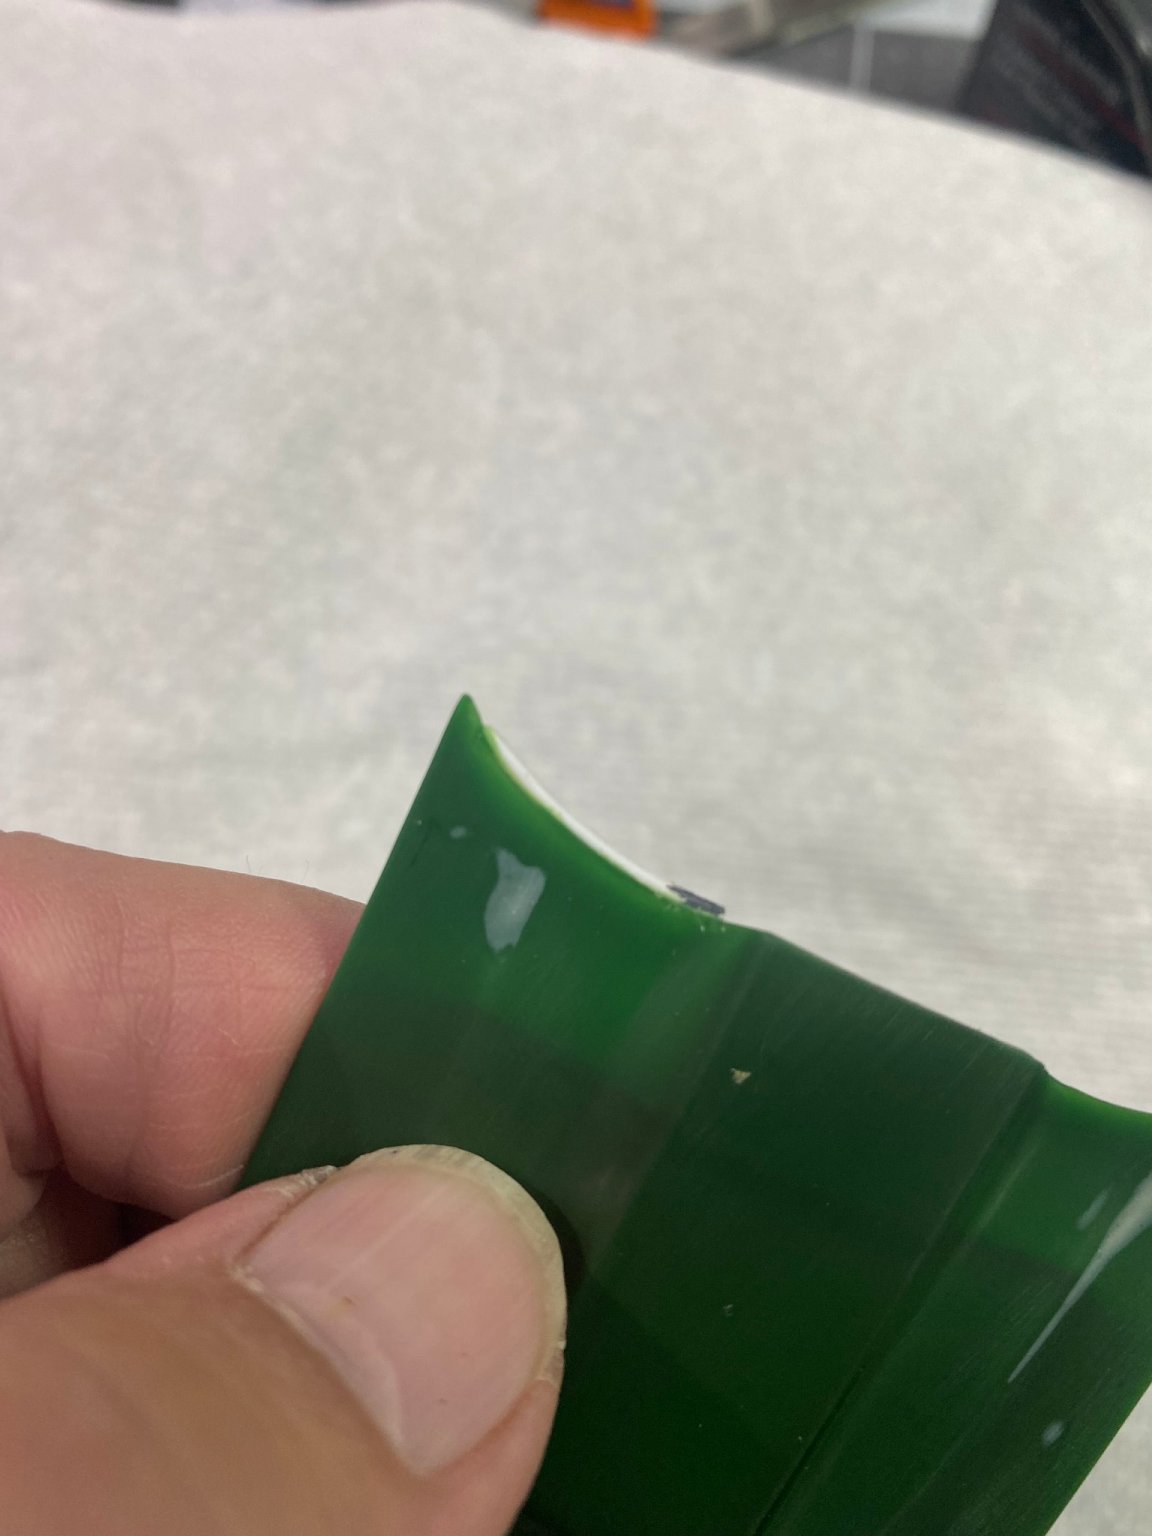
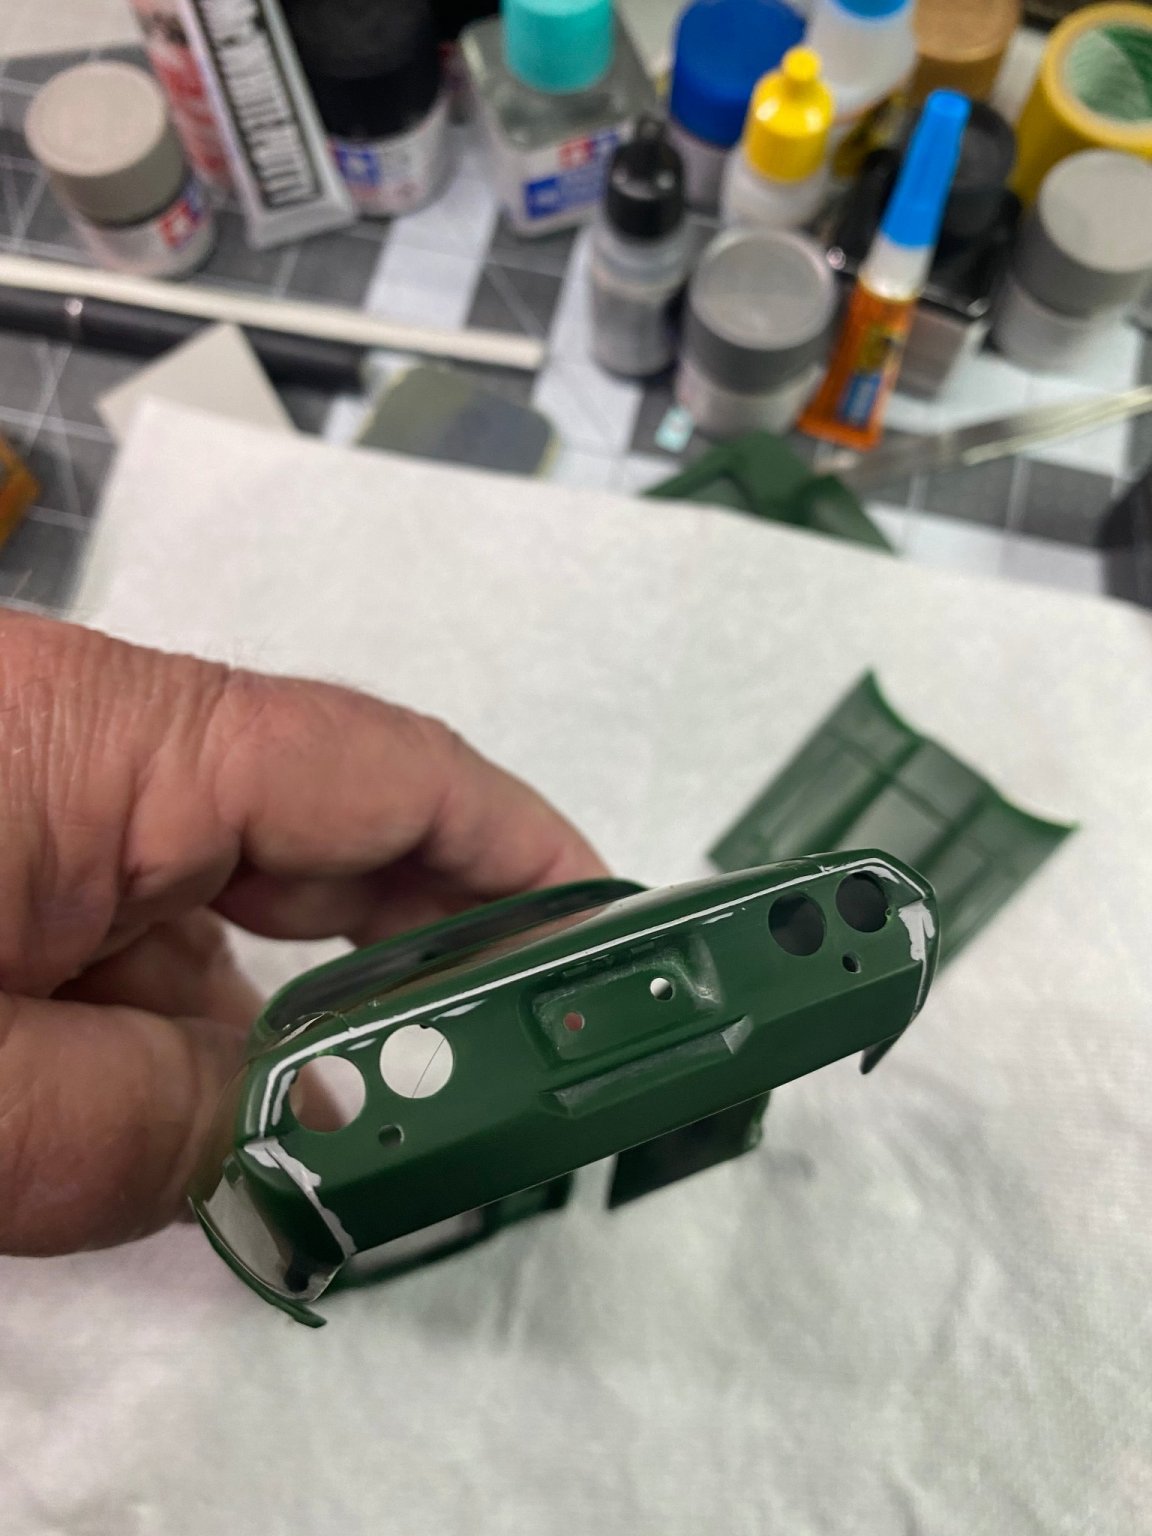
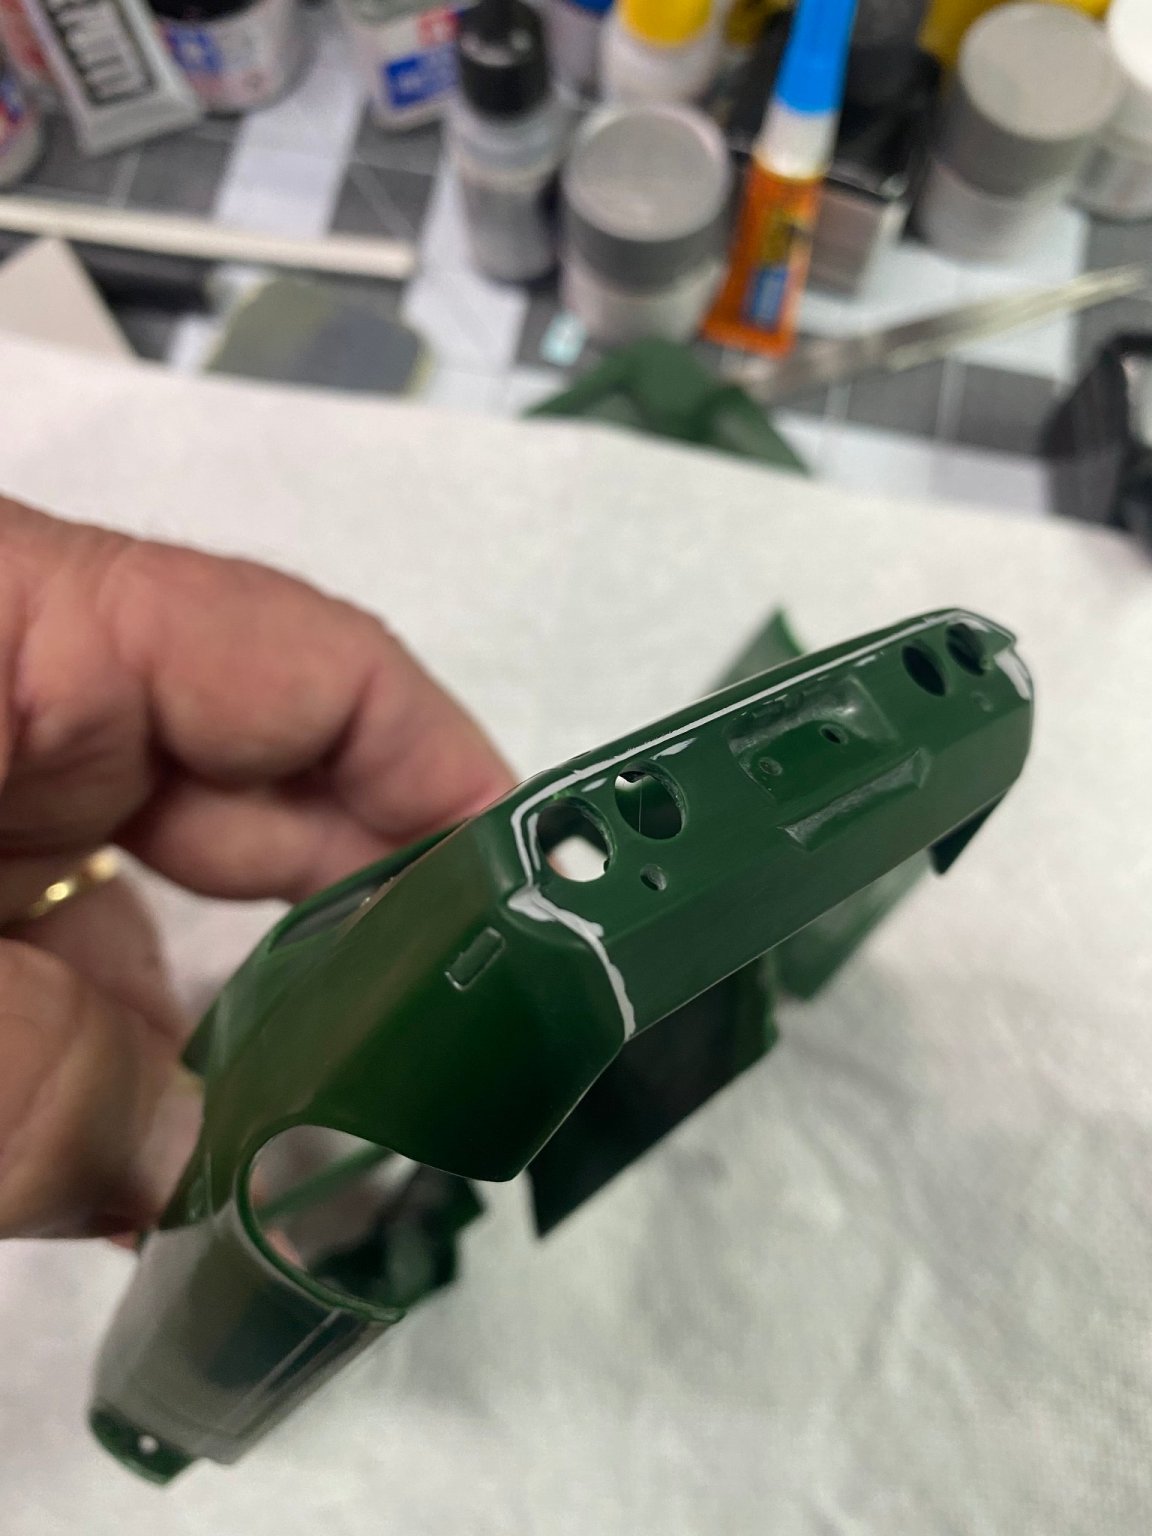
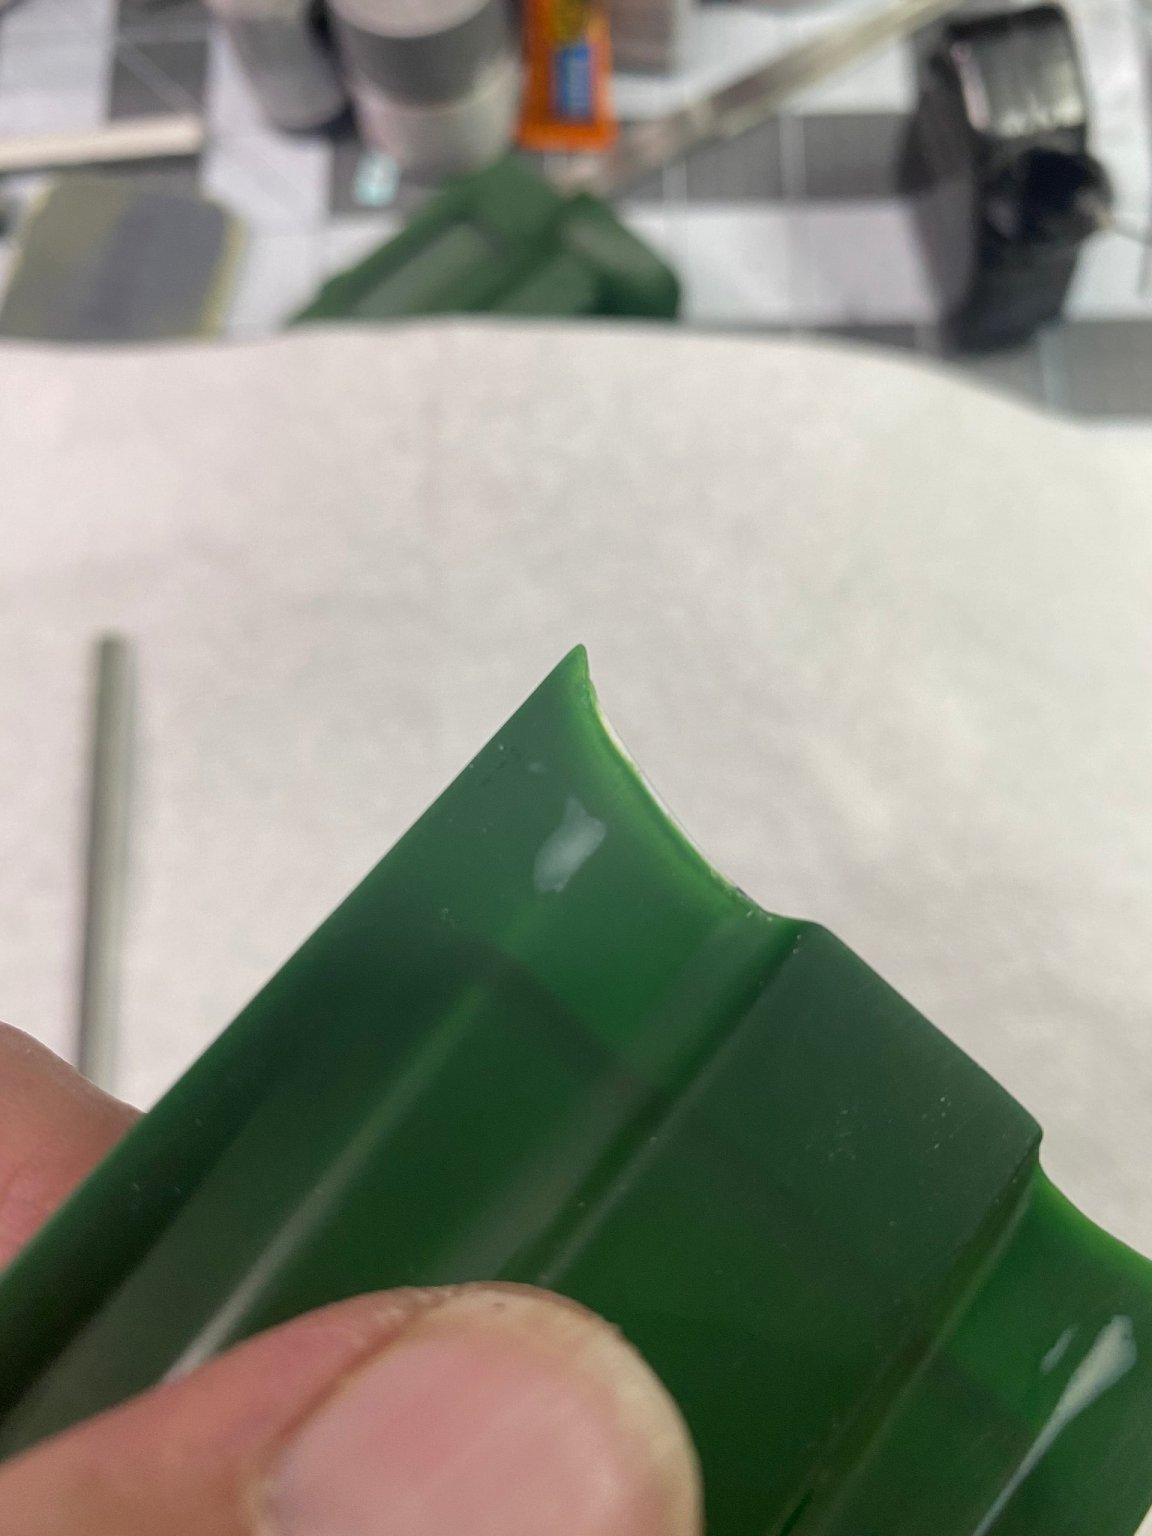
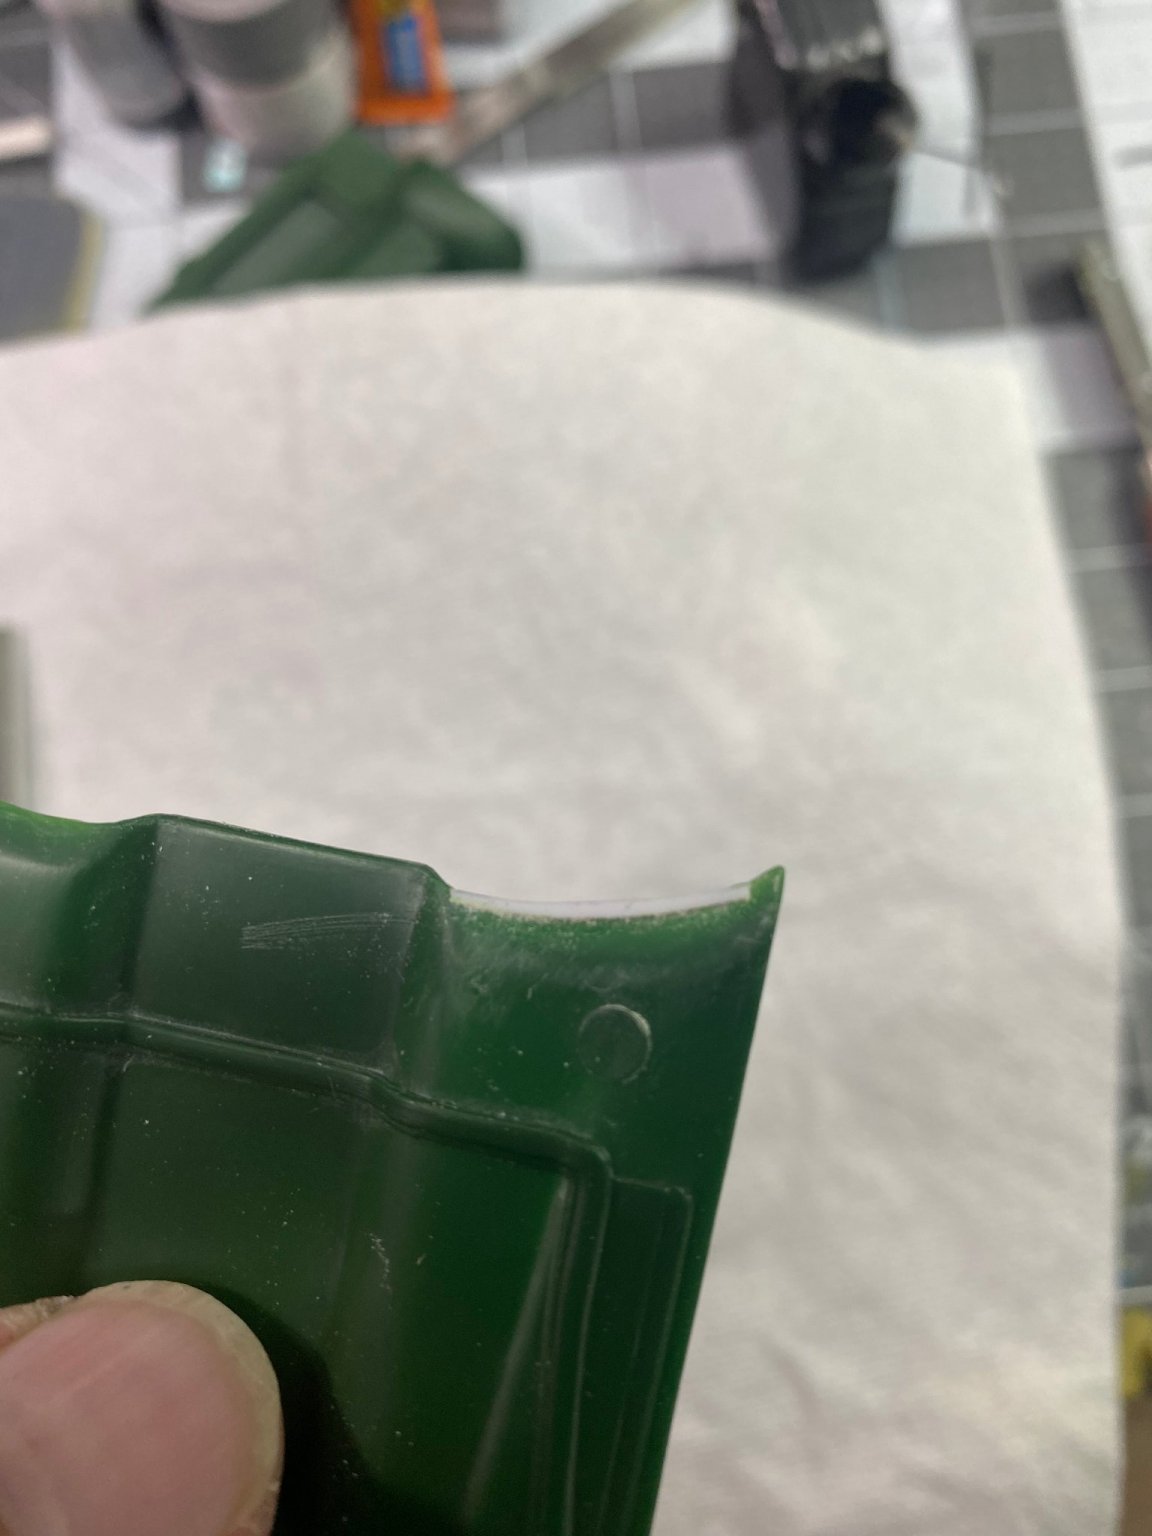
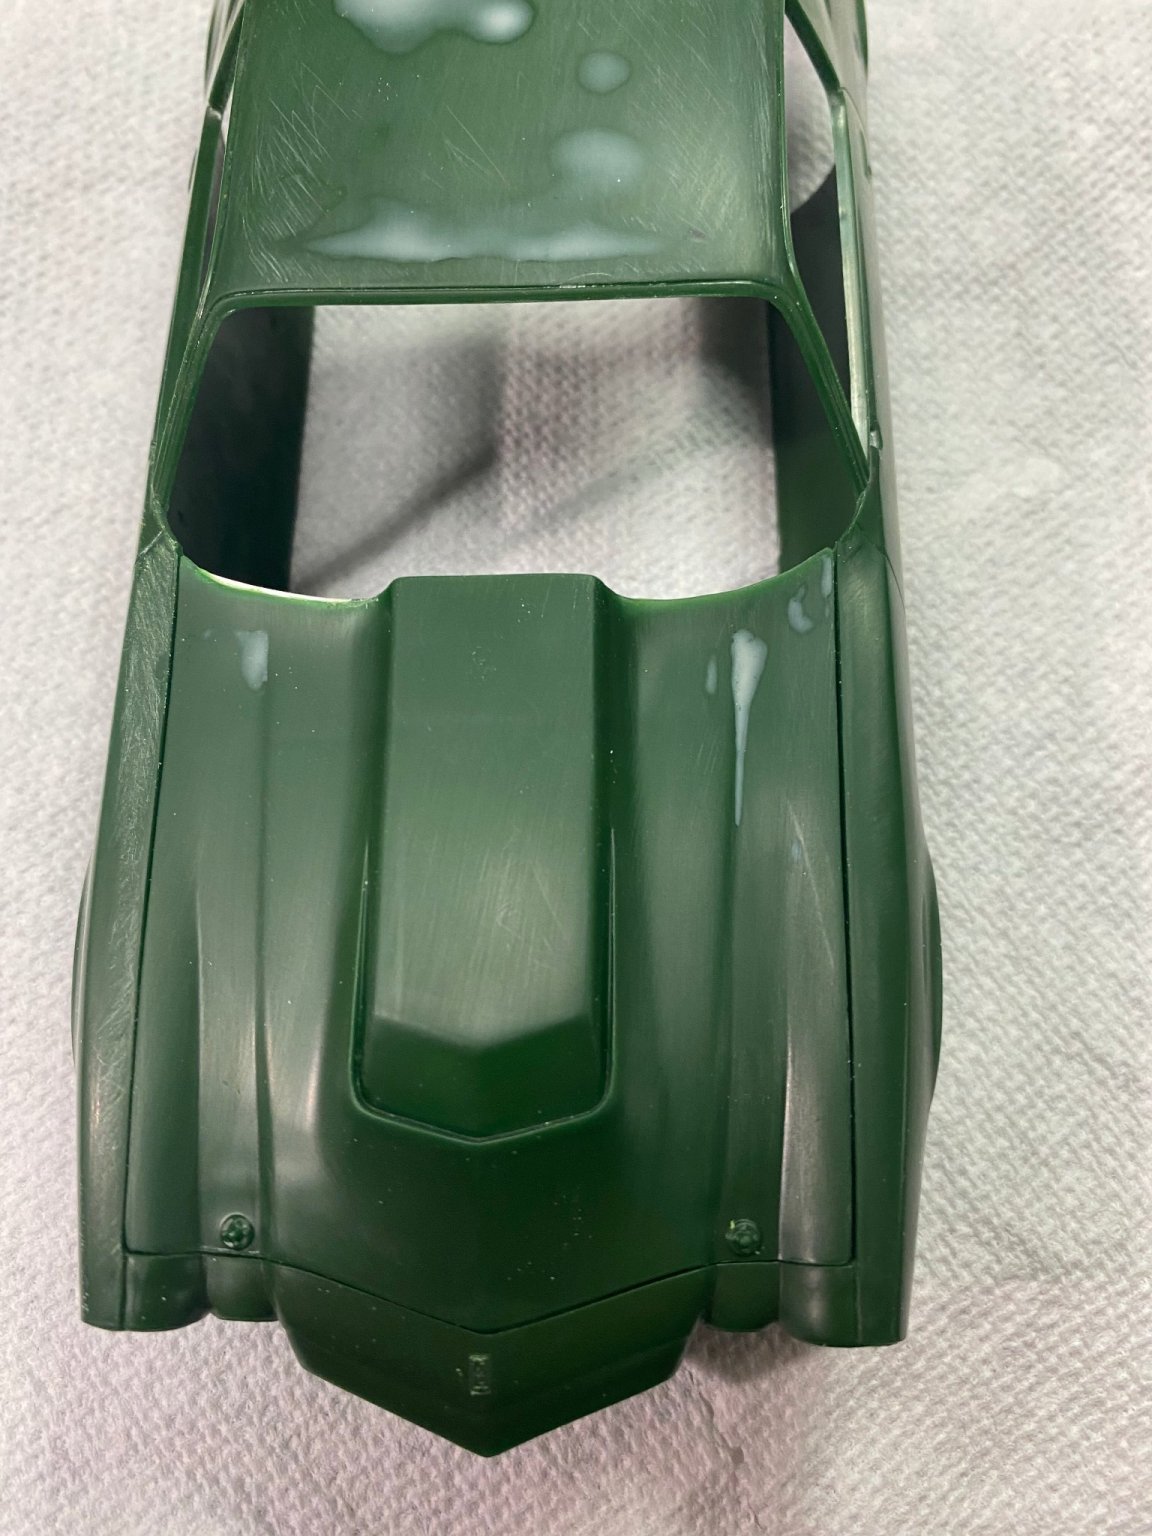
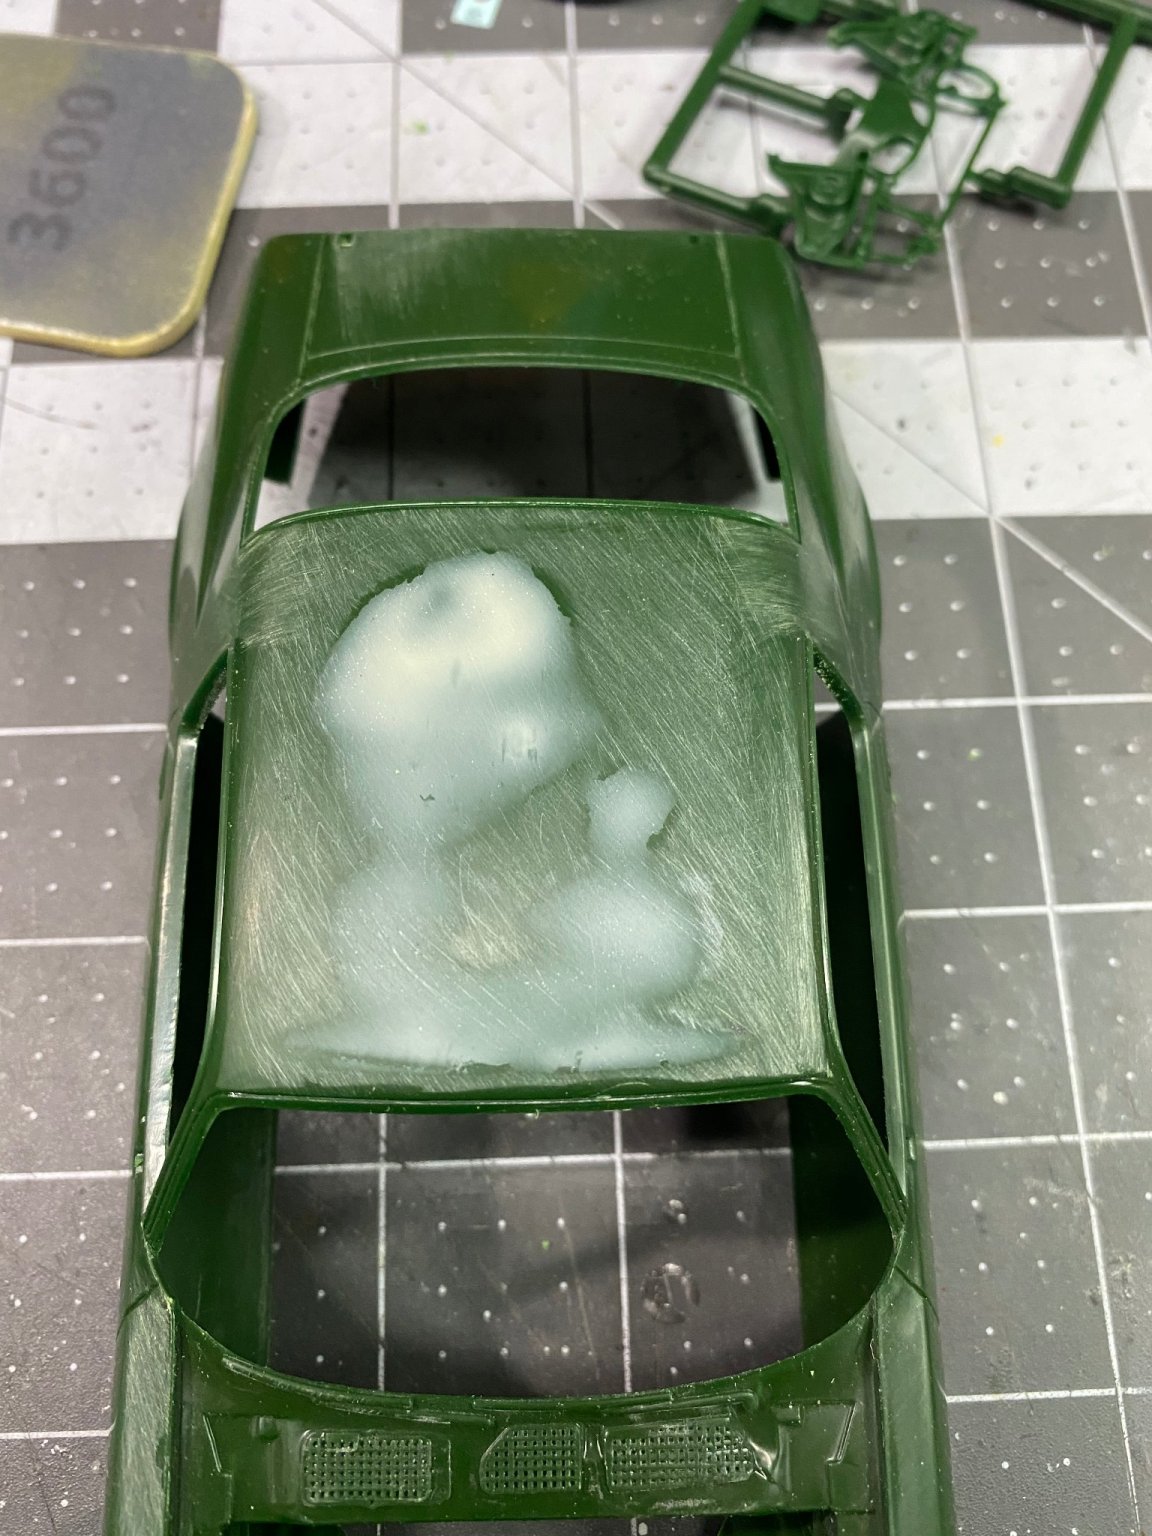
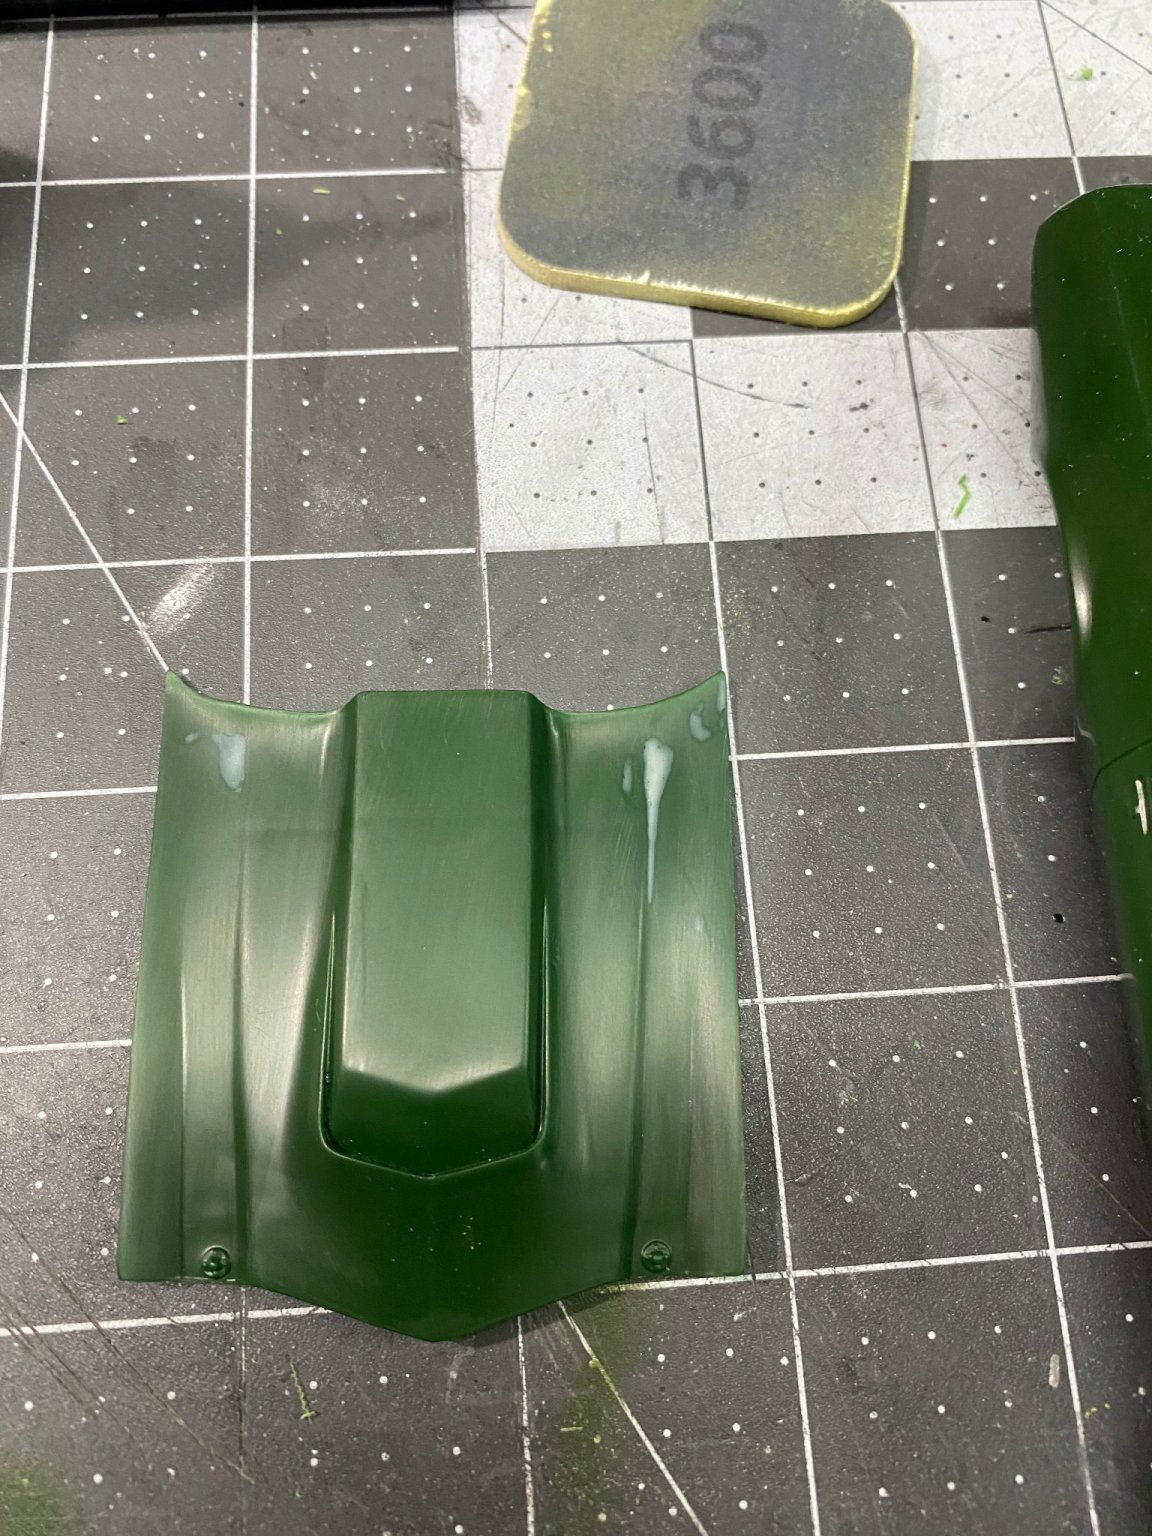
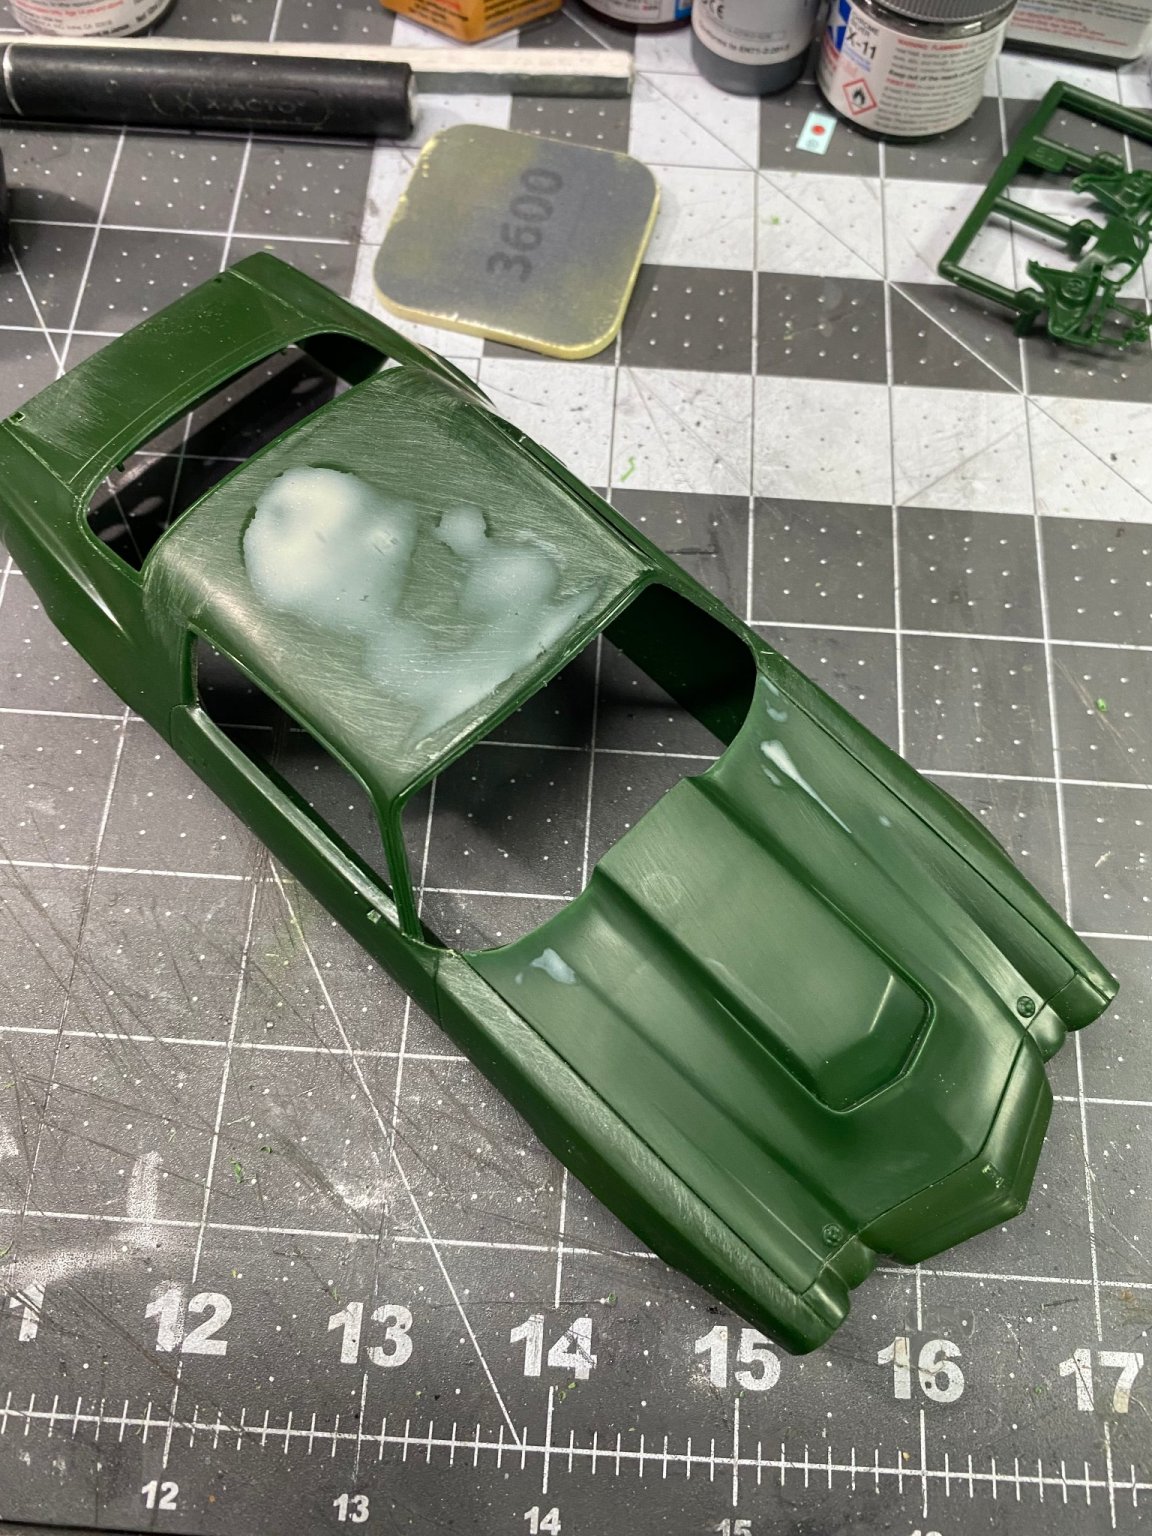
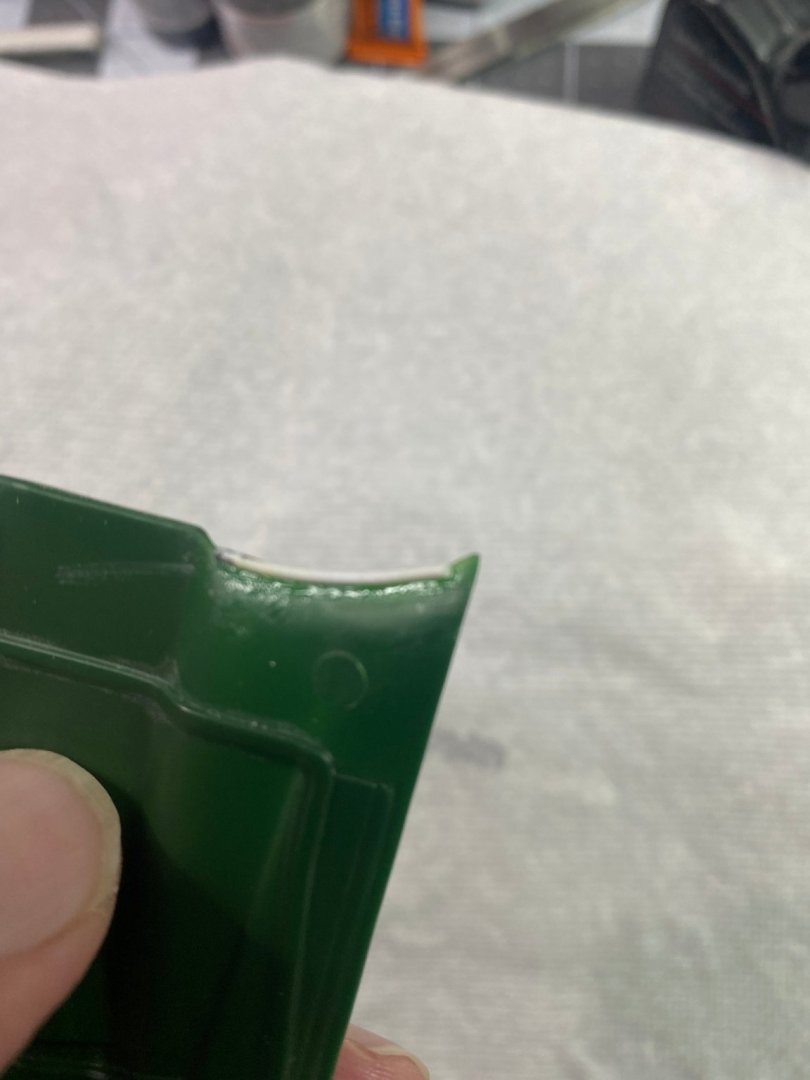
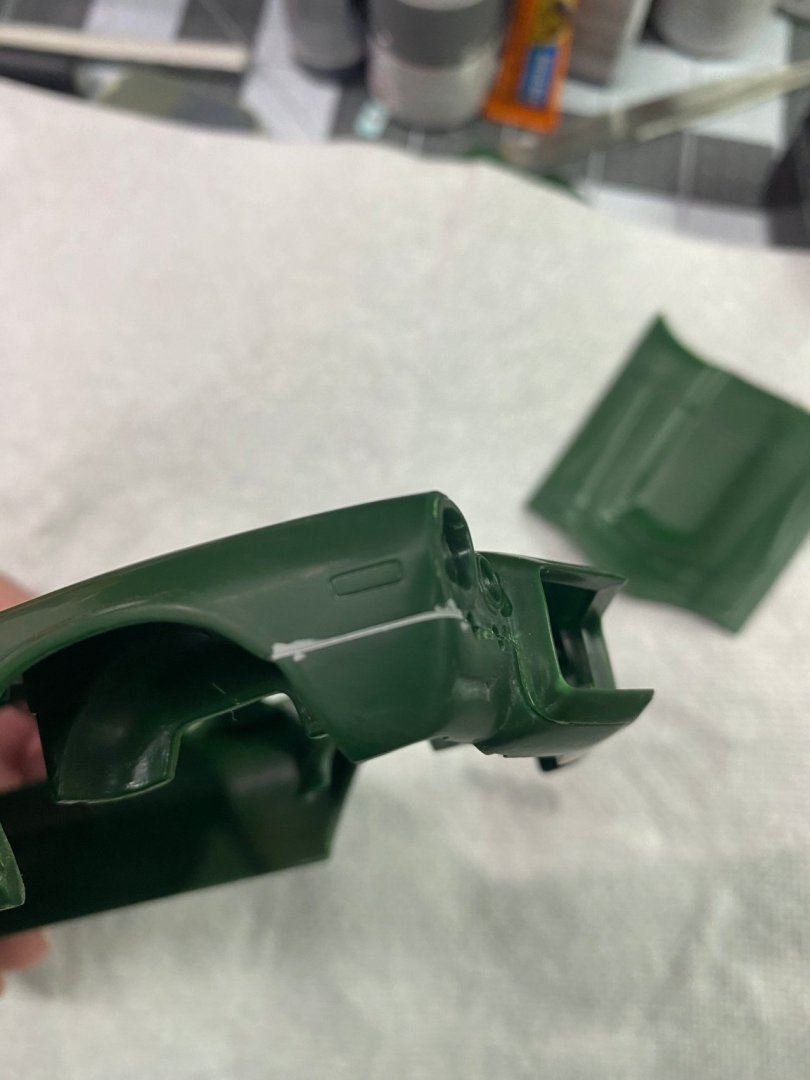
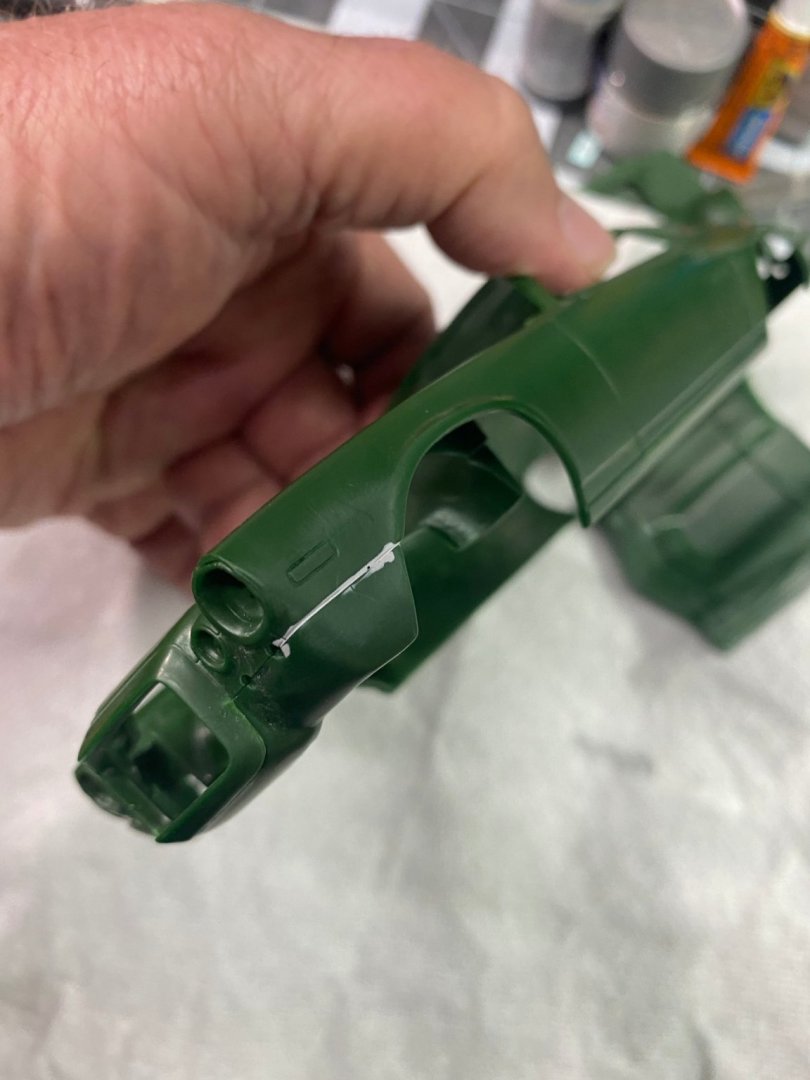
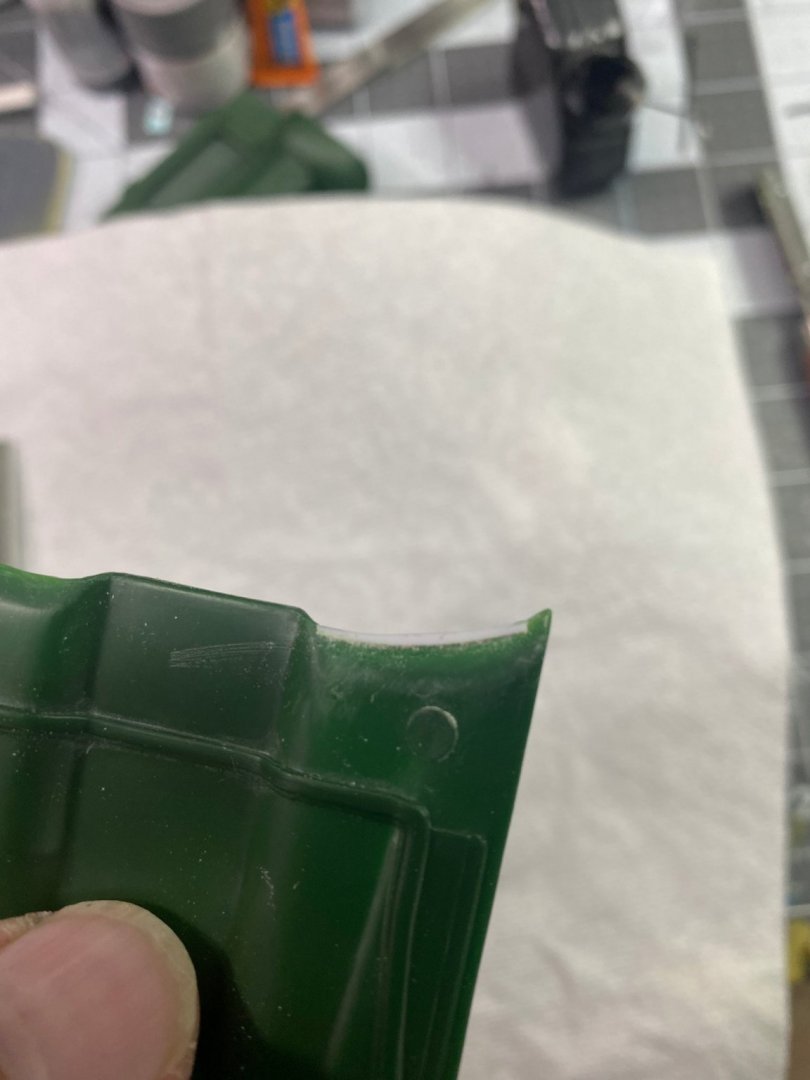
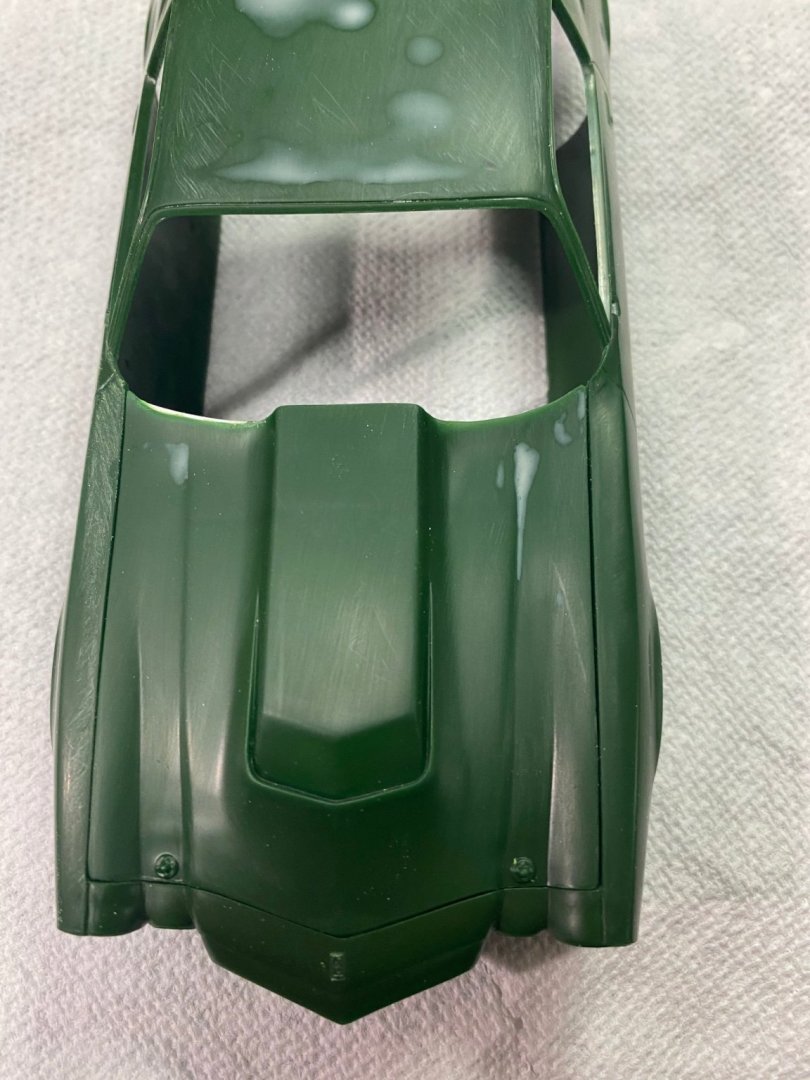
 I couldn't catch the light just right to show the imperfections, but the sanded filler will give you an idea of how severe it was. In these first photos, I am showing how I damaged the radius where the hood meets the car body/windshield area while I was sanding the putty that filled the sink marks. To repair the damage, I glued on a short length of plastruct plastic rod to the hood then sanded/reshaped the plastruct to reconstruct the radius. 75% of the work to build a kit like this is preparing the body for paint, then priming and painting it. There are a lot of seams that need to be filled. primer will be applied, wet sanded, and primed again before finish paint is applied.
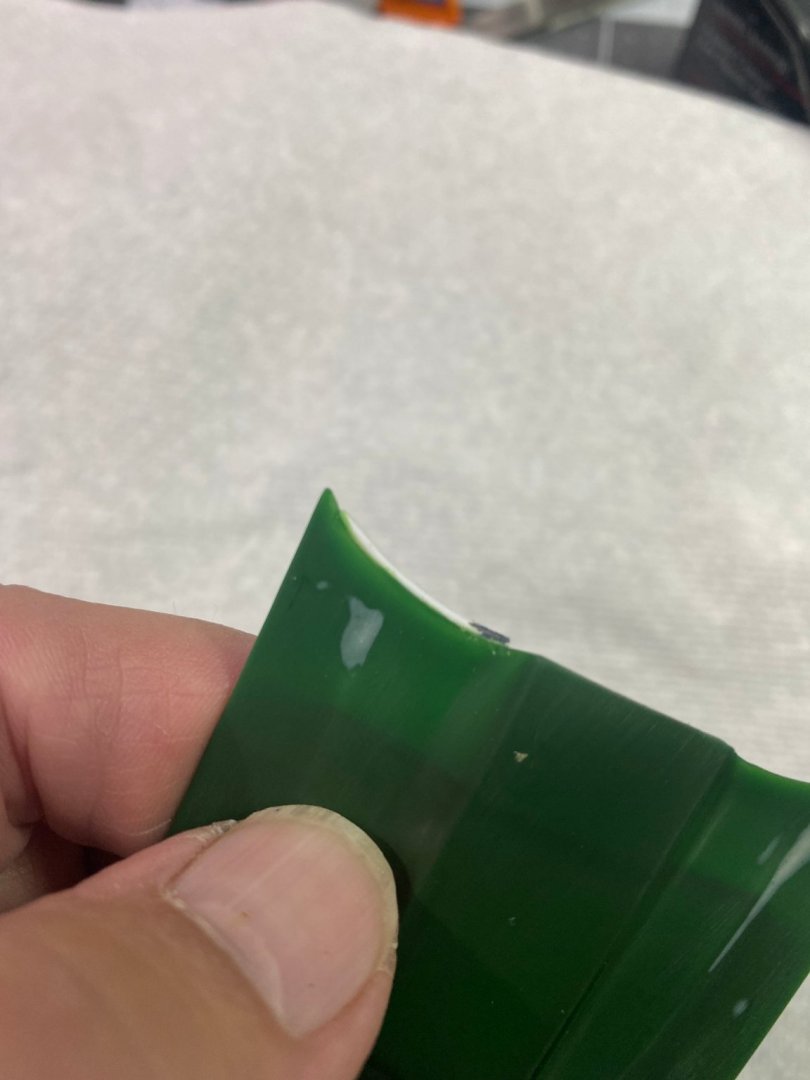


-
Enzo Ferrari by CDW - FINISHED - Tamiya 1:24 Scale
CDW replied to CDW's topic in Non-ship/categorised builds
Mine needs a Florida plate...no California for me! -
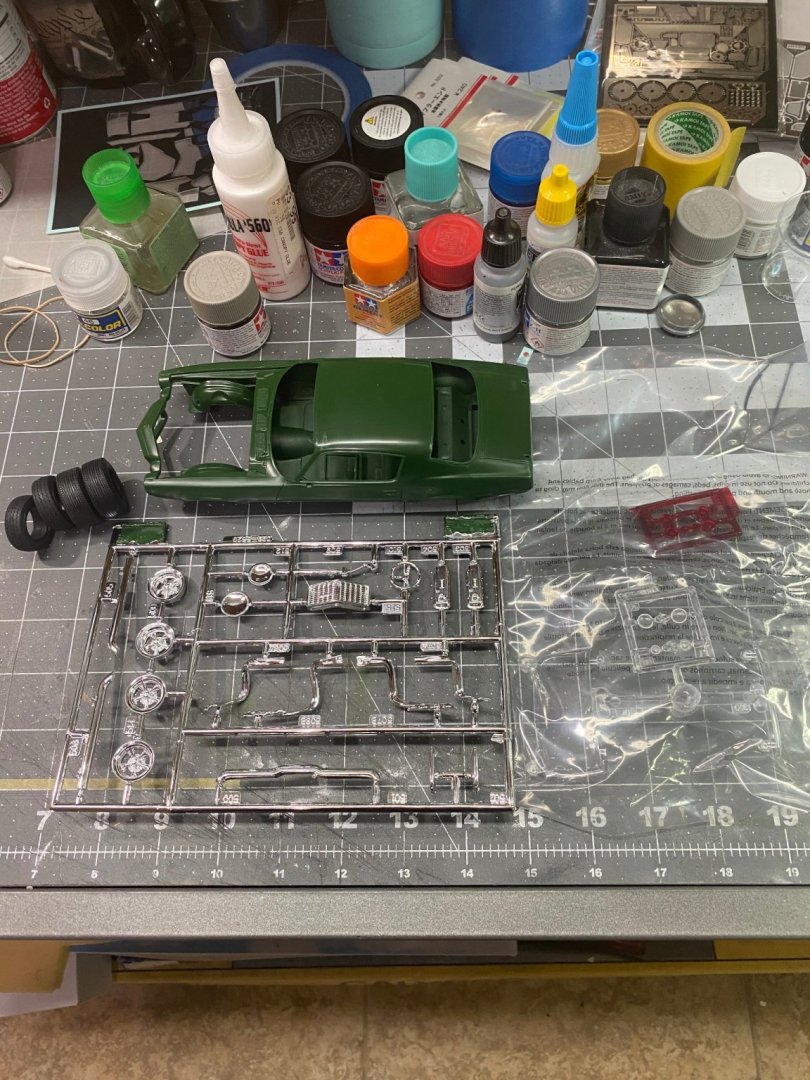
Thanks gentlemen, glad you're here. The car body is disappointing. Hoped it would be a nice, retooled mold, but no dice. The top and the hood have some sink marks which I will spend a little time filling, but the location of the sink marks in the hood are in a real bad place, being right smack dab in the sheet metal roll where it shapes up to the induction cowl. One of the head lights is mis-shaped and will look odd. Oh well, it is what it is. Not going to try to make a silk purse out of a sow's ear, but will make it presentable as possible without spending an inordinate amount of time on it. And an ugly green plastic at that. 😄 Don't know why they do that crap. 🤥
-
Enzo Ferrari by CDW - FINISHED - Tamiya 1:24 Scale
CDW replied to CDW's topic in Non-ship/categorised builds
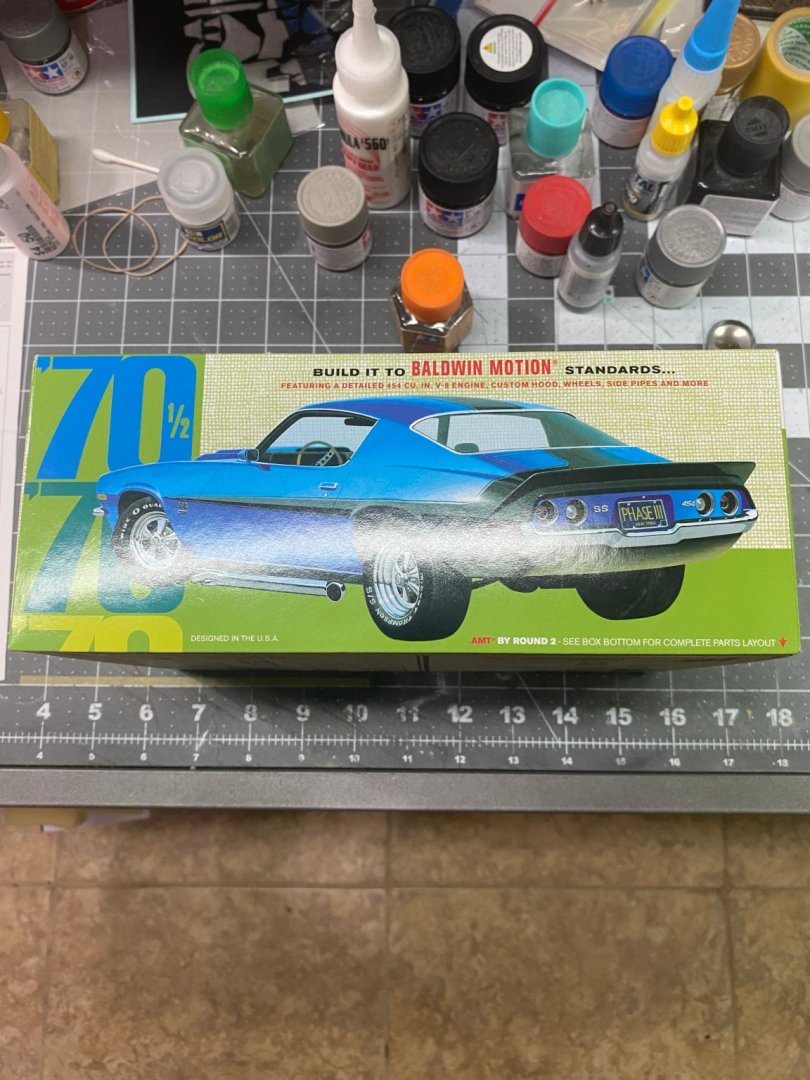
1970 Baldwin Motion Camaro -
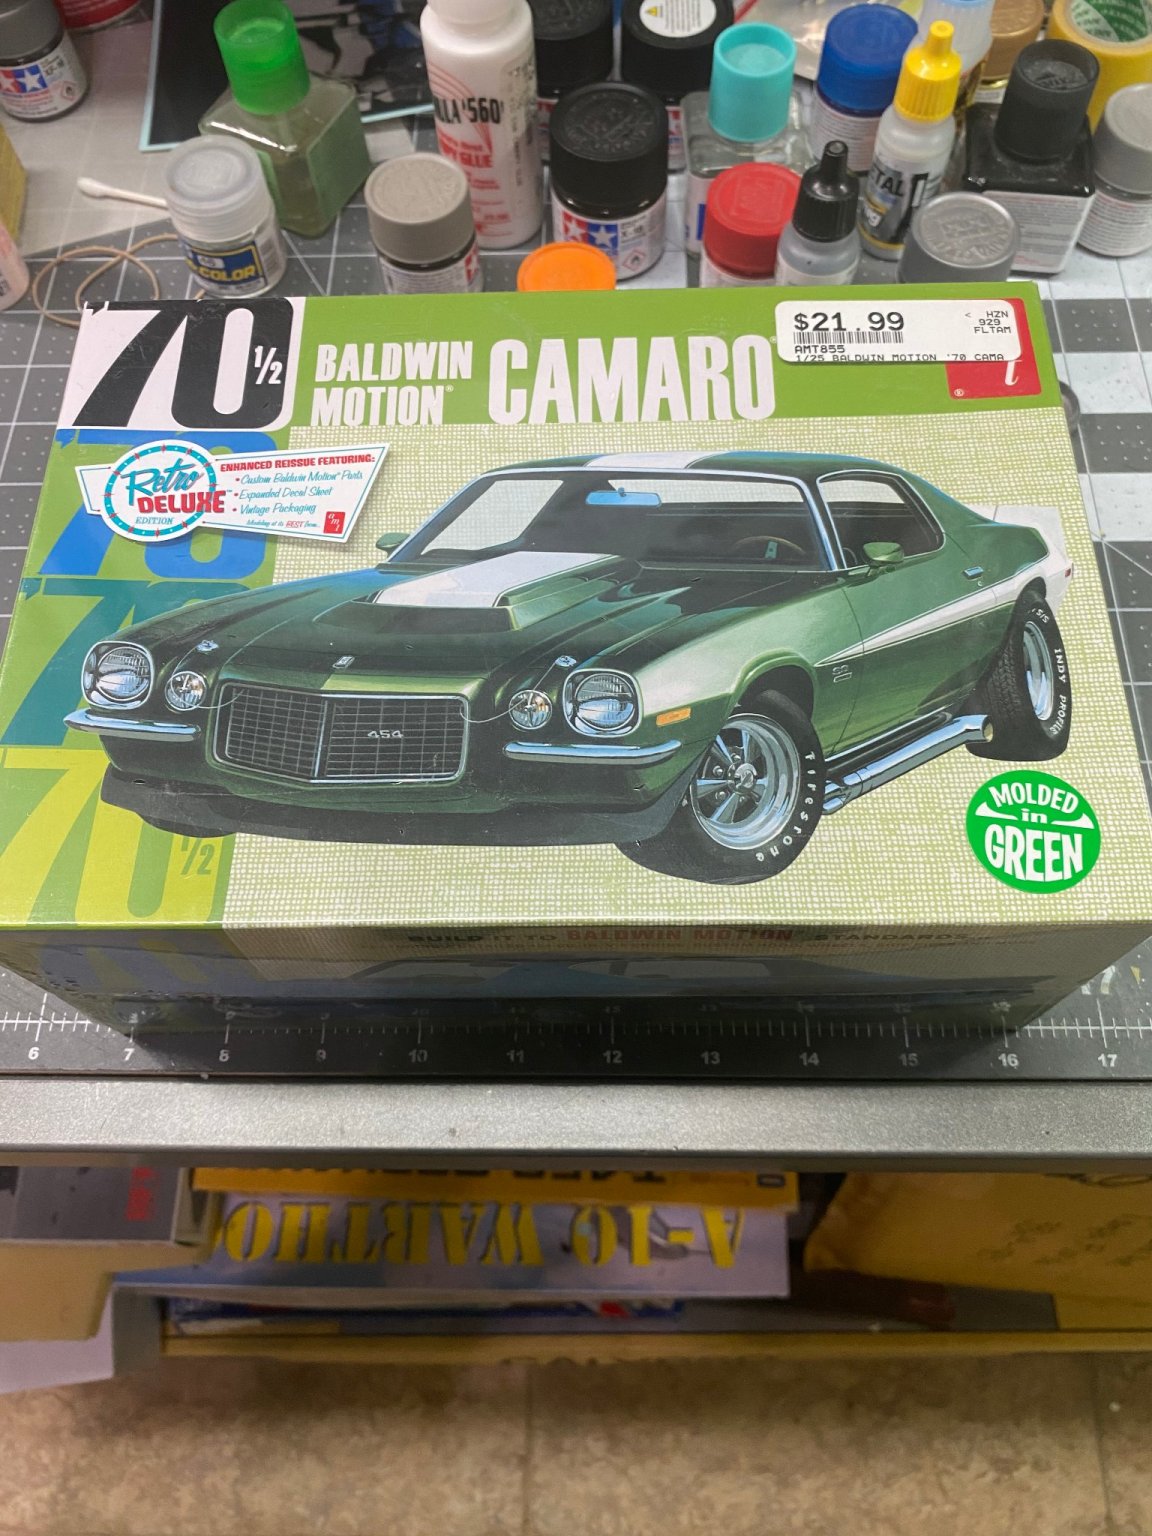
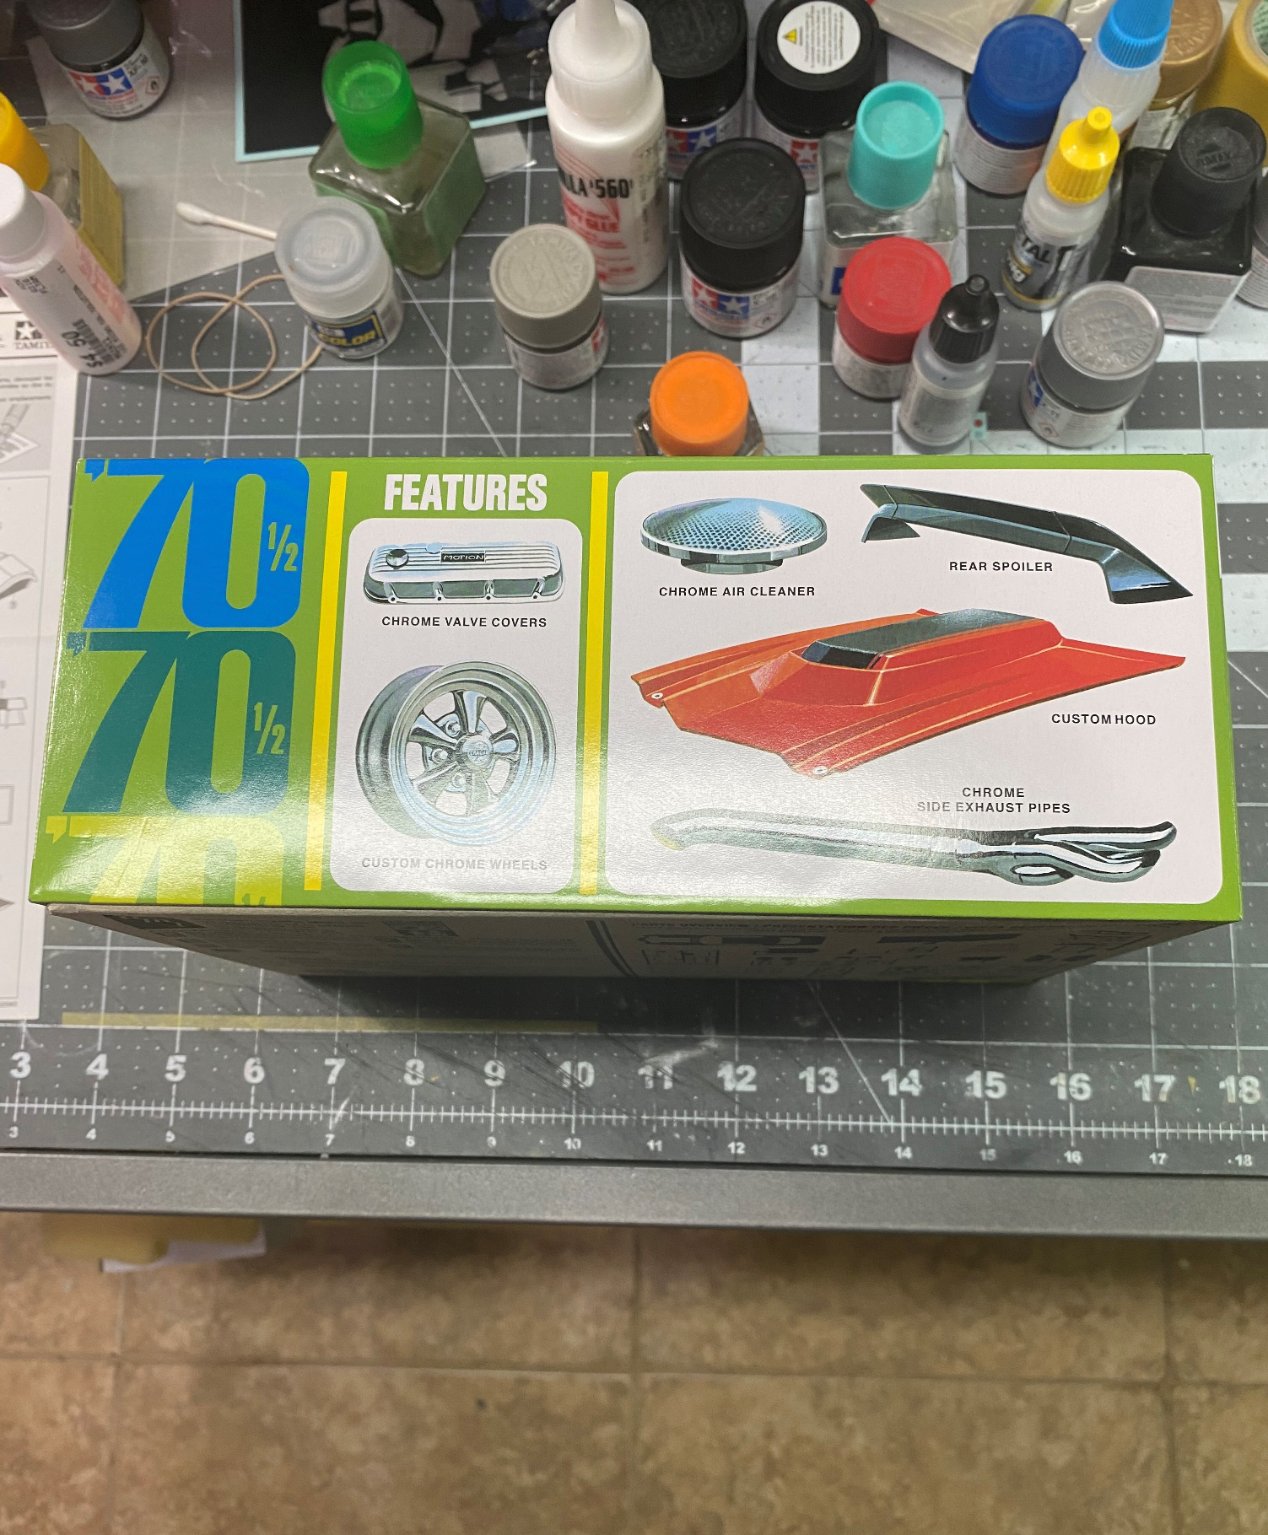
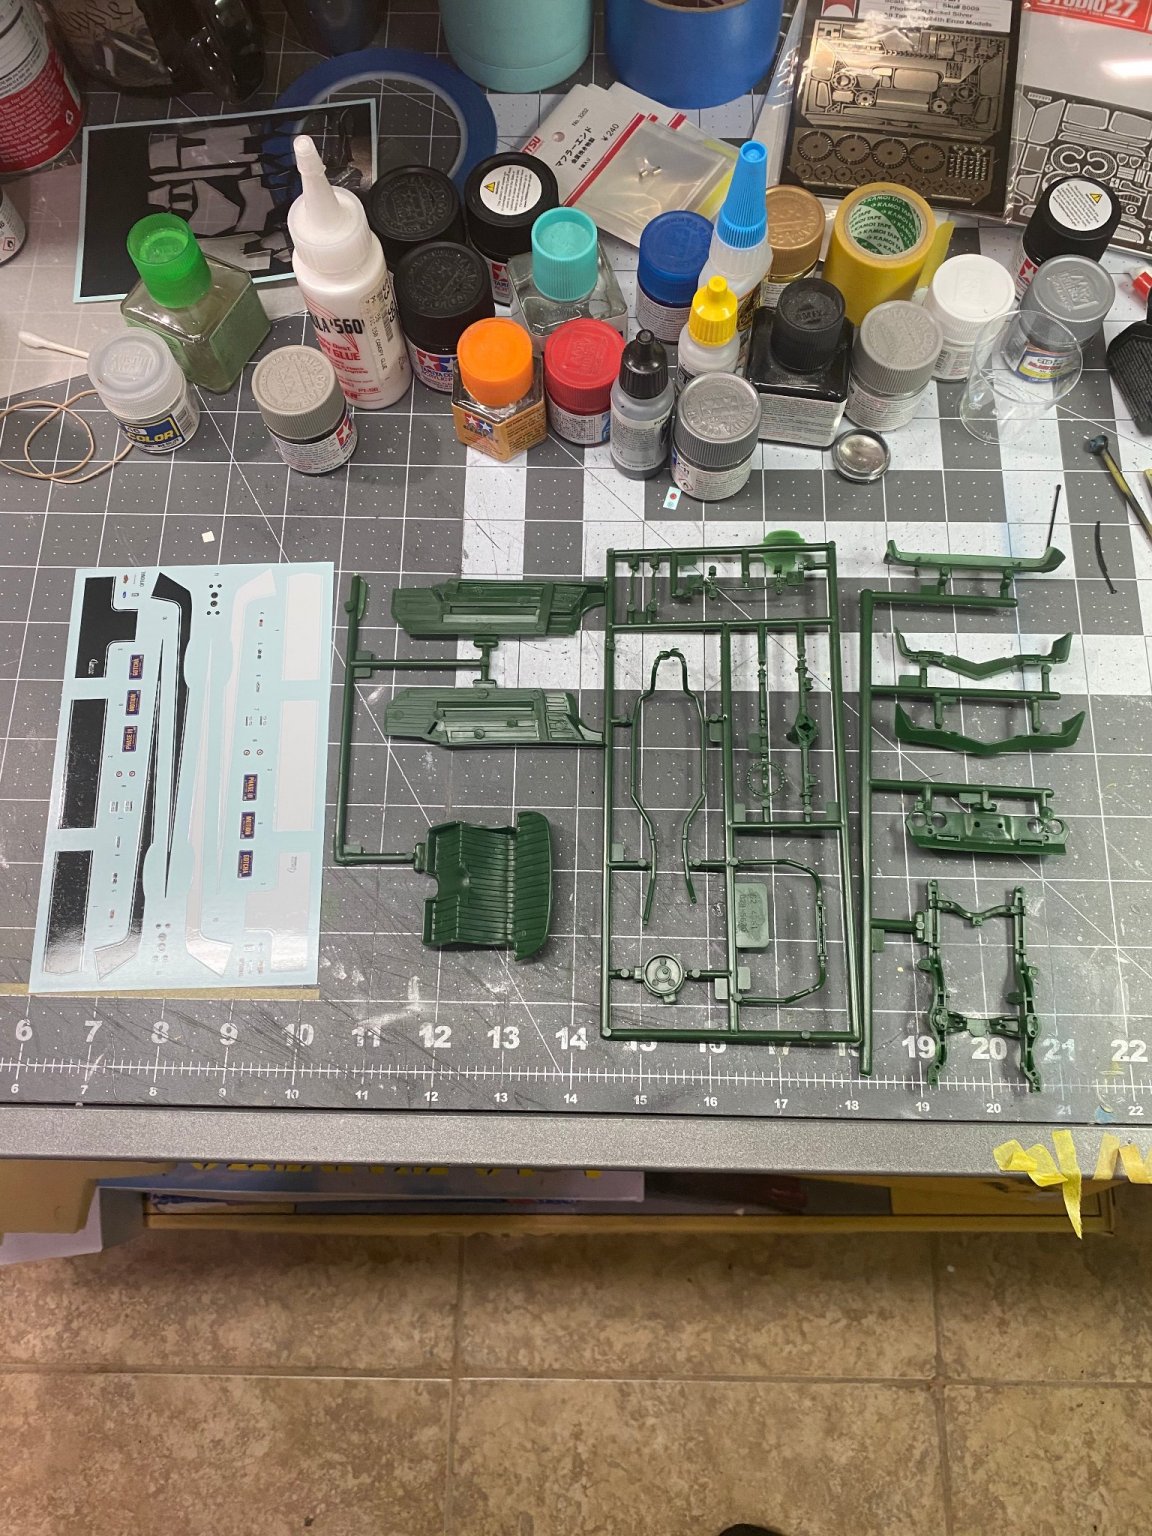
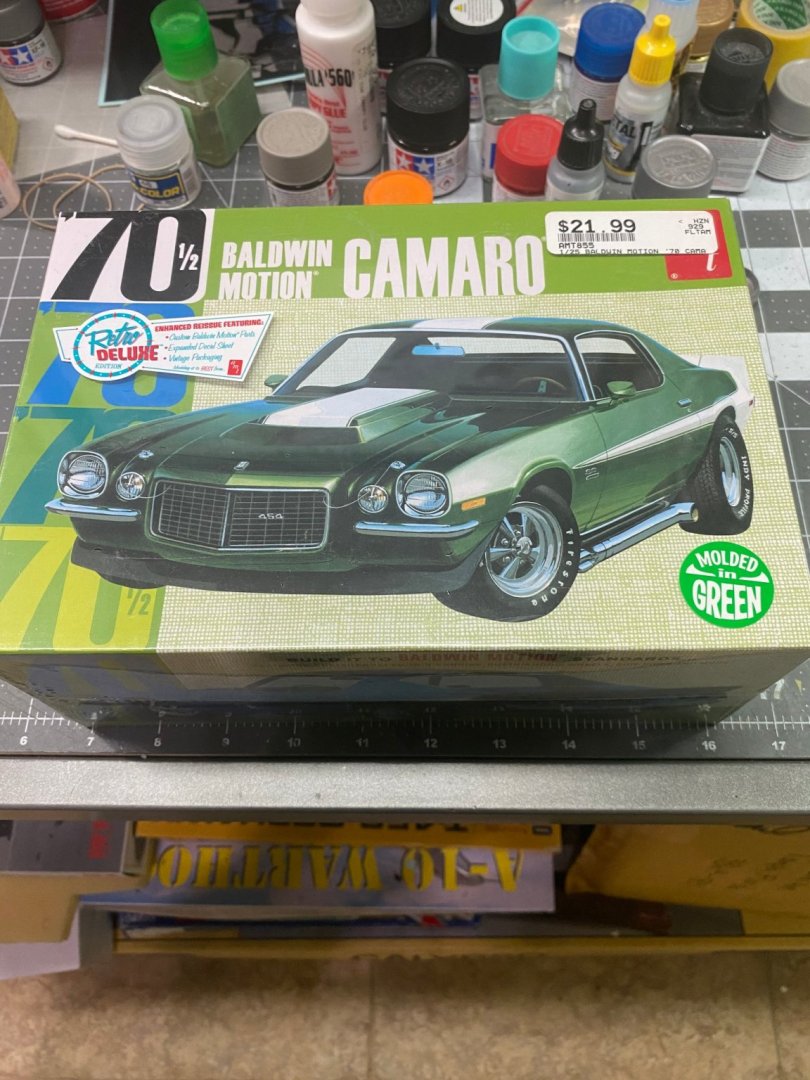
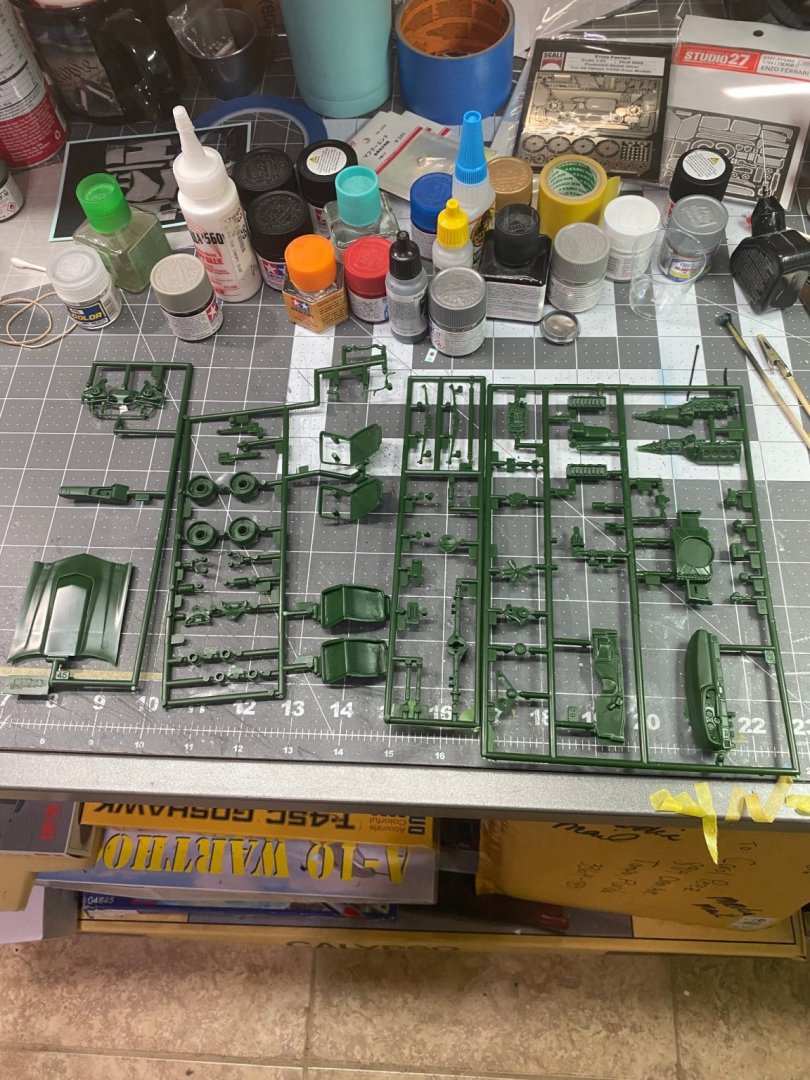
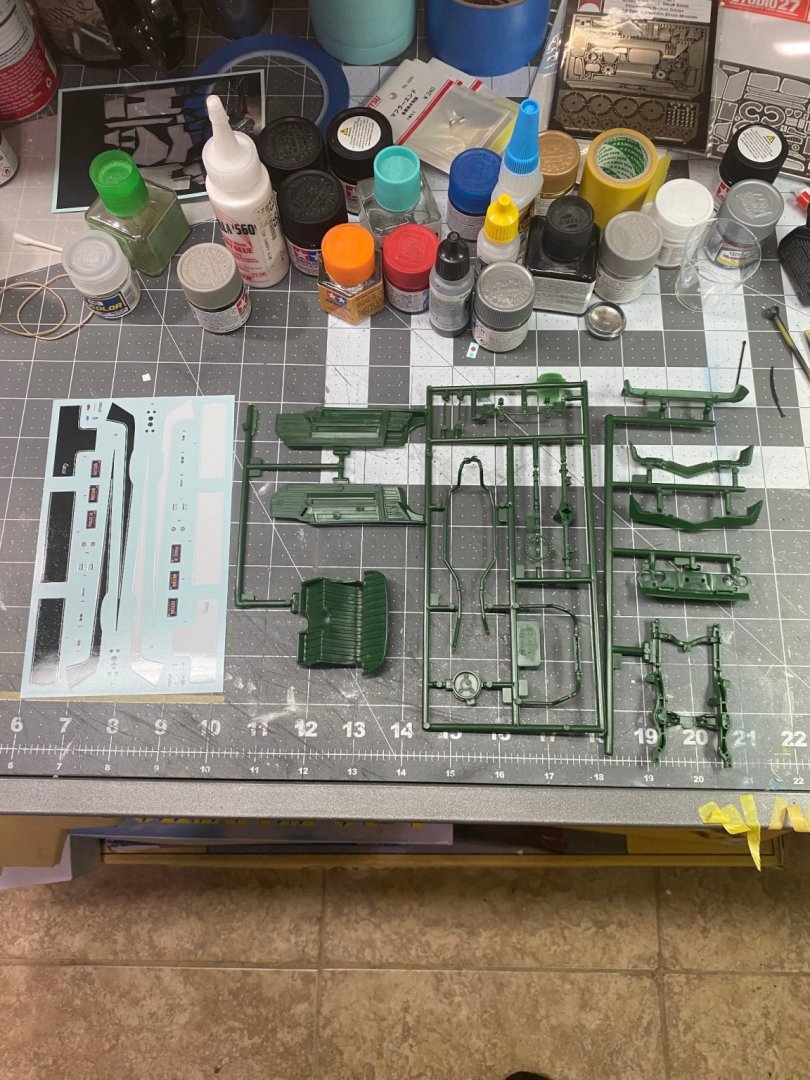
This should be a quick easy build. The 1970 1/2 Baldwin Motion Camaro was powered by a 454 cubic inch big block engine and a prime example of an American muscle car. Here is a look at the box and the kit contents.

- 56 replies
-
- 12
-

-
Enzo Ferrari by CDW - FINISHED - Tamiya 1:24 Scale
CDW replied to CDW's topic in Non-ship/categorised builds
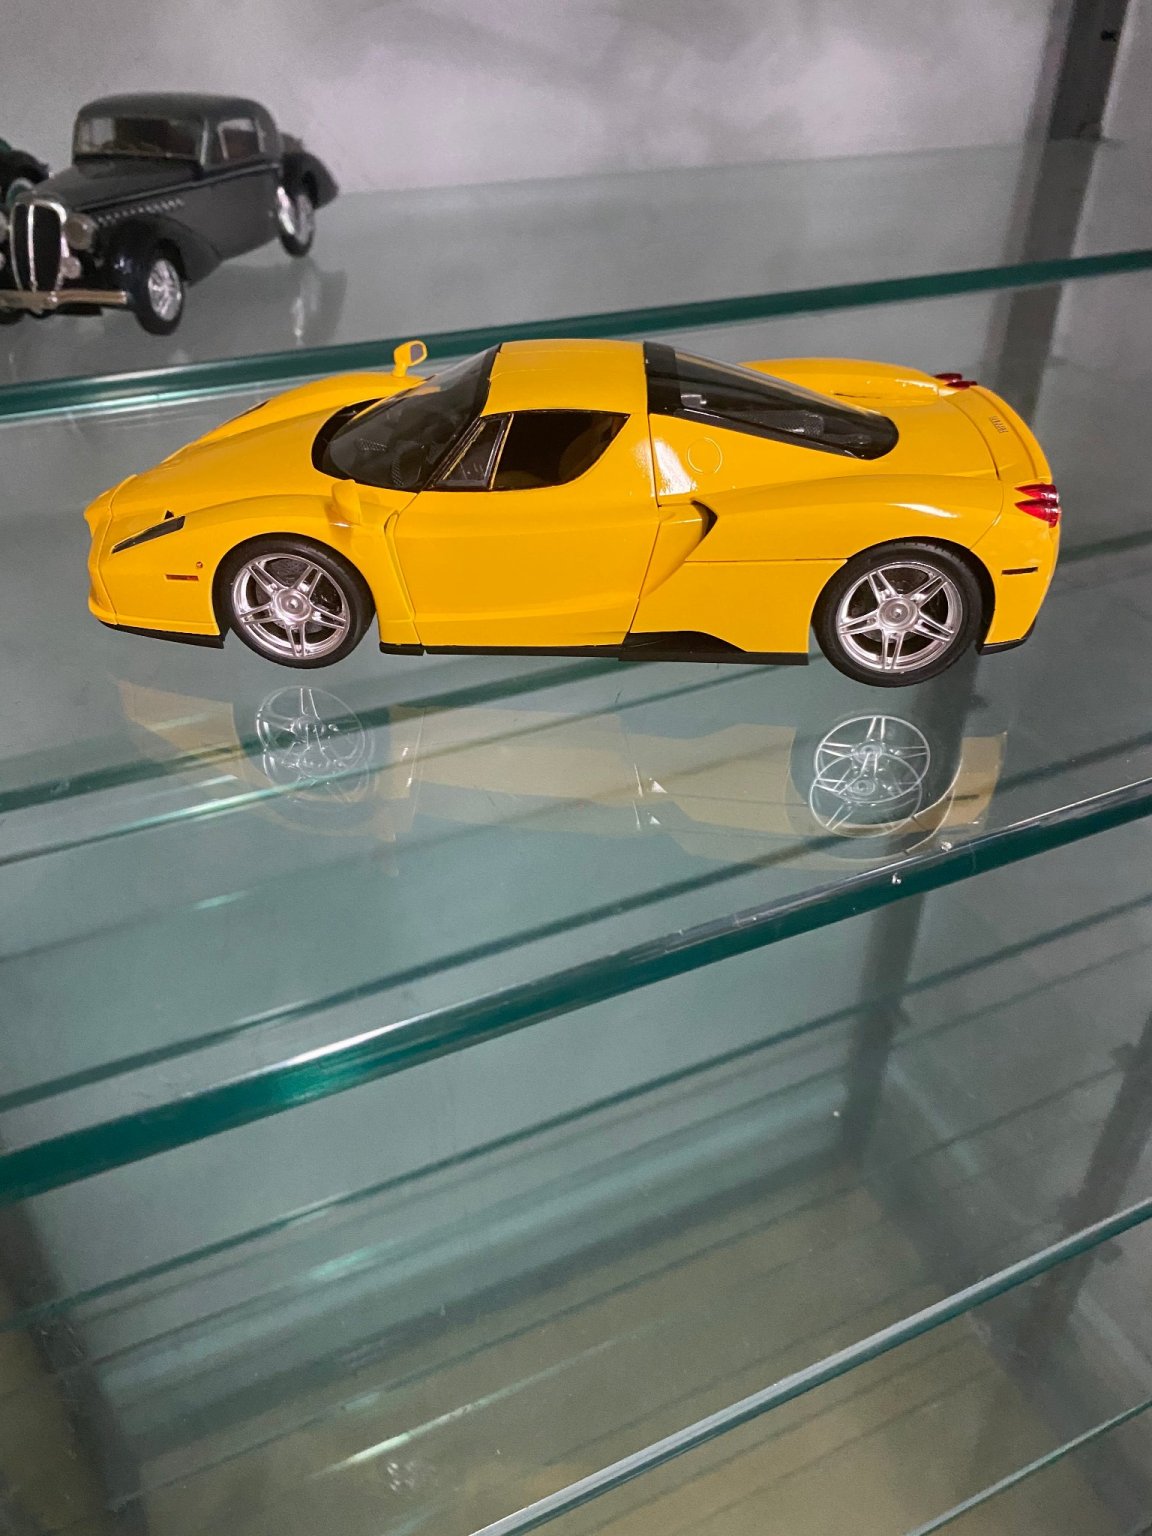
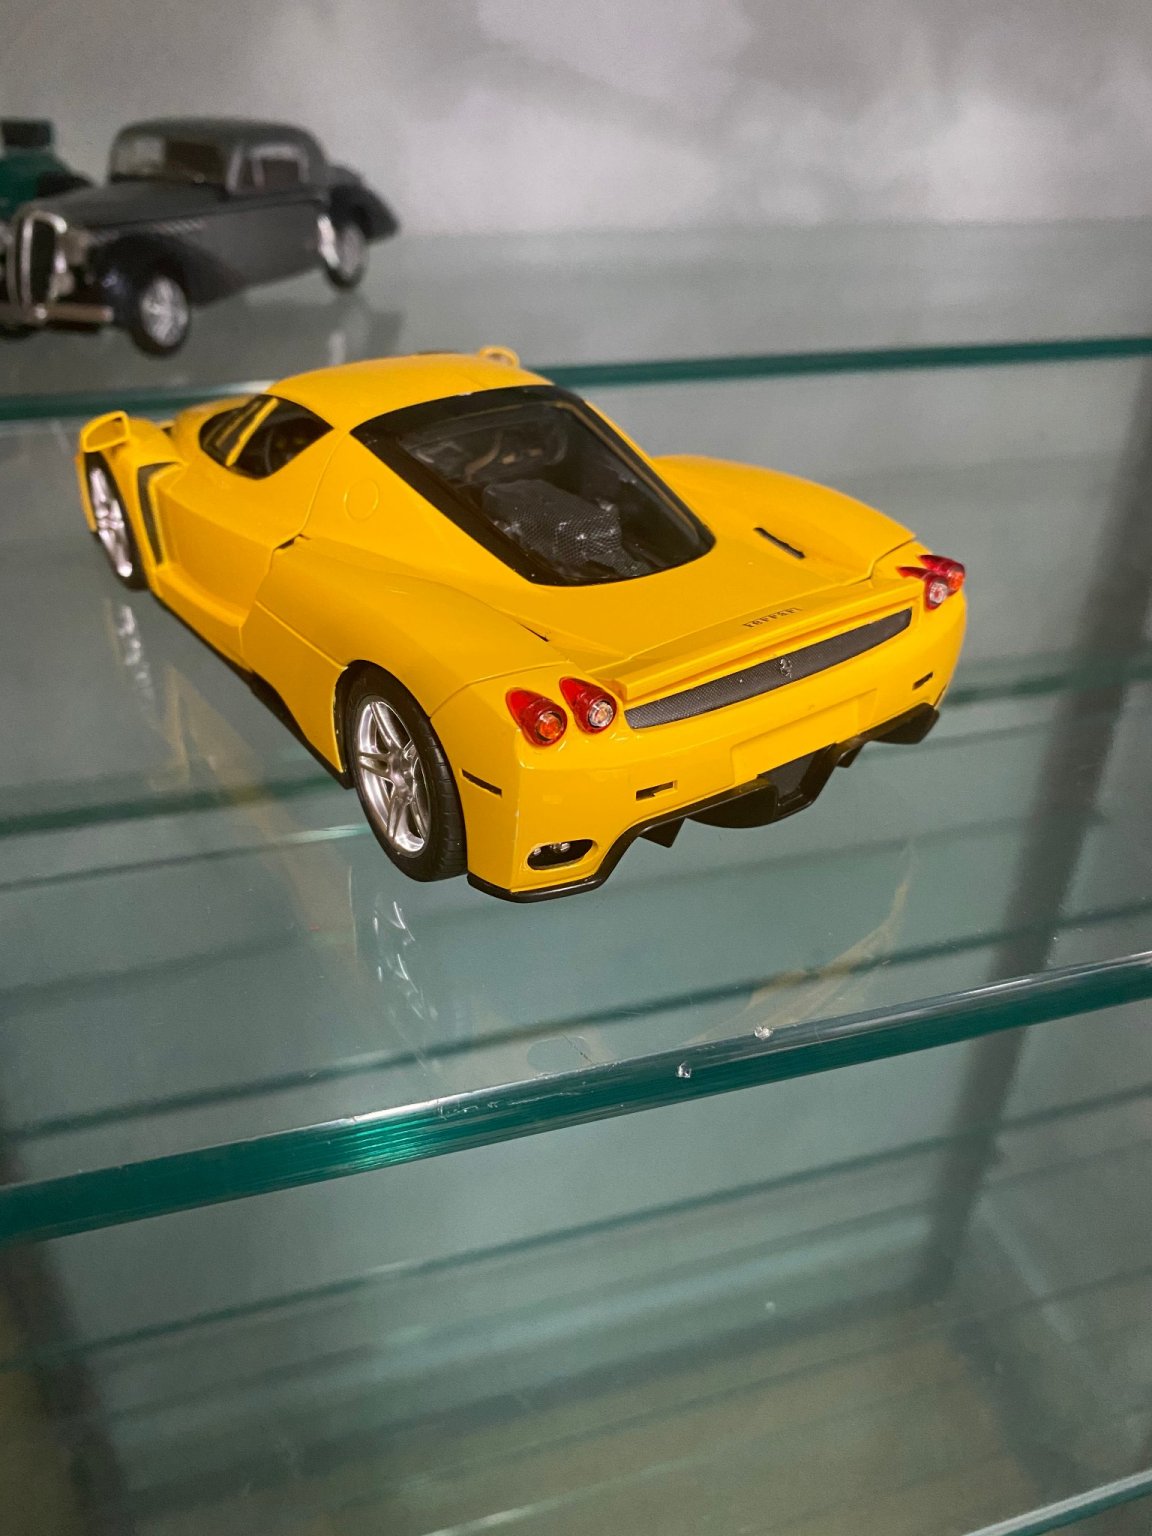
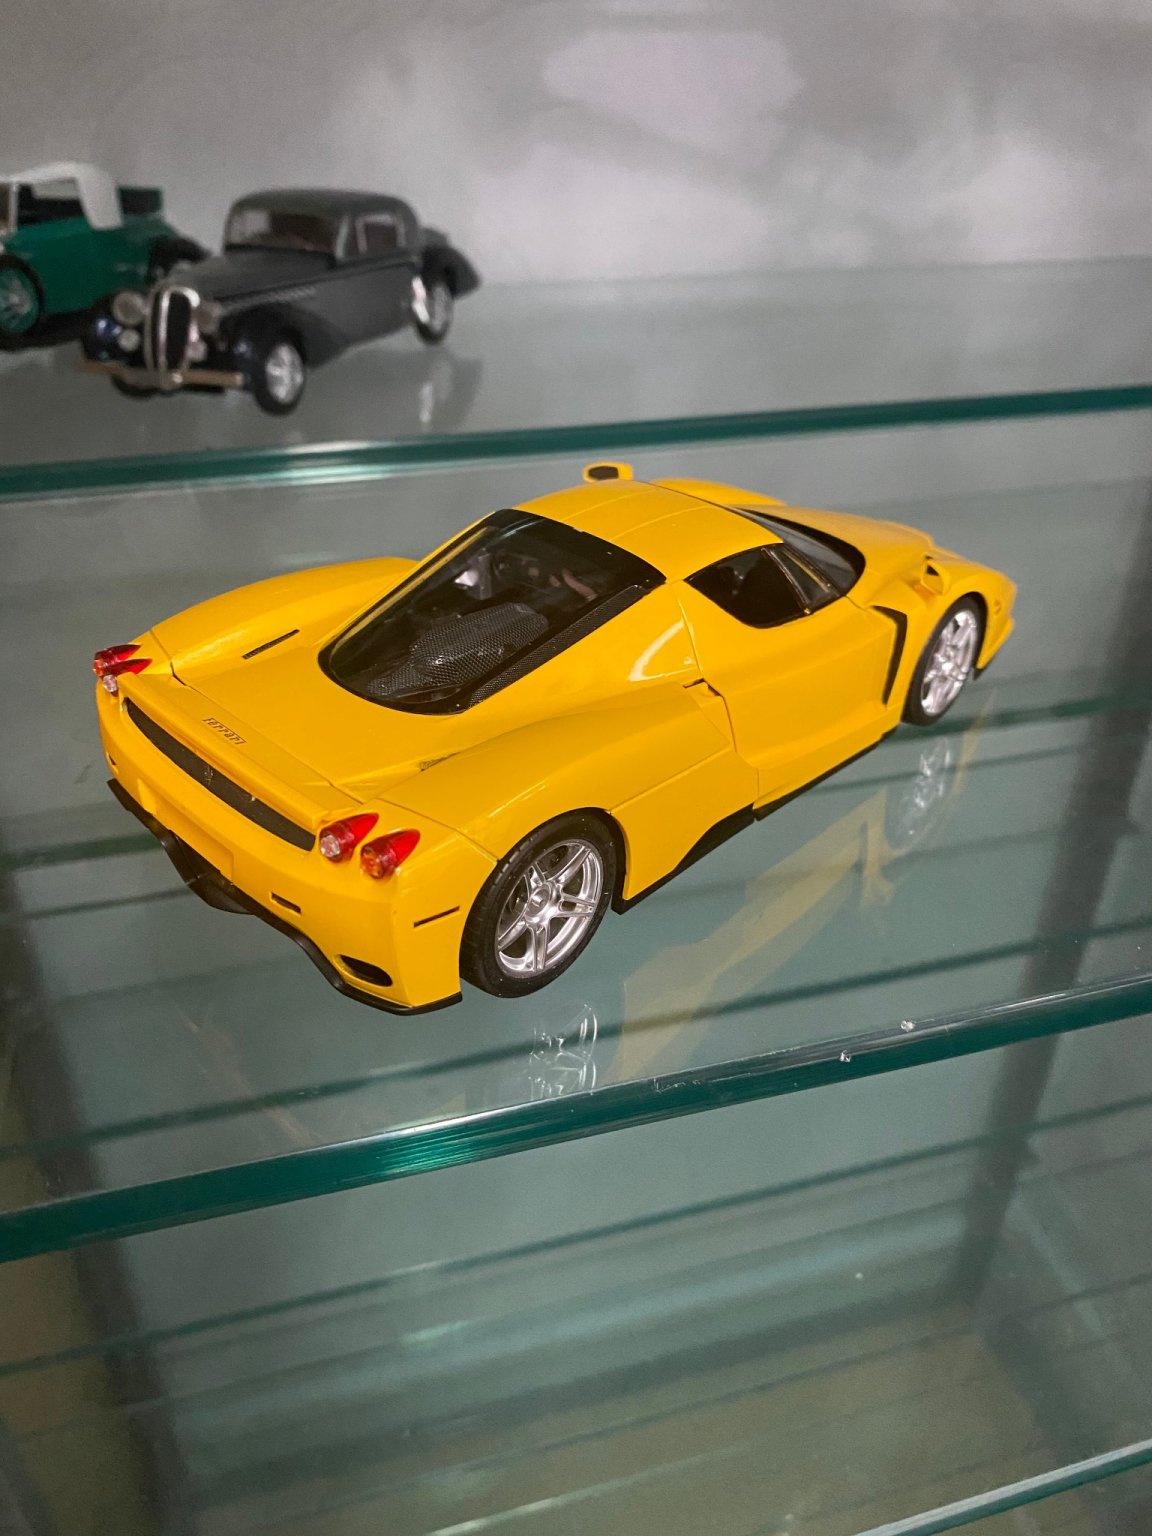
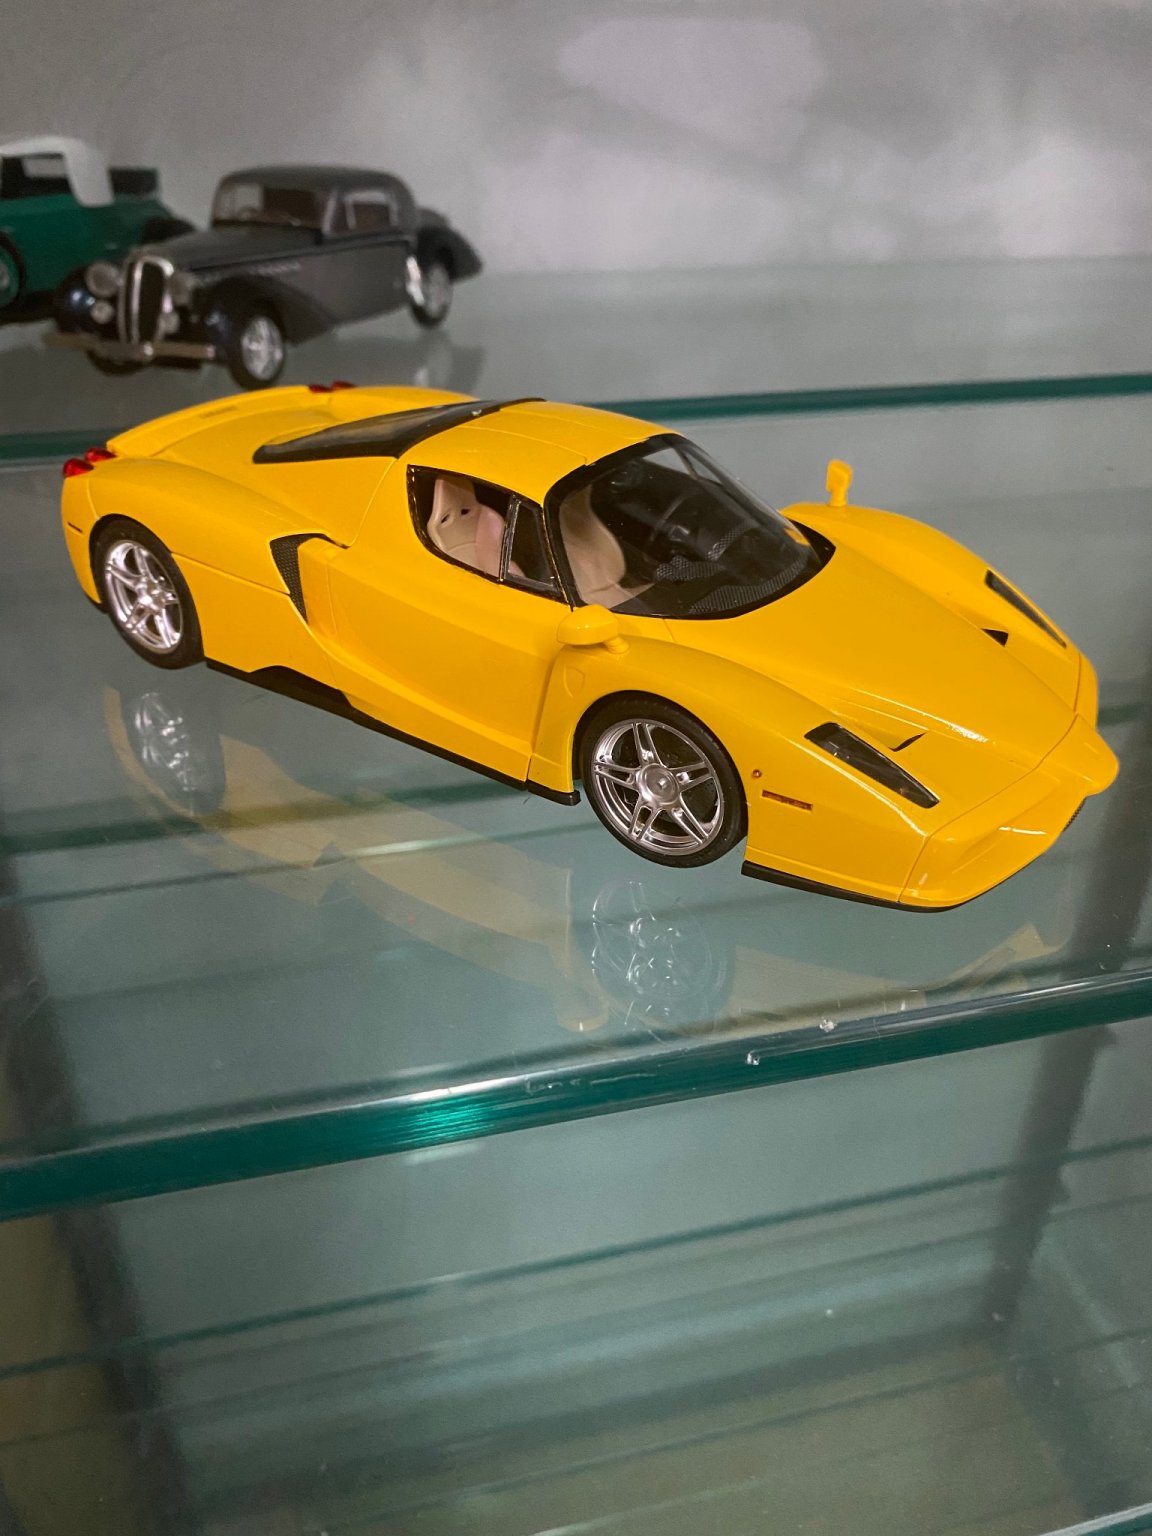
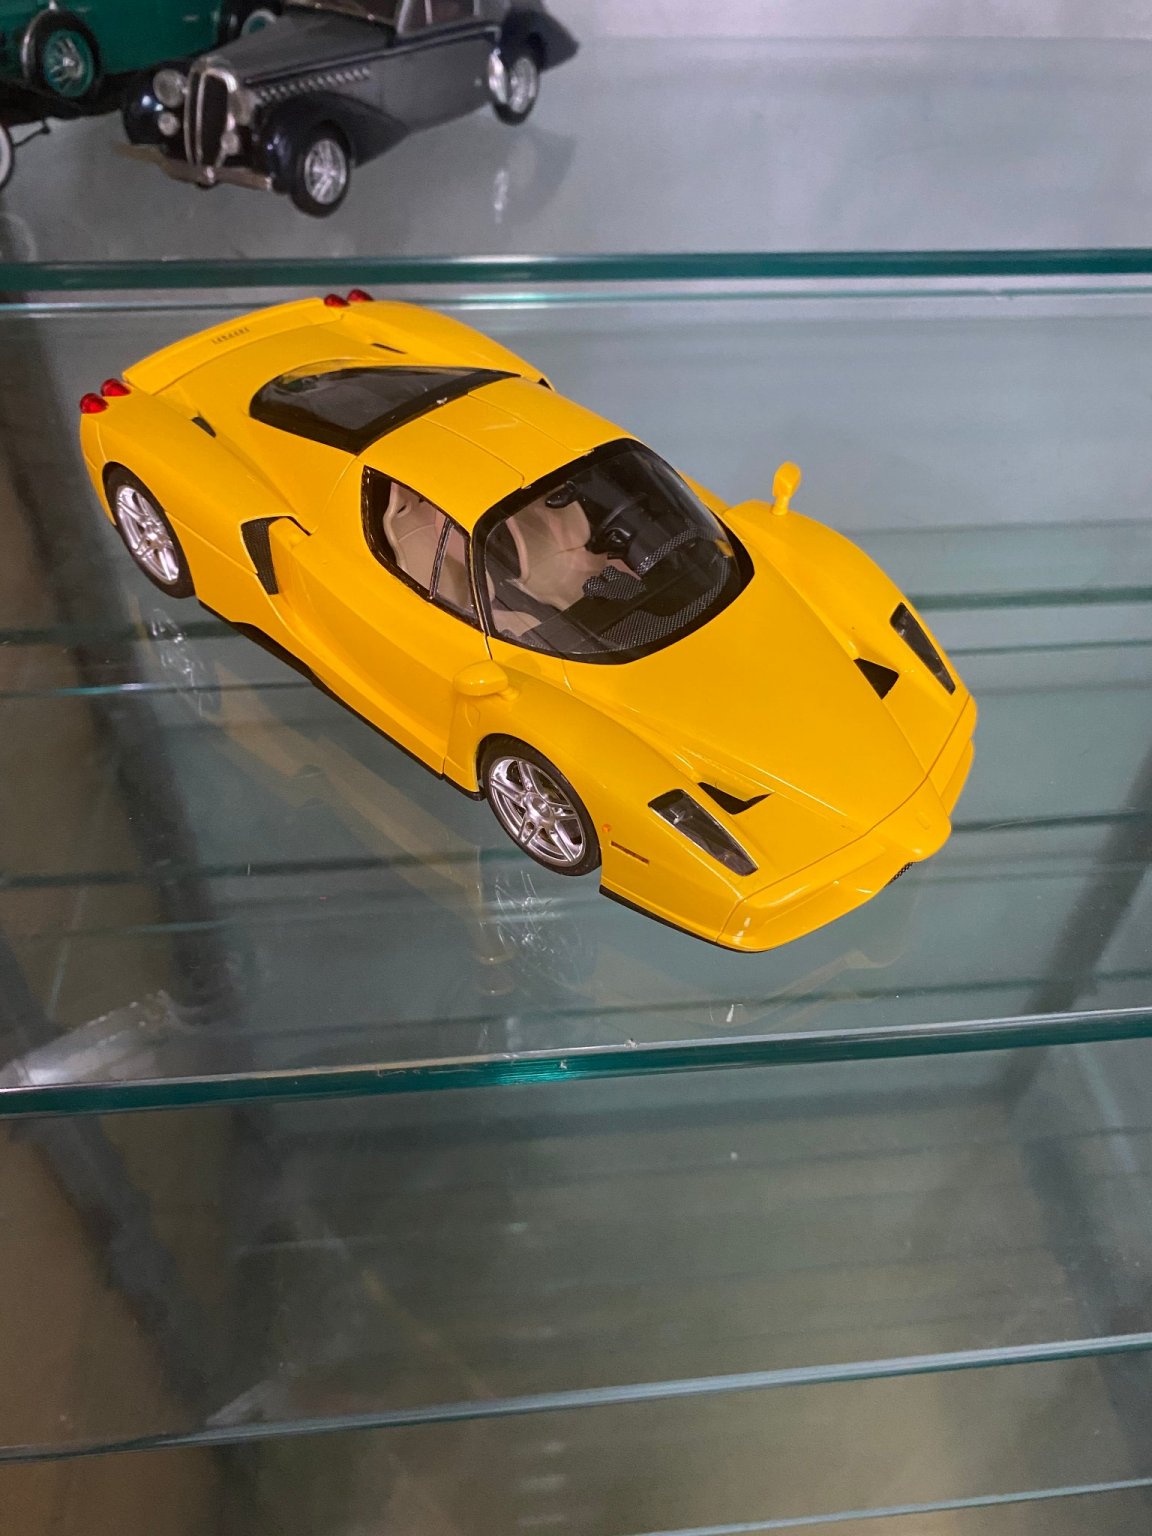
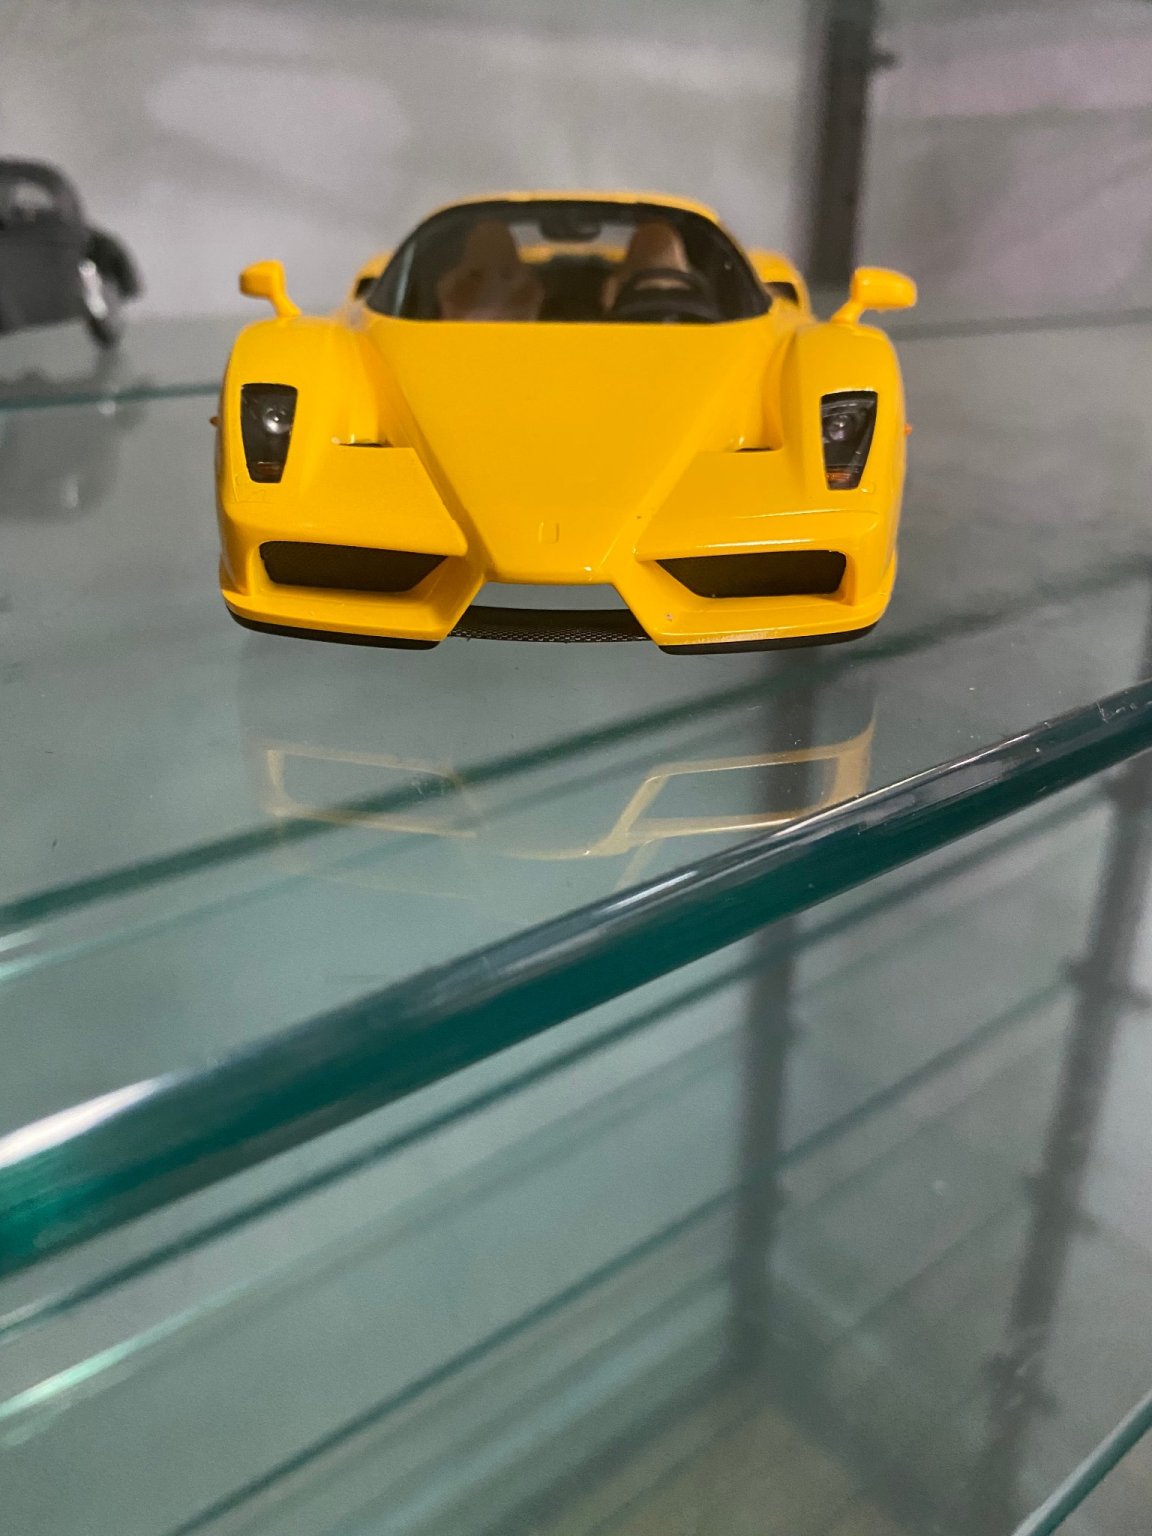
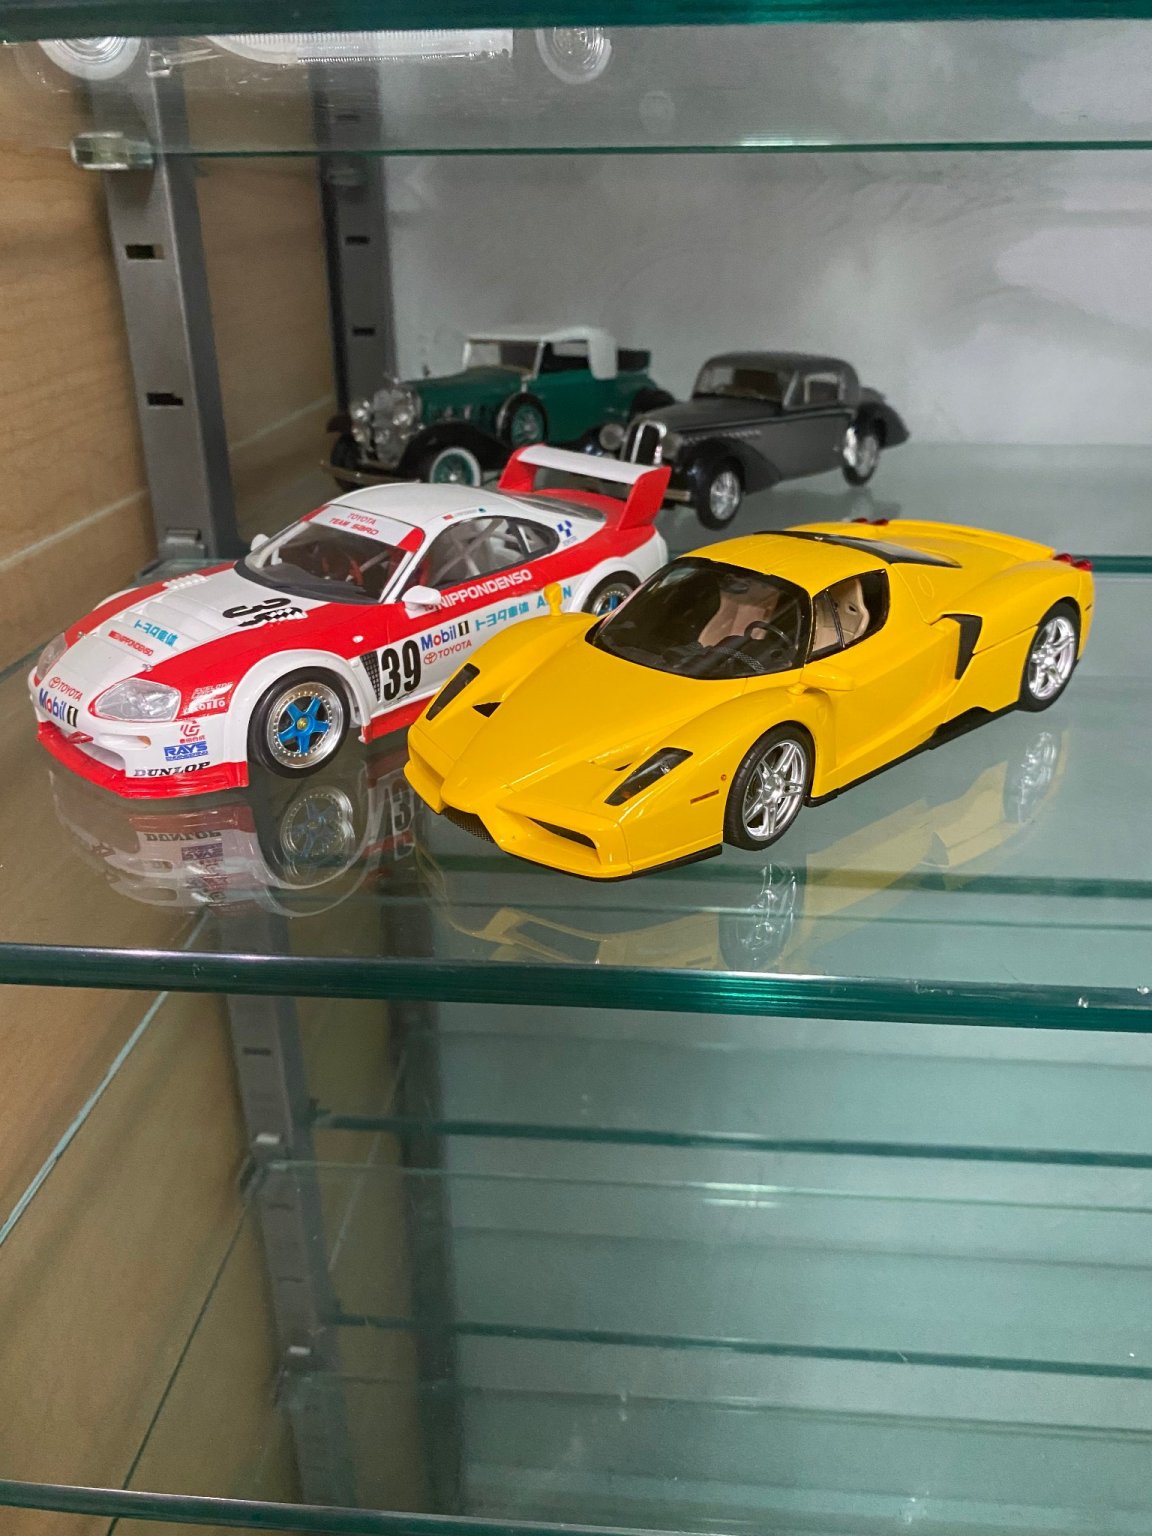
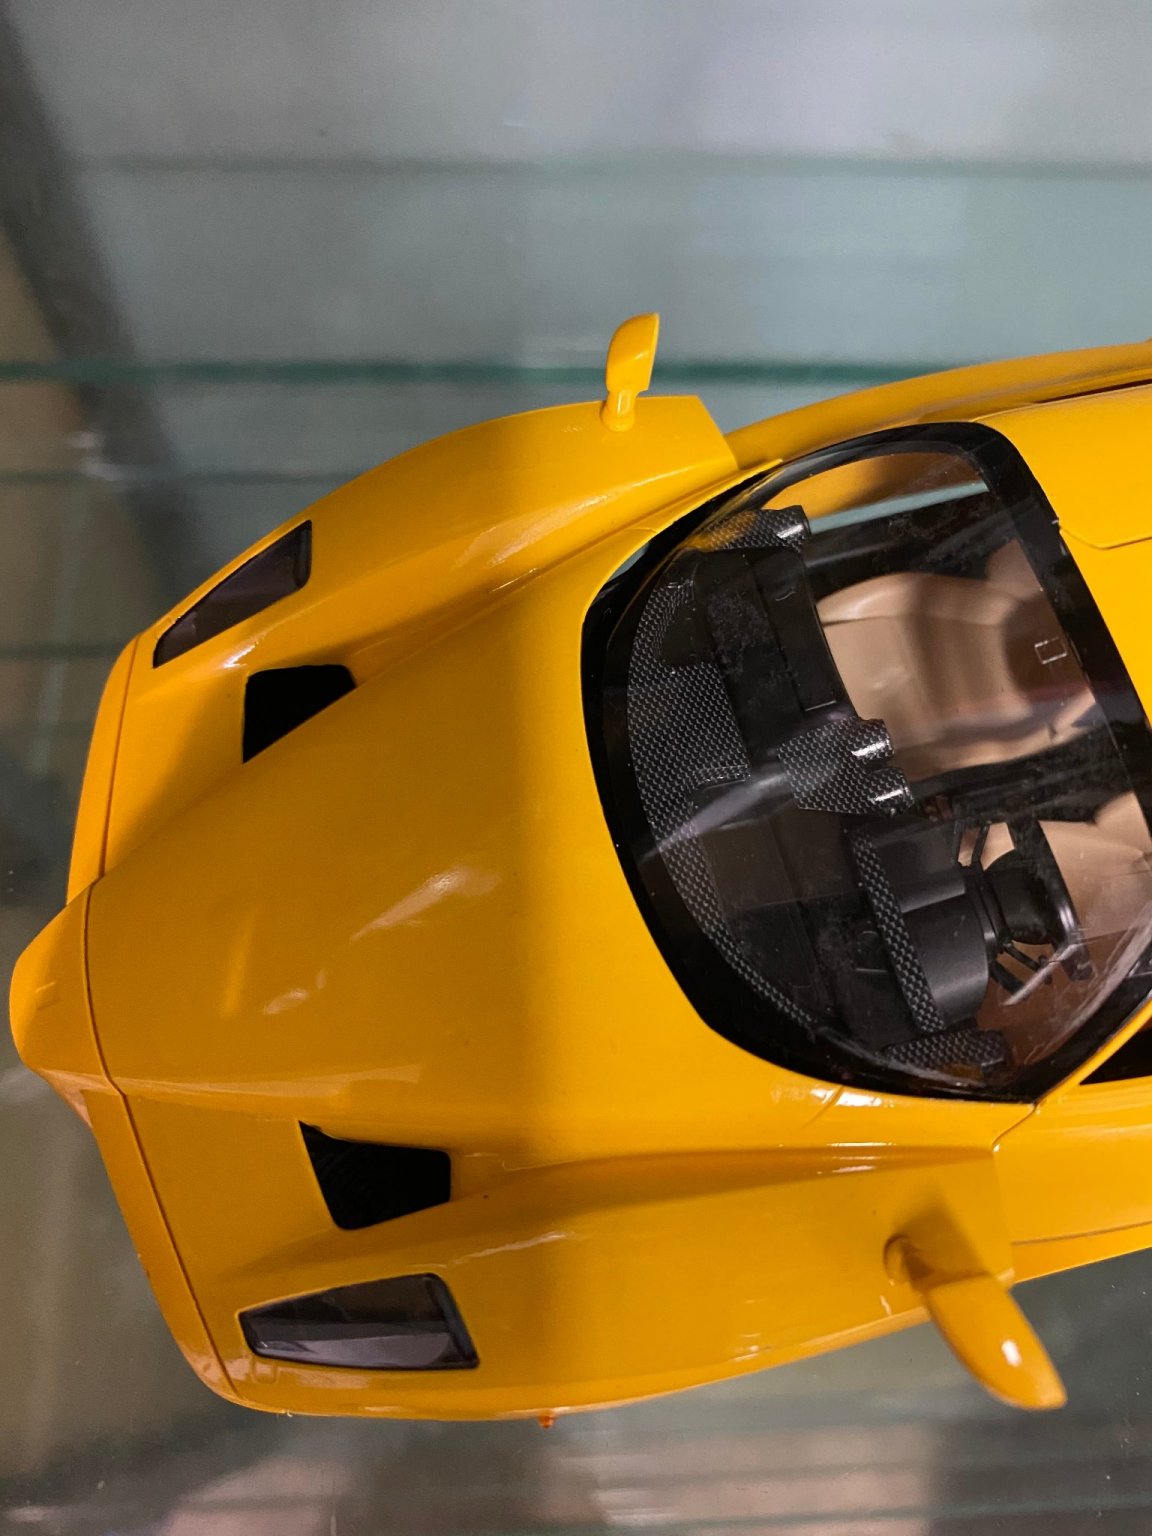
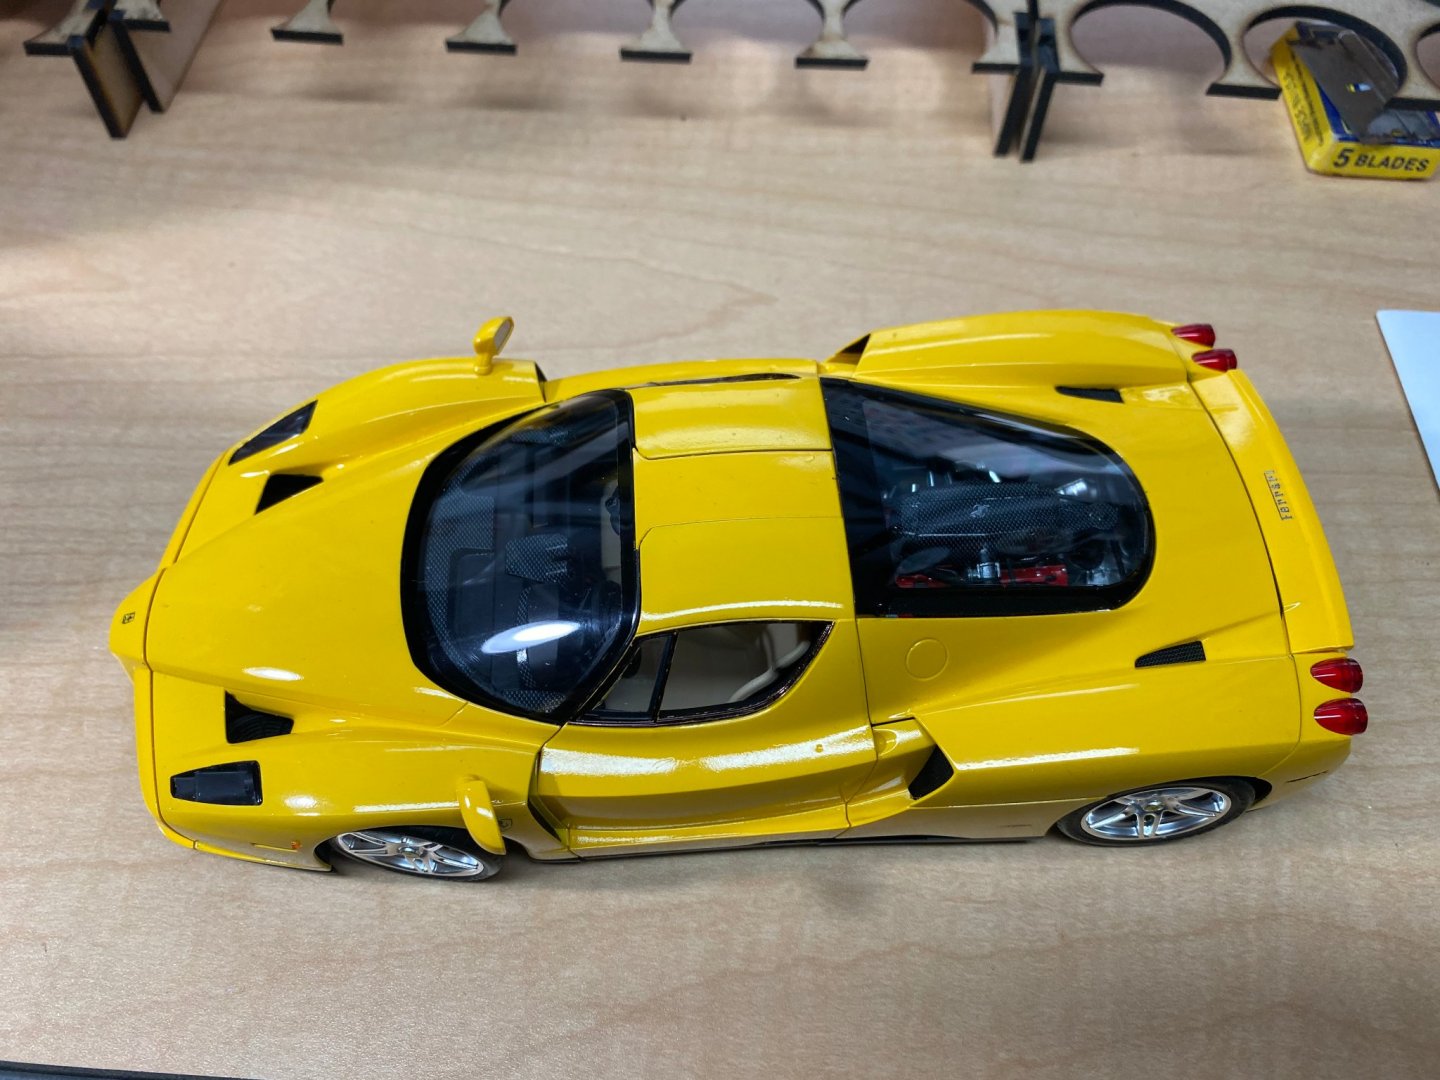
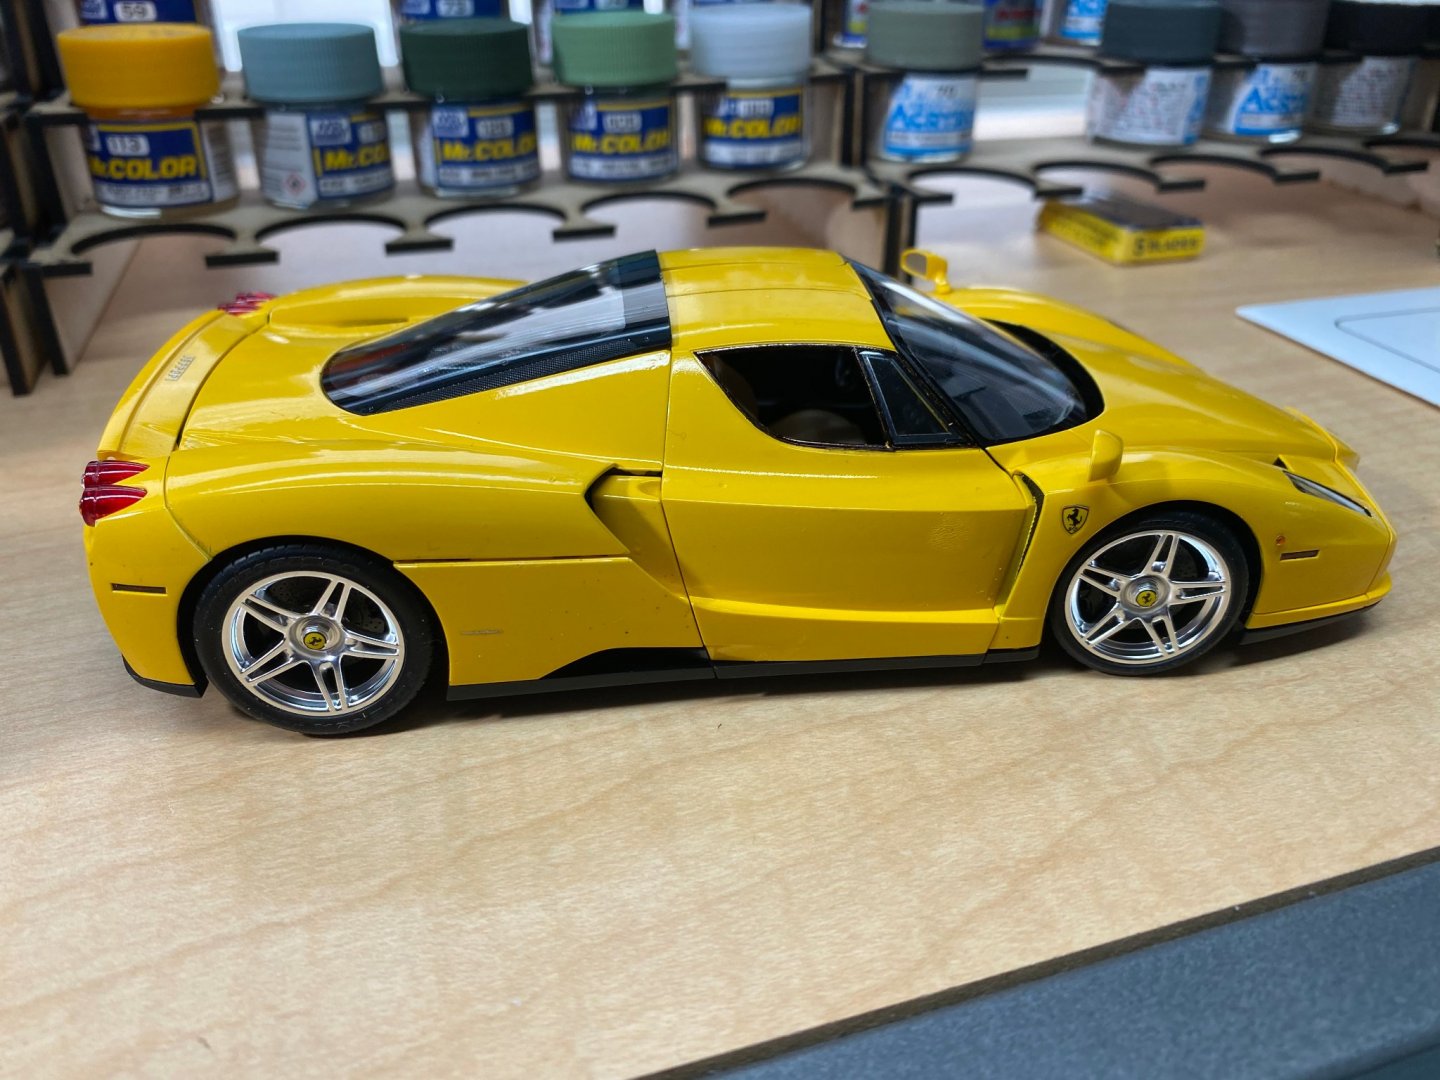
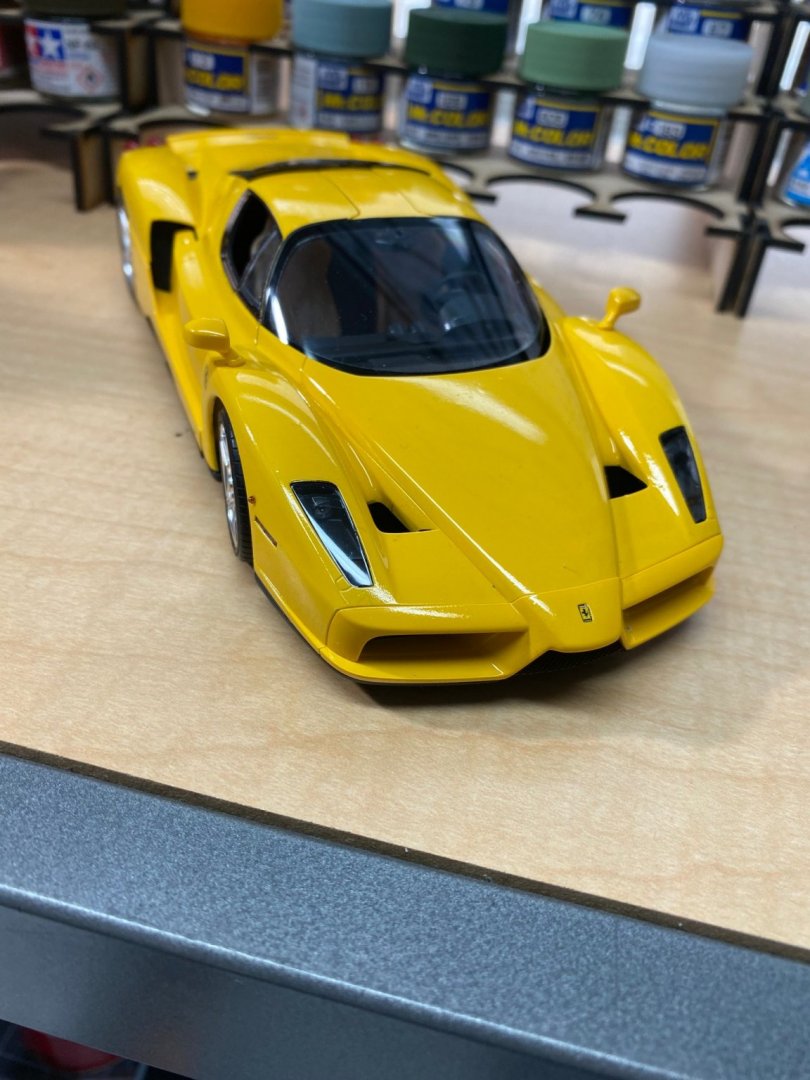
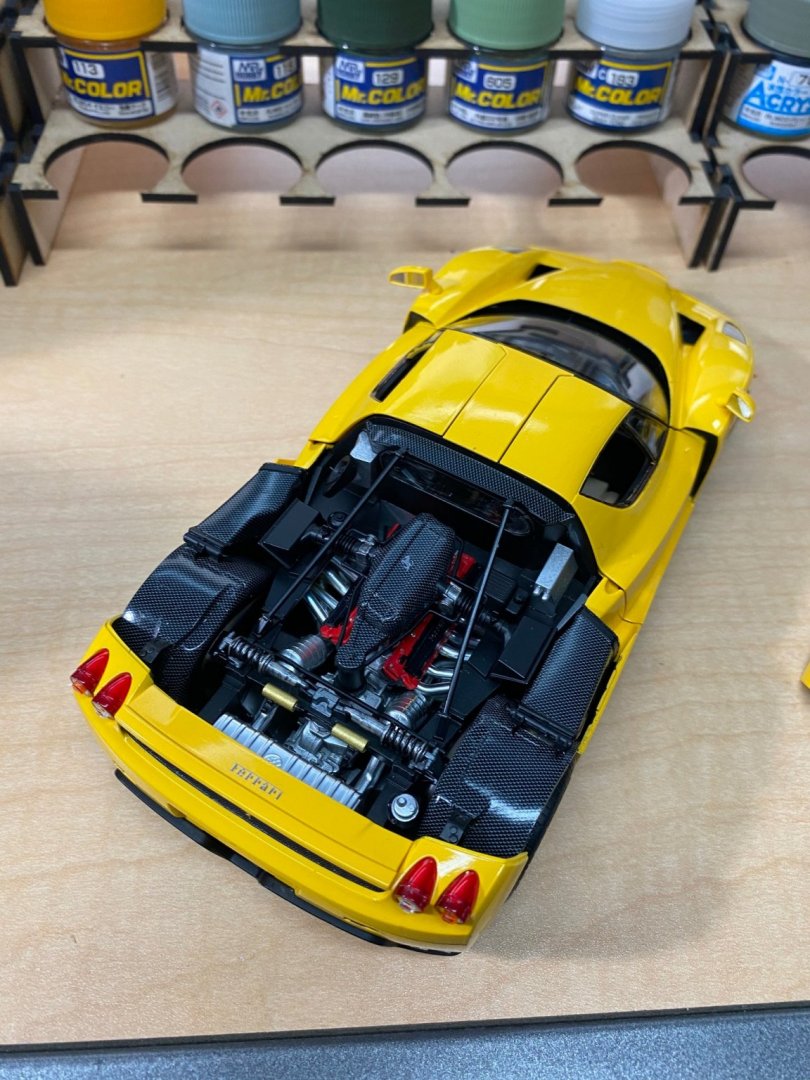
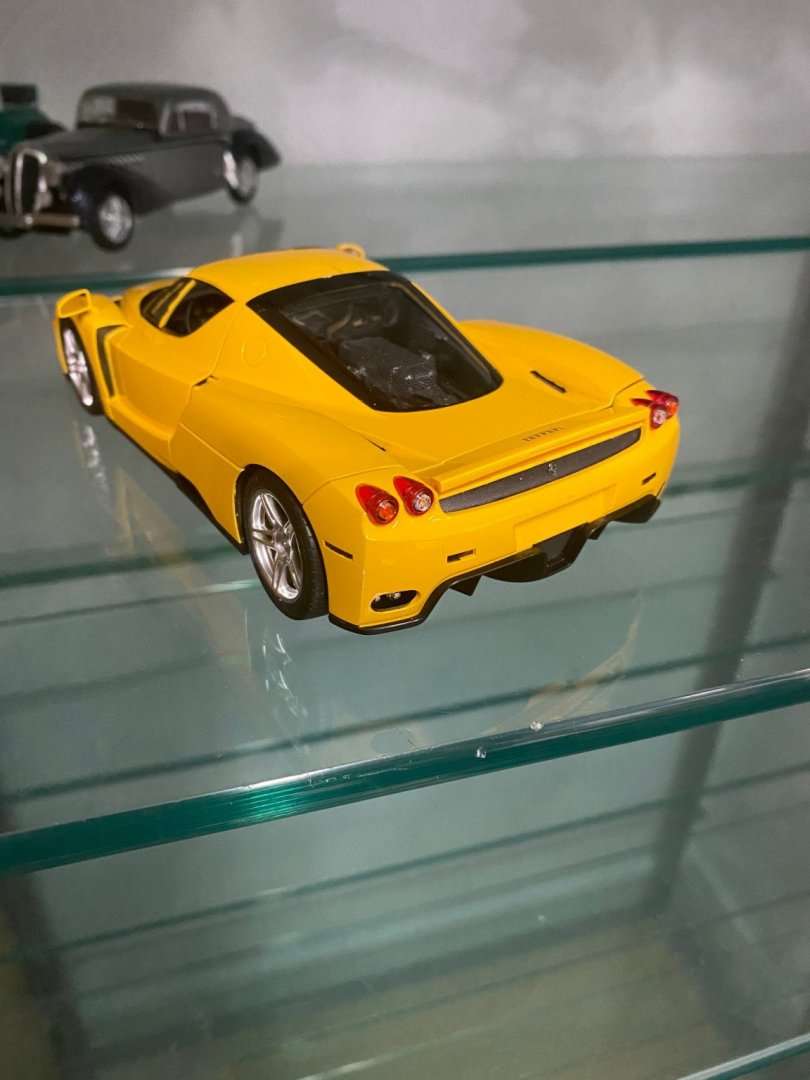
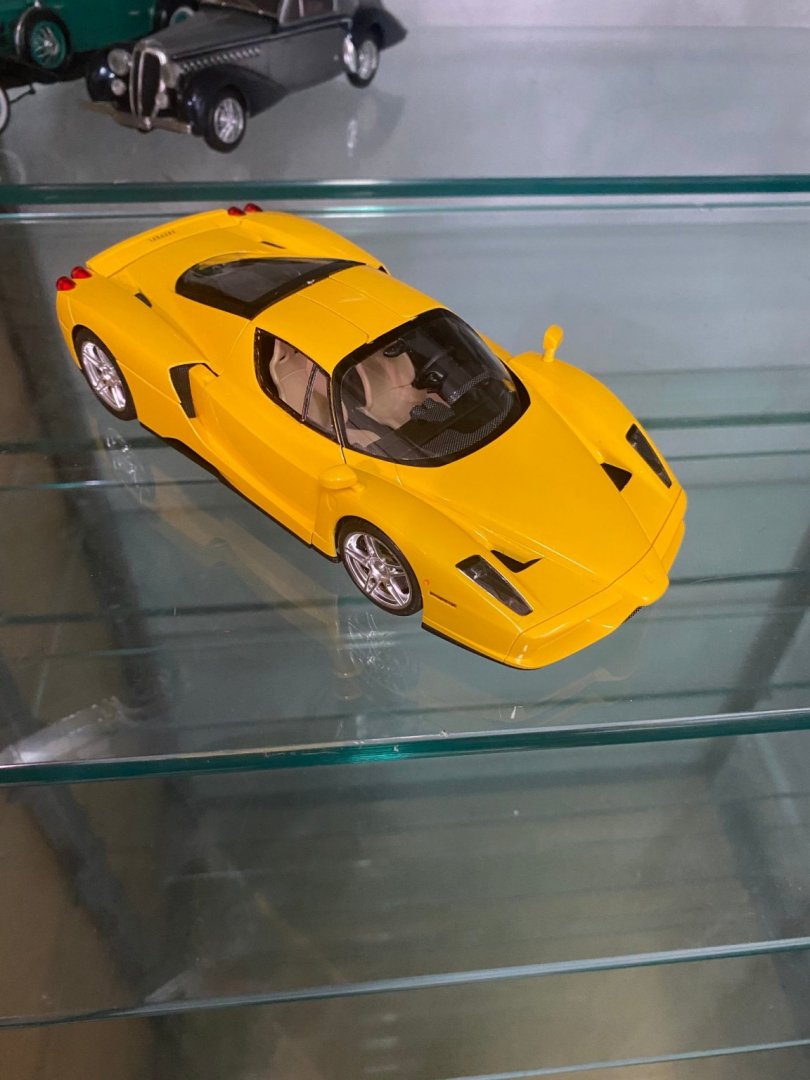
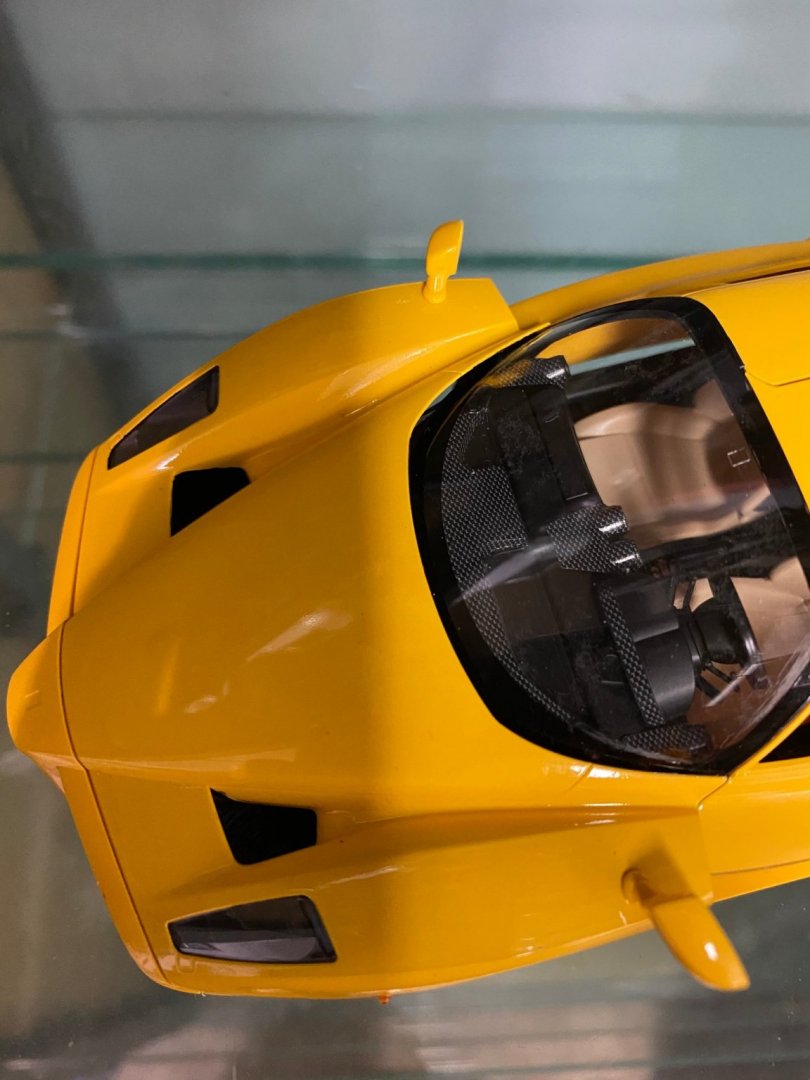
Final photos.


- 128 replies
-
- 16
-
-
Enzo Ferrari by CDW - FINISHED - Tamiya 1:24 Scale
CDW replied to CDW's topic in Non-ship/categorised builds
Thanks Edward -
Enzo Ferrari by CDW - FINISHED - Tamiya 1:24 Scale
CDW replied to CDW's topic in Non-ship/categorised builds
Just a few more small details to add and this one will be finished.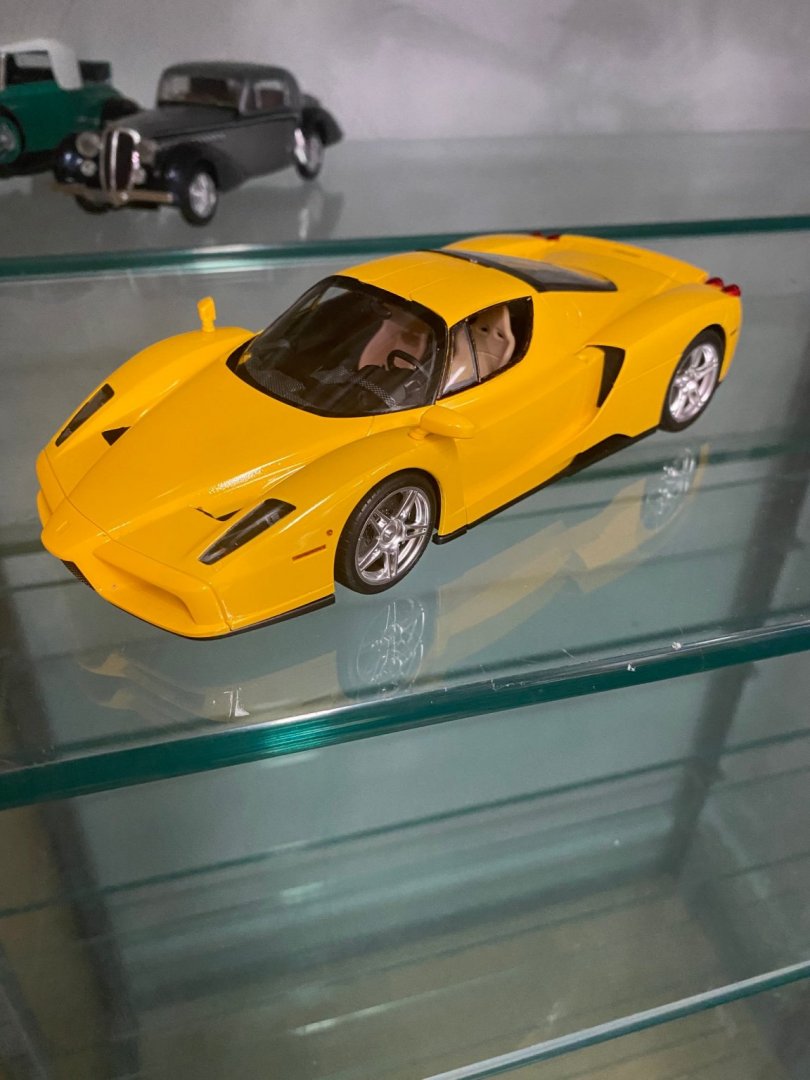


- 128 replies
-
- 13
-
-
Enzo Ferrari by CDW - FINISHED - Tamiya 1:24 Scale
CDW replied to CDW's topic in Non-ship/categorised builds
Added the headlamp assemblies, the side markers, and the upper duct work to the front end of the Enzo.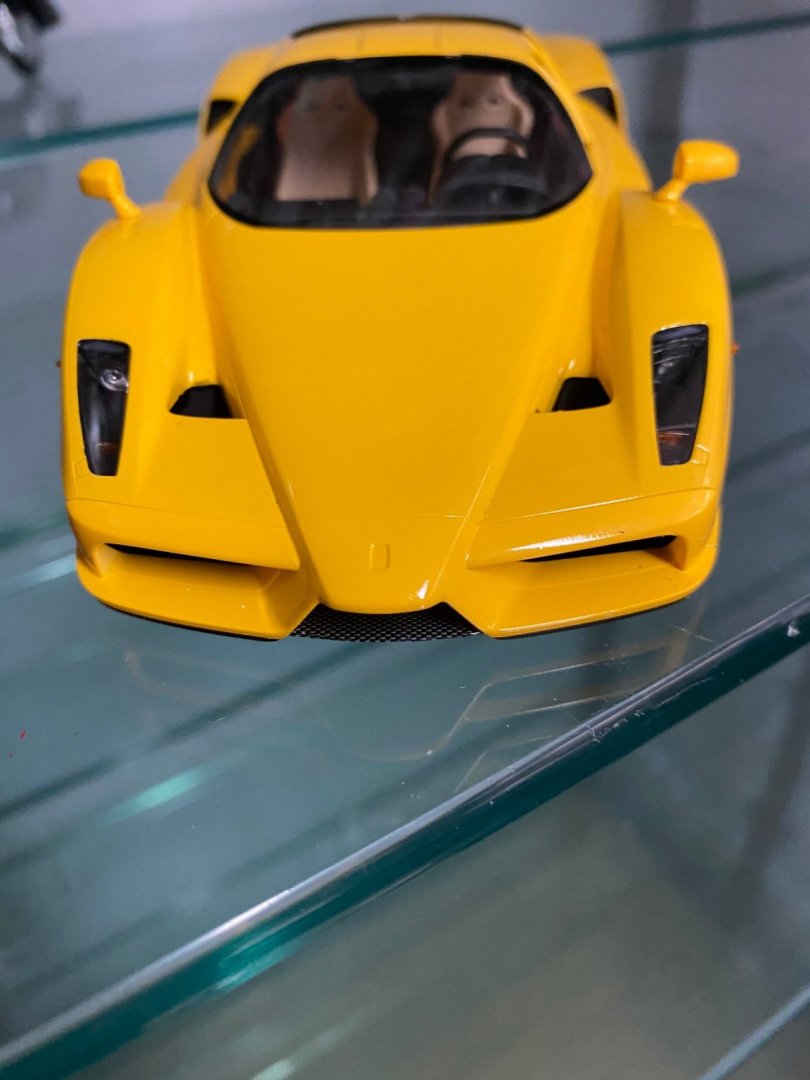


- 128 replies
-
- 12
-
-
Enzo Ferrari by CDW - FINISHED - Tamiya 1:24 Scale
CDW replied to CDW's topic in Non-ship/categorised builds
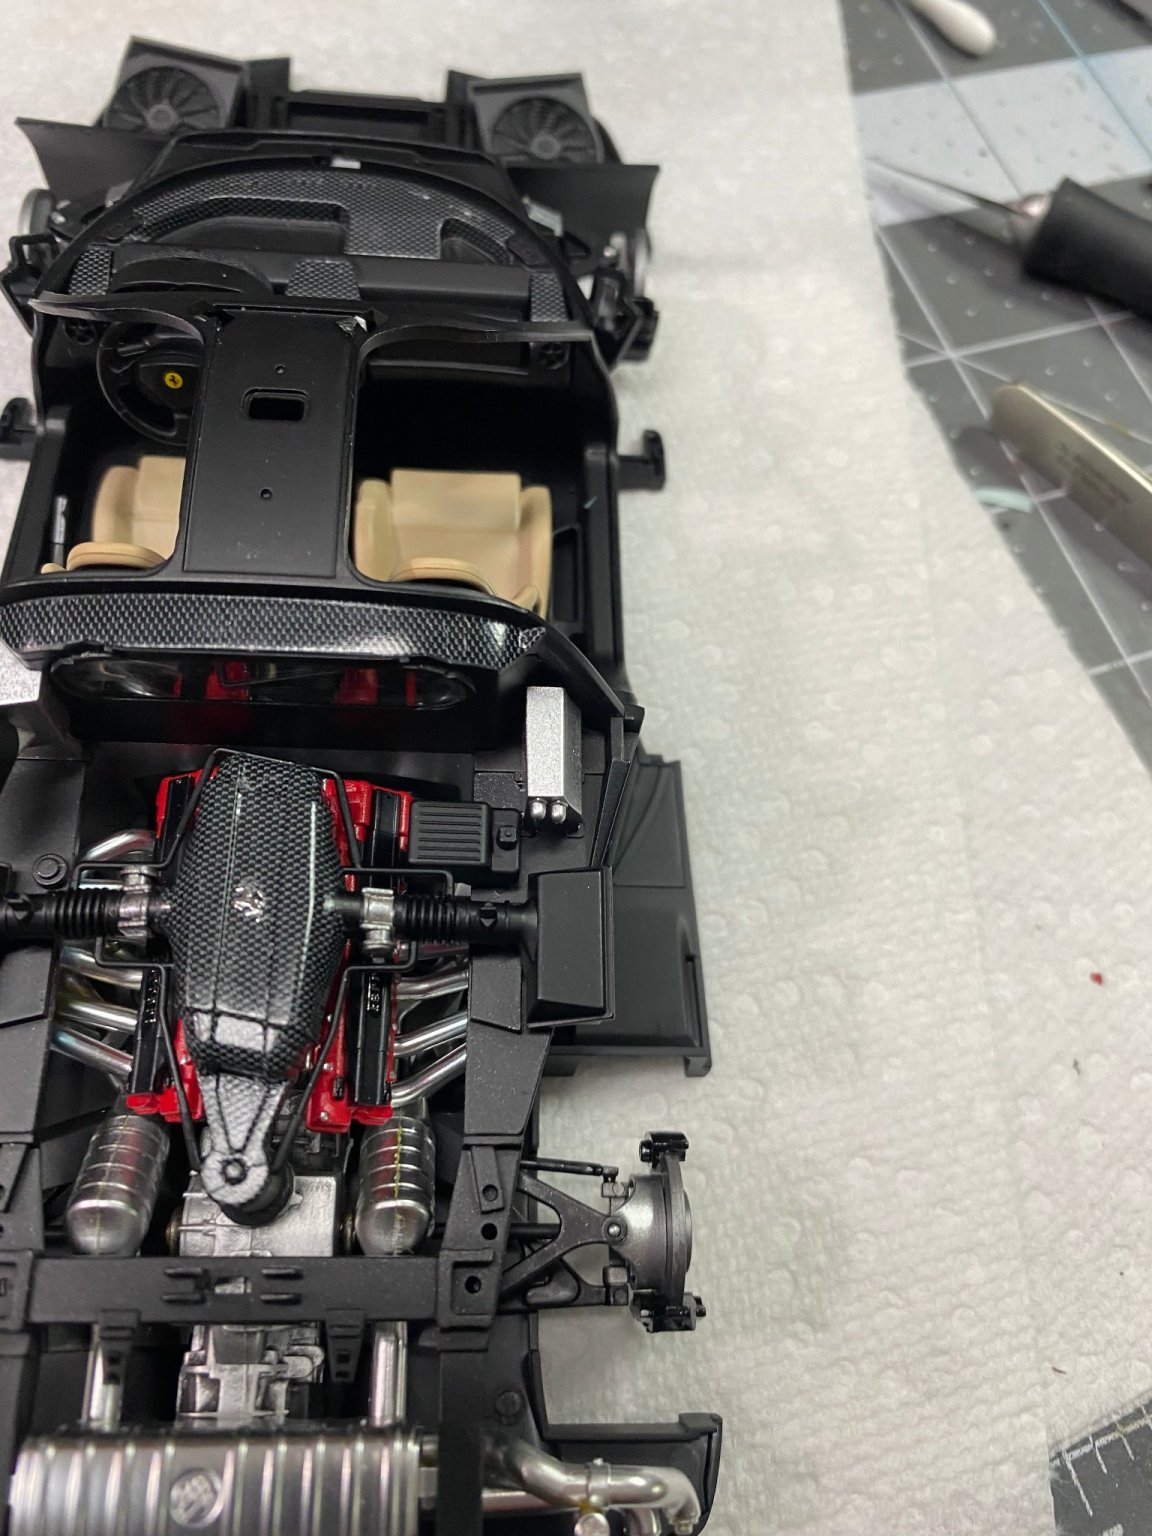
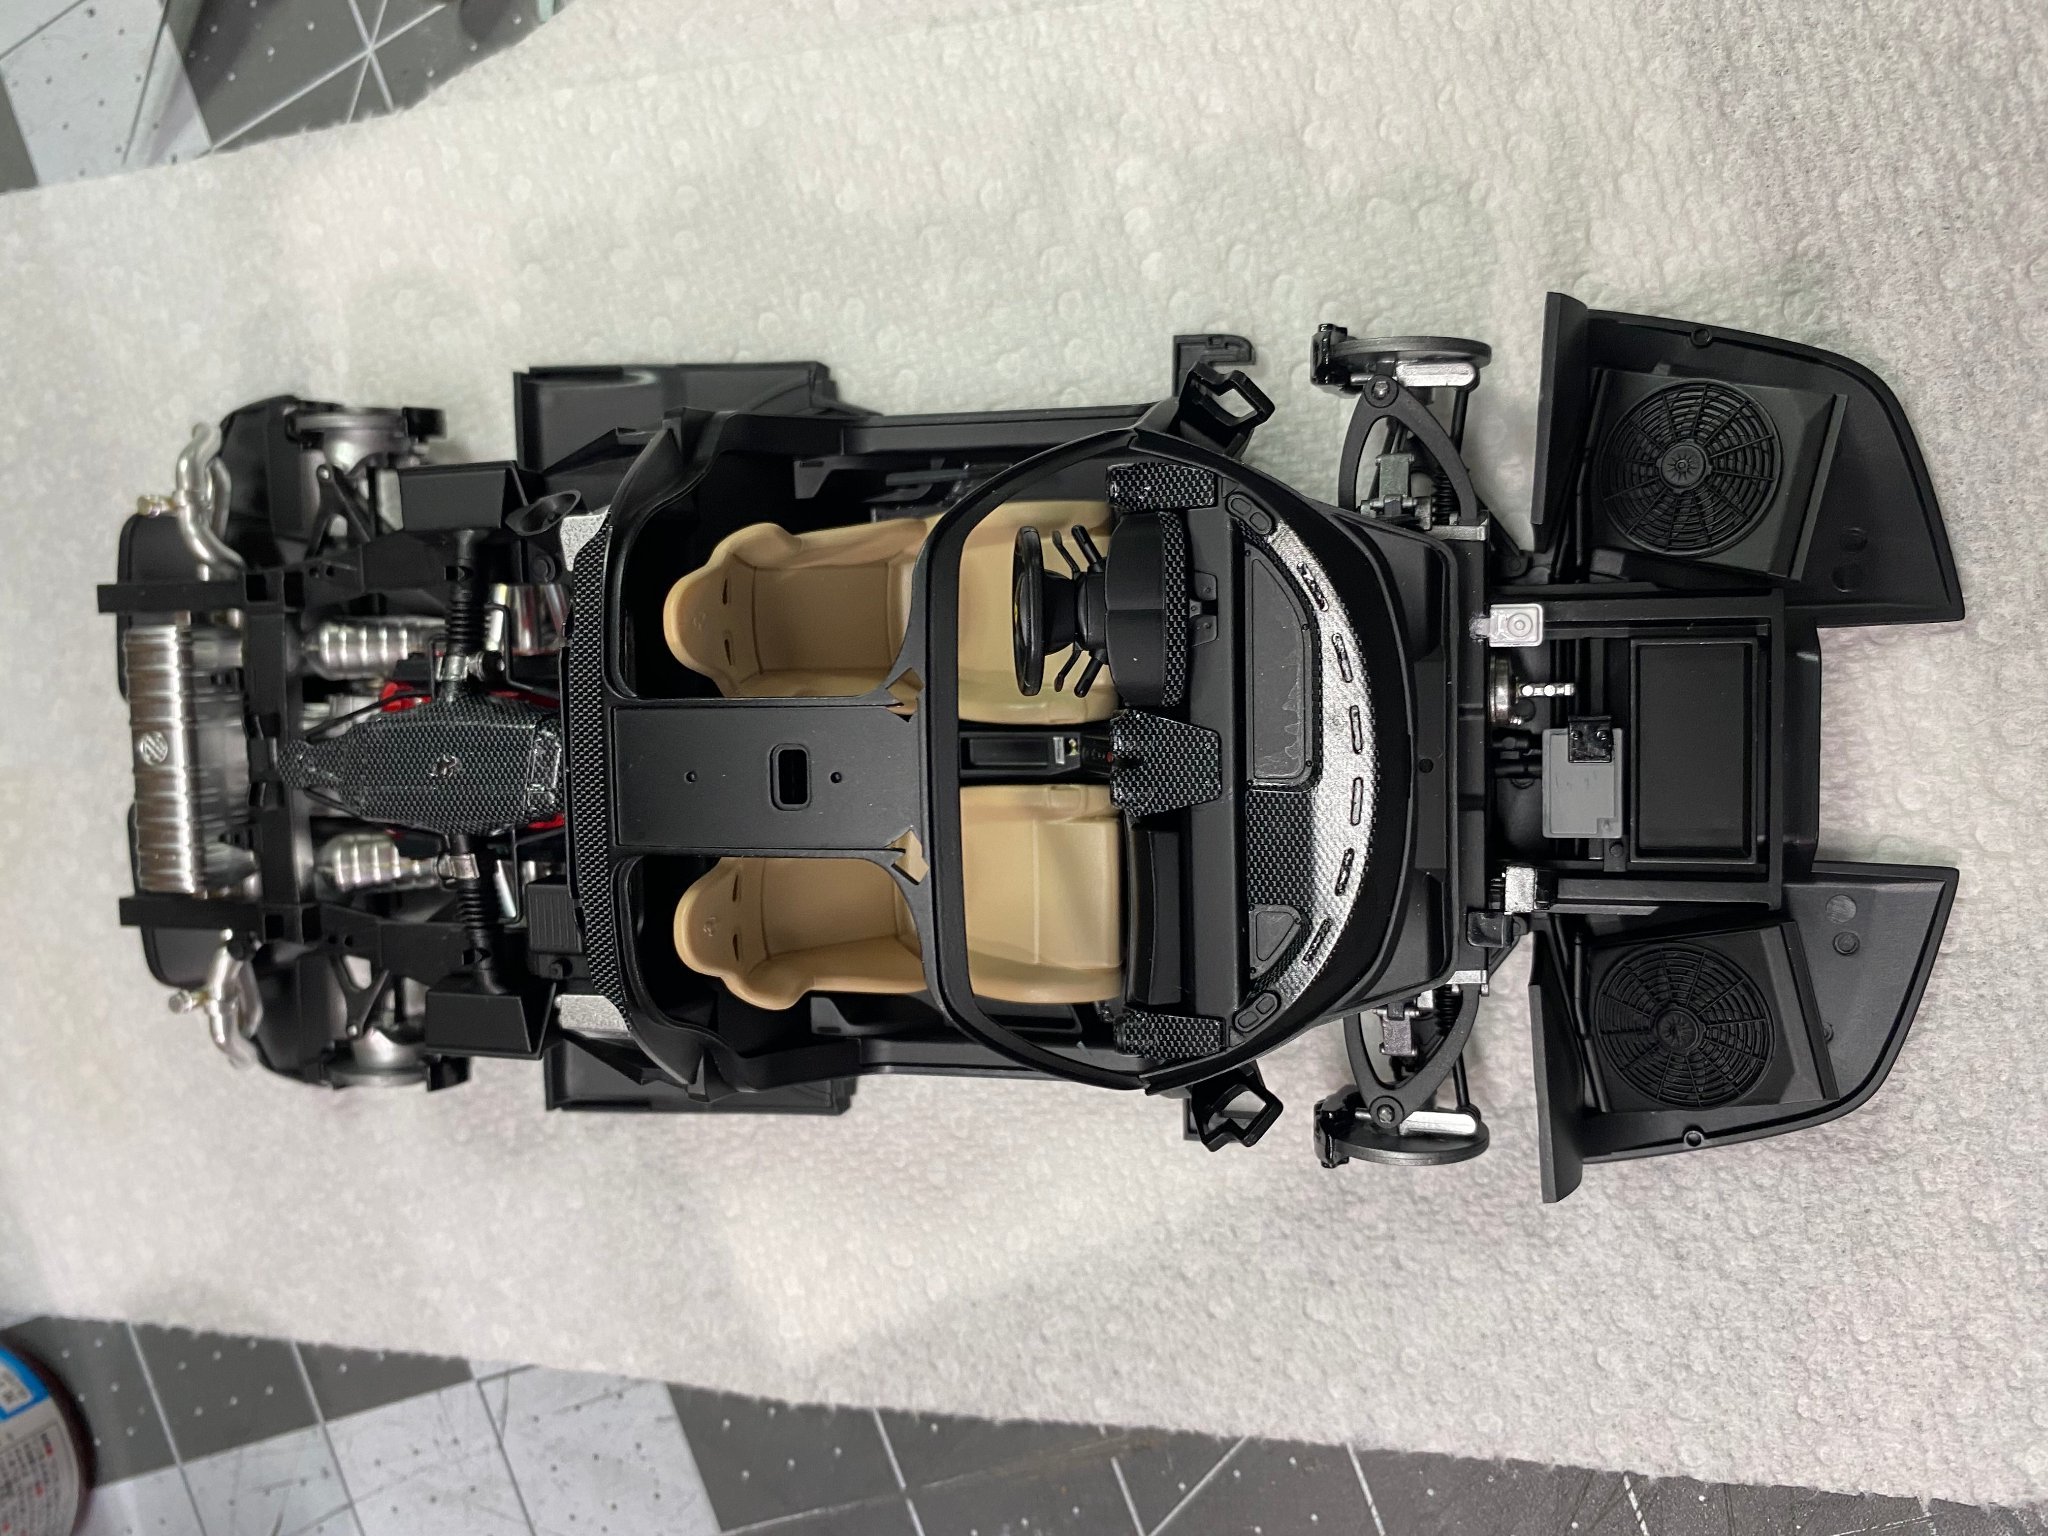
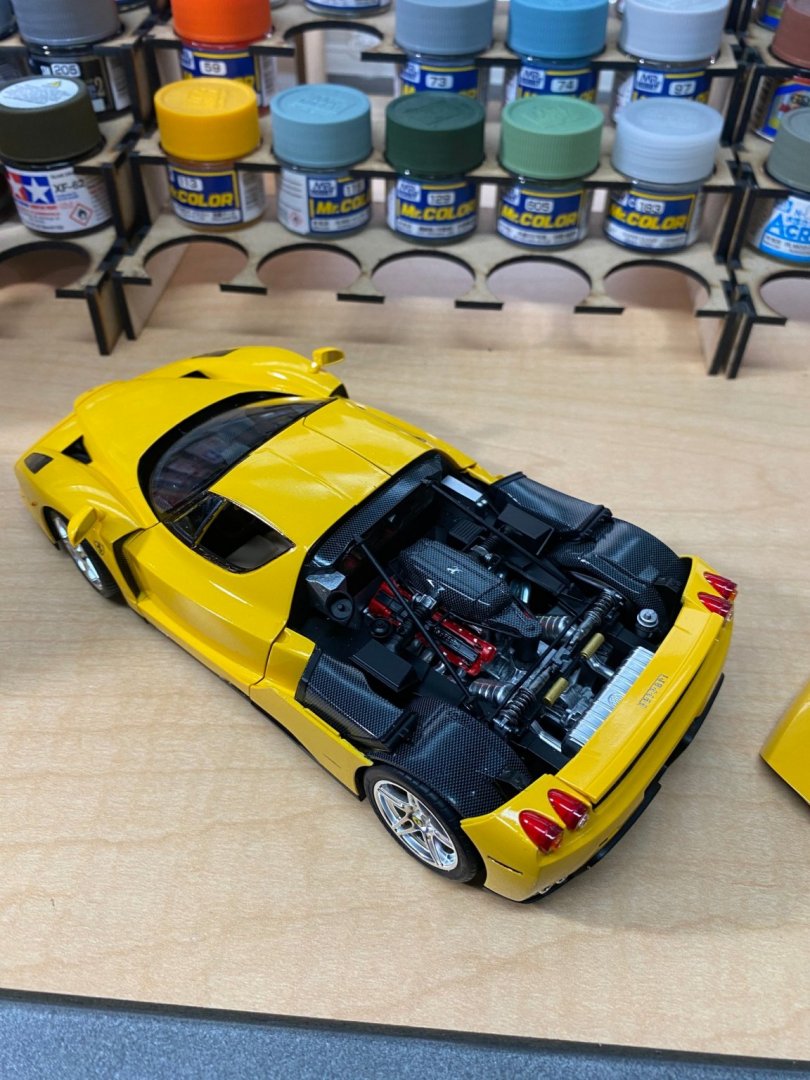
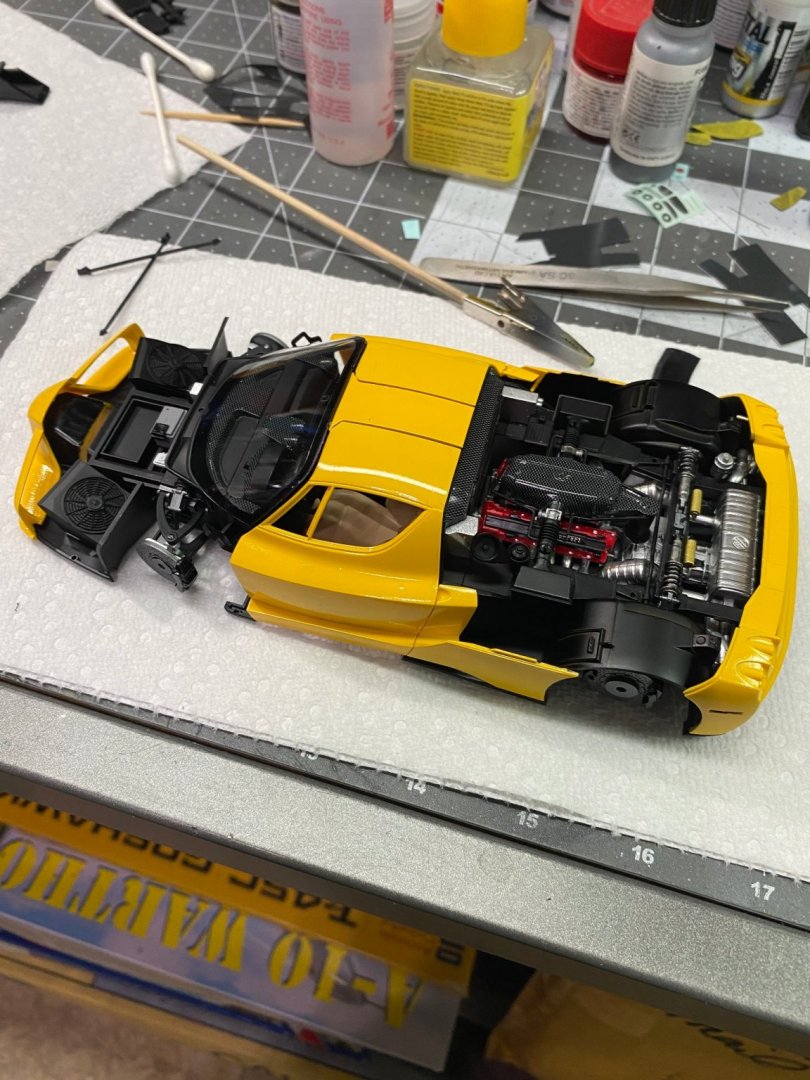
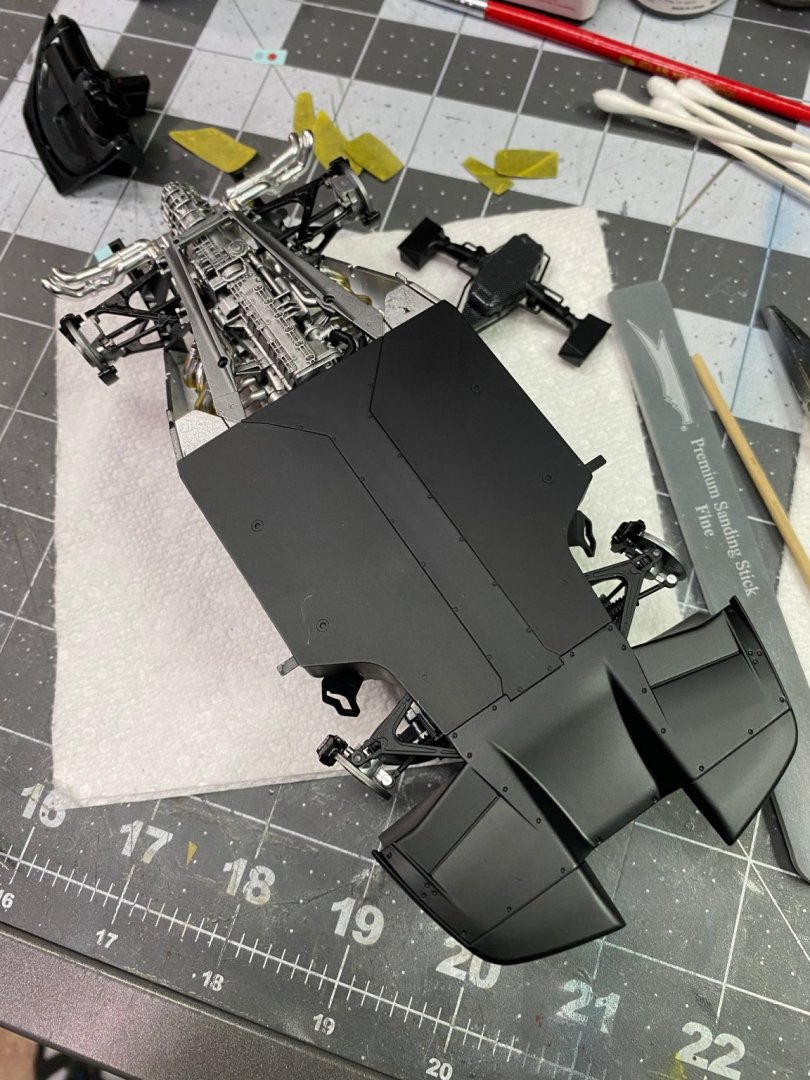
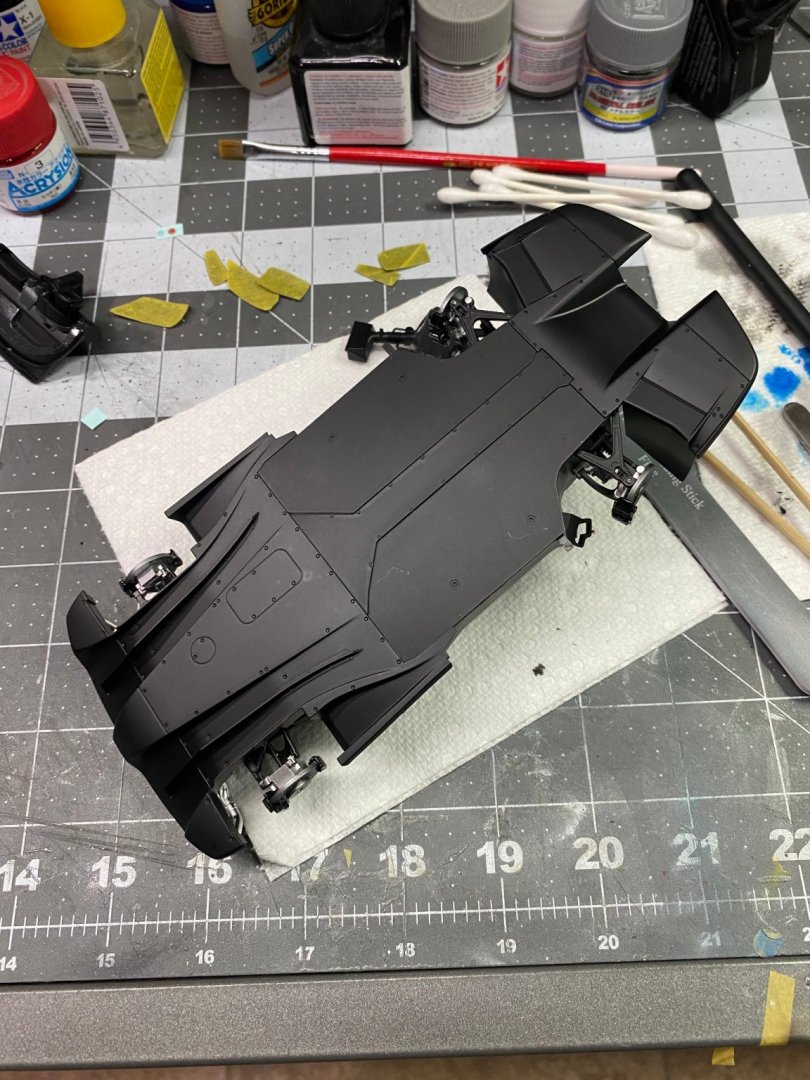
The kit supplies a clear chassis cover for the rear portion of the undercarriage so the bottom of the engine, transmission, suspension, and brake systems can be seen if the builder decides to display it that way. I am going to opt for the non transparent pieces as I don't care for the look of the clear pieces. -
Enzo Ferrari by CDW - FINISHED - Tamiya 1:24 Scale
CDW replied to CDW's topic in Non-ship/categorised builds
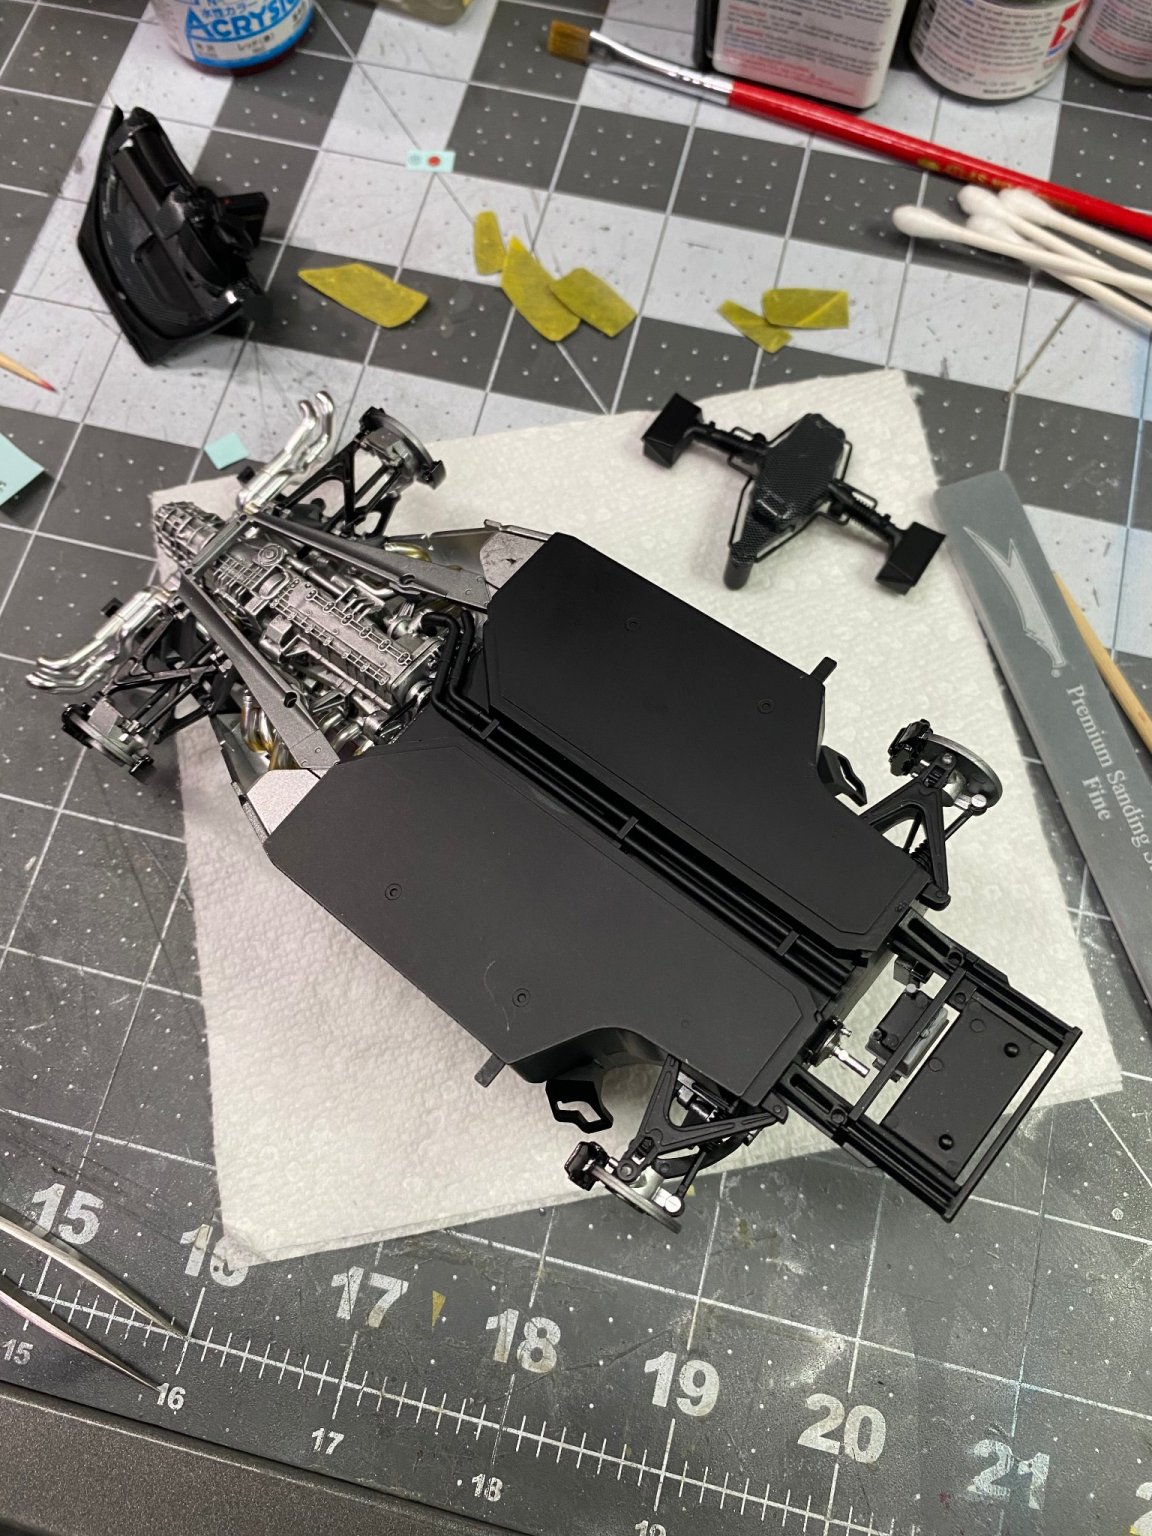
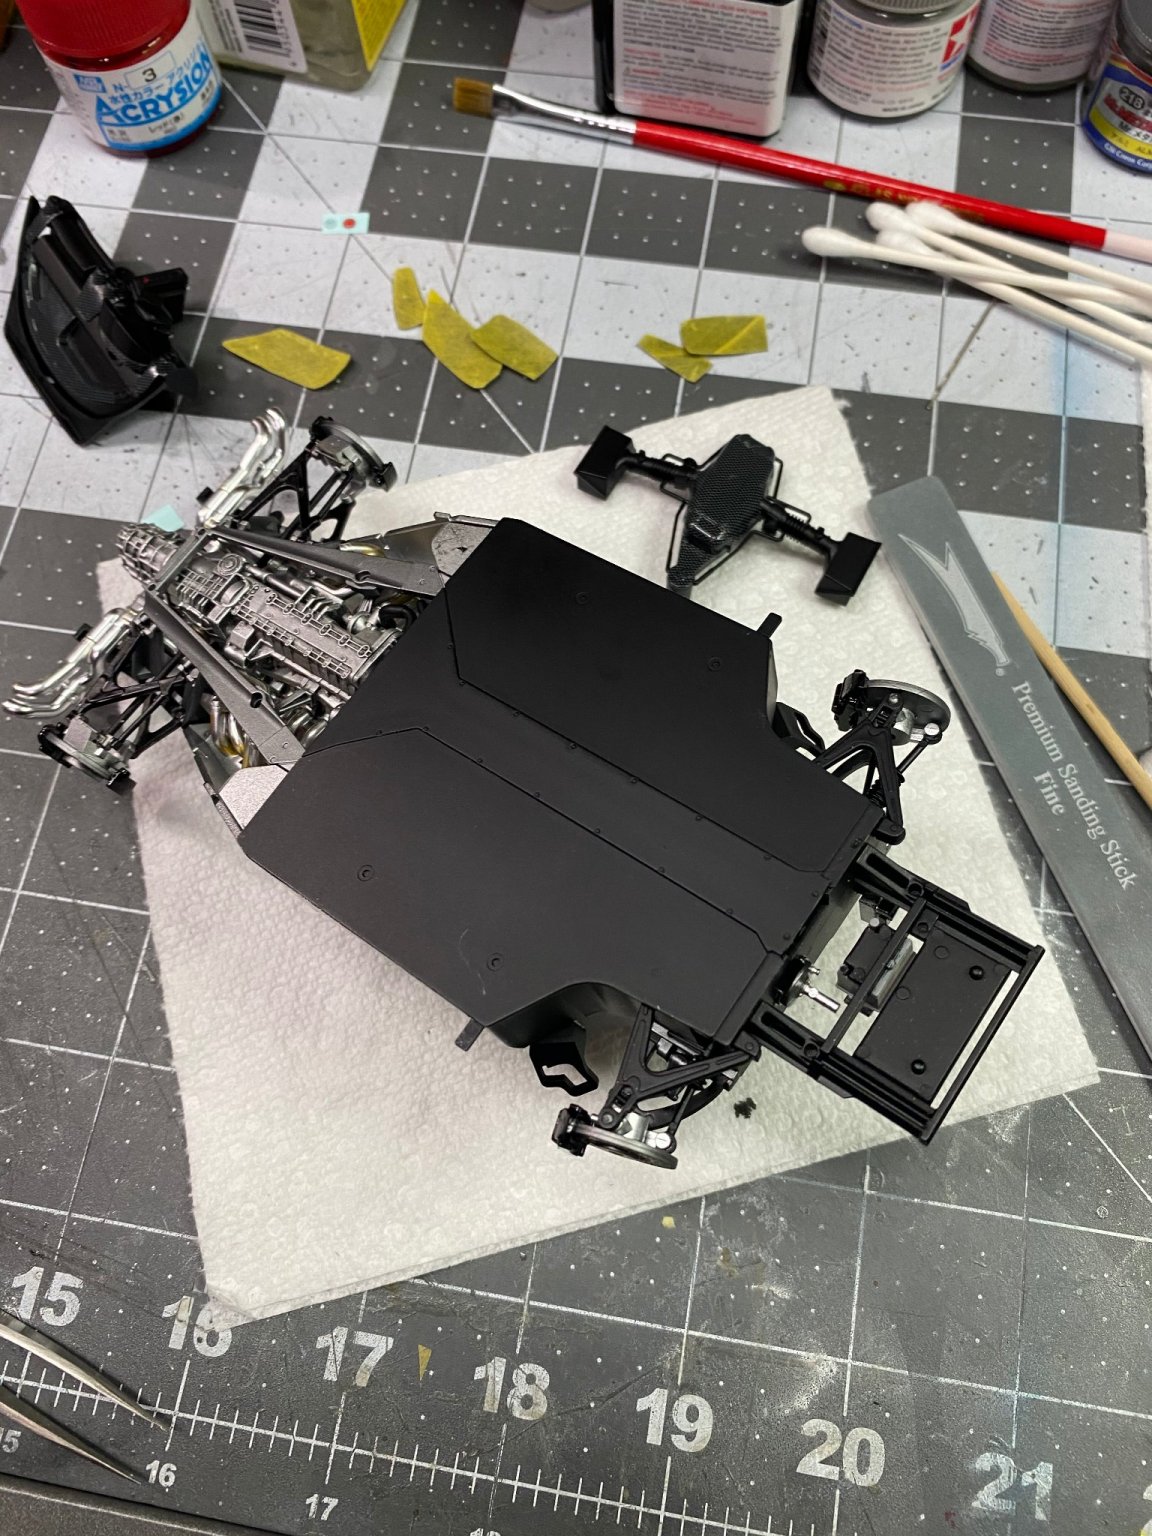
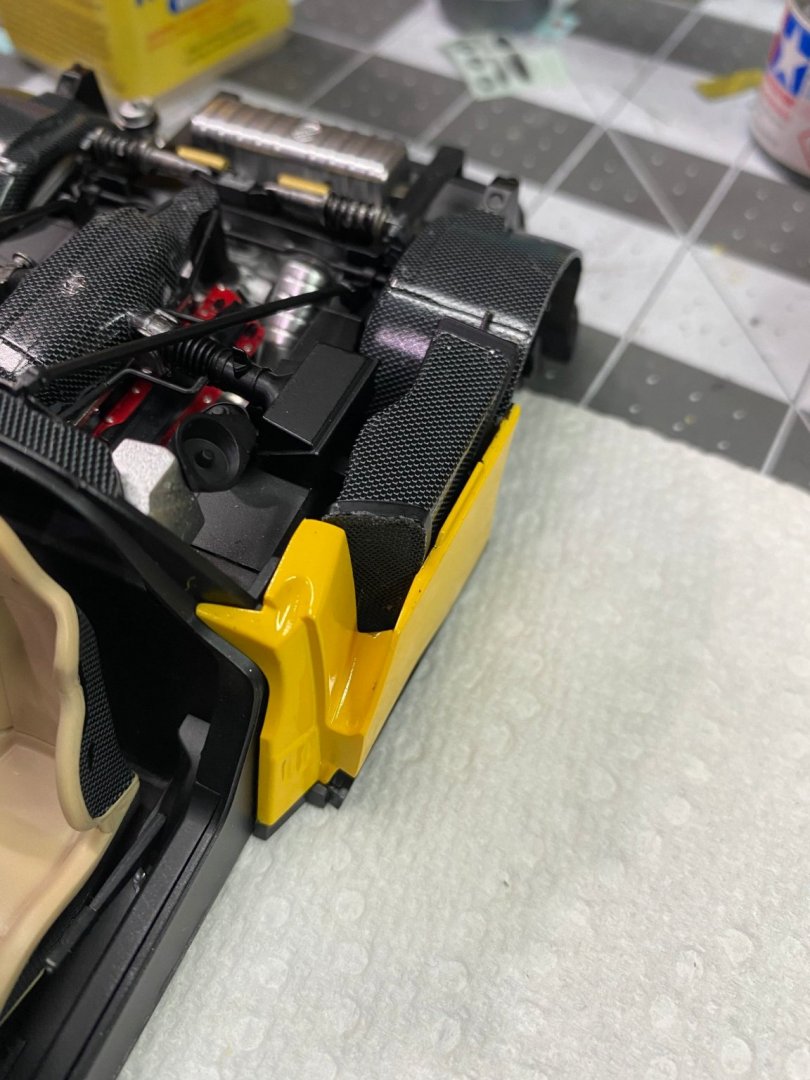
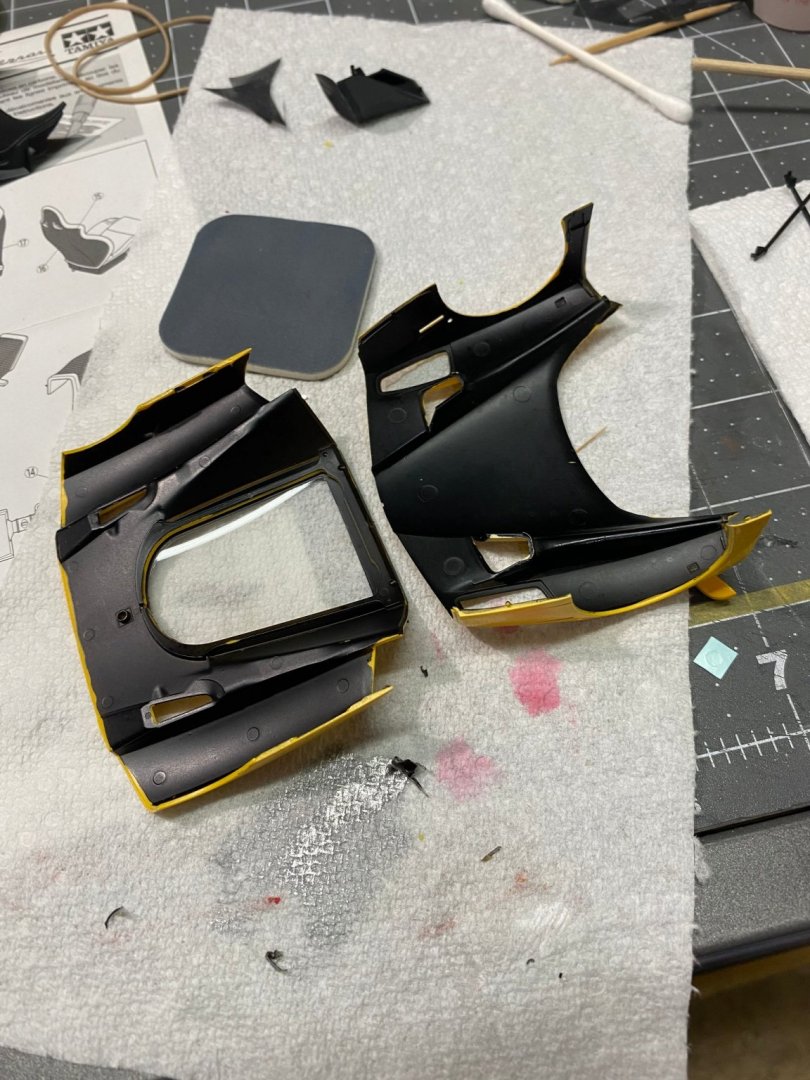
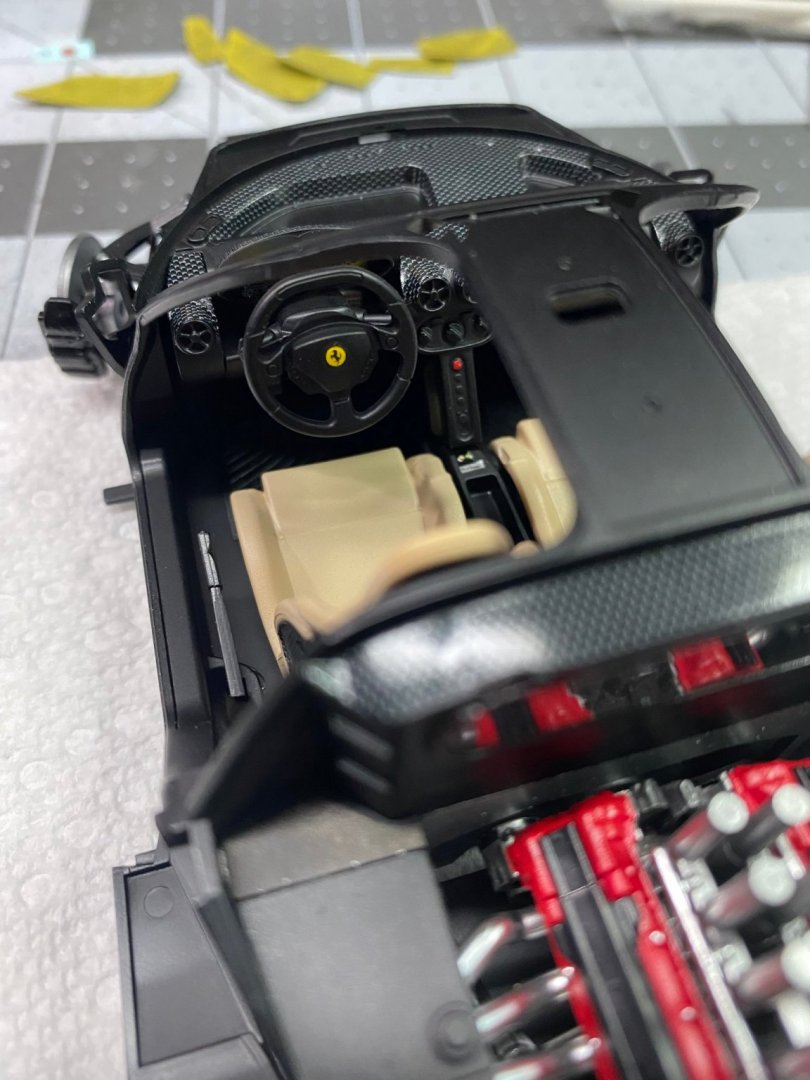
The rear wheel wells get a carbon fiber treatment. Here, the carbon fiber wheel wells are displayed with the air ducts, which are also carbon fiber, dry fitted into place. There is a kit supplied wire mesh that gets cut to a template shape then glued to the intake of the air ducts. The wire mesh is used in numerous places throughout the build as you will see later.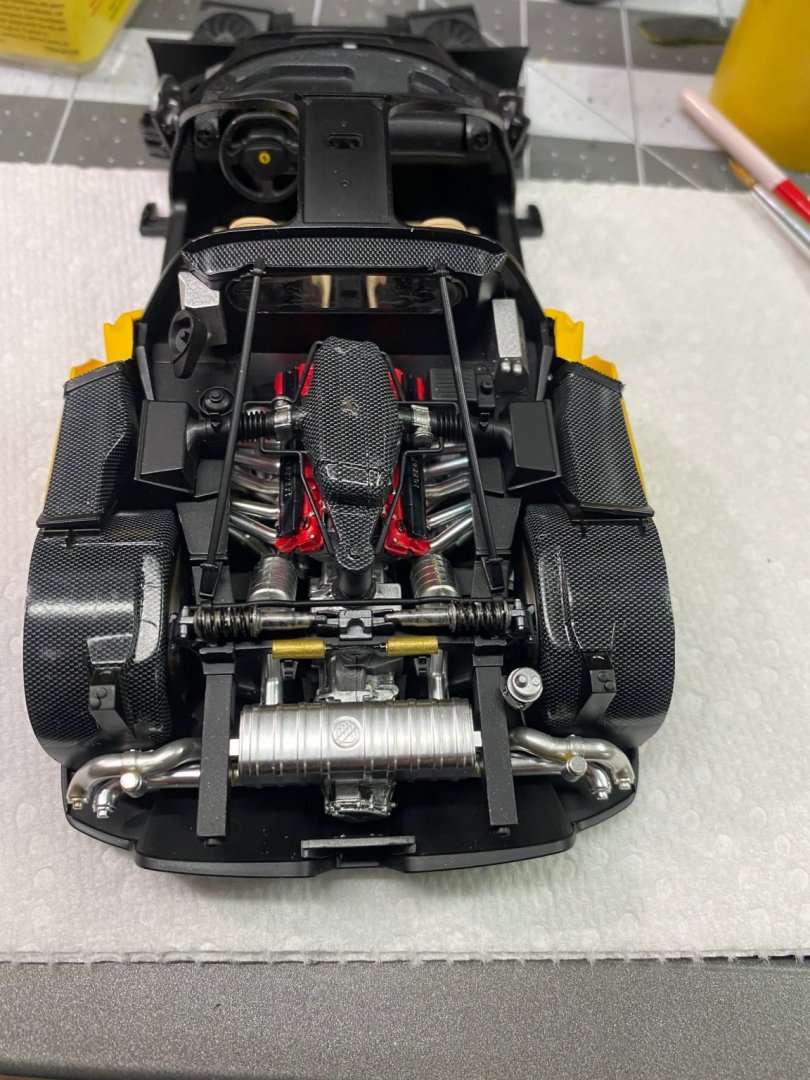

- 128 replies
-
- 12
-
-
Enzo Ferrari by CDW - FINISHED - Tamiya 1:24 Scale
CDW replied to CDW's topic in Non-ship/categorised builds
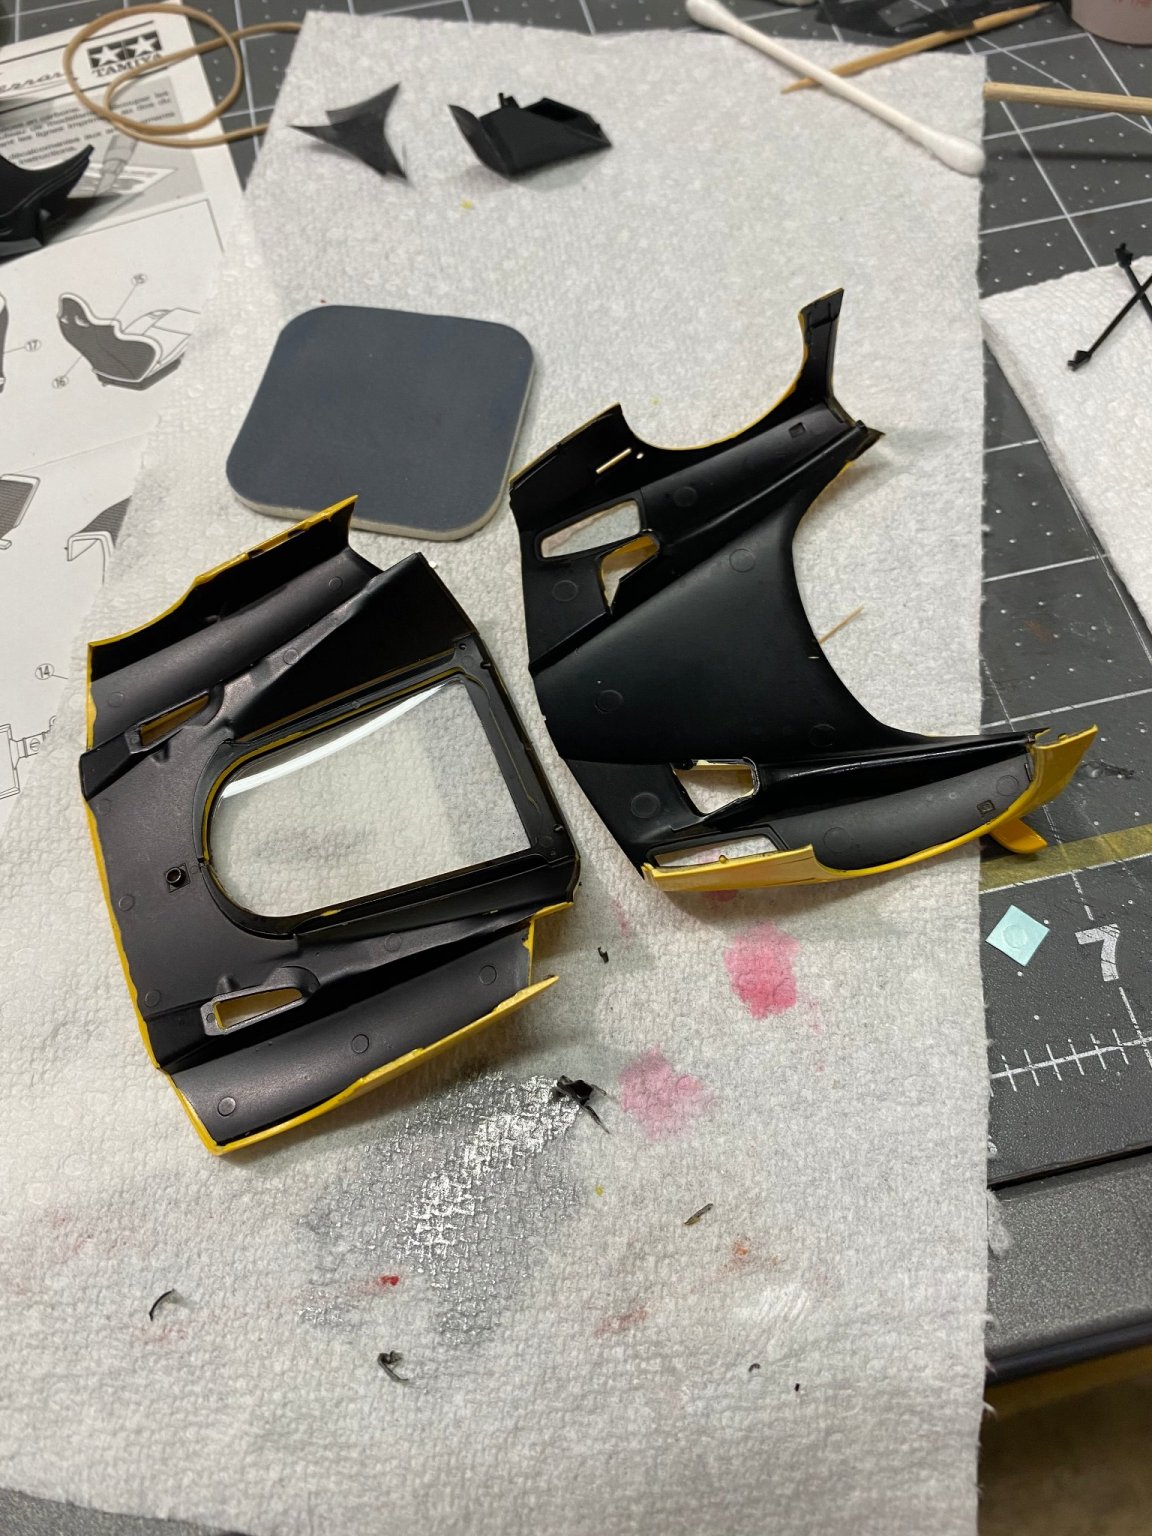
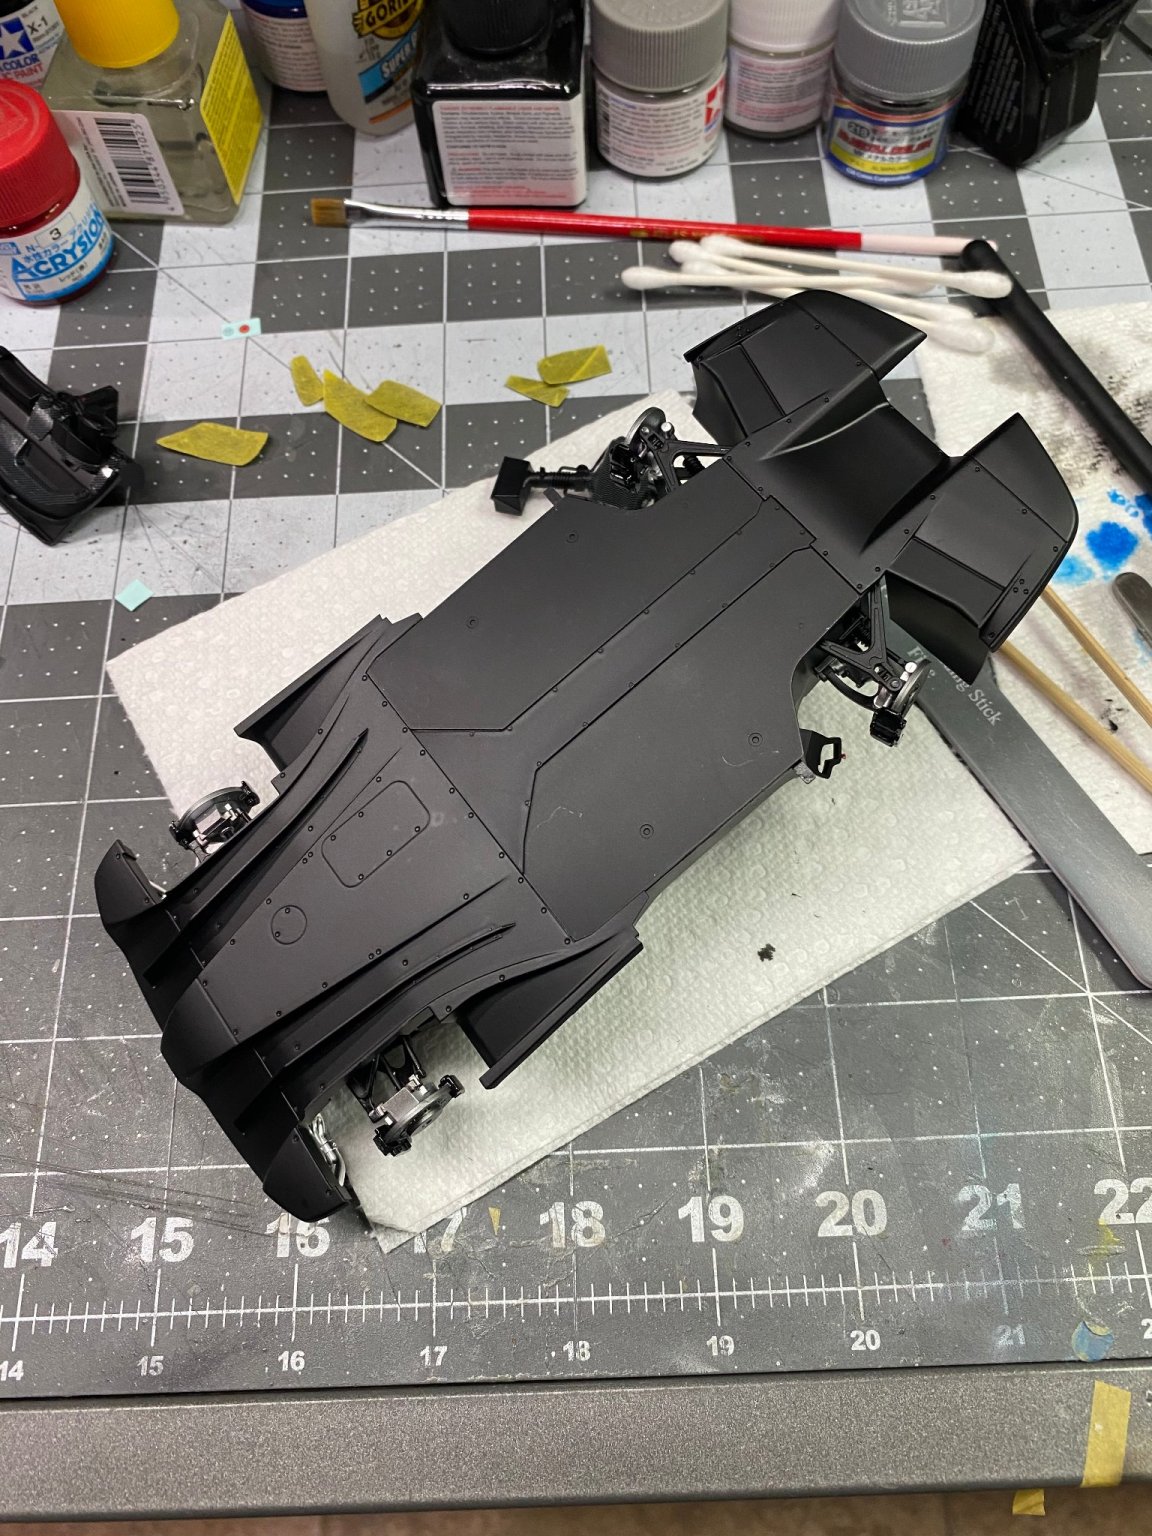
Just an FYI... Seems the "sweet spot" for reducing the Mr Color clear lacquer for the airbrush is 30% clear to 70% reducer. 50% just isn't enough. At 70% reducer, the clear goes down beautifully. You'll see in the next post with photos, probably tomorrow. In these photos, I have painted the undersides of the body panels with semi-gloss black, then wet sanded the body in preparation for the next coat of clear (which I've already done but am not ready to handle yet for photos).


- 128 replies
-
- 11
-
-
Enzo Ferrari by CDW - FINISHED - Tamiya 1:24 Scale
CDW replied to CDW's topic in Non-ship/categorised builds
Thanks gentlemen. My local airbrush/paint supplier used to carry the 2K Diamond clear paint system in a convenient hobby-size amount with a no-name label. They have been unable to restock it lately. Maybe because of Covid, I don't know. Unfortunately, my remaining bottles went bad, prematurely hardening inside the bottle. I have another automotive 2-part clear system I bought but have not tested it yet and didn't want to chance it on a good model. Will test it on something junk, first. I mixed my clear about 50-50 with leveling thinner, but It needs more thinner next time. Probably 60% or more to really get it to level itself. -
Enzo Ferrari by CDW - FINISHED - Tamiya 1:24 Scale
CDW replied to CDW's topic in Non-ship/categorised builds
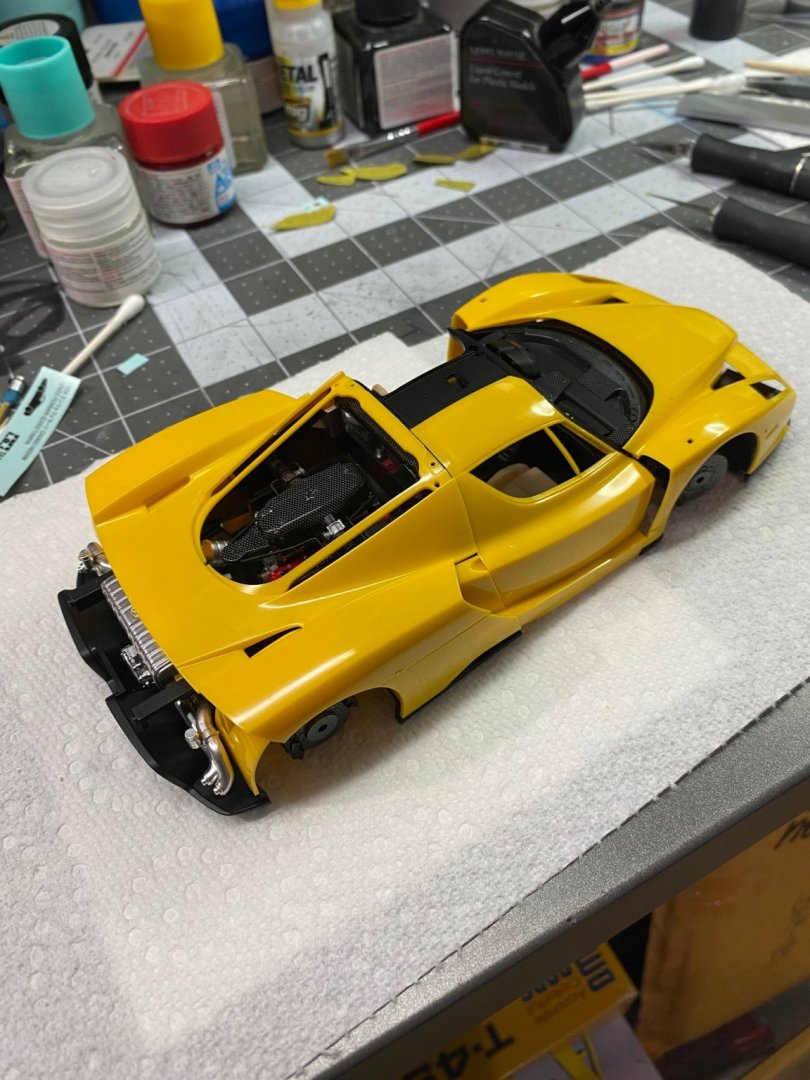
I have the Corvette C6 in the queue. A good friend painted all his race cars in yellow, a trade mark for him. He was killed while racing his sprint car 30 years ago. I have always loved yellow race cars. Thanks Edward. I want to find a retarder that's suitable for Mr Color clear lacquer. It dries a little too quickly for my liking and could be better. There's a real fine line between too much and too little drying time for clear coats. Too fast causes orange peel. Too slow causes runs. Have to find that happy spot. -
Enzo Ferrari by CDW - FINISHED - Tamiya 1:24 Scale
CDW replied to CDW's topic in Non-ship/categorised builds
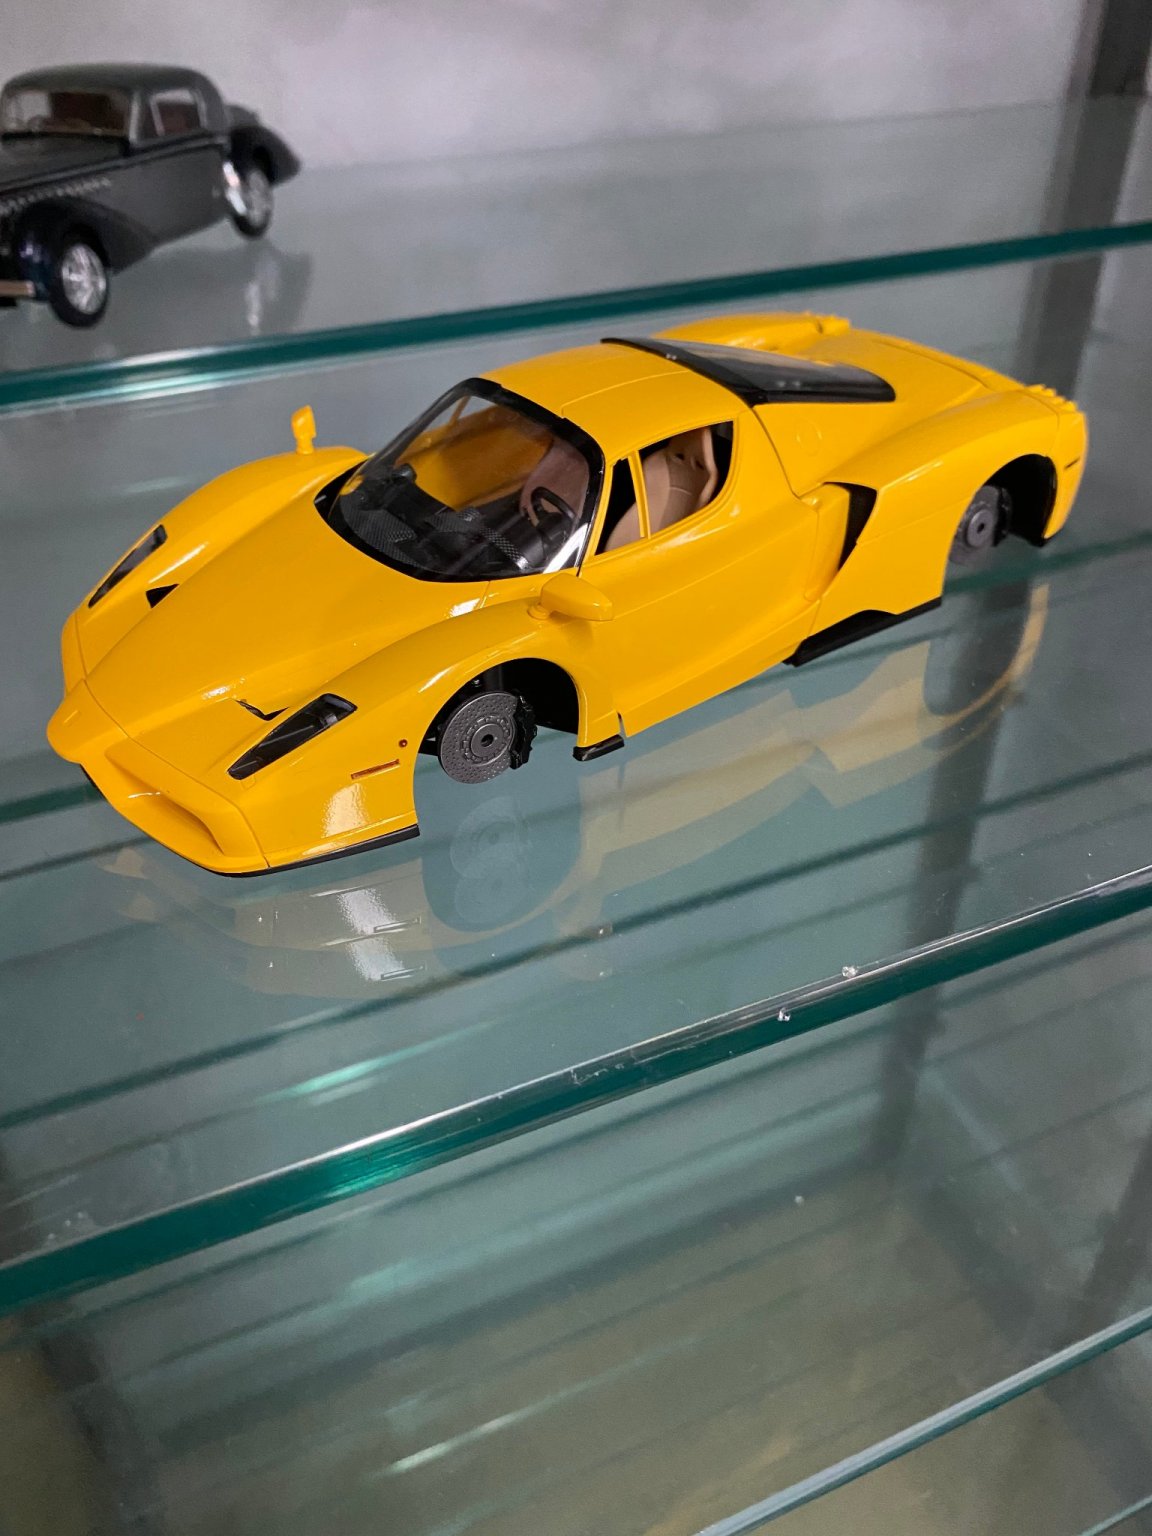
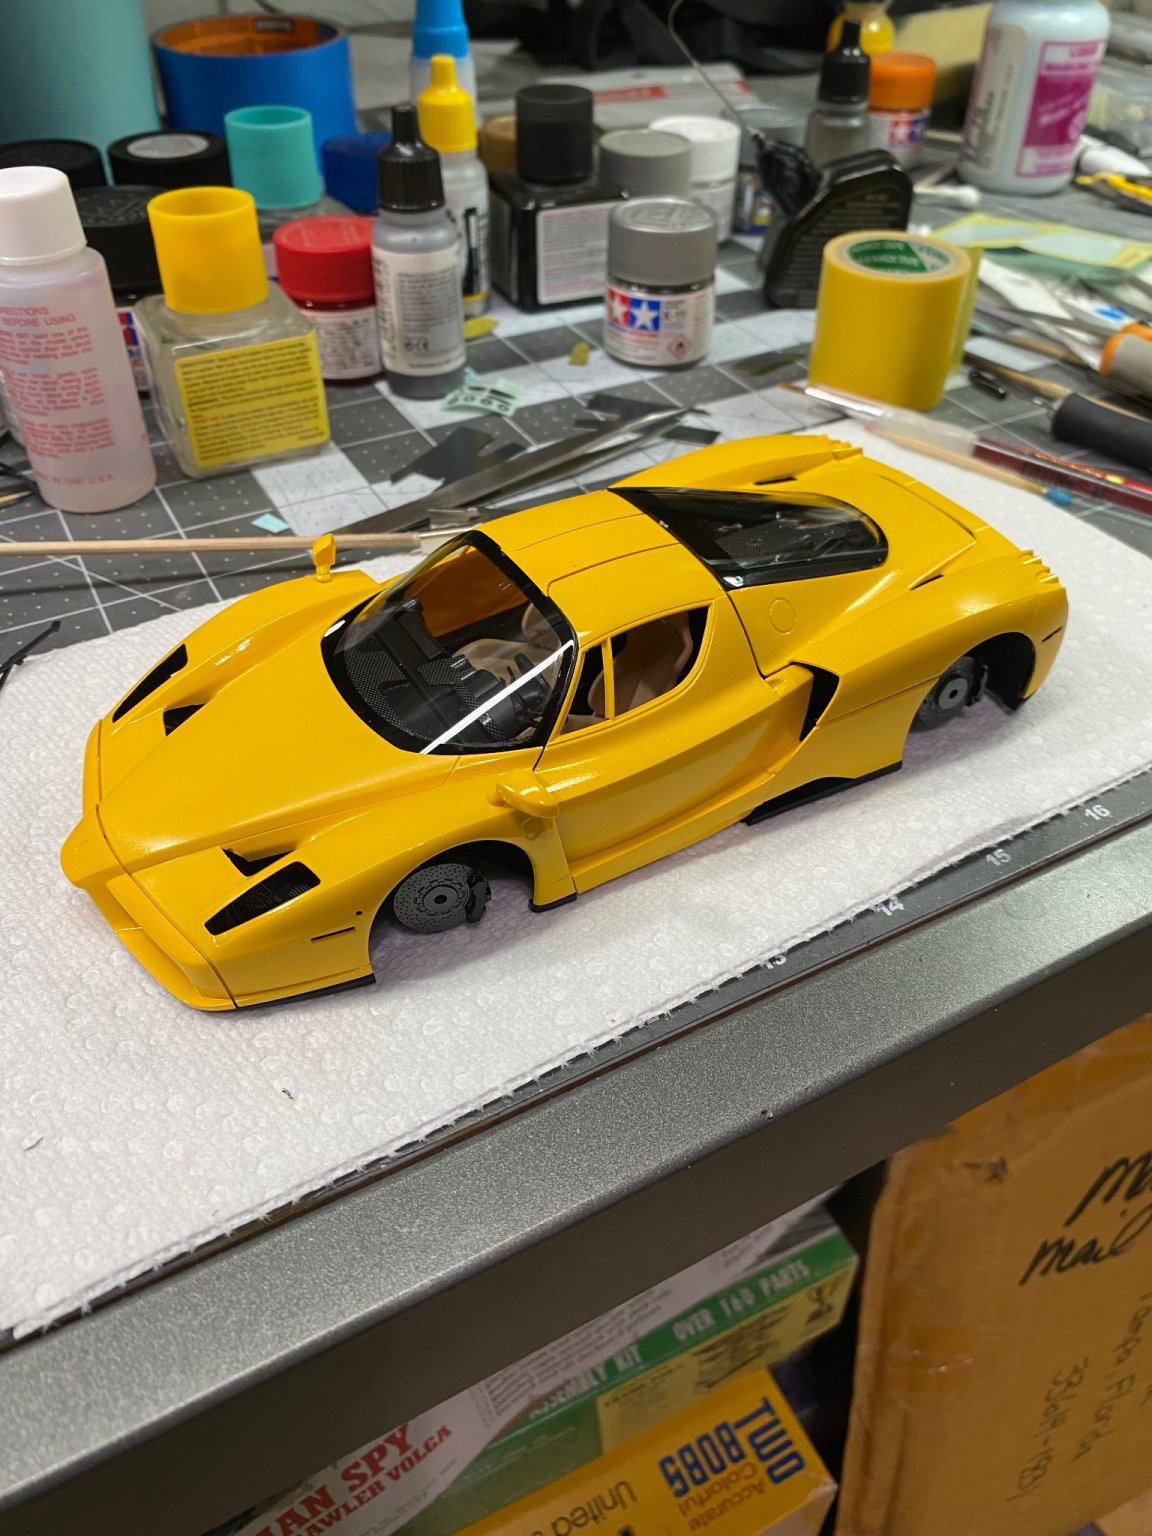
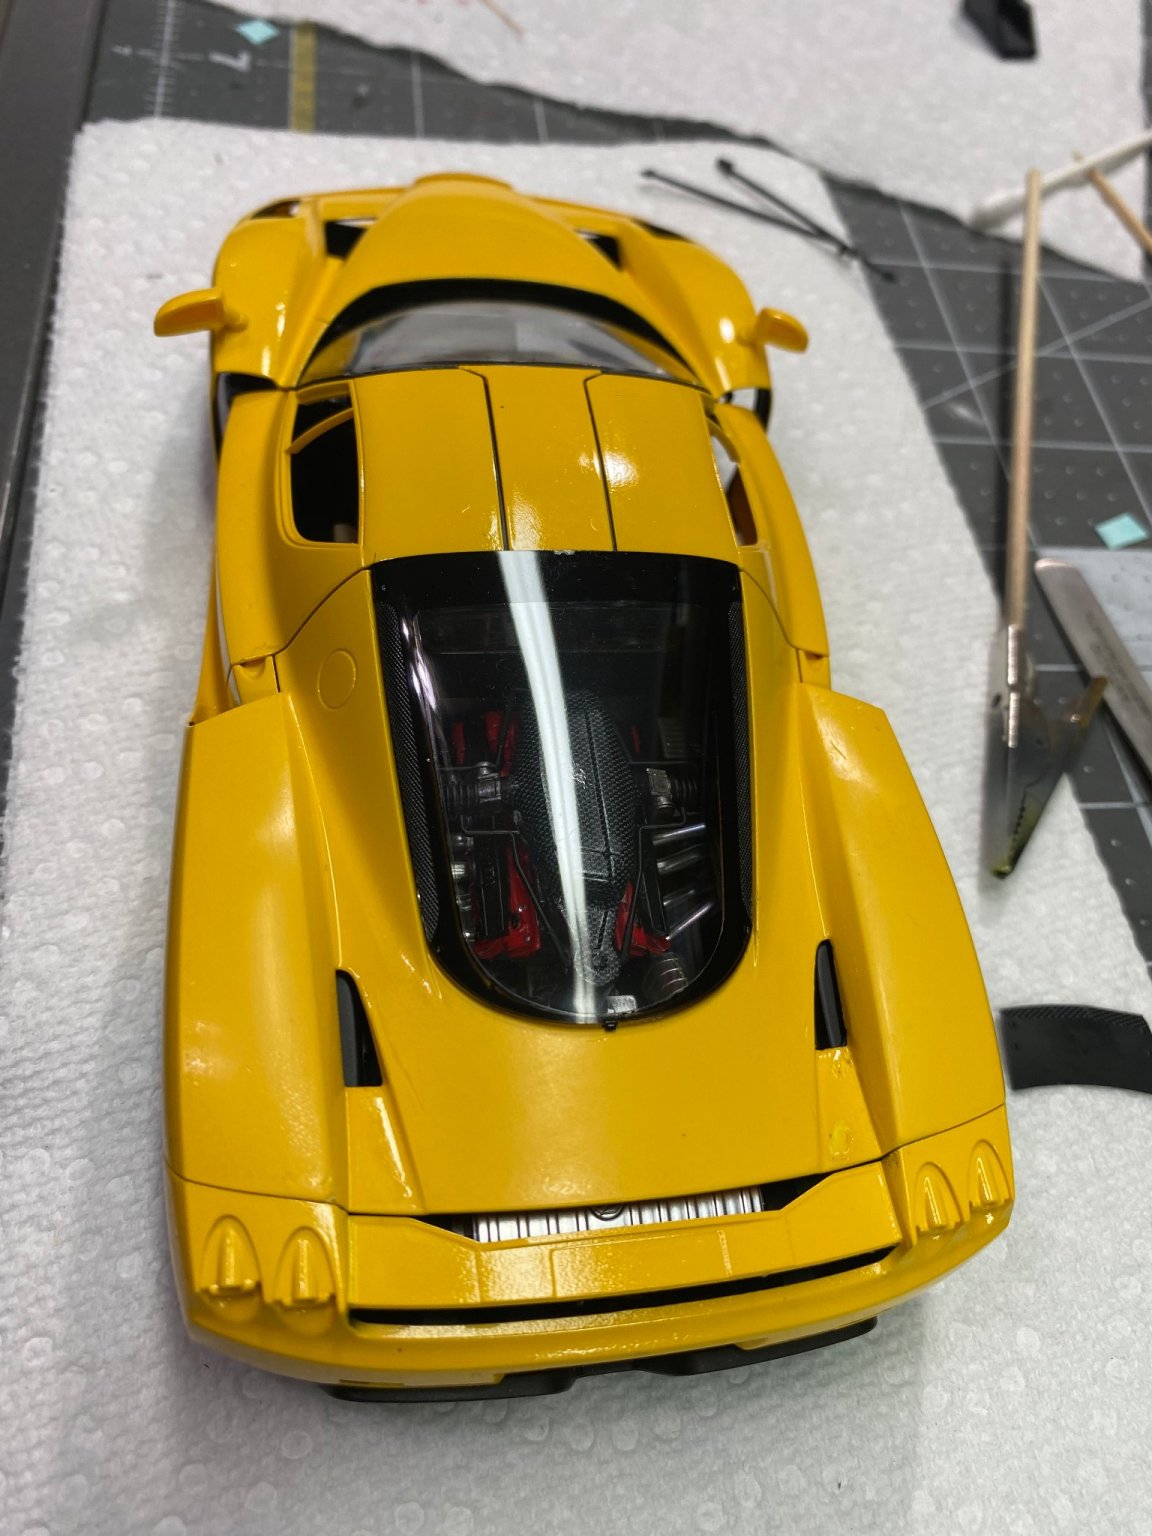
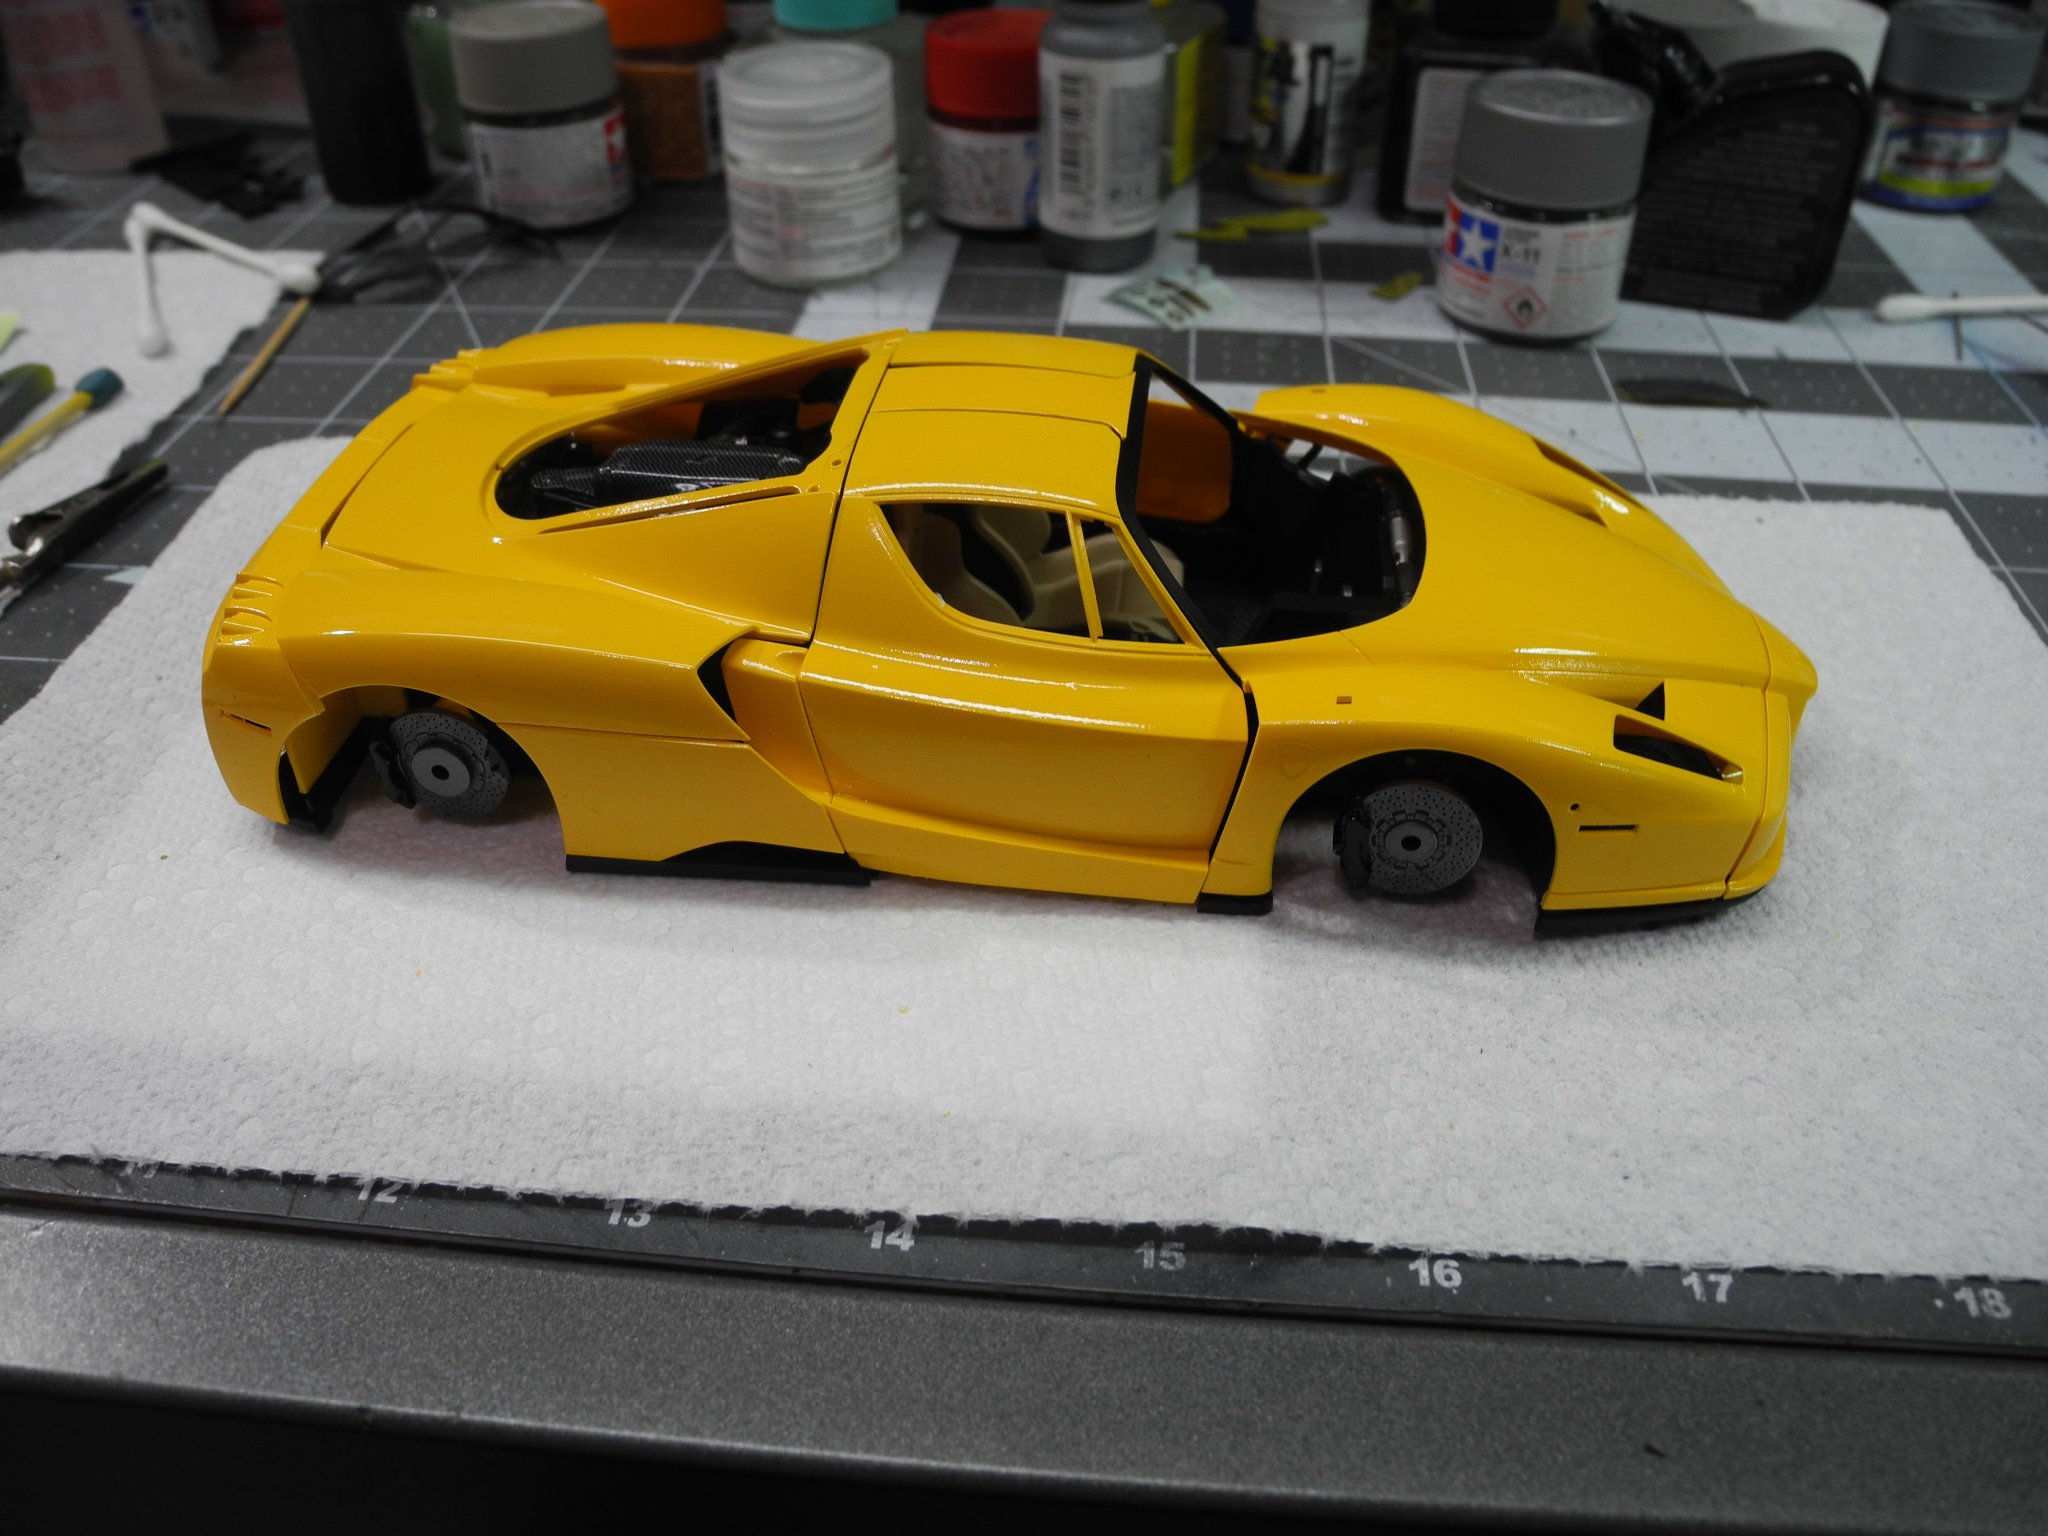
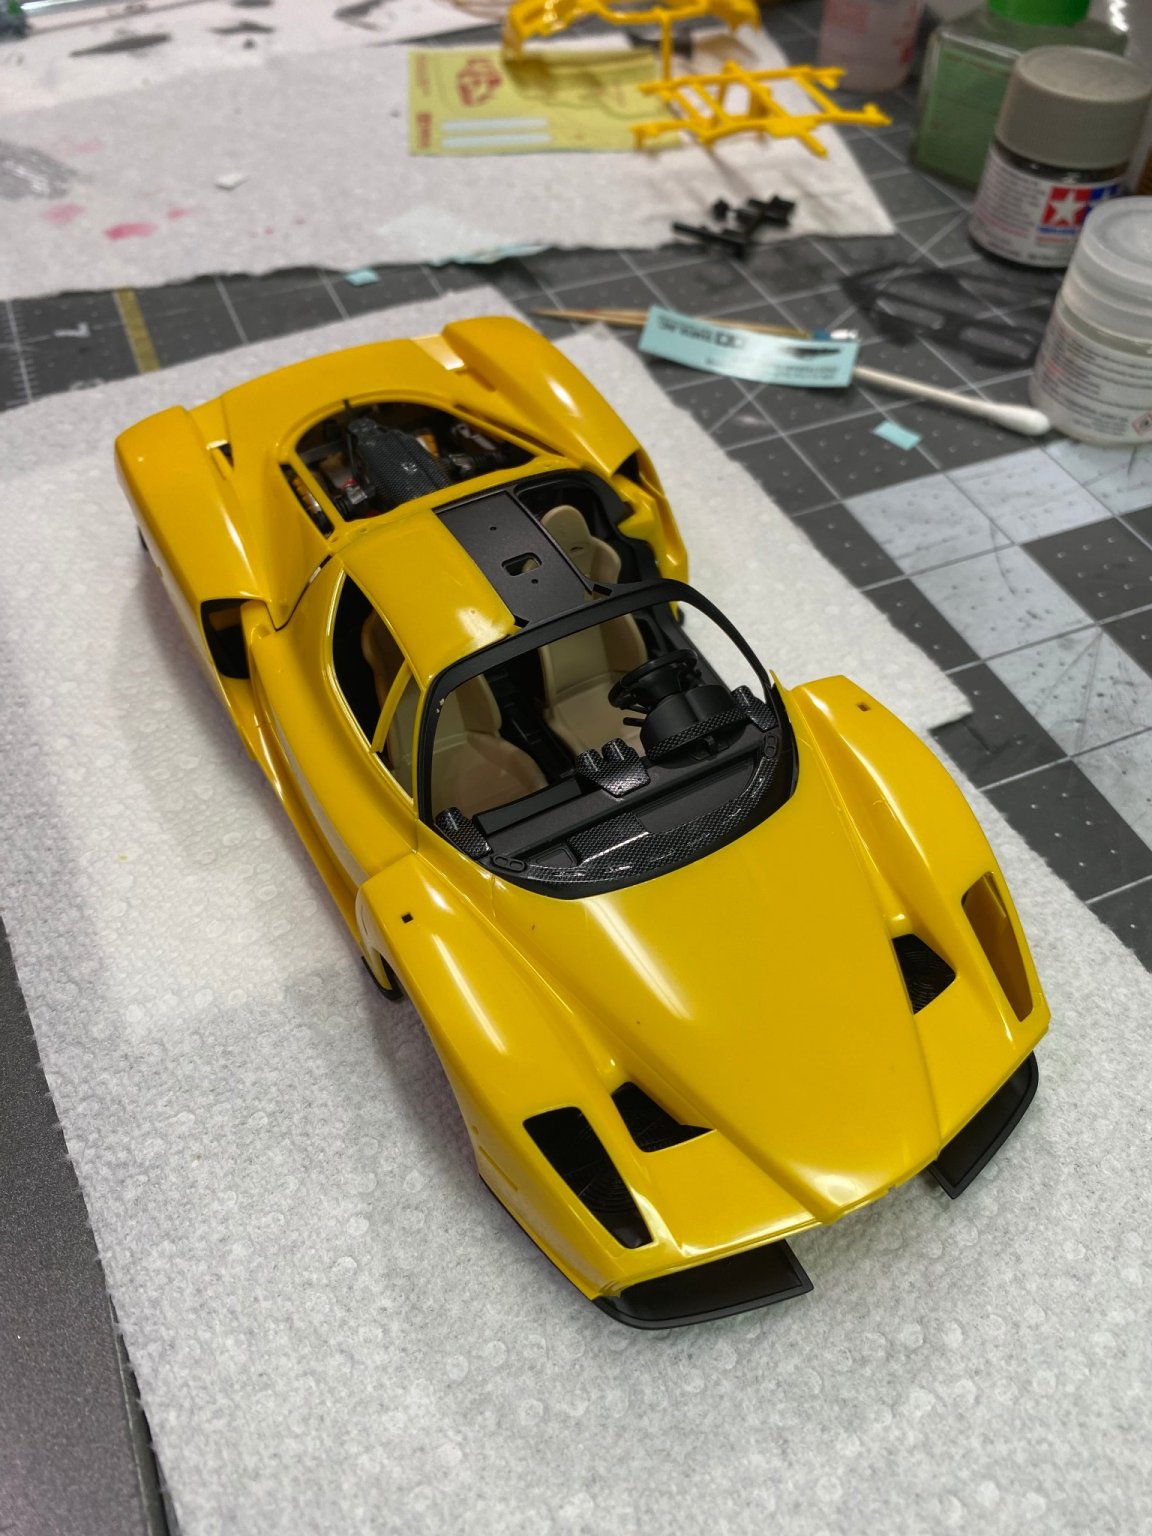
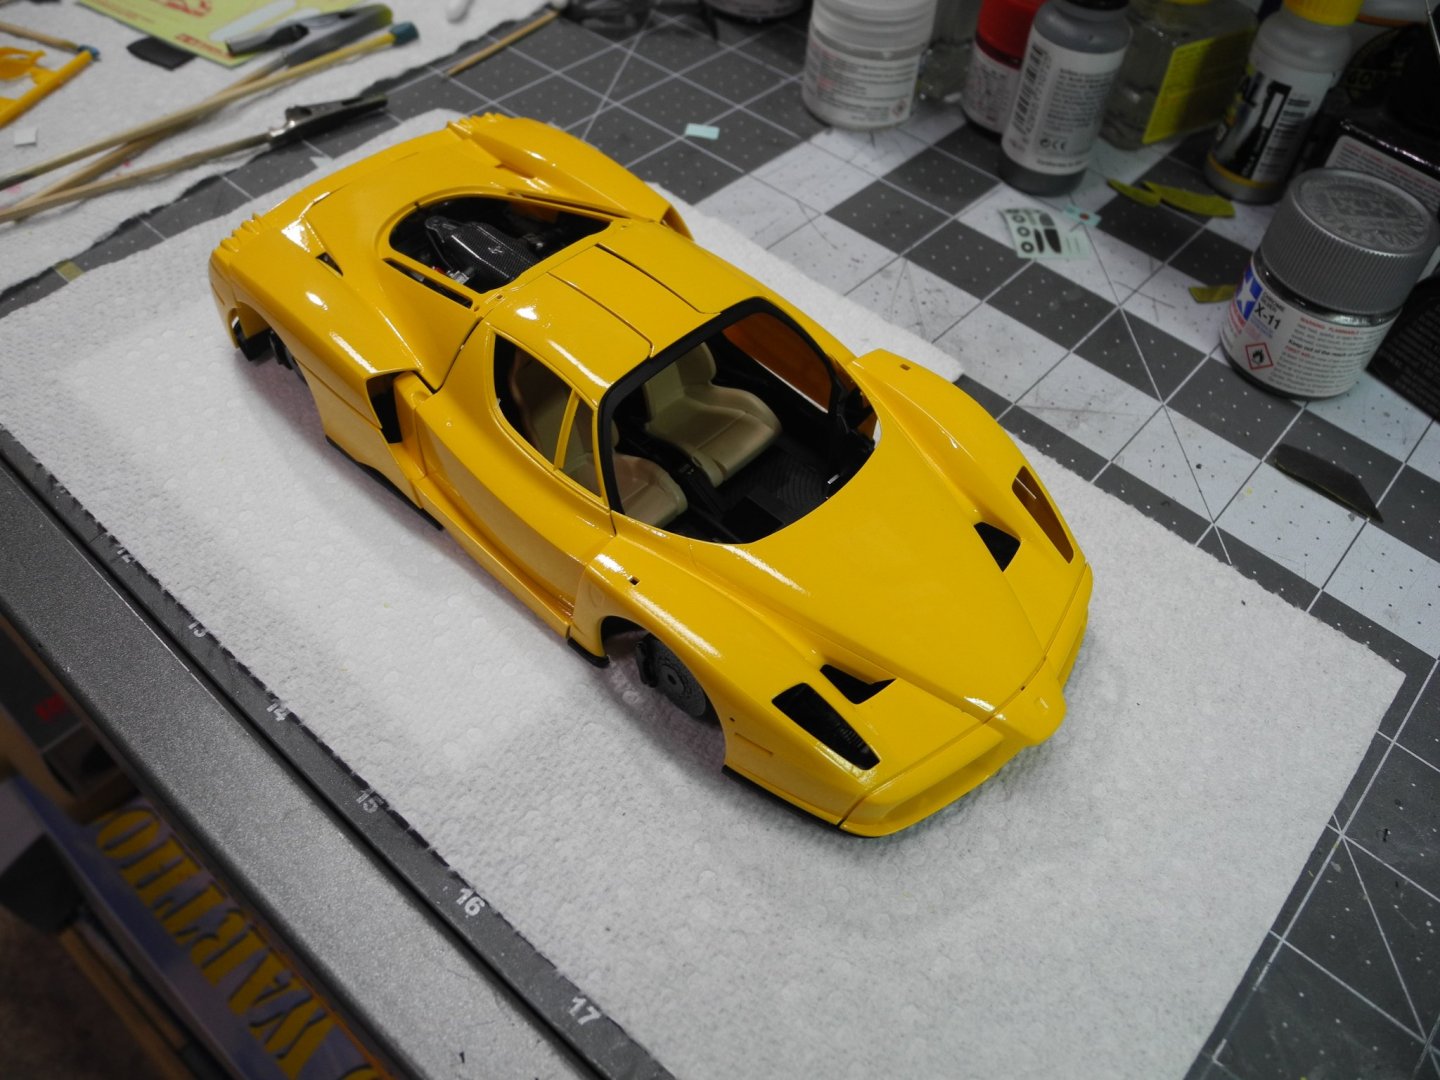
Dry fit mockup...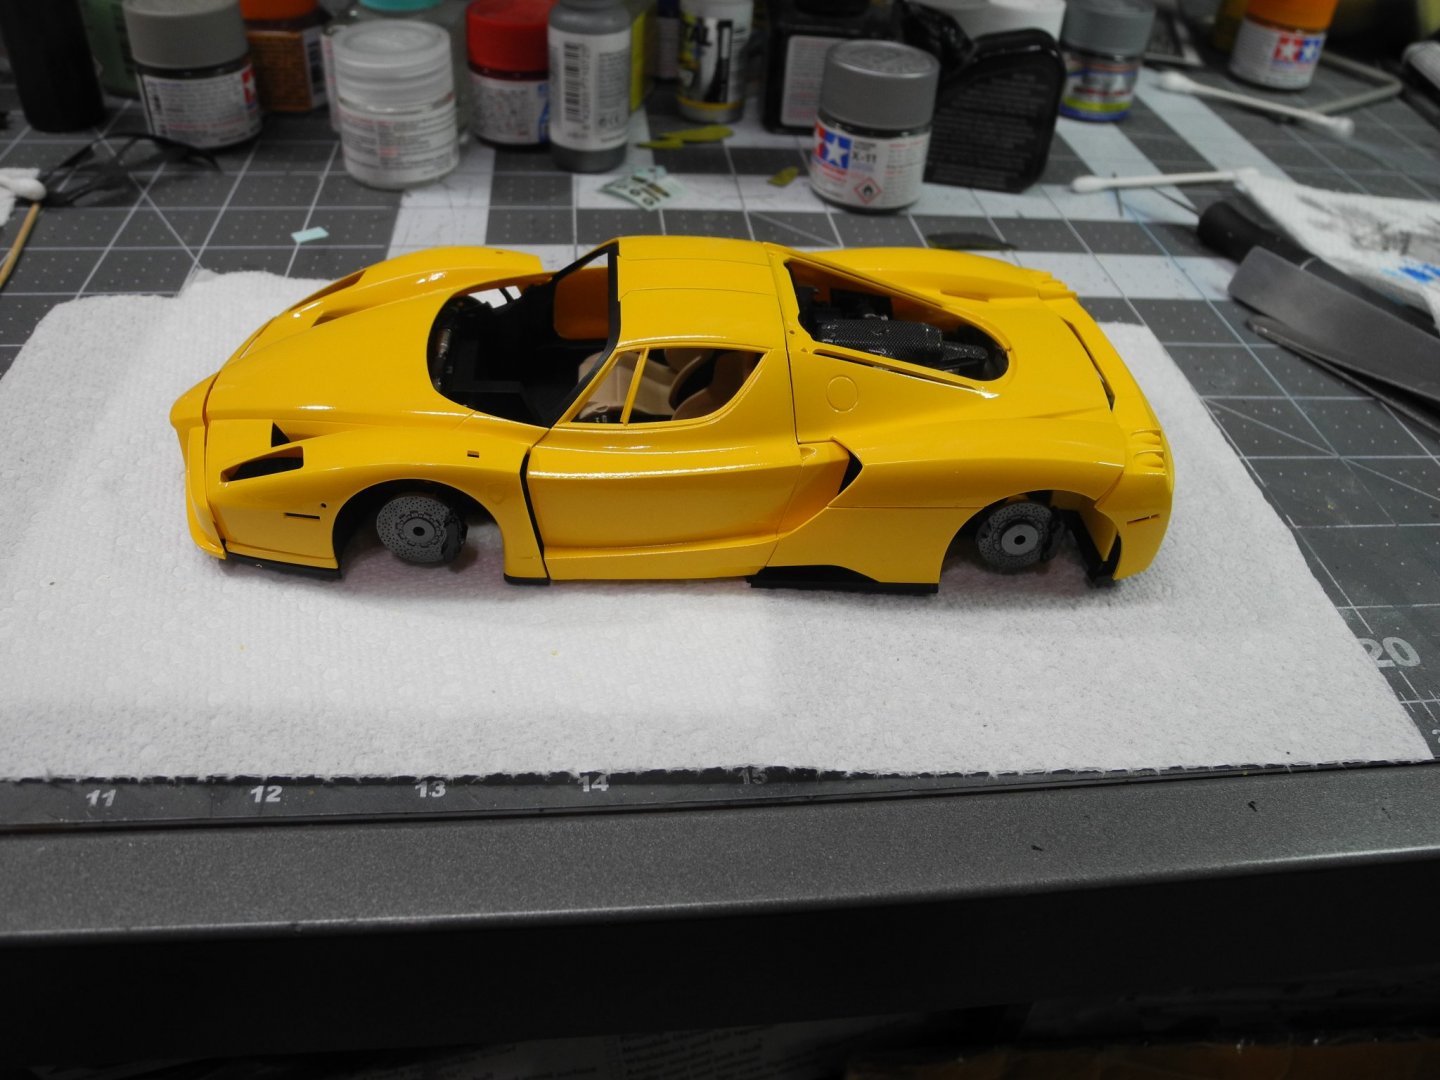


- 128 replies
-
- 13
-
-
Enzo Ferrari by CDW - FINISHED - Tamiya 1:24 Scale
CDW replied to CDW's topic in Non-ship/categorised builds
Just applied the clear coat on the body parts. Once the parts dry over night, will begin masking for painting the undersides of the body parts.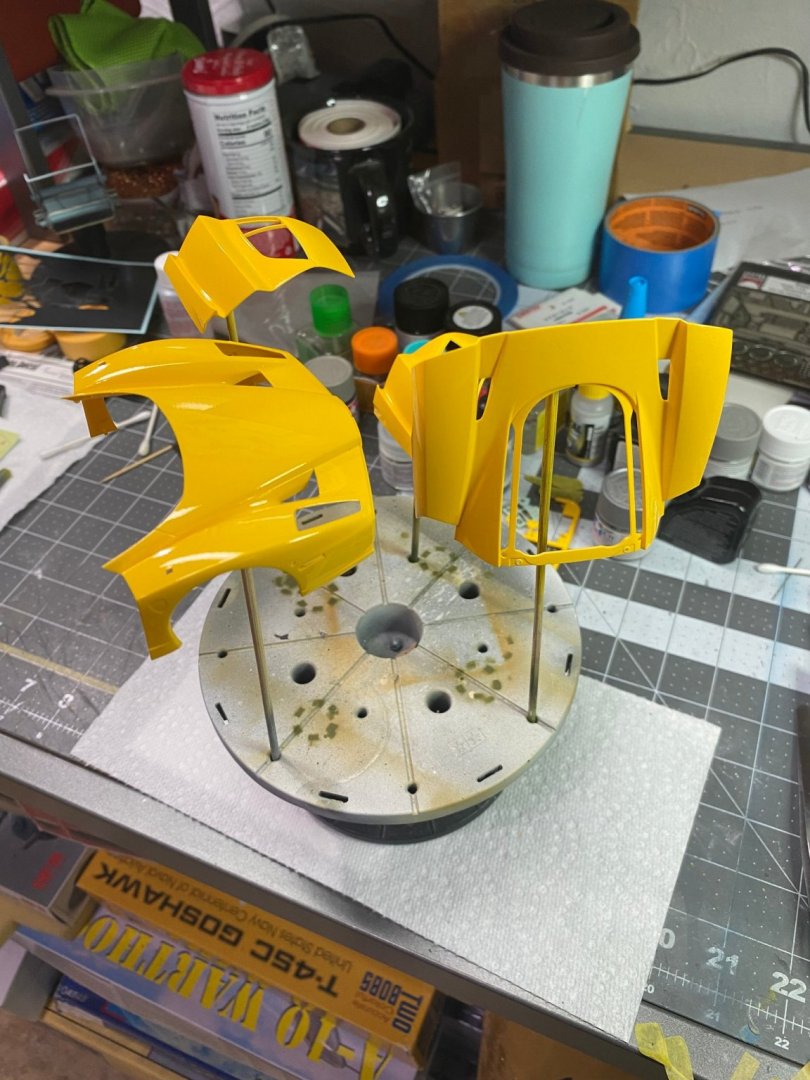
- 128 replies
-
- 11
-
-
Enzo Ferrari by CDW - FINISHED - Tamiya 1:24 Scale
CDW replied to CDW's topic in Non-ship/categorised builds
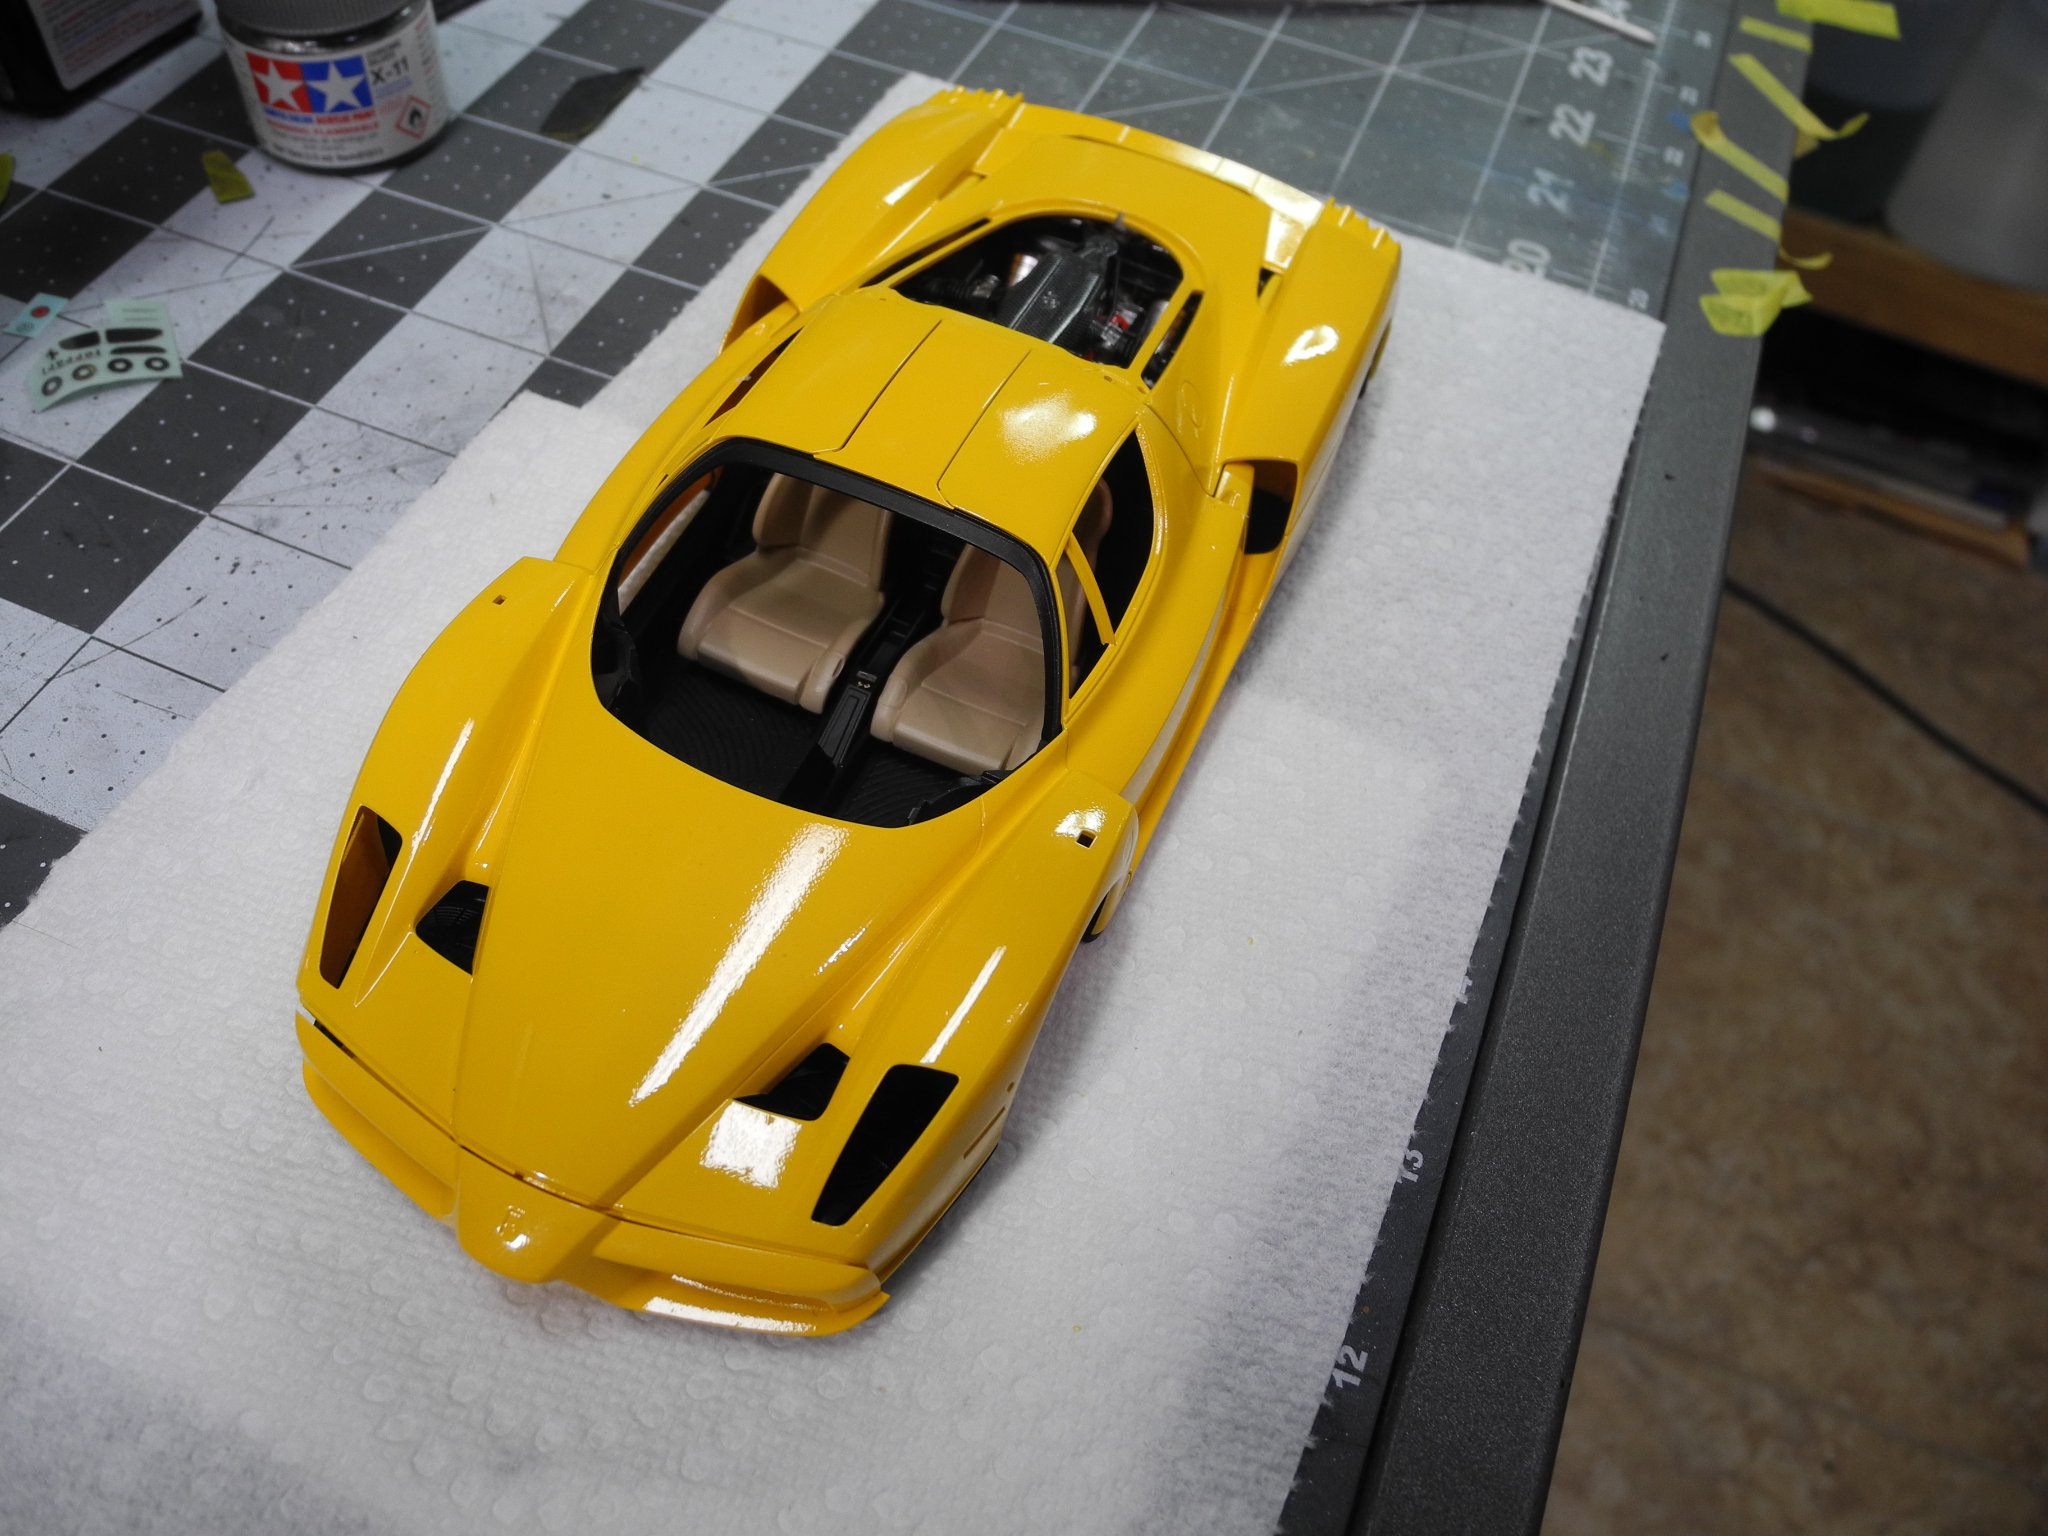
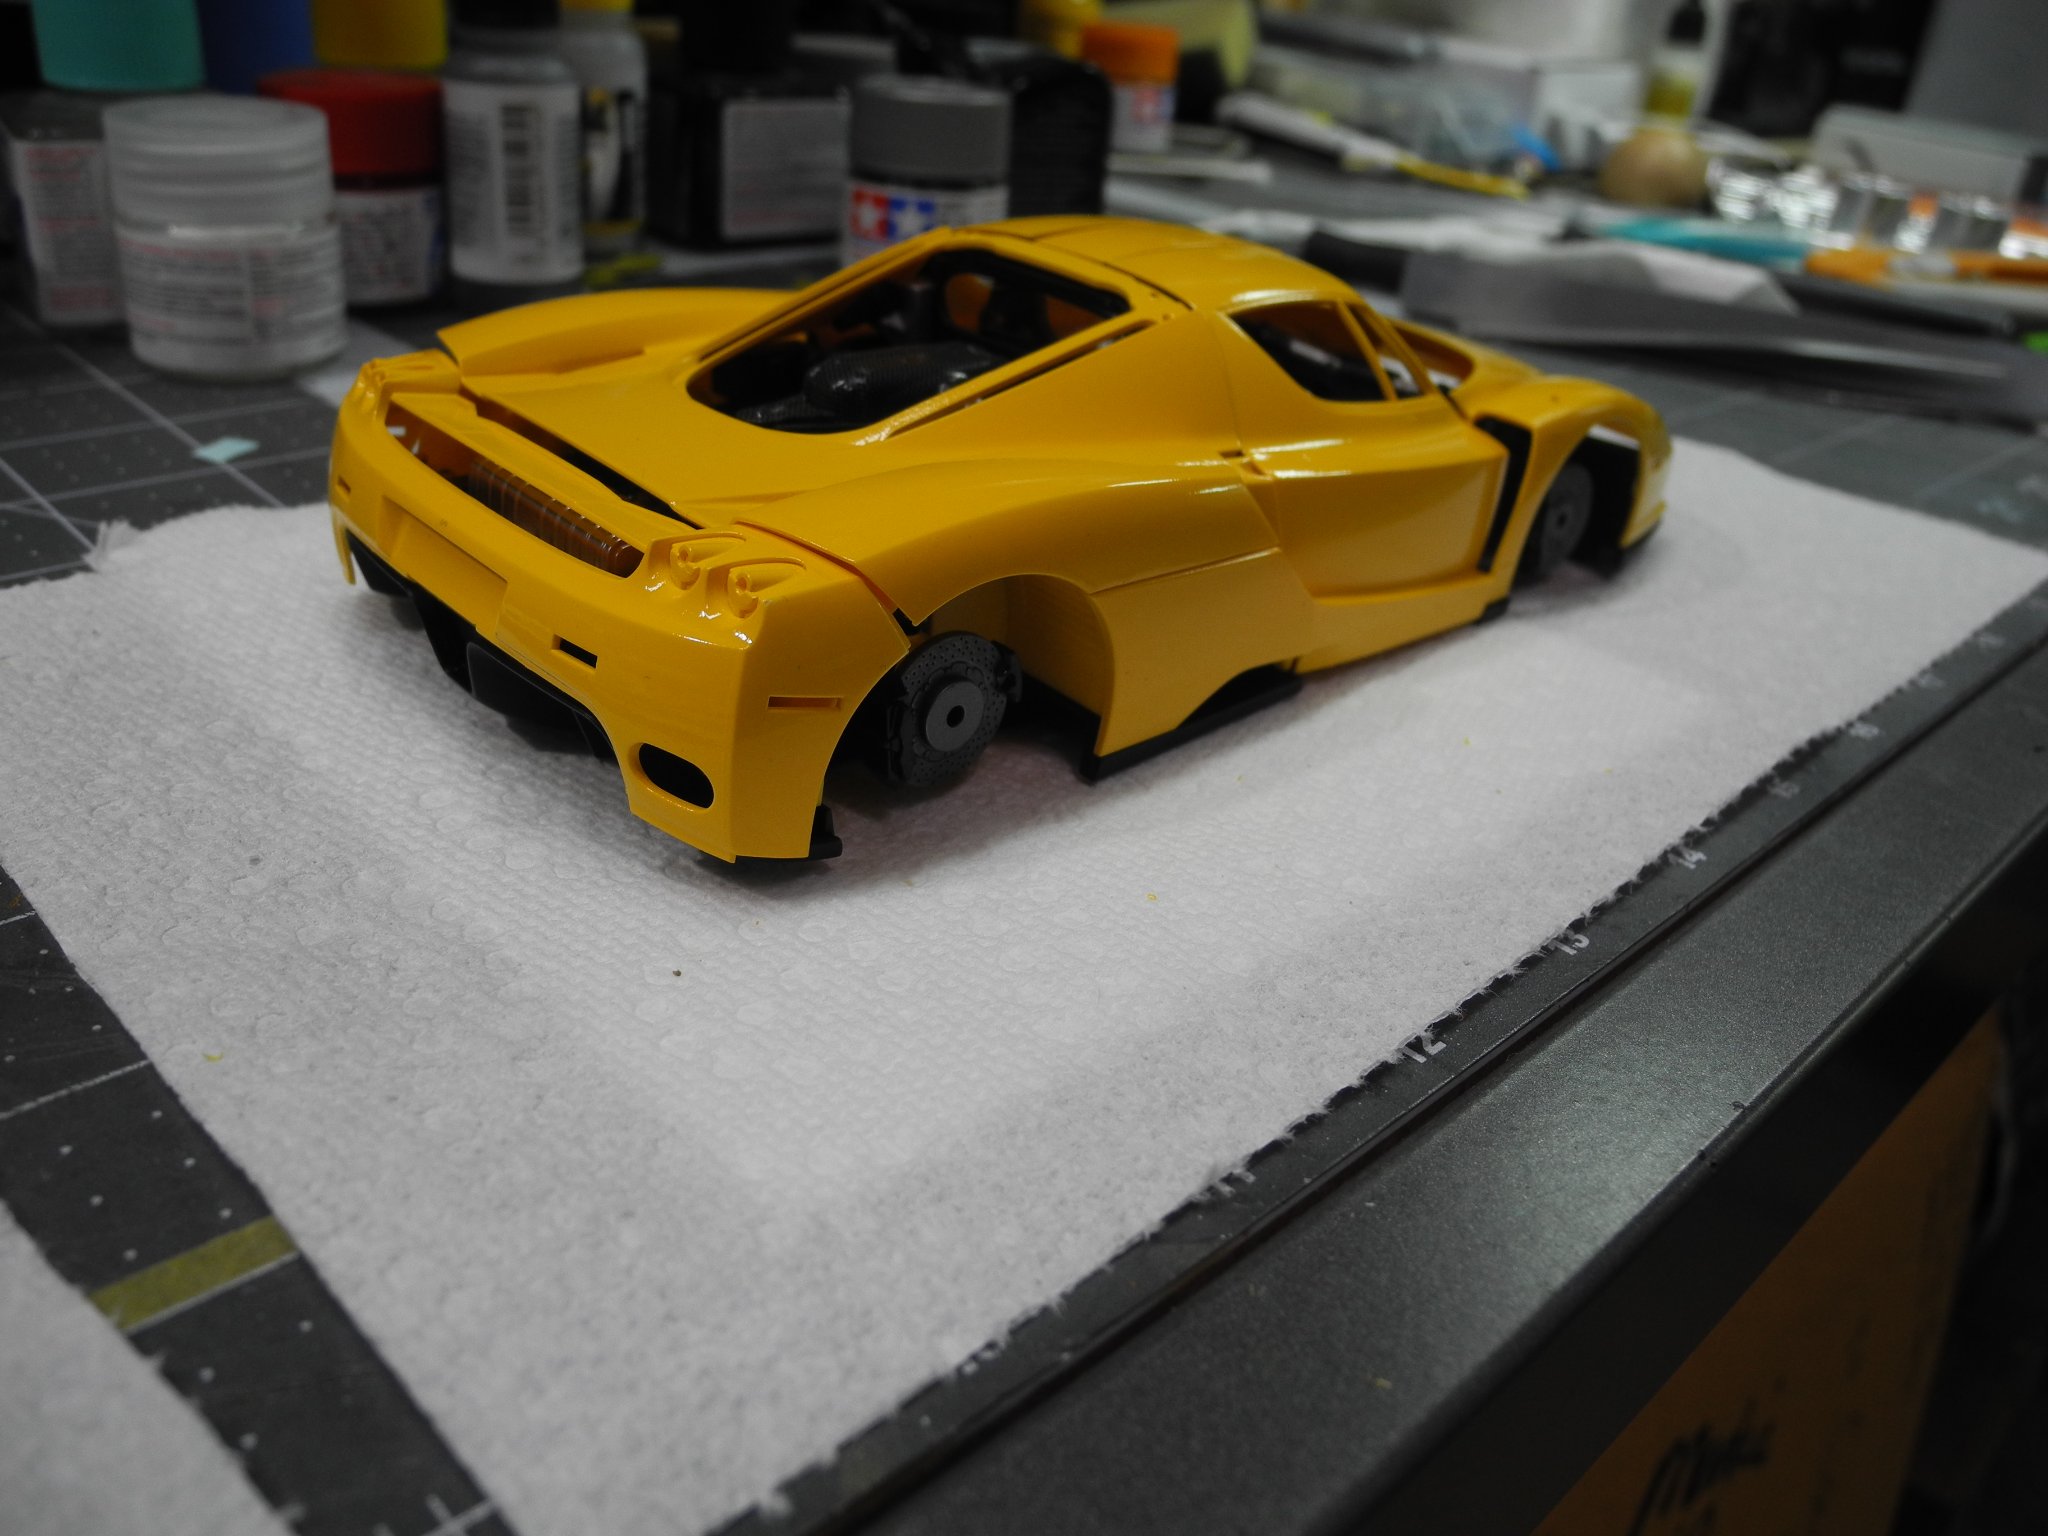
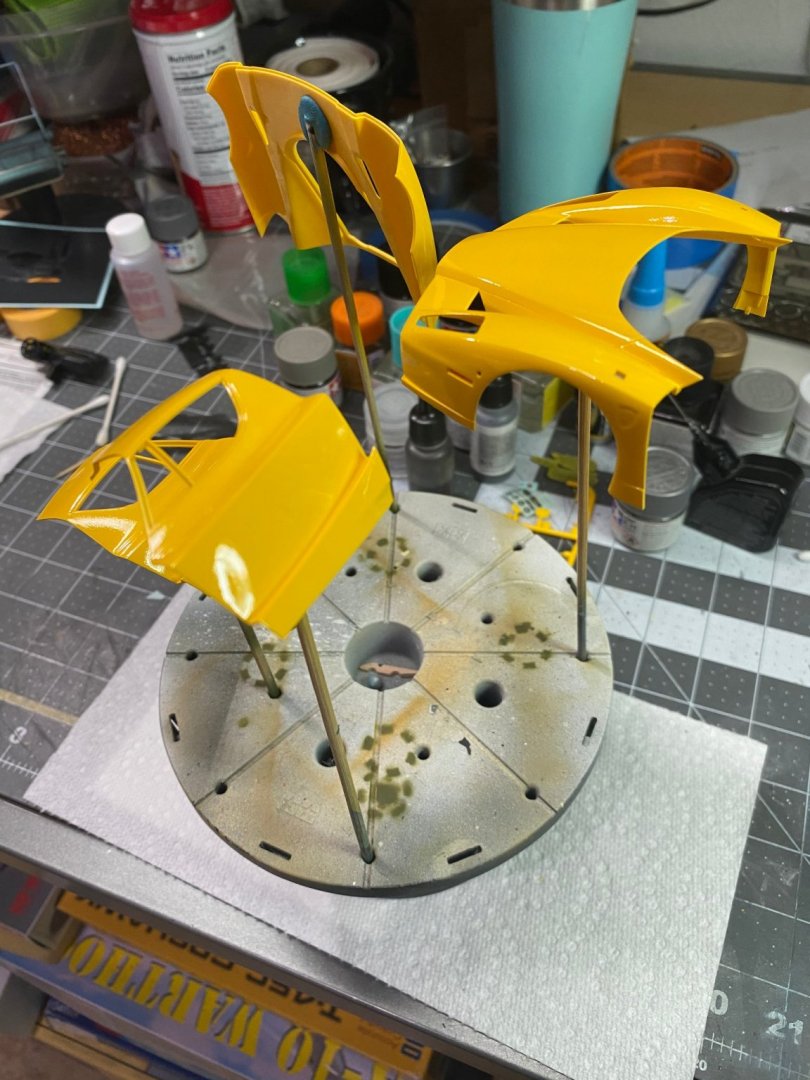
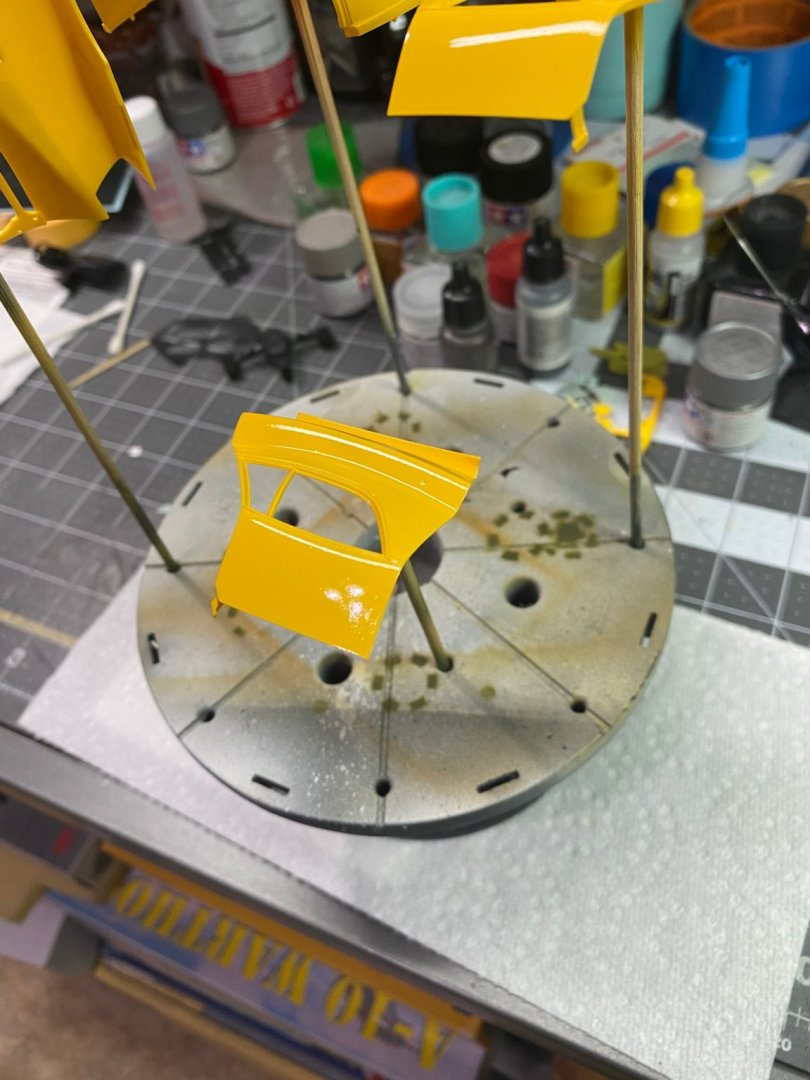
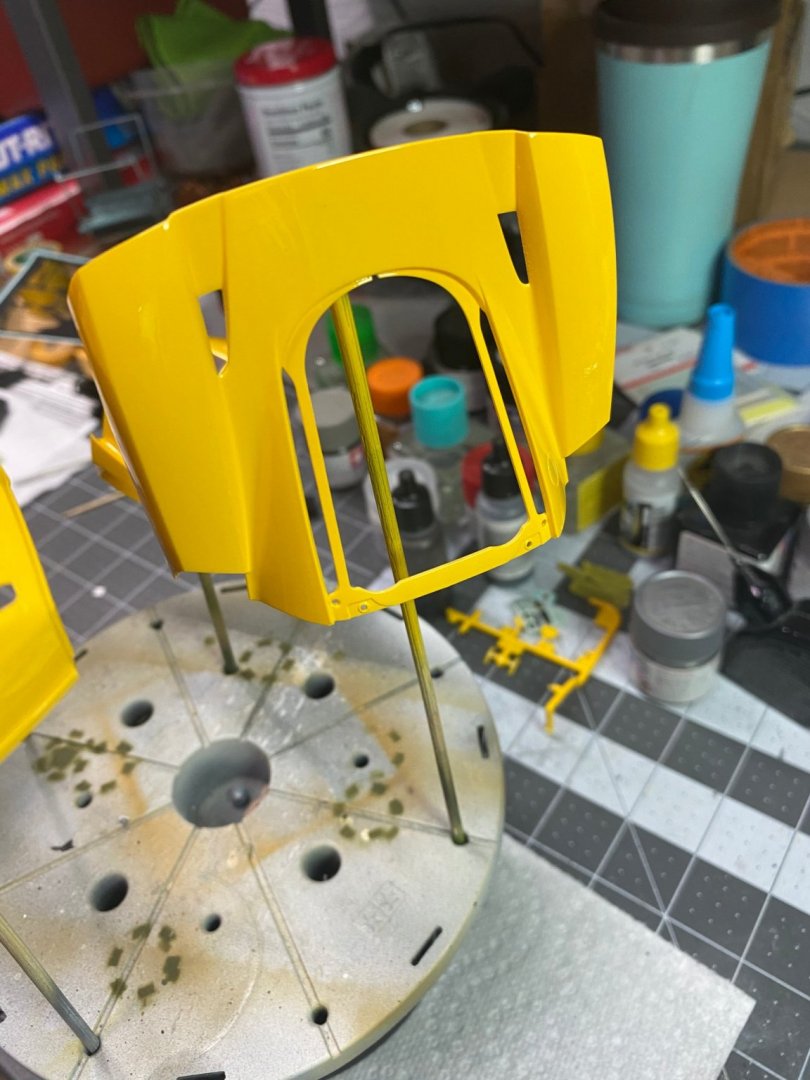
Got some painting on the body done today after some primer last night. Not much to show for photos yet. White primer and yellow paint. Once I get the clear laid on and the undersides painted semi gloss black, will take some photos. The primer is Tamiya white lacquer, the paint is a lacquer giallo modena. Clear will be Mr Color gloss lacquer. -
Enzo Ferrari by CDW - FINISHED - Tamiya 1:24 Scale
CDW replied to CDW's topic in Non-ship/categorised builds
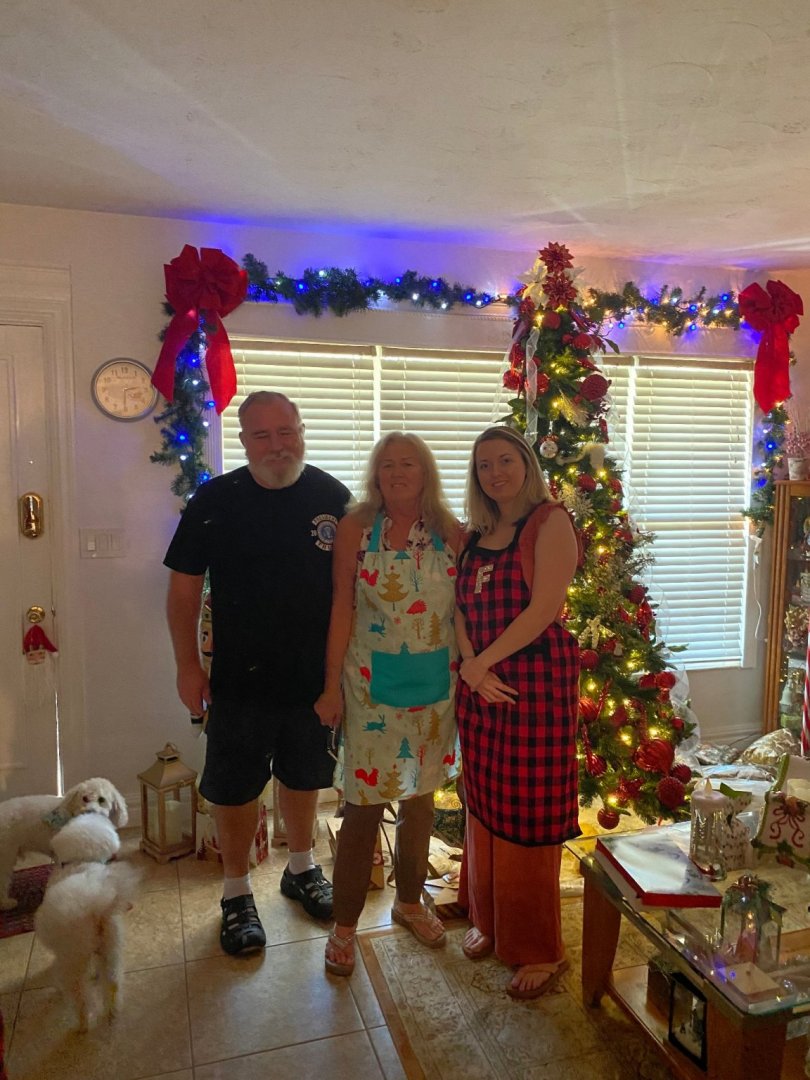
And everyone is still here, having a ball together. -
Enzo Ferrari by CDW - FINISHED - Tamiya 1:24 Scale
CDW replied to CDW's topic in Non-ship/categorised builds
All my Turkey Preppers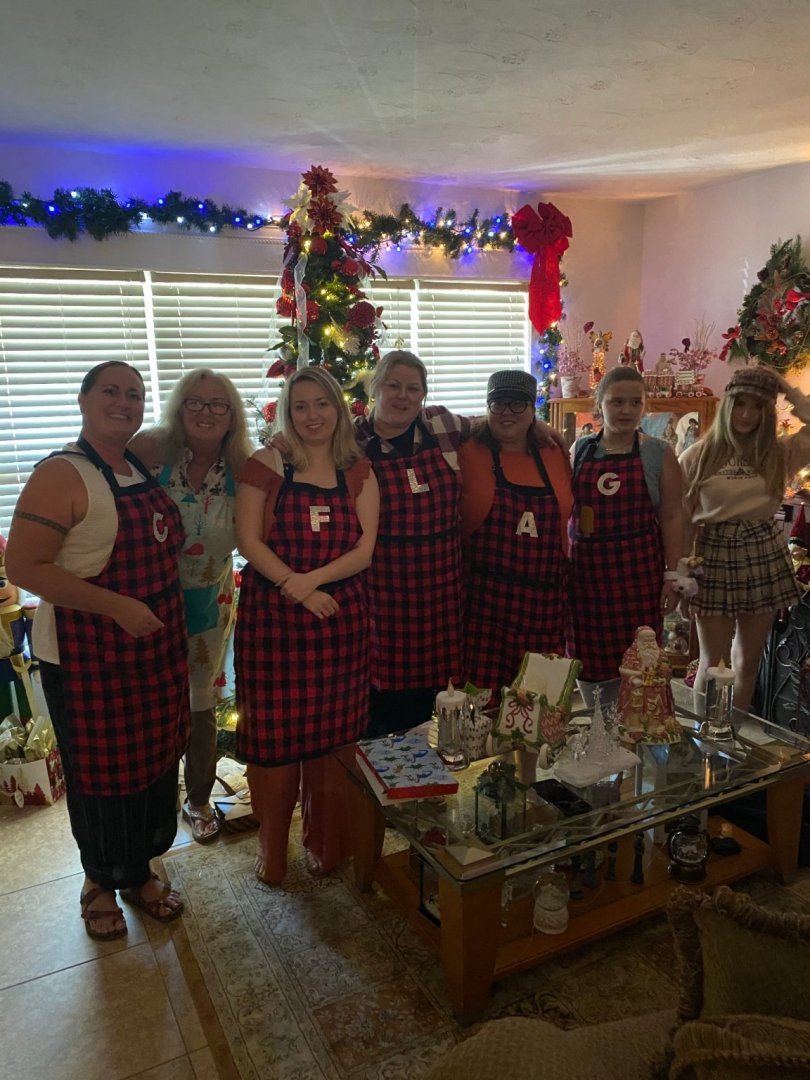
- 128 replies
-
- 11
-
-
Enzo Ferrari by CDW - FINISHED - Tamiya 1:24 Scale
CDW replied to CDW's topic in Non-ship/categorised builds
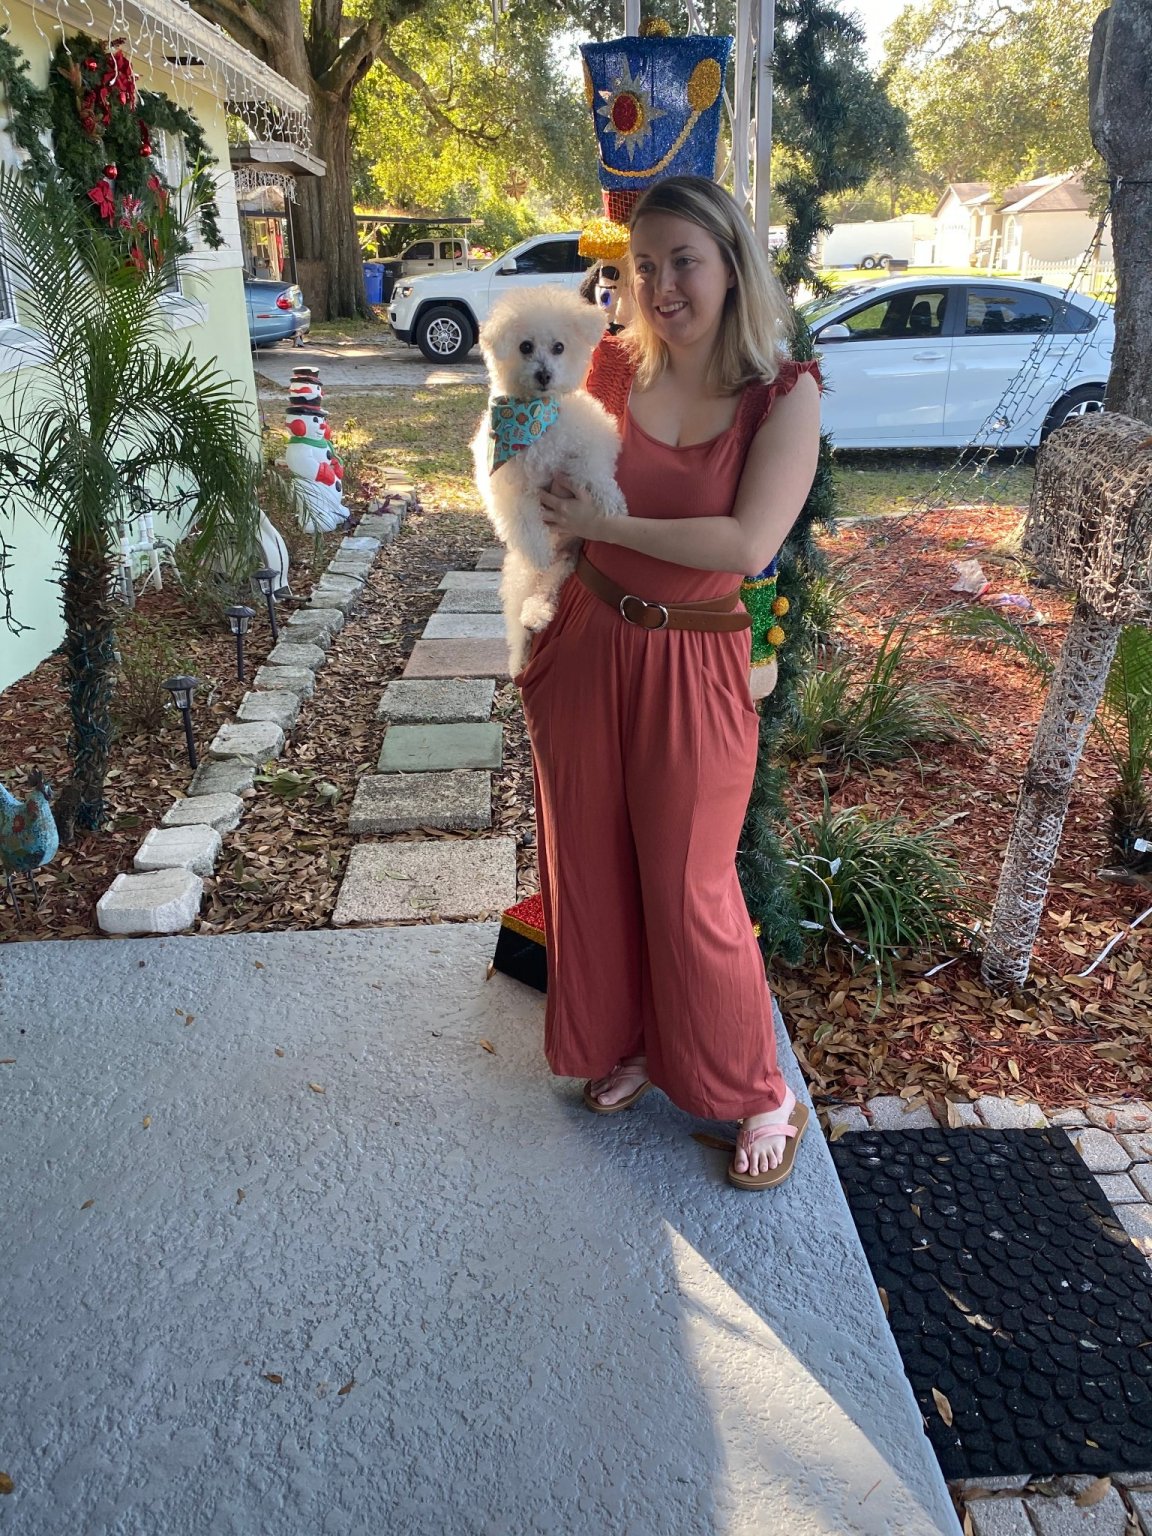
My baby girl is here visiting us from New Hampshire.
- 128 replies
-
- 10
-
-
Enzo Ferrari by CDW - FINISHED - Tamiya 1:24 Scale
CDW replied to CDW's topic in Non-ship/categorised builds
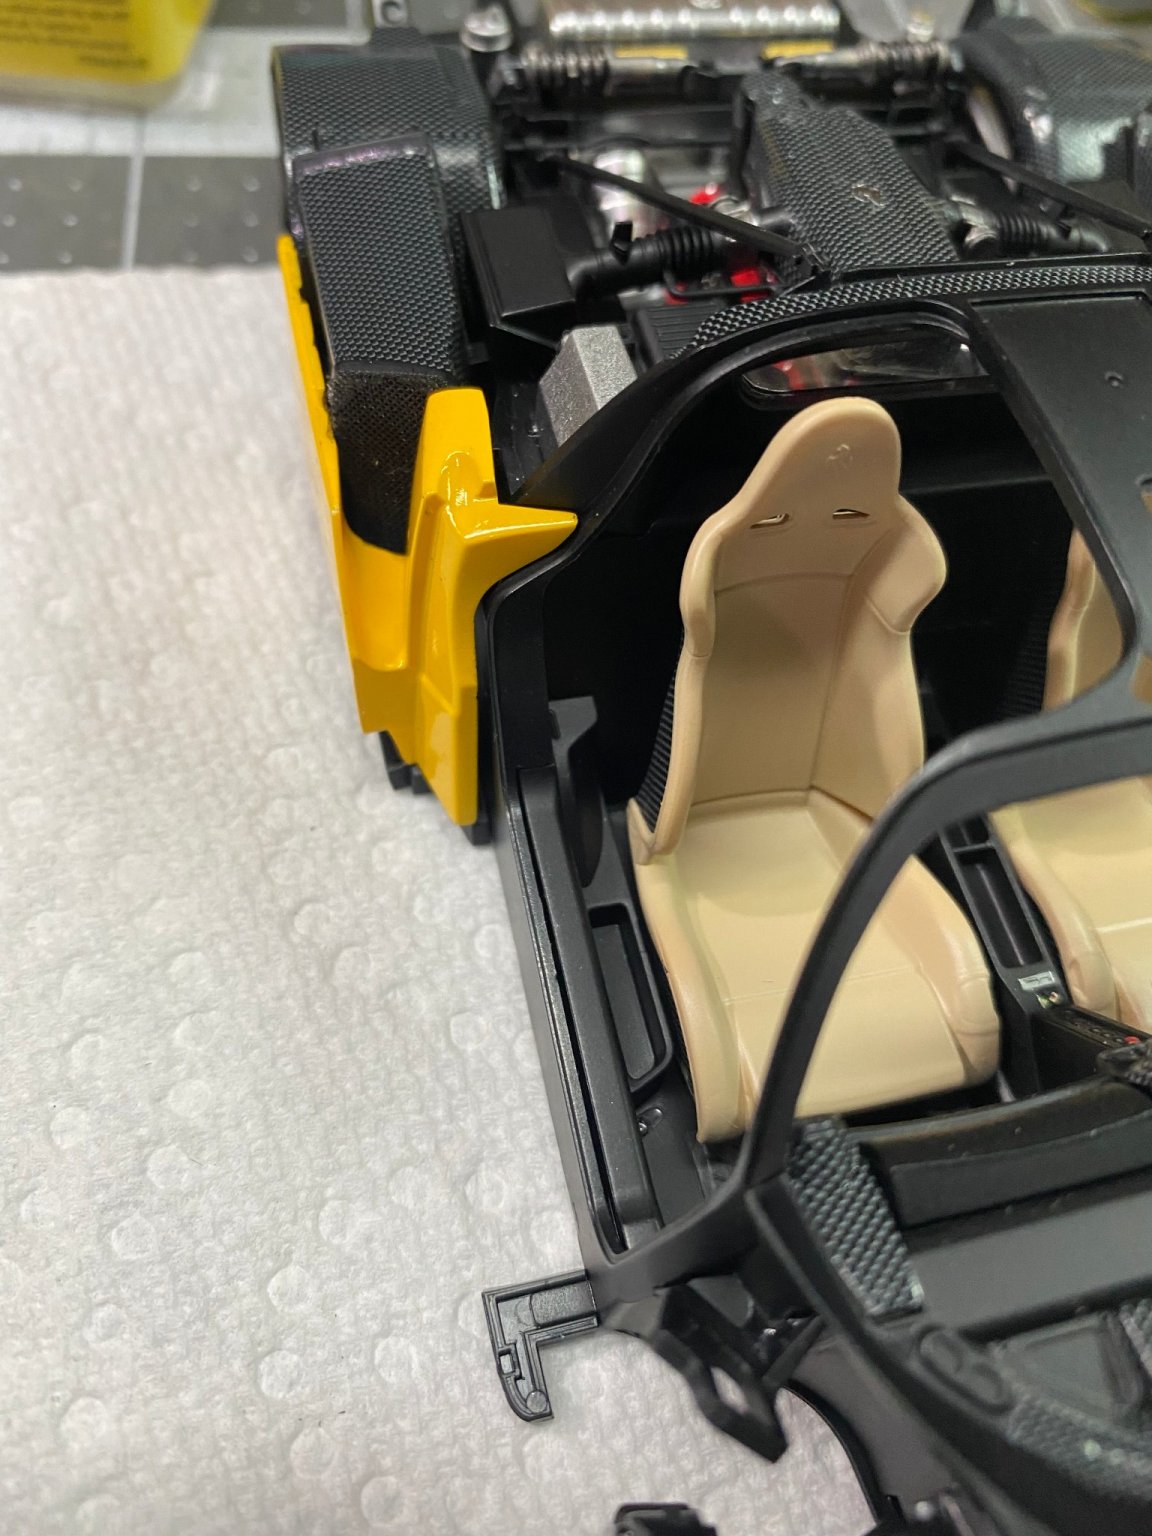
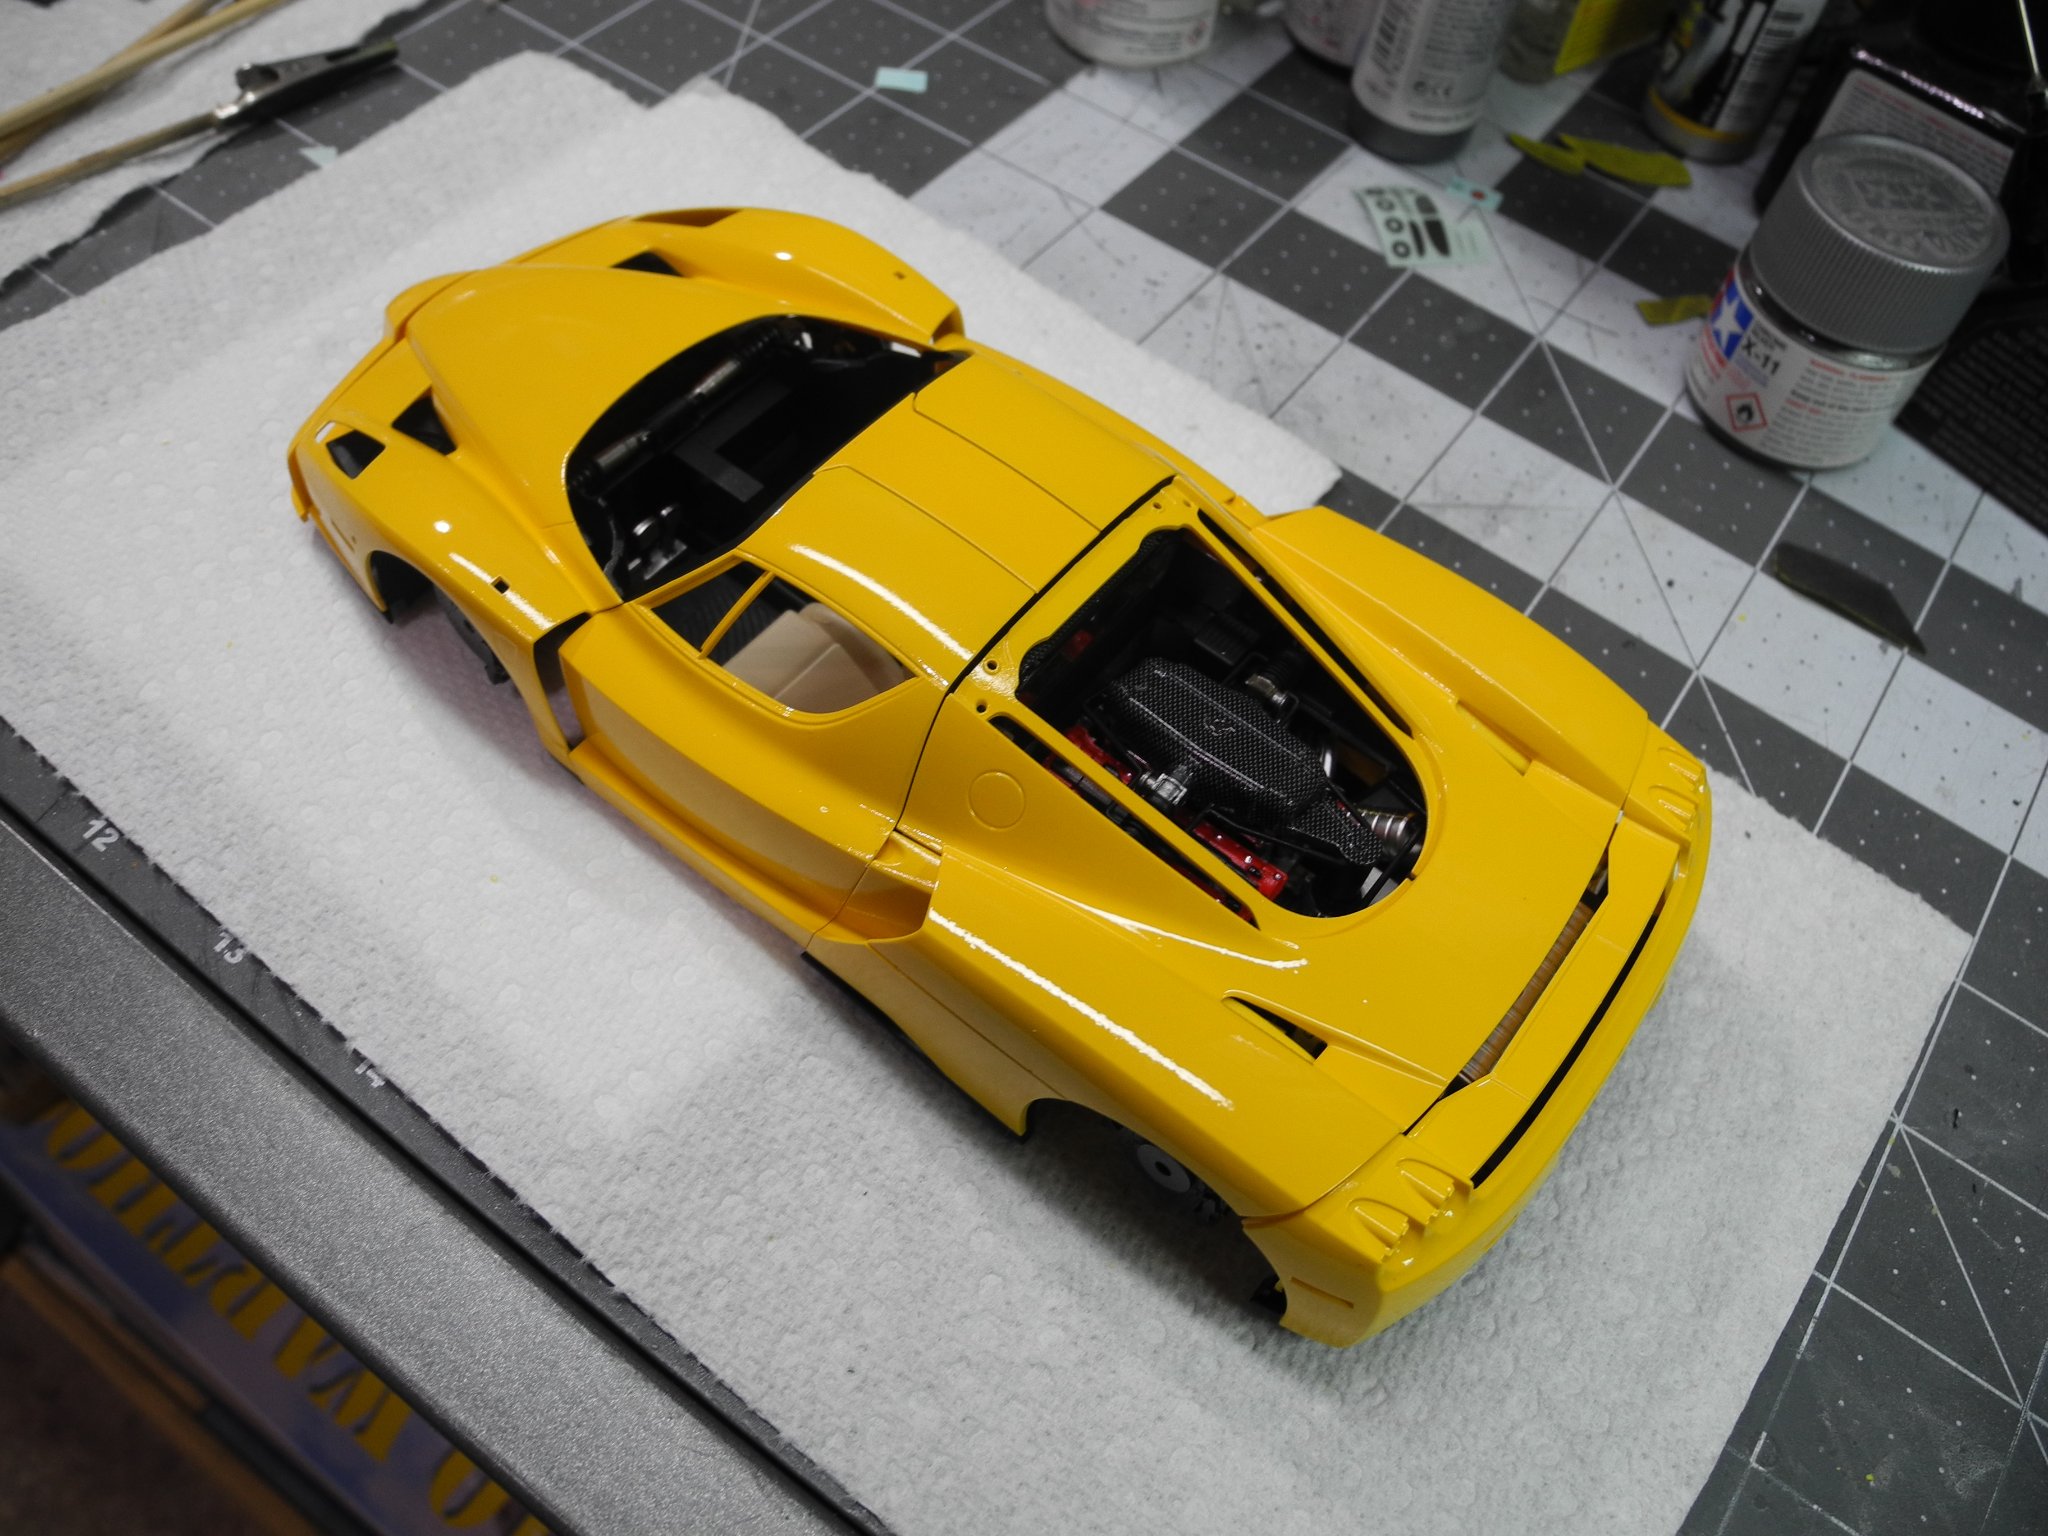
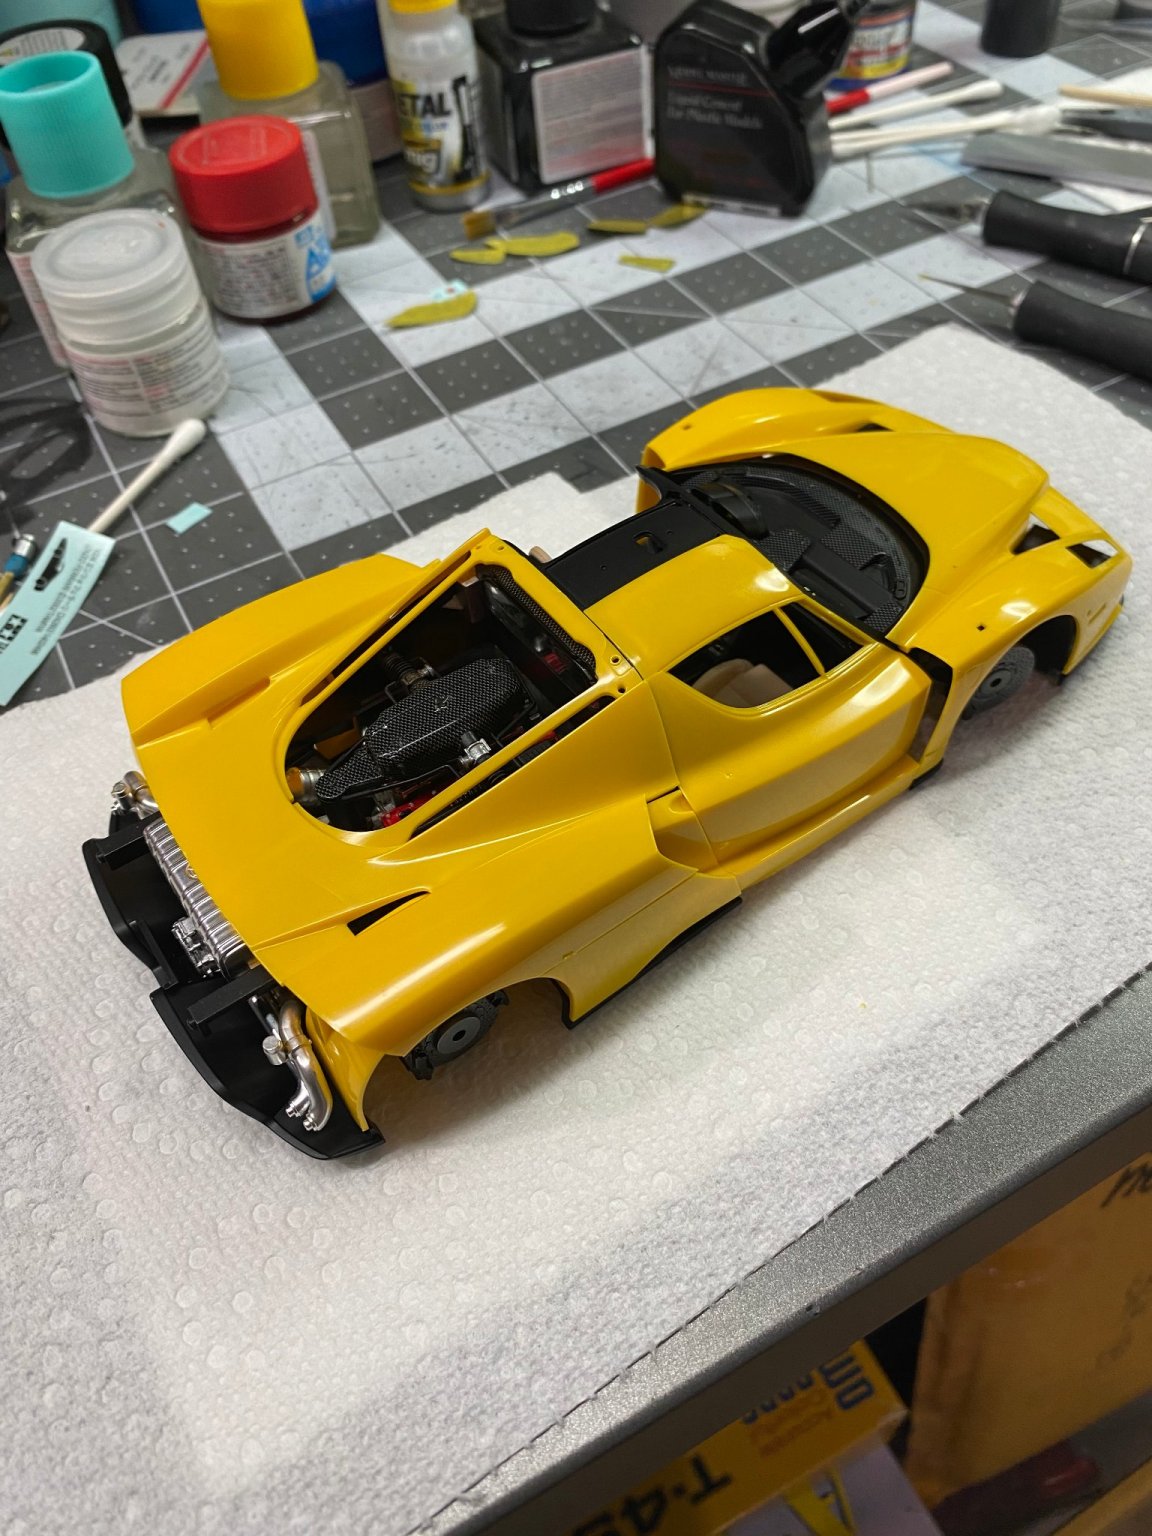
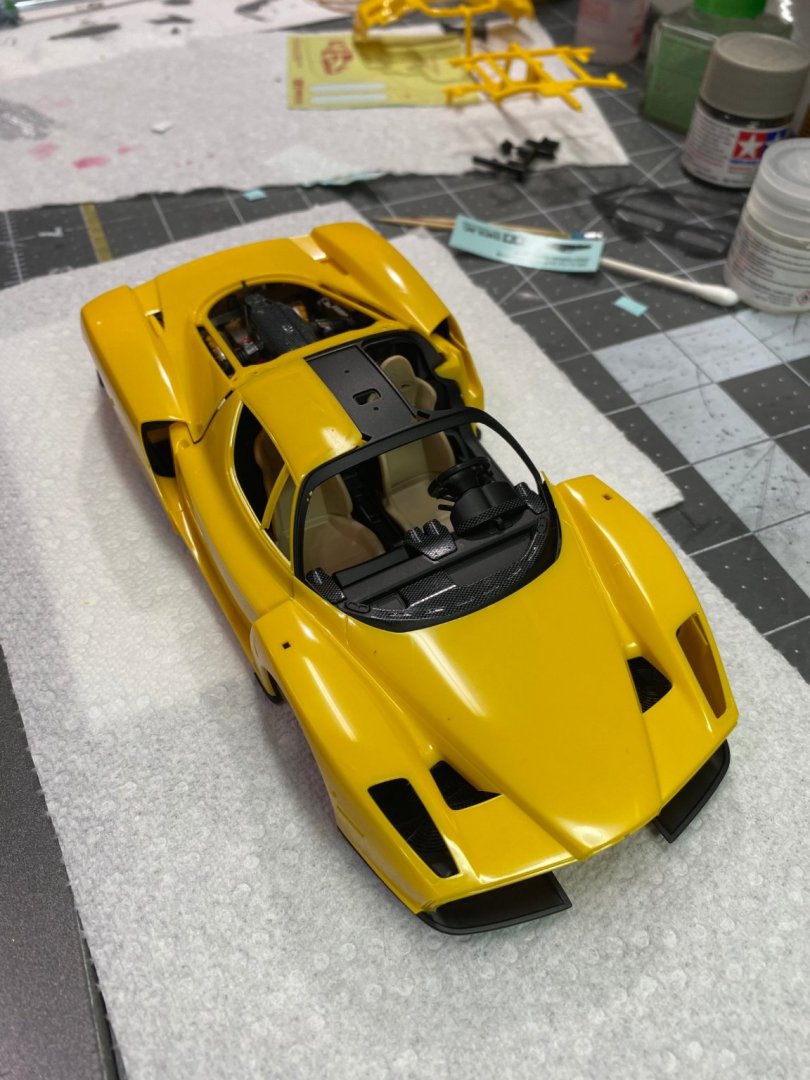
Thanks Amos. Hope you are enjoying the build thread as much as I am in building the model. Tamiya has engineered a high quality model here. Before the body panels are painted, they have been positioned for a dry fit. Everything looks like it's going to go together as smooth as silk. Happy Thanksgiving to my American friends.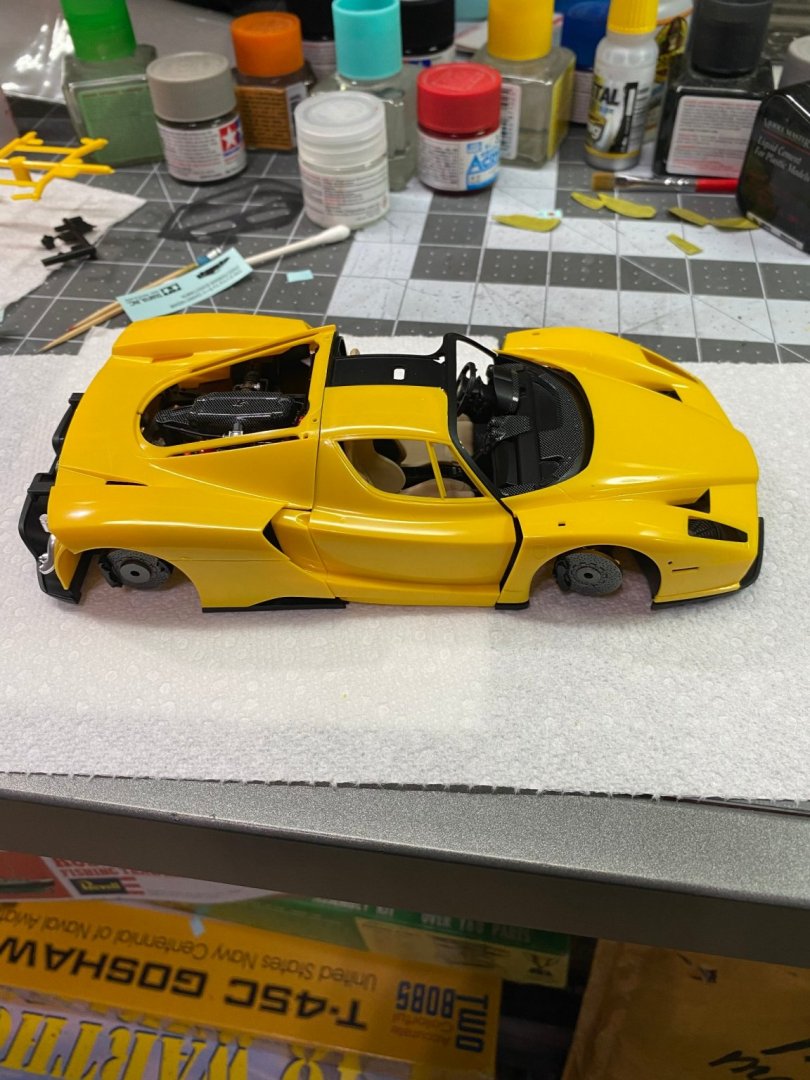
- 128 replies
-
- 14
-
-
Enzo Ferrari by CDW - FINISHED - Tamiya 1:24 Scale
CDW replied to CDW's topic in Non-ship/categorised builds
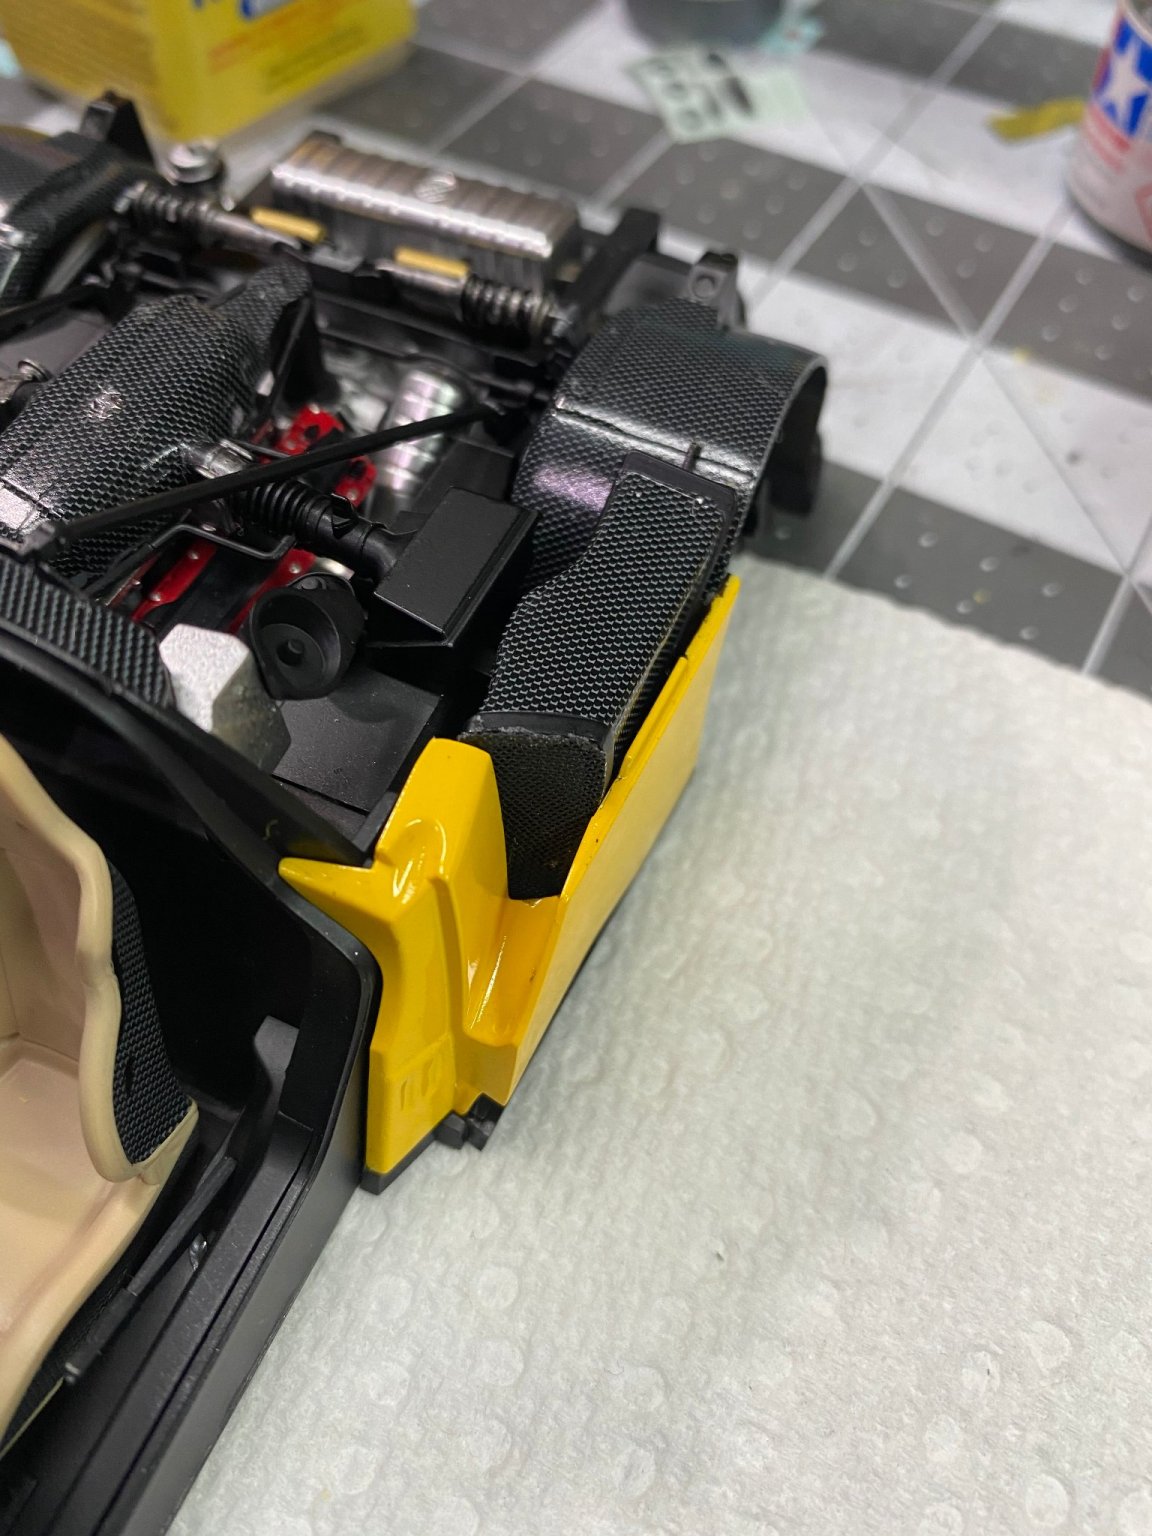
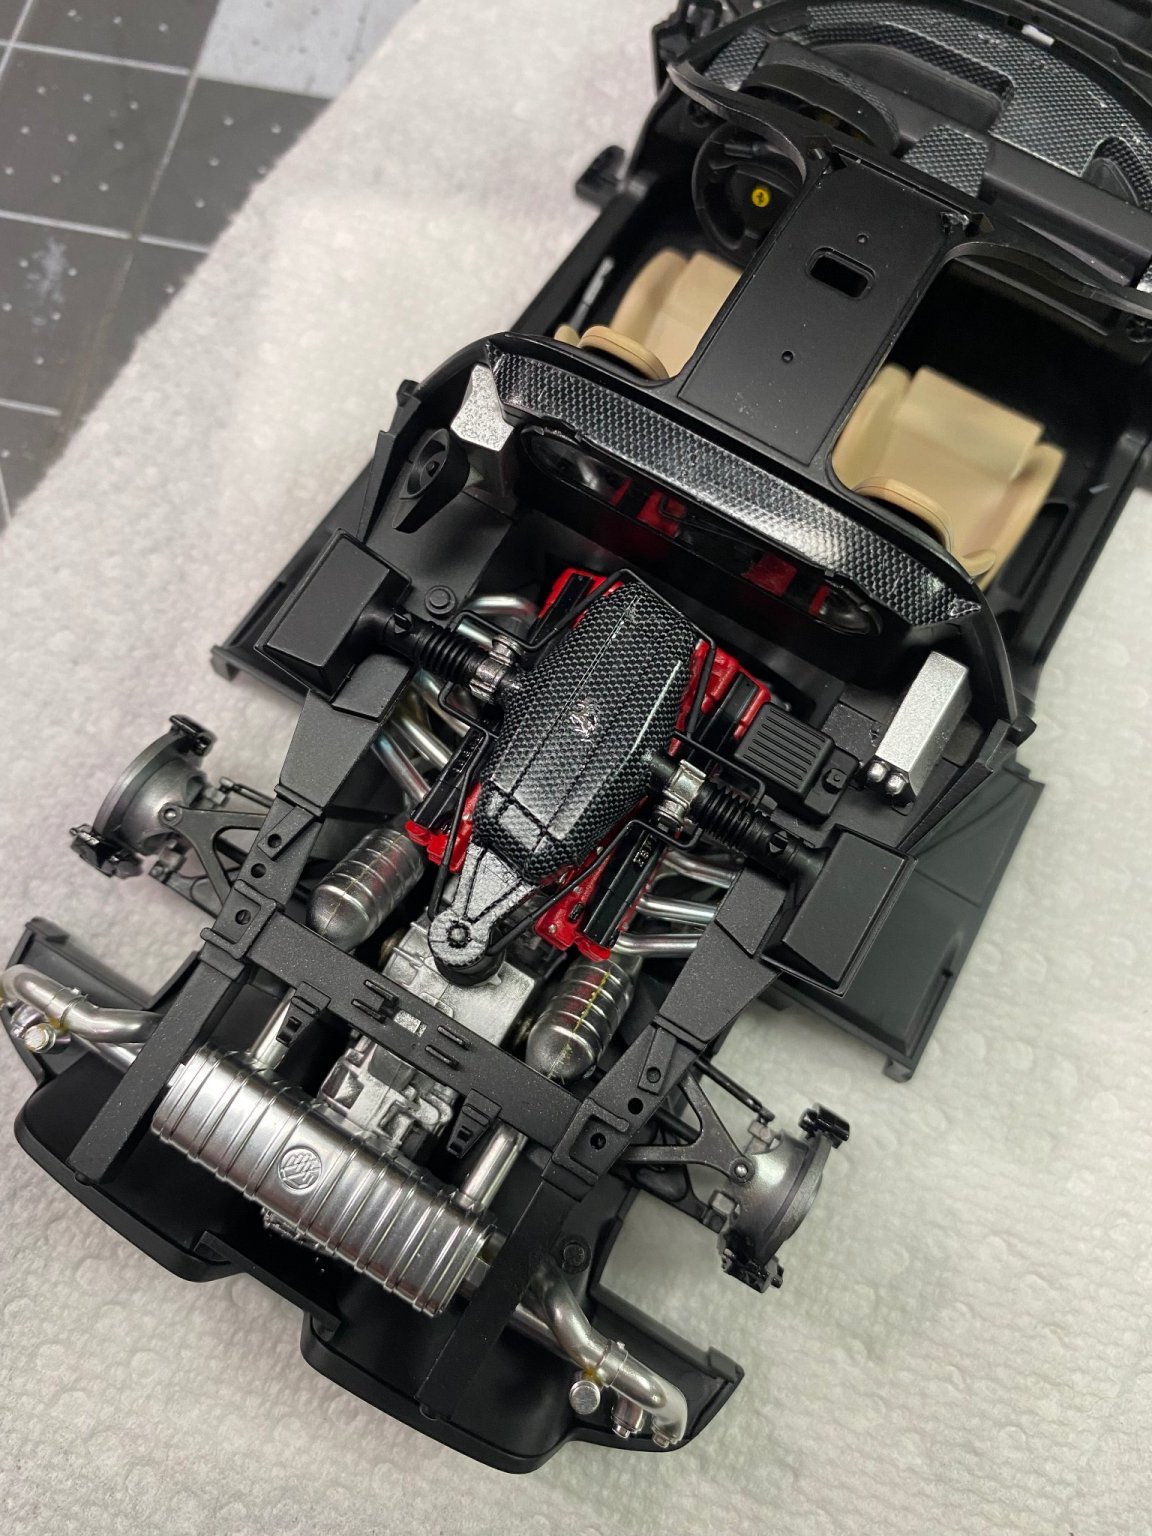
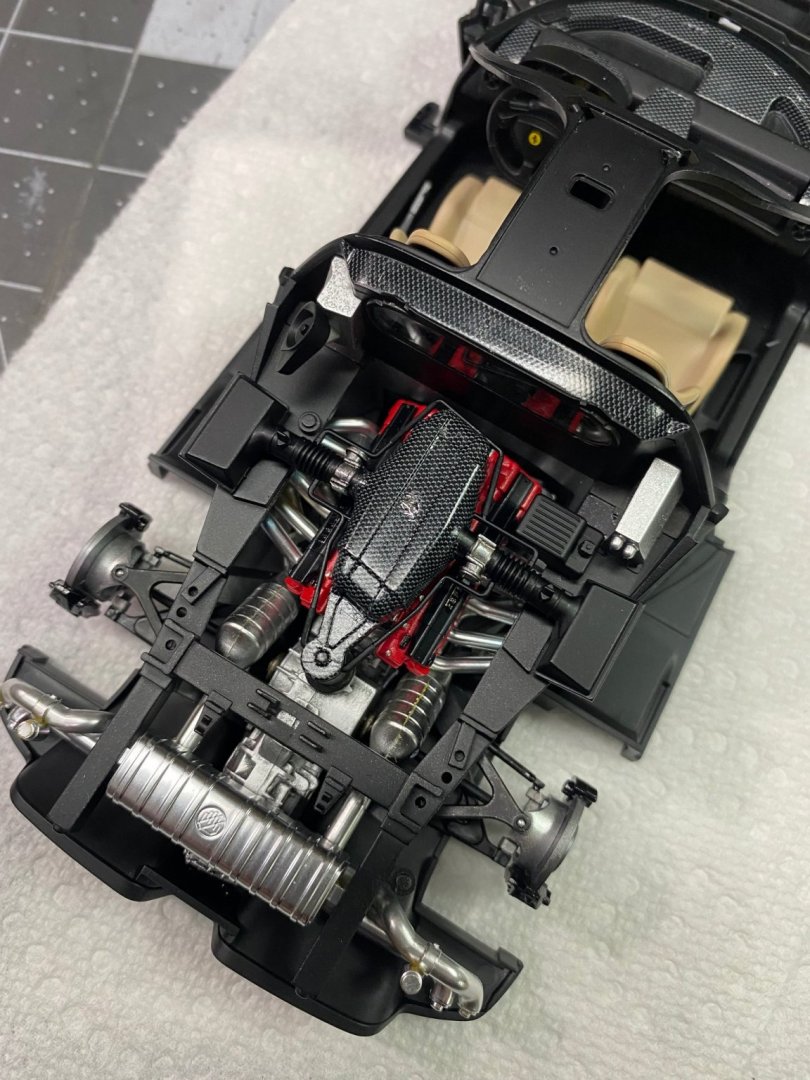
Thanks Denis. I read somewhere that the entire chassis bottom is made of carbon fiber. I added a few more details to the engine bay. The air breather box gets a photo etch, chrome prancing horse badge.

- 128 replies
-
- 16
-
-
Enzo Ferrari by CDW - FINISHED - Tamiya 1:24 Scale
CDW replied to CDW's topic in Non-ship/categorised builds
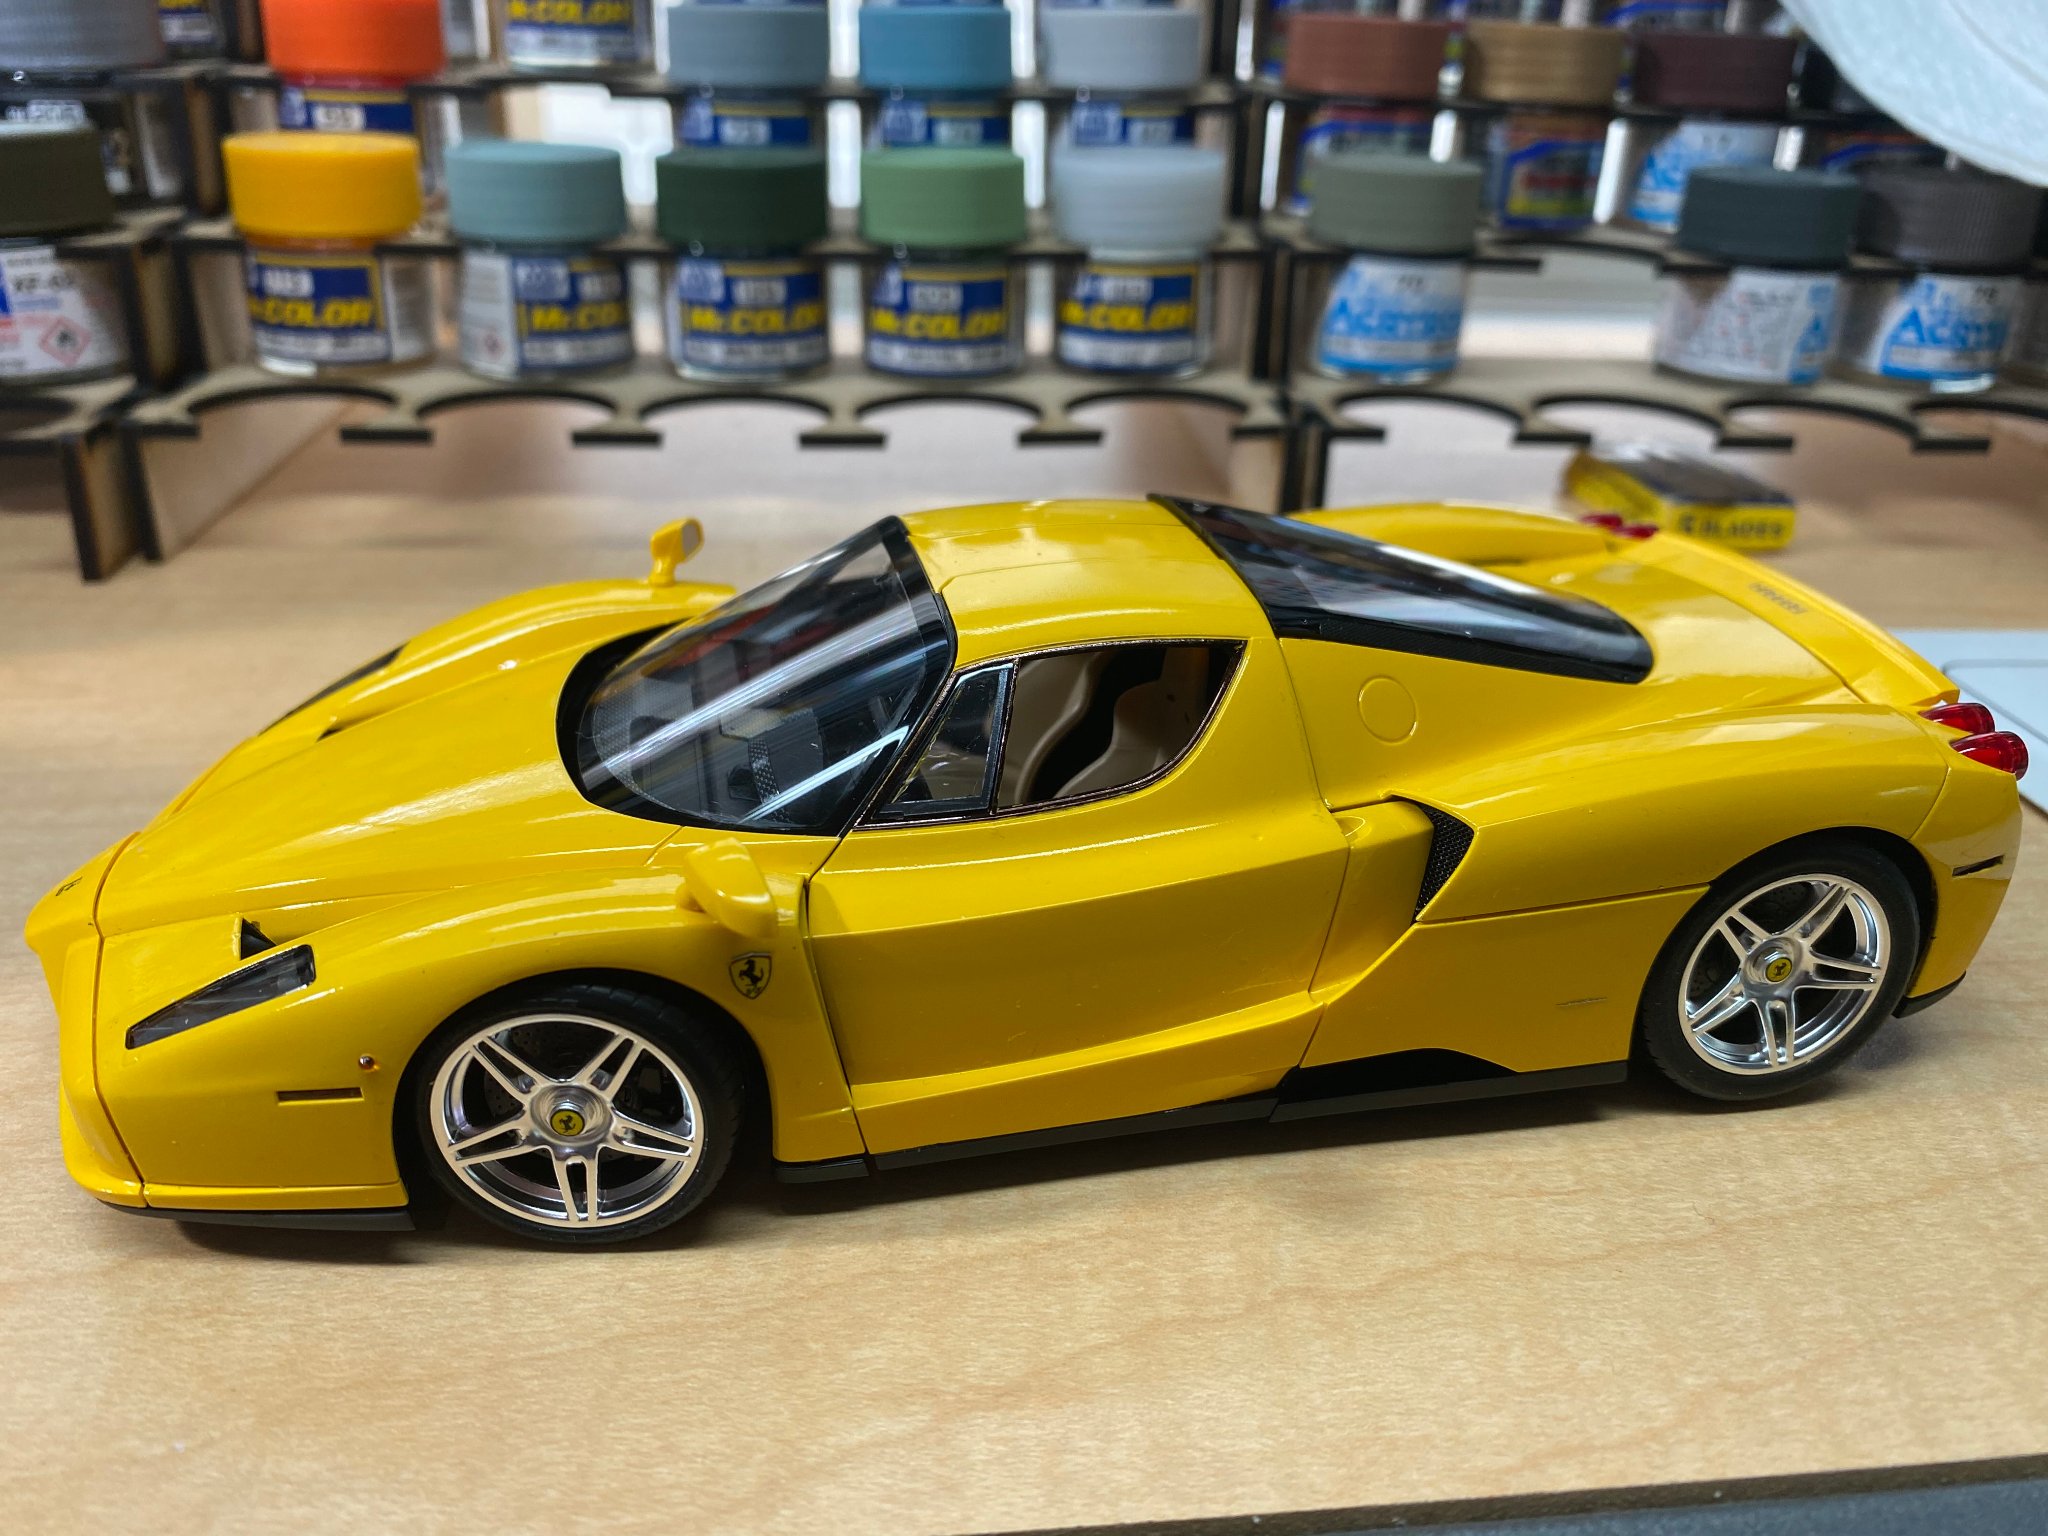
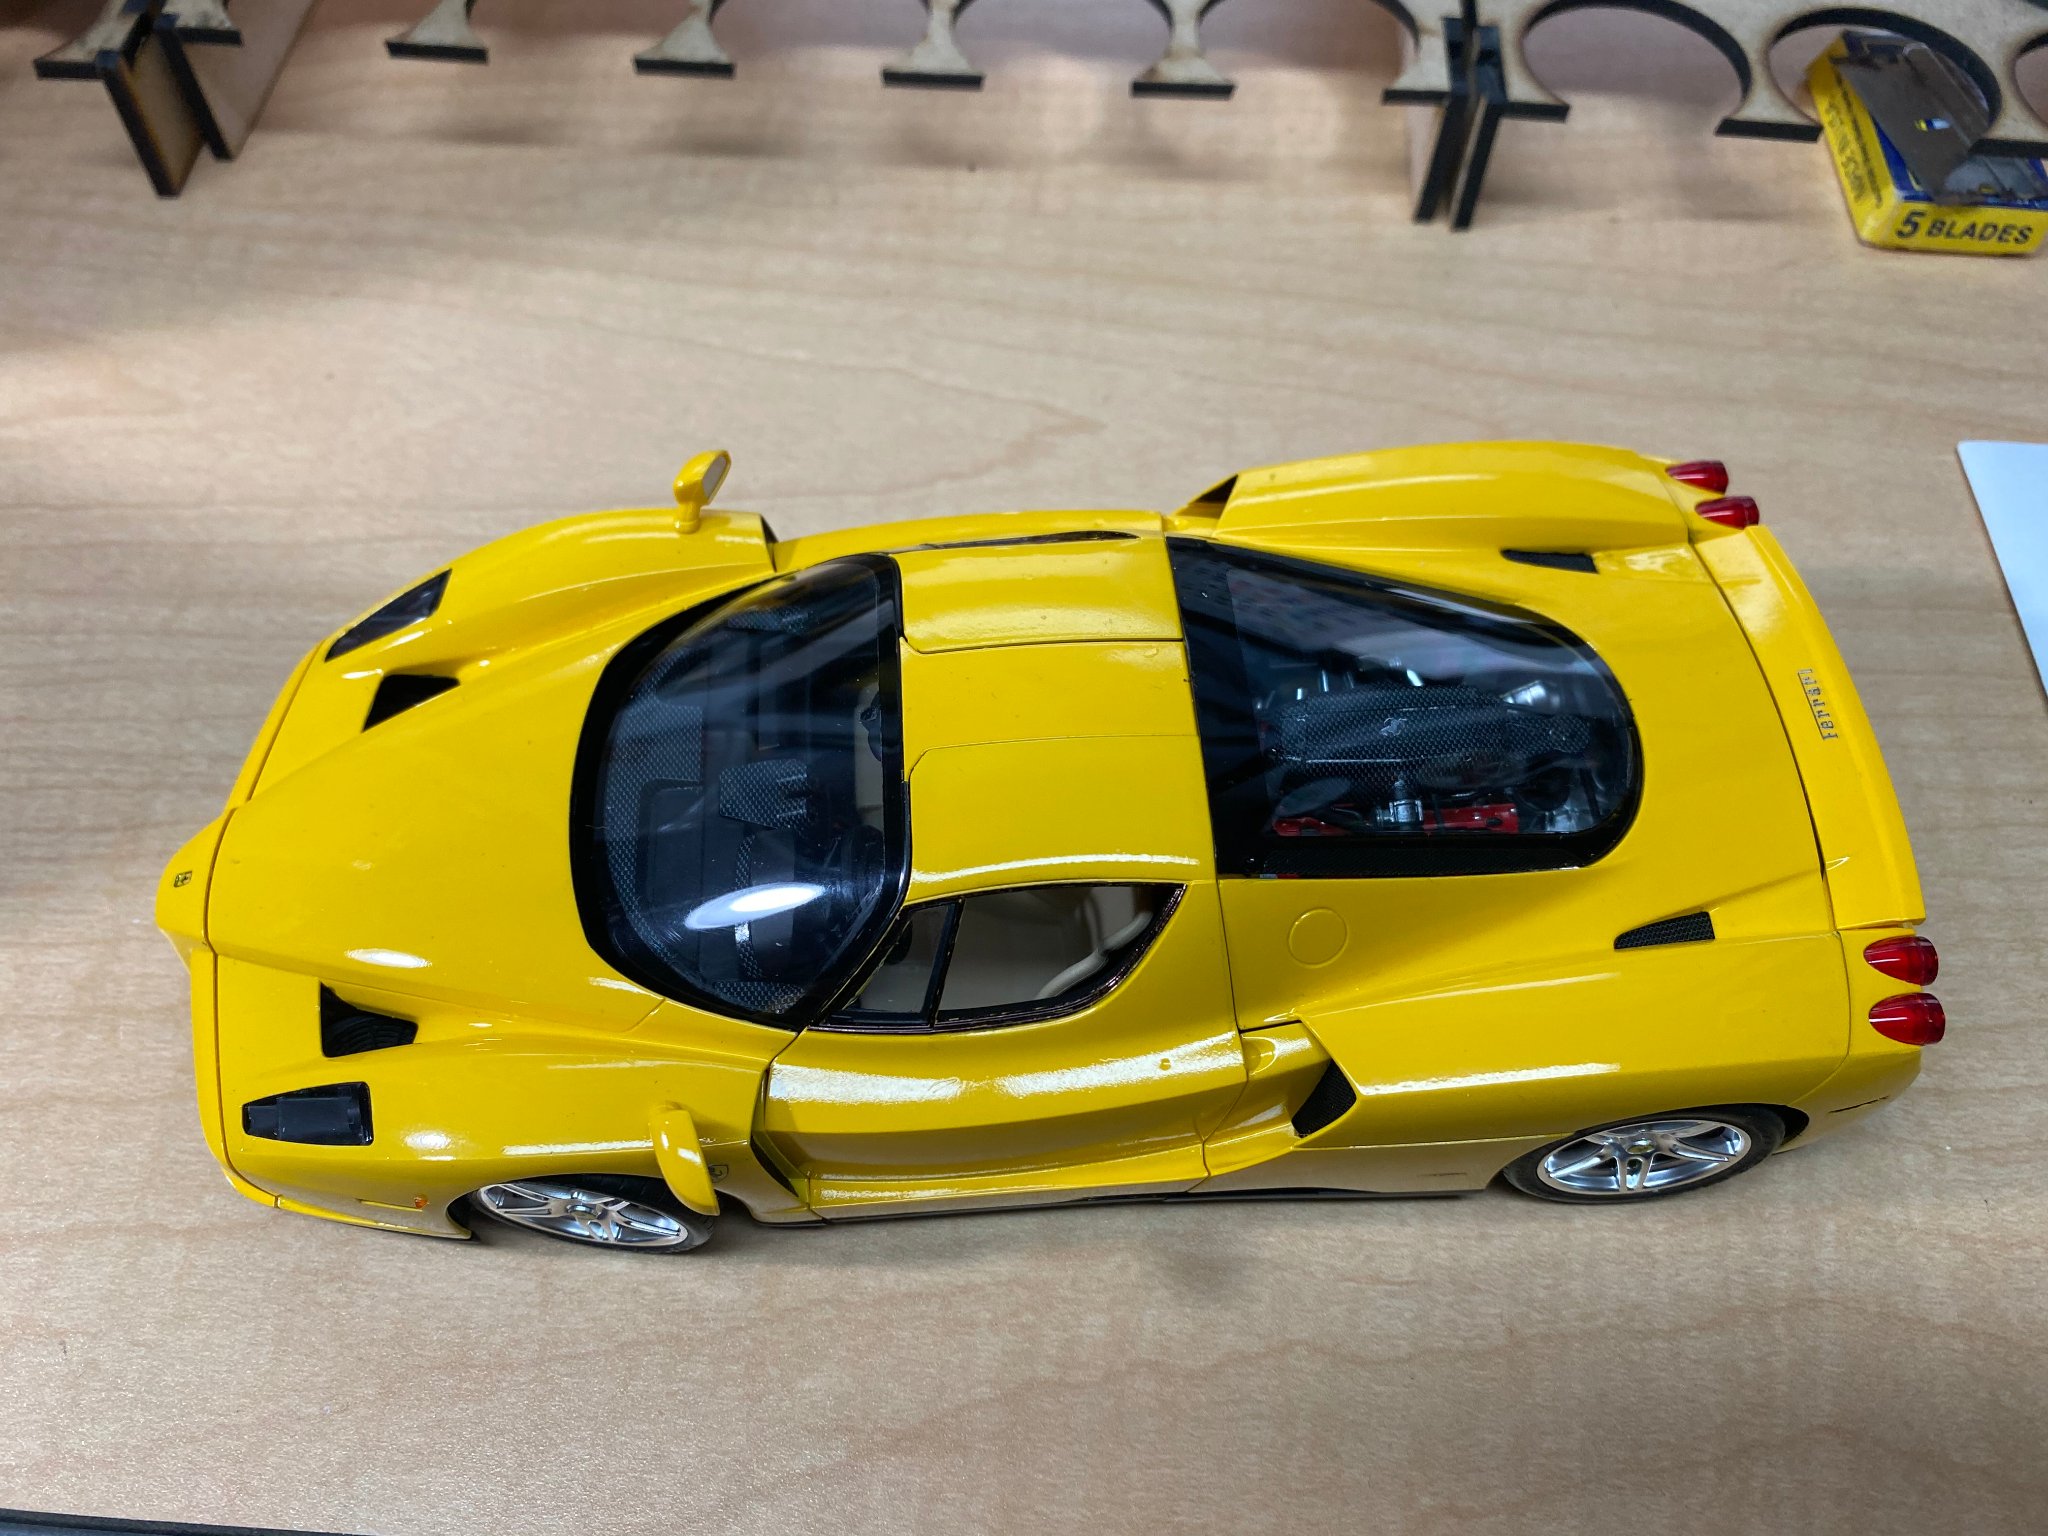
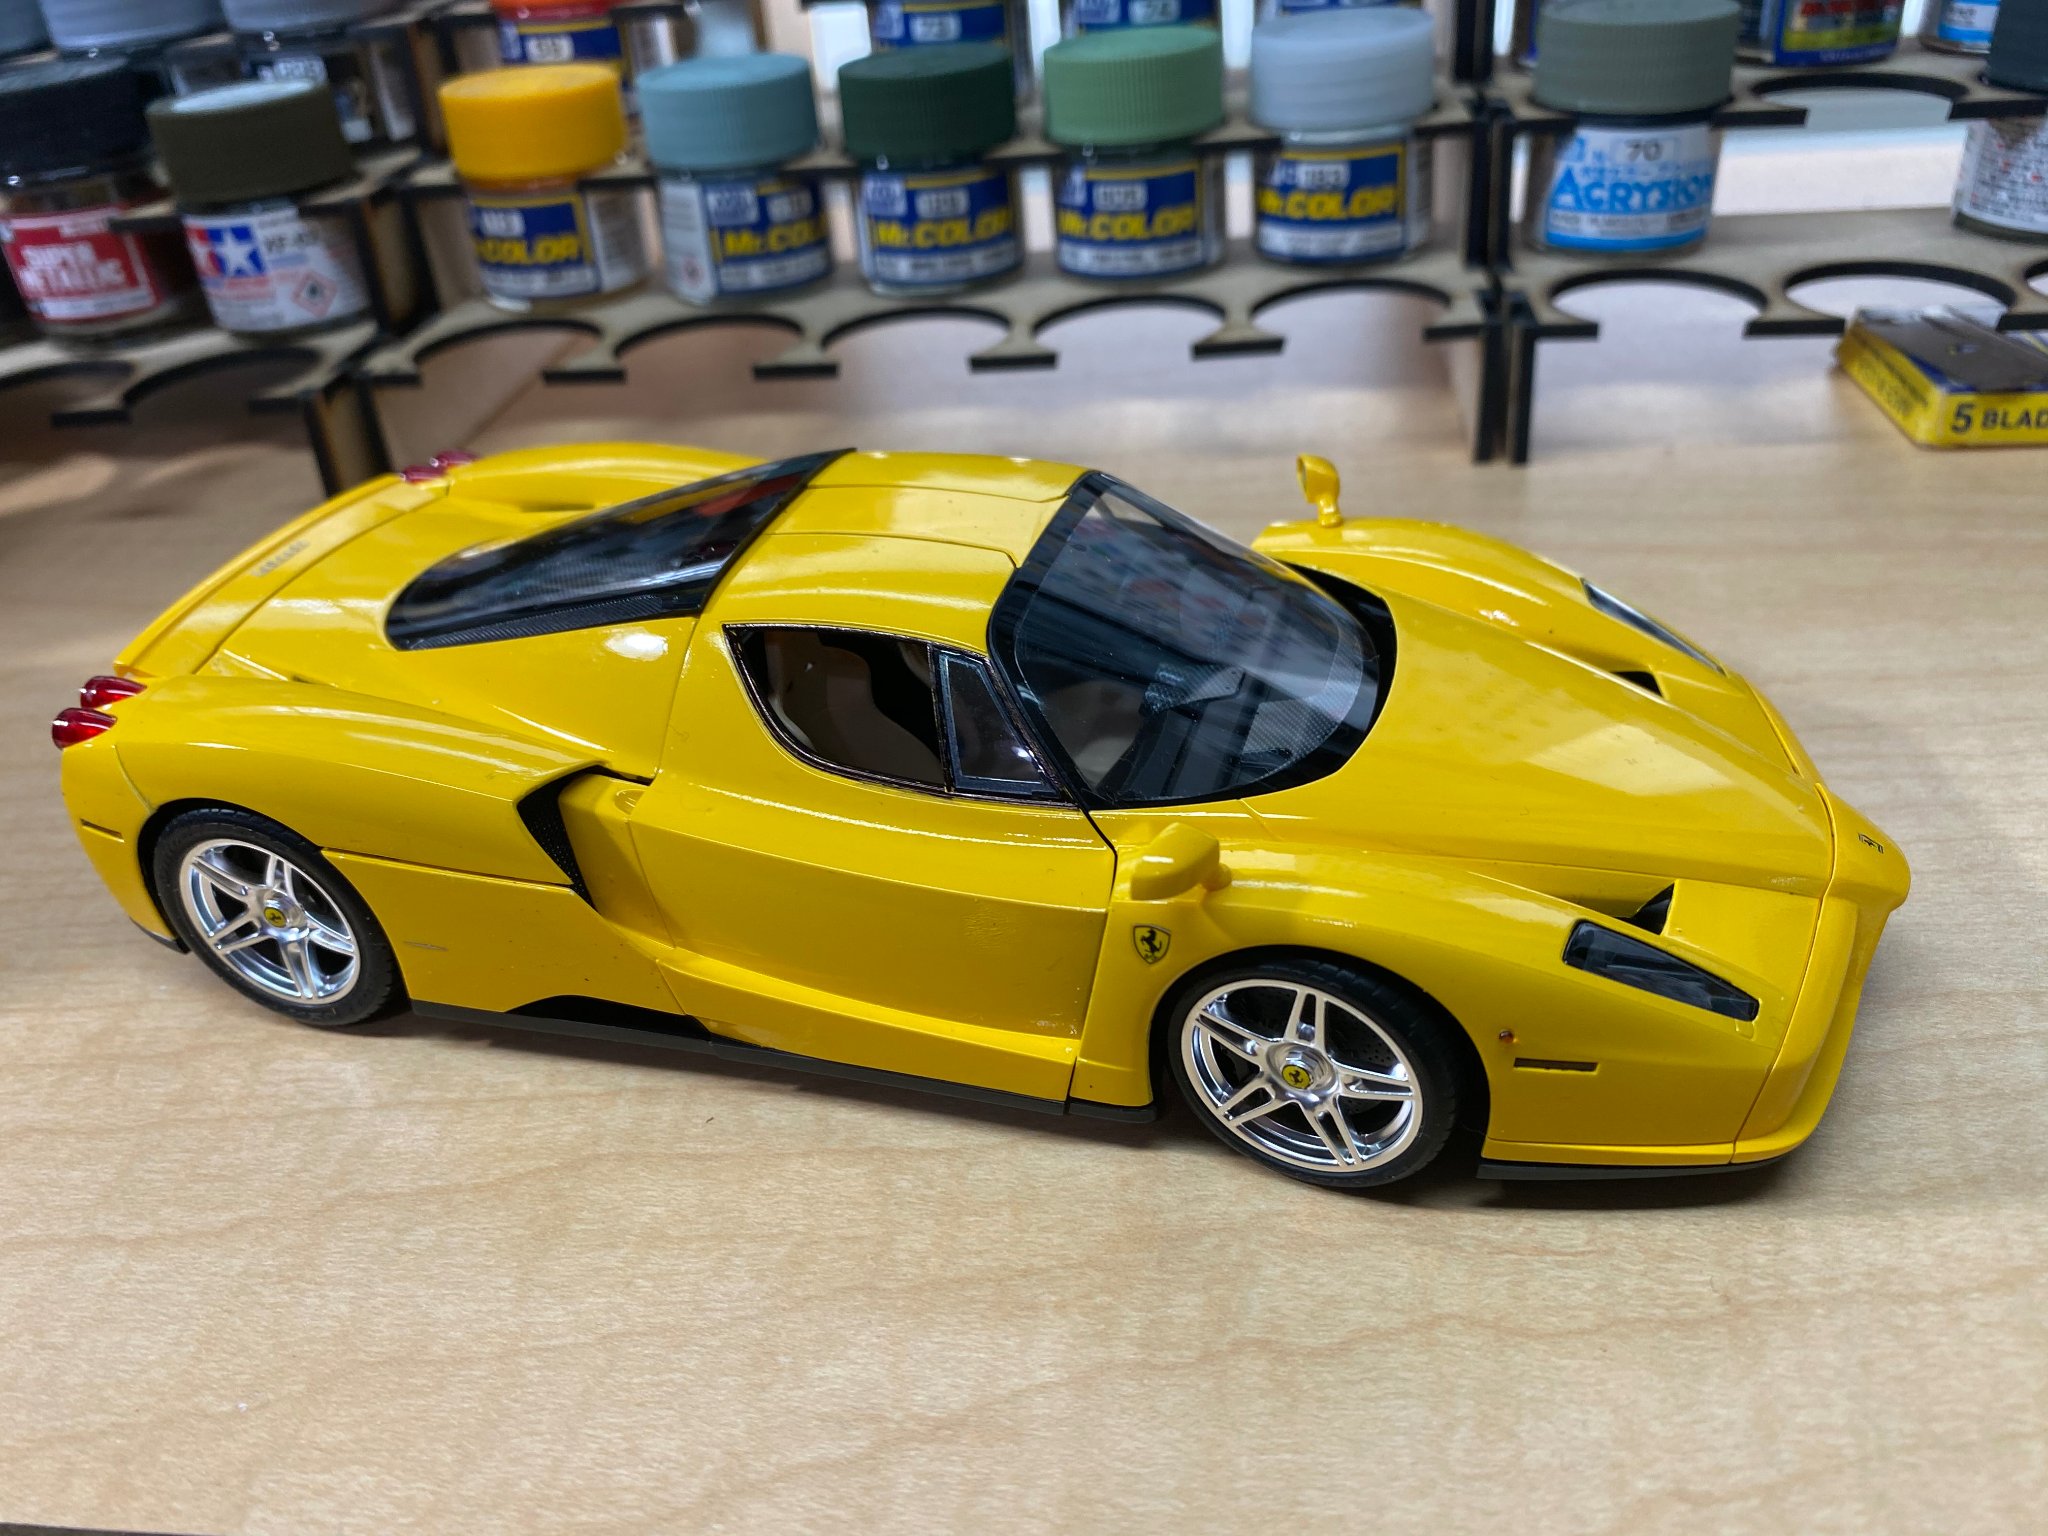
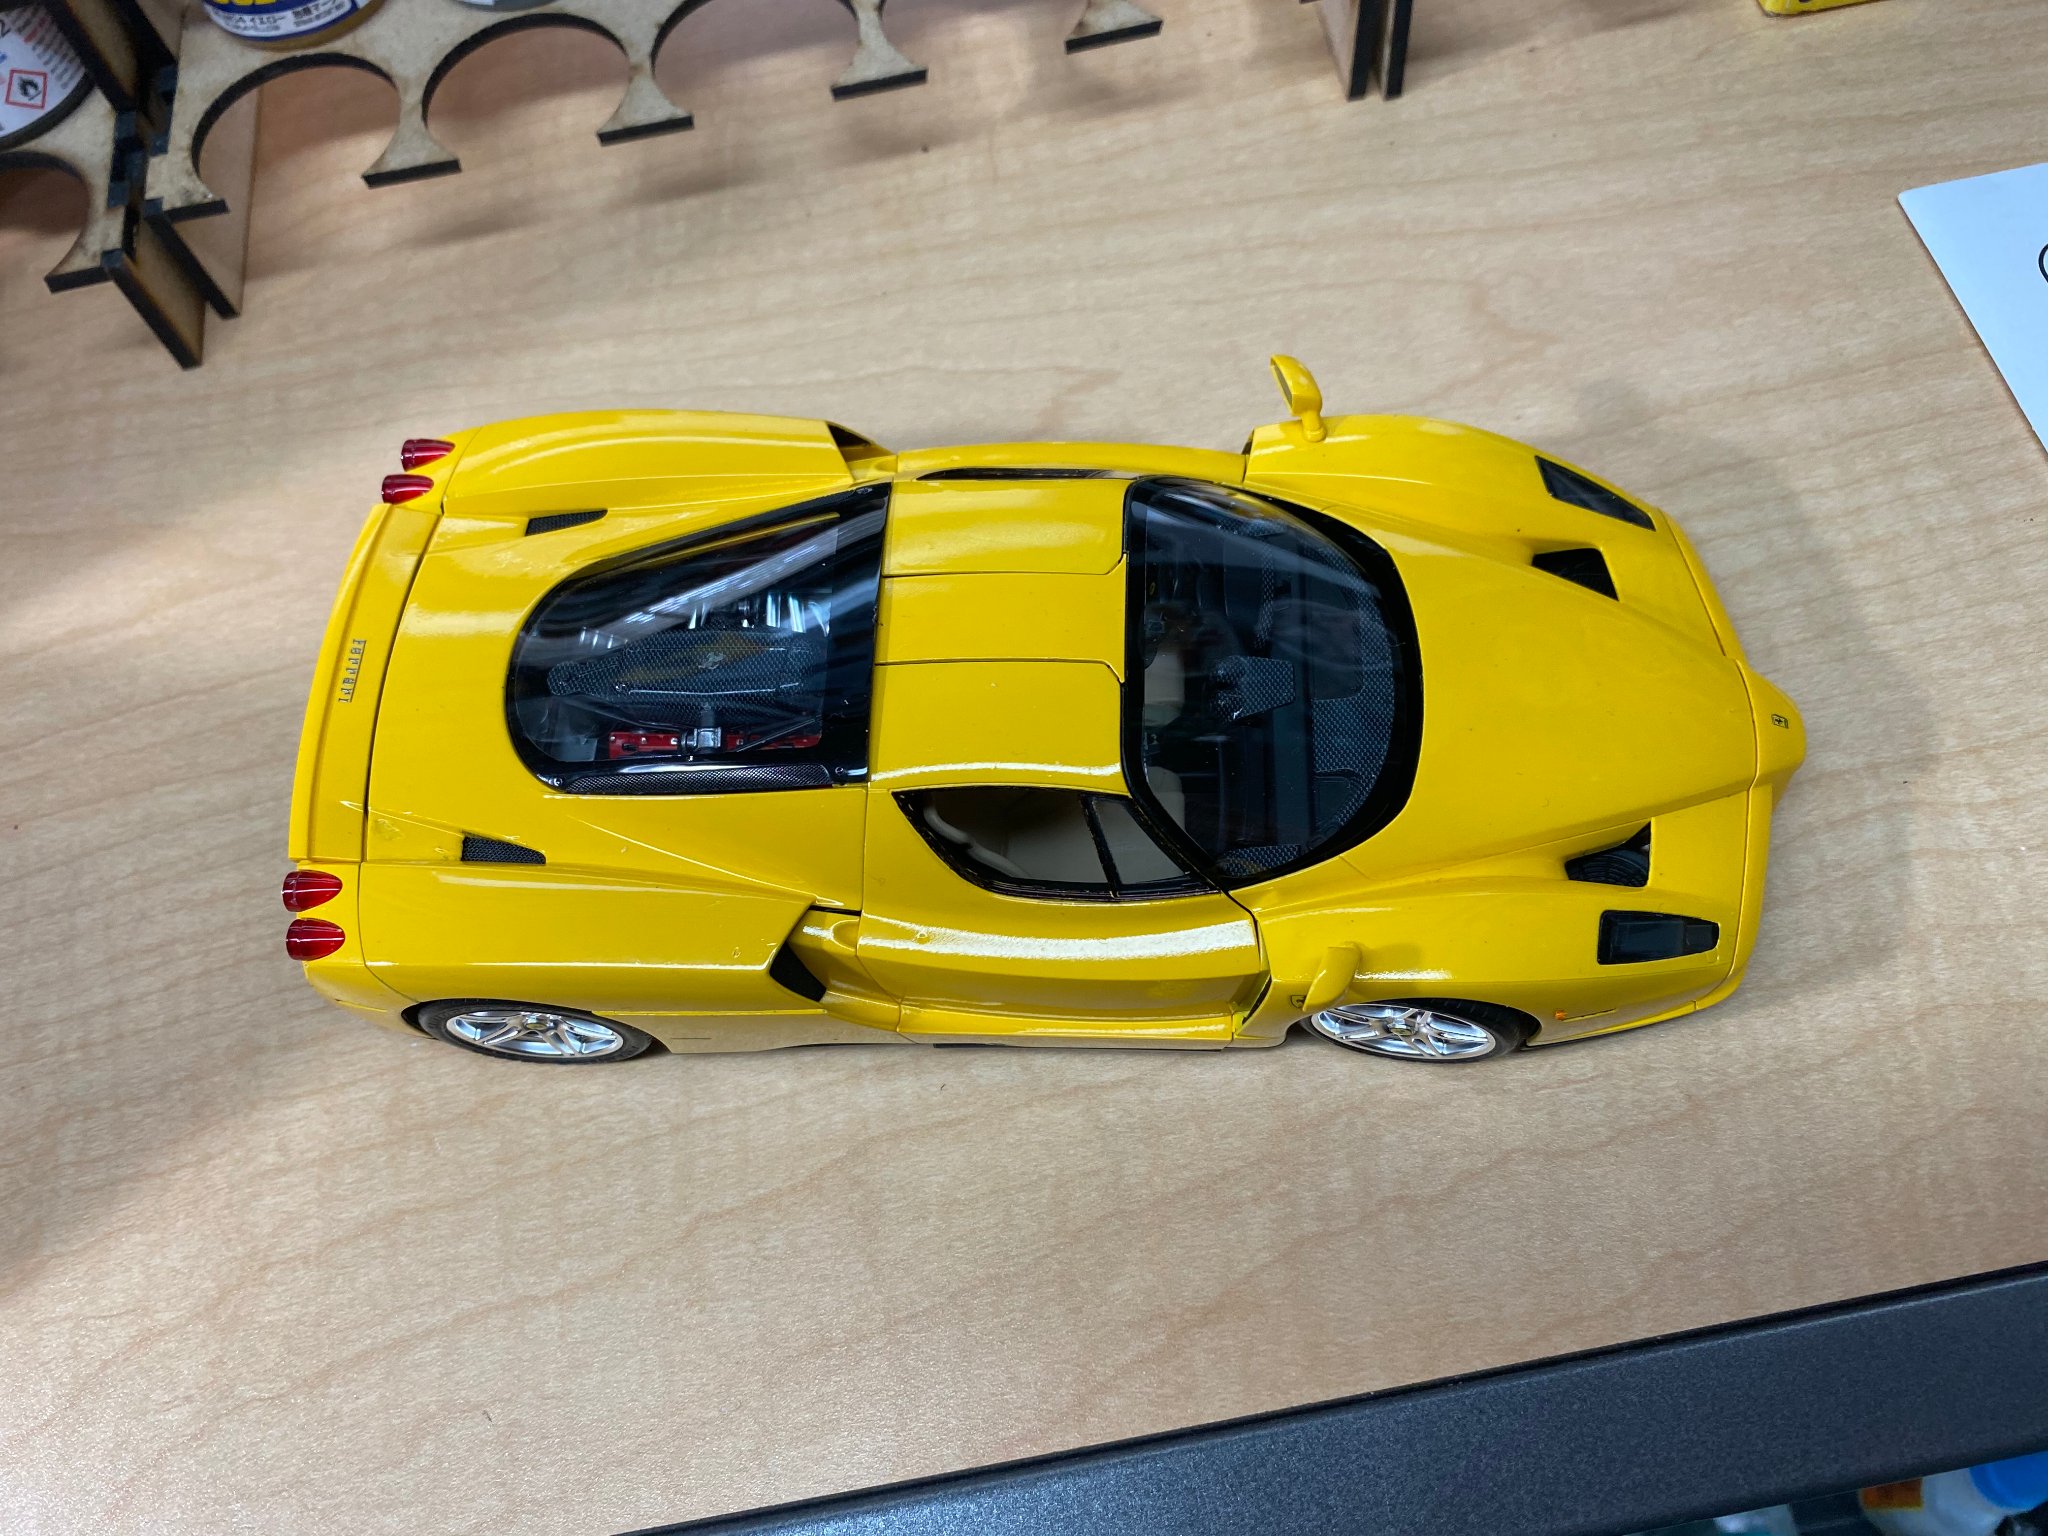
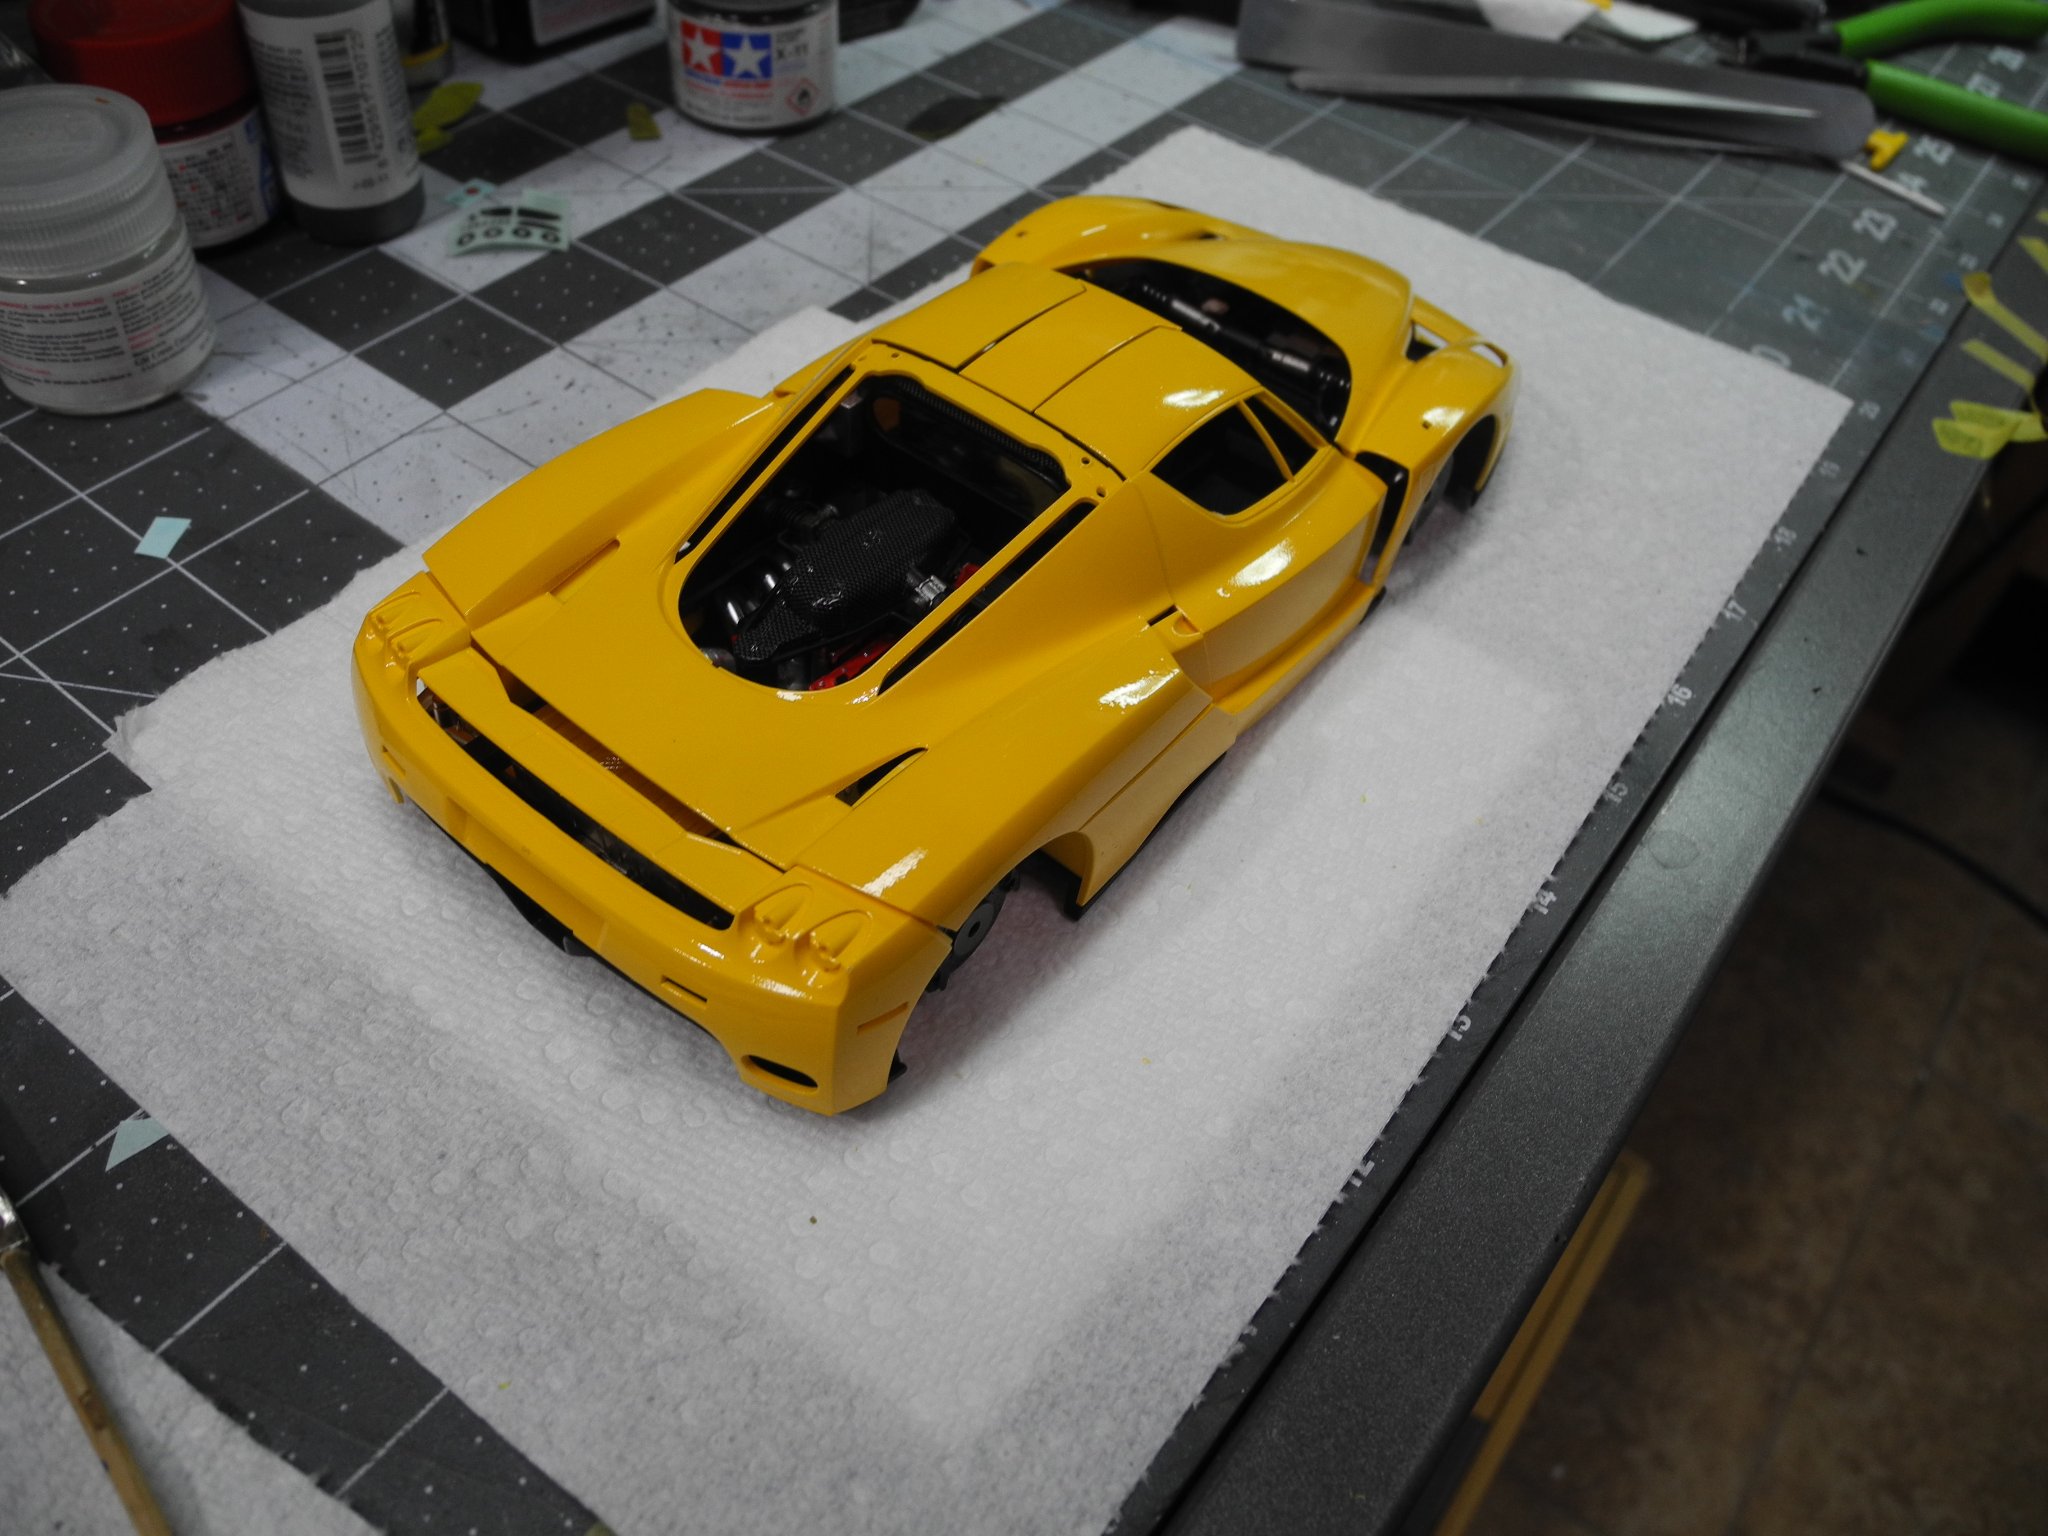
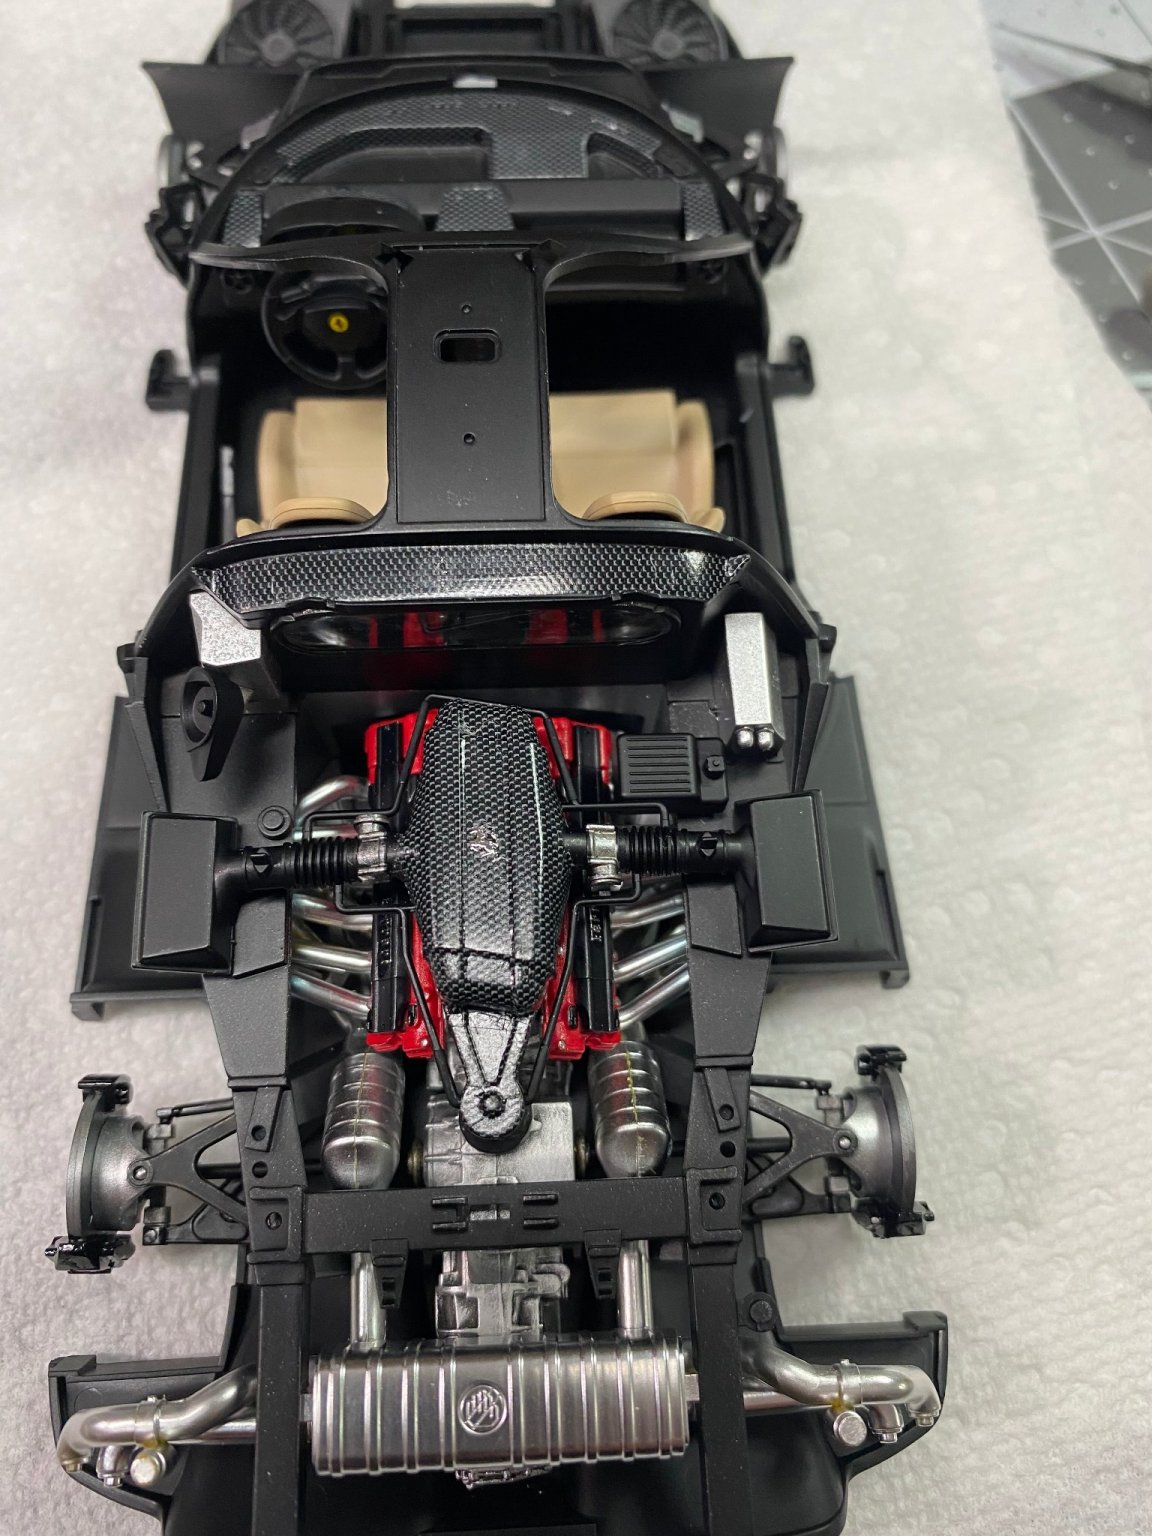
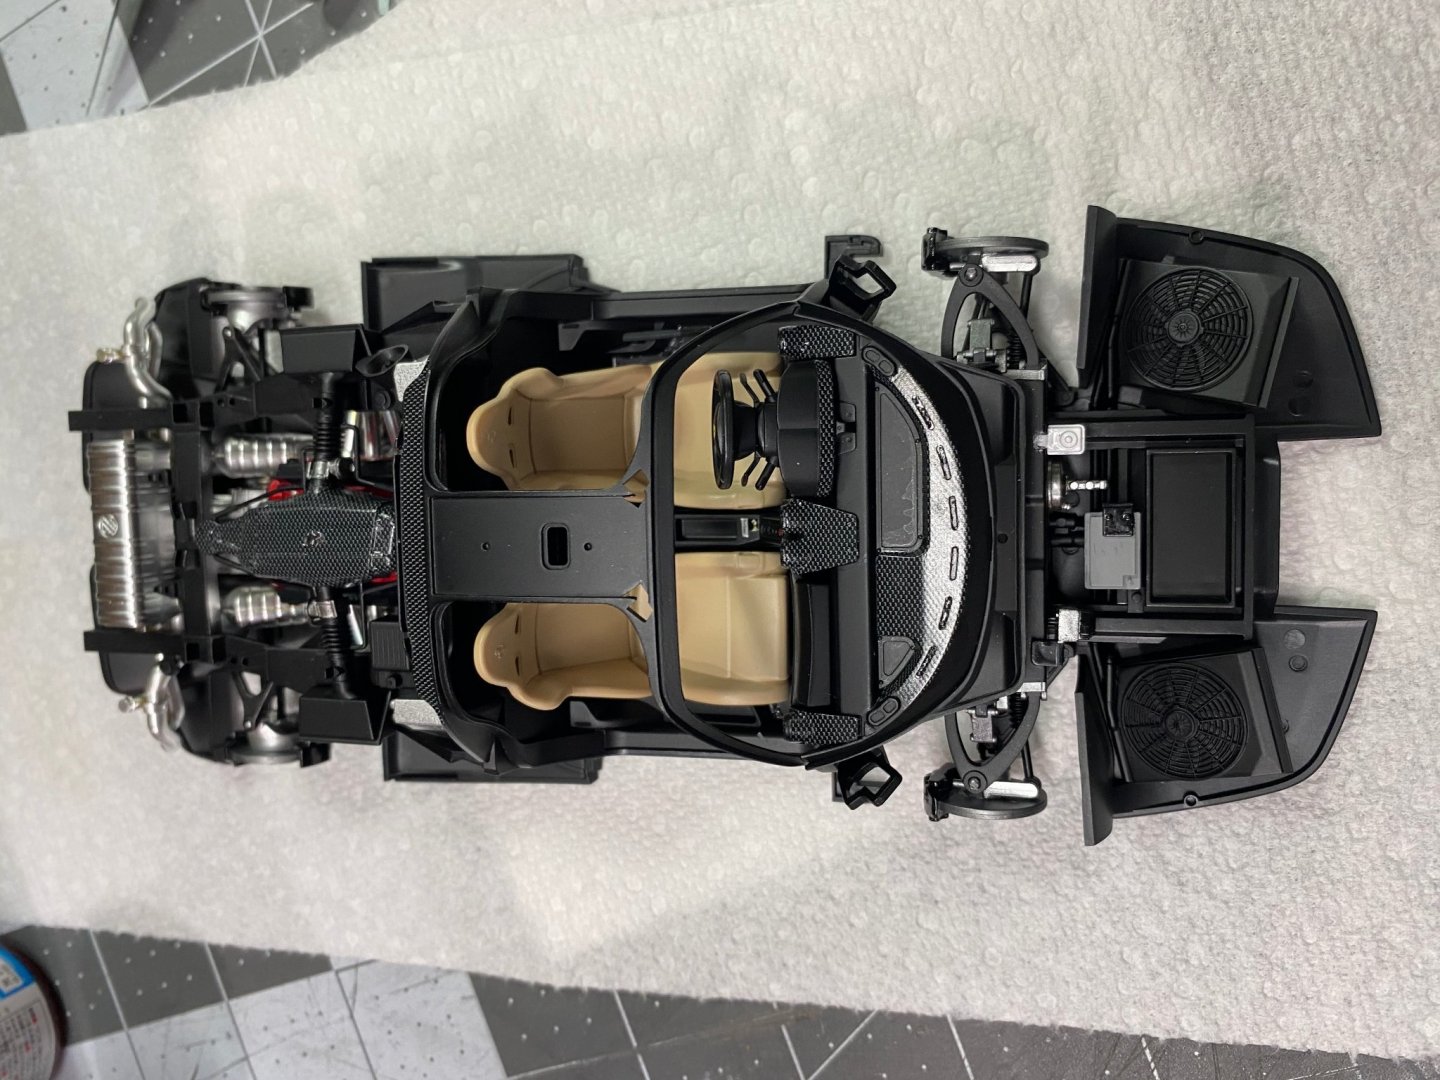
The prancing horse logos are a big plus on the little Tamiya decal sheet. Would look naked without them. The Enzo is aerodynamic from the bottom to the top.

- 128 replies
-
- 15
-
-

-
Enzo Ferrari by CDW - FINISHED - Tamiya 1:24 Scale
CDW replied to CDW's topic in Non-ship/categorised builds
😄😄