HOLIDAY DONATION DRIVE - SUPPORT MSW - DO YOUR PART TO KEEP THIS GREAT FORUM GOING! (Only 51 donations so far out of 49,000 members - C'mon guys!)
×

CDW
-
Posts
7,747 -
Joined
-
Last visited
Content Type
Profiles
Forums
Gallery
Events
Everything posted by CDW
-

MRAP ATV by CDW - FINISHED - Rye Field - 1:35 Scale
CDW replied to CDW's topic in Non-ship/categorised builds
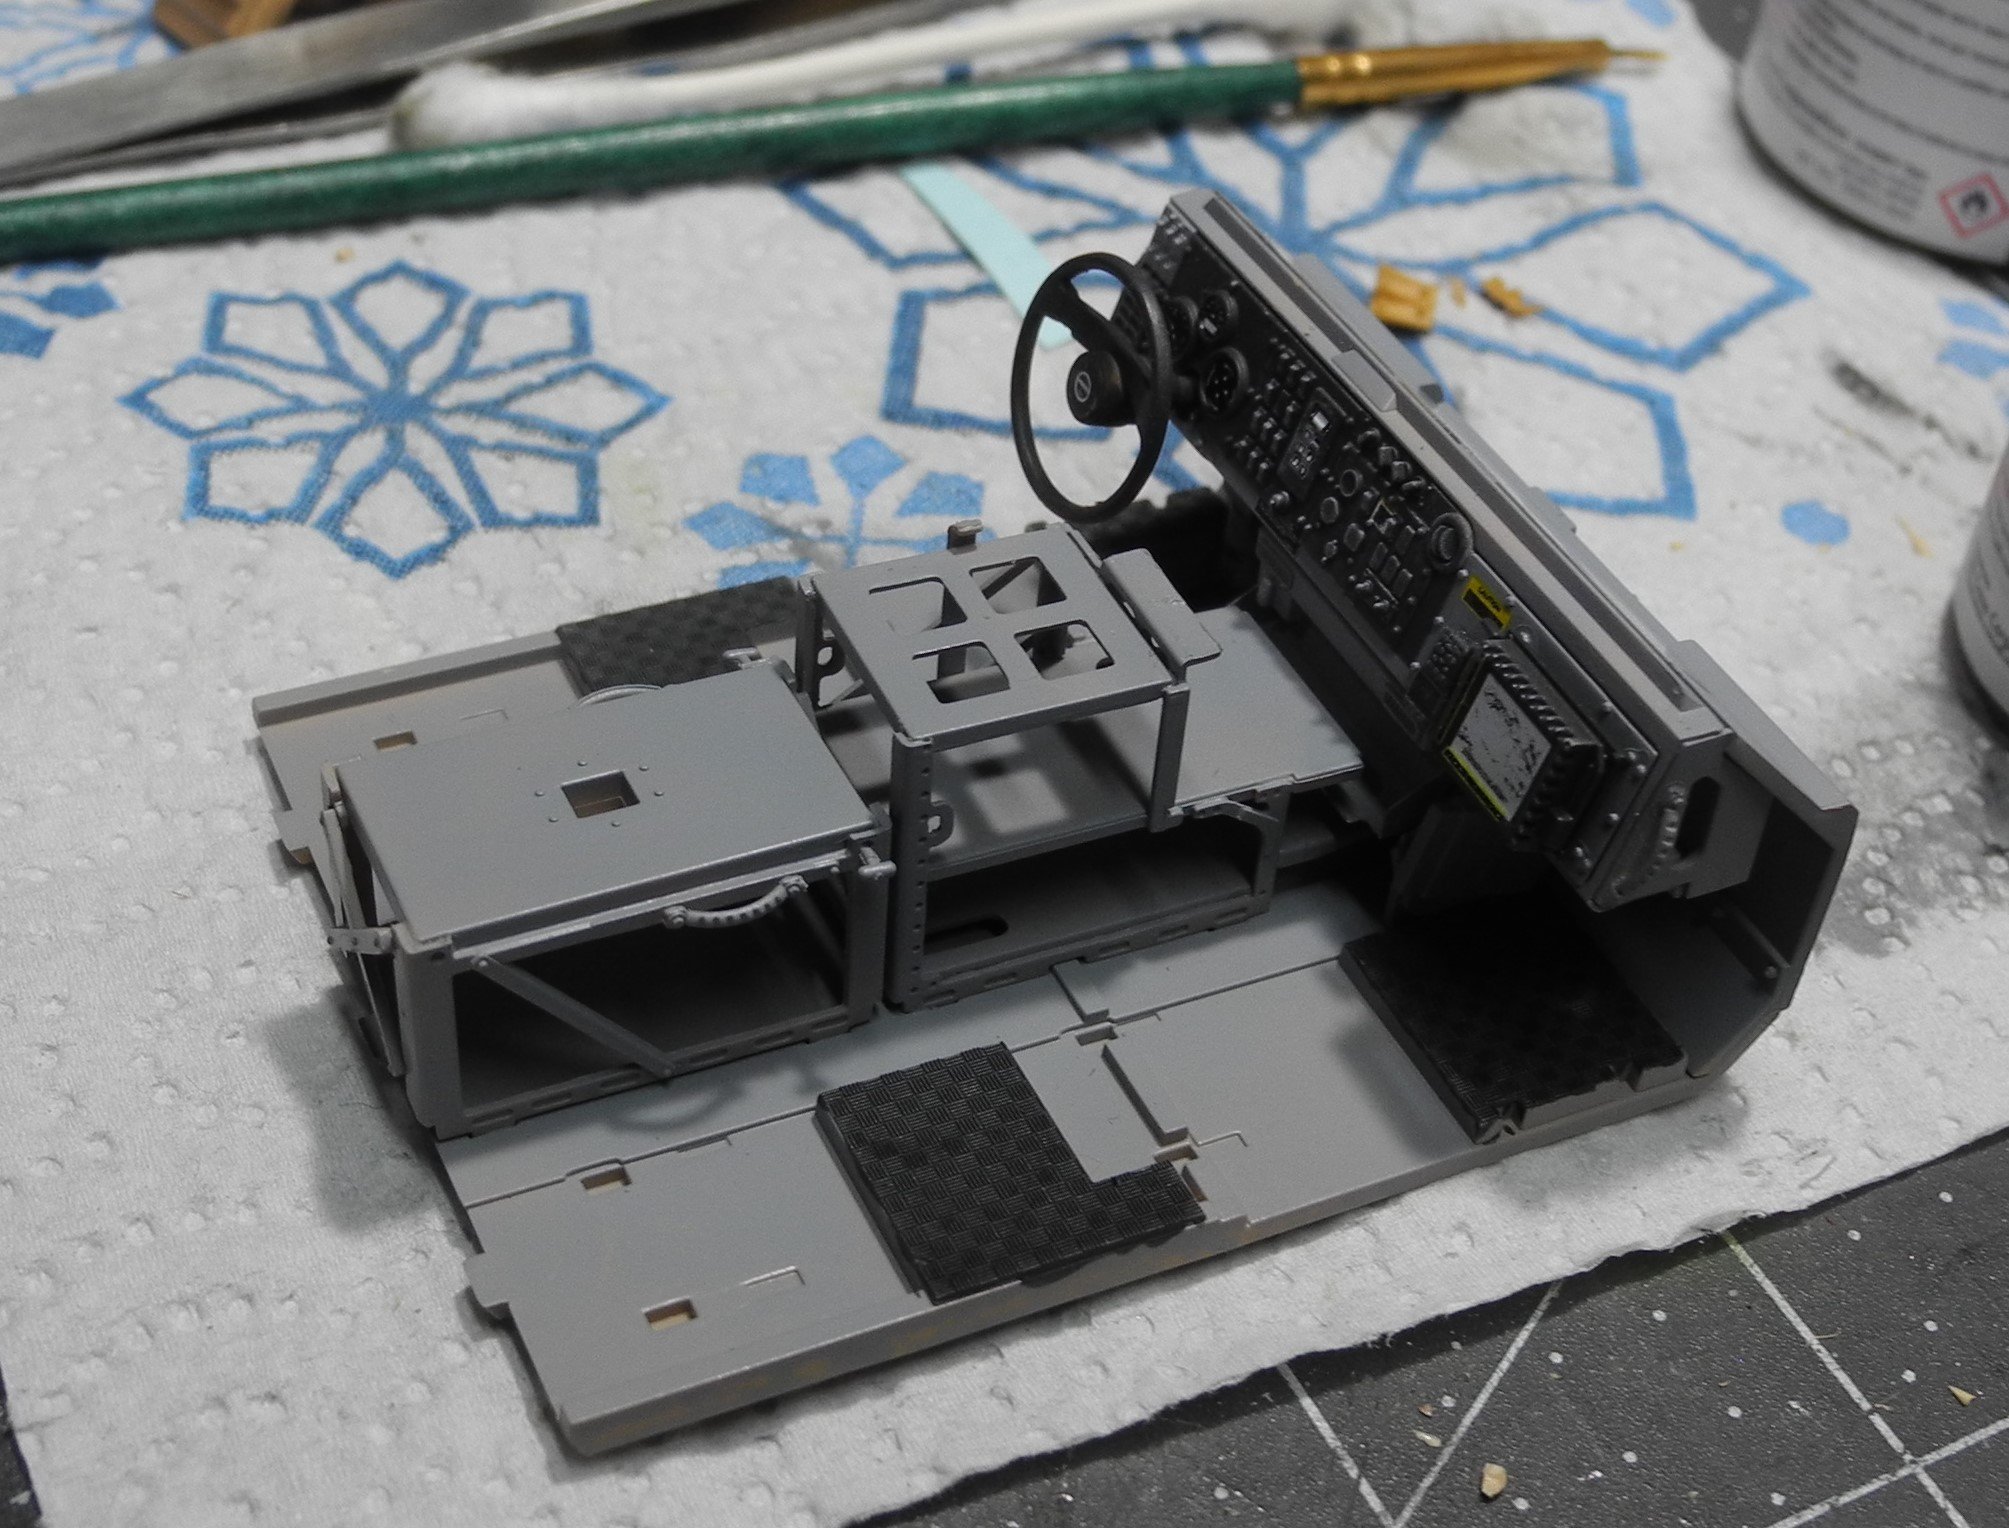
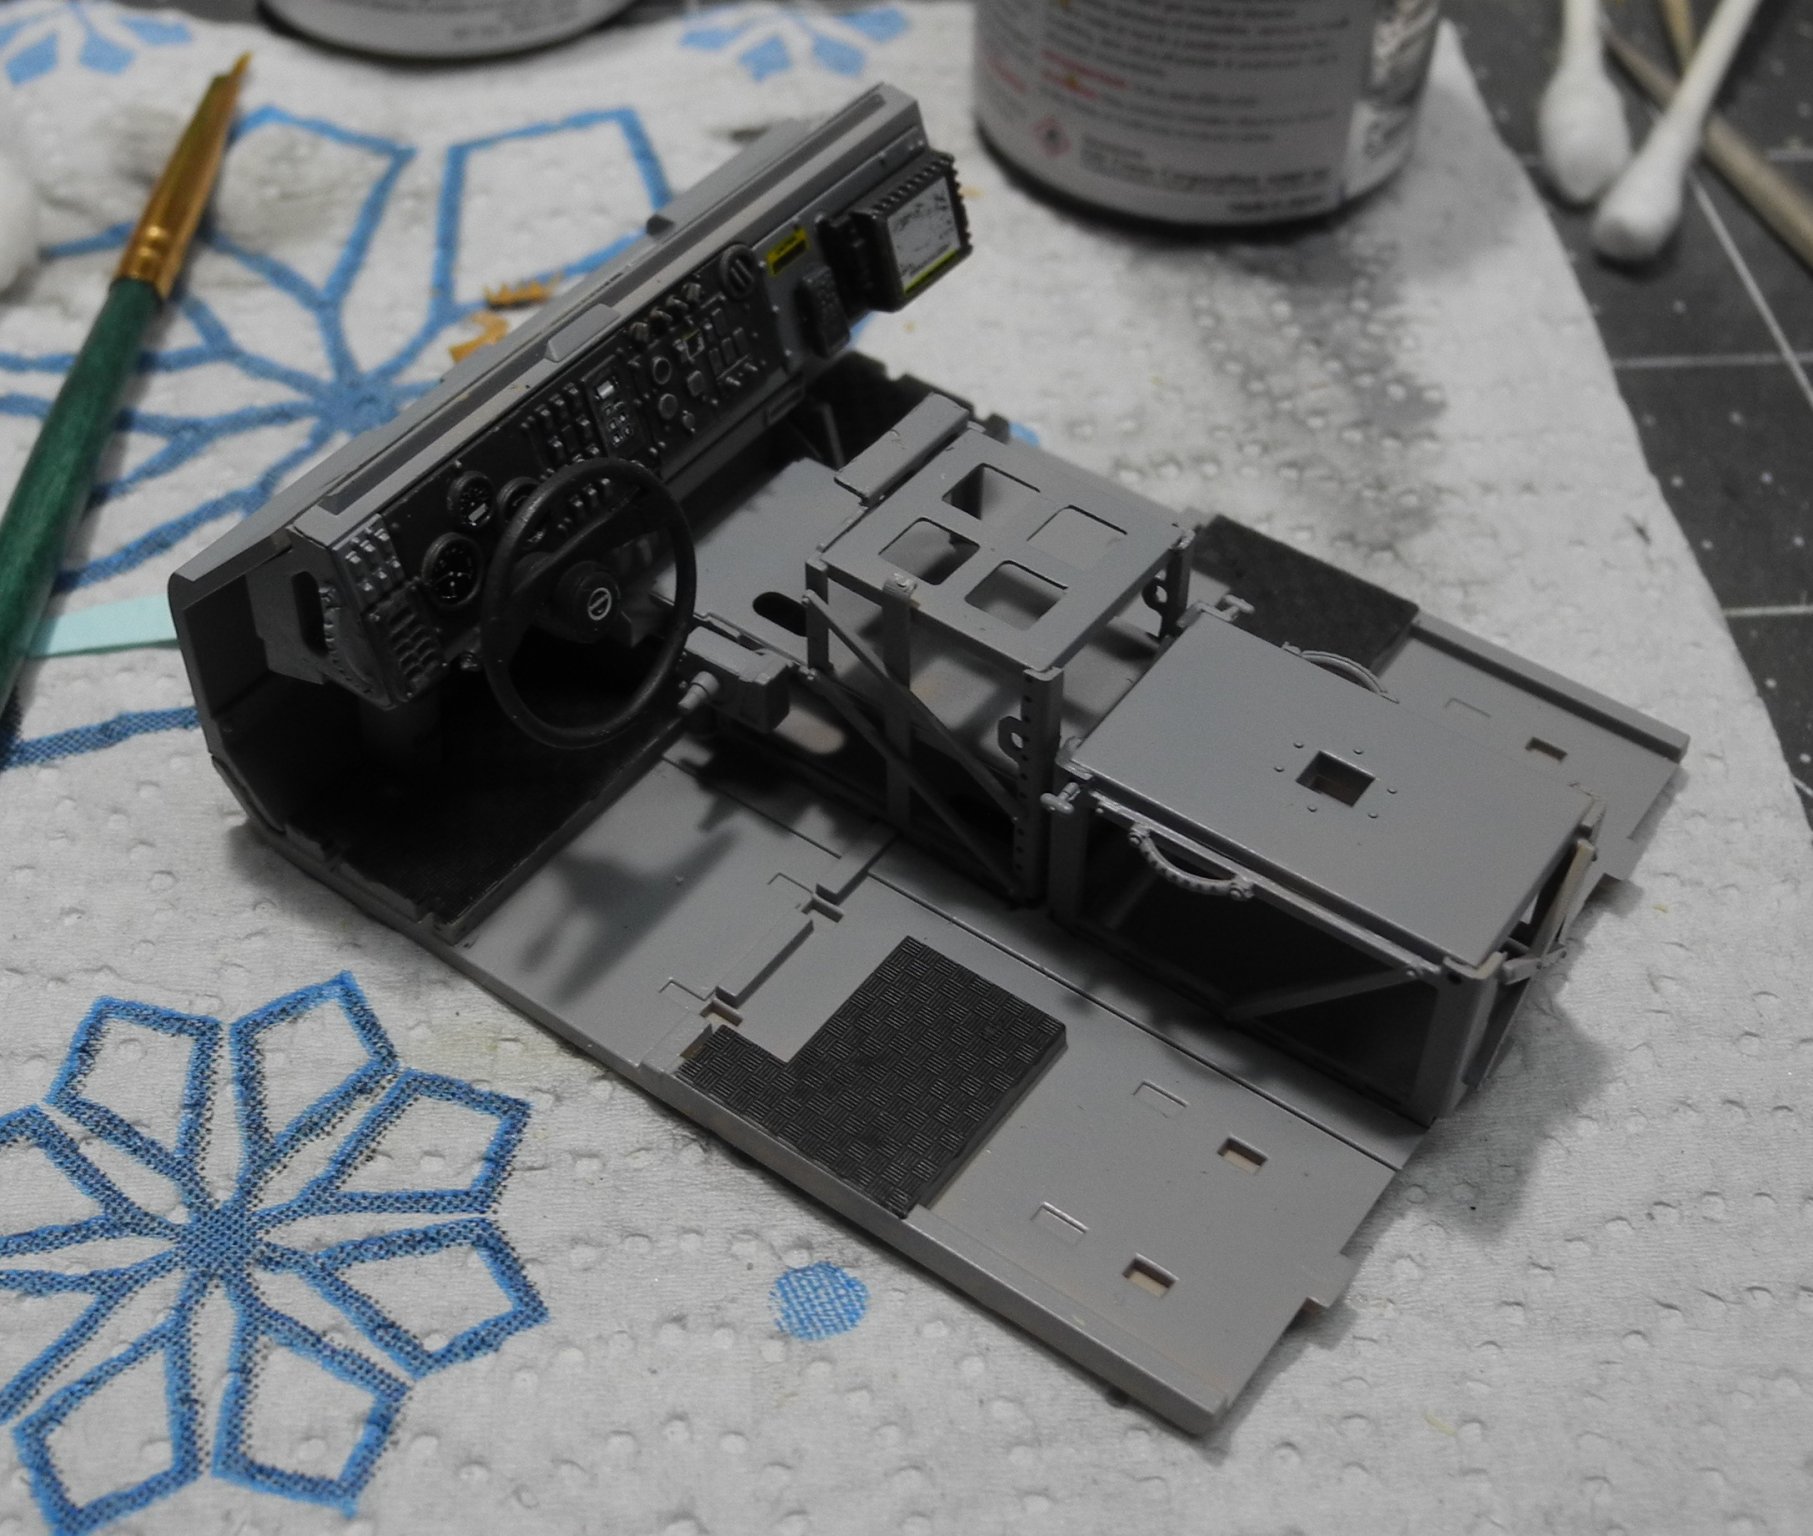
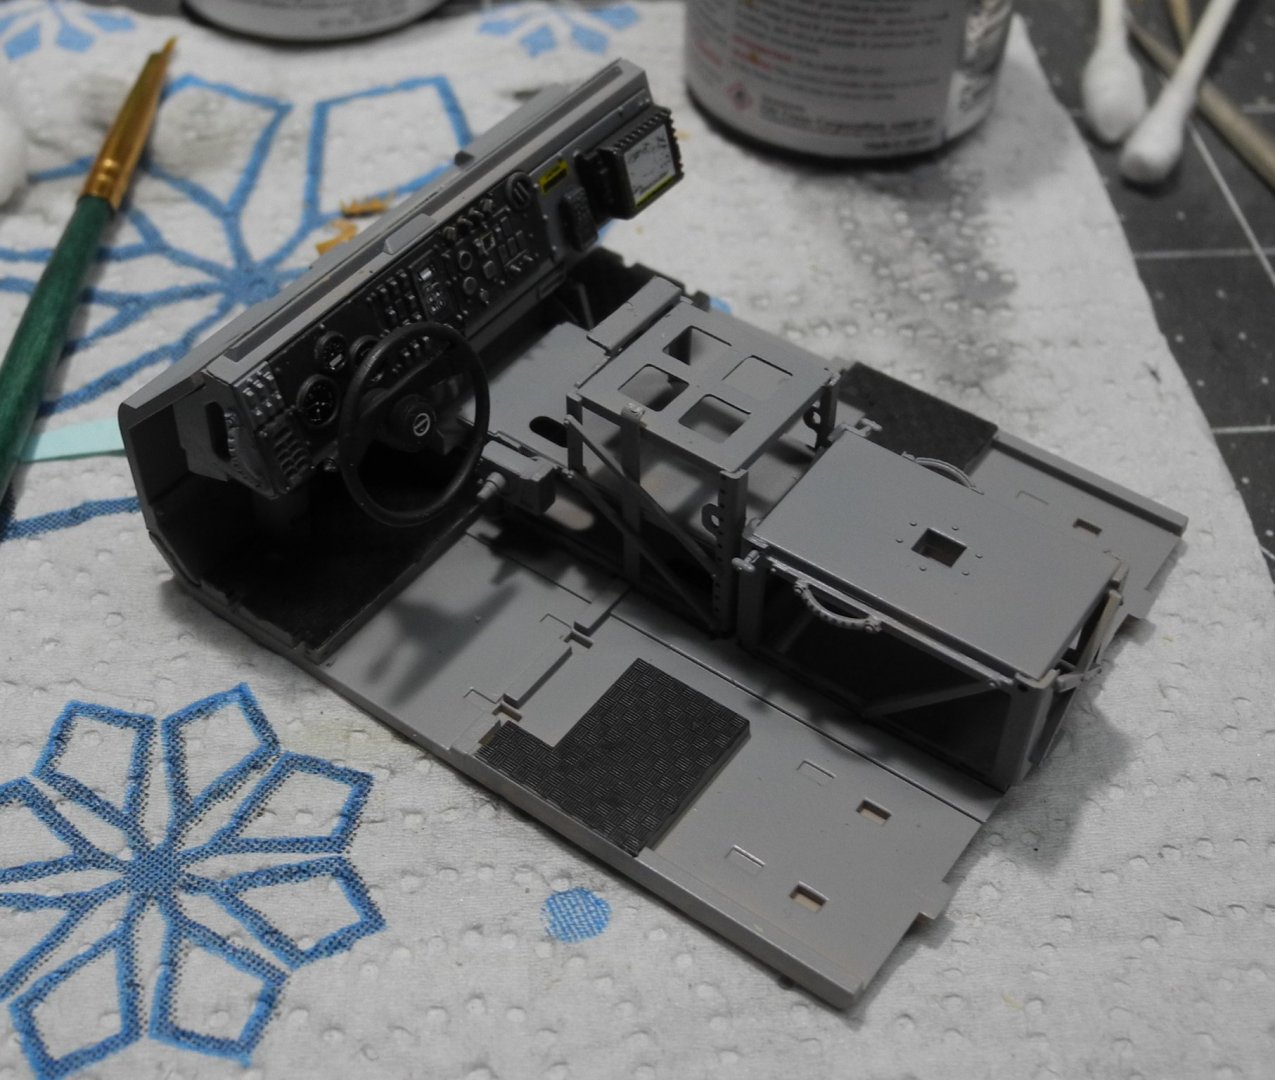
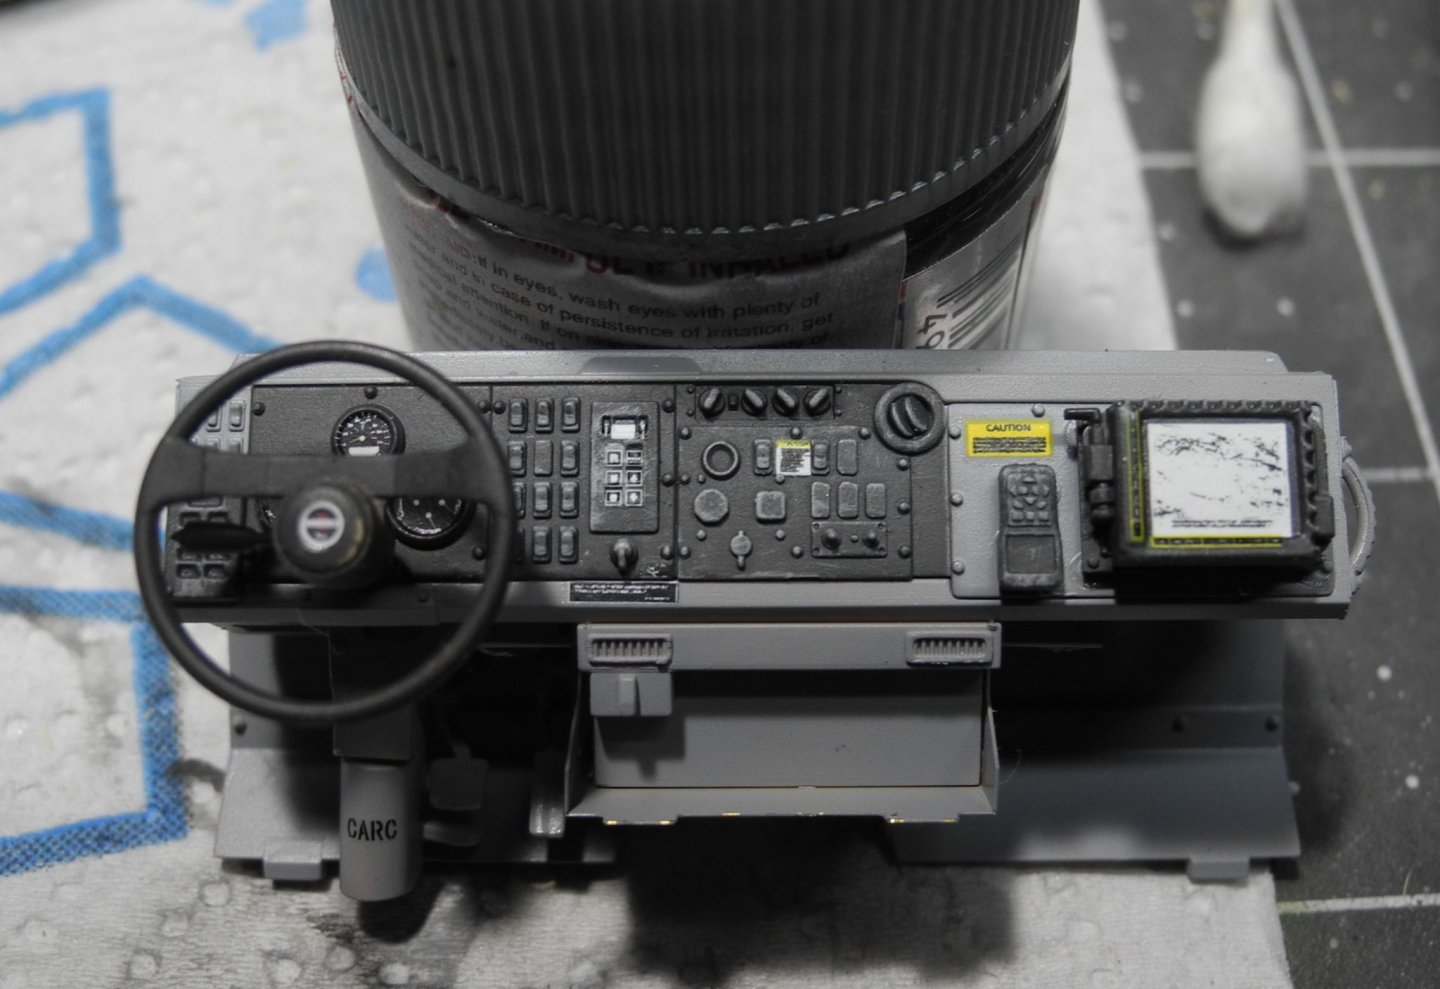
Adding pieces to finish out the cabin interior floor. I ordered a set of resin radio components that fit in the center racks (between the seats) from a vendor in Taiwan over a month ago. Unfortunately, they have not arrived and may be lost in the mail. I shall continue with construction regardless, but wish the pieces had arrived to further enhance the cockpit.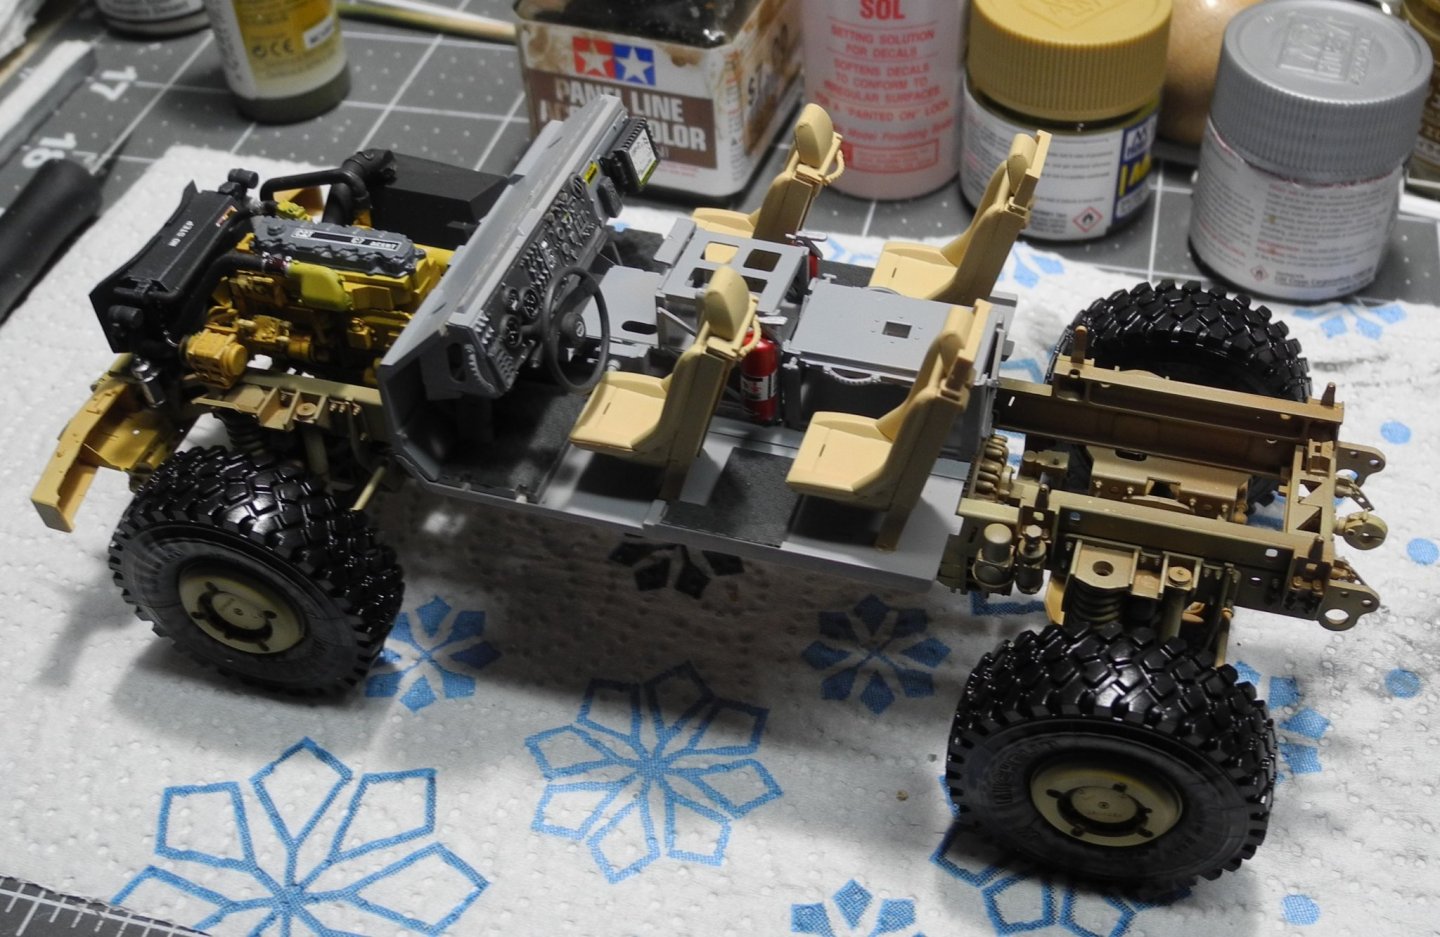

- 217 replies
-
- 15
-

-
MRAP ATV by CDW - FINISHED - Rye Field - 1:35 Scale
CDW replied to CDW's topic in Non-ship/categorised builds
That's it. -
Metalizer is not going to work with a brush, they require an airbrush. And they suffer from a problem similar to what you are having with the polishing powder, they rub off when touching. Terrible for masking as it lifts off the metal powder marring the finish. Sealer coats alter the polished look of the bare metalizer. Been there, done that, and got the tee shirt. They do work well on small parts that will not be handled later, but as a primary finish, I think you will be disappointed.
-
It will take some time (1 hour) to watch these 2 videos, but this modeler gives as good a tutorial on achieving a NMF as there is out there on the net. Very, very good.
-
MRAP ATV by CDW - FINISHED - Rye Field - 1:35 Scale
CDW replied to CDW's topic in Non-ship/categorised builds
I can do better than that in a few days...I ordered the Abrams Tusk kit and it's on the way, should be here next week. Does not include the interior with the version I ordered. -
It just dawned on me that the finish you are working with is Uschi polishing powder. A couple of years ago, there was another modeler on this forum who wrote a brief post on how he used the powders to achieve a brilliant finish on a model. I have not seen a post from this modeler in quite some time and I cannot recall his screen name to do a search. I recall that he was a WW1 Fokker D.VII fan and his screen name may have been Vossie Wolf, or something close to that. Maybe some of the guys reading this will remember who I am talking about. Anyway, if i remember correctly, he had unlocked the secrets for getting the most out of Uschi powders.
-
MRAP ATV by CDW - FINISHED - Rye Field - 1:35 Scale
CDW replied to CDW's topic in Non-ship/categorised builds
Indeed it is fully detailed. Lots and lots of little parts to be added and painted. I'm guessing there are close to 800 parts in this kit. -
Wow, that's a bum deal after all that work. It's hard for me to tell from the photo how much of the finish was pulled off. All the way down to the primer? Hope you can recover the finish. By the way, the walk-around video is super good. Well worth watching.
-
Here is a 30 second video of a partly polished F-104A
-
MRAP ATV by CDW - FINISHED - Rye Field - 1:35 Scale
CDW replied to CDW's topic in Non-ship/categorised builds
Yes it does, except for the mil-spec mapping and sat phone. -
MRAP ATV by CDW - FINISHED - Rye Field - 1:35 Scale
CDW replied to CDW's topic in Non-ship/categorised builds
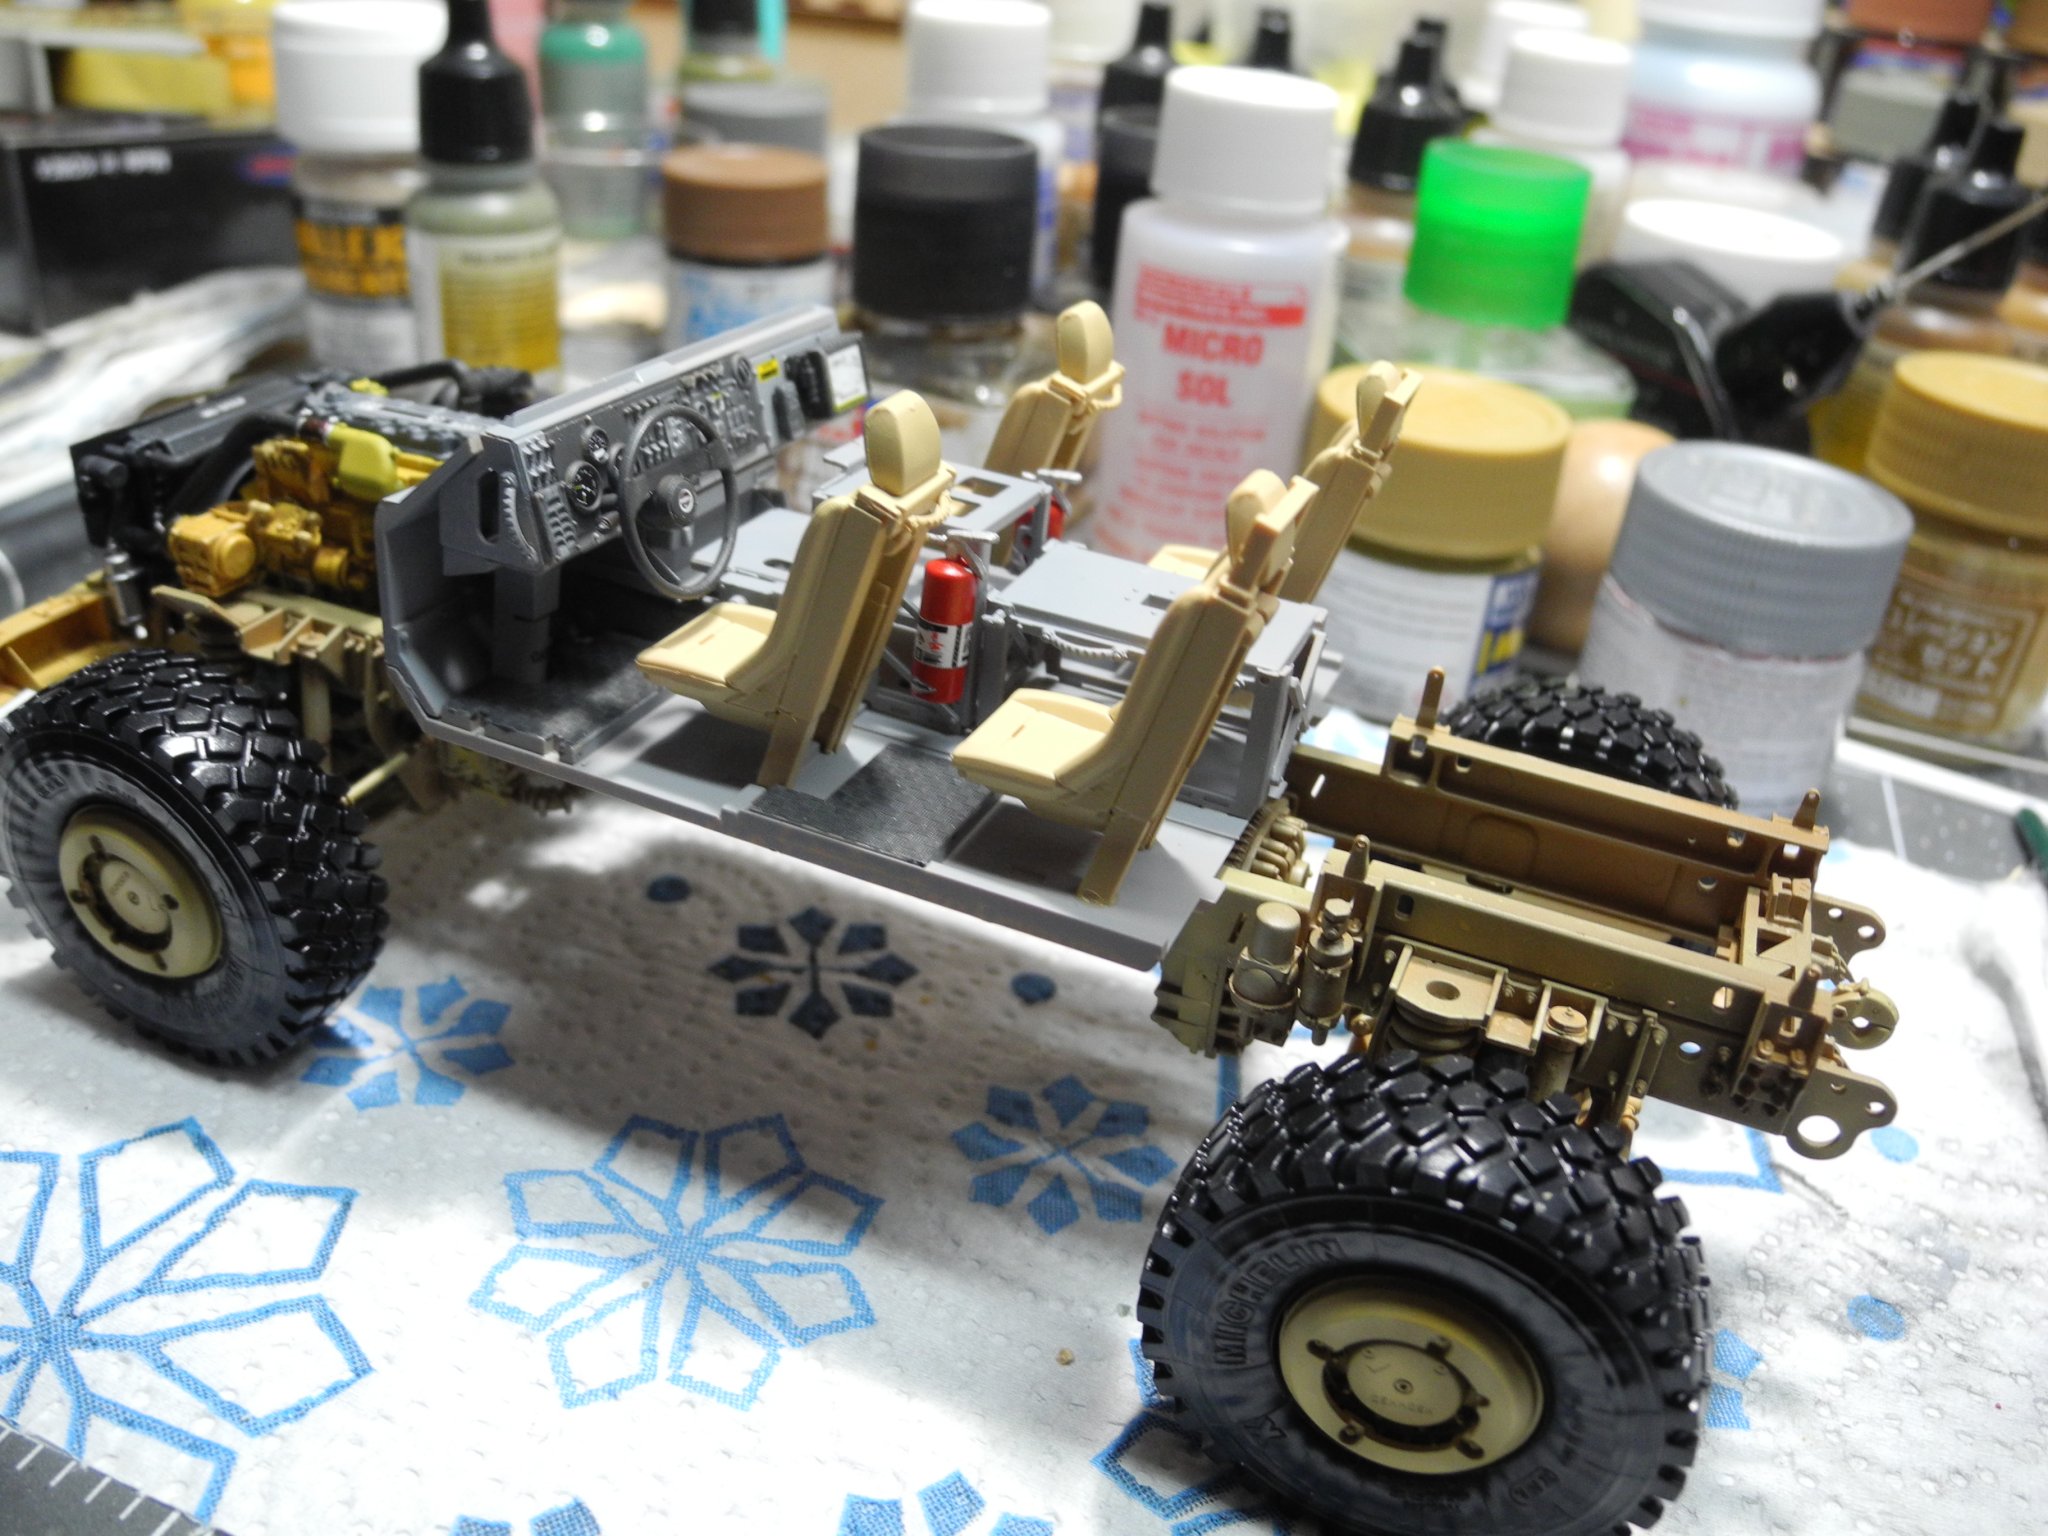
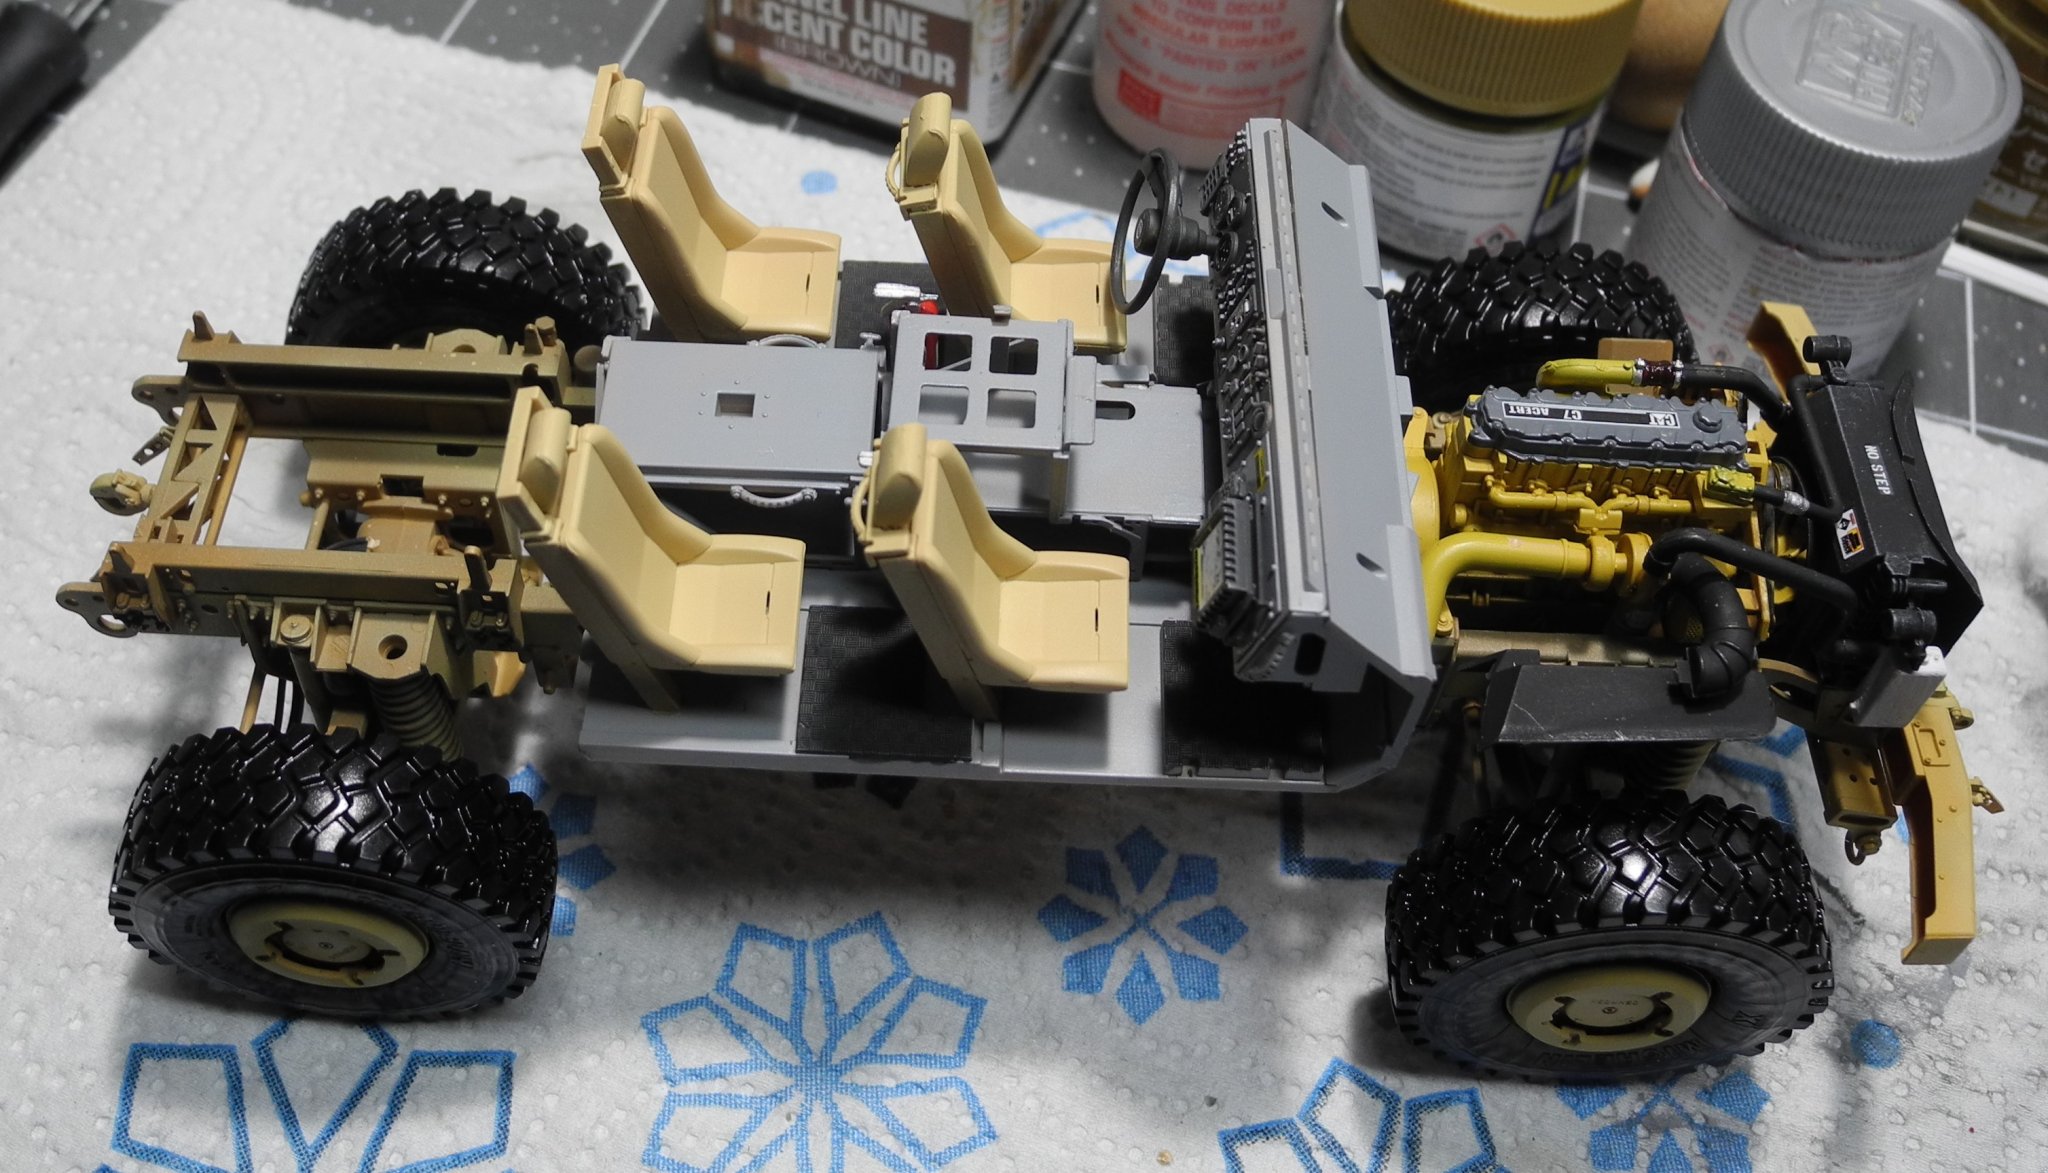
It sure doesn't resemble the inside of any combat vehicle I was ever in. Rye Field produces models loaded with details. -
MRAP ATV by CDW - FINISHED - Rye Field - 1:35 Scale
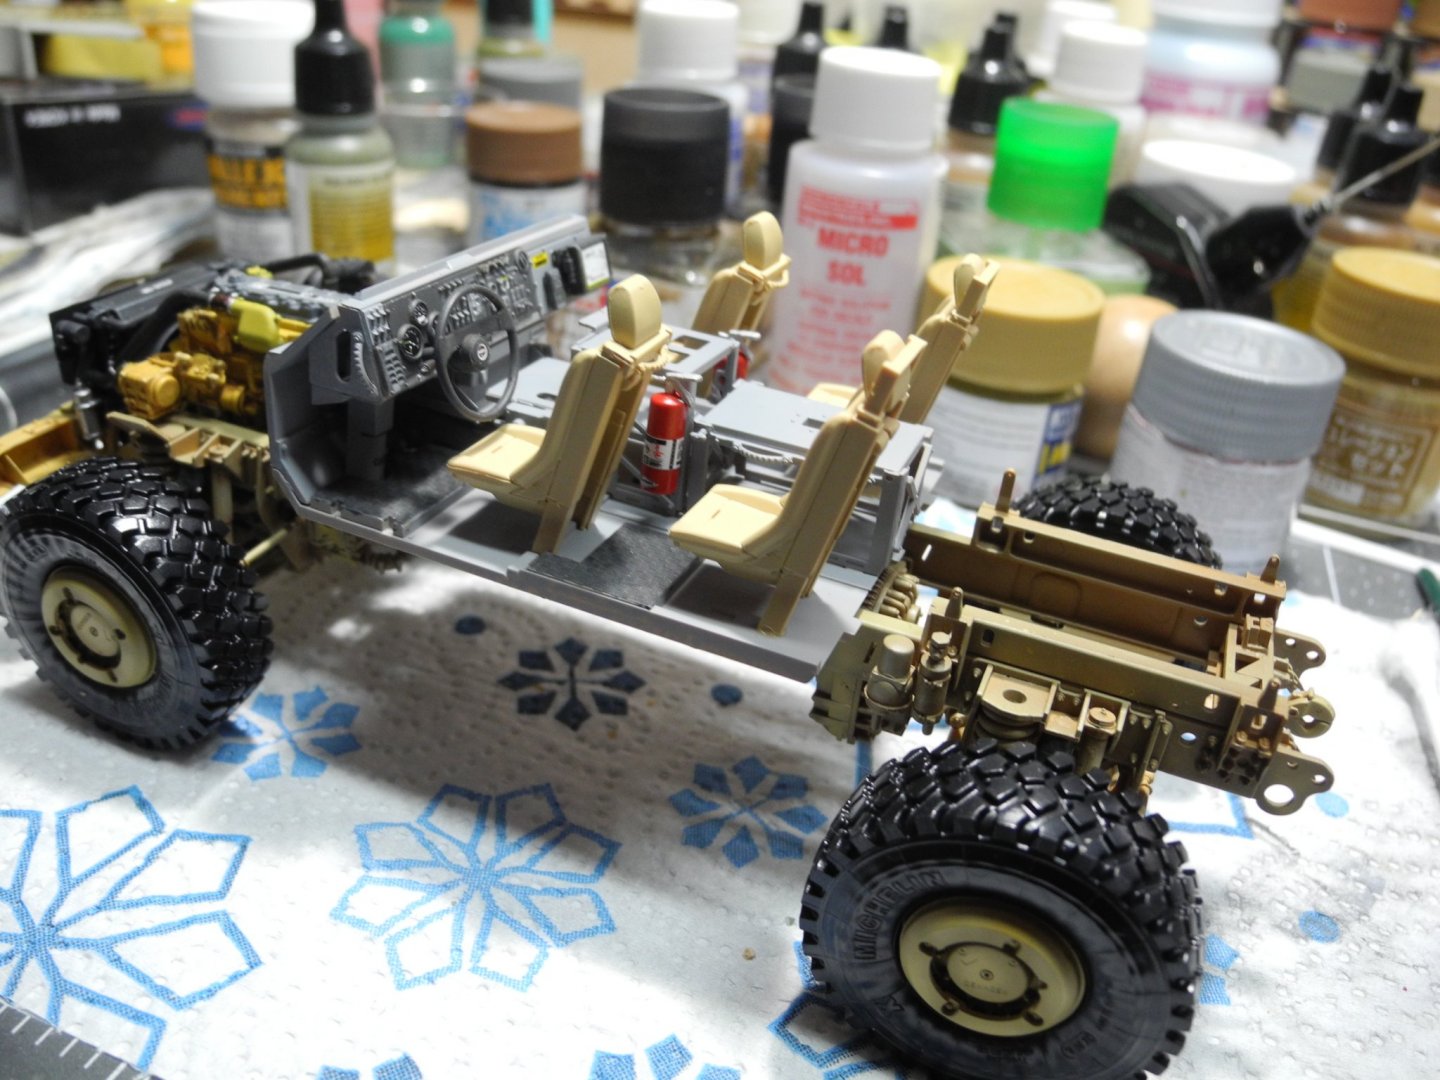
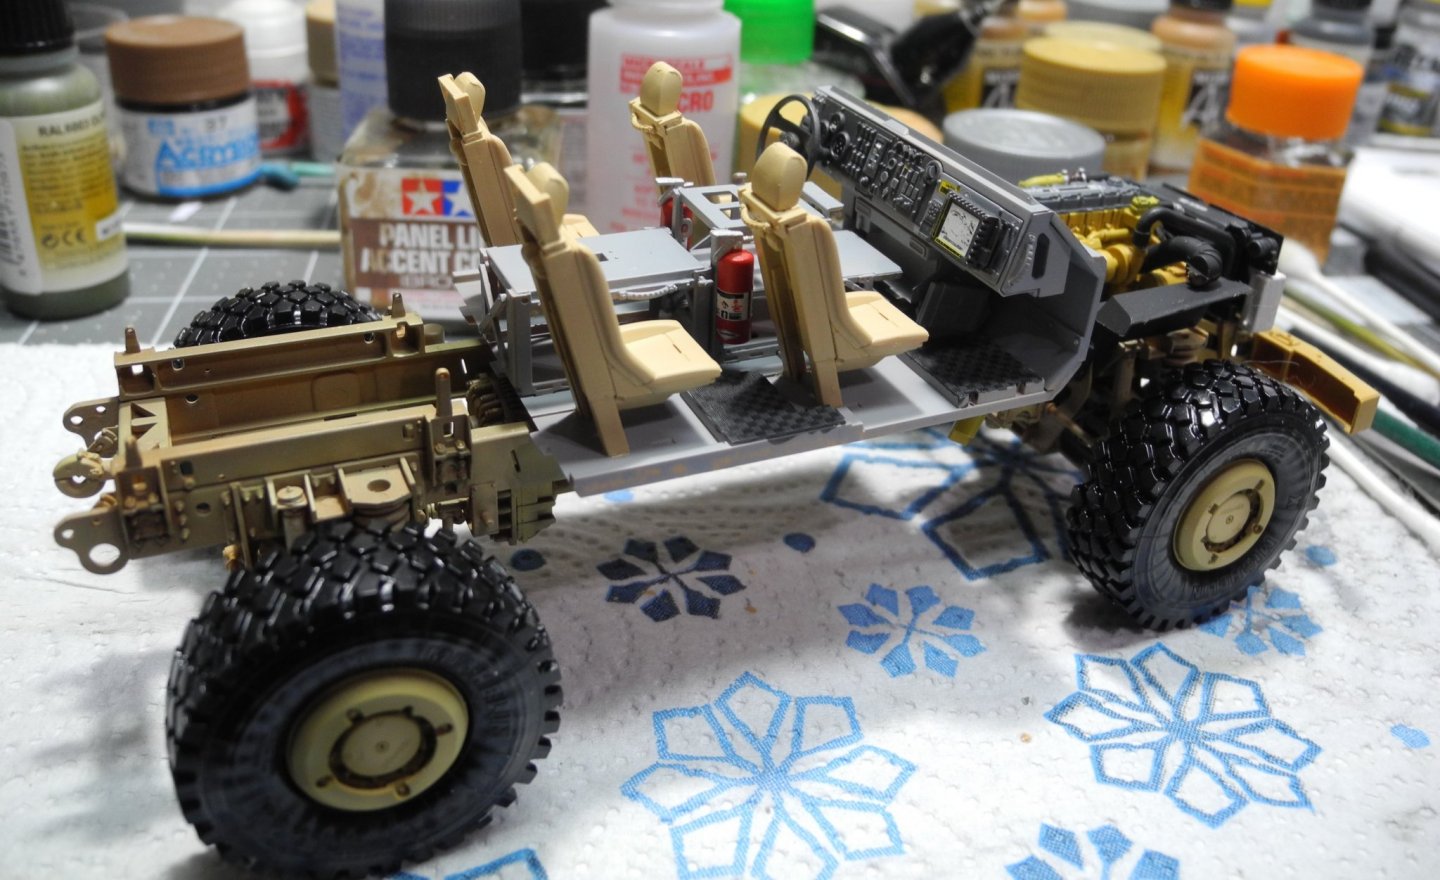
CDW replied to CDW's topic in Non-ship/categorised builds
Focus shifts to the cabin interior.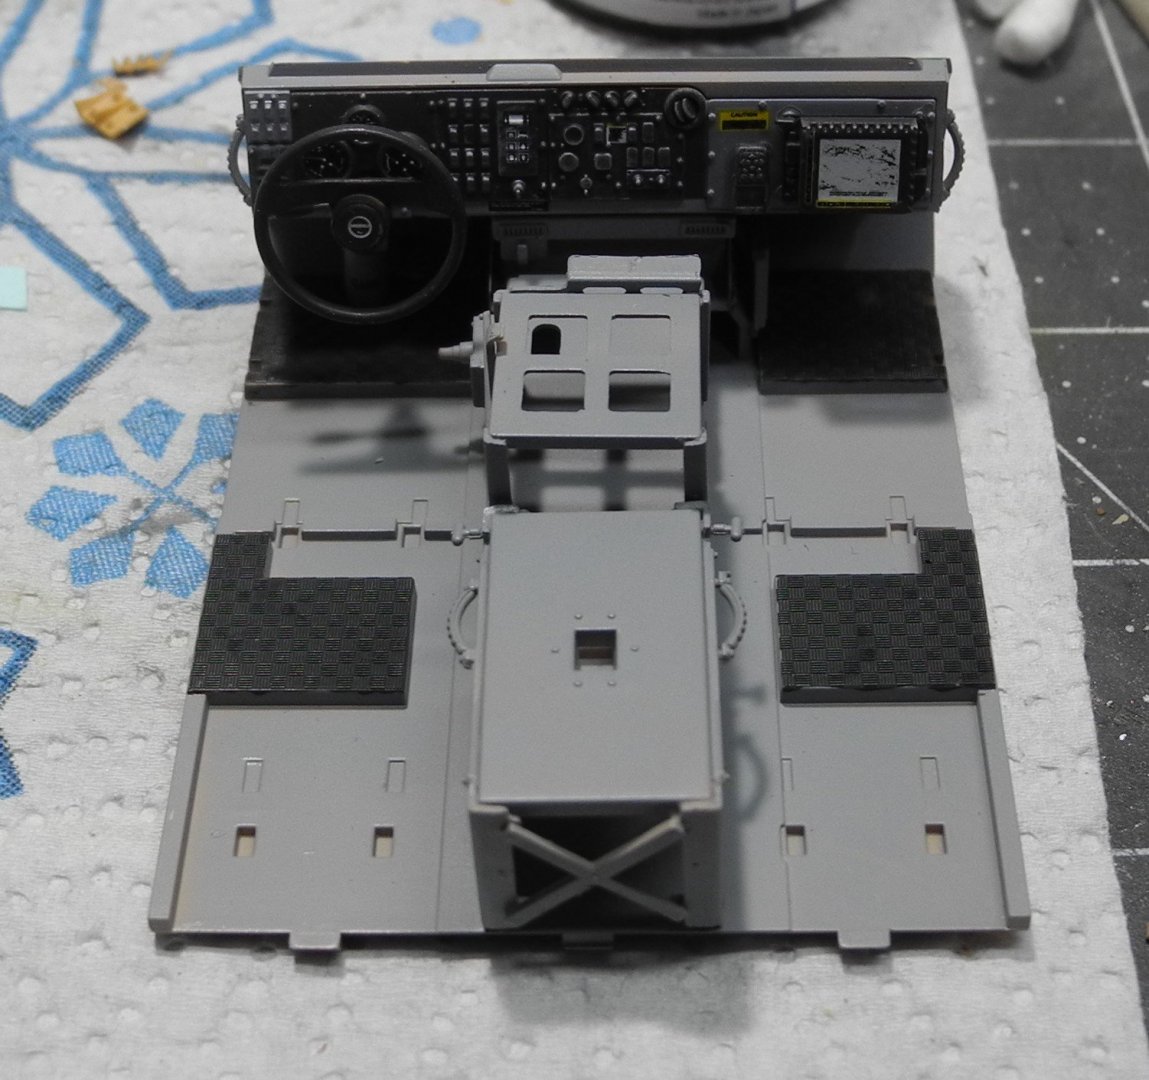

- 217 replies
-
- 12
-
-
Yes sir, you are going to town on this build, Jack. Nice work.
-
I was car savvy, but the problem with many of these cars was a lack of spare parts availability. Just couldn't buy them locally and it took a LONG wait to order parts from Europe. VW's had a huge part availability network locally. That in my opinion made the VW the superior car.
-
This is a pre pandemic phenomenon. Had the same problem months ago and it just went away on it's own. Came back a time or two, then went away since then. Don't really know what happened or why.
-
Beautiful model Tom. I agree, the weather in New Hampshire was gorgeous while we were there last week. Temps in the 40's at night were a refreshing change from the Florida evening temps.
-
Around 1966, my sister and her family moved back to the USA after spending four years in France with the USAF. Her husband dearly wanted a Citroen Peugeot. He found a new car dealership in Fayetteville, NC that sold the Citroen Peugeot line and he bought a brand new station wagon. Turned out to be a huge disappointment as it passed everything but the repair garage. I remember it being an attractive design, but it was not reliable at all. Maybe he just got a "lemon". He knew they had a great reputation in France. PS: After I wrote this, I started thinking more about it and remembered it was a Peugeot he bought, not a Citroen. Sorry, my mistake.
-
Great looking Spit, OC. I really like the smooth paint job and decal work.
-
It was super. Weather was beautiful, warm days and cool nights. We got our youngest daughter all settled into her new living arrangement with her oldest sister then we came back home this past weekend. Feels strange with just the two of us at home now.
-
Looks like the box says it's 40 3/4 inches, but maybe I'm reading it wrong. It's a big one.
-
Nice project Jack.
-
What surprised me was how poorly trained and prepared the pilots were in almost every way. Wealthier pilots who paid to learn to fly as civilians were some of the best prepared, but even then, there were so many things working against them: the planes were fabric, wood and dope covered. As such, they were extremely prone to burning. Pilots would sometimes shoot themselves rather than burn to death when their aircraft either caught fire in combat or for other reasons. It is said that many rookie pilots simply got lost/disoriented in flight and never returned from their very first mission. Still others were ejected from the cockpits due to no seat belts or inadequate seat belts. Then there was a big learning curve in developing winning air combat strategies by the generals in charge. Just a myriad of problems really.
-
MRAP ATV by CDW - FINISHED - Rye Field - 1:35 Scale
CDW replied to CDW's topic in Non-ship/categorised builds
There is no forgetting, the airline will provide one if a passenger shows up without it. It must be worn during the flight. Wouldn't help me too much unless I shaved my beard. -
I've been reading a book by James Hamilton Paterson, Marked for Death. The book chronicles the first air war during World War 1. After reading the book, it gives the reader a broader view of what the pilots went through in the war and shines a light on the average airman and hardships they endured. Really tough stuff.
-
MRAP ATV by CDW - FINISHED - Rye Field - 1:35 Scale
CDW replied to CDW's topic in Non-ship/categorised builds
This will be my last installment for the next week or more. Flying to New Hampshire tomorrow.