

CDW
-
Posts
7,760 -
Joined
-
Last visited
Content Type
Profiles
Forums
Gallery
Events
Everything posted by CDW
-
 They did stop importing to the USA when they were Gunze. Once they became Mr. Hobby, imports to the USA resumed. Not sure of all the details of what happened and why, but it could be they had to reformulate to pass certain hazardous designations by the USA. I could be wrong on this, I'm not really sure and have only heard tales that I'm repeating here.
 -
B-25 Mitchell "Meet Miss Runyon" by Javlin-HK-1/32
CDW replied to Javlin's topic in Non-ship/categorised builds
And it's often the case that sourcing the right materials is as much or more of a challenge than building it. -
GSI Creos / Mr. Hobby They were once called Gunze Sangyo
-
Thanks for asking Mike. I should have posted a photo of it:
-
I've been hoarding the 1:350 Roma and a few detail sets. Your Heavy Cruiser Zara is tempting me to build the Roma. Whether it's automobiles, ships, or even aircraft, (not to mention the beautiful women) the Italians make some sexy looking things.
-
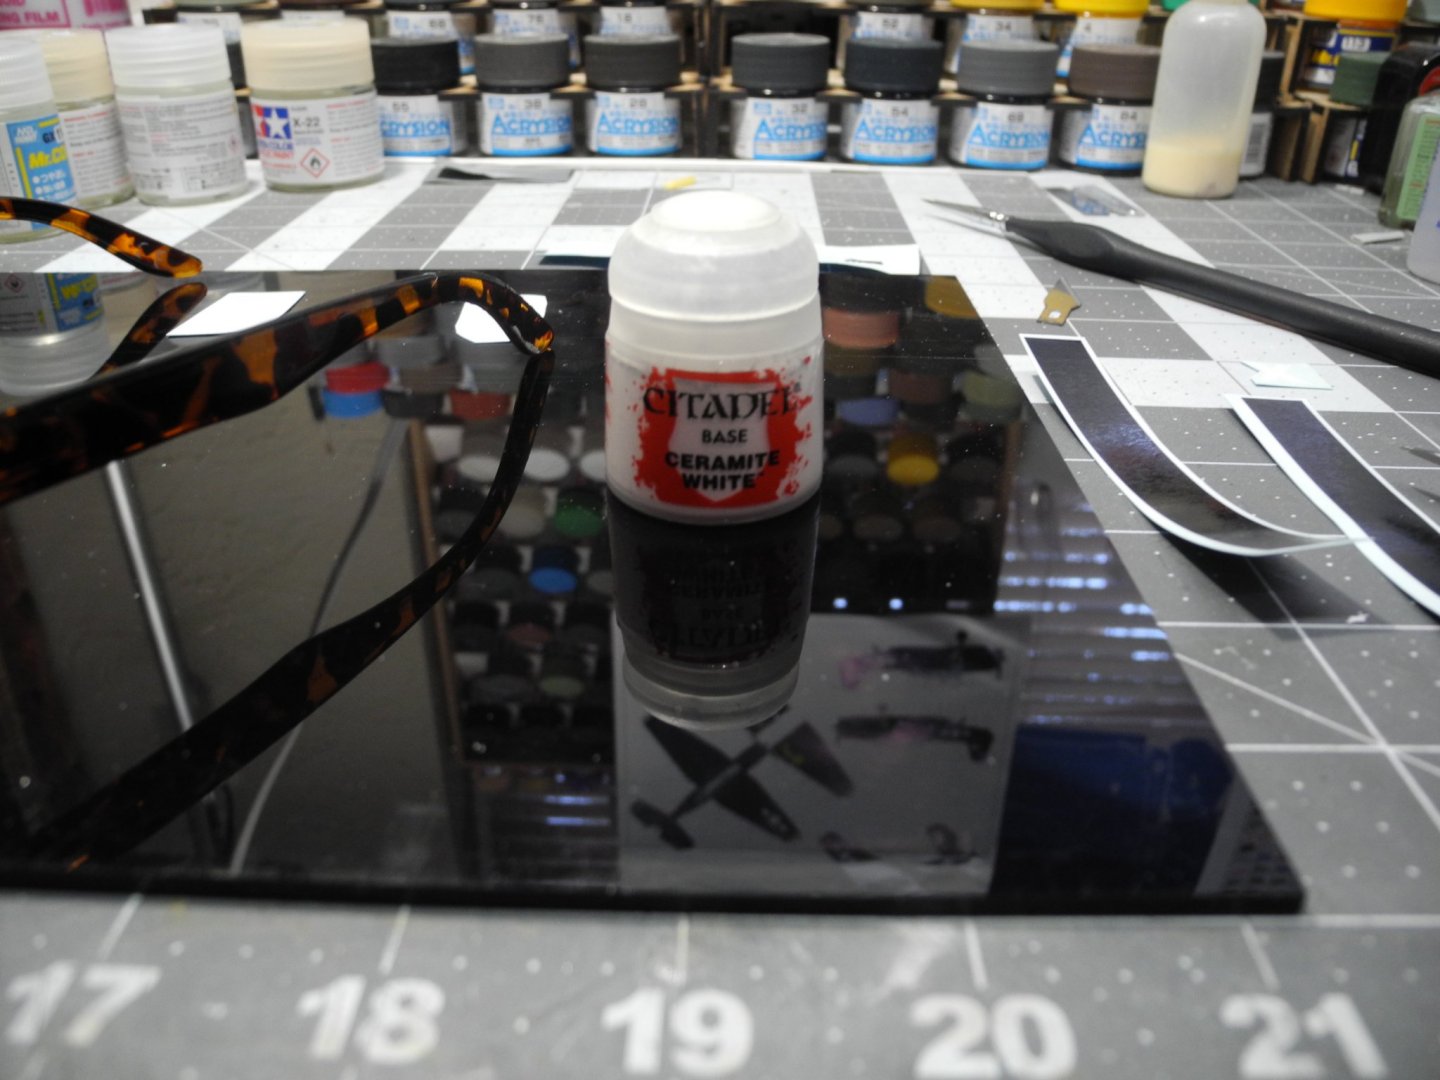
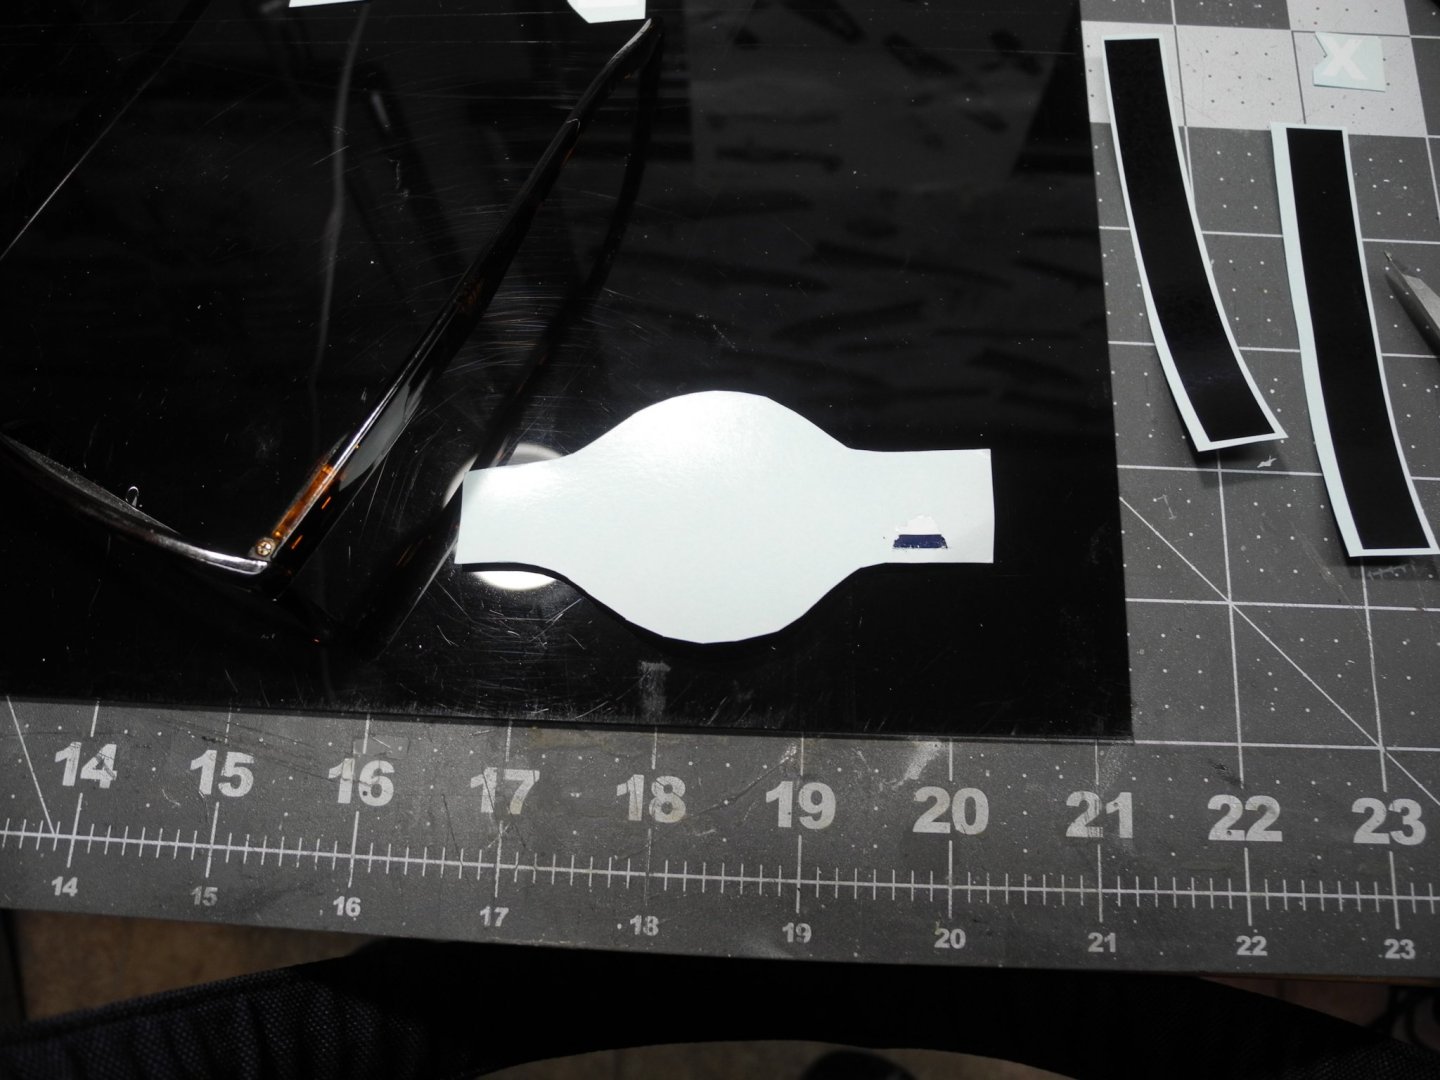
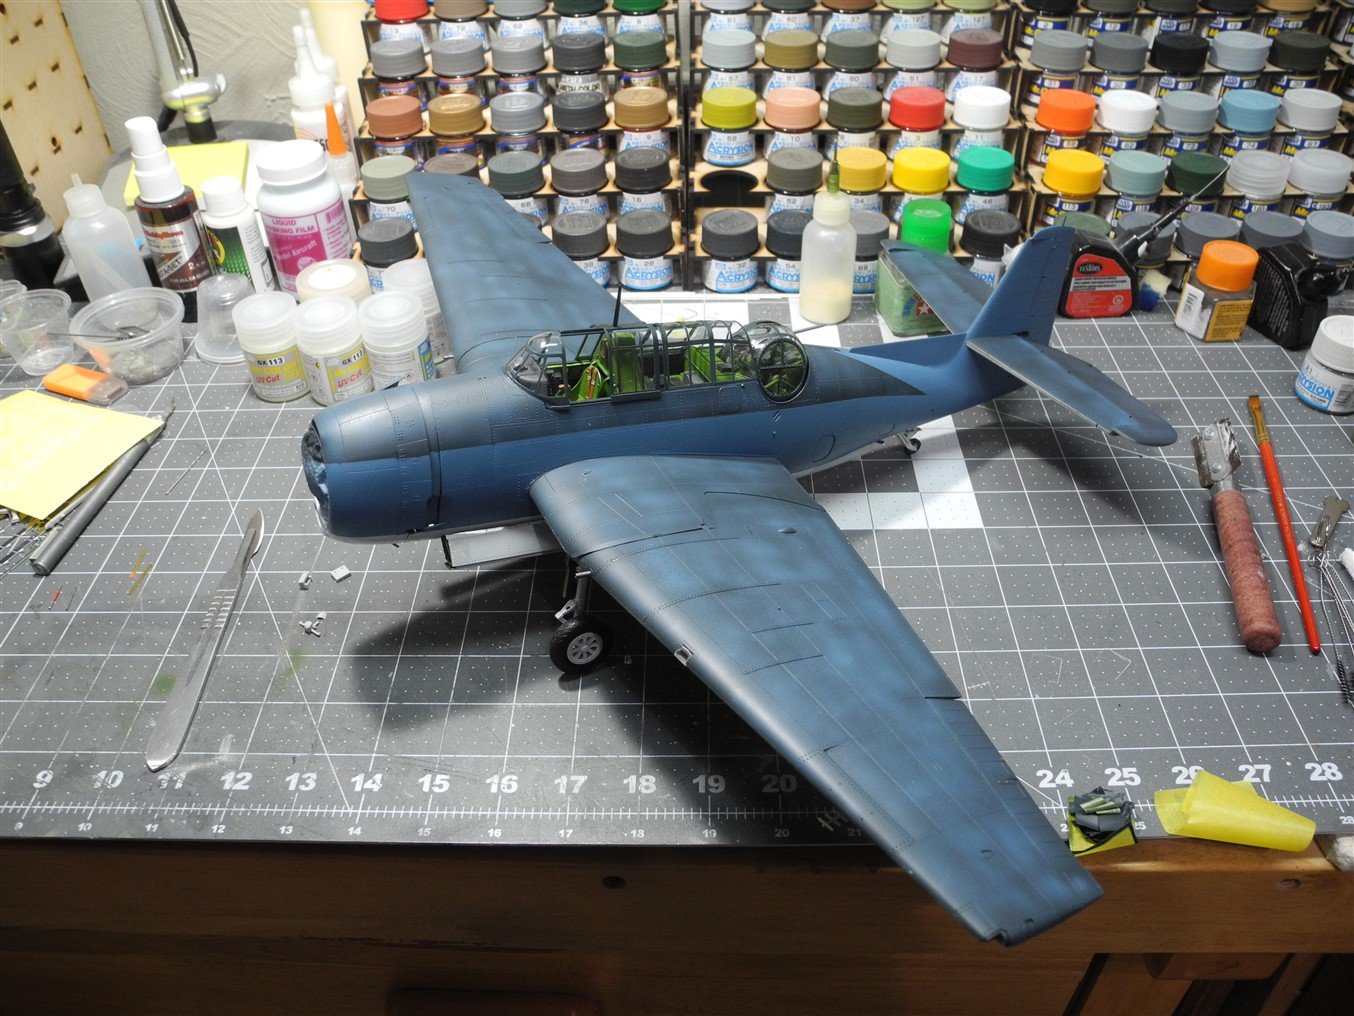
Just a tip for all you modelers out there: for whatever reasons, Citadel makes the absolute best covering white paint I have found. It comes in a little plastic "tin", and can be found in the hobby shop miniatures section. Always keep a tin of it available for brush-on touch ups of white. Covers beautifully and does not leave brush marks when applied properly. I always dry mine with a hair dryer to get it to settle down and blend in with the surrounding white. The decal blue was matched my making a 50:50 mix of Acrysion Navy Blue with Acrysion Blue. The photo shows the large chunk of decal that tore away from the star and bar and stuck to the paper. This was the worst area that needed a touch up, but there are a few other smaller ones as well. Just glad I had some success in matching the right colors.
-
Thanks...had to mix some shades of blue paint to match the decal blue.
-
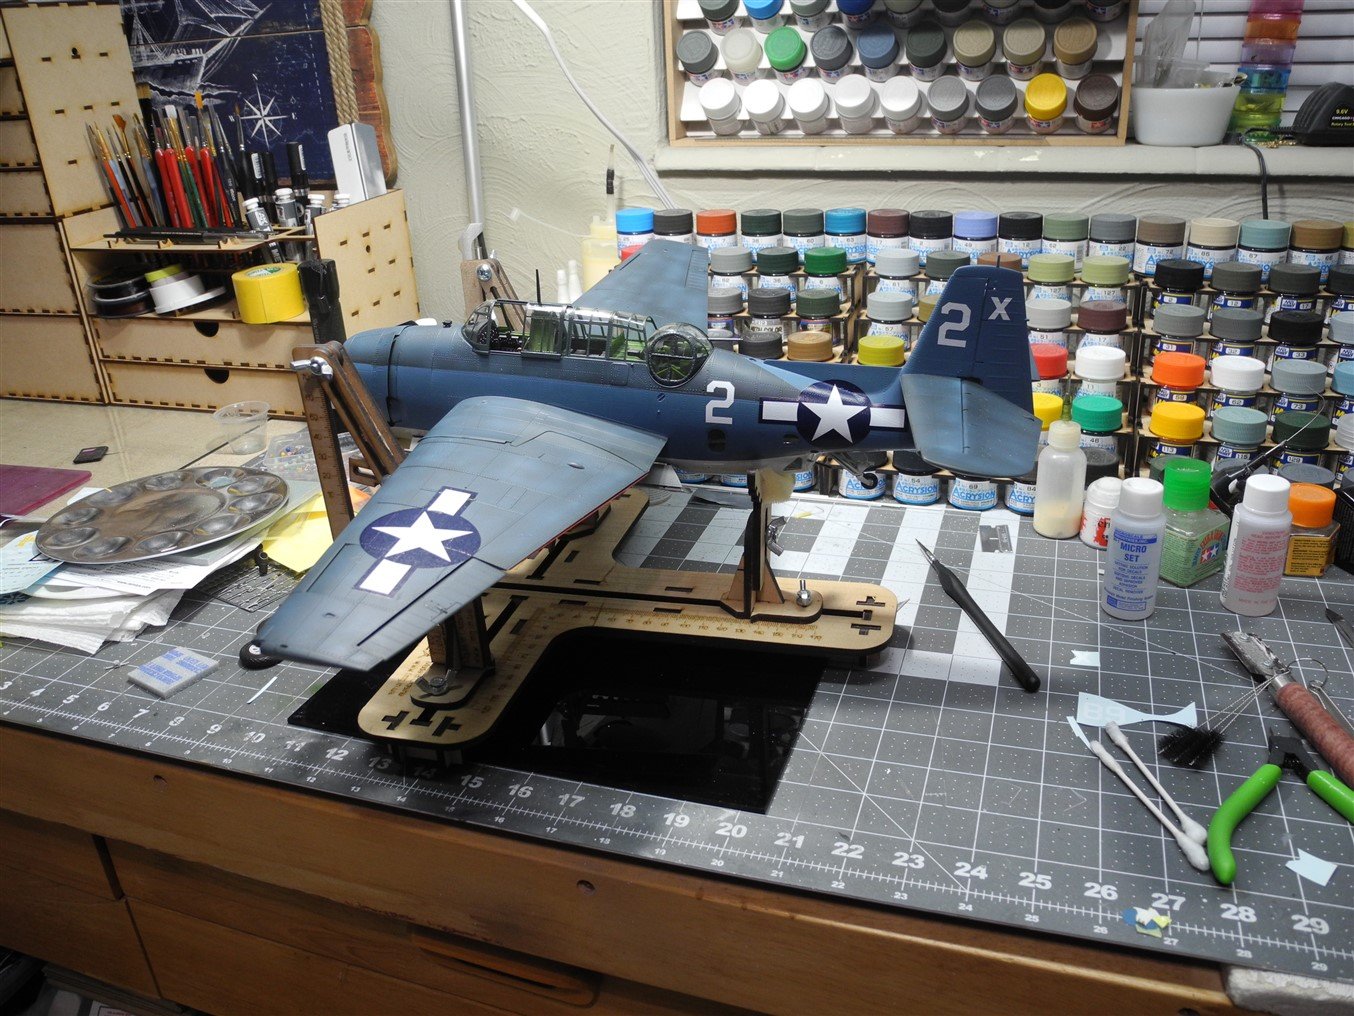
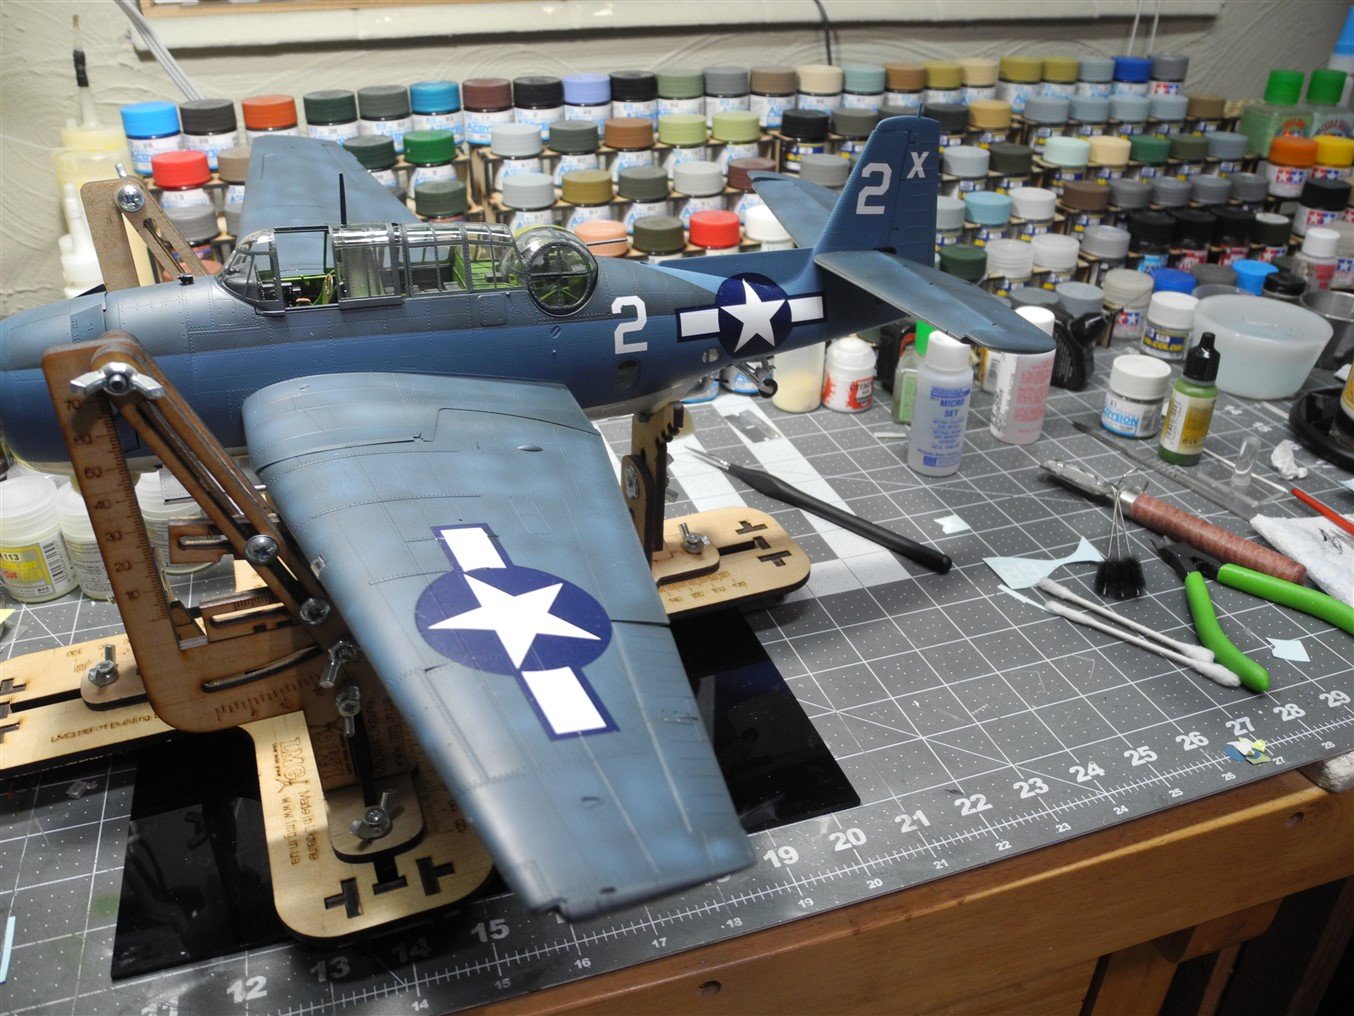
Thanks Kevin. These photos give some idea of the size of the stars and bars. Can you spot the touch ups I had to do on the wing and fuselage insignia's? The one on the wing had the largest boo boo to fix. A large chunk of it would not release from the decal backing paper and tore away from the rest of the decal.
- 267 replies
-
- 17
-

-
Hope I can do it justice. Thanks
-
Thanks for the nice comments gentlemen.
-
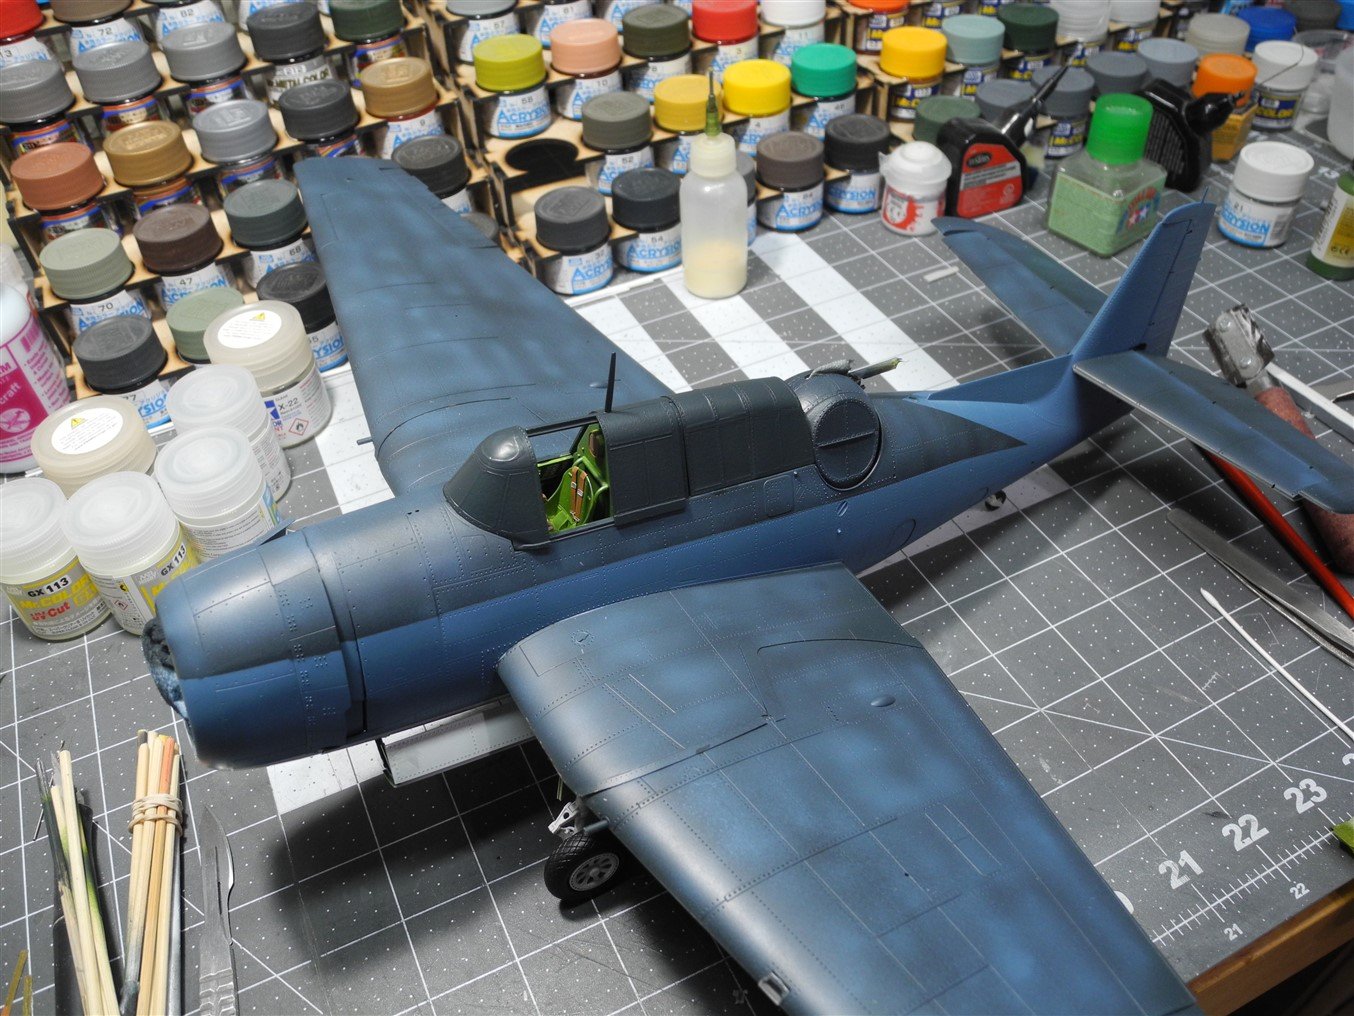
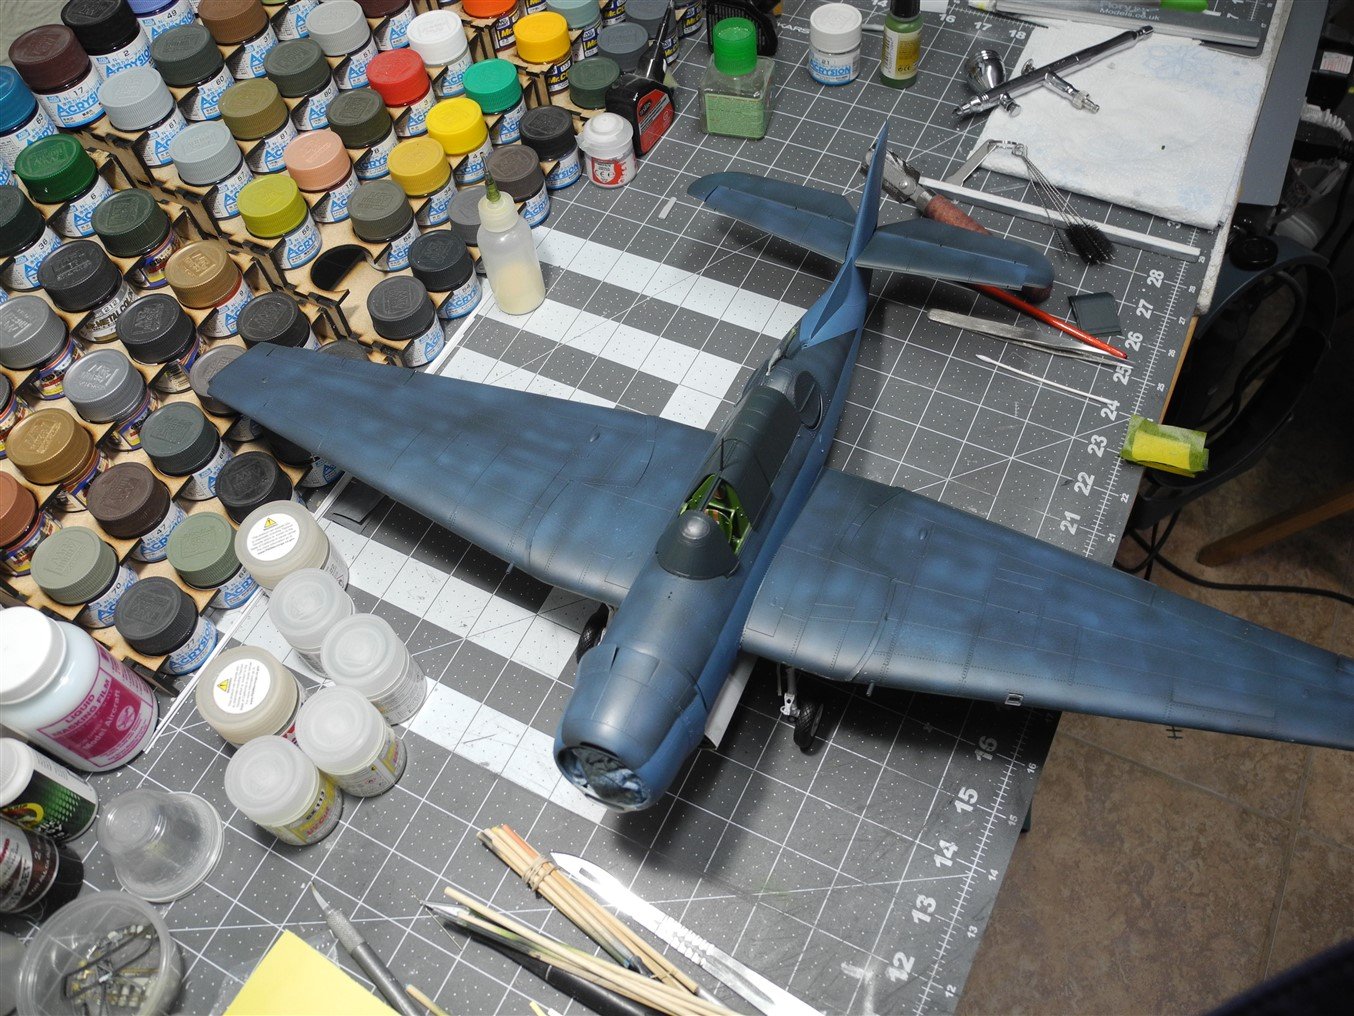
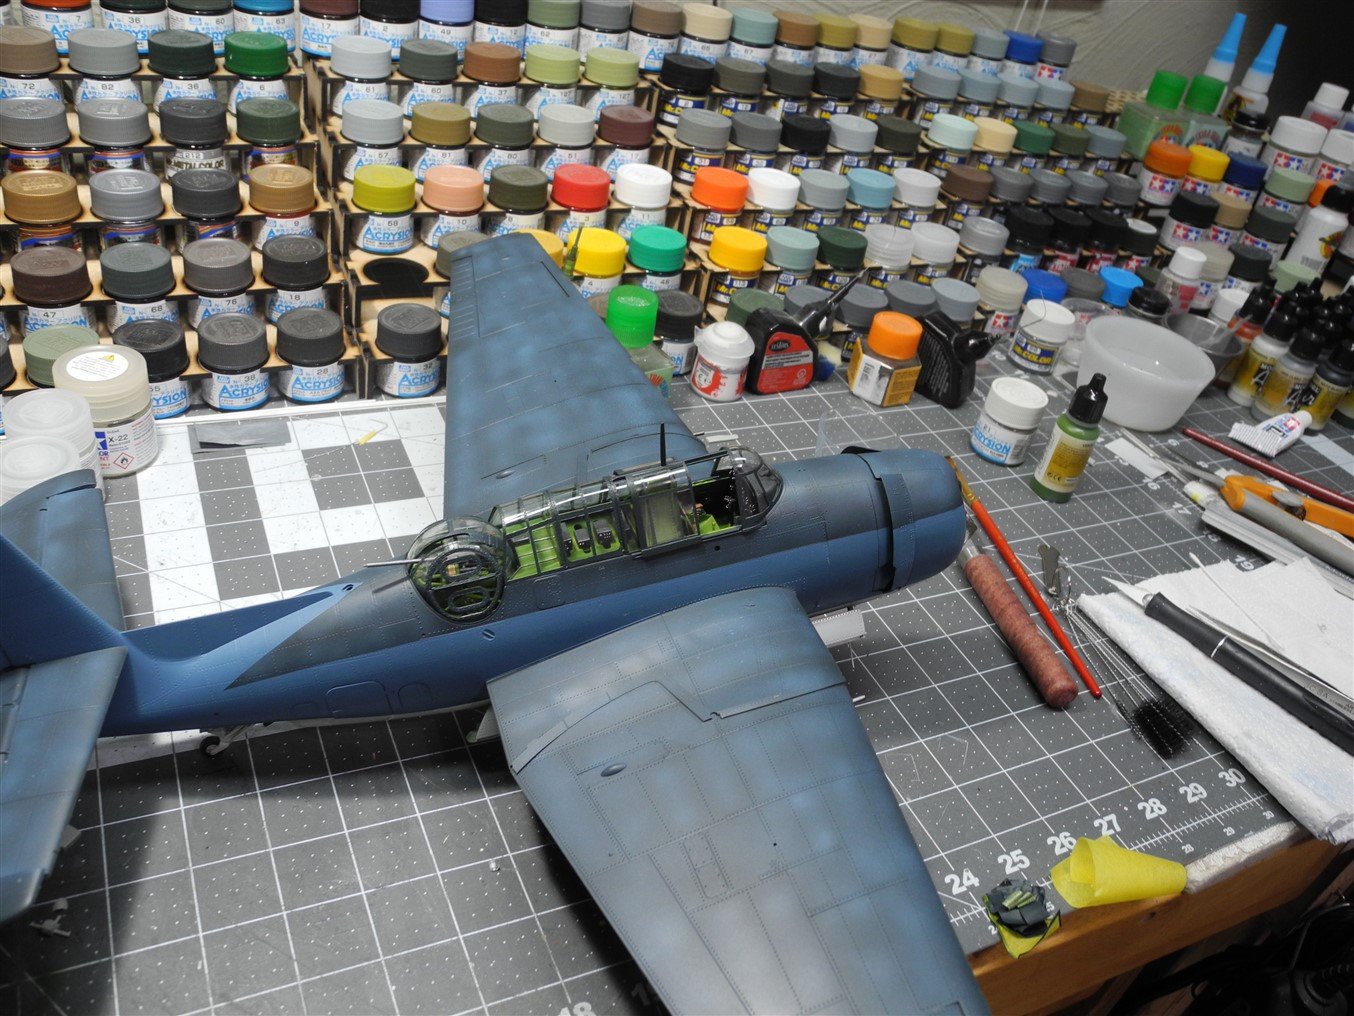
This is another kit with decals that are too old. Not quite as bad as the last couple of kits I built, but bad. Another year, and these would have been totally unusable. It's a shame because otherwise, these were probably pretty decent when the kit first came out. As fate would have it, this aircraft didn't have a lot of markings on it, so I'll get by with what I've got and some touch up paint. The stars and bars decals are huge on this thing, and those are the ones giving me the most trouble.
-
Bell UH-1H Huey By lmagna - Dragon - 1/35 - PLASTIC
CDW replied to lmagna's topic in Non-ship/categorised builds
My hearing is terrible once the person speaking turns their back and continues to speak. I have come to the conclusion that maybe I have unwittingly learned to read lips in some casual way. -
Bell UH-1H Huey By lmagna - Dragon - 1/35 - PLASTIC
CDW replied to lmagna's topic in Non-ship/categorised builds
About 45 years ago, here's my wife watching me build a model. It's the 1:24 Airfix Stuka, I believe. Back in those days, I didn't need no stinking Optivisor, but today, I couldn't get along without it. It's a game changer..jpg.41e34c156b11c4259183443fed3aa496.jpg)
-
Thanks Edward. Getting close to the end of the Avenger build, but I have yet to start the carrier deck display section it will rest upon. The carrier deck display section is mostly prefabricated, and all I must do is paint and finish it.
-
Thanks Ken
-
Thank you Jack
-
Thank you Yves
-
It all looks fantastic so far, Clare. Thanks for sharing it with us.
- 175 replies
-
- 4
-
-
- hanse kogge
- shipyard
- (and 1 more)
-
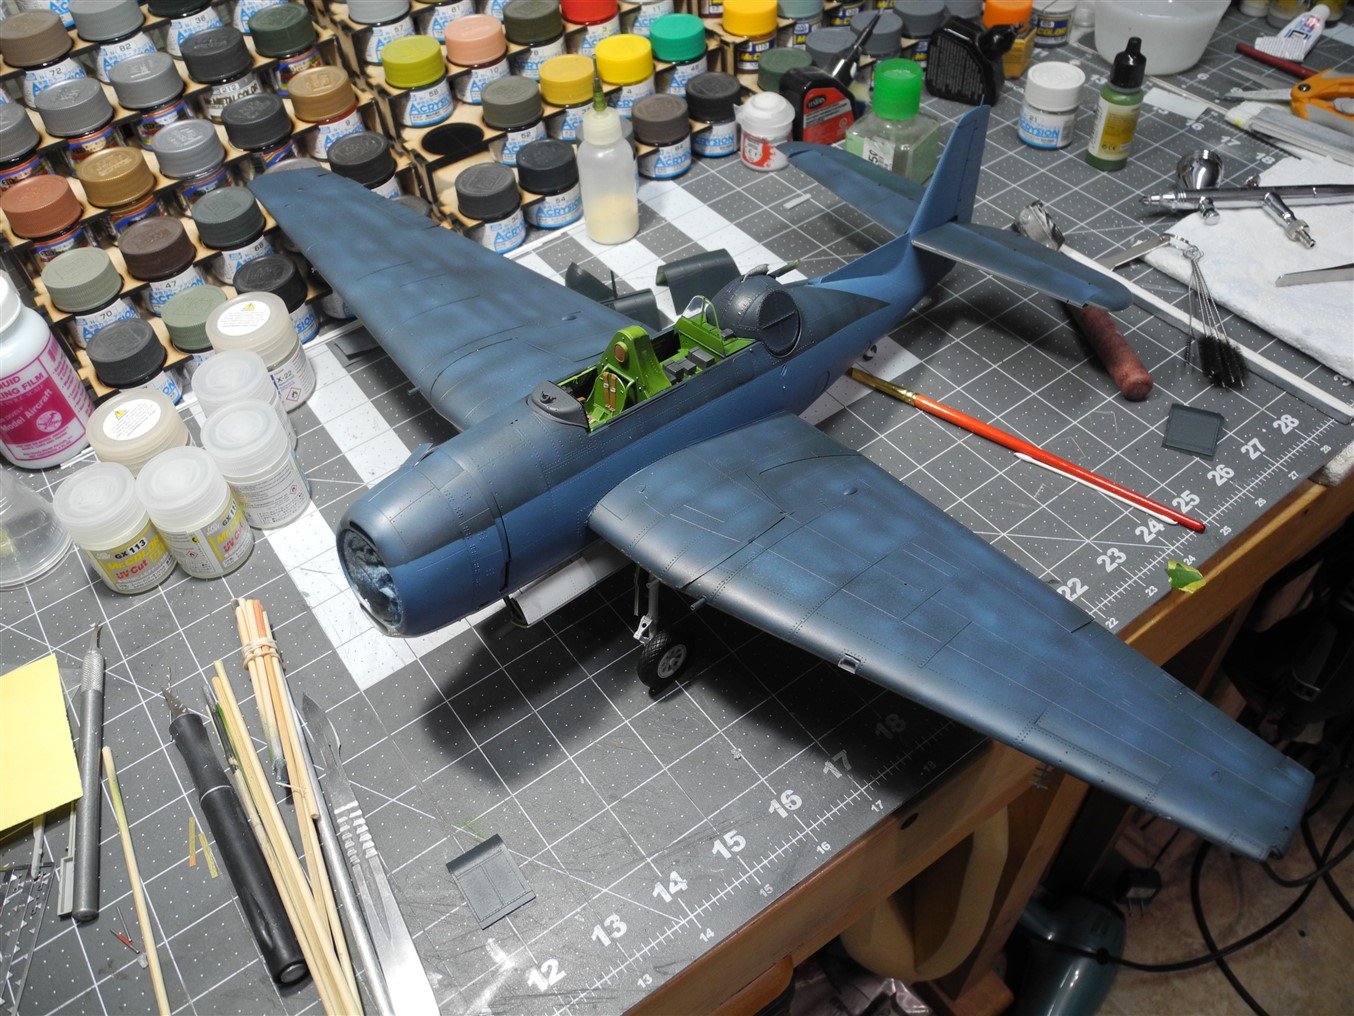
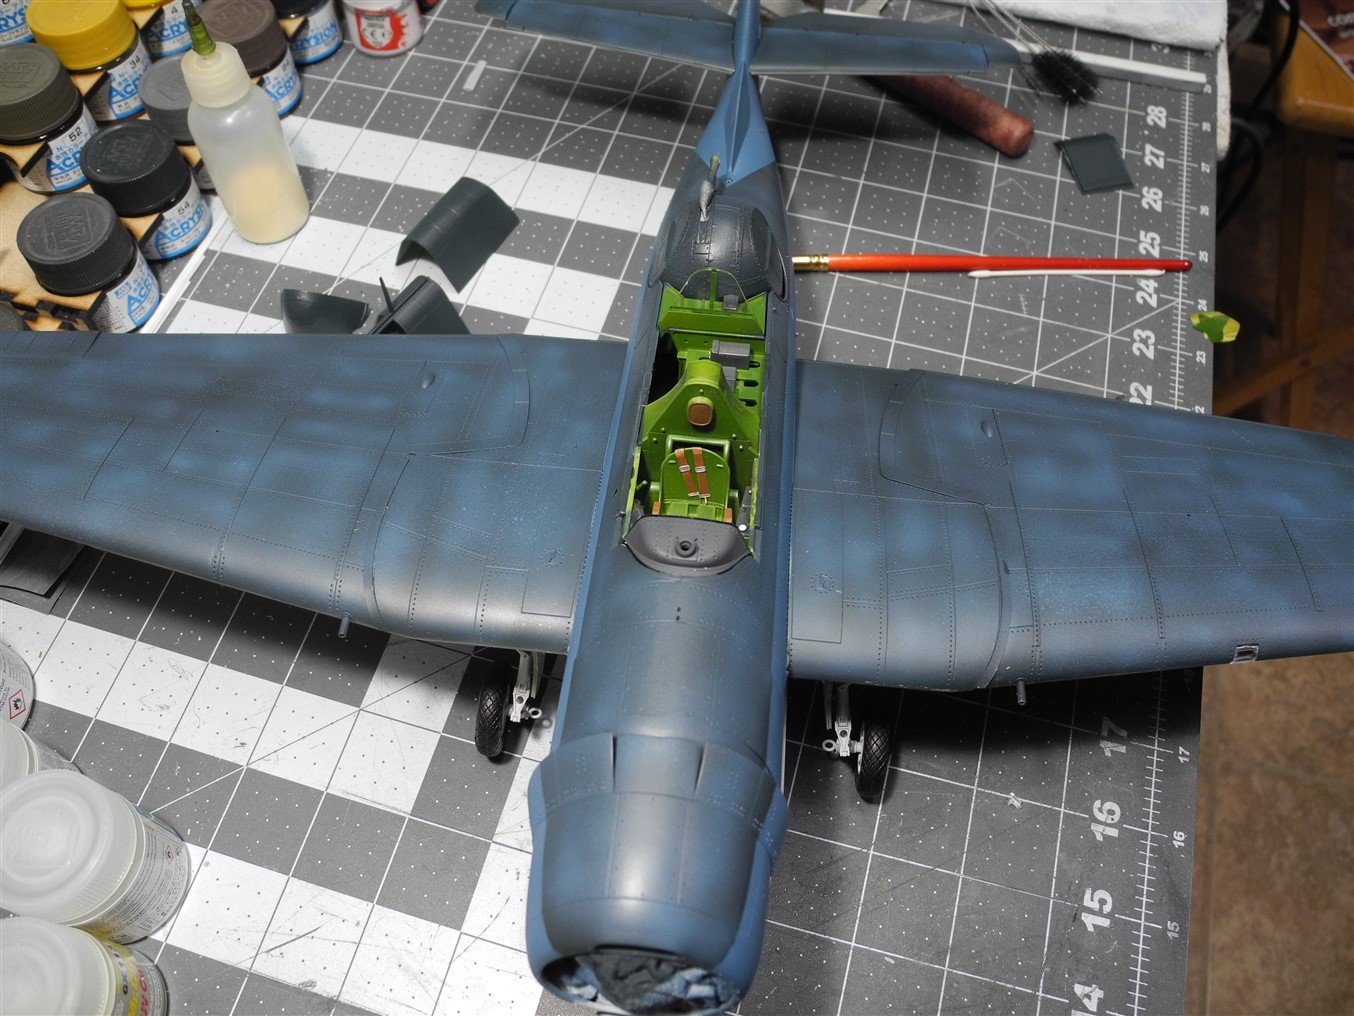
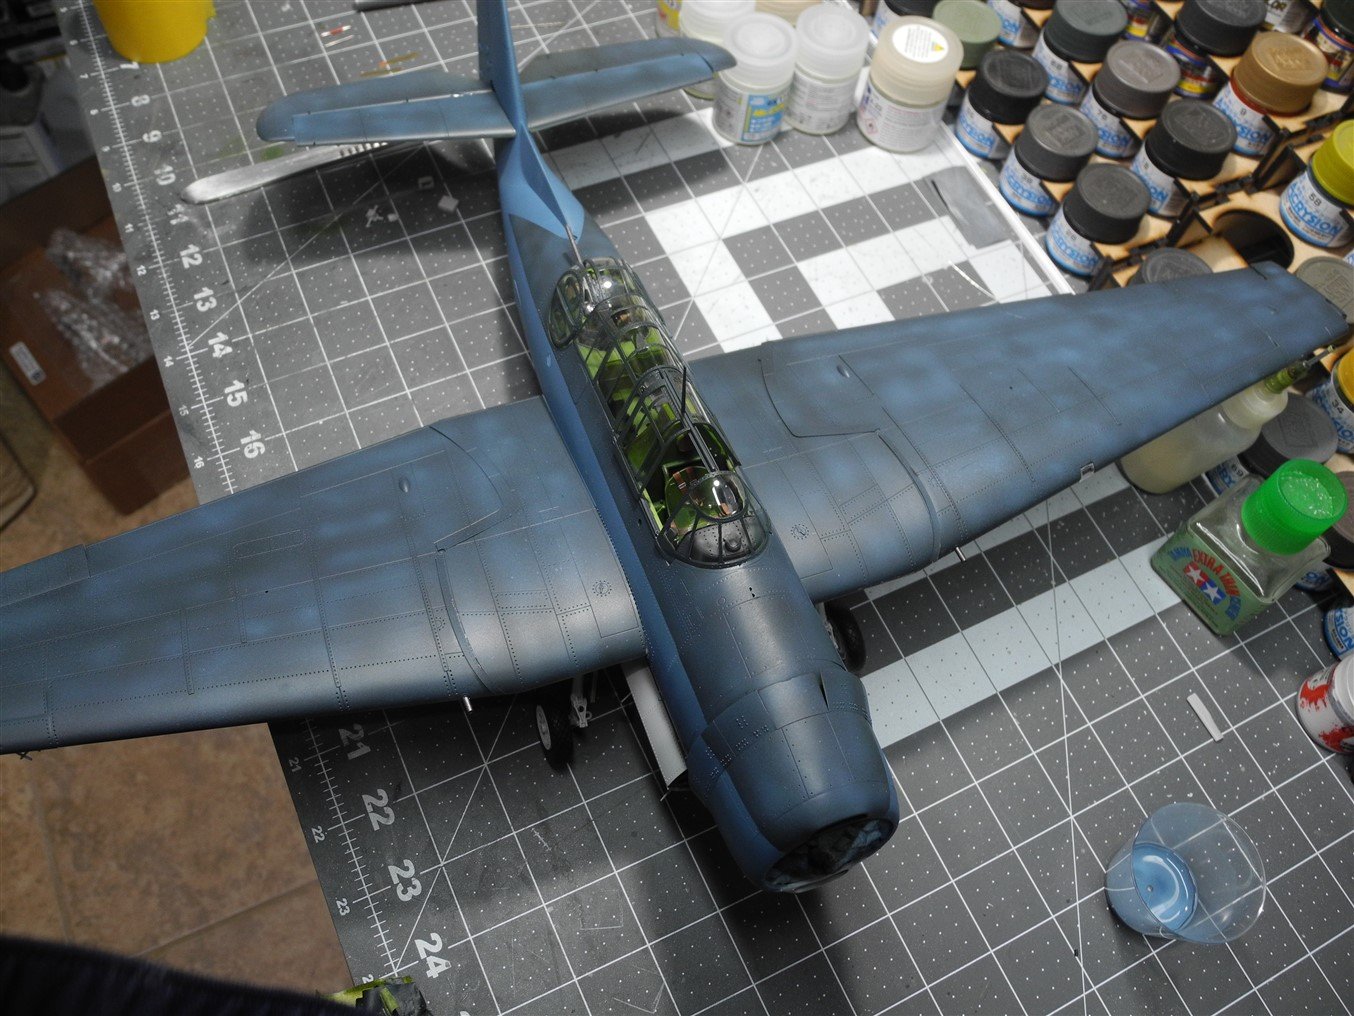
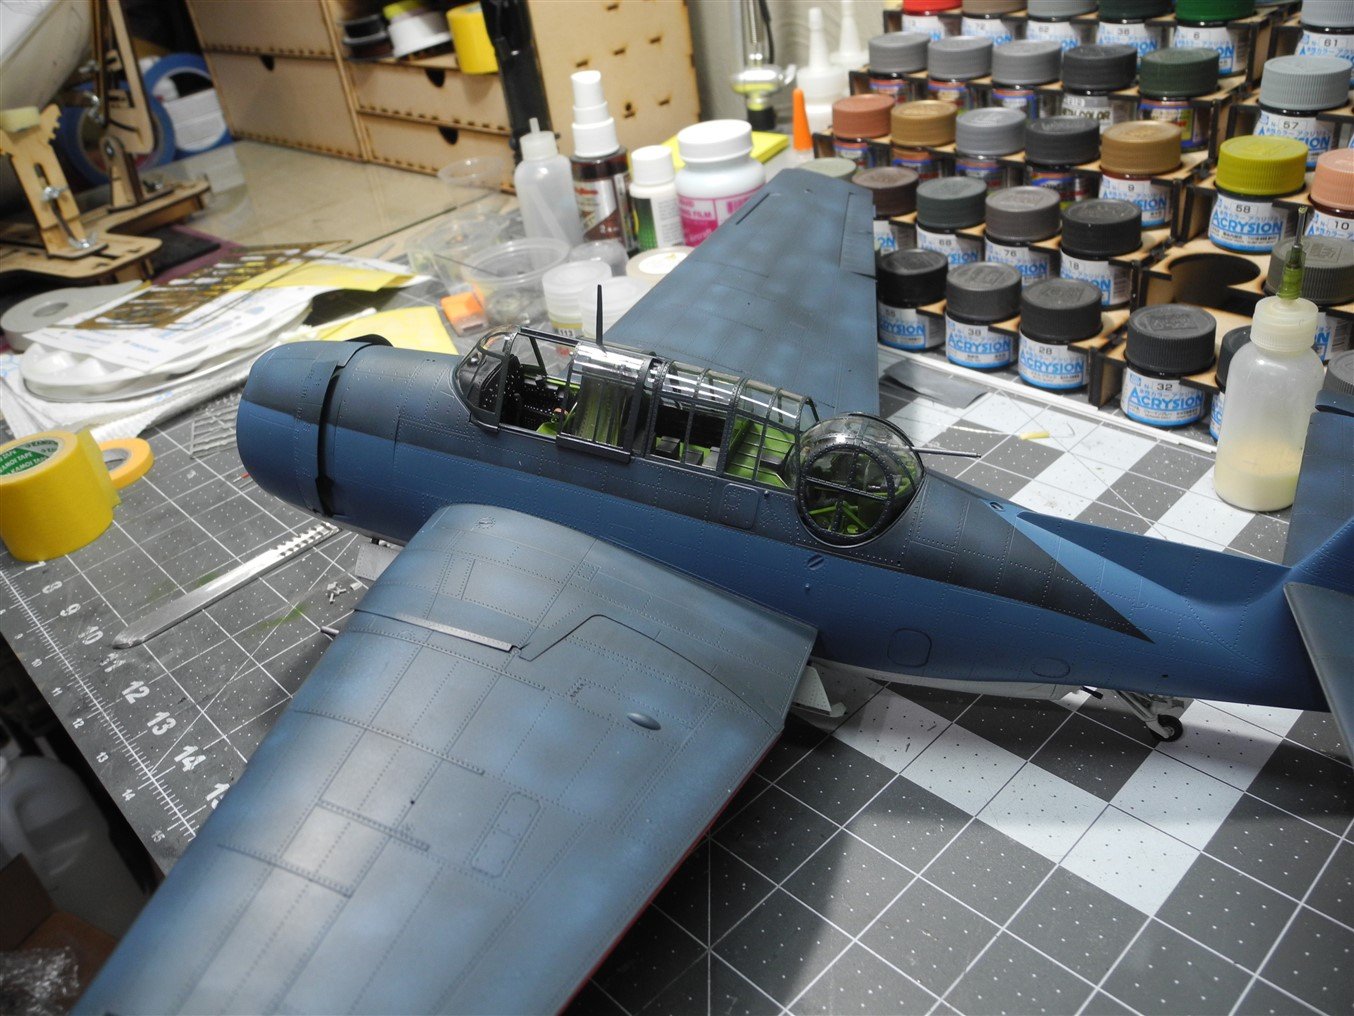
Masked, painted and mounted the canopy today. A good 4-5 hours required, rather tedious. The pre cut masks make a world of difference. The job would have been much more difficult and time consuming without them on this model.


- 267 replies
-
- 24
-
-
Hey, that looks great from here. Nice job.
-
Hmmm...800 might be too coarse. You could maybe try it in the most inconspicuous areas first just to see if will help. If you do, make sure to do it very lightly, wet. Water provides some lubrication and helps avoid scratching. But I'm not sure what you can do to eliminate those scratches short of remasking and repainting. Brushing will show up for sure, but maybe not to an intolerable degree.
-
Can you post some photos of what you've got...maybe there are some things you can do to salvage your work. I never realized you were in a single room apartment, so I now appreciate your predicament. As for painting, acrylics seem to maybe be your only viable alternative indoors. Do you have a fine grade sanding sponge? Tamiya sells a pack of sanding sponges that go from medium to fine. A very fine sanding sponge can knock down that ridge without wrecking your paint.
-
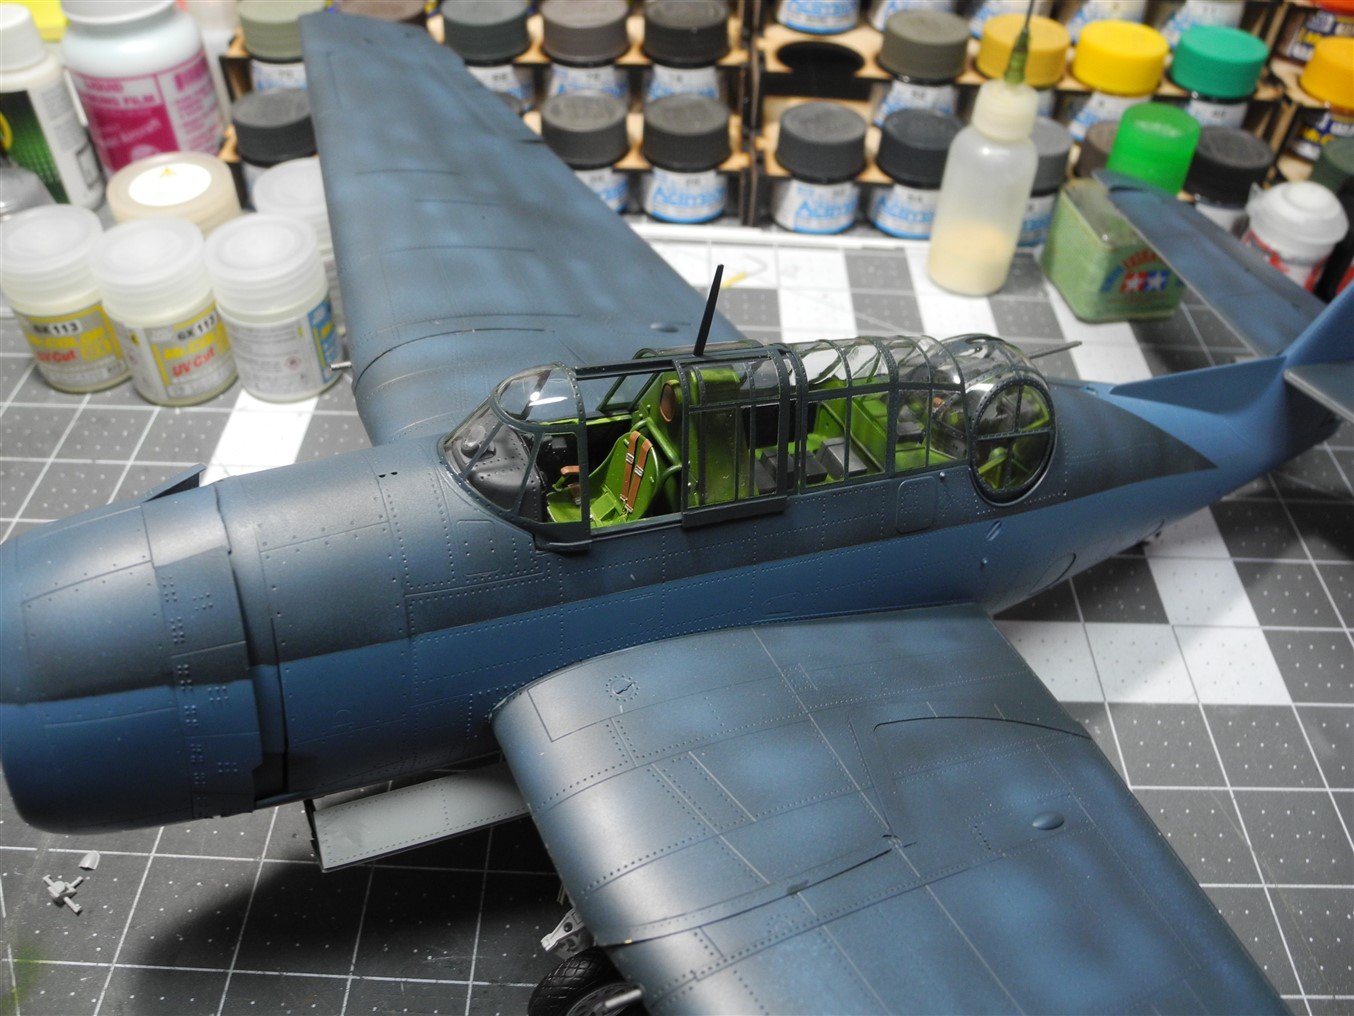
I started prepping and masking the main canopy pieces tonight. It will probably take me the better part of my modeling time tomorrow to finish the masking and painting of it. I have some chores to do tomorrow that cuts my modeling time short. My baby girl (she's 22) leaves in another week for New Hampshire to finish up her schooling. It sure is going to be an adjustment for me when she's gone. I'm dreading it, but I won't tell her that. Guess I'll spend more modeling time to chase the blues away.

- 267 replies
-
- 11
-
-
Thanks for the comments, and glad you visited this thread. It's strange how certain model kits can quickly transport us back to specific places and times. I share those memories of the great Monogram 1:48 scale kits and vividly remember the old shopping places where I bought them. Particularly memorable is the smell of the plastic when I first opened those kits and how excited I was to get started on them. They were one of the very best things a dollar could buy back then (to me).
-
Thanks Ken. I'm going to be doing a 1:32 F-4C Phantom soon. Will probably need your input on how to get it right. It's the Tamiya kit with some extras to dress it up.

