DONATION DRIVE - SUPPORT MSW - DO YOUR PART TO KEEP THIS GREAT FORUM GOING!
×

CDW
-
Posts
7,749 -
Joined
-
Last visited
Content Type
Profiles
Forums
Gallery
Events
Everything posted by CDW
-

Sikorsky CH-53 by mtaylor - FINISHED - Revell - 1:48 - PLASTIC
CDW replied to mtaylor's topic in Non-ship/categorised builds
Not sure it would be the same as donkey, but I ate horse once. Didn't care for it too much, stringy and rather tough meat. -
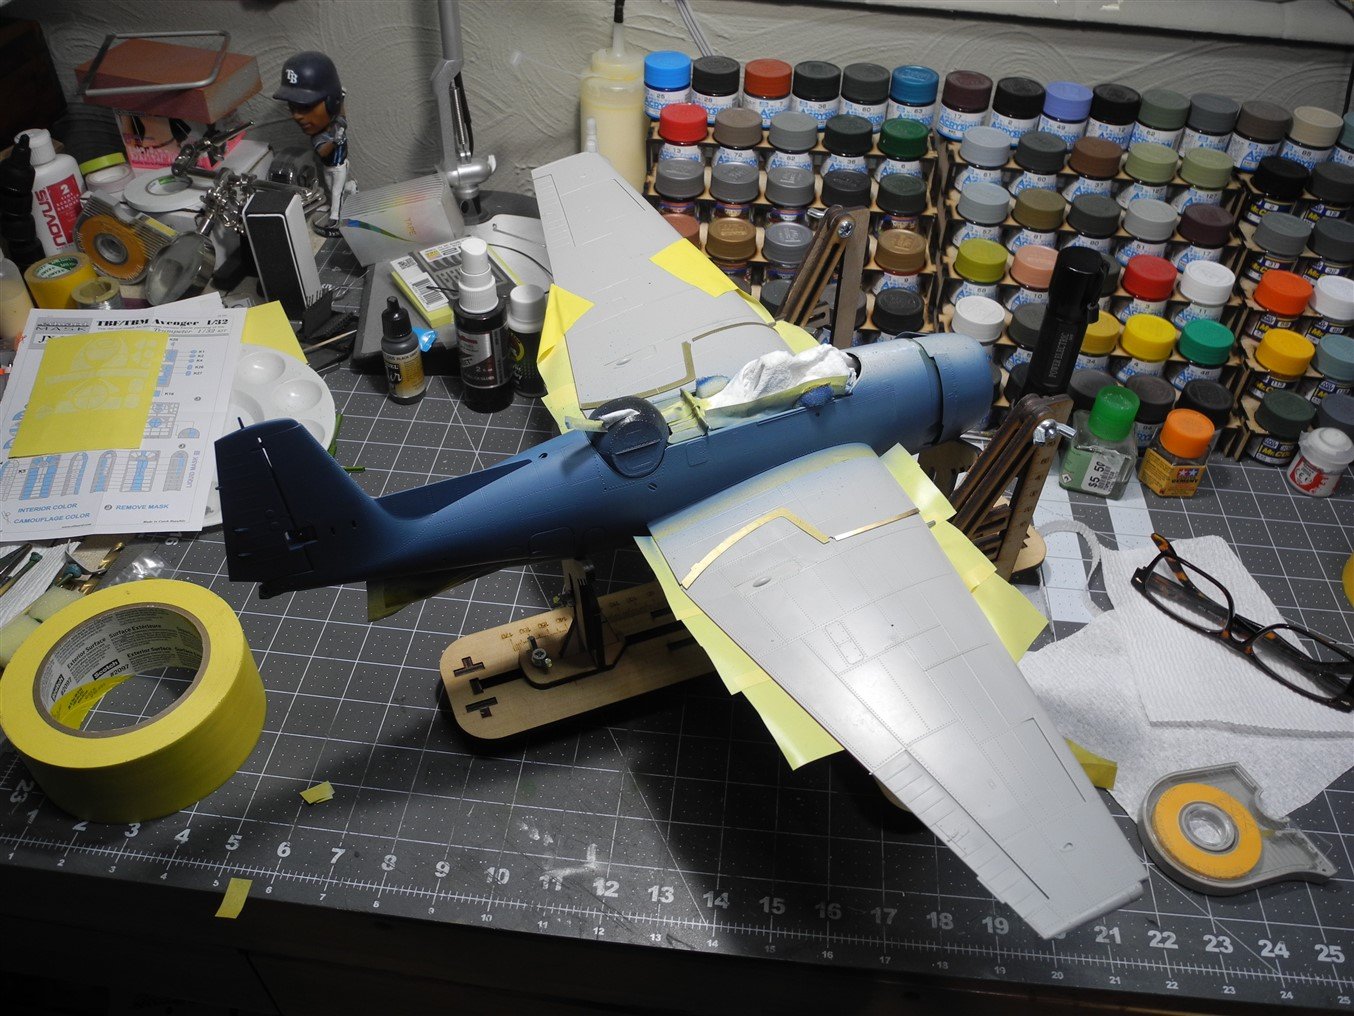
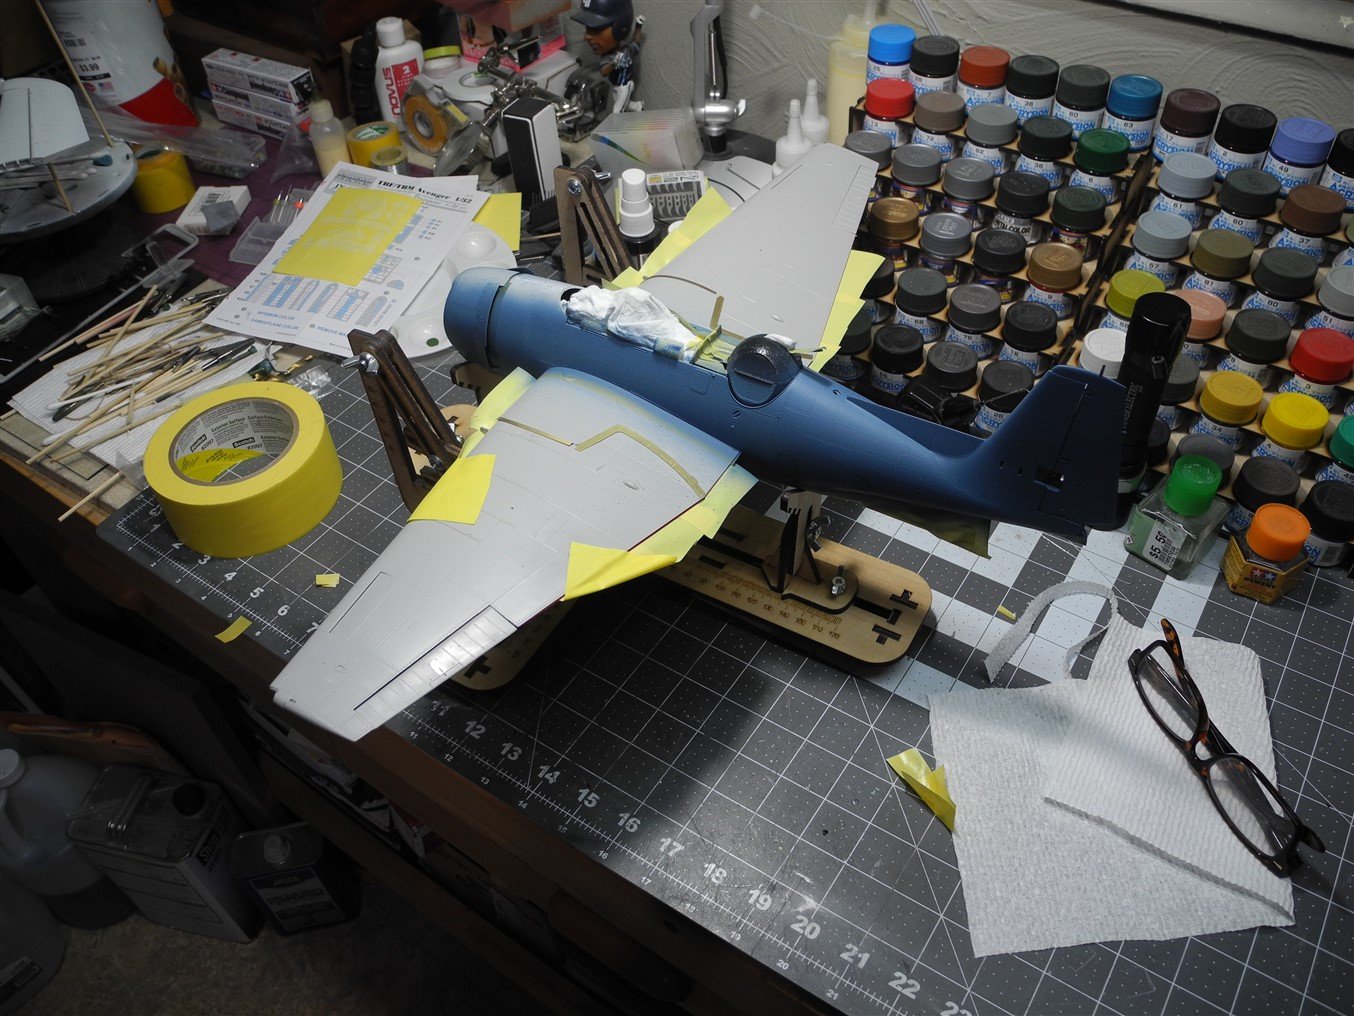
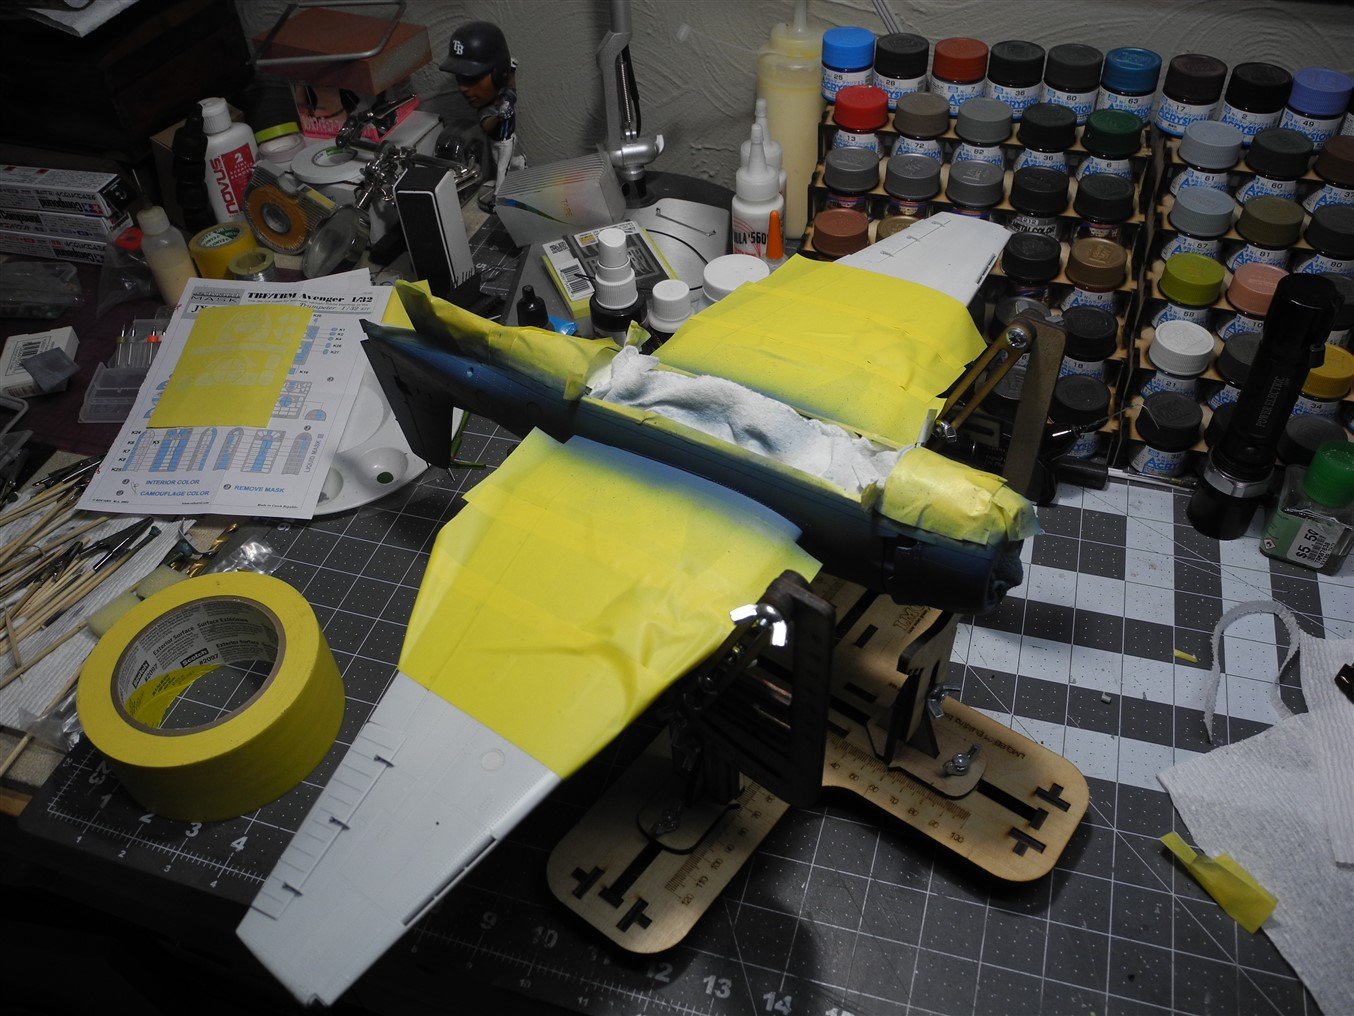
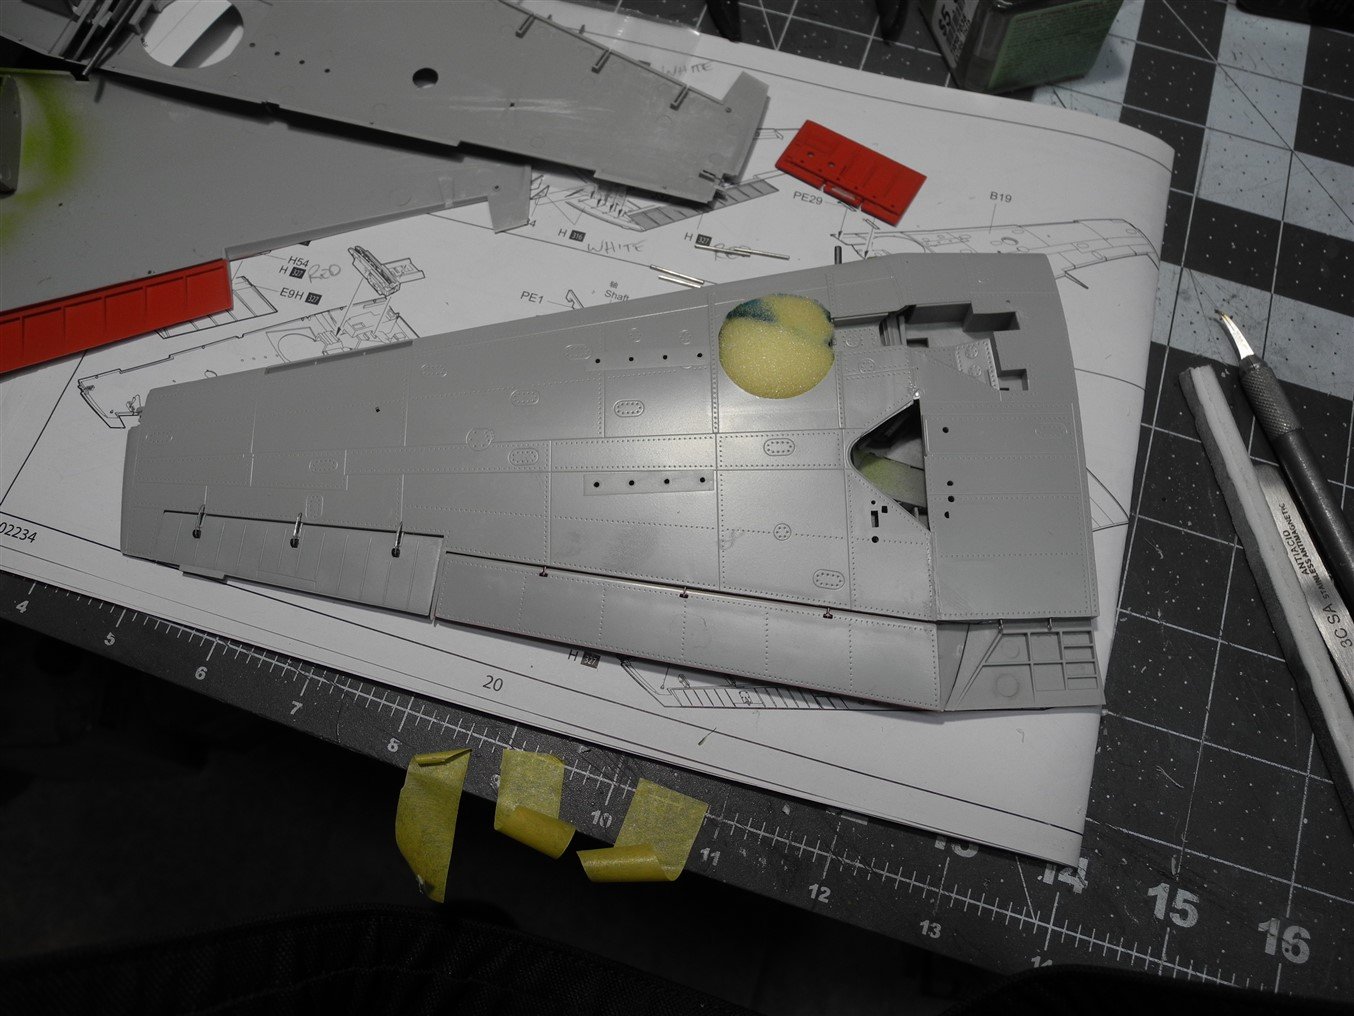
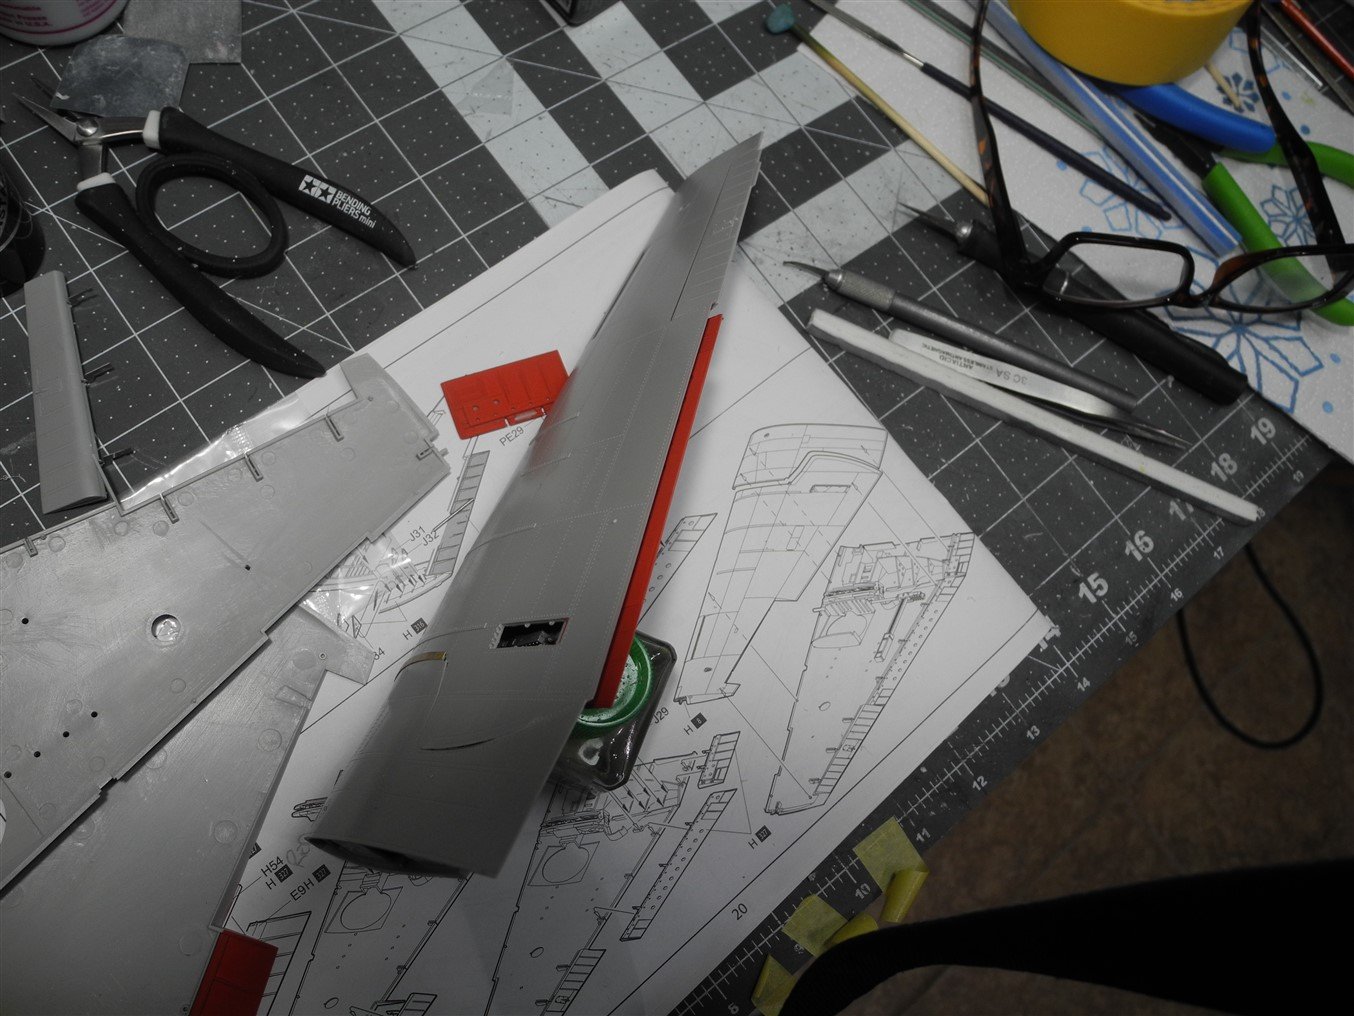
Look your color guide over very carefully. Use your kit parts to trace the appropriate masking scheme on plain paper, then you can transfer that to masking film. Look for self adhesive masking film such as this one: https://www.amazon.com/gp/product/B07ZRTXXLS/ref=ppx_yo_dt_b_asin_title_o00_s00?ie=UTF8&psc=1 If you look at my model, the color changes follow the wing root where it meets the fuselage. On the lower wing, it's an off-white color. The fuselage immediately adjacent to the wing is intermediate blue. On the upper wing, it's navy blue (dark blue). the fuselage is intermediate blue where the wing touches the fuselage. This can be done with masking tape as I'm doing, but it would have been much easier if I had used the masking film approach.
-
yes
-
With the paint/thinner I'm using, about an hour and the masks can come off safely. However, because of the tri color scheme, I will add more masks before the masks you see here will come off. Probably later tonight or tomorrow. Paint used: Mr Color with Mr Color 400 leveling thinner
-
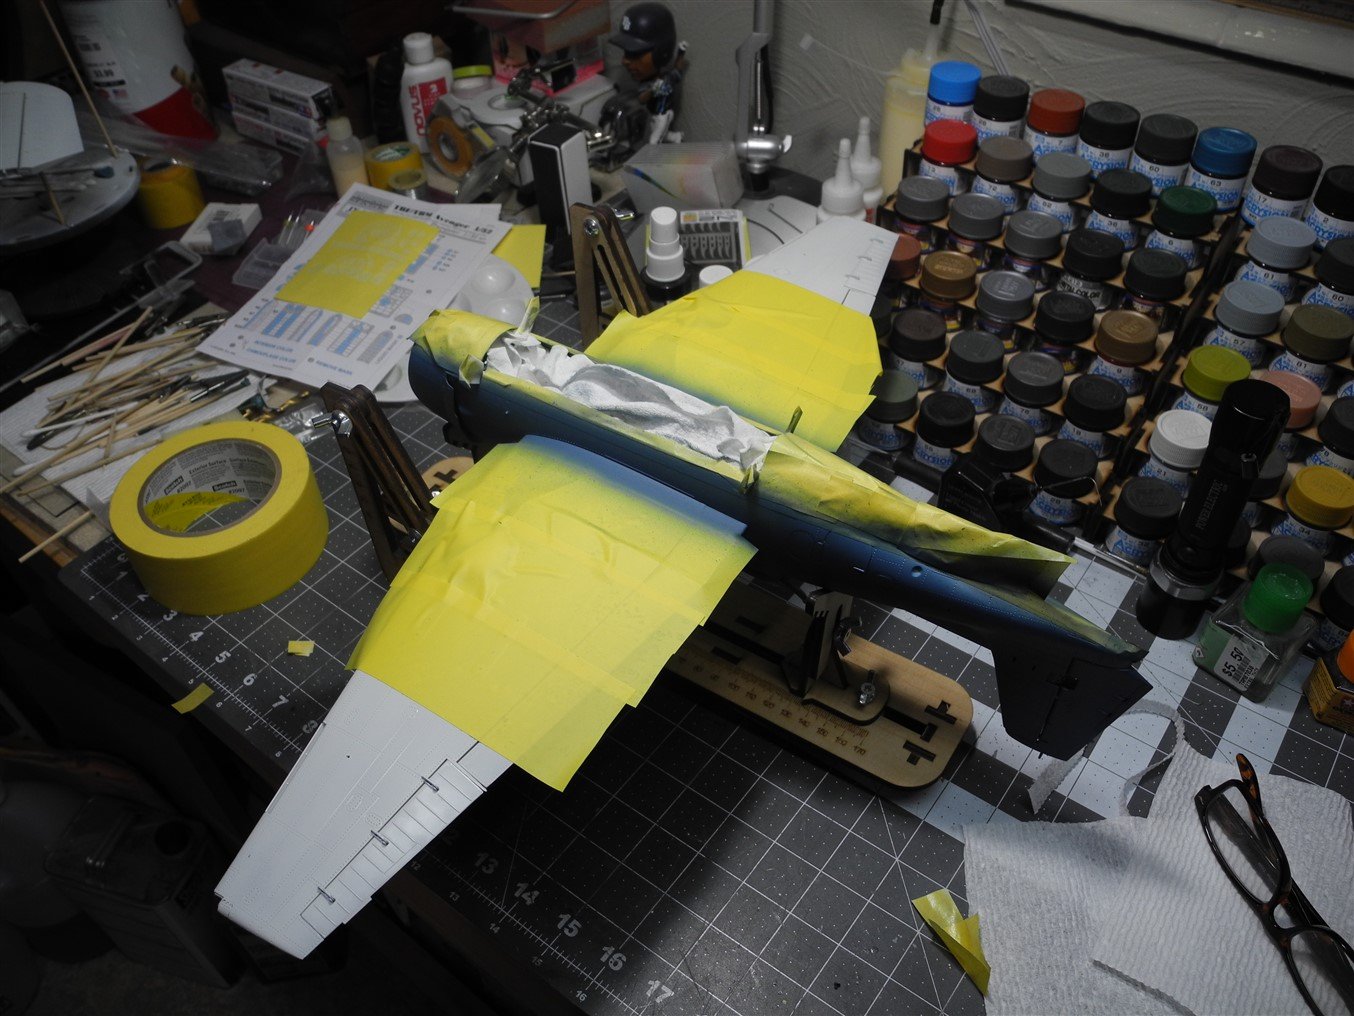
The tri-color US Navy scheme requires a lot of masking. Would be nice if there was a pre cut paint mask available. In hindsight, I could have cut my own paint masks much easier if I had done that before starting construction, using my kit parts as a pattern. Next time. Getting closer to the finish line now.
- 267 replies
-
- 15
-

-
Sikorsky CH-53 by mtaylor - FINISHED - Revell - 1:48 - PLASTIC
CDW replied to mtaylor's topic in Non-ship/categorised builds
Great looking model, Mark. Thanks for sharing the build and your memories with us. Semper Fi -
B-25J Mitchell by Tom E - Revell - 1:48 Scale - PLASTIC
CDW replied to Tom E's topic in Non-ship/categorised builds
Regarding your air pressure, between 15 lbs to 25 lbs is generally where you'll want to be depending on the particular application, how much you've thinned the paint, and how fine a line/pattern you're trying to achieve. The more highly reduced, fine line requirements are low pressure applications (15 lbs). -
That looks like lots of fun.
-
The Wulfehound looks outstanding Denis. The most unusual B-17 I've ever seen. The color combination really sets it off. I like the way the handpainted "B" came out on the vertical stab. Looks more authentic that way.
-
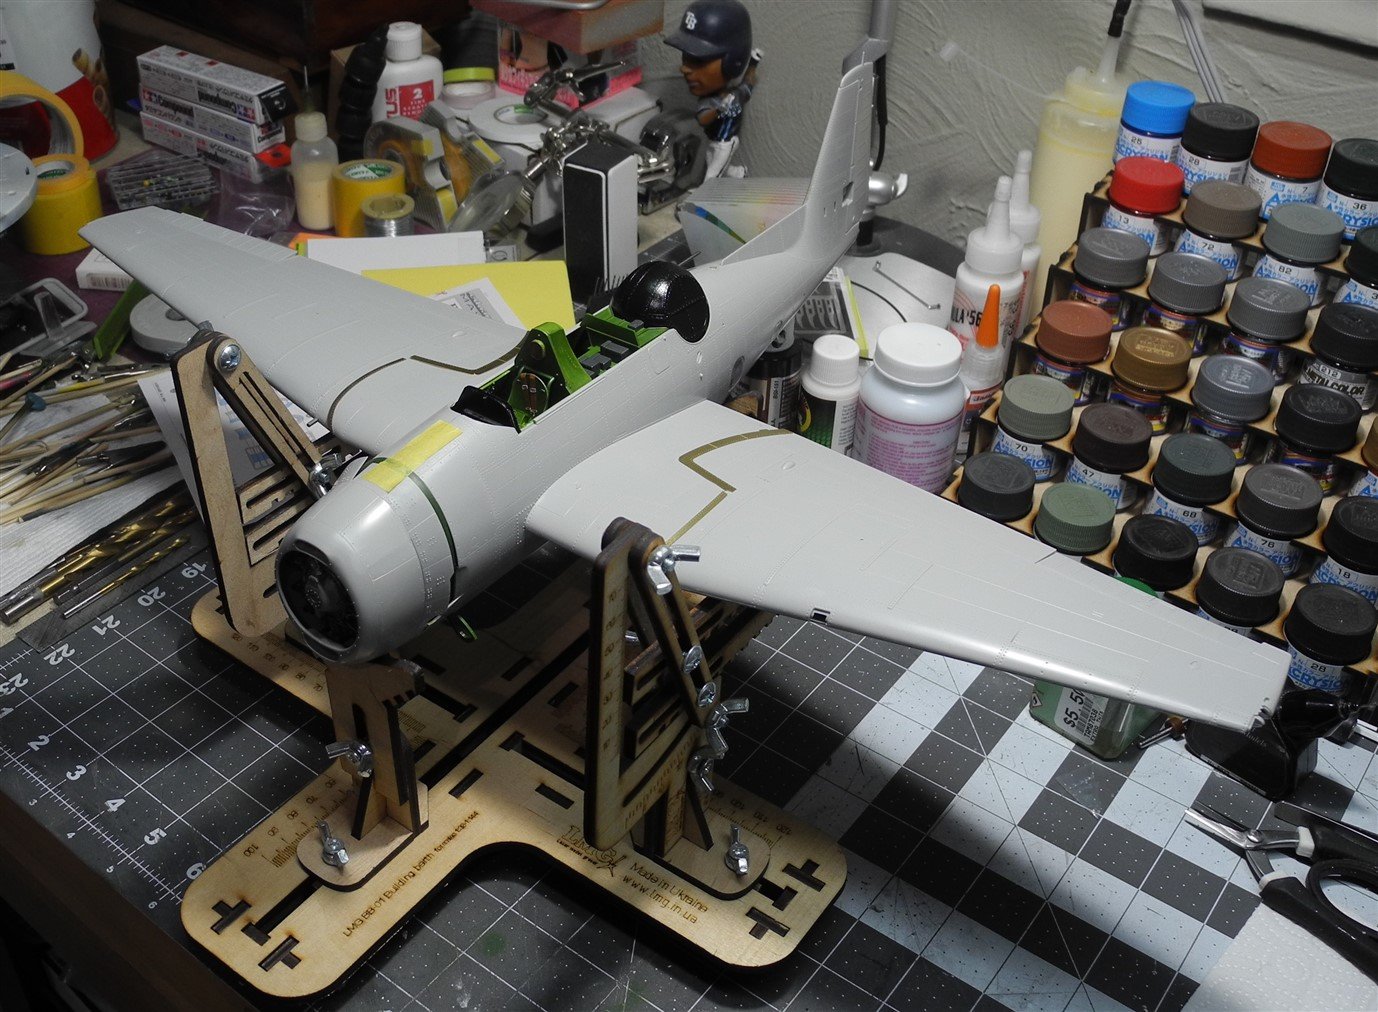
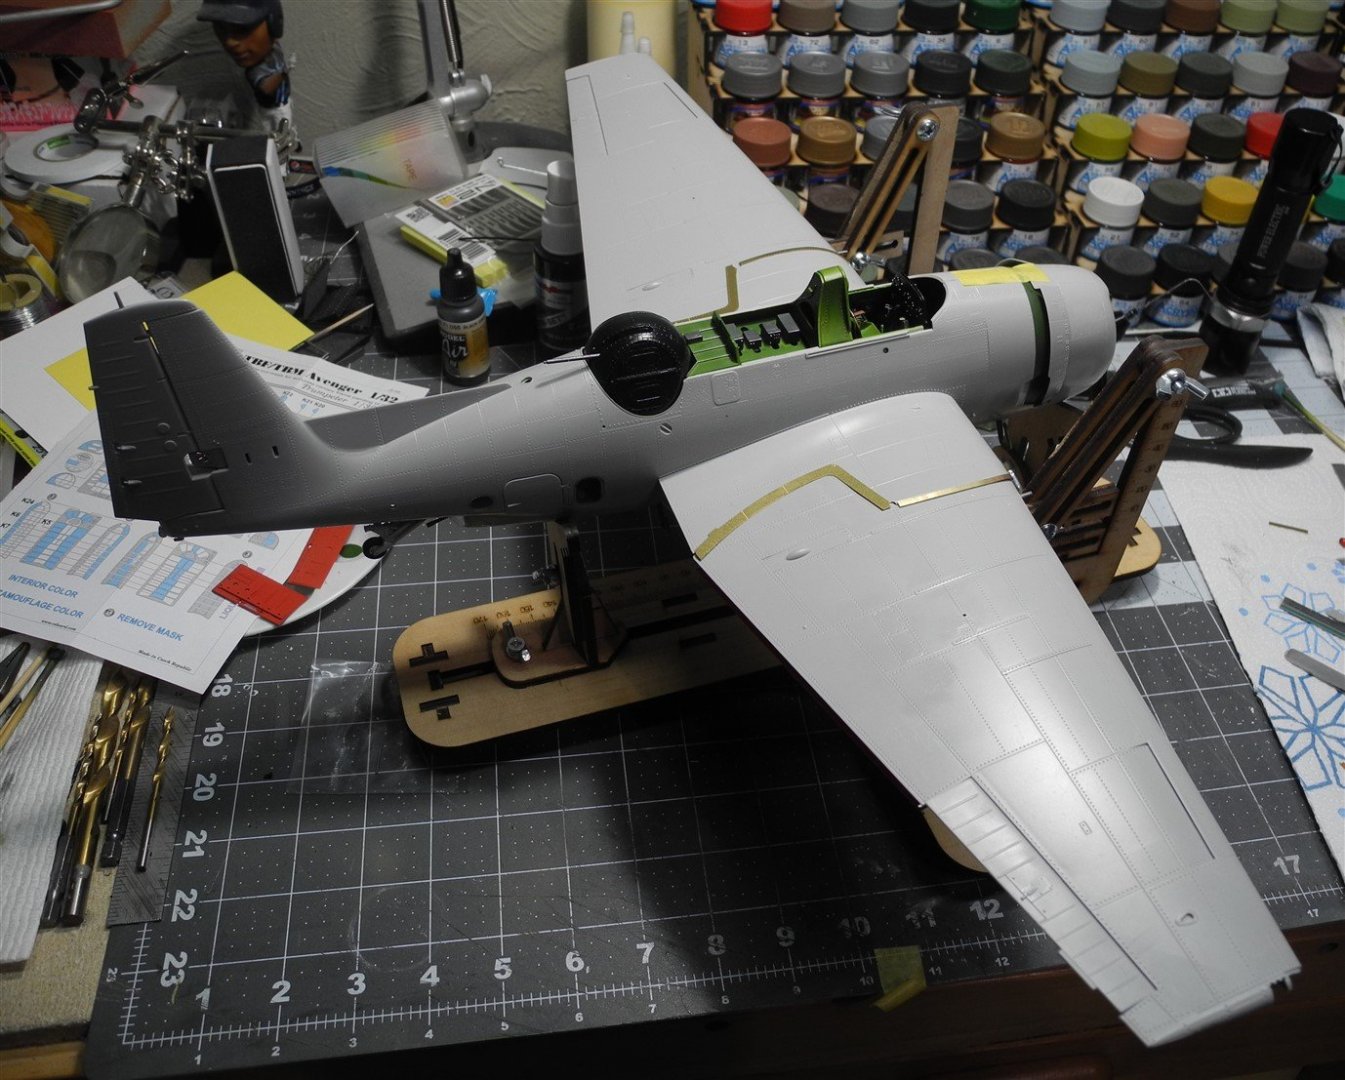
The paint racks came from a vendor on Etsy. He laser cuts MDF material and you assemble them yourself. Very simple and well fitting, cheap. They are made to fit the small Tamiya size bottles or you can buy them to fit the smaller Vallejo style bottles. Here, I've attached the wings to the fuselage and am slowly adding the necessary parts so that I can begin painting the model. Soon.

- 267 replies
-
- 14
-
-
Classy looking model. Great job on it Jack.
-
B-25 Mitchell "Meet Miss Runyon" by Javlin-HK-1/32
CDW replied to Javlin's topic in Non-ship/categorised builds
Gorgeous B-25! -
Are the "bubble" portions on each side of the canopy the separate pieces you write about? Your canopy came out nice I think. I can see why those features were molded separately, as the only other way would have maybe been a slide mold. From what I've read, a slide mold is a very expensive item to tool. They were probably concentrating on keeping the cost of the kit down to a level that would make it available to many modeler's budget. If my Tamiya 1:32 Mossie wasn't buried in such a deep pile of models, I would drag it out to see how the canopy is molded in that kit.
-
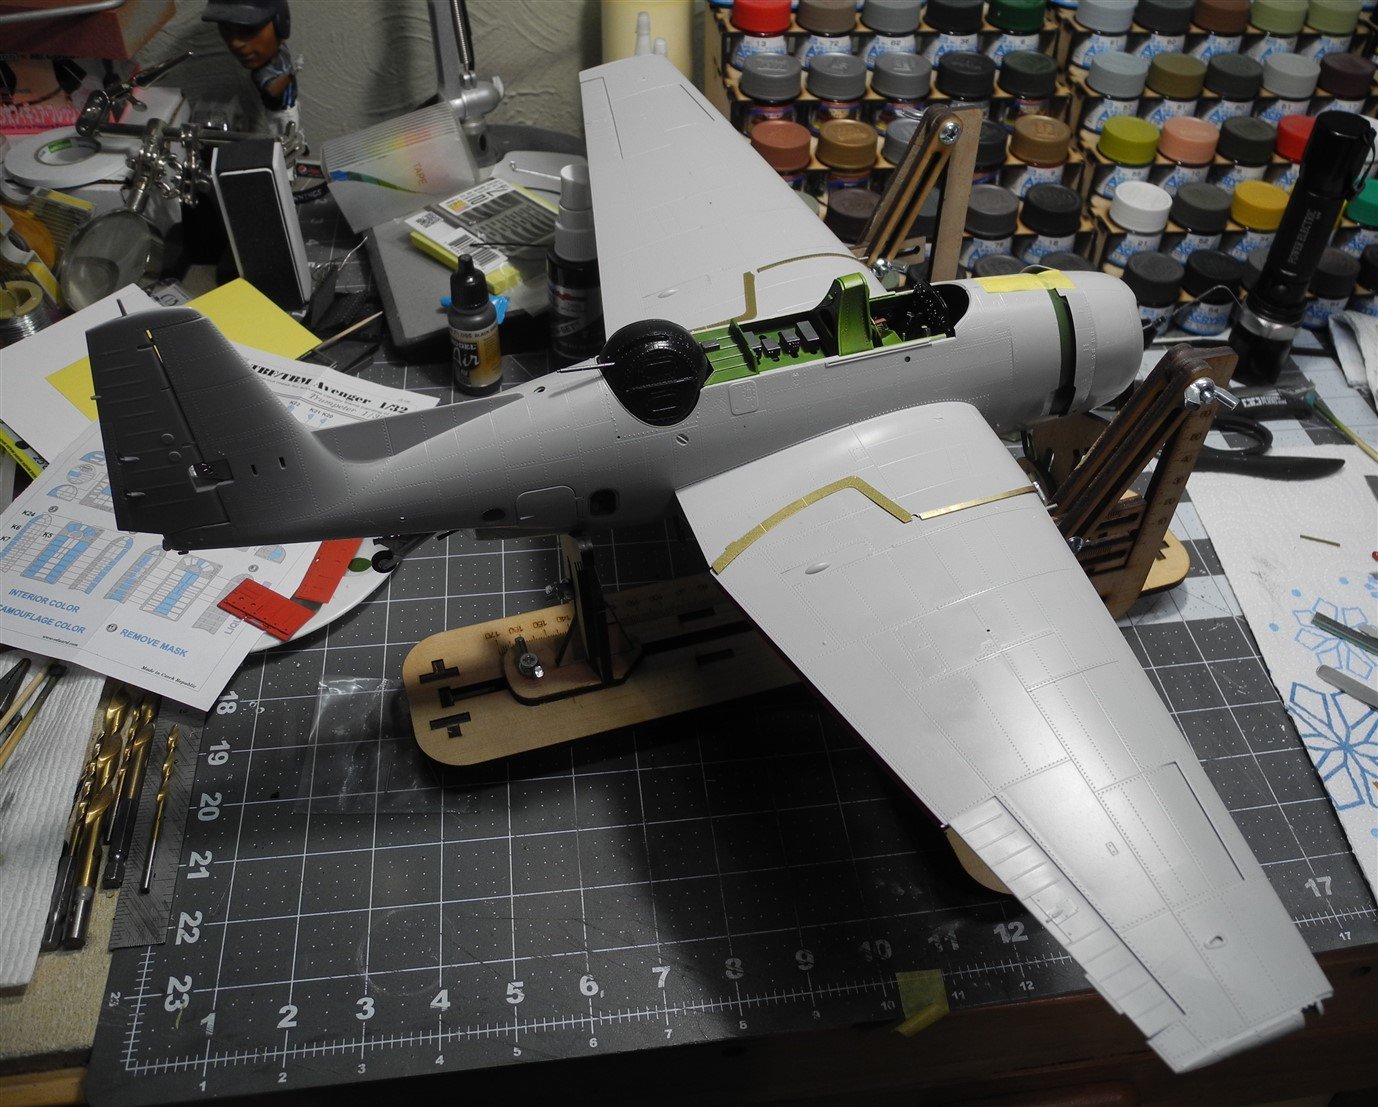
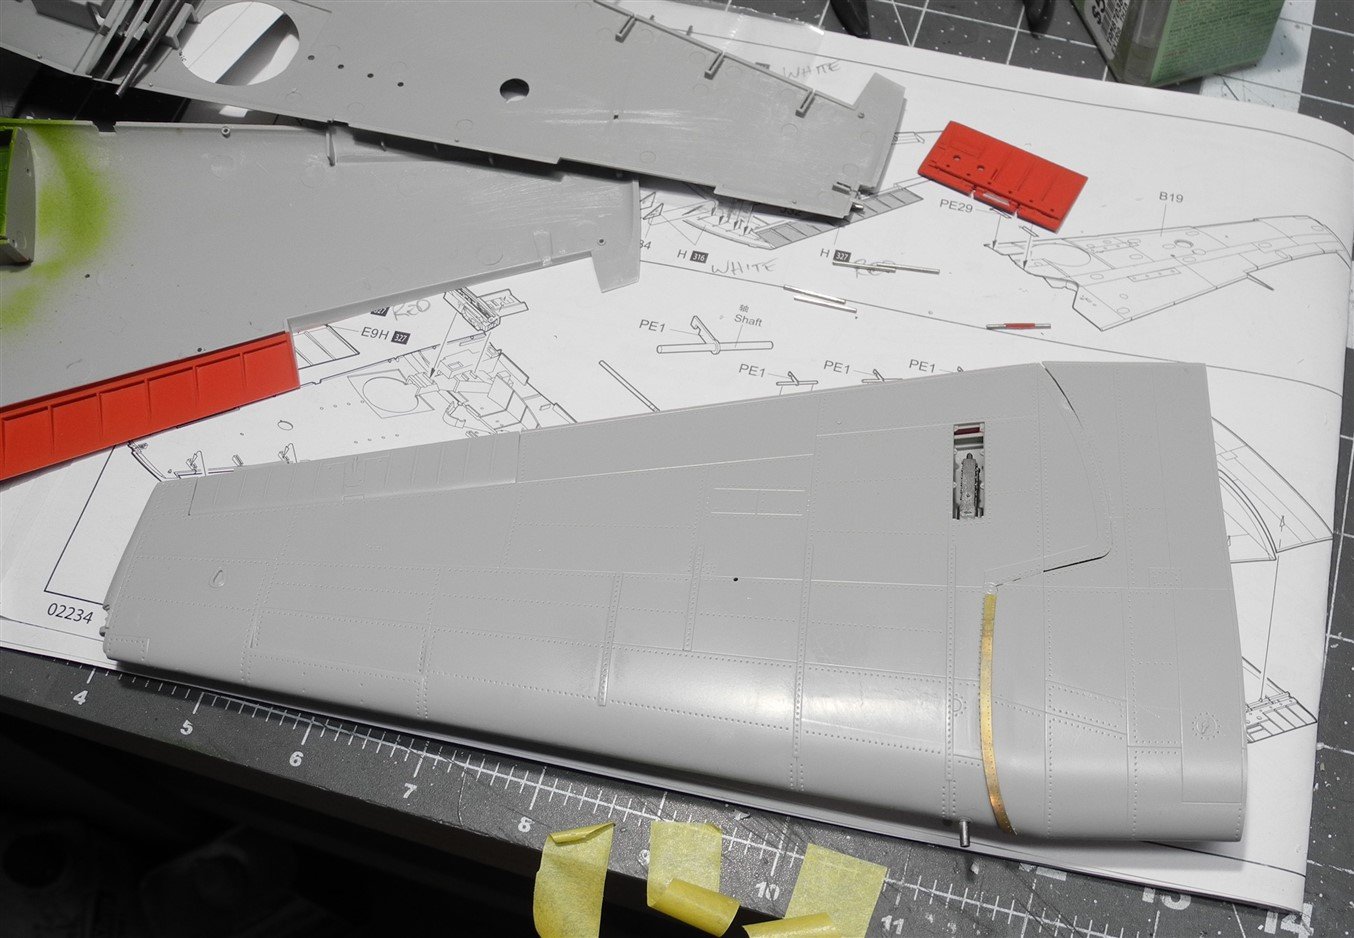
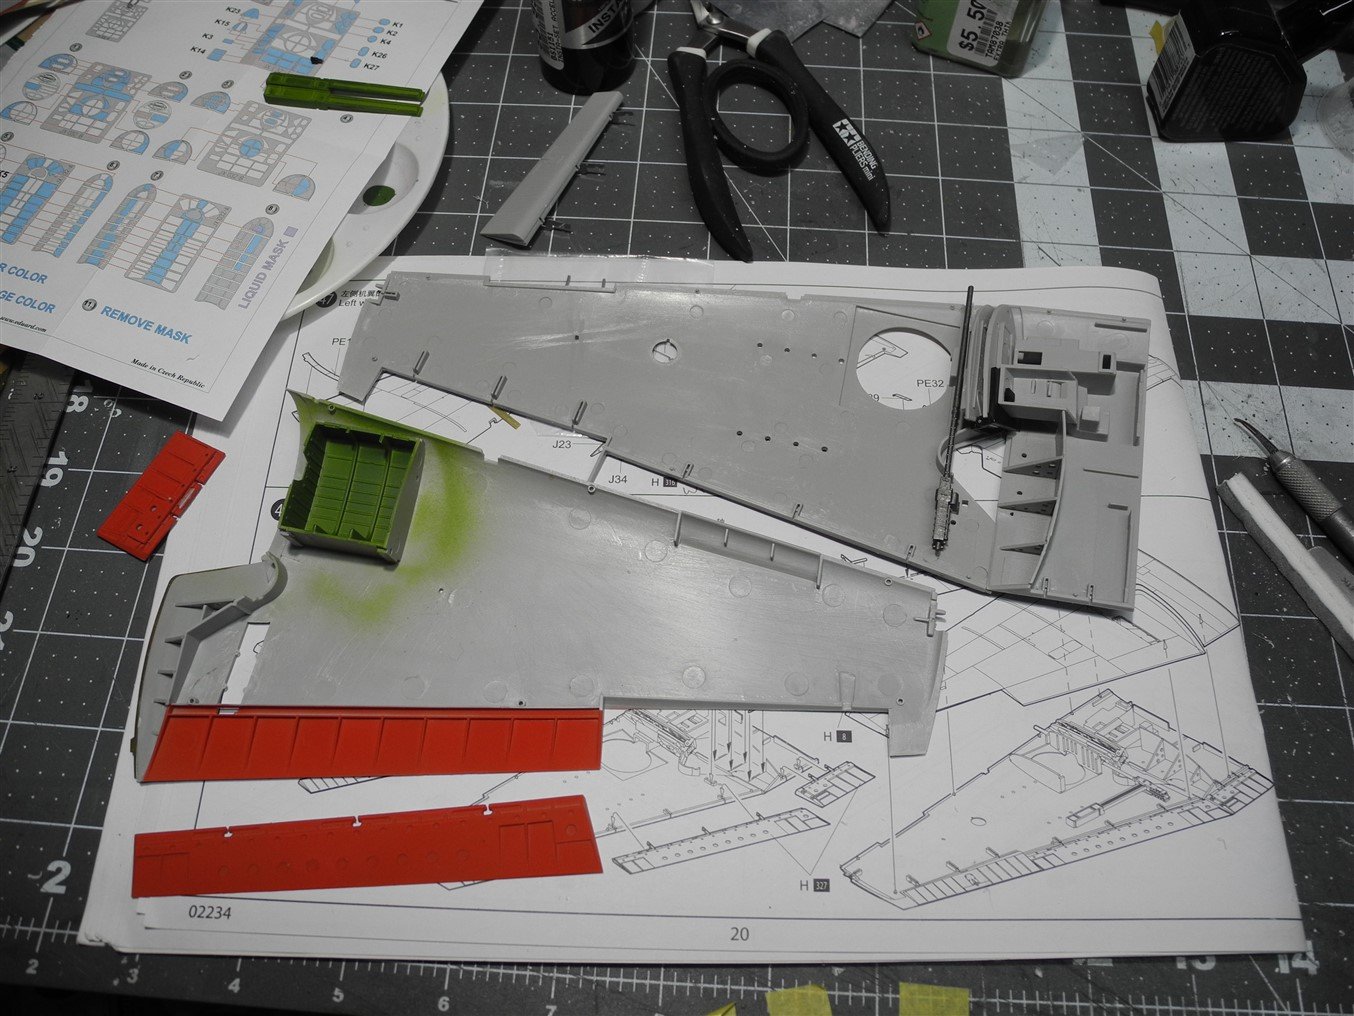
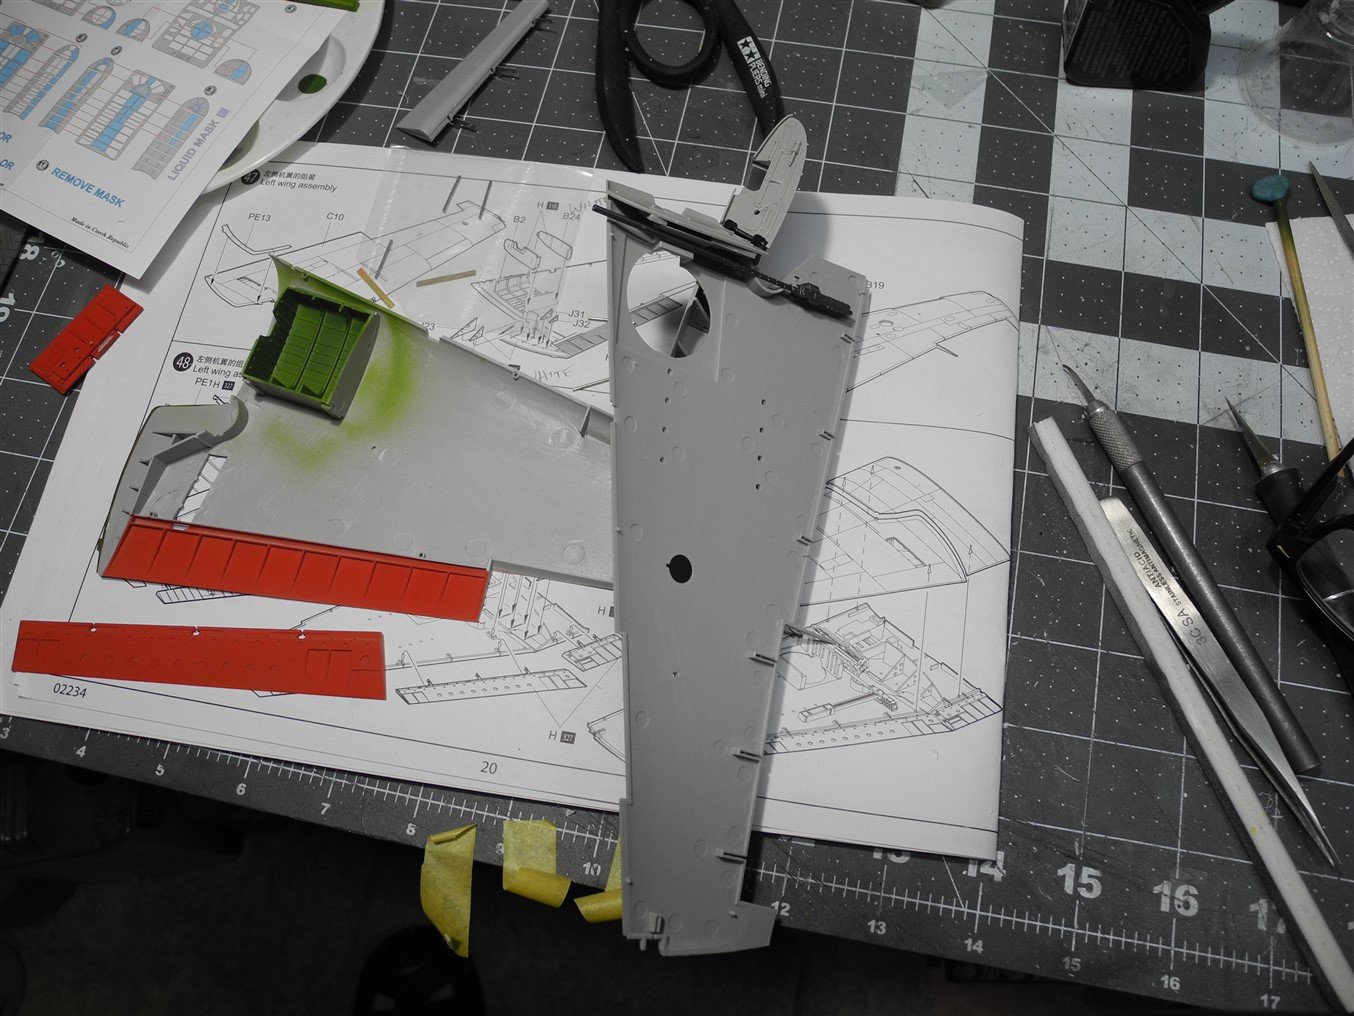
Finally completed the painting of our house last week, but this week got started on our detached garage. This morning, visited an outlet called, Habitat for Humanity, where they sell new and used home/building construction materials for charity fund raising. They have excellent bargains on a large variety of useful items. I picked up a brand new solid core door for my garage for a measly $45...my kind of deal. Brought it home and installed it and painted it, then pressure washed our garage in preparation of painting. Tomorrow we may get rain so I could get more modeling time in if I'm lucky. Here's what I've been doing in between other chores. Wing construction. The wings have some working features built in including a wing fold mechanism, working flaps and ailerons, machine gun and ammo box/chute details, removable gun access covers. I don't care much for working features on my models, but will probably pose my flaps as dropped. I am picturing the wing fold mechanism just so you can see it but plan to glue the wings in the extended position. Photo etch strips cover the gaps where the wings close together. In the photos, you can see one of the strips in position with the others to be added. The Avenger wings have a massive chord length, likely meaning they give lots of lift for heavy bomb loads.
- 267 replies
-
- 18
-
-
B-25 Mitchell "Meet Miss Runyon" by Javlin-HK-1/32
CDW replied to Javlin's topic in Non-ship/categorised builds
Silver can be a bear. Every little imperfection shows itself. Great job, looks super. -
B-25 Mitchell "Meet Miss Runyon" by Javlin-HK-1/32
CDW replied to Javlin's topic in Non-ship/categorised builds
What will you use for the silver? -
Denis Love your last photos of the plane. The faded look of the weathering looks perfect! The stand is a very effect as well.
-
B-25J Mitchell by Tom E - Revell - 1:48 Scale - PLASTIC
CDW replied to Tom E's topic in Non-ship/categorised builds
Tom Excellent choices to start. I hope all the best for your endeavor. Looking forward to following your progress. -
SBD-3 Dauntless 1:48 Hasegawa - Edwardkenway-FINISHED
CDW replied to Edwardkenway's topic in Non-ship/categorised builds
Amazon has great customer service. I'm confident they will take care of you in this matter. -
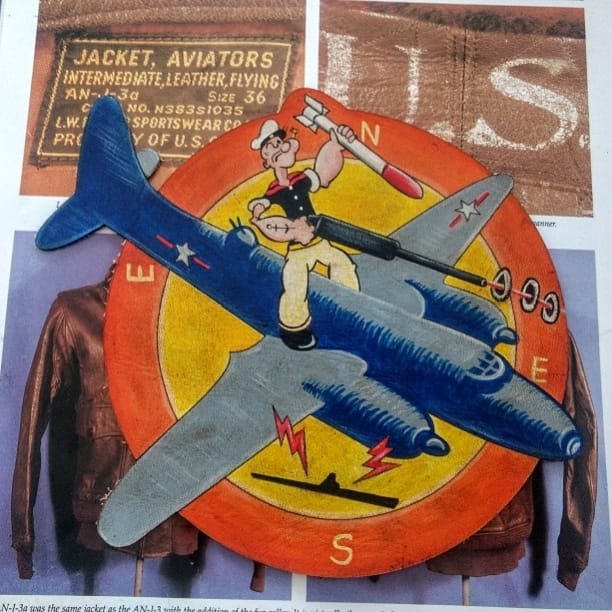
@popeye the sailor Hey Denis Here's your patch! photo courtesy of usbomberjackets dot com on facebook
-
I don't smoke either, but if I had all that stuff, I probably would burn one just for the hell of it.
-
with a $100 Cuban cigar and silk slippers
-
Roger gave me the idea to build a carrier deck to display it on, so that's what I have in mind right now.
-
Denis Is this the B-17 you're building? https://www.scalemates.com/kits/kv-models-72100-mask-1-72-boeing-b-17f-g-flying-fortress--1194449