CDW
-
Posts
7,759 -
Joined
-
Last visited
Content Type
Profiles
Forums
Gallery
Events
Everything posted by CDW
-

Have a extra $100.00 to spend......
CDW replied to CPDDET's topic in Modeling tools and Workshop Equipment
If you plan to build plank on frame ship models, a plank bender is going to be very useful. https://www.ebay.com/itm/Electric-Plank-Bender-for-Hobby-Model-Ships-by-Model-Shipways-MS7205/253473190370?hash=item3b042df1e2:g:f6QAAOSwJ8pan5Dn -
All three of the cars you mentioned in the 2nd paragraph were boxed and sold by Testors. Remember the Indy cars, the Willard Battery Special and the Jim Clark Lotus? I have both waiting in the wings for a future build. Some decent after market decals for them, too.

-
Originally, a company named ICM did a run of several versions of the Ford GT's. Then MPC picked them up when ICM went under, then Testors boxed them too. ICM also did a very well detailed model of a '48 Ford that was way ahead of it's time in engineering and complexity. I've built all of those kits in the past. They were fiddly and not easy to build straight. Back in those days, I didn't even own an XActo knife, so it was not so smooth sailing for me. 😄
-
Indeed, some of the Porsche kits that Testors marketed were Fujimi's. I can't recall exactly which ones were and were not Fujimi, if I saw the box art I would remember/know. With Testors, it was a mixed bag. Some of their offerings were great (Fujimi) and some were not. They sold Italeri products in their box under their label as well. This California Spyder I am building right now is an example of that. My kit is in an Italeri box, but you could also find the exact same kit in a Testors box as well.
-
I disagree Yves. The results look spectacular. All the hard work you're doing is paying dividends.
-
Hey Lou, You know those Testors Dino Ferrari kits are the Fujimi kits in a Testors box, right? Testors made some kind of deal with Fujimi way back then and Testors marketed the kits in the USA in their own Testors boxes. For a long time, modelers didn't seem to know that and paid premium prices for the Fujimi box while you could buy the exact same thing in a Testors box for half as much.
-
It wasn't a Ferrari, but when we first moved back to Florida, I found a 1957 Chevy Nomad, all original, for sale on a used car lot for $600. I scraped up the money to buy it and towed it to my house. The car was complete, but inoperable. Needed a rebuild of the engine, brakes, and a paint job. it had the 265 V-8 and a powerglide tranny. I got it up on blocks and intended to rebuild it, but 1st things had to come 1st, and ended up spending our money to buy our house. Ended up practically giving away the car when we moved. Kinda broke my heart. Later, I did acquire a '57 Chevy 2-door hardtop, but it was never the same as that Nomad. Man, that would have been one sharp car had I been able to fix it up as I planned.
-
Glad you're here, Lou. I built a beautiful Fujimi Dino 246 about 25 years ago, maybe more. That thing was black, shined like a dime, and was super detailed. You would have loved it. I left that and several other show quality model cars at a local hobby shop to display. When I went back to the shop, it had changed ownership. The new owners claimed my models were 'theirs', and I could not get them back. I said screw it, and just left well enough alone. I didn't want to get handcuffed and booked for slapping somebody around, which I would have done if I were to have words with the guy.
-
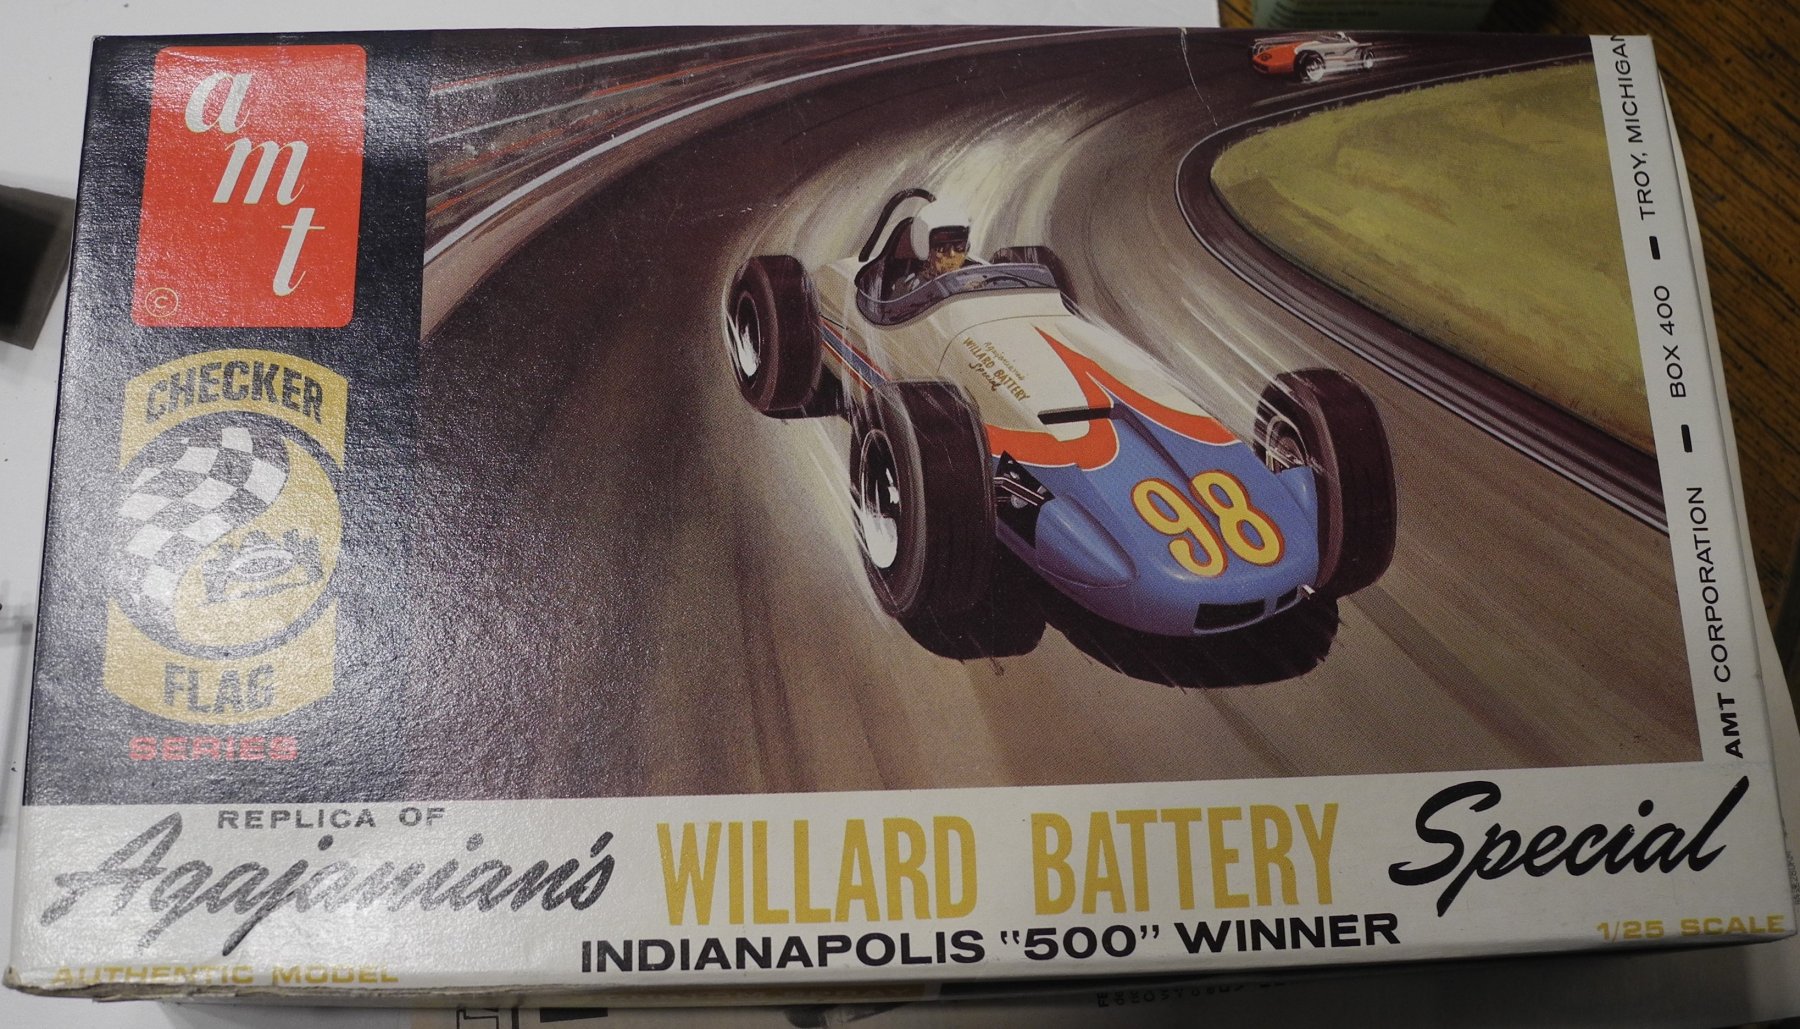
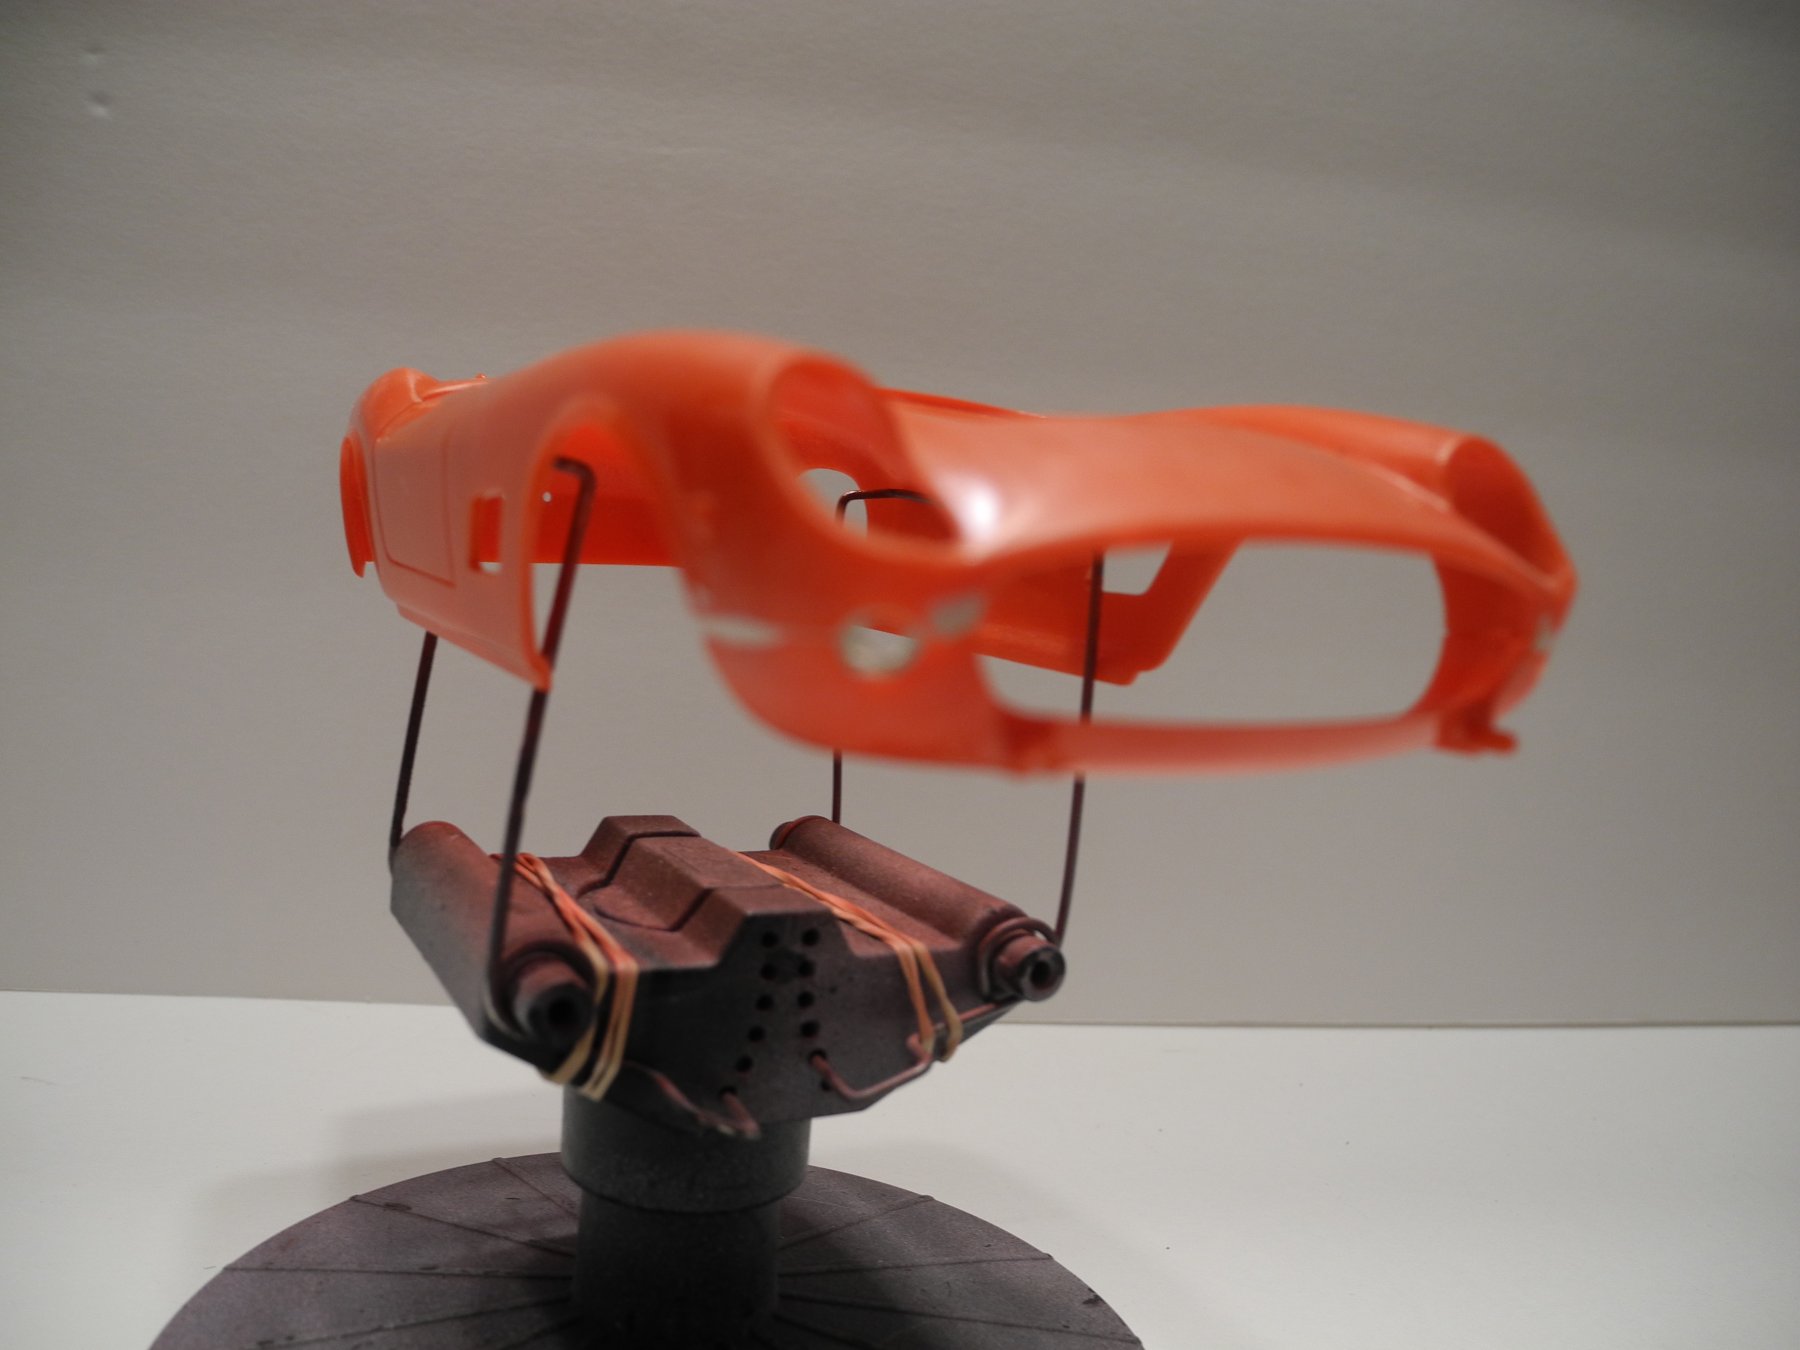
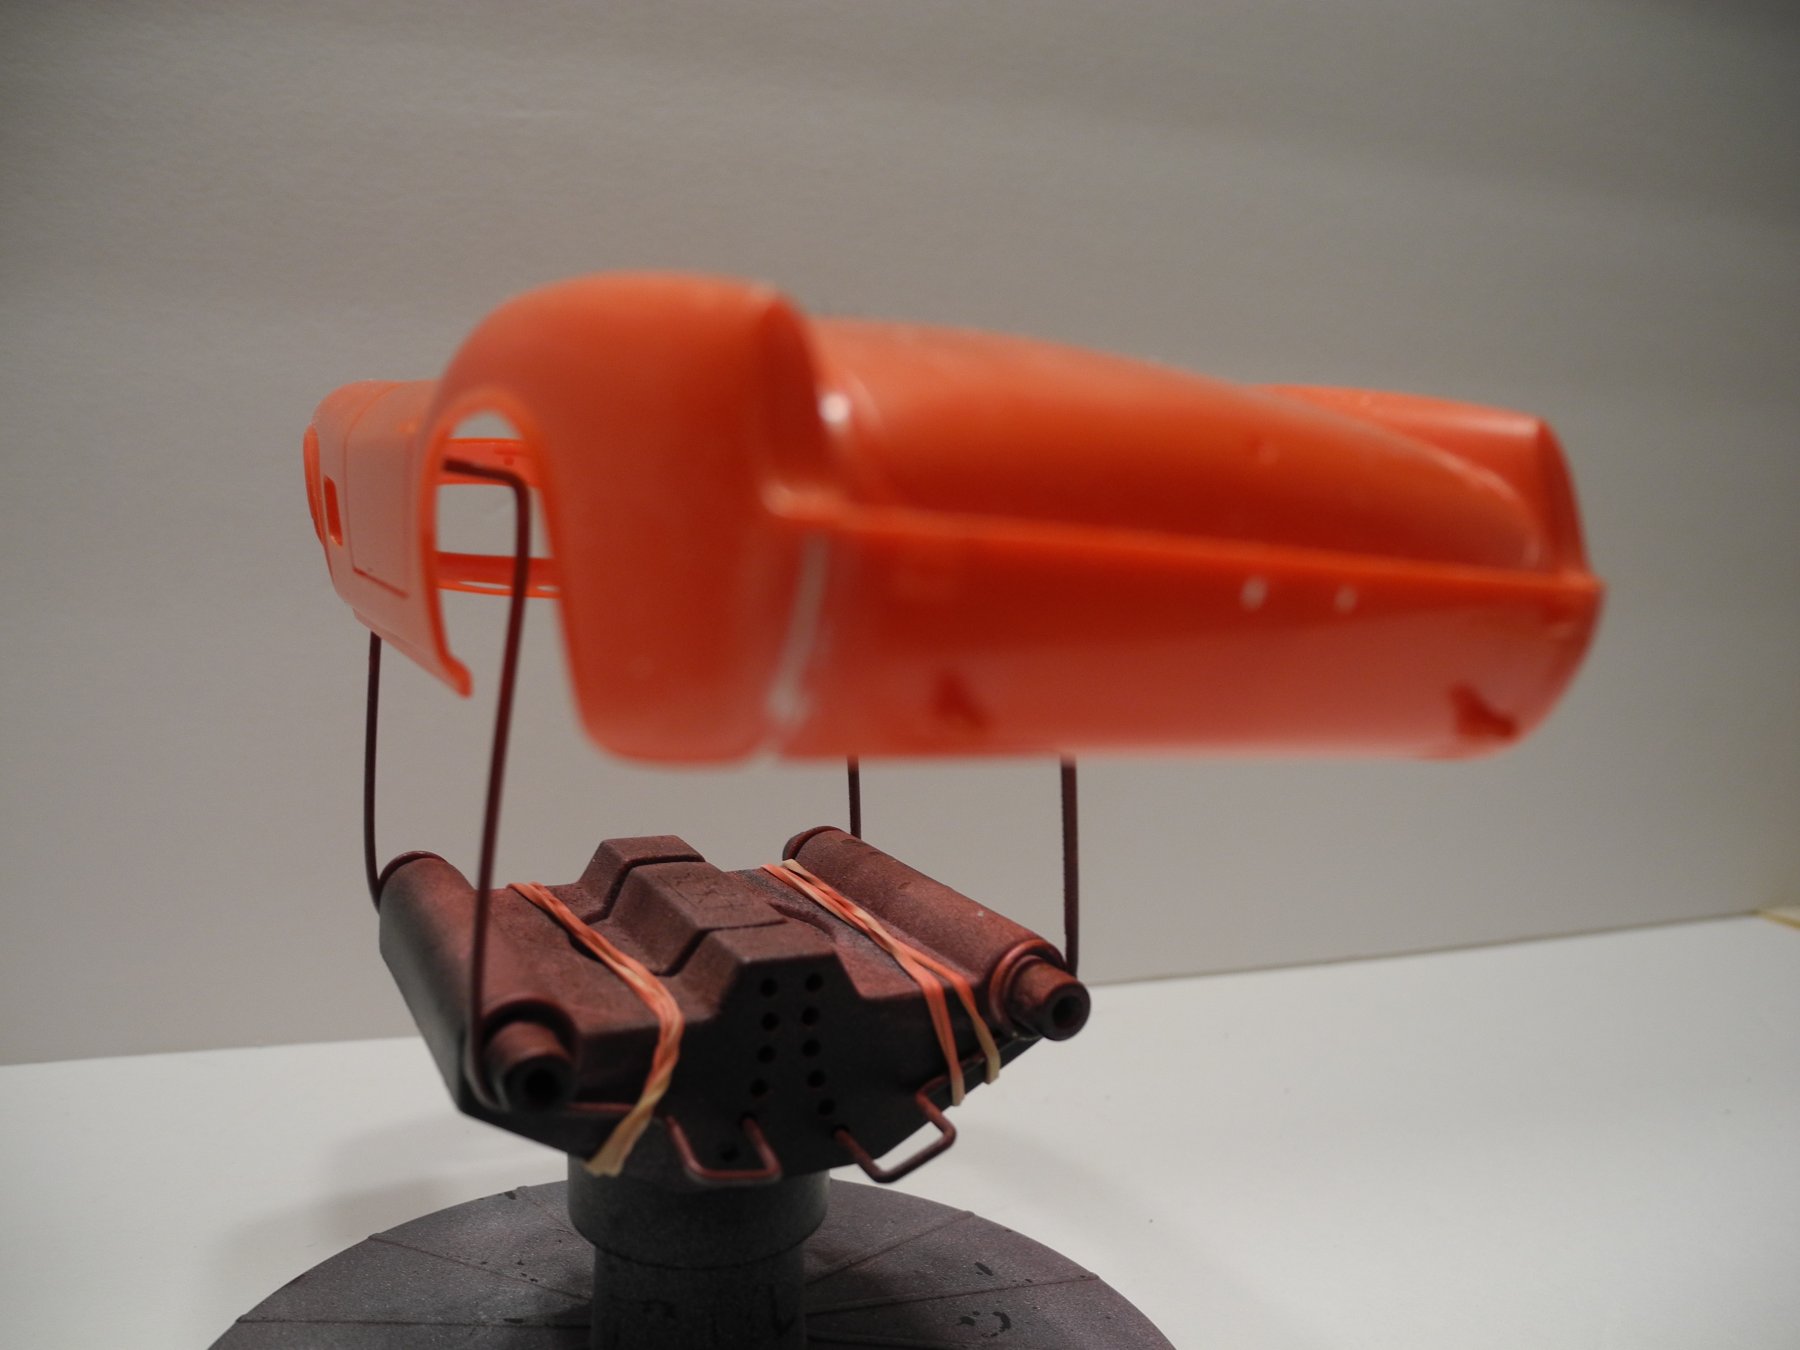
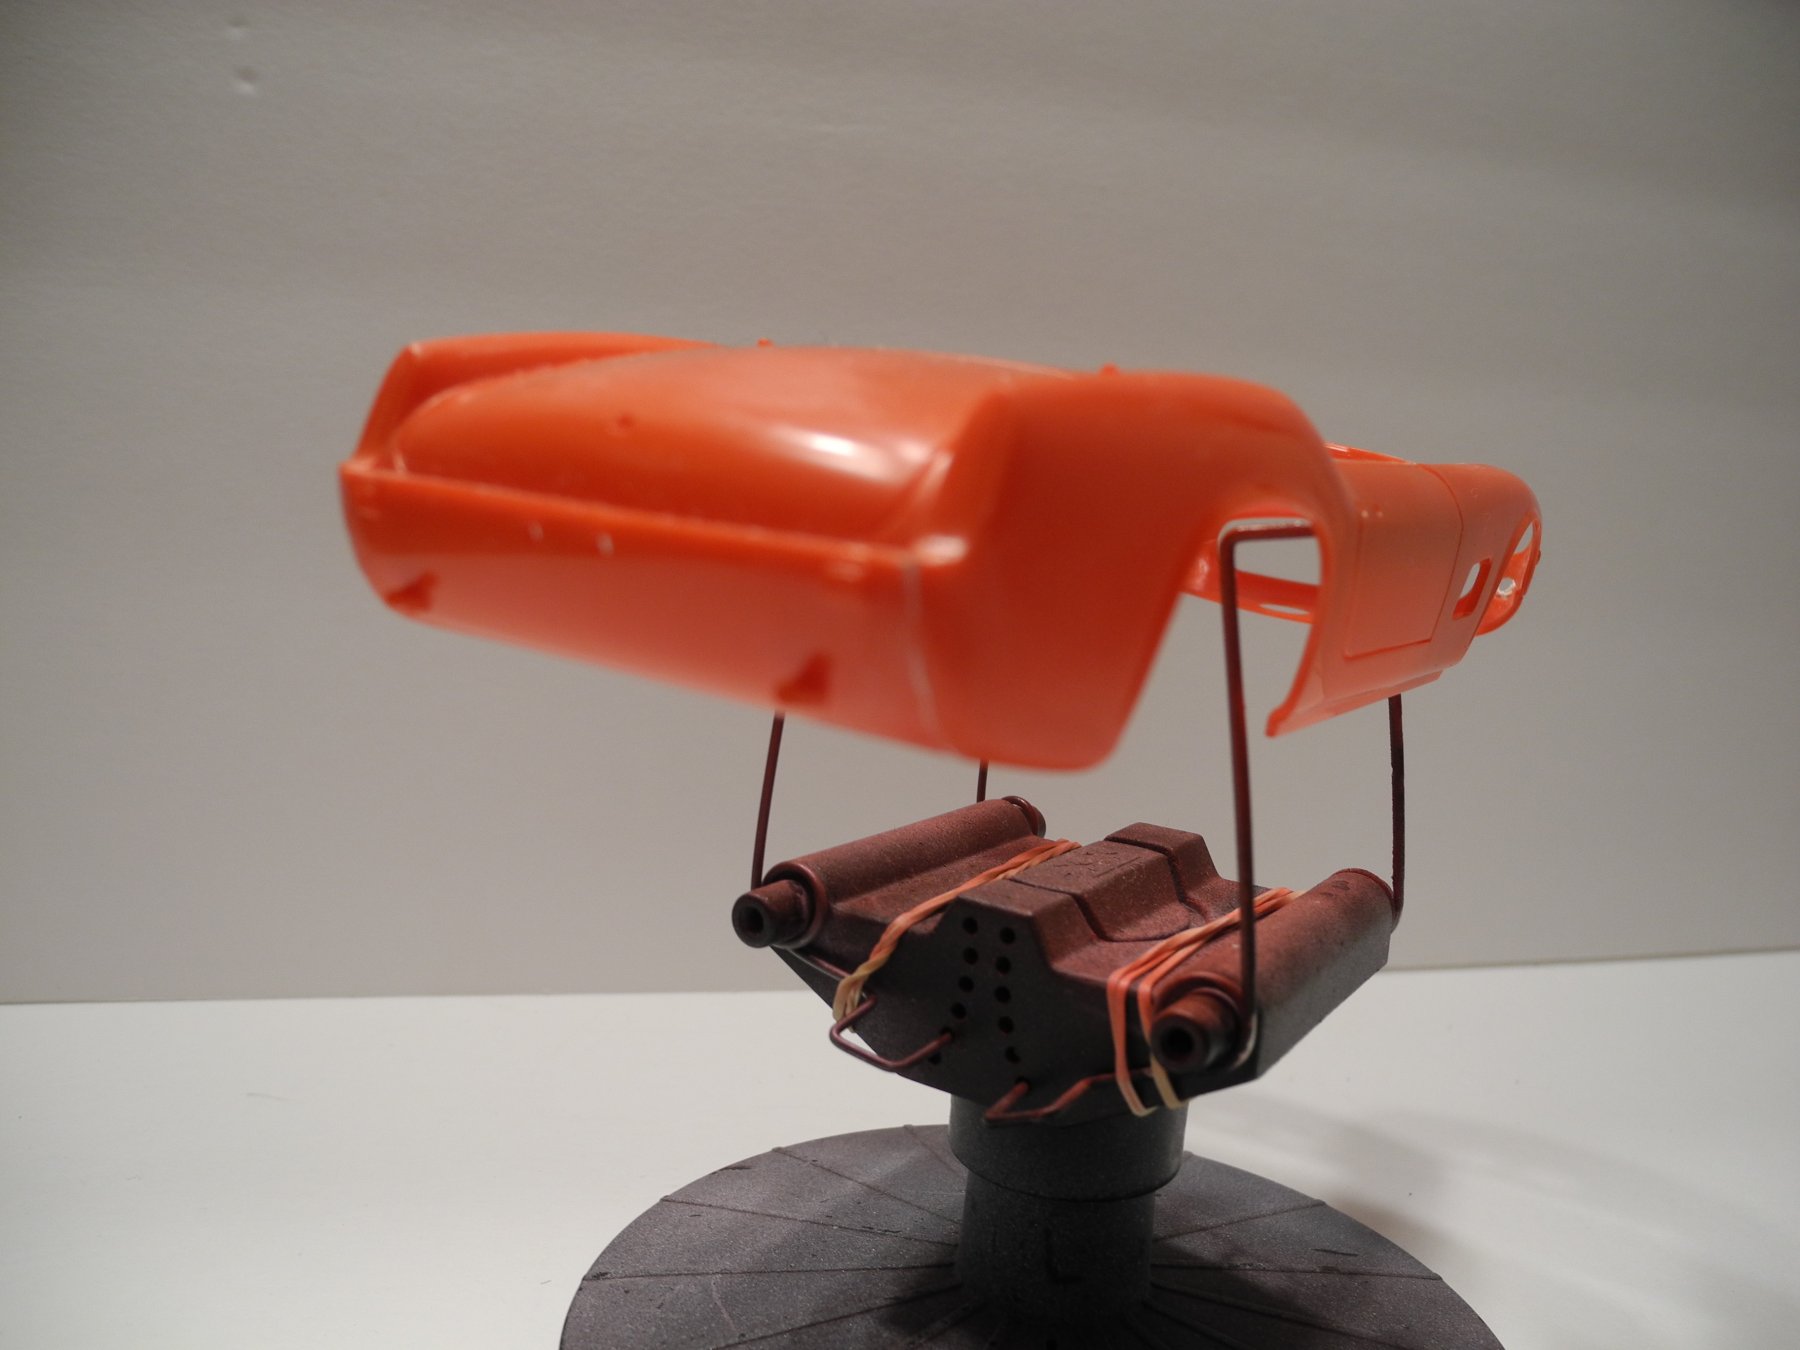
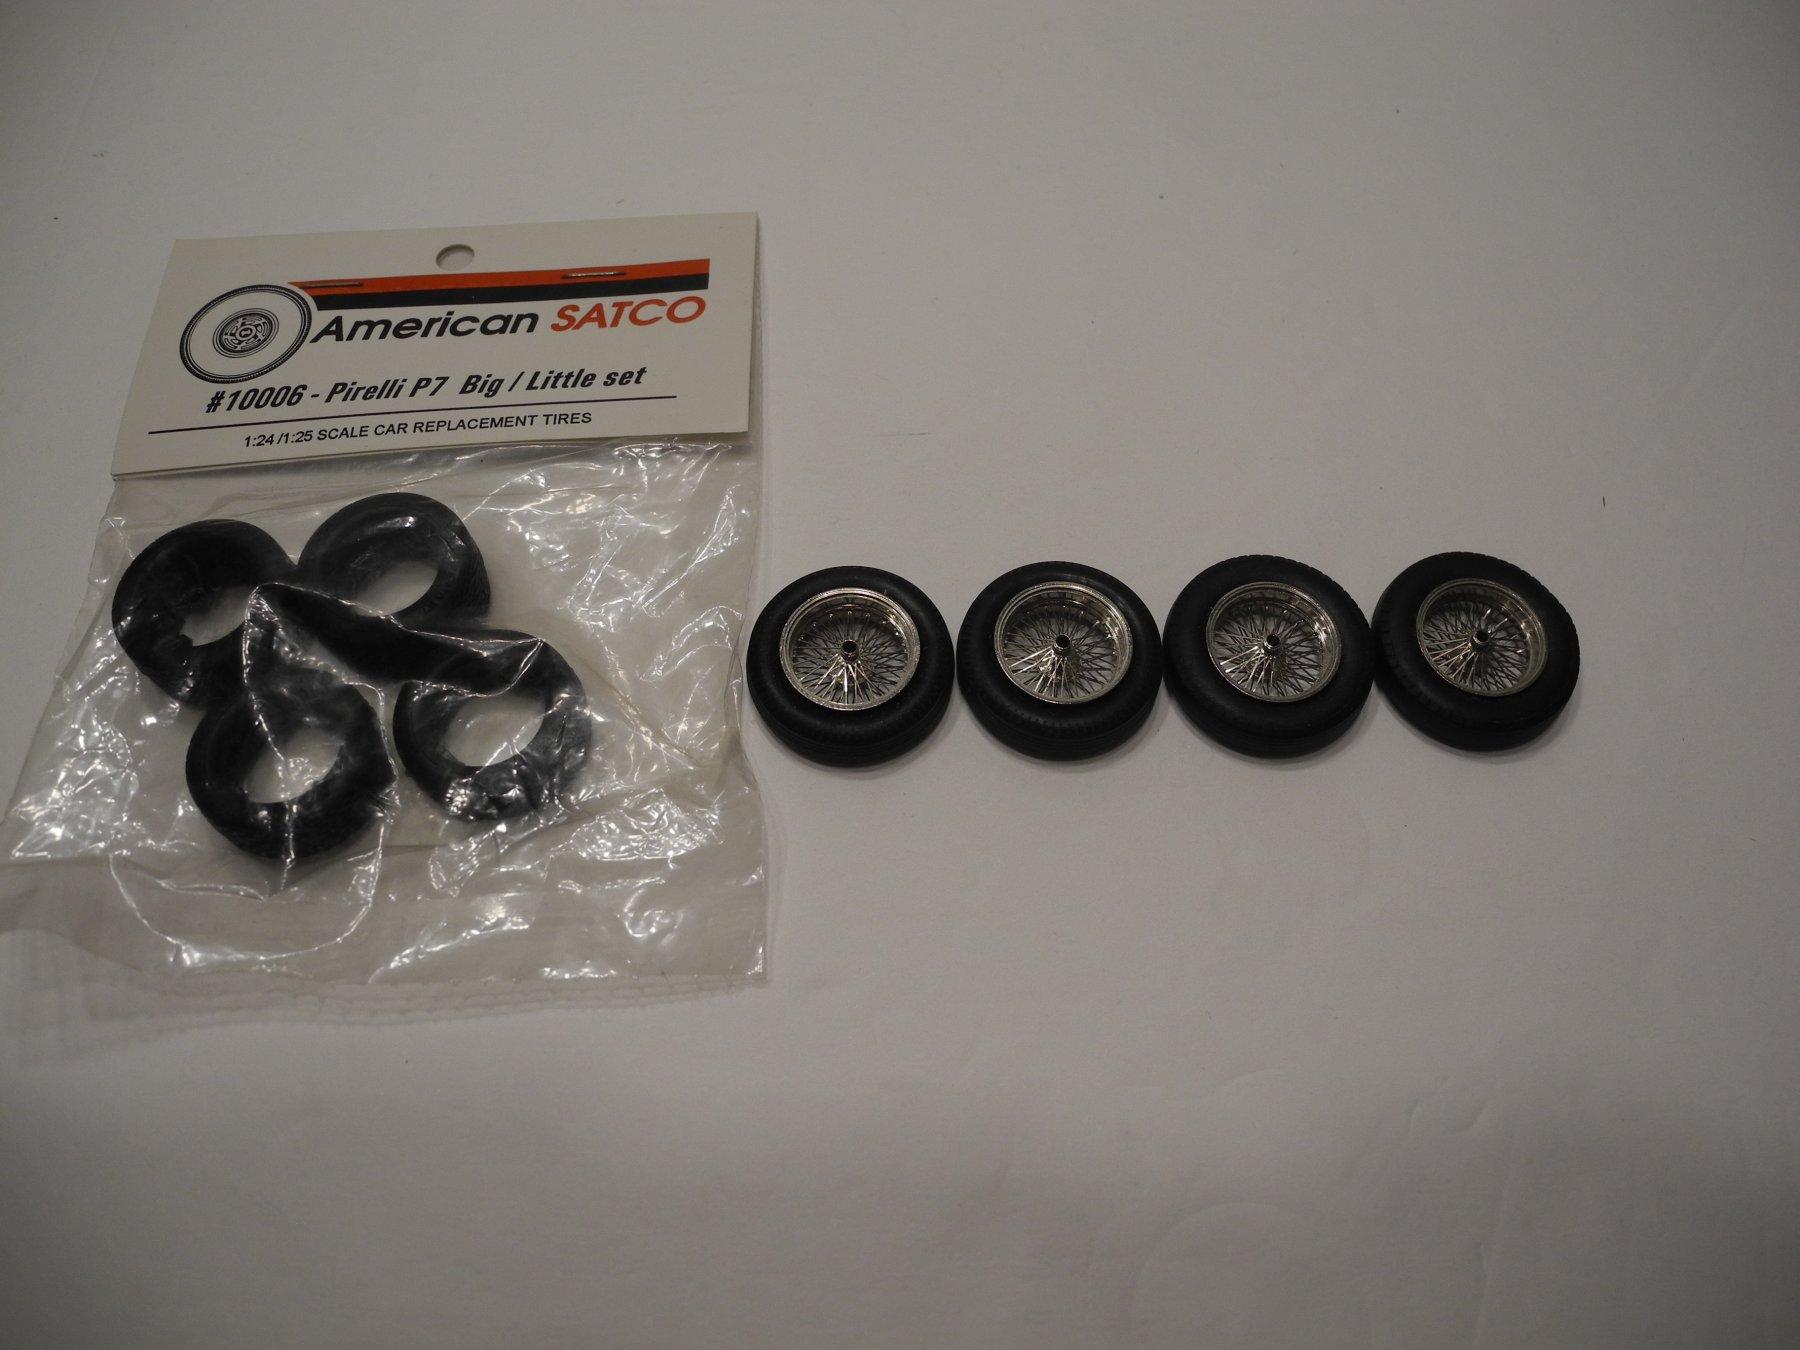
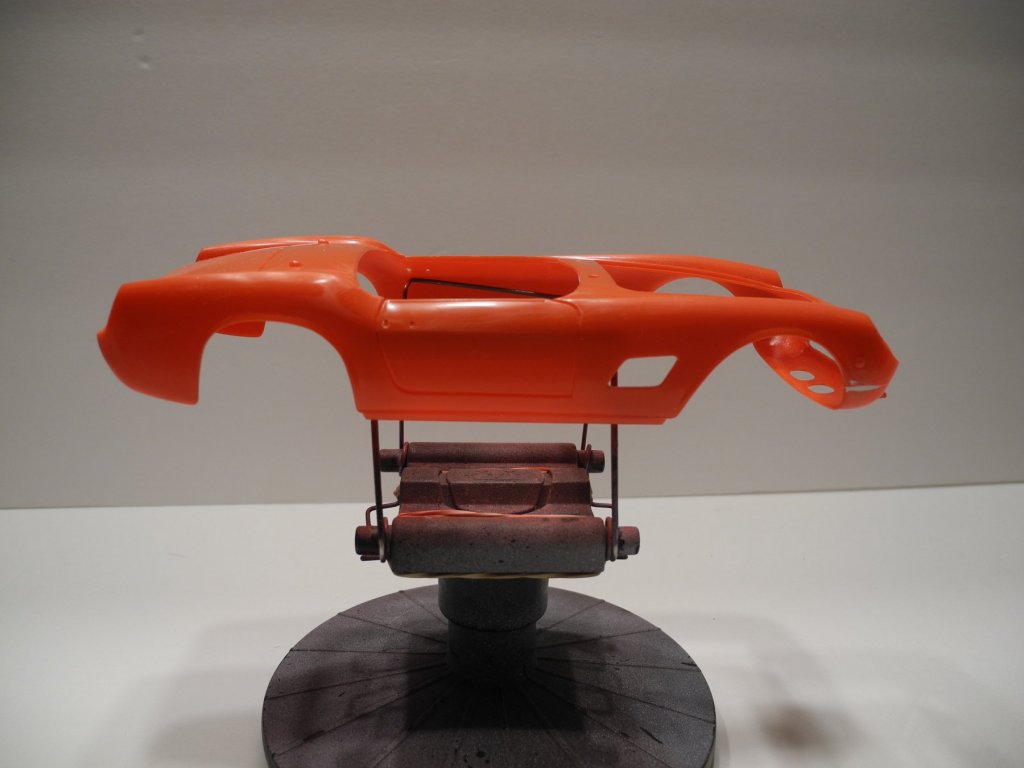
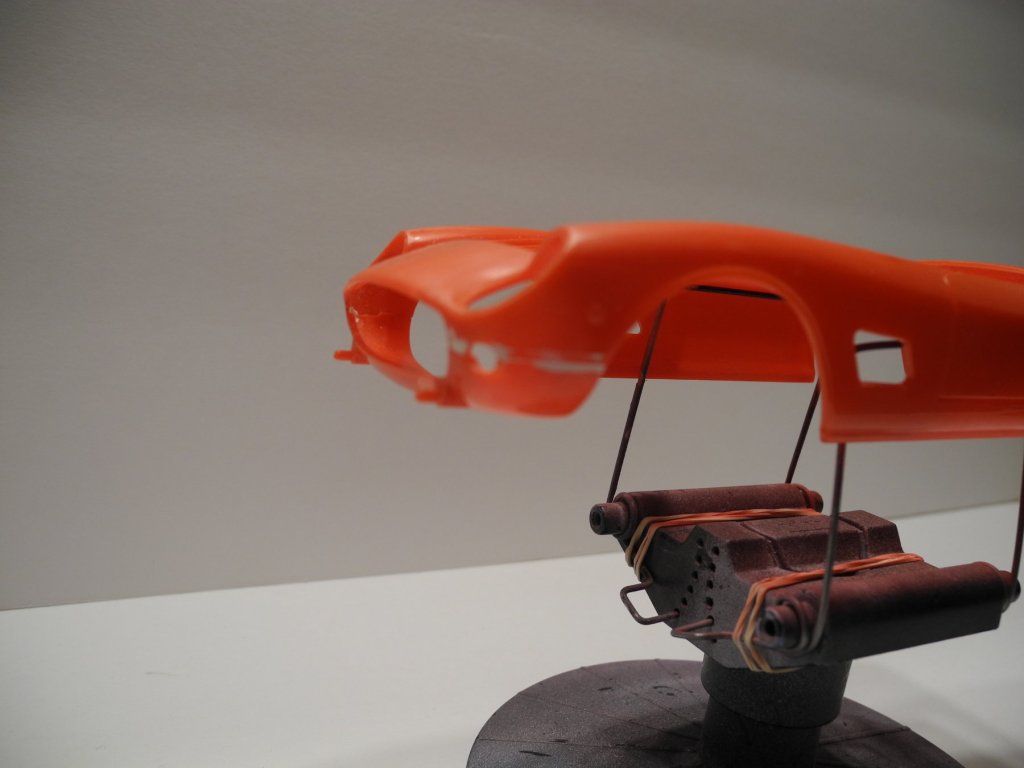
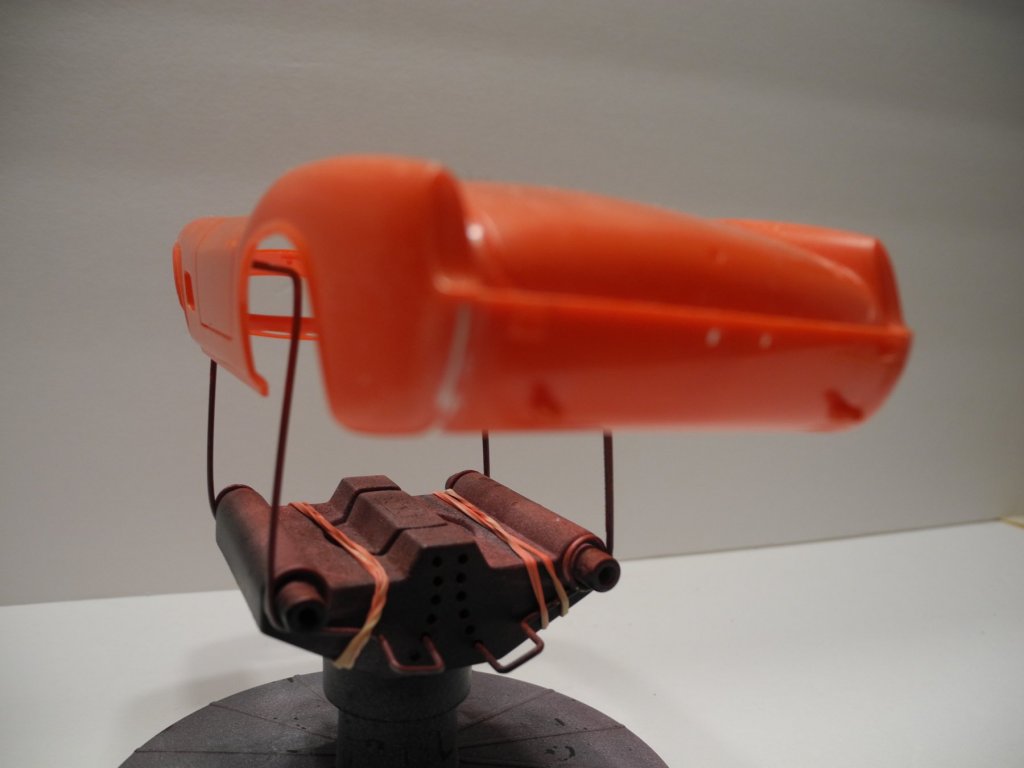
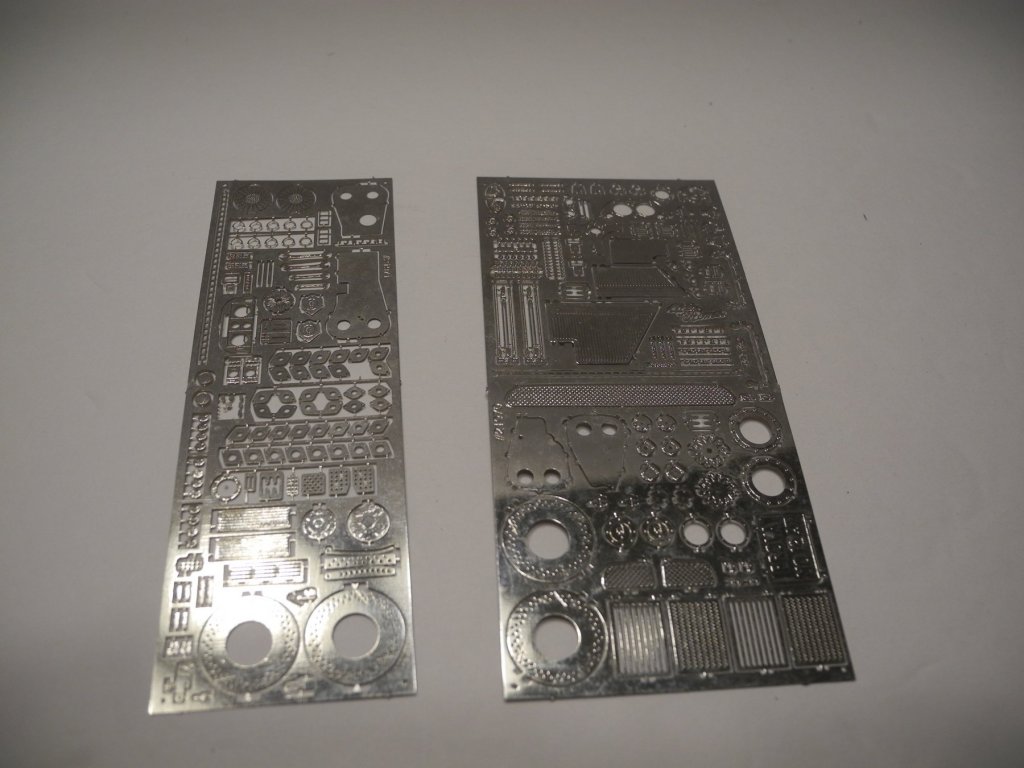
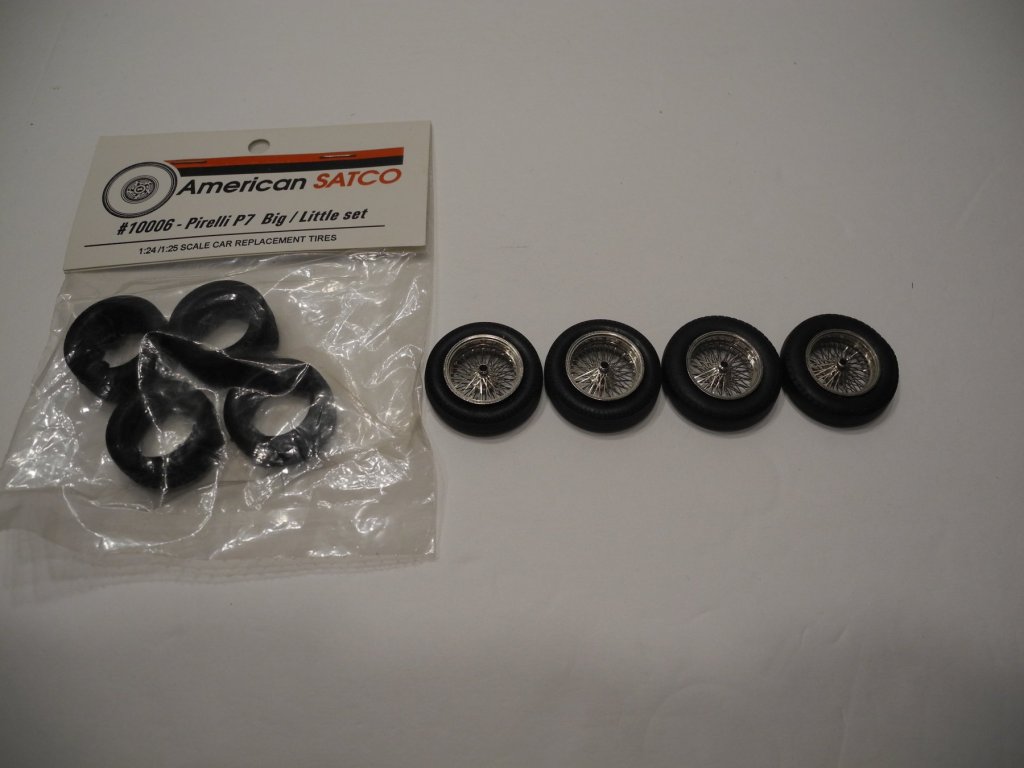
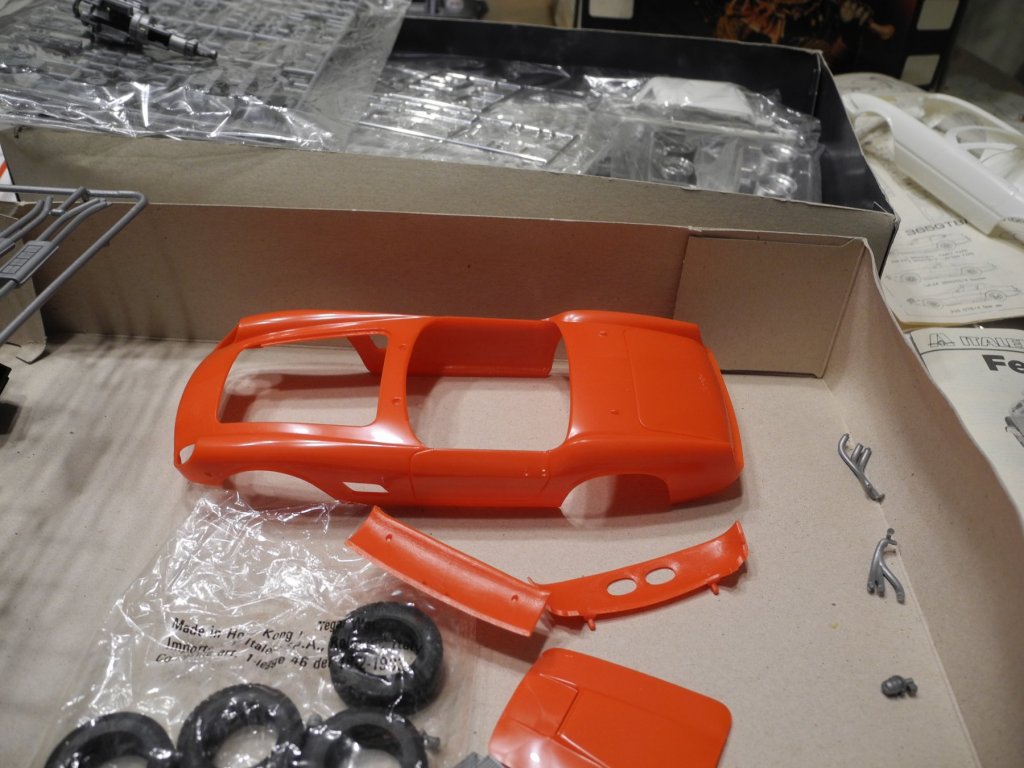
Here is my Ferrari body after putty and sanding. Next is an old set of Ferrari photo etch I dug out of my stash. Will use the Ferrari scripts (can be seen against the black background) on the body once it's painted and polished. I sanded away the molded on scripts as they look rather clumsy. There may be a few other photo etch parts I will use from these sheets, though they were designed for the Testarossa. Last, these are the wheels I intend to use. They are an out of production set of wire wheels that were produced by Detail Master more than a decade ago. Period correct tires would be Dunlops, but I have none. Will use whatever I have on hand that are the closest match I can find. The big and little American Satco tires would look good on the model, but I don't think they are going to fit my wheels. In any event, the Satco's are Pirelli's (but who cares, right?). Going to give the body it's first coat of Tamiya primer before I hit the sack tonight.


-
That was quite a nice find, Ed. My intuition tells me there are so few of us who actually buy then build these sets, not very many people, and even the ones who own the sets, have ever experienced the construction of the model and are aware there is an issue with fit much less that a correction is available. Such is the life of those who are crazy enough to build stuff like this. Kudos to you my friend.
-
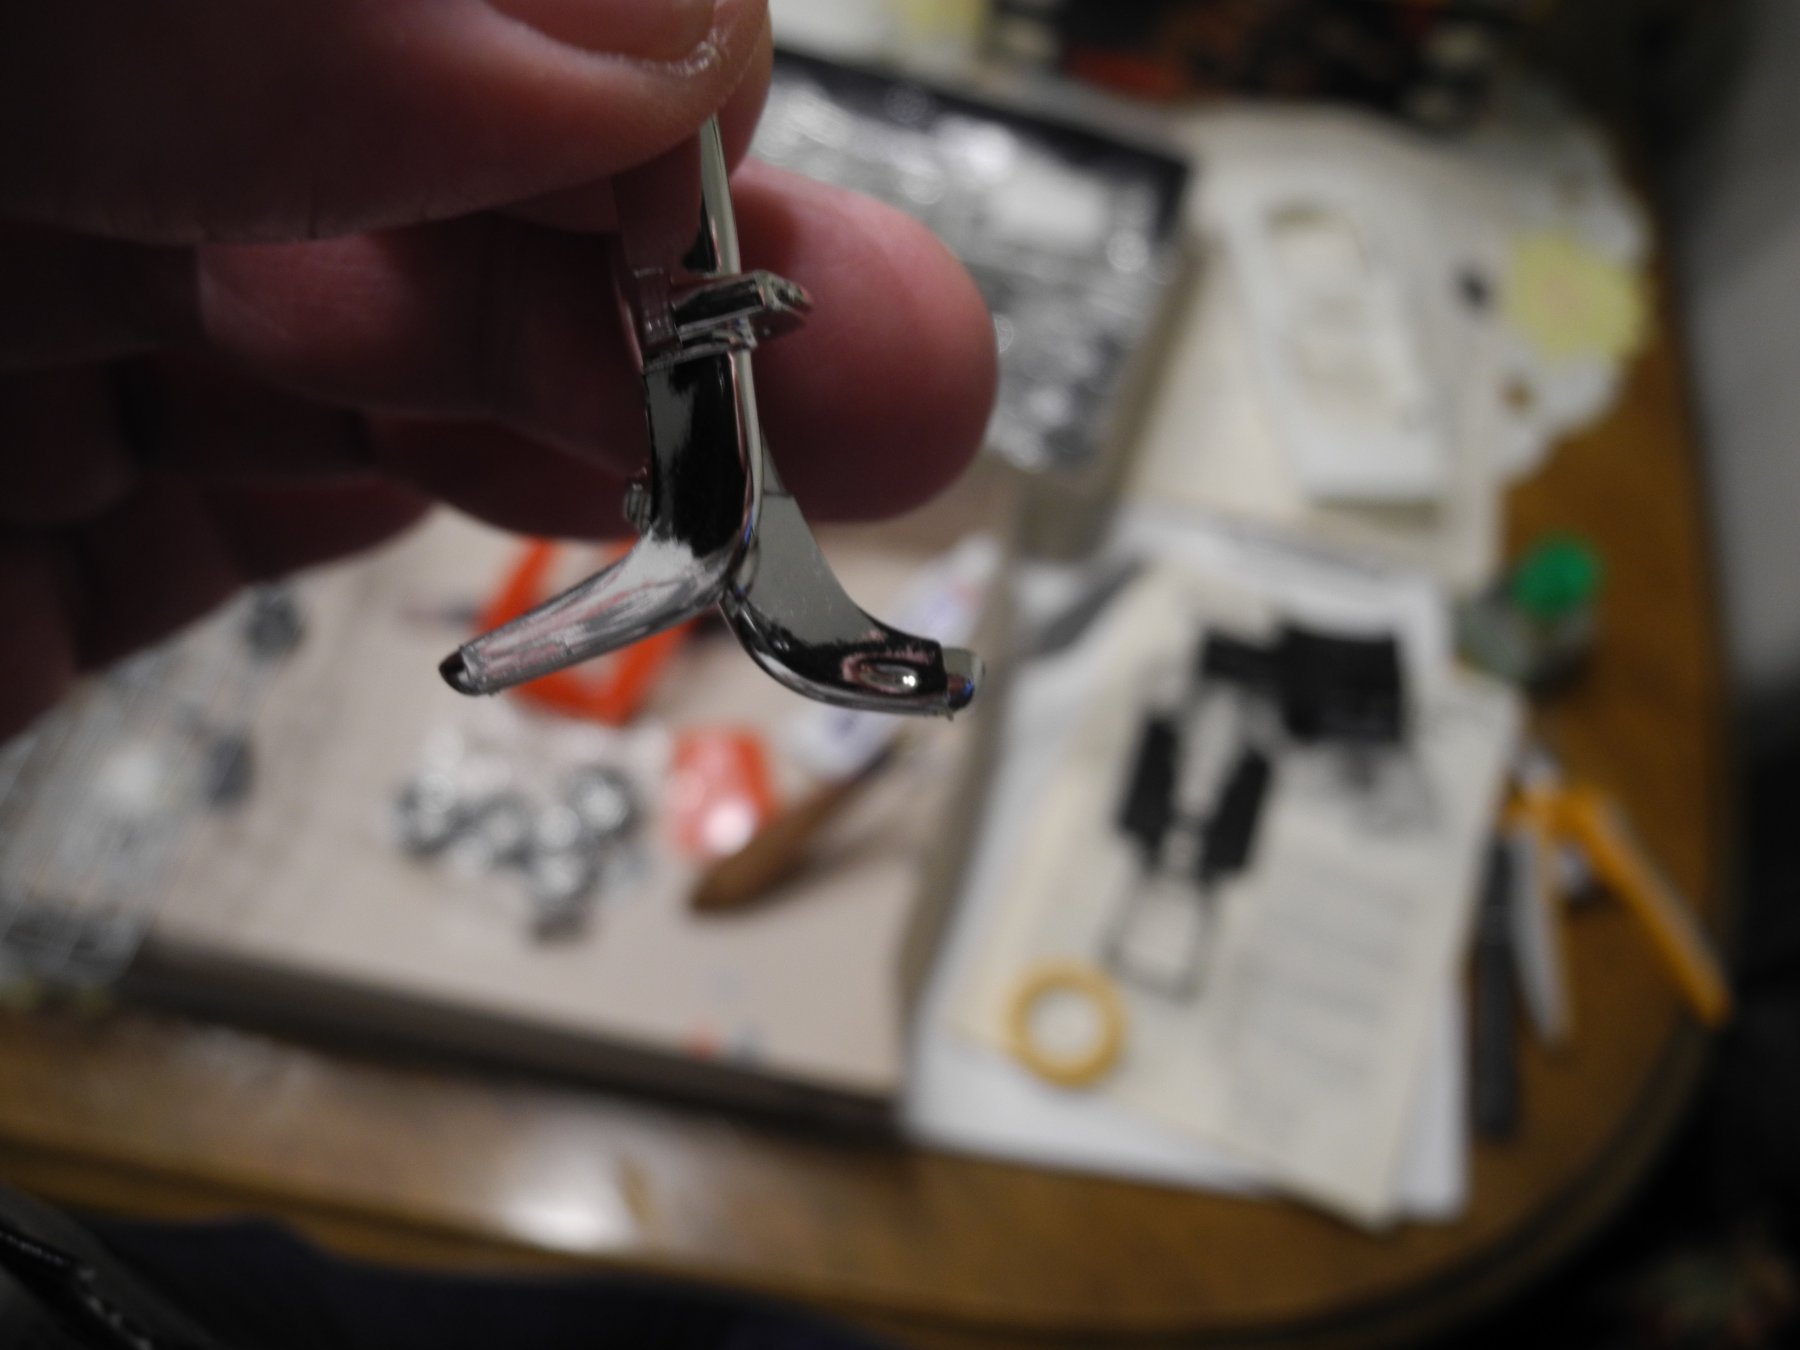
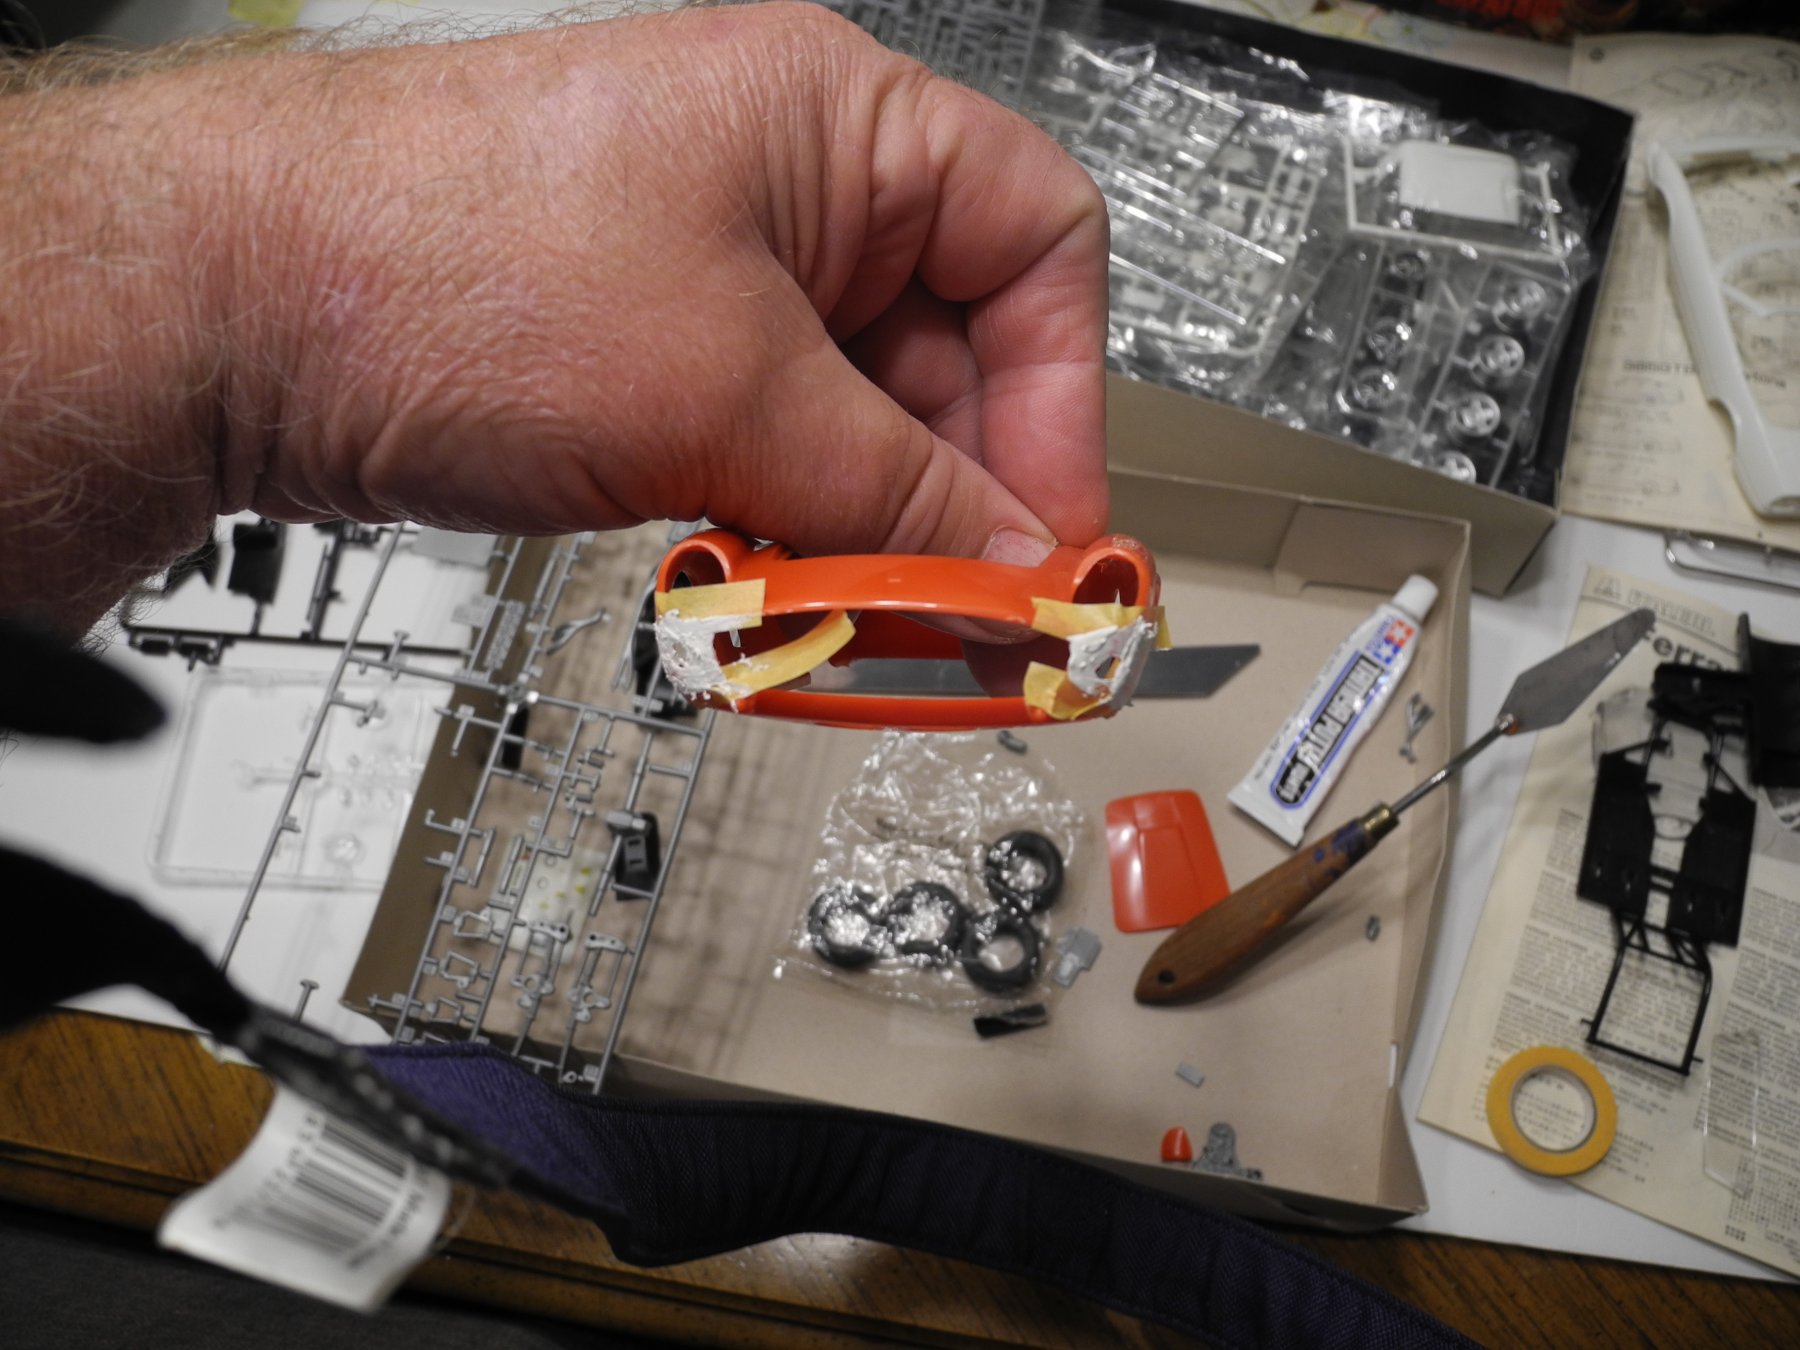
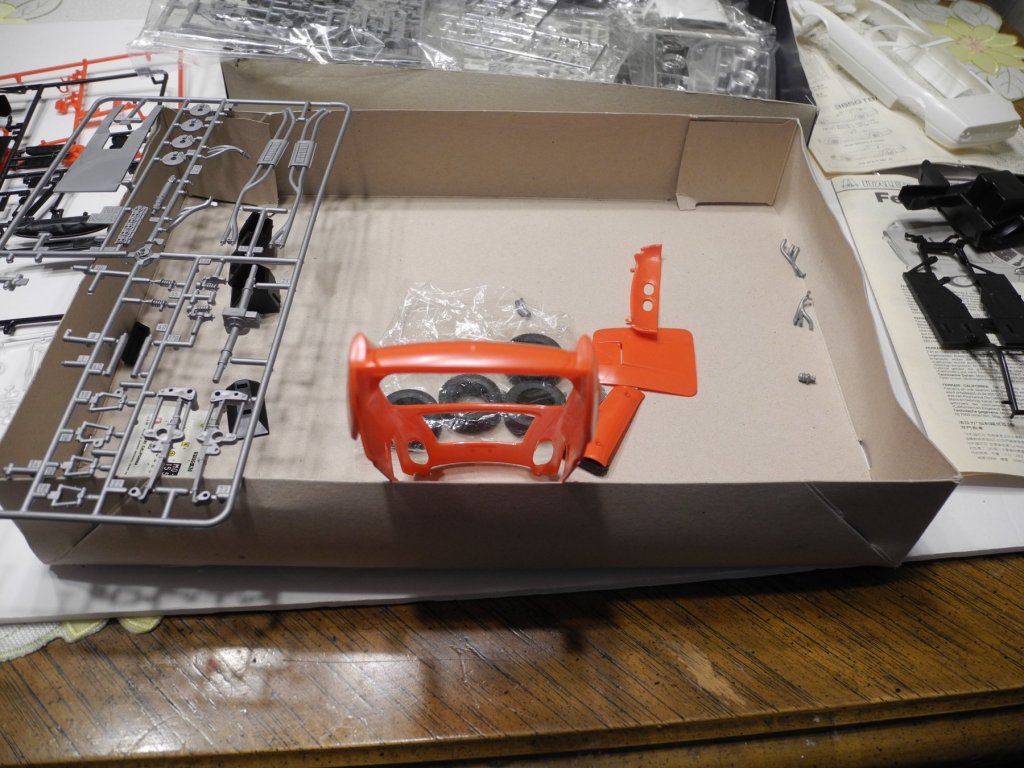
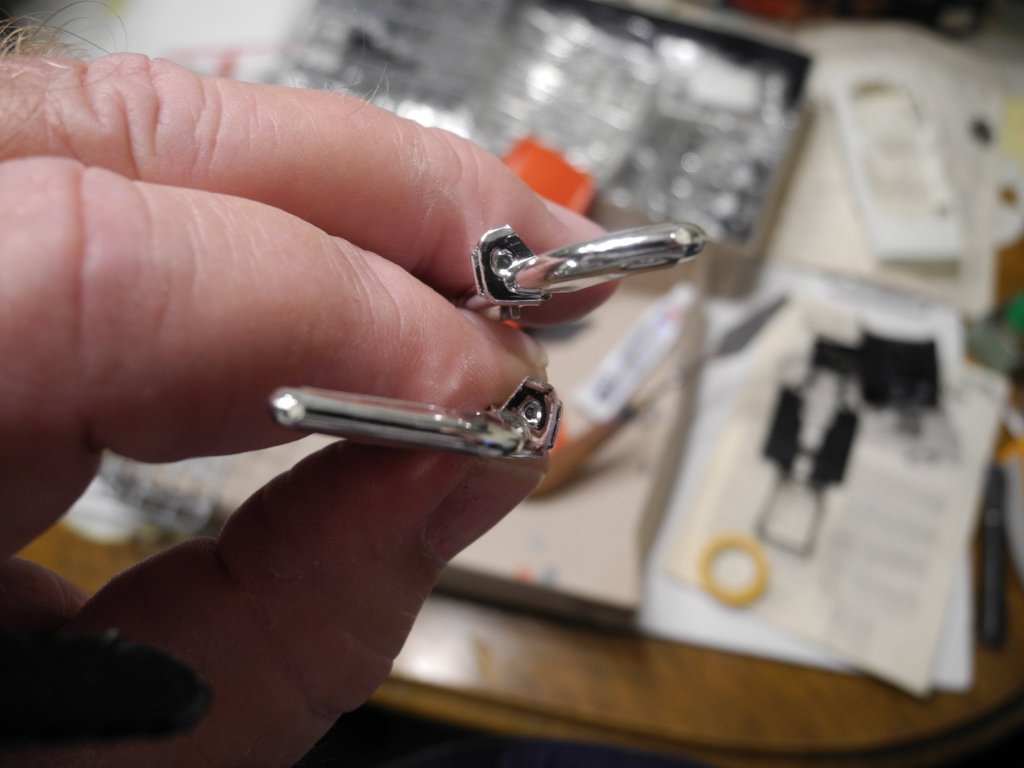
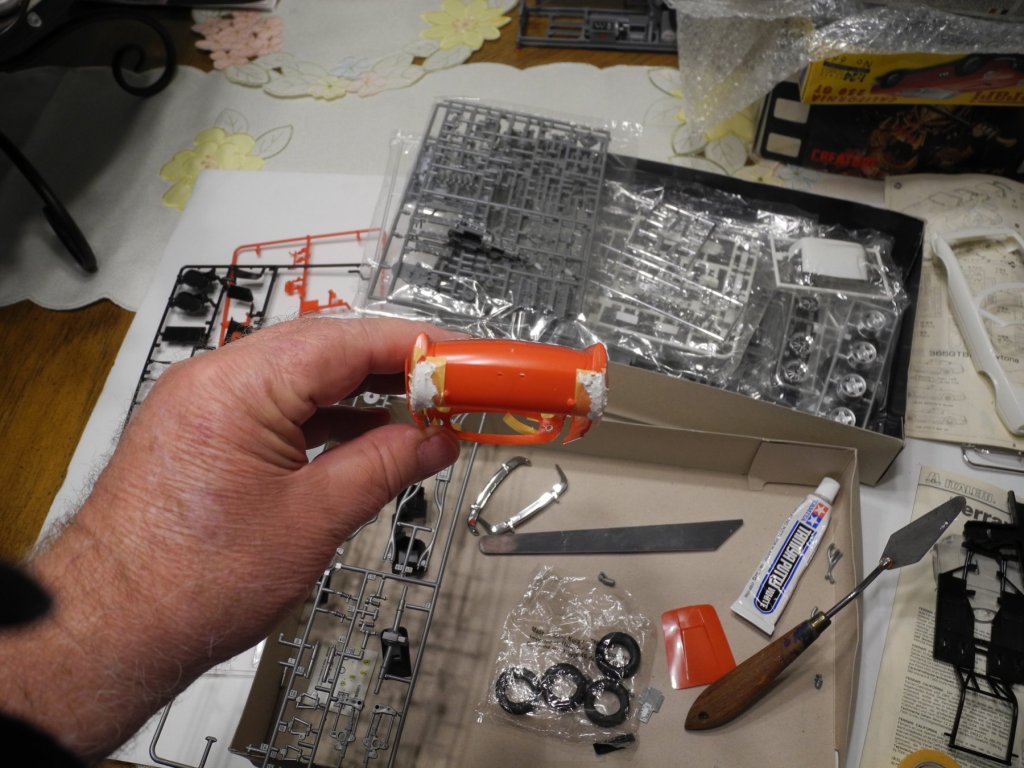
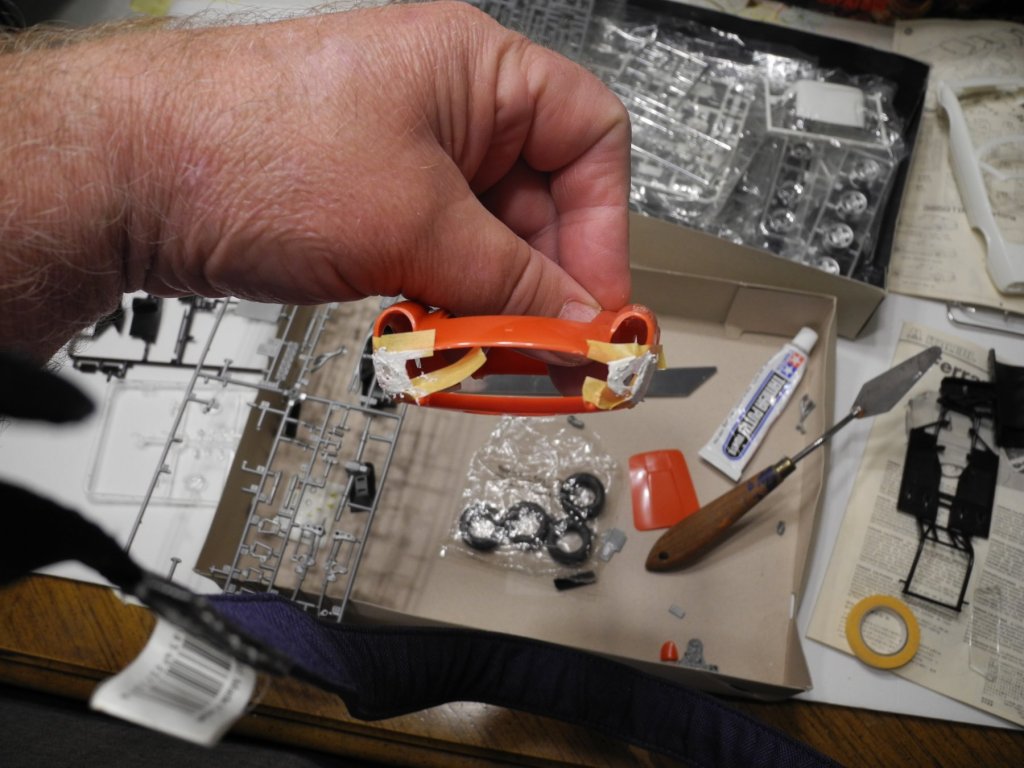
With this kit, I plan to start with the body first. The Ferrari body is pretty good for it's age. It's shape and proportions are just about spot on. Regardless, it's the only plastic kit out there of the GT 250 California Spyder, so we'll have to play the cards we're dealt if we want a model of it. There are panels that have to be glued in place in the front and rear of the body. In the 90's, slide mold technology was not yet employed in plastic models, so car bodies often came in multiple pieces like this. I glued the panels in place with Tamiya liquid cement, then masked and used Tamiya white putty on the joints. I like to use masking tape on either side of where i want the putty placed, this way I don't create a bunch of extra work sanding and blending putty that's not needed. This comes in real handy when your puttying seams that have adjacent details you don't wish to obliterate. The chrome bumpers have some nasty nasty sink marks. Will have to strip the bumpers of the chrome with a bath in Super Clean, then putty the sink marks, sand, prime, and paint with Alclad 2 chrome. Hate to go to all that trouble, but no better alternatives really.


- 140 replies
-
- 10
-

-
Ed Have you tried acrylic glue (Gator Grip) for photo etch yet? It has it's upside as well as downside. Upside: you have ample time to position the parts; you can clean up all/any excess glue easily using a damp paint brush; it's more flexible, so parts don't tend to fly off if you bump them after it's dry; it dries crystal clear leaving no fog or frosting of surrounding parts. Downside: it does not instantly bond. parts my need to be held in position for a few moments until it kicks enough to hold the part all on it's own. I think there are instances where one glue or the other is the most practical for the task at hand. One does not take the place of the other, but it gives us more options.
-
Oh wow. Now I get the picture...at first, I did not get a mental image of exactly how that model was going to look. Really cool and unique (to me) plow.
-
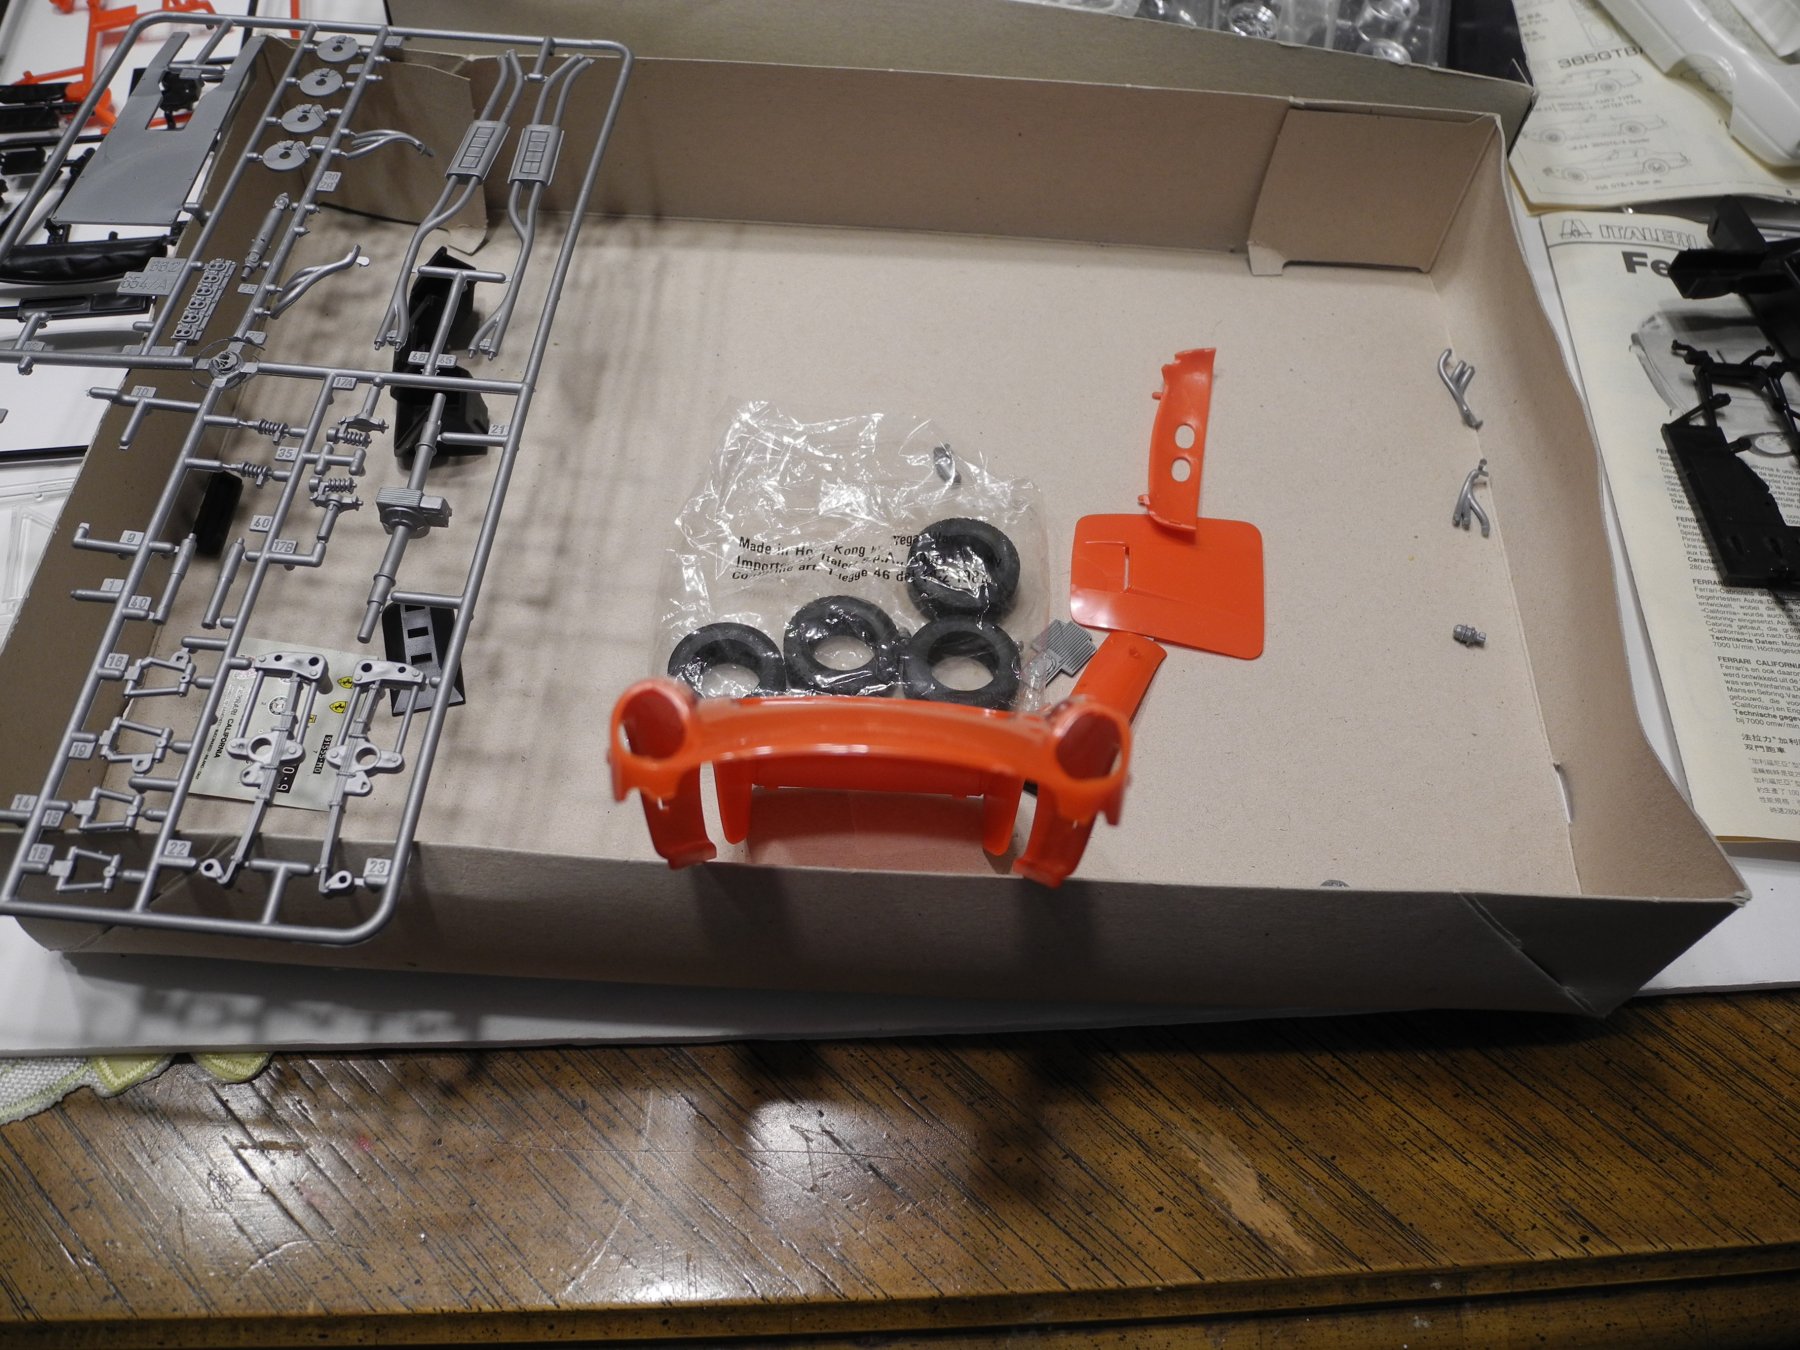
Necromancy indeed. Last night while I was perusing through the kit box (Italeri Ferrari) at the various parts inside, I came across the original receipt where the owner had purchased the kit....December of 1990. He paid $8.25 for it back then. 🙂 Glad you're aboard, Denis. Looking carefully at all the parts, I decided I will not be using much of anything from the Fujimi kit as a donor. For one thing, the engines are FAR different. The 250 GT California Spyder has the iconic Ferrari V-12 as was found in the 250 GTO's, while the Daytona Speciale (1969) has the more modern dual overhead cam Ferrari V-12. I think maybe I may try to patch the clear windshield in the Fujimi kit, then use it as a mold for a vac-u-form replacement windscreen. I think I can perhaps repair the windshield frame. The Italeri engine is going to need a little TLC and some custom detailing, but it's salvageable for sure. Overall, the kit is fairly well engineered. There are a few nagging issues to be sorted out, but that's all part of the fun of this hobby....as long as I don't get too bogged down in the process, in which case am likely to lose my interest and pack it all back inside the boxes.
-
I know these manufacturers must test-assemble their production runs before putting them out there for sale. It only seems reasonable they would put at least that much effort into their products. So how do these errors get past them, I wonder? Something as small and delicate as these parts would be very difficult to scratch build a solution (at least for me).
-
As always, glad to have you aboard, Mark.
-
Thanks Mark
-
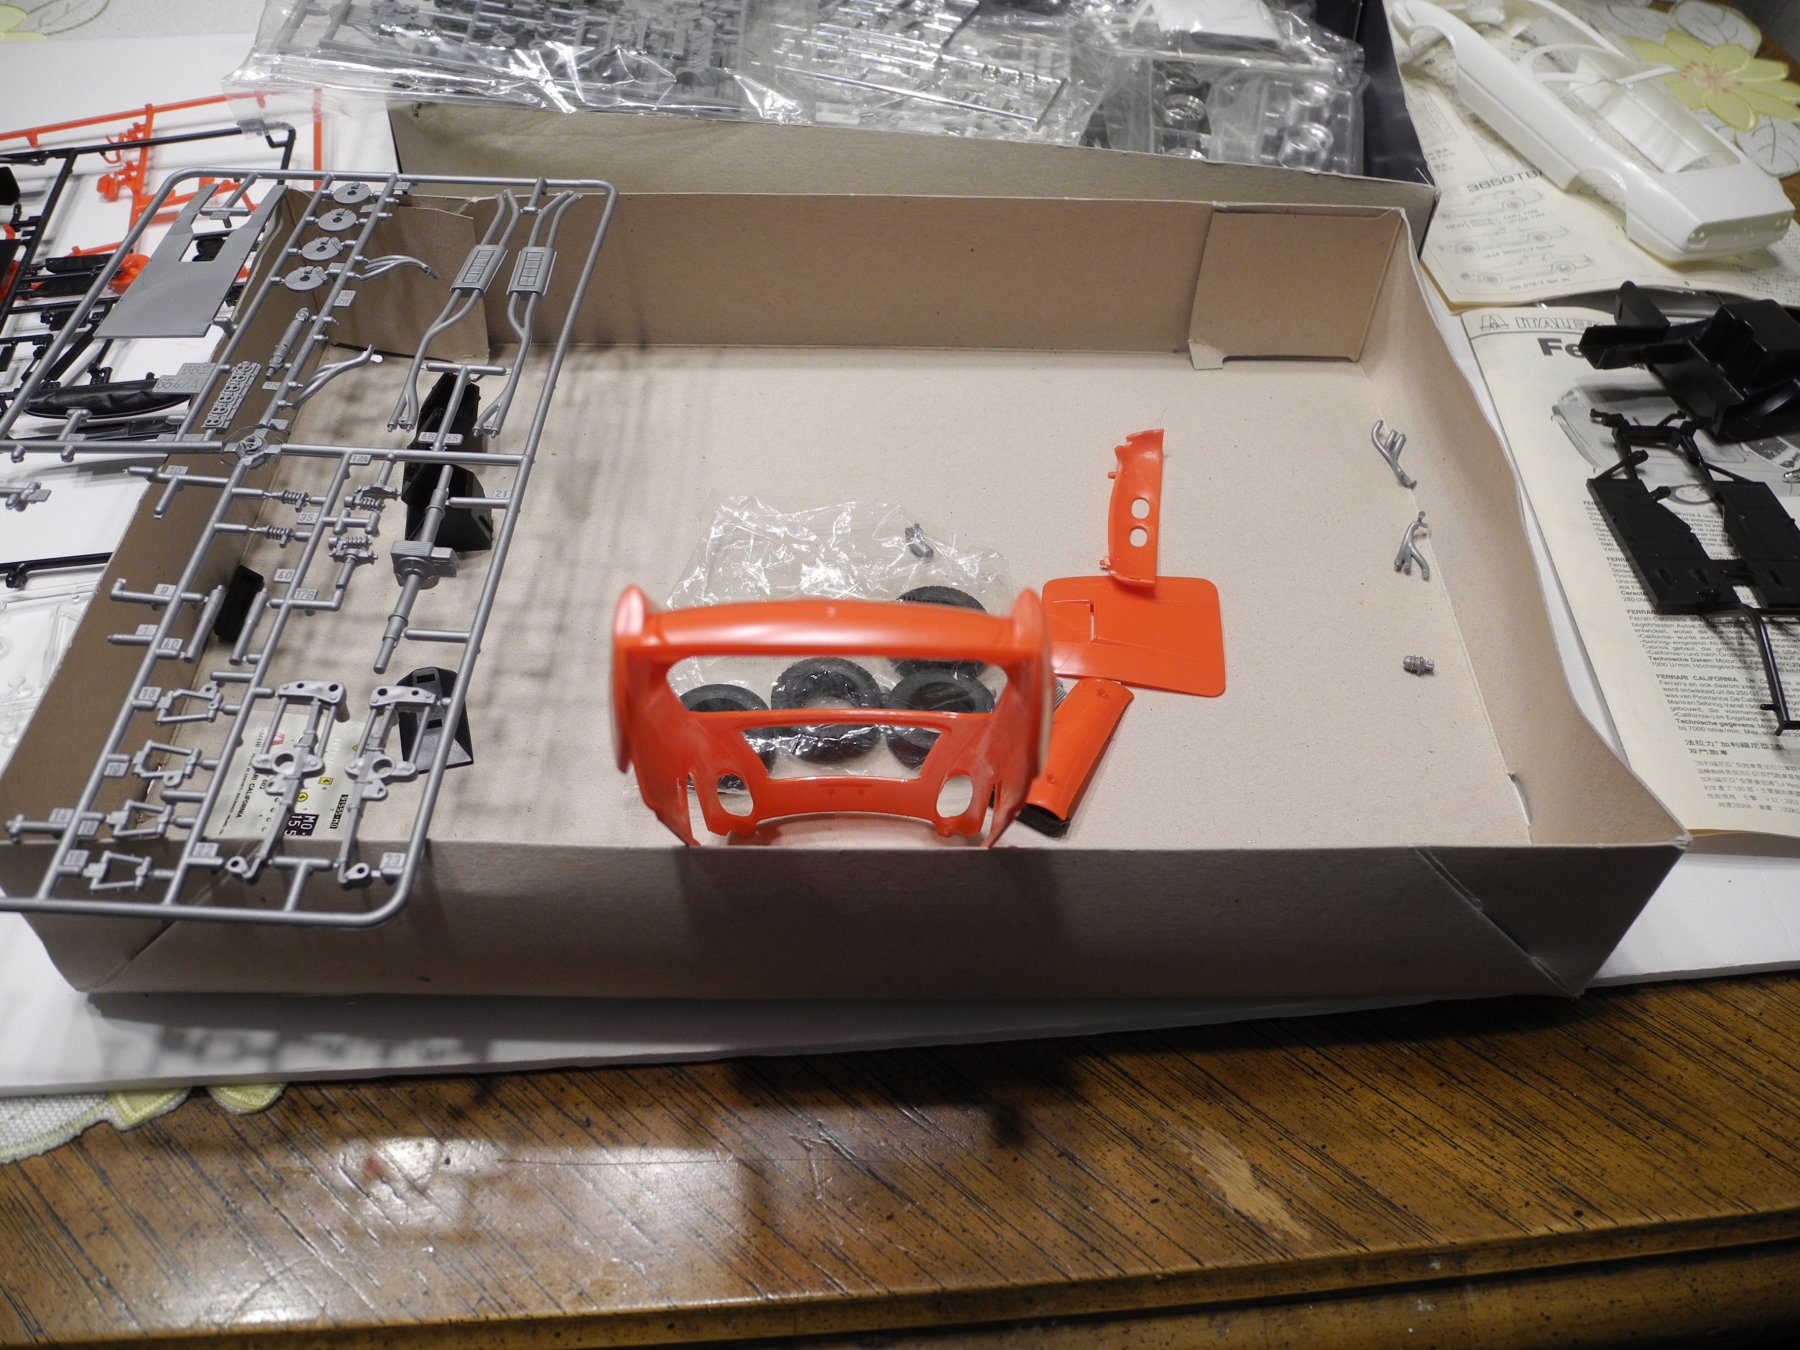
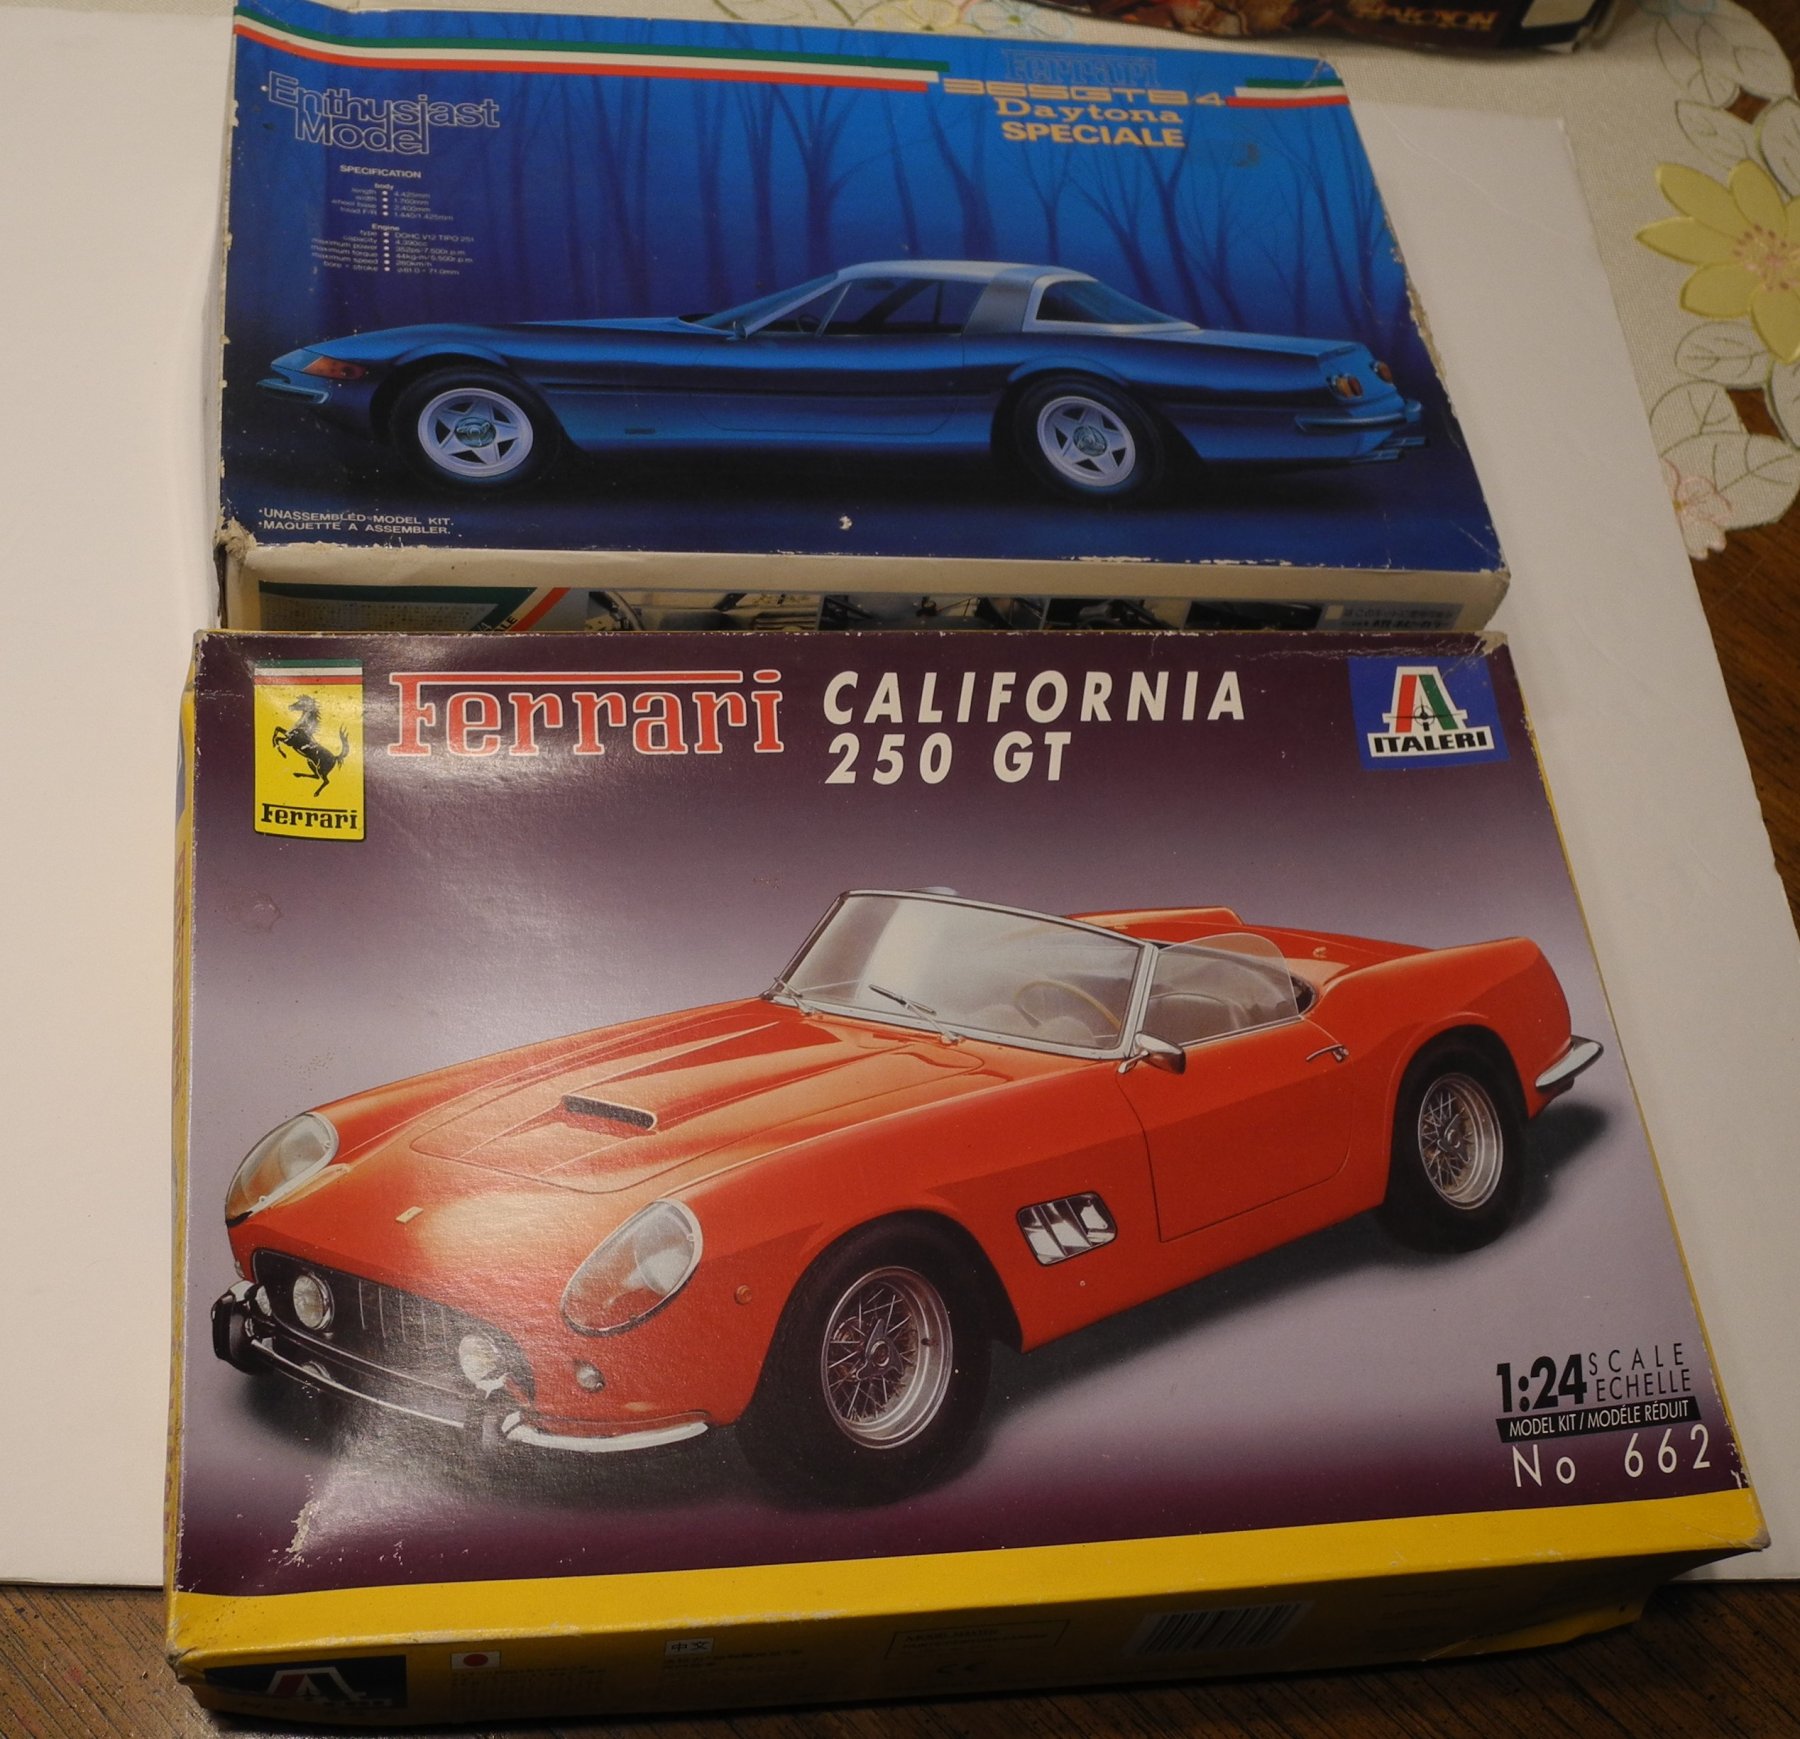
My next project is going to be this 1:24 scale Italeri Ferrari 250 GT California kit. The Italeri kit is rather long in the tooth and has been around for quite some time, though they are rare to find anymore. Don't know when the last time they were produced, but I've owned my copies for more than 10 years and it had been at least 10 years since they were produced back then. So probably the kit is more than 20 years old. The kit pictured above it is the very well detailed Fujimi Ferrari Daytona Speciale, a more modern kit though it's out of production as well to the best of my knowledge. I am going to use the Fujimi kit to add better detail to the Italeri kit. The engine, carbs, and brake systems are light years better than Italeri ones. When I bought the Fujimi kit many years ago, I received it with a front windshield that was cracked in half, and the windshield frame molded to the car body was crushed/cracked. I decided back then this would be a donor kit. Will go through a bunch of changes to accurize the Italeri kit using the Fujimi kit and aftermarket items in the process. I plan to finish it in a very smooth and glossy black lacquer paint job. we shall see how it goes, and keeping my fingers crossed for no major snafu's along the way. I may try my hand at recreating a real leather upholstery.

- 140 replies
-
- 10
-
-
Using that underbrush to hide the sink marks was a brilliant idea. Adds some realism that wouldn't have been there otherwise.
-
That is one sharp looking train model, Denis. You have really done her justice. Seeing it all come together, it's very impressive indeed. Where are you going to display it?
-
Thanks Denis, much appreciated.
-
Thanks OC. I have a customer who wants to buy it. Will probably let it go, I need the space more than the model. Had my fun, now this will finance 'future model acquisition and building operations'. 😄