CDW
-
Posts
7,755 -
Joined
-
Last visited
Content Type
Profiles
Forums
Gallery
Events
Everything posted by CDW
-

Ala-Kart by CDW - FINISHED - AMT - 1:25 Scale - PLASTIC
CDW replied to CDW's topic in Non-ship/categorised builds
I watched that comparison video between Gravity and Zero brands of paint. The Gravity paint did very well. However, I have also seen very professional results with Zero paints as well, from other modelers. When working with paint, "one size does not fit all". Certain paints have their own magic sweet spot for percentage of reducer, air pressure, needle size, etc. Finding that sweet spot is up to the individual modeler. -
Ala-Kart by CDW - FINISHED - AMT - 1:25 Scale - PLASTIC
CDW replied to CDW's topic in Non-ship/categorised builds
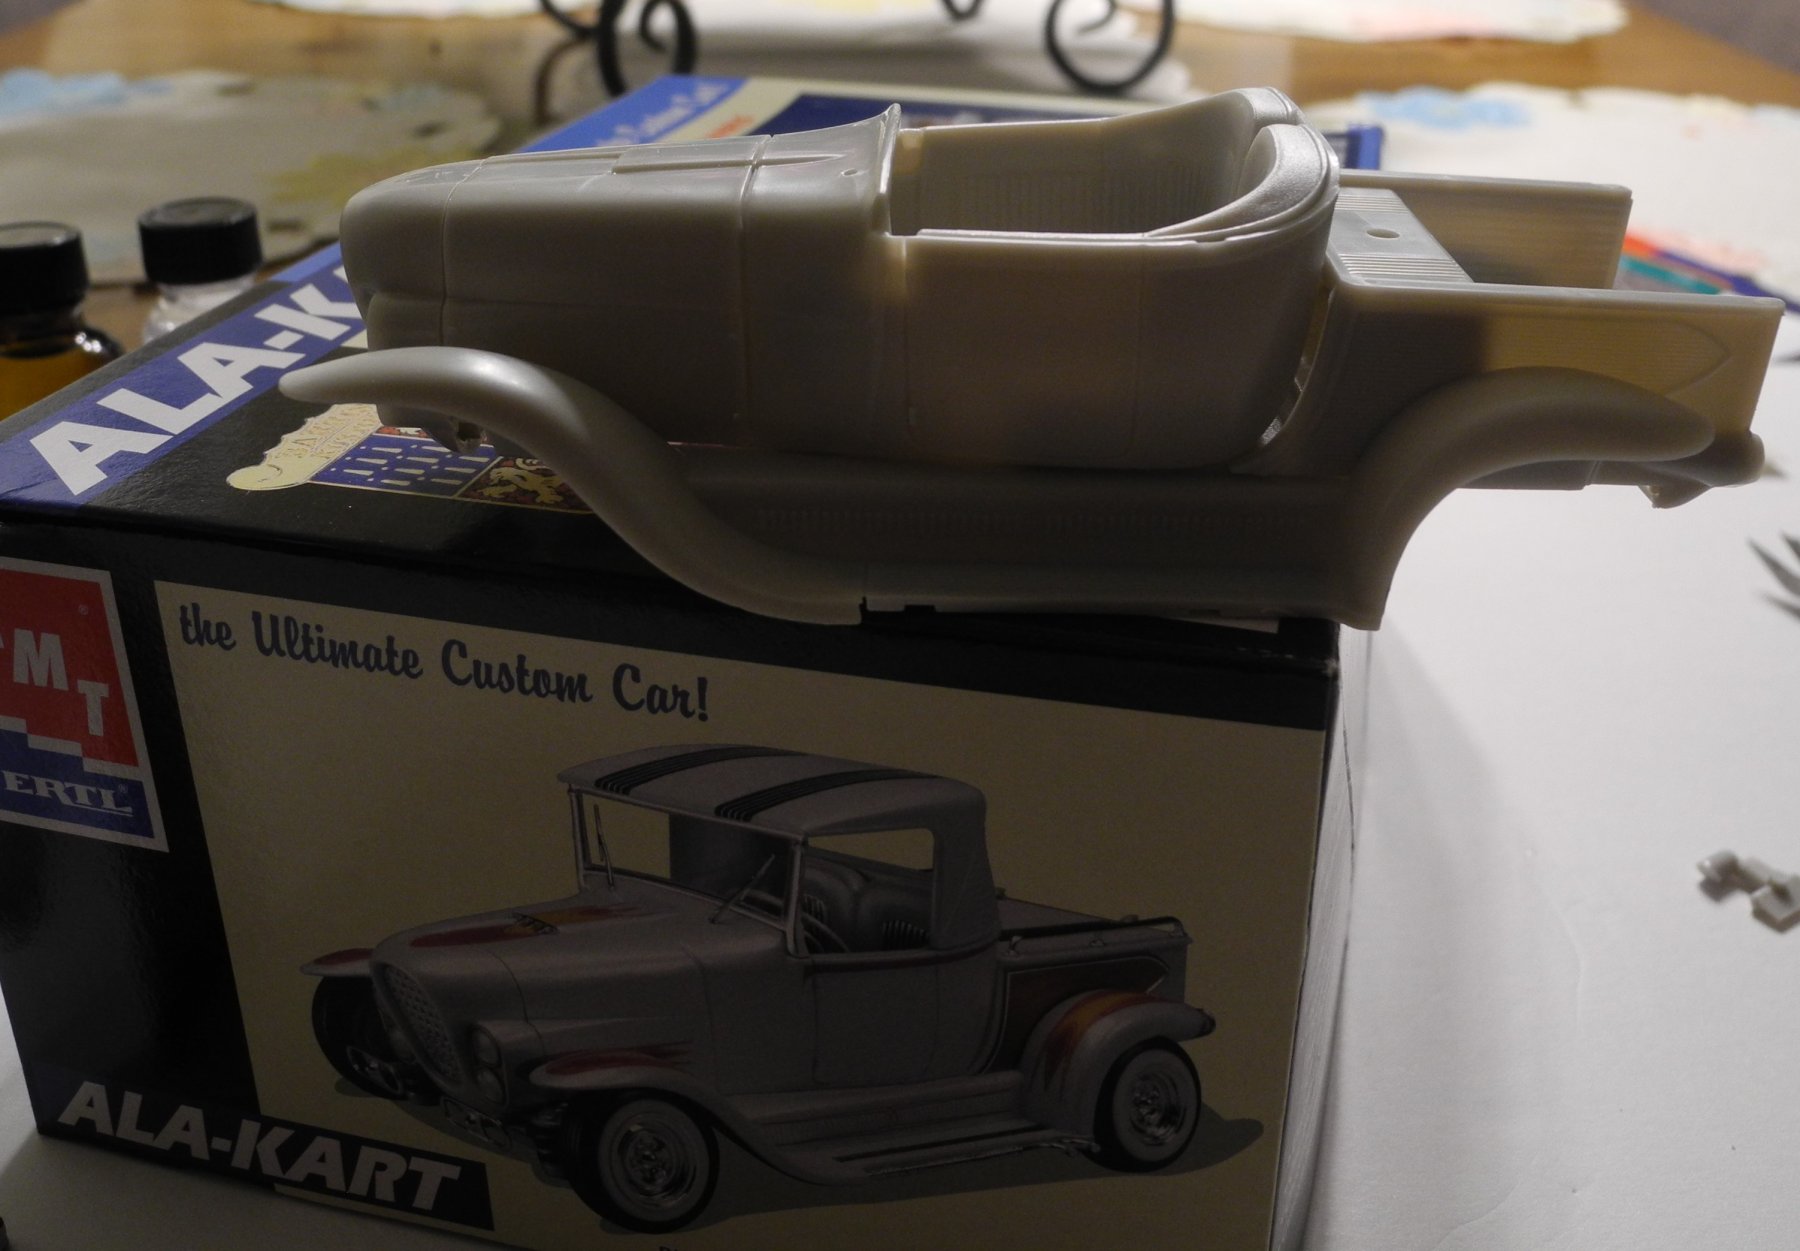
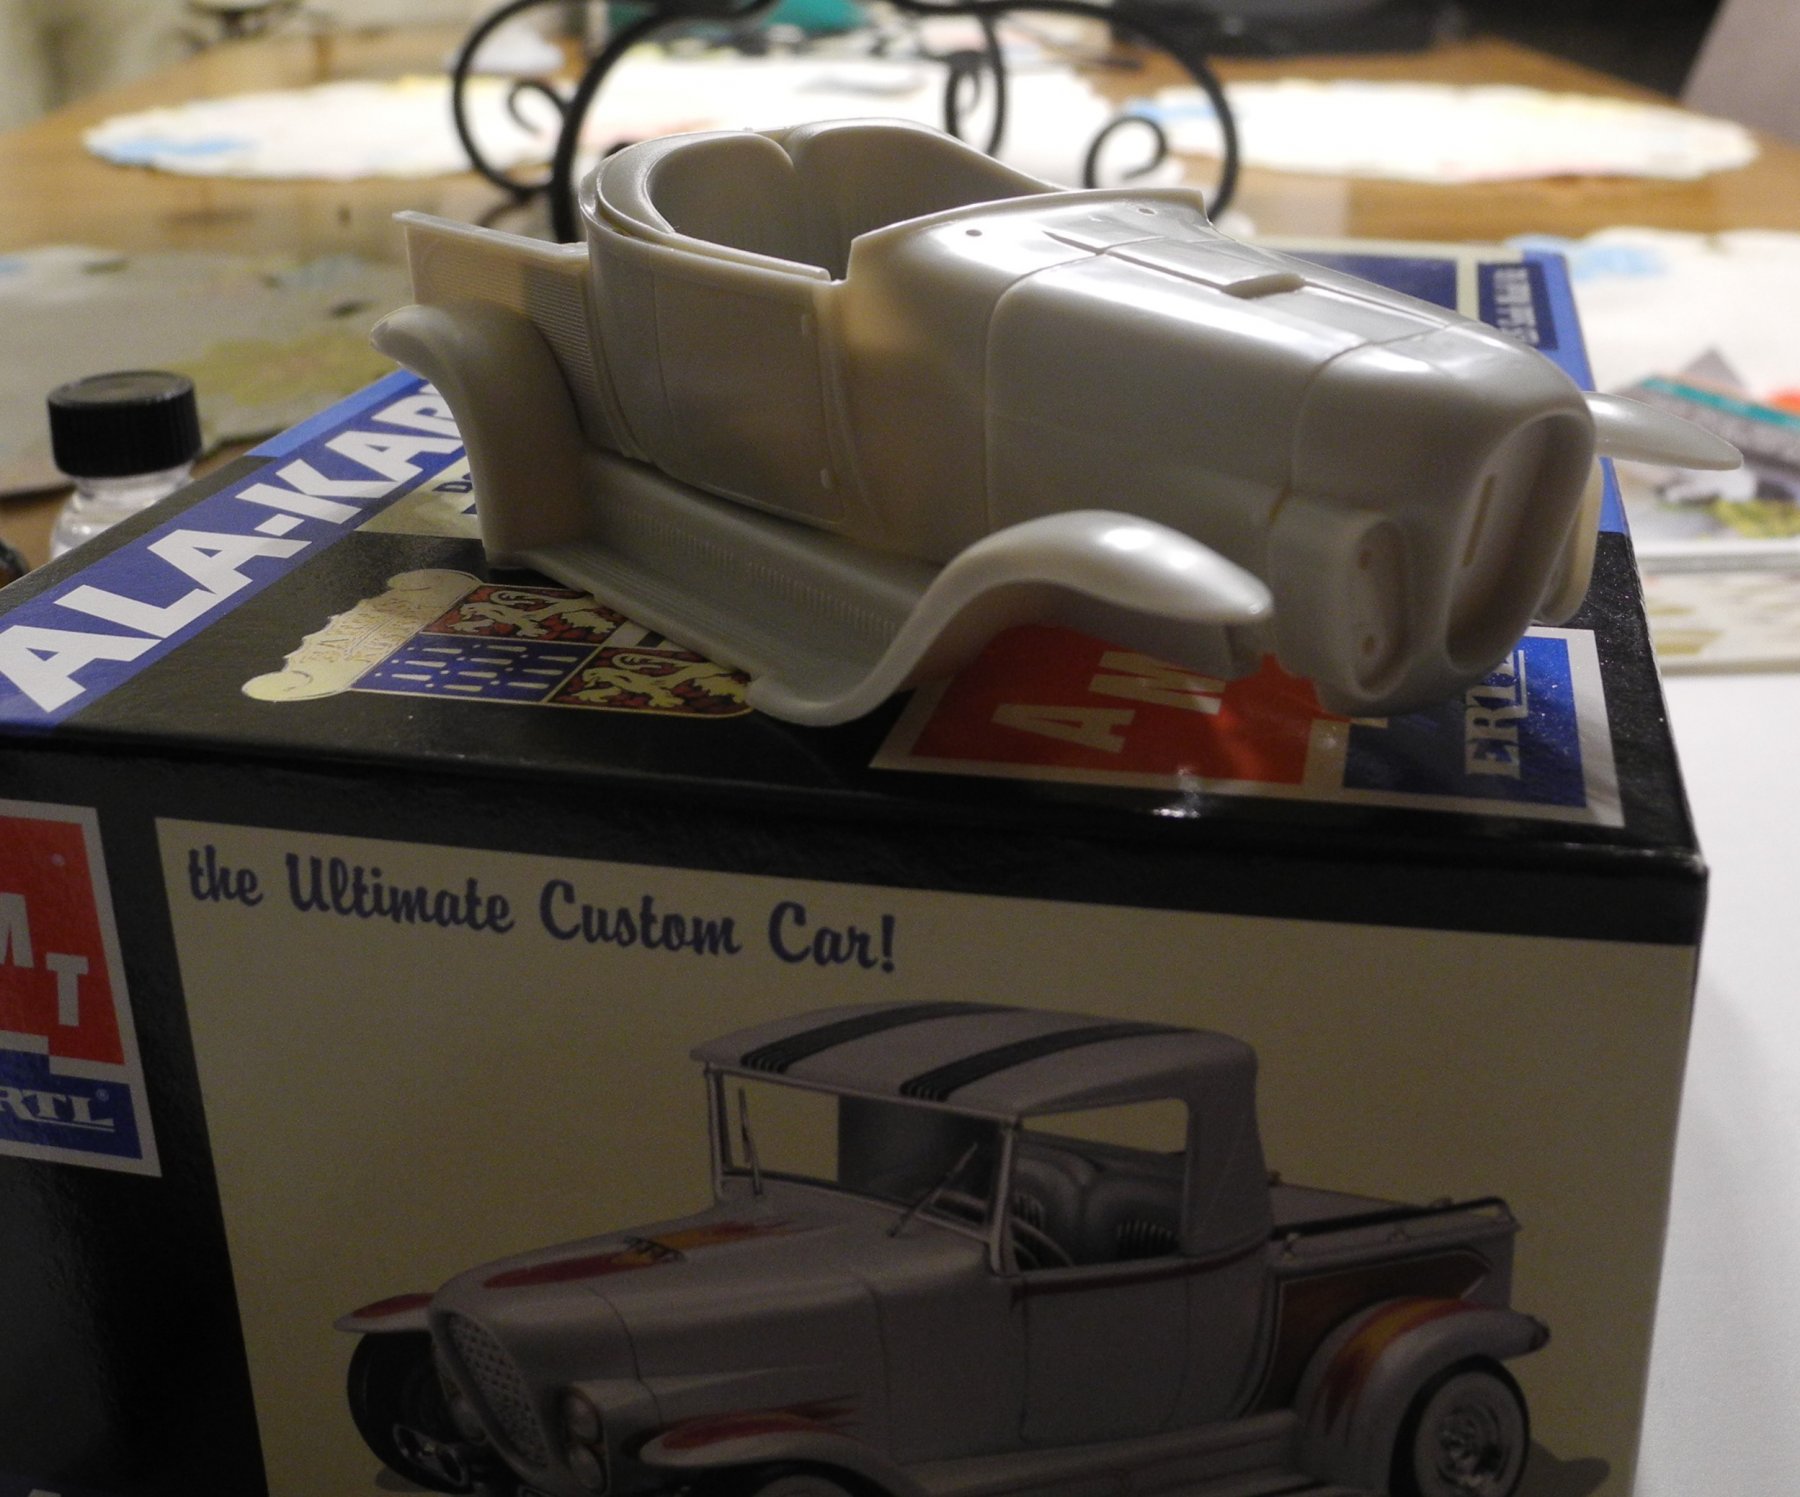
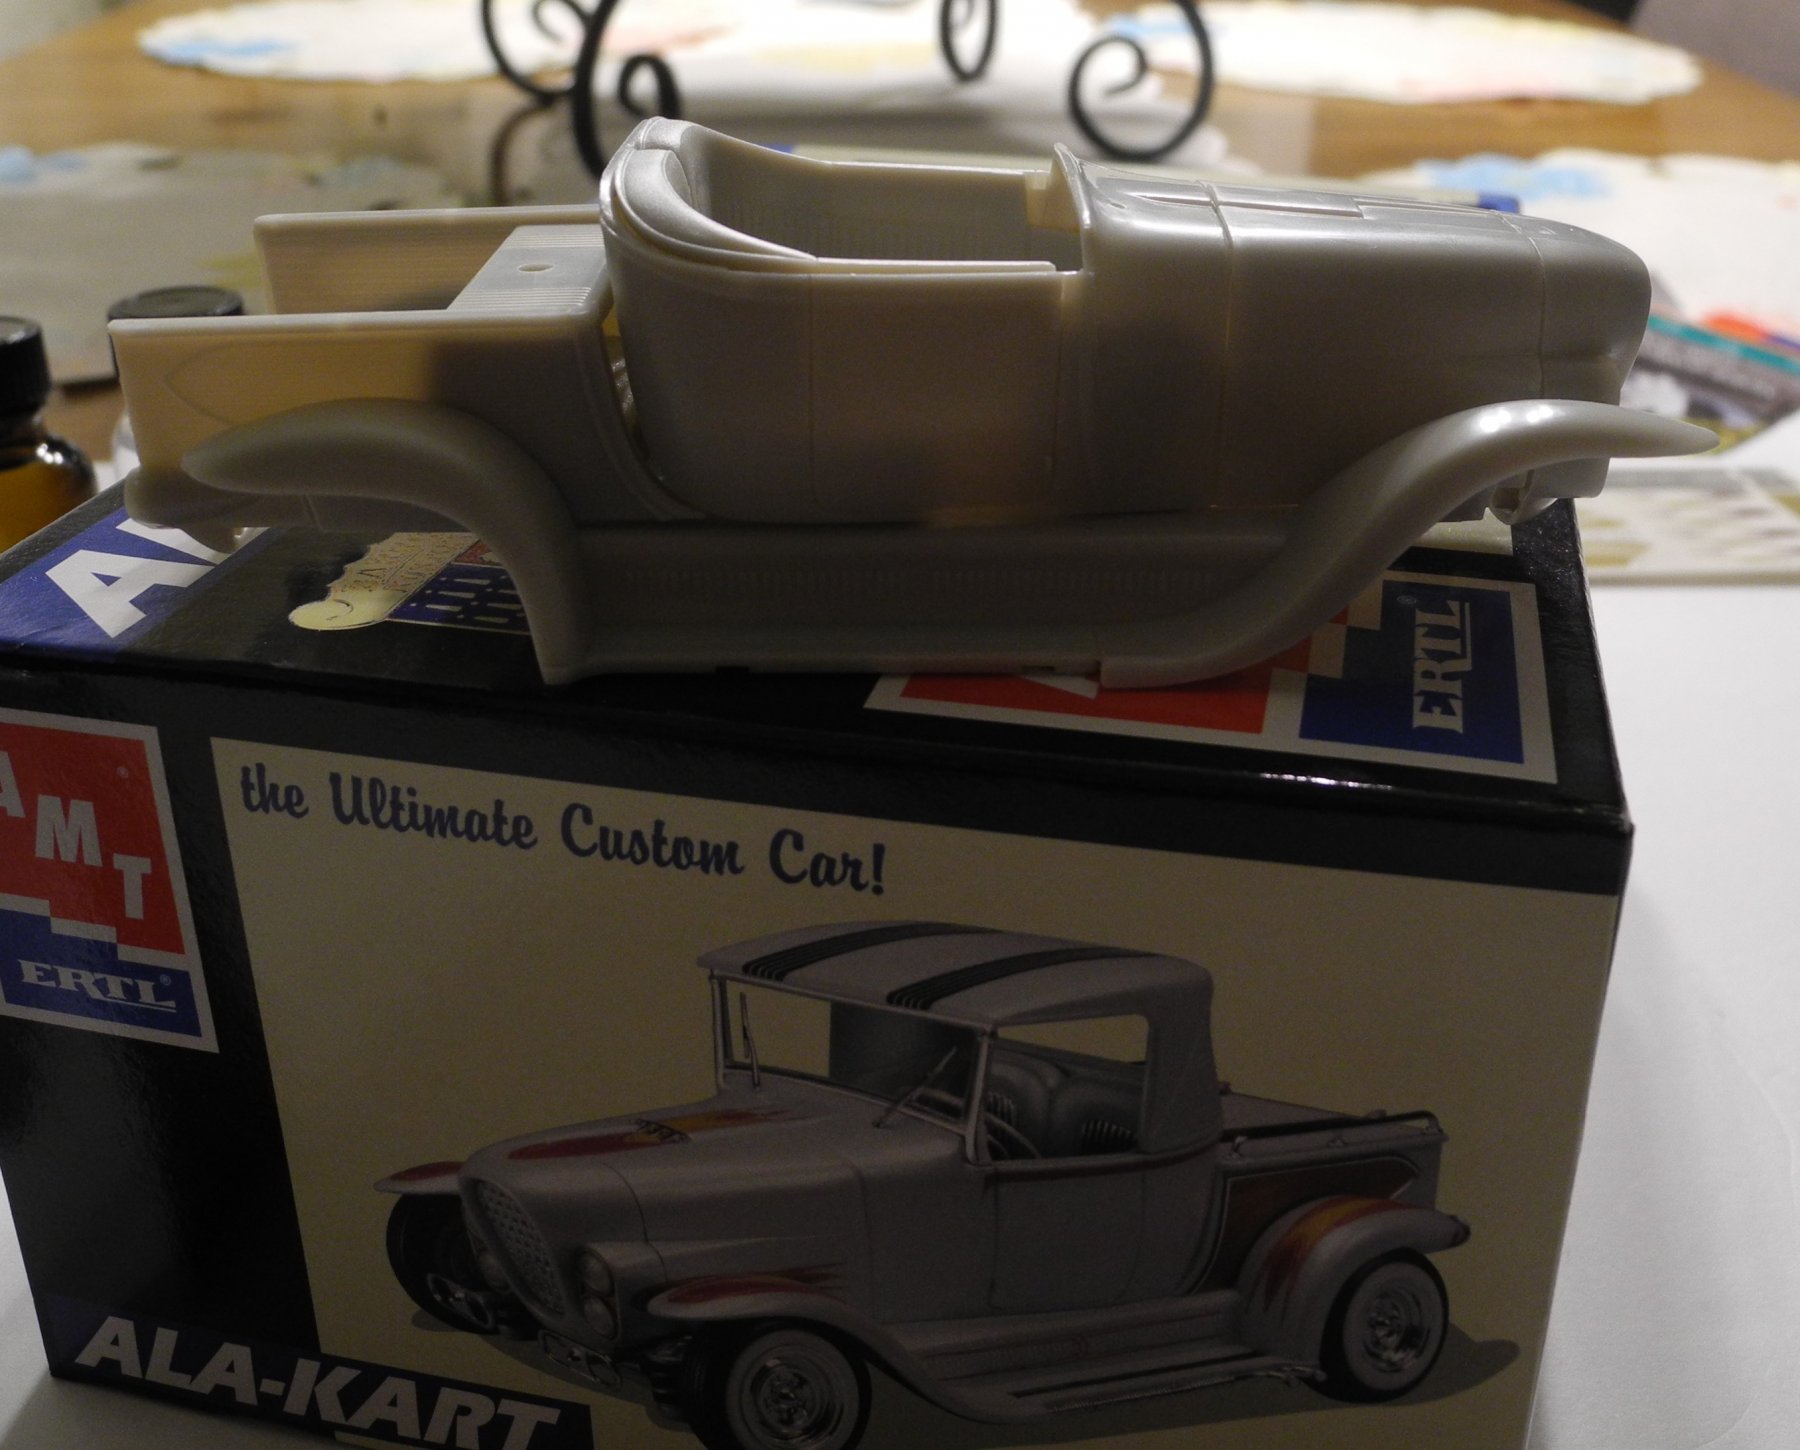
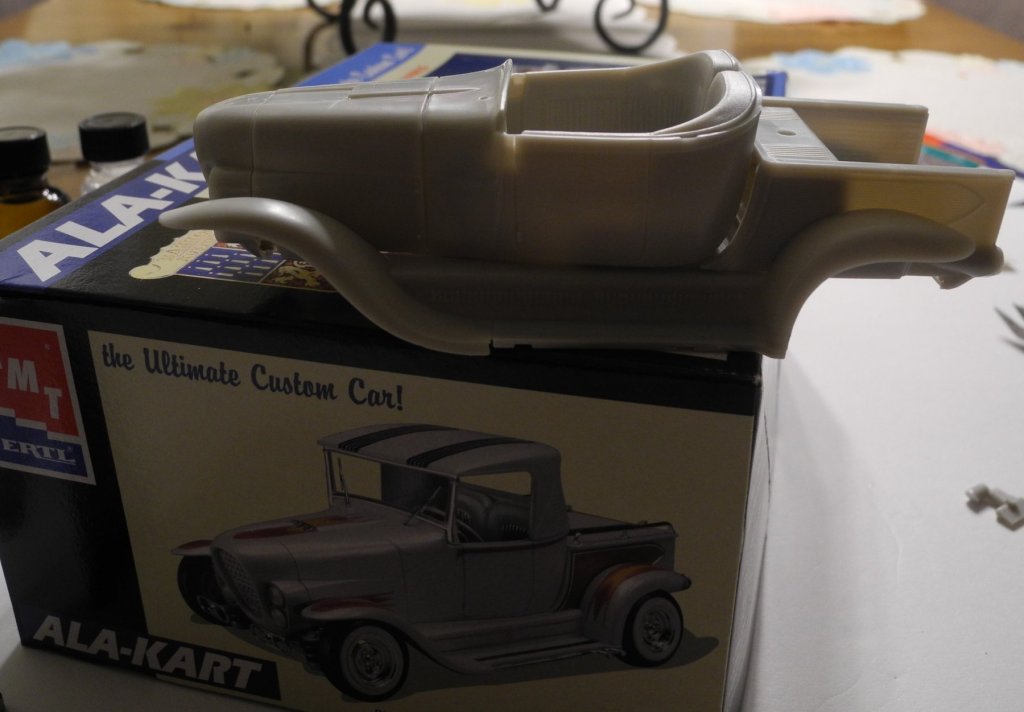
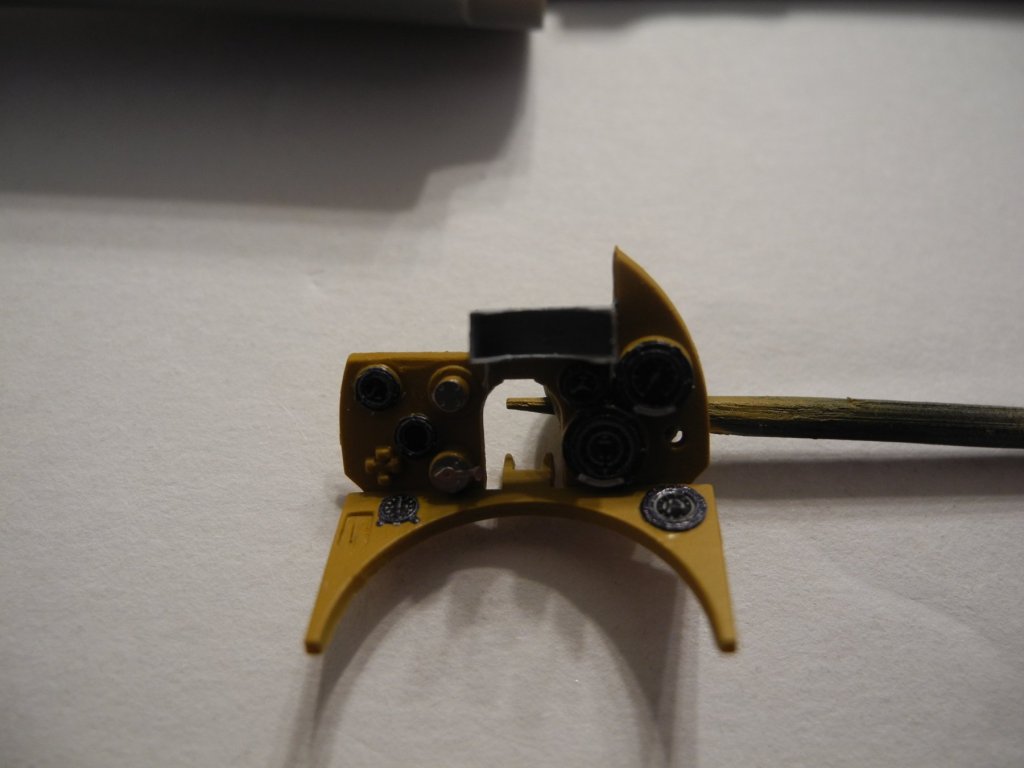
I wanted to make sure there were no major fit issues between the various major body parts. A dry fit indicates no serious issues. Just some prep work needed to remove a few mold lines and rough up the plastic a little for primer.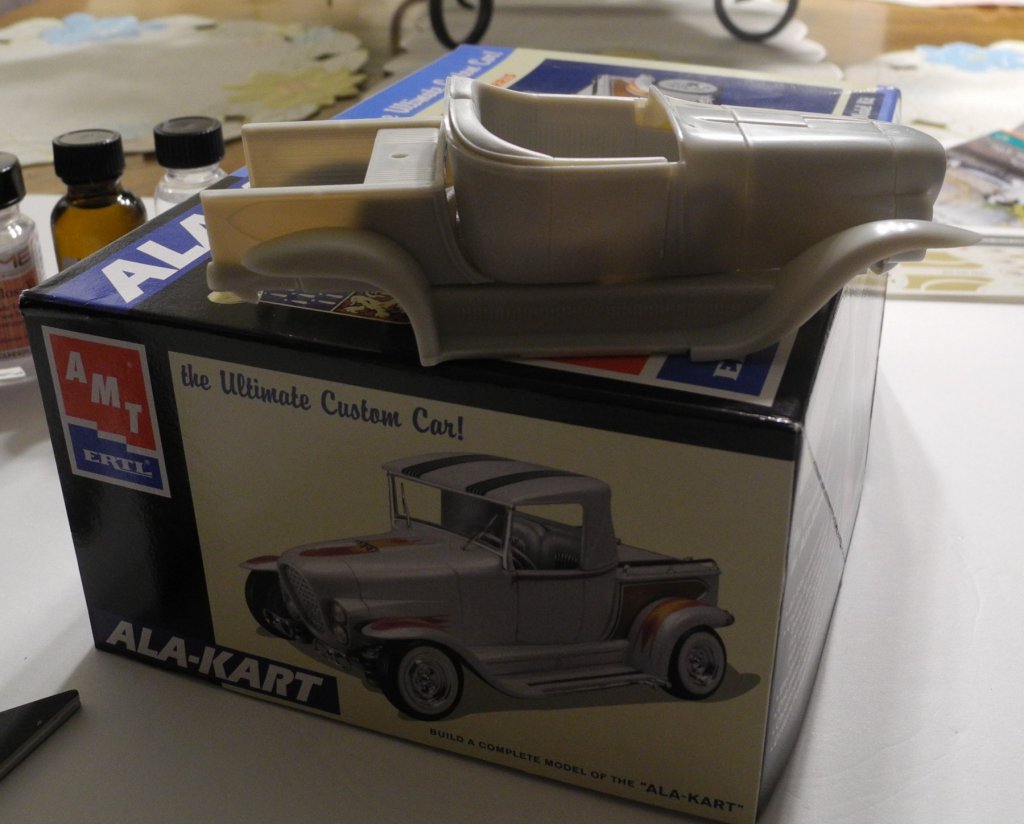


-
Ala-Kart by CDW - FINISHED - AMT - 1:25 Scale - PLASTIC
CDW replied to CDW's topic in Non-ship/categorised builds
I'll bet it would look sharp in that color, but without the kit decals. -
Ala-Kart by CDW - FINISHED - AMT - 1:25 Scale - PLASTIC
CDW replied to CDW's topic in Non-ship/categorised builds
Totally agree with you Mark. -
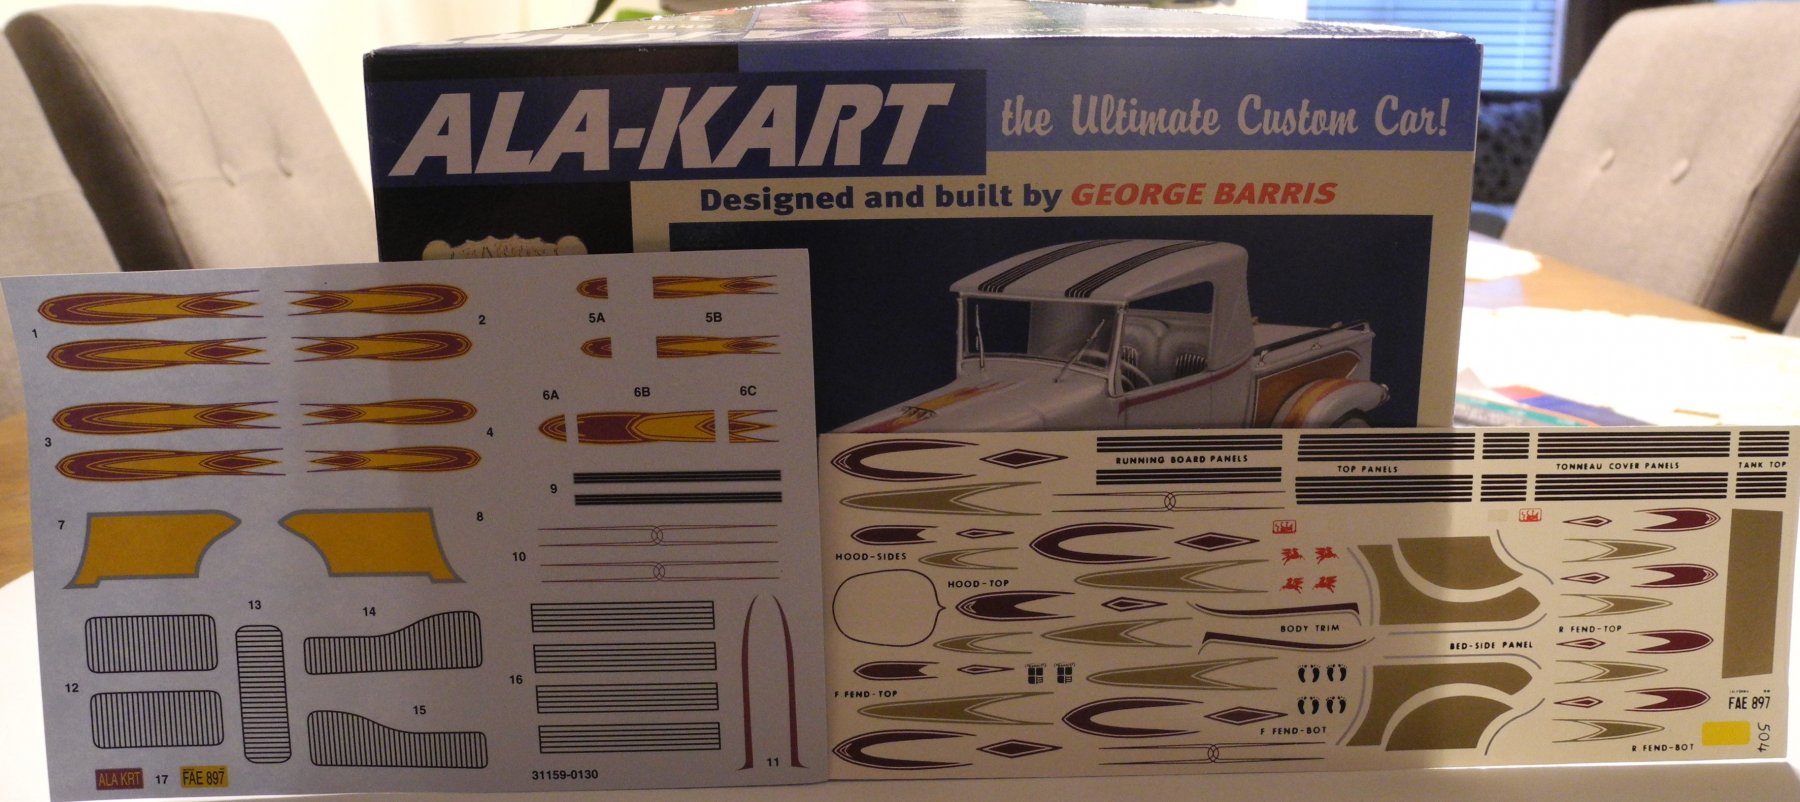
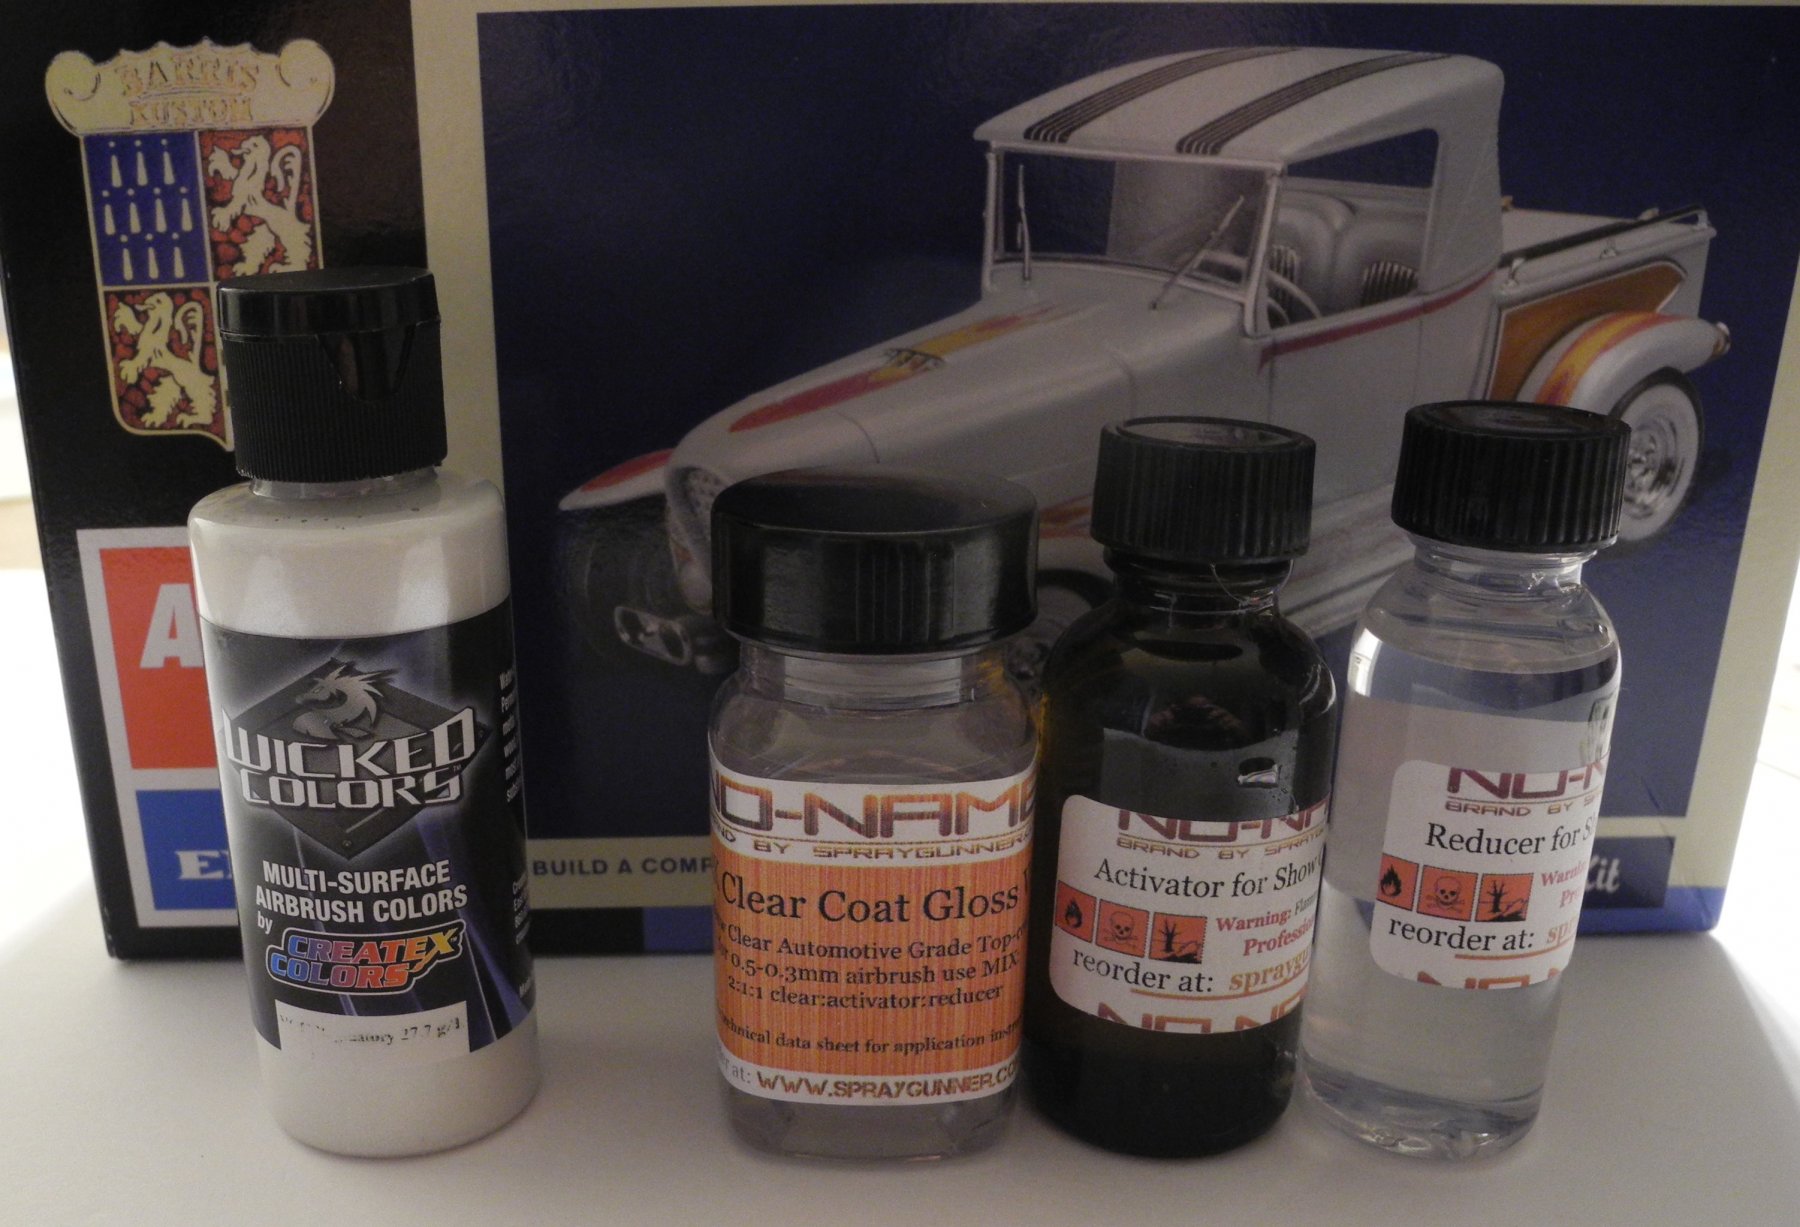
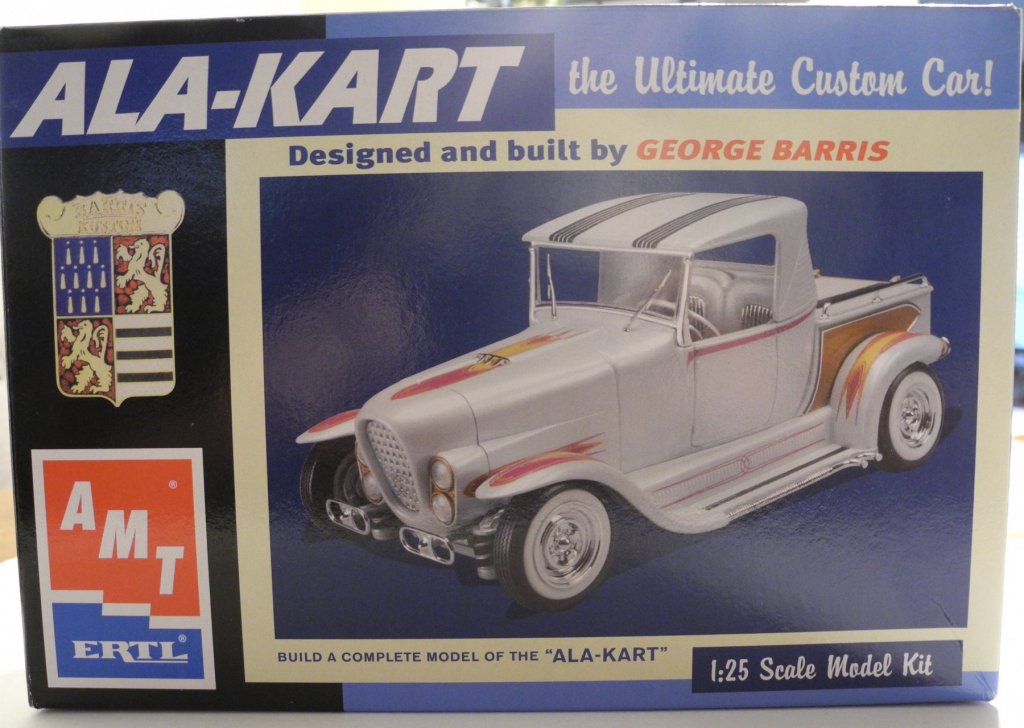
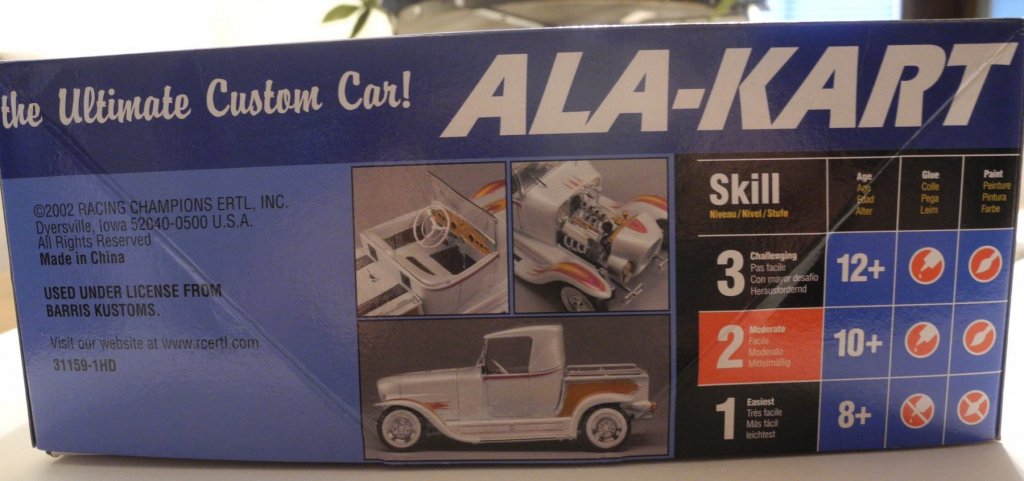
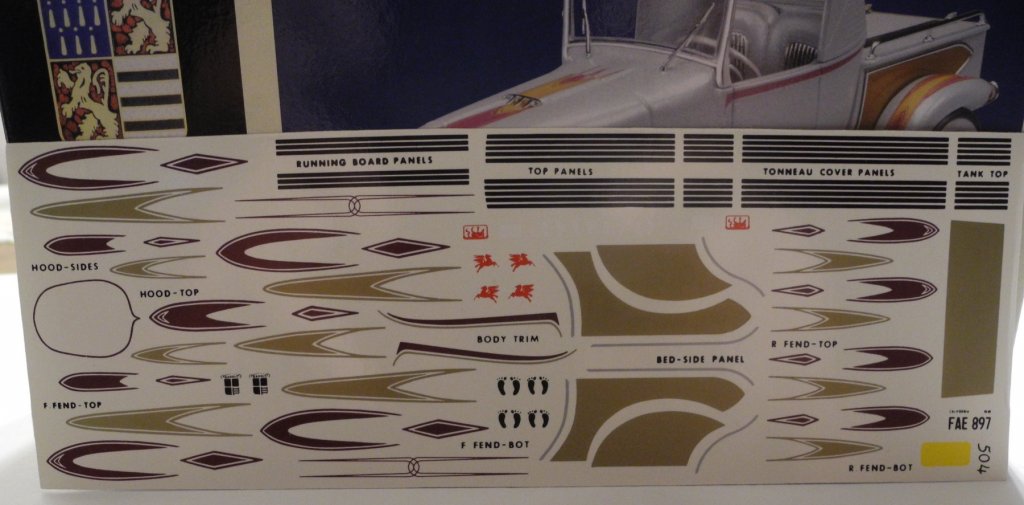
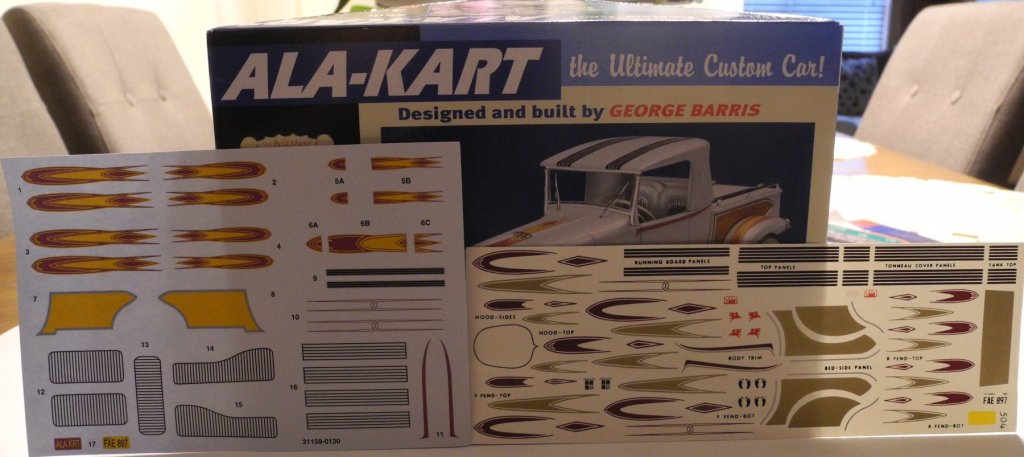
One of the iconic mid-sixties hot rod customs was the Ala-Kart. AMT released a kit of it way back then, but a pristine unbuilt kit of the old vintage Ala-Kart would cost you a pretty penny if you could find one. When the kit was re popped by AMT in 2002, old modelers like me were excited as heck to lay our hands on a copy of it. I bought several of them, knowing that re-pops often are done only once and then it's a long dry spell before and if they're ever done again. At the same time in 2002, Fred Cady released a set of beautiful decals to replace the kit Ala-Kart ones, the kit decals being off-color and absent of a number of markings that should have been there. Of course, I had to have those decals as well. Flash forward to today, and I still had not built the model nor used the decals. I decided it was high time I build this thing or else just sell the items on Ebay. It's been a while since the re-pop has been manufactured, and could probably get a pretty decent price for the set right about now. But I wanted some flashy custom paint to do this thing justice, so began doing some research to see what I might use. I settled in on using a Pearl White from the Createx 'Wicked' range of colors, along with a 2-part diamond finish clear coat. To be totally honest and transparent about this, I have no experience with either of these two paints, so I must first spend some time testing and practicing to get the feel for the paints. All paints require a little different preparation and reducing, finding the right air pressure for the airbrush to handle the paint, and how much drying time to give between coats, masking, etc. I hope to do this model justice because it's likely the only one I will ever do of this particular classic street rod. The Kit Box The Fred Cady Decals and a Comparison to the Kit Decals The Paint System

-
Get a cheap box of plastic spoons or some other scrap styrene and practice on those first before you try any new paint, or combination of paint and clear coat on a good model. That's where I've gone wrong in the past...by not trying new paint or paint combo on scrap plastic first. I just tried some new paint today on a beat-up model car body, and I was glad I did. The paint bottle said it could be used straight from the bottle into the airbrush....that was bad information. It just didn't want to spray through my airbrush well at all. It needed reducer, but I didn't have any that was compatible with the paint. If I had put that paint on a good model, it would have to be stripped for sure.
-
Clean as a whistle! Nice save, Denis.
-
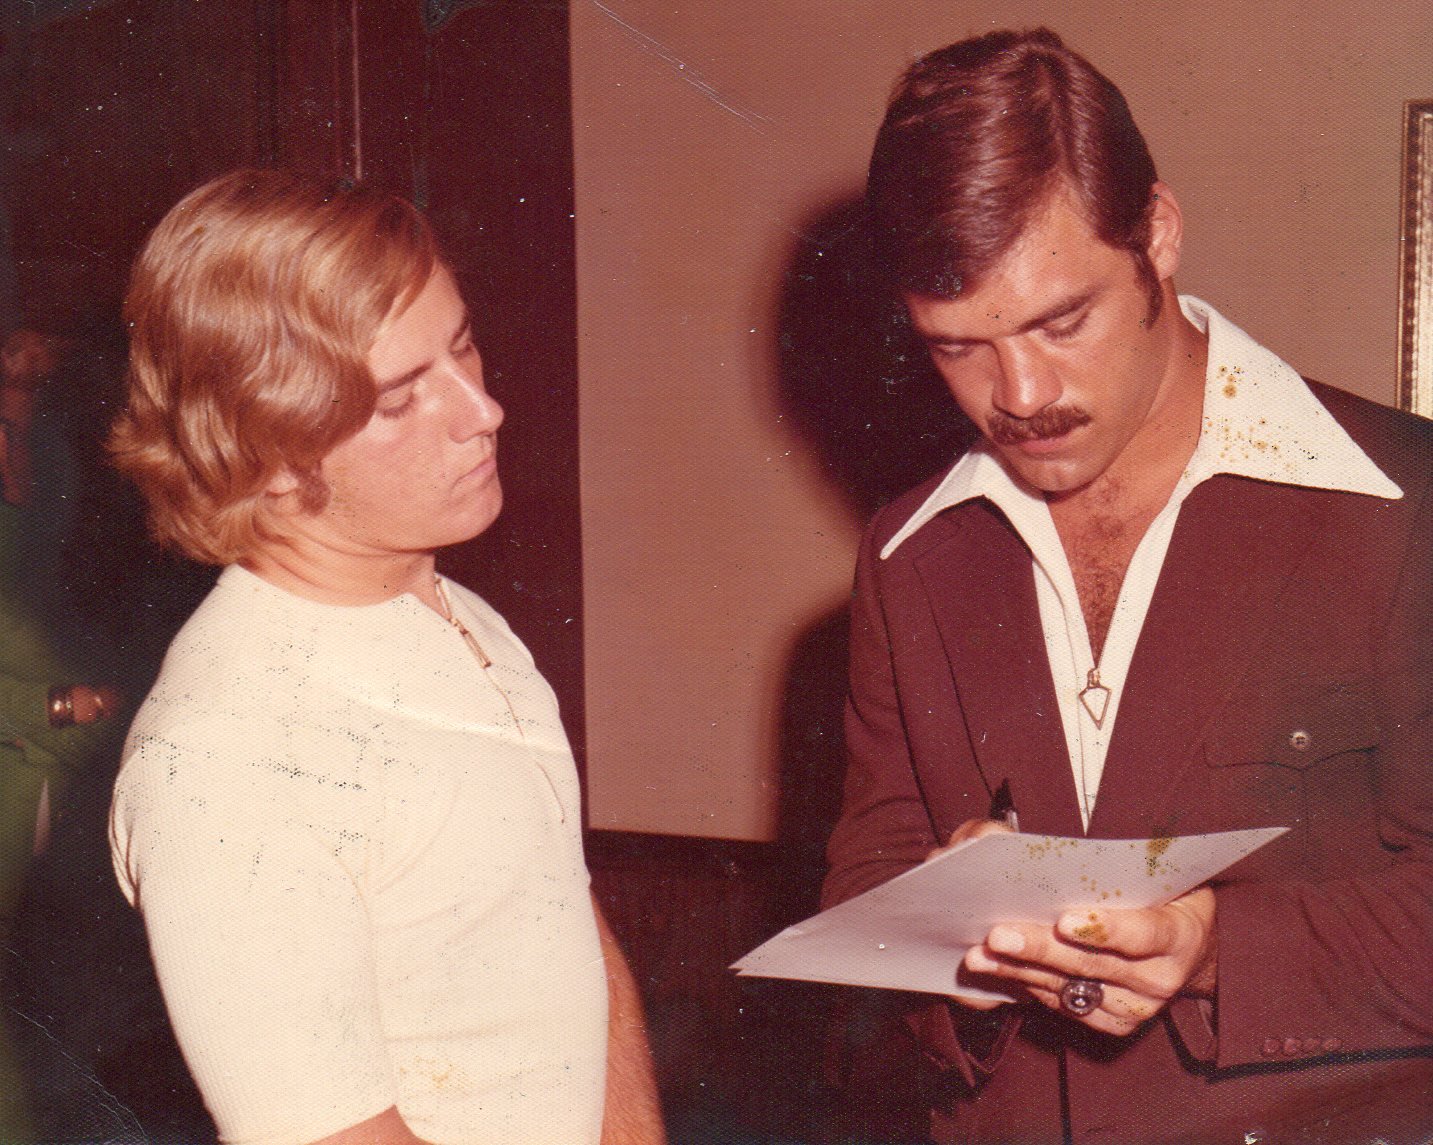
Anyone remember the old Miami Dolphins? This picture is me with Larry Csonka just prior to their undefeated super bowl season in 1972. At the time was being recruited to play college football at the University of Miami and this was on a visit to the school. To say this was a huge fullback was an understatement in orders of magnitude. He was every bit of 250 pounds. I played safety and only weighed about 200. Can you imagine having to solo tackle this guy when he had a full head of steam? It would have been a nightmare I guarantee you that.

-
Thanks OC!
-
Dang, that's a lot of little bottles. I remember those days of enamel being all I would use...remember it very well. It was not a comfortable experience switching over to acrylics, but once I did, was glad I did. But still enamels have their place in the hobby and are fine paints to be sure. Some of the modern acrylics act more like enamel, like the Mr. Hobby Acrysion line of paints.
-
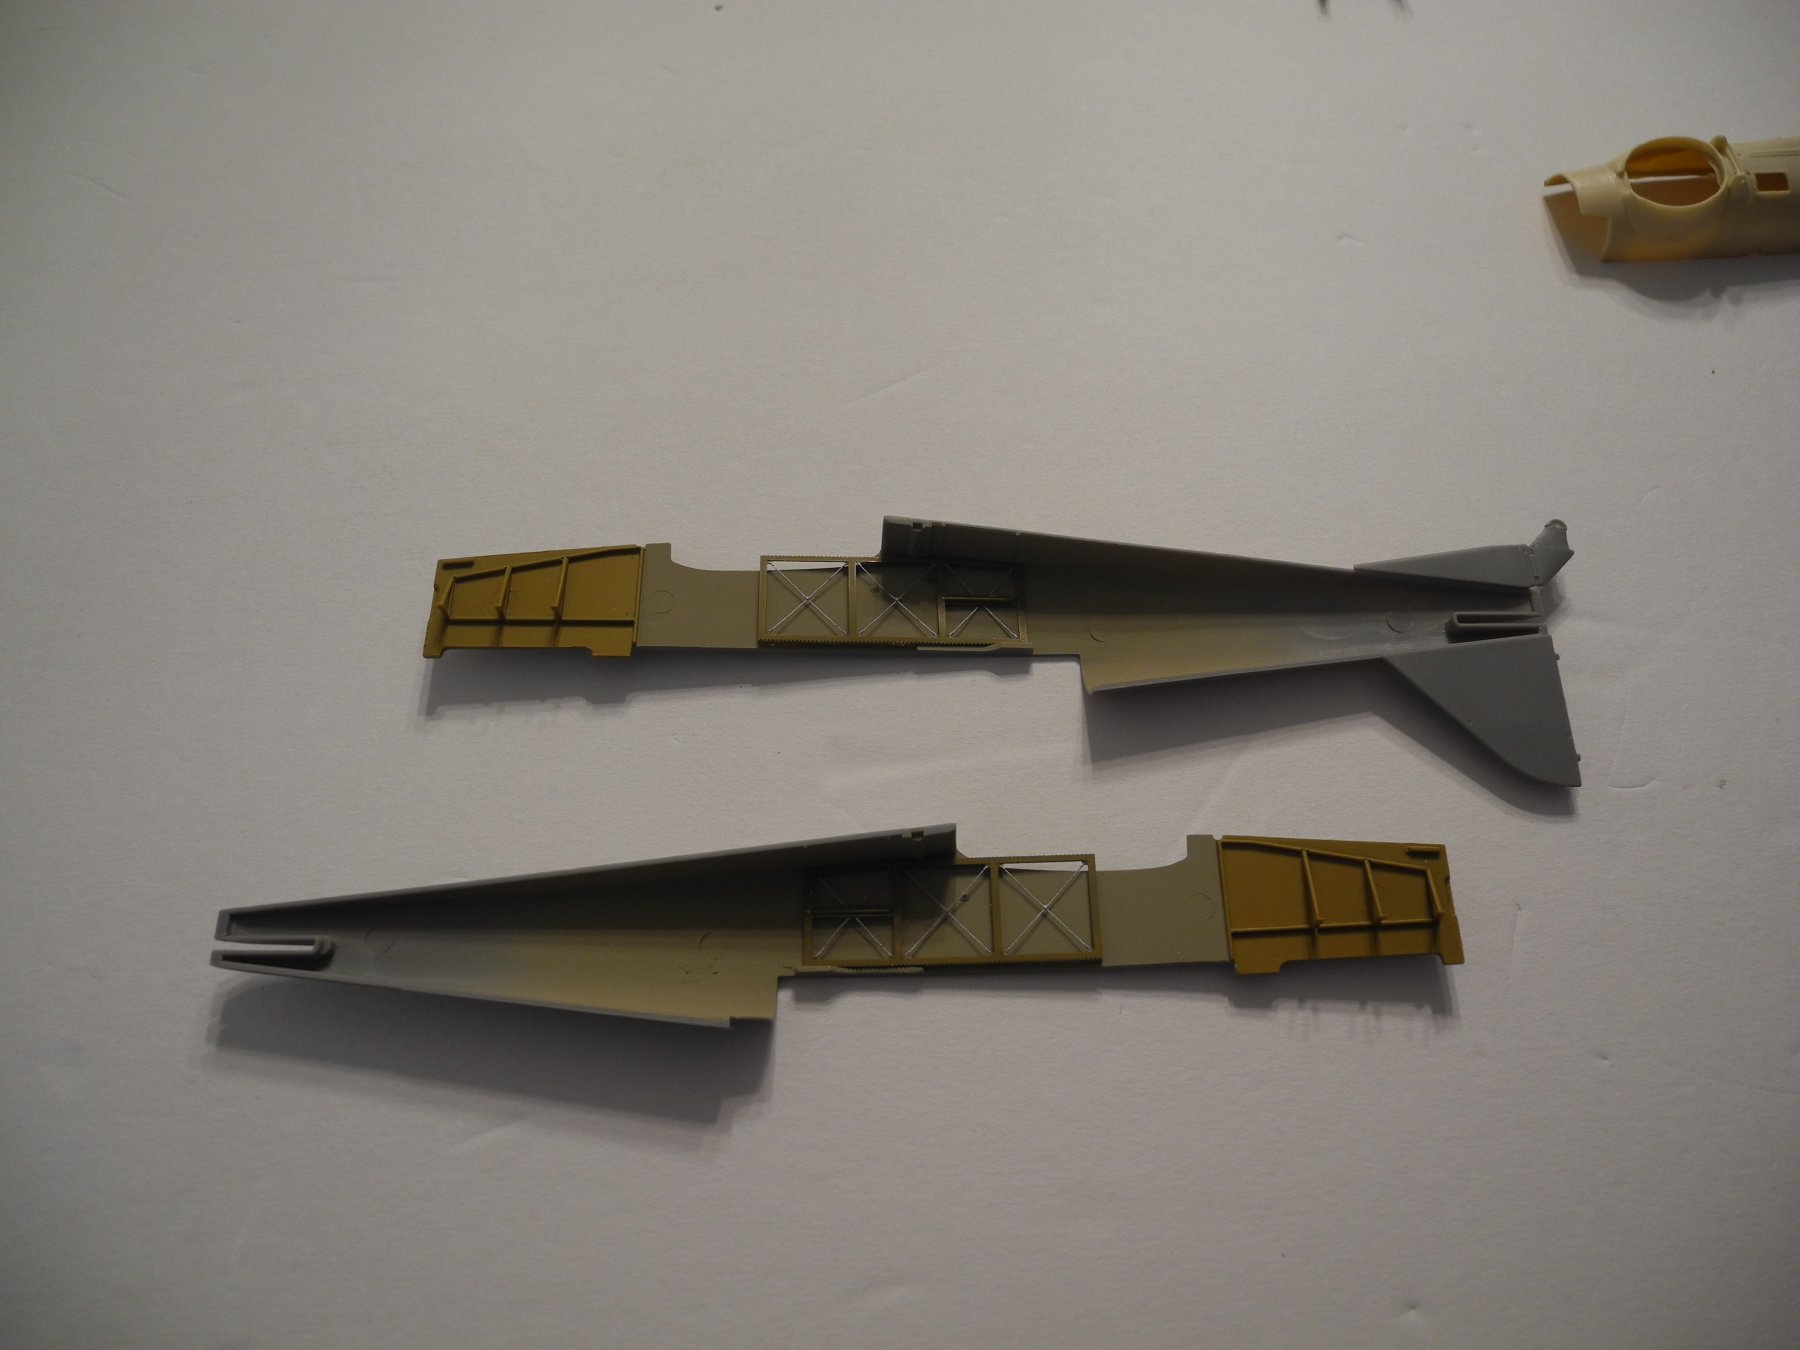
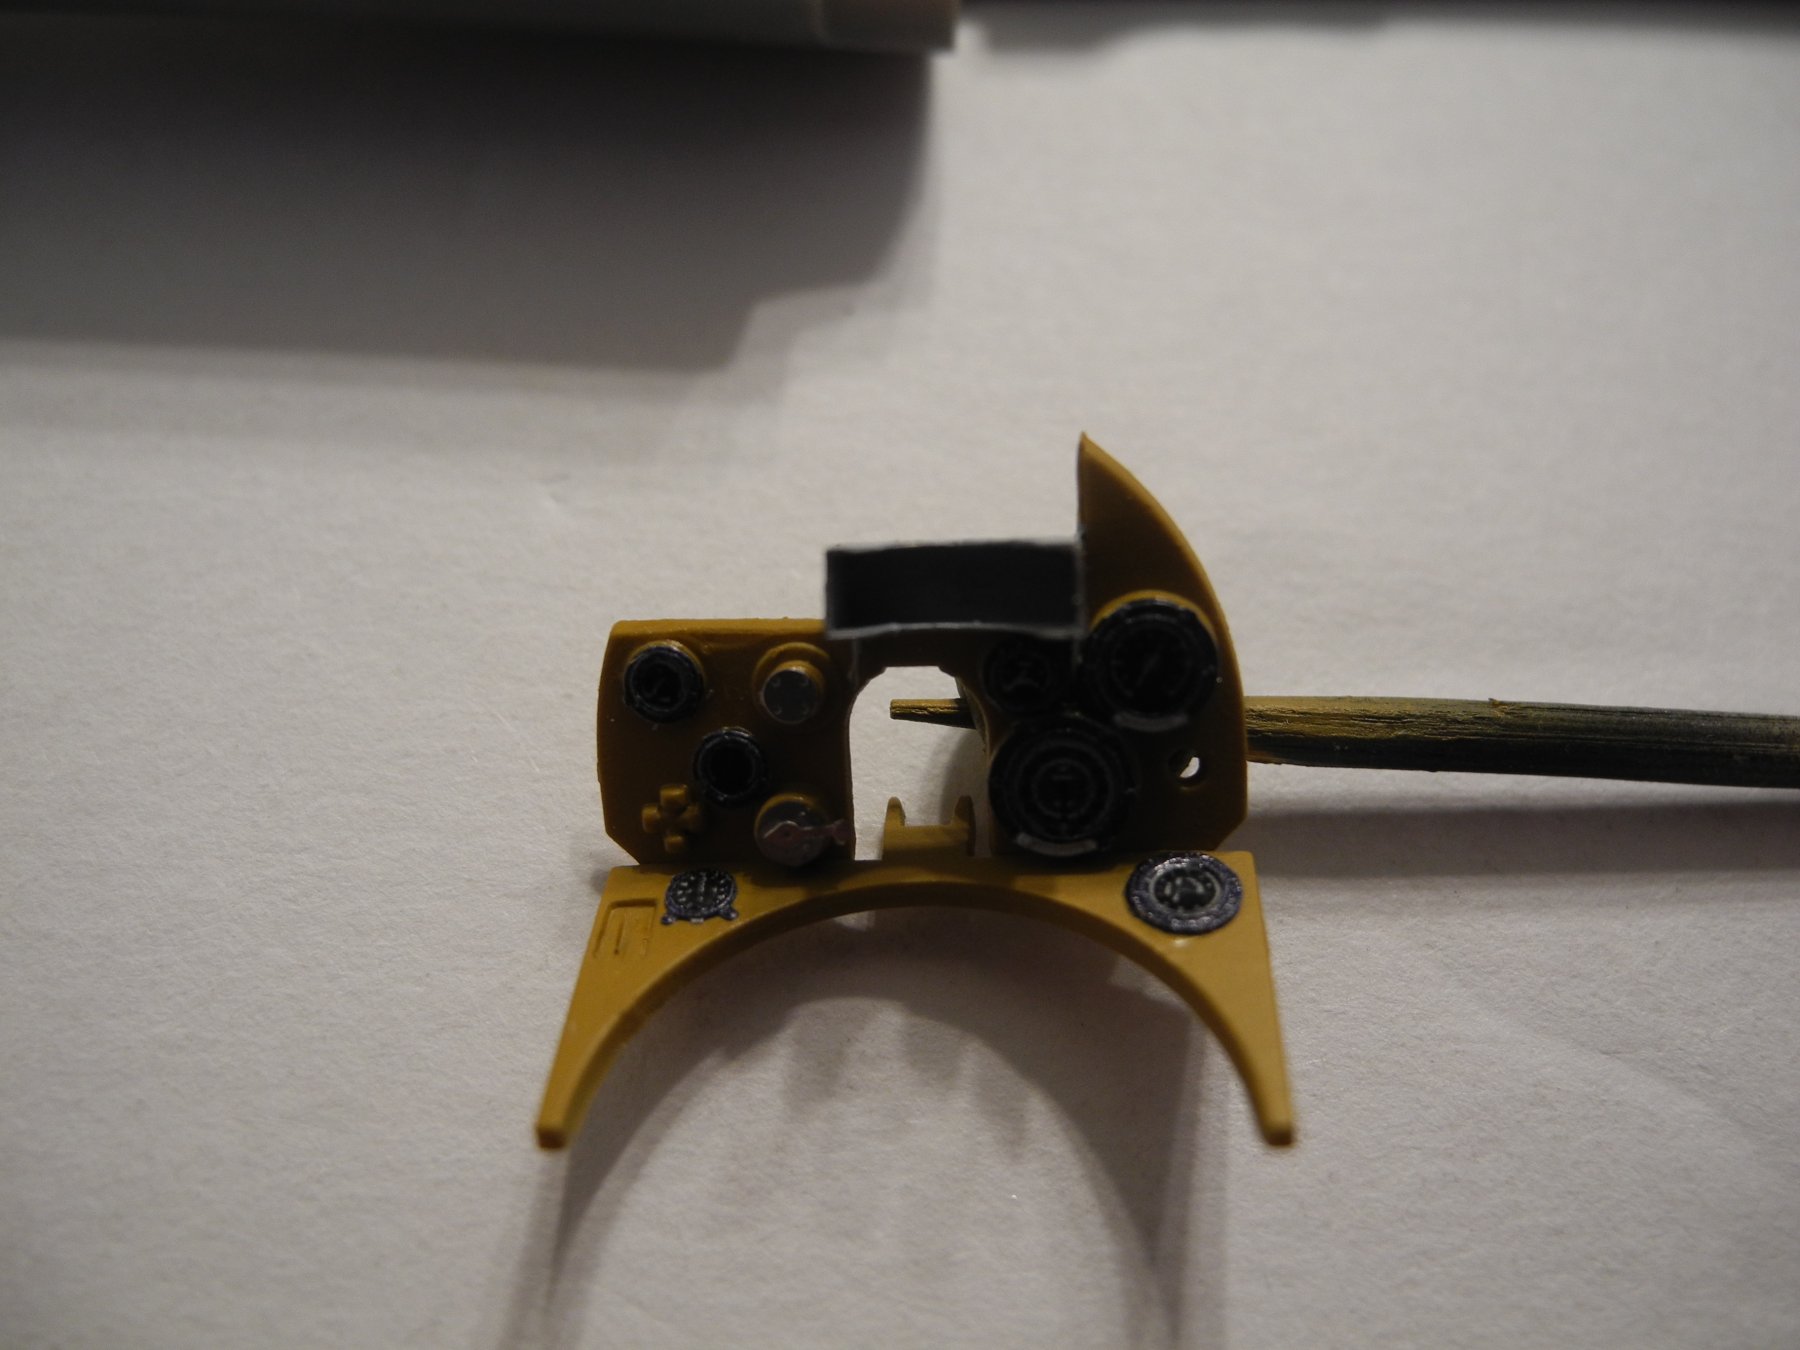
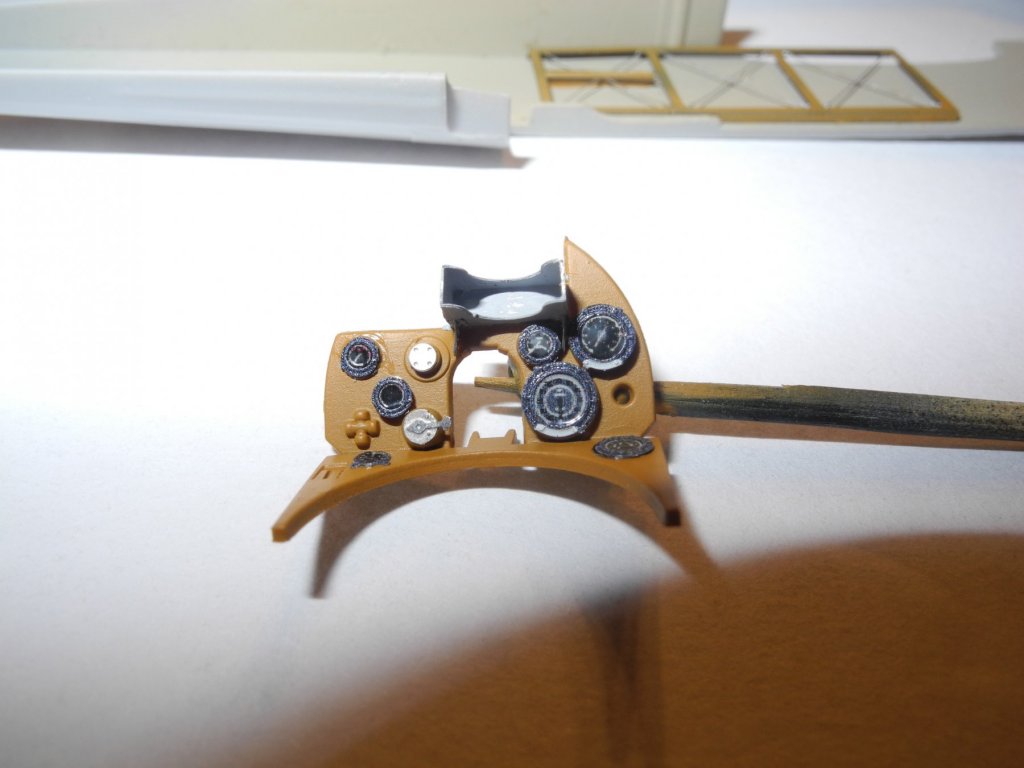
A few images of the cockpit area details. More remains to be added before assembly of the fuselage halves can begin. What can be seen are the engine bearers in the forward parts of the fuselage halves. Photo etch is used to simulate the internal wooden structural framework with wire bracing.


-
Thanks for the link...got it bookmarked.
-
Paint by the pound?
-
Glad to have you aboard, Caleb. In the future, I have a large number of different WW1 aircraft to finish as I have become very fond of the Wingnut Wings series of models.
-
I'll try and get some photos up tonight, but work around the house has taken priority over model building interests lately with a series of impromptu projects that truly needed to be done and were of a much higher priority than my models. Frankly, the Florida heat has grown so high (already and not even summer yet) that I really haven't felt much like doing any modeling in the evenings after a day's hard work in the sun. I am guessing that temperatures easily reached 100 out in the direct sun I was in yesterday and the days before. My dogs didn't even want to go outside. Besides being man's best friend/s, they are probably smarter than me as well. 😎 Pretty soon, I will begin painting our house and repairing/replacing a few soffit and facia boards. Will be basically stripping it down, recaulking, priming the entire exterior with a primer/sealer/mildew paint, then applying the colors of the Admiral's choosing. Done this way, it should likely be the last outdoor paint job I will do myself on this house. Any that may need doing after this will get done by either a contractor I choose or by another owner. I'll be too darn old to do it myself unless I can still do it in my eighties. 🤥 When I have worked on my S.E.5a model, it has helped me more appreciate the Wingnut Wings kits. This one comes will all the little extras to improve the rough stock Roden kit, but man, it's a lot of extra work and sometimes difficult to figure out exactly how it's all intended to fit together. The instruction pages are rather poor in this regard. Thanks to OC and the links he shared, photos of the actual plane have helped a lot to get it sorted out.
-
Some years ago, I think it was Firestone who produced a crop of bad tires that would come apart at the sidewalls. It caused more than a few fatalities before the company confessed to the problem. But like Denis said, it definitely looks like the sidewalls on these failed. Once before I read where tires that have never been used will go bad over time just sitting on the rack, and that buyers need to be wary of the date of manufacture of the tires we're buying. I believe (if I remember correctly) the date of manufacture is in coded print on the sidewall somewhere. Oh well, you're safe which is the most important thing. Back to modeling, dude!
-
The same dealer I mentioned earlier, a couple of posts back, has another SPAD for sale.
-
Right now, go to "lots-of-models.com" website. Do a search for 1:28 Hobbycraft DR.1 (or triplane). If he hasn't already sold it by the time you look, add in the code "spring10" to get a 10% discount. You can buy that triplane for $25, shipped priority mail. That is the Revell kit reboxed by Hobbycraft. That's also where I bought this SPAD. A great 2nd hand kit dealer whose prices include 1st class shipping (and don't for get the discount code for 10% off).
-
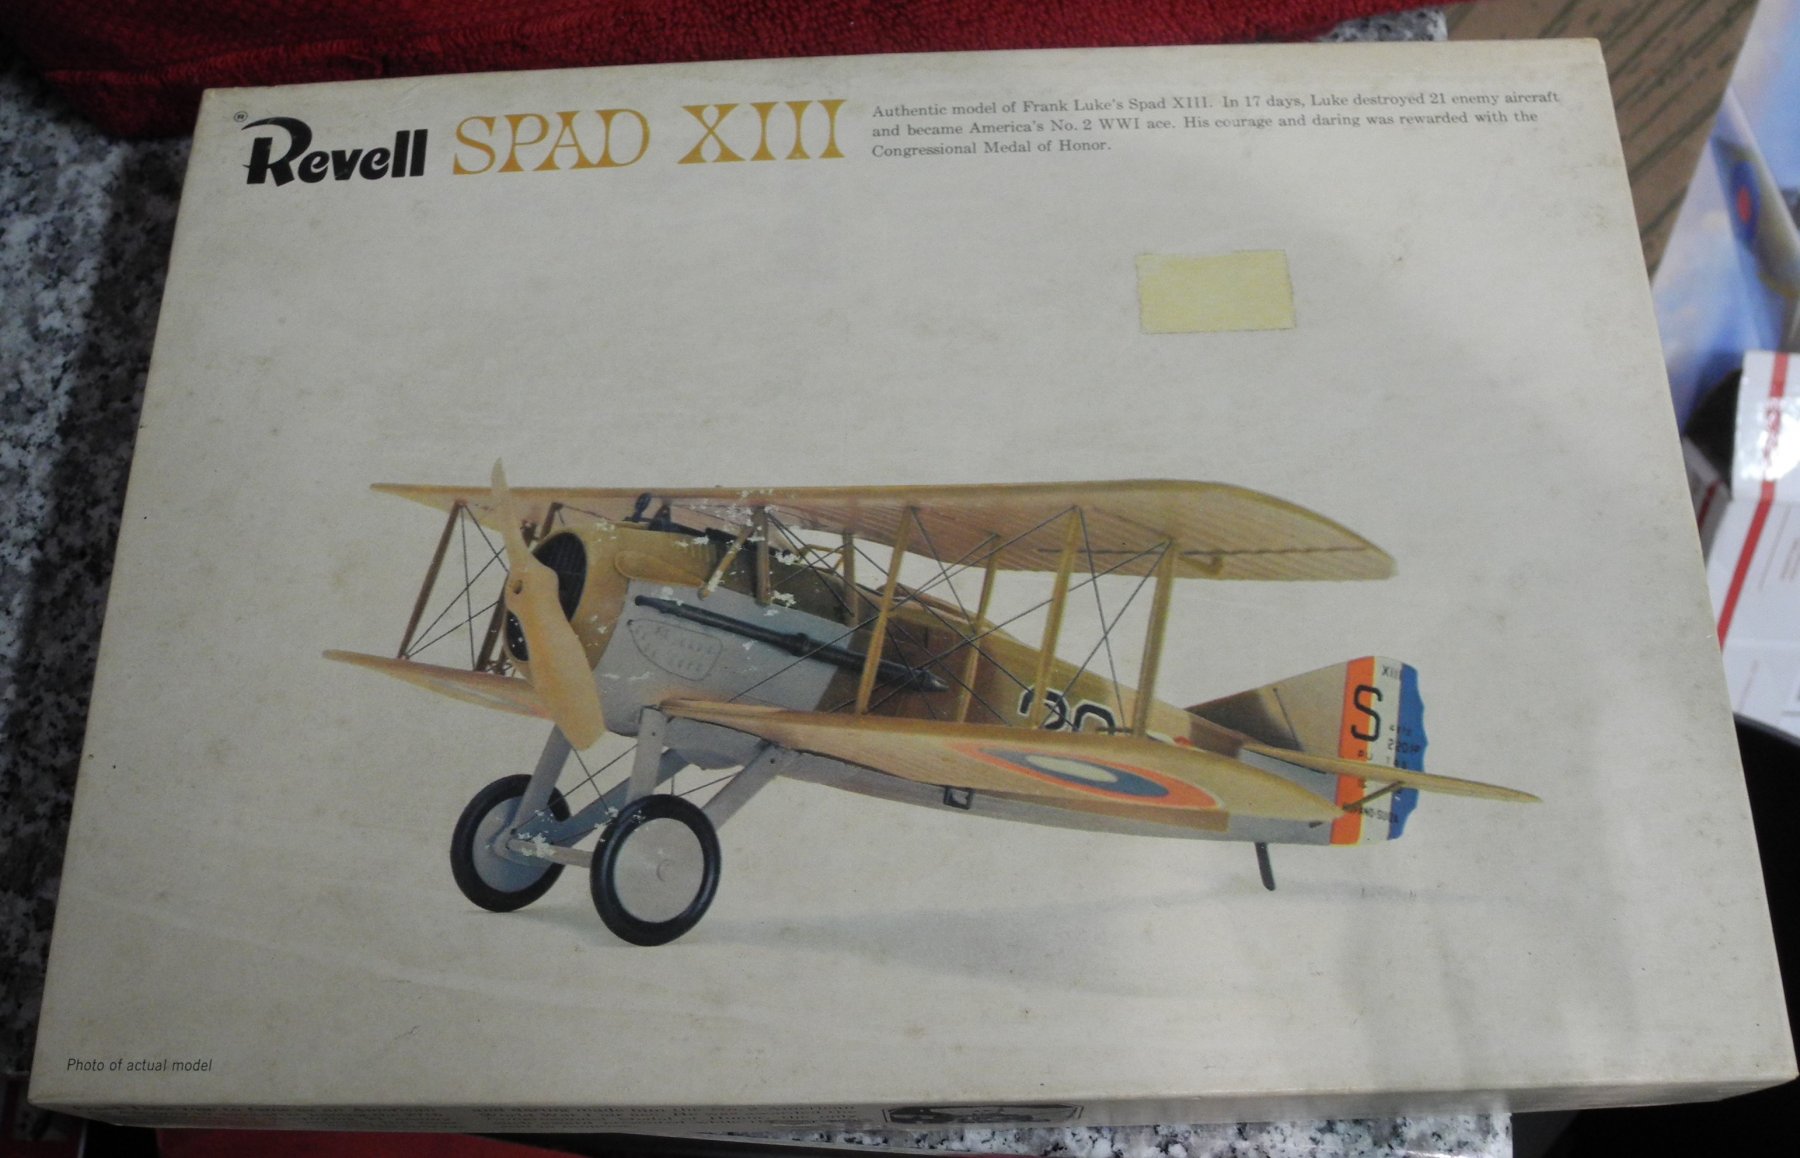
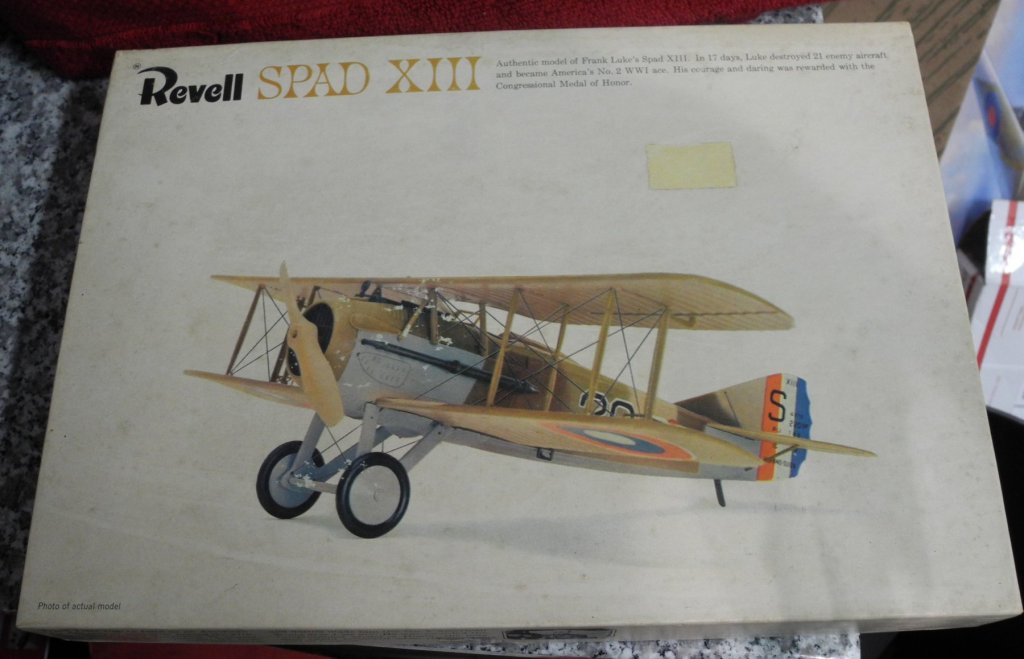
I received this 1:28 Revell Spad model kit today. The thing that makes this kit remarkable is the fact this is the original first production run of the kit from 1965. It's been re boxed and re released many times since over the years. This one has the parts, instructions, and decals still sealed inside in their original bag. An examination of the parts bag reveals little to no flash at all and the molded parts are very sharp and crisp. I remember building the original kit in this same box from back then, 1965 or 66 when my big brother was in Viet Nam with 1st Air Cav.
- 53 replies
-
- 11
-

-
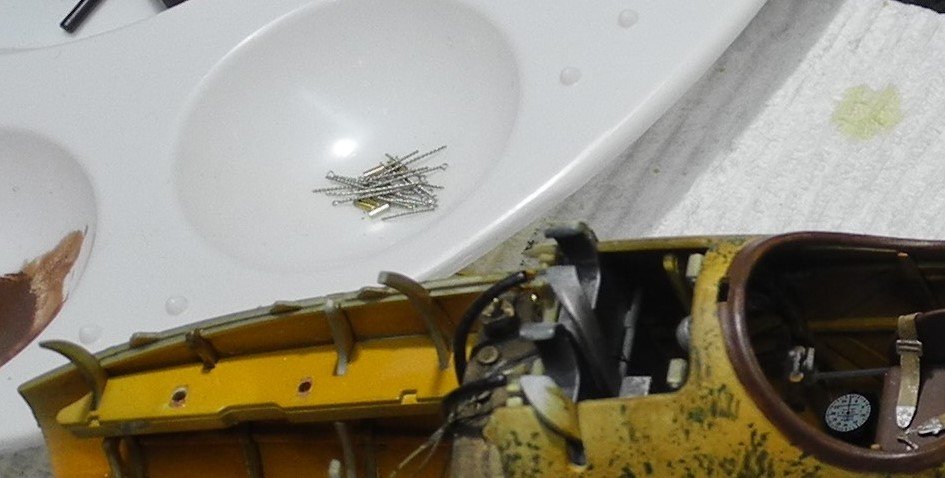
Here is something I often do for attachment points that's small, strong, and easily created yourself. Find some scrap computer component wire or other similar wire of small/fine gauge. Strip the insulation off the wire to use the fine strands to twist into loops like these (seen in the white paint pallet):
- 467 replies
-
- 8
-
-
- mikasa
- wave models
- (and 1 more)
-
I searched on line for everything I could find that might show the rigging. There were some rudimentary line drawings that helped, and there was the official Mikasa website that shows photos of the ship on display at it's permanent home in Japan. Between the two, I was able to establish a best guess. And yes, I used some of my own attachment points to tie off the rigging on the decks and various other locations. Mostly I used photo etch pieces that were salvaged from other sets not related to the Mikasa. I highly recommend looking closely at the Seydlitz build thread found here: RGL did a masterful job of researching then rigging the torpedo net booms. Quite a complex rigging scheme. Pontos does include most of the attachment points for the net rigging, but no instruction on how to rig it. The booms, rigging and nets on the Seydlitz are very similar to those on Mikasa, If I ever get around to it, I will use RGL's example to rig my Mikasa.
- 467 replies
-
- 3
-
-
- mikasa
- wave models
- (and 1 more)
-
I've noticed that these newer released car kits are packaged in the box far better than the old kits were. Individual parts trees in their own separate bags, and it also appears they may have retouched the tools as the parts look sharper and more flash-free than they were in the past.
-
Just a suggestion...If you strip this down and start painting again, try to move that red/white mask line down a smidgen to the prominent body line that sits just under the current color separation line. If you look at the box art, that's closer to where the red/white line sits. In the big scheme of things, it really doesn't matter either way I guess. It will look good in either position.
-
Sorry to hear about the paint woes. It will all work out.