CDW
-
Posts
7,760 -
Joined
-
Last visited
Content Type
Profiles
Forums
Gallery
Events
Everything posted by CDW
-
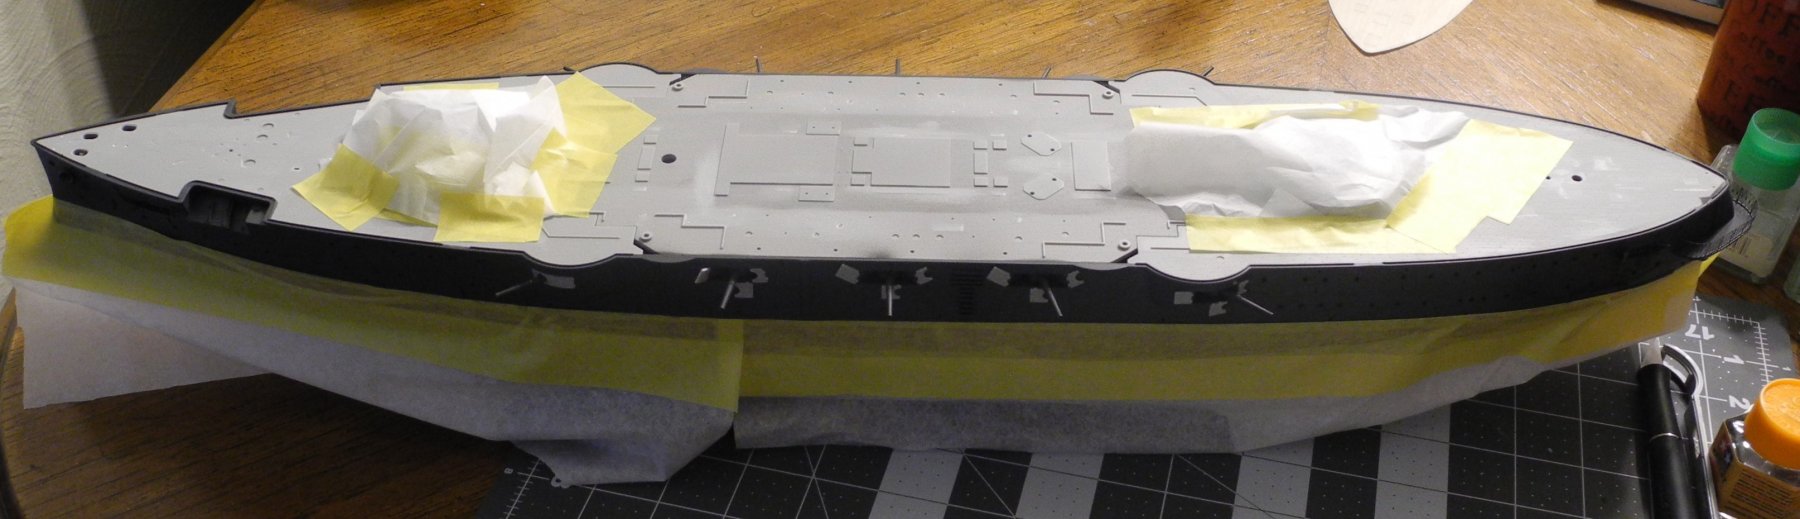
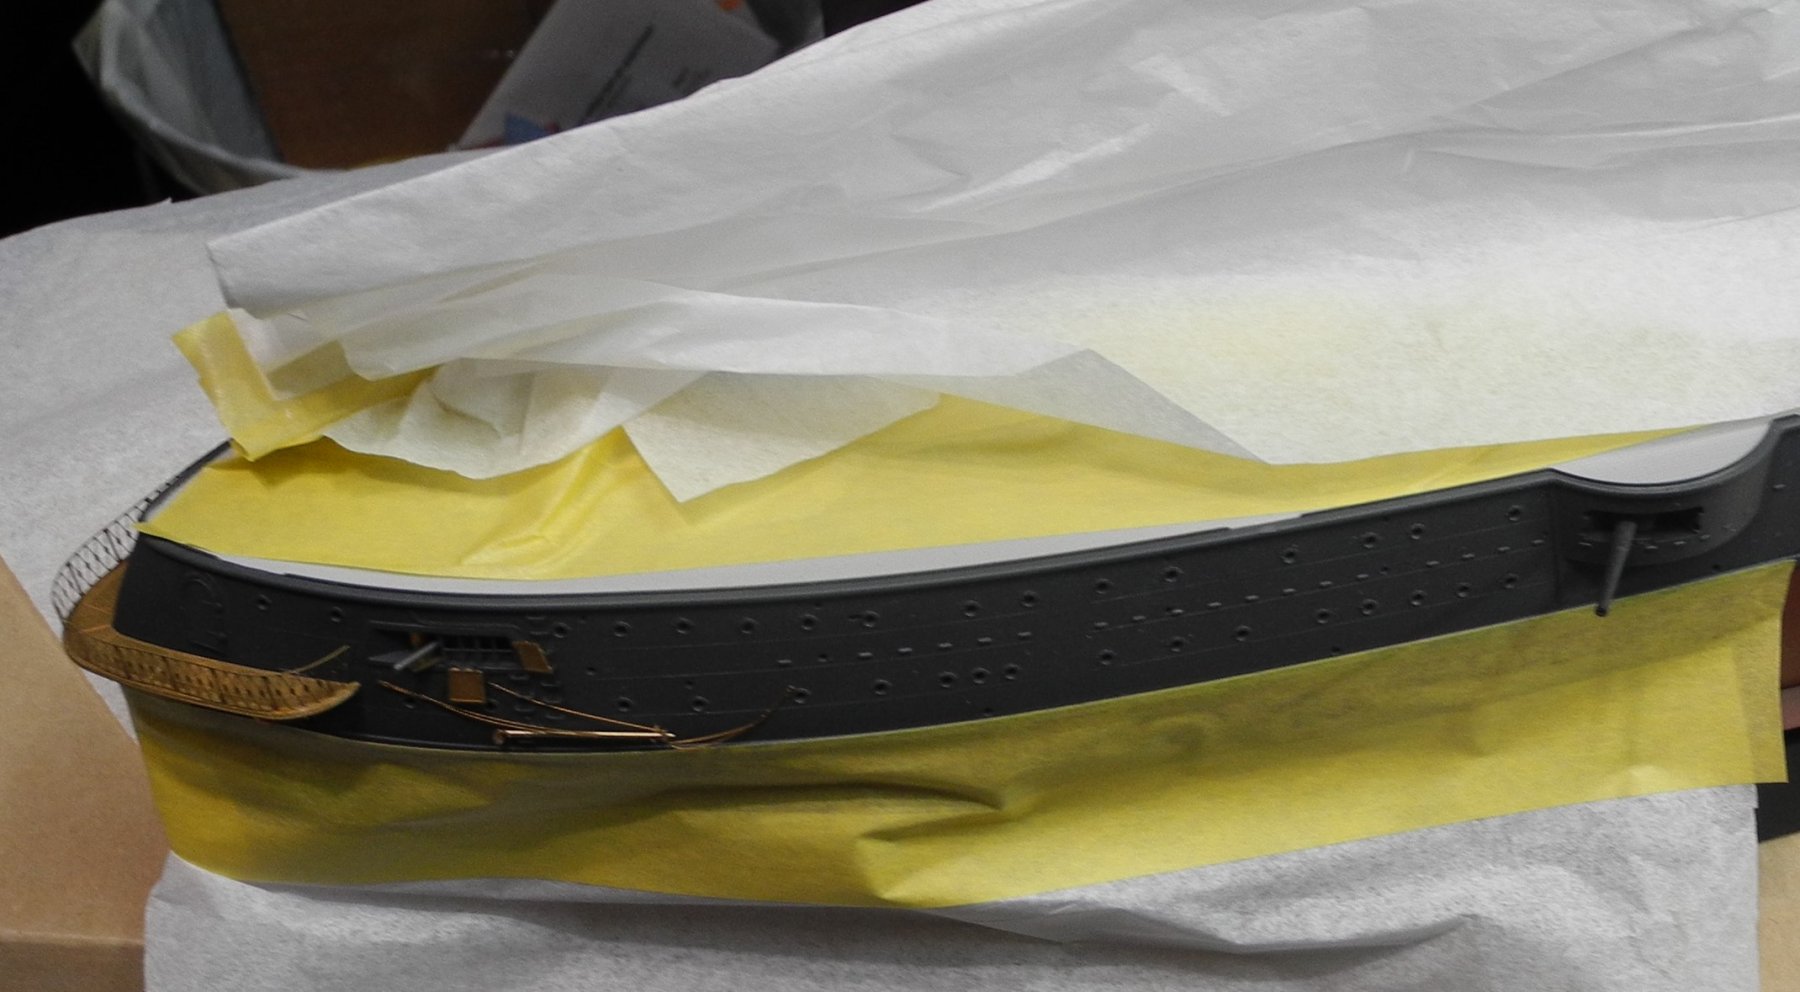
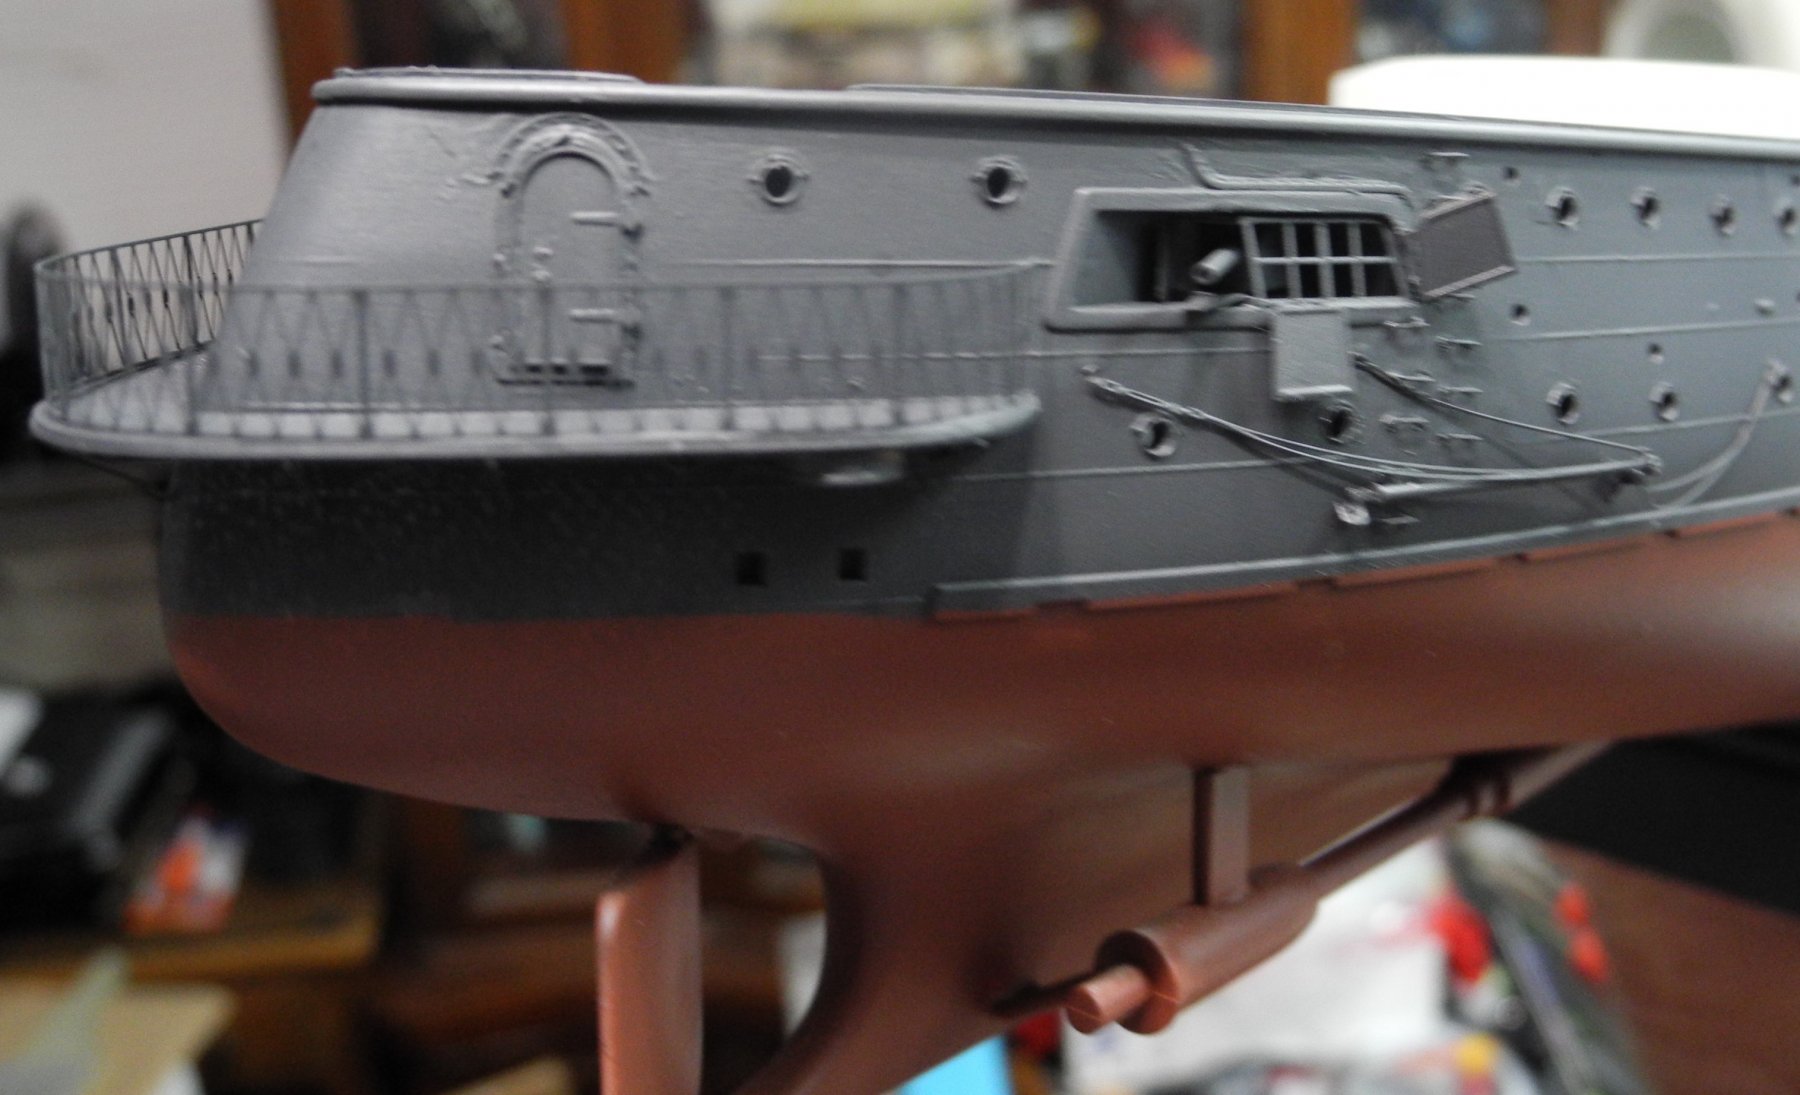
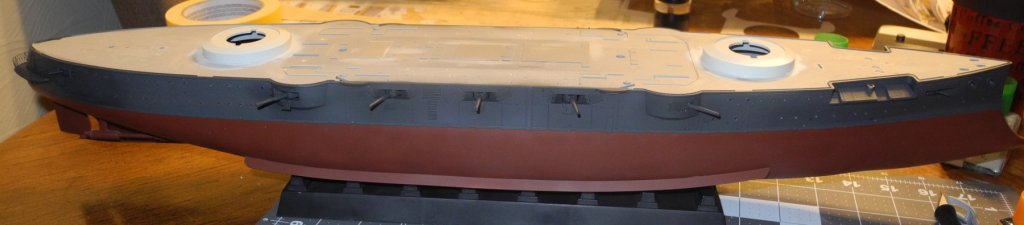
 I am learning real fast that building a pre-dreadnaught model is far different than a modern warship. Construction and painting sequence is foreign to me. The hull has so much more detail than a modern warship. I should have added these gun port covers and painted them along with the captain's walkway at the stern of the ship yesterday. it would have saved me an additional masking task. Although there is a lot more detail to be added to the hull, I am going to move to the deck and superstructure next. I am concerned that if I add more hull details now, I will damage and lose them while handling the model during the remainder of construction.
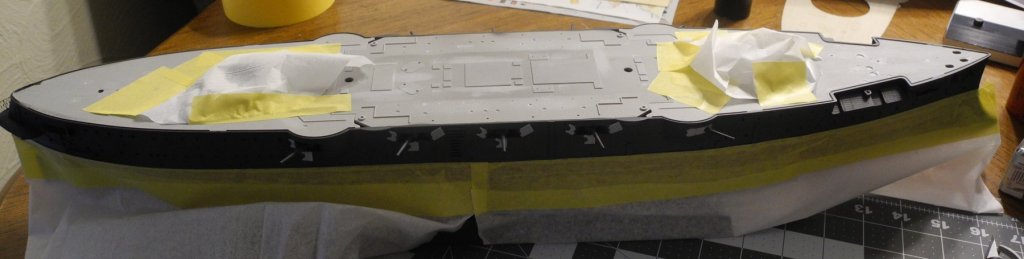

- 467 replies
-
- 13
-

-
- mikasa
- wave models
- (and 1 more)
-
Do you ever add a drop or two of dishwashing detergent with the water to apply to the deck before placement of the wood stick-on? It's an old trick we used when applying stick-on decals to shrink film on radio controlled models. Without the solution, once that decal touches the surface, you can't move it without ruining either the decal and/or the surface. I've never tried it (water) with the wooden decks, but am going to do it now that I know others have experimented with favorable results. I just didn't know how the wood would respond to the water.
-
They look very good to me. Maybe a tad larger, but not enough to notice unless it's pointed out.
- 405 replies
-
- 6
-
-
- tamiya
- king george v
- (and 2 more)
-
To avoid problems with painted photo etch, the PE must be prepared sufficiently to give the surface something where the paint can "bite". I first place all my photo etch sheets into a warm sonic cleaner using a small amount of Dawn dish washing detergent and leave to clean for about five minutes. I then thoroughly rinse. Next, I place the sheets in a diluted bath of vinegar for a few minutes, then rinse thoroughly again. I place the sheets on paper towels to dry. When the PE sheets are dry, all the oils and glossiness are gone. Paint can get a bite into the metal when applied. Failure to do this can and will lead to problems with paint adhering to the PE regardless of whether it's primed or not. Primer is used primarily to fill minor surface irregularities (which photo etch does not have) and to provide a surface that finish paint can bite. There are no qualities inherent in model primers I am aware of that give a better bite to photo etch in and of themselves. In automotive body applications, we used "self etching" primers on metal bodies before finish paint. This primer actually causes the bite into the metal all on it's own...self etching. But those types of primer are far too harsh for modeling purposes and besides, many modelers would kill themselves using it for not having appropriate respirators/ventilation.
- 467 replies
-
- 8
-
-
- mikasa
- wave models
- (and 1 more)
-
Are you brush painting your camo? However you're doing it, it looks great. I bought this same platinum edition kit when Squadron put them on sale a while back. I'll have to remember the shortcomings you mentioned in the photo etch and be prepared to use other sources for parts that aren't included.
-
Glass is more scratch resistant so over time, it would likely have more clarity. Acrylic would probably be scratched over time from cleaning it.
-
I wouldn't necessarily say it's better, but I would tend to favor acrylic. If glass were to break on top of the model, it could be a disaster. Acrylic is more damage resistant IMHO.
-
Have you started thinking about how and where you will display your Bismarck? Something as magnificent as this deserves a special place that's well protected.
-
Oh, okay. Looking at the pictured Veterans guns instructions, they appear a different model to the ones you pictured. In the instruction, the turrets have no hood on top whereas the ones you built do have hooded turrets. Oh yes, those are indeed some extremely small parts, no doubt about it.
-
Thanks for that wake up call, John Allen.
-
Are the gun mounts pictured above part of your overall detail-up set? Look real nice.
-
Maybe he's using Eduard as a generic term for photo etch. The Bismarck platinum edition as he is building here comes with it's own set of photo etch and other detail-up sets. I didn't see anything on my copy to indicate it was Eduard PE. Maybe I missed it?
-
For future reference, here was a guy who once made the nose weights to fit specific models, including this one. This reference is 6 years old (May 31, 2012), so not sure if he's still making them today. https://modelingmadness.com/scott/accessories/td2006prices.htm
-
You would be surprised how much weight it takes to balance some of these models so they don't sit on the tail. That's the problem, figuring out how much weight to use and where to put it. It's not as easy as it seems.
-
Pontos adds a lot to the ship's boats, which would be rather plain without the extra details. Nice, OC.
-
This plane had some very advanced fire control and radar systems for it's time. Heavily armed.
-
Nice project, Phil. A teacher in elementary school claimed her husband was an engineer instrumental in the design of this plane. It's always been an interesting design to me. She was big, heavy, and fast. That Monogram kit will build into a beautiful model but I have heard it's a challenge. You'll be up to it I believe. Looking forward to seeing your progress.
-
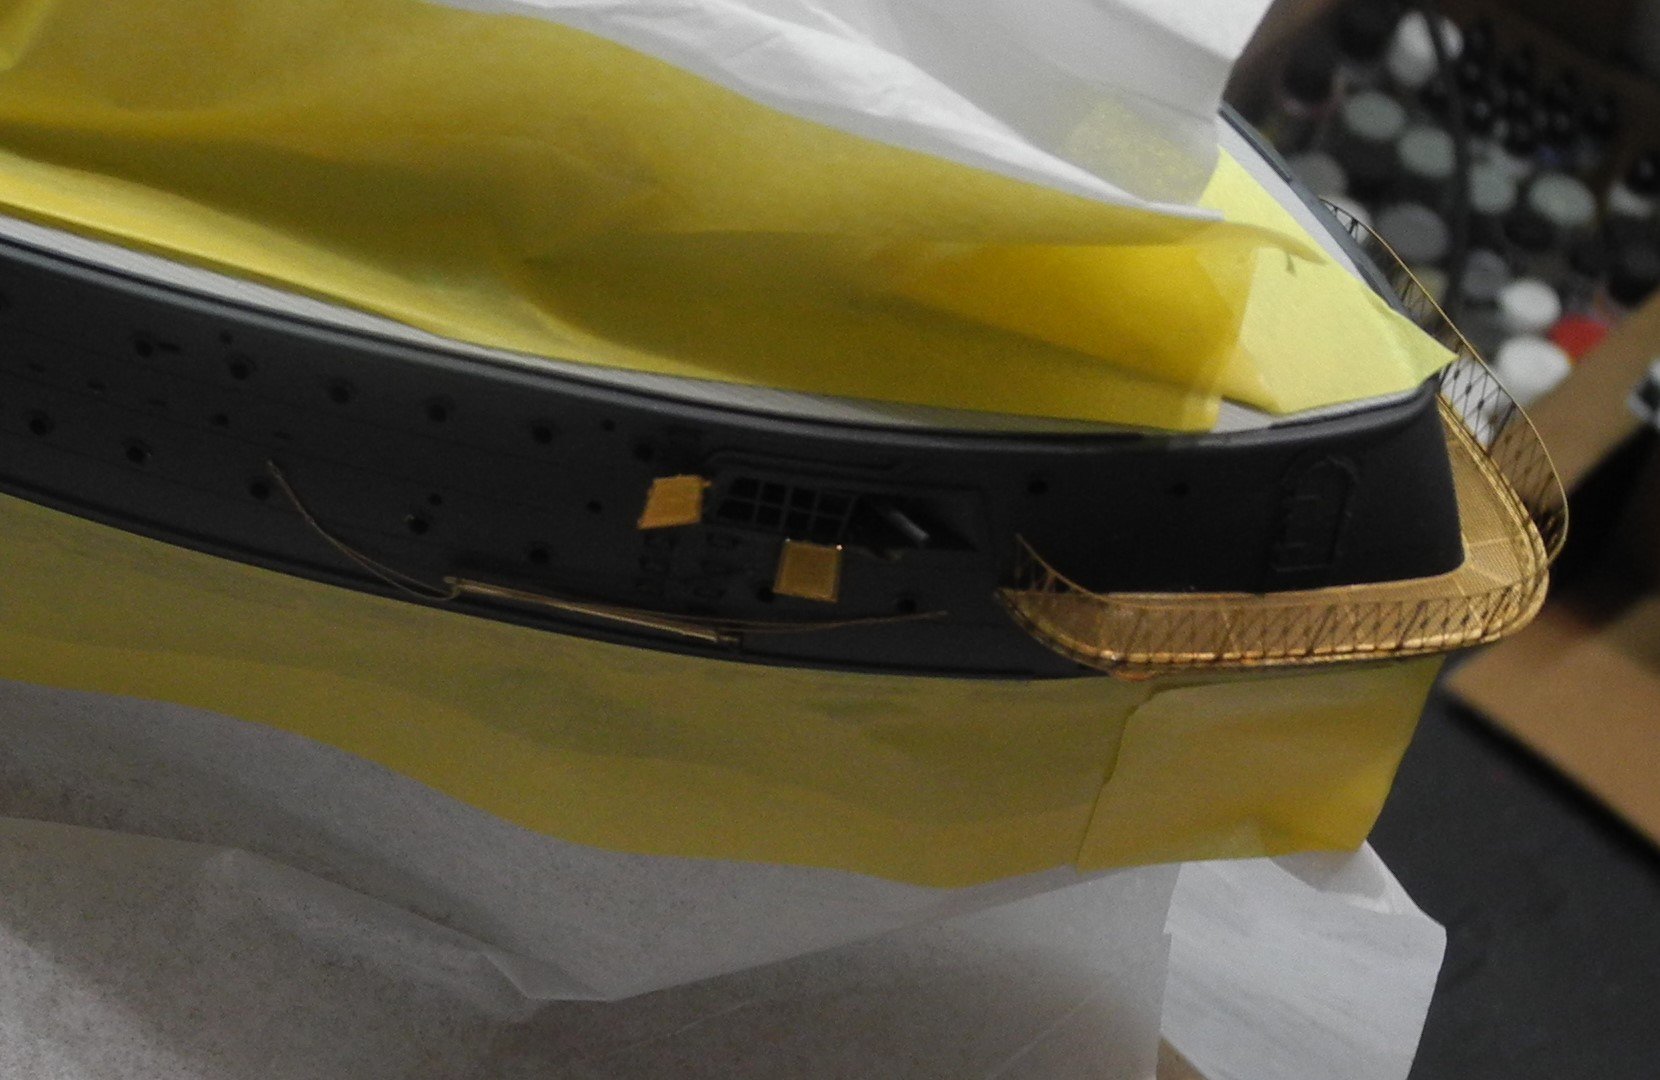
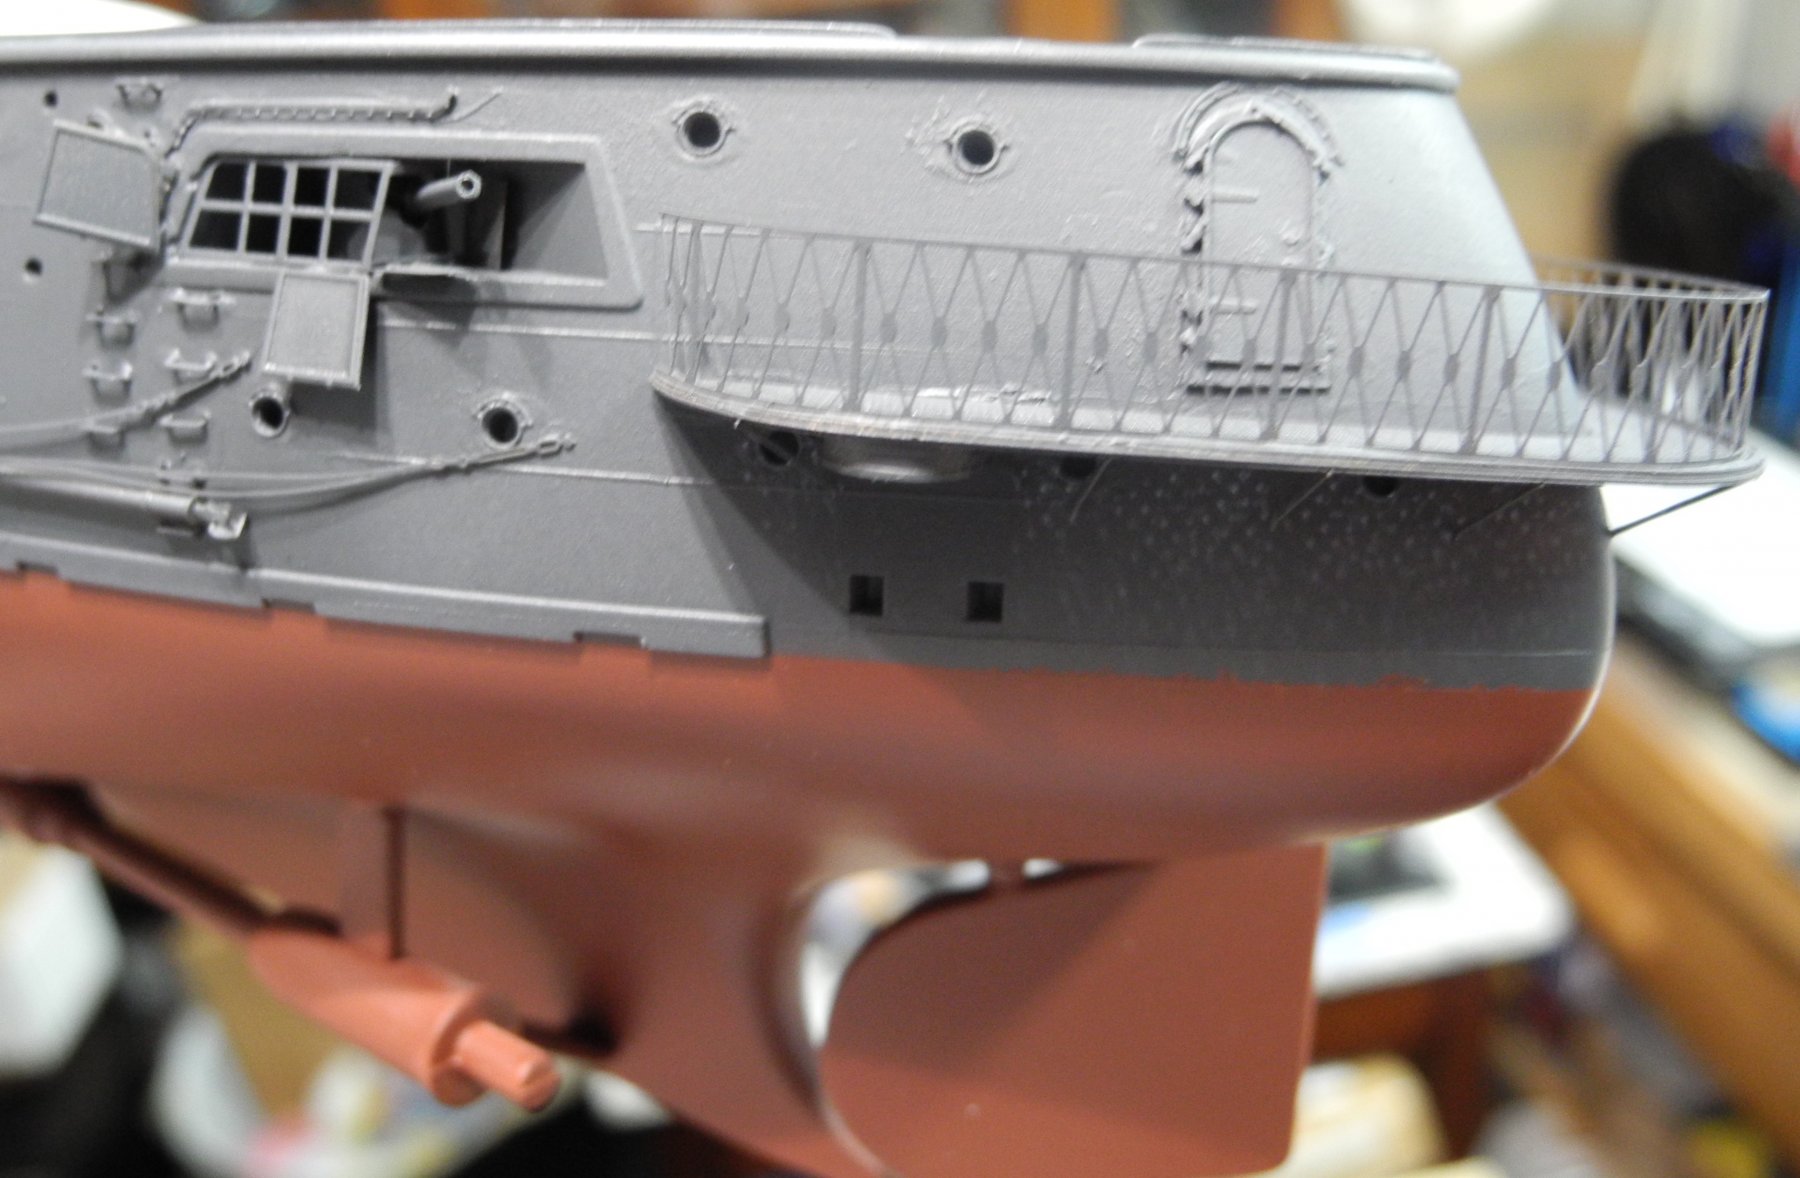
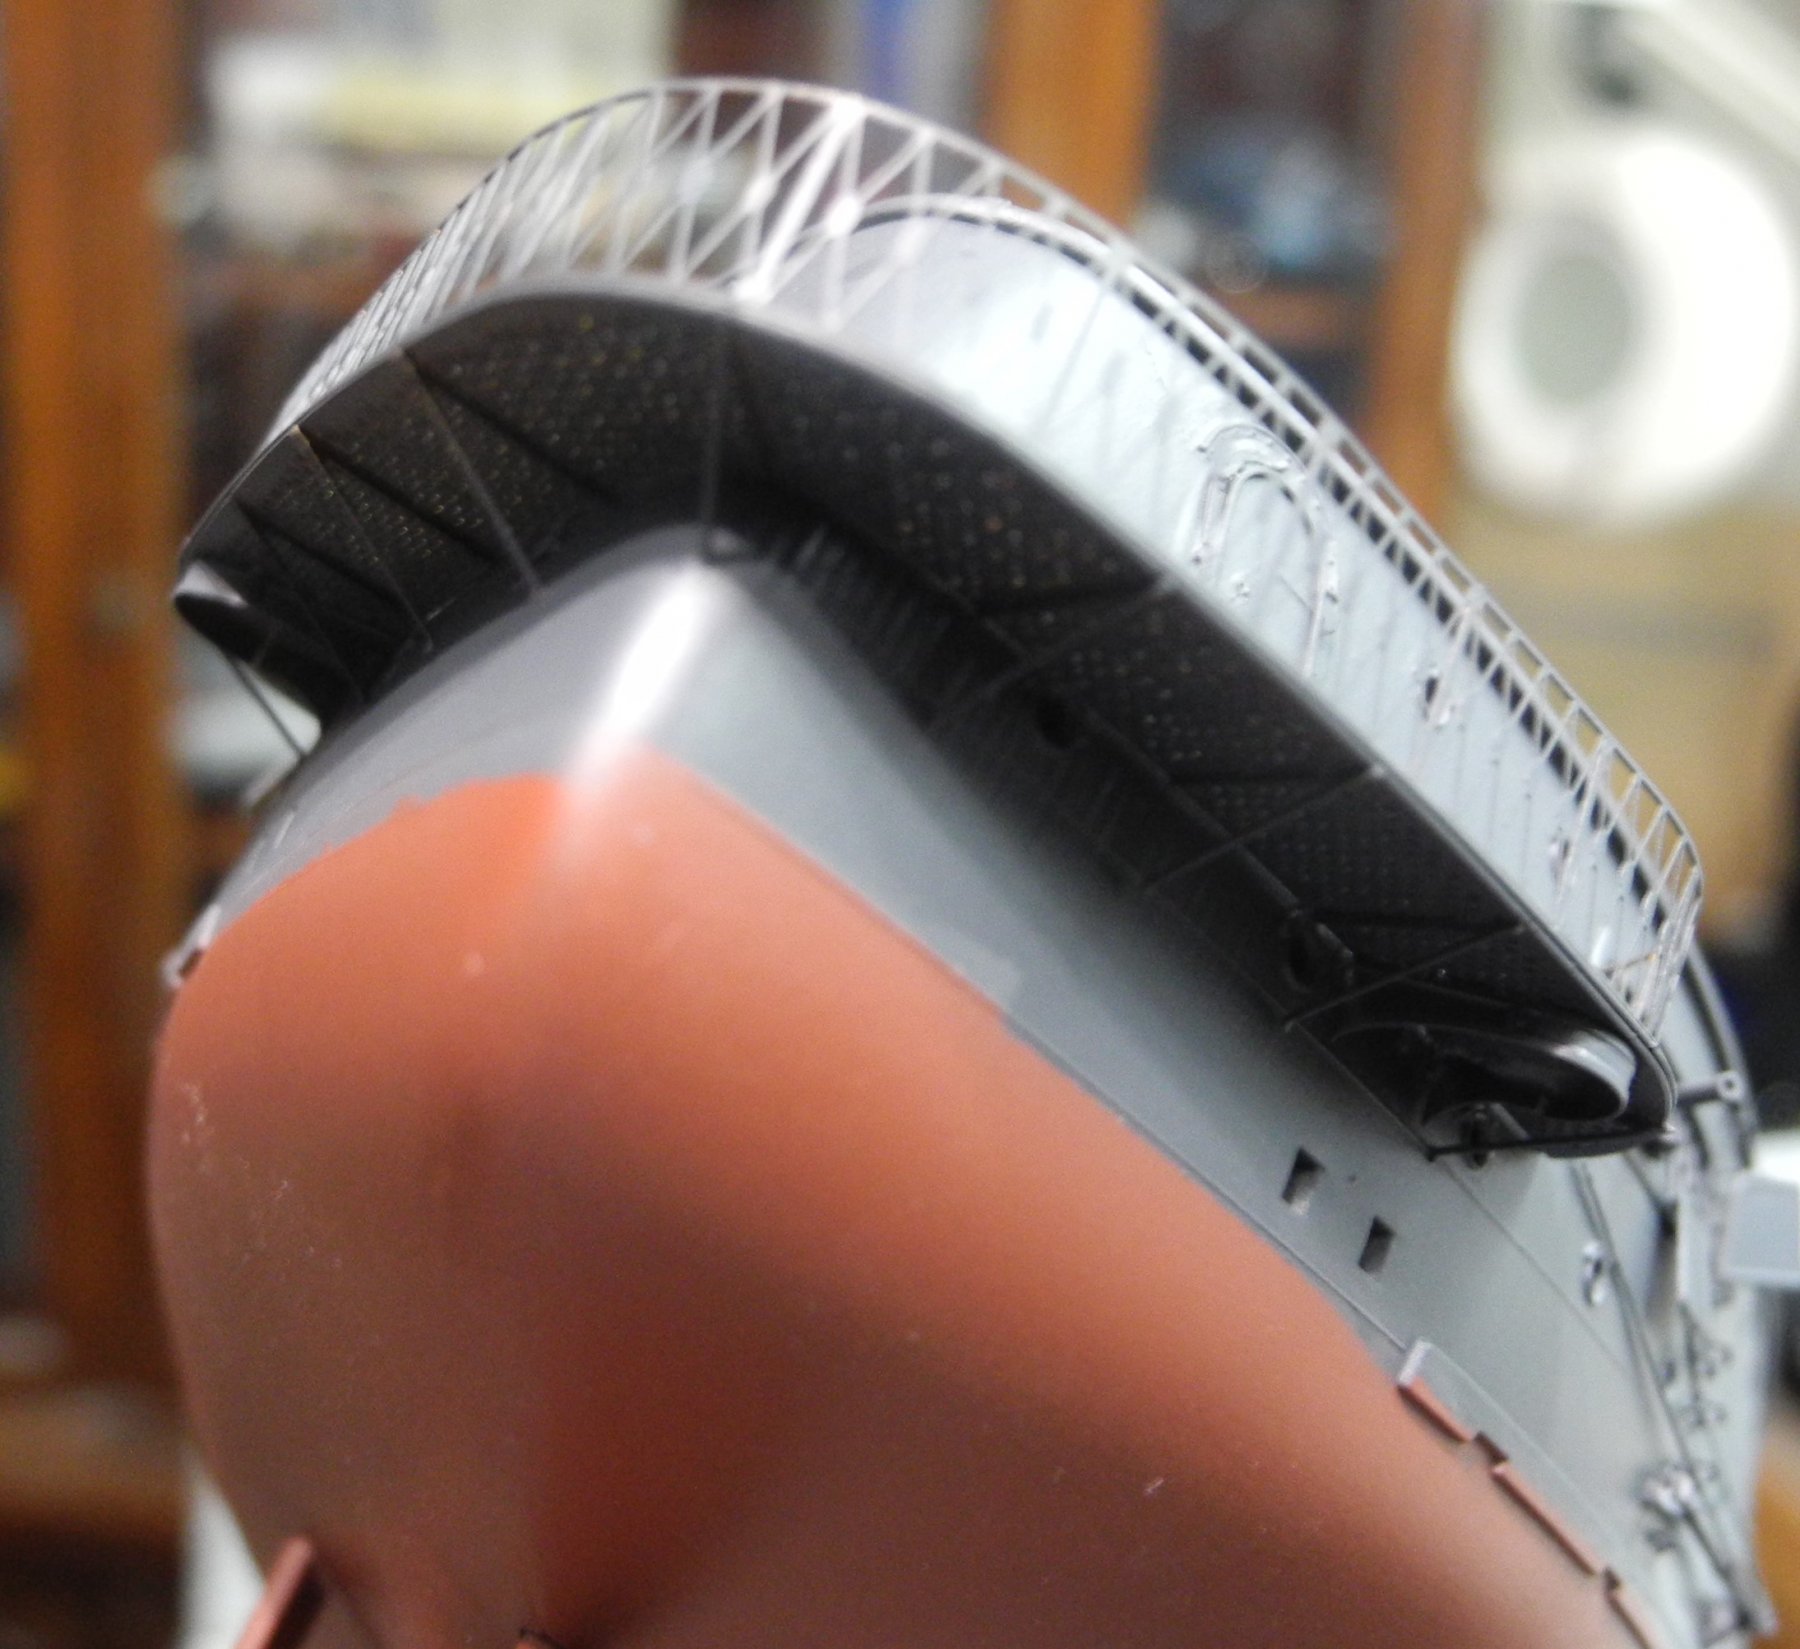
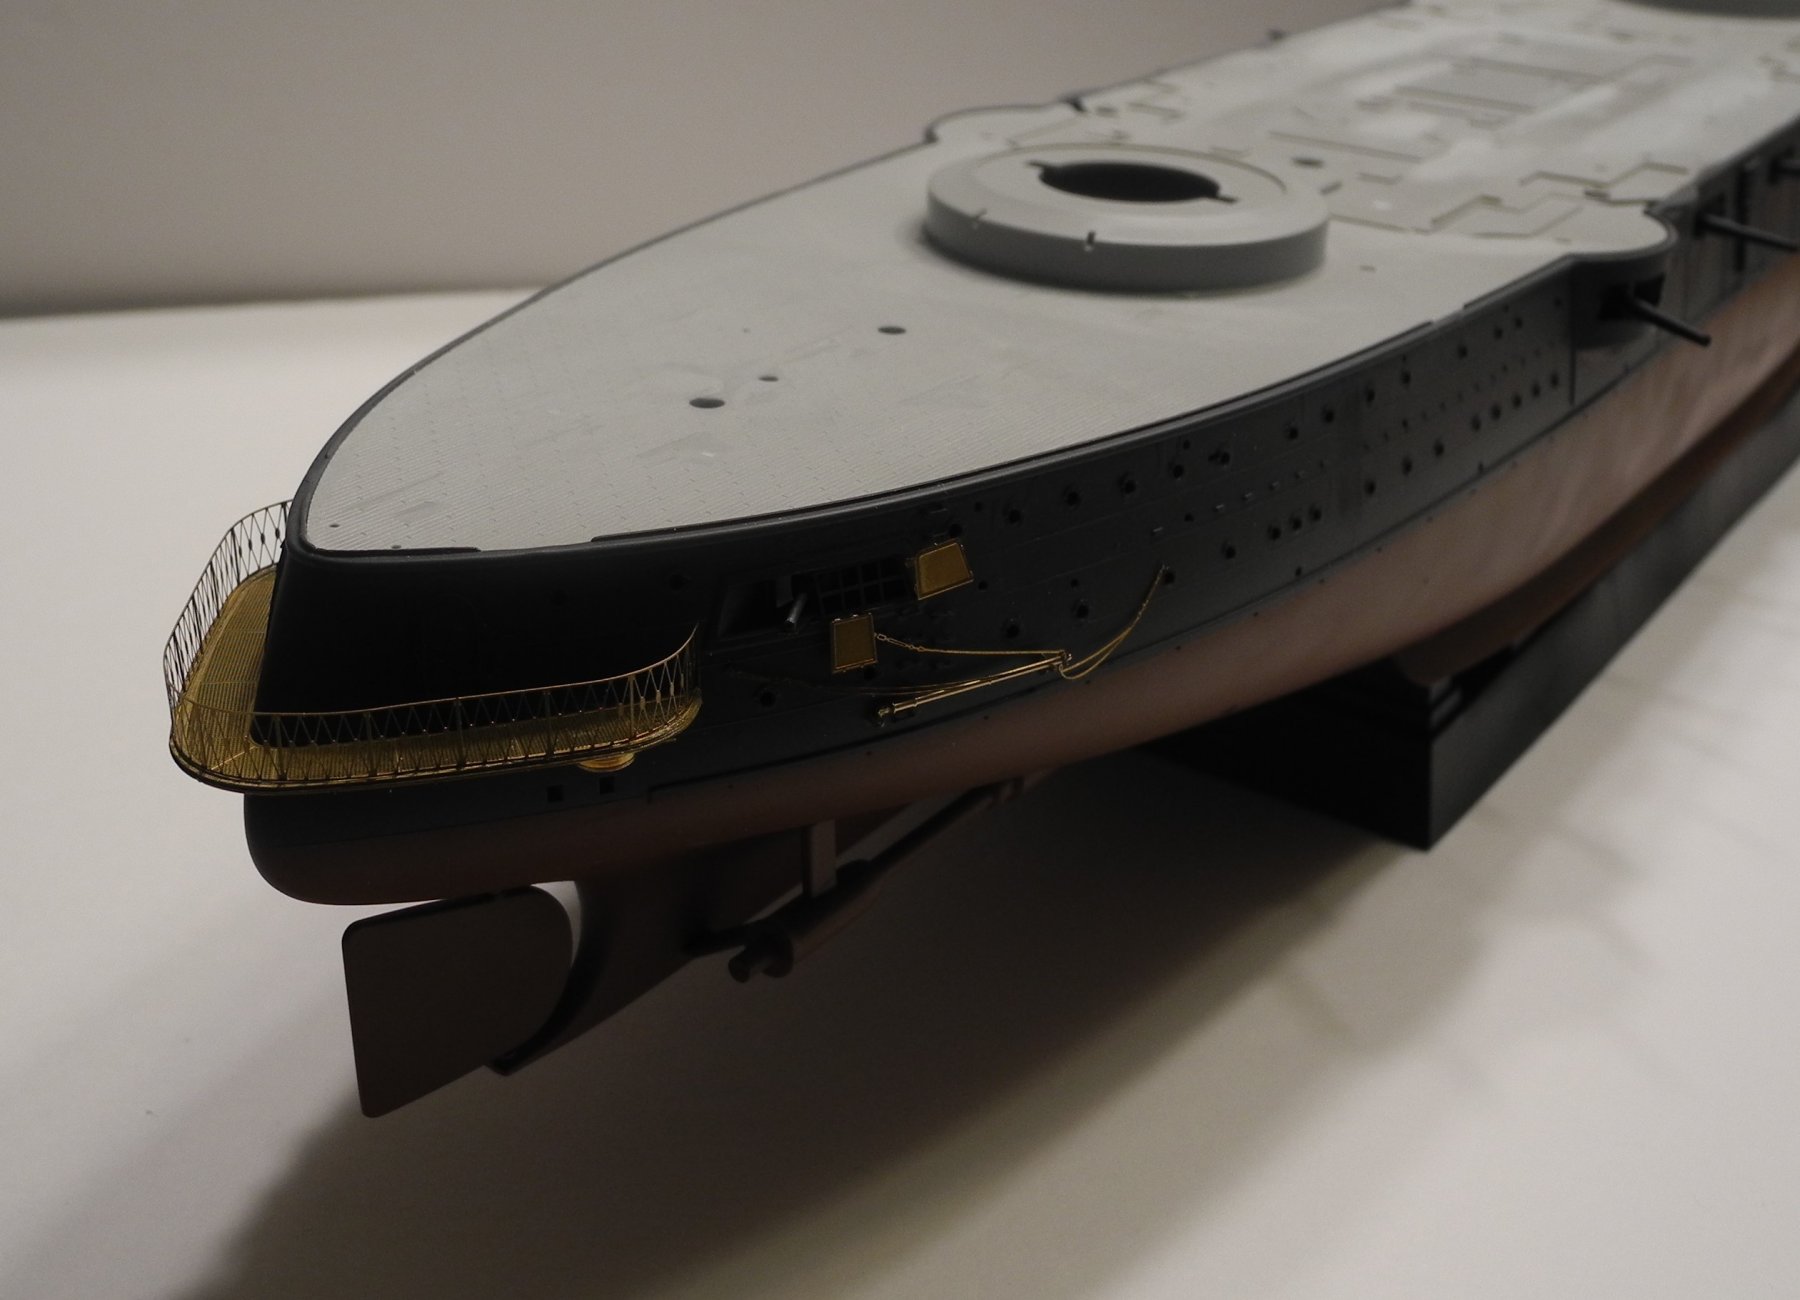
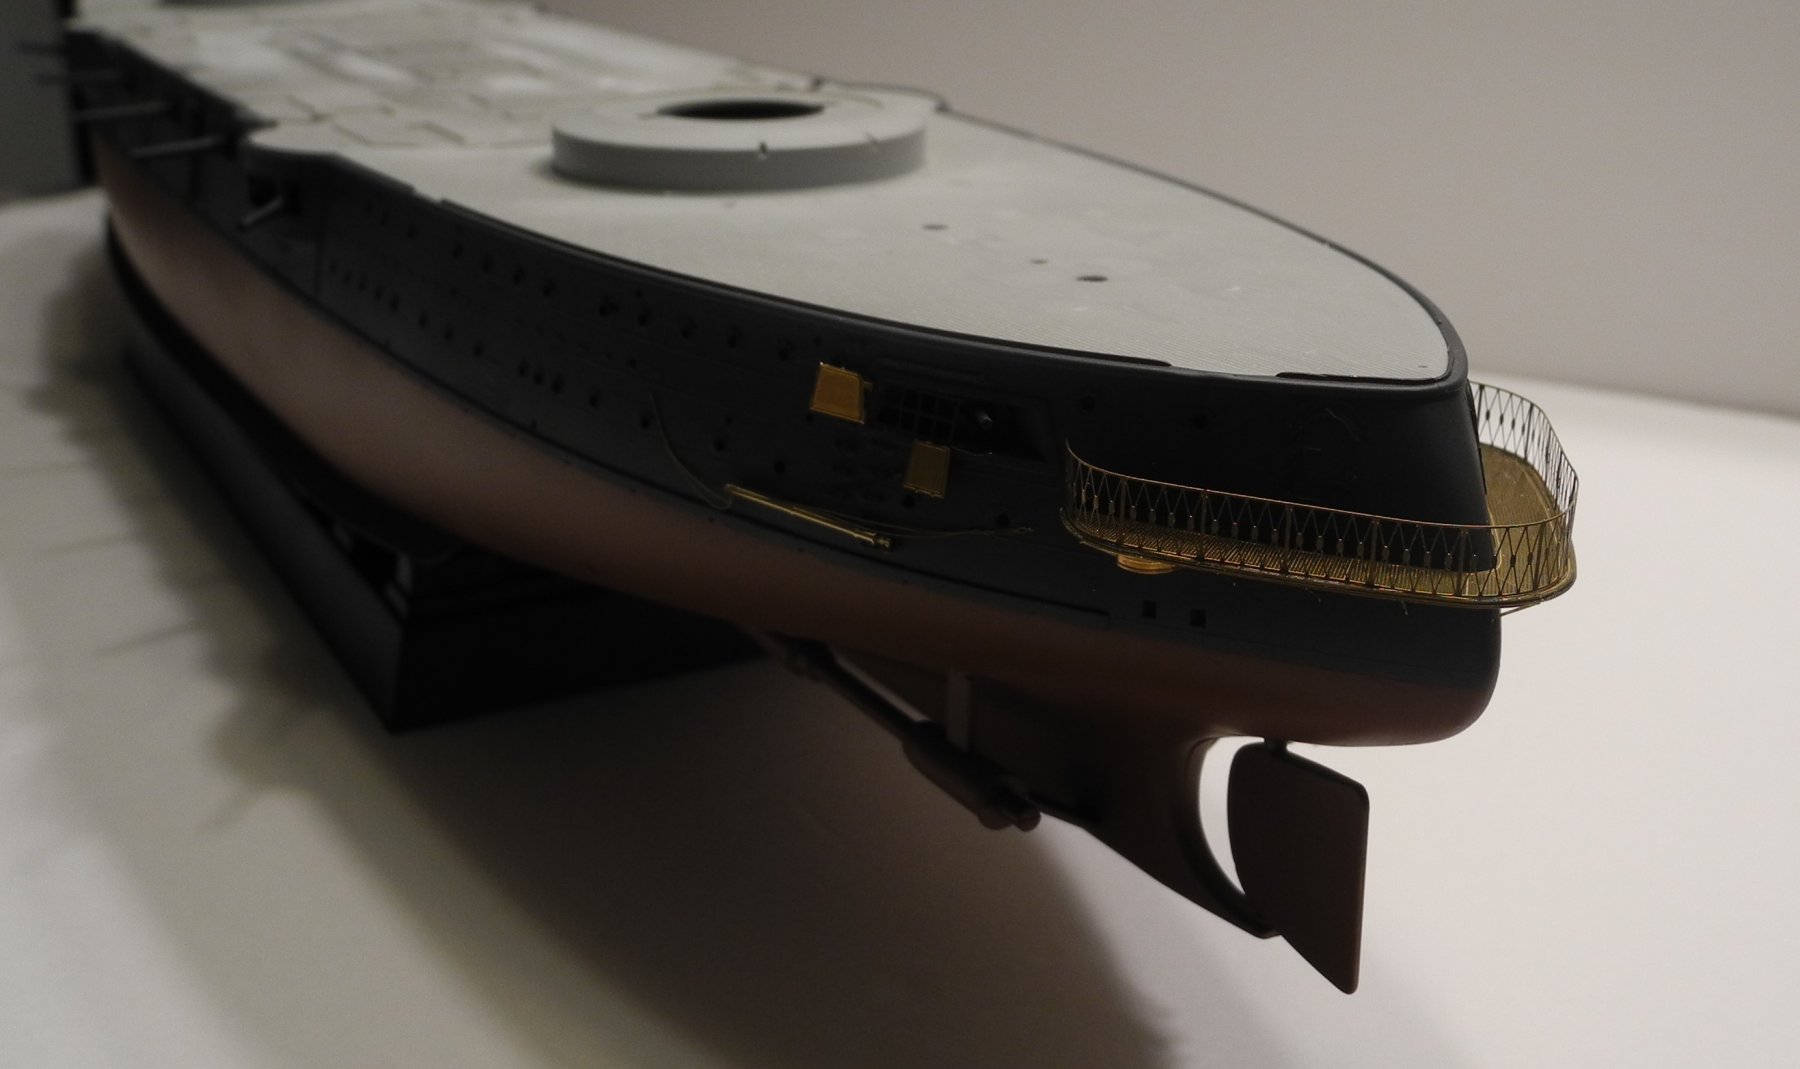
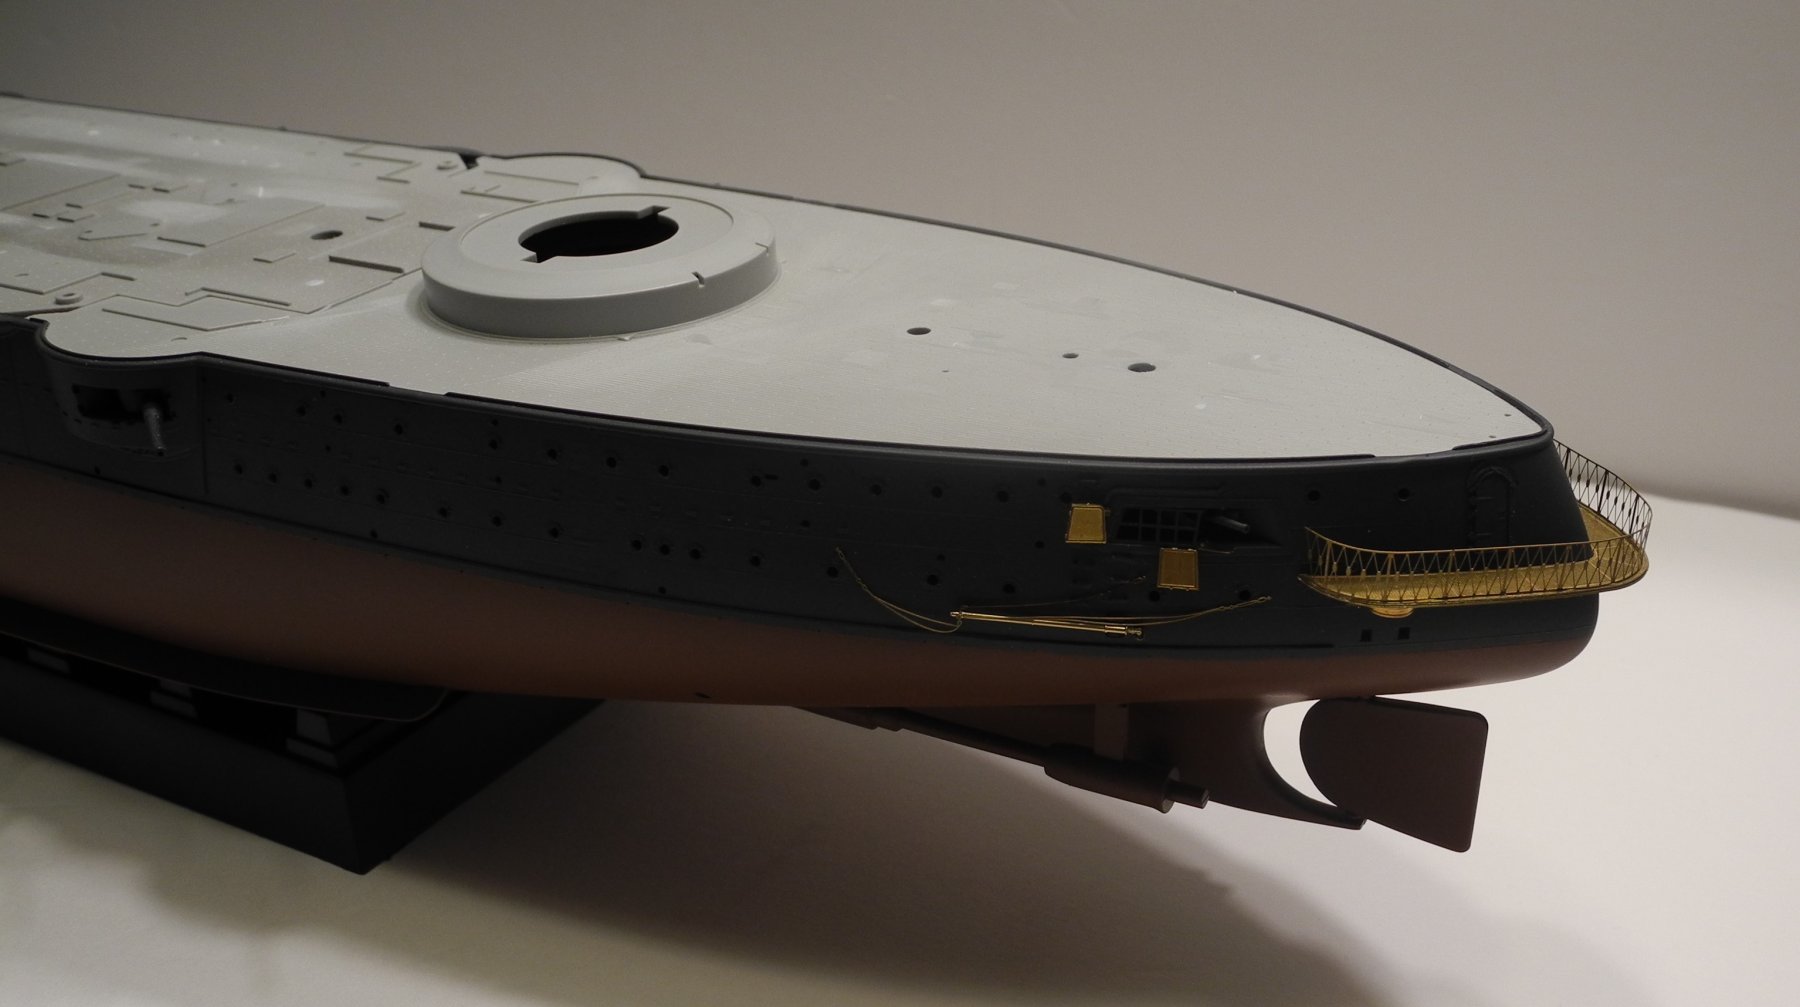
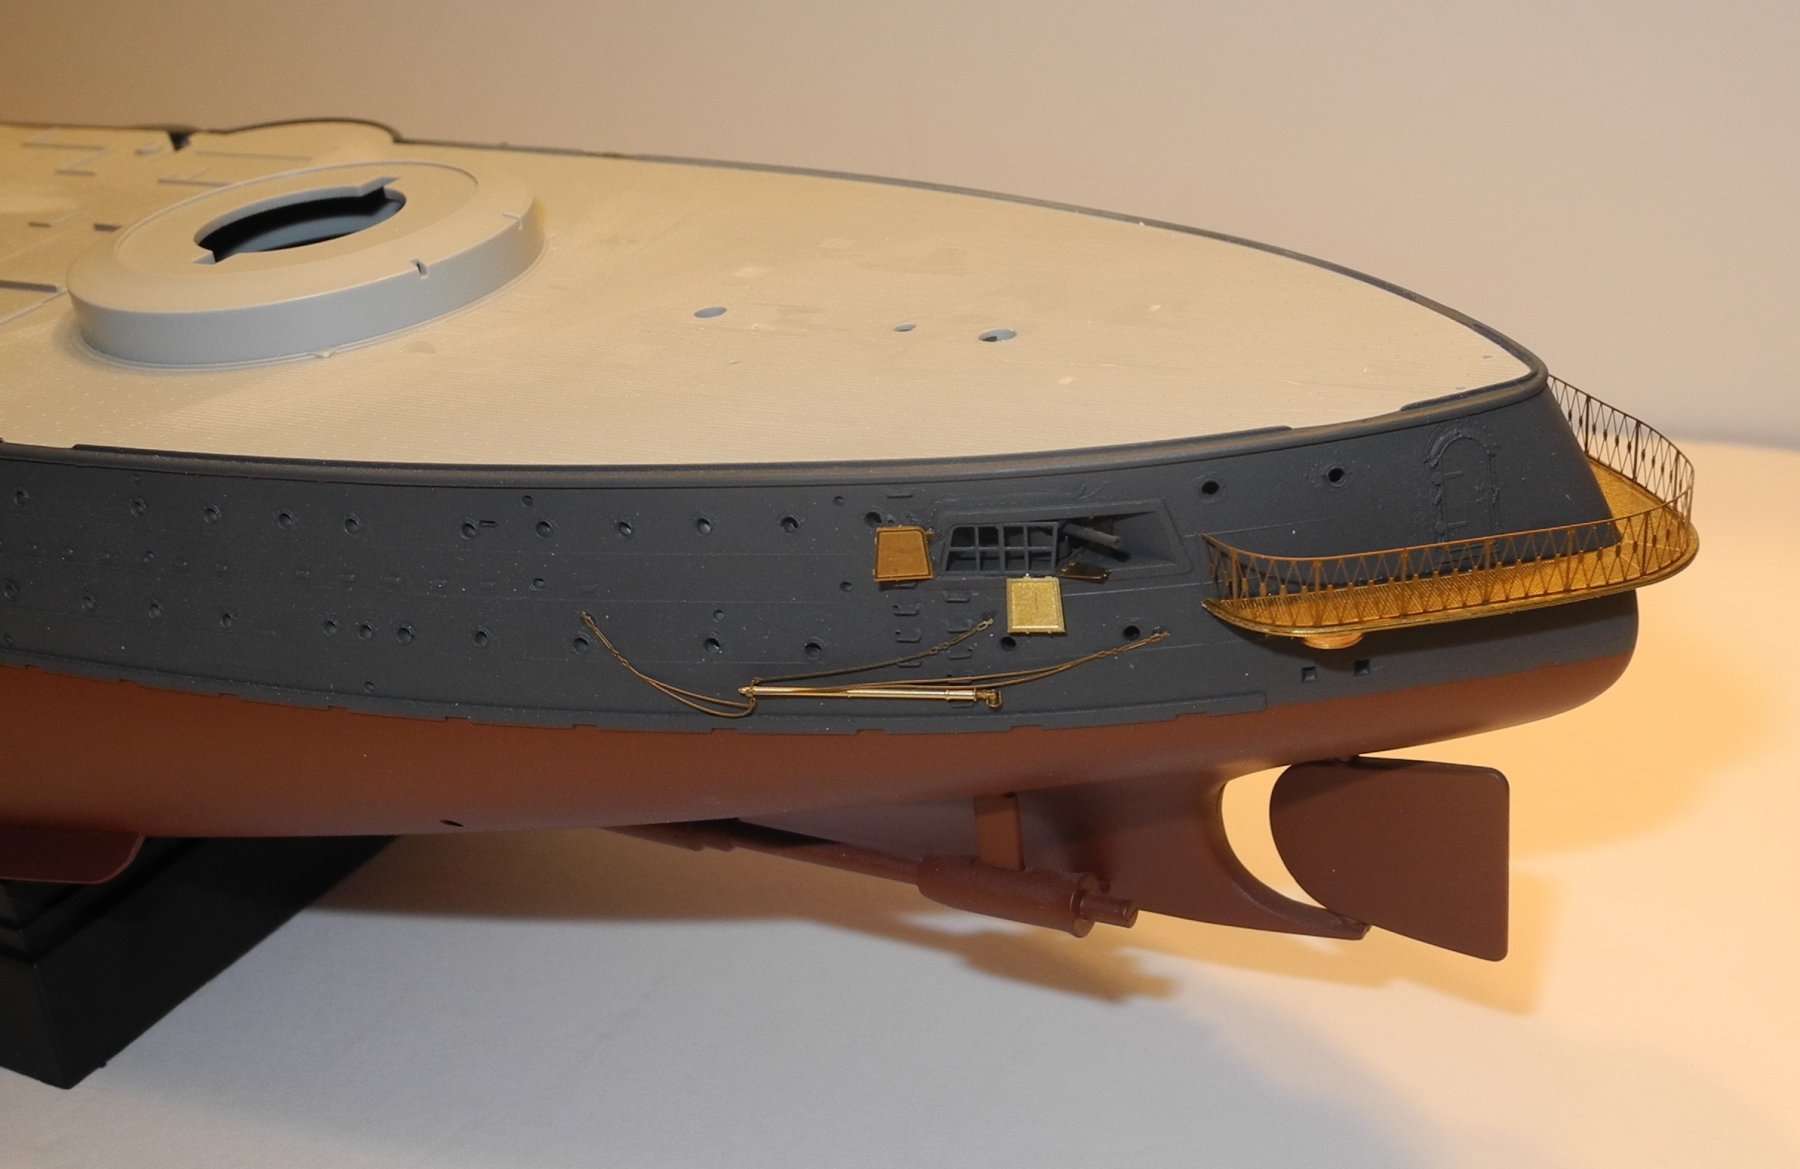
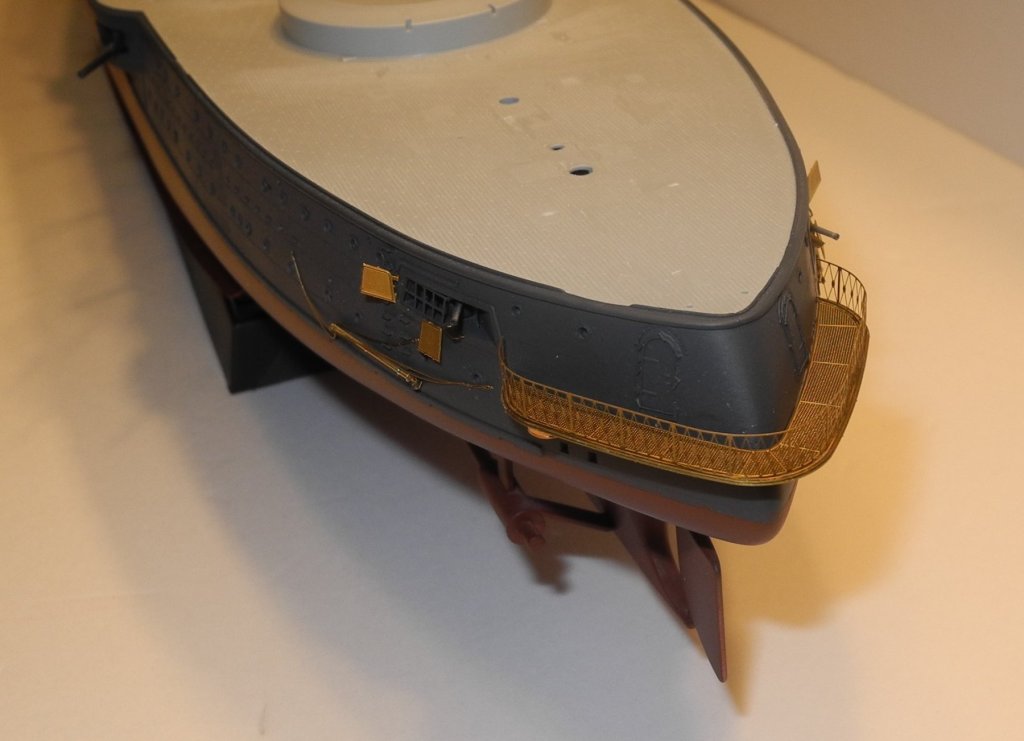
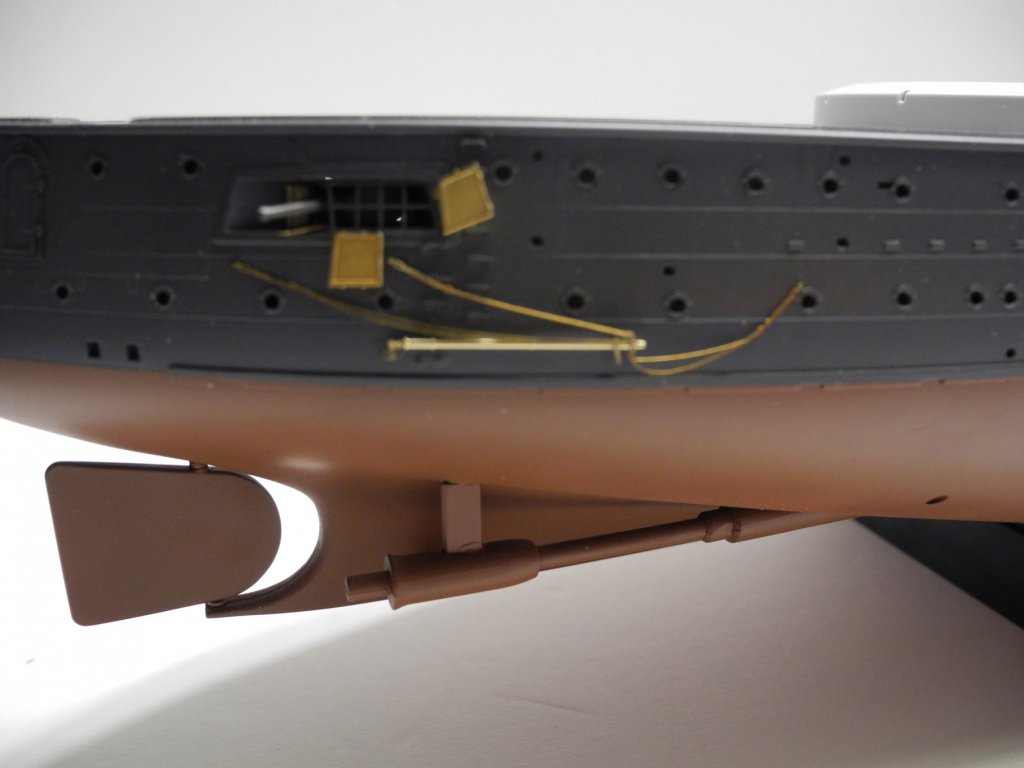
Does This Catwalk Make My Butt Look Big? I got a little work done on the stern of the IJN Mikasa today. Following Jack's advice, I took the last two photos with a piece of tissue covering the flash. The other pictures are taken without a flash, low light. That worked well, Jack! Thanks for the tip.


- 467 replies
-
- 12
-
-
- mikasa
- wave models
- (and 1 more)
-
"Plastic metal" is a generic term for our brand (in the USA) called: "J B Weld"
- 292 replies
-
- 5
-
-
- g class destroyer
- trumpeter
- (and 4 more)
-
Thanks for the kind comments. I should have mentioned, I also have the 1:200 USS Hornet to add to the mix.
- 467 replies
-
- 6
-
-
- mikasa
- wave models
- (and 1 more)
-
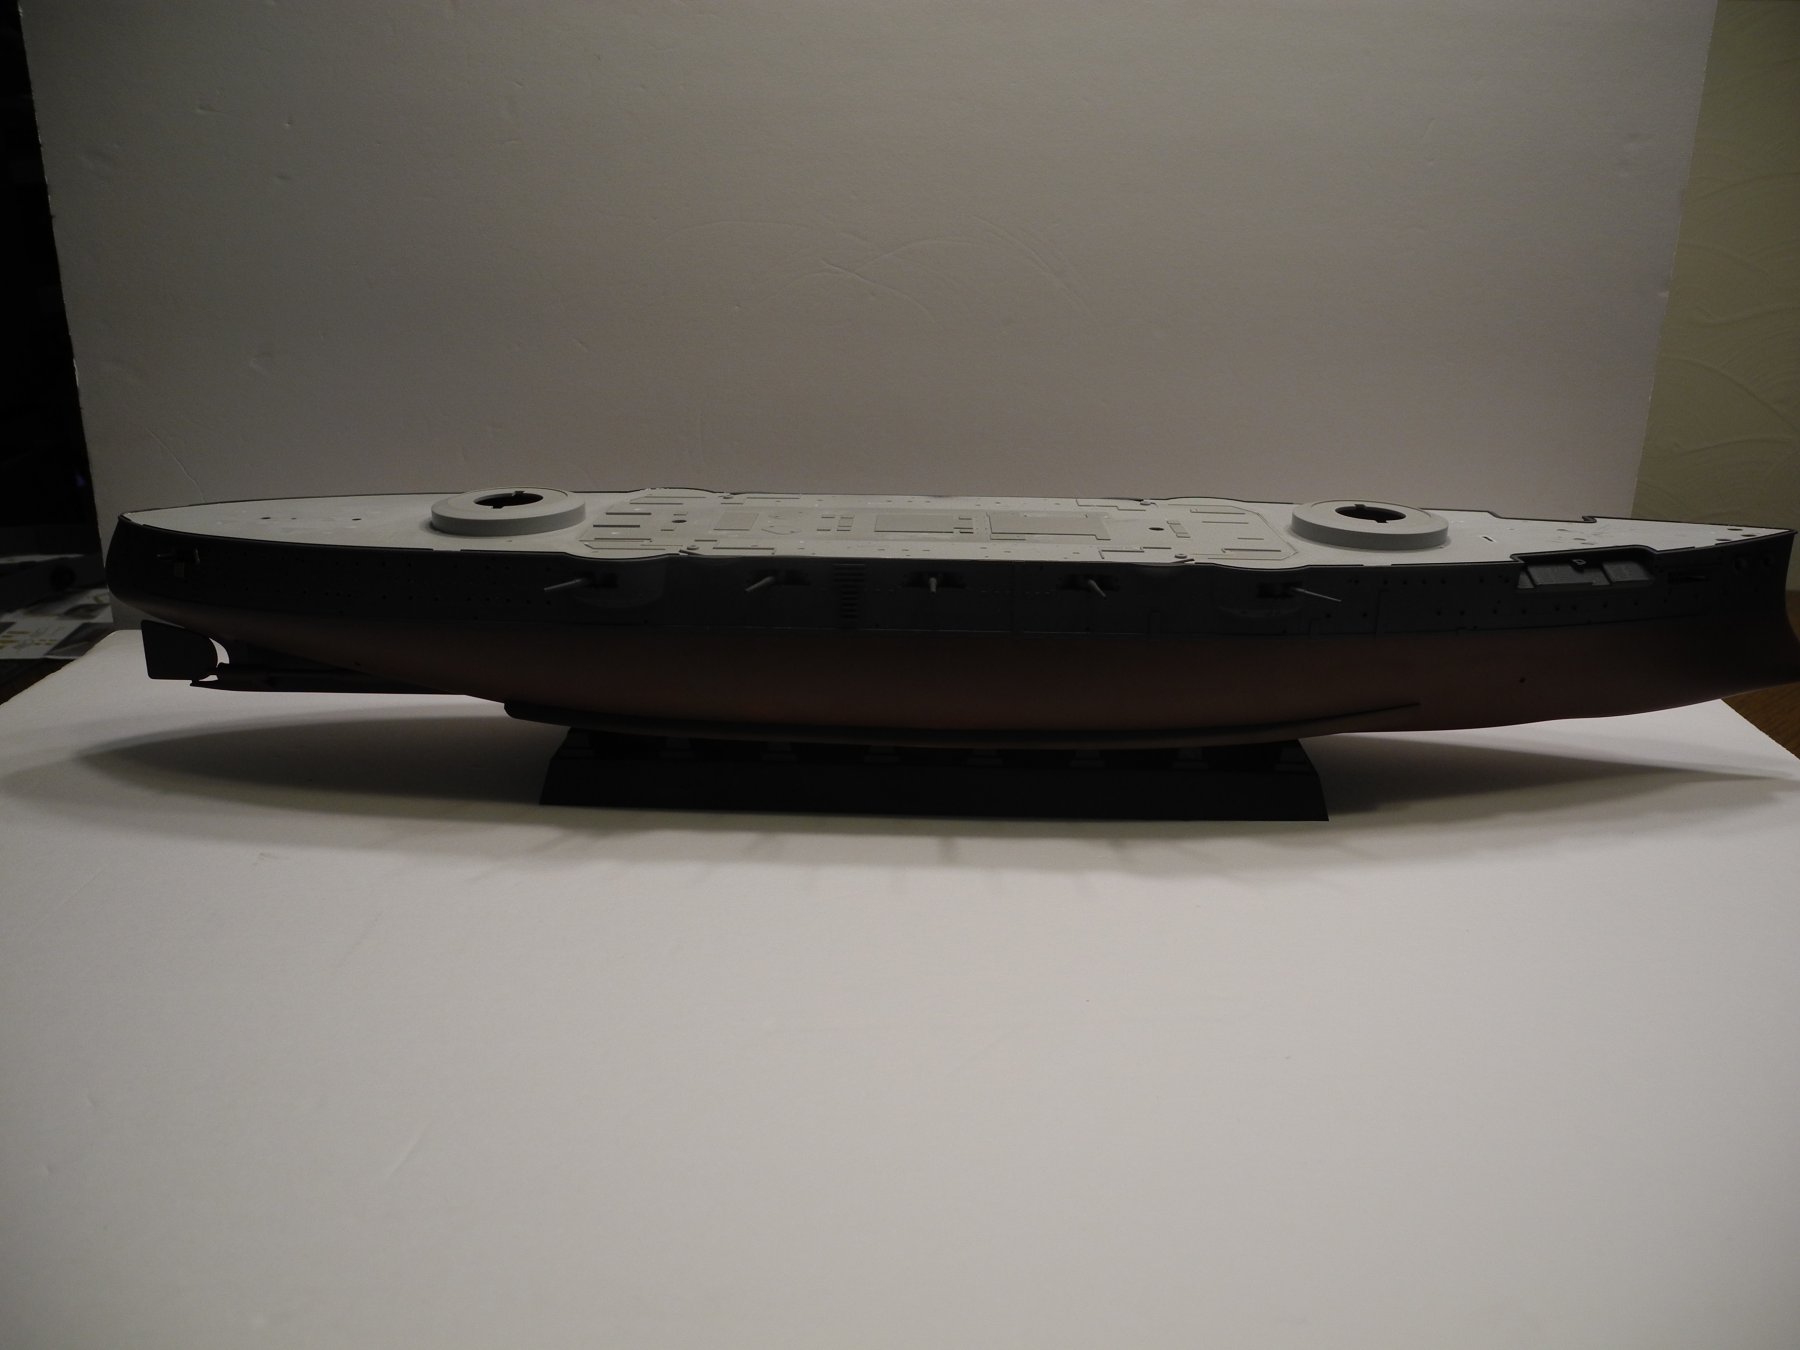
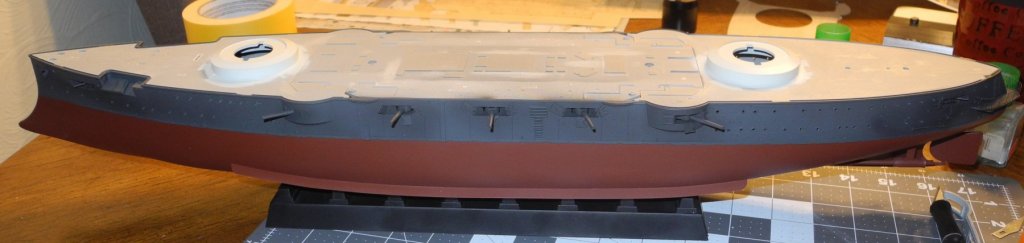
I am using black-gray for the hull color. I never use straight black. The flash on the camera lightens it up WAY more than it appears in person. This is more how it actually looks:

- 467 replies
-
- 10
-
-
- mikasa
- wave models
- (and 1 more)