HOLIDAY DONATION DRIVE - SUPPORT MSW - DO YOUR PART TO KEEP THIS GREAT FORUM GOING! (Only 27 donations so far out of 49,000 members - C'mon guys!)
×

CDW
-
Posts
7,747 -
Joined
-
Last visited
Content Type
Profiles
Forums
Gallery
Events
Everything posted by CDW
-
 Agreed. Don't think it's wise to put too much emphasis on correct color using film that's made so deep under water like that with all the issues of light and shadows.
 -
Oh yes, she's got lines like the Italian battleships....beautiful! She's a real eye-catcher for me.
-
Mighty, mighty fine, Capt. Popeye. You are going to have some nimble fingers when all that photo etch gets through with you. Wow!
- 1,090 replies
-
- 8
-

-
- showcase models
- vendetta
- (and 2 more)
-
I don't know, Neal, but whatever you're doing with your settings, it sure is precise-looking to me. Curious to know what nozzle size you're using now and what size you've set for lines. Are you using 1.75 filament?
-
And I have a 21 year old daughter who is still the pickiest eater I've ever seen. Guess she's still my kid.
- 1,090 replies
-
- 6
-
-
- showcase models
- vendetta
- (and 2 more)
-
Nightshade is particularly poisonous and deadly to cattle. When I was young, my father would walk our pasture to point out the nightshade to me. He then explained it would kill our cattle as they would readily eat it. He would quickly remove it once he saw it.
- 1,090 replies
-
- 4
-
-
- showcase models
- vendetta
- (and 2 more)
-
In the USA capsicum is called "bell pepper". I had to google capsicum to learn what it was. Never heard it called that before now.
- 1,090 replies
-
- 6
-
-
- showcase models
- vendetta
- (and 2 more)
-
That's some beautiful and inspirational 3D print work, Neal.
-
If you ever dropped one of those torpedo door covers on the floor...fugettaboutit. It would be history. Great job so far, Popeye.
- 1,090 replies
-
- 7
-
-
- showcase models
- vendetta
- (and 2 more)
-
Nice start, Popeye. Good grief, those parts are so tiny. Your guests will need super-vision to see your finished work when they visit your home.
- 1,090 replies
-
- 6
-
-
- showcase models
- vendetta
- (and 2 more)
-
Greg, you just keep getting better, more better, and more better good with your airbrushed hulls. You've really developed the talent and paint combinations for weathering, shading, and highlighting.
- 1,090 replies
-
- 6
-
-
- showcase models
- vendetta
- (and 2 more)
-
I've got to try their gloss when I get a chance. My LHS doesn't carry it and I haven't thought to order some.
- 1,090 replies
-
- 5
-
-
- showcase models
- vendetta
- (and 2 more)
-
It has much to do with airbrush fouling and paint spattering. Vallejo is not user friendly.
- 1,090 replies
-
- 7
-
-
- showcase models
- vendetta
- (and 2 more)
-
Atlantis by Thistle17 - FINISHED - Robbe
CDW replied to Thistle17's topic in RC Kits & Scratch building
Sorry...I thought I was on the last page, but now realize the pictures I was looking at when making that comment happened much earlier in your thread. The comments were out of context with the current situation. My compliment still stands...beautiful model! -
Now that you've mentioned it, my wife has learned of many of her ancestors who lost their heads to "the iron lady". One she was showing me just in the past couple of days was 60 years old when they lost their head.
- 1,090 replies
-
- 9
-
-
- showcase models
- vendetta
- (and 2 more)
-
Atlantis by Thistle17 - FINISHED - Robbe
CDW replied to Thistle17's topic in RC Kits & Scratch building
Does that paint defect correspond to an area where a spot filler putty was used underneath? It's a beautiful model. Hope you get this all sorted out. -
It's large when you're standing on shore looking at it, but very small in the middle of the ocean with 40' seas.
- 1,090 replies
-
- 9
-
-
- showcase models
- vendetta
- (and 2 more)
-
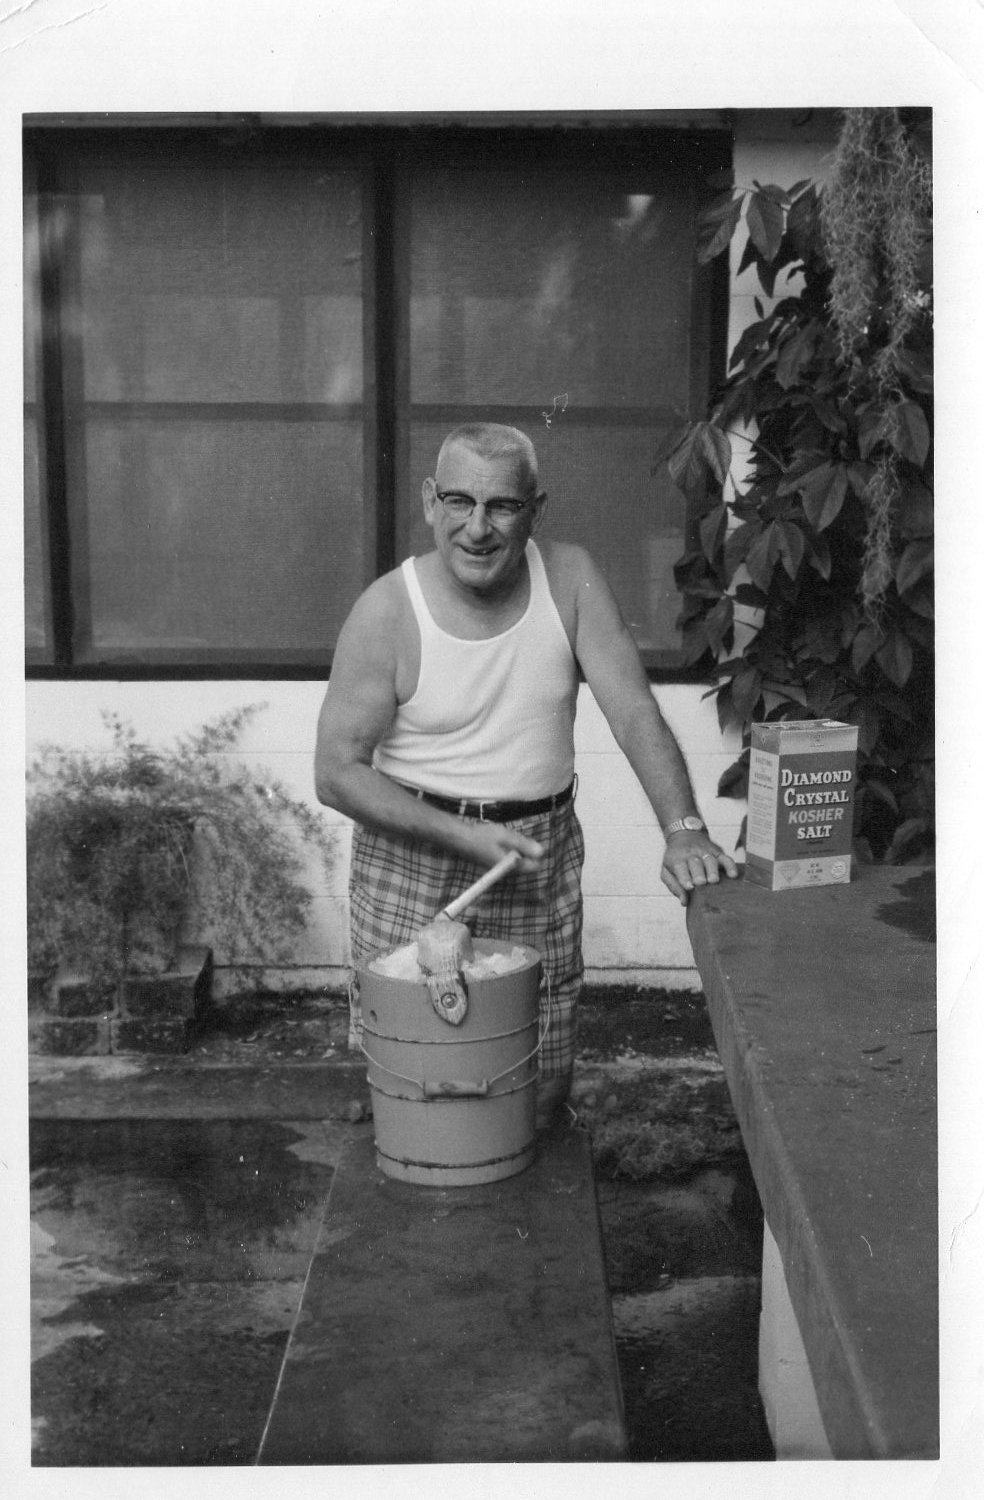
This is my Dad making home made strawberry ice cream in the 1960's...

- 1,090 replies
-
- 9
-
-
- showcase models
- vendetta
- (and 2 more)
-
If there was a law against doing outstanding craftsmanship, Danny would be hung from the yard arms.
-
Particularly at this small scale, I want to say how impressed I am with both of your models. They are outstanding in every way. Great job fellas!
- 1,090 replies
-
- 8
-
-
- showcase models
- vendetta
- (and 2 more)
-
Are you freakin' kidding me? He's building a scale RC model battleship, mate. Why the heck would he model the ship with a gaping hole in the hull? Sheesh.