HOLIDAY DONATION DRIVE - SUPPORT MSW - DO YOUR PART TO KEEP THIS GREAT FORUM GOING! (Only 13 donations so far - C'mon guys!)
×

CDW
-
Posts
7,743 -
Joined
-
Last visited
Content Type
Profiles
Forums
Gallery
Events
Everything posted by CDW
-
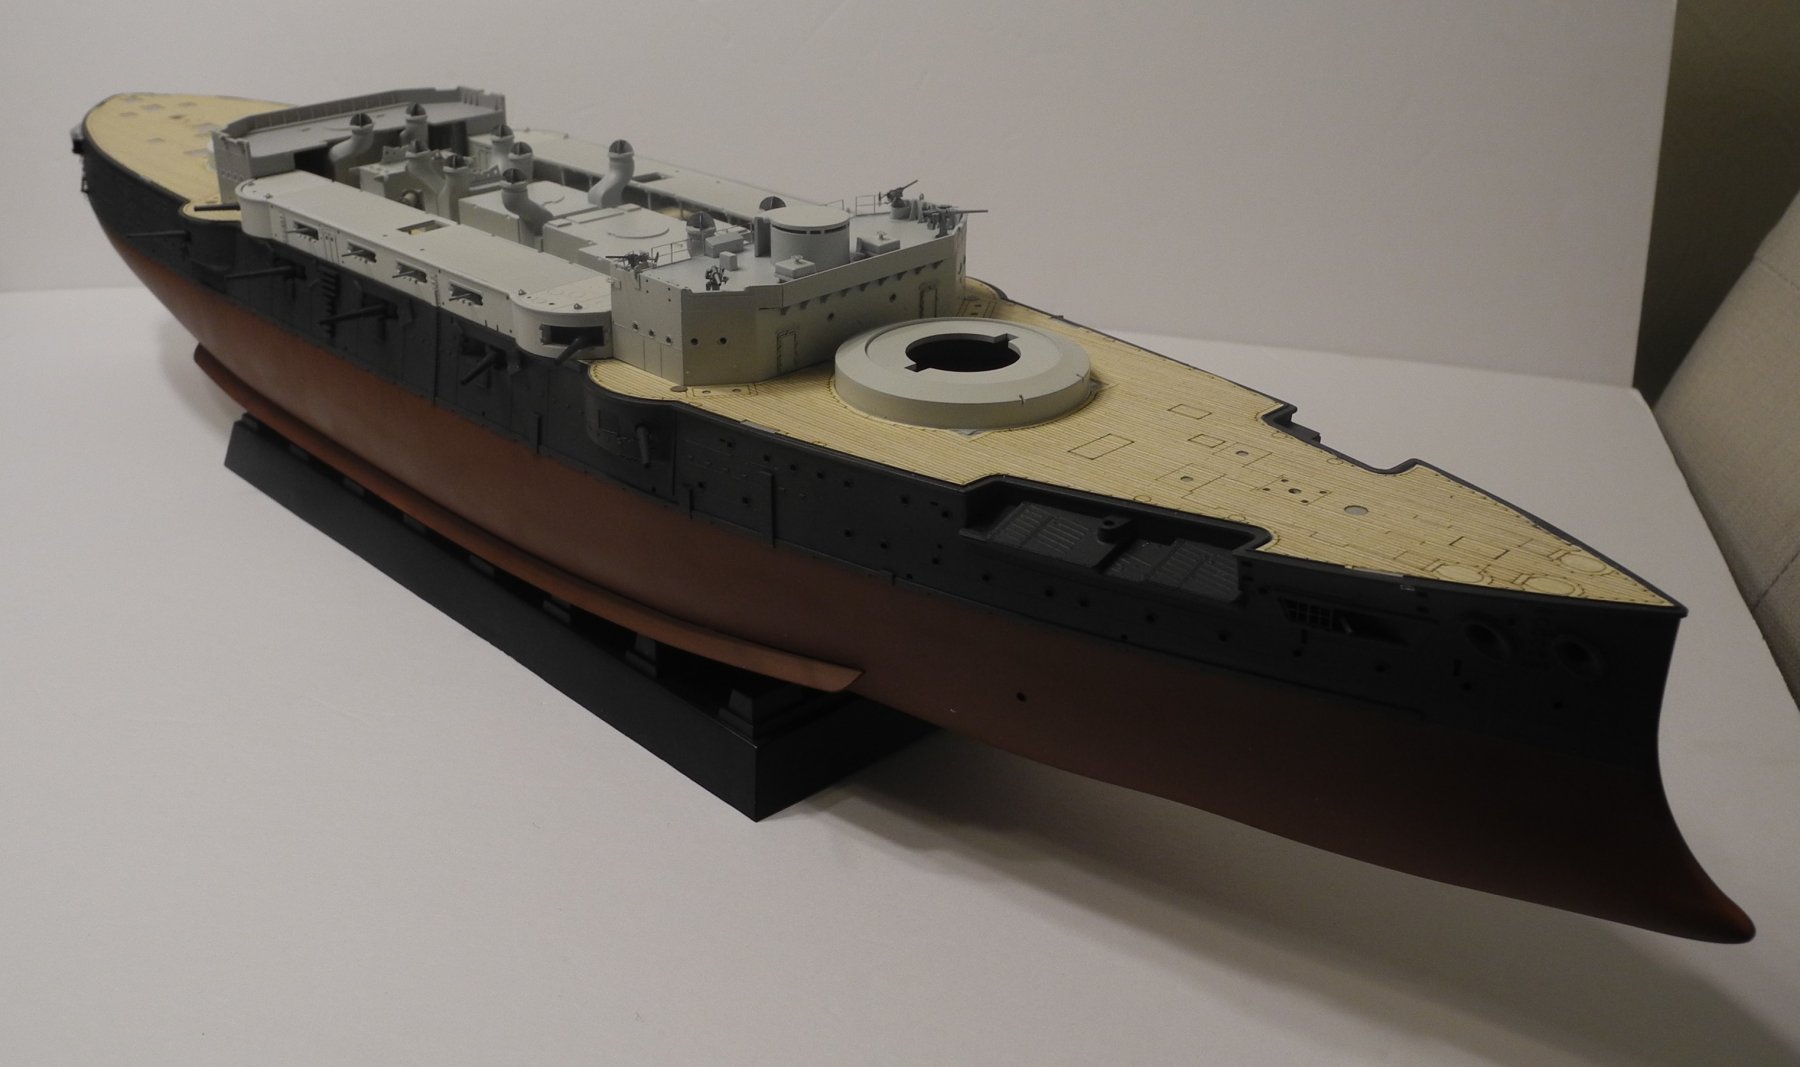
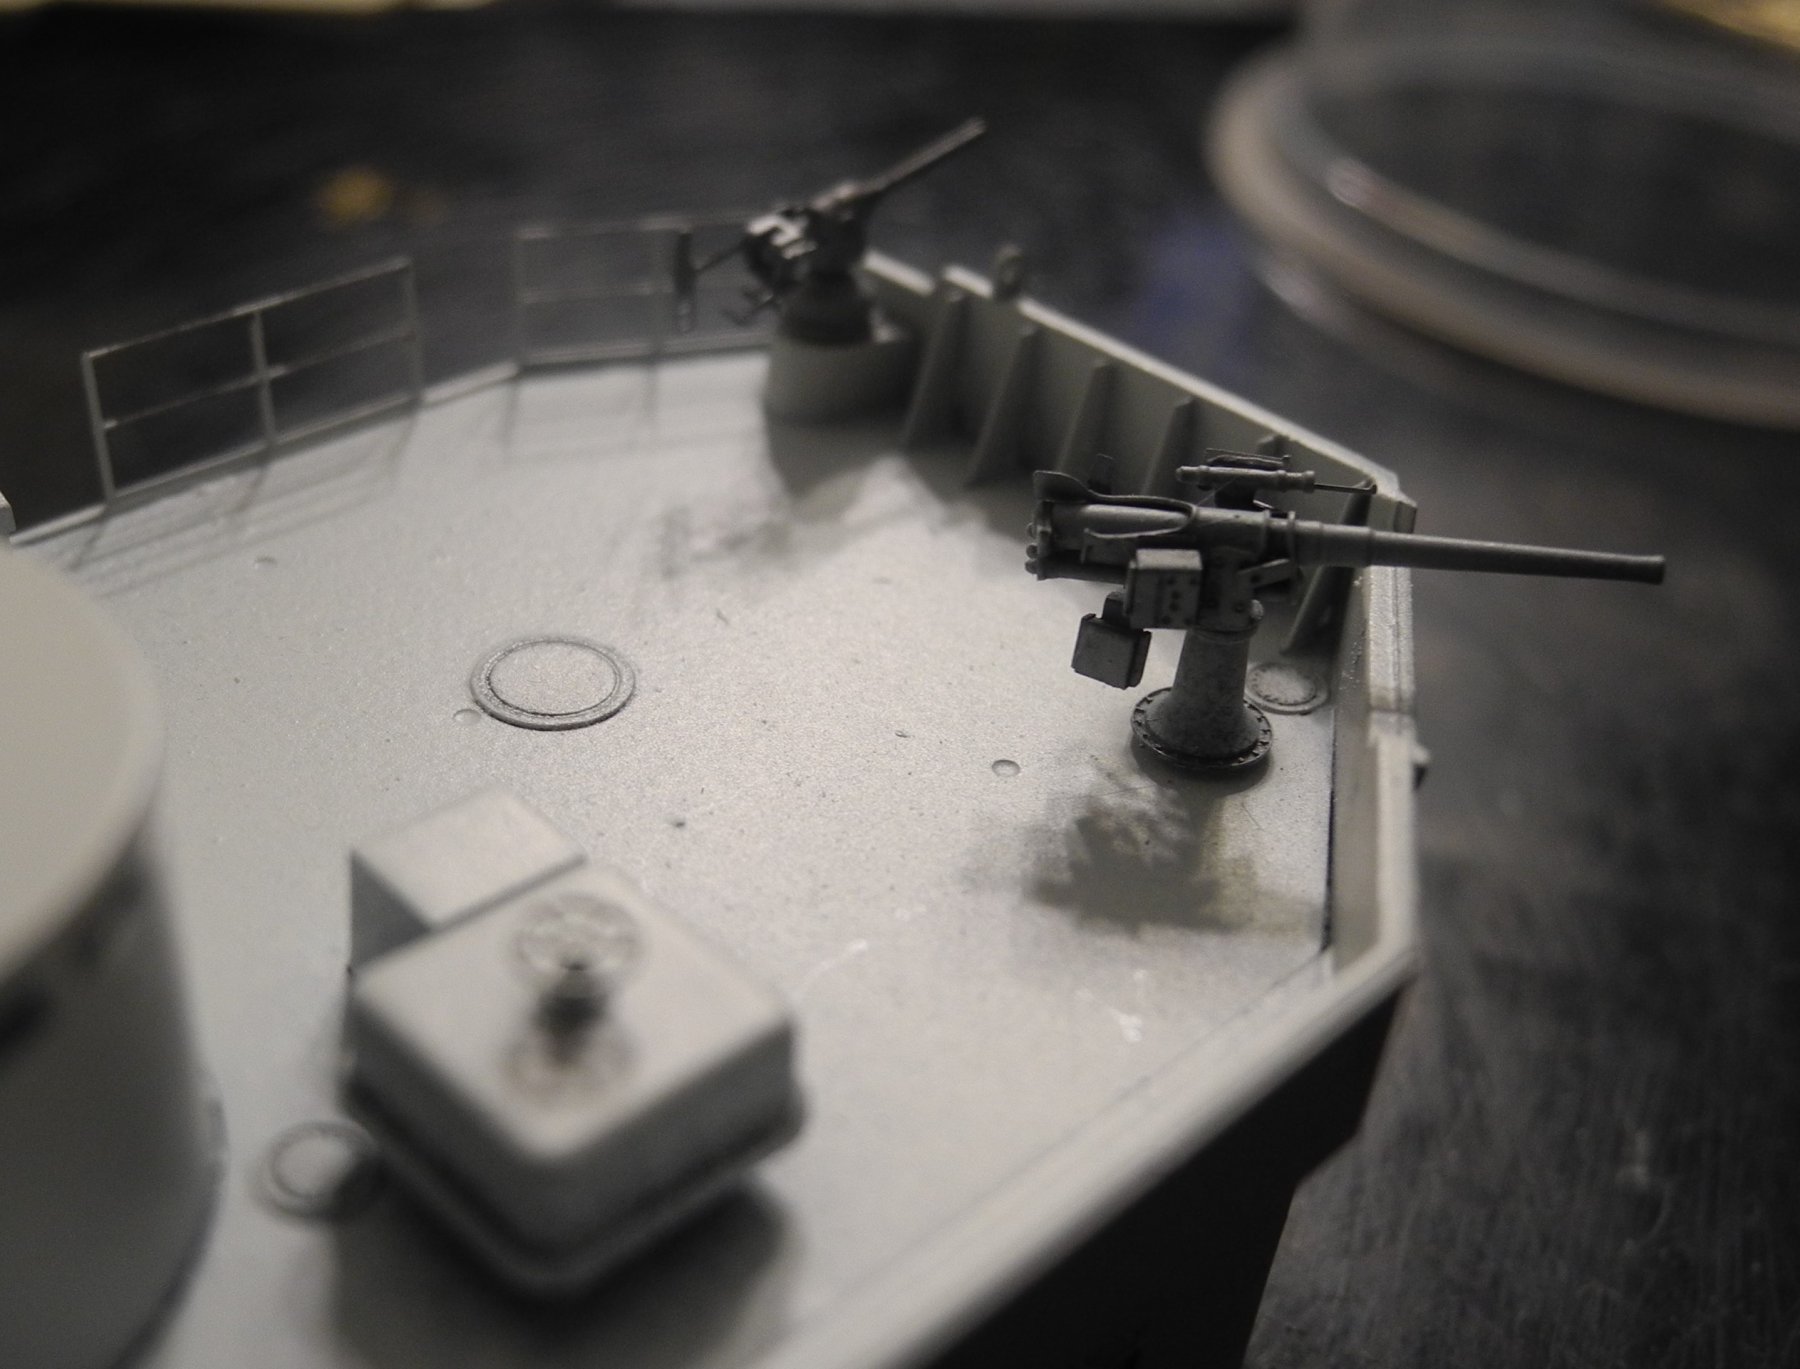
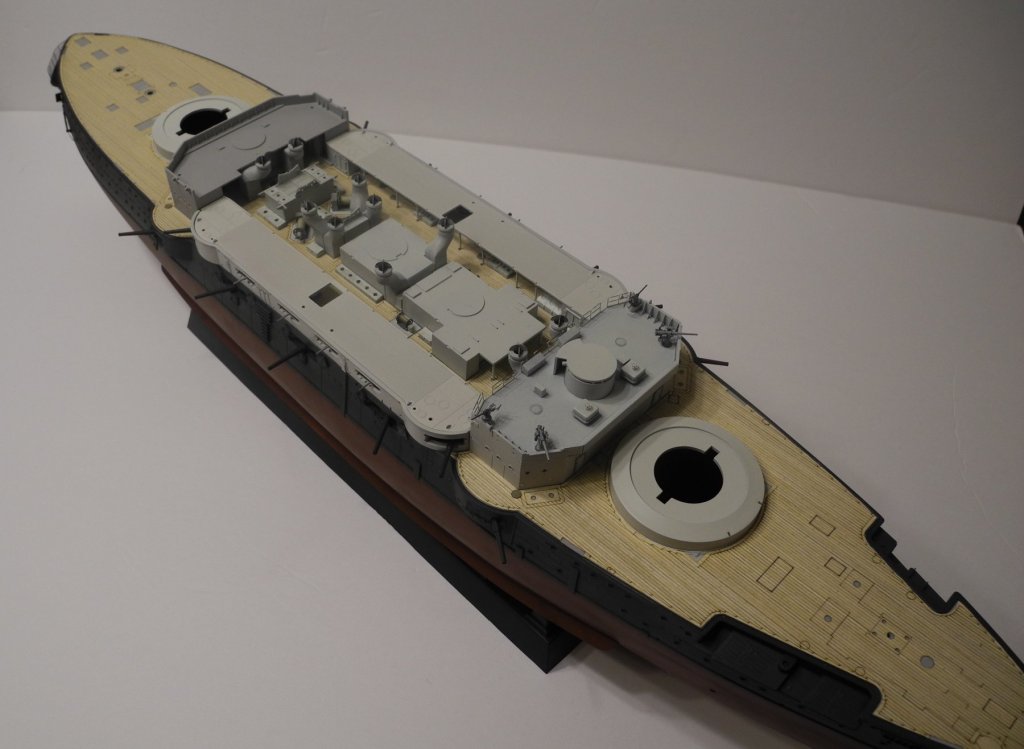
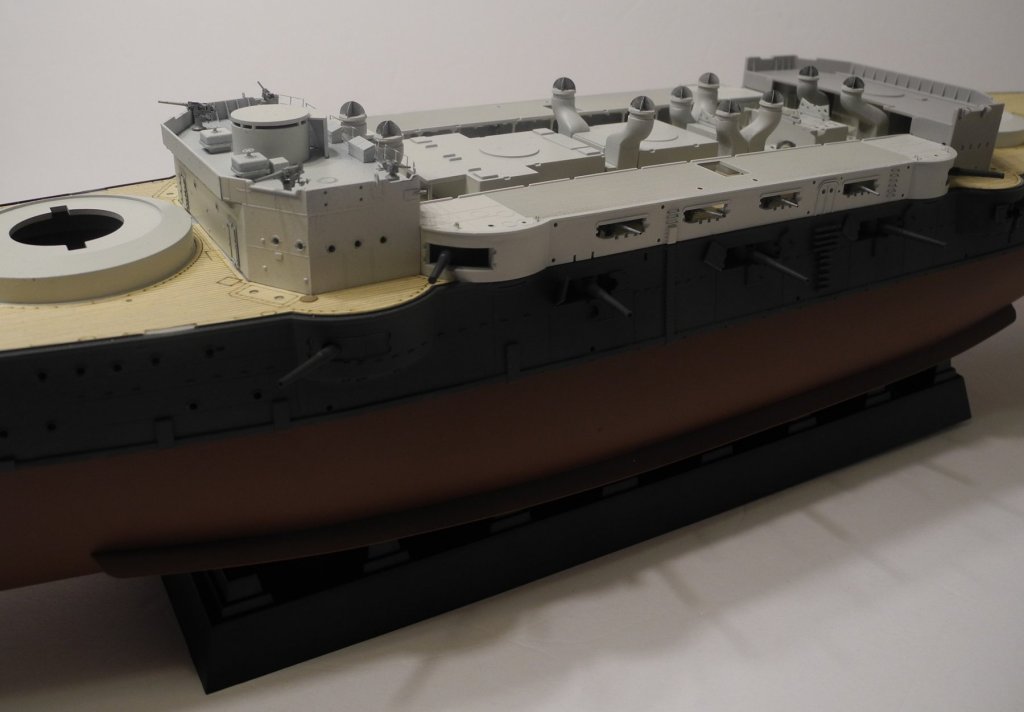
 The 8 ea., 3" secondary guns are now mounted in place. The decks above the 3" guns are mounted in place, and other fiddly bits have been added here and there. Next, will tackle the rear bridge, then the structural framework to which the ship's boats are mounted. There are more 47mm guns to build, but am finished with the 3" guns.
- 467 replies
-
- 12
-

-
- mikasa
- wave models
- (and 1 more)
-
Some of the prices on Model Monkey stuff is just way over the top. For example, $268.11 for a 1:200 Arizona bridge? That's more than the cost of the entire model. But he does have some interesting and beautiful things, that's for sure.
-
If you google it, they even have them at WalMart. Cheap, too.
- 1,090 replies
-
- 6
-
-
- showcase models
- vendetta
- (and 2 more)
-
Thank you, Piet. It means a lot to me to have you here and for your kind words.
- 467 replies
-
- 6
-
-
- mikasa
- wave models
- (and 1 more)
-
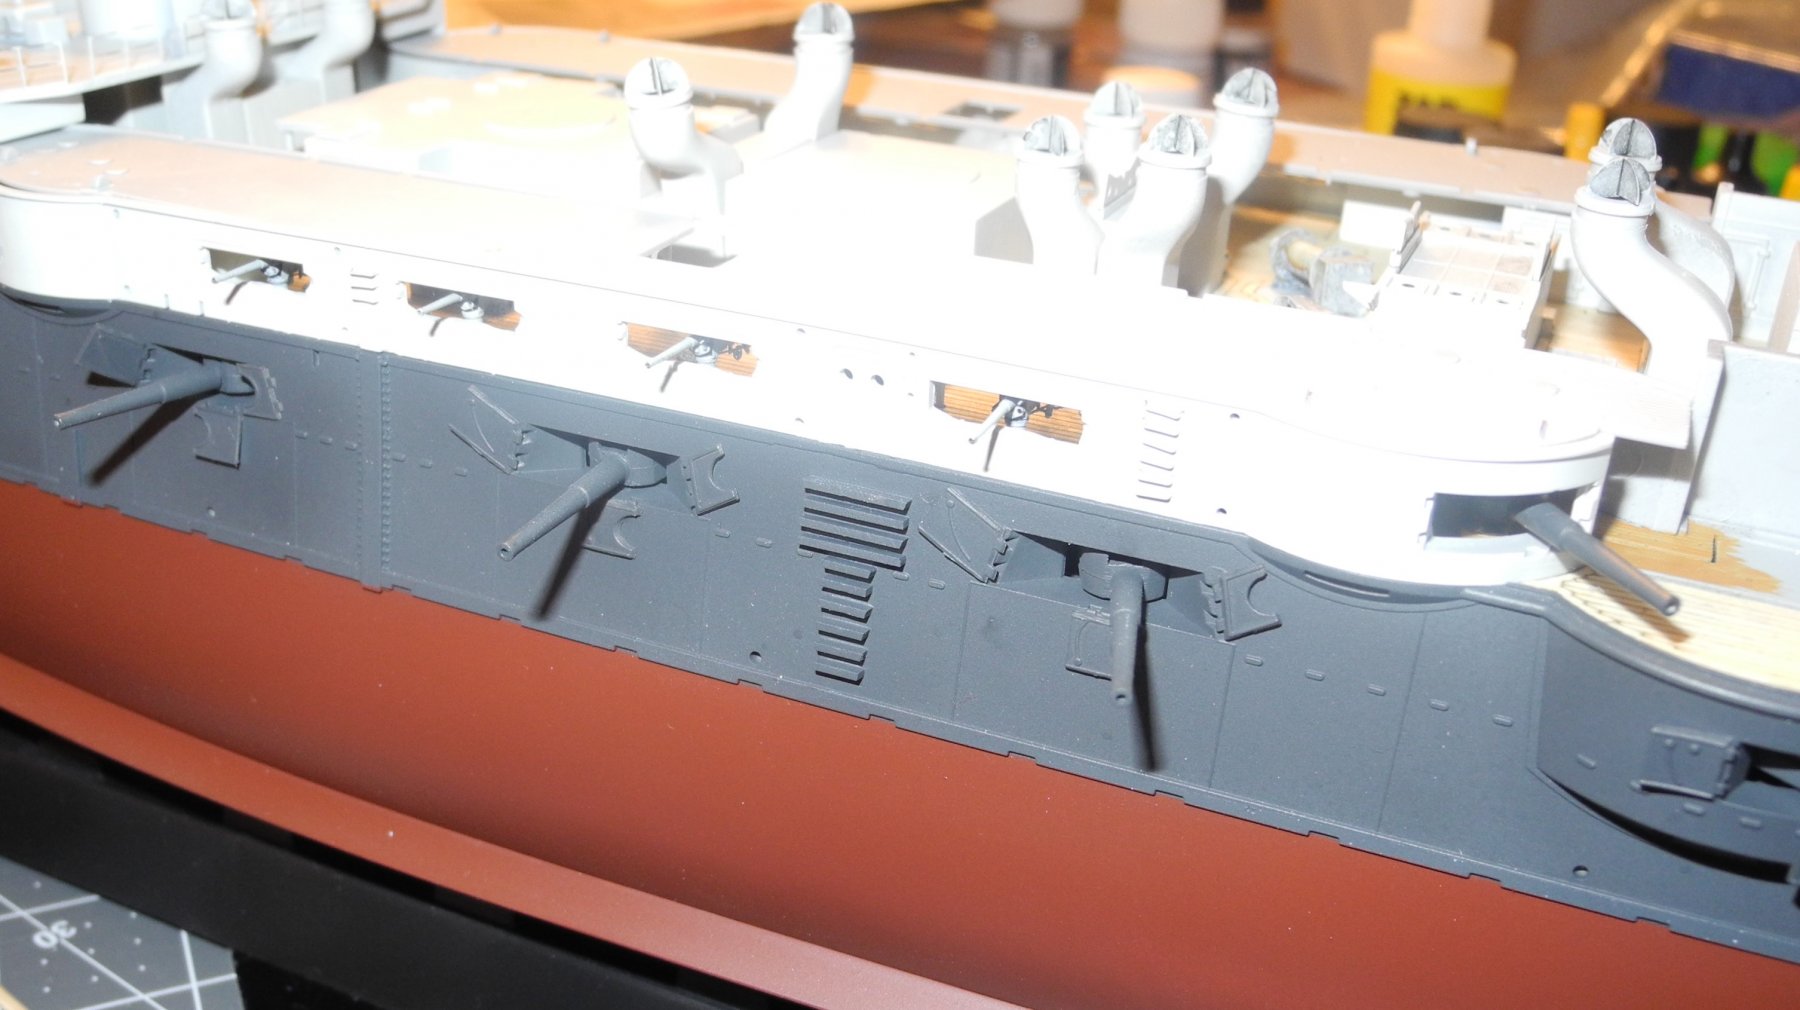
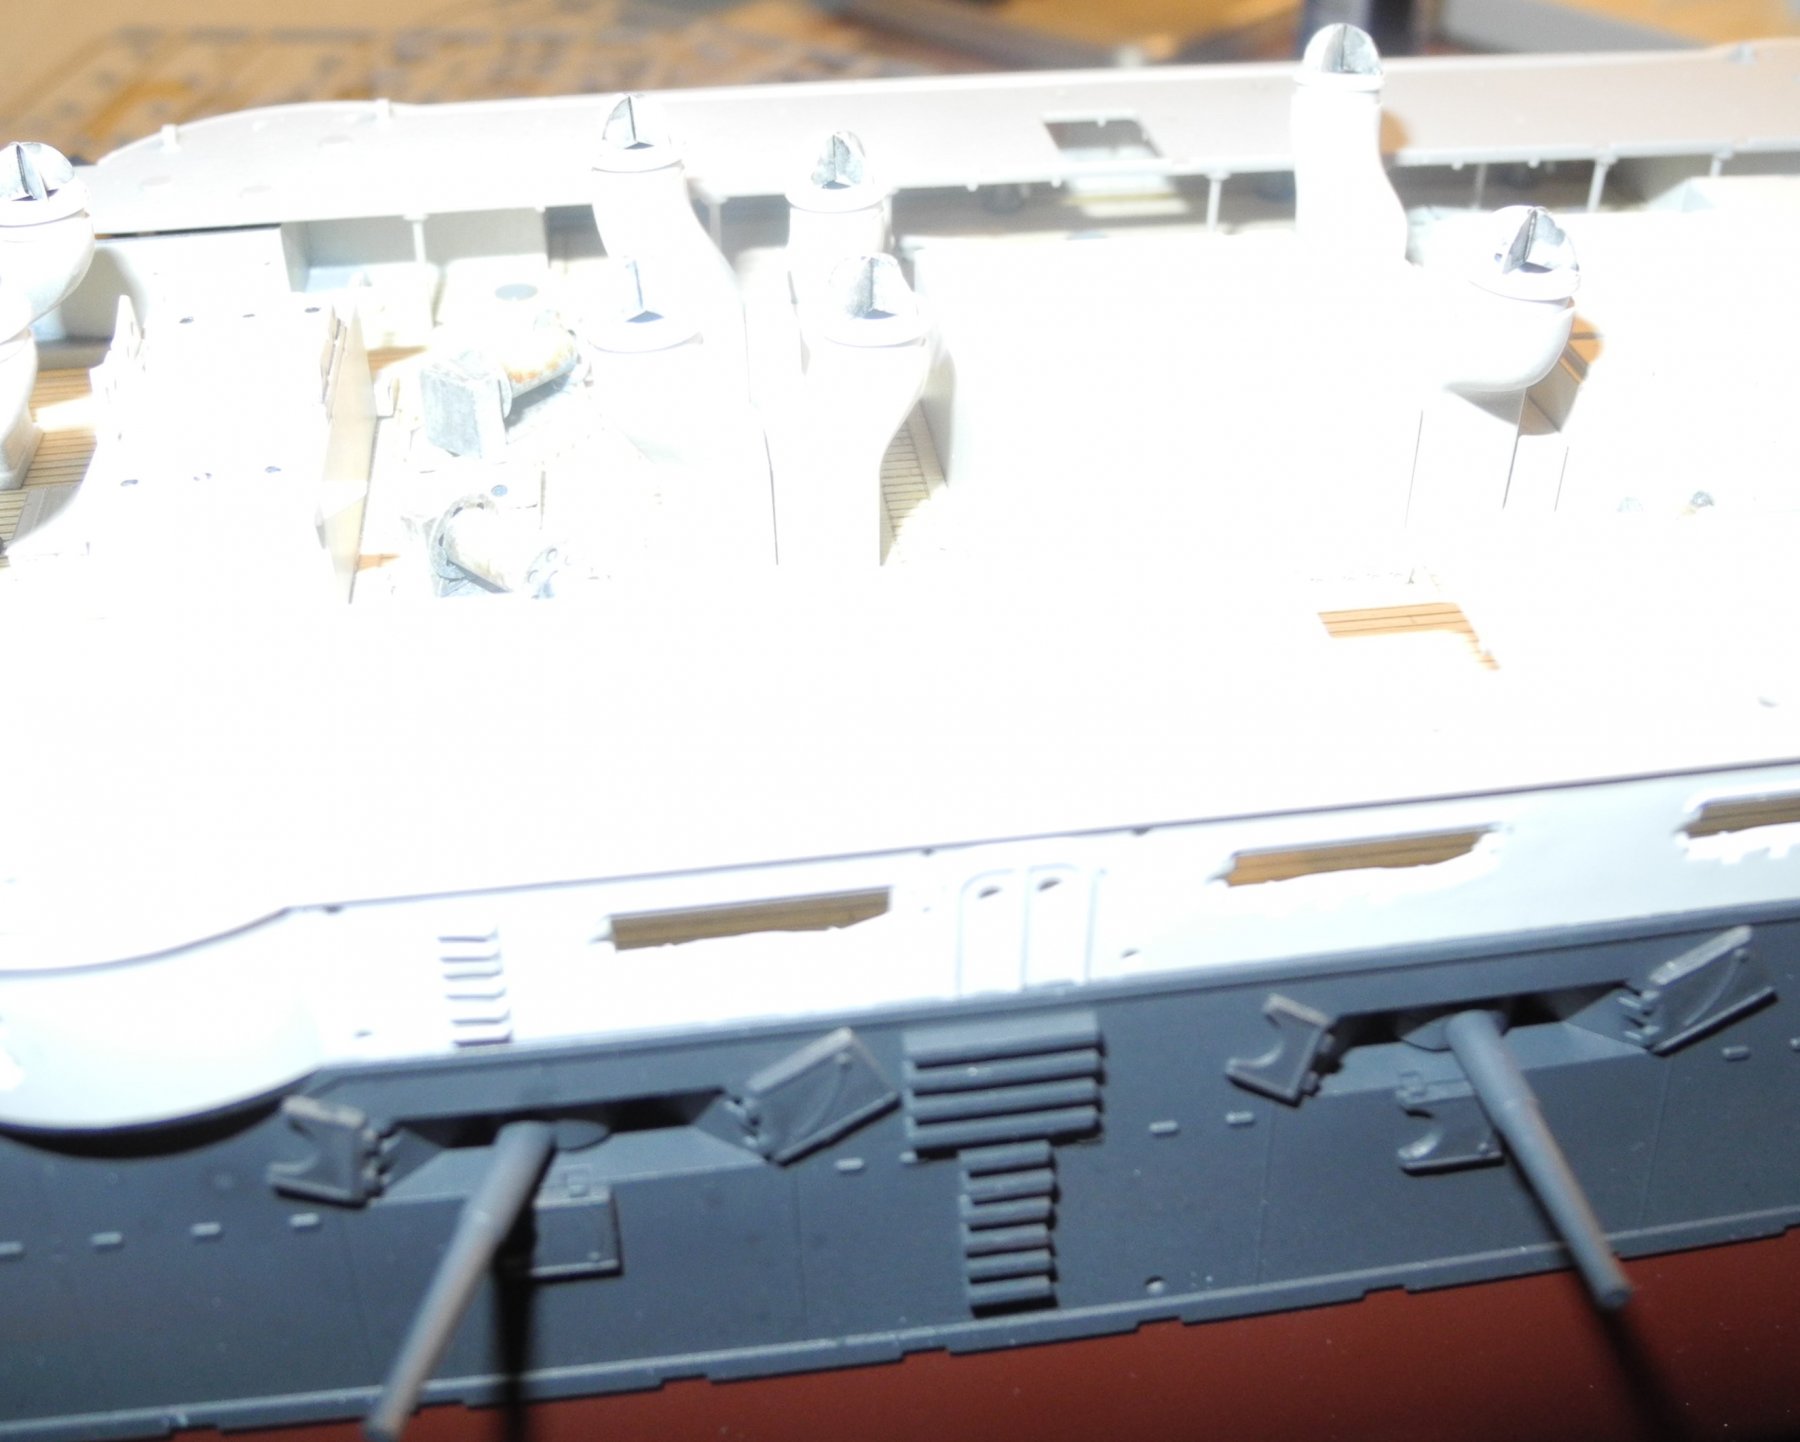
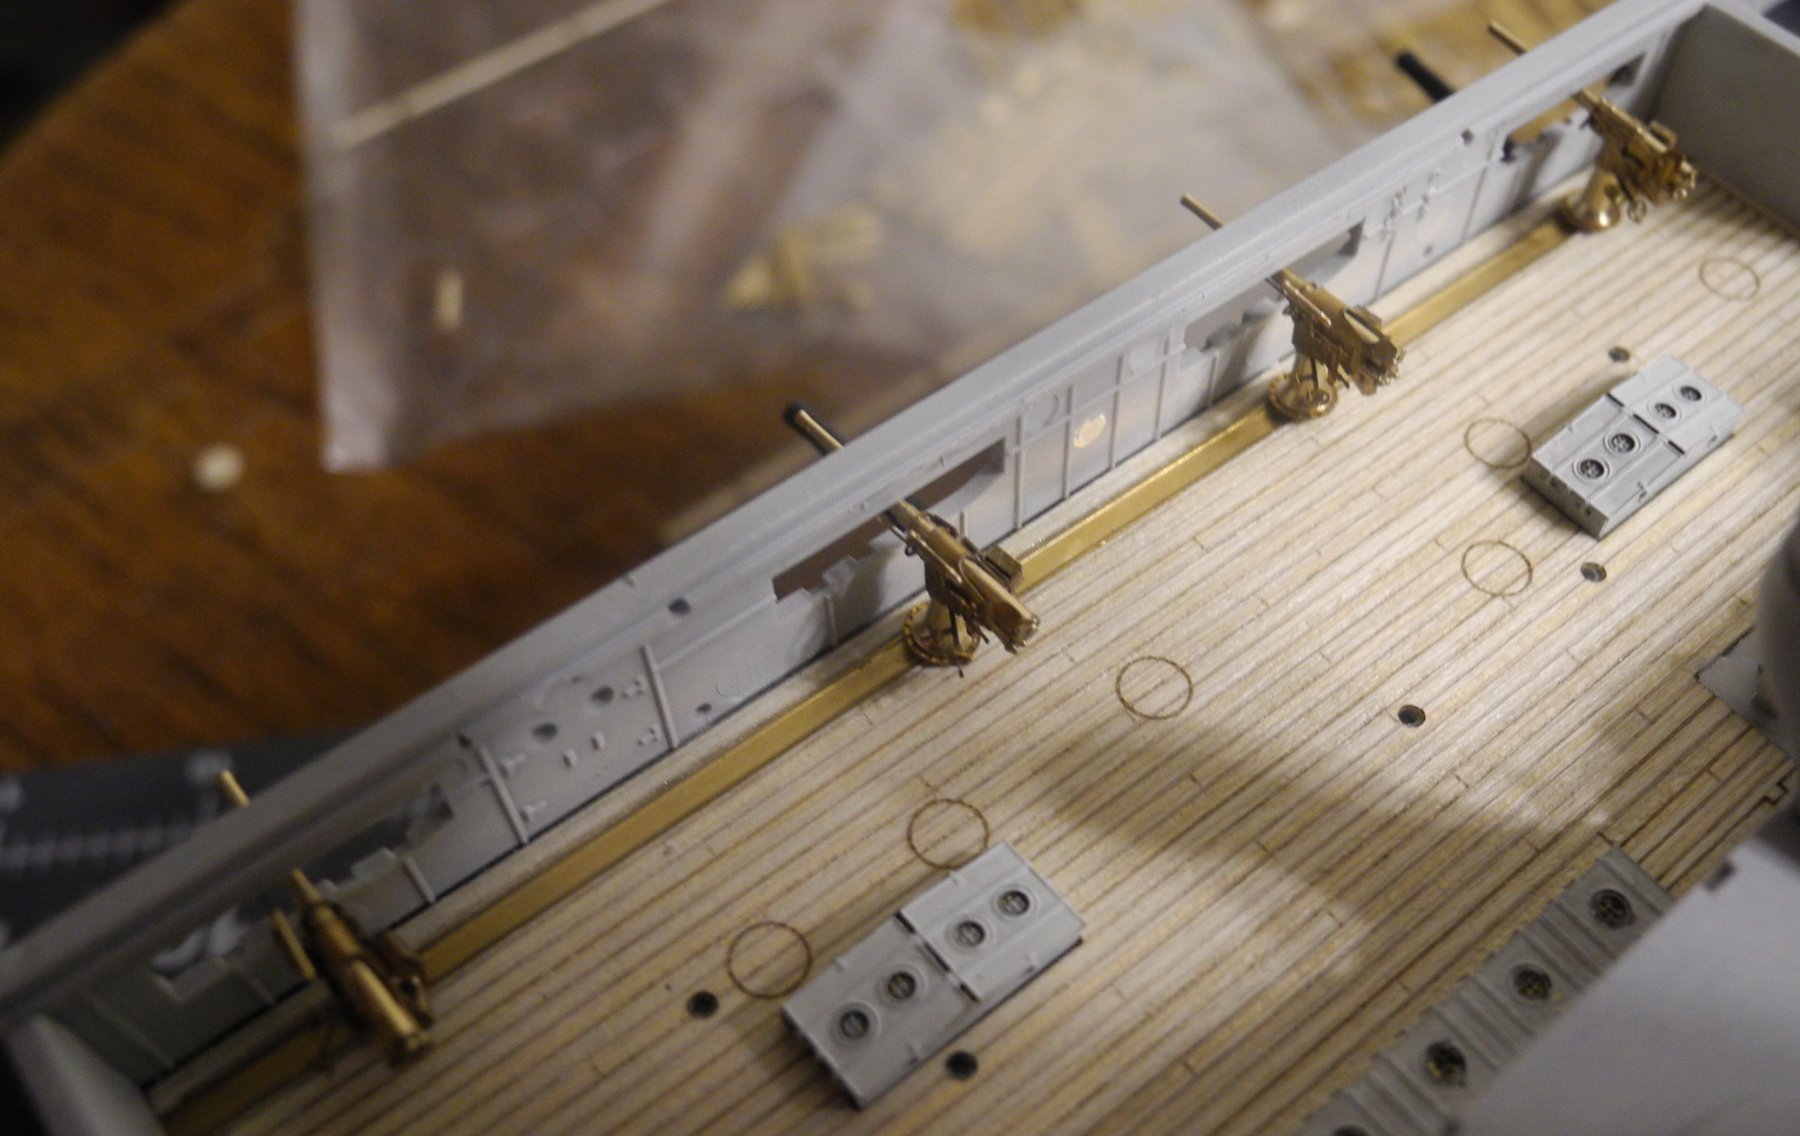
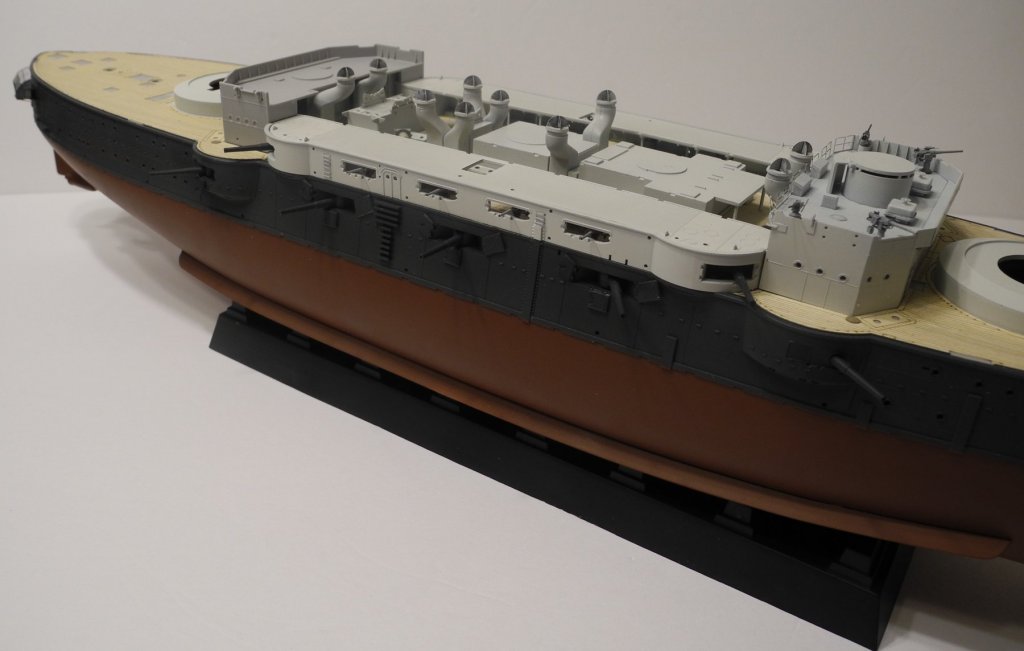
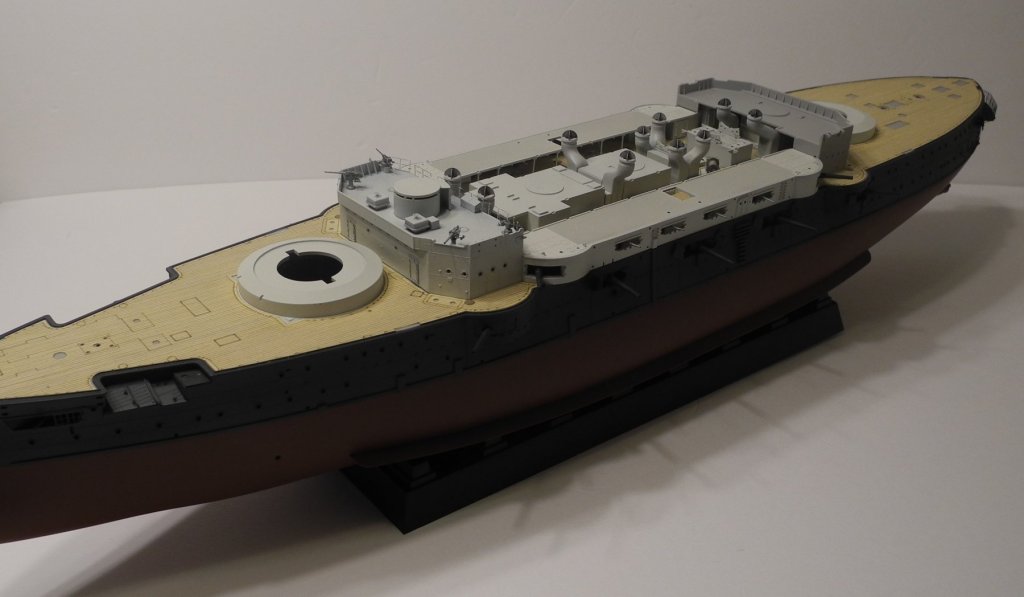
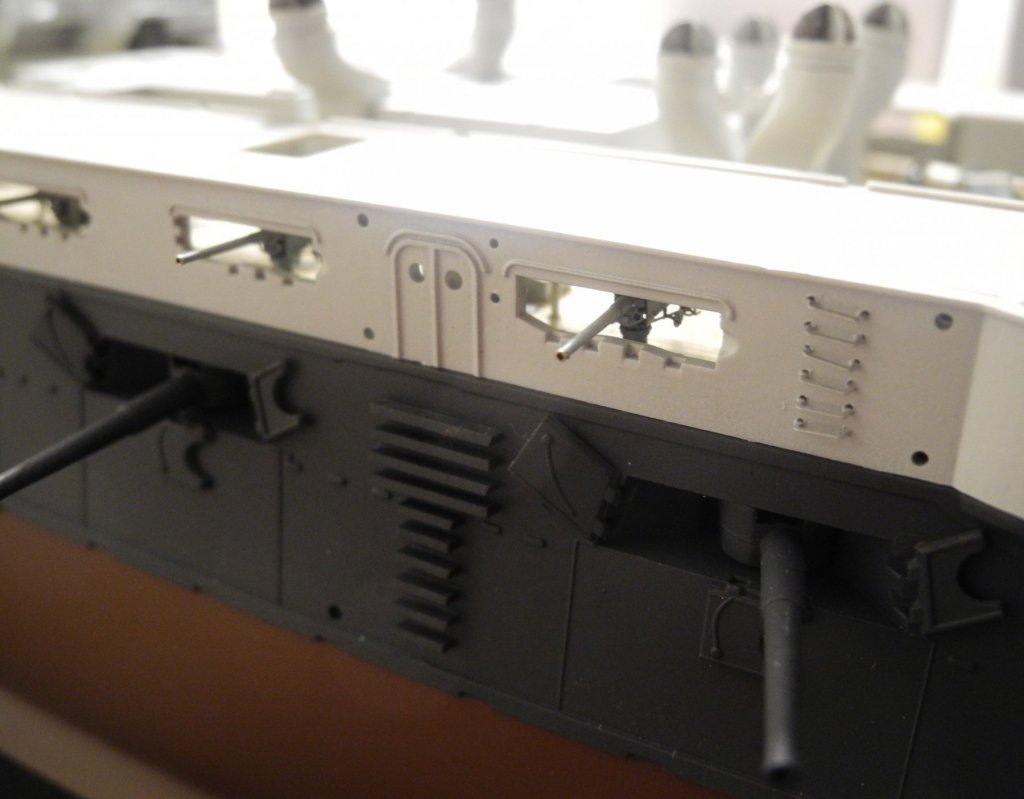
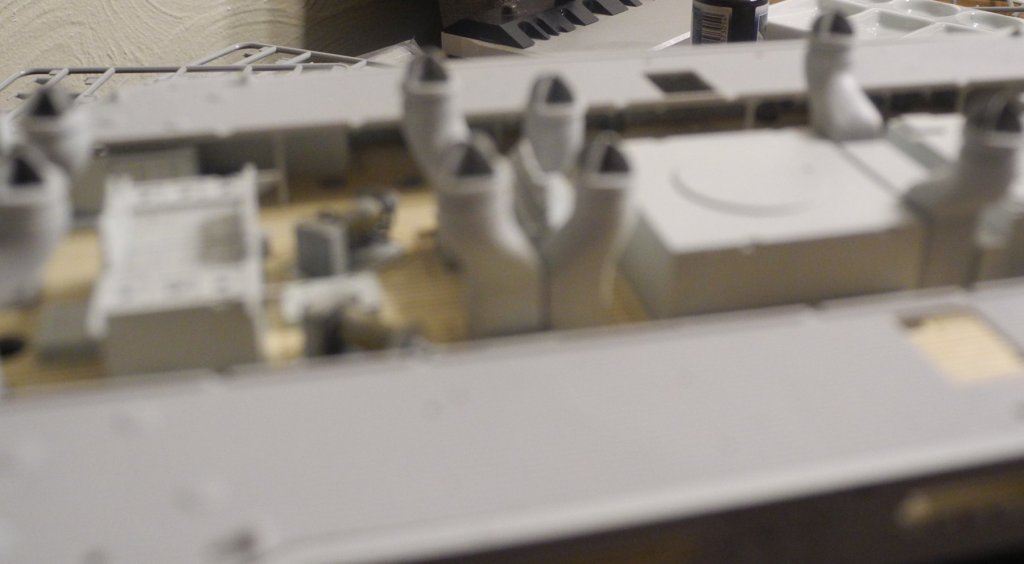
Thanks for that photo, Lou. Your coal shuttle looks very similar to the photo etch pieces on my gun deck. Not much point in detailing the ones on the gun deck, because you'll never see them. The following photos illustrate that once the upper deck is placed over the gun deck, it obliterates all the detail underneath except for what can be seen looking from the outside (gun ports) in. Can't really see anything looking from the inside out.


- 467 replies
-
- 13
-
-
- mikasa
- wave models
- (and 1 more)
-
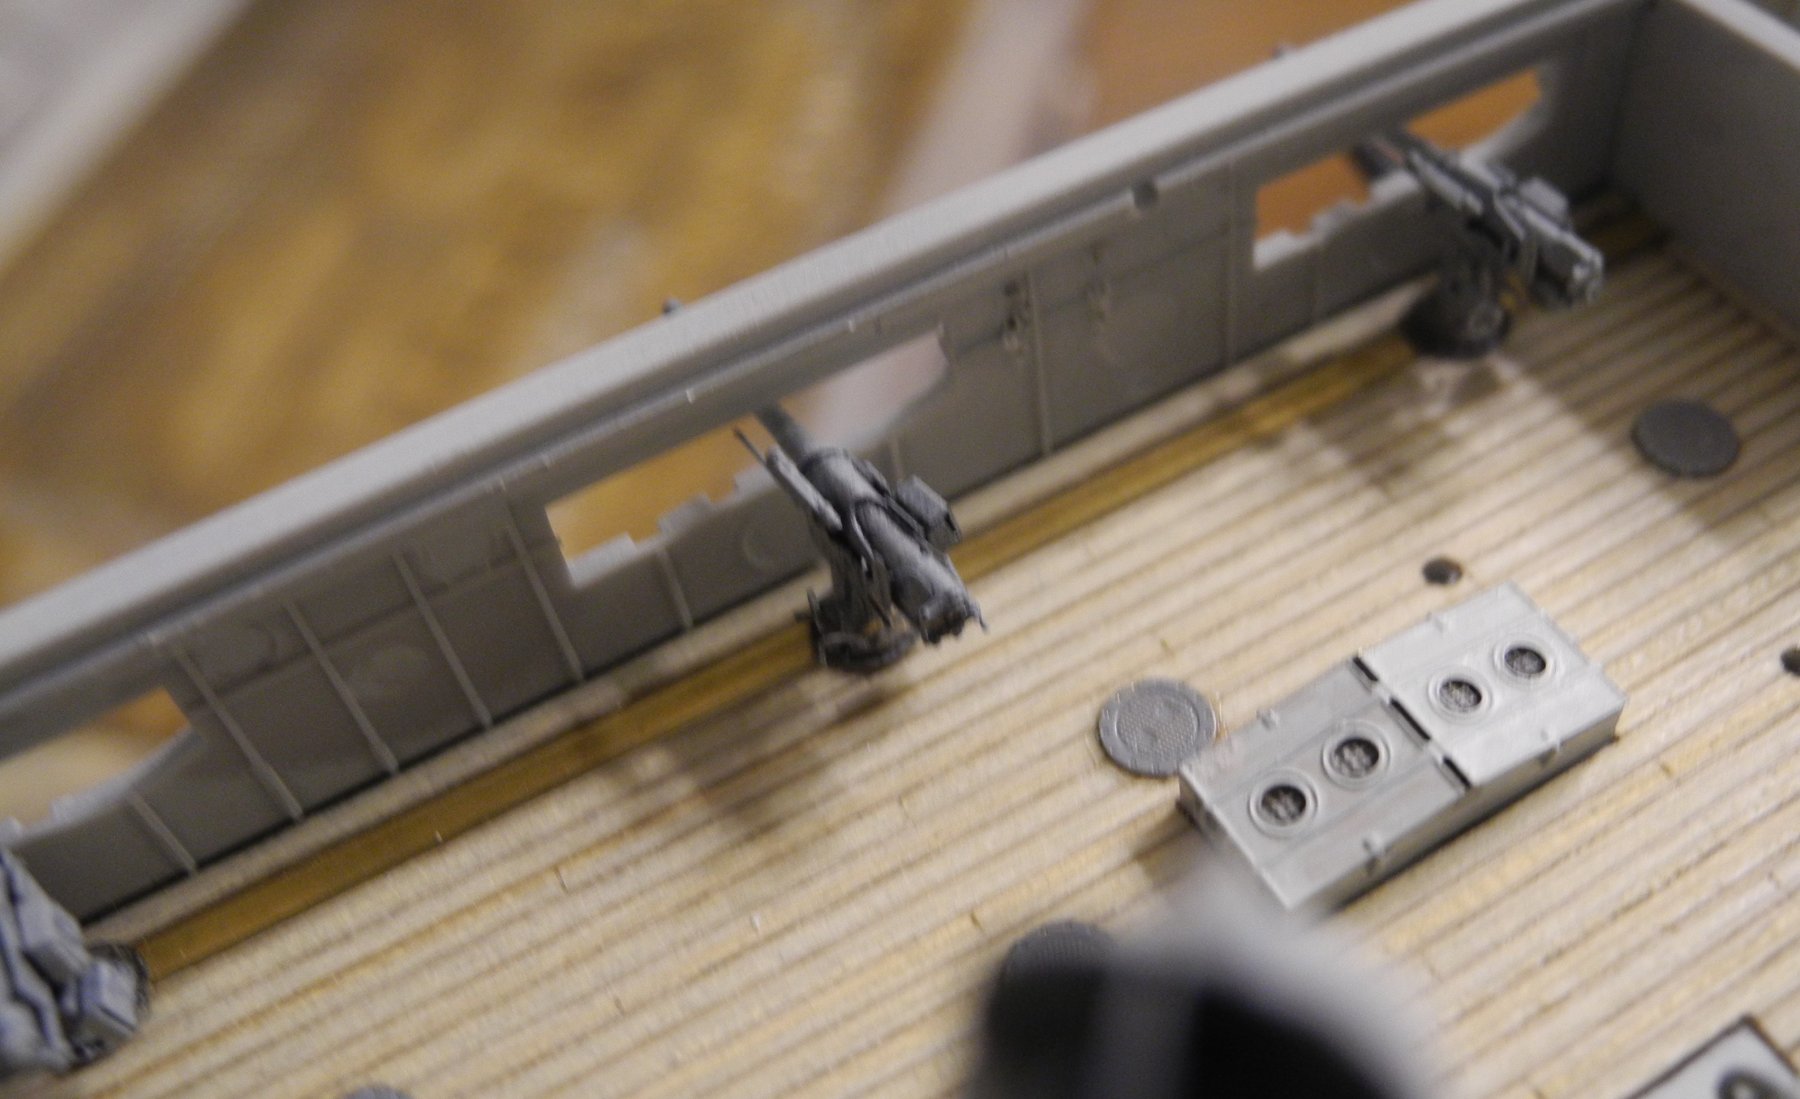
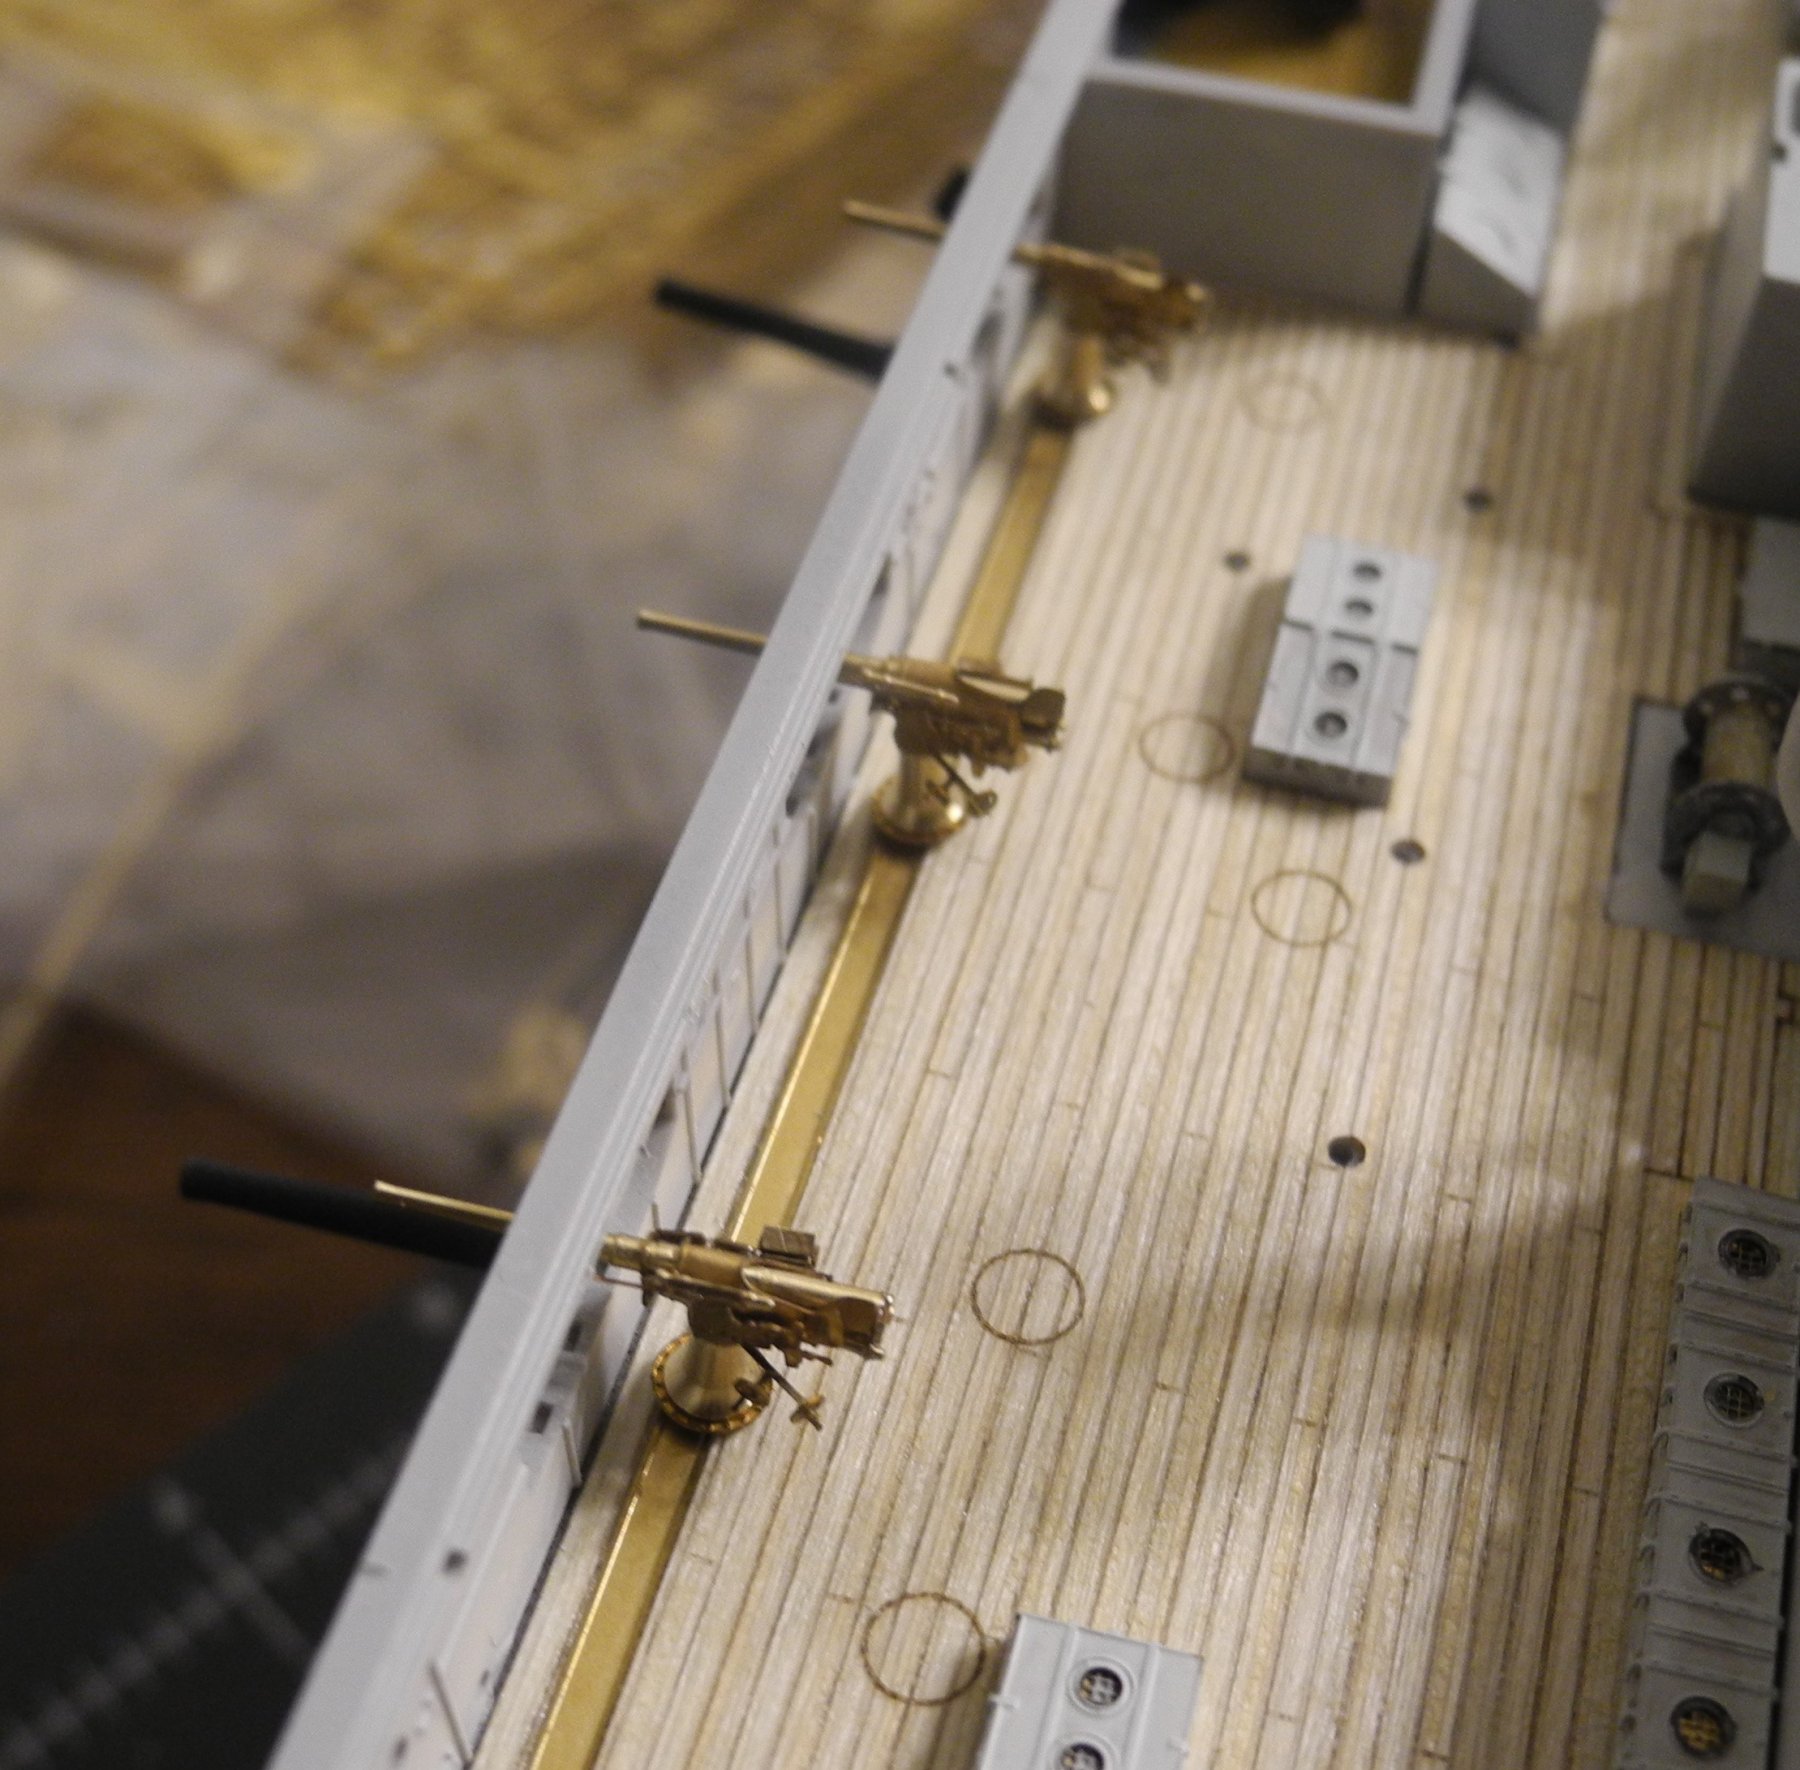
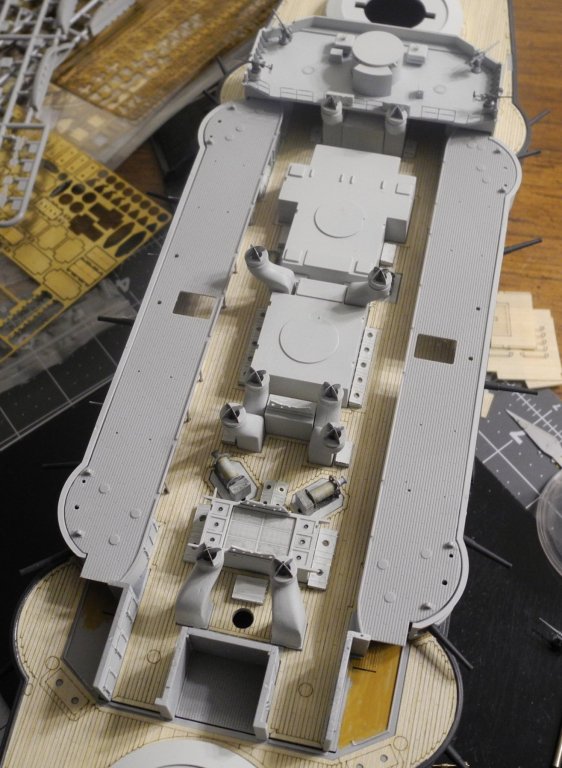
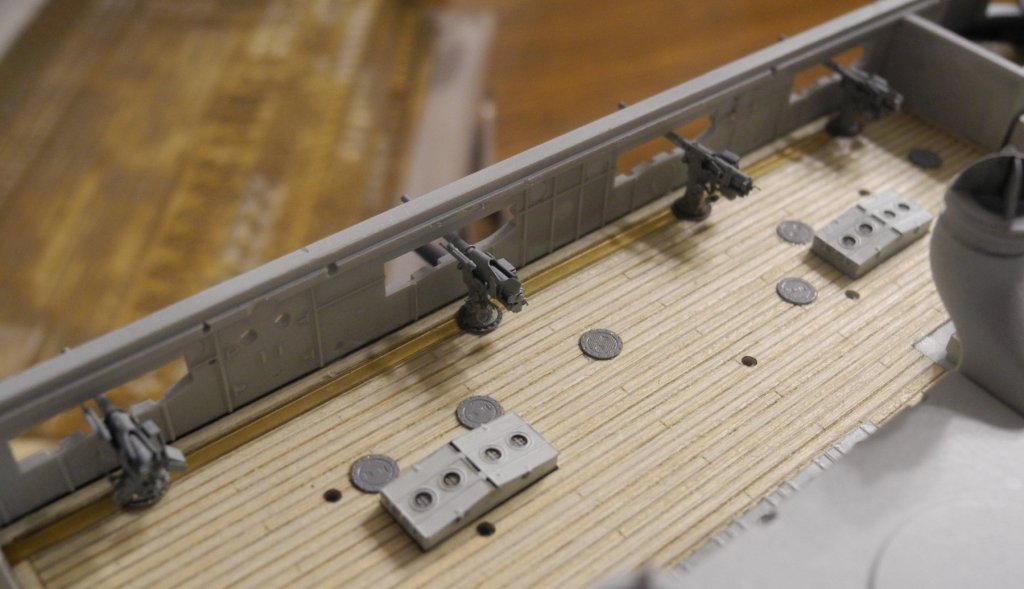
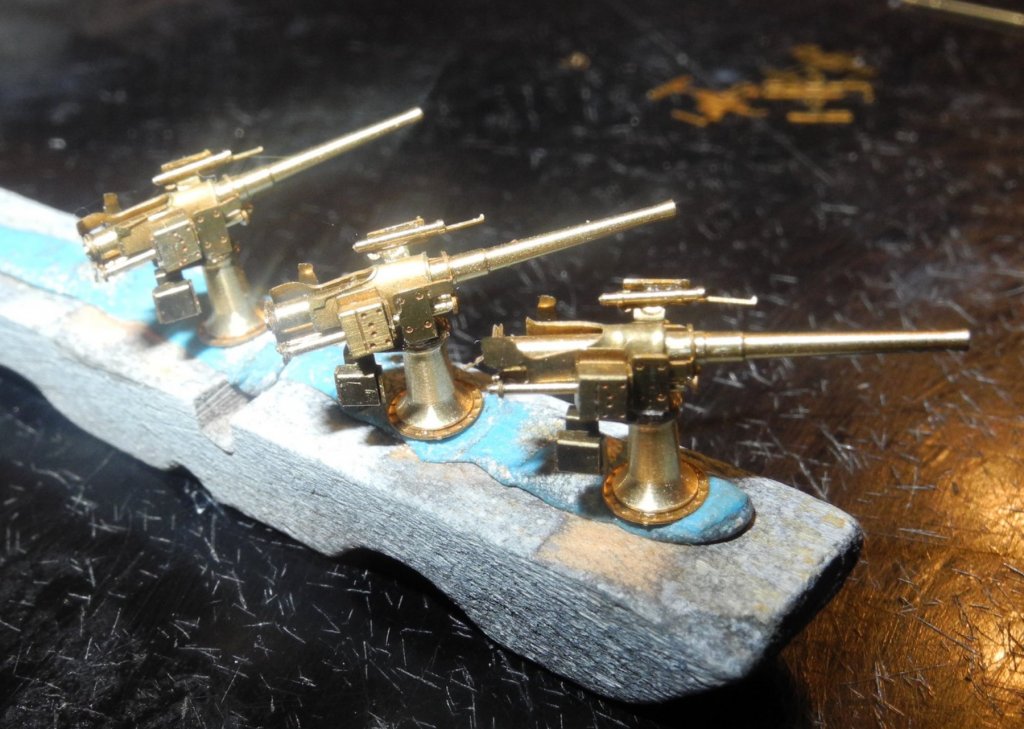
Painted and mounted. Next, we will cover them up with a deck.


- 467 replies
-
- 11
-
-
- mikasa
- wave models
- (and 1 more)
-
I know this will be hard to believe, but I lost one of these 3" guns in my shop area. Completely lost the whole thing. Not a piece of it, or a few pieces, but the whole thing is gone. Was trying to cut a locating pin off the bottom of the pedestal using my dremel with a cut-off wheel while holding it with a set of tweezers. That thing flew out of the tweezers and I could hear it hit (something) but couldn't find that thing anywhere. Then I realized I have enough parts left over to build another complete gun and called off the search. It will cost me less time building another than it will hunting for the one that flew away. And that's under the presumption I would find it intact, which it probably won't be intact IF I found it. Thank goodness Pontos gave extras in this set. That doesn't usually happen (extras).
- 467 replies
-
- 10
-
-
- mikasa
- wave models
- (and 1 more)
-
Amazing the details they capture in resin. Whoever does their masters is a, Master. 🙂 Shading looks great.
-
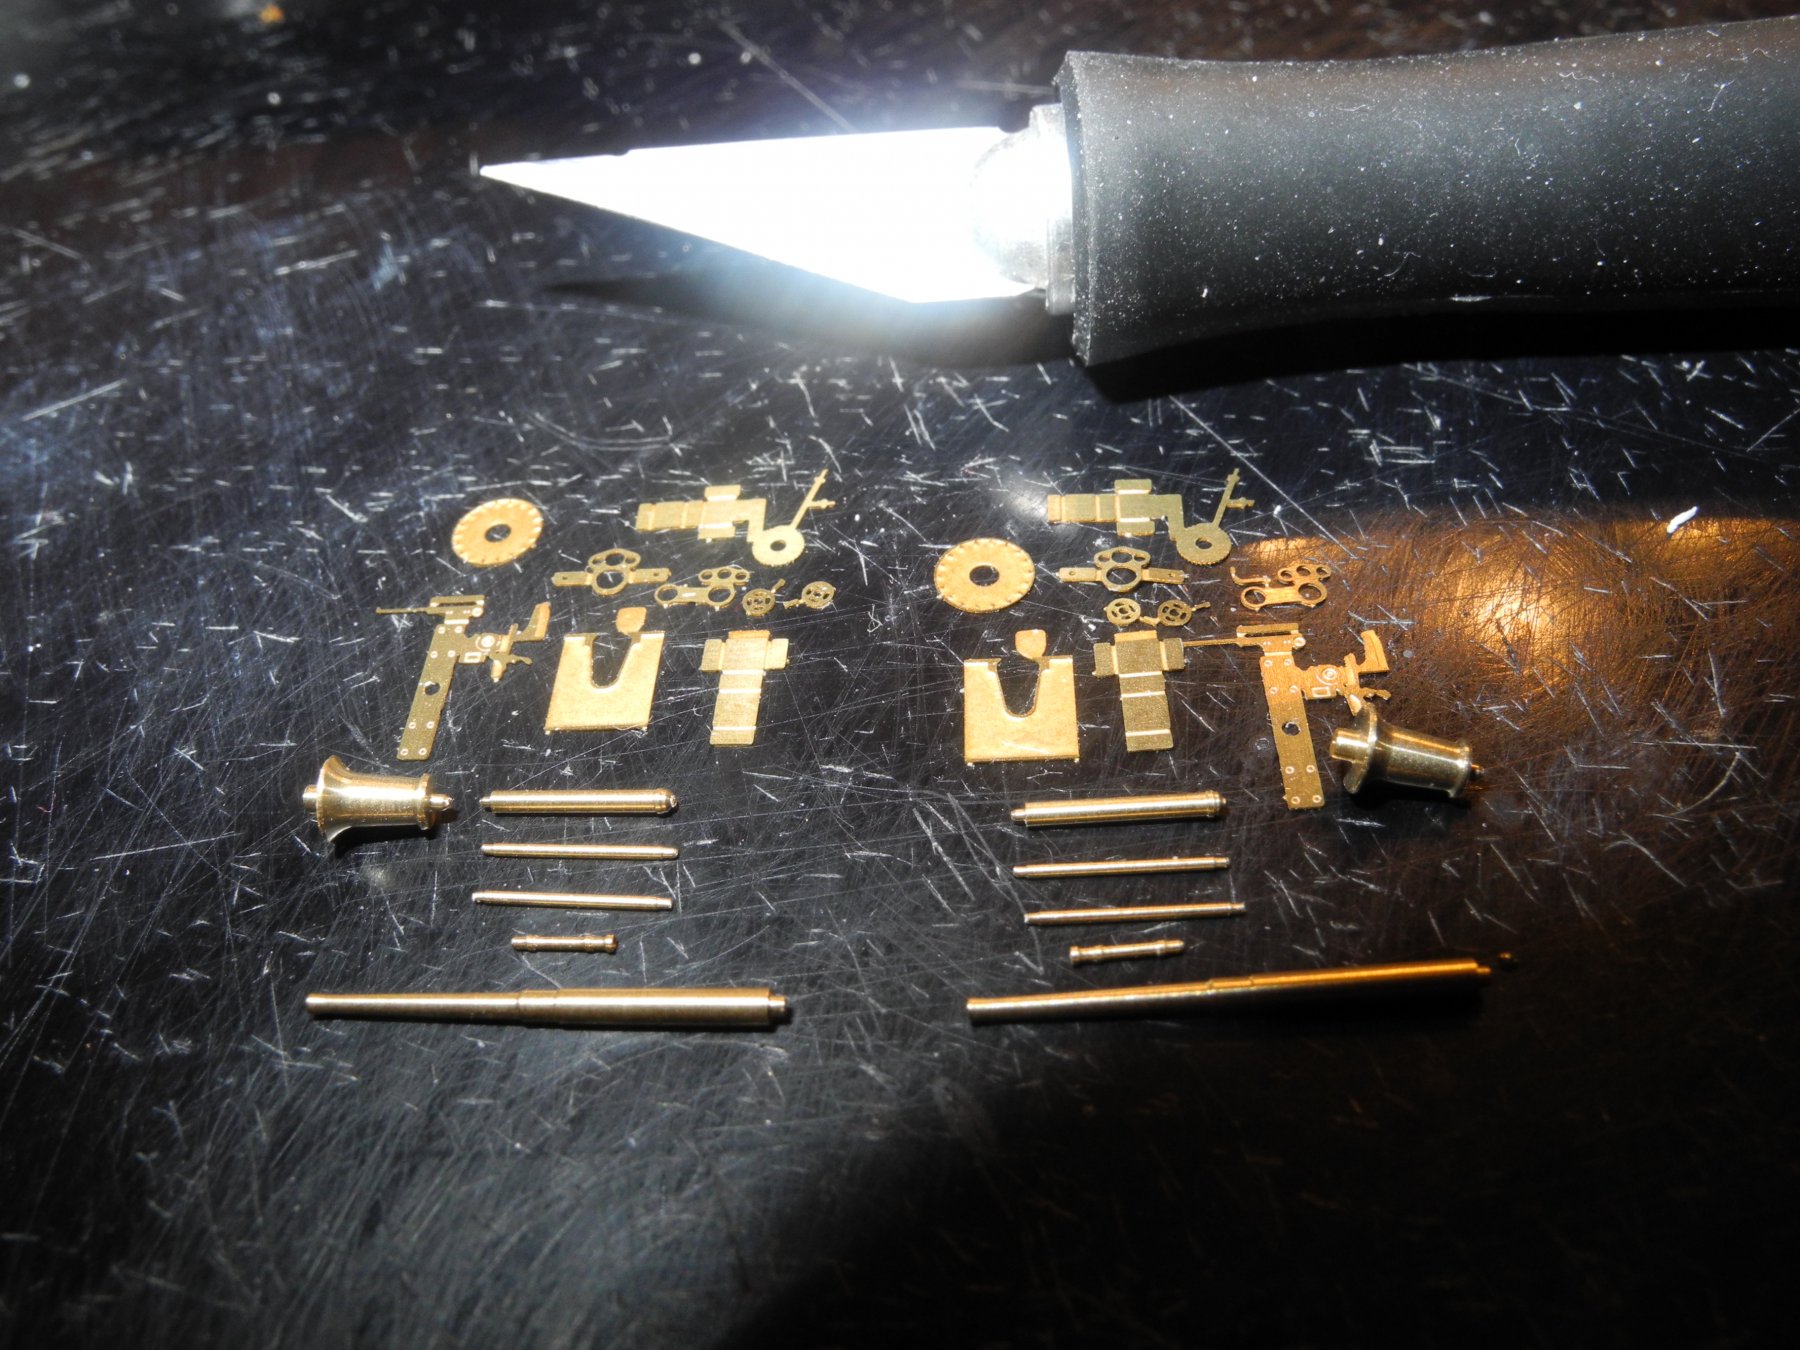
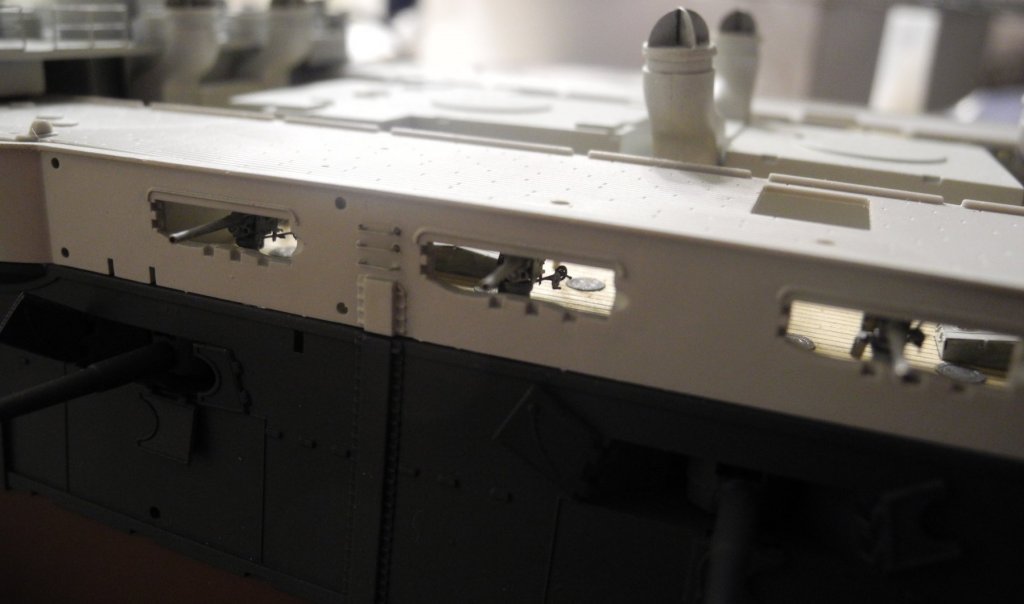
Once the 3" guns are glued in place, a deck will cover the guns so the only way one will see them is by looking inside the gun ports. No top view, and a very limited view from inside the ship looking out. Would you paint the guns or leave them natural brass?


- 467 replies
-
- 15
-
-
- mikasa
- wave models
- (and 1 more)
-
Are there red bugs out west? Here in Florida, if you lay down in the woods near any pine straw, you will get a case of itchy red bugs that will drive you nuts, scratching and scratching. Man, those things are WAY worse than mosquitoes.
-
Believe it or not, mosquito's don't fly far from where they hatched...I think no more than about 500 feet if memory serves correctly. Maybe less. So whether in Florida or anywhere else, the secret to staying free of mosquito's is to keep any standing water from collecting around your abode. Besides pots, pans, or other obvious things that can collect and retain stagnant water, certain plants also serve as a breeding ground because of their propensity to collect standing water. Elephant Ear plants come to mind...very bad for breeding mosquito's.
-
It's WAY off topic but I just have to mention this because of my last post. When I was a kid, my dad was a politician. He and I were traveling to our weekend home in the country one Saturday evening right at dusk. My dad's car overheated (a chronic problem) and we pulled off the road to let the engine cool down before dad added some water to the radiator. While we were waiting, we saw a UFO. My dad told me not to tell anyone about it because he didn't want the media to get a hold of the story at print it because it would make him (dad) look nutty. Well, the story got out there anyway and it got printed in the local newspaper. My dad was so pissed off. As years go by, that incident makes me laugh every time I think about it.

- 467 replies
-
- 8
-
-
- mikasa
- wave models
- (and 1 more)
-
In 1905, they were firing at UFO's...but nobody told about it in fear they would be thought of as lunatics. 🤐
- 467 replies
-
- 9
-
-
- mikasa
- wave models
- (and 1 more)
-
Nice work, Lou. Love your wooden ship model.
-
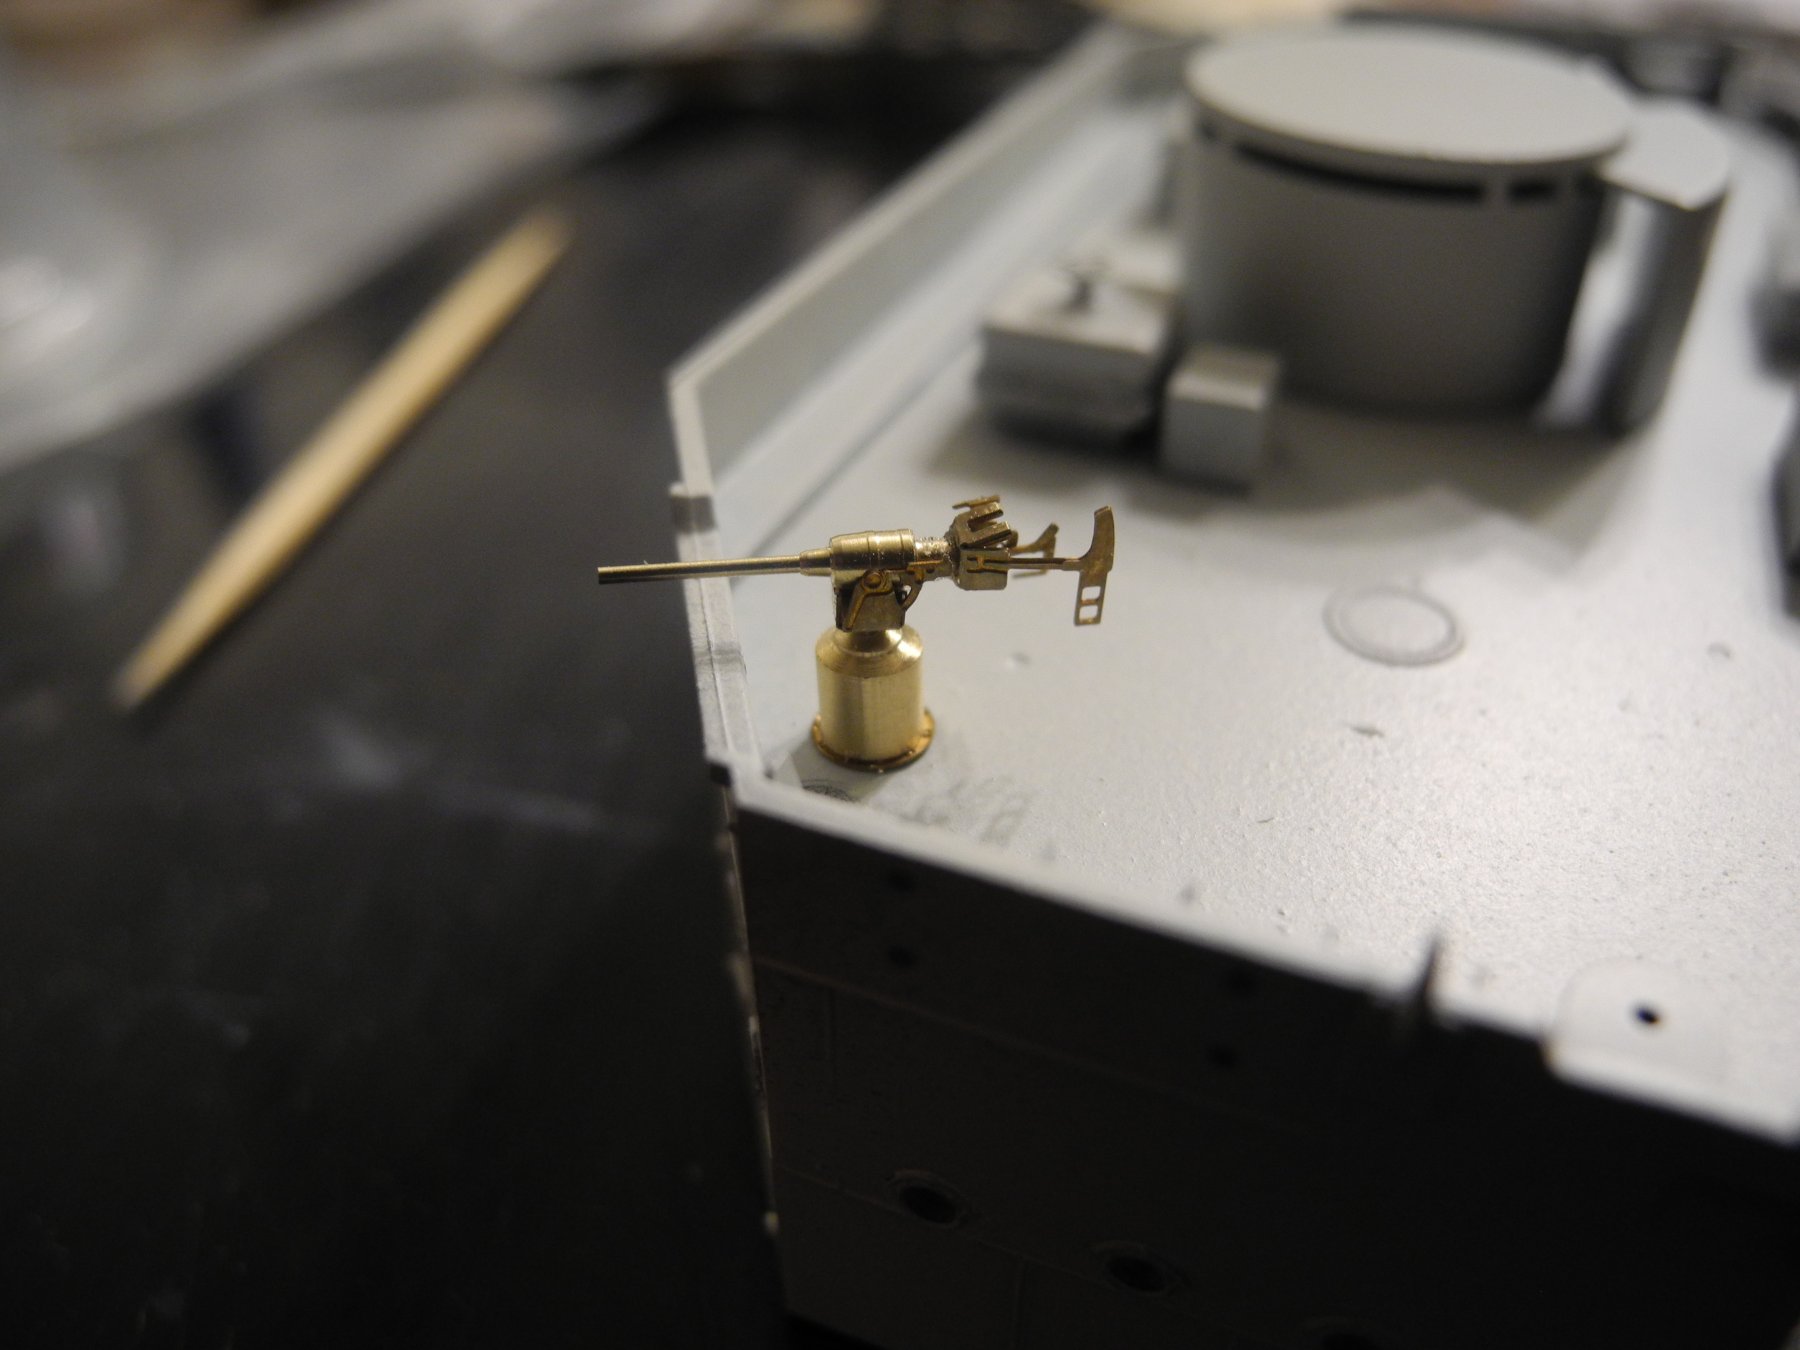
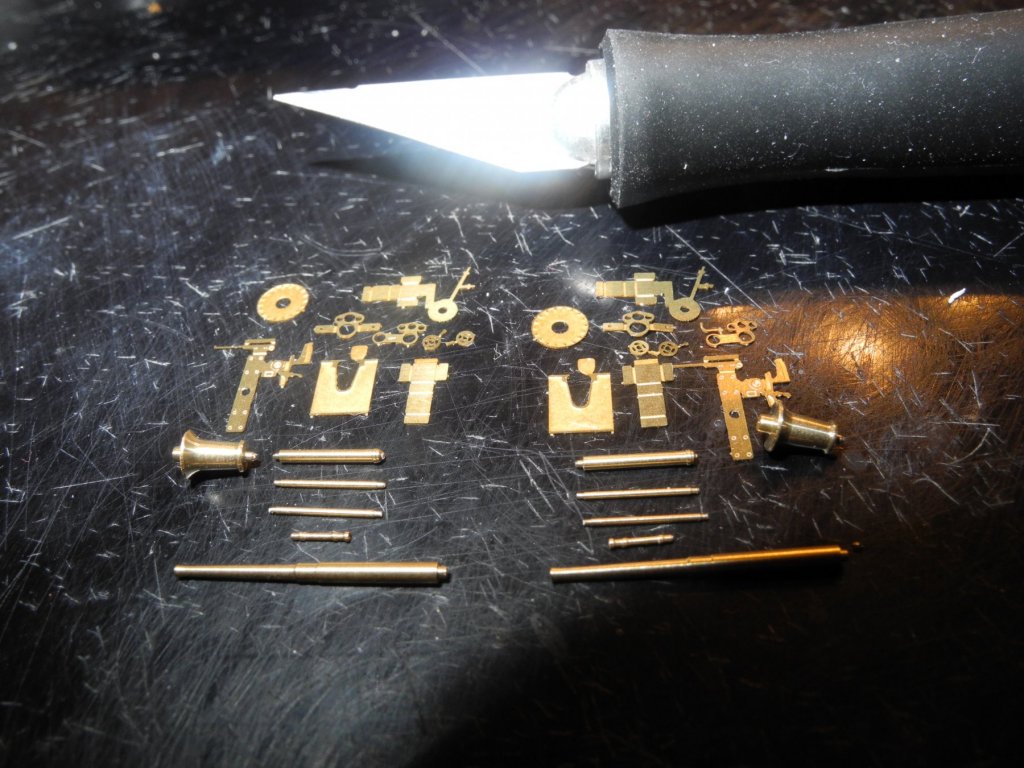
Just for grins and giggles... Here are the photo etch and turned brass parts for assembling 2 ea, 3" guns. This is before filing, folding, gluing, and mutilating. And then some paint.
- 467 replies
-
- 14
-
-
- mikasa
- wave models
- (and 1 more)
-
Building Acrylic cases technique video
CDW replied to Jim Rogers's topic in Modeling tools and Workshop Equipment
So that's how it's done. I always wondered, now I know. Thanks for sharing that video, Jim Rogers. -
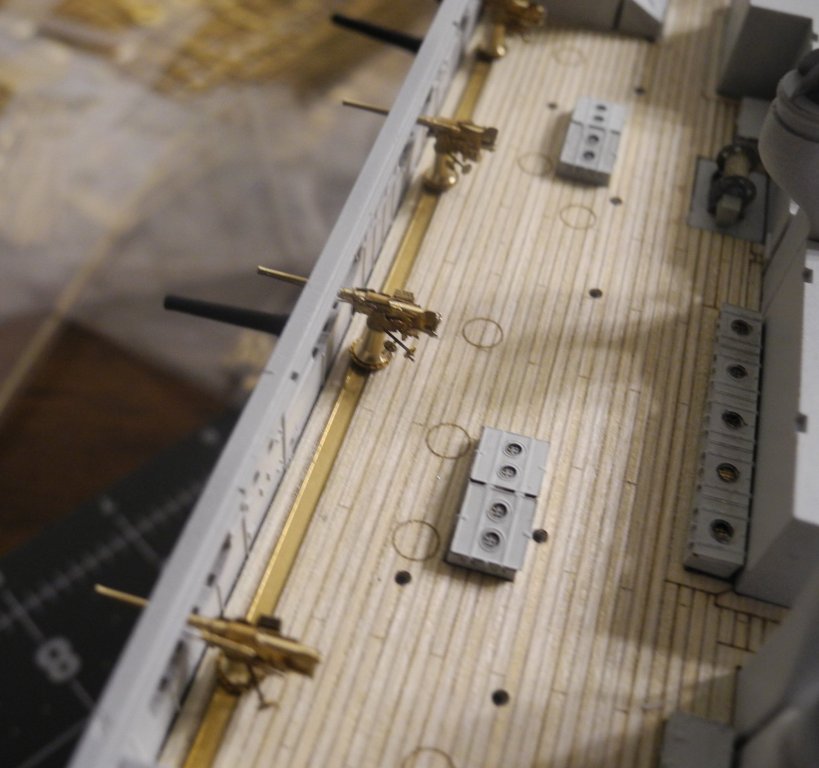
I just realized the gun in this picture is in the wrong place. This is a 47mm gun, and a 3" gun like I'm building now should be in it's place. I'll need to switch them out when time allows.

- 467 replies
-
- 12
-
-
- mikasa
- wave models
- (and 1 more)
-
I know, Sam. I was thinking the very same thing about painting them. A lot of this photo etch is that way. It would almost look as good unpainted rather than painted. Maybe even "blued" or "blackened" would look better than paint as well.
- 467 replies
-
- 5
-
-
- mikasa
- wave models
- (and 1 more)
-
I am so glad Pontos saw fit to include some extra photo etch parts in reference to the parts necessary to build the guns. There are some very small and delicate pieces that require folding...and there's only a small chance the modeler won't either break or lose a couple of them in the process of building 16 guns. Without those extra parts, one would be "screwed" as they say here in Ybor City. I don't know if it's strictly an American thing or not, but as kids we had this little game we played called Tiddly Winks. The game had a bunch of small plastic disks and a cup. The object was to scatter the disks on the floor, then using one little disk in your hand, squeeze the edge of the disk against one of the disks on the floor and cause the disk on the floor to "plink" - fly off and into the cup. Well putting these parts together reminds me of playing tiddly winks. You'll sometimes hear that dreadful sound of "plink", and you know you've lost another part. They are WAY too small to find once they go "plink" unless it's just your lucky day.
- 467 replies
-
- 6
-
-
- mikasa
- wave models
- (and 1 more)
-
My speed picked up a bit on these last two guns...got two done in an hour. But I doubt I'll get much faster than that. This leaves me with a solid six or seven hours to do the remainder of the 3" guns. And it says nothing of how long it will take to do the dozen or so remaining 47mm guns that need to be built. Stay tuned for more guns...🤐
- 467 replies
-
- 17
-
-

-
- mikasa
- wave models
- (and 1 more)