CDW
-
Posts
7,760 -
Joined
-
Last visited
Content Type
Profiles
Forums
Gallery
Events
Everything posted by CDW
-
 And some of the "other" card models I've seen have been phenomenal. Aircraft and armor models in particular.
 -
I did not check Ages of Sail specifically. Rather, I did a Google search for kit vendors. They may very well have it. But the cost with shipping from England was quite reasonable I thought, a grand total of just $138. I'll post some photos of the kit contents once I receive it.
- 346 replies
-
- 3
-

-
- terror
- polar exploration
- (and 2 more)
-
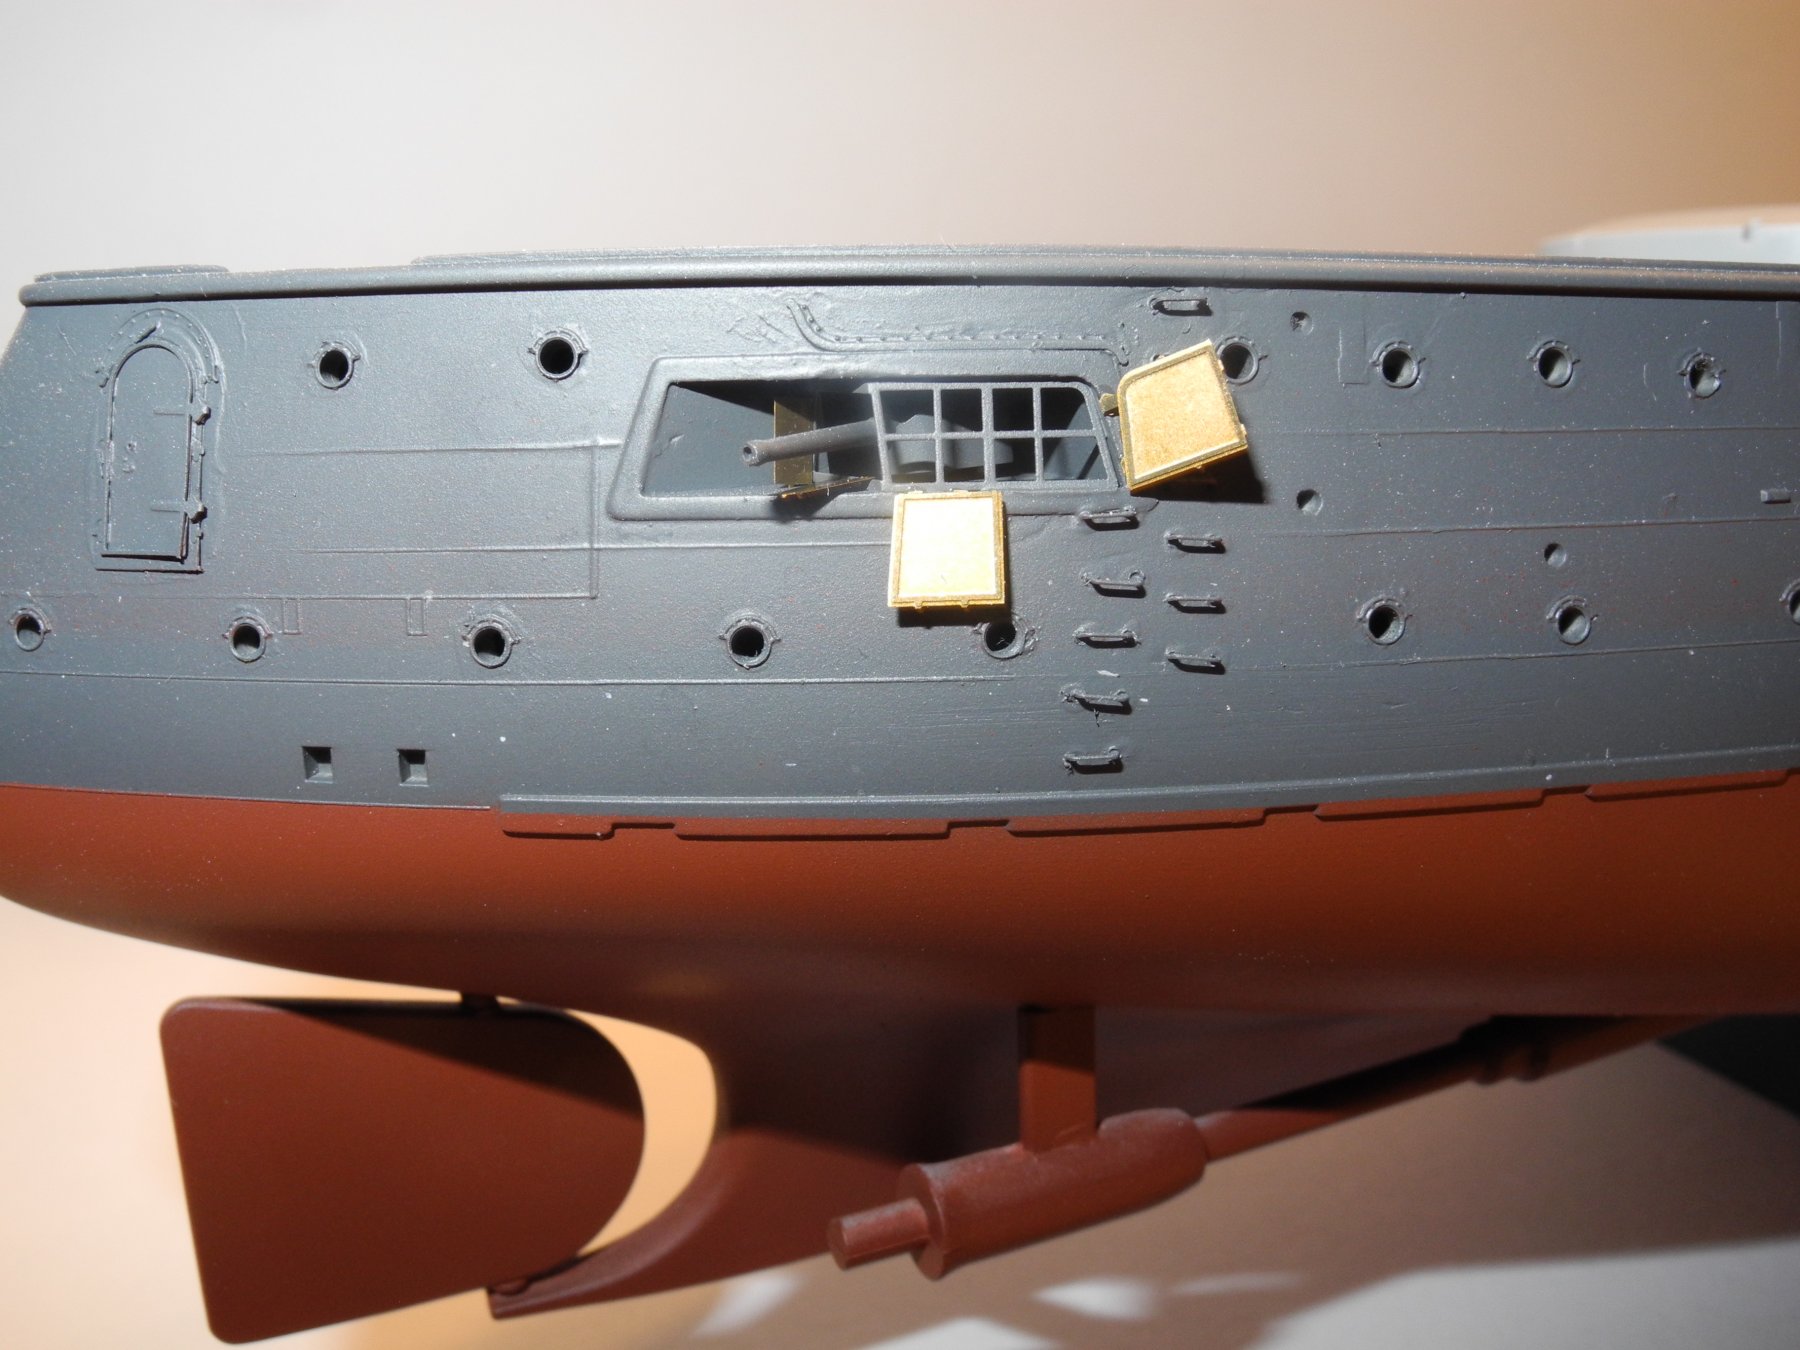
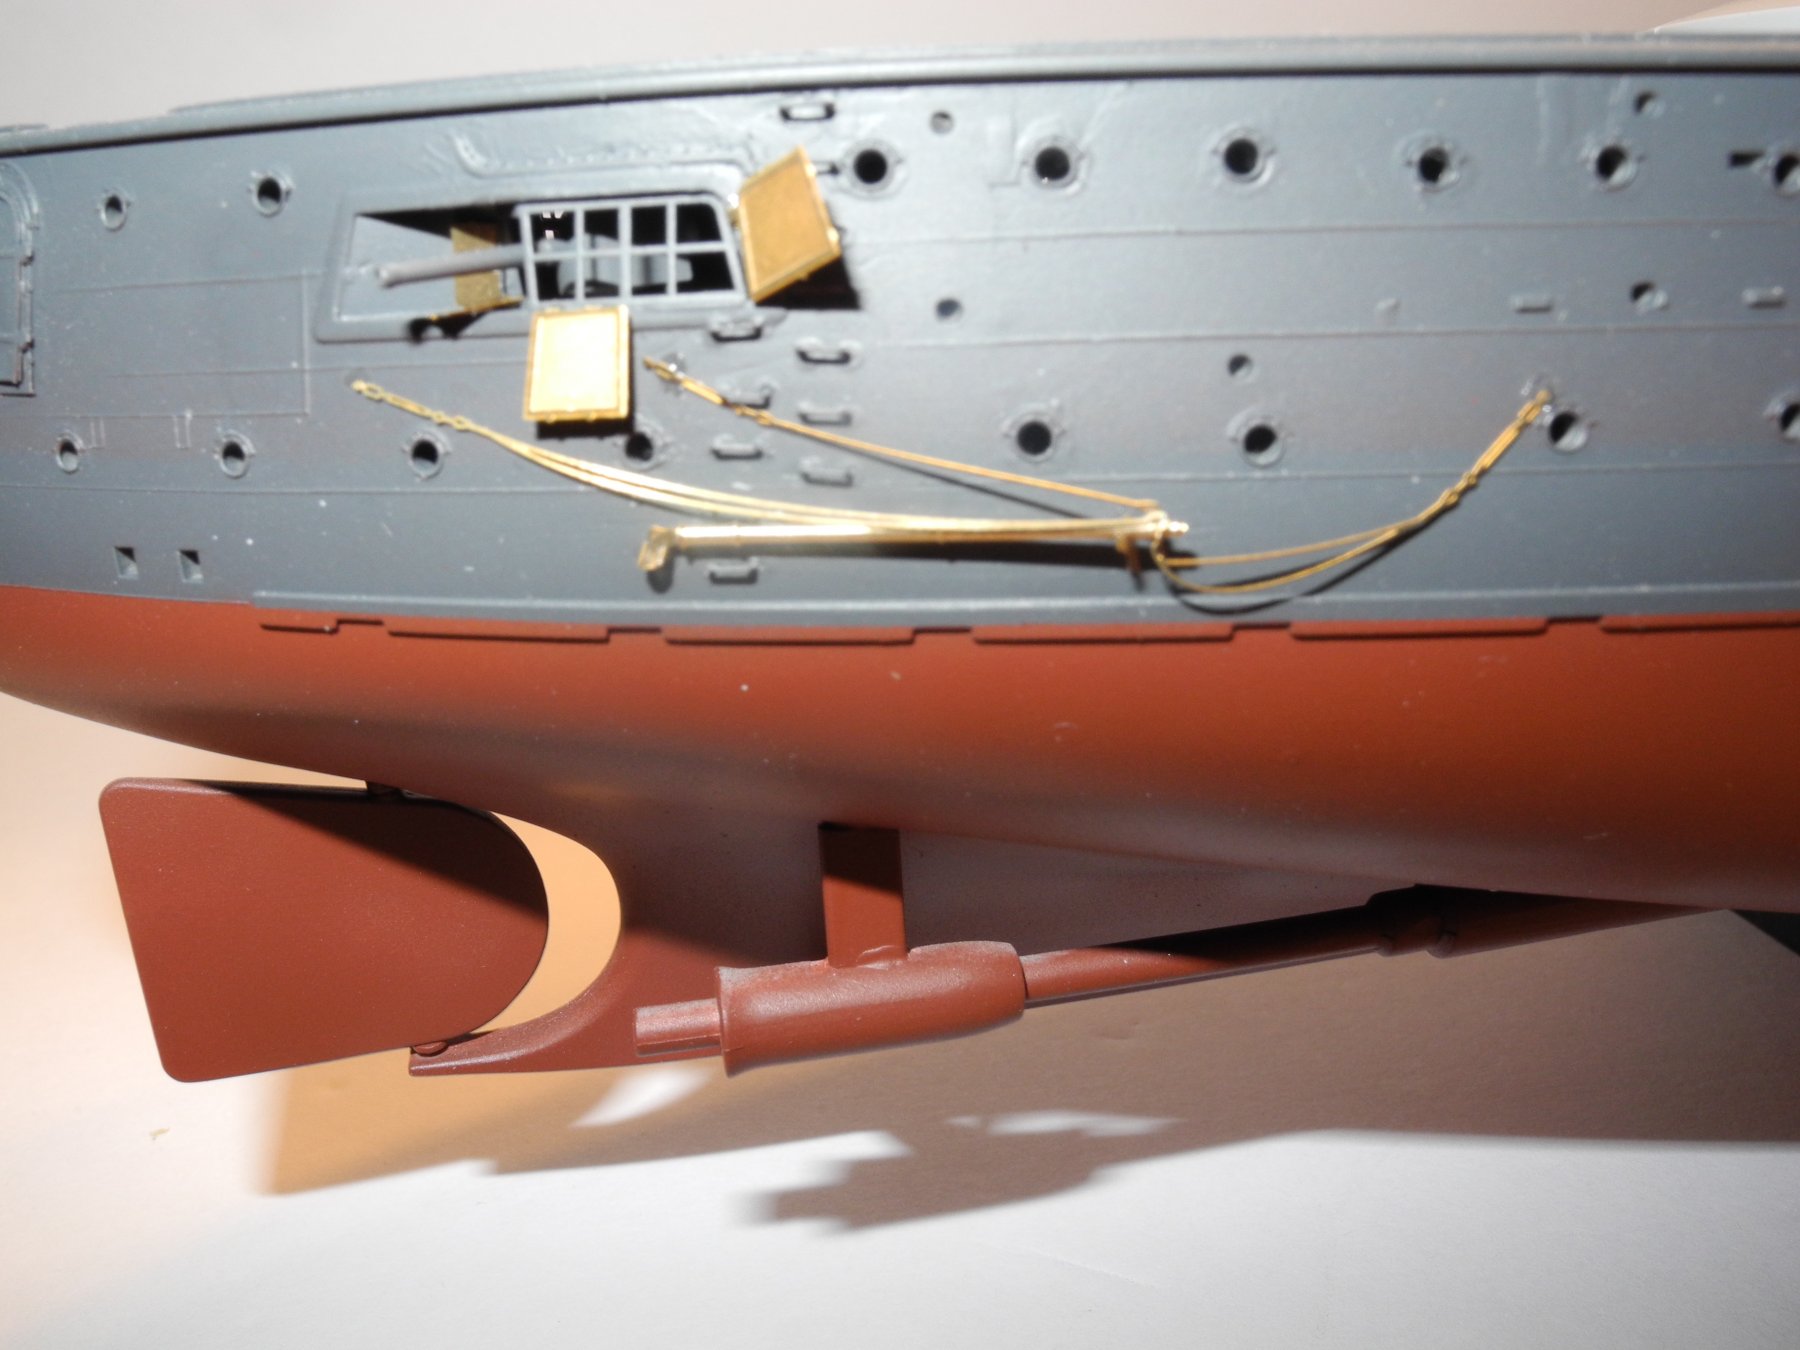
This is where I left off and where I begin, again. Gun port doors. Builder has the option of posing the doors either opened or closed. I'm going to have to carefully examine the locations of the several torpedo net booms that line each side of the ship so that installation of the doors (open doors in my case) don't interfere with the installation of the boom hanging hardware.


- 467 replies
-
- 11
-
-
- mikasa
- wave models
- (and 1 more)
-
I found the Occre kit from a shop in England and ordered it on Monday. I see they scaled it down to 1:65 or something there about. I have not seen this kit for sale in the USA yet.
- 346 replies
-
- 3
-
-
- terror
- polar exploration
- (and 2 more)
-
I would like a 1:200 scale Yamato as well. But I am hesitant to shell out $500+ for the antiquated Nichimo kit that will require another large investment in aftermarket to do it right. I keep hoping that Trumpeter or someone will come out with a newly tooled 1:200 Yamato. Seems to me there would be a market for it.
- 467 replies
-
- 7
-
-
- mikasa
- wave models
- (and 1 more)
-
Without seeing these launchers built here, would have never guessed they contained so much detail. Infini goes above and beyond.
-
Glad to have you on board, OC. With this Mikasa model, I am hoping to tune up for the next big project coming up. I need to decide between these...cast a vote if you wish: 1:250 Woody Joe Akagi 1:250 Woody Joe Yamato 1:250 Arri Yamato with Very Fire update set 1:200 Trumpeter Iowa with two huge Pontos Update sets. One is the detail up update set with the teak deck, and the guns update set. 1:200 Trumpeter Bismarck with full update sets. All these big models are sitting in my closet, waiting to be built.
- 467 replies
-
- 6
-
-
- mikasa
- wave models
- (and 1 more)
-
It's been almost a year since I last worked on the Mikasa. Decided it was maybe time to pick back up where I left off and hopefully, finish this model this time around. Need to study the plans a while before starting back up. Lots and lots of details and it would be easy to get out of sequence.
- 467 replies
-
- 9
-
-
- mikasa
- wave models
- (and 1 more)
-
Any way to do the tarp without the rail? I presume the rail is what you don't have at this point.
-
On the top left hand side of my camera (looking at it from the back of the camera) there is a wheel with a mark of "WB" on it, along with other marks. Is that the mark that should be set to WB? It was set on a different mark.
- 89 replies
-
- 3
-
-
- independence lcs-2
- trumpeter
- (and 2 more)
-
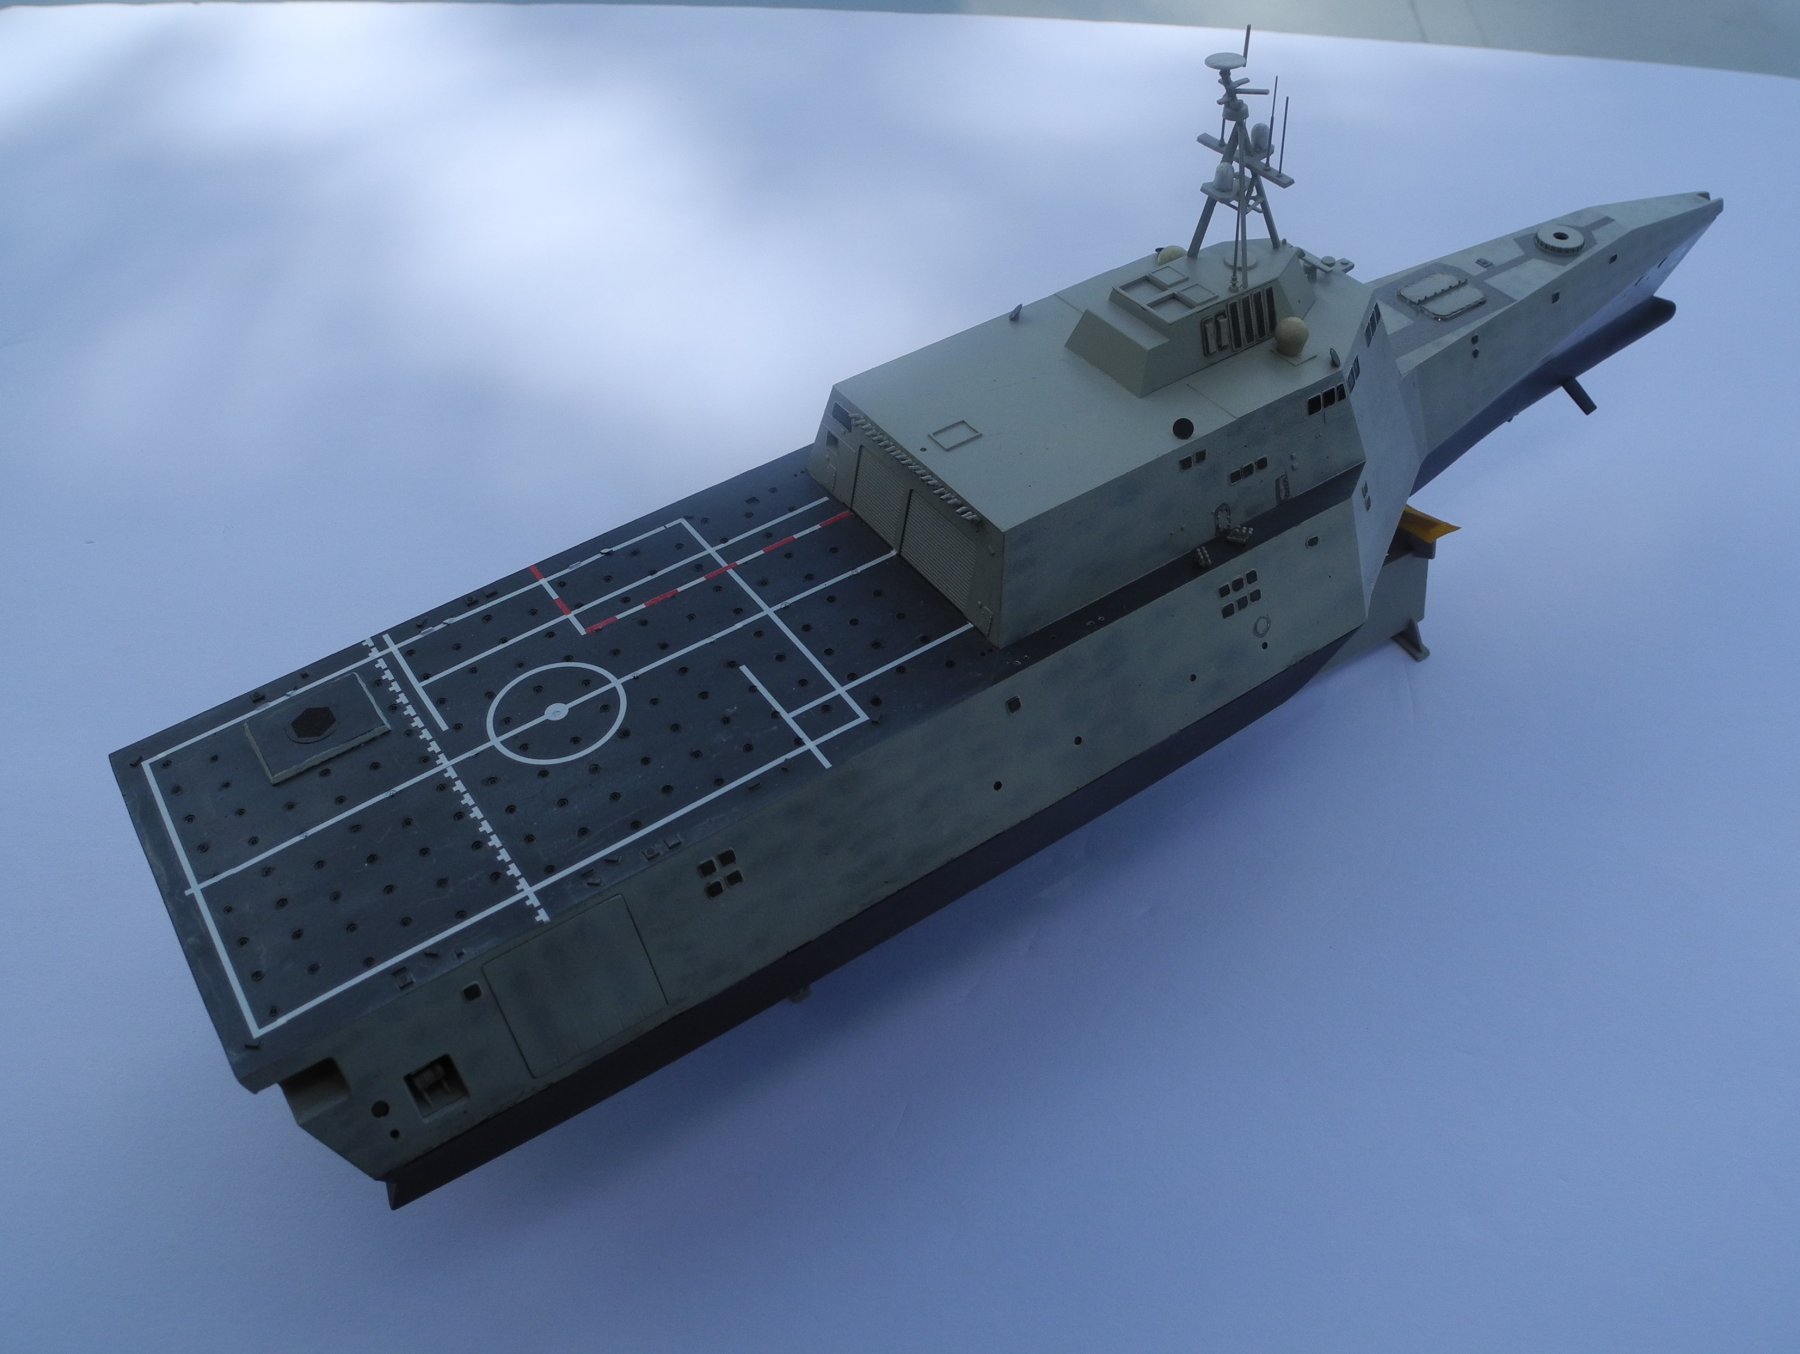
Thanks Greg. Saving those for the very last thing. Wanted those deck decals to be good and dry.
- 89 replies
-
- 3
-
-
- independence lcs-2
- trumpeter
- (and 2 more)
-
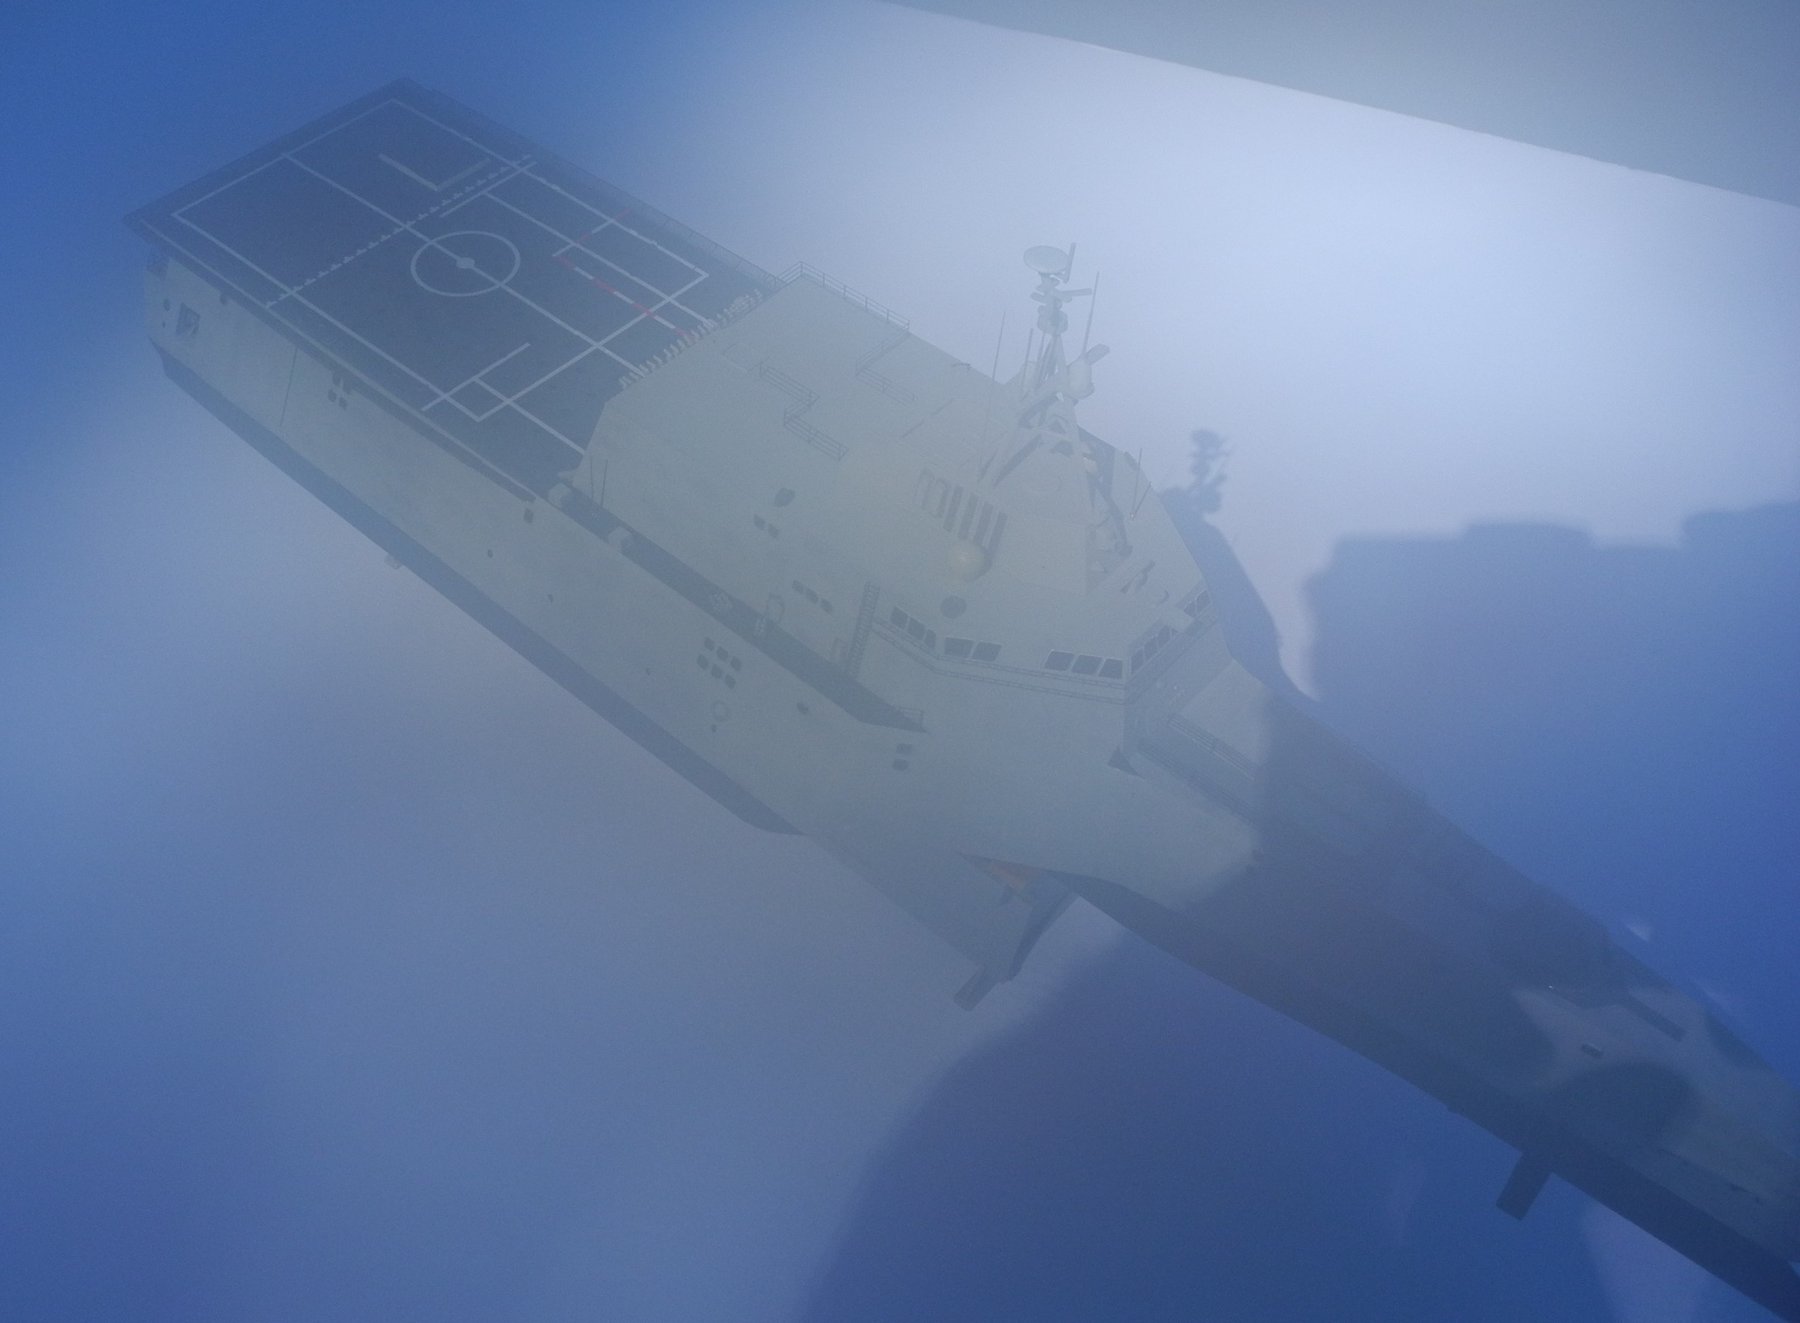
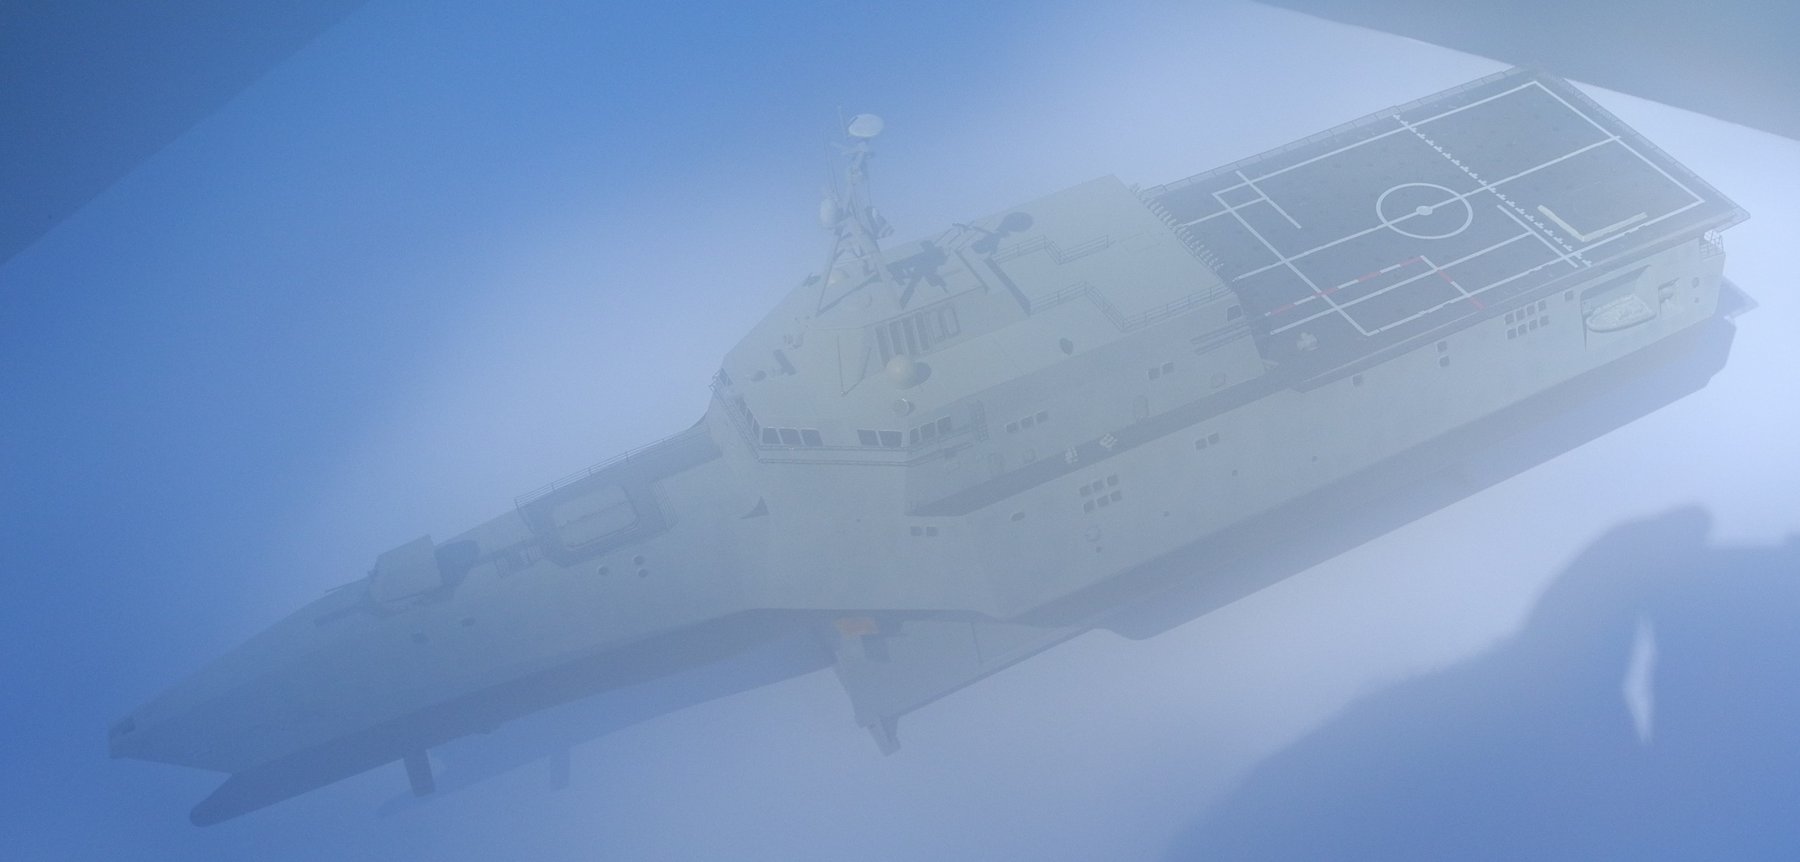
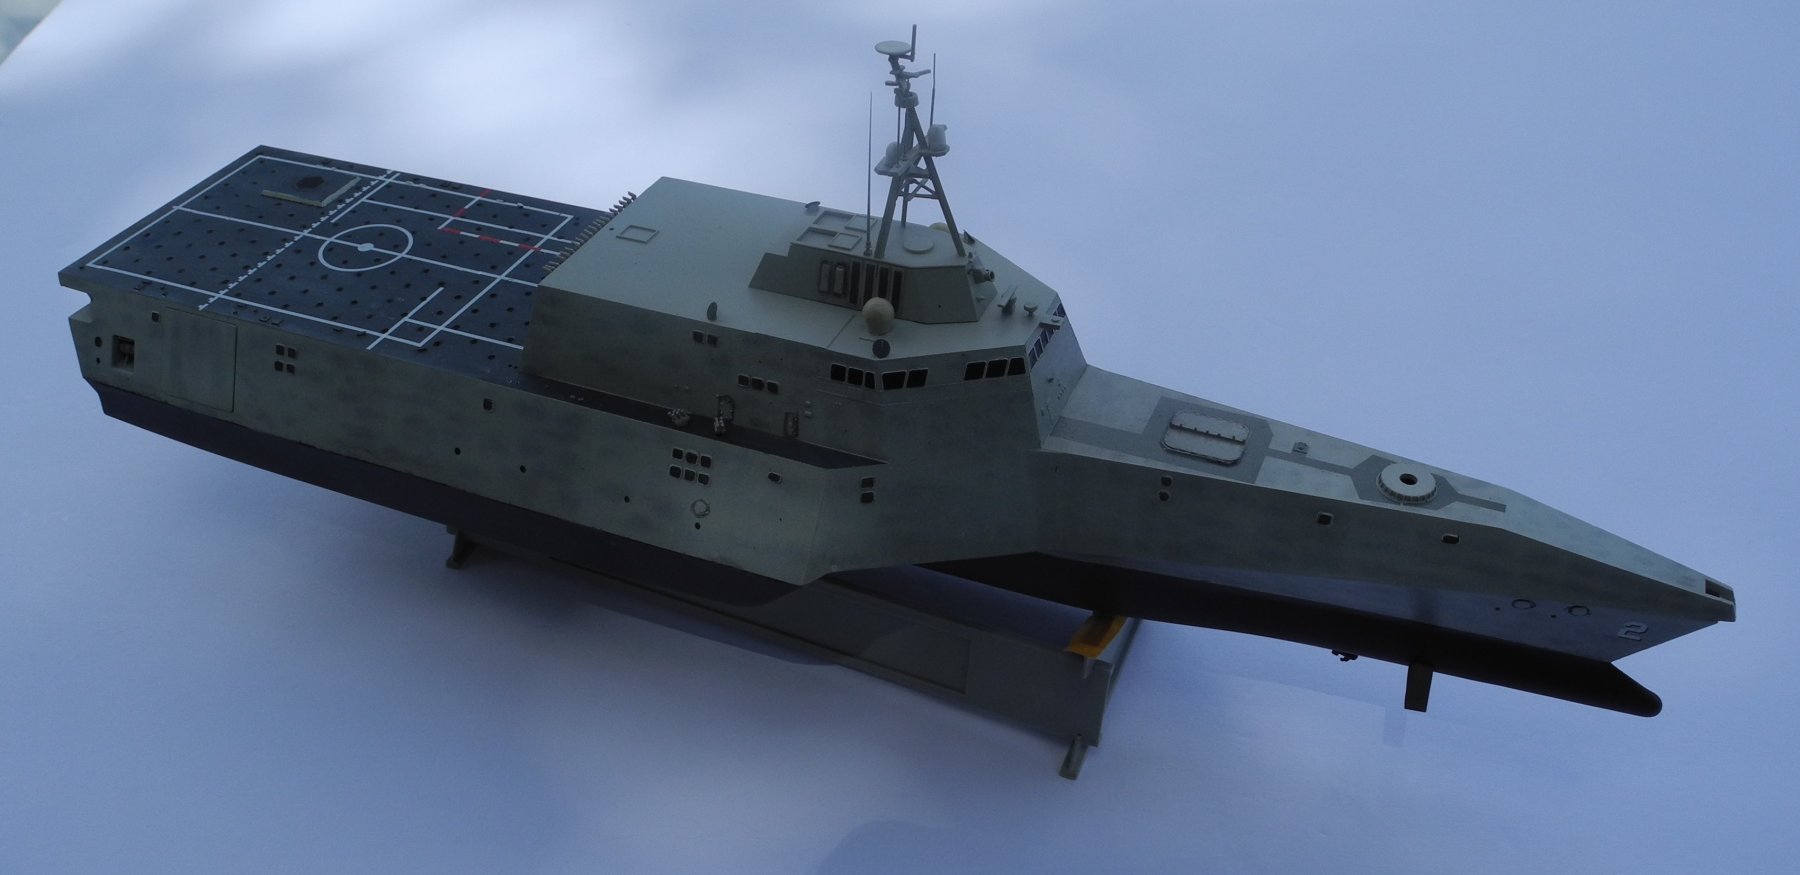
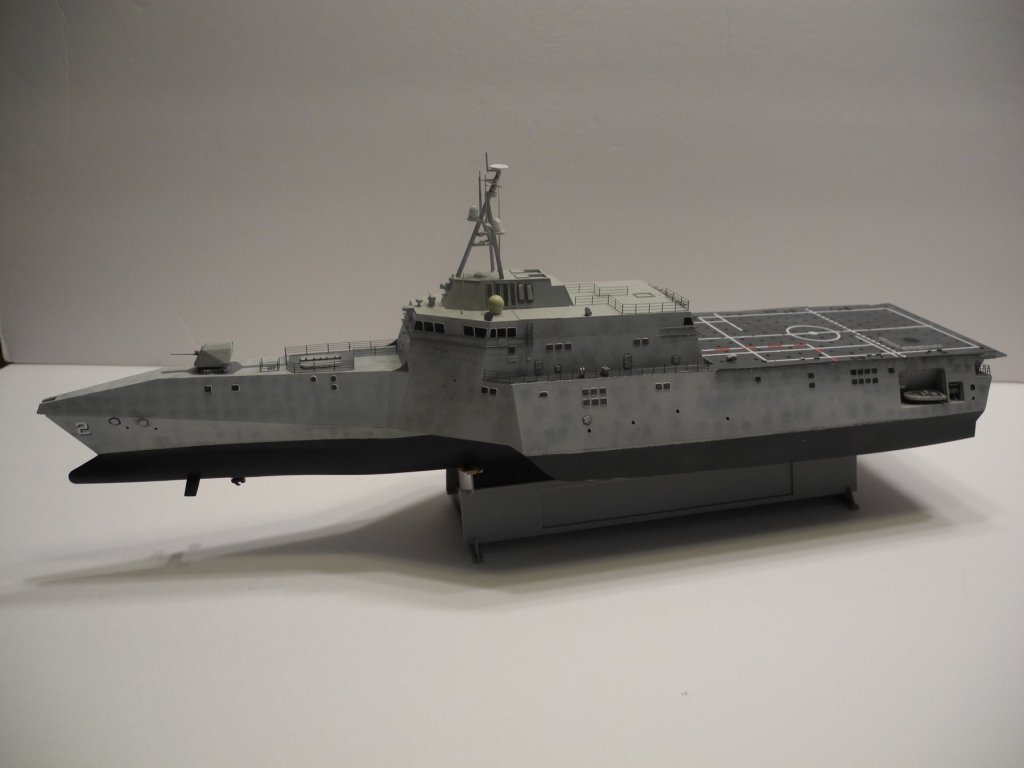
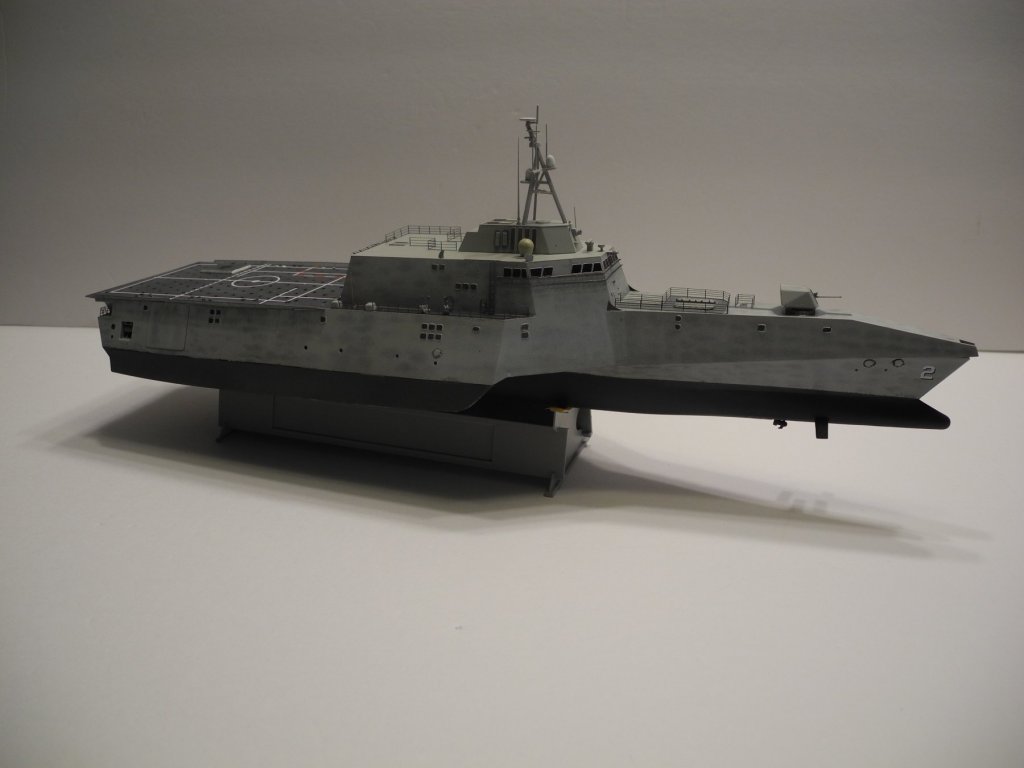
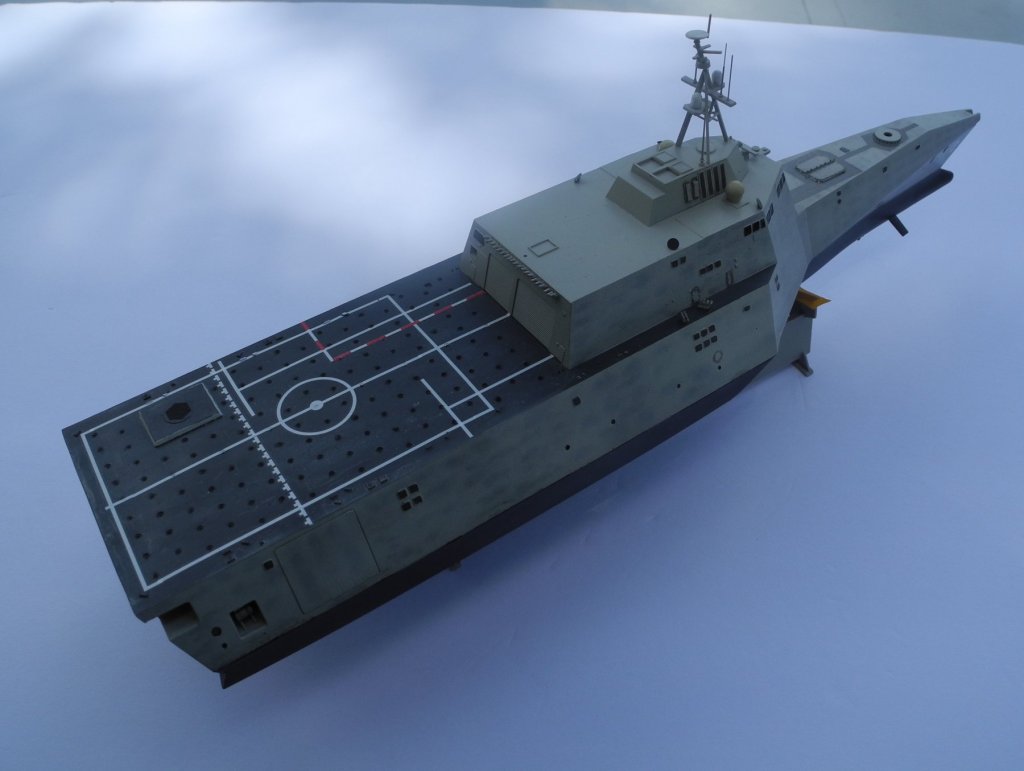
Re shot the pictures indoors. Much better now and didn't have to read that silly owner's manual. 😏


- 89 replies
-
- 11
-
-
- independence lcs-2
- trumpeter
- (and 2 more)
-
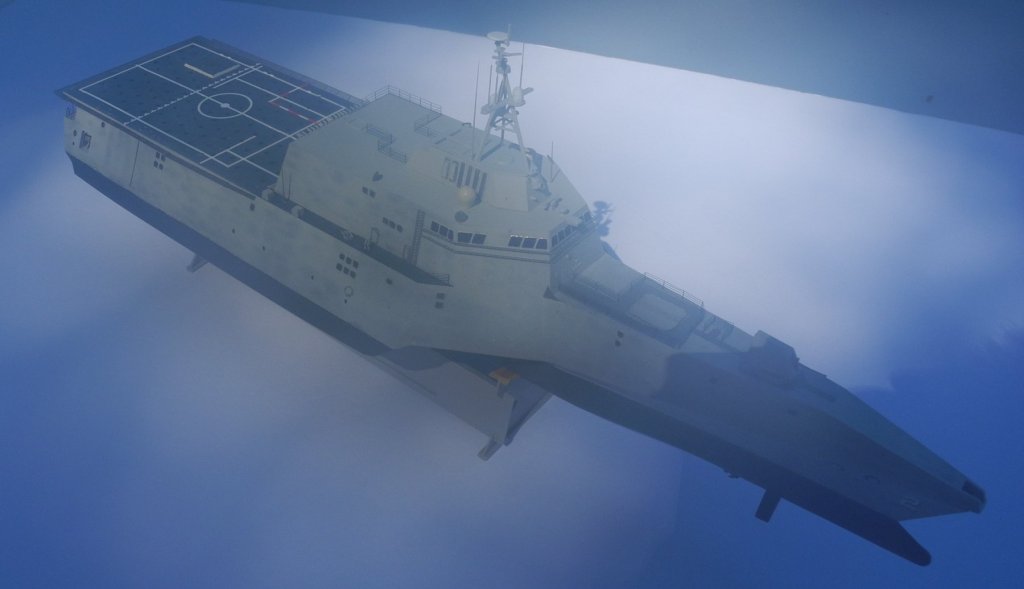
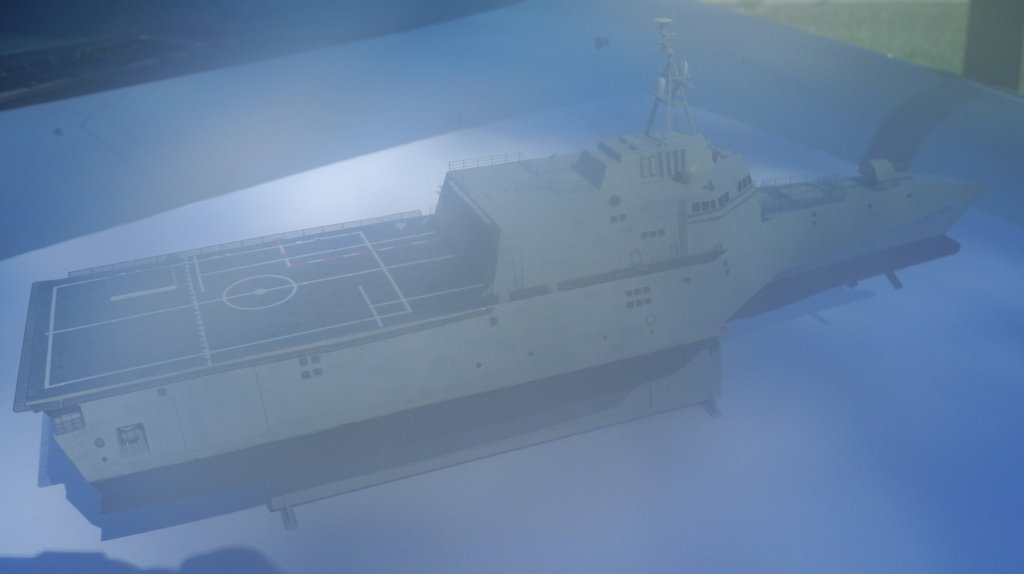
I don't know what kind of Jedi mind tricks my camera is playing on me today. Apparently it doesn't like the settings for outdoor pictures, but I have no idea what settings to change unless I read the owner's manual. I guess I better start reading the manual, but no time for that now. Got to go to a birthday party.


- 89 replies
-
- 6
-
-
- independence lcs-2
- trumpeter
- (and 2 more)
-
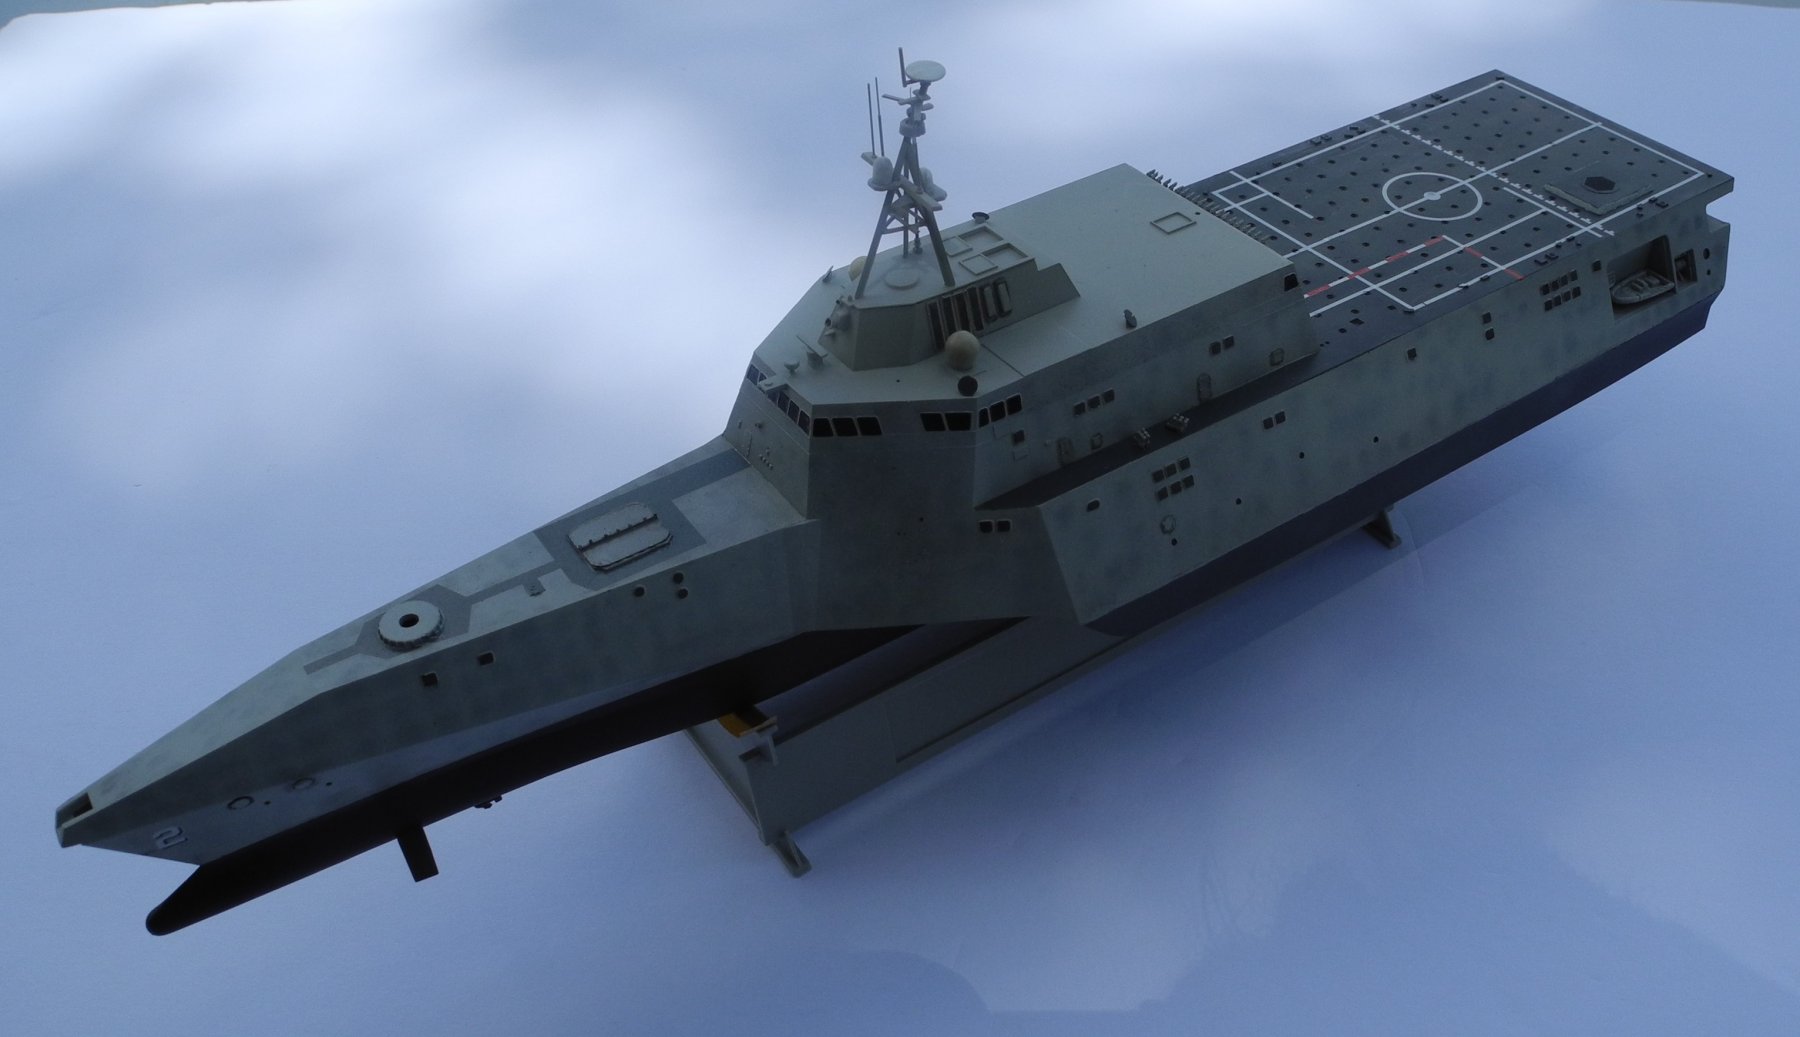
By the way, that's a great video on these LCS's, Lou. Impressive ships. I really like the two additional gun pods mounted on the Freedom. In time, will likely build that model, too.
- 89 replies
-
- 4
-
-
- independence lcs-2
- trumpeter
- (and 2 more)
-
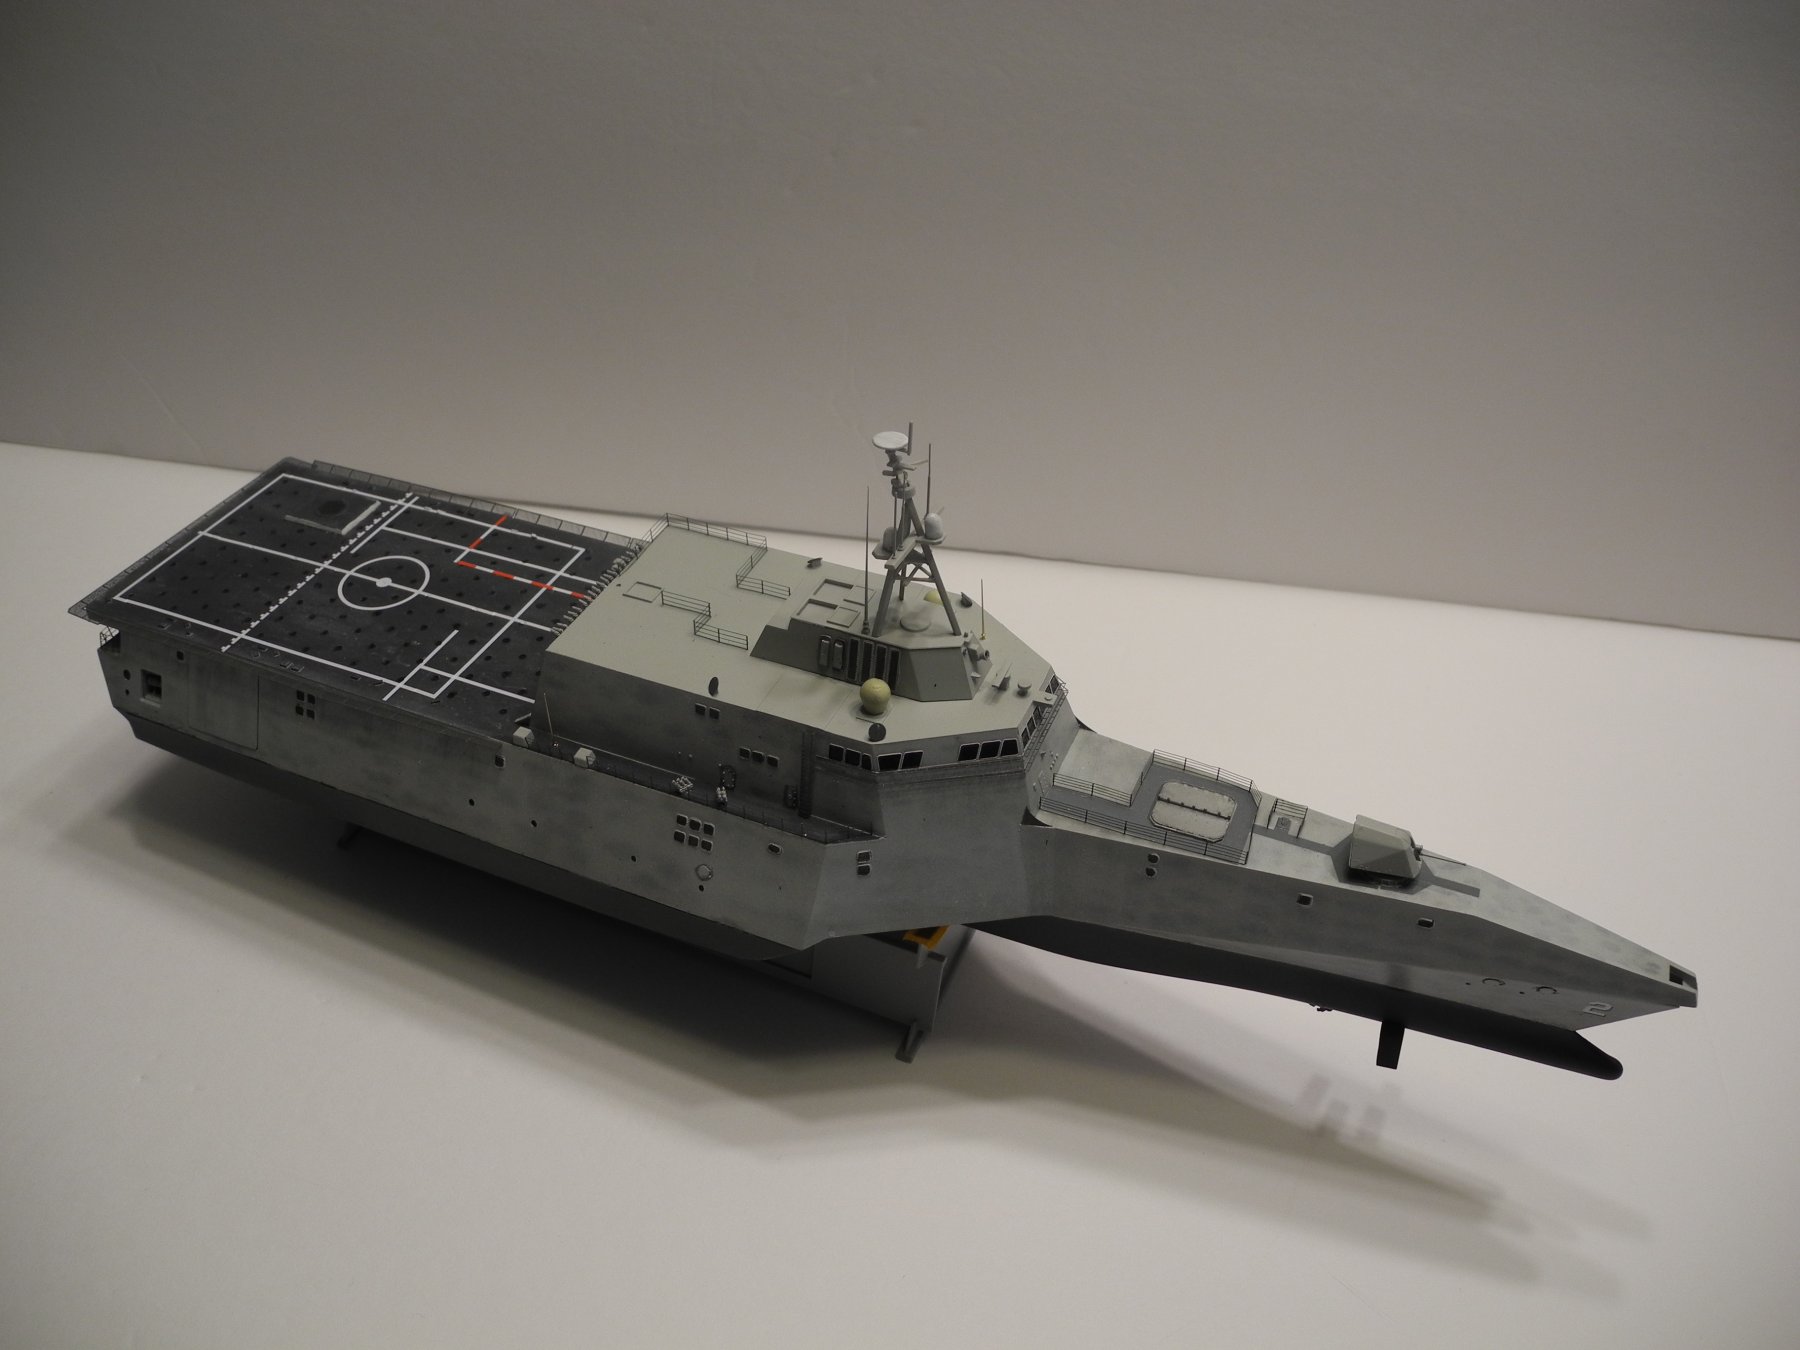
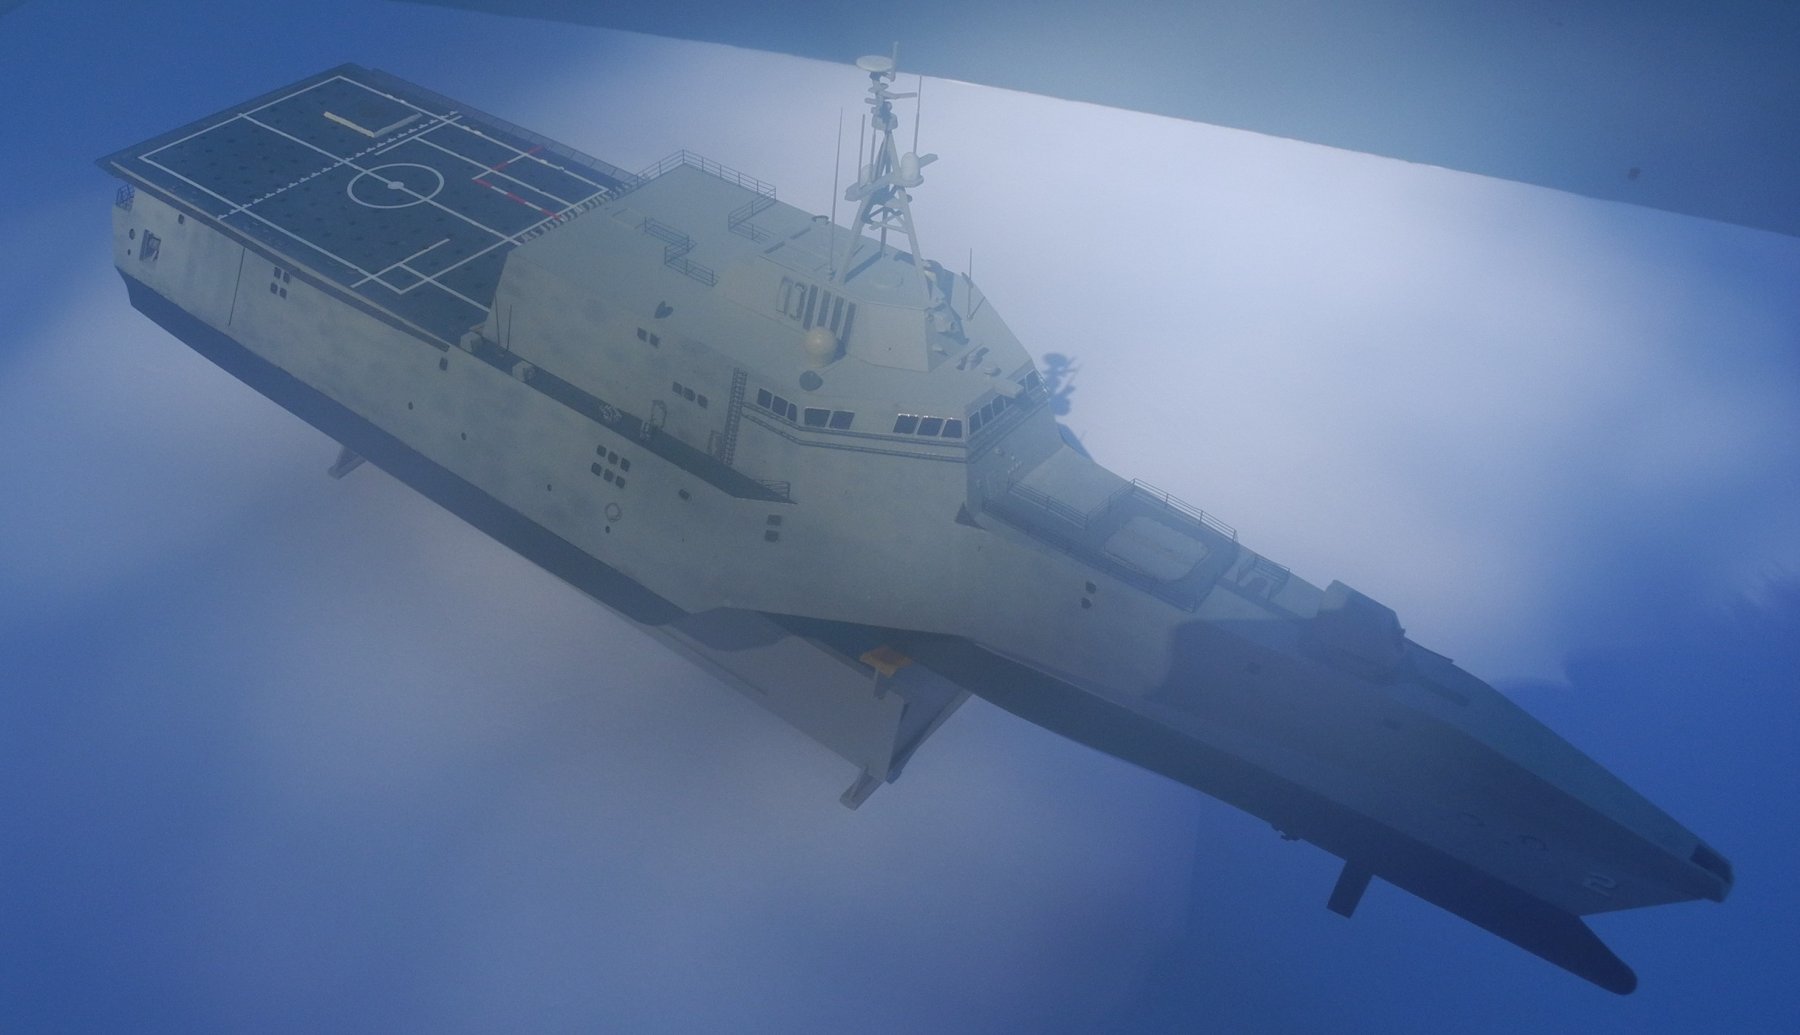
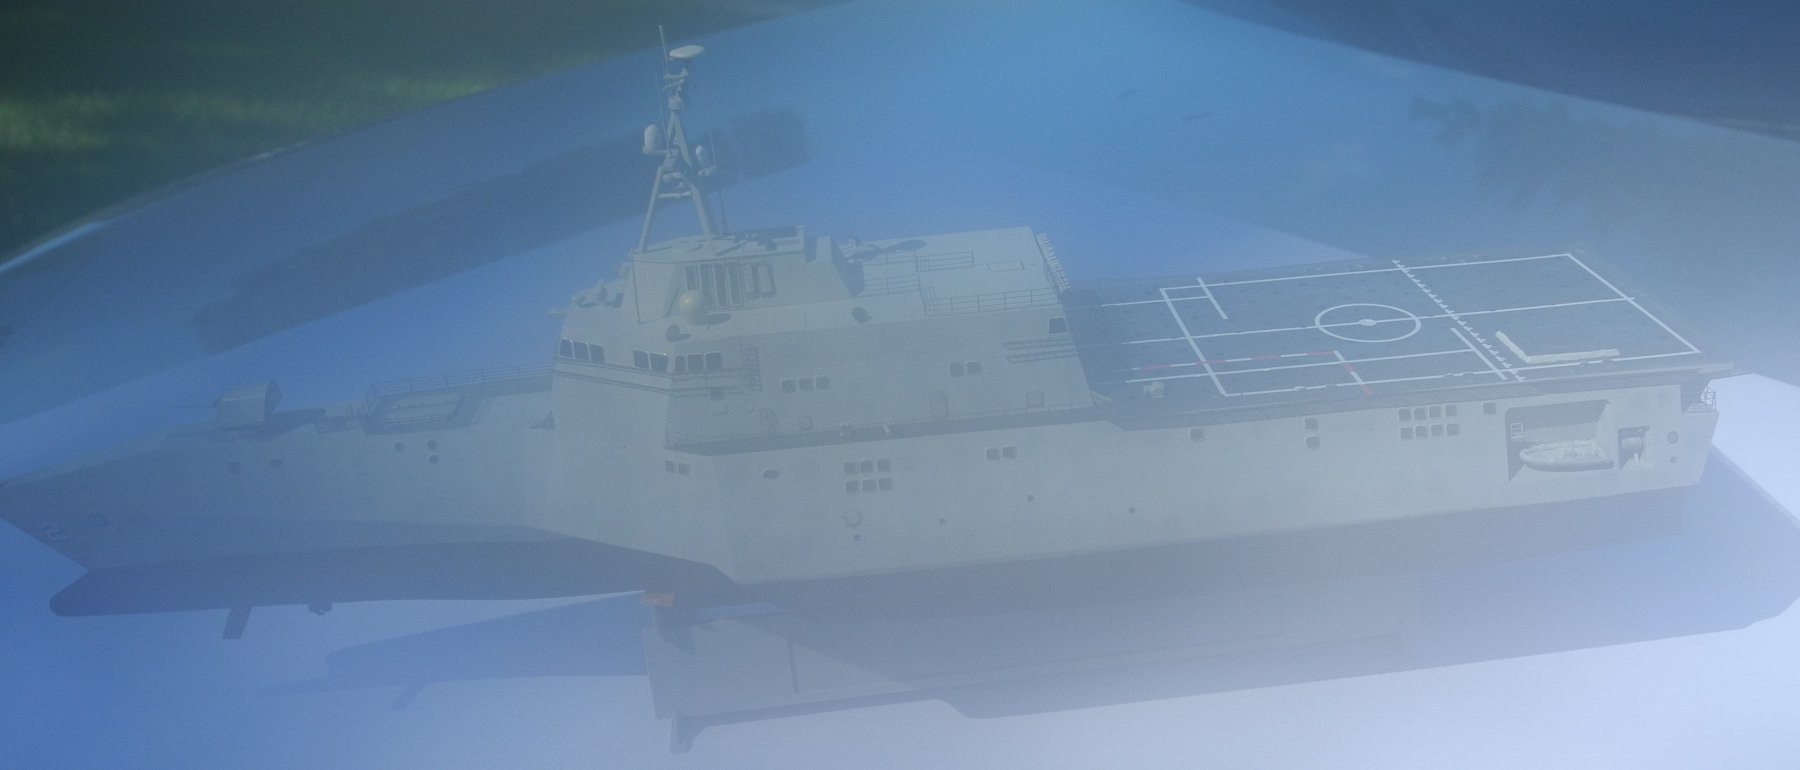
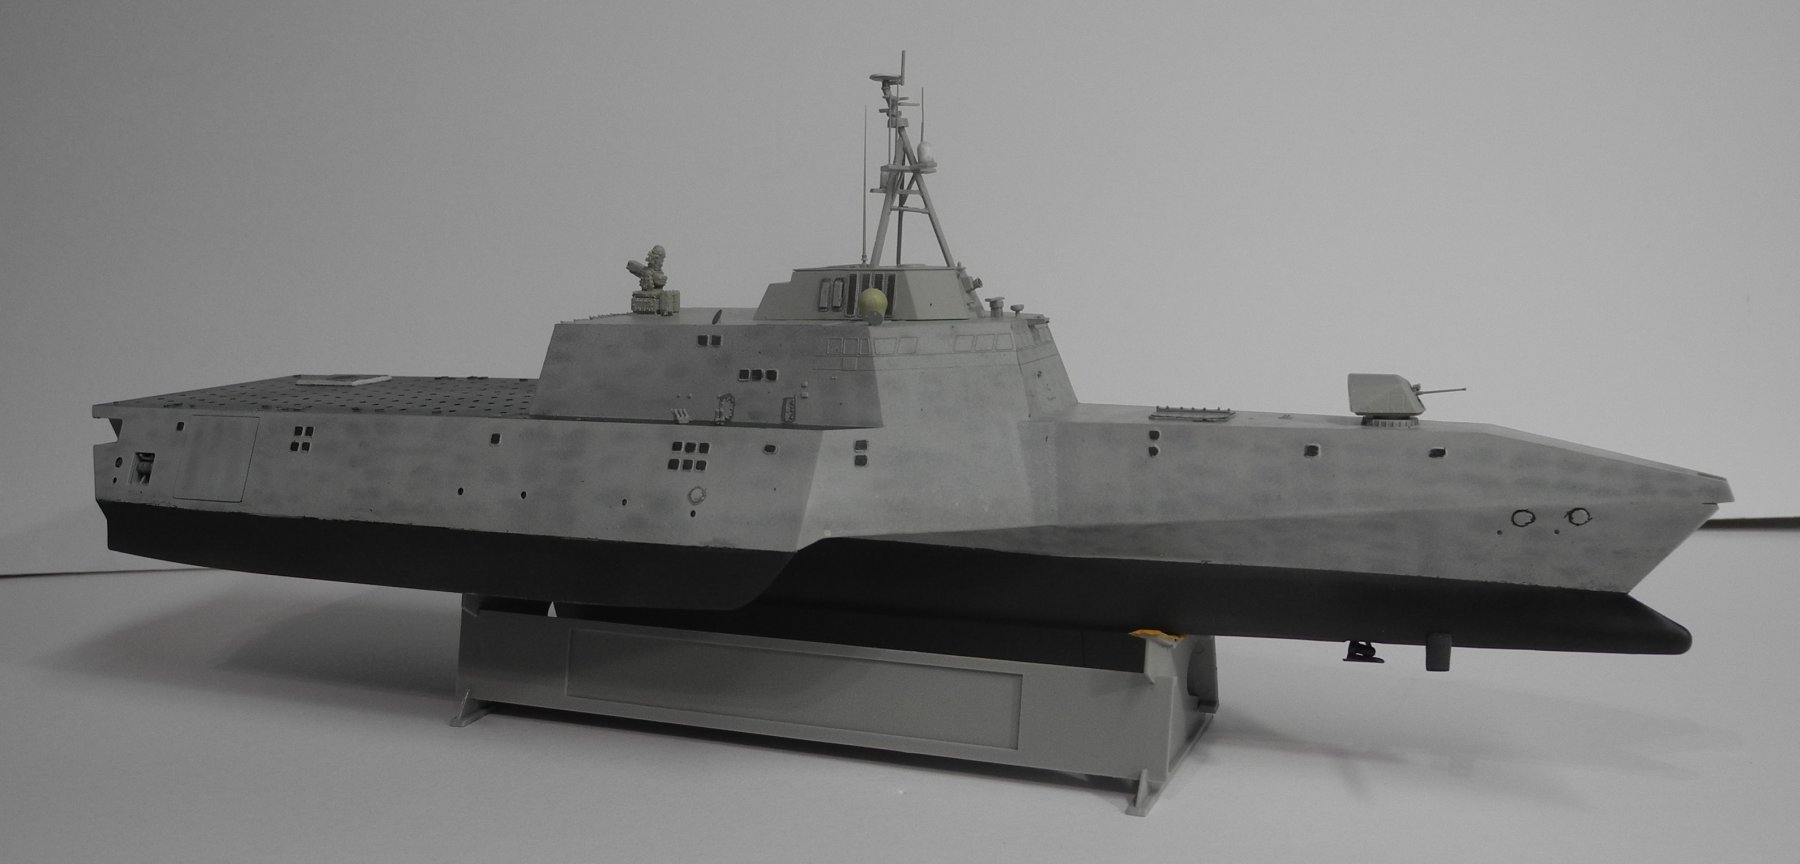
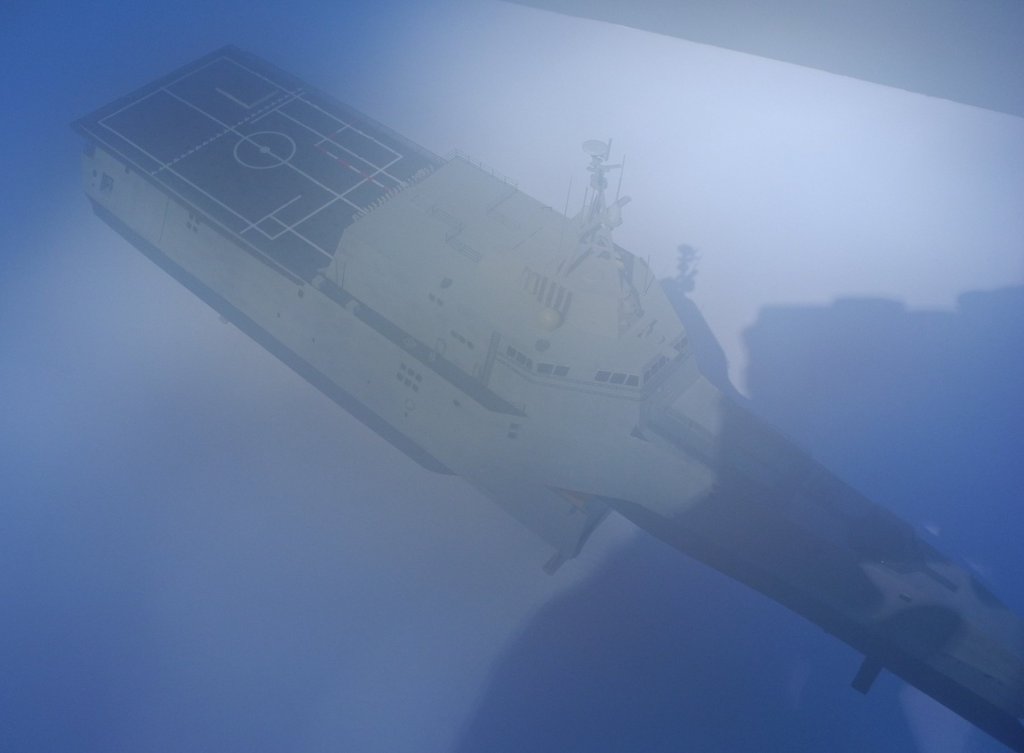
Looking at the above picture from the angle it's taken, the ship has a strange looking dark tint to it. I wonder if the hull is coated with some kind of radar avoidance coating?
- 89 replies
-
- 4
-
-
- independence lcs-2
- trumpeter
- (and 2 more)
-
I am impressed with your tenacity, Grandpa Phil. Your Victory is really shaping up nicely. I must shamefully admit that once I got to the "coppering" of the hull, I backed off and have never picked back up on construction of my HMS Victory. Following your build thread may give me the encouragement needed to start mine back up.
-
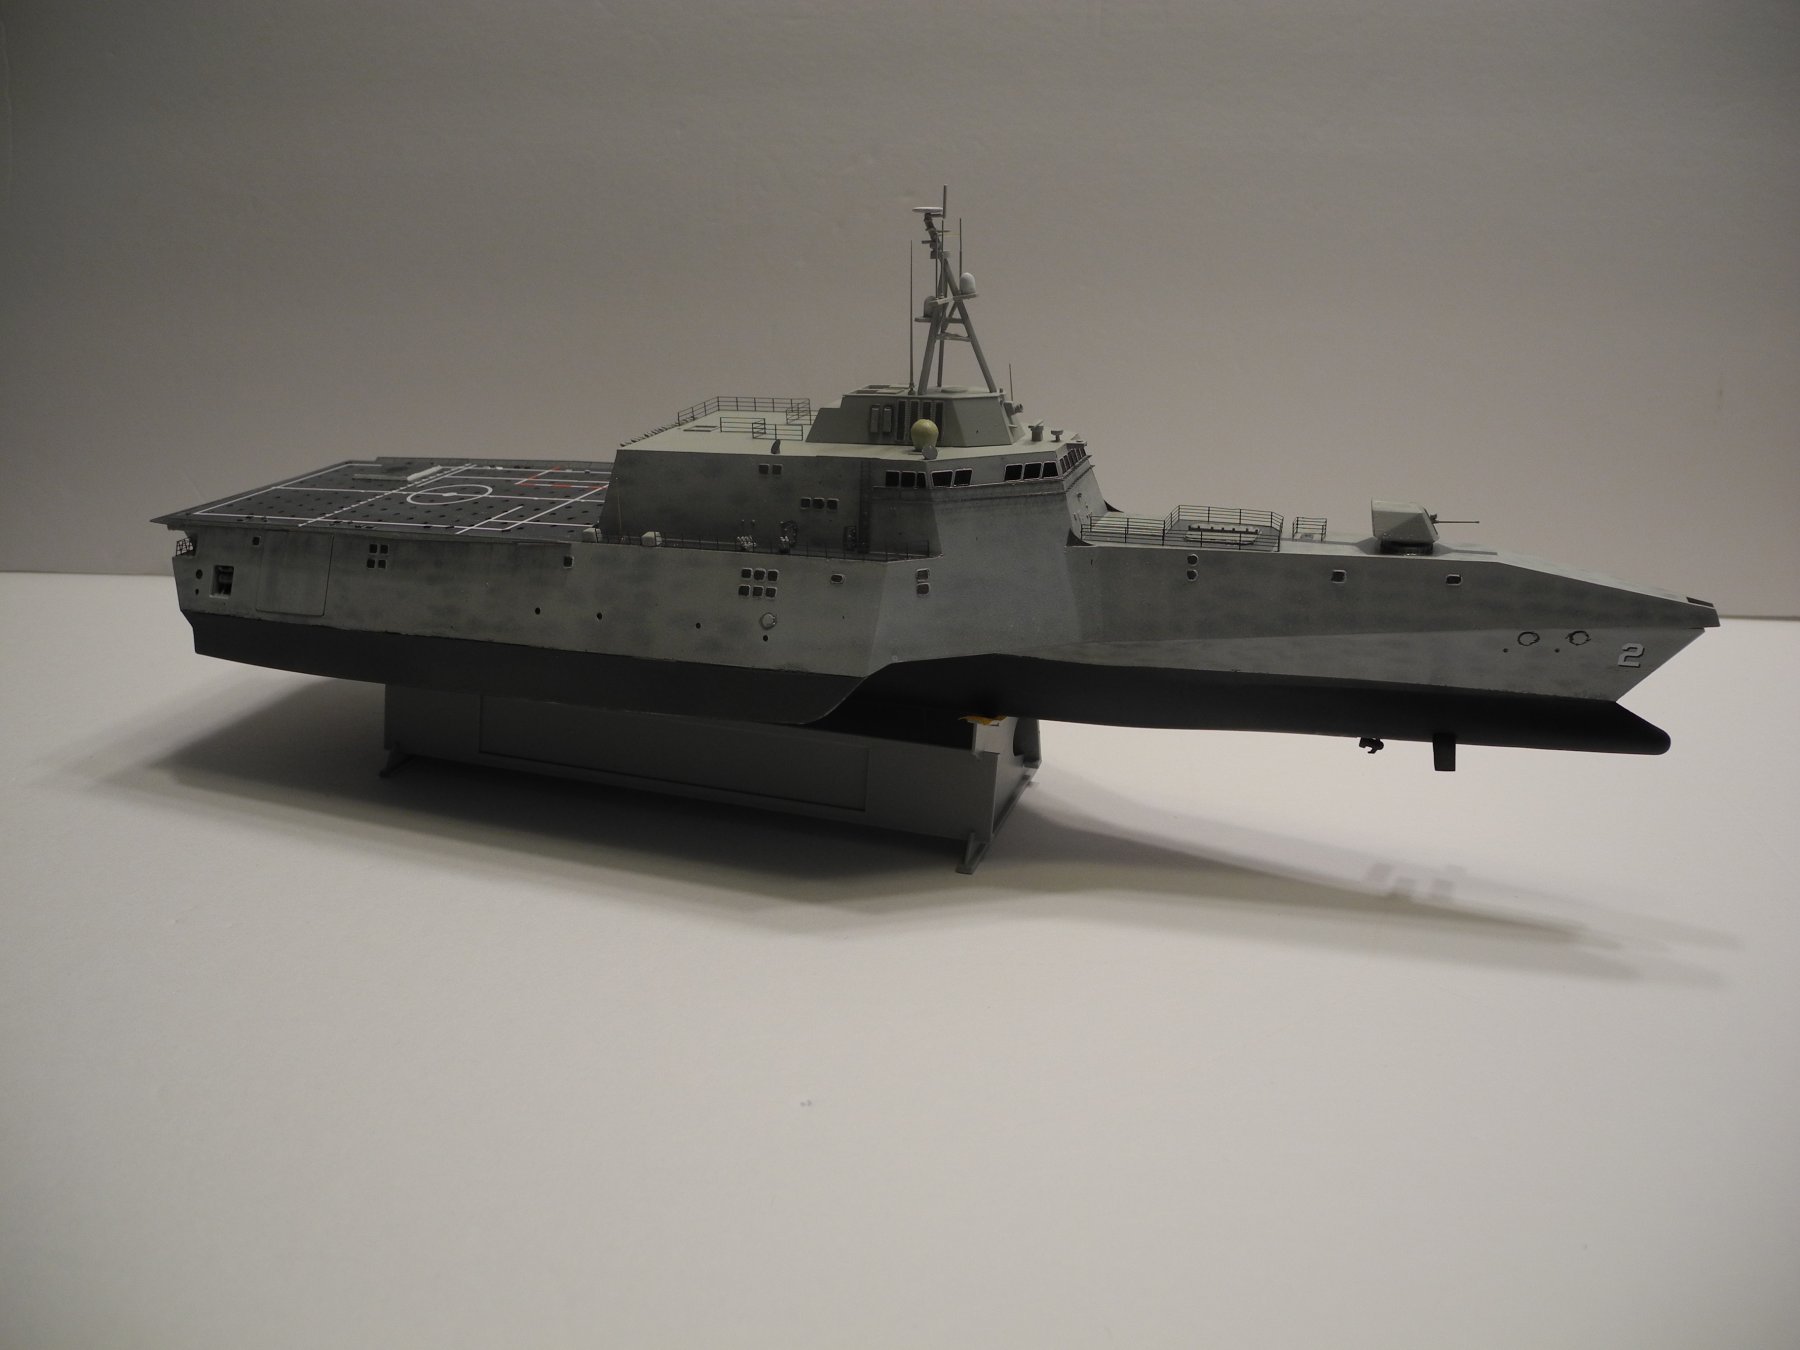
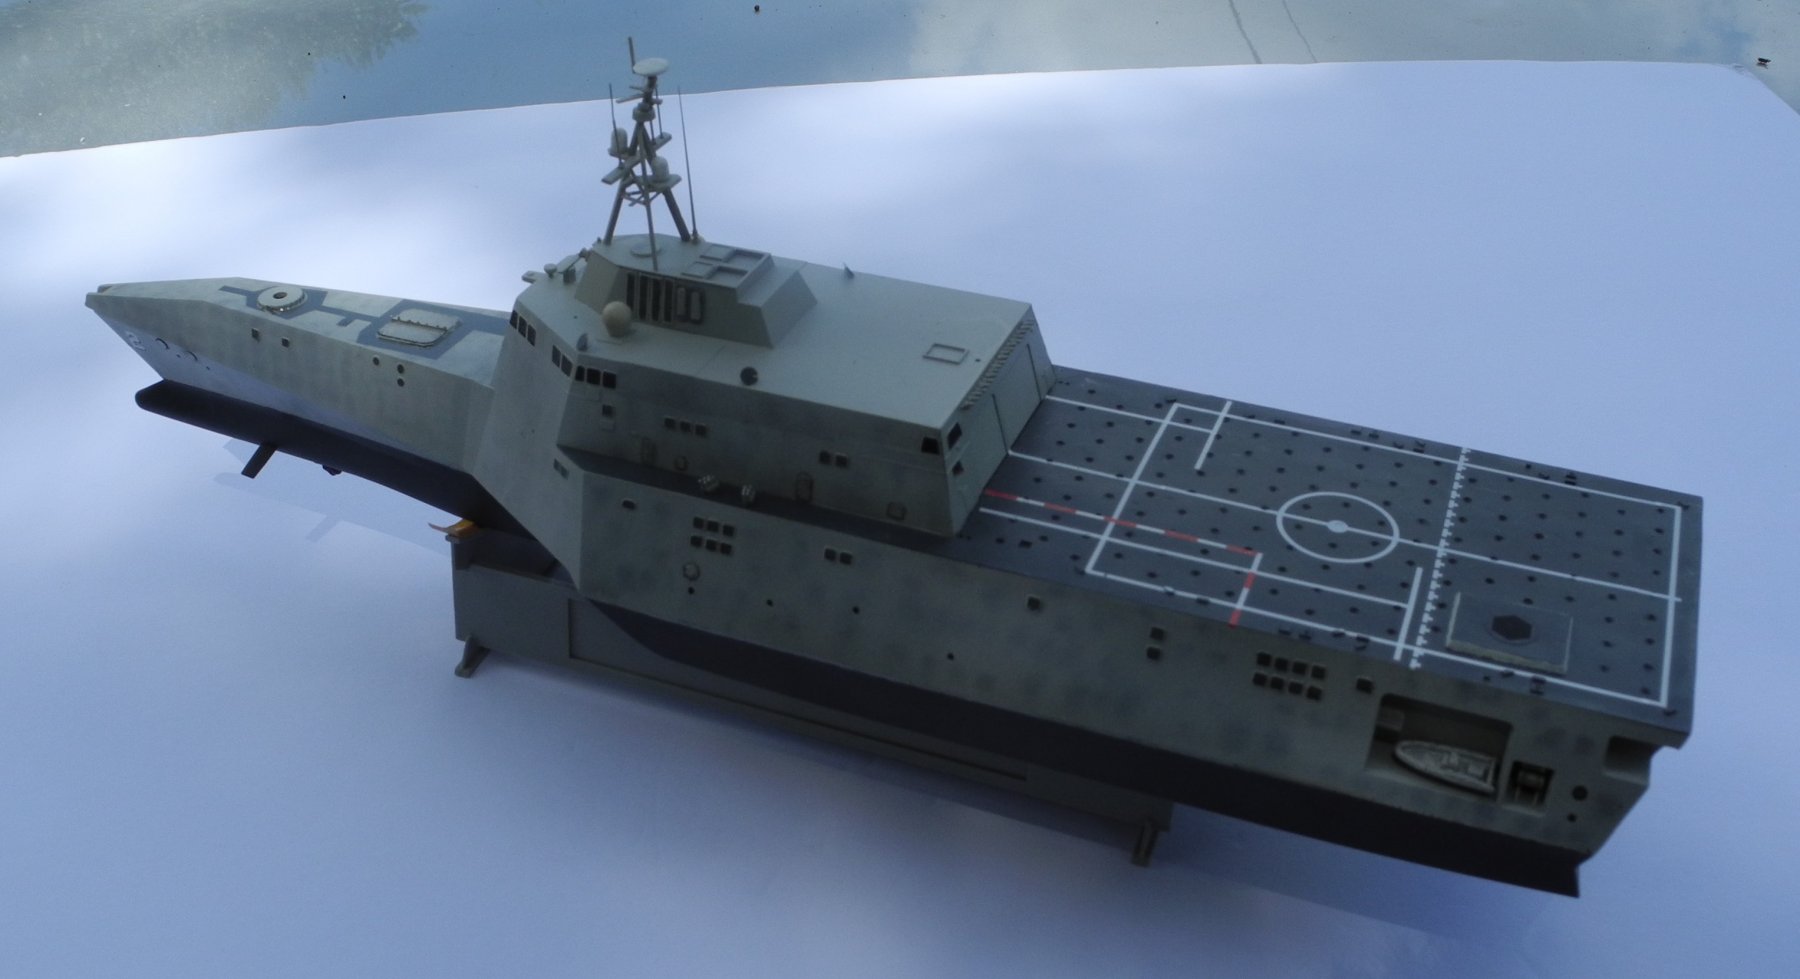
Well, it's our designated "Littoral Combat Ship." Until now, I guess mostly Coast Guard Cutters would have fit that role. So in that respect, I think this design is the new normal - for this specialty, littoral combat. Not many combat ships I know of can operate in 12 feet of water.
- 89 replies
-
- 3
-
-
- independence lcs-2
- trumpeter
- (and 2 more)
-
If someone told us 50 years ago we were going to have warships like this in our navy fleet, we would have thought they were nuts. But here in 2018, this is the norm. Welcome to the 21st century. 😮
- 89 replies
-
- 3
-
-
- independence lcs-2
- trumpeter
- (and 2 more)
-
Thanks for stopping by Carl. I believe you are 100% correct about Vallejo paints. In spite of what is said elsewhere about model air paints being airbrush ready, they need 30 - 50% reducer for them to work properly. I have such a large collection of Vallejo paints, it would be too expensive to just give them up. However, I am beginning to experiment with other brands gradually. Problem is, many are not available locally and have to be ordered through the mail.
- 89 replies
-
- 5
-
-
- independence lcs-2
- trumpeter
- (and 2 more)
-
Orient Express Sleeping Car 1929 by James H - Amati - 1/32
CDW replied to James H's topic in Non-ship/categorised builds
Wow, what an impressive model. I am so glad you are sharing this build. Always wanted to see one of these Amati kits built. It will certainly be an influence for me to buy one. -
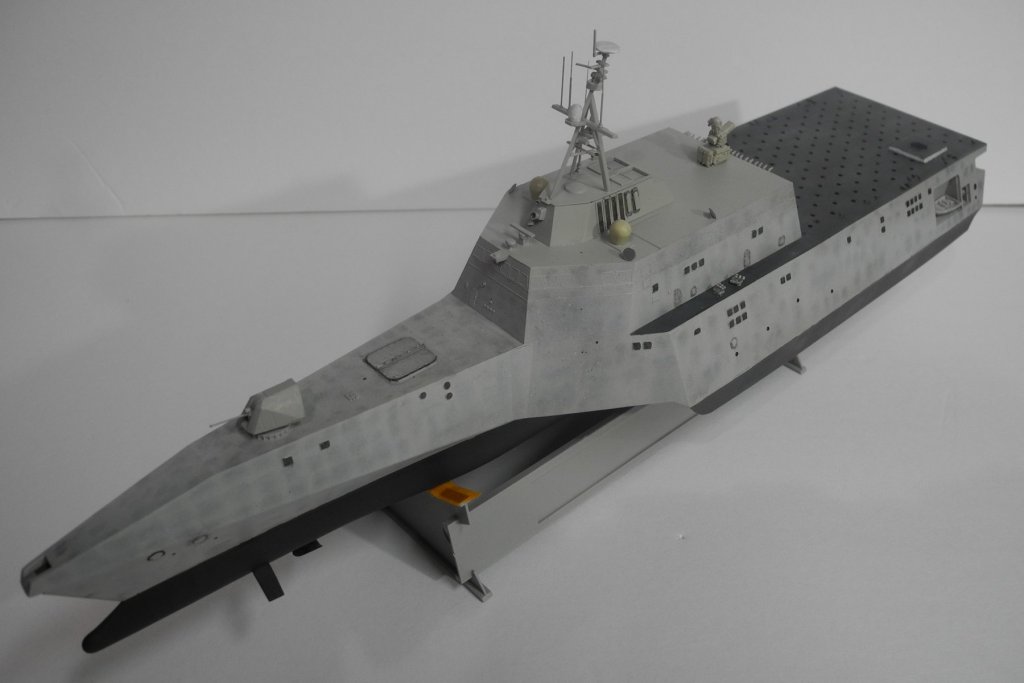
This is day 8 of this build. Tomorrow I have to attend a birthday party, so not sure if I can finish it then on day 9. But I am reasonably certain I can finish this little project by day 10. And that's about all the time I wanted to spend on this little model.


- 89 replies
-
- 10
-
-
- independence lcs-2
- trumpeter
- (and 2 more)
-
Thank you kindly OC for your positive comments. Also, thanks everyone for all the likes.
- 89 replies
-
- 4
-
-
- independence lcs-2
- trumpeter
- (and 2 more)
-
Another day, a little closer to the finish line. Must add decals, railing, misc. photo etch. a few odd and end parts, some detail painting/weathering, and a flag to call this finished.
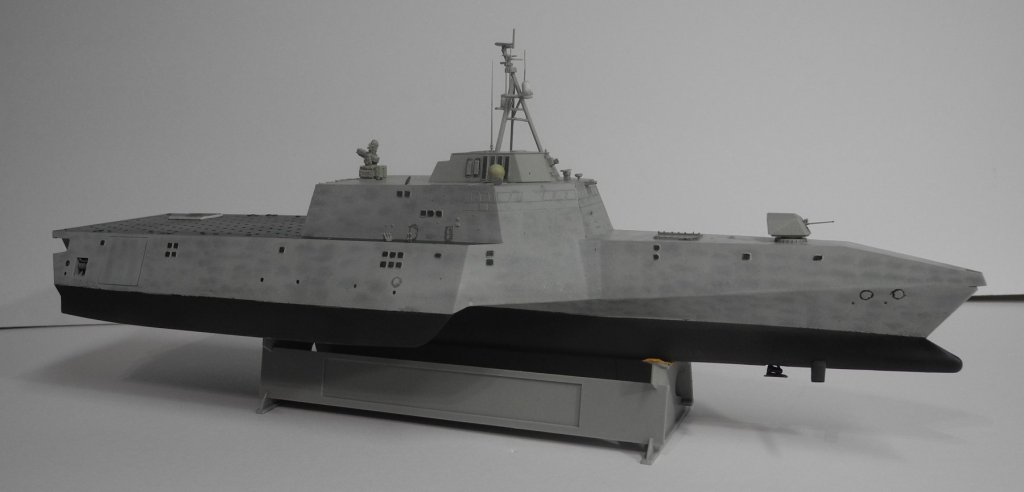


- 89 replies
-
- 11
-
-
- independence lcs-2
- trumpeter
- (and 2 more)