CDW
-
Posts
7,730 -
Joined
-
Last visited
Content Type
Profiles
Forums
Gallery
Events
Everything posted by CDW
-
 I agree. Quite an accomplishment right there. Such a small scale, too.
 -
SU-85 WW2 Soviet Tank Destroyer by CDW - MiniArt - 1:35 Scale
CDW replied to CDW's topic in Non-ship/categorised builds
Started working on the 85mm gun.
- 96 replies
-
- 14
-

-
Happy Birthday Denis. Trailer looks awesome!
-
SU-85 WW2 Soviet Tank Destroyer by CDW - MiniArt - 1:35 Scale
CDW replied to CDW's topic in Non-ship/categorised builds
The most devastating site I've ever seen was the aftermath of hurricane Andrew in 1992. Some of the 1st hand accounts of what it was like going through that hurricane makes my hair stand on end. The wind damage from Andrew was absolutely devastating. -
SU-85 WW2 Soviet Tank Destroyer by CDW - MiniArt - 1:35 Scale
CDW replied to CDW's topic in Non-ship/categorised builds
This little video has some footage of the hurricane action around Tampa and the areas hardest hit to the north of us. All the Tampa flooding you see are in evacuation zone A, the lowest lying land. Much of downtown Tampa is in zone A. -
SU-85 WW2 Soviet Tank Destroyer by CDW - MiniArt - 1:35 Scale
CDW replied to CDW's topic in Non-ship/categorised builds
Everything good here. Just a mess of small branches the wind pruned from our oak trees. A lot of rain, probably four to five inches overnight and this morning. The last major hurricane that made a direct strike on Tampa happened around a hundred years ago. My dad was a young boy when it came through. On Westshore Blvd, an area filled with luxury waterfront homes today, the tidal surge came up so high that cattle were found dead (drowned) in the upper branches of large oak trees after the water receded. Back then, all that area where millions of dollars in real estate is invested today, nothing but farm and pasture existed then. -
SU-85 WW2 Soviet Tank Destroyer by CDW - MiniArt - 1:35 Scale
CDW replied to CDW's topic in Non-ship/categorised builds
My wife and I just spent Saturday at a small town where the storm will make landfall. It has one of our favorite seafood restaurants. I remarked to my wife to look at how high the tides there come in. The parking lot is only a couple of feet above sea level. It will be far underwater tomorrow.- 96 replies
-
- 10
-

-
SU-85 WW2 Soviet Tank Destroyer by CDW - MiniArt - 1:35 Scale
CDW replied to CDW's topic in Non-ship/categorised builds
Where people get into problems with hurricanes is when they don’t respect their evacuation zone and the corresponding orders to evacuate said zones. Wind is a problem but high water and flooding are deadly. Many who are casualties ignored evacuation orders. -
SU-85 WW2 Soviet Tank Destroyer by CDW - MiniArt - 1:35 Scale
CDW replied to CDW's topic in Non-ship/categorised builds
Thanks OC. Much appreciated. I'm keeping my eye on it. These things are unpredictable this far out. Lots can happen between now and Tuesday/Wednesday. We will prepare as best we can and hold tight. -
SU-85 WW2 Soviet Tank Destroyer by CDW - MiniArt - 1:35 Scale
CDW replied to CDW's topic in Non-ship/categorised builds
Thanks gentlemen. Proof positive that even a broken clock is right twice a day. Glad the casings are photogenic. -
SU-85 WW2 Soviet Tank Destroyer by CDW - MiniArt - 1:35 Scale
CDW replied to CDW's topic in Non-ship/categorised builds
I used Mig Ammo acrylic brass over a black primer. First time using it. I wondered if it looked too dark over the black primer. -
SU-85 WW2 Soviet Tank Destroyer by CDW - MiniArt - 1:35 Scale
CDW replied to CDW's topic in Non-ship/categorised builds
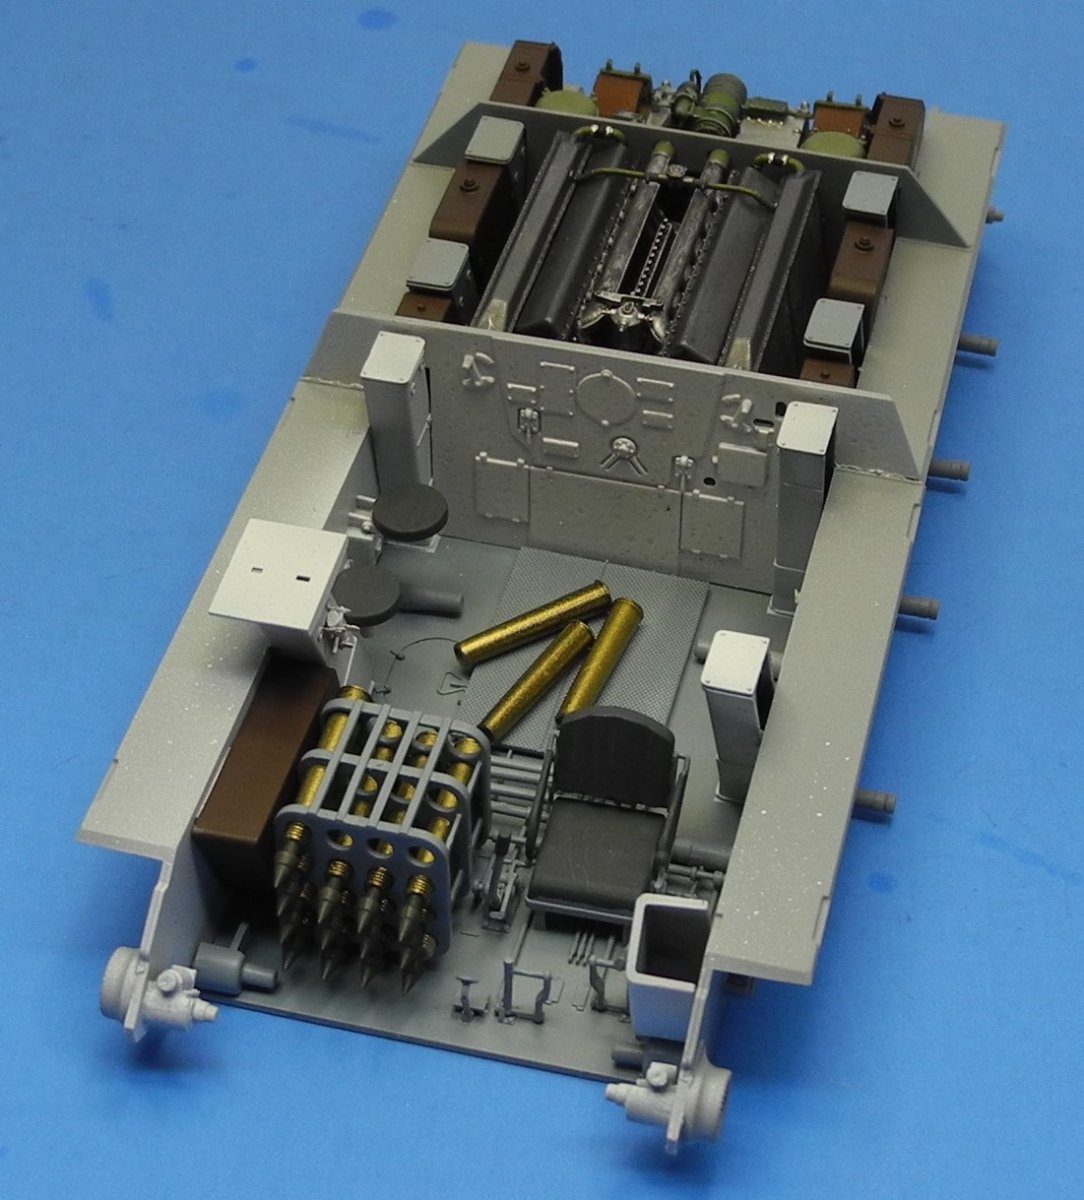
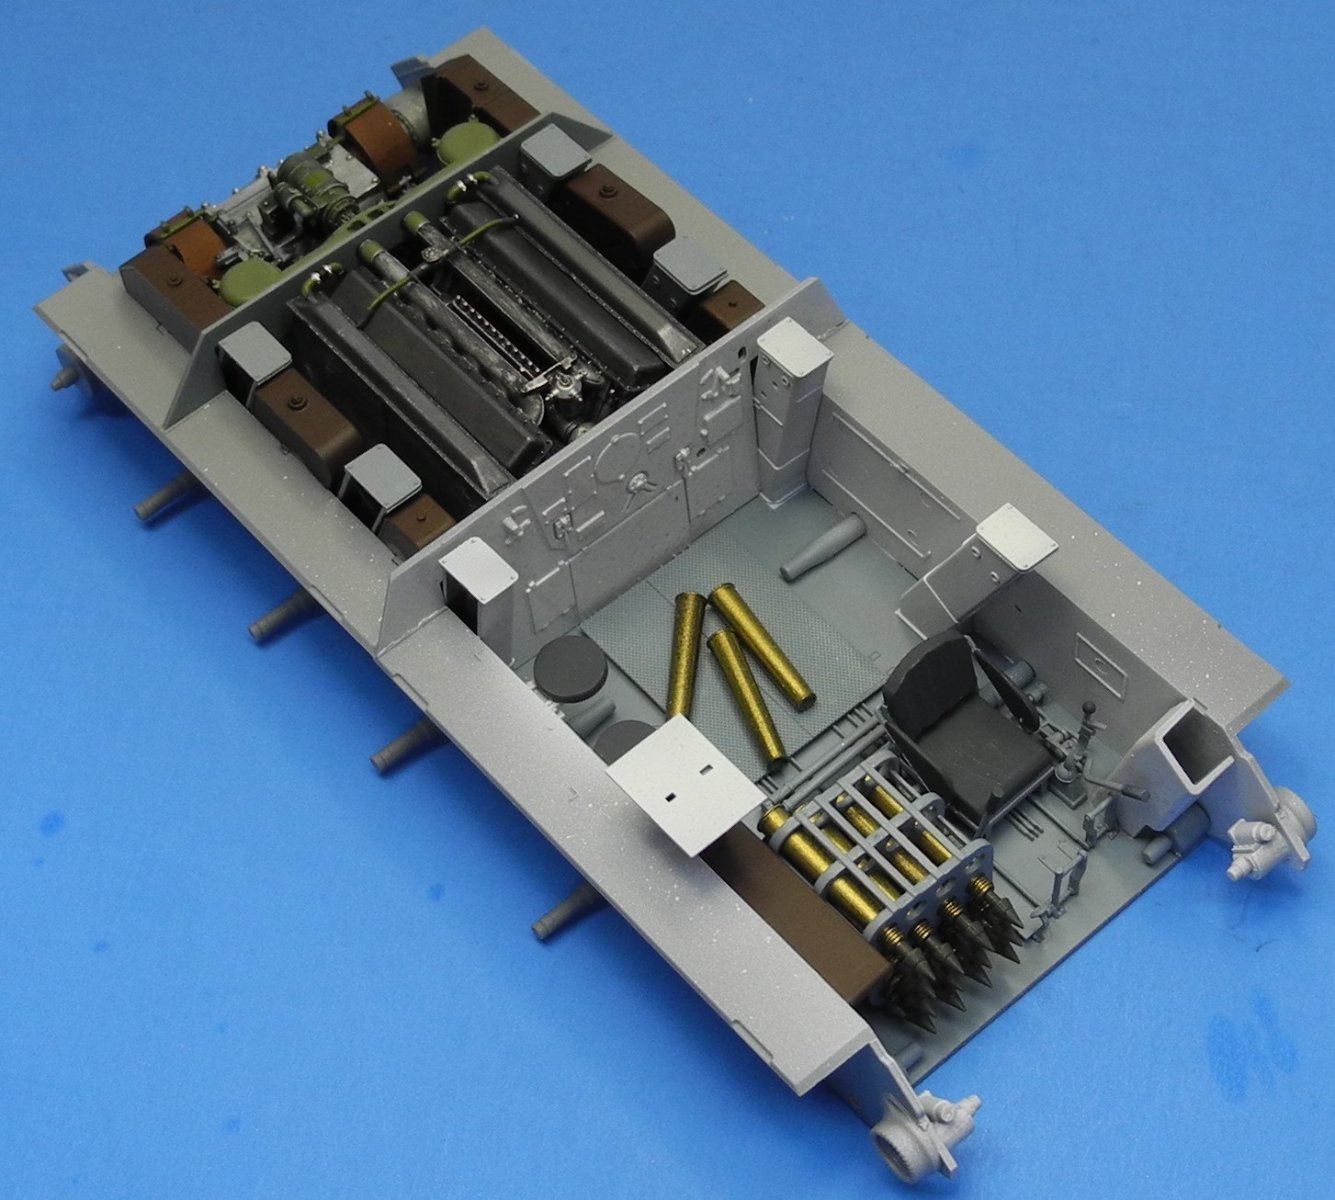
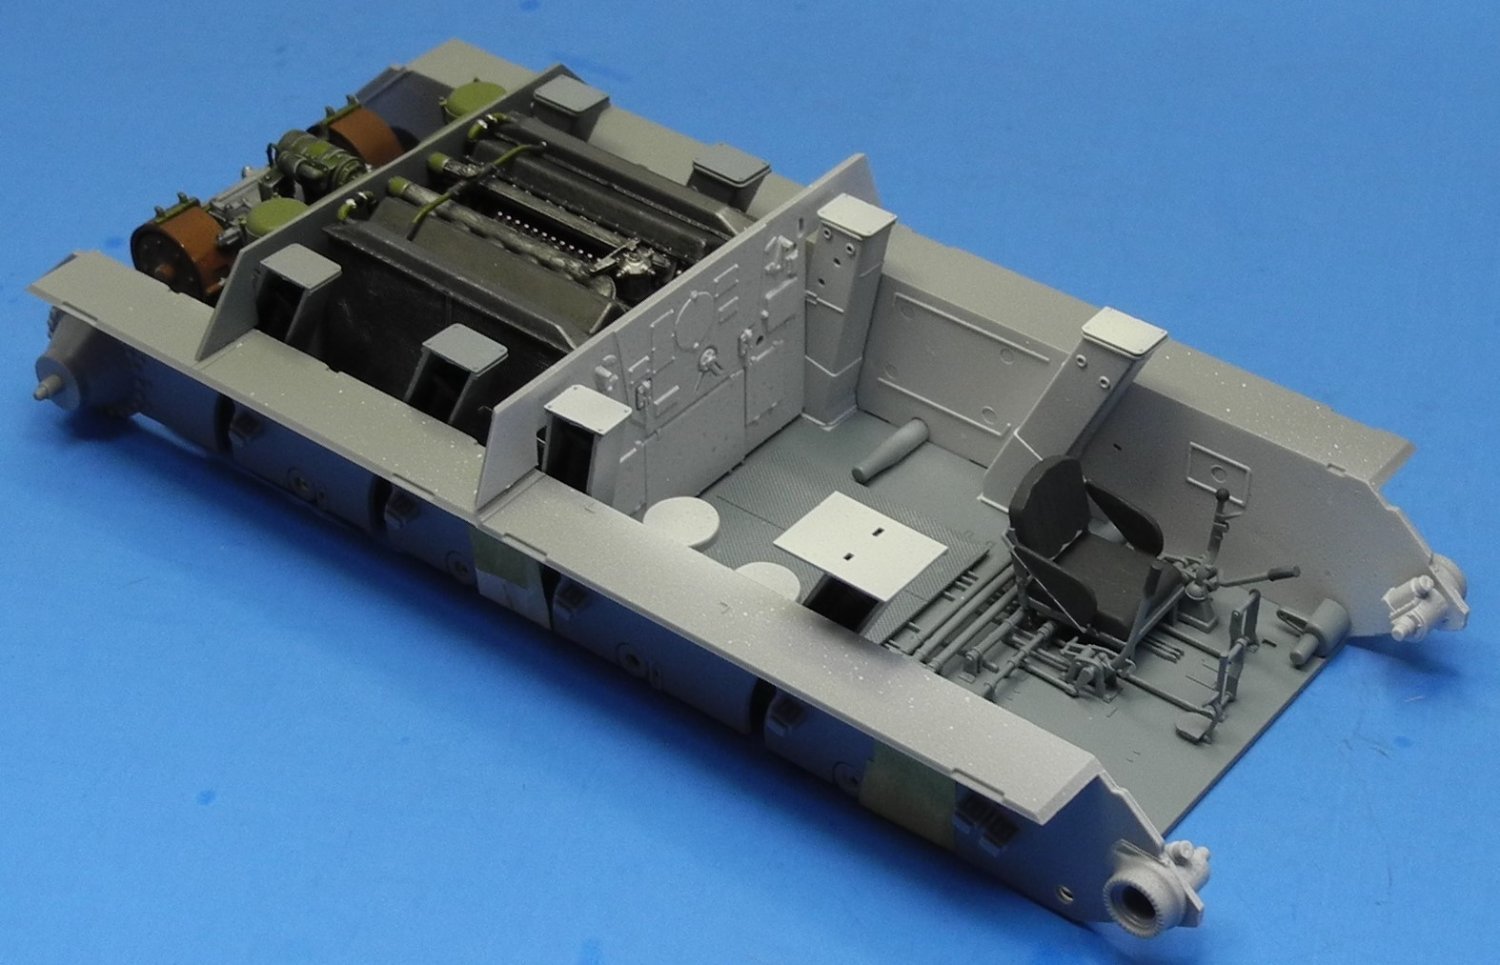
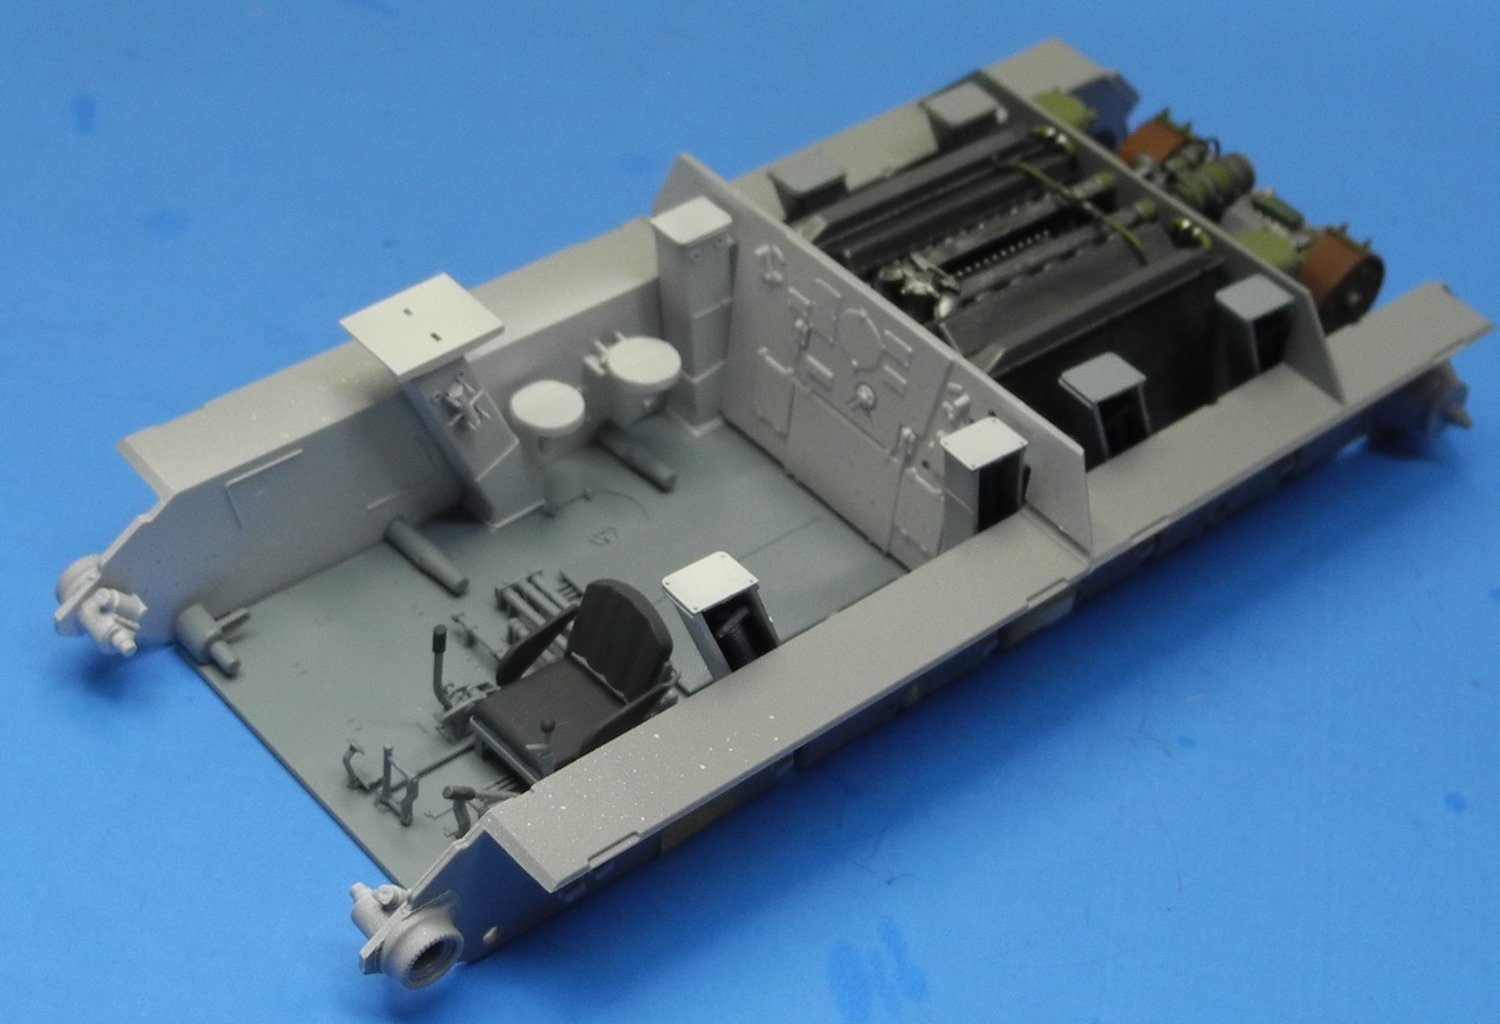
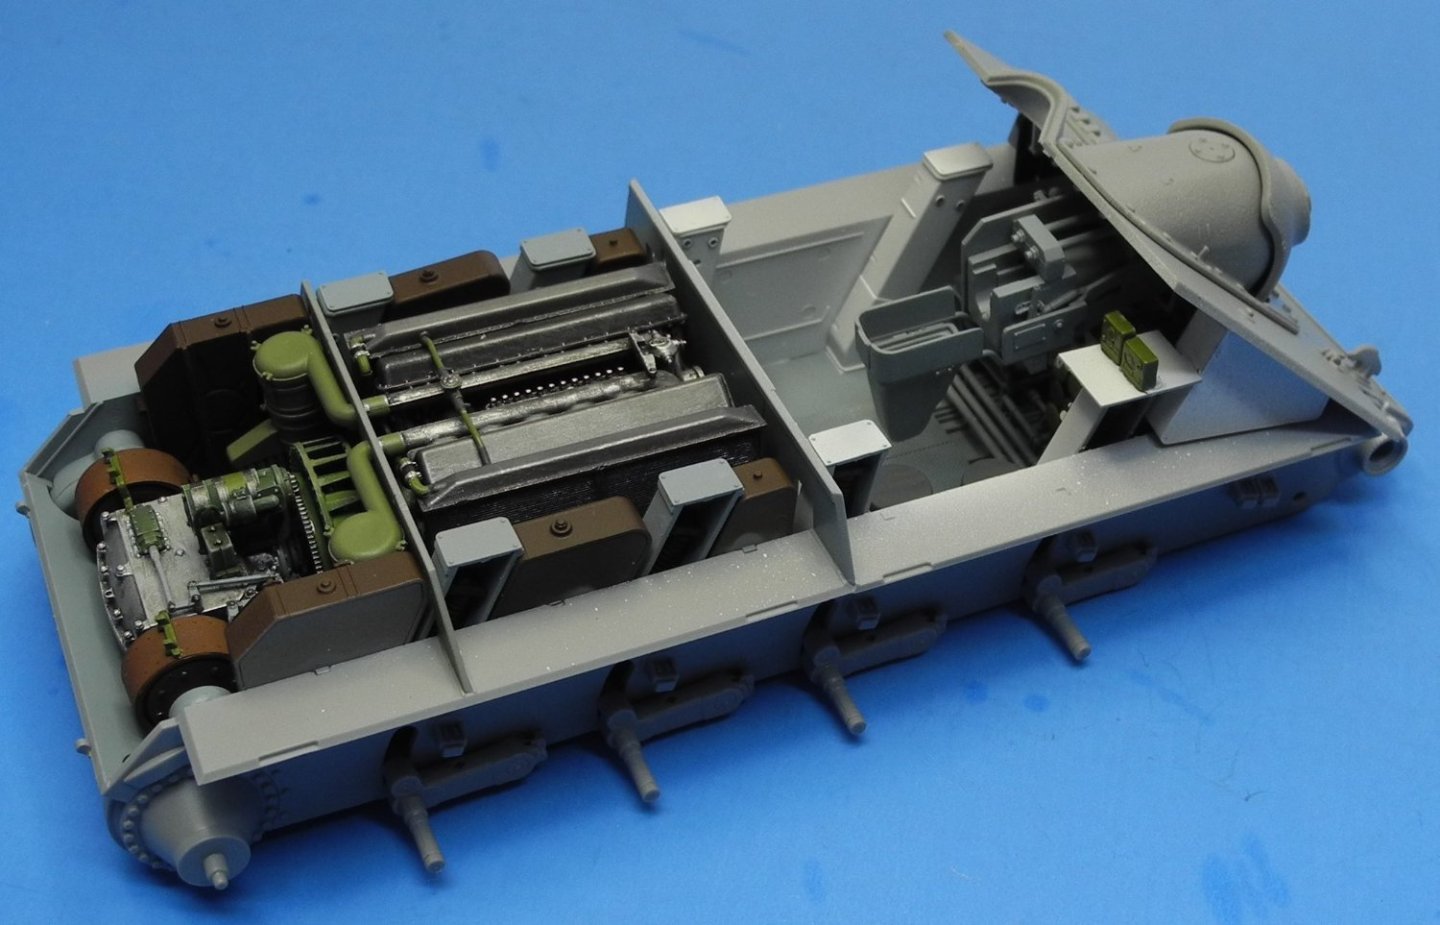
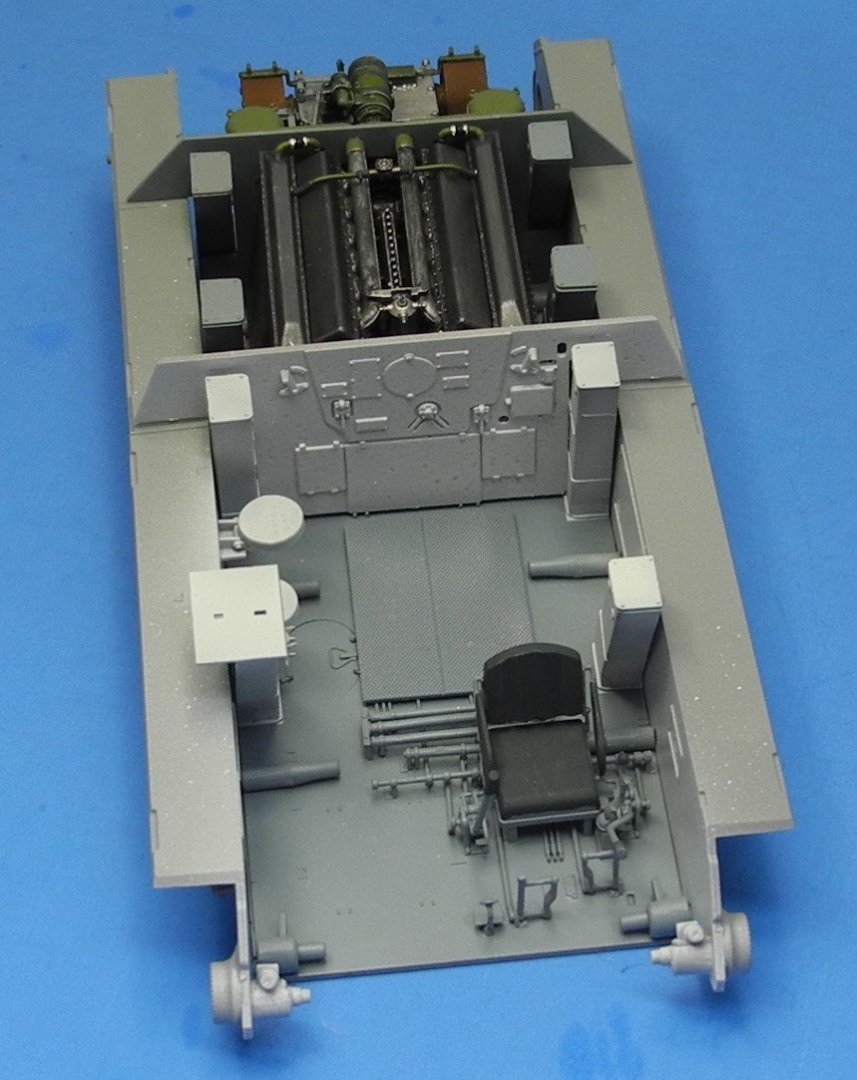
Continuing to add interior components. The red-brown colored tanks are probably fuel and coolant reservoirs. Lots of ammunition to add and of course, the big 85mm anti-tank gun along with a plethora of other interior parts and pieces. Hopefully at the end I'll have a nice fit of the armor plates and be able to attach them with magnets, leaving the armor panels removable for a full view of all the interior.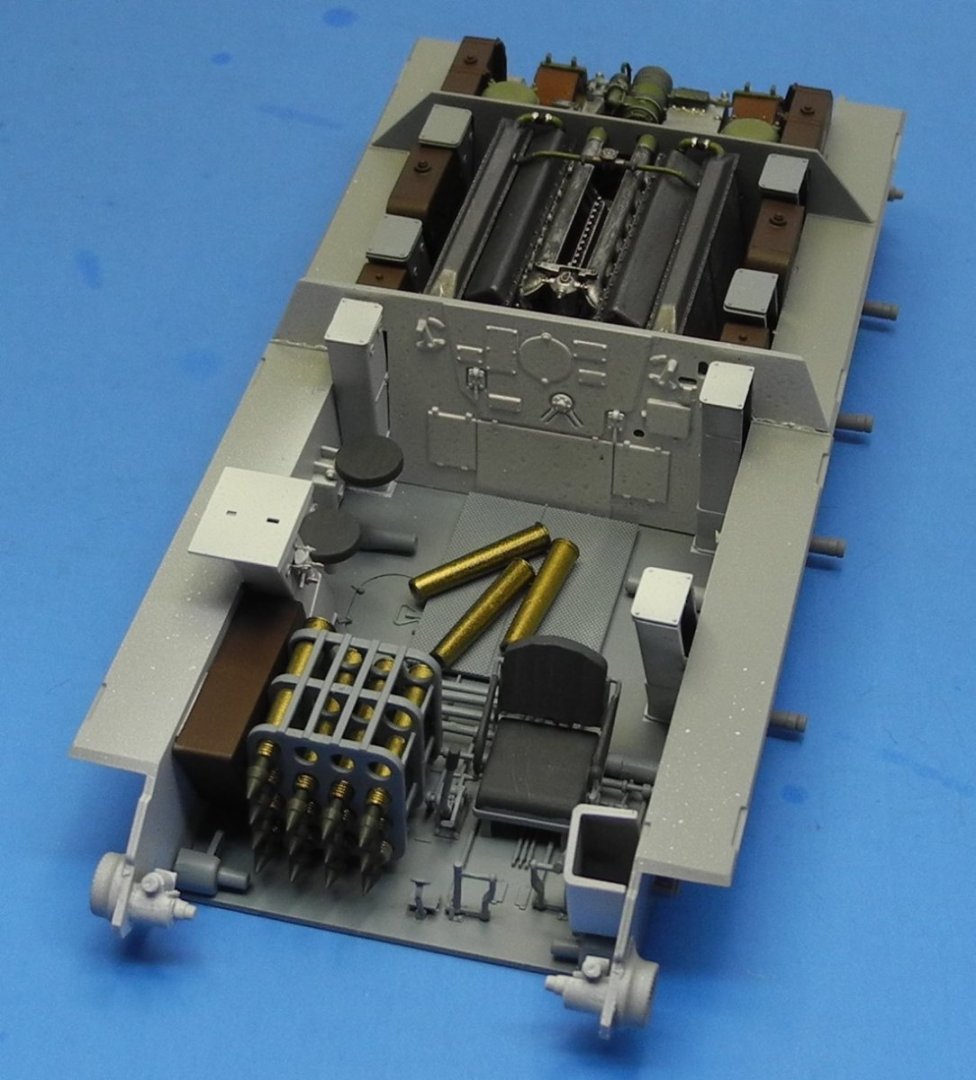


- 96 replies
-
- 14
-
-
1961 Showboat Dragster by xken - 1/8th scale - scratch built
CDW replied to xken's topic in Non-ship/categorised builds
Revell. I’ve got a copy in the stash. -
Loarre Castle (Spain) by King Derelict - Aedes Ars 1/200
CDW replied to king derelict's topic in Non-ship/categorised builds
Makes one wonder how we got through all the prior hurricane seasons in the past without all the insurance hassles we have today. For one thing, the bulk of original Florida settlers knew better than to build where it's common to see homes built today...close to large bodies of water. Old timers did not do that and/or knew the risk they were taking when they did. Insurance companies are making homeowners do all kinds of renewal projects these days or face insurance cancellation. I've got friends who own homes on the Gulf Coast who don't even carry insurance because it's too expensive. Of course, they own their homes outright and are not forced to carry insurance due to mortgage requirements. -
I agree. The Wood finish is very nice/realistic.
-
MiG-3 by Javlin - Trumpter - 1/32 - PLASTIC
CDW replied to Javlin's topic in Completed non-ship models
-
1961 Showboat Dragster by xken - 1/8th scale - scratch built
CDW replied to xken's topic in Non-ship/categorised builds
That's just awesome Ken. A work of art. Hot-rodding a Buick of any kind was always a challenge because just about any high performance item that wasn't stock had to be custom machined. Of course, back in the day when this particular dragster was built, most all high performance items were custom machined. This was a car I wish I had seen live and in person but I don't think it ever raced in my hometown area. Ivo probably did match races with it as a headline featured race on tours. That's how I saw a lot of the old famous dragsters, at match races. -
MiG-3 by Javlin - Trumpter - 1/32 - PLASTIC
CDW replied to Javlin's topic in Completed non-ship models
That came out real nice Kevin. The Russians had some very interesting fighter aircraft in WW2. Lots of aces, too. In that mix of famed Russian fighter pilots were some females as well. -
Maverick's F-14A Tomcat by SigEp Ziggy - Revell - 1/48
CDW replied to SigEp Ziggy's topic in Non-ship/categorised builds
Me too! -
Very nice model Scott. I like the weathering you did on it too.
-
SU-85 WW2 Soviet Tank Destroyer by CDW - MiniArt - 1:35 Scale
CDW replied to CDW's topic in Non-ship/categorised builds
Yes indeed, orders of magnitude cheaper. -
SU-85 WW2 Soviet Tank Destroyer by CDW - MiniArt - 1:35 Scale
CDW replied to CDW's topic in Non-ship/categorised builds
It's a lot of plastic for sure. Thanks for coming on board Rob. -
SU-85 WW2 Soviet Tank Destroyer by CDW - MiniArt - 1:35 Scale
CDW replied to CDW's topic in Non-ship/categorised builds
Hitler wasn’t the 1st to be handed his rear end in Russia and likely won’t be the last. Napoleon should come to mind. The Russian small arms were and still are today, remarkably effective weapons. I own a few from the WW2 era. -
SU-85 WW2 Soviet Tank Destroyer by CDW - MiniArt - 1:35 Scale
CDW replied to CDW's topic in Non-ship/categorised builds
It can easily be seen in museums and as you said, rough. But the operative word was “effective”. Despite taking 27 million casualties in WW2, they kicked the living crap out of the Nazi’s and their finely engineered weapons. -
SU-85 WW2 Soviet Tank Destroyer by CDW - MiniArt - 1:35 Scale
CDW replied to CDW's topic in Non-ship/categorised builds
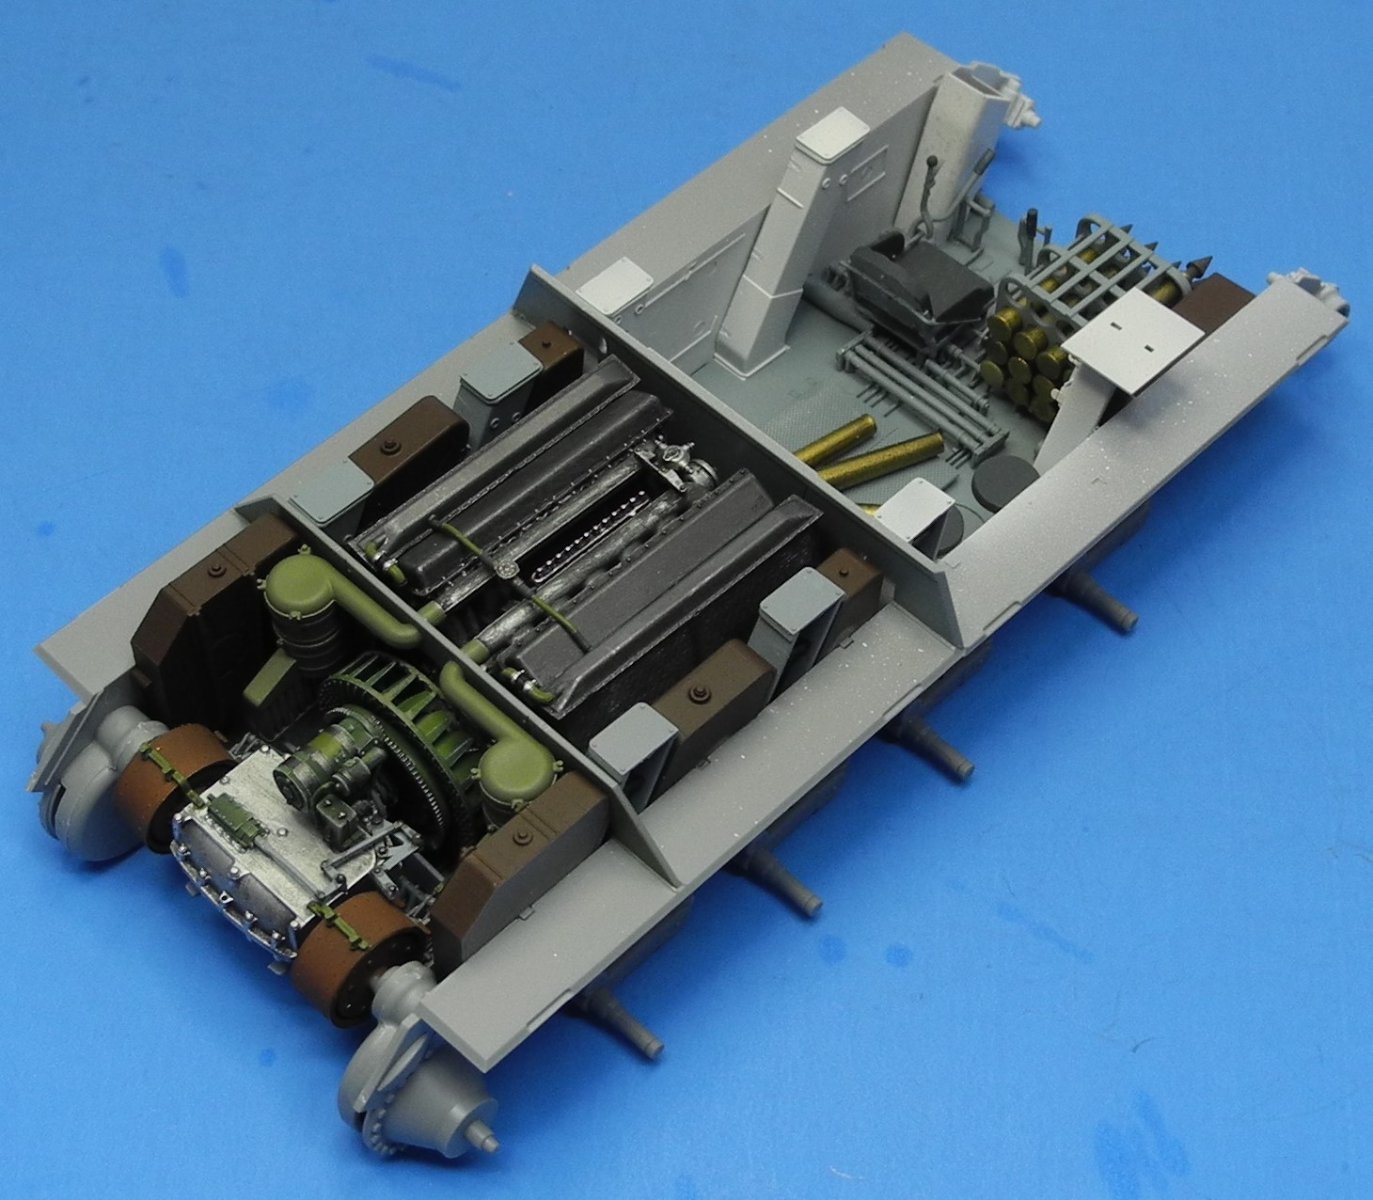
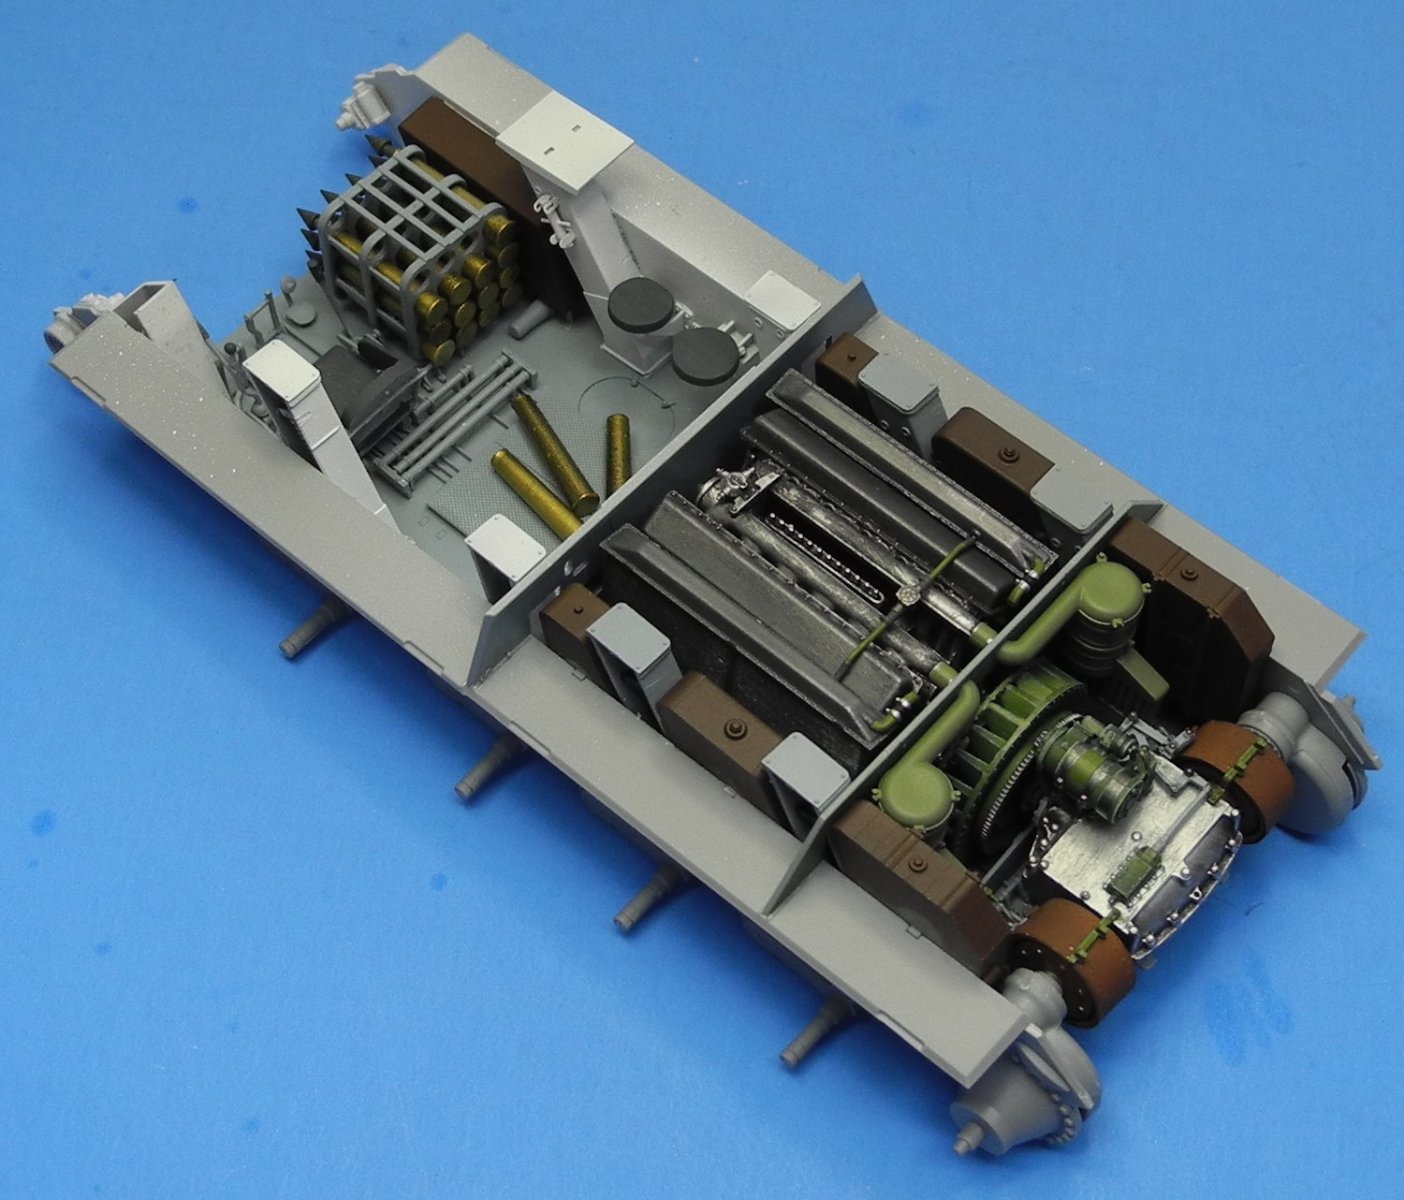
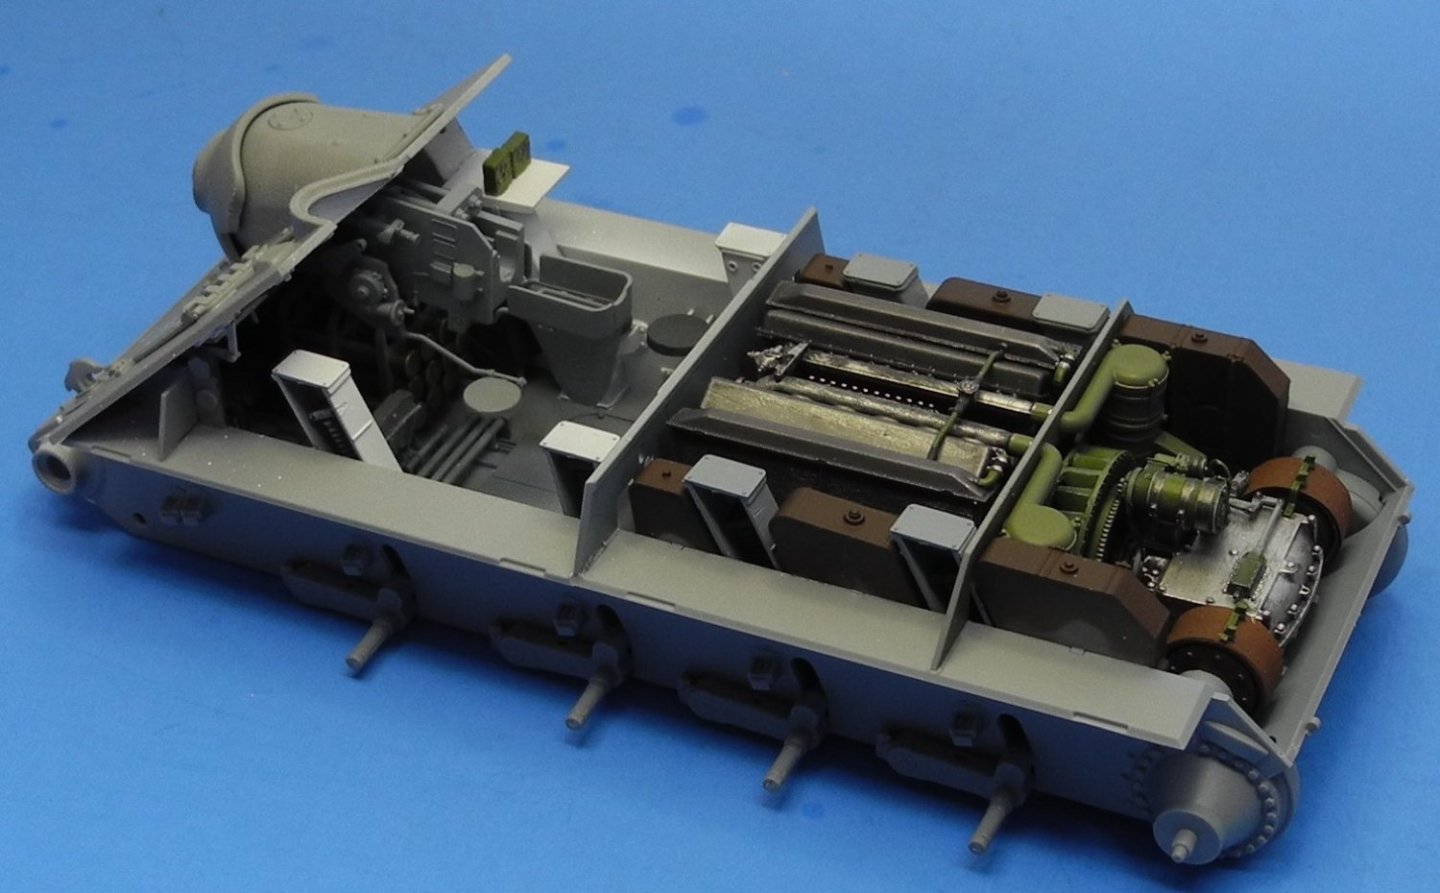
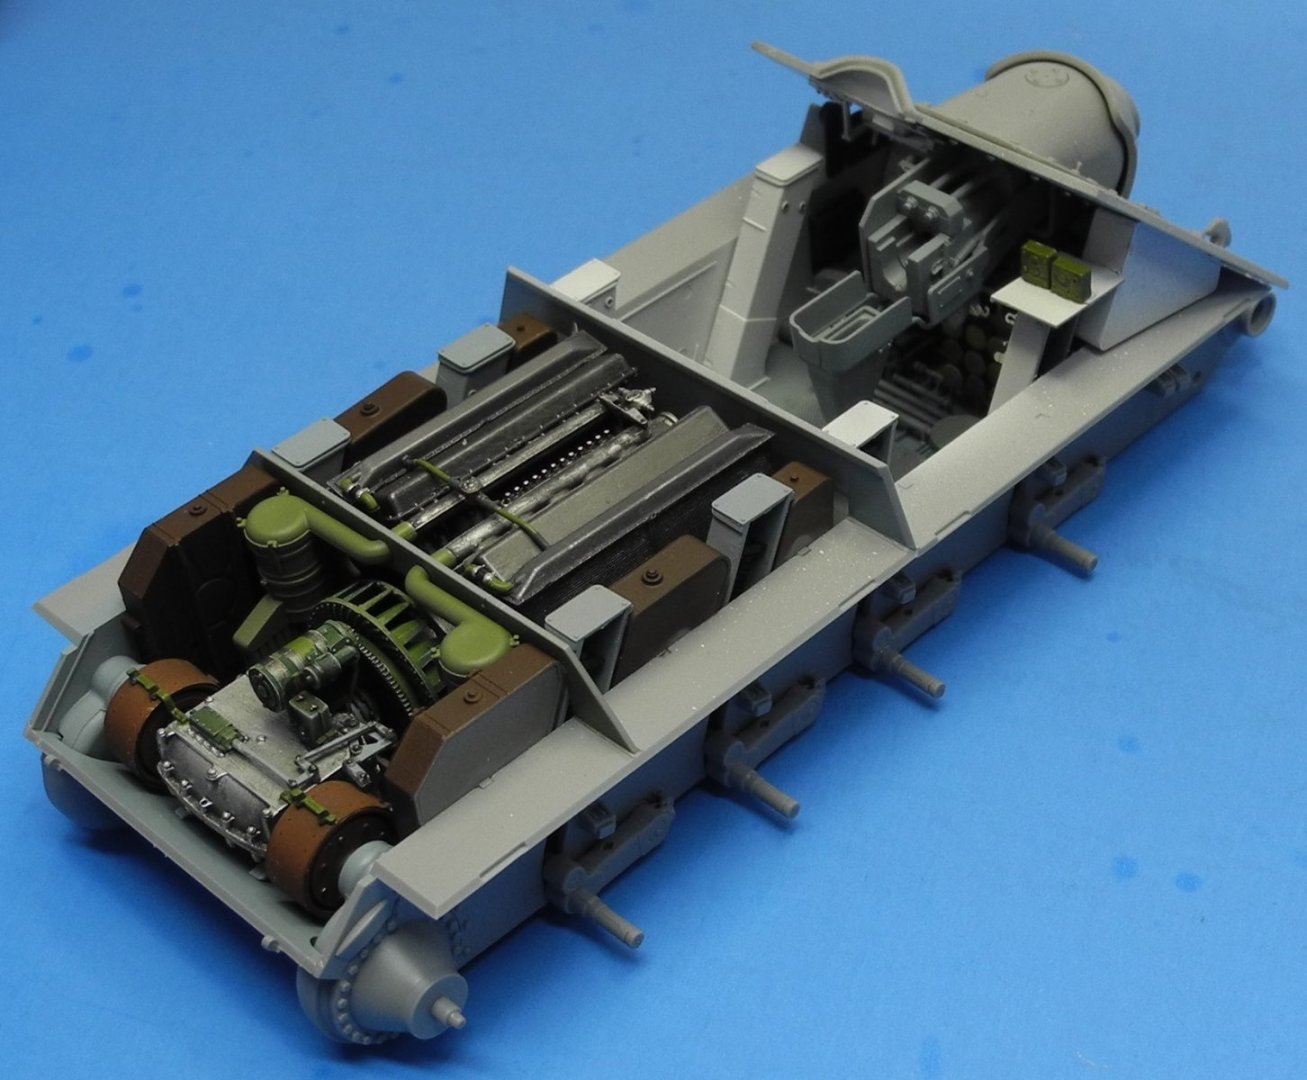
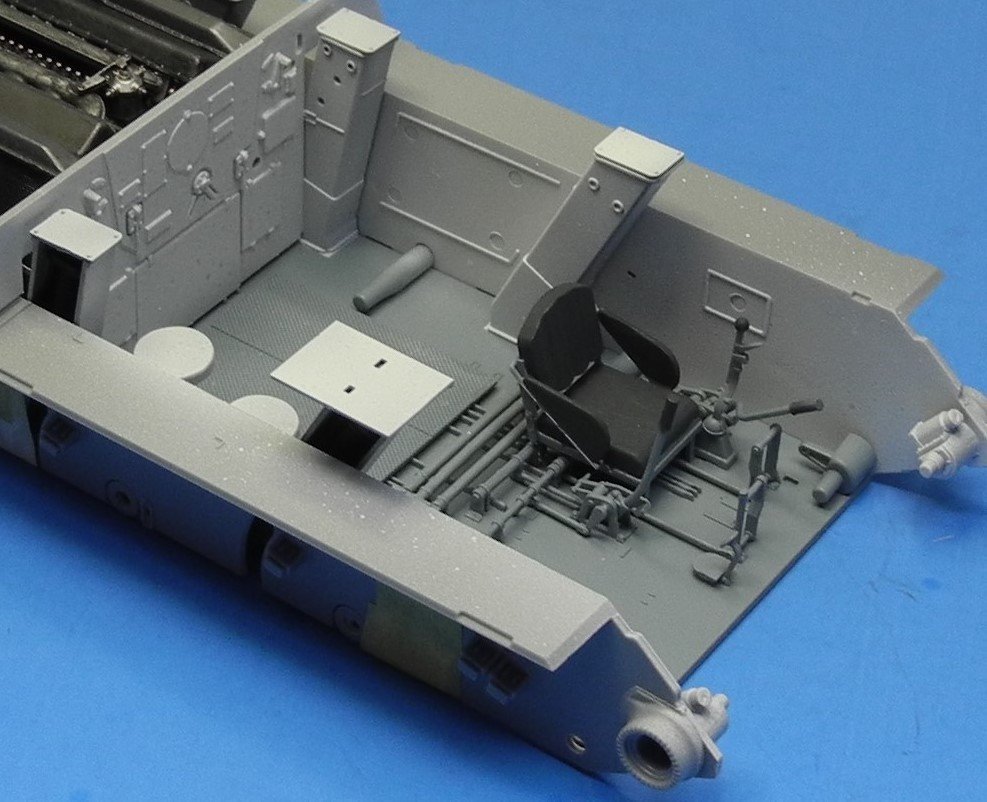
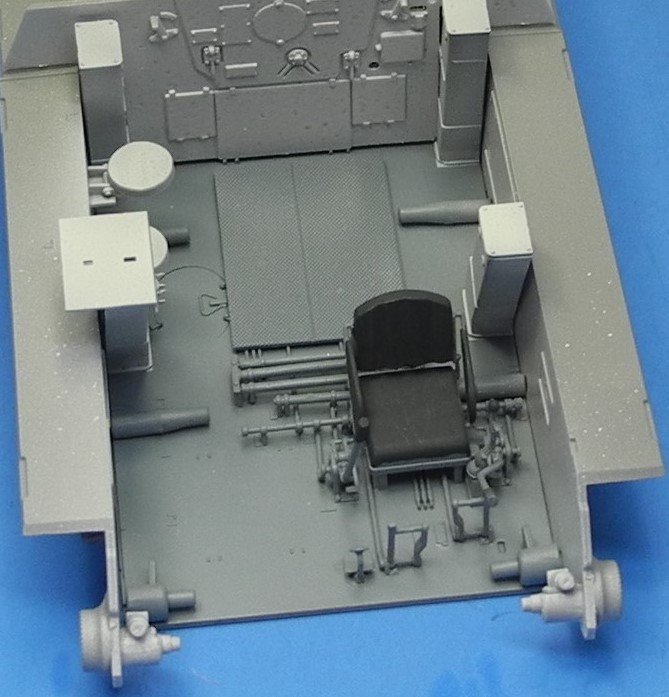
Thanks Ken! Tankers are a whole 'nuther breed IMO. I admire them for what they have done and do. Certainly not a task I would want to entertain. Thanks Mike. MiniArt do a nice range of WW2 armor, infantry, and softskin vehicles. On the modeling front, got some more building and painting done and it was now time for a dry-fit before going too much farther along. Any gaps will close up easily once cement is applied. I like the way MiniArt engineers/designers placed ejector pin locations (in most cases) where they will be covered by other parts in subsequent steps of construction. I've had a few that needed filling and sanding, but not all as can be seen here. These will be covered and remain unseen later on.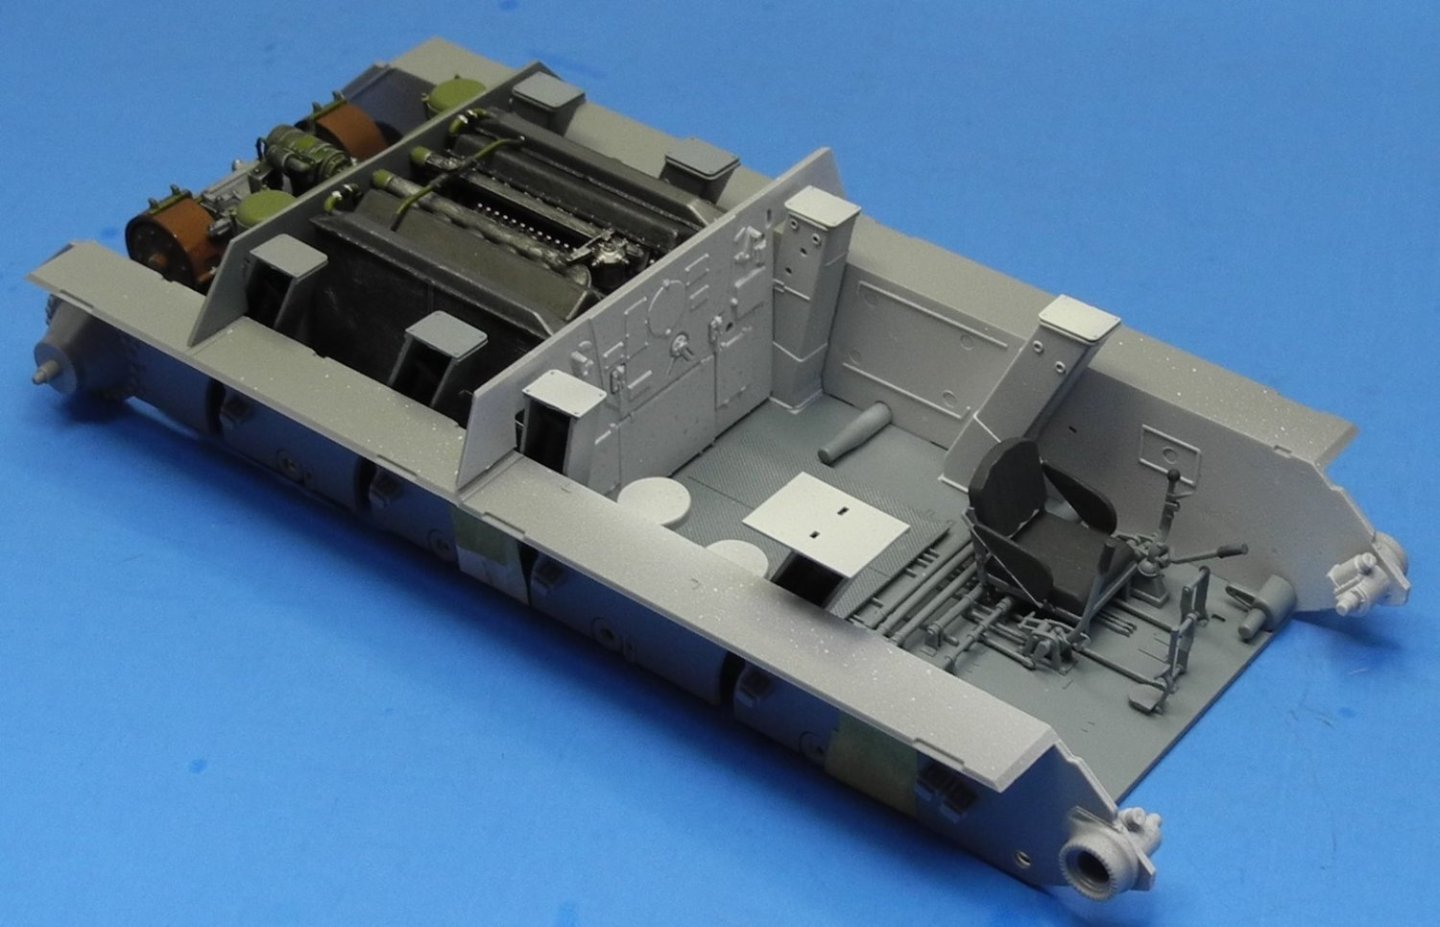

- 96 replies
-
- 15
-