CDW
-
Posts
7,755 -
Joined
-
Last visited
Content Type
Profiles
Forums
Gallery
Events
Everything posted by CDW
-
 Looks great to me, Ras. Have fun is my motto. No point in calling this a hobby if it’s not fun. No fun becomes toil and sweat and I for one can get all that I want of that working in my garden.😎
 -
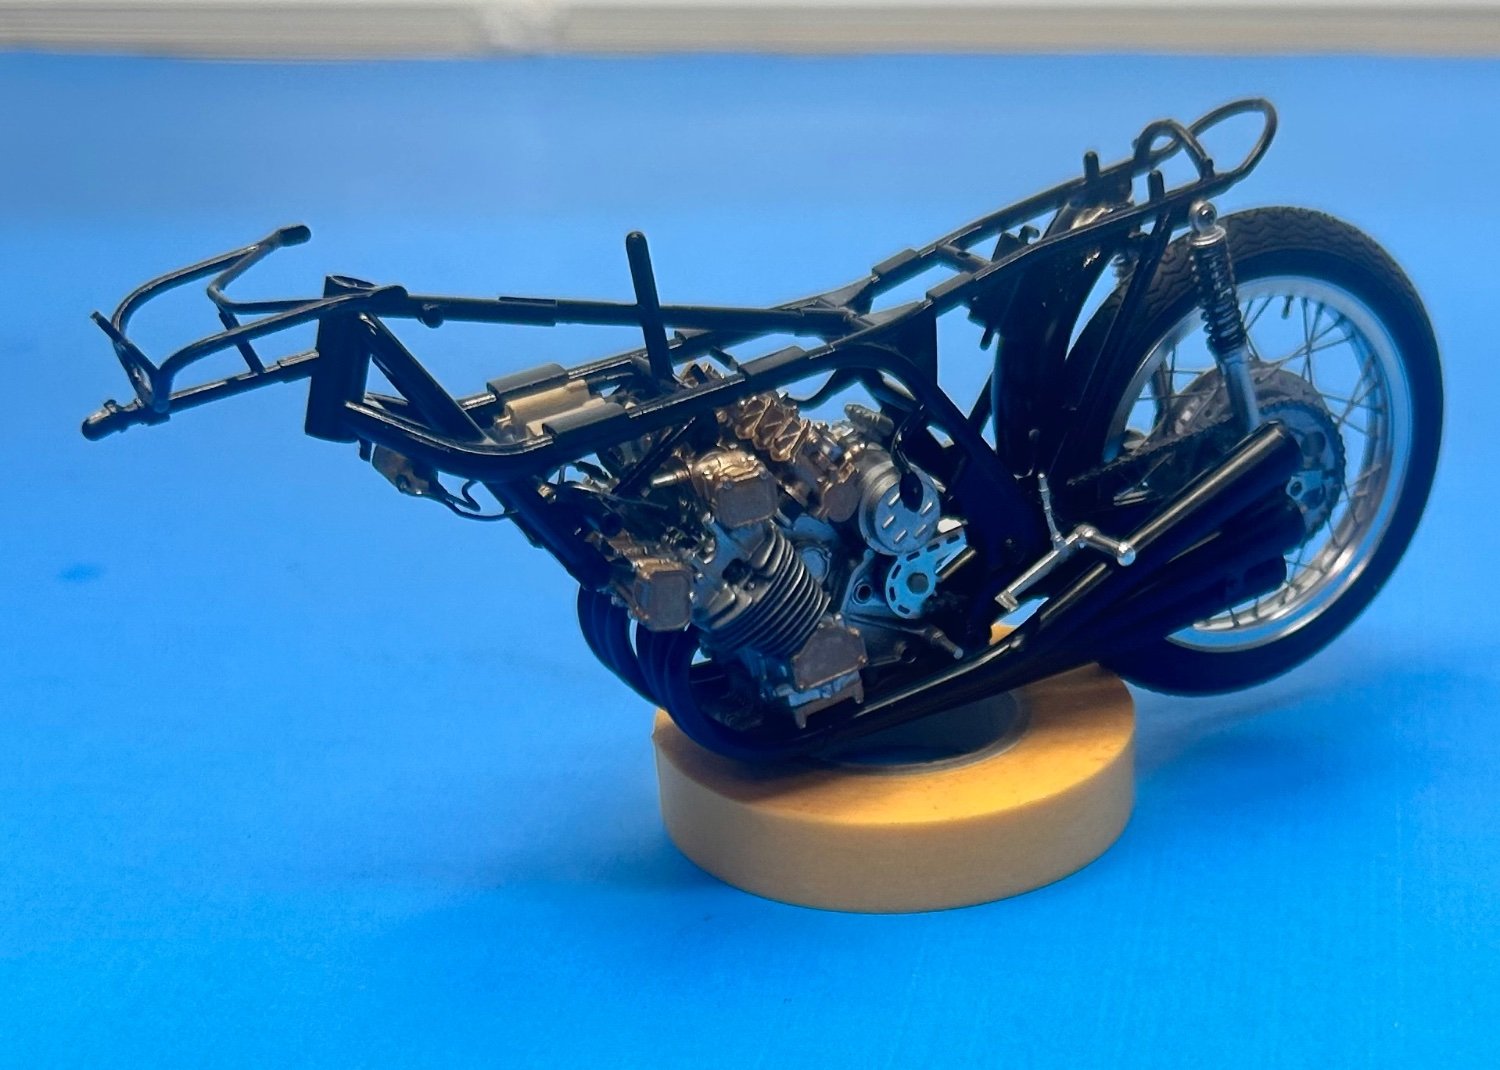
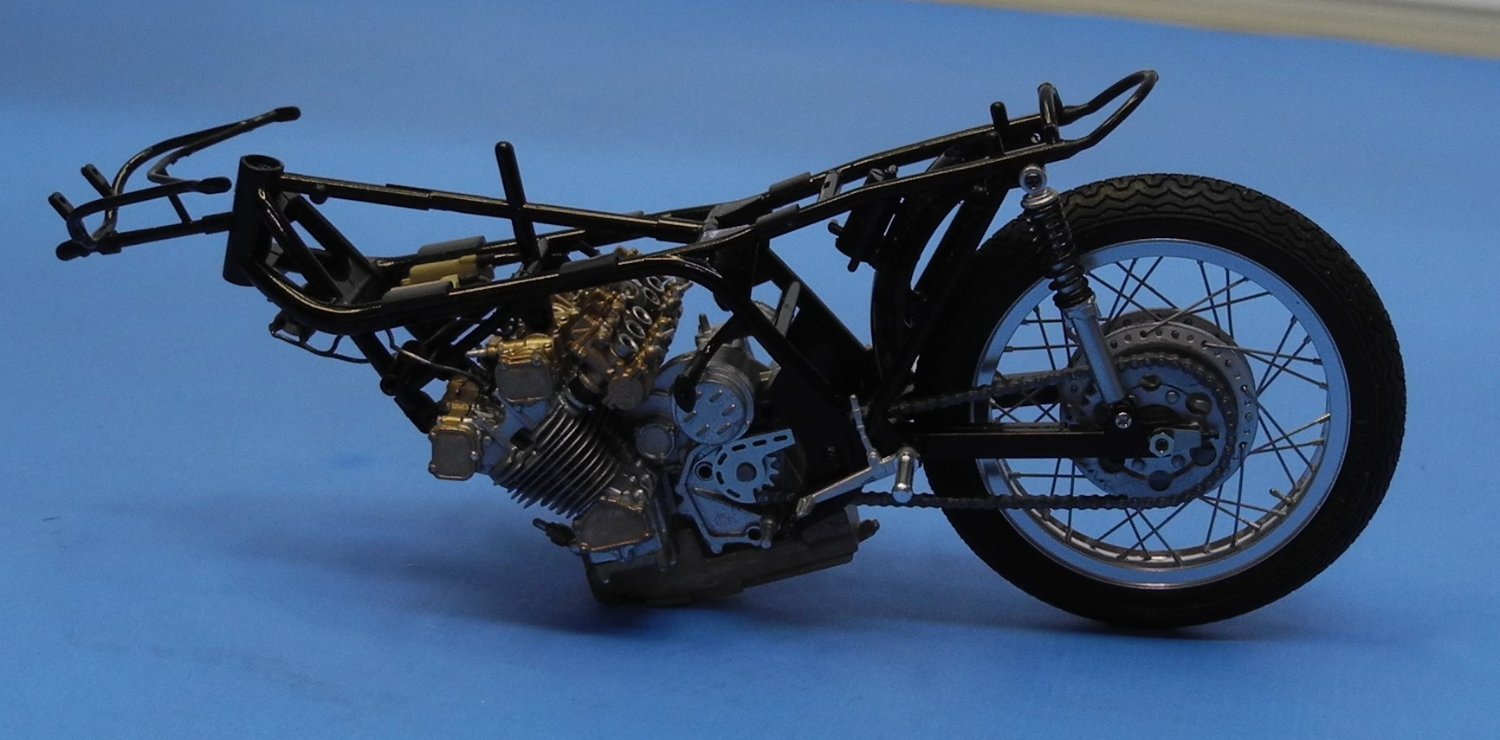
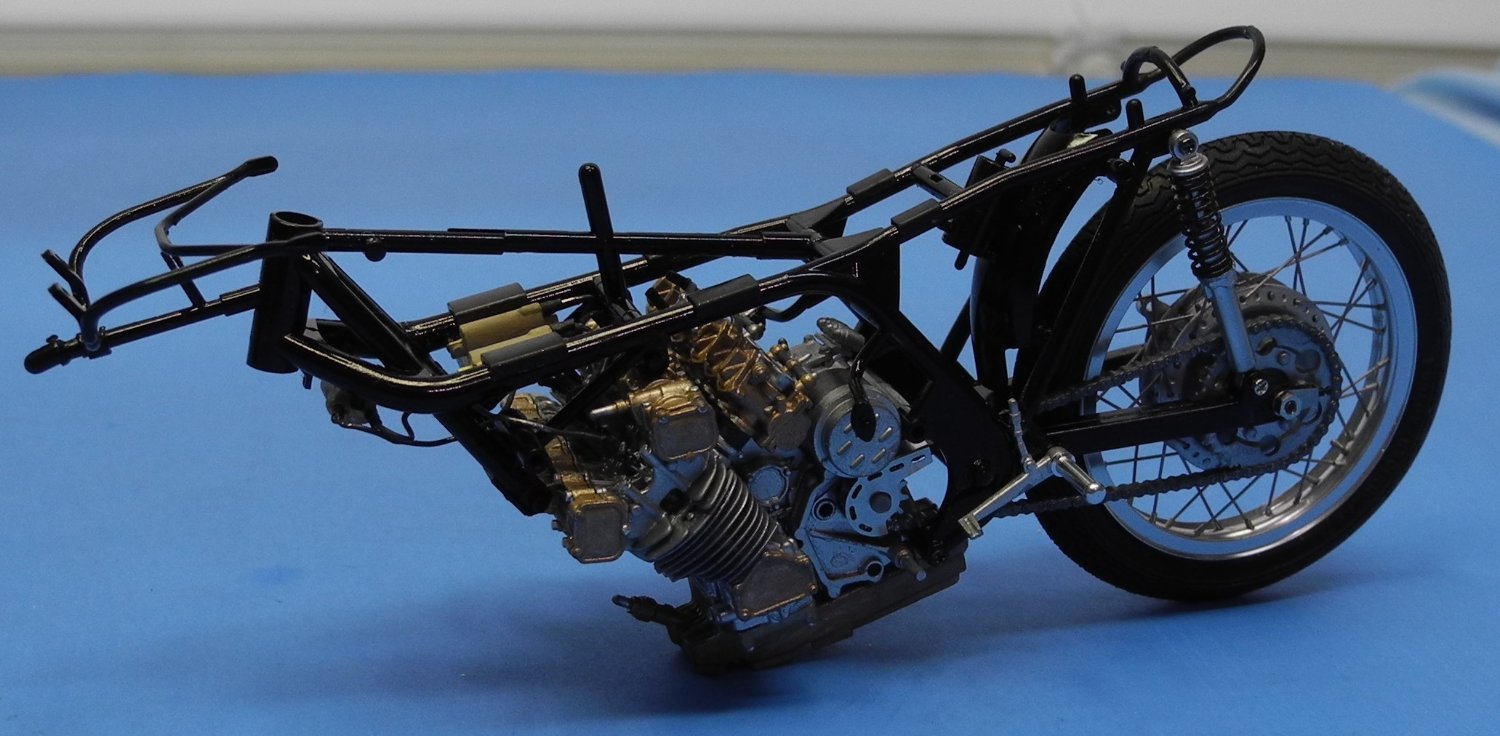
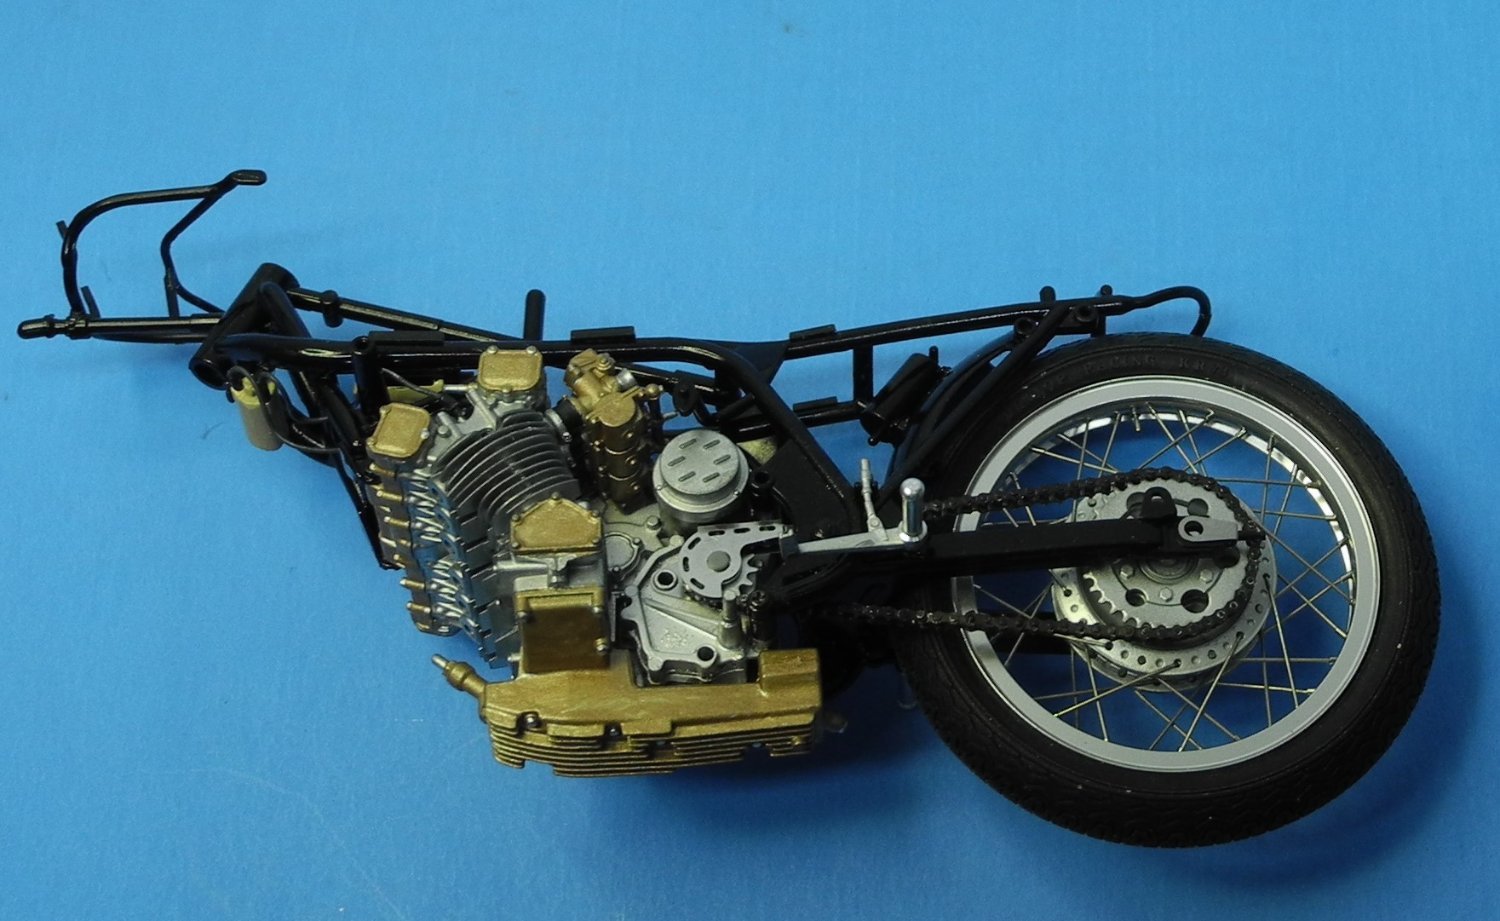
Honda RC166 Grand Prix Racer by CDW - FINISHED - Tamiya - 1/12
CDW replied to CDW's topic in Non-ship/categorised builds
The scale of that figure against the bike really does illustrate the size of it, and it's tiny. I keep thinking that at one time there were some bike rider and mechanic figures from Tamiya in this scale but I don't see them anywhere now. I guess long out of production, or perhaps I am thinking of formula one figures. -
Generally speaking, I find acrylic paints peel more easily when masking over them than lacquers. With any plastic model, it's good practice to first wash the plastic in a mild dish detergent before assembling and then wipe it all down with alcohol before painting to remove any oils from handling it but no, I don't think there is anything inherent in Trumpeter plastic that resists paint.
-
Honda RC166 Grand Prix Racer by CDW - FINISHED - Tamiya - 1/12
CDW replied to CDW's topic in Non-ship/categorised builds
She's always looking 😄 -
Honda RC166 Grand Prix Racer by CDW - FINISHED - Tamiya - 1/12
CDW replied to CDW's topic in Non-ship/categorised builds
Seriously, I was looking for a legit rider and mechanic figure in 1:12 scale. Leave it to EBay search to come up with something like that above. It could end my modeling career, errr life. 😄 -
Honda RC166 Grand Prix Racer by CDW - FINISHED - Tamiya - 1/12
CDW replied to CDW's topic in Non-ship/categorised builds
There would be nowhere to hide. -
Honda RC166 Grand Prix Racer by CDW - FINISHED - Tamiya - 1/12
CDW replied to CDW's topic in Non-ship/categorised builds
I'm thinking about buying this 1:12 rider for Honda. Let me know what you think. Looks fast just standing still. 😁 Legend 150mm 1/12 "Need for Speed" Girl in Red Leather Suit on Motorcycle LF1505 | eBay -
Honda RC166 Grand Prix Racer by CDW - FINISHED - Tamiya - 1/12
CDW replied to CDW's topic in Non-ship/categorised builds
For ultimate realism at this scale, that 3D printed chain DocRob showed us is the best bang for the buck. IMO The photo etch, pins and rollers too small. Watchmaker material -
Honda RC166 Grand Prix Racer by CDW - FINISHED - Tamiya - 1/12
CDW replied to CDW's topic in Non-ship/categorised builds
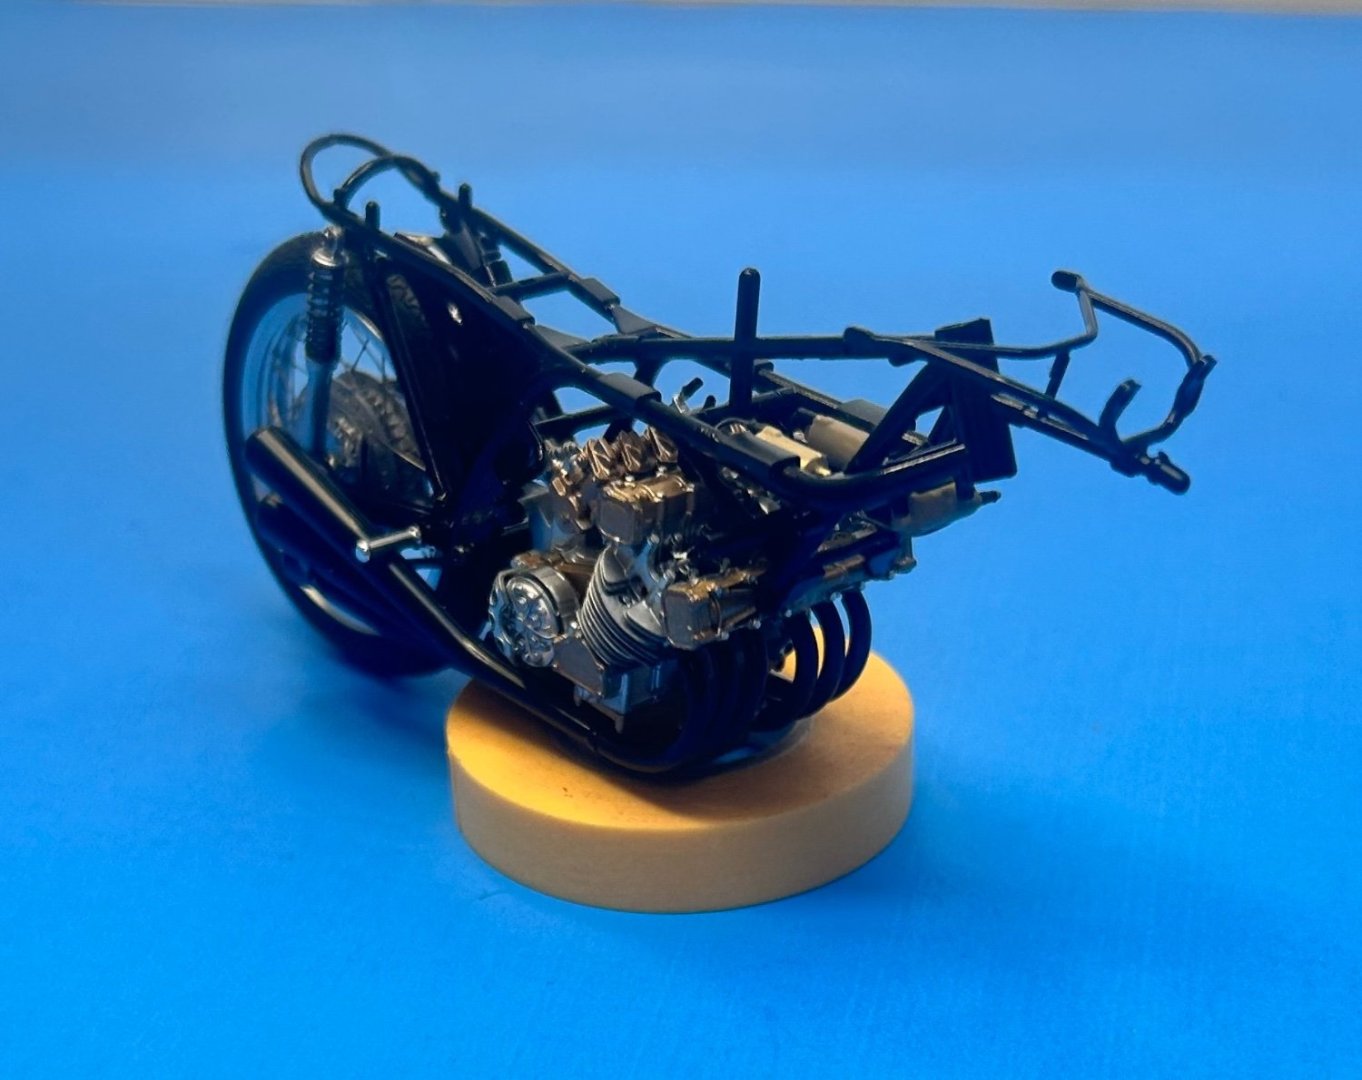
Test fitting the six exhaust pipes. Nice. Has the look of a much larger displacement bike.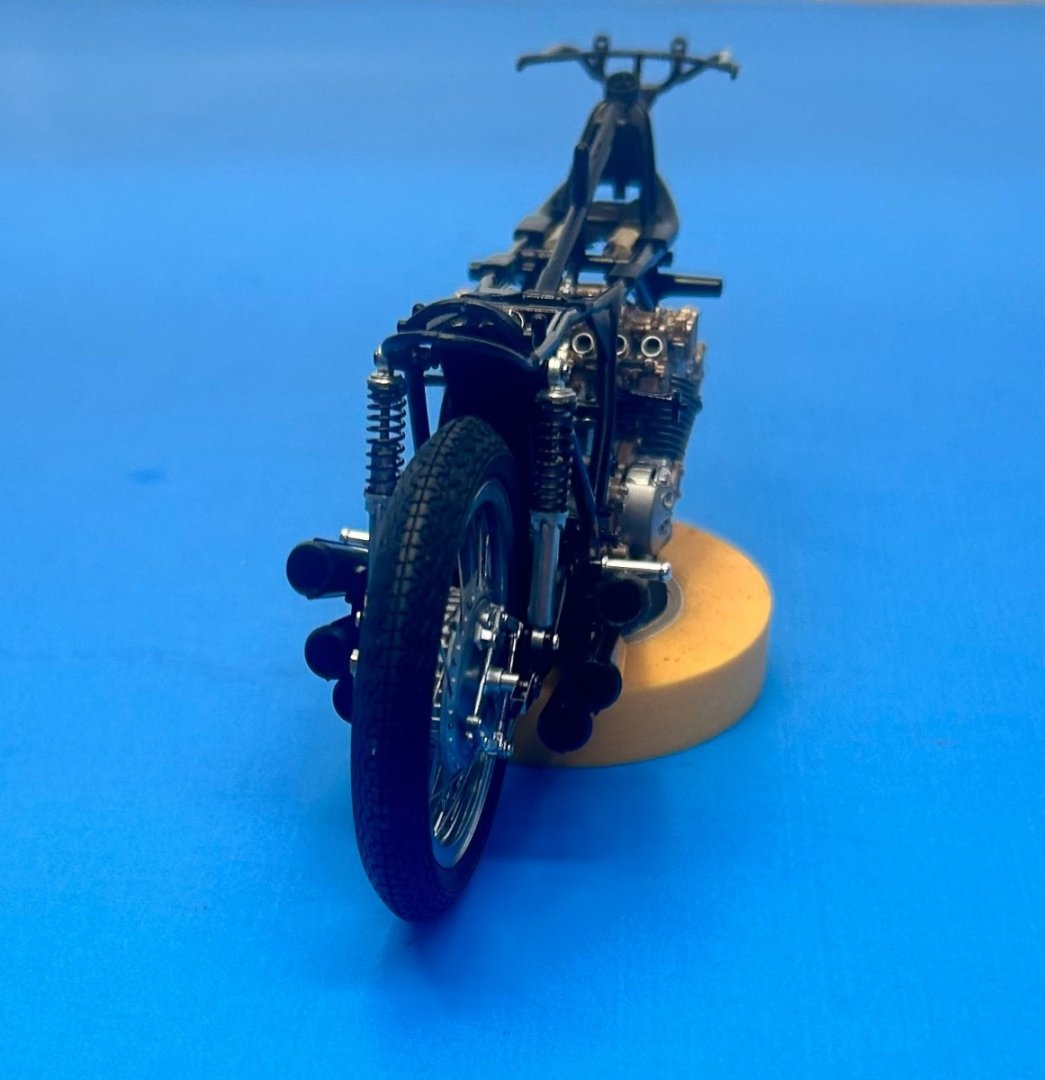

-
Looking very sharp. It’s like a walk back into time past seeing the engineering of that era.
-
Honda RC166 Grand Prix Racer by CDW - FINISHED - Tamiya - 1/12
CDW replied to CDW's topic in Non-ship/categorised builds
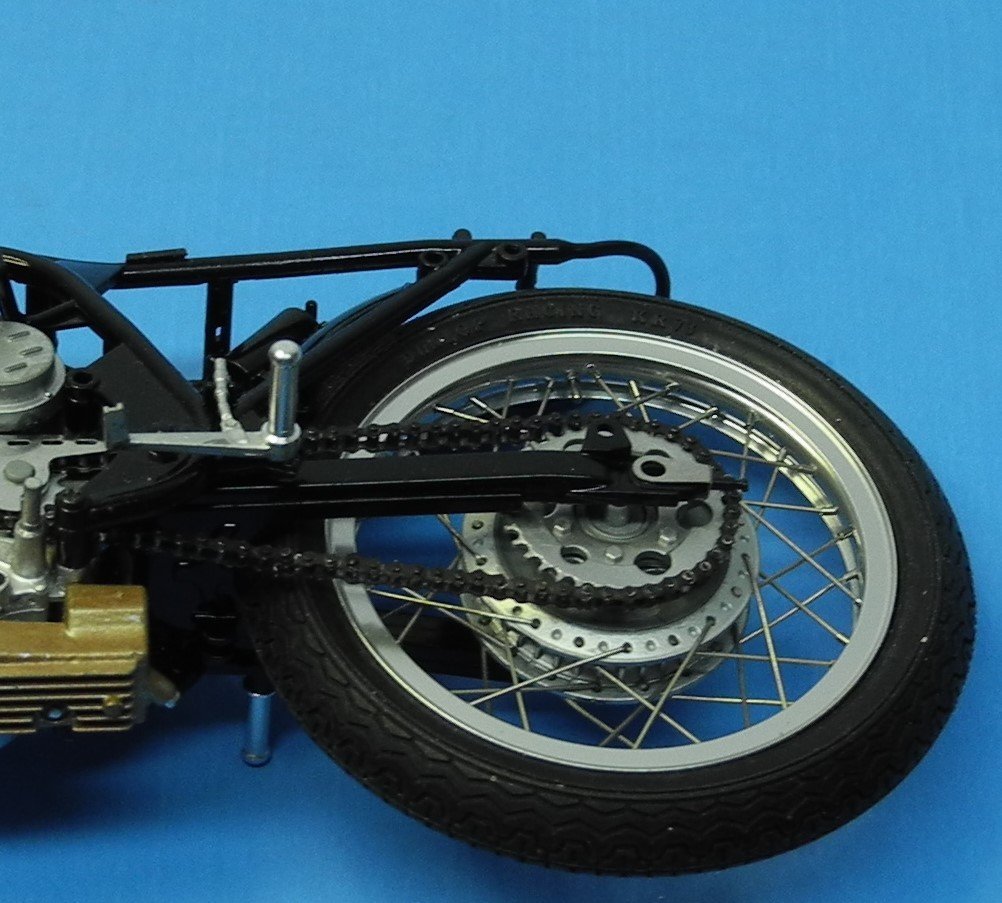
The more I fiddled with adding links to the chain, existing links began to fall apart one by one. Became so hassle-iferous, I resorted to the molded chain and sprockets. Moving on.

-
As a teen, I appreciated the huge back seats in the old cars back then. Those seats got heavy usage when taking your date to the submarine races.🙂
-
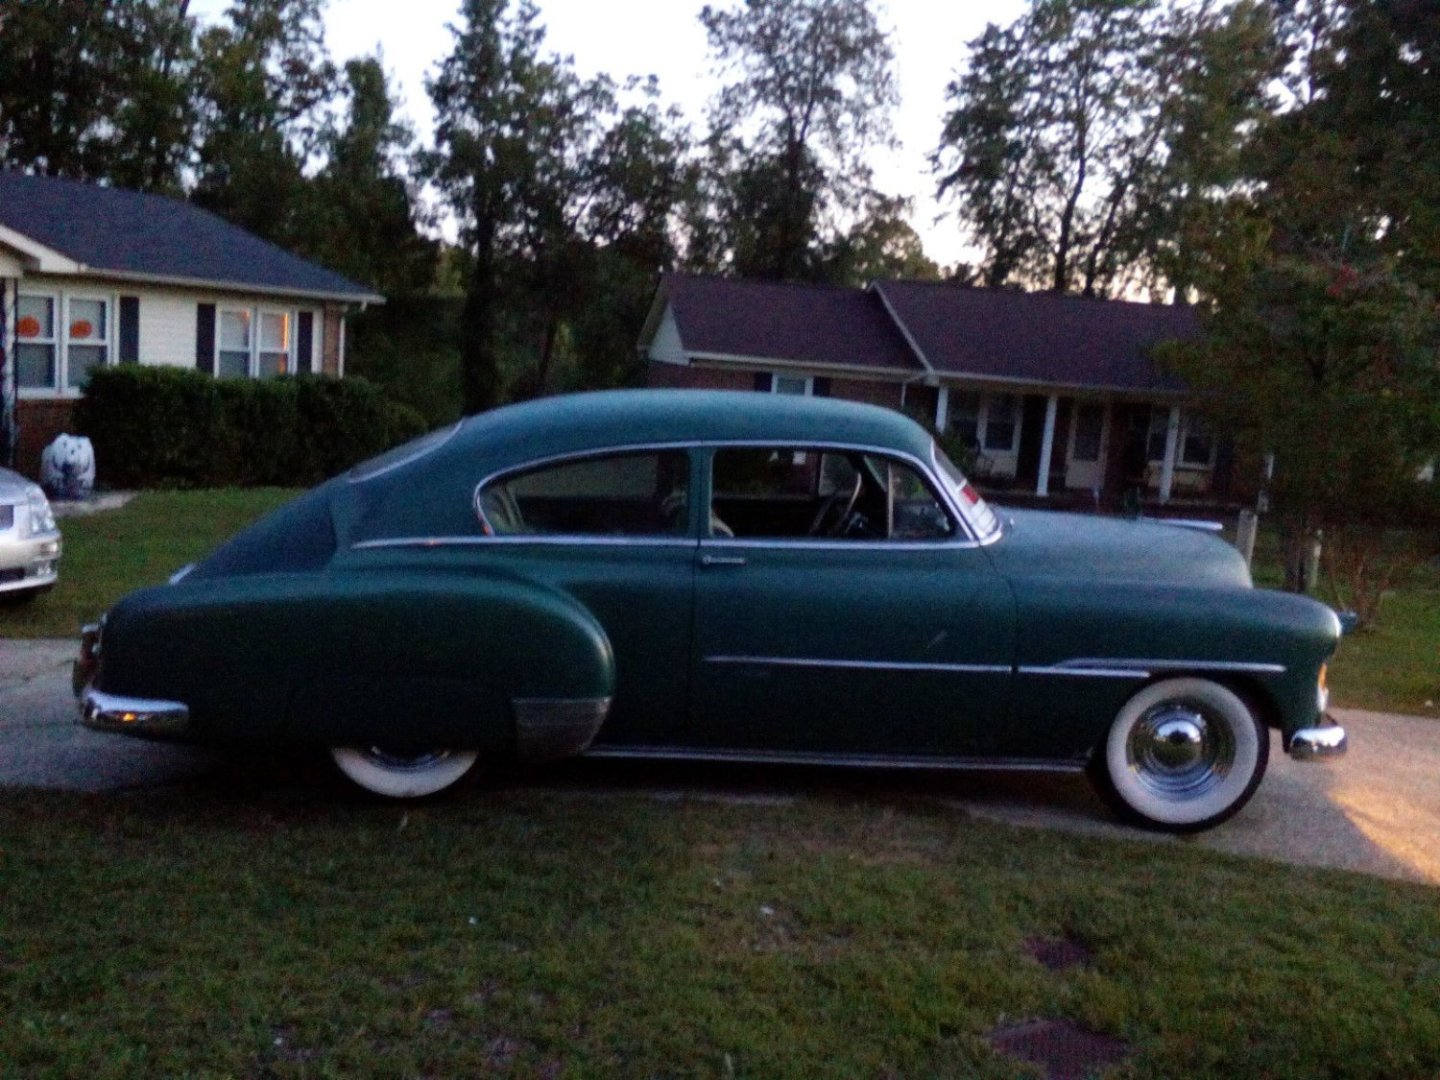
Never owned one myself, but my favorite '51 Chevy was the fastback model. You could buy these for a song when I was a teen. But I never learned to appreciate cars like these until the 80's and 90's. By then they had become much harder to find.
-
Here is that tour of the Airfix factory if anyone cares to see it. I thought it was interesting. Jenesis Designs and Modelcraft is a very good scale modeling channel IMO and something not seen too often...a female scale model enthusiast.
-
Honda RC166 Grand Prix Racer by CDW - FINISHED - Tamiya - 1/12
CDW replied to CDW's topic in Non-ship/categorised builds
@shipman: I did check fit through limits of travel of the swingarm, but it's a matter of the chain being too short. I also laid the chain about the circumference of the molded chain piece and found it too short there as well. One way or the other, I will have a chain on the bike by tomorrow. 😄 I'm working to add a few links as I type this. From here on out, it shall be 3D printed chains for me. No more of these. -
@AJohnsonindeed I did have the same little short shot piece in the very same place. Wonder how this got past their quality control inspectors? I watched a video tour of their factory and they seemed good about inspecting the parts trees before boxing it all together.
-
Honda RC166 Grand Prix Racer by CDW - FINISHED - Tamiya - 1/12
CDW replied to CDW's topic in Non-ship/categorised builds
On second thought, there were two rear sprockets included, one large and one smaller one. The instructions called for use of the large one. Maybe the smaller of the two would fit without lengthening the chain? I grow weary of this. -
Honda RC166 Grand Prix Racer by CDW - FINISHED - Tamiya - 1/12
CDW replied to CDW's topic in Non-ship/categorised builds
The drive chain saga continues: after all the bragging I did about how well Tamiya engineered the chain building jig, come to find out the chain is too short. 🤥 All is not lost, there are more links, rollers, and pins included. I can measure the distance between the axle location on the swingarm and the hub, multiply that times 2 and I should be long enough by adding those links to the chain. I'm debating whether to throw in the towel on the chain and just use the kit chain and sprockets which are molded as a single unit (the correct length). I've about had enough Tom-foolery with this chain.
-
Seats of ease: being located at the bow, a sailor might need a seat belt in foul weather or else go flying off that seat like a slingshot. 😄
-
This kit was first introduced a LONG time ago, sometime in the 70's I believe. The molds have a lot of mileage on them. I think you're doing a great job on this old kit. Keep up the good work.
-
Honda RC166 Grand Prix Racer by CDW - FINISHED - Tamiya - 1/12
CDW replied to CDW's topic in Non-ship/categorised builds
I am now at the stage where the ends of the chain are joined with a "master link". I kid you not, I have spent a couple of hours fiddling with that link this morning. So glad it's done now. -
Honda RC166 Grand Prix Racer by CDW - FINISHED - Tamiya - 1/12
CDW replied to CDW's topic in Non-ship/categorised builds
Rob The primary weakness with the Tamiya photo etch chain are the problems associated with cutting the links from the photo etch fret after the chain is assembled. Even careful cutting loosens the holding power of the "clips" that attach to the pins. Tamiya recommends gluing each pin/clip contact point with a thread locker glue (CA is what I used). But then you are left with rough spots that need filing down and smoothed out where the links have been cut from the frets. I am not going to attempt smoothing them out. I am certain it will cause the chain to fall apart in various places due to the stress from filing. Too fragile. In retrospect, that resin printed chain looks like a charm. If I had it all to do over again I would buy the resin printed parts but since you already have the photo etch set, give it a try. You may be more successful than I and figure out a better way of handling the issues I described. -
Honda RC166 Grand Prix Racer by CDW - FINISHED - Tamiya - 1/12
CDW replied to CDW's topic in Non-ship/categorised builds
That's a much more viable option for extra detail. Price is right, too. -
Honda RC166 Grand Prix Racer by CDW - FINISHED - Tamiya - 1/12
CDW replied to CDW's topic in Non-ship/categorised builds
All the things we put our parents through when we were kids come back to us with our own kids. I came home one day to find live fish in my swimming pool. My son thought it would be great to be able to go fishing in our back yard. 🤣