


JeffT
-
Posts
2,459 -
Joined
-
Last visited
Content Type
Profiles
Forums
Gallery
Events
Posts posted by JeffT
-
-
Nice. Looks absolutely flawless.
- FrankWouts and mtaylor
-
 2
2
-
-
-
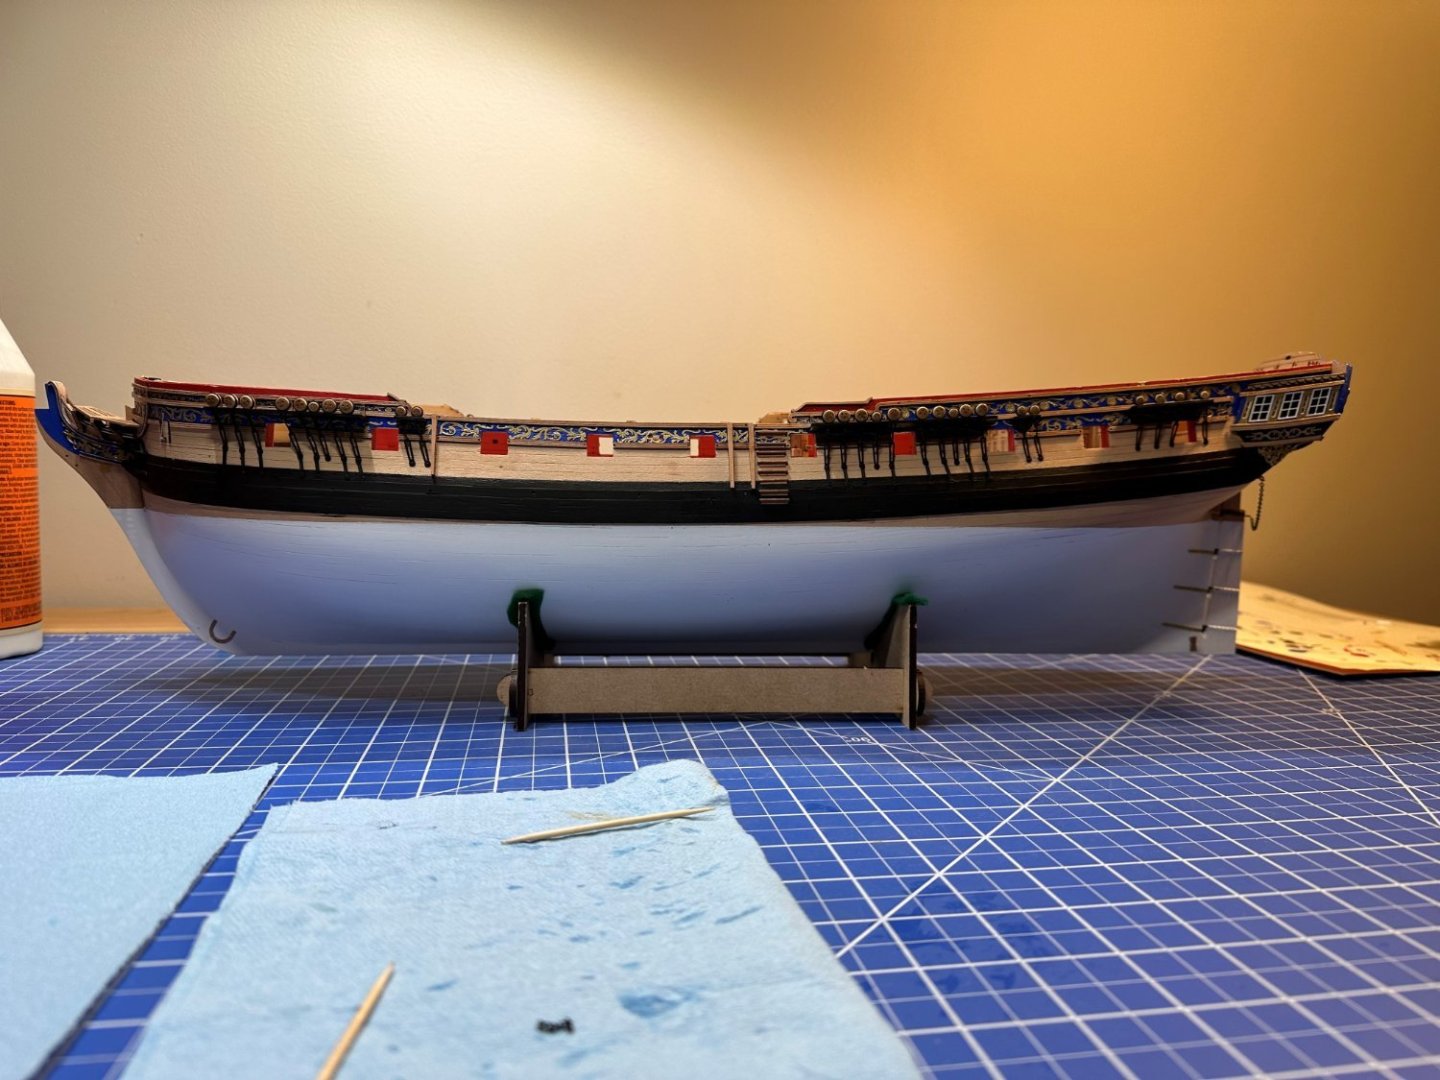
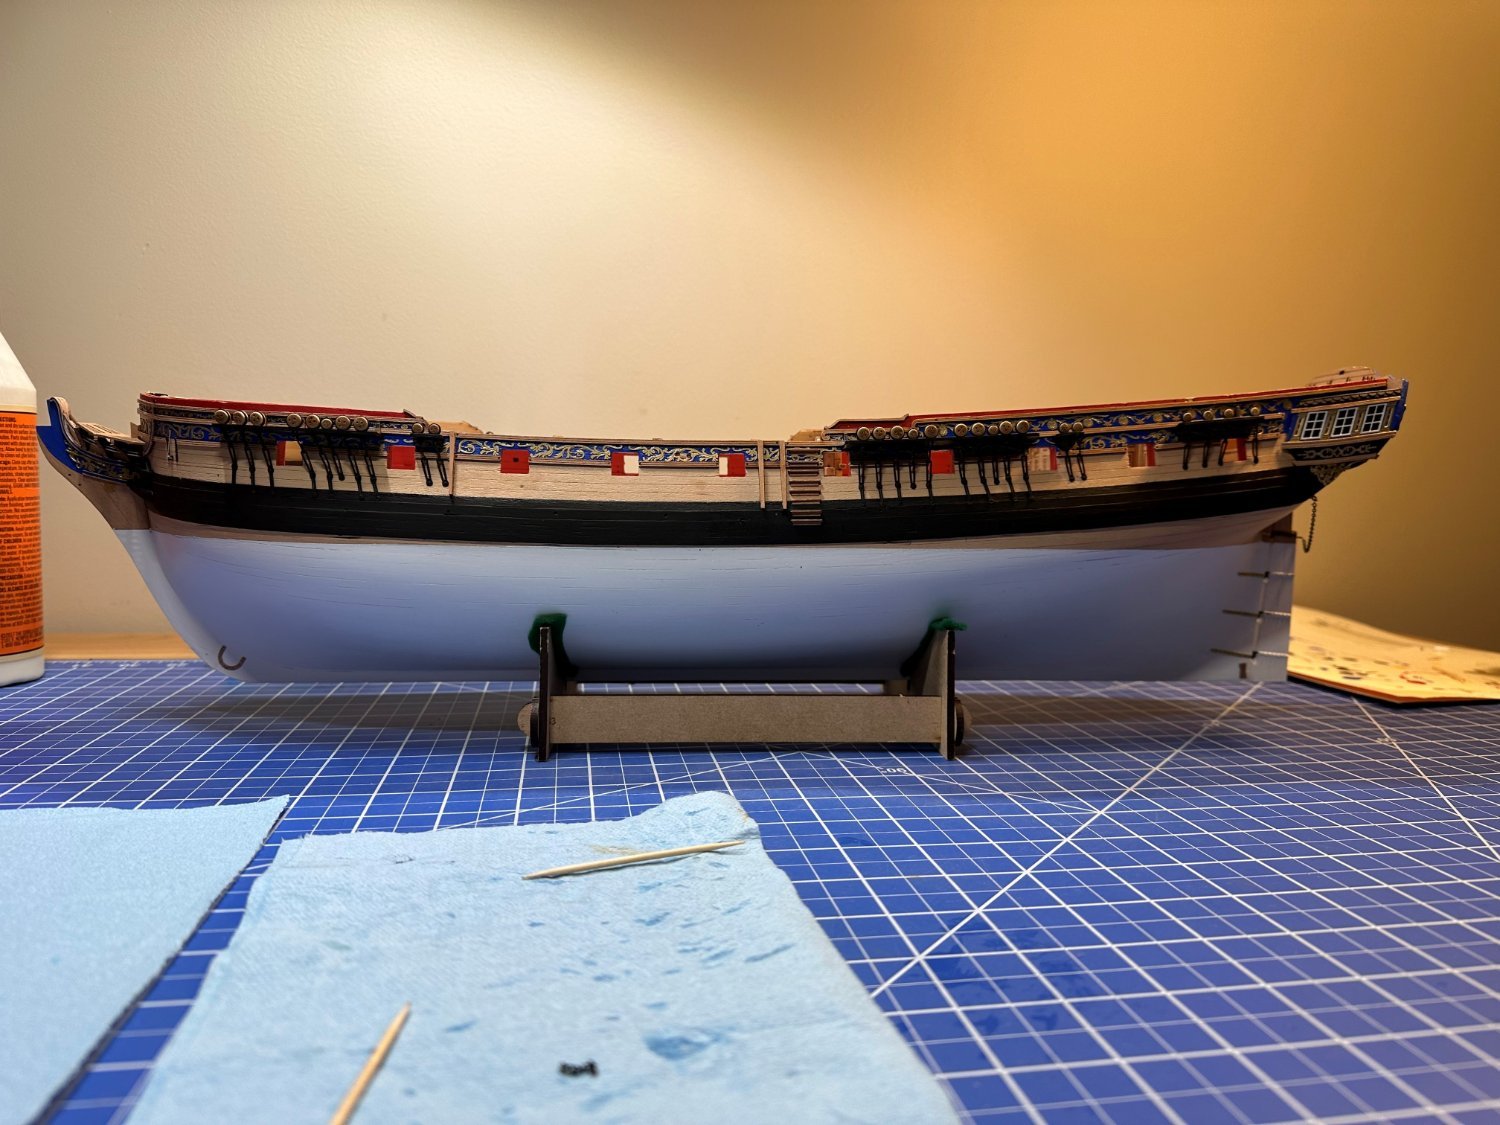
Another quick progress update. Most of the outer hull work is done. I ended up using water based wipe-on poly to secure the photo etch details and it worked out very well. It ended up being pretty easy to do.
Its turning out to be a very nice looking model.
- mtaylor, chris watton, Mr Whippy and 5 others
-
8
-
-
Welcome to MSW

- Keith Black and mtaylor
-
2
-
-
-
So sorry to hear that 😯
-
-
-
You can check the occre build video on youtube to see how the builder did the rear piece.
-
-
-
the details on the quarter badge are excellent.
- Ryland Craze, mtaylor and Jack12477
-
3
-
-
Its a cool little cutter.
- mtaylor, AJohnson, chris watton and 1 other
-
4
-
-
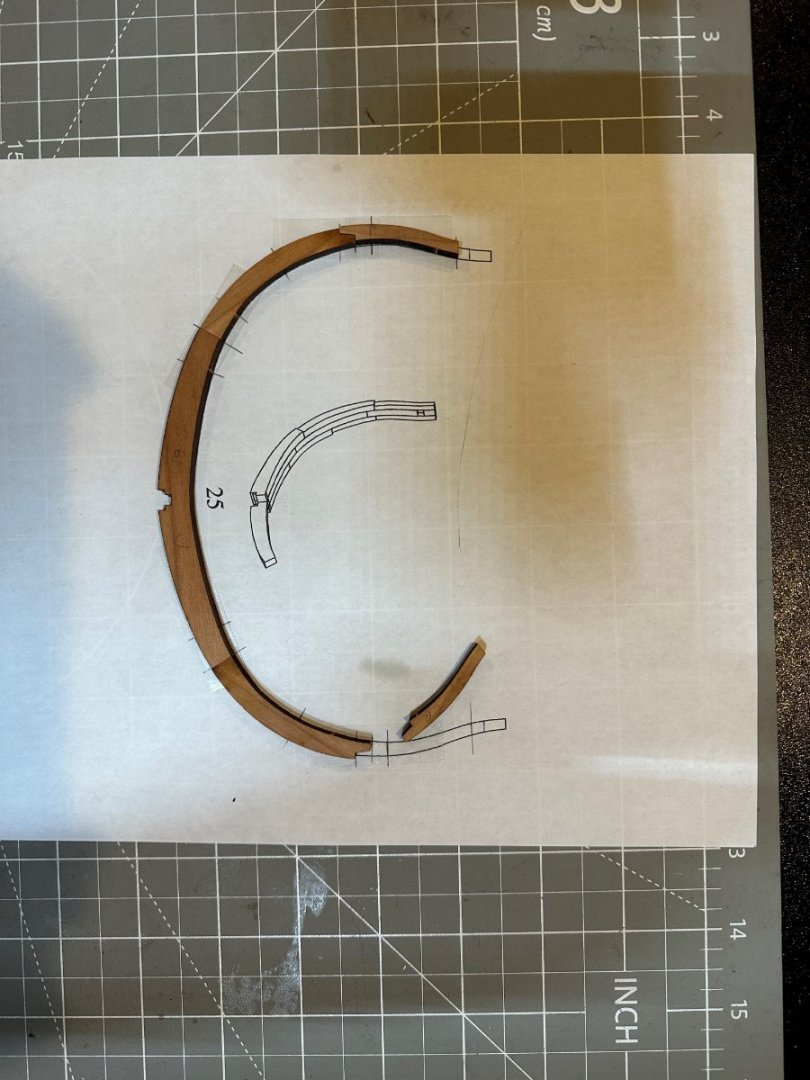
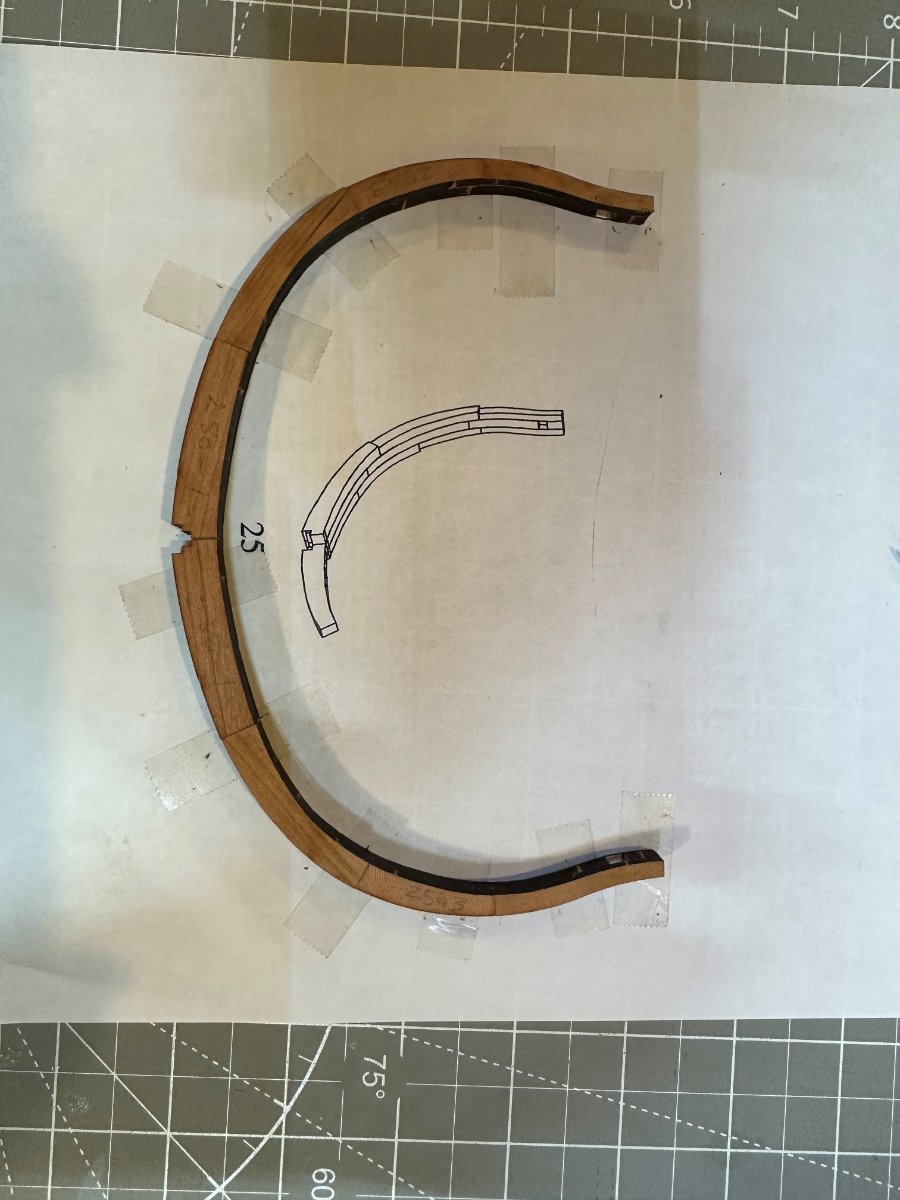
I finally got around to starting work on the frames. I decided to start building frames starting near the middle, so I started with frame 25.
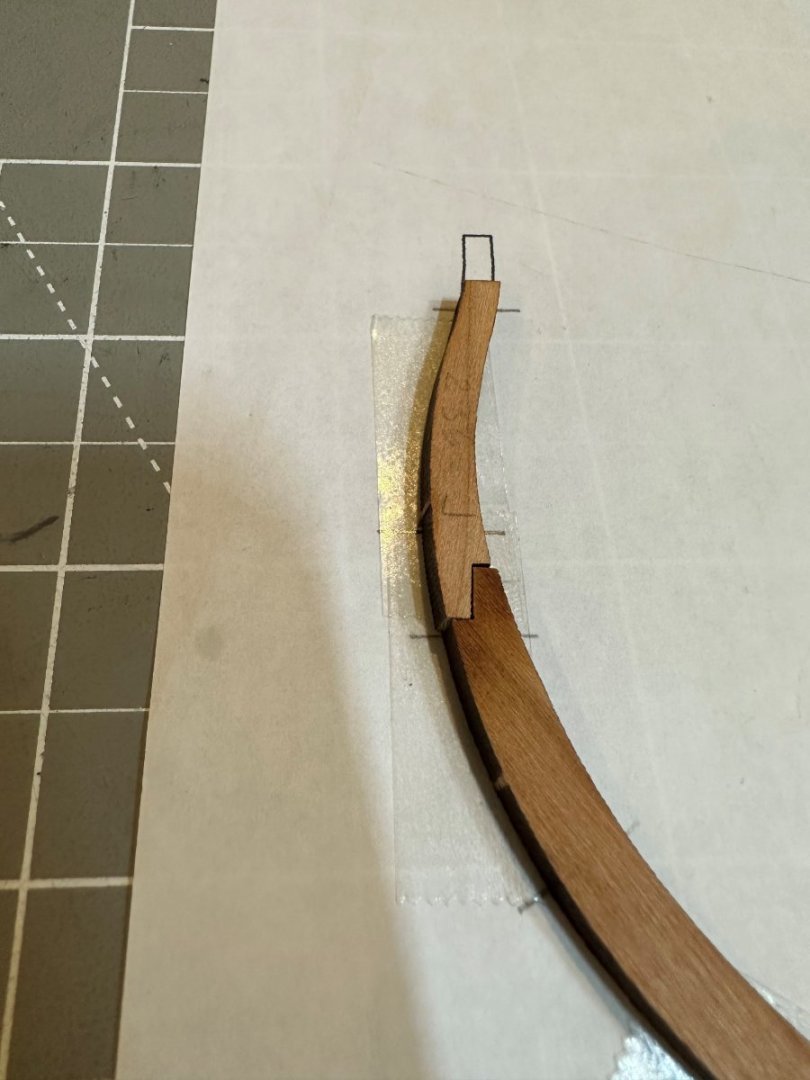
As you can see frame 25 is 3 layers, A, B and C, A is the forward layer. A and C are both stepped. I'm not sure what the little bits are at the bottom steps.
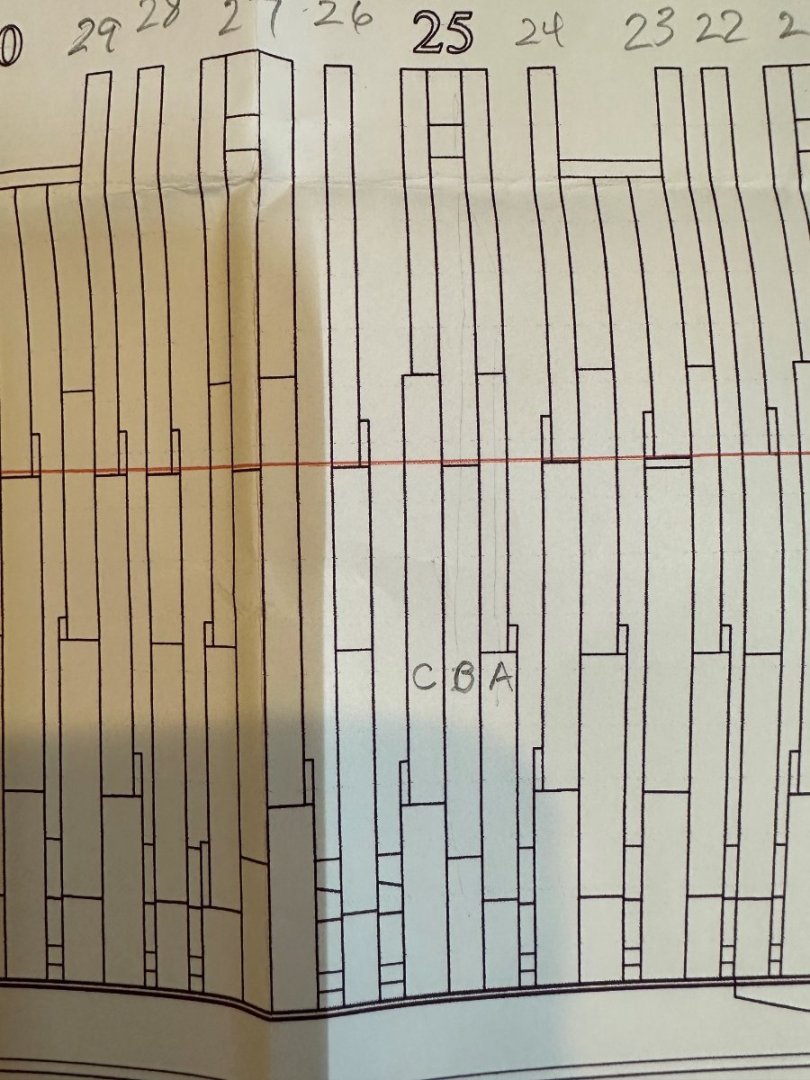
The instructions would have you start with layer c using shims to prop it up, as shown here with frame 27. This may be necessary for two layers frames when both layers have steps,
or maybe not, we'll see, but not on the 3 layer frames.
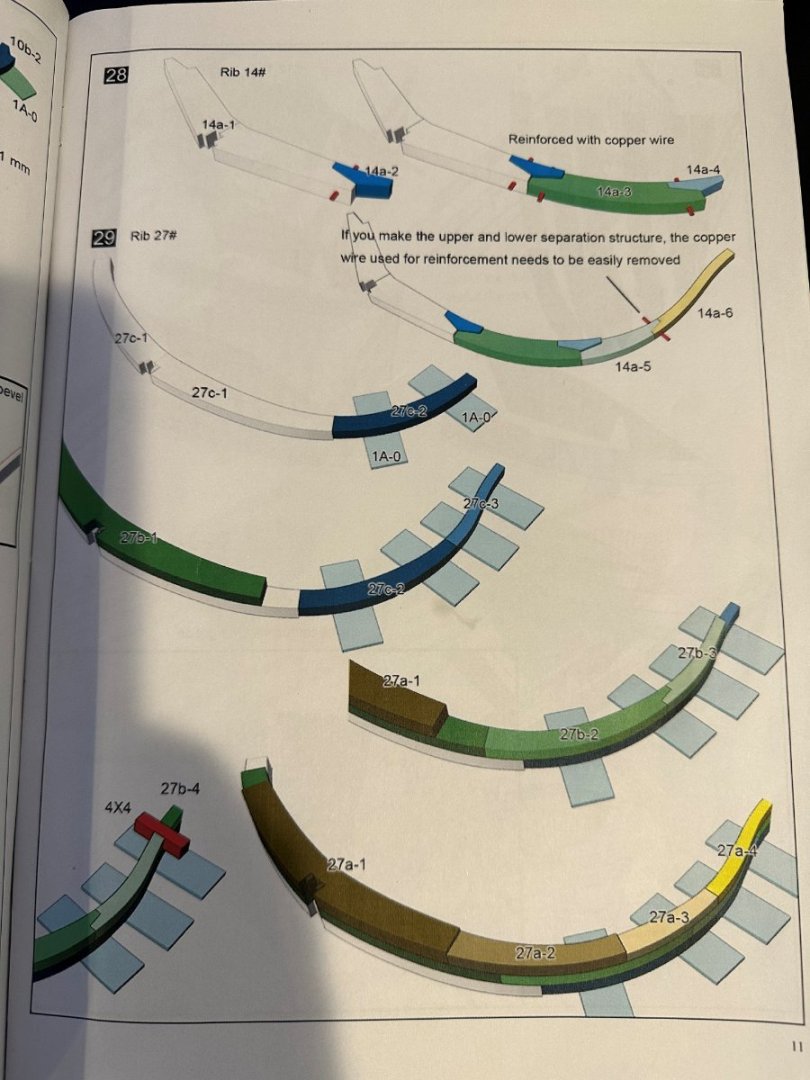
The above method didn't make sense to me. Since the middle layer b is not stepped, I decided to start there. I'm using double sided tape to hold the frame parts in the correct position aligned on the plan.
There is no glue used on this layer to hold the individual frame parts together, just the tape holds the parts in position.
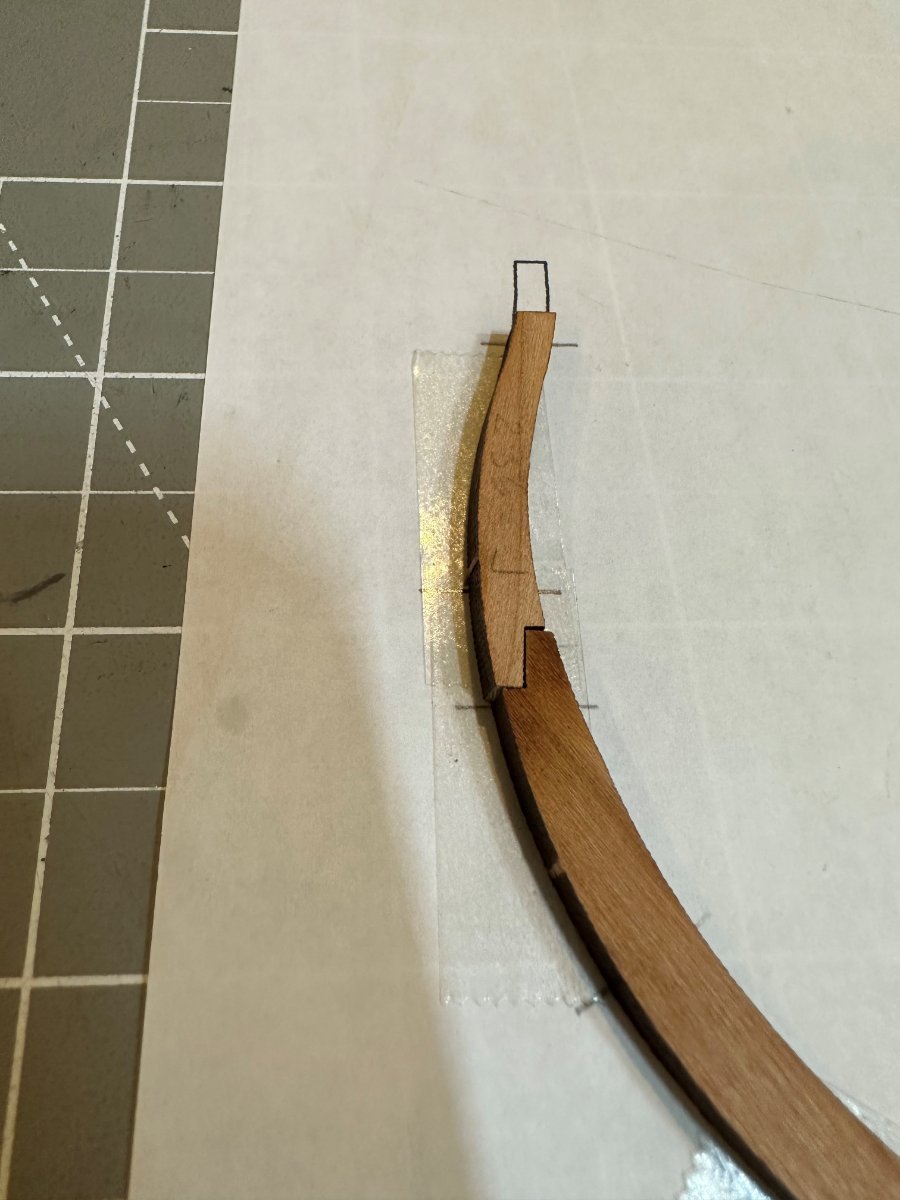
There is quite a bit of cleanup to do on the areas where the frames will be joined together. Lots of laser burn and of course the laser cuts at an angle. This is an example of the cleanup that needs to be done,
The parts wont mate properly until its done. This is the hard part for me, cleaning these surfaces up without making a mess of them. Luckily, this is on layer B and wont be visible after assembly.
I used mini files for this.
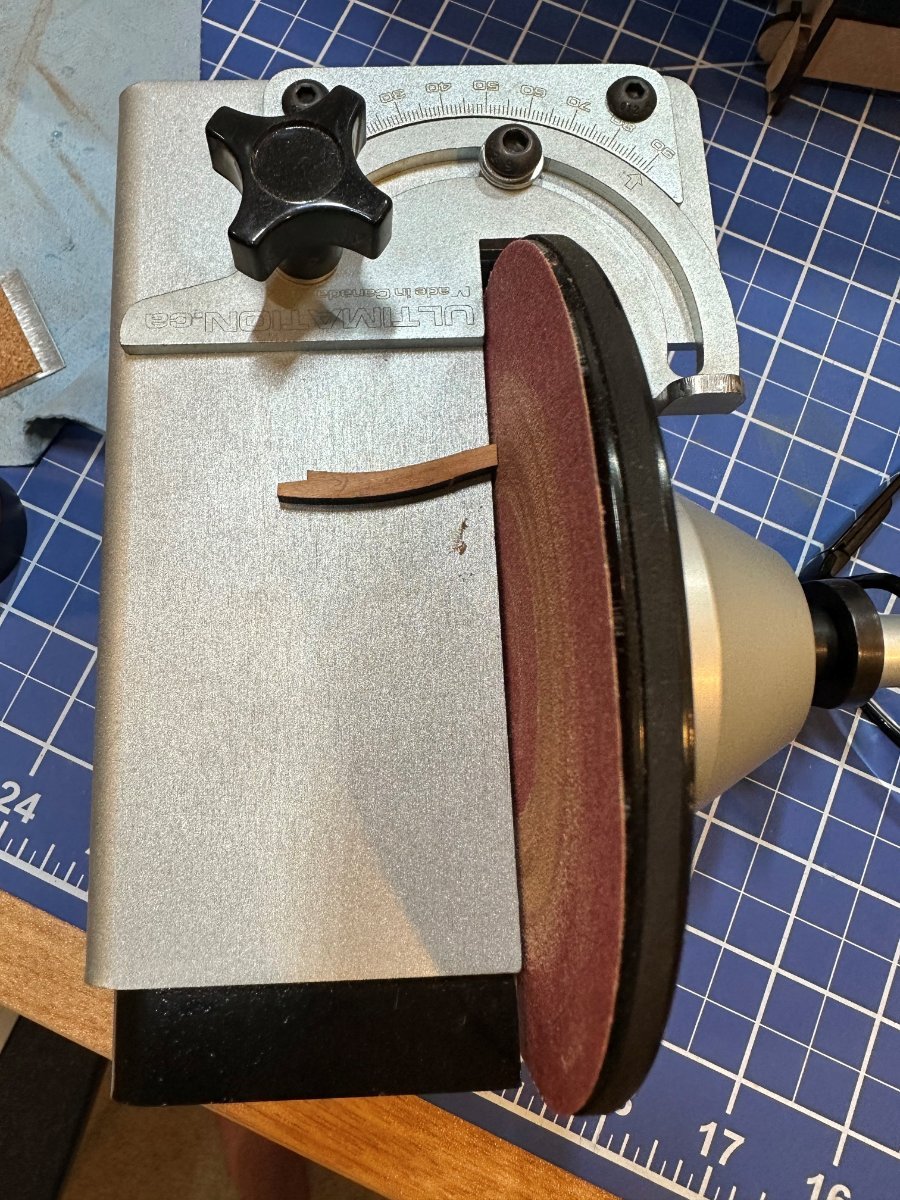
I'm using this sander to sand the ends of the parts. Its totally manual, so I have strict control of how much is taken off and making sure the end of the part stays true.

Then I glued layer A on top of layer B.

Once that dried, I flipped it over and glued layer C onto the other side of layer B. Some frames will need bevels but not this one.
I probably will only do what beveling is necessary to fit the frame into the jig and finish the fairing on the model.
Frame 25 complete.

There are 53 frames so a bit of work is left to build all the frames, it took me several hours to do this one.
Thanks for looking.
-
-
I wonder if it would be possible to use LED light strips?
-
Looks great. I need to get back on mine.
- HardeeHarHar and mtaylor
-
2
-
-


Hello From Phoenix Arizona!
in New member Introductions
Posted