Supplies of the Ship Modeler's Handbook are running out. Get your copy NOW before they are gone! Click on photo to order.
×


mikiek
-
Posts
2,276 -
Joined
-
Last visited
Content Type
Profiles
Forums
Gallery
Events
Everything posted by mikiek
-
 Ken, Don - Thank you both. I recognize that both of you have ridden along since day 1 and I appreciate that. That was one of the hard things in posting something for Joel - I don't want to slight the fact that others (you guys included) have contributed to this project. The MSW family is an amazing group of people!
- 843 replies
-
- 2
-

-
- niagara
- model shipways
- (and 2 more)
-
In Memorium – Joel Sanborn (JBSHAN) It's hard to find words for someone you never met. Never shook their hand. Never looked in their eyes. Words don't come easy for me anyhow. I never did any of that with Joel Sanborn (JBSHAN) and yet in this screwy electronic age none of that seems important. A few keystrokes and you're making exchanges with just about anyone. So many of them you will never meet. Thanks to the forums here at MSW I did get to know Joel. It's funny what you can pick up about someone if you try. His first few responses to me were somewhat terse. In hindsight I think direct would be a better descriptor. And Joel was direct to a fault. You were never left wondering how he felt on a topic. But that also meant honesty, the thing I cherished about him most. An encyclopedic mind. Seems like he knew any and everything nautical. Probably other subjects as well. From this came all his comments, pointers and tips and I always looked forward to getting his thoughts on questions I raised. Something that I miss even today. A dry sense of humor. If you weren’t paying attention, you might miss the pun entirely. Joel helped me along on my first build – Niagara. He was one of the first to pass along opinion rather than “nice work” or “keep it up”. We both had the same ideas about how the build should look – historical rather than contemporary. Thanks to him I began to think beyond just the gluing of wood parts. What was going on at during the original build? Why was it built? Where? All questions that have an impact on the outcome. When I got to the rigging stage of the build I resisted. I really didn’t want to do it. Niagara went to the back burner and I moved on to other builds. I’m sure this must have been a disappointment to Joel. He seized every opportunity for a friendly jab to get back to work and finish Niagara. And I resisted. Then came a short few weeks back in April when I realized I hadn’t heard anything from Joel in a while. A search of the forums showed no activity for his username. This was odd. Joel loved this site and was always active. A few weeks more and I got concerned enough to try to reach out to him. Surely some Google searches would turn up a phone number or address. Unfortunately the first thing I came across was his obituary. Quite distressing to say the least. But that’s another quirky thing with the internet. You get to know someone and then they “disappear” and you may have no idea why. At that time, I decided to dust off Niagara, put my head down and finish her – for Joel. It was the least I could do. It was also the first time I’ve ever done something like that for someone else. So I’ve rigged and I’ve grown from the experience. Thanks to Joel. His spirit lives on. Sharing this was the last task for this build. I'll be changing the log title to FINISHED now. I hope that'll put a smile on his face. I know he's still checking in to see what's going on. So this Niagara build is done and is dedicated to Joel B. Sanborn..........
- 843 replies
-
- 9
-
-
- niagara
- model shipways
- (and 2 more)
-
You're welcome. It's an incredible set of books. Any and every thing you wanted to know about naval guns.
- 99 replies
-
- 2
-
-
- essex
- cross-section
- (and 1 more)
-
Rigging lines located inside of shrouds?
mikiek replied to Mickgee's topic in Masting, rigging and sails
Michael - I was surprised to see that blocks are often seized to shrouds particularly higher up the mast. Can't be too sturdy but I guess it's good for some things. -
Nibbing is always a bear. That's why so many people skip it. Nice work!
-
From THE source - English Sea Ordinaces - the larger a wheel (truck) is the easier its load will roll. Guns had to be able to roll forward to fire and roll backwards for recoil. Rolling forward required men hauling tackles so a larger wheel helped with that effort. On the other hand, recoil needed to be slowed down quickly and a smaller wheel helped with that. I was right about the sloping deck. The varying wheel sizes kept the carriage horizontal.
- 99 replies
-
- 1
-
-
- essex
- cross-section
- (and 1 more)
-
Tom there is also a part called the quion - a wedge that fits under the rear of the guns. Helped to give them elevation if needed. Depending on exact placement, that will tip your barrel down a little bit. It could help.
-
I can dig a little but a couple of quick thoughts 1. To keep the barrel pointed upwards? 2. To deal with the slope of the deck - highest at the centerline and sloped down as it moves outwards? 3. Sometimes you don't shoot straight out - a little bit of an angle. The guns were incredibly heavy so moving them was accomplished with the tackles. Haul in a tackle one one side or the other to turn the gun. A bigger wheel would be a better pivot. All just guesses. There's probably some better scientific answer.
- 99 replies
-
- 1
-
-
- essex
- cross-section
- (and 1 more)
-
I'd go for bringing the axle(s) up with your groove in the carriage. Possibly combine that with a little reduction of wheel size. Don't take this the wrong way Doug but sometimes the wheels on cannons are different sizes for front & back. Any chance this is the case with your kit? Maybe you grabbed all large wheels? Gotta ask.
- 99 replies
-
- 1
-
-
- essex
- cross-section
- (and 1 more)
-
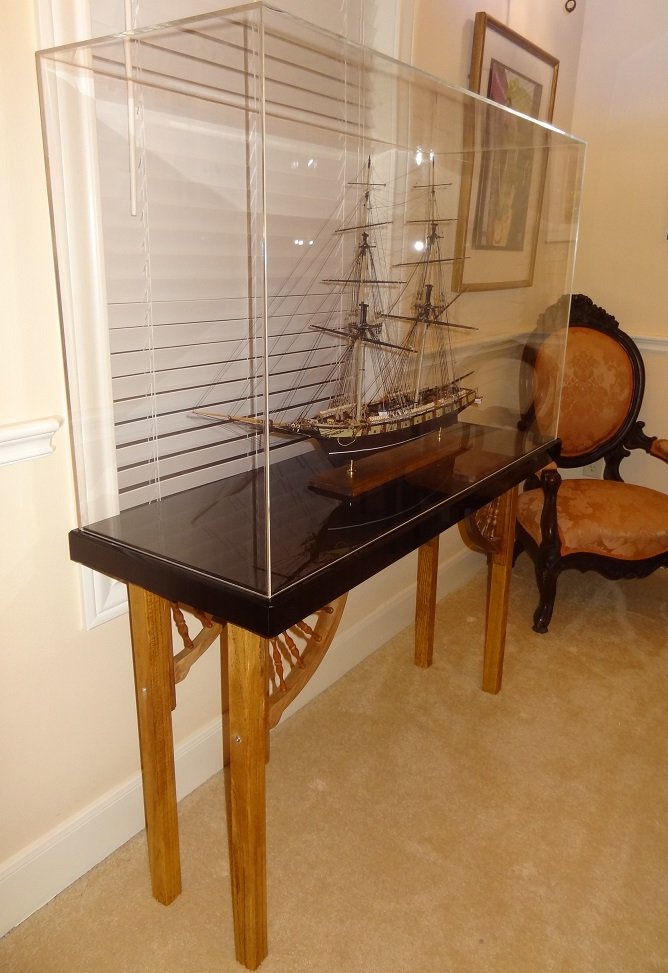
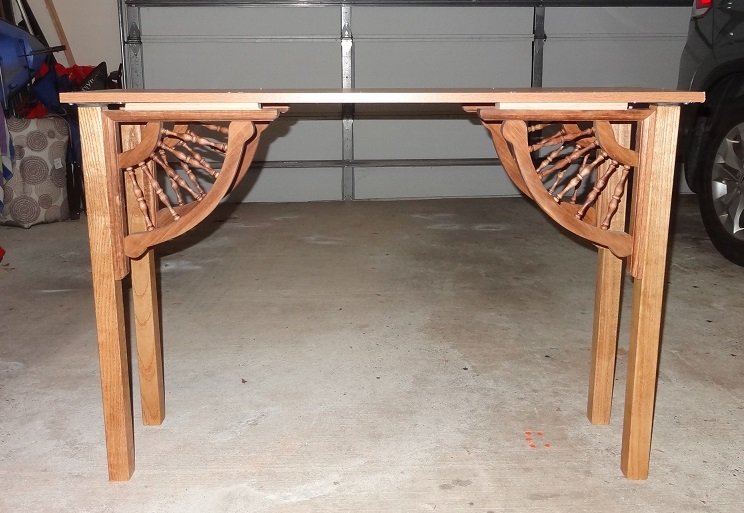
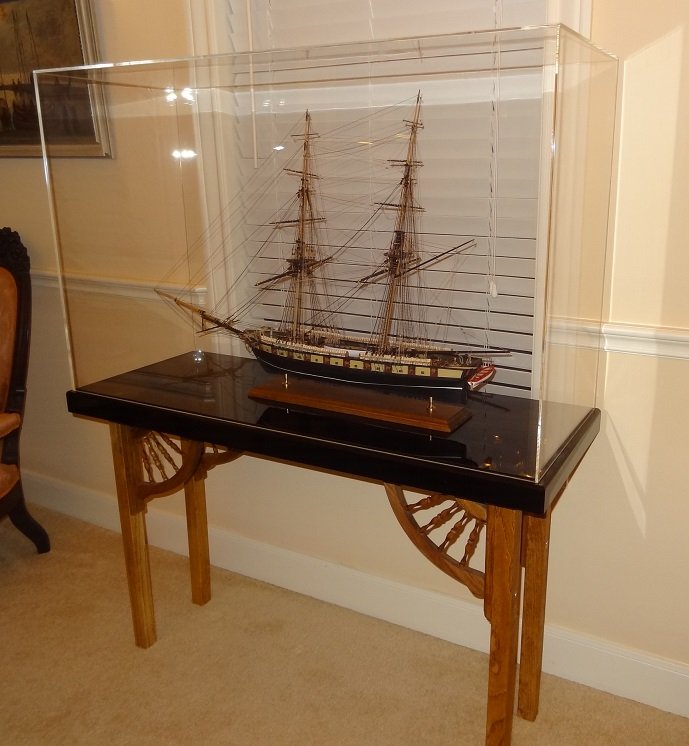
For scheduling reasons we are having Thanksgiving tomorrow so I got to work on the stand for the case today. Pretty much finished except for putting on a few coats of varnish. Didn't have time for it to dry and since the display will be parked in the dining room I didn't want it smelling like like varnish during the meal tomorrow. Maybe later. Here's what I ended up with. Had to fit some shims in there - probably should have stained it so it's not so obvious. However the stand surface is smaller than the footprint of the case so it'll all be covered up. One good thing about the pedestal with the case. I had ordered some metal legs from Amazon and since I have Prime I had expected them to arrive yesterday. Instead I got an email saying delivery would be postponed - no date specified. So I cancelled that and in a panic took off to Home Depot. I must say what I ended up with is much more elegant than the metal hairpin legs. Pricier too. But Dang It, this is my first major build, it took over 2 years - SO THERE! Well here she is folks, parked in her new home. I'm liking it so far.


- 843 replies
-
- 12
-
-
- niagara
- model shipways
- (and 2 more)
-
Tom - did you ever verify that an assembled gun had enough clearance under the rail?
-
Hey Bob - thanks for looking in. That turned out to be my #1 goal. What I call a restoration rather than a refit. I will admit it was real tempting to tear down to the deck and build her again. New ropes, better hardware, you know the drill. But this is a kit that was probably purchased in the 30's. Adding all the contemporary parts wouldn't do it justice.
-
Thank you Lee - for now I'm going with some of those metal harpin legs. Not as nice as your suggestions but I needed something fast.
- 843 replies
-
- 1
-
-
- niagara
- model shipways
- (and 2 more)
-
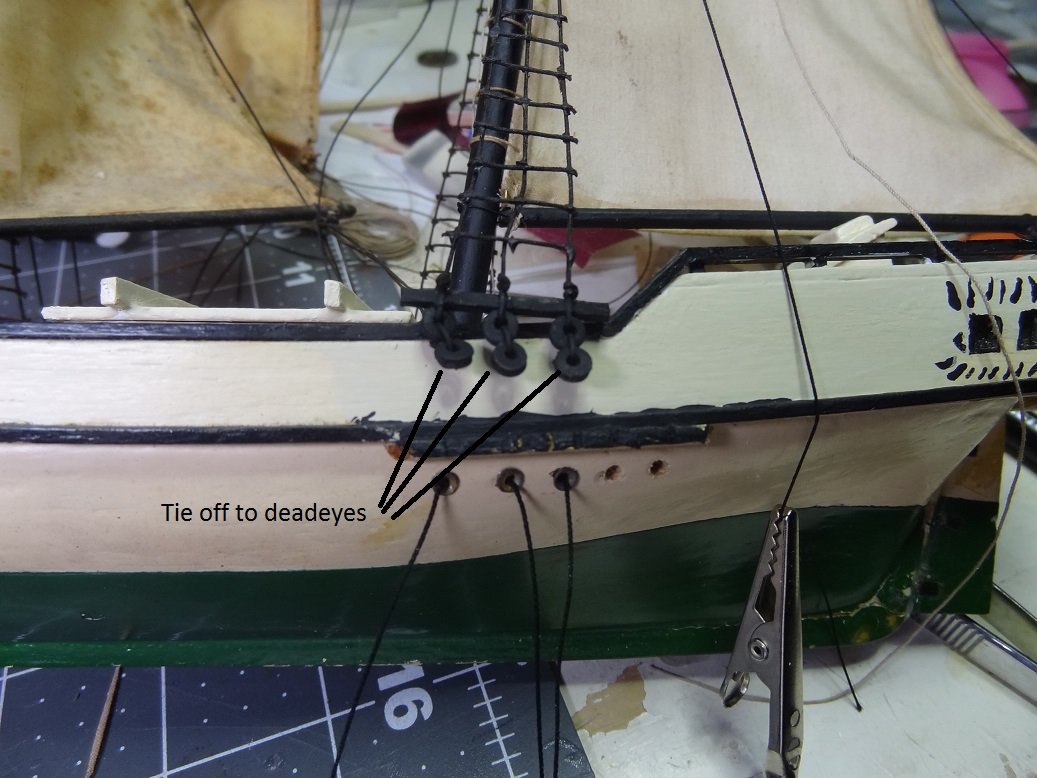
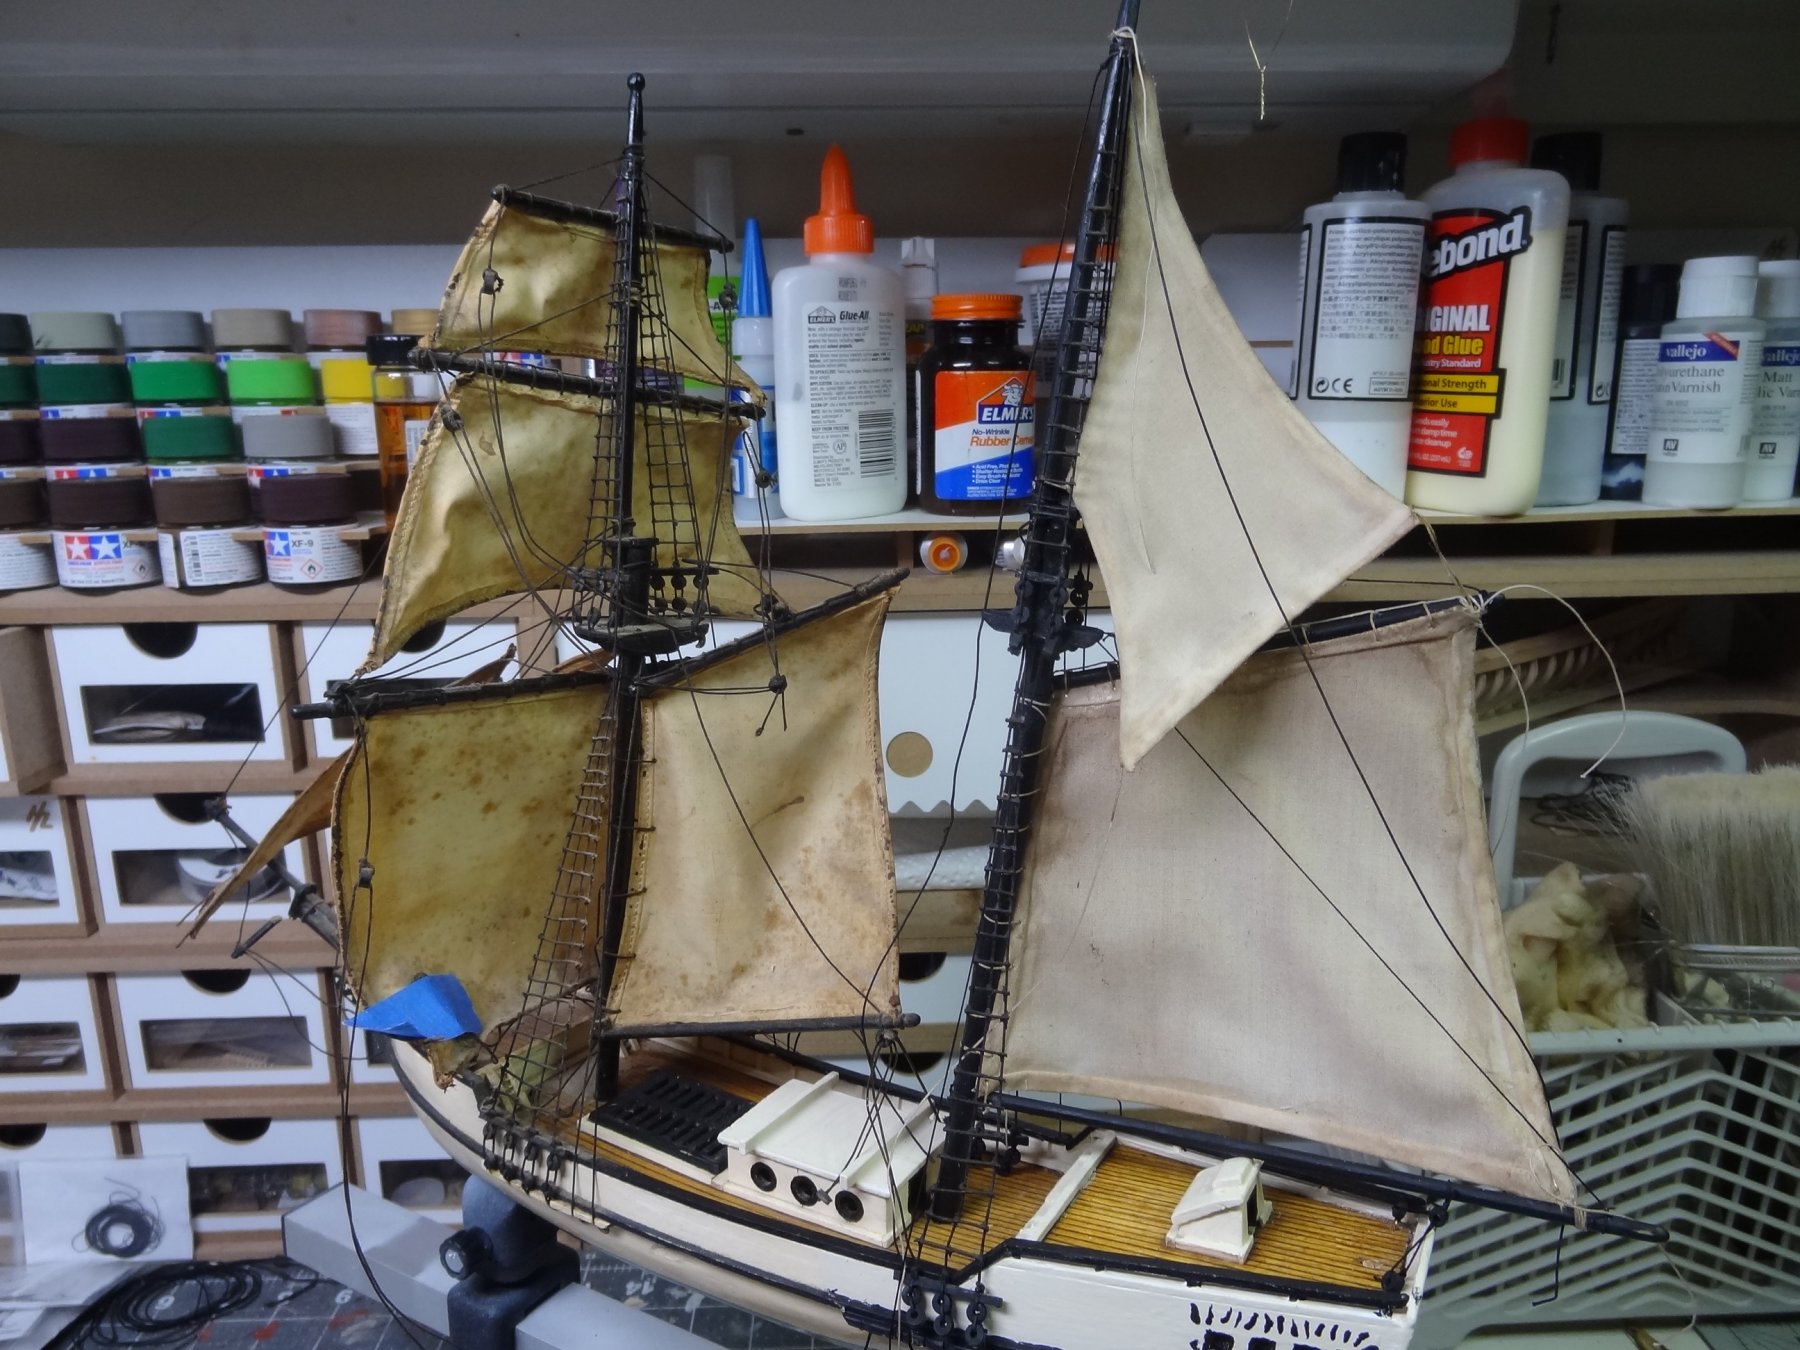
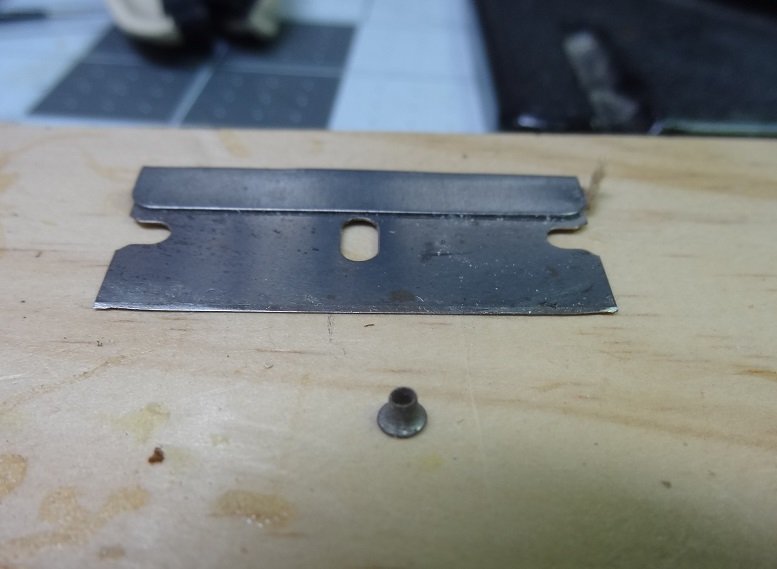
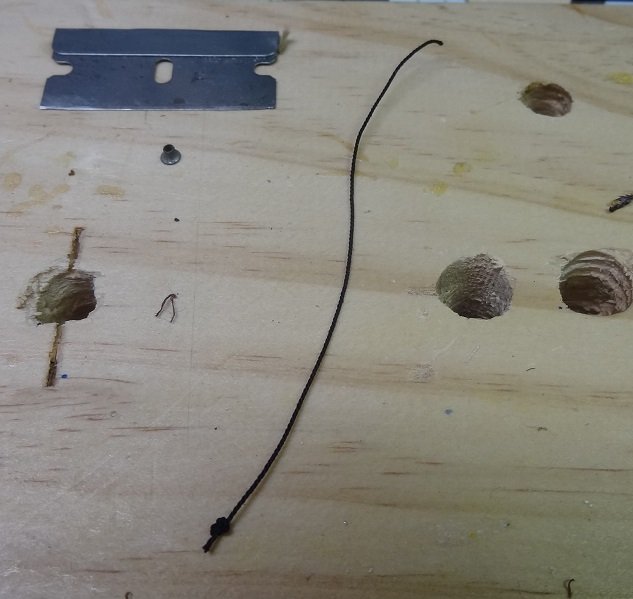
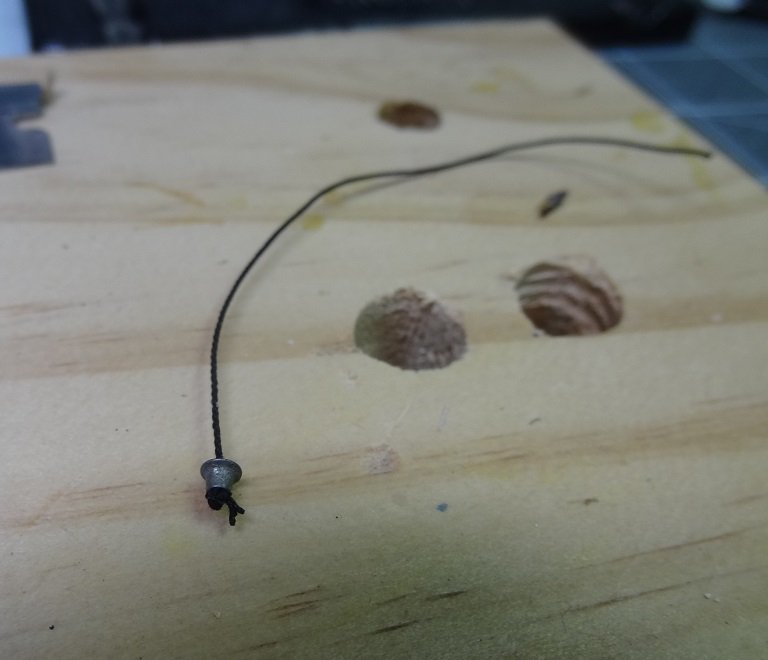
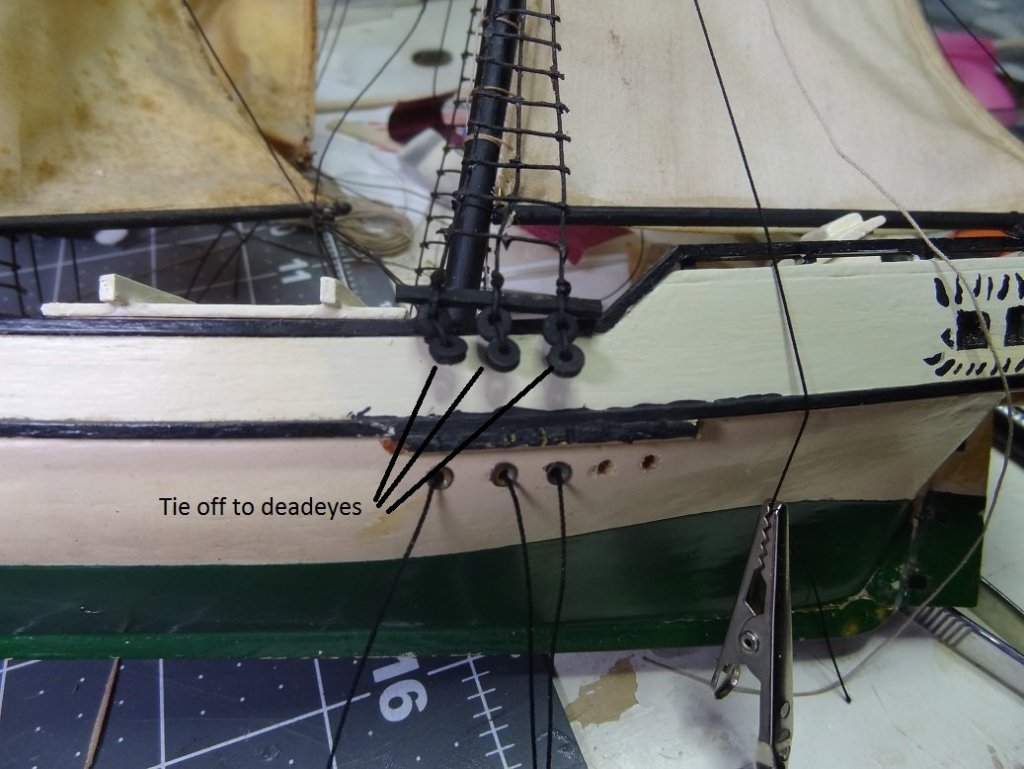
Sails are taking longer than I thought. I don't have many flat surfaced items or small weights to hold the hem down while the glue dries. So it's load the hem up with wire and/or rope. Fold the hem over (twice). Squirt some glue into the hem. Weight it down with something flat and wait for the glue to set - about 30 minutes. As I mentioned earlier I was able to pull the little fittings out of the hull and will be able to re-use them. I thought this was going to be a difficult step but it turned out quite easy. The fitting. Tie Tie a granny knot at the end of a rope Thread the rope thru the fitting. Glue the fitting to the hull. I'll take the ropes and feed them thru the faux deadeyes and tie them off. Also darkened the sail up some. They look even darker in real life.
-
Lee - believe it or not have found a relativley safe way to transport the boat. I use one of those foam holders, I think MicroMark sells them. Cradles the hull firmly then I pile towels or blankets all the way around that. Of course you do need a SUV. The boat didn't roll or even tilt and was in perfect condition at my destination. And I used to hear horror stories of major destruction during transport. Jim - that's the plan. Build a frame of 2x4s and fix the legs to that. Then set the case on top.
- 843 replies
-
- 2
-
-
- niagara
- model shipways
- (and 2 more)
-
Mickgee - Thank you. I've always felt like the cases add a little something to the final look. Don - I guess we both have a decision coming up. What's next? I've got several smoldering on the bench but nothing I would call my main build.
- 843 replies
-
- 1
-
-
- niagara
- model shipways
- (and 2 more)
-
Thanks to you all for the kind words and for your support during this endeavor. Things are definitely winding down. I have the leg platform to build (when it gets here) so I can place the case against the wall. I have one other task to finish and then will call this project done. GrantGoodale - I did not build the case. There is a plastics shop near work that makes custom cases. They did the job. Third time I have had them build a case and all have been top notch. This was the largest case by far.
- 843 replies
-
- 3
-
-
- niagara
- model shipways
- (and 2 more)
-
If possible sand or lightly file the pieces before gluing.
- 228 replies
-
- 4
-
-
- gunboat
- model shipways
- (and 1 more)
-
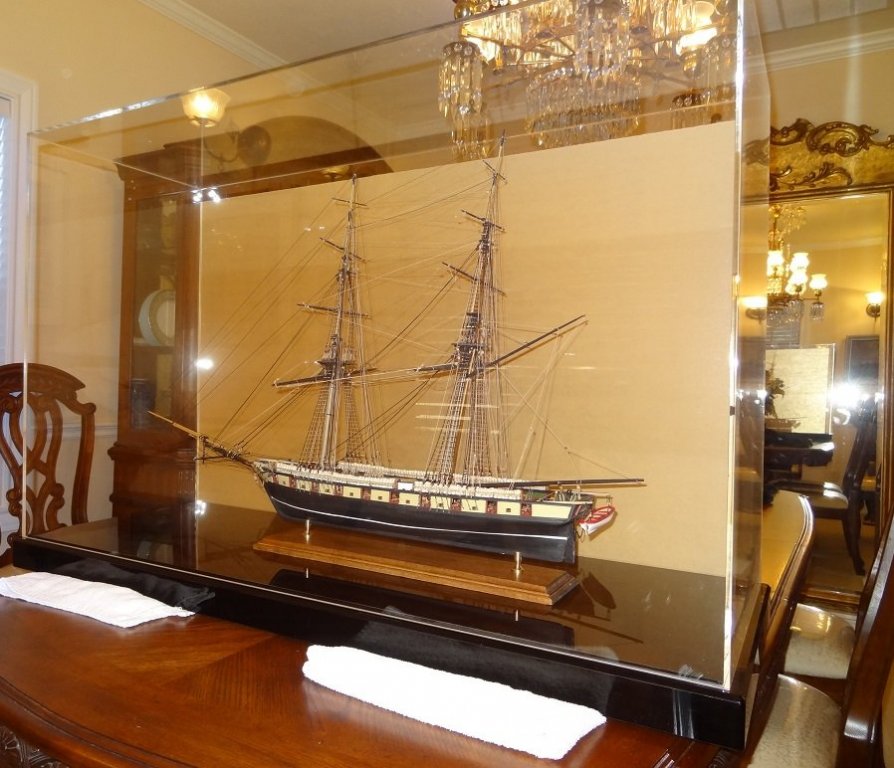
Niagara in her new room. I have some legs on order and will put them on a platform that the case can sit on. Hope it all gets here before Thanksgiving. The Admiral won't be happy if we have to share the dining room table with a boat. Had to take pix from the side as from straight on the flash gave too much reflection. The protective paper is still on the back. If it was another color I might consider leaving it on. About time to change this title to FINISHED!!!

- 843 replies
-
- 20
-
-
- niagara
- model shipways
- (and 2 more)
-
Elijah - one suggestion for your hawse pipe. A lot of times the outer opening is flared a little so the anchor chain/rope rubs on the pipe and not so much the boat. Depending on the softness of the metal used for the pipe, sometimes you can do that with a rat tail file. Run it into the pipe until it gets fatter than the pipe opening then work it around a little. Almost anything cone shaped can be used to do this. Sometimes a punch will work. The flared opening will also cover any nastiness in the hole itself. I'm still impressed with how much your skills are improving!
- 228 replies
-
- 5
-
-
- gunboat
- model shipways
- (and 1 more)
-
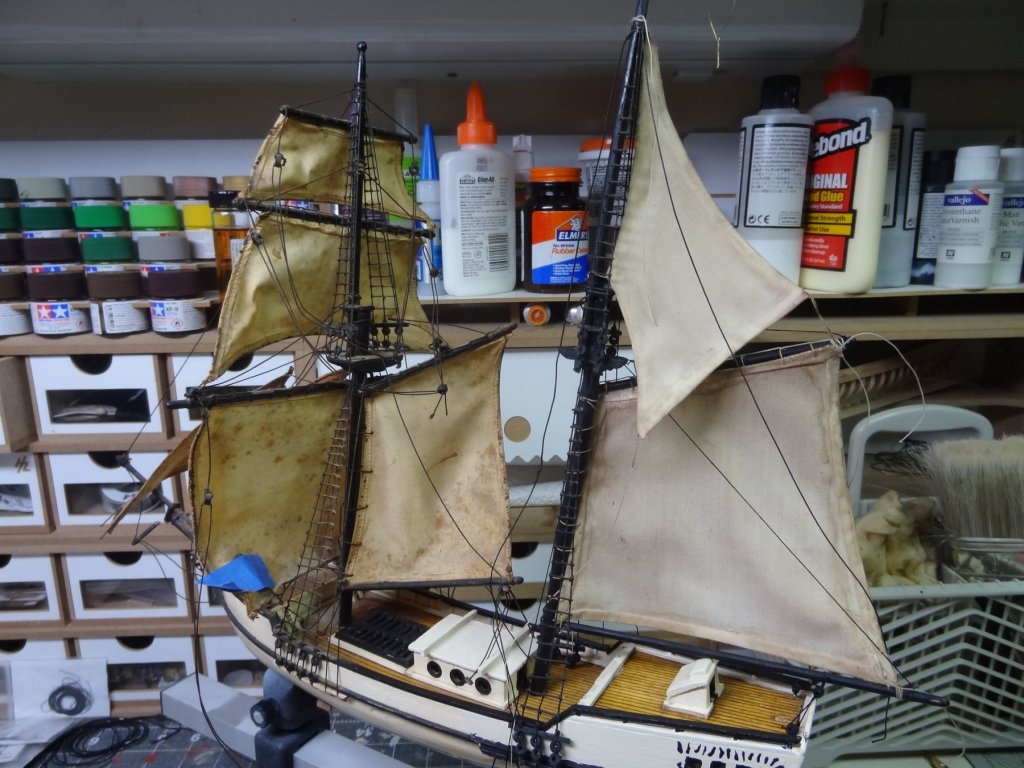
Thank you for your honest opinion Per. And I agree, the sails need some roughing up. However as I look at the next set I will be working on, I don't see any other option but replacement. The wire has torn thru the hem in many places, it corroded and that got into the material and there are holes. Actually they are not as light as the picture makes out. And I believe I can still darken them some more. I've been considering that. With you in agreement I will move forward with that. Darker and maybe some even darker splatters.
-
Well maybe not as difficult as I thought. I was able to pull the metal fittings out of the holes - 70 year old glue. So I should be able to figure something out now.
-
Nice fix.