-
Posts
298 -
Joined
-
Last visited
Content Type
Profiles
Forums
Gallery
Events
Everything posted by Slowhand
-
After a few weeks with my new Proxxon Table saw toy, I am confused about the mitre ruler and fence. There doesn’t appear to be an easy way to cut a length a distance of 10mm from the blade. Positioning the fence at the 0mm mark on the ruler doesn’t place the fence right next to the blade, even adjusting the sub mm knob. I suppose I can use a steel ruler to place the fence 10mm from the centre of the blade but it makes the fine adjustment thumb wheel a bit of a gimmick. Stop press - changed blade to a 0.5mm kerf and fence is much closer to blade when at zero position. 😄😄 Awaiting digital callipers as ageing eyesight makes viewing the gauge harder and specs add distortion. Going old is great 😢😢
-
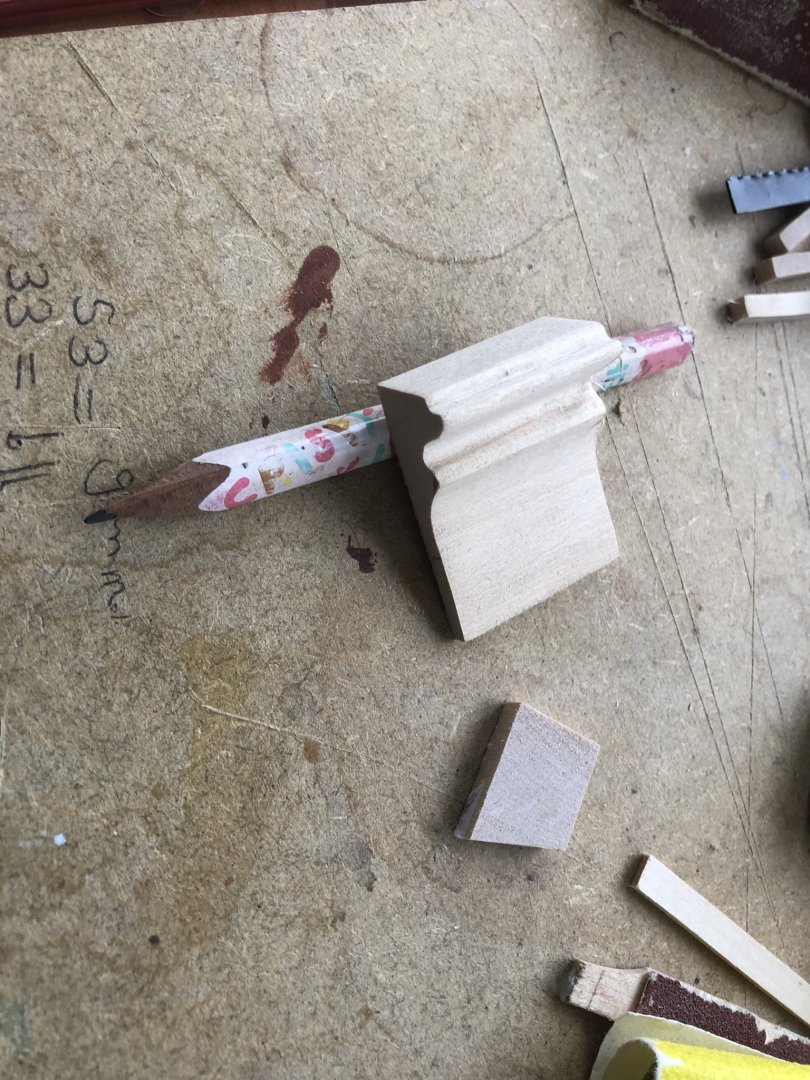
Steven, I carved the profile in the lime by hand with a bit of sanding and in couple of hours ready to slice up with the saw repeated for a two more profiles. Kiln dried lime so the very best quality. Surprised how clean the cuts were as to me the blade looks looks quite big with a kerf of 1.5mm. Got a bit carried away making brackets but galleons of that era looked quite ornate, expect Spanish to be similar to Dutch and Venetian. Painting curtesy of Rijk Museum, Netherlands.
-

Byrnes Table Saw on Ebay UK
Slowhand replied to Some Idea's topic in Modeling tools and Workshop Equipment
Hmm a bit expensive £1250 -
Been awaiting arrival of my new toy a table saw, intended to use some walnut wood turning pen blanks for brackets for stern balconies. Too hard and carving by hand with gouges set my tennis elbow off. Some dried cherry proved too difficult to carve as splinters kept breaking off so back to my old friend lime. Carved effectively a small architrave and sliced it with the Proxxon.
-
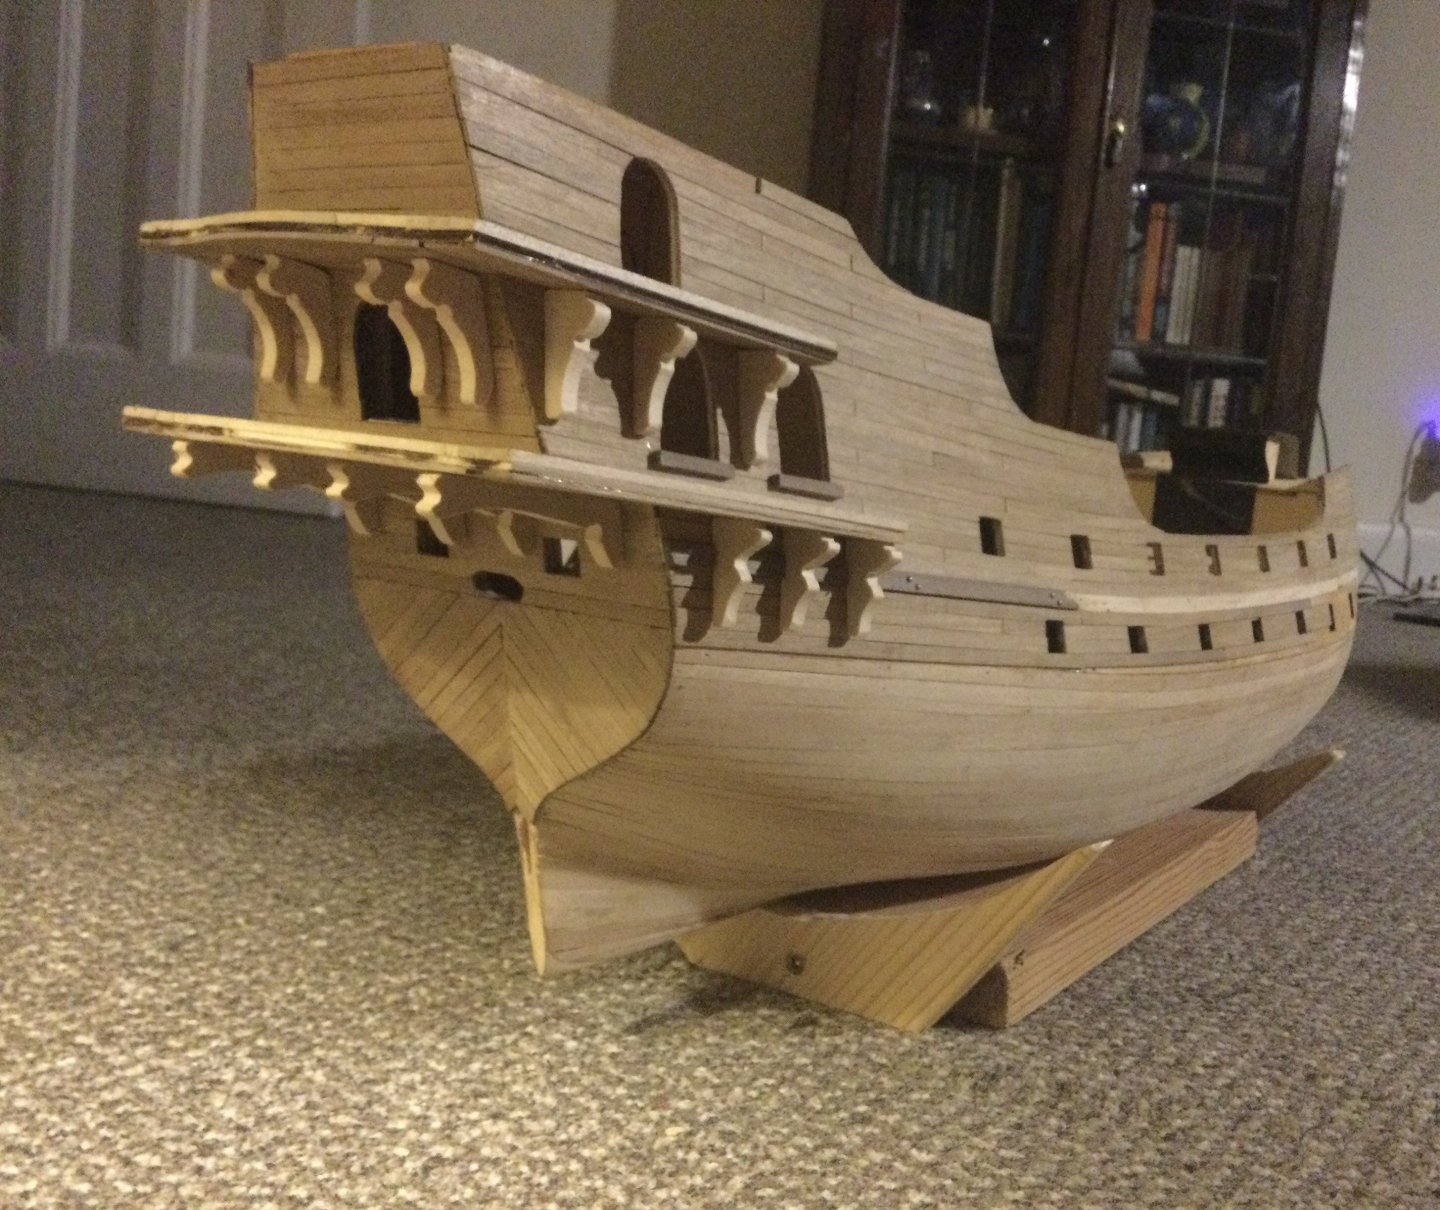
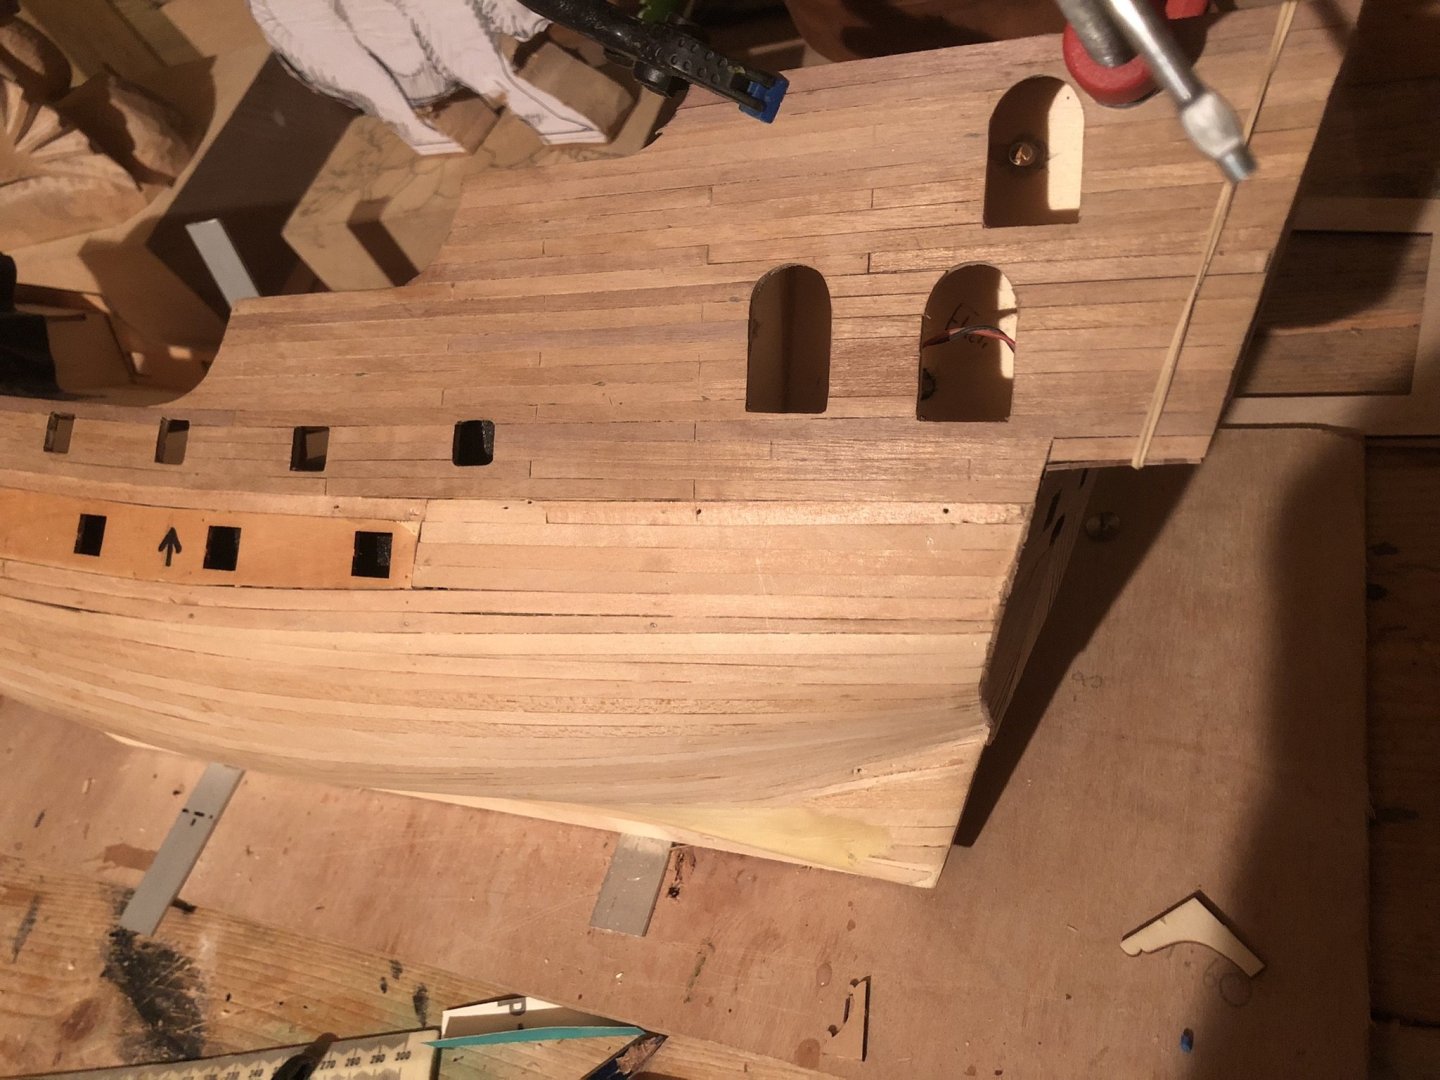
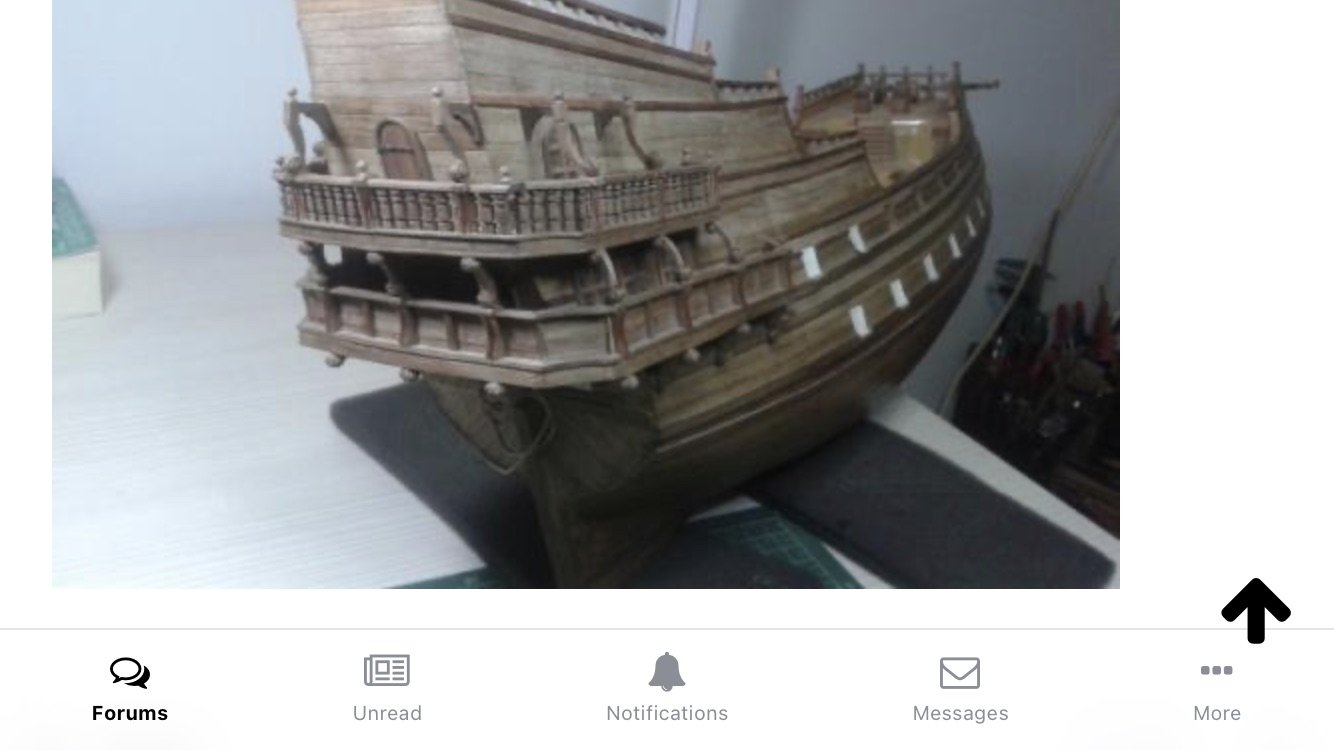
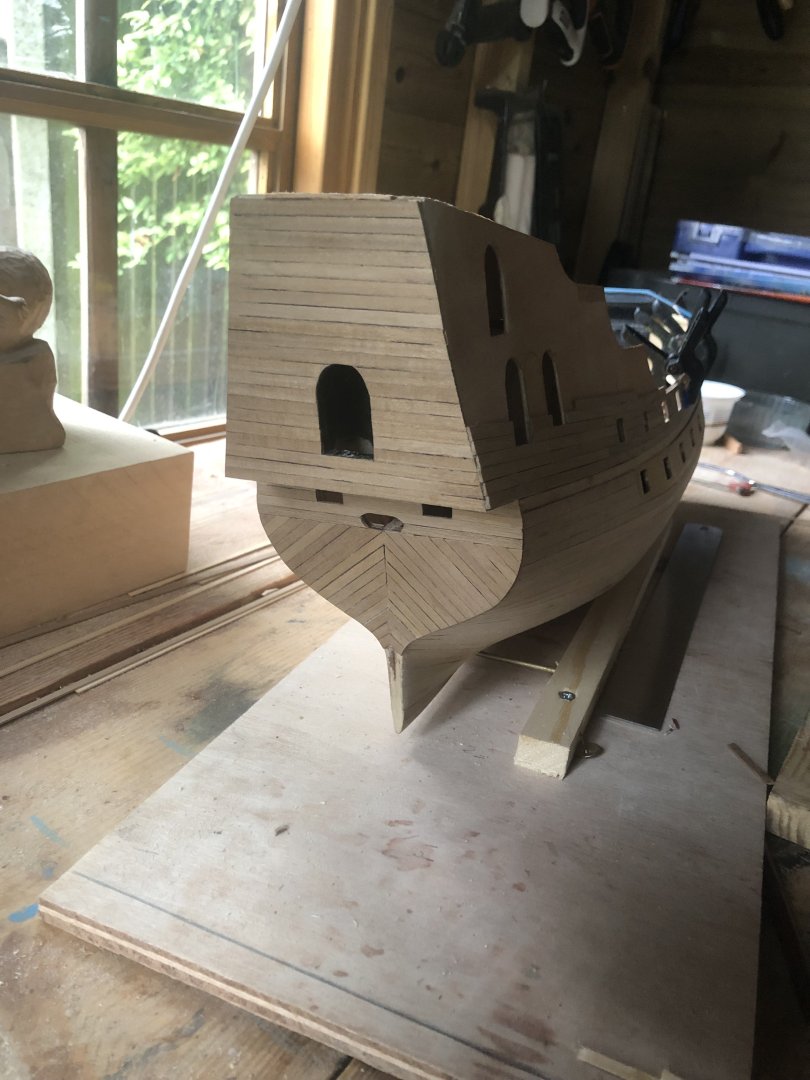
Whilst concentrating on getting windows the correct shape I lost sight of the fact the lower balcony should in line with step above transom and the windows would need to be lower. What to do? Without too much bother I cut out and raised the step and replanked. So now it’s on to carving the wooden brackets similar to Costeo’s version last image that’ll be interesting. As I said when I began no exposed metal or ply in this build.
-
I’ll certainly keep an eye on this build, very interesting subject in the thick of the action at Jutland.
- 78 replies
-
- Derfflinger
- Flyhawk
-
(and 2 more)
Tagged with:
-
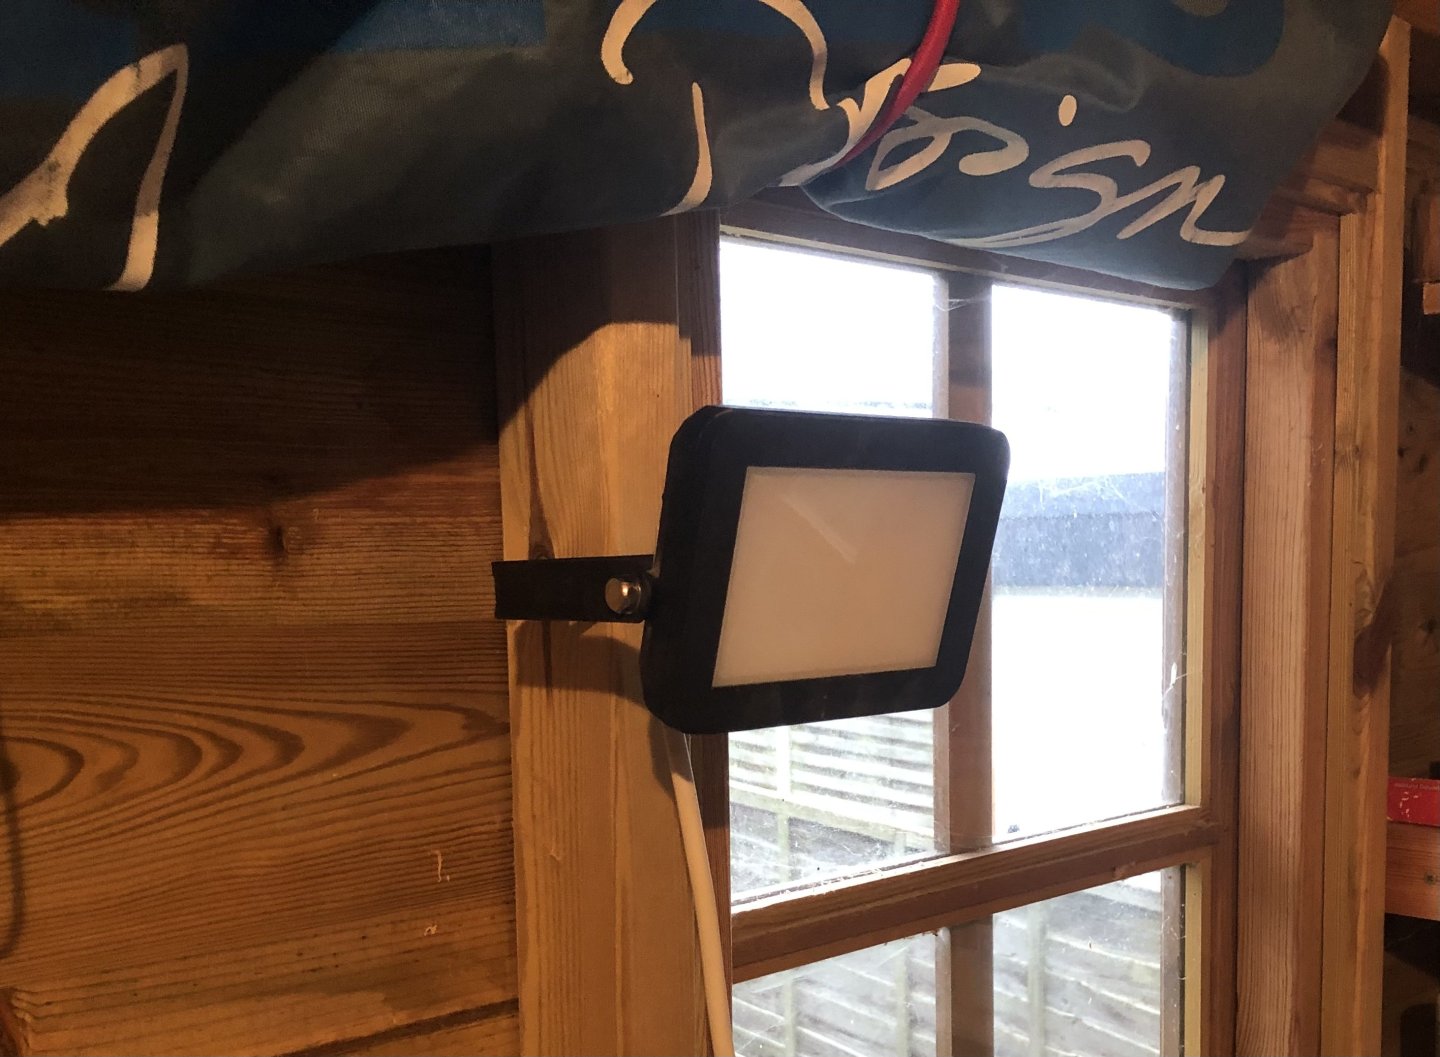
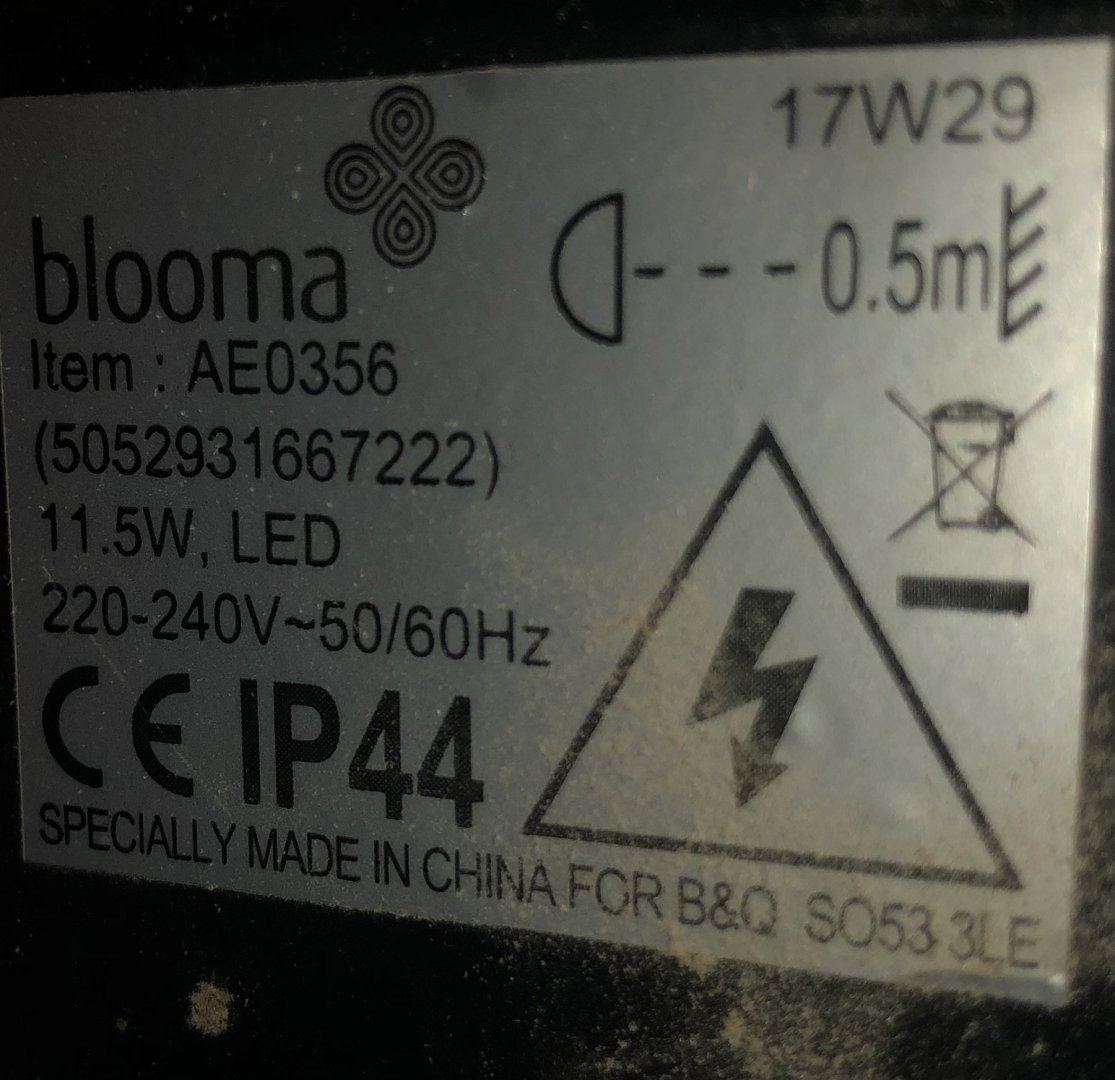
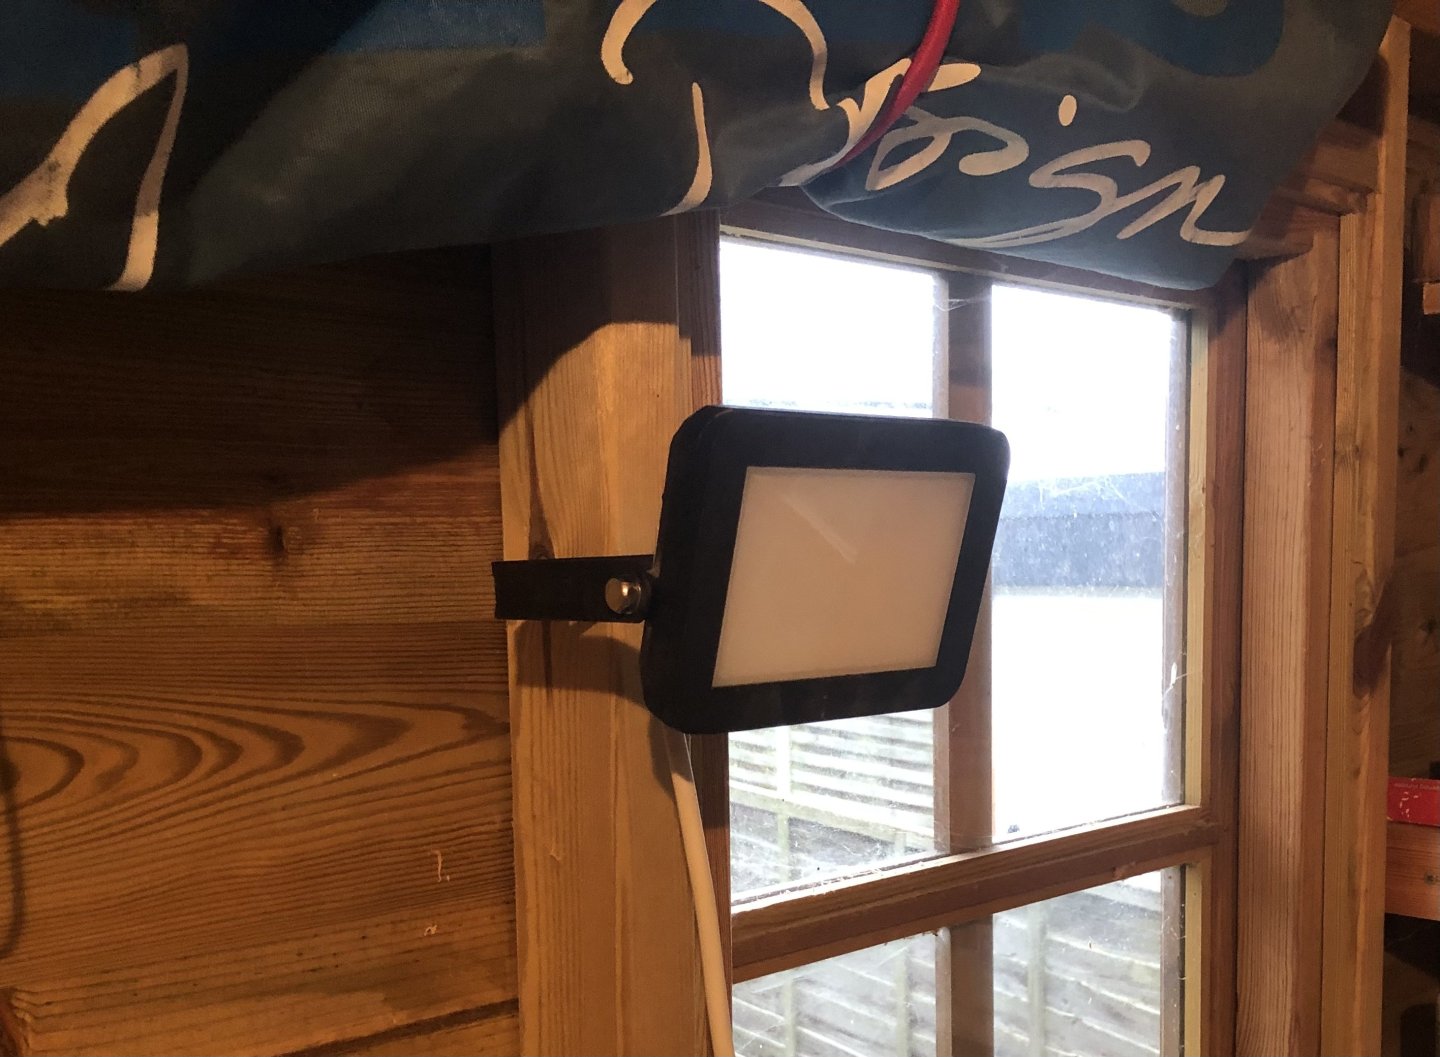
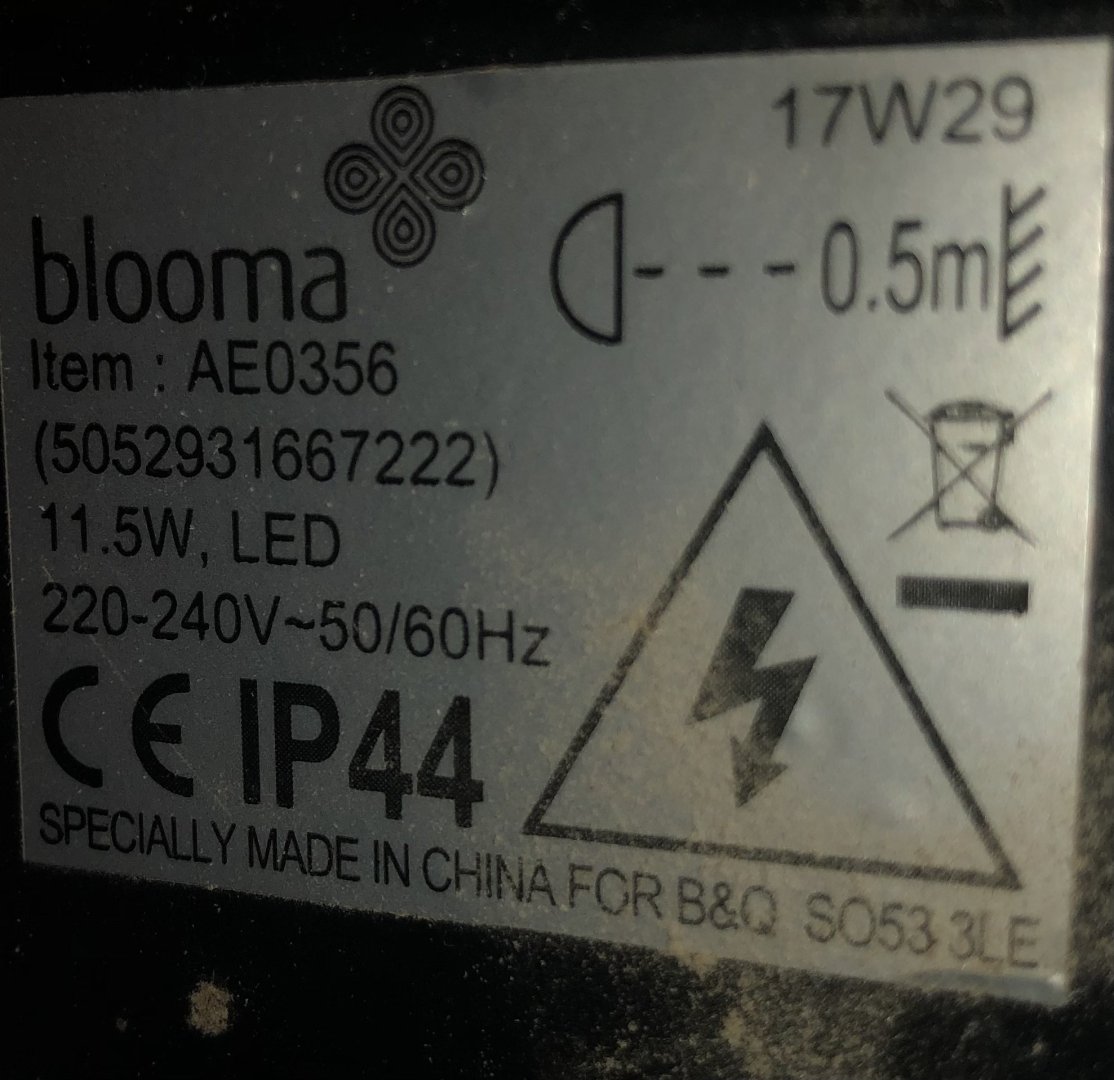
Lind, This is all I use a LED panel using 240v power. I find placed at the side creates less shadow on the side of ship I’am working on. Not particularly powerful 11.5W. I bought it in B & Q a UK superstore. I prefer natural daylight whenever possible. SORRY misread your post you meant internal lighting in the ship.
-
-
I think you’re doing a great job on the Hood the wooden deck is well worth the cost. The amount of detail in these kits is amazing and building one is a job for the insane. I tried the Invincible and had major problems with the casemate guns and the bridge. Then she took a hit from the Derfflinger 😂😂. Tempted to try again.
-
I was just supping a glass of wine and I wondered what happened to this build absolutely fantastic. I wouldn’t dream of attempting a card build. Hope it was finished or nearly finished.
- 244 replies
-
- borodino
- dom bumagi
-
(and 1 more)
Tagged with:
-
Thanks Mikki, the wales on mine are 2 x 5 mm walnut too, just been to check. I thought they might be 3 x 5 mm. Previously I have soaked and bent with heat but quite a few people on the site say heat is the only thing to have an effect which why have only used heat tongs so far on this build. Thanks for the advice will see how I get on. With winter here the white glue is taking an age to set. All the chemistry I studied is of some use for every 10 degree C temp drop, rate of reaction at least halves (Arrenhuis equation).
-
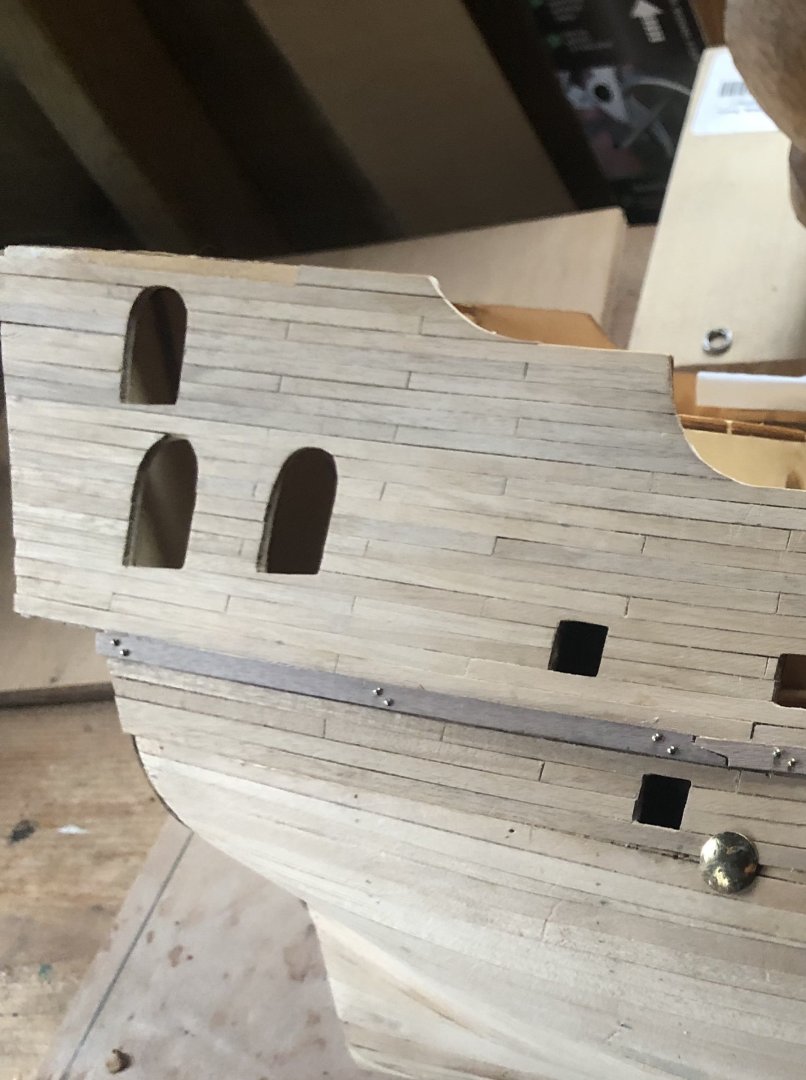
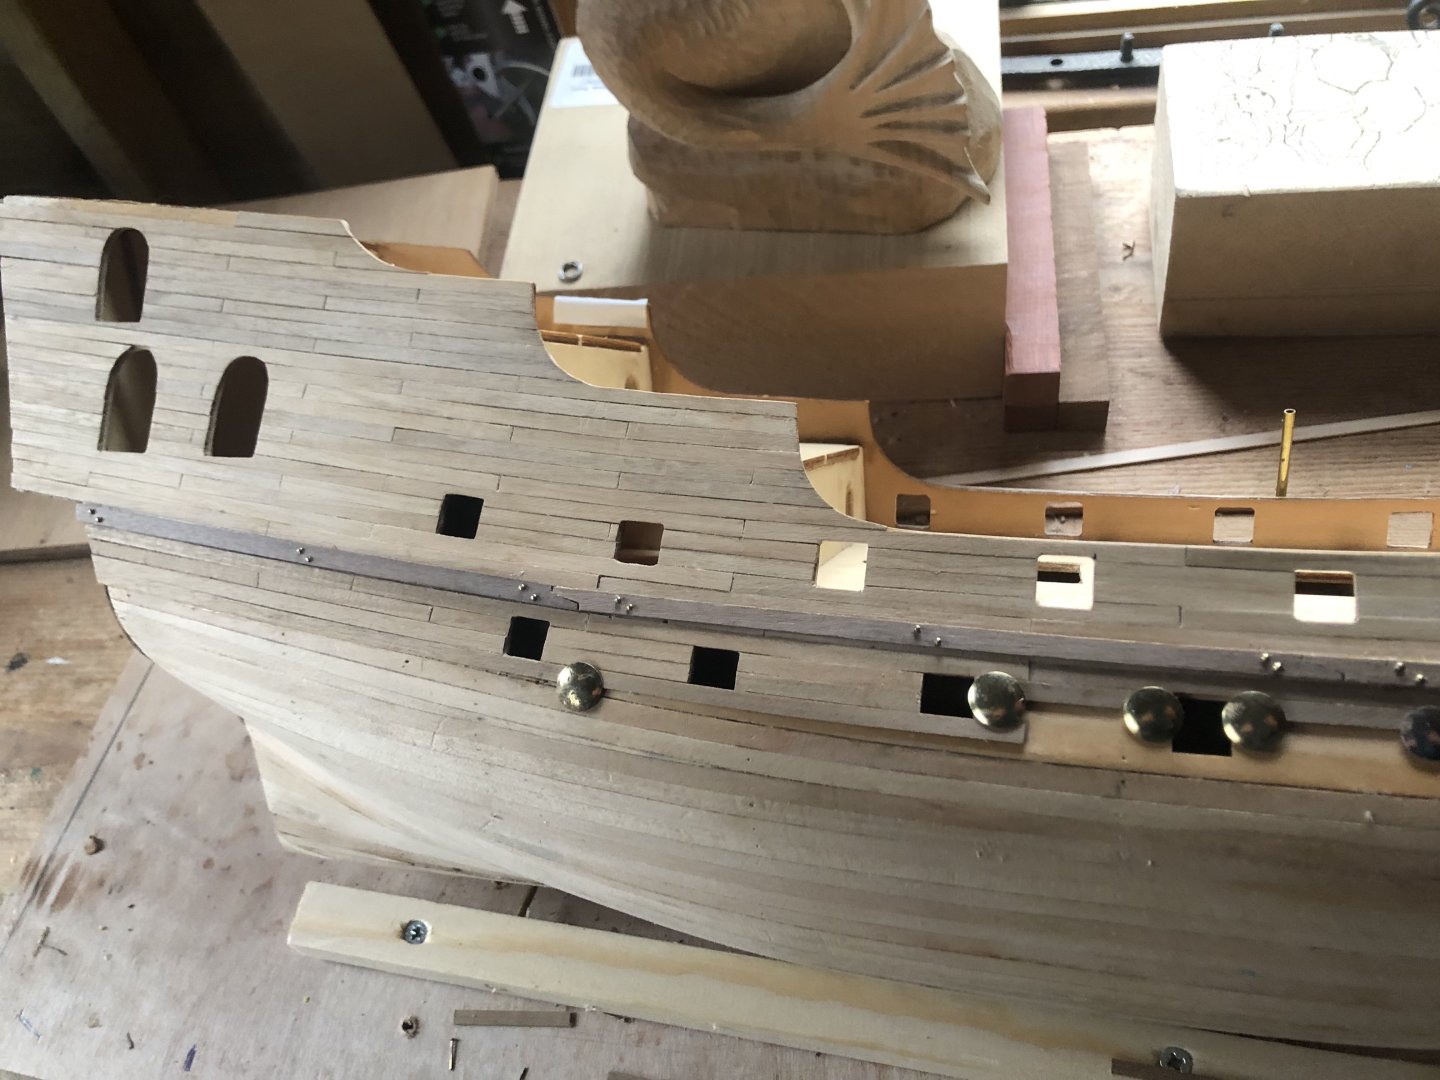
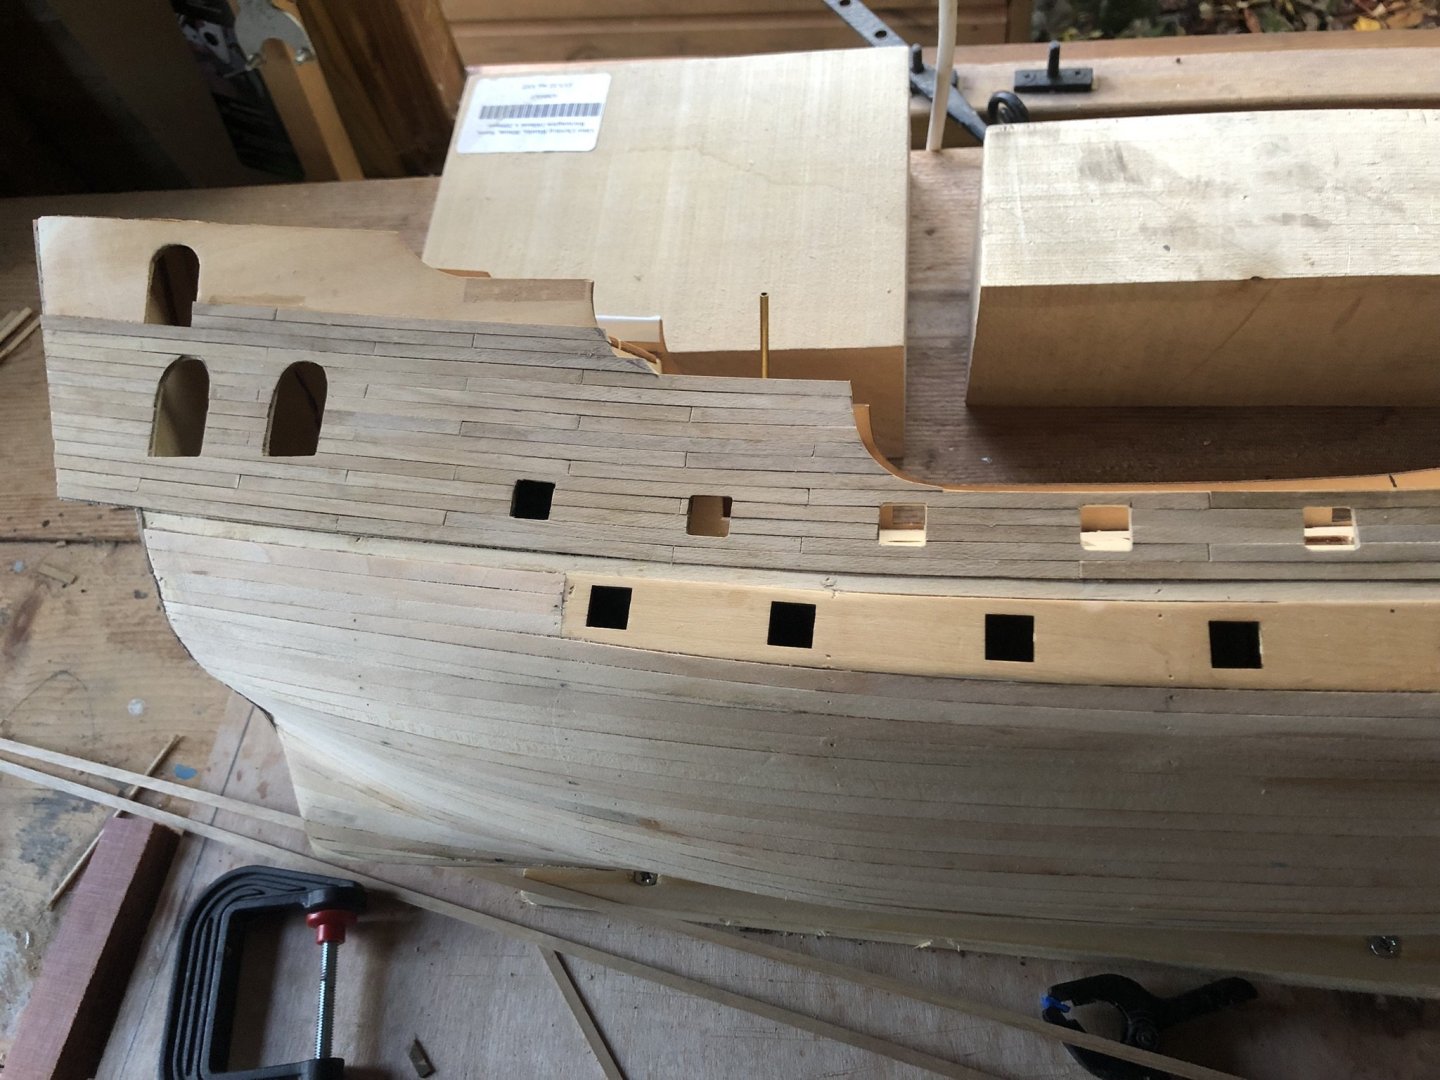
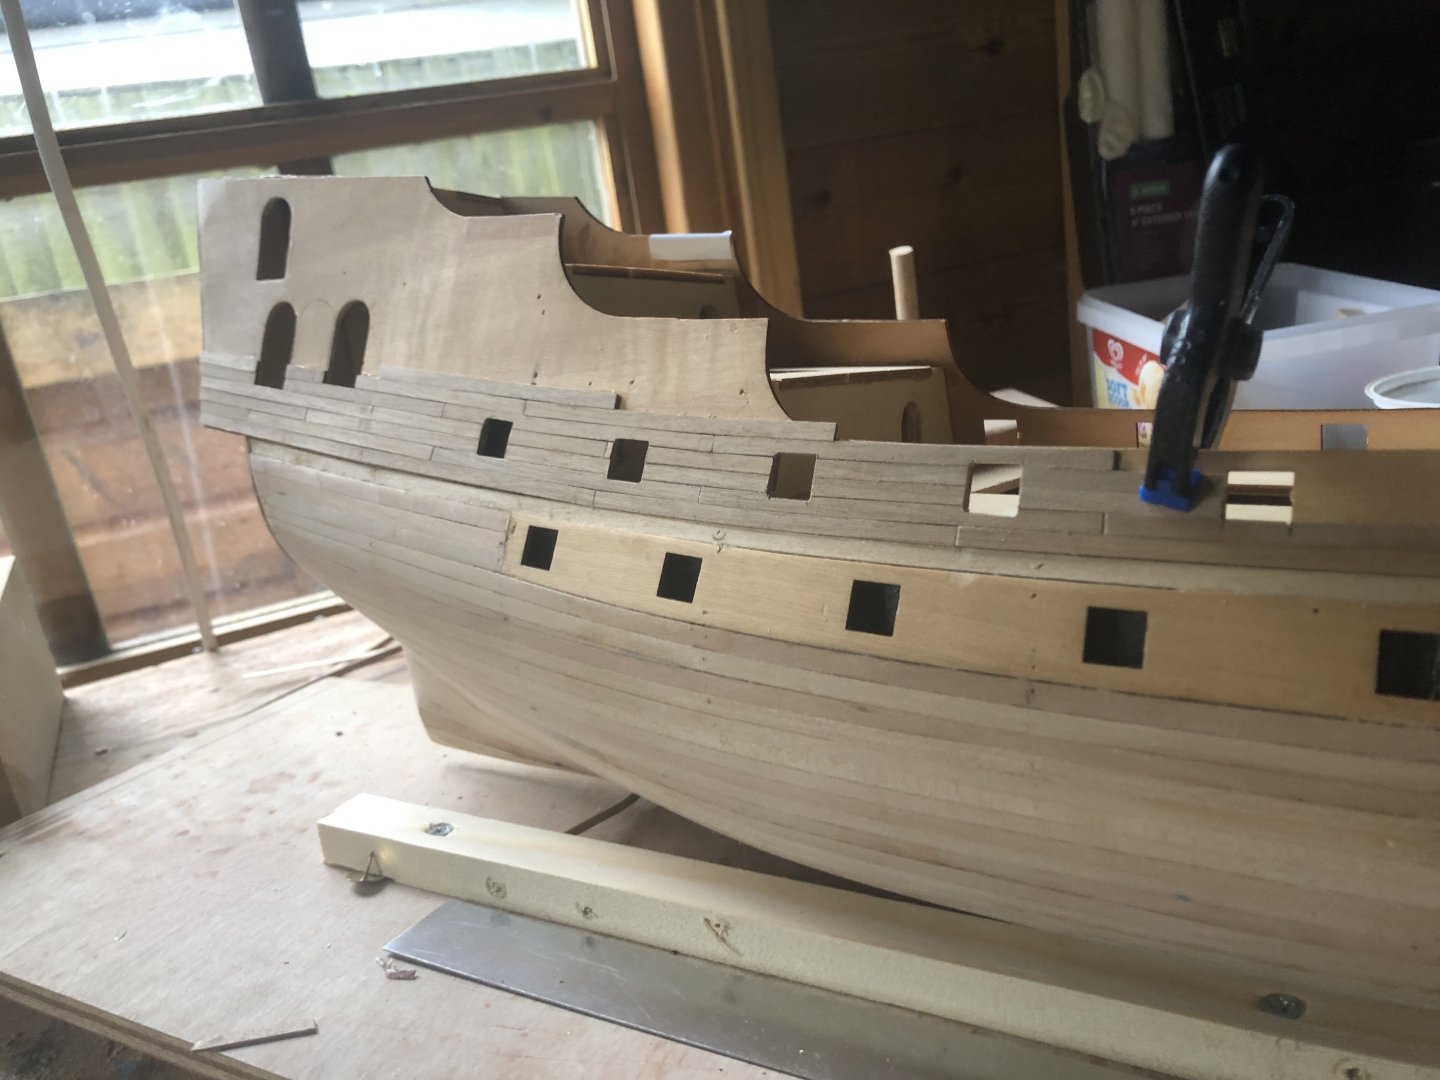
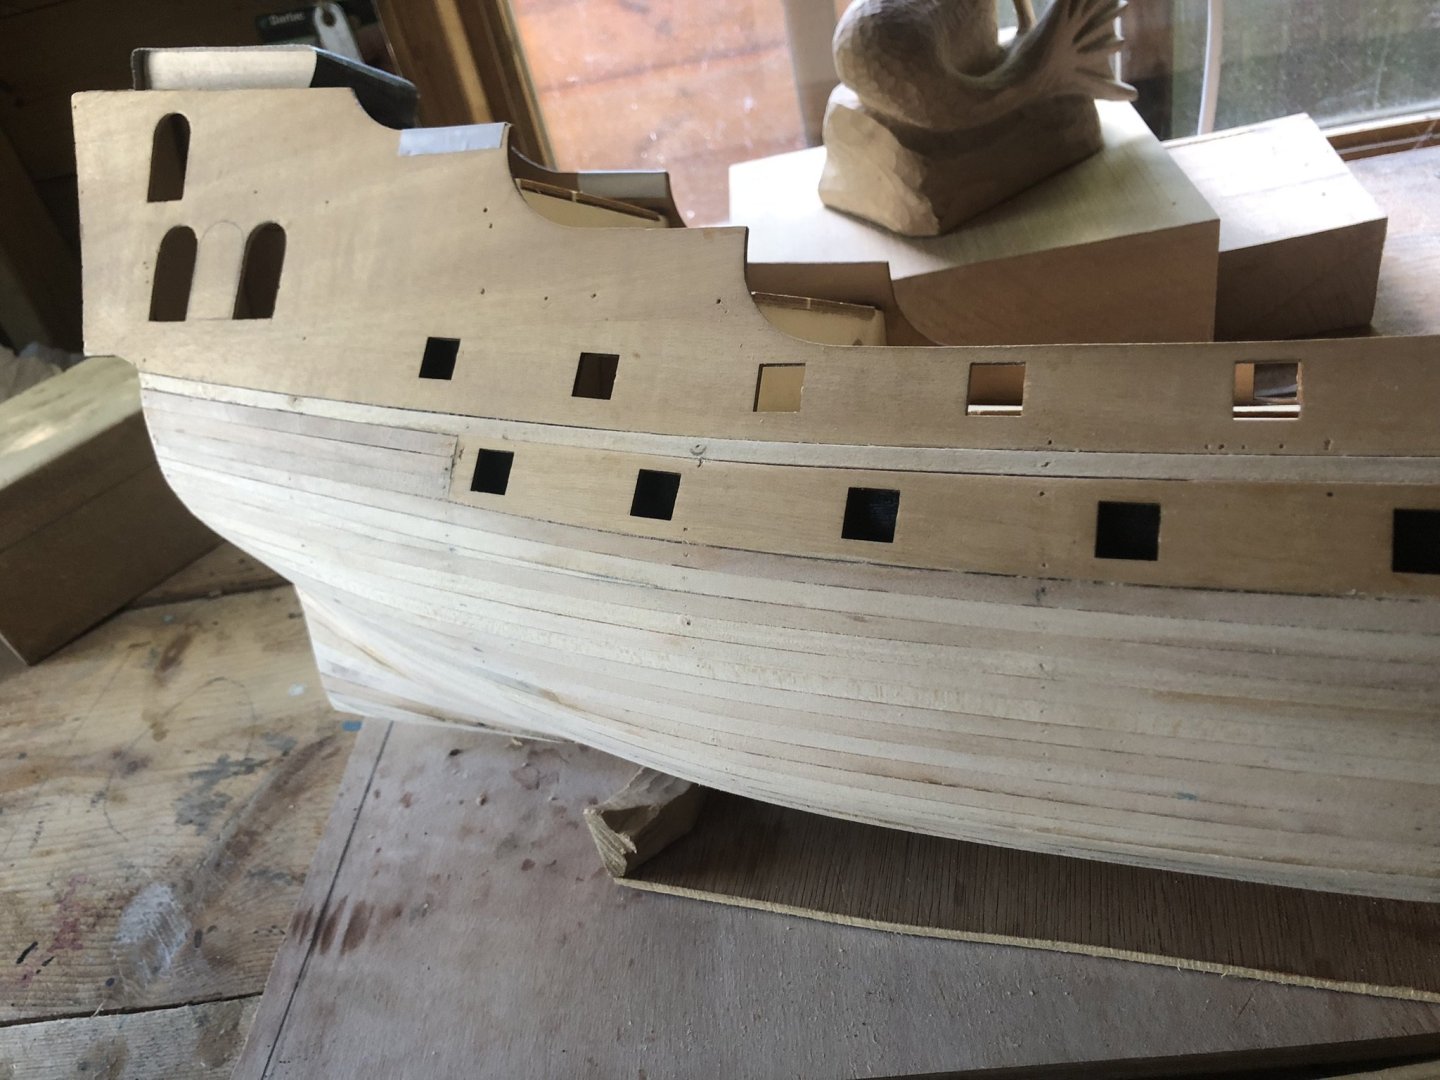
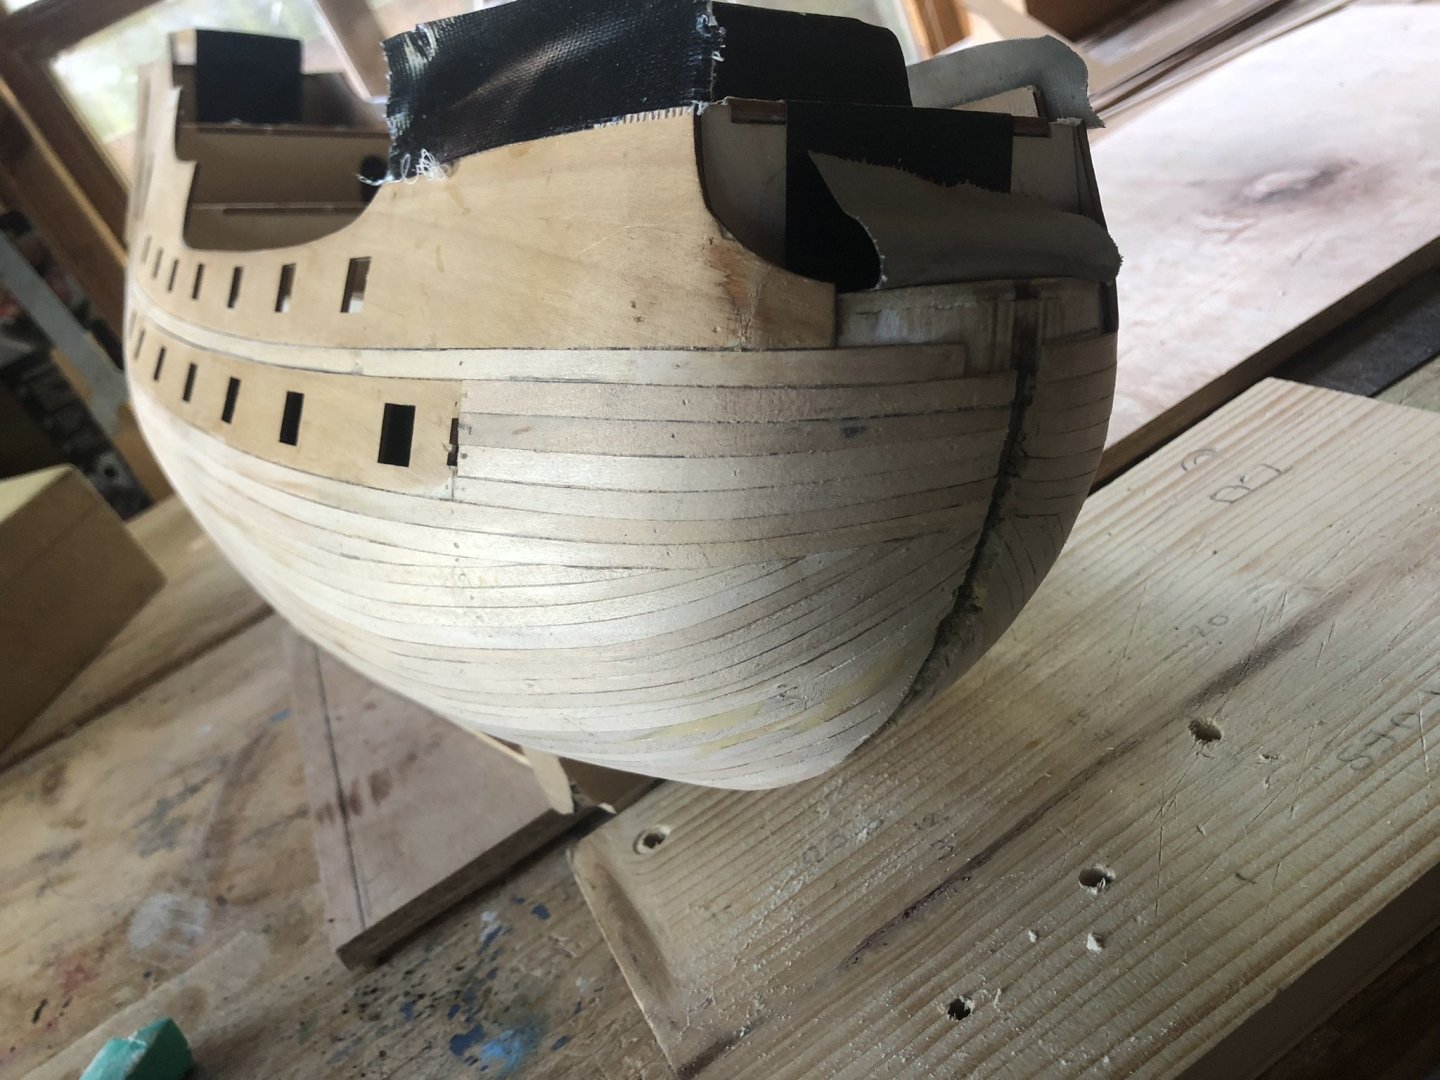
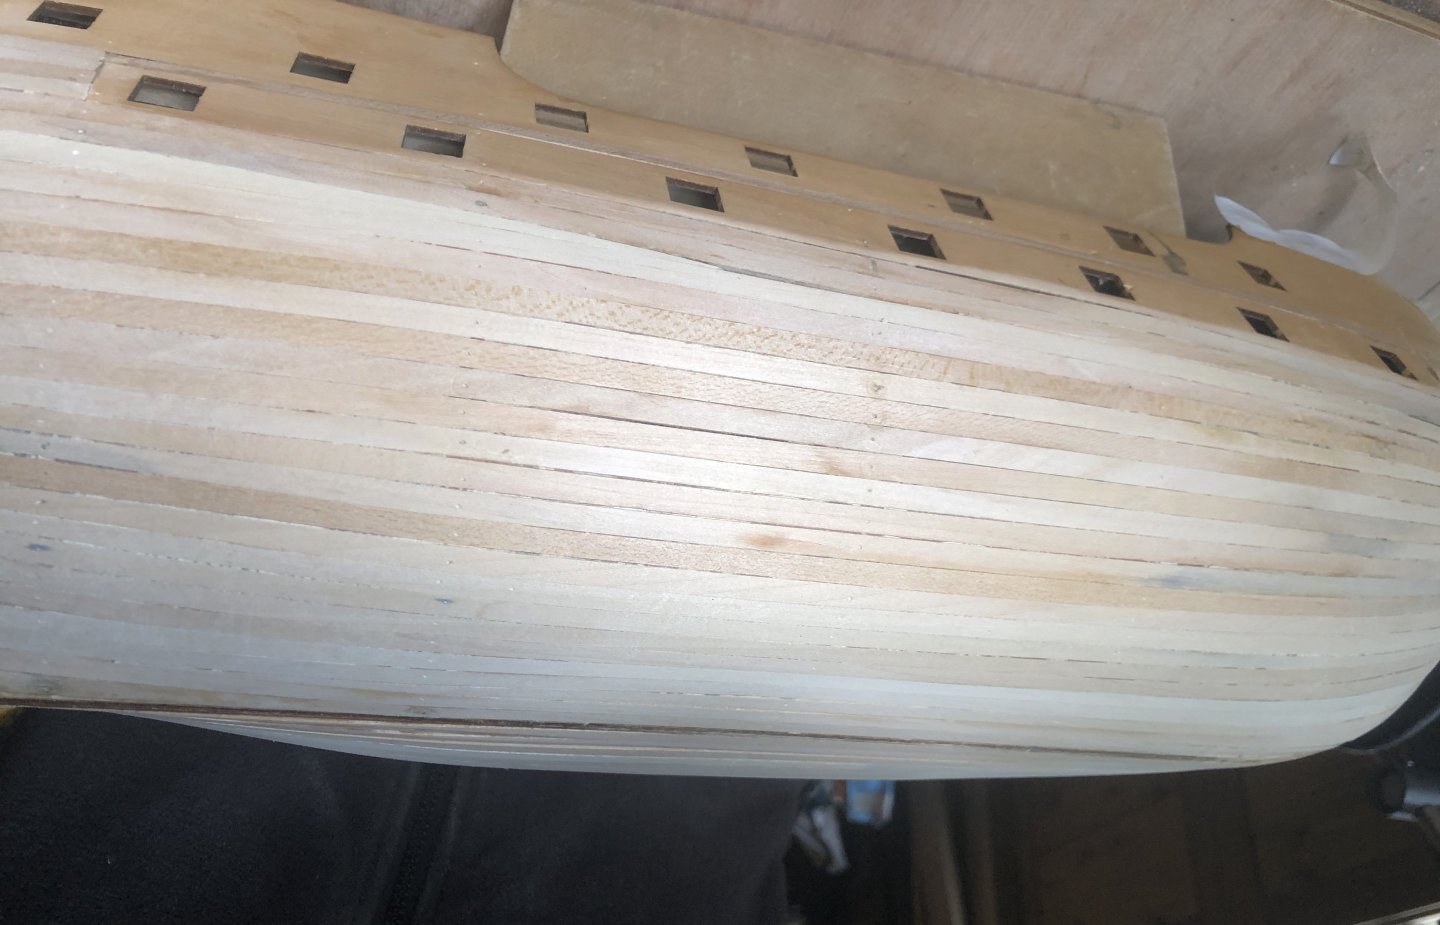
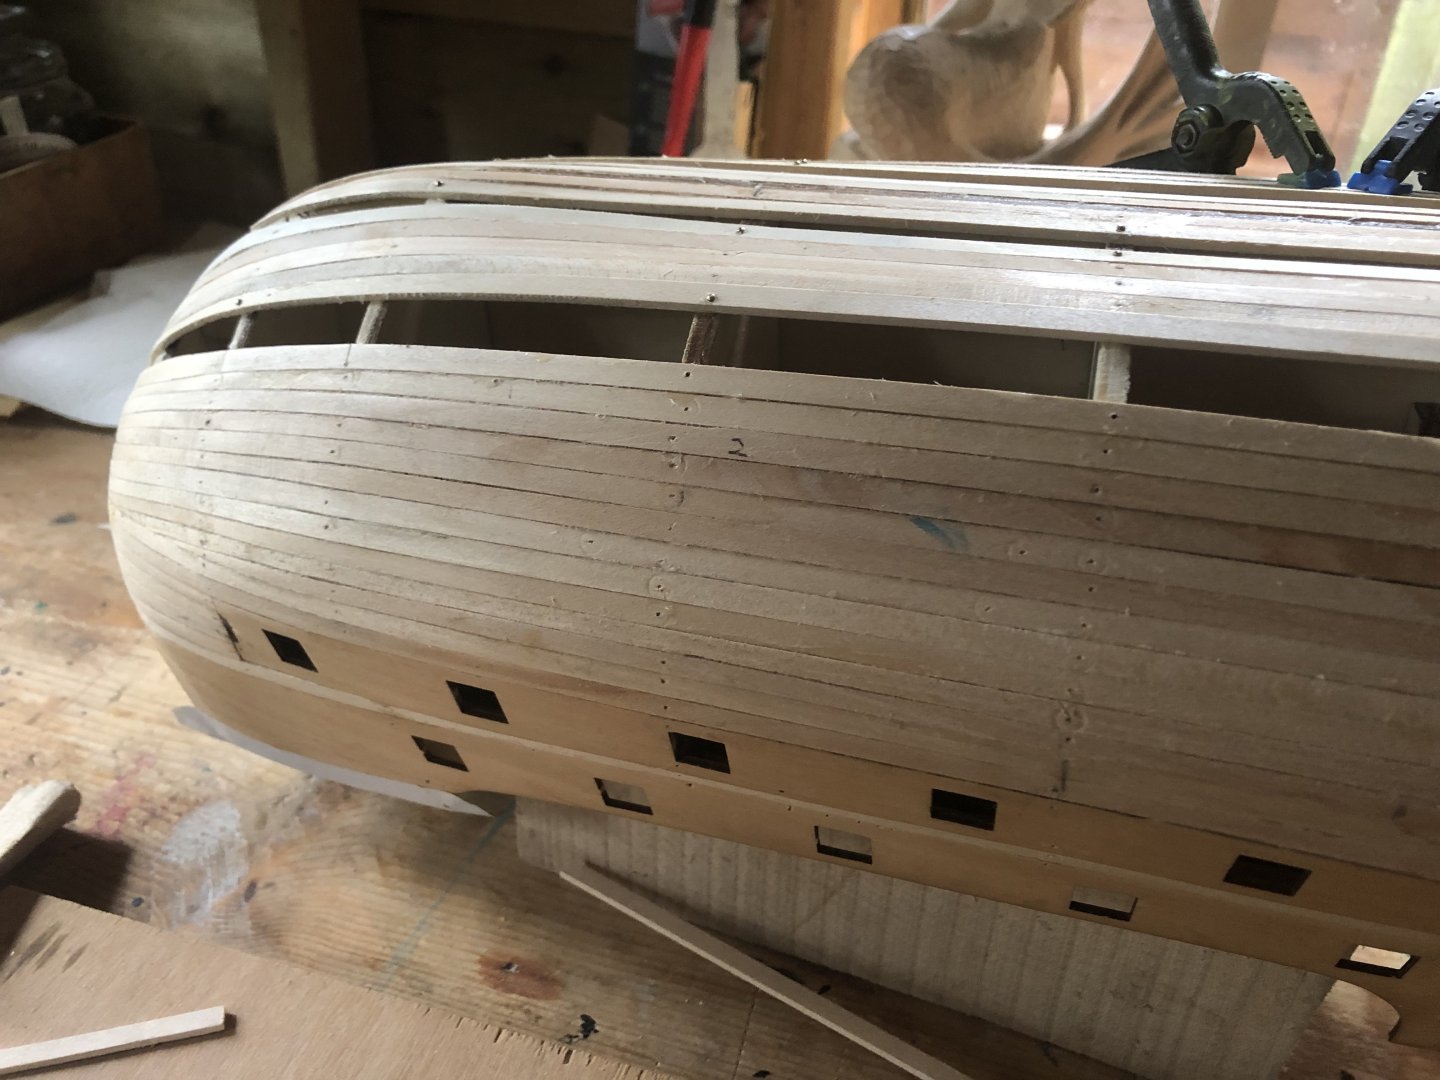
Finished one side above the wales. Will have to ask on this site about bending the wales as I don’t think my current method with the Admiral’s hair tongs will do the business but that’s later. Afterwards changed image to one showing better scarf joint only left hand length of wales is fixed. Most likely remove brass pins later.
-
Welcome to MSW
About us
Modelshipworld - Advancing Ship Modeling through Research
SSL Secured
Your security is important for us so this Website is SSL-Secured
NRG Mailing Address
Nautical Research Guild
237 South Lincoln Street
Westmont IL, 60559-1917
Model Ship World ® and the MSW logo are Registered Trademarks, and belong to the Nautical Research Guild (United States Patent and Trademark Office: No. 6,929,264 & No. 6,929,274, registered Dec. 20, 2022)
Helpful Links
About the NRG
If you enjoy building ship models that are historically accurate as well as beautiful, then The Nautical Research Guild (NRG) is just right for you.
The Guild is a non-profit educational organization whose mission is to “Advance Ship Modeling Through Research”. We provide support to our members in their efforts to raise the quality of their model ships.
The Nautical Research Guild has published our world-renowned quarterly magazine, The Nautical Research Journal, since 1955. The pages of the Journal are full of articles by accomplished ship modelers who show you how they create those exquisite details on their models, and by maritime historians who show you the correct details to build. The Journal is available in both print and digital editions. Go to the NRG web site (www.thenrg.org) to download a complimentary digital copy of the Journal. The NRG also publishes plan sets, books and compilations of back issues of the Journal and the former Ships in Scale and Model Ship Builder magazines.

