HOLIDAY DONATION DRIVE - SUPPORT MSW - DO YOUR PART TO KEEP THIS GREAT FORUM GOING! (Only 24 donations so far out of 49,000 members - C'mon guys!)
×


PopJack
-
Posts
256 -
Joined
-
Last visited
Content Type
Profiles
Forums
Gallery
Events
Everything posted by PopJack
-
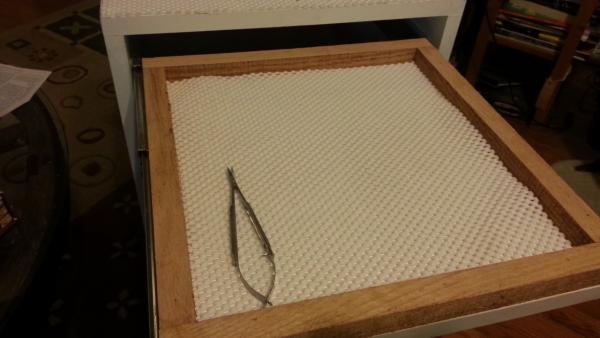
 I was laying in bed last night, got irritated with myself and got up and broke them off. The sliders are ruined and the roofs where they were glued will take some sanding and patching, but I'm sure it will turn out fine. I know you can make knives and such- I've just never done it. One of the best tools I ever had was made form a broken hack saw blade though, a scaper I may bring out on this build. Azzoun: Welcome to the discussion. I did one thing you might find interesting last night. I was having trouble having the front of the bulwarks fit together nicely. I tried tape as a clamp, but it didn't work well. So, I drilled a couple of tiny hole and threaded some heavy thread through and pulled it together. I tied it off and then coated with glue. Assuming that it works like I imagine, I should be able to sand the thread off. We'll see and I'll post. I keep thinking I ought to be able to steam and bend the bulwarks so they aren't under stress, but I never have figured out how to do it with the compound bends involved.
 -
Thanks for the thoughts. The deck-houses are just sitting there. It's only the sliders that are glued on backwards. THe glue is funny, I use CA as a "clamp" and PVA to hold it forever. So... I kind of like the idea of a skylight- interesting! Honestly, since the doors don't open, I'm not sure why the hatch should slide. Maybe I'll just try and break it off an glue on a solid piece. I took a class on chip carving many years ago and the carving knives are from them. The people who ran the class had the Moor knives. I see on that page the rosewood handles have given way to plastic. You can also get the plastic ones from lee valley. They are great knives (cheap too ). I sharpen them with ceramic stones for a razor sharp finish. They are tough enough for chip carving, so I find use for them on the boat as well.
-
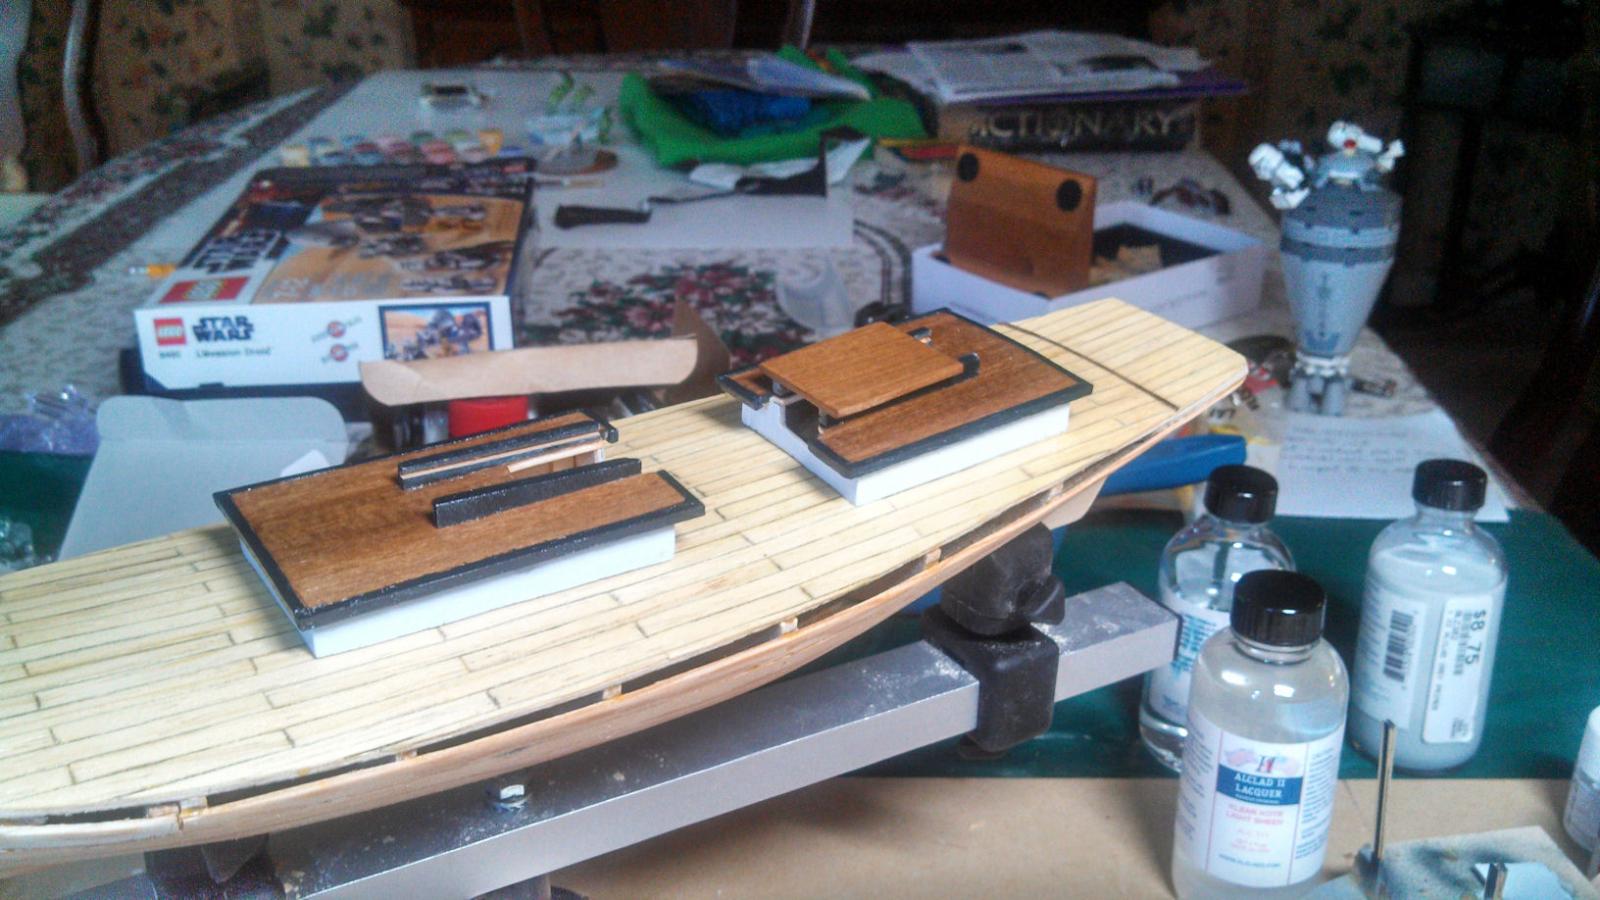
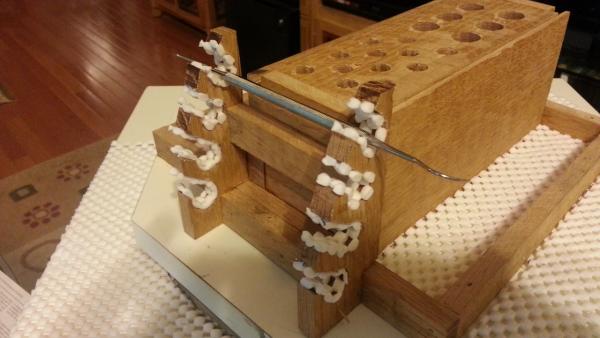
NOW THE SCREWUP. I'm trying to figure out what to do about this- if anything. I recall that although I am giving this little boat away, I was building it to build skills- simple as that. I decided to try painting it to get used to working with small areas. Boy- what a pain. The minor painting I have done has taken nearly as much time as the woodwork. Amaizing- but I'm learning. The plans call for the slides to be edged glued to the bottom of the hatch. This hit me as extremely flimsy so I added a brace to add glue area. The brace is not as thick as the slides themselves, so I knew they couldn't get in the way. They work great. I also like the paint scheme I have picked out. It is a very dark sea blue with white. The deck structures were the first place I tried it out- and I thought it looked good. RIGHT UP TO THE MOMENT I REALIZED I HAD GLUED THE SLIDE RAILS ON BACKWARDS! I'm not sure what to do about this. If I try and remove them, I will undoubtedly at least mess up the decking. Probably break the slides as well. I know they are backwards..... but I keep thinking.... practice boat... practice boat. I guess I could practice taking something apart. (or not). Thoughts appreciated.

-
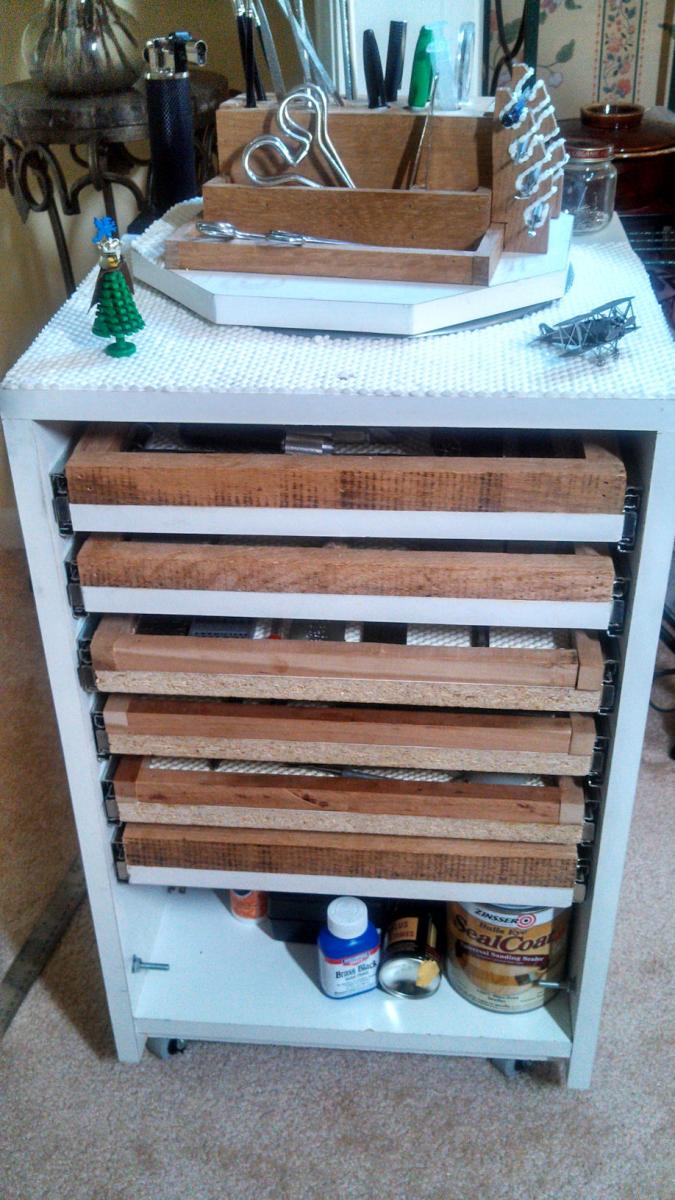
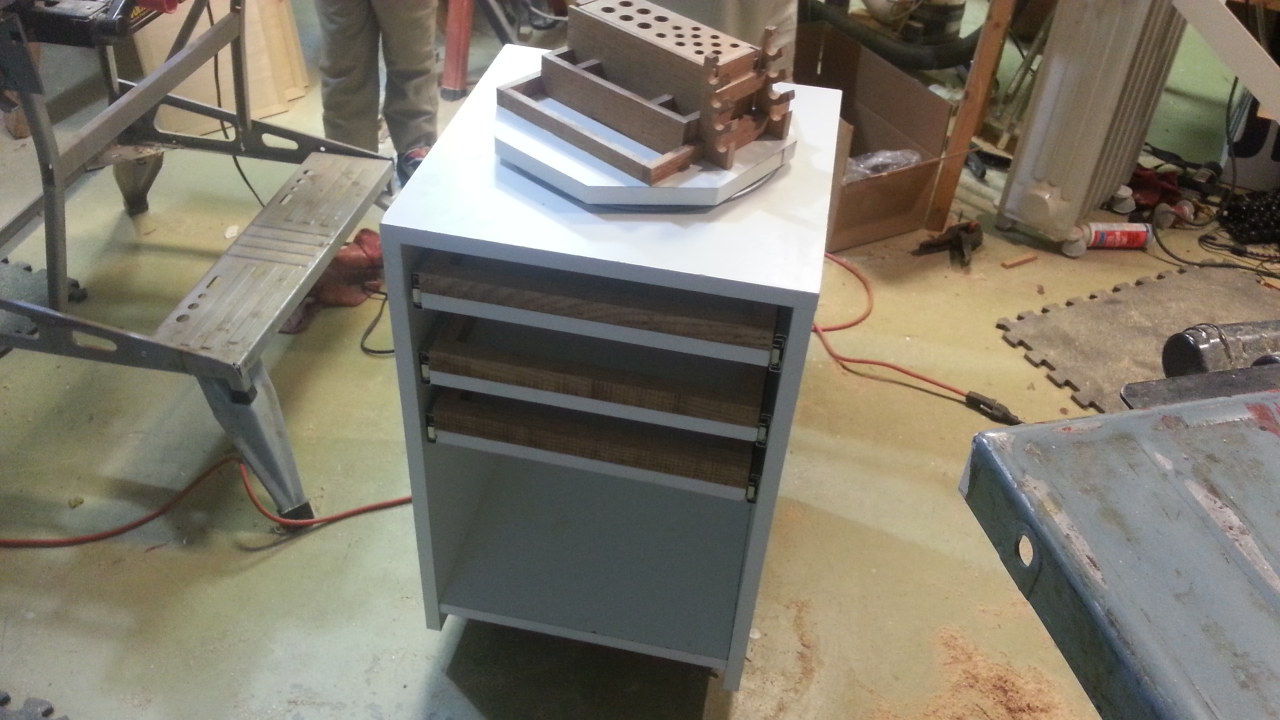
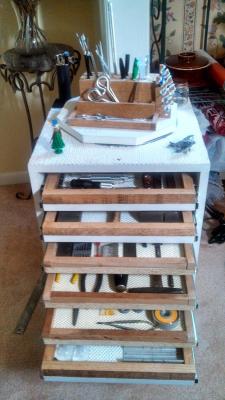
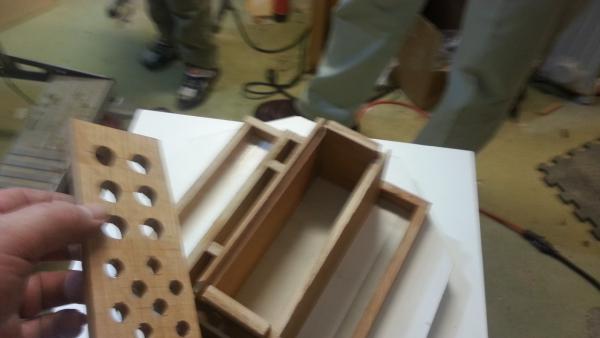
Well, the good post first. I added three more drawers to my little wooden tool cabinet. I post a few photos in case they are inspiration for someone else- not as an example of good work. This little project was for my own use and I did not even bother to sand the wood. Everything except the full extension slides and the melomine was scrap.

-
Great results. Is that a regular die (like you use to thread metal) that you've chucked in the lathe or is it something special?
-
Thank you. I will experiment with some soft woods.
-
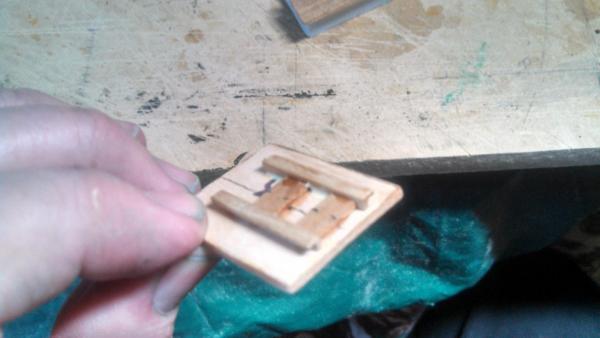
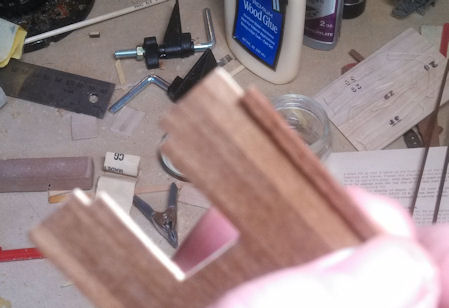
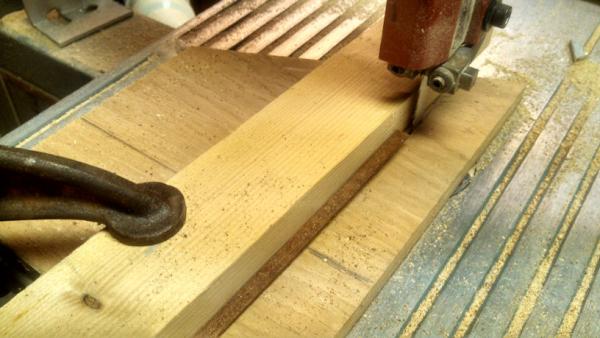
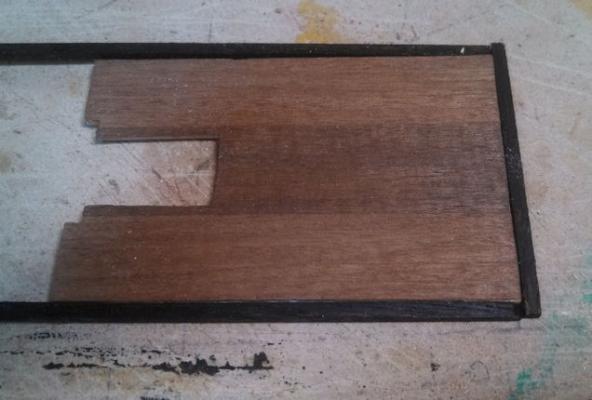
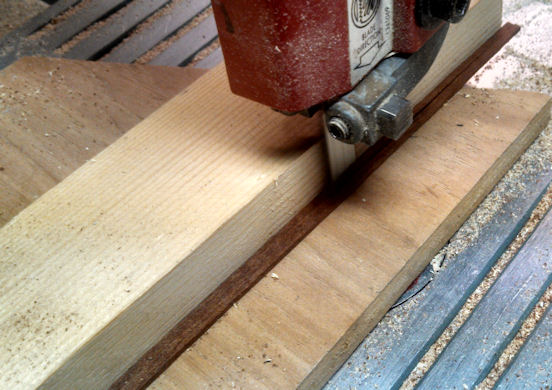
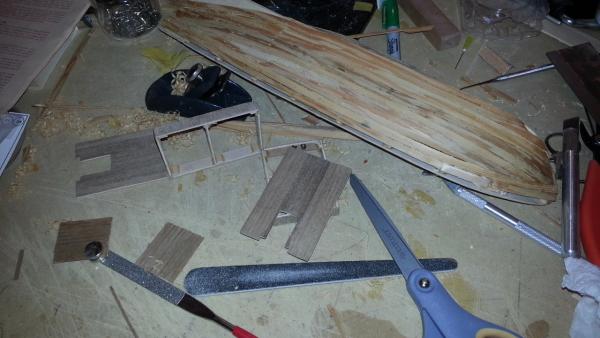
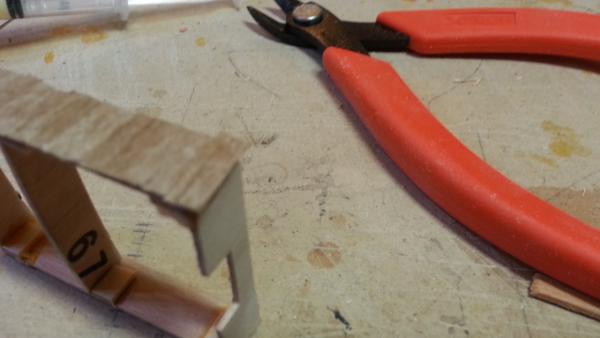
Worked on her a bit tonight. I have done a bit of research on the vessels of the period and made some discoveries of recreations on the water. I don't know how accurate the paint and other features of the modern recreations are, but they look nice to a modern eye and I plan on using some of their ideas. Again, this boat is for me to learn on. Sad, but true. First of all, I finished the deck. It came out Okay, but not great. I have been debating making treenails, but so far I haven't decided. Since the seams are not in line, I am concerned that the nails would make this error more obvious. So, that continues to cook in my mind. The edges of the cabins are unfinished plywood at this point. I was going to simply glue on a veneer, but I found where in some of the modern recreations of the boats, the natural wood of the roof of these structures remained varnished, but the edges were painted. I had some walnut laying around, so I made a jig for my bandsaw and made a few pieces of edging. I am going to paint these black. So I made a quick mock up to see what she looked like. I think this will make a nice little edge piece. Later, I may make a scraper and shape the edge a bit, we'll see. Also, I have to look at how everything goes together so I can determine where I need to use a veneer edge- probably under the hatch. I also surfed the site and saw some real masterpiece work today- which makes me cringe a bit about posting my limited progress- but hey.... one day, some day.... maybe I'll be good enough to at least understand how that fancy stuff is done.

- 125 replies
-
- 1
-

-
- swift
- artesania latina
- (and 1 more)
-
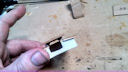
First, thanks for sharing the information. I have purchased and sharpened a couple of 18 ga needles and placed them in my drill press. Unfortunately, the nails always break off inside the needle. There, they turn to dust and are not useful. I tried pine and maple woods, end grain and side grain. Is there some special wood I should use or do I need to use a high speed drill? спасибо (Thank you)
-
I can't say anything that hasn't been said about this beautiful build, but I really appreciate your taking the time to show so much of your work. I love to learn from reading what you have done. Honestly, it both challenges and scares me... even with the skill, how long does it take to learn so much? Quick question: When you say lacquer, are you using a spray gun or putting it in your air brush or using spray cans? I never messed with it because is was so explosive- but then again, I was making larger furniture and there would have been a lot more fumes around.
-
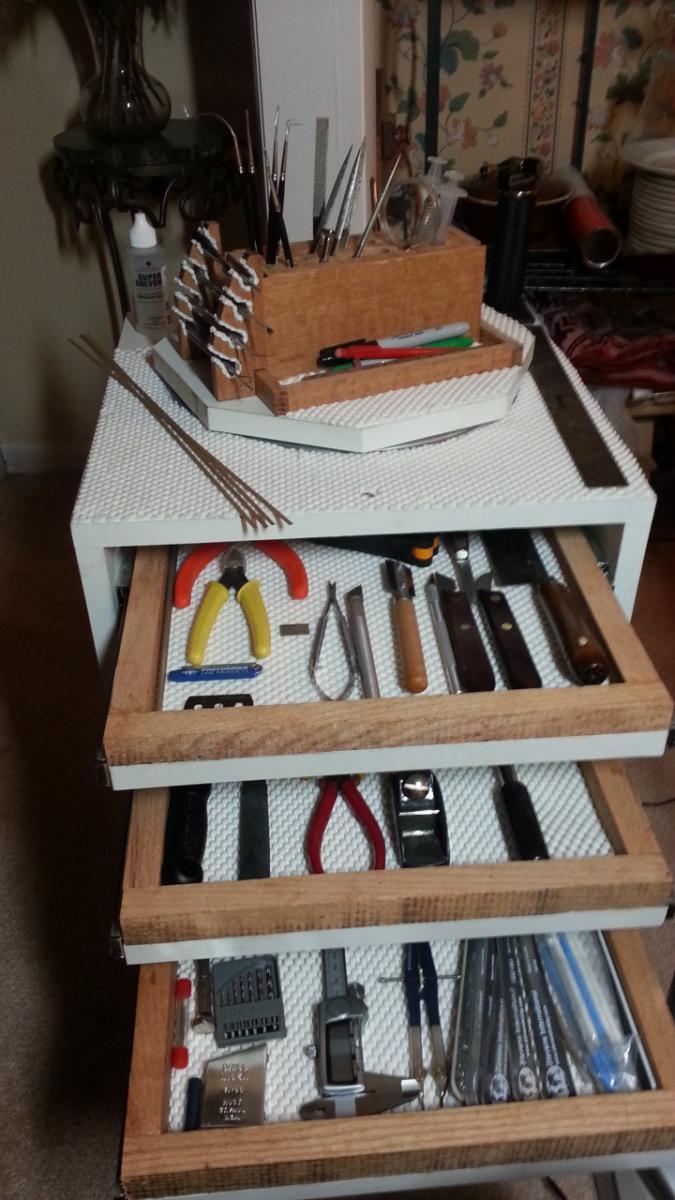
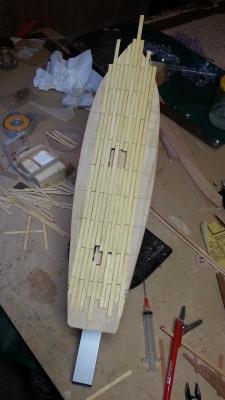
Update: Cabinet- Still loving it. Definitely plan on compacting the top three drawers to have about 1" to 1 1/2" clearance bottom of one drawer to the top of the next. I'll use 3/4" edging for ... well, the edge, if you would. I will then add two more drawers that have enough clearance for small bottles of paint and such. The decision to have a removable door is excellent since I don't have to worry about clearance for the hinges. The boat: Put a diluted coat of white paint on the cabin walls, letting is soak in as a primer. I want the wood to show through to some extent, but I may have sanded too much. We'll see. Started on the deck planking. I had quite a shock in discovering that the deck planks as supplied weren't the same width. Since I cut up a bunch of strips, this means that after the glue was on and drying I discovered that some of the decking had offsets. I did a little panic removal and replacement to try and put the fat and thin planks in the same strakes (for lack of a better word). During the panic, I got off on my joints somewhat. OH WELL, this boat was for me to learn on and practice. I'm giving it to a non-modeler so....
-
It's all in the wrist. Did a little sanding on the hull tonight. Still researching color schemes.
- 125 replies
-
- 1
-
-
- swift
- artesania latina
- (and 1 more)
-
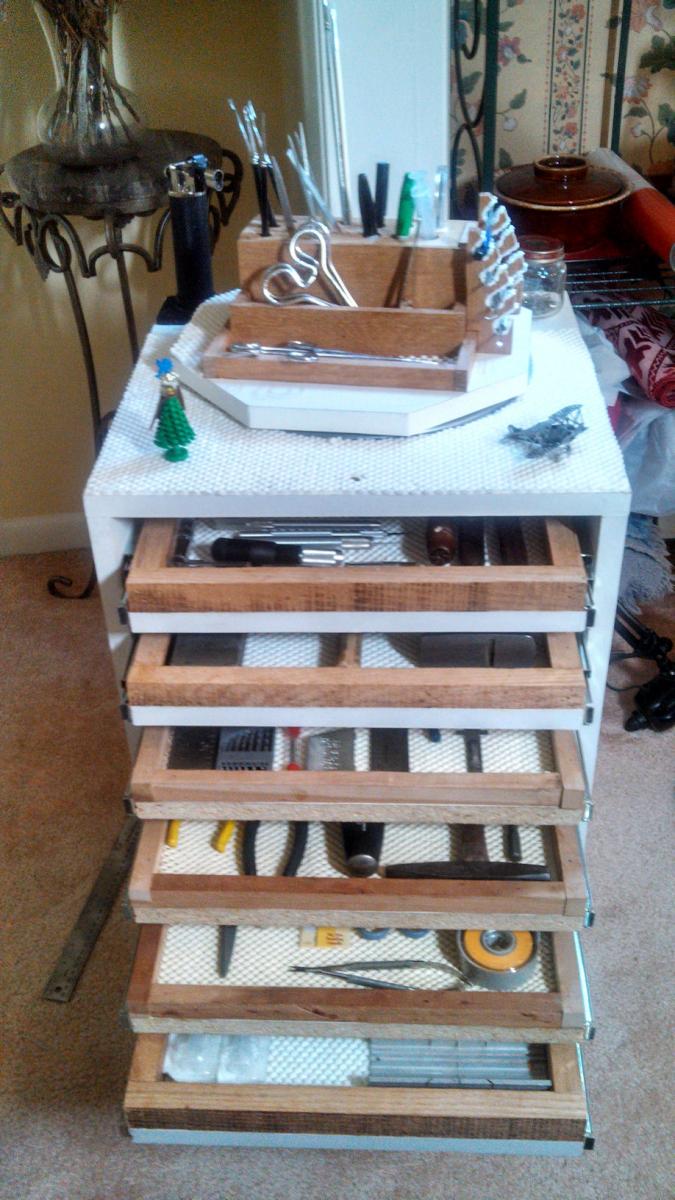
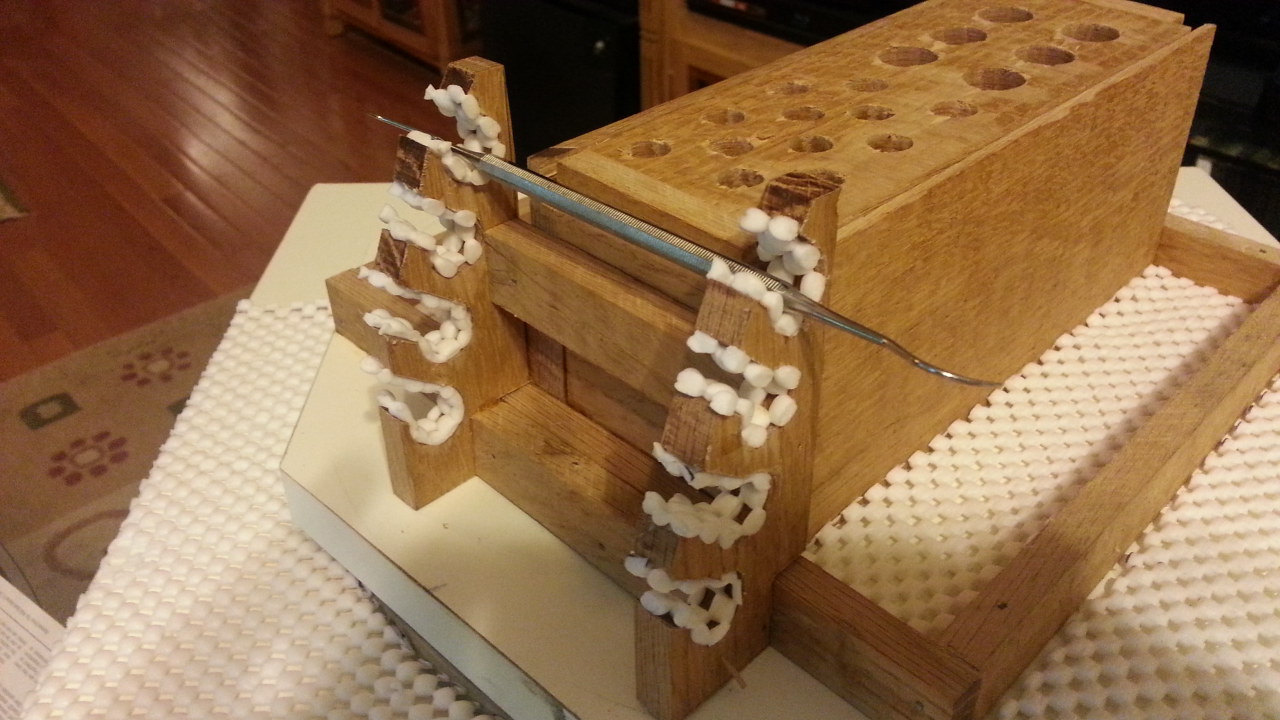
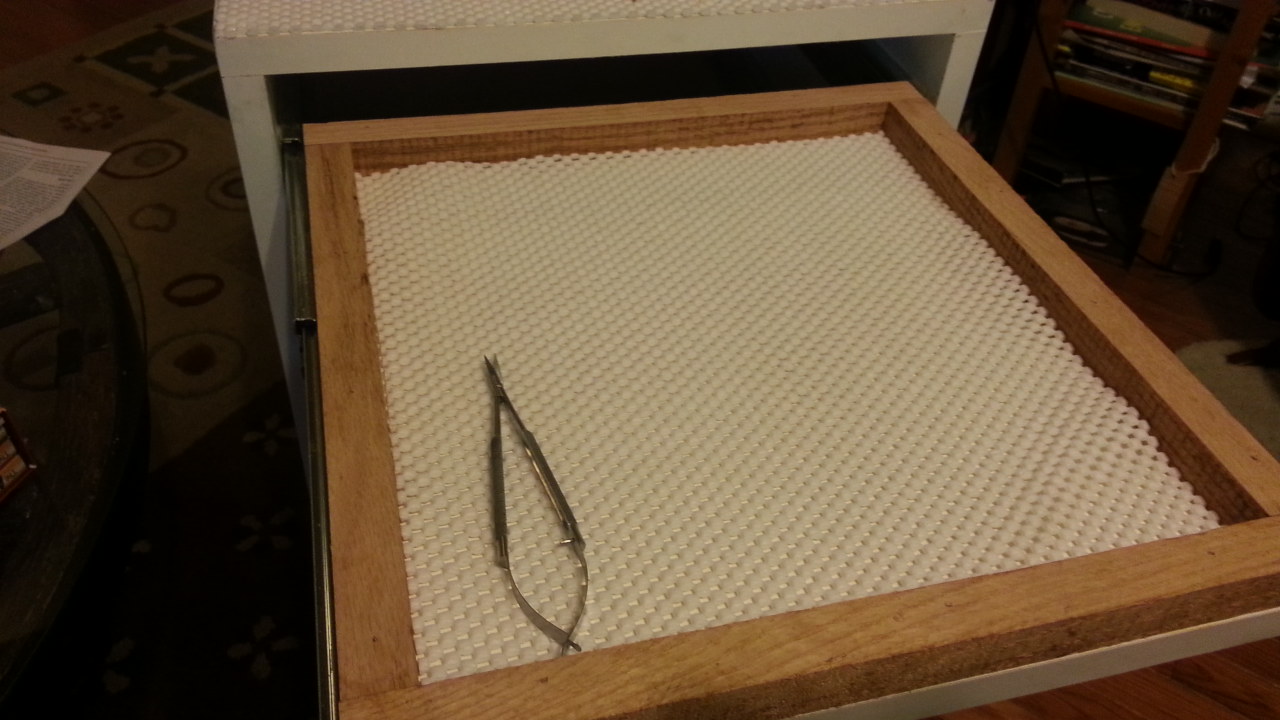
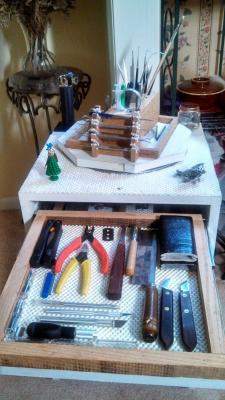
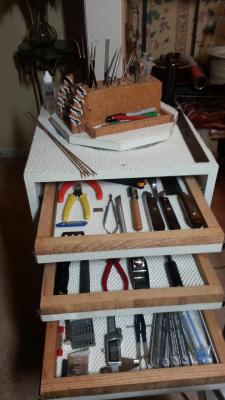
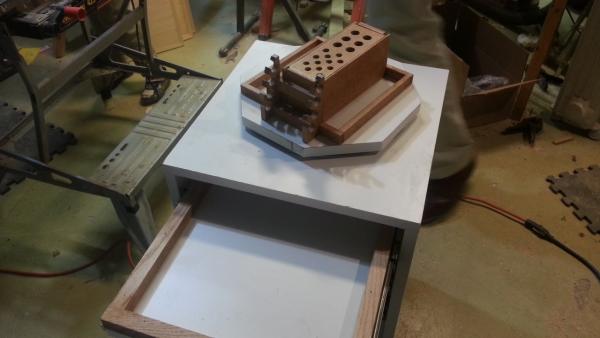
Loaded tools and such on the new toy holder. Here's what I learned- the shallow drawers are the BOMB!. I will be adding probably two more and compacting the space. I had thought that I might need some head room- but it rarely happens. Here is a photo of it loaded: I also spent a couple of minutes on the boat. Thanks the help, I am developing a color scheme, and really don't want to do much more assembling until I finalize it and get the paint.
-
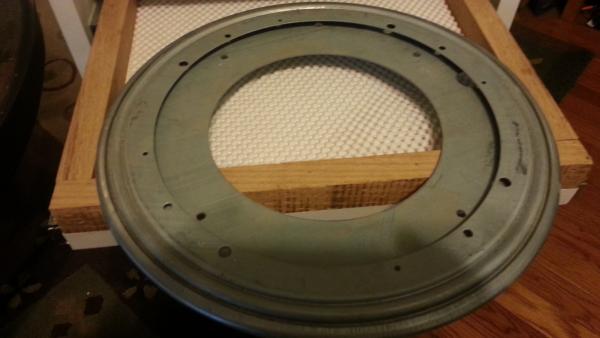
Not much to tell about the tool case. It is "quick and dirty" defined. The panels were cut and then biscuits were used on the major panel edges, reinforced by #8 2 inch screws. I counter sunk the screws, but didn't bother to fill behind the screws in any manner. I used the iron on edging for the boards- it works well once you figure it out. It's easy to scorch though, and I didn't have any extra left over to replace bad applications. I use a strip of glue on everything, but doubt its effectiveness- probably just habit. The drawers are a single piece of board with a edge made of scrap oak I had laying around. I made them shallow, since primarily the drawers are for laying out tools, not stacking stuff. I used commercial drawer slides that will extend out the full depth of the drawer. I had a heavy duty lazy susan base (one that will hold three or four hundred pounds) and made a tool holder to go on it. Its not as smooth as a lighter duty one would be- but should I ever get any REALLY HEAVY TOOLS, I'm in shape. Originally I wasn't going to put a door on it, but I decided that it might be nice to lock up the super glue and sharp tools for grandchild safety. Since I don't want a door in the way, I made a lift off door that is held in place by a pin. The attachment points are from some scrap aluminum angle I had laying around. I got drawer liners that is really tacky and lined the top and other parts. After I use it for a while I'm sure I'll figure out what I did wrong and make modifications.

- 125 replies
-
- 1
-
-
- swift
- artesania latina
- (and 1 more)
-
Most excellent! Thanks! I only thought I knew Google- obviously, I am an amateur!
-
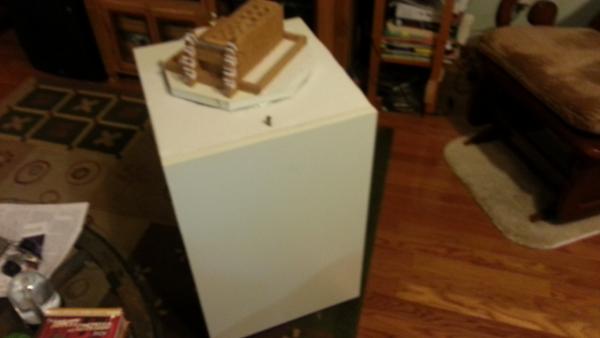
Well, I took today off from the boat to work on a small cabinet for my designated modeling tools. I bought melamine board and put it with some scrap wood. I had a lazy susan base and made a tool stand for the top of that. It's not quite done, but about 95%. I think it will be nice to have "upstairs" where I work on the models. I made the top of the stand up plate removable and the big cavity large, so I can get my fat hands into the hole to retrieve tools.

-
QUESTION: I've been thinking about painting this model. Again, not trying to be absolutely authentic, just want a nice looking model that isn't too stupid looking to someone who knows ships. The information I've run across indicates that the hull should probably be black, the deck houses white, and below the water line, either red (rust color), cream, or copper. Mast and spars would be clear varnish, deck, clear varnish. Parts of the mast might be white- depending on what I look at. All metal would be flat black or painted to batch the attachment point. I didn't think this kind of boat was copper plated this early- but am continuing to research. Any advice on paint would be appreciated. Any reference to a photograph of a painted model would be appreciate.
-
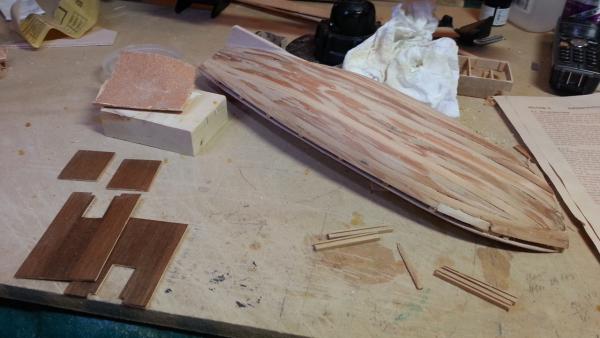
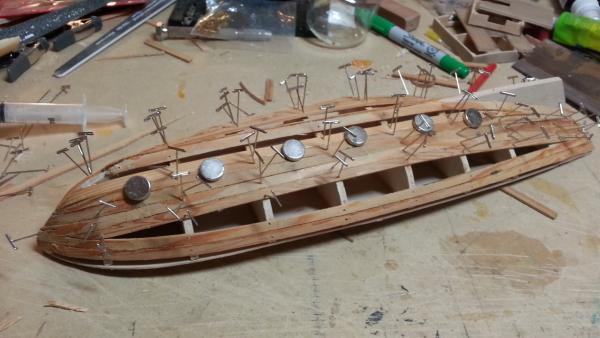
Well I worked on her again today. I've done a lot of research on how to handle planking of what I will call the "skeg." I understand that this may or may not be the correct term. In any event, Thermadchemist in his excellent build planked it (and did a great job, using tapering and avoiding stealers). In a tutorial on planking the same ship is shown with the Skeg shown not planked. The excellent responses to my posted question indicated that several people plank the skeg on the second planking, but not on the first. The planking technique seems to depend on matters related to how the individual boat was built- and since I don't know, and am not interested in spending a lot of time looking, I'm following my own counsel. I decided: 1) I was only going to plank the skeg with the second planking. 2) I was going to try and understand the instructions regarding how to handle the keel where the skeg begins. 3) I was going to concentration on learning to bend wood and not worry about steelers- that is use as many as necessary instead of tapering. So, first of all, I absconded with a hair curling iron and discovered it works better than anything I've tried in bending wood. I soaked it for a bit (the wood, not the curler) and then bent it- I actually had to straighten a few pieces. Second, I discovered that the wood for planking is not of a uniform thickness- and in some cases not even close. (Remember, this it the 1980's kit.). Third, I concluded I don't have a clue what I was supposed to do with regard to the garboard strake and the skeg, so I'm going to have A LOT OF SHAPING to do to make things look decent. So, in all her UGLY glory, a couple of photos: I also worked on the deck houses some more. Long way to go. IN closing, I have learned that my brother is getting married. If this boat turns out OK, I am going to give it to them as a wedding gift. They are both vetrans of other marriages, and I am going to write an allegory of enjoying a life long relationship with a wooden boat- the work that goes into keep it a float. I figure if they like it then they will overlook my boat's flaws. If they are offended- well, I'll save money on Christmas cards. So, I'm going to just try and make it look nice- no special customization.
-
Lovely and true as the day is long. I can tell I will be referring to this ship to see what mine is supposed to look like!
-
The definition question is an interesting one. I actually looked for the "proper" term so I wouldn't have to say "that pointy bit that sticks down in the back." I will have to study "deadwood" and see what that means now. I was raised in West Texas about 18 hours drive from the nearest water that could float a boat the size of the Mare Nostrum, so I cheated and used a concrete source of nautical wisdom, wikipedia. According to that:: A skeg (or skag) is a sternward extension of the keel of boats and ships which have a rudder mounted on the centre line. The term also applies to the lowest point on an outboard motor or the outdrive of an inboard/outboard. In more recent years, the name has been used for a fin on a surfboard which improves directional stability and to a moveable fin on a kayak which adjusts the boat's centre of lateral resistance. The term is also often used for the fin on water skis in the U.S.A. (That wikipedia bit was supposed to be funny- hope it is)
-
I promise I have looked everywhere for an answer on this. Please feel free to just direct me. I am on my second small boat (Mare Nostrum and 1980's Swift) that has a pronounced skeg. I am not sure how these should be planked. Some builders seem to warp the first layer planking and keep the garboard strake along the very bottom of the keel including the skeg. The tutorials that show a skeg, however, show the first layer of planking ending at the base of the skeg and the skeg un-planked. They don't, however, show the second layer.. In modern day real boat building, the skeg appears to be added after the boat is planked- but it is screwed and epoxied in place. Assuming some equivalent attachment was available in the 1700's, then the skeg should not be planked one the first go round because the thickness is the same as the keel. IN THIS CASE, however, there is a question of the second planking- the thin one. On my first build, I attempted to twist the final wood and cover the skeg with straight strake from the hull. This, honestly, didn't work well. I imagine I could have covered the skeg first and then laid the final planking up to it and tried to make a good joint? OR, should I leave the skeg unplanked and just try and make it macth the keel? Advice, references and photos desperately needed.
-
I can see that in the color. I just got notice my Syren shipped! So.... I guess I'll finish what I'm working on before unboxing her, because, well... I couldn't have more than one kit going on at a time.... could I?
-
Is Eva a Basenji?
-
Perfect. I really appreciate it- they will work great.
-
Thank you! PM sent!
-
Not a lot of free time today. I noticed one of the bulkheads wasn't long enough to match the others (it was mounted square, just short on one side). So I cut a piece of scrap and rough shaped it. I "fair" it later and it should be fine. I also worked on shaping the stem blocks. It's pretty close now. I am worried about two items: 1) I had intended to put a rabbit on the false keel- largely for practice. There isn't room unless I do some work. The kit calls- basically- for the first planking to be solid around the hull and then for you to sand a flat spot in the first planking onto which to glue the keep piece. I'm just not sure what I want to do here. To make the rabbit, I will have to reshape several bulkheads AND because I didn't think of it earlier, it will be tough. Alternately, I can put a rabbit in the keel piece and glue it to false keel. The cut would have to pretty accurate.... 2) I'm not sure how to handle the skeg during planking. I though the object was for the garboard strake to follow the keel and then twist and become part of the skeg. It really doesn't look like anyone does this, though. They seem to follow the curve of the stern up and then plank the skeg with an assemblage of triangle pieces. Advice appreciated. Can't get the photo to upload, so just imagine beautiful wood with glue.