
Jsk
-
Posts
279 -
Joined
-
Last visited
Content Type
Profiles
Forums
Gallery
Events
Everything posted by Jsk
-
The paint shaker is a great idea. Though I find it concerning that people have massage attachments for jig saws!
- 1 reply
-
- 3
-

-

-
 As a visually impaired model builder I'd advise you to not make any decisions about giving up any activity or project you enjoy. Eyes are notoriously slow to heal and adapt. I suffer from POHS (Presumed Ocular Histoplasmosis Syndrome). Essentially, I lost sight in one eye and have a multitude of permanent floaters in the other. It's like living in a permanent cloud of gnats. I've also, off and on, suffered from the migraines and the visual effects--usually attributed to stress--and I can't think of anything more stress inducing than fear that you're going blind. Yeah, I understand the feelings. For years I figured my old hobbies were off limits--until I tried. You will adapt to your new vision. If I can be a pompous old git... the frustration you feel is in you, not your eyes. Poor vision makes things more challenging. Things may take longer than they used to. If modeling La Haye Sainte gives you joy there's no reason to stop. Just slow down, take advantage of the optical tools, glasses, visors, etc. that help and enjoy the activity of modeling. Visit your eye care specialists on a regular basis. Are you up against a deadline?
 -
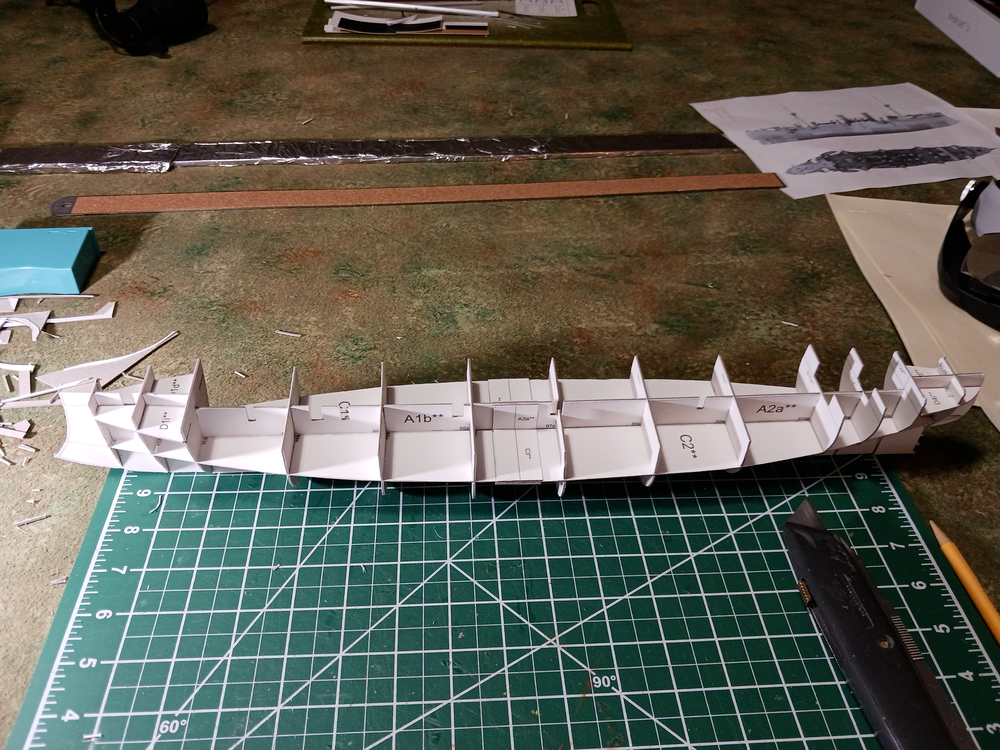
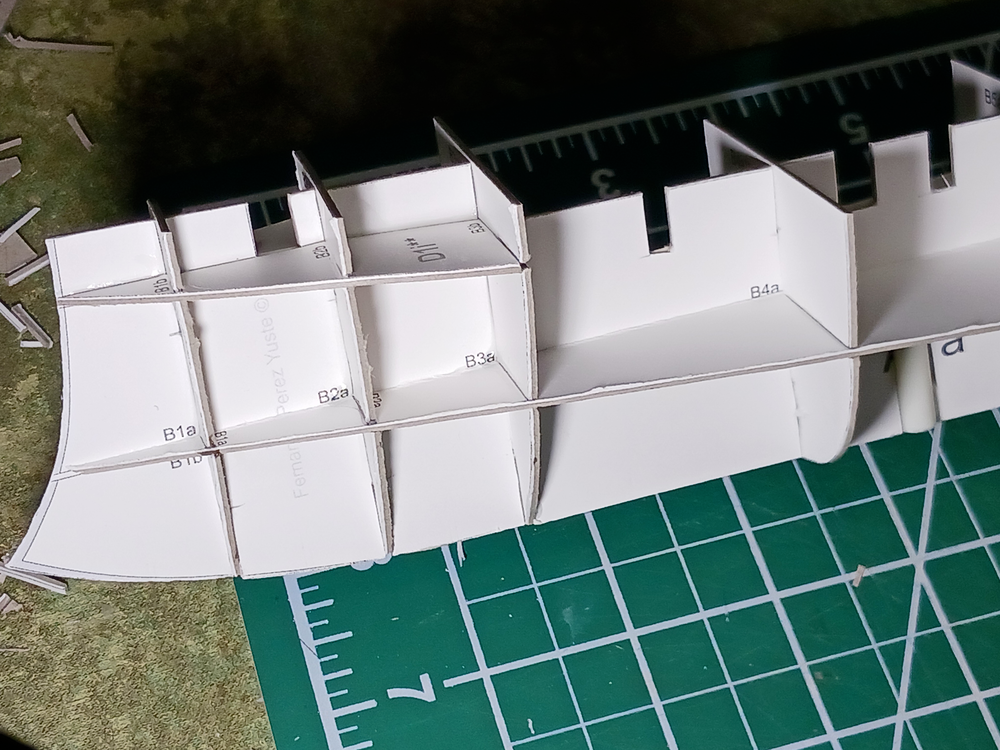
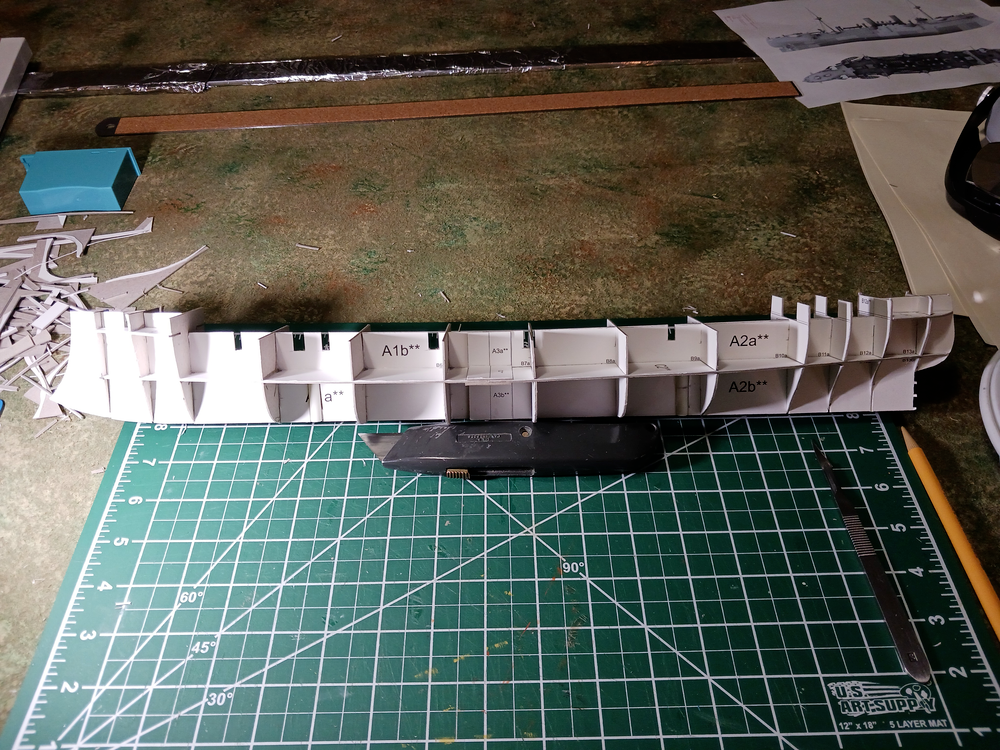
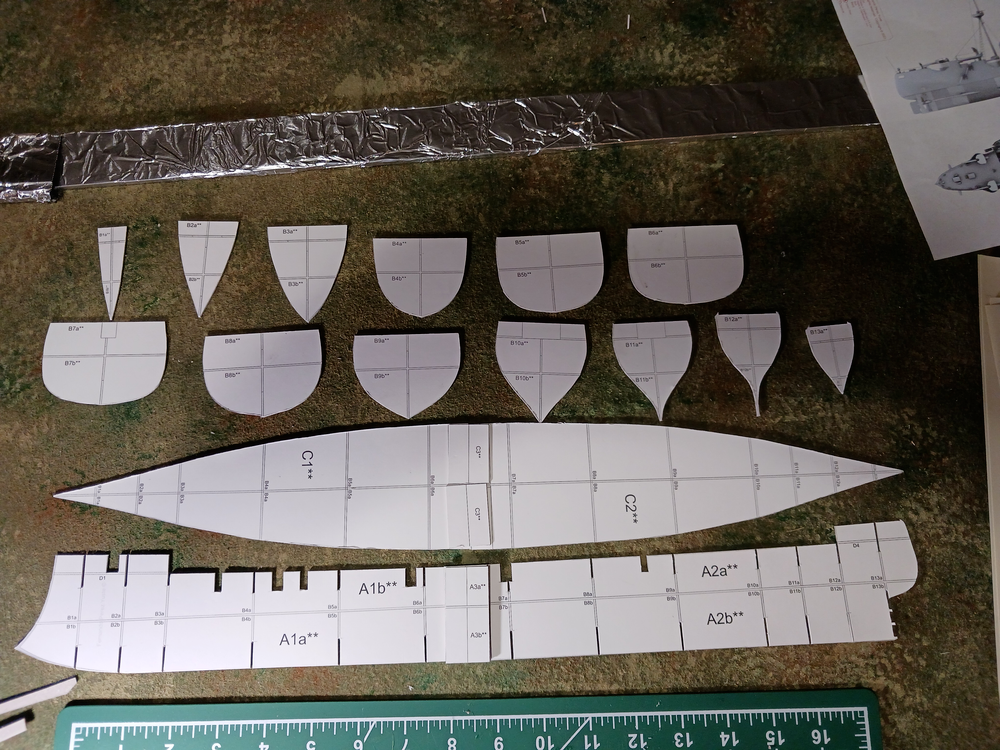
Thanks for the likes and comments. They do keep one motivated. Here are some progress shots of the framework construction from this past weekend. I actually like this phase. Once you get through most of the cutting the assembly goes quickly for really satisfying results. The only 'oh-no-he's-gone-rogue' activity was to add two pieces of plastic tubing to the keel piece. I want to mount the model on a stand with posts rather than a cradle and the tubing will be the sockets for the posts. I found that a box cutter is better for me to use on the 1mm card rather than a scalpel. My cuts are more vertical. Though I do wonder if the notched pieces provide that much advantage. It would be less cutting to just slice the bulkheads in half (taking care for the thickness of the longitudinal pieces and glue the full edge. I guess you'd have to take greater care to ensure everything lines up correctly and is at right angles. Hmmm.... I might have to try it on my next project. I had all the notches cut in this one when I got to thinking about it. I also found the easiest way to glue this was to simply dry-fit everything together and then run CA along the joints with a fine tip applicator. Again, making sure everything was positioned correctly but that's second nature at this point. I've got two sub-deck pieces to add to the frame work and a little bit of fairing and shimming. Then comes skinning the lower hull. We'll see how that goes. I've got a feeling I won't be very happy with it. I think I may have to do some puttying, sanding and painting to get what I want.

- 37 replies
-
- 6
-
-
- Baltimore
- heinkel models
- (and 2 more)
-
Remove Tamiya paint
Jsk replied to JoniP's topic in Painting, finishing and weathering products and techniques
Fifteen to twenty years ago I used Easy-Off oven cleaner to remove paint from a collection of plastic ships. I put each ship model in a zip lock bag (they were small!) and spray liberally with the oven cleaner. Twenty-Four hours later the paint simply slid off the plastic models. A toothbrush took care of the rest. The plastic seems healthy to this day. More than I can say about Easy-Off. I think it's been changed considerably. -
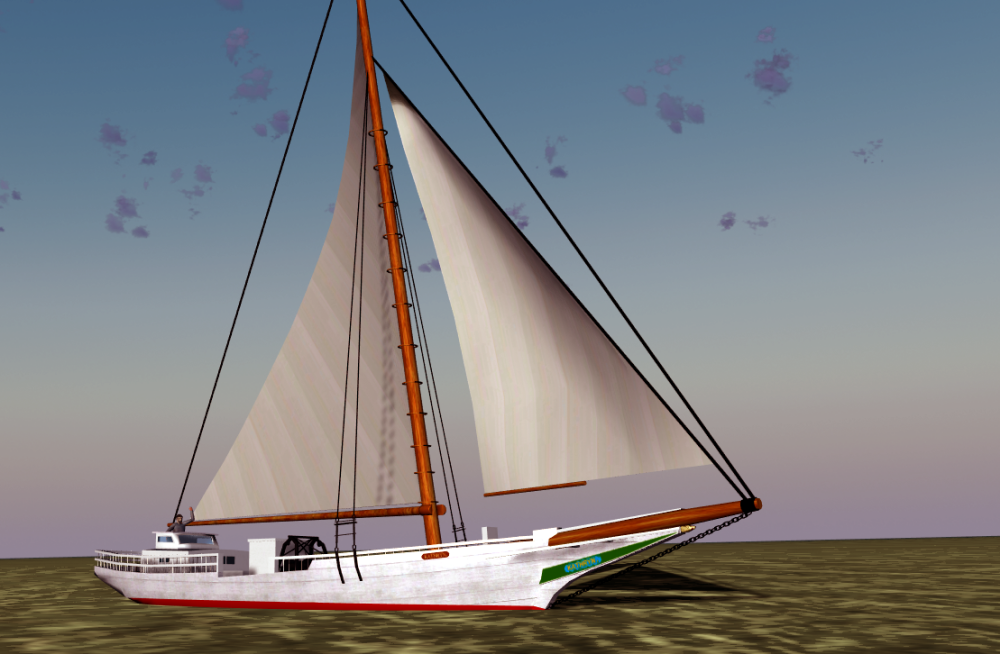
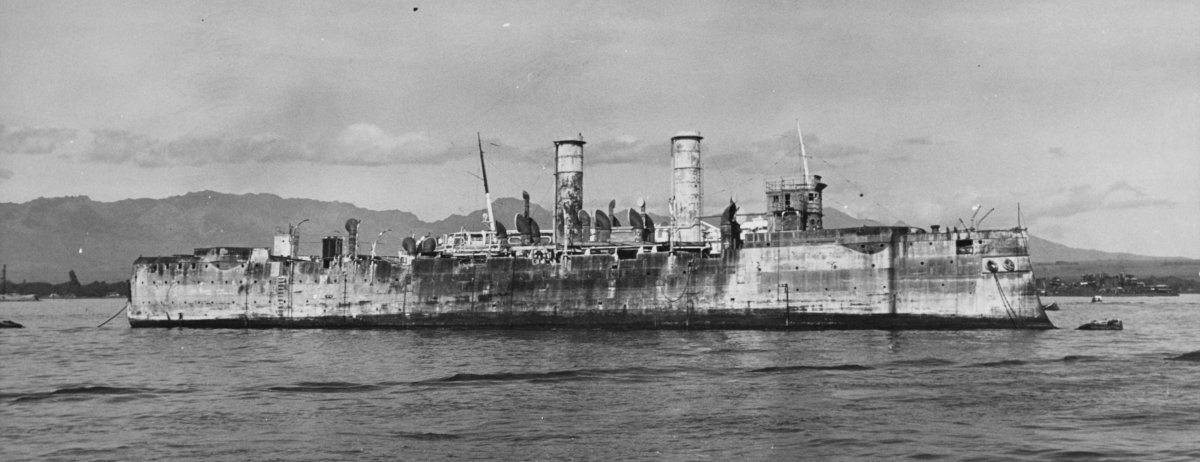
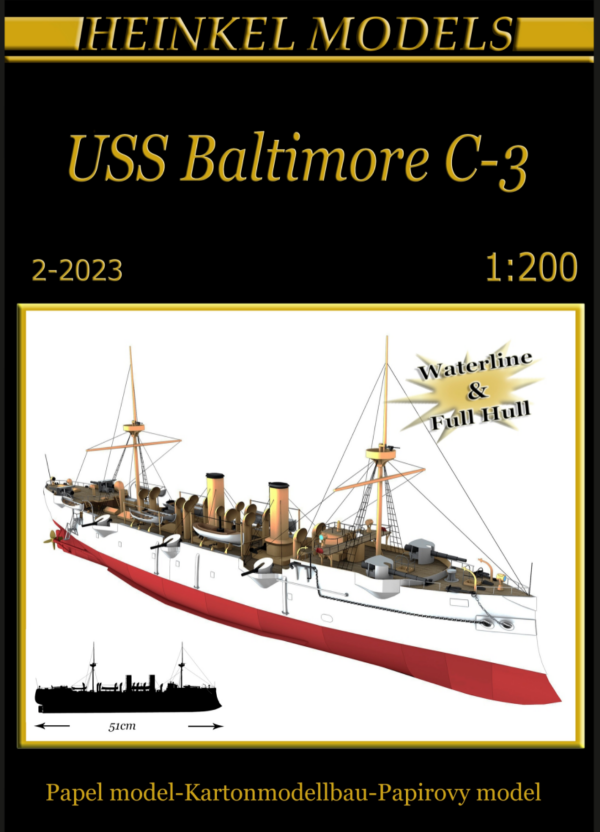
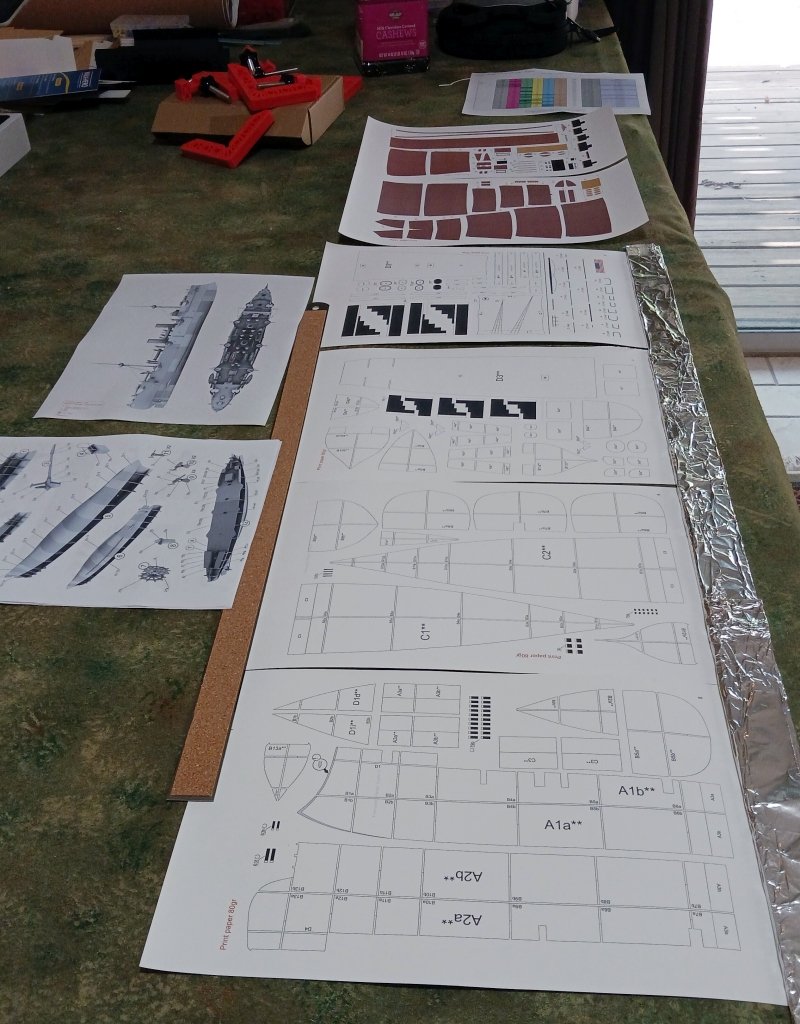
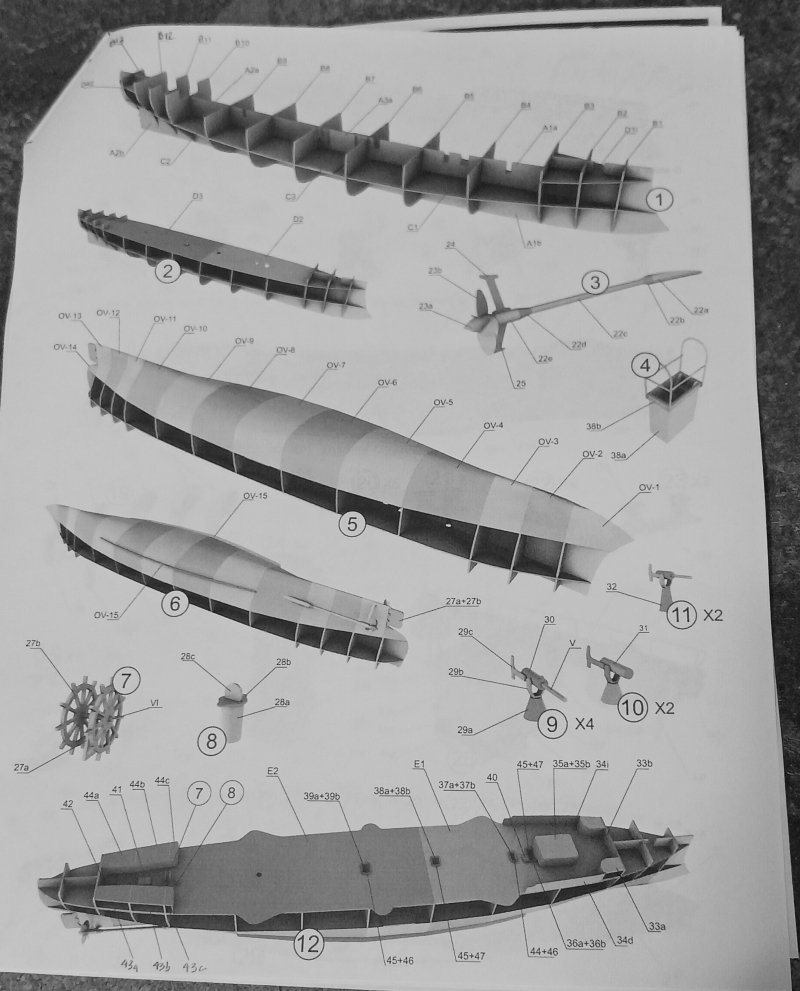
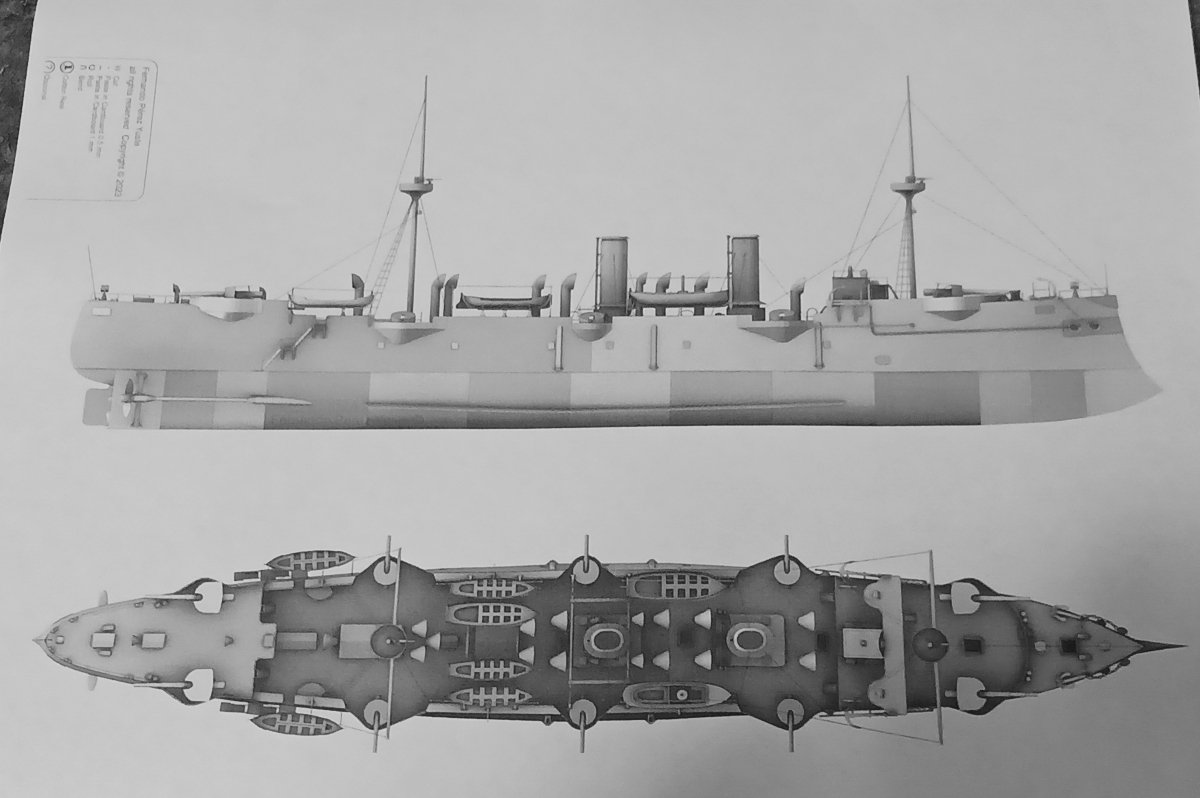
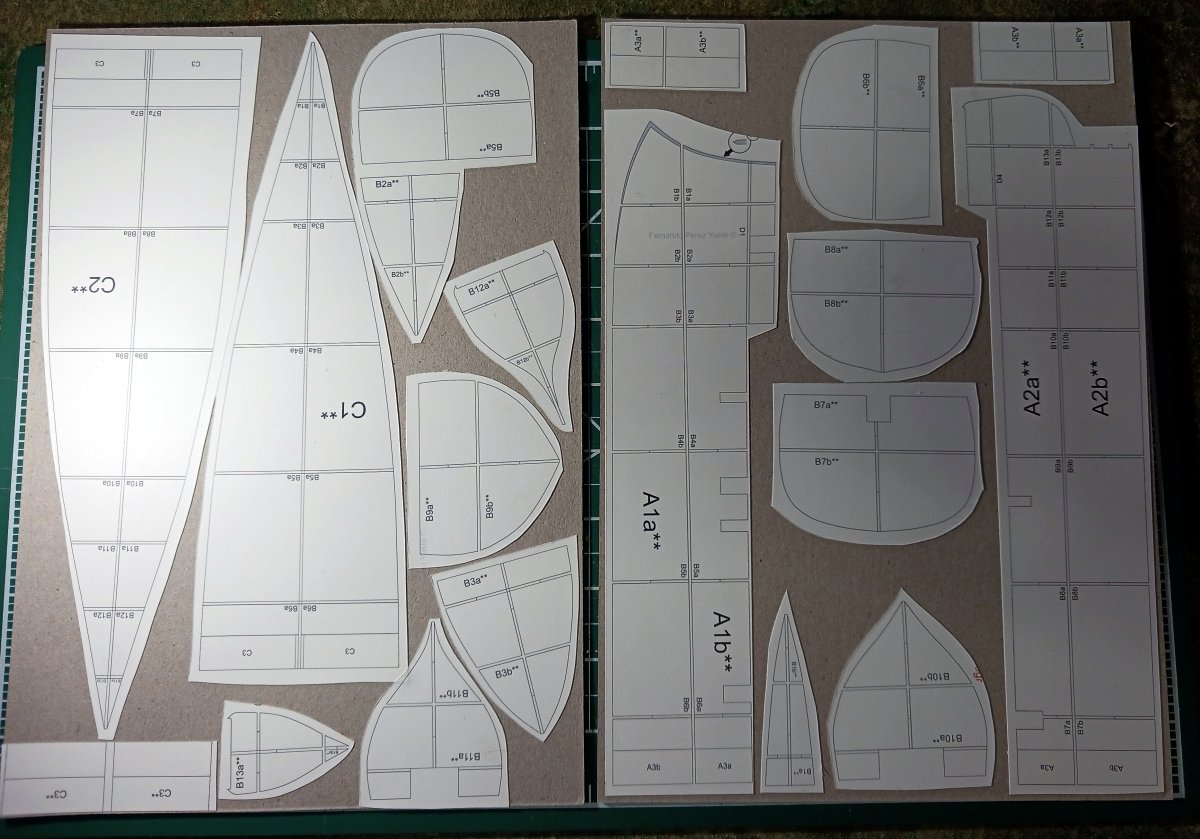
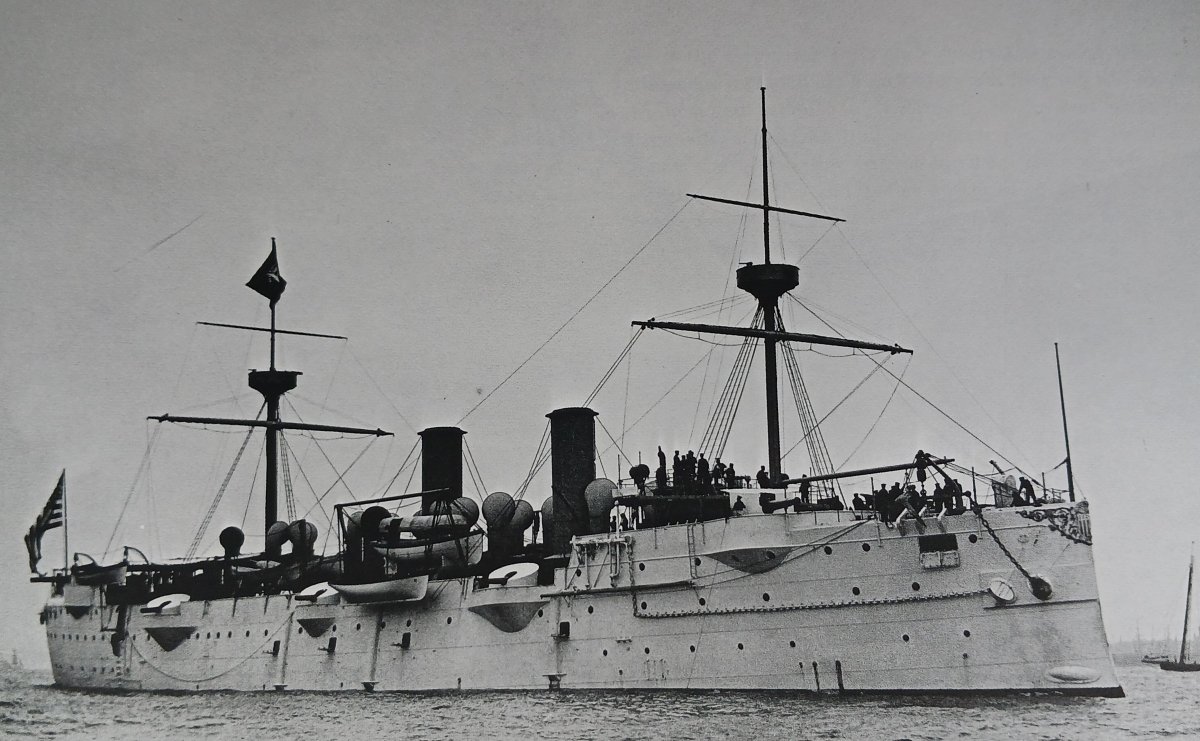
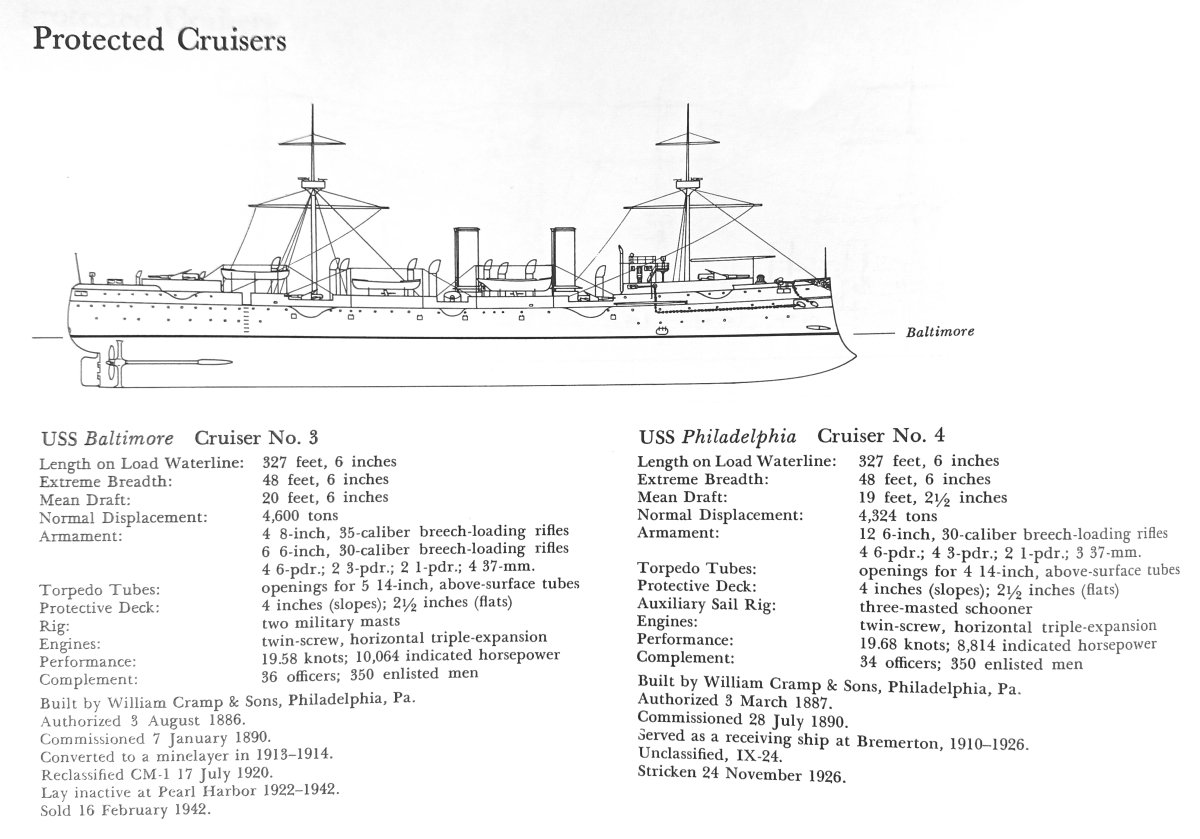
Here we go again... One of the great benefits of card models is that, in their un-built state, they can literally occupy zero space. Nada. No storage concerns, whatsoever. Perhaps the wise builder invests a little storage space in getting professionally printed kits with all the bells and whistles, laser cut formers, etc. I've never been accused of wisdom. There's a model designer whose work I have frequently admired. Company name of Heinkel. I believe the designer is Fernando Perez Yuste. He's designed a lot of American Civil War ships and has expanded into the pre-Dreadnought era. When I saw the USS Baltimore show up on Wargame Vault I decided to splurge and add it to my virtual stash. (I say splurge but let's face it, card modelers seldom really spurge--Shipyard models excepted. The Baltimore cost me $15.25US. And I had credit on WV so in reality it cost me nought.) A couple of weeks later WAK published the Baltimore for a princely sum of $12.82US and they can provide laser cut parts and gun barrels, etc for additional funds. (Oh my, just noticed WAK's on-line shop is closed due to the floods in Europe. Here's hoping for a quick return to normal life for everyone!) So a little about the USS Baltimore. The US Navy was caught in the financial doldrums for twenty years after the Civil War. In the 1880s and 1890s the Navy reinvented itself by designing, purchasing and building new, high-tech steel hulled ships. The Baltimore was one of the first generation of new armored cruisers of the new navy. Built to a British design, she was launched in 1890. The following pictures are from John D. Alden's "American Steel Navy": I won't detail the history of the ship here. She's pretty well documented on Wikipedia and there are many photos at Navsource.org. But, like the more famous Spanish American ship USS Oregon, the Baltimore fought in the Spanish-American War, served as a mine layer in WWI and was present (though as a hulk) at Pearl Harbor in WWII. A last poignant picture from Navsource.org, 1944, just before being scrapped: The Model This is my first Heinkel model. There is a bare minimum of written directions but the pictorial instructions should be enough. It's also the first test of my laser printer. I will state, however, the design is for A4 paper. North American builders should be aware that if you print at 100% on letter size paper you will most likely lose the top and bottom edges of the model parts sheets. You can print on legal size paper without issues. Also be aware that the finished model is a full 51cm long (20+ inches). So not really a small model. Now, I've been planning on this build for a while. Consequently, I've been stocking up on that cool European 1mm card supplied by Seahorse as I've worked my through the Revenue Cutter. I've printed out most of the interior parts and used a glued stick to laminate most of them to card. Cutting will probably begin tomorrow.
- 37 replies
-
- 6
-
-
- Baltimore
- heinkel models
- (and 2 more)
-
Put me in the Gray camp. Black would be just too intense. He's looking really good.
-
Very, very nice! Now I'm afraid mine will look like it was built by a ham-fisted fourth-grader! (No insult intended to fourth-graders.)
- 146 replies
-
- 5
-
-
-
- Speeljacht
- Seahorse
- (and 2 more)
-
Thanks, @Philipp Flersheim, enjoy the build! I think my issue with the short hull strakes was mostly that I did not fair the bulkheads before planking. @0Seahorse mentioned this in the thread and I think he's absolutely correct. One thing I've noticed about card model kits (especially Seahorse's) is that they can be very precise. My build skills aren't as precise and so I had some... character... show up in the hull. On future builds I think I'll leave a little extra length and then trim it back after test fitting. Build and Learn! Good luck with the rigging. I spent far more time studying the diagrams and planning how to approach each line than actually rigging the model. It paid off. I also just did a couple lines at a time before taking a break and doing something else. It's not very daunting one line at a time.
- 63 replies
-
- 2
-
-
- card
- Revenue Cutter
- (and 2 more)
-
Thanks, all. Hopefully the next one will turn out just as nice.
- 63 replies
-
- 2
-
-
- card
- Revenue Cutter
- (and 2 more)
-
Yeah, Etsy's kind of an odd space. I love the fact that little hobby level makers have a global market. I hate the fact that it is true caveat emptor. Especially in regards to intellectual property law. Human nature, I suppose. Anyhow... she's done:

-
I honestly do not remember. I think it was at least five years ago and I'm pretty sure it was an Etsy seller but I don't recall who.
-
Yeah, it's the Heinkel one. He also distributes via eCardModels and Wargame Vault. I get enough donations on Wargame Vault for some stuff I've got as 'pay what you want' (or not!) that I normally have a credit balance. So when I saw the Baltimore show up I figured I'd add it to the stash along with the Hunley and the Turtle. It wasn't until later that I saw that WAK did a physical publishing of it. So I've got the print-it-yourself version. I've not built one of his models before so it will be an adventure. I also saw that he's working on an Olympia! One of my favorite ships.
- 63 replies
-
- 2
-
-
- card
- Revenue Cutter
- (and 2 more)
-
Thanks for these posts @TJM. I keep thinking this is the route I want to go (though probably in card rather than wood) but I've not committed myself to a laser cutter yet. I've been trying to wrap my head around FreeCAD but I'll definitely give QCAD a look.
-
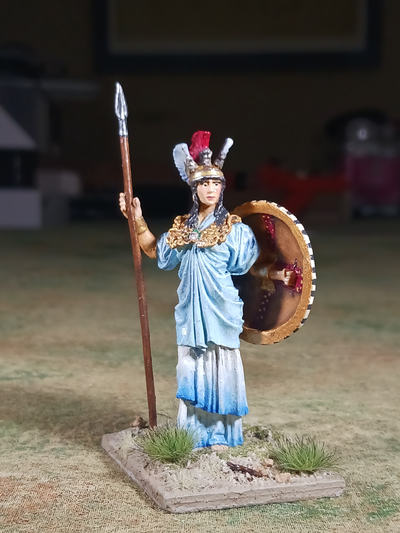
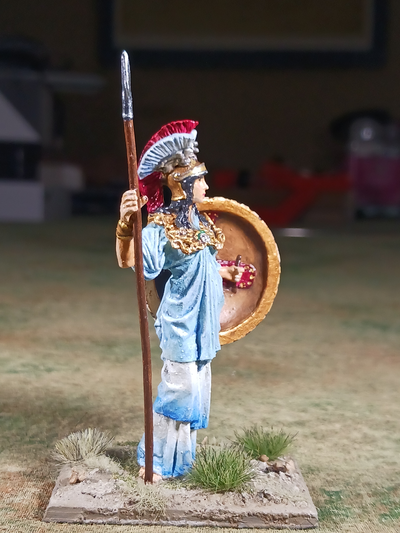
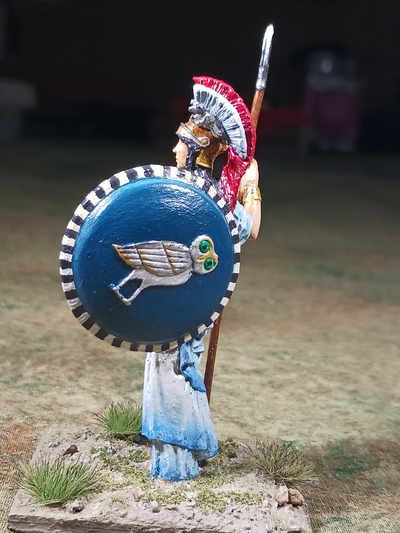
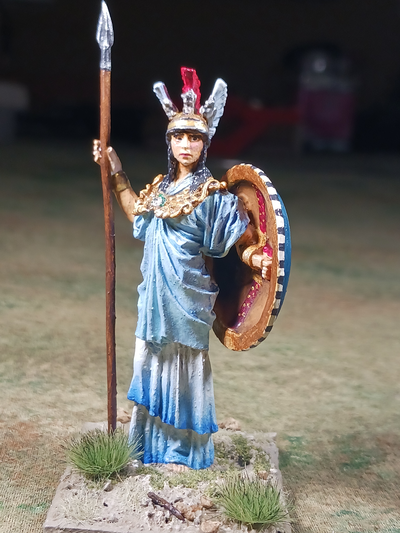
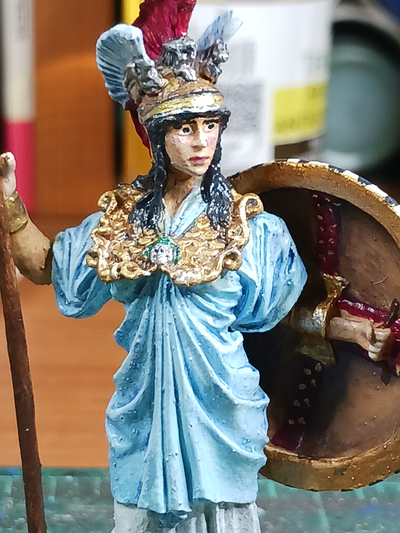
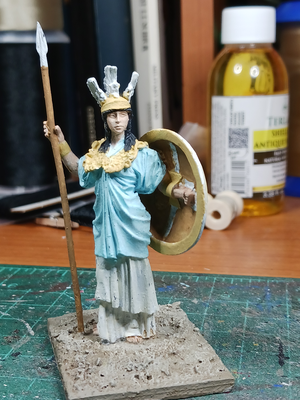
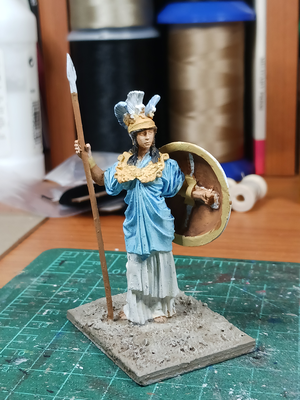
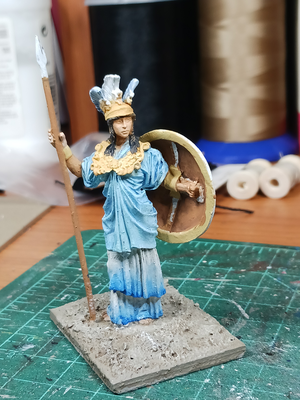
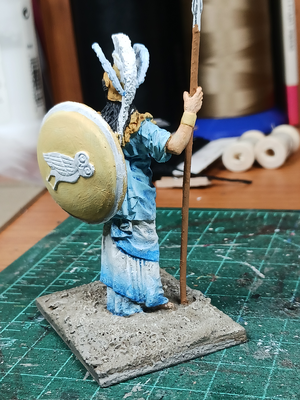
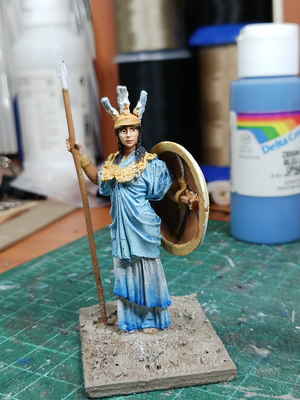
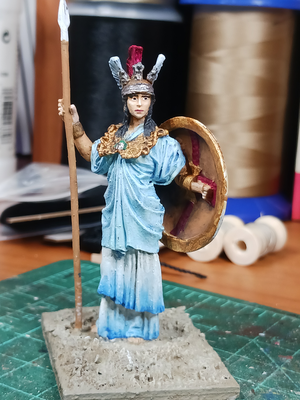
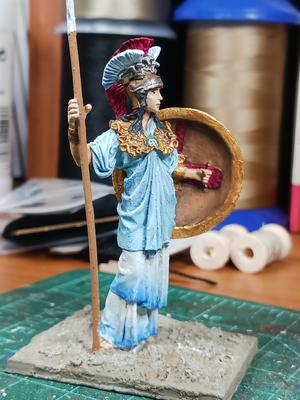
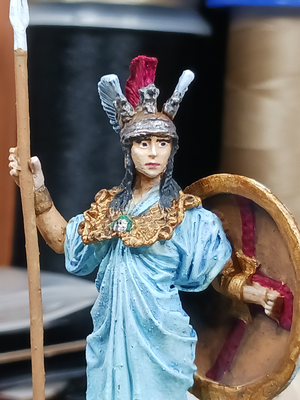
Well, now you've done it! Inspired me to take a diversion from ship building and finish up a few figures. Athene awaits.
-
Taking a short breather between ships. She's been gracing my work desk for at least a year. Waiting patiently while I divert myself with ship models. But then, I suppose it's not wise to ignore a goddess for long. So... She's not quite finished yet. Probably this weekend.
- 7 replies
-
- 12
-
-

-
Thanks, all. I've been debating what I should jump into next. The speeljacht, the USS Baltimore or the Sao Gabriel. I'm leaning towards the Baltimore to give my rigging muscles a break.
- 63 replies
-
- 1
-
-
- card
- Revenue Cutter
- (and 2 more)
-
Ancient galley rams discovered - photos
Jsk replied to Louie da fly's topic in Nautical/Naval History
Do we know if the rams are from triremes? Or, maybe from quadremes or even quints? I wonder if the larger ships typically used more ballast than the triremes, and therefore would have had a more likely chance of sinking when holed rather than just swamping. Of course, that's assuming these wrecks are from the battle site. I seem to recall that much of the Roman fleet was destroyed in a storm after the battle (or am I confusing it with another battle?). Hmm... so many questions! -
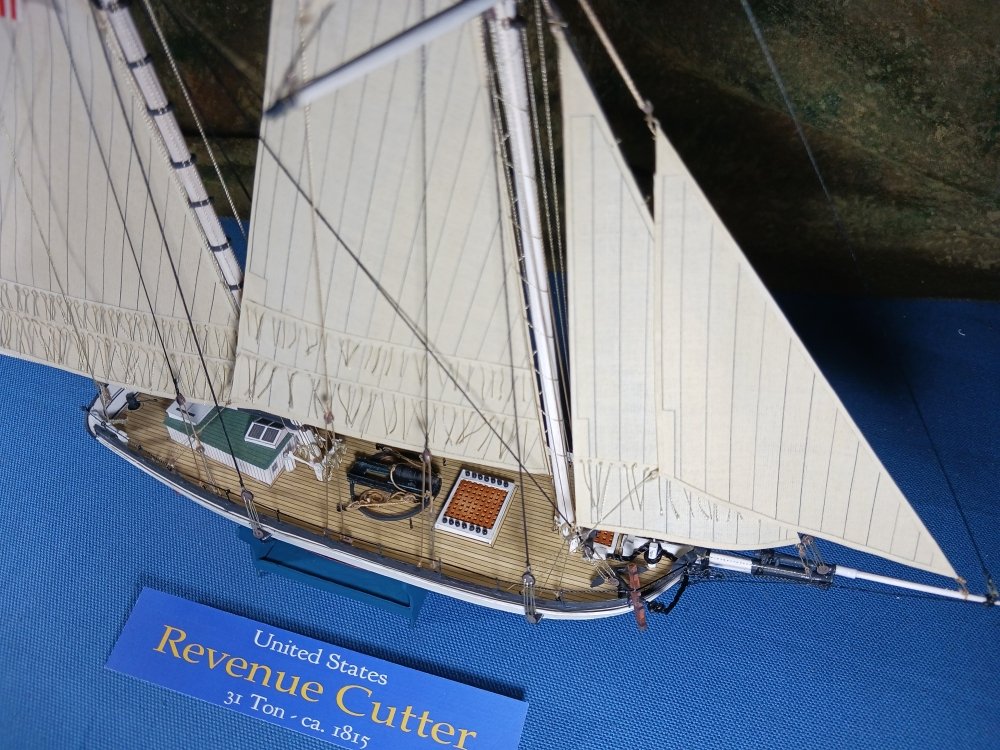
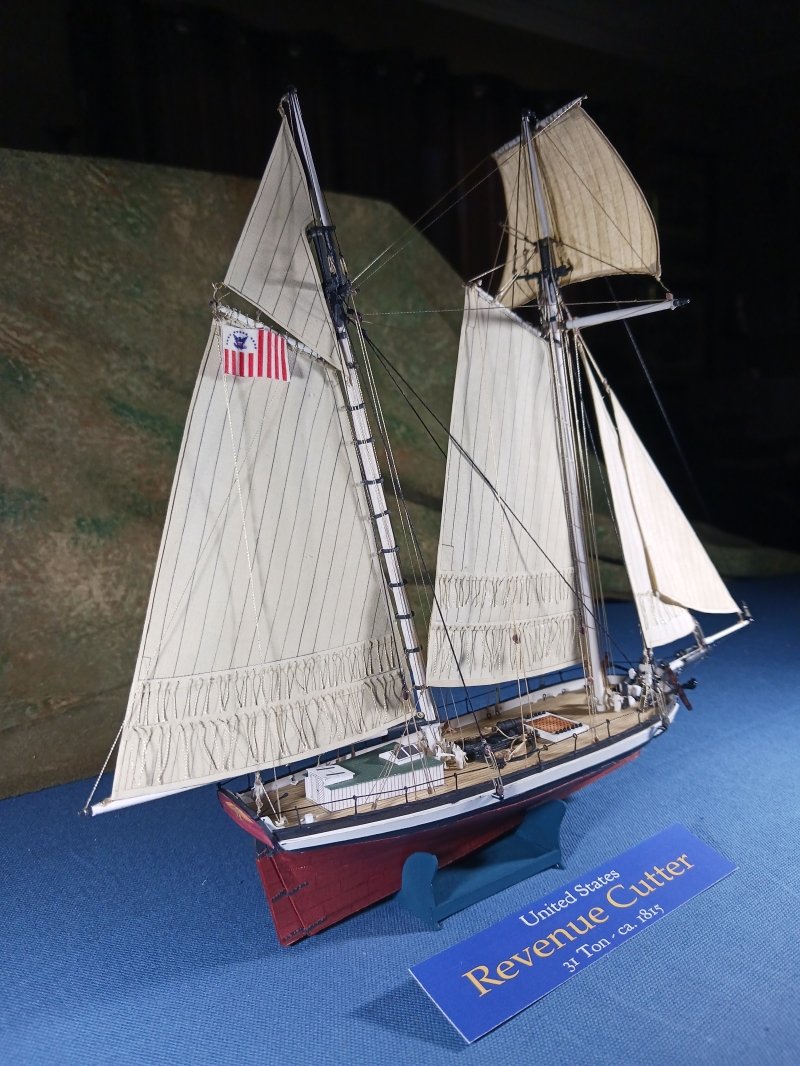
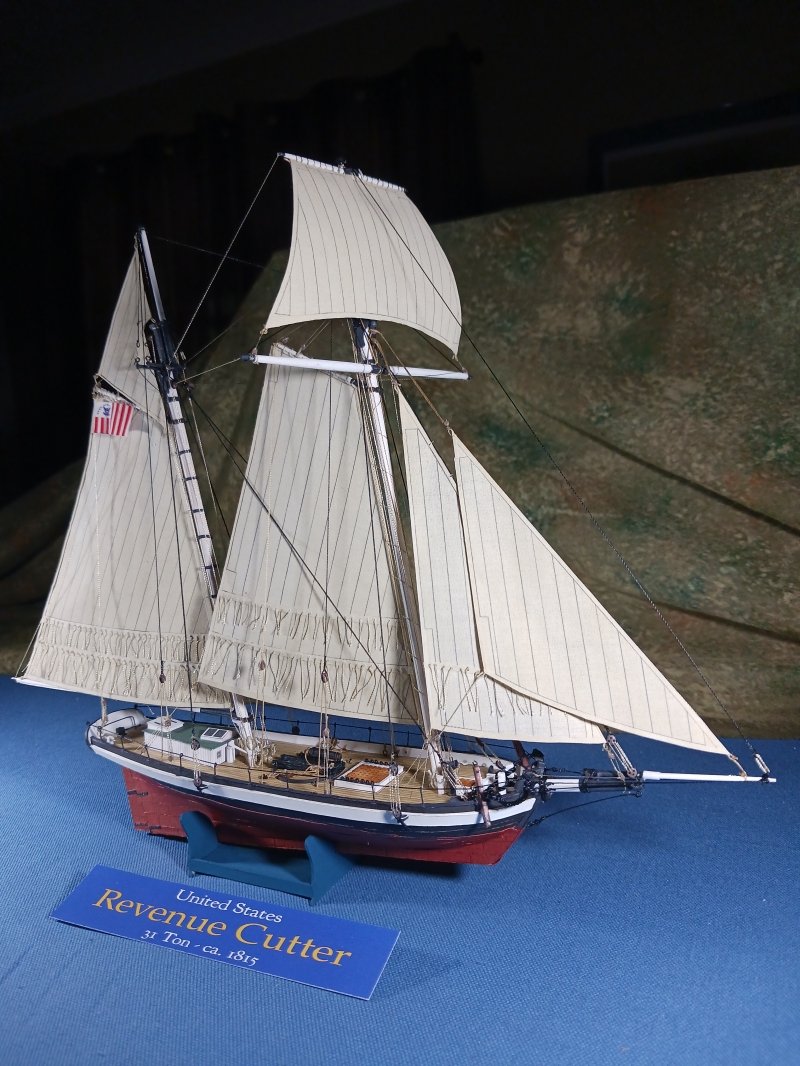
Done. Done. Done. This little model was chock full of lessons for me. It took a lot longer than I thought it would, especially the rigging. All in all, I'm pleased with it. I'm surprised I actually finished it. I have a history of getting distracted by new projects. Now that it's done my problem is I need to find a place to display it! That's a nice problem to have. Things I've learned: 1) Try it. You never know what you can accomplish unless you've pushed it as far as you can. Because of my vision issues I really did not think I'd be able to complete the rigging. Each and every line and stropping gave me satisfaction. 2) There's no rush. When you get frustrated... walk away. Come back to it with a fresh mind. But try to get a little done every day or at least every week. 2a) LET THE GLUE DRY. Go surf the net and read other people's build logs while letting the glue do its job. 3) It will turn out differently than planned. That's OK as long as you're satisfied with it. 4) Poor quality tools cost more when you need to replace them. 5) Practice knot tying and trimming lines. My line endings aren't nearly as neat as I'd like them to be. 6) Dump the painted wire for making eye-bolts and hooks. Invest in some brass wire and learn to blacken it. 7) Synthetic line has a life of its own and can be difficult to control. Preparing it by running it between your fingers with watered down PVC glue can help stiffen it up and make it easier to control. Nor does synthetic line like to stay tied--it needs some glue to help it. 😎 Make sure you have plenty of extra blocks, etc., on hand. You'll also need about twice as much rigging line as you think you will. 9) Do as much as you can off model. It's easier to attach sub-assemblies than it is to do everything in place. 10) Assemble things strategically. Modeling is as much about figuring out how and when to do things as it is about manual dexterity. Don't model yourself into a corner. I had to repair the bow sprit twice and the stove funnel three times. That could have been avoided by simply delaying them until later in the build. That's enough for now. A sincere thank you to everyone who read, commented or liked this build log. Sharing the progress has enriched the experience of building this model!
- 63 replies
-
- 11
-
-
-
- card
- Revenue Cutter
- (and 2 more)
-
Ab, When I first dabbled in card modeling around 2016/17 I came across your models over at papermodelers.com. I recall using some of your son's first compositions of your ship models as computer desktop images for many months to keep me inspired. Your models still inspire me. Thanks for sharing them!
