HOLIDAY DONATION DRIVE - SUPPORT MSW - DO YOUR PART TO KEEP THIS GREAT FORUM GOING! (Only 13 donations so far - C'mon guys!)
×


mbp521
-
Posts
1,002 -
Joined
-
Last visited
Content Type
Profiles
Forums
Gallery
Events
Everything posted by mbp521
-
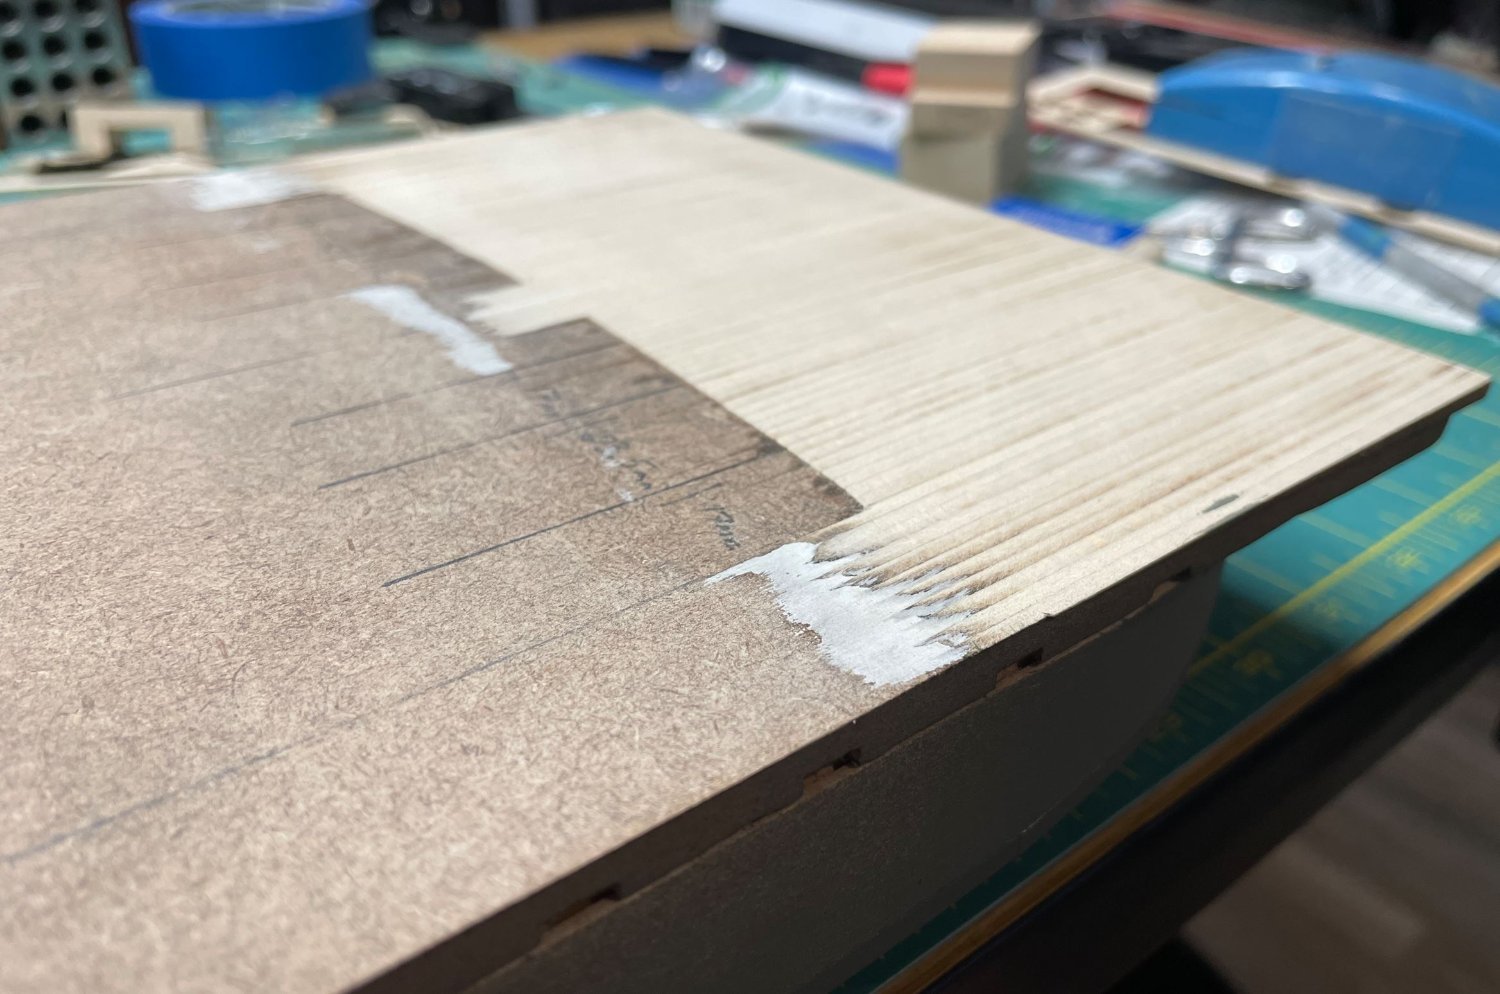
 If I said this never happened to me and you believed it, we need to talk about some ocean front property in Arizona that I'd like to sell you . It may not have happened on the tarpaper roof, but I have made this mistake in other areas on other builds. At least with the masking tape it's a little bit easier to repair. With silkspan and Modge Podge there is a lot more sanding involved. Great job on the recovery though John. -Brian
- 157 replies
-
- 2
-

-
- chaperon
- Model Shipways
- (and 1 more)
-
USS Cairo by Zetec - FINISHED - 1/50 scale
mbp521 replied to Zetec's topic in - Build logs for subjects built 1851 - 1900
Beautiful work as always John! Glad to see more progress. I would have to say that the paddlewheel was one of the more complex parts of the build, but also one of the most enjoyable and satisfying parts. -Brian -
Thanks for the Maggie update Keith. Glad to hear she is progressing nicely. We’ll still continue to send healing prayers your way. Google is a wonderful resource for recipes, I’ve tried several out myself with some success. And happy belated birthday, hopefully you celebrated it with a nice long nap. 😁 -Brian
-
Looking good Eric. I may have to look into getting me one of those magnetic squaring jigs. Looks pretty handy. -Brian
-
Gotta love all those battens 😁. They really test your patience. Great work John! -Brian
-
Roger, I envy you and your master skills with soldering miniature pieces. -Brian
-
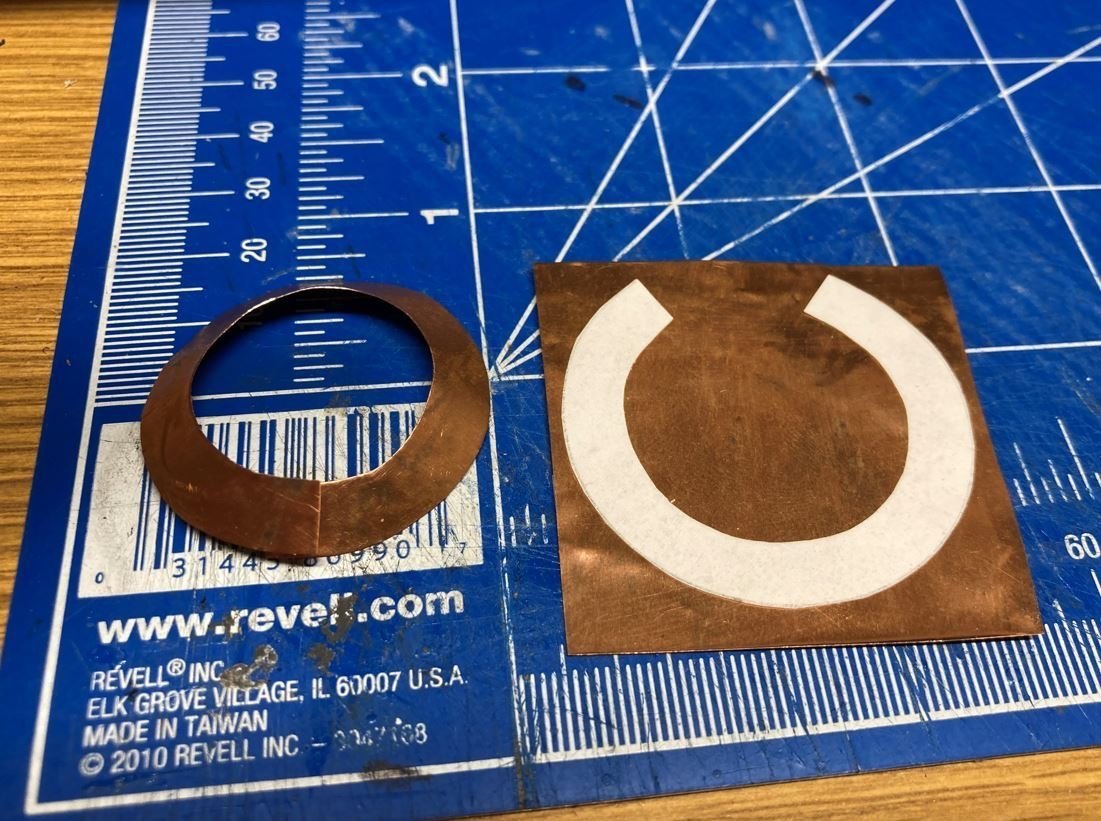
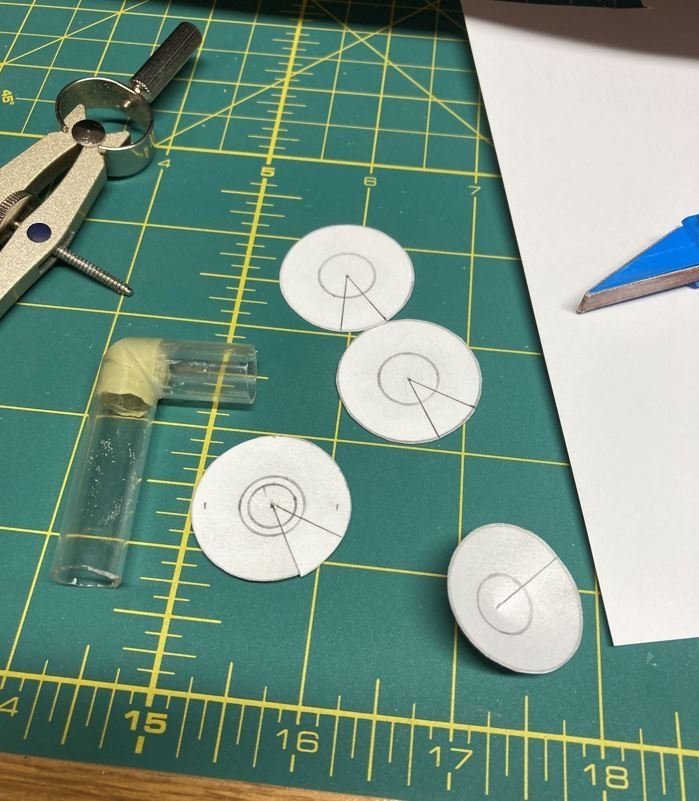
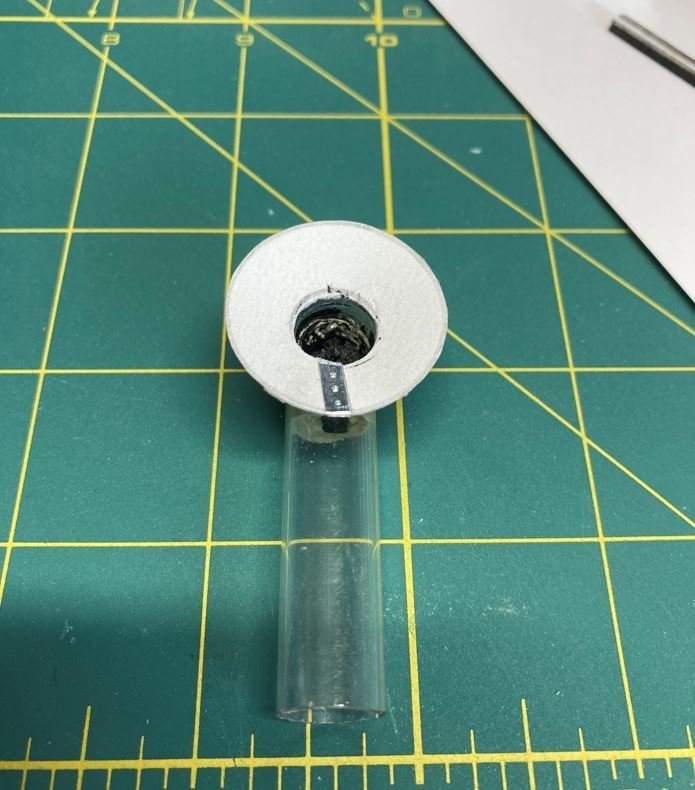
Looking good Eric, For the rain shields (I have no idea what they are called either) I used thin copper sheeting. I took a sheet of card stock and cut a circle about 25% larger than the diameter of the stacks base. I slit the circle from the outside edge to the center and the folded it into a cone to get the desired slope of the shield. I taped it together then centered the point of the cone in the stack to get the inside diameter of the shield and marked it. I then unfolded the cone, cut the center circle out, trimmed the overlap and had the pattern I needed. I then transcribed the pattern to the copper sheet and cut that out. I used this same method form my Cairo funnels as well, but just used the card stock instead since I ran out of copper. The results came out the same. Apologies for hijacking your build with so many pictures, I’m a visual guy and pictures always seem to help me describe what I’m trying to convey. 😁 -Brian
- 393 replies
-
- 15
-
-
Woohoo! I love it when I get my way. 😆 The brass tubing looks great. If I may make a suggestion, Rustoleum, makes a self etching primer that works great to help paint adhere to bare metals such as brass, copper and aluminum. It’s what I use on my builds. It dries a little rough but with a quick sanding with 400grit sandpaper it finishes up nice and smooth and the topcoat lays down real nice. I also see nothing wrong with the pilothouse glass. Back in the day clear glass was not overly abundant. -Brian
-
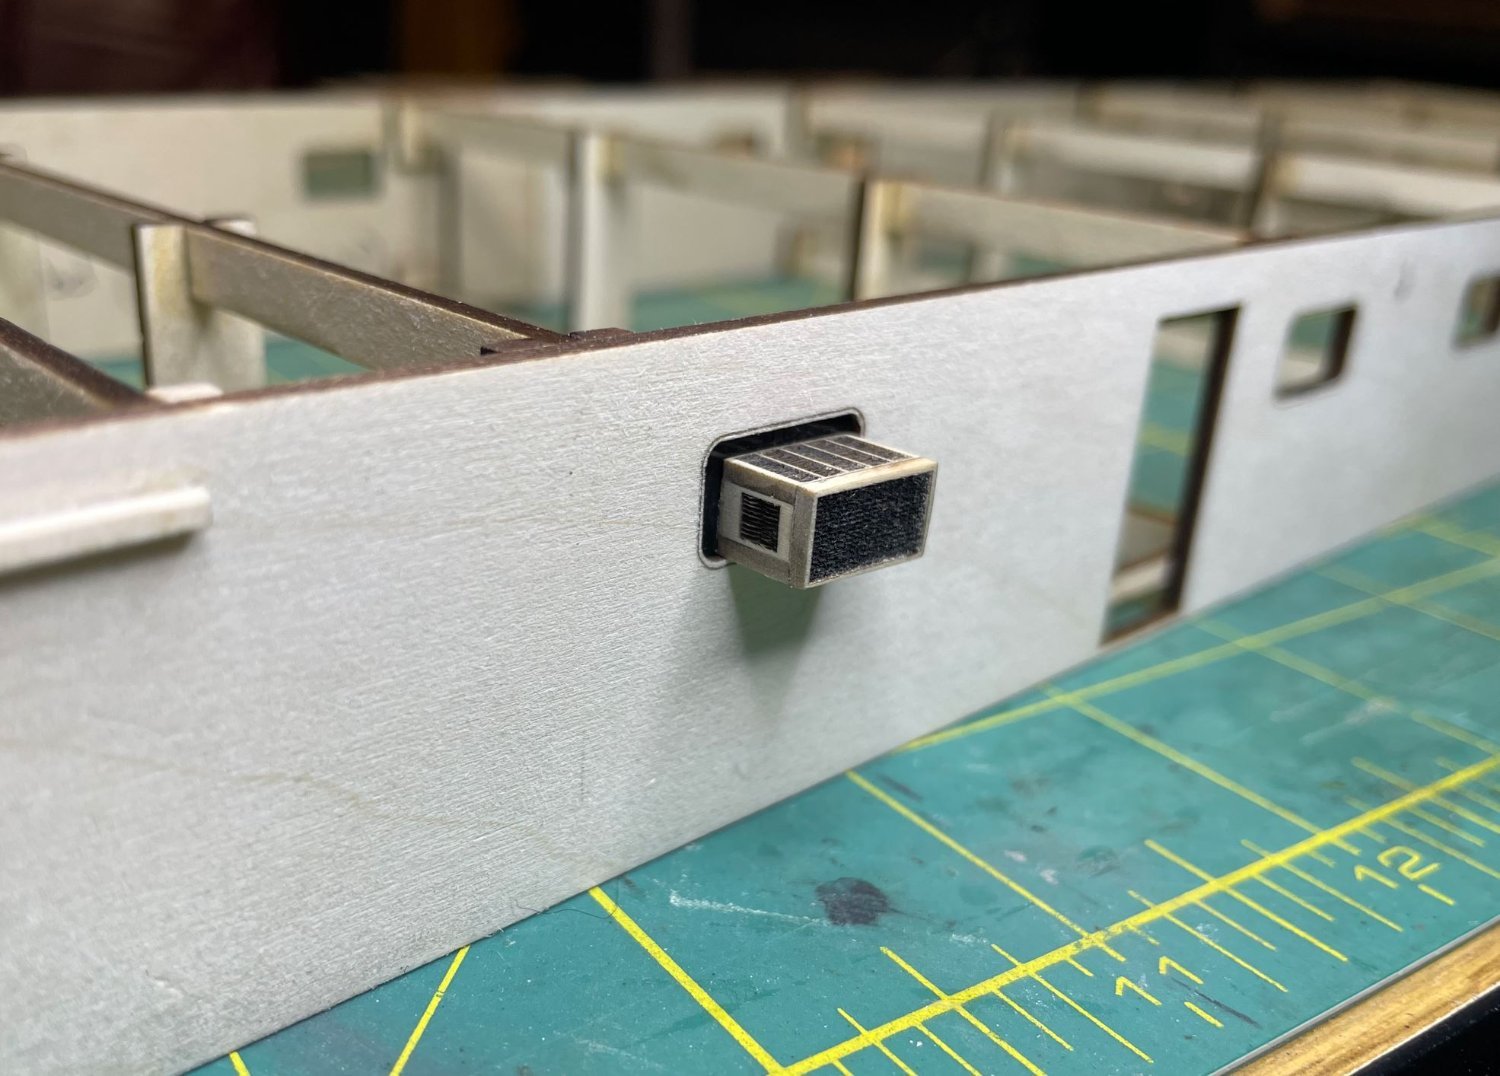
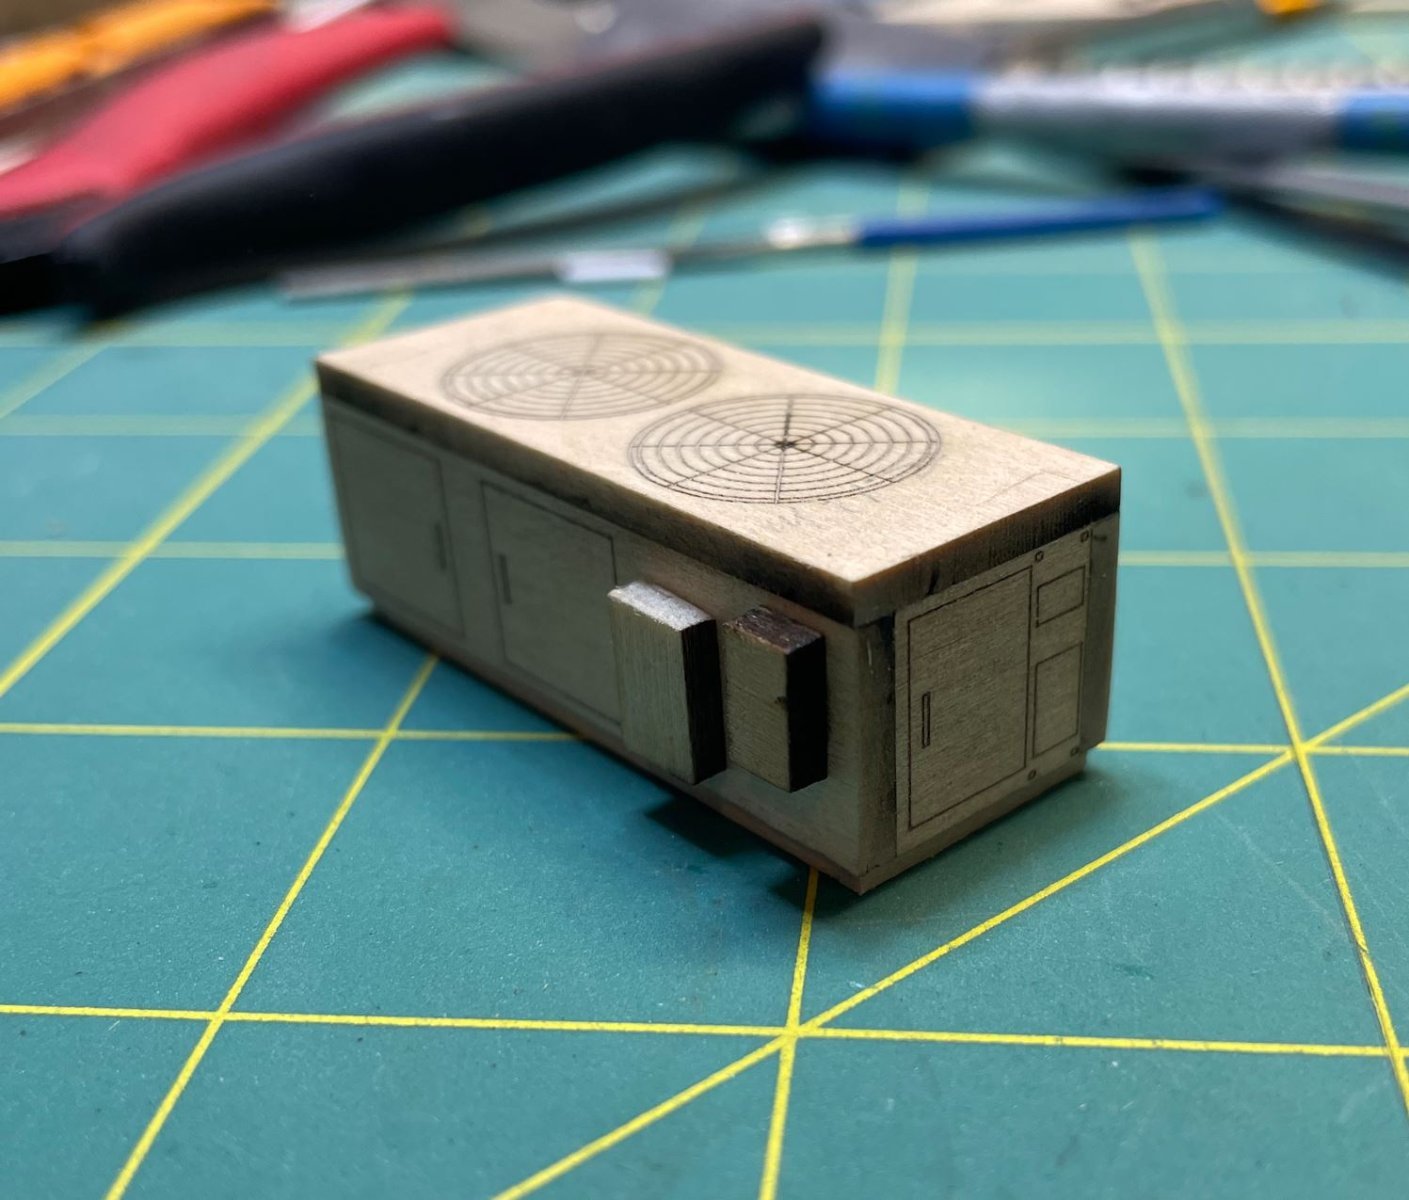
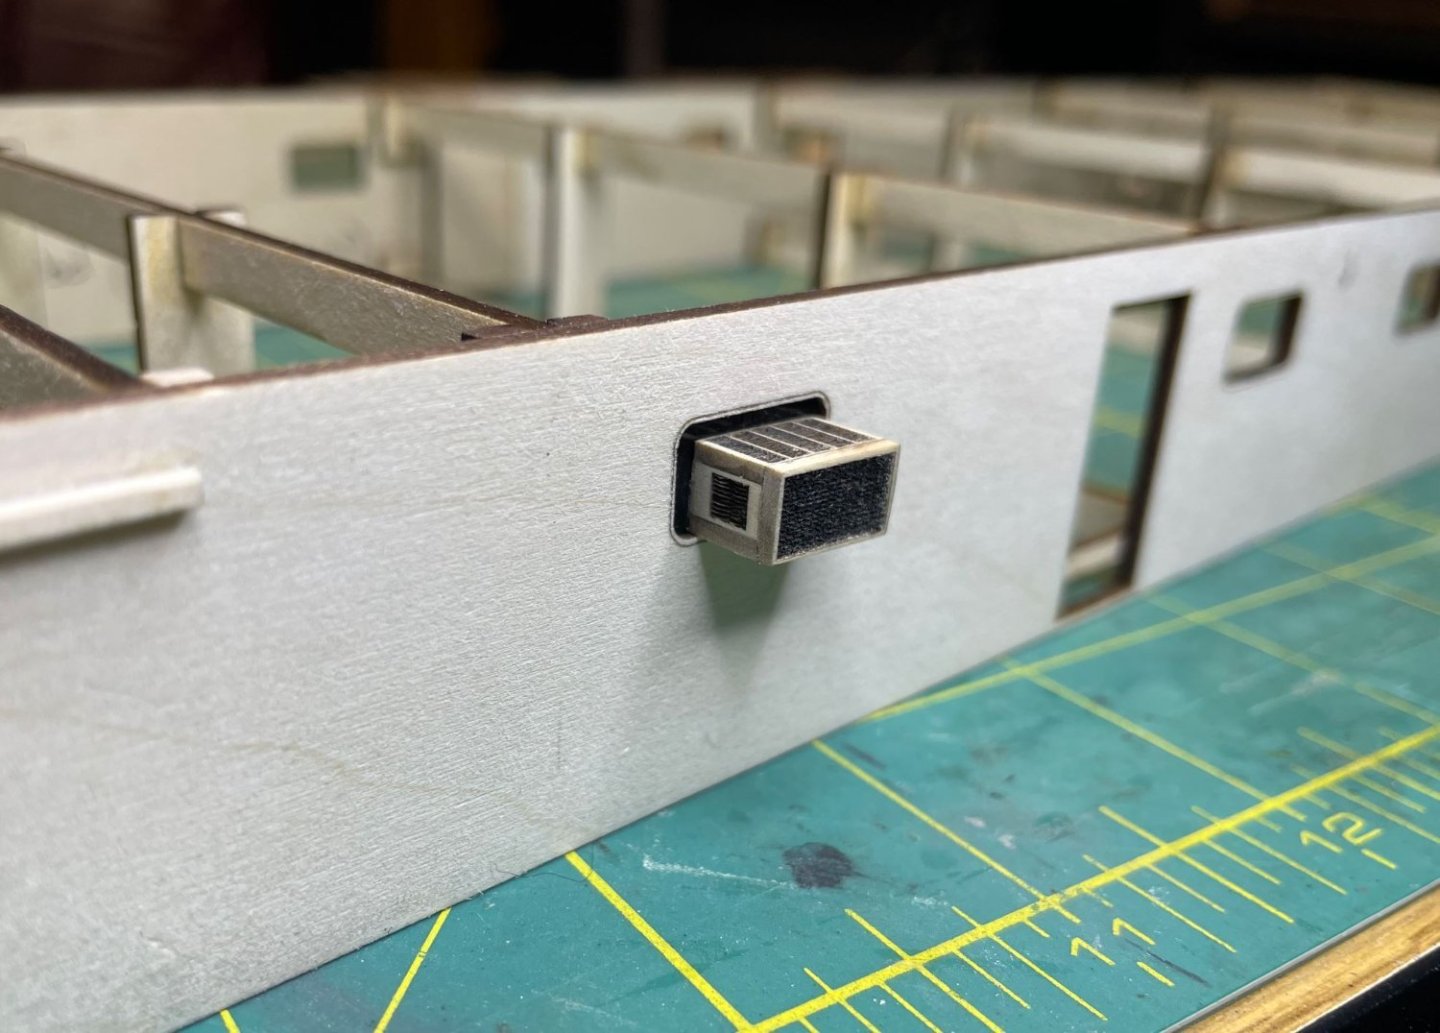
It is located in the galley, so I’m pretty sure a little extra cooling is needed when all the stove burners are lit. Especially in the heat of Summer. -Brian
-
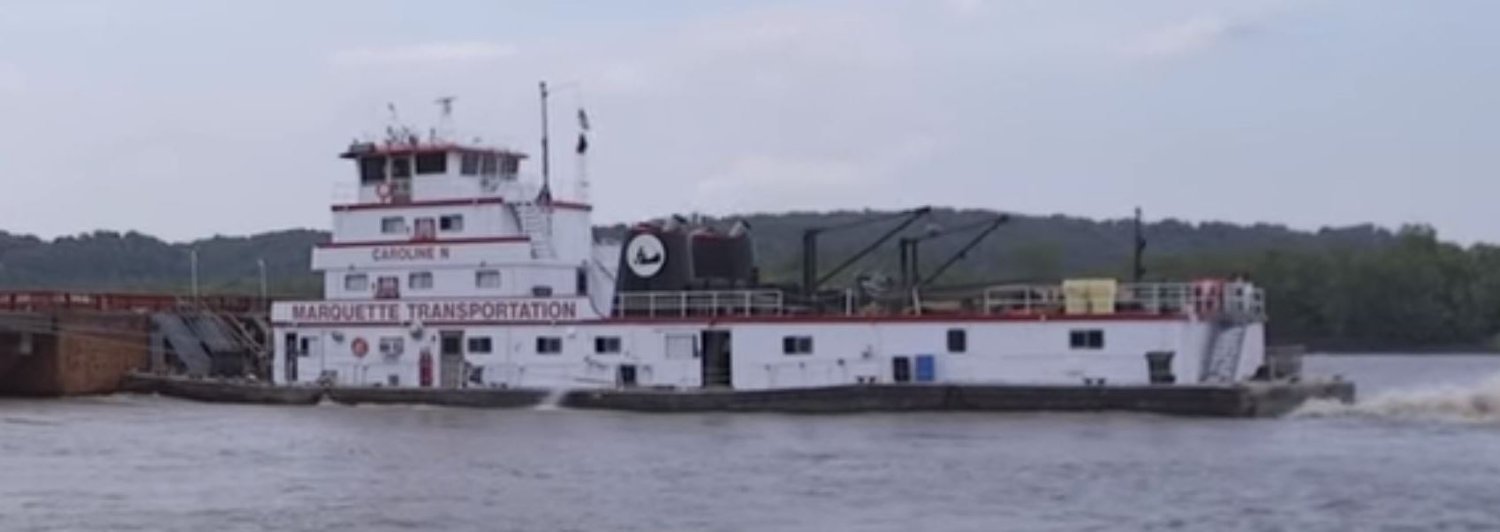
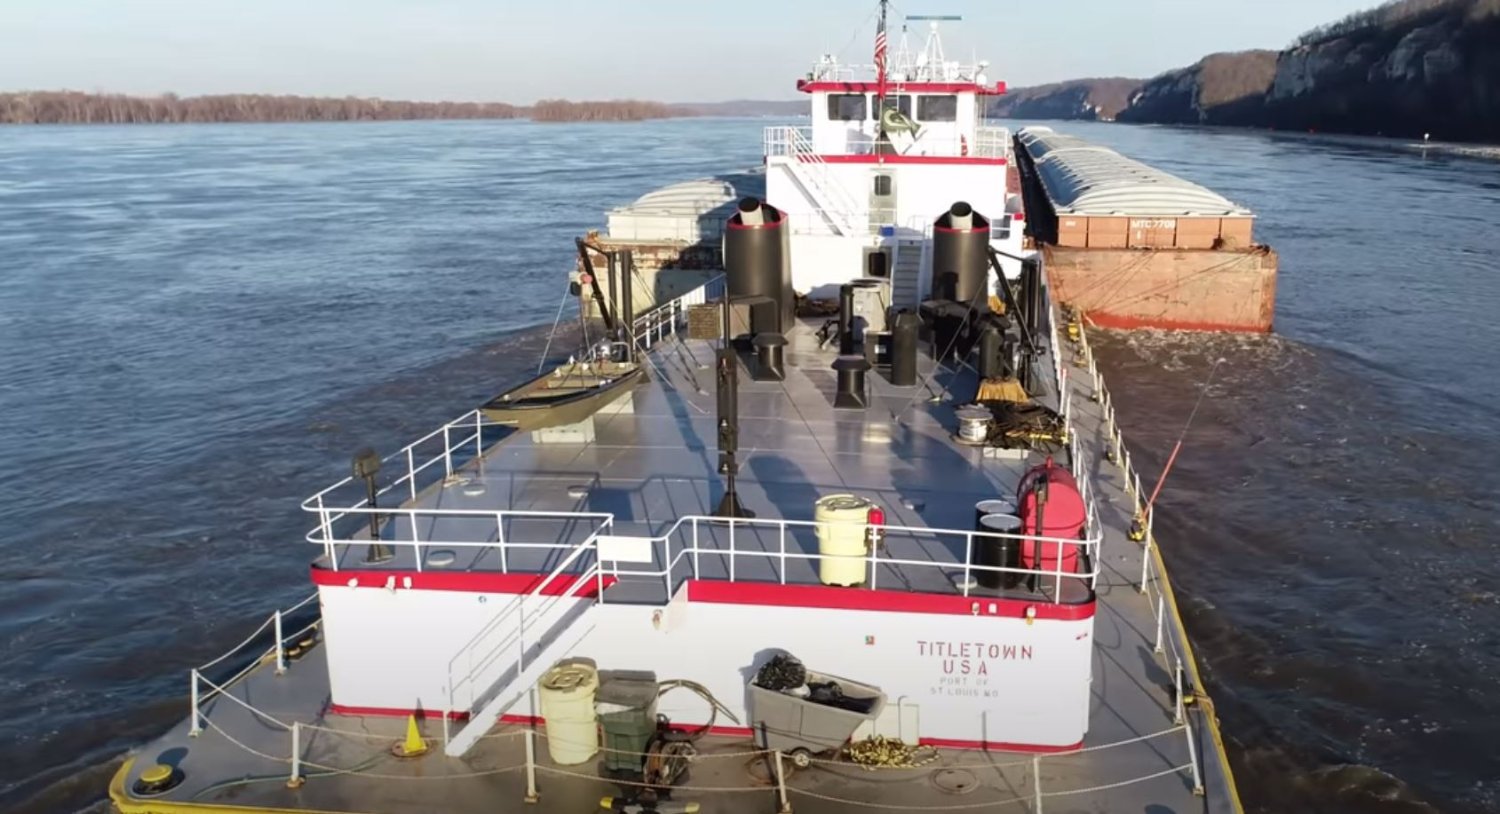
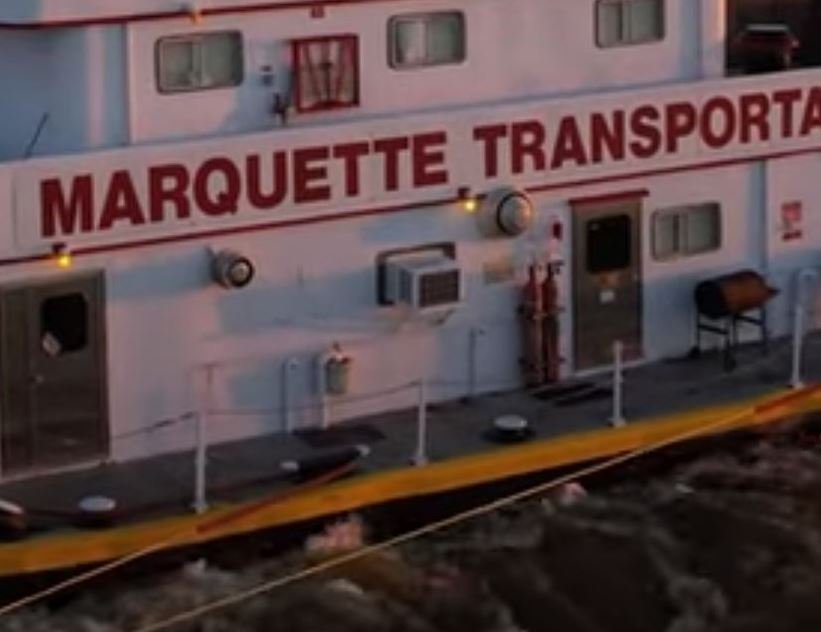
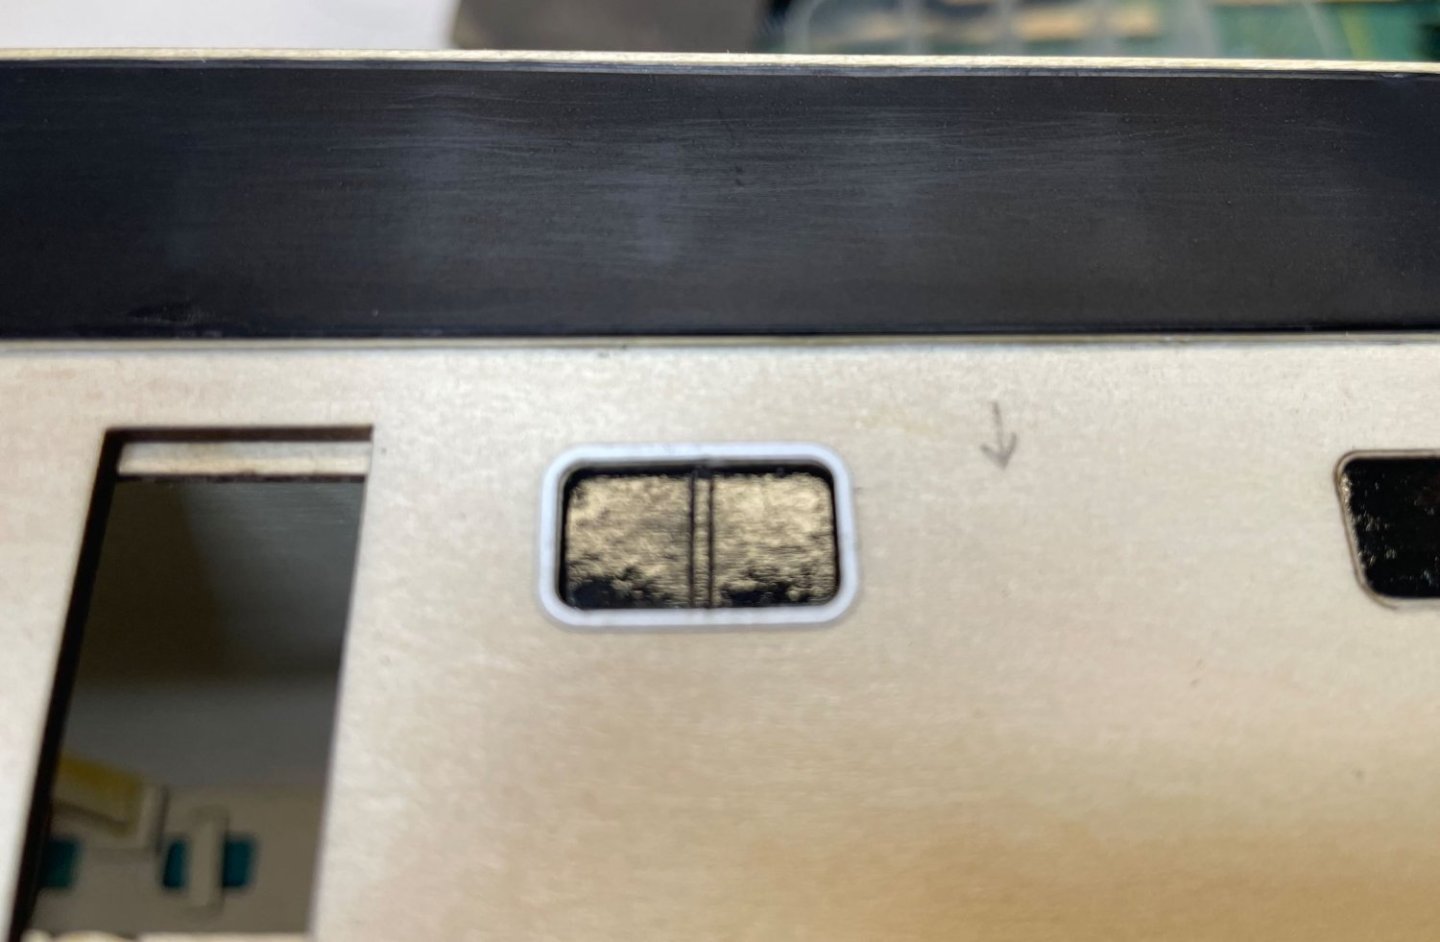
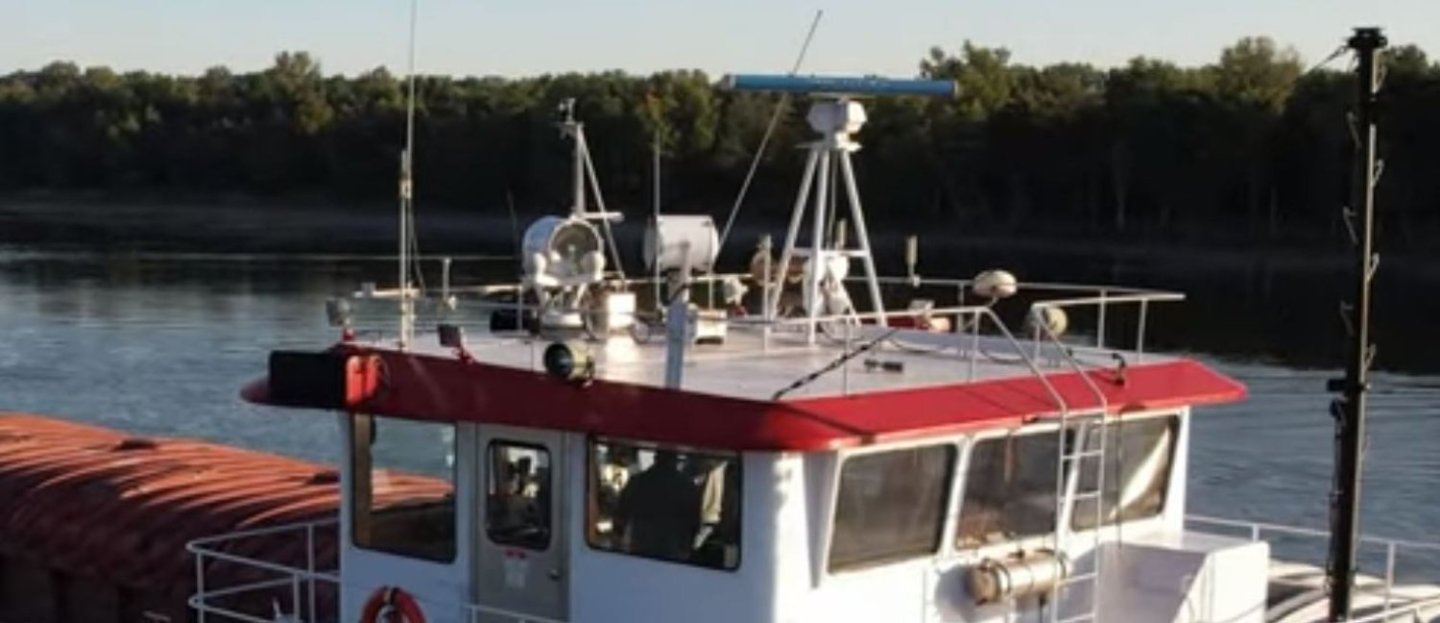
While researching for my build I found several different pictures of the Caroline N, even back to the time it was still owned by its original company ACBL and called the Luis H. Meece. In all of those port side photos the window unit is in every one of them. Even now with Marquette Transportation owning the boat the window unit is still there. It is also in the same location of her sister boats as well, Limestone Lady & Miss Kris so I am not wondering if this was a Jeffboat thing for this particular run of boats. -Brian
-
Thank you Yves for the kind comments. I am using an XTool S1 laser engraver and the proprietary software that comes with it called XTool Creative Space. I have to say, it has opened up a whole new world of making model ship parts. Funny that you say that. The guy that I am building this boat for read my last update and sent me a text message laughing about that very detail. My response was, "I don't miss details" -Brian
-
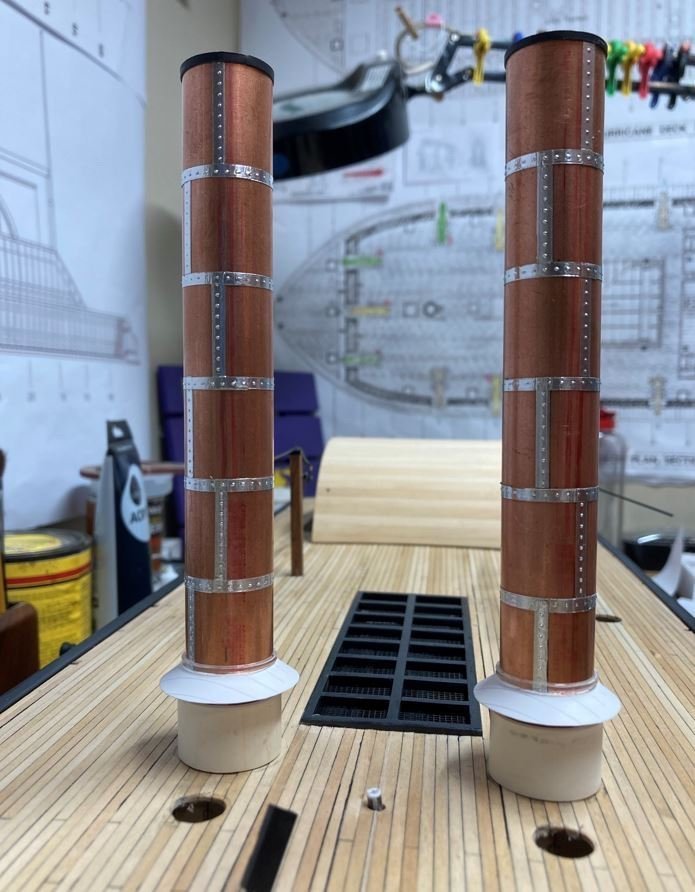
Eric, I found that EMT electrical conduit works great for stacks. It’s rigid and has a texture similar to the old iron stacks of the day. I found this after I used rigid copper tubing for my Cairo stacks, which I feel worked nicely as well. The conduit also gives you the hollow interior for a more realistic look. For the bands, on my Chaperon I used heat shrink cut into small strips, heated to the size of the stack, then I applied a thin layer of glue to hold them in place. This seemed to work fine, but when it came to making the bands on my Cairo I used aluminum tape (copper tape will work to). I used a love wheel on the underside to form the rivet pattern and then applied it around the copper tubing. I’m not sure how the Peerless’ stacks were constructed, but this is a couple of methods that have work for me in the past. As for your windows, as several people have mentioned, I’ve used the clear plastic packaging before. They also make a glass compound that is made for model windows. I’ve also seen where people have taken the window frames, glued them down to a sheet of glass with clear Elmer’s glue, then gone in and filled the panes with the clear Elmer’s glue. After it has dried, the windows are released from the glass sheet with a razor blade and the outcome is similar to the olds style “rain glass”. -Brian
-
Glad to see you back at it John. Sometimes a break is what’s needed to help prevent burnout. Nice bend on those cap strips, I’ve never been able to get my bends to hold their shape like the one sitting on the bow. Mine always tend open up a bit. I’d love to see some pics of the buckboard. I’m sure it turned out just as nice as the work you are doing in the Chaperon. -Brian
- 157 replies
-
- 1
-
-
- chaperon
- Model Shipways
- (and 1 more)
-
Keith, so sorry to hear about your Maggie. We will keep you both in our prayers for a speedy and full recovery. -Brian
-
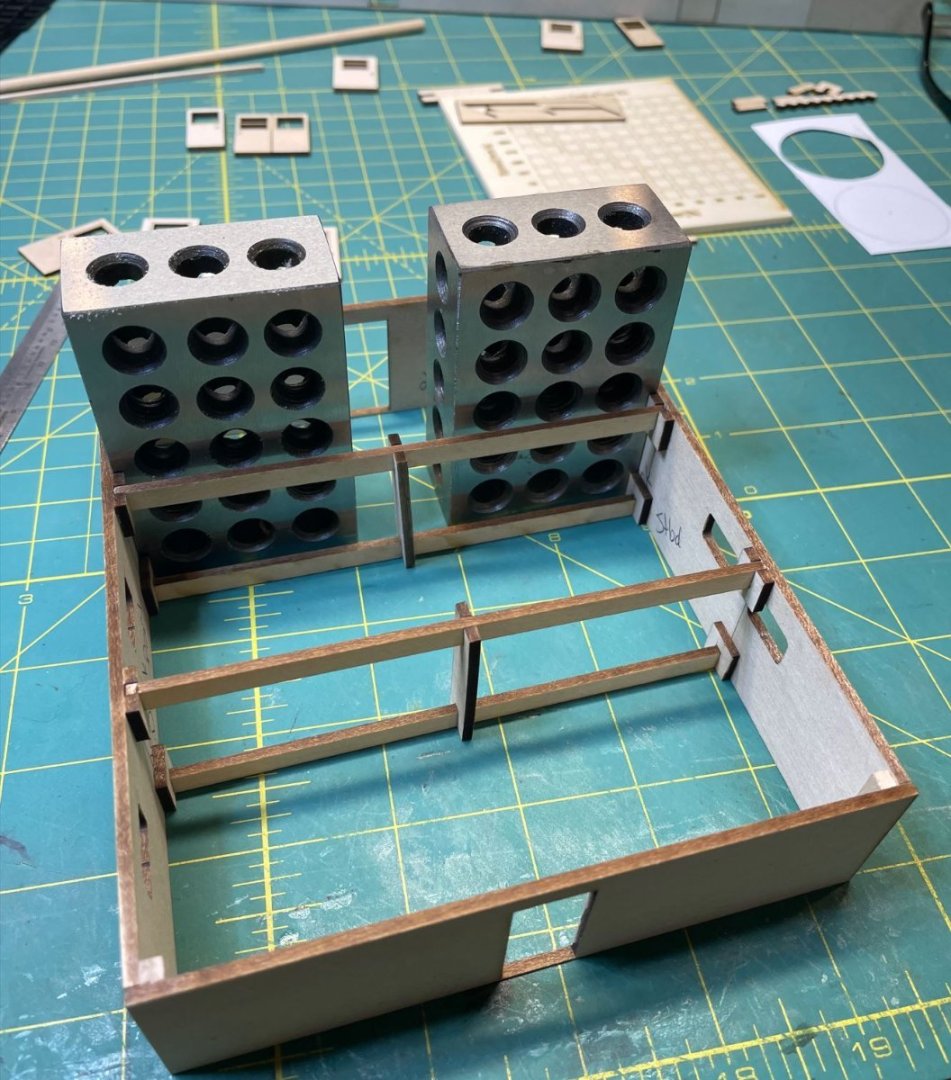
It is definitely possible to control the laser output during engraving, cutting and scoring. While I haven’t worked my way up to engraving at different power and speed settings, I have used it on cutting and scoring. Different thicknesses and types of materials call for different power and speed levels, so I would assume the same applies for engraving. I believe that you and Eberhard on to something. I think I’ll try making a jig with the laser for two reasons. The setup is easier with the laser. I am almost guaranteed a true square grid for the rails and second, the only table saw that I have is a 10” industrial that wouldn’t allow me to cut a narrow enough kerf for the size brass rod (1mm) I am using. I just ordered a bottle of solder paste to give that a shot so I may sit down this weekend and see if I can build up a jig. I’ll keep everyone posted as to my progress. -Brian
-
Eberhard, thanks for the tips. I haven't sold myself on the styrene rails yet, so I may give that a try. I just looked up solder paste and from the videos I watched it makes it look almost too easy. That's what scares me about it, it looks too easy. Thank you Keith! It only extensive due to my lack of updates. I get to working on the boat, taking pictures, then life takes over and the next thing I know a month has passed and I have a 100 pictures that I need to upload and write about. As for your offer to show me how to go with the brass method, I will definitely take you up on it. I will have to use brass on the railing on top of the pilothouse. The stanchions are spaced too far apart and the rails are much to thin to use styrene on. Please feel free to share. Thank you Eric, too funny. My progress has been lurking in the shadows, and I do think that you are moving along at a good pace. Besides, perfection takes time. I see what you did there. -Brian
-
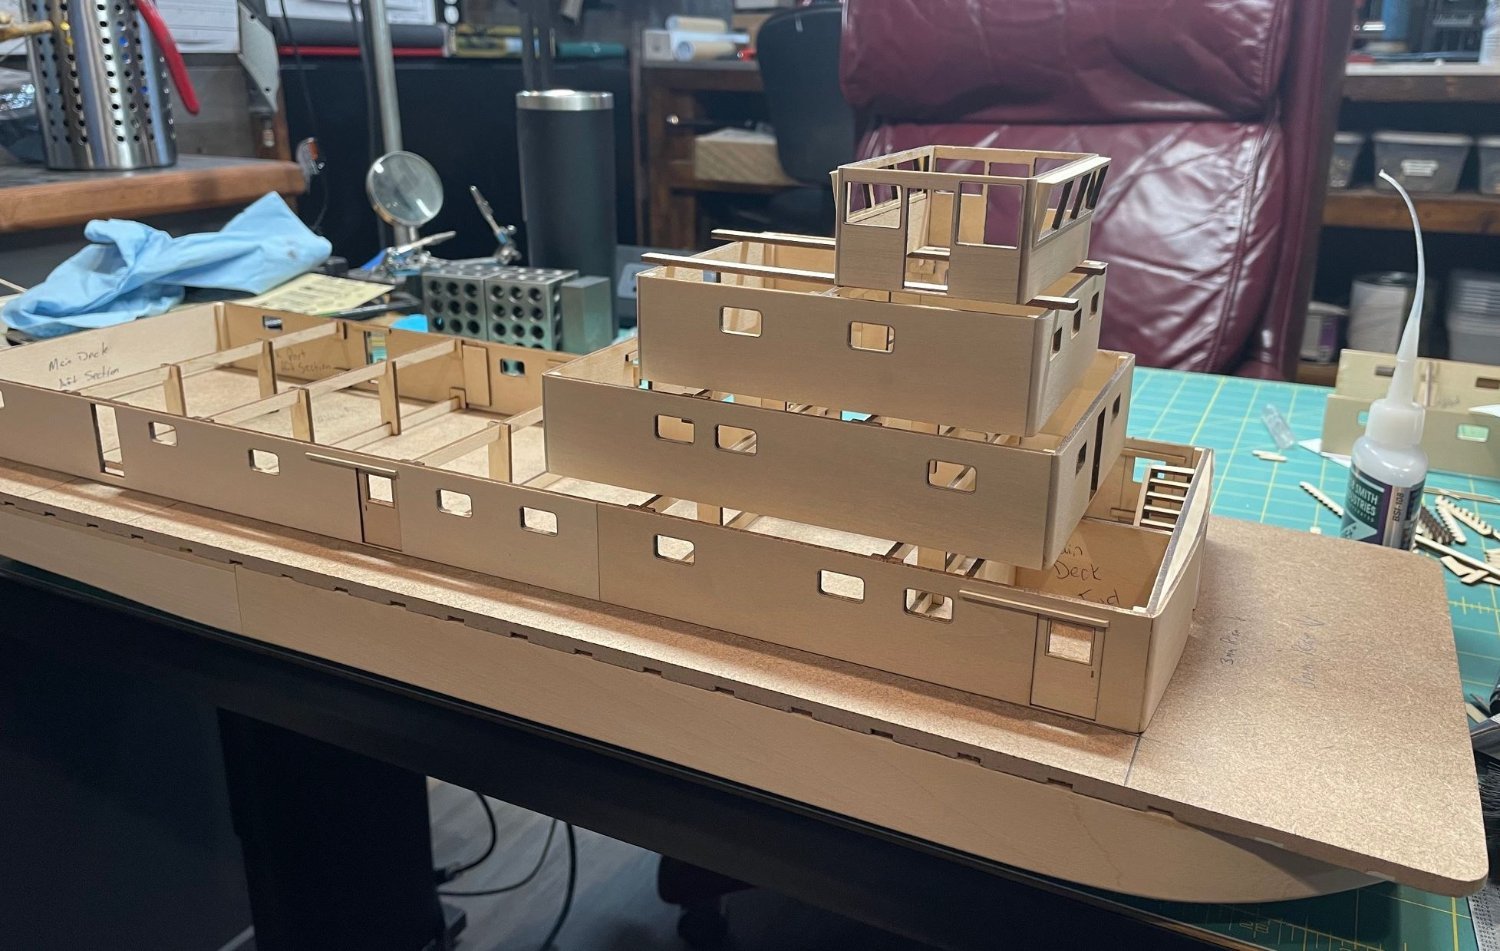
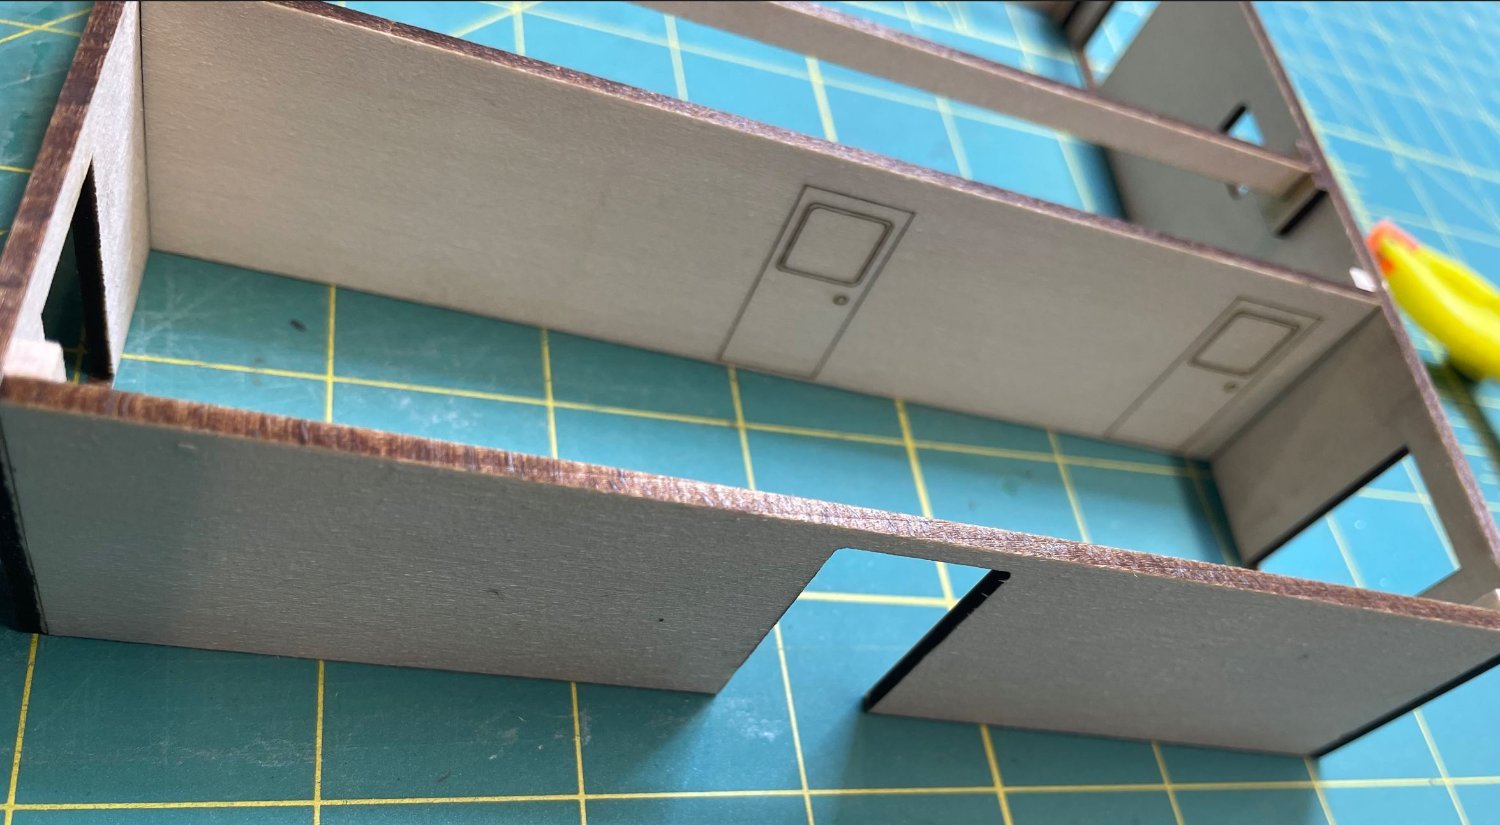
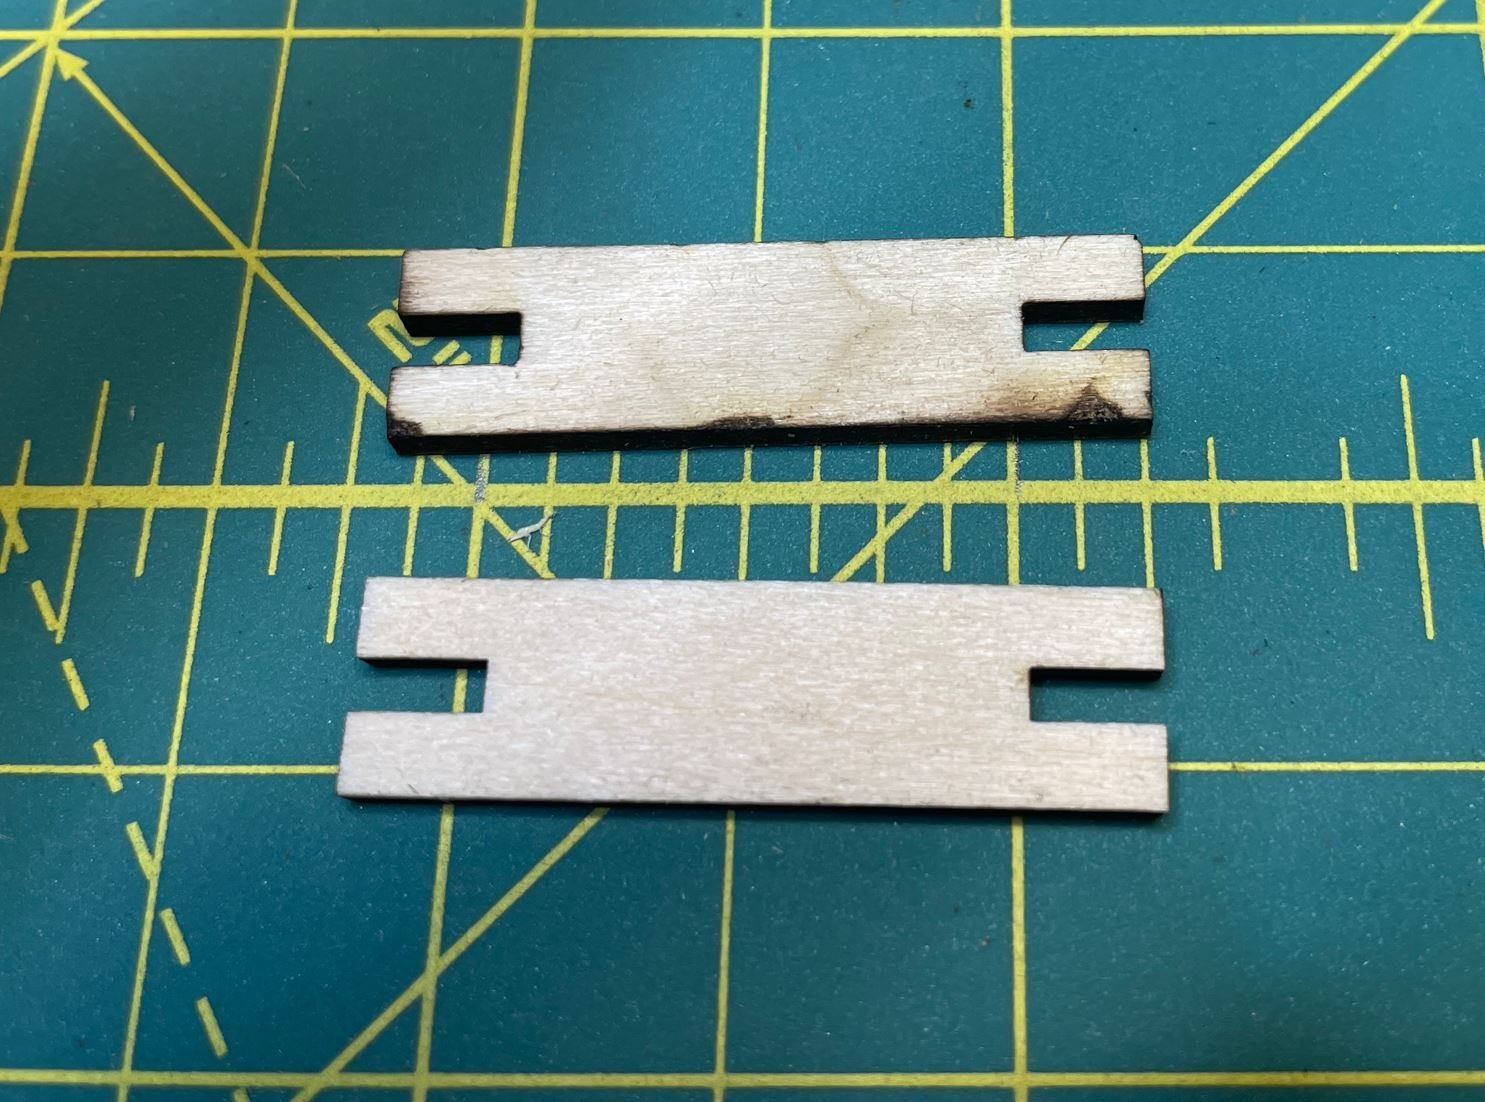
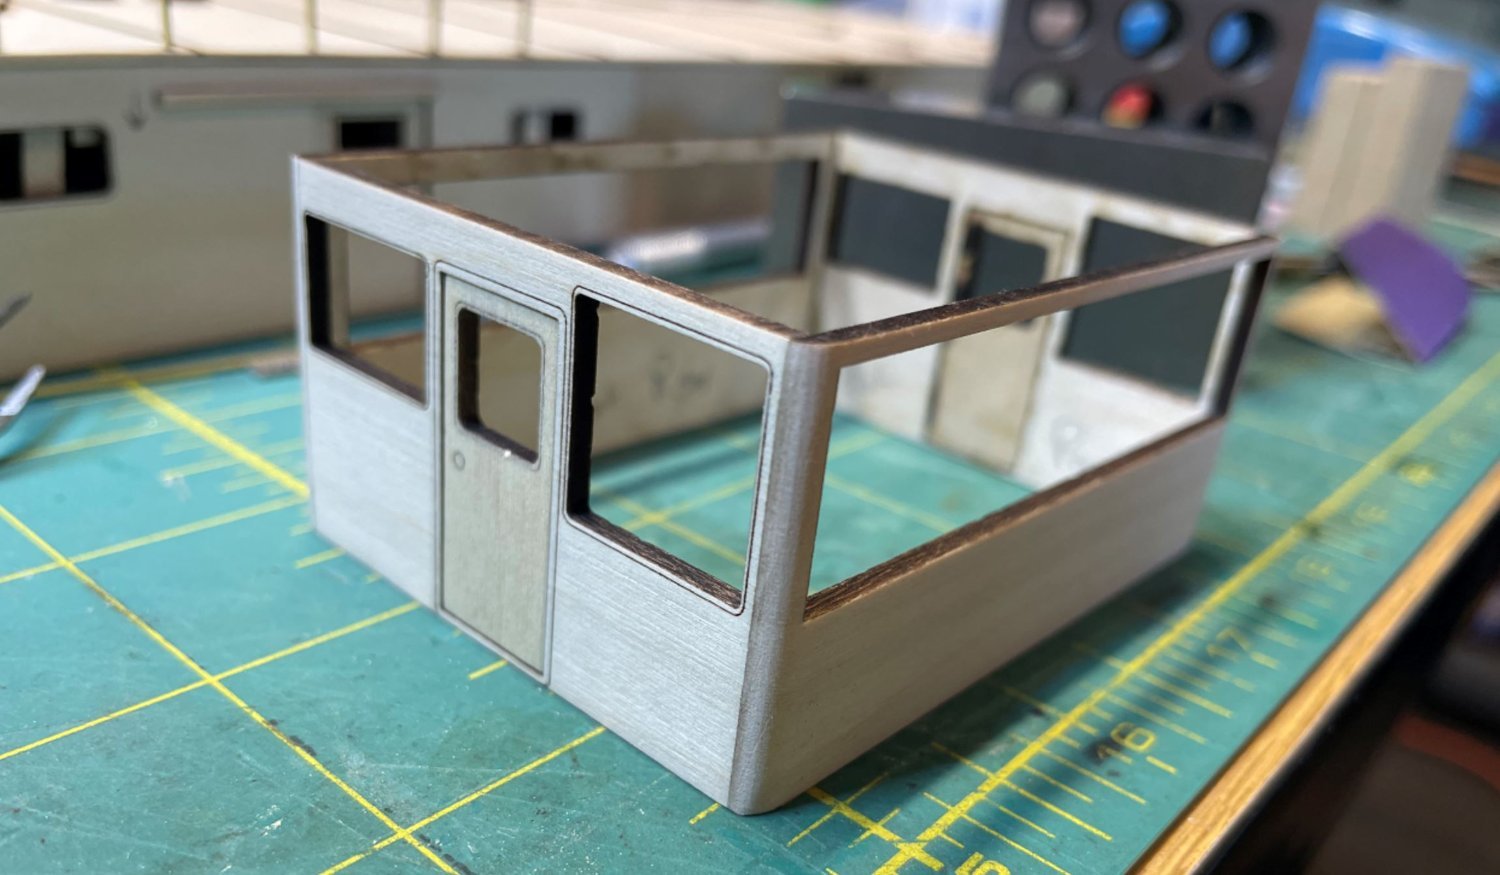
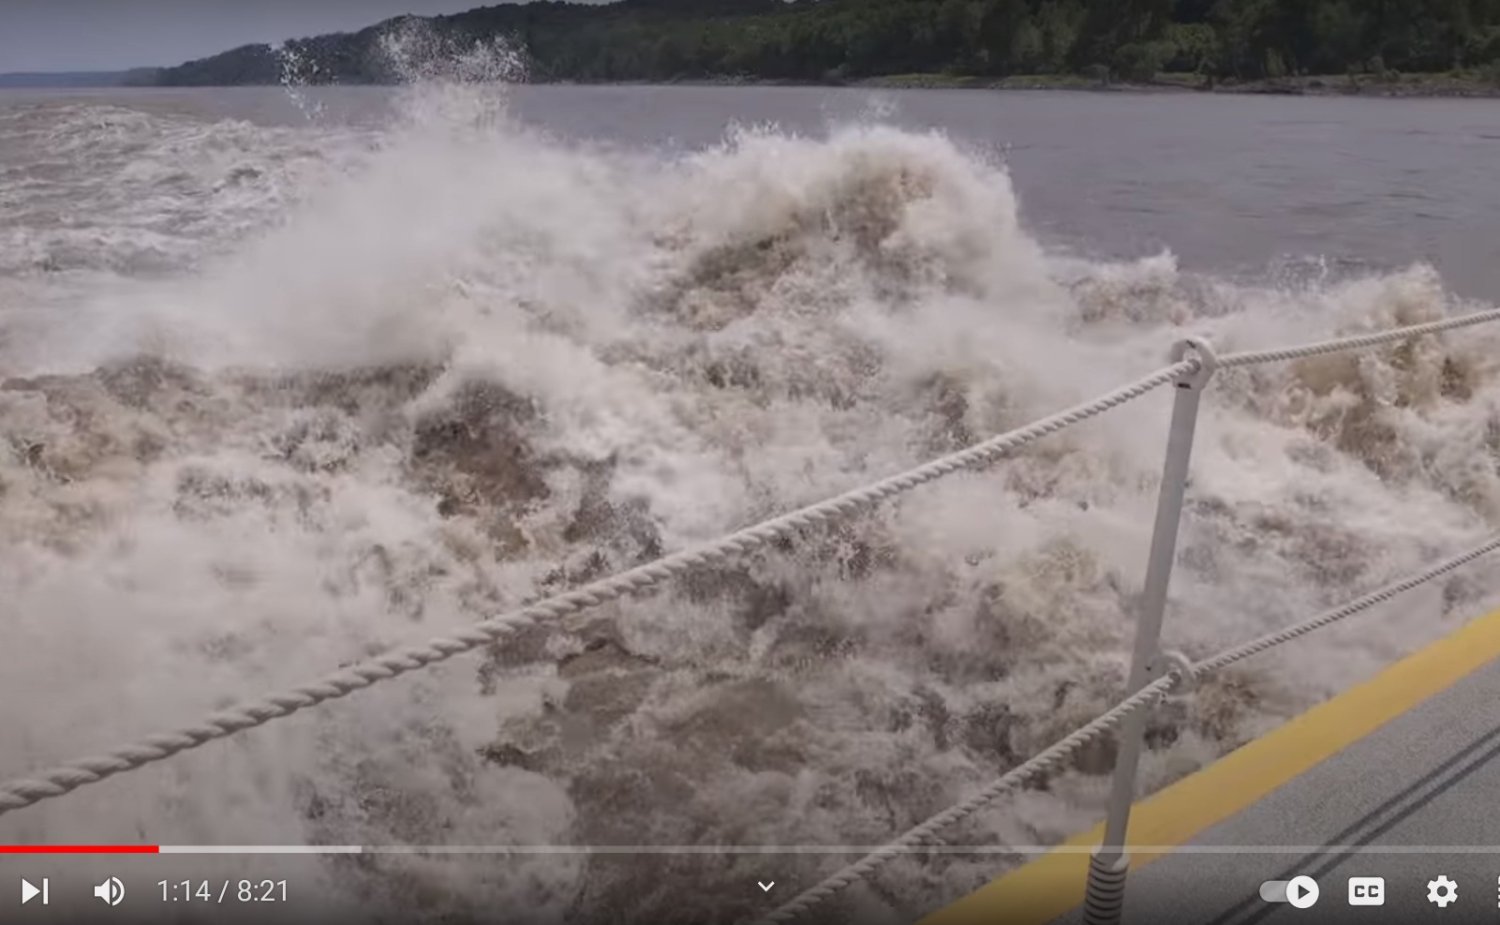
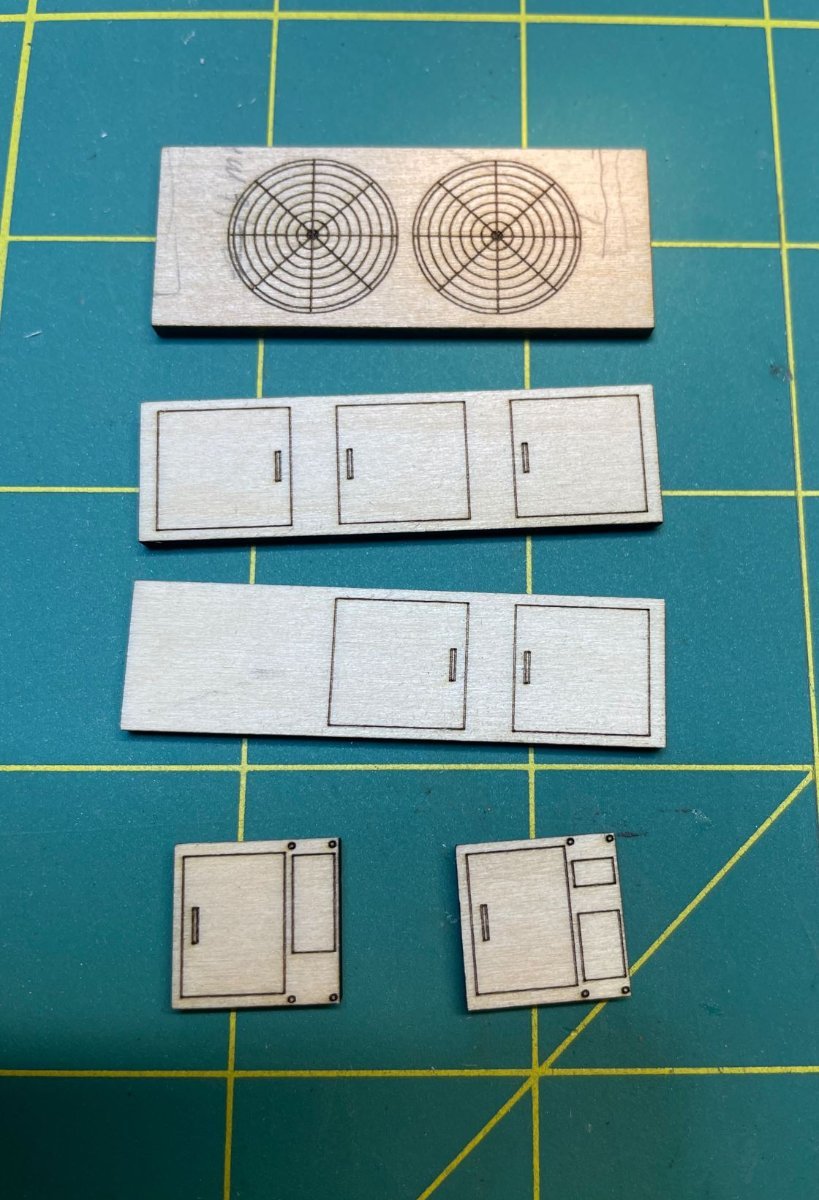
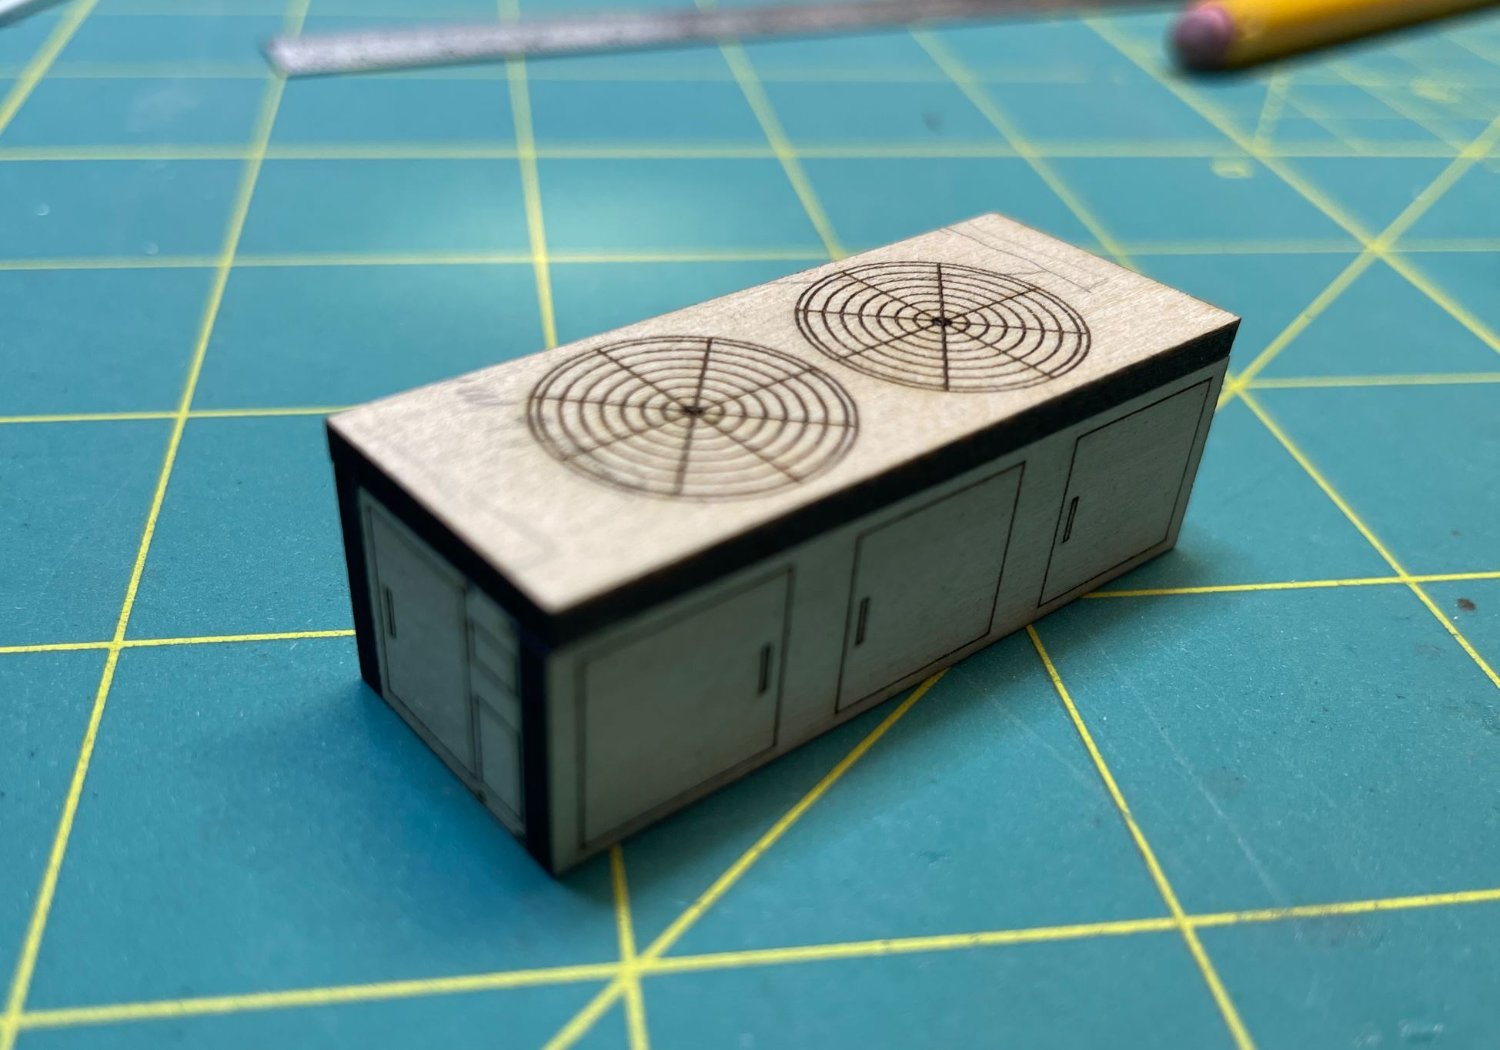
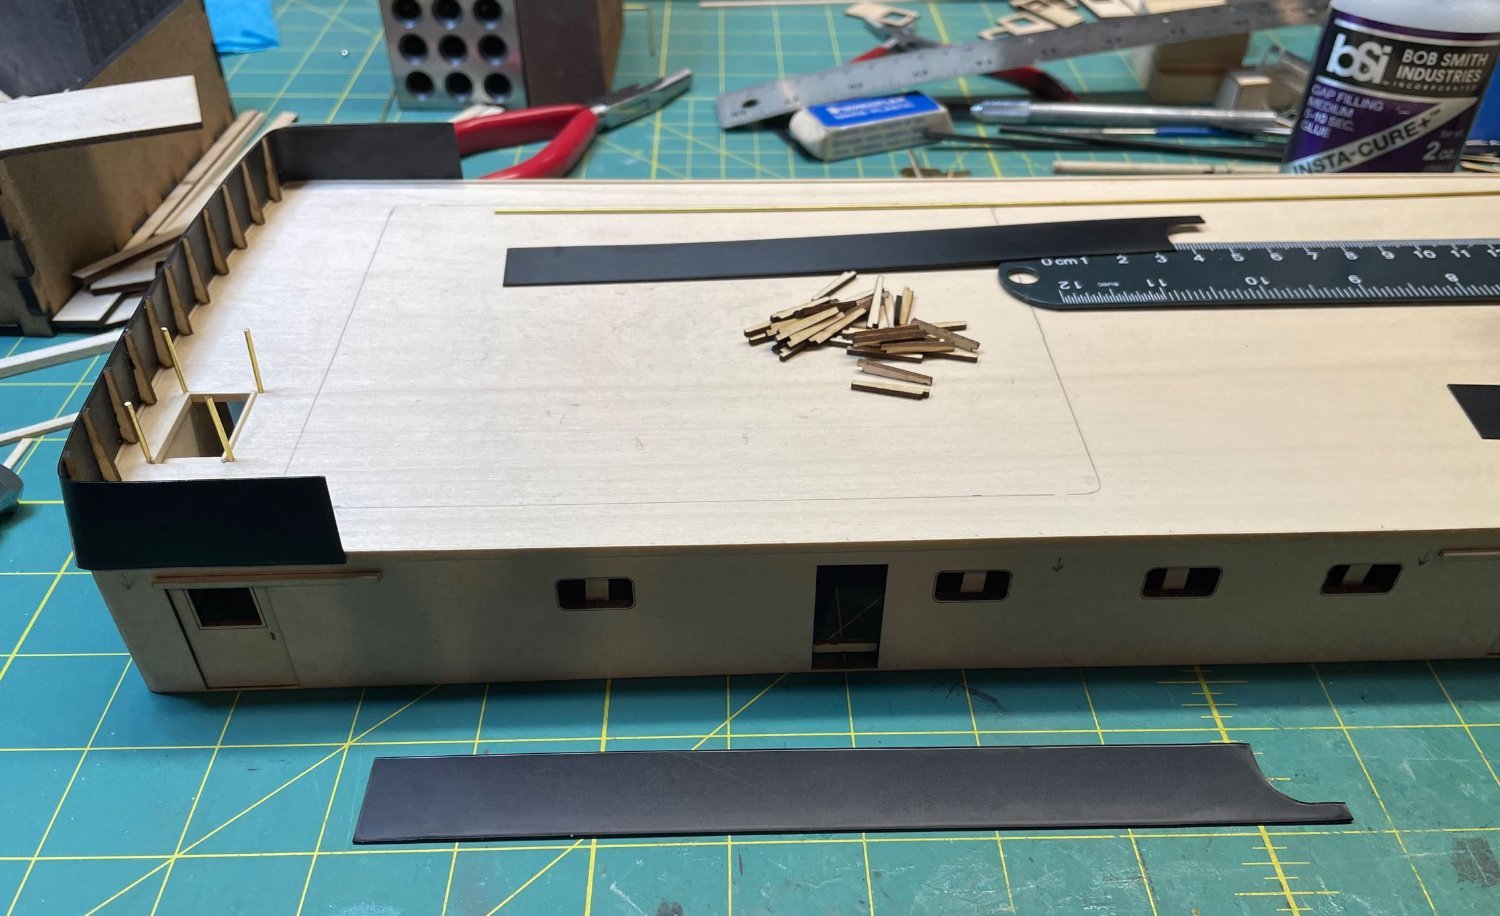
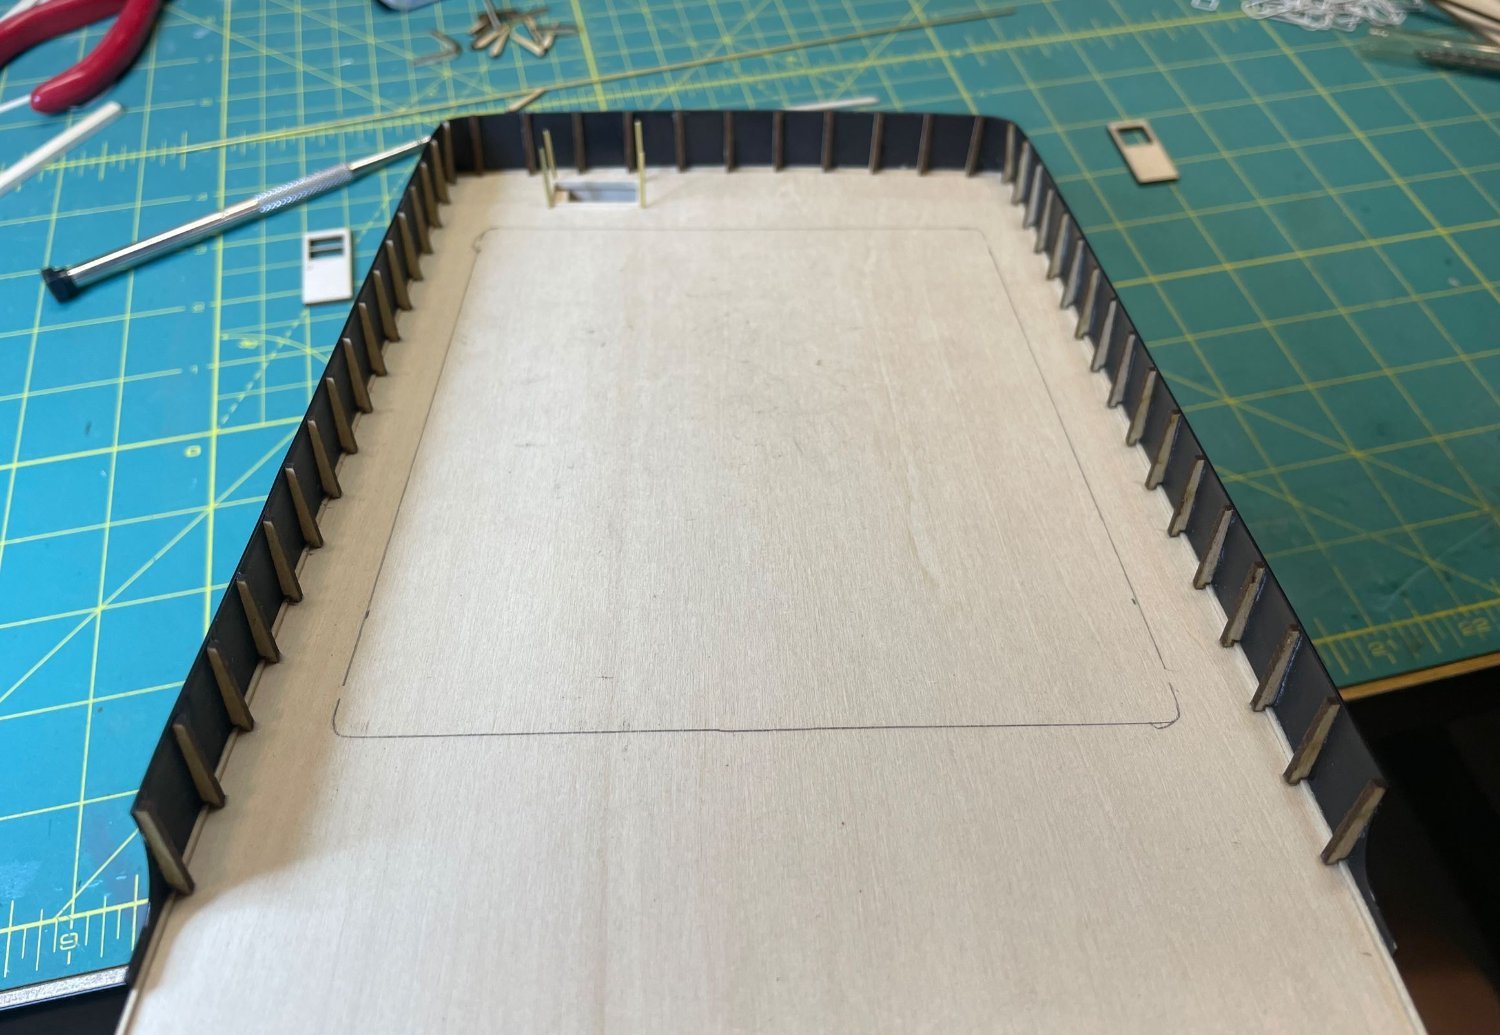
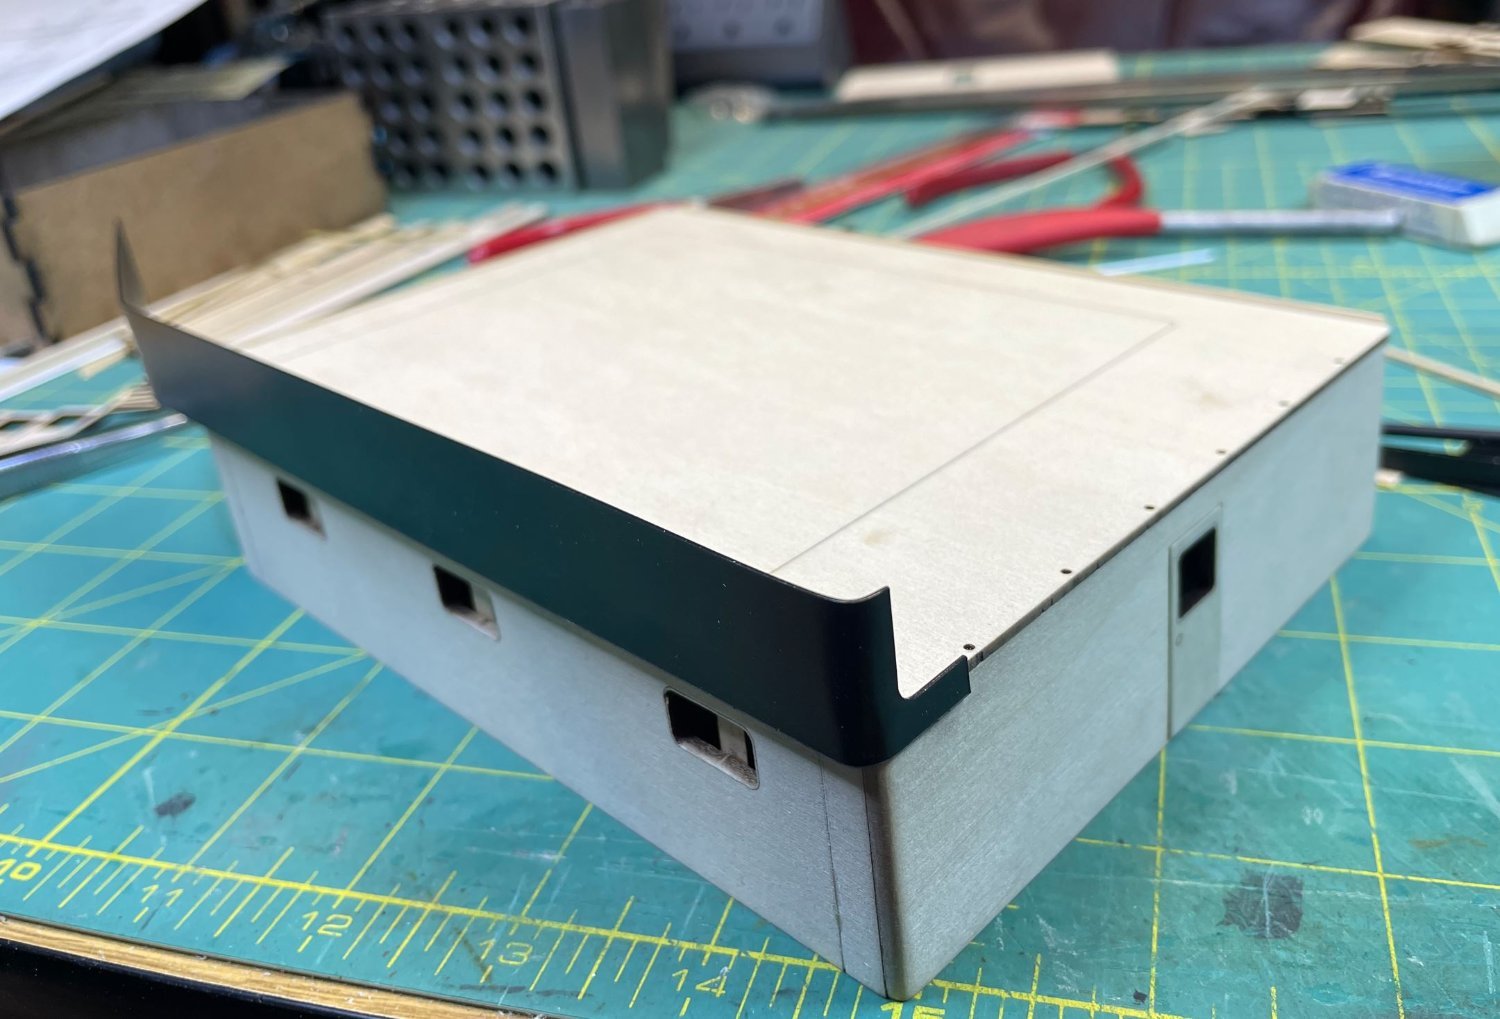
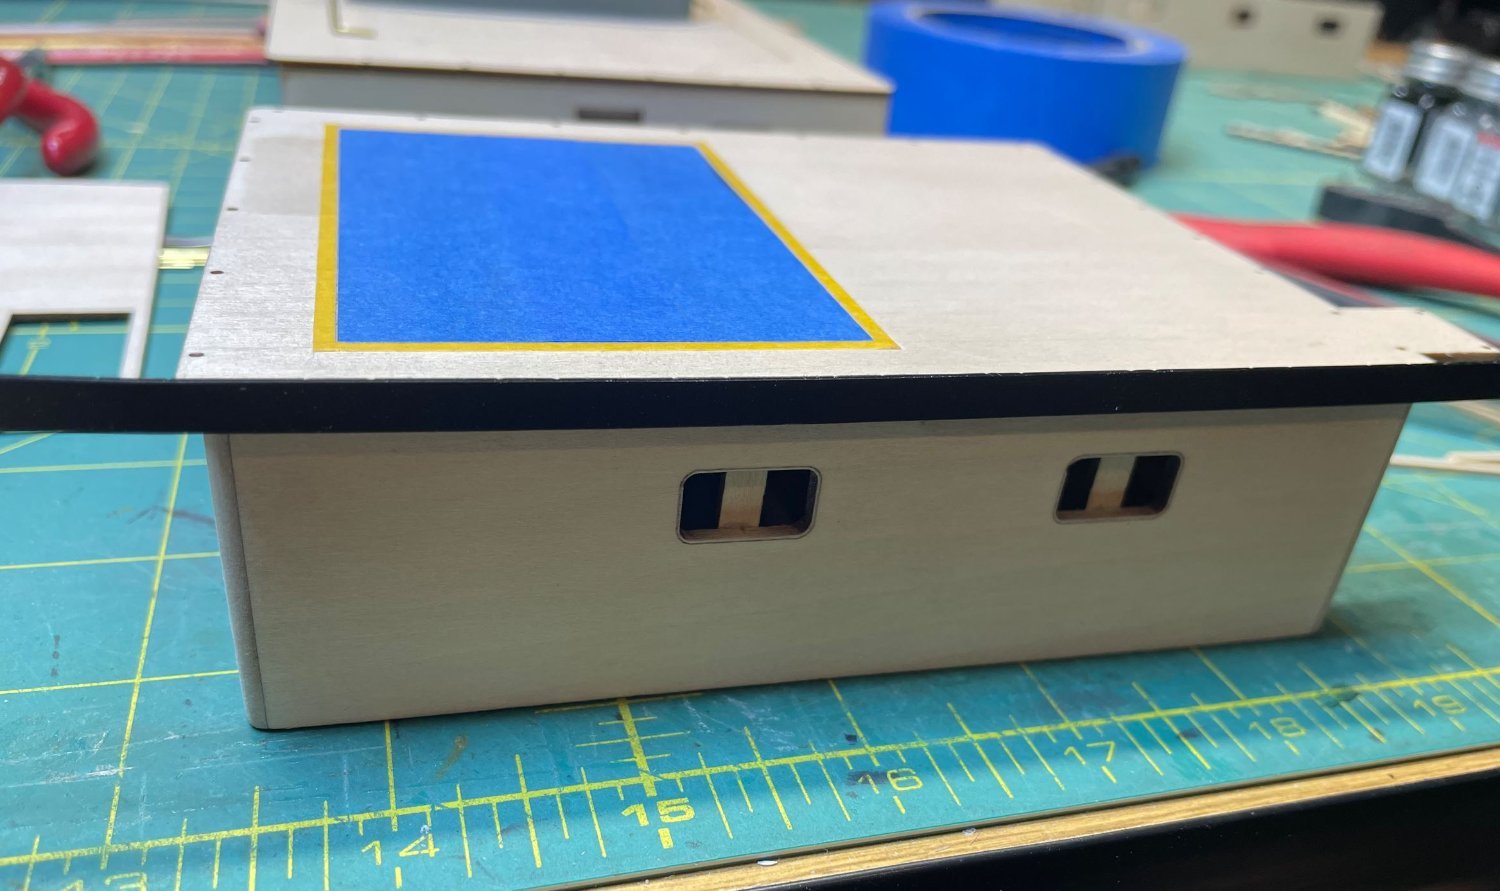
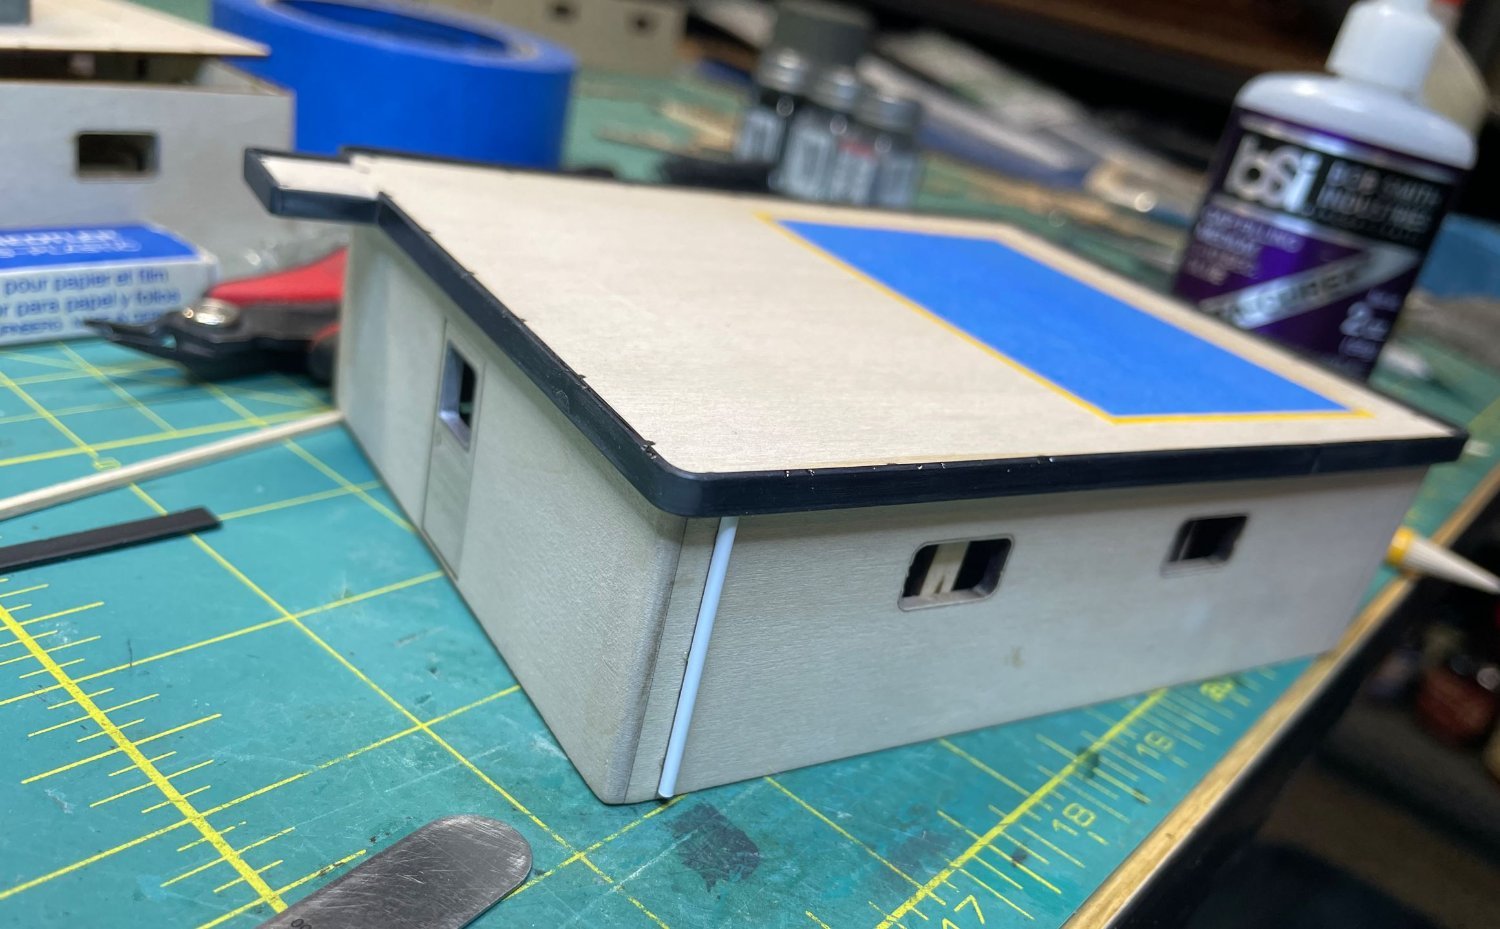
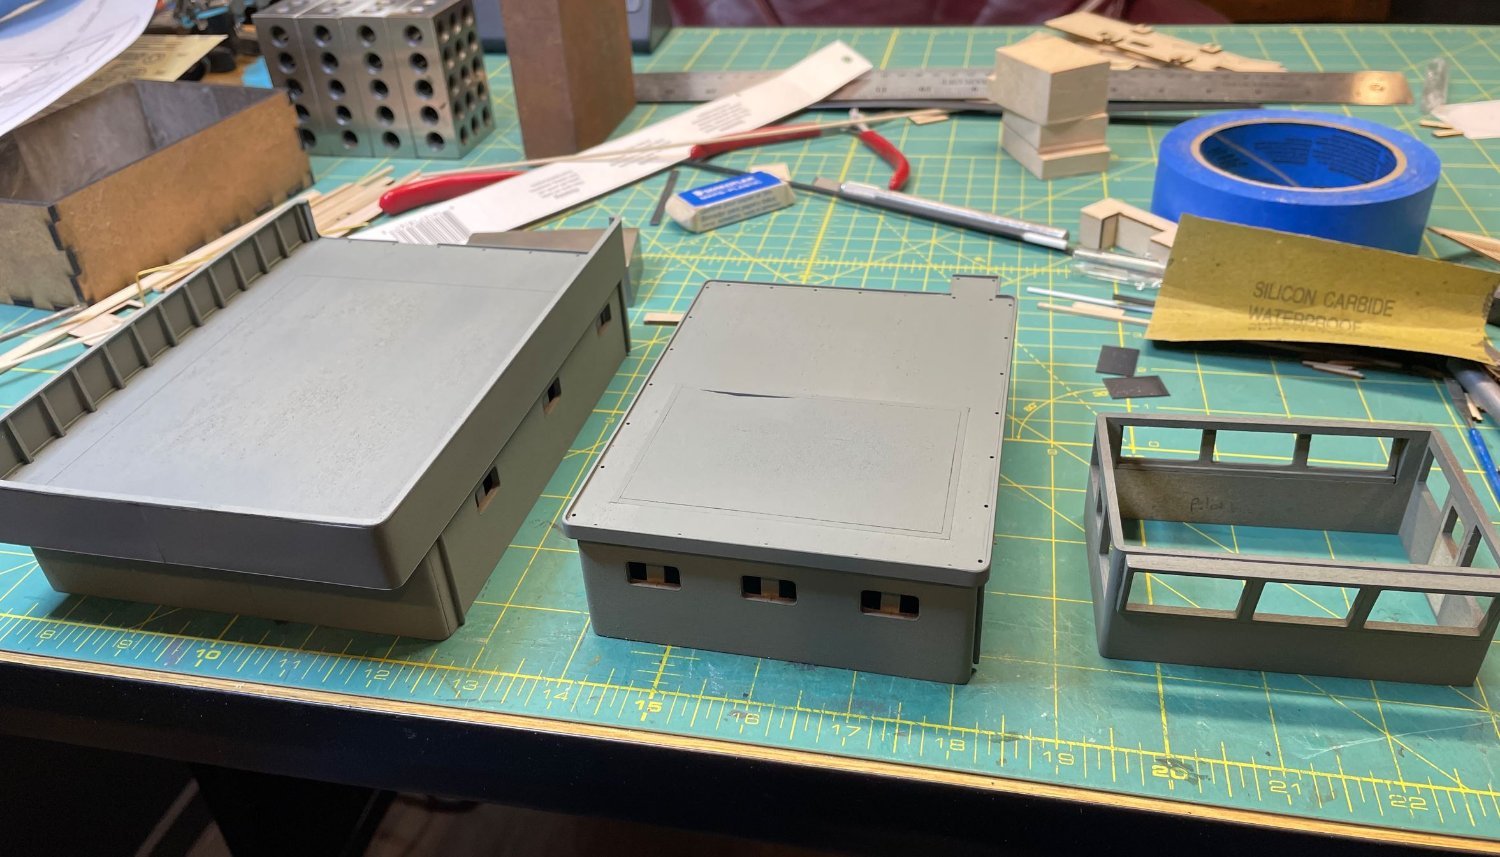
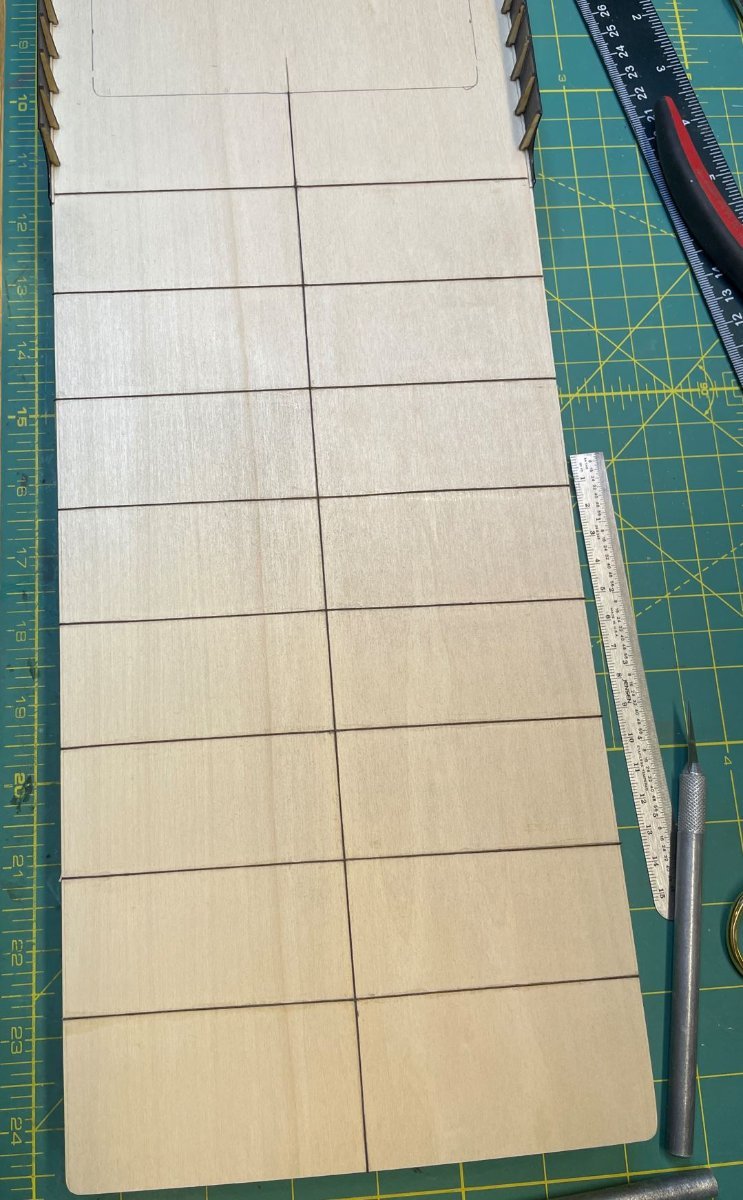
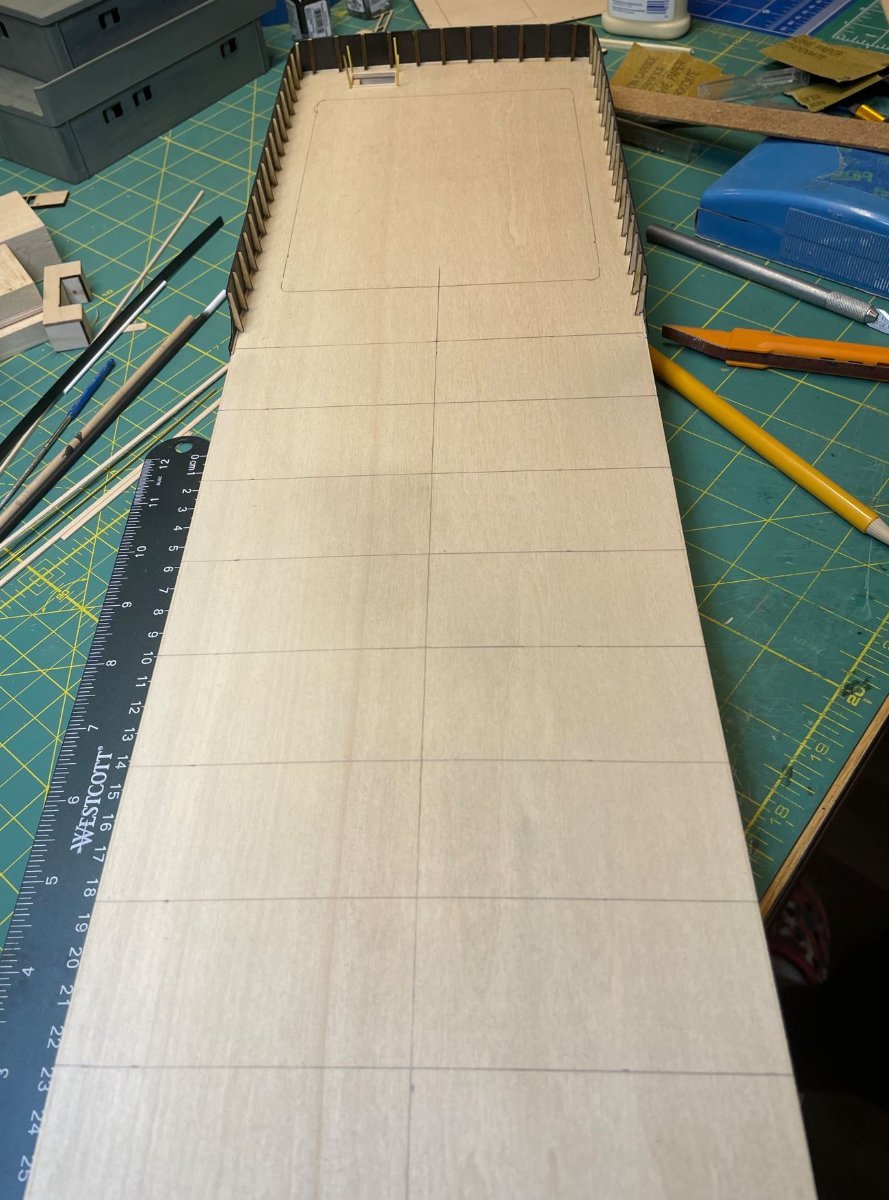
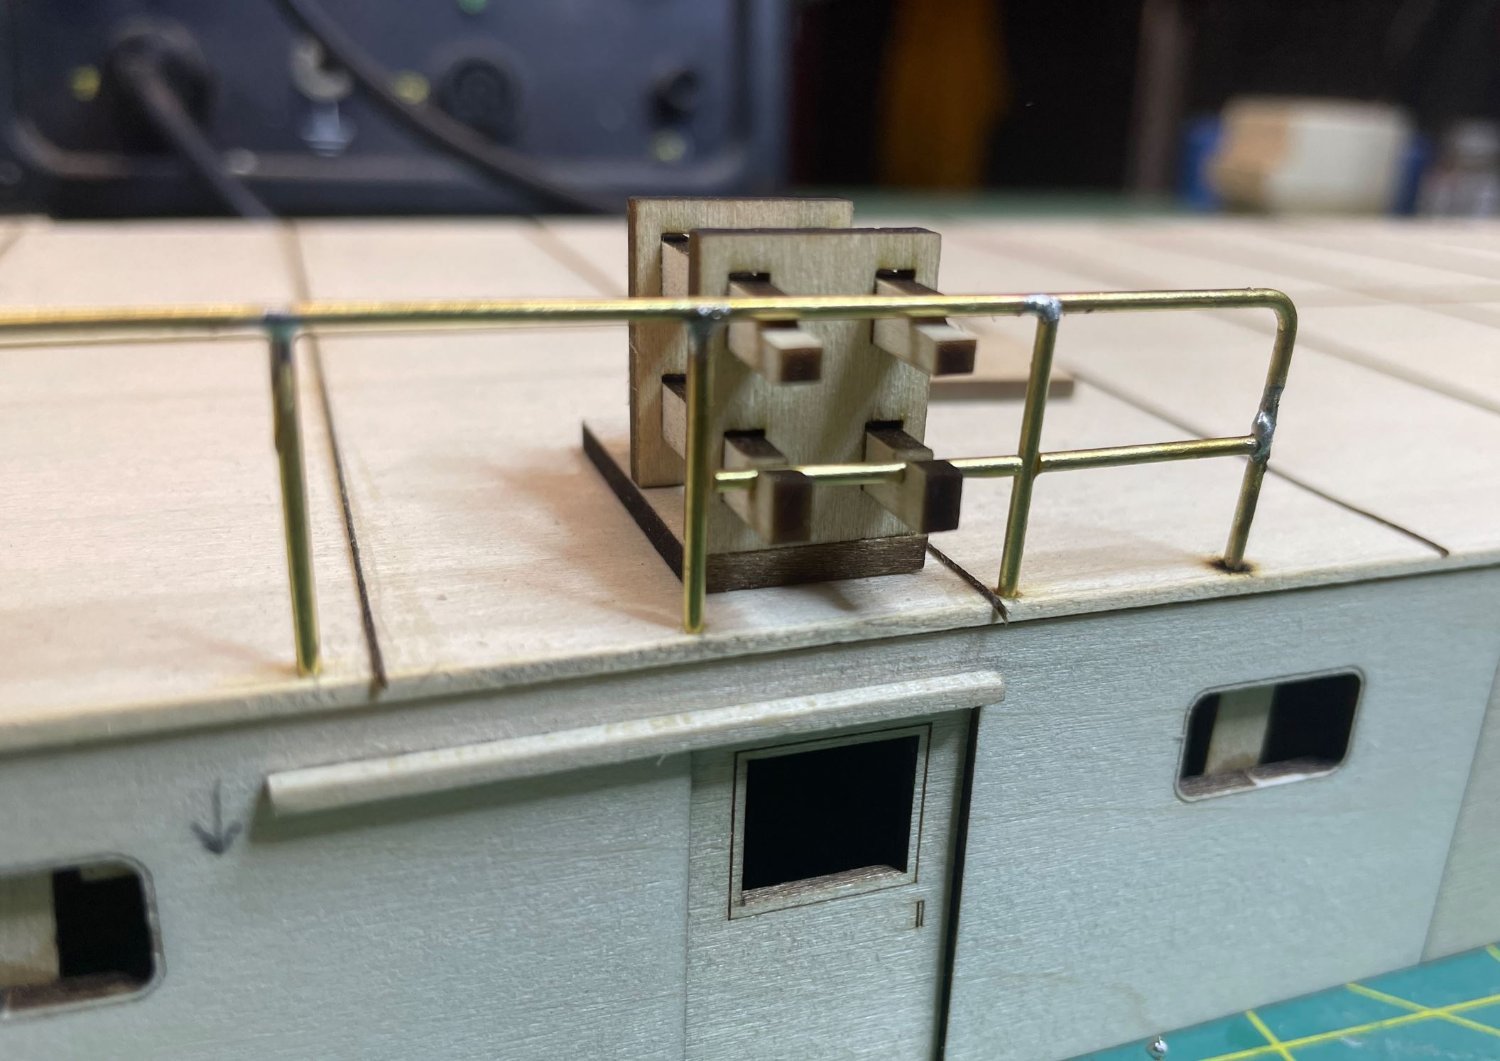
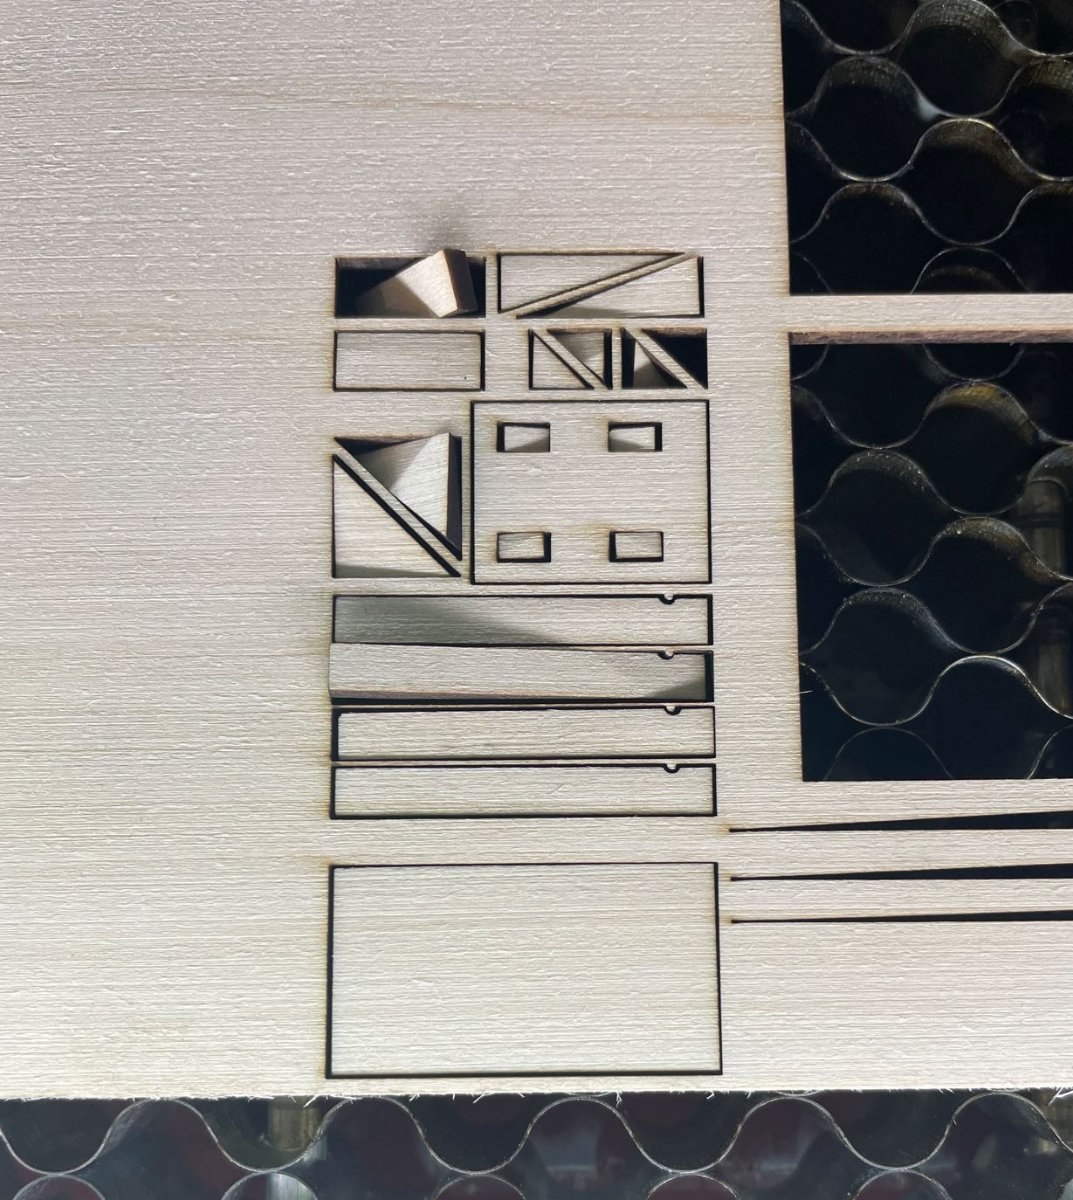
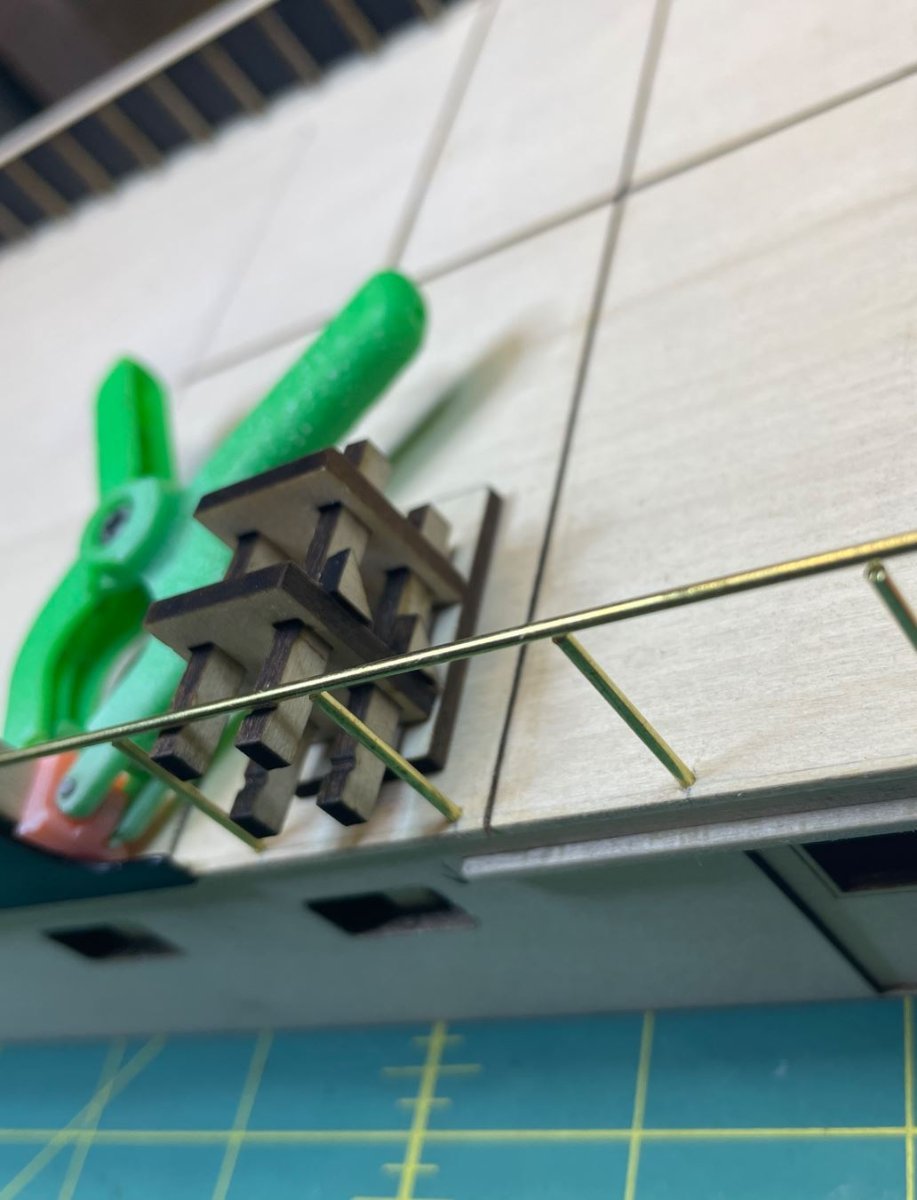
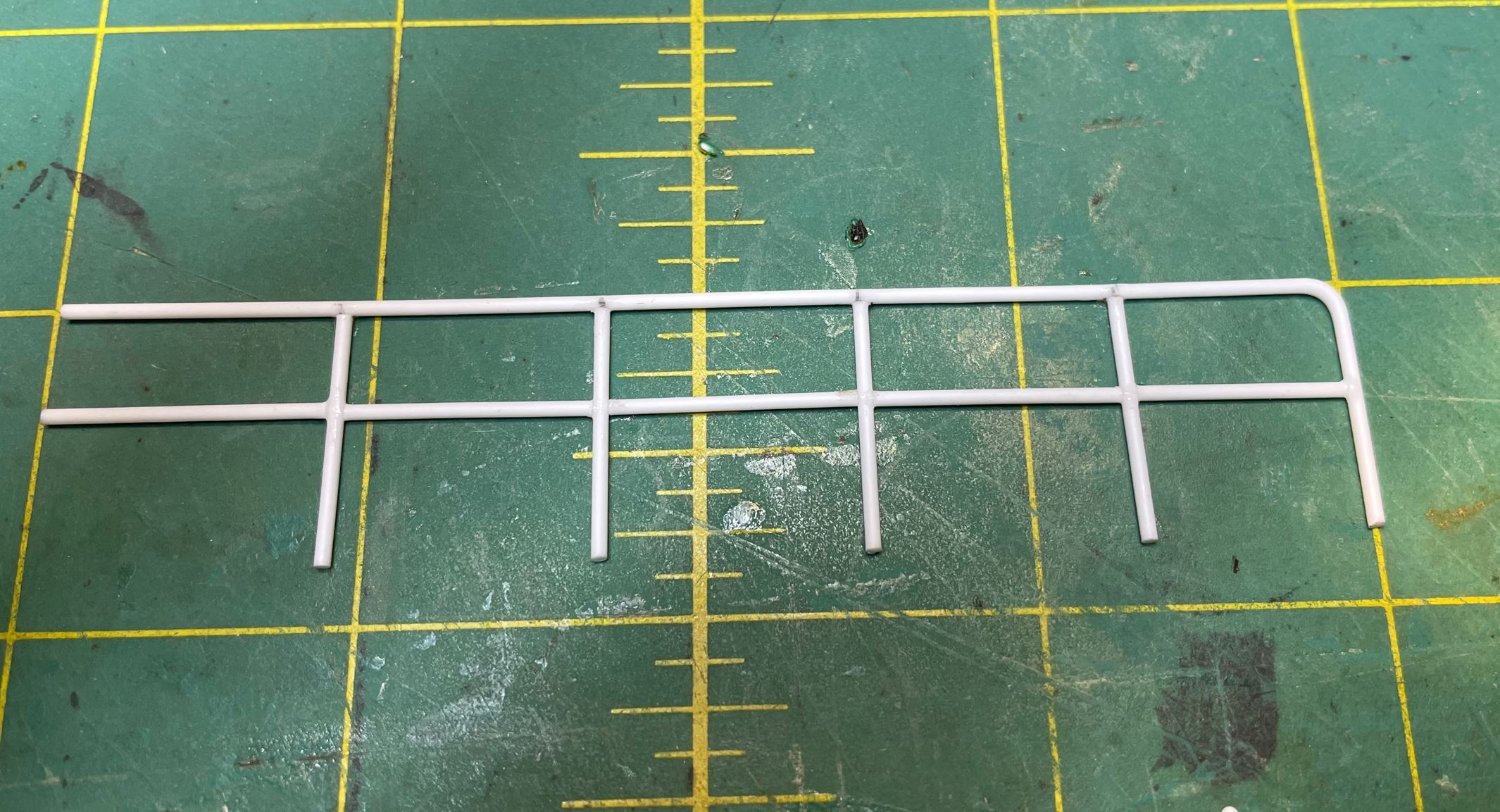
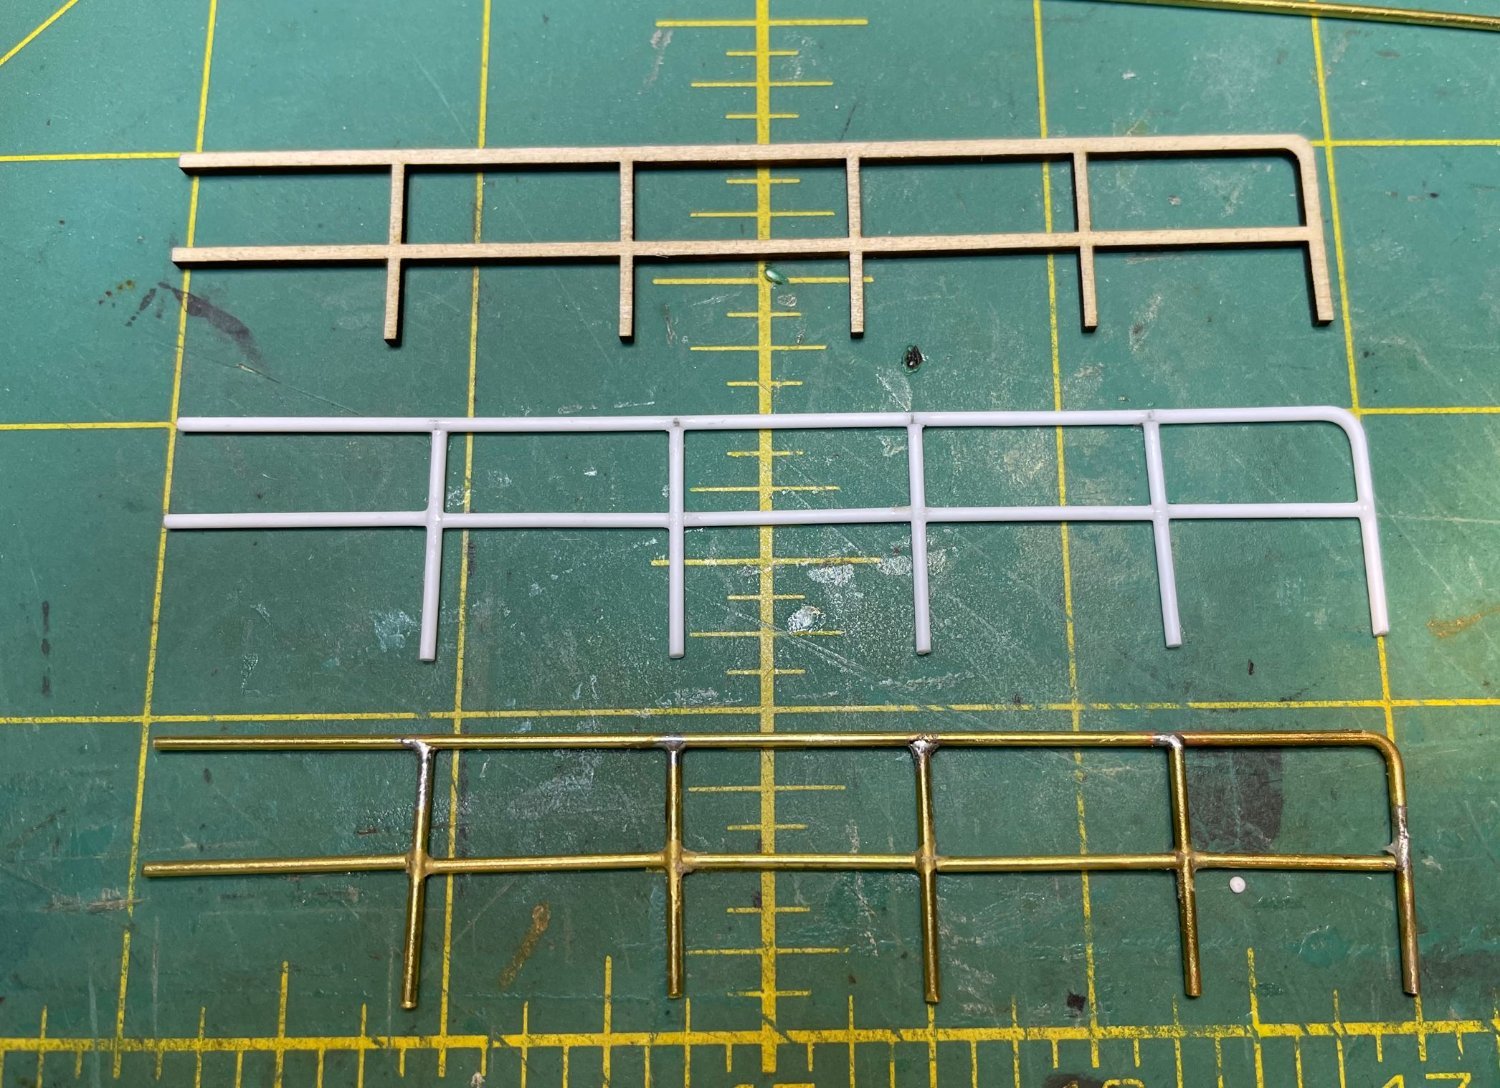
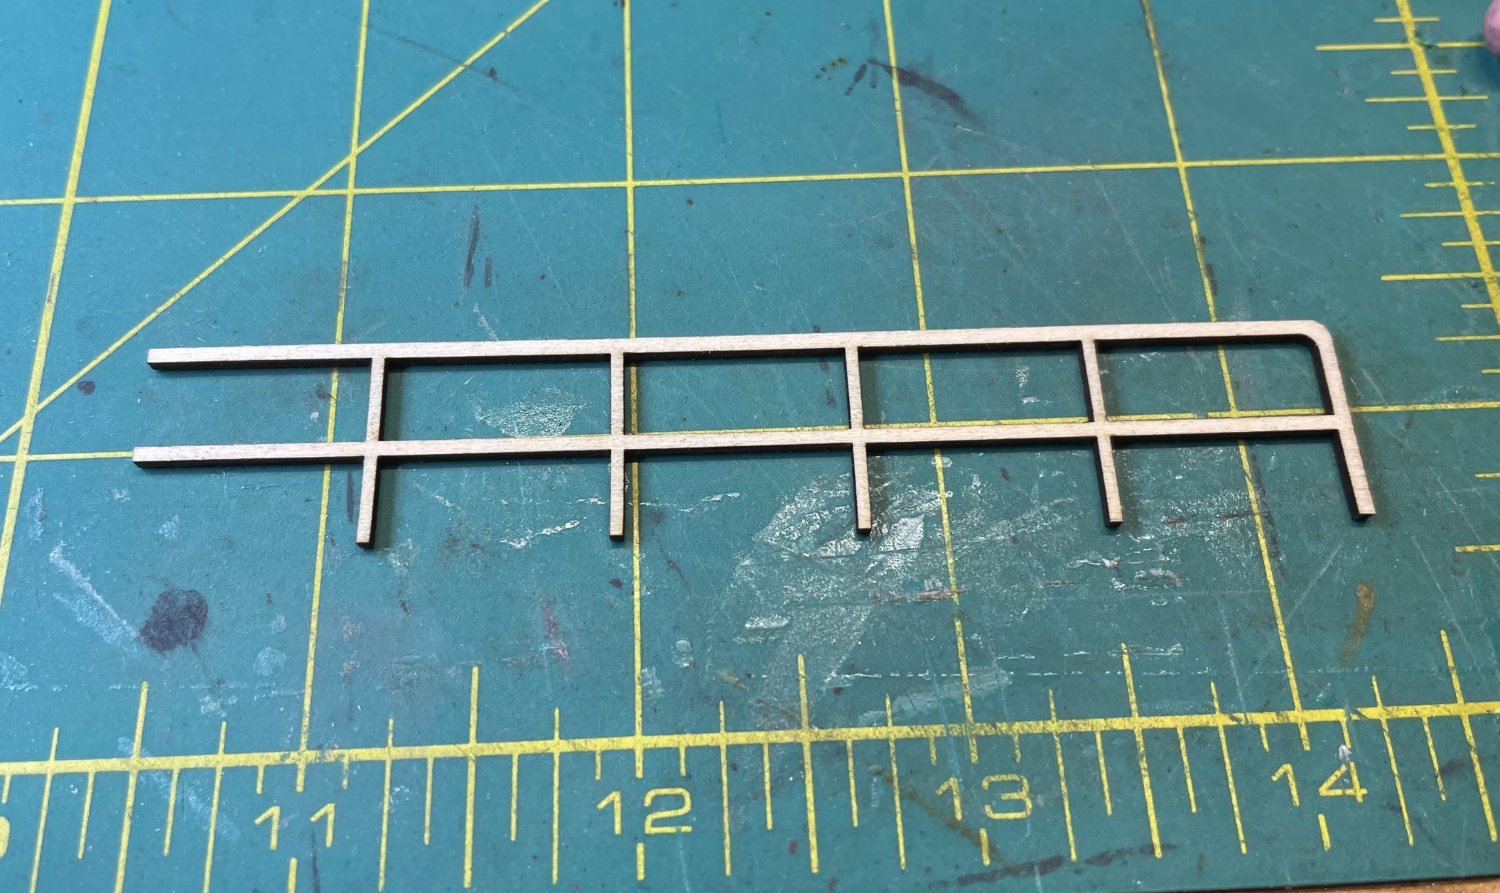
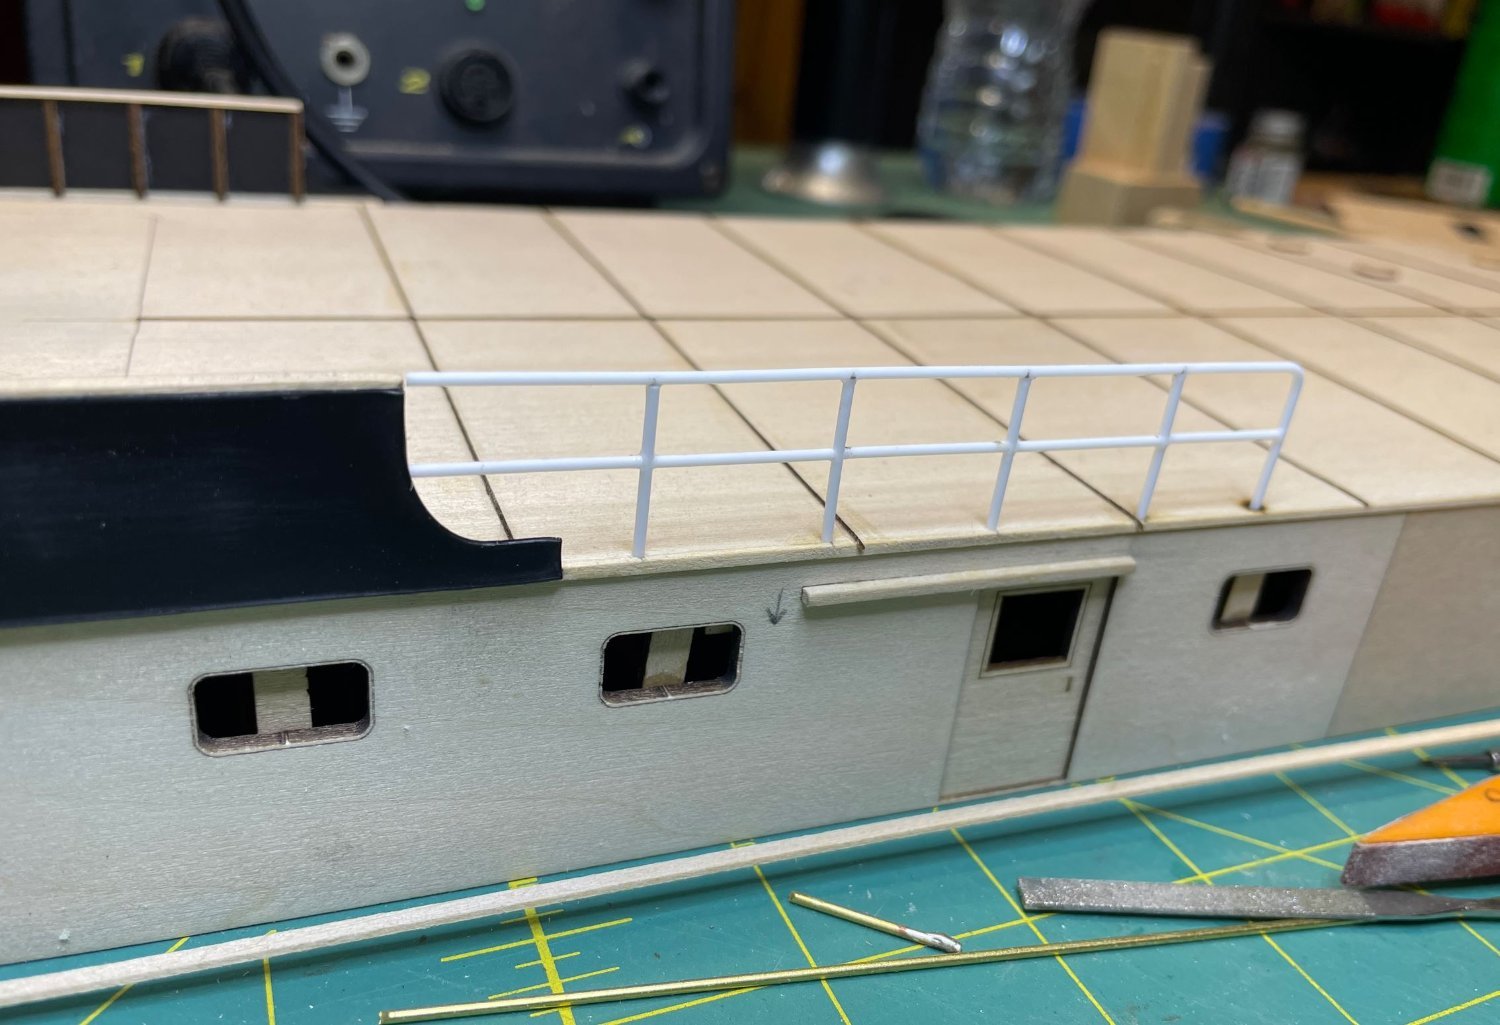
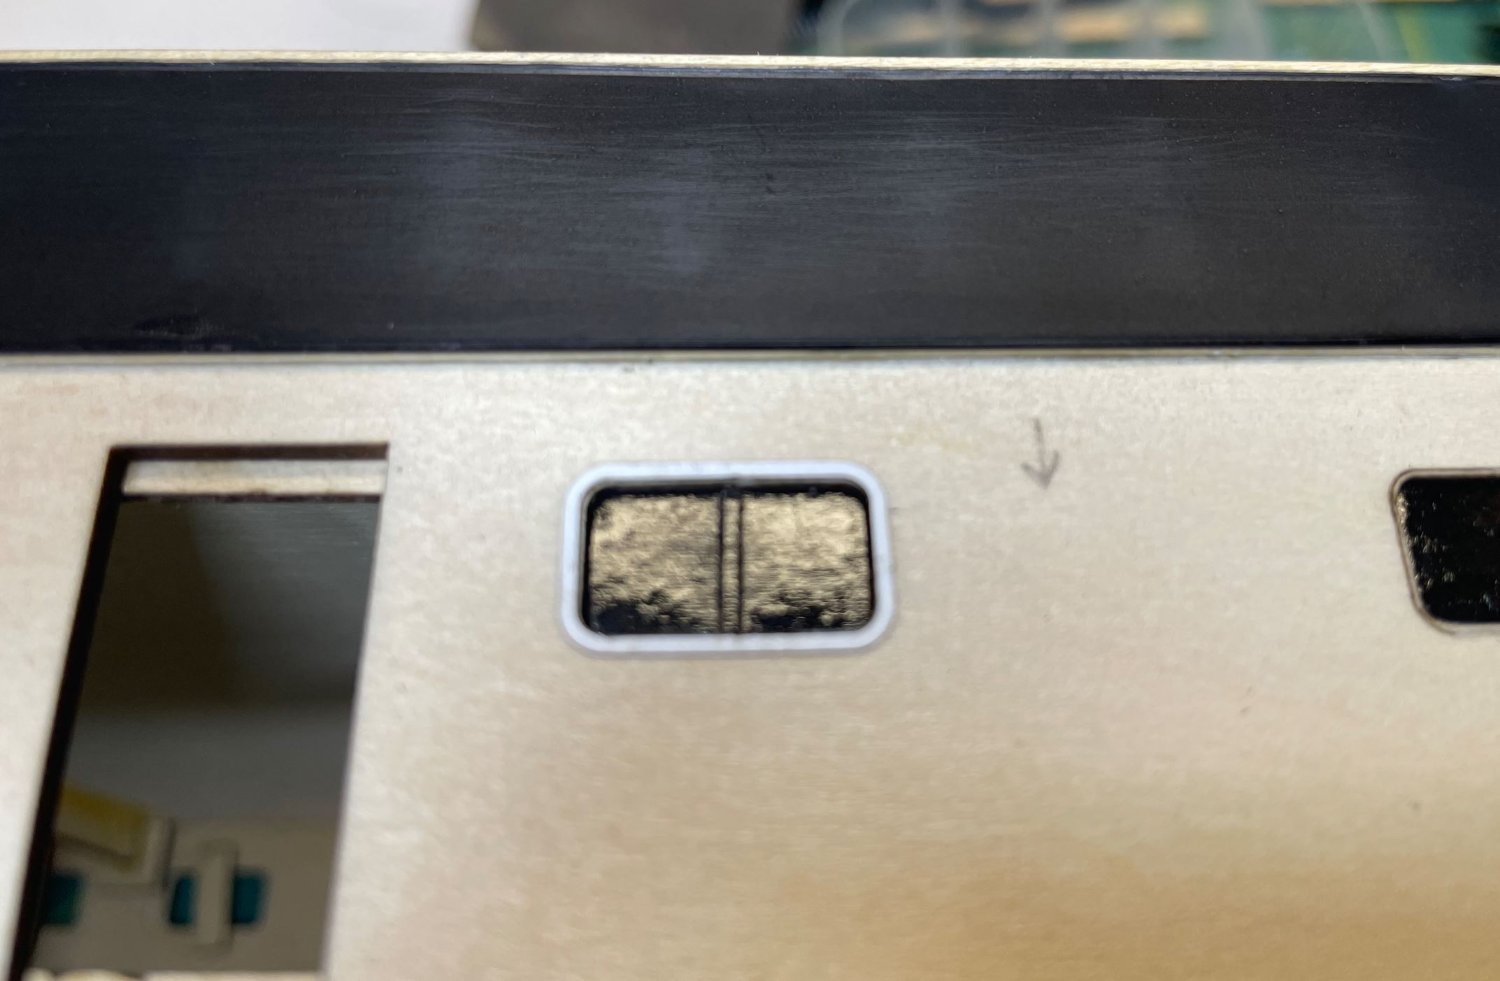
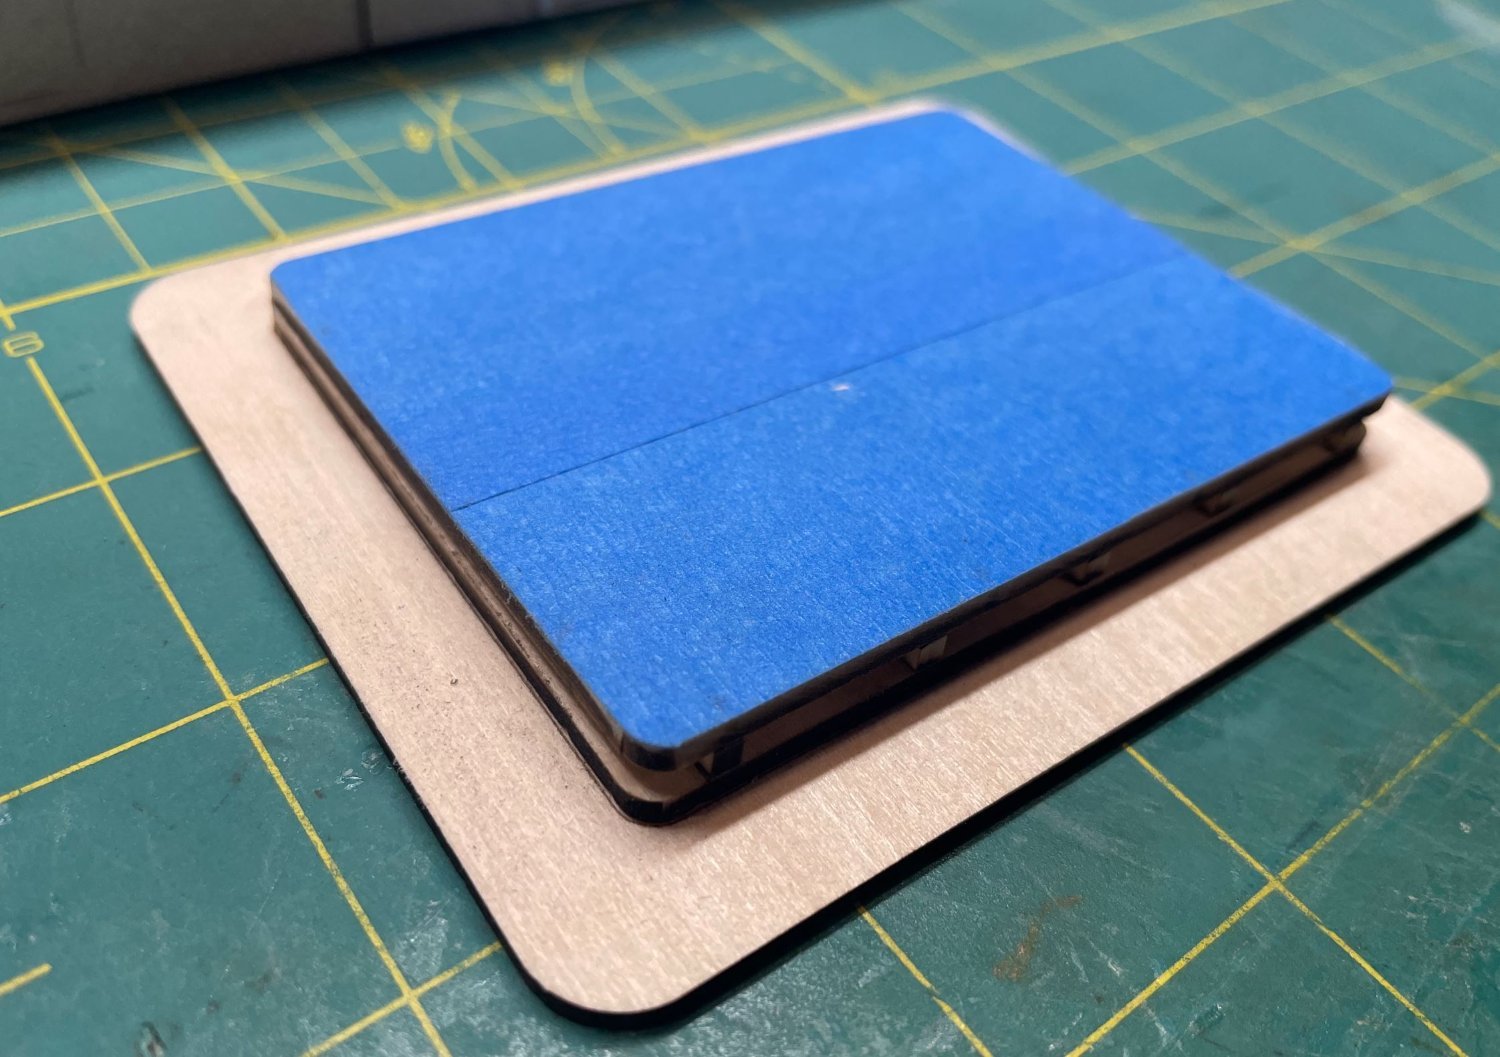
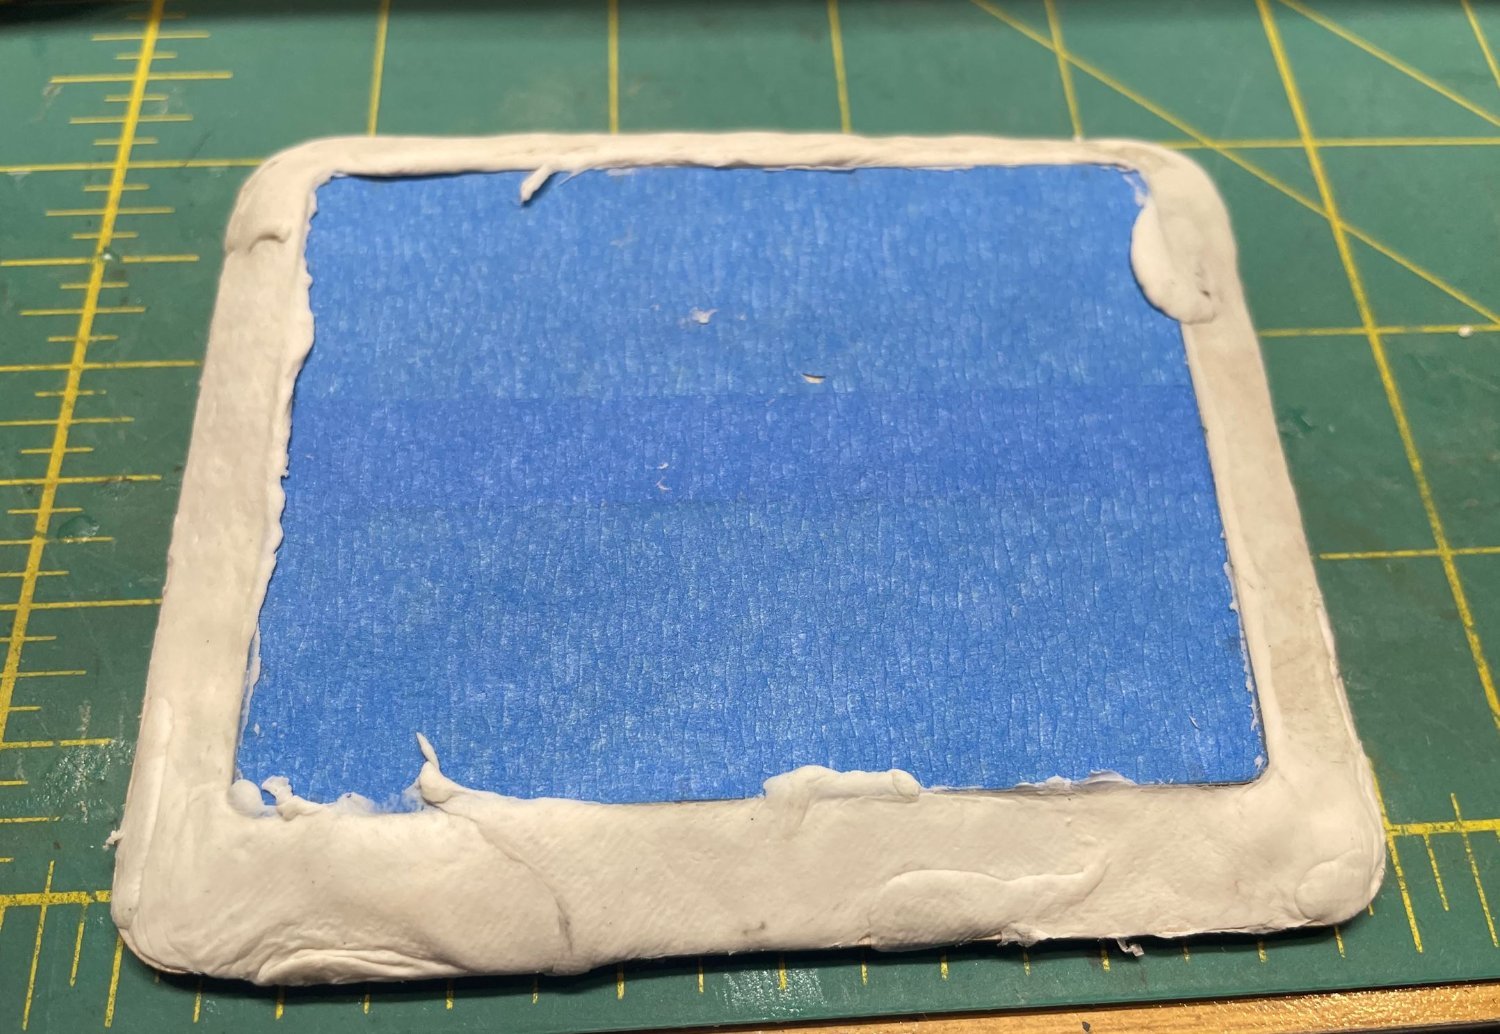
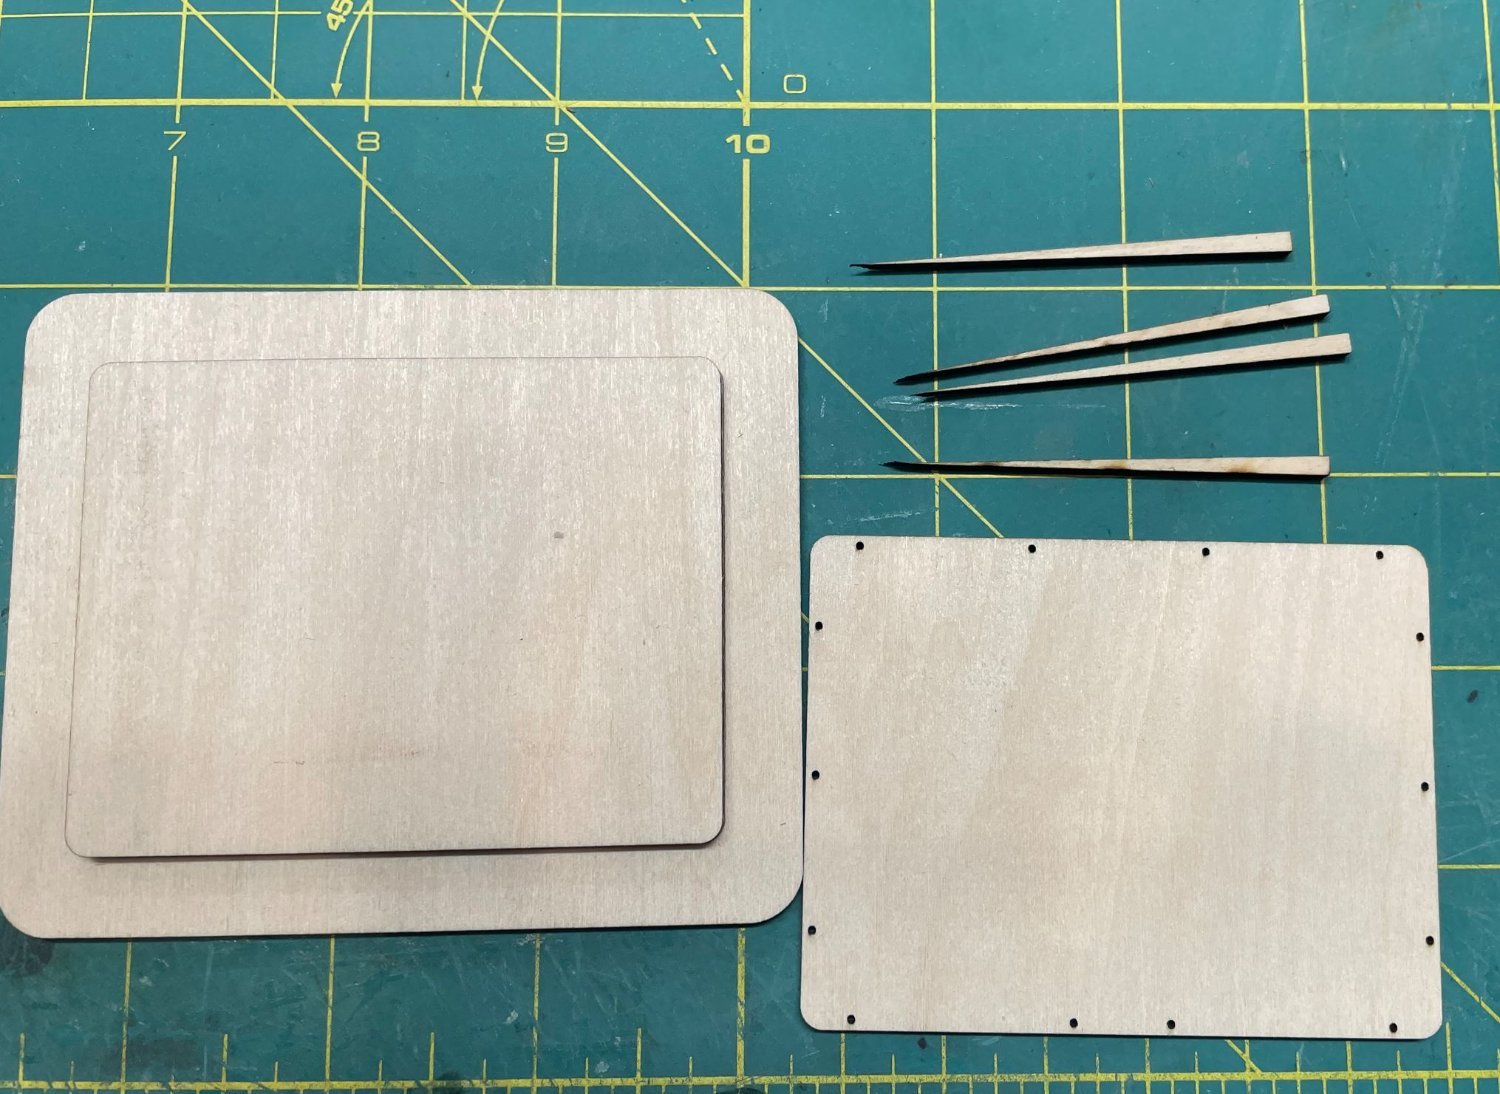
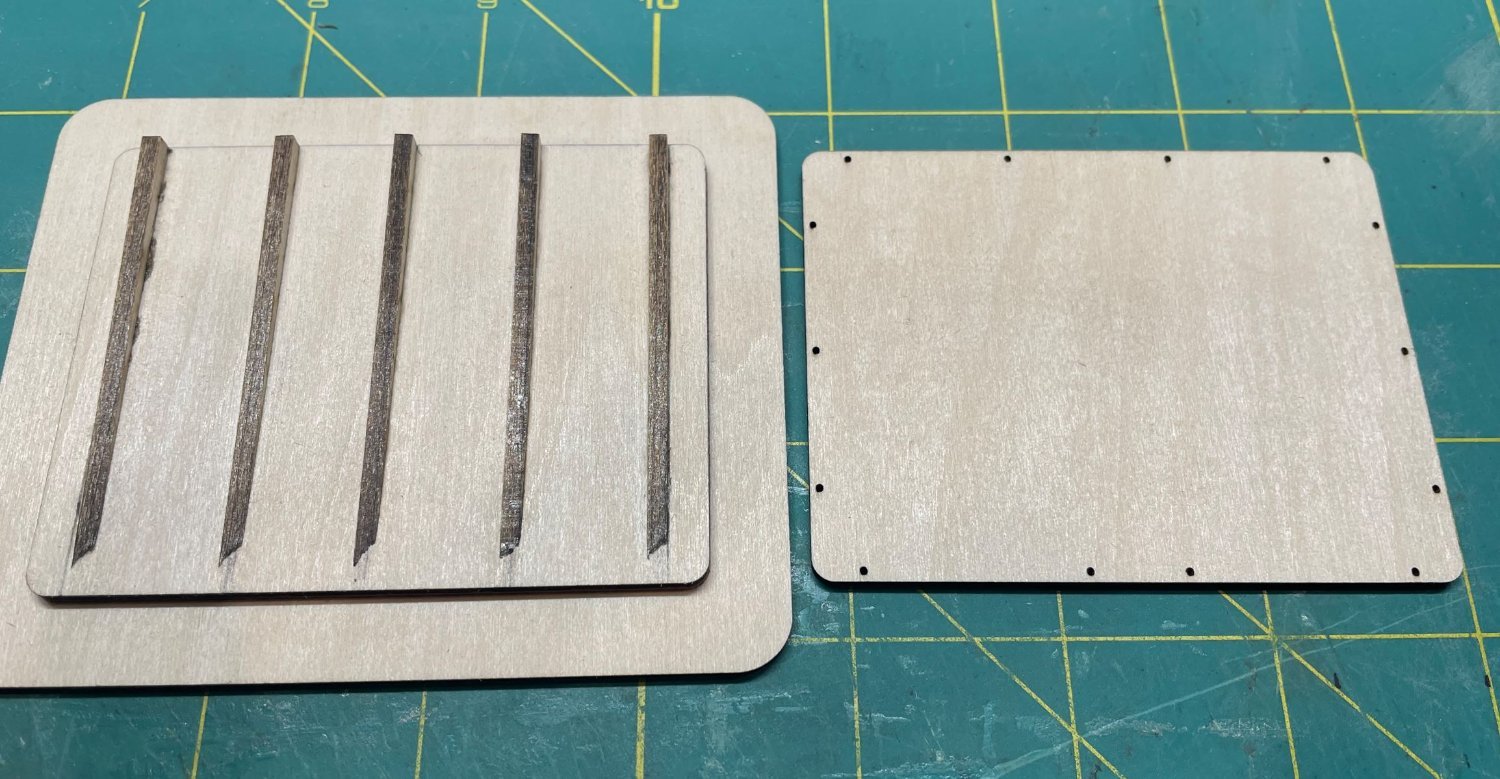
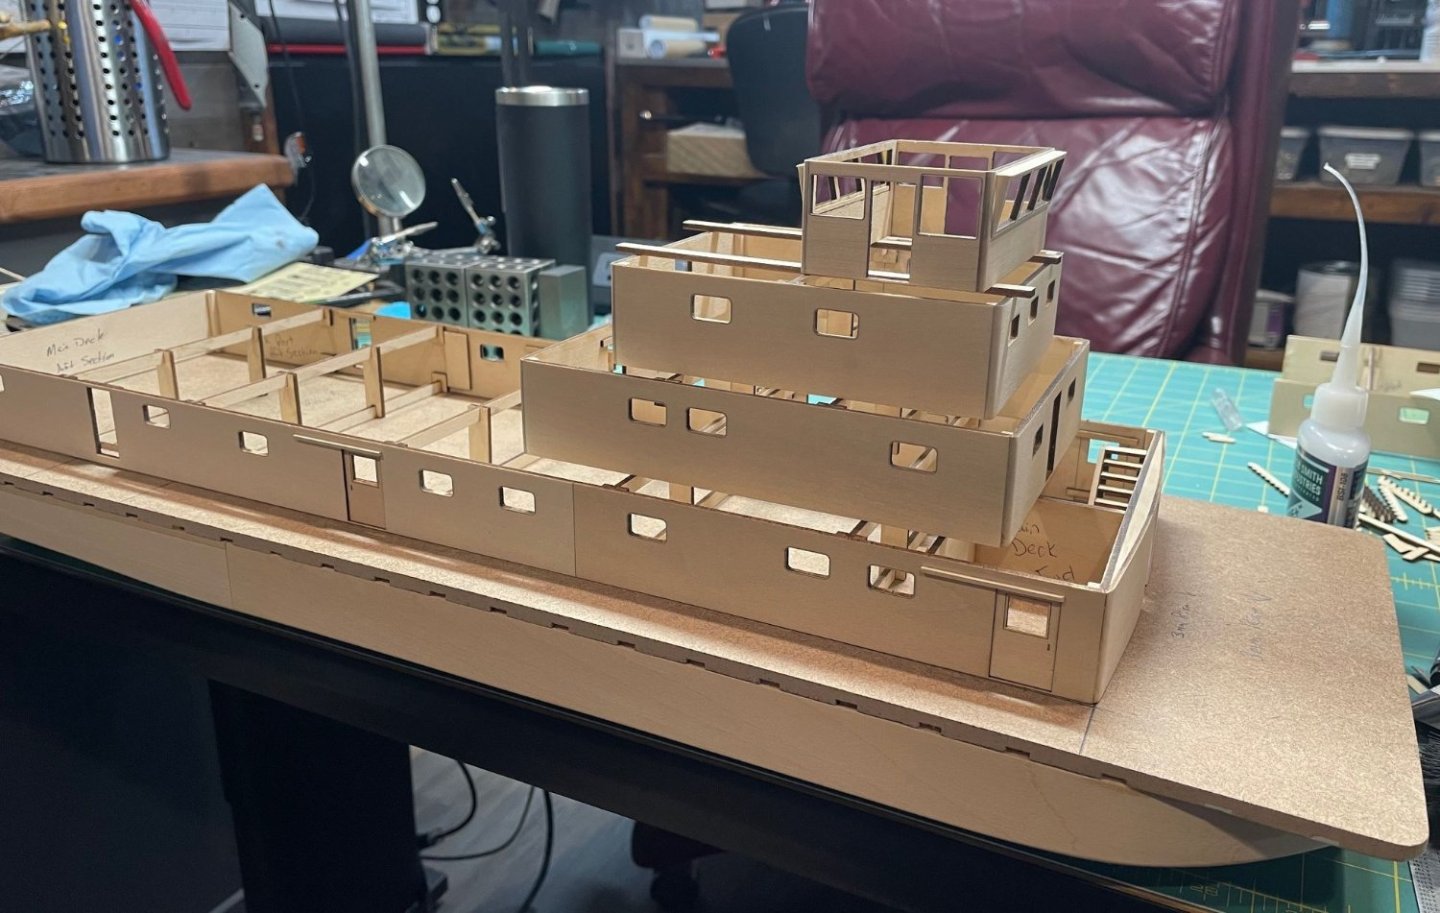
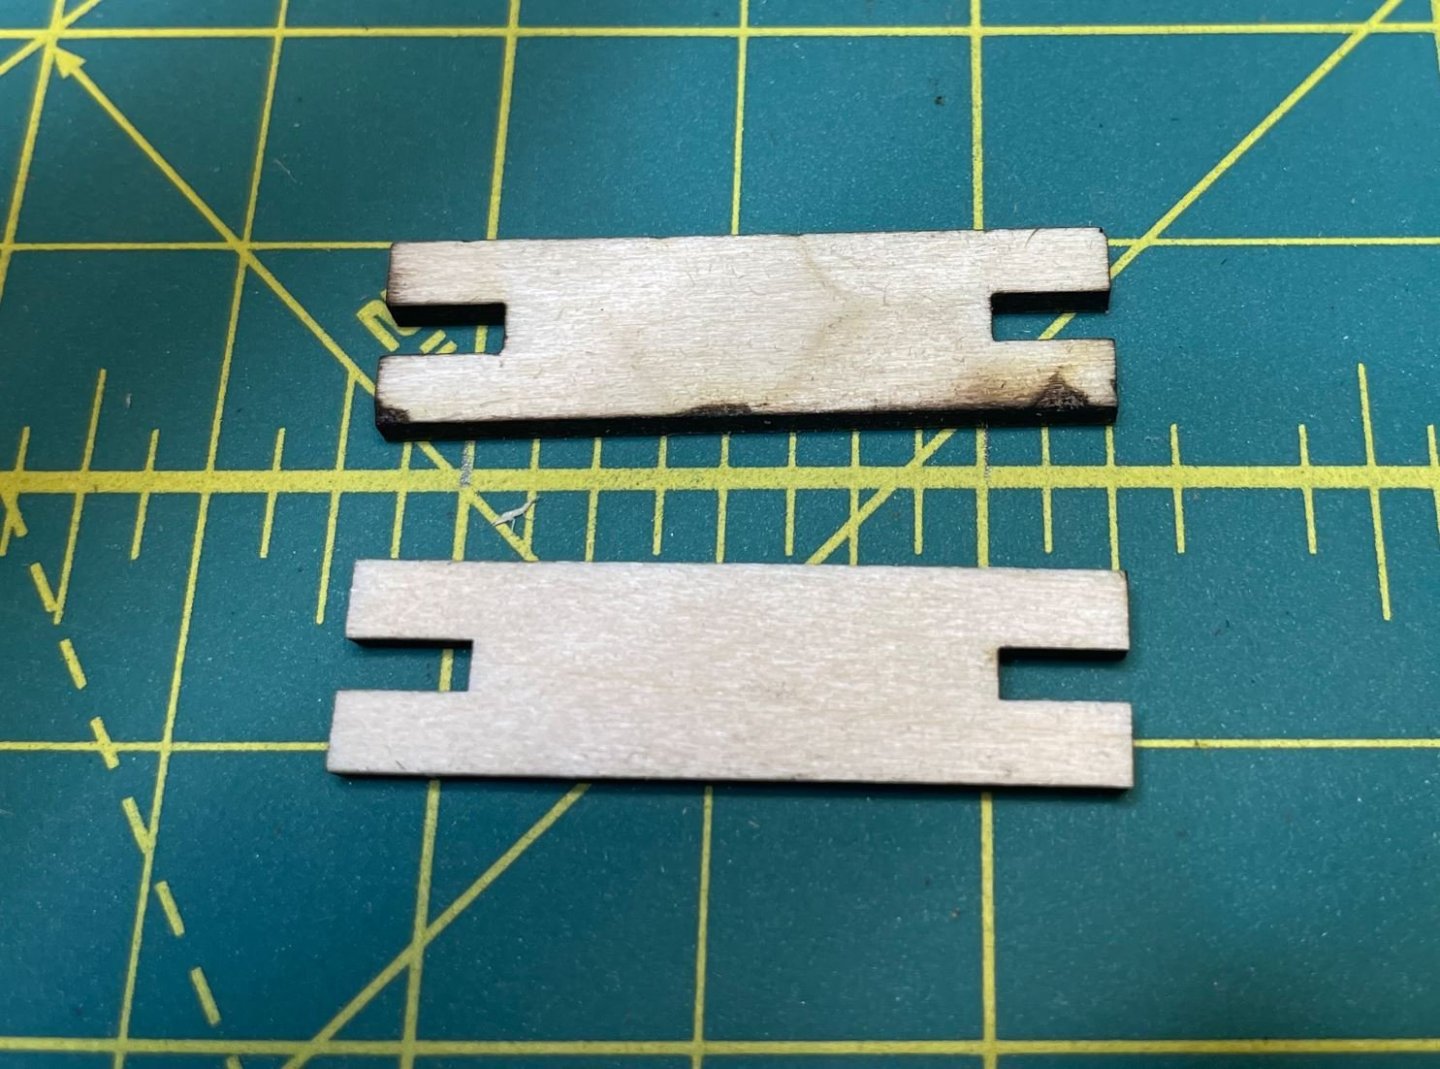
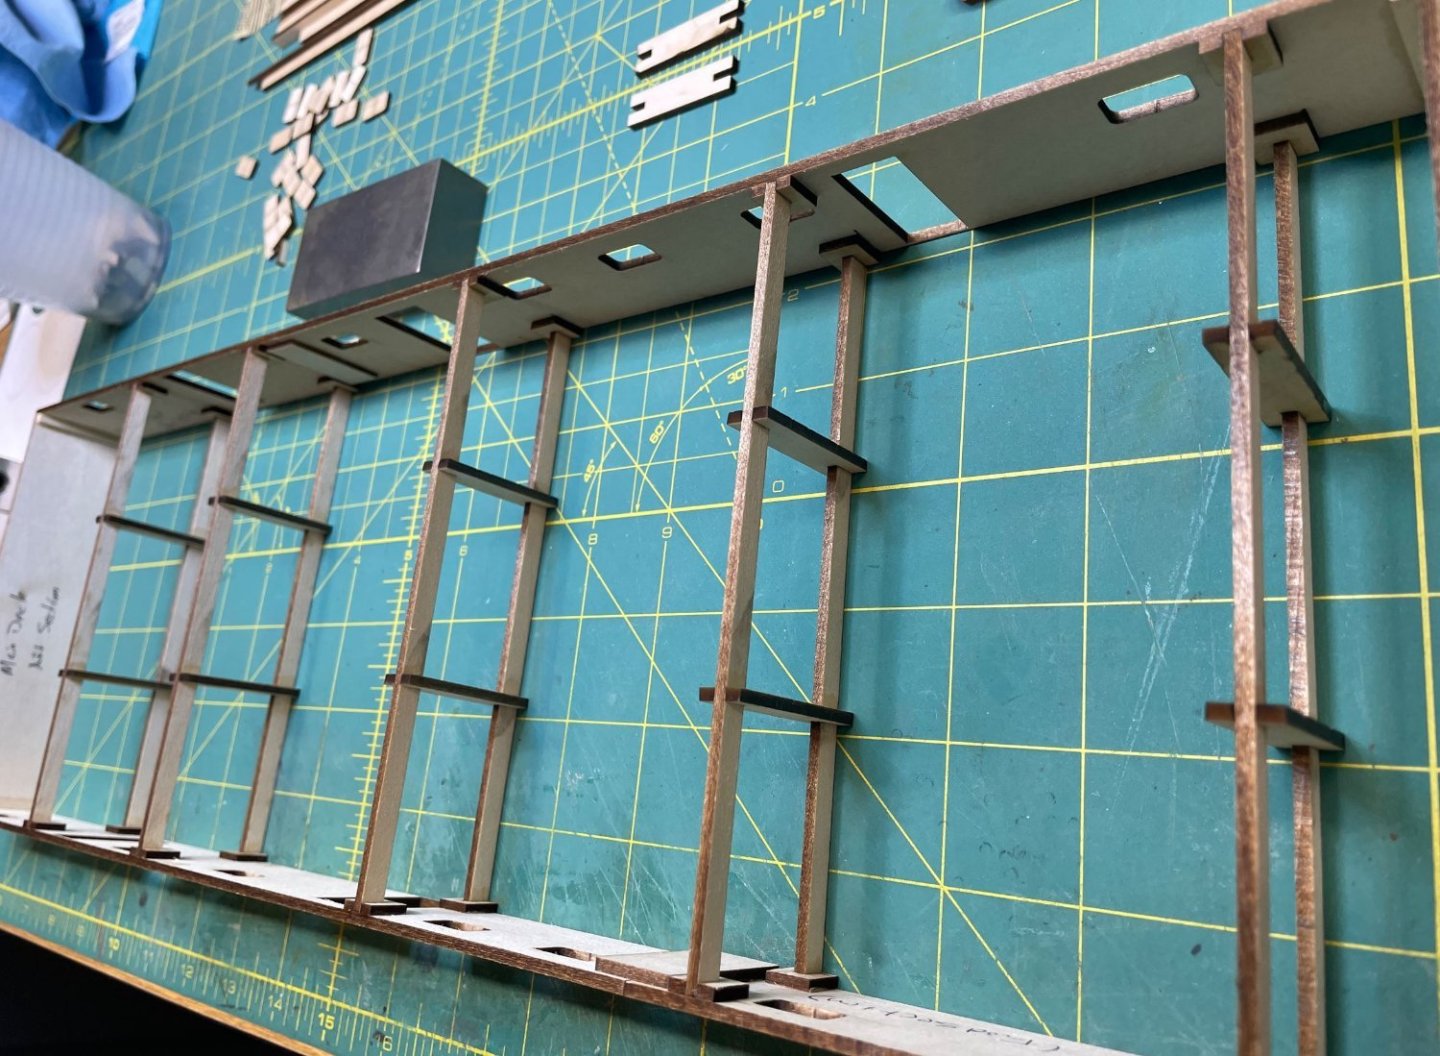
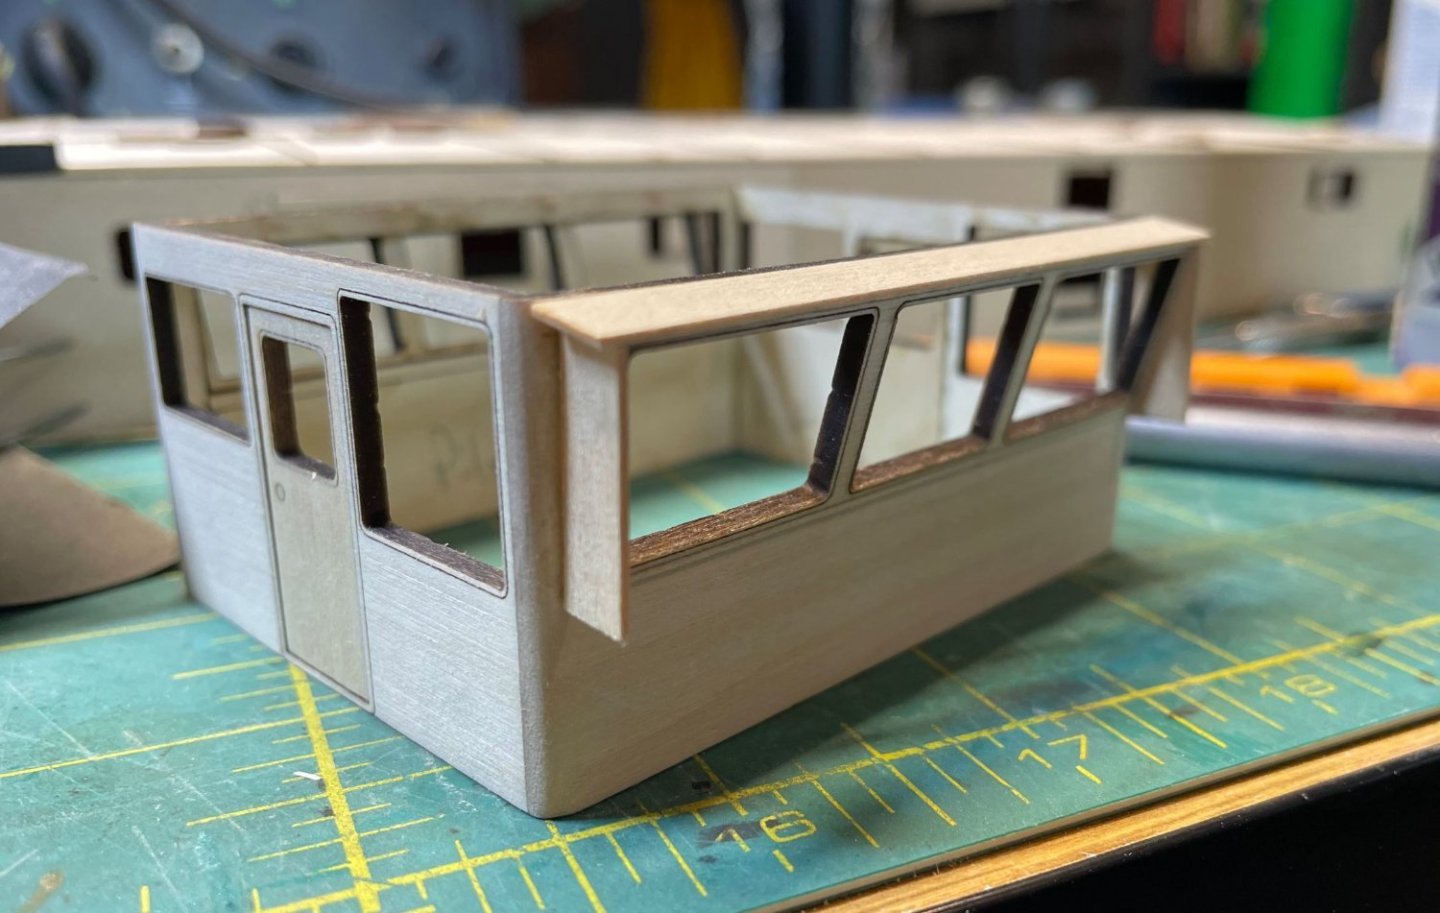
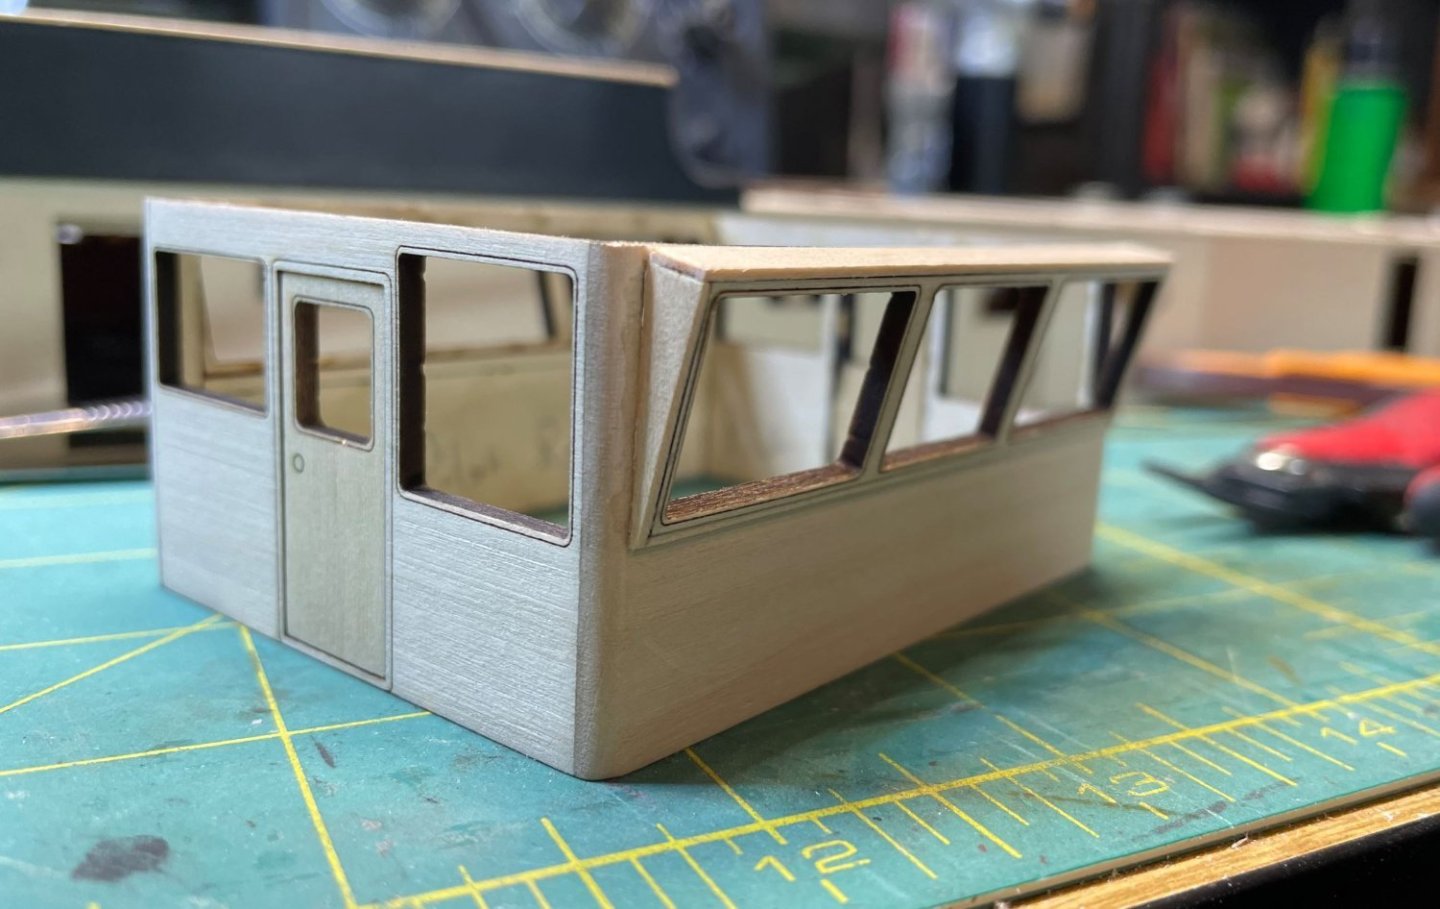
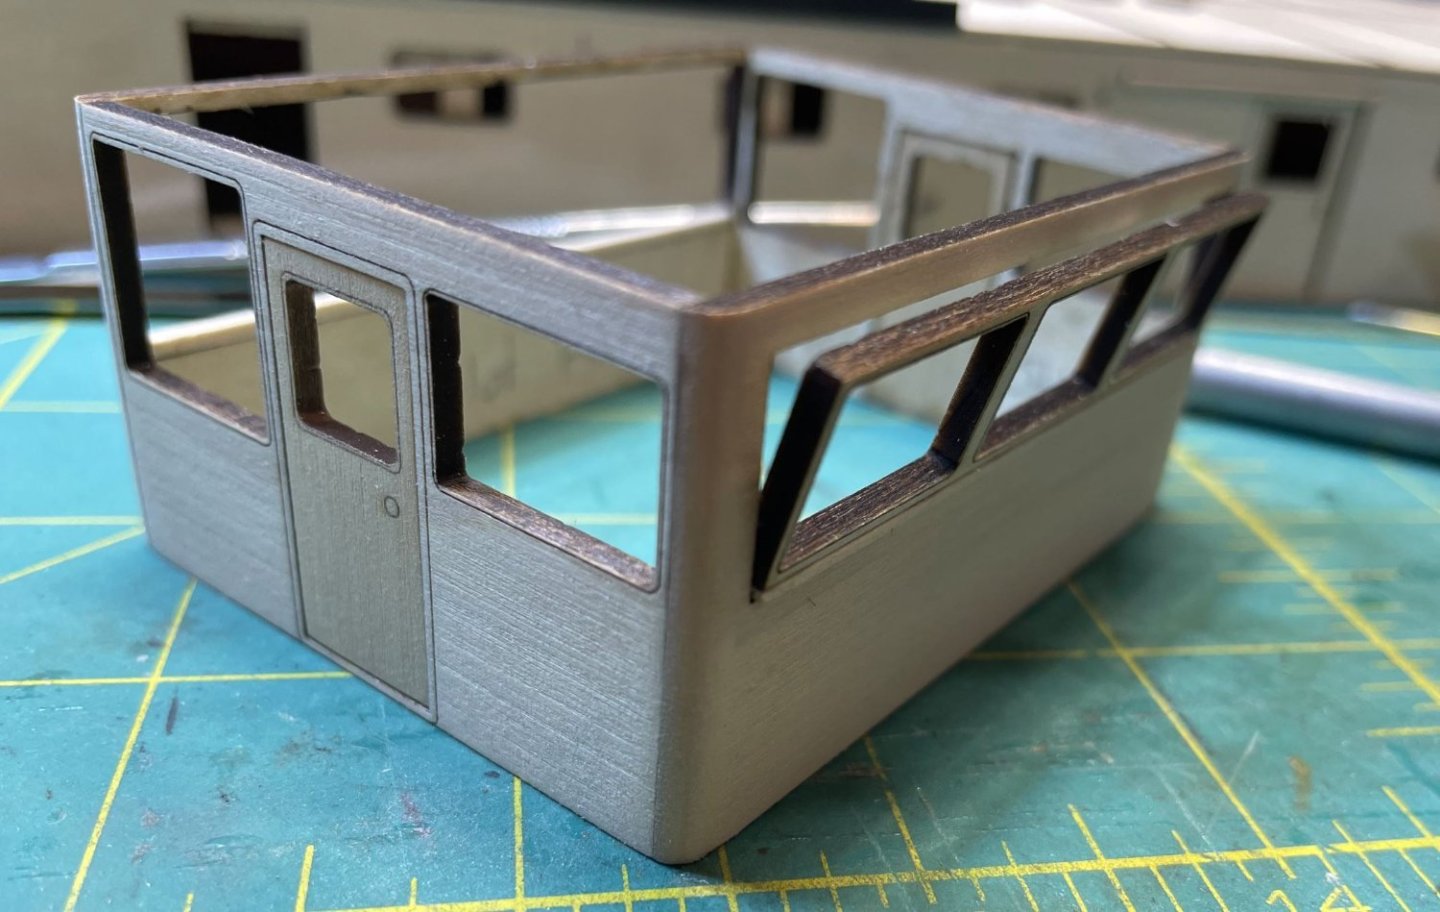
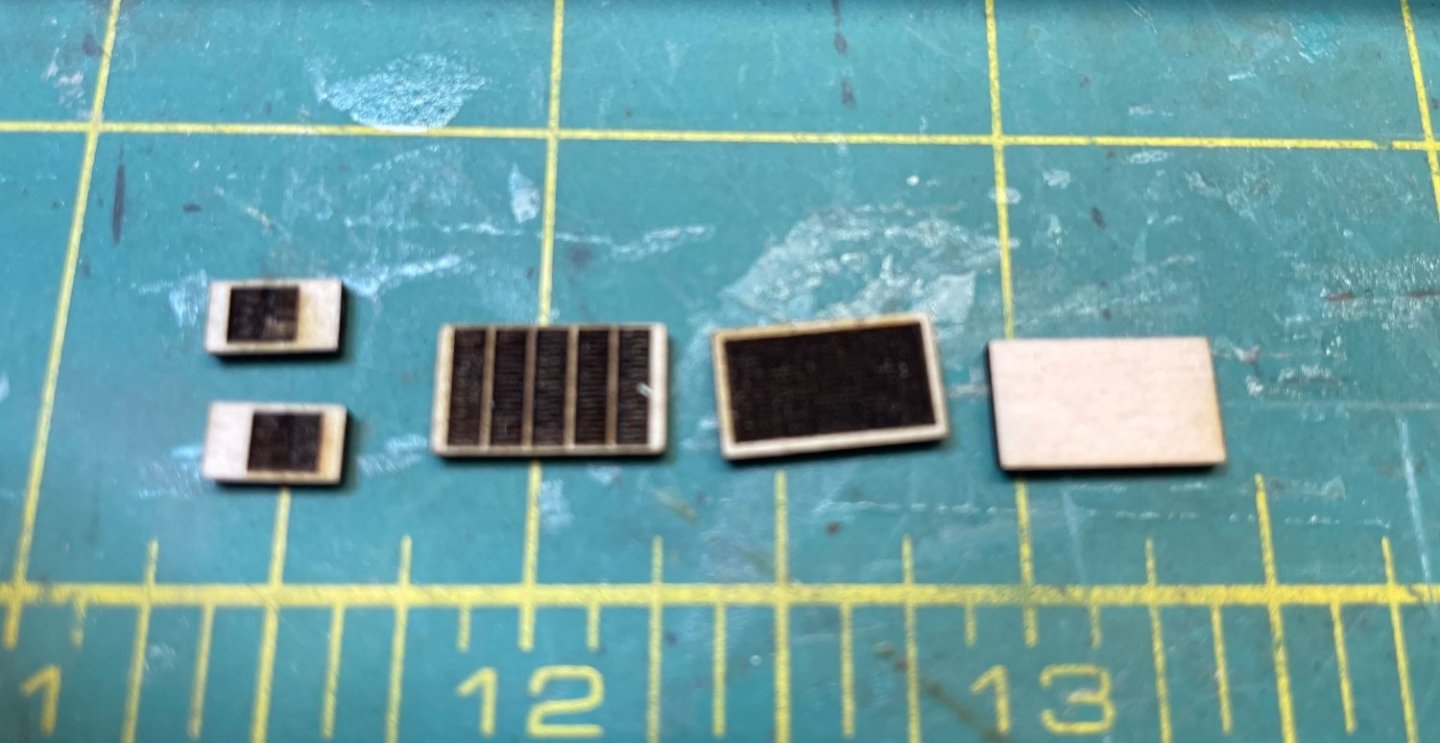
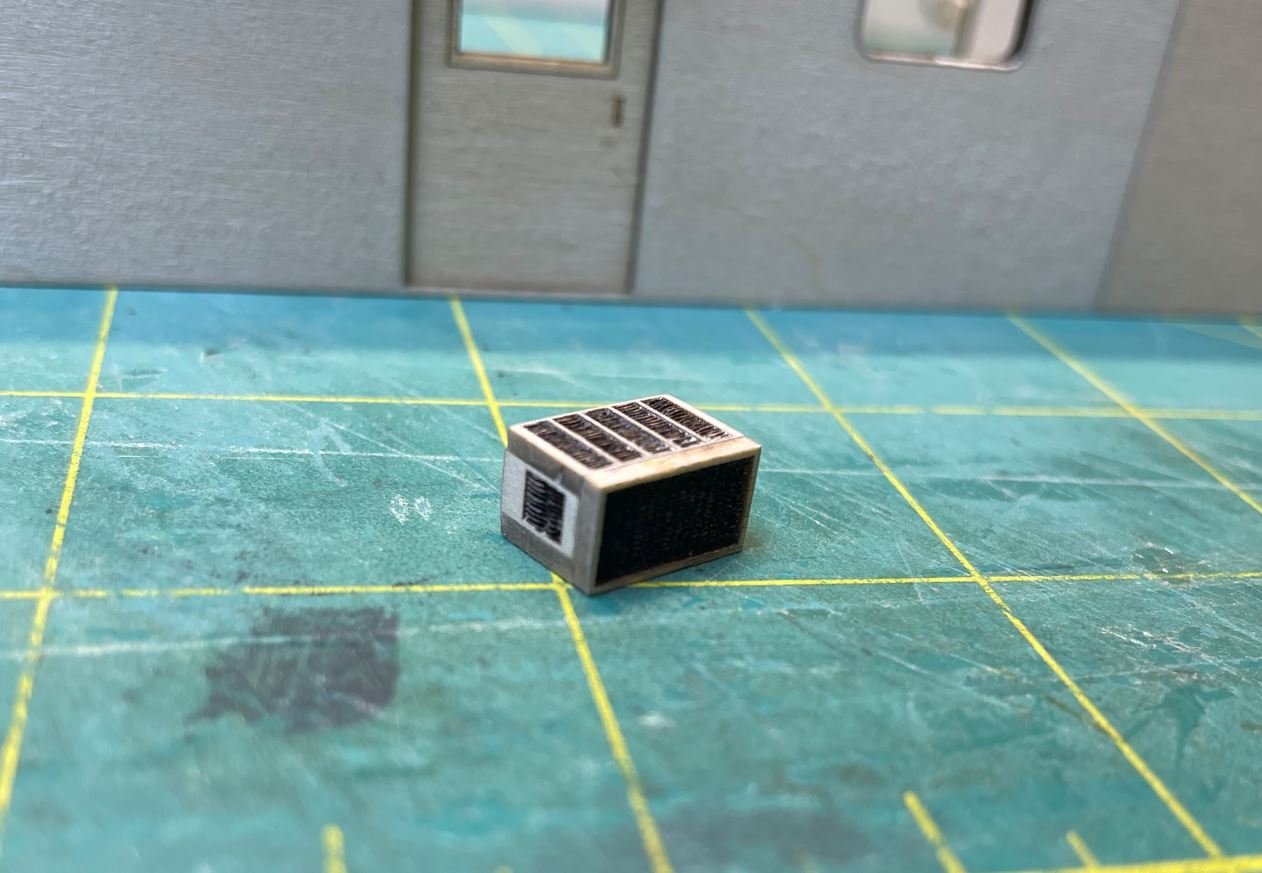
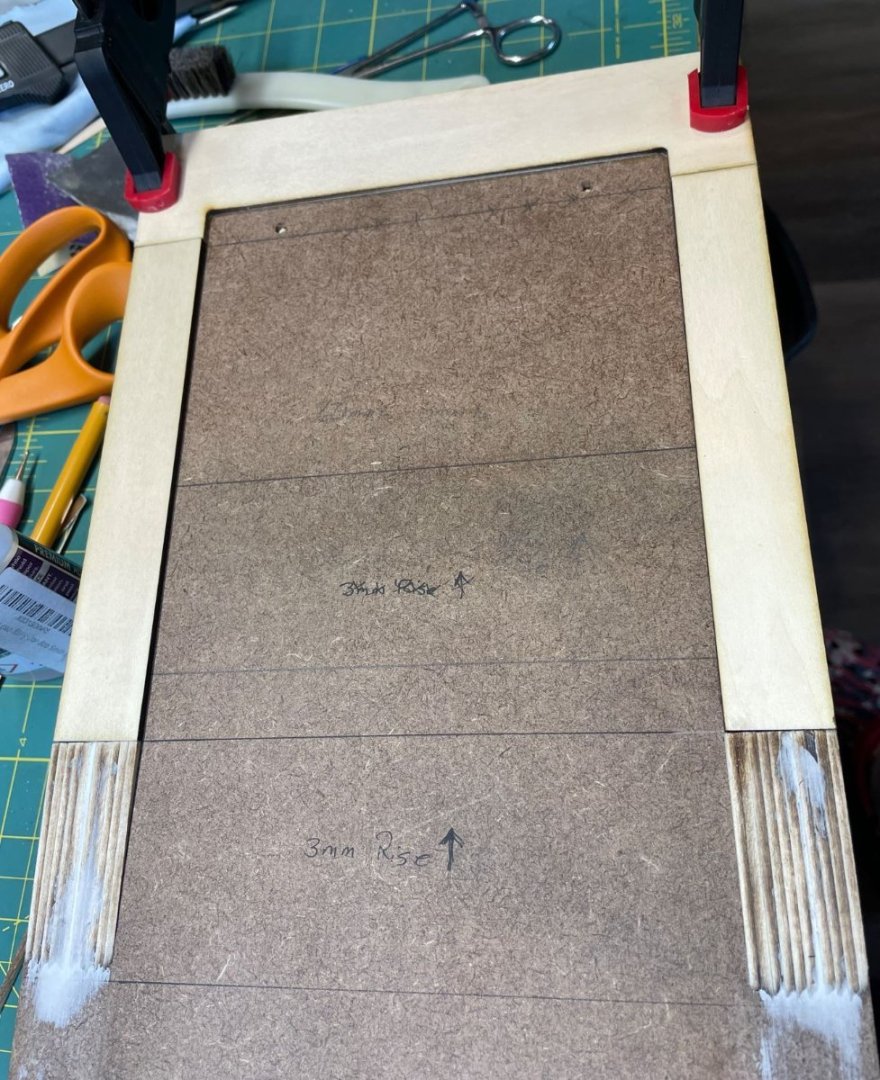
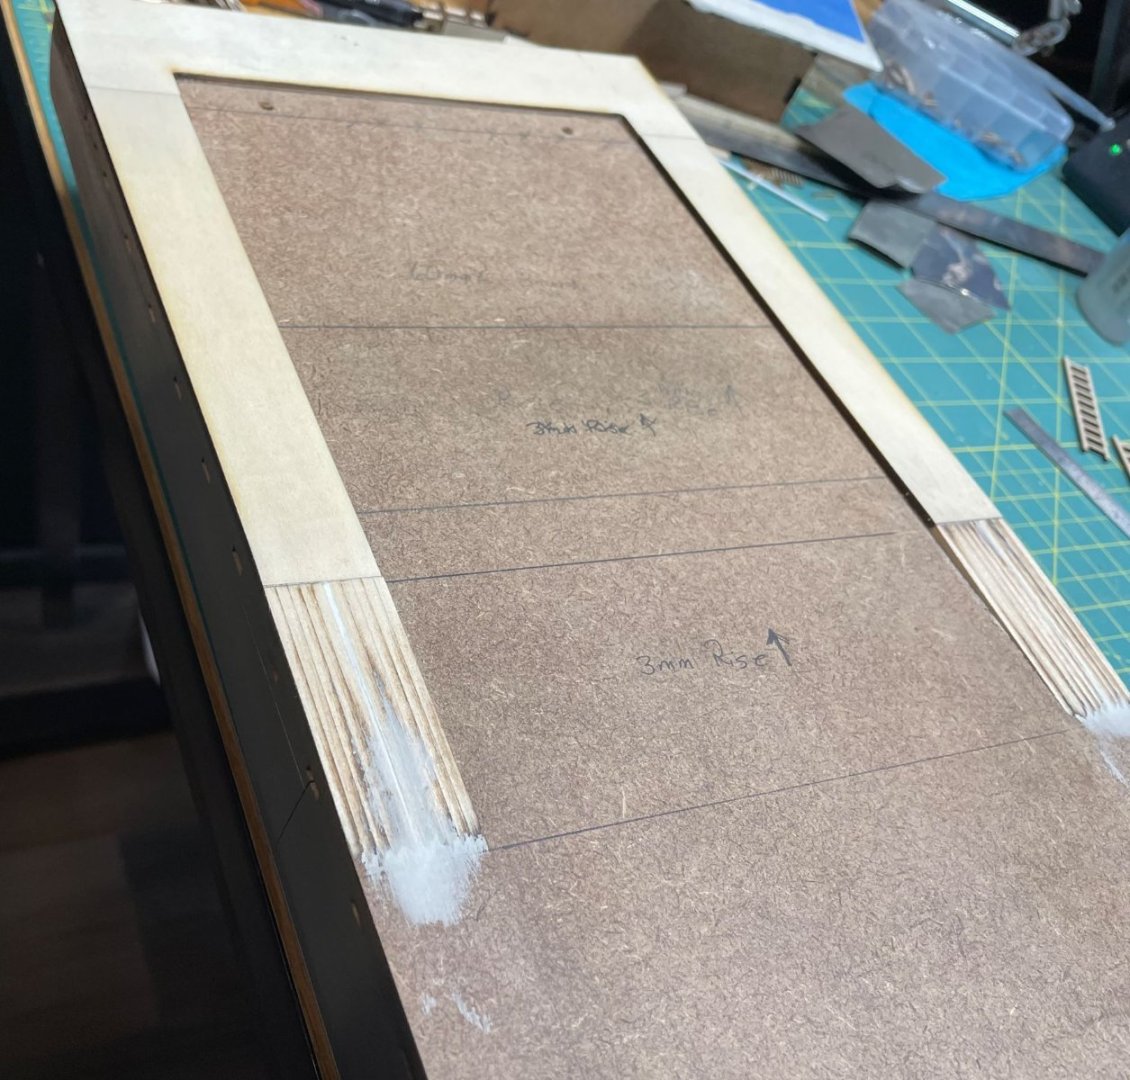
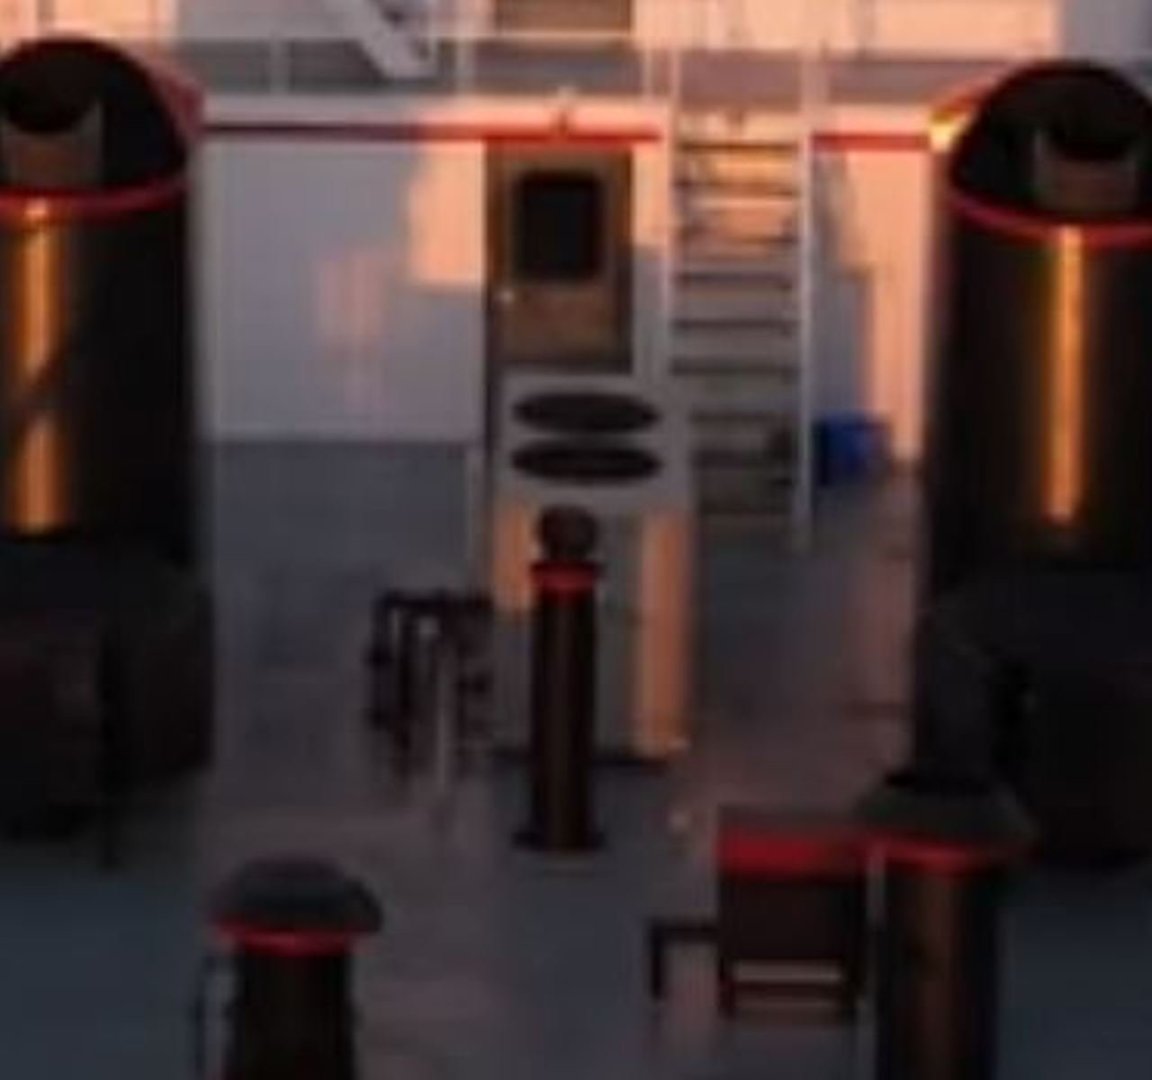
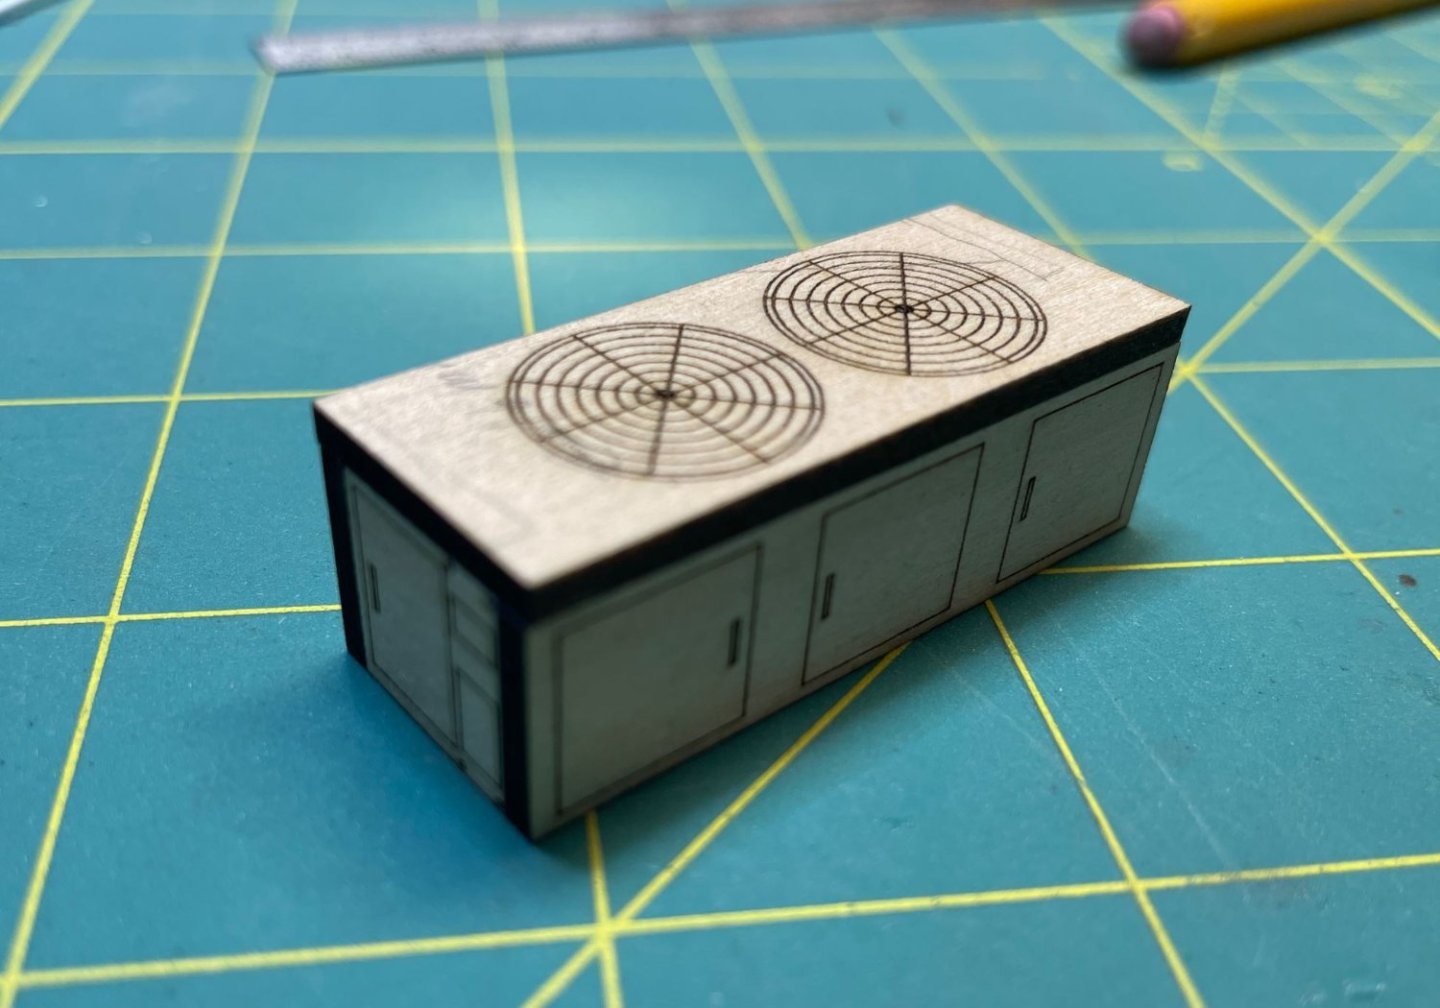
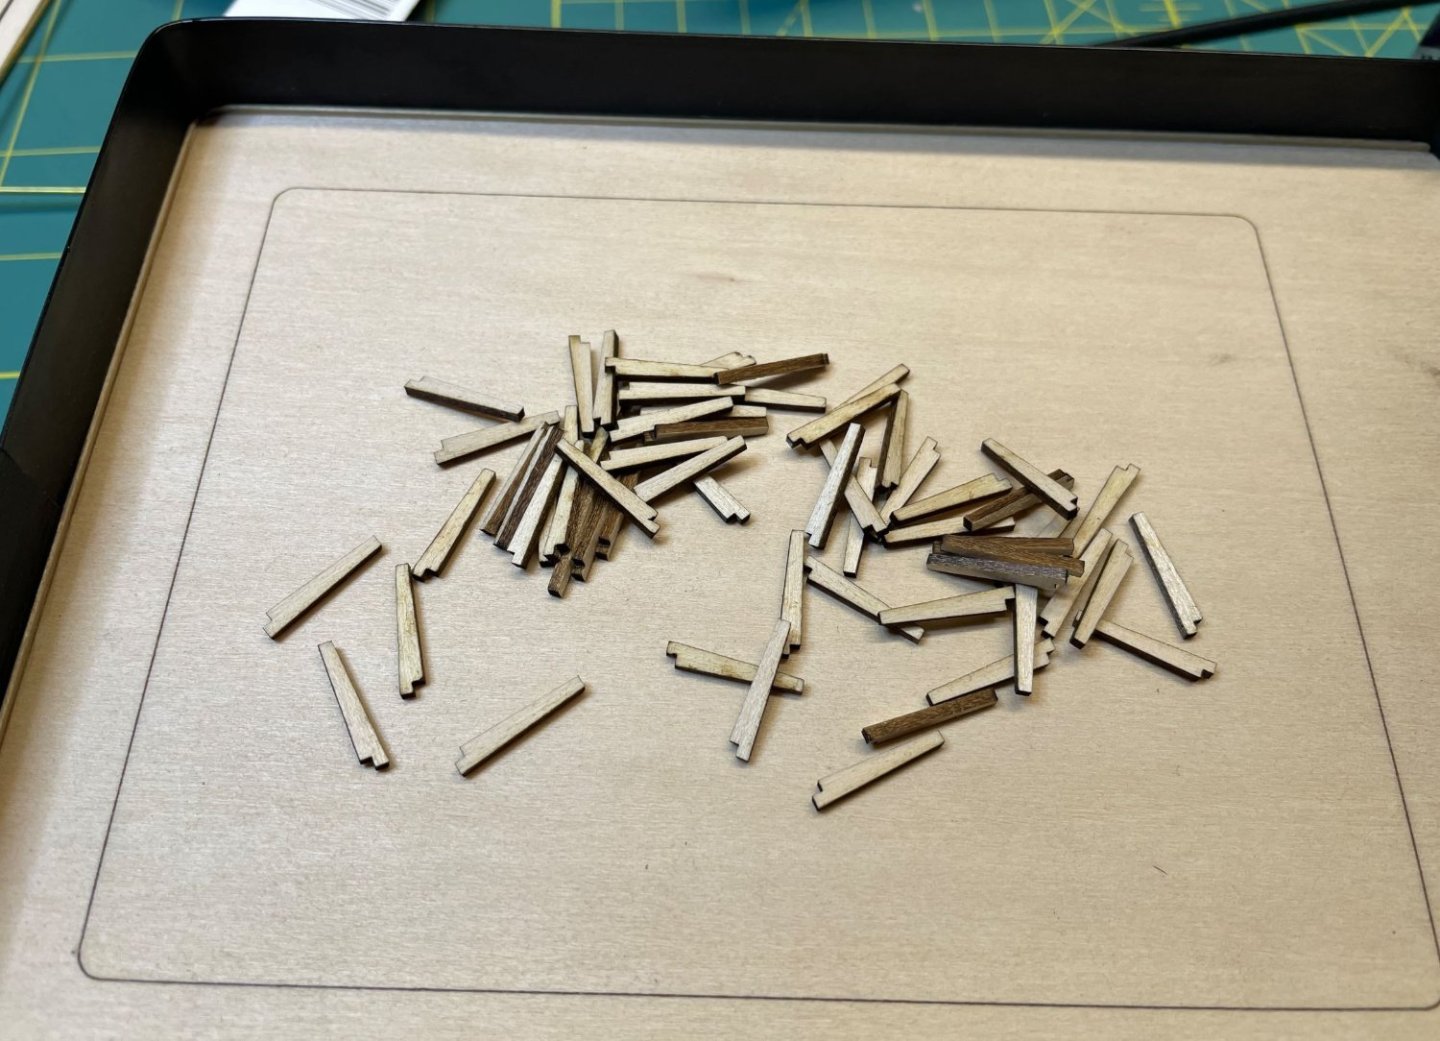
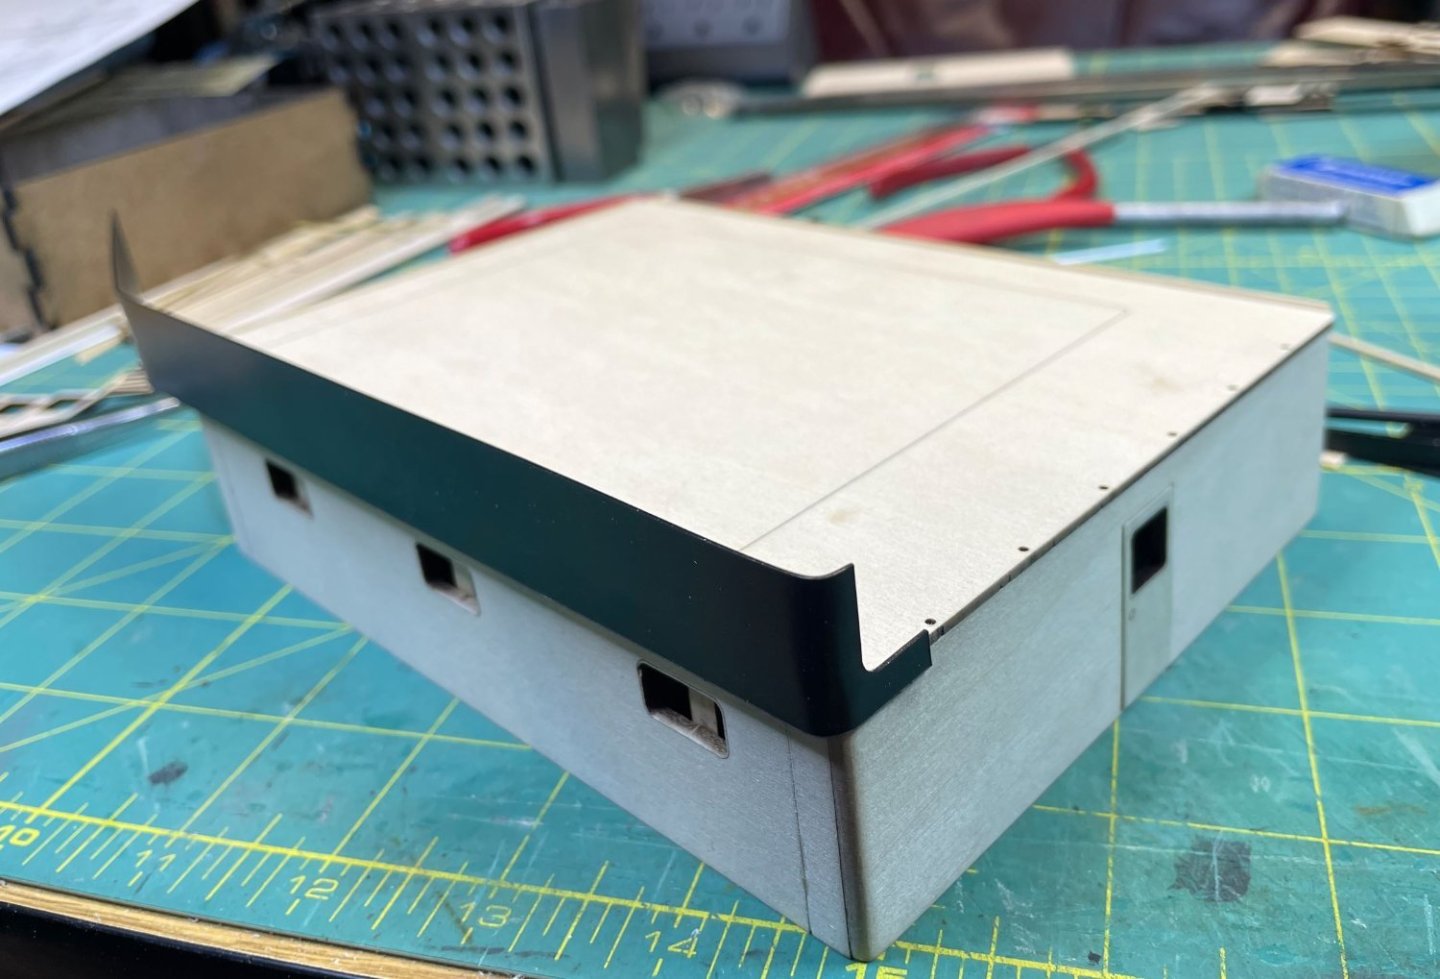
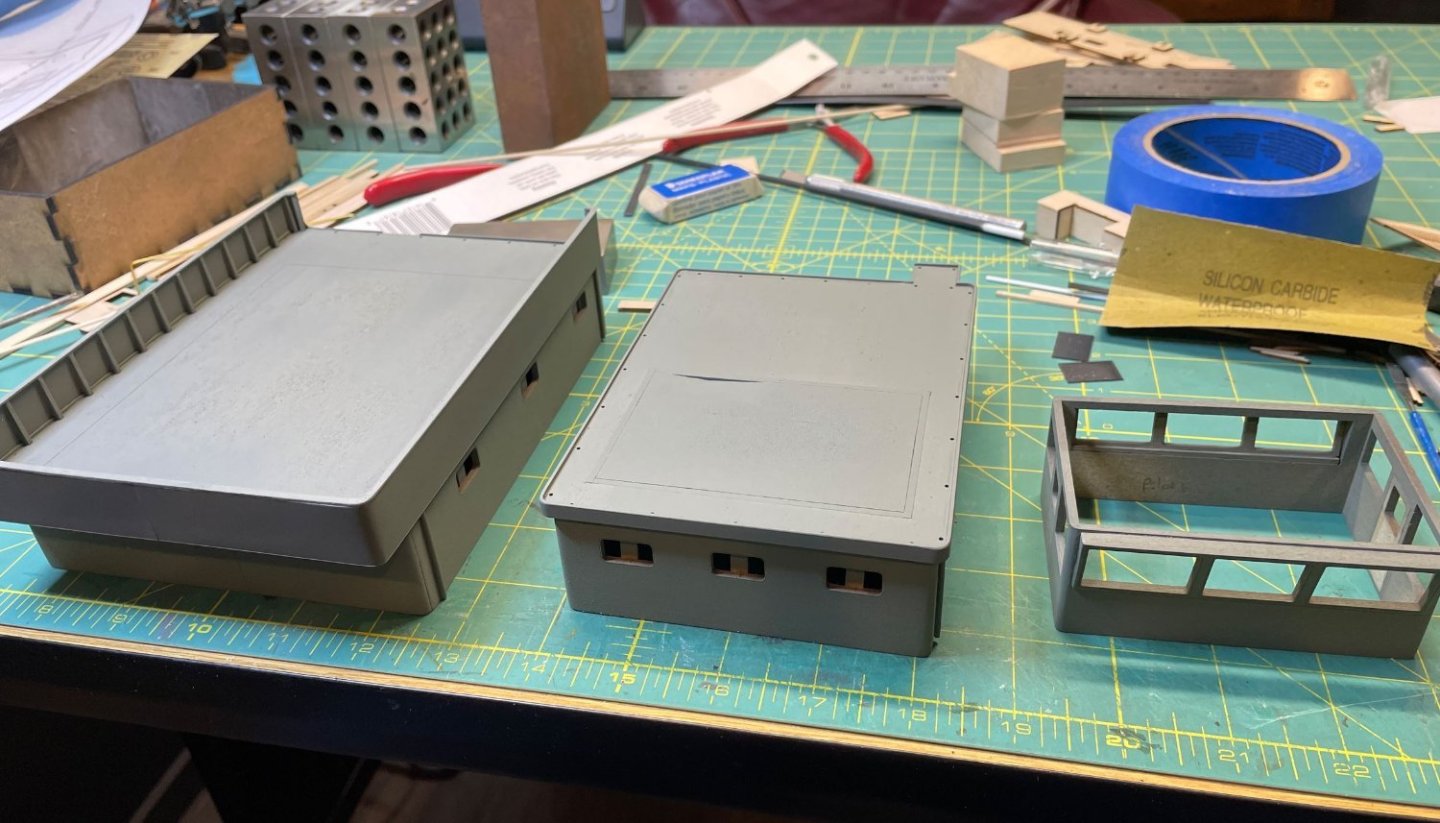
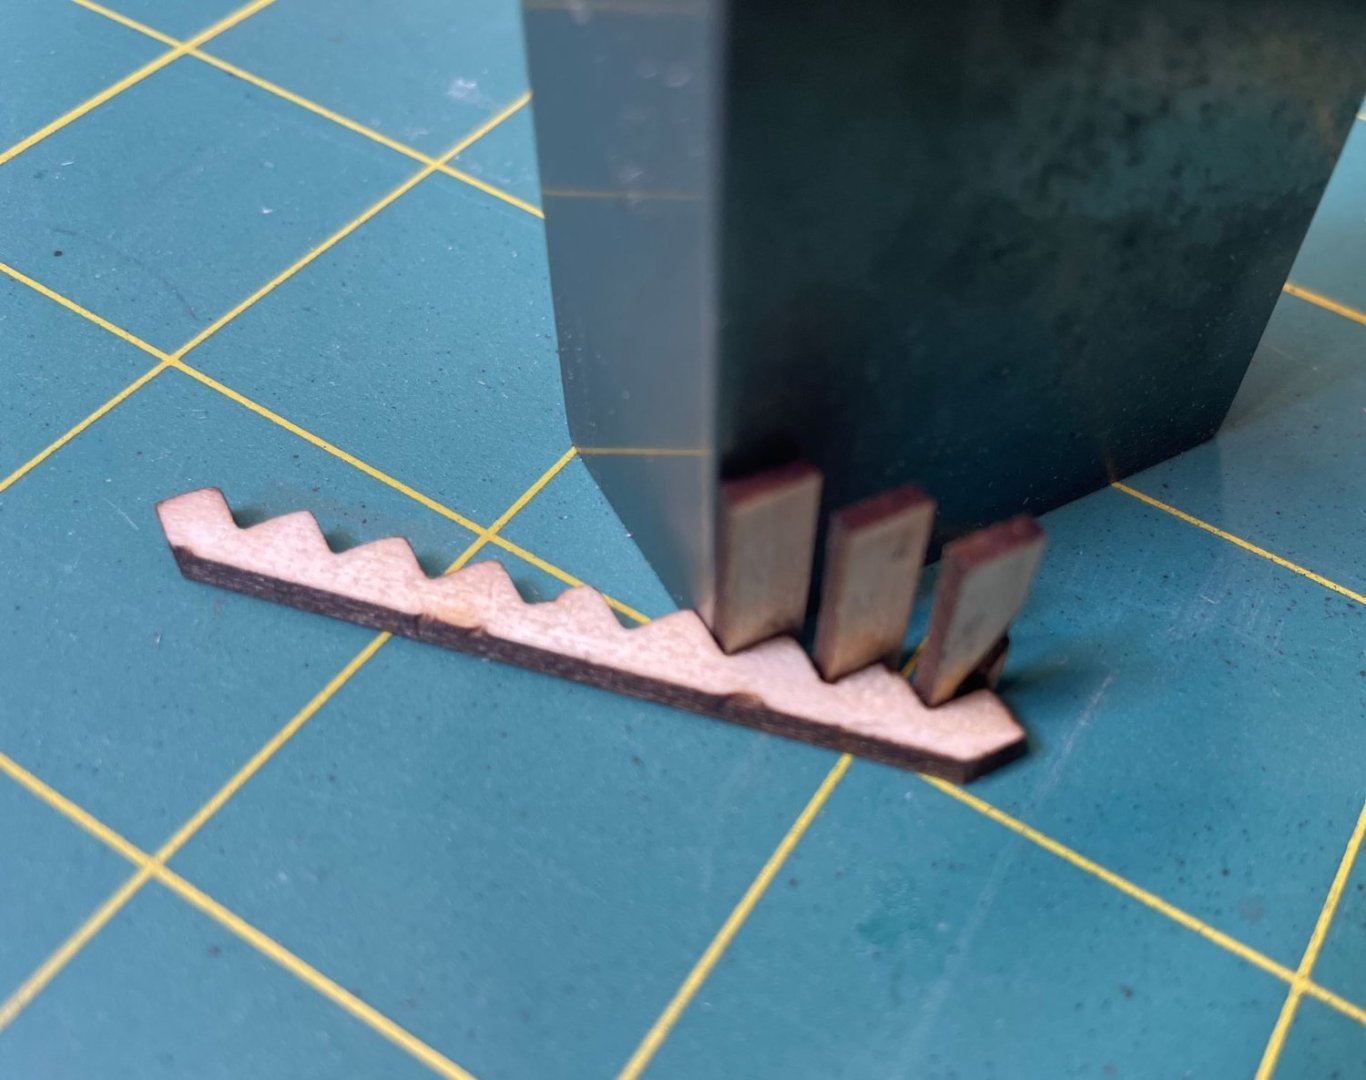
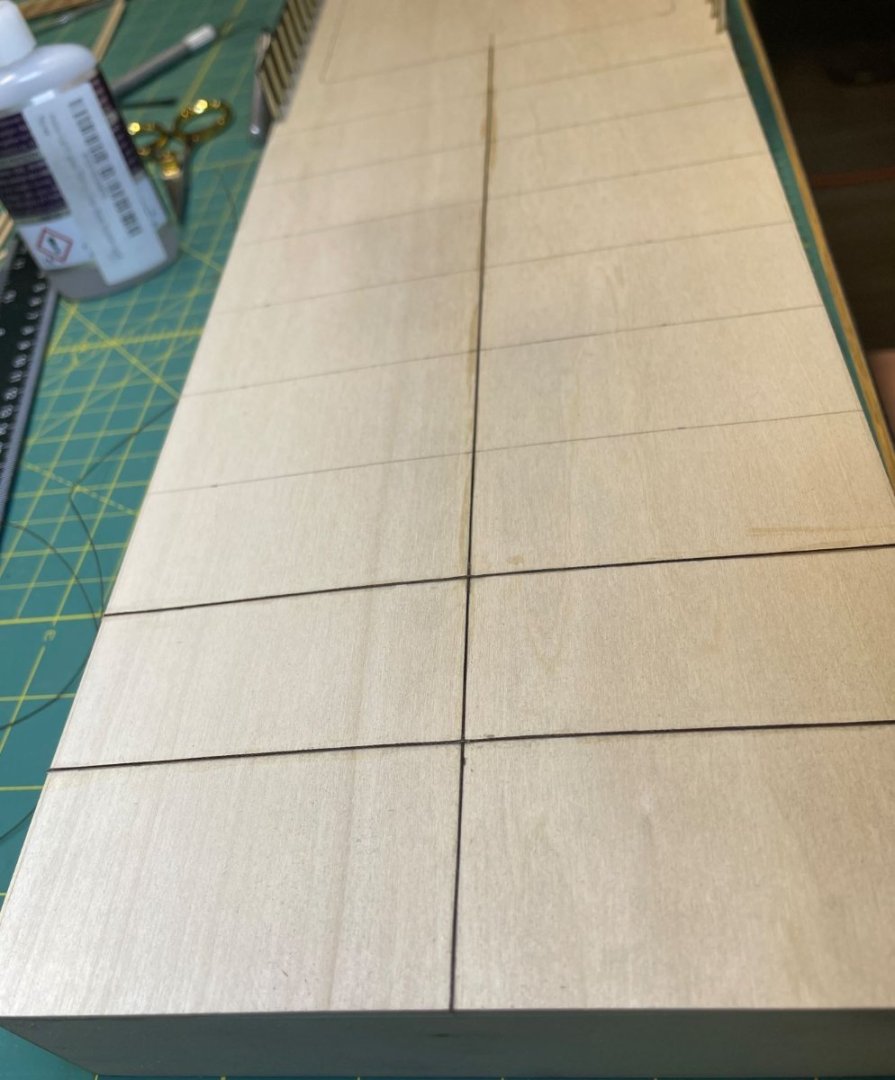
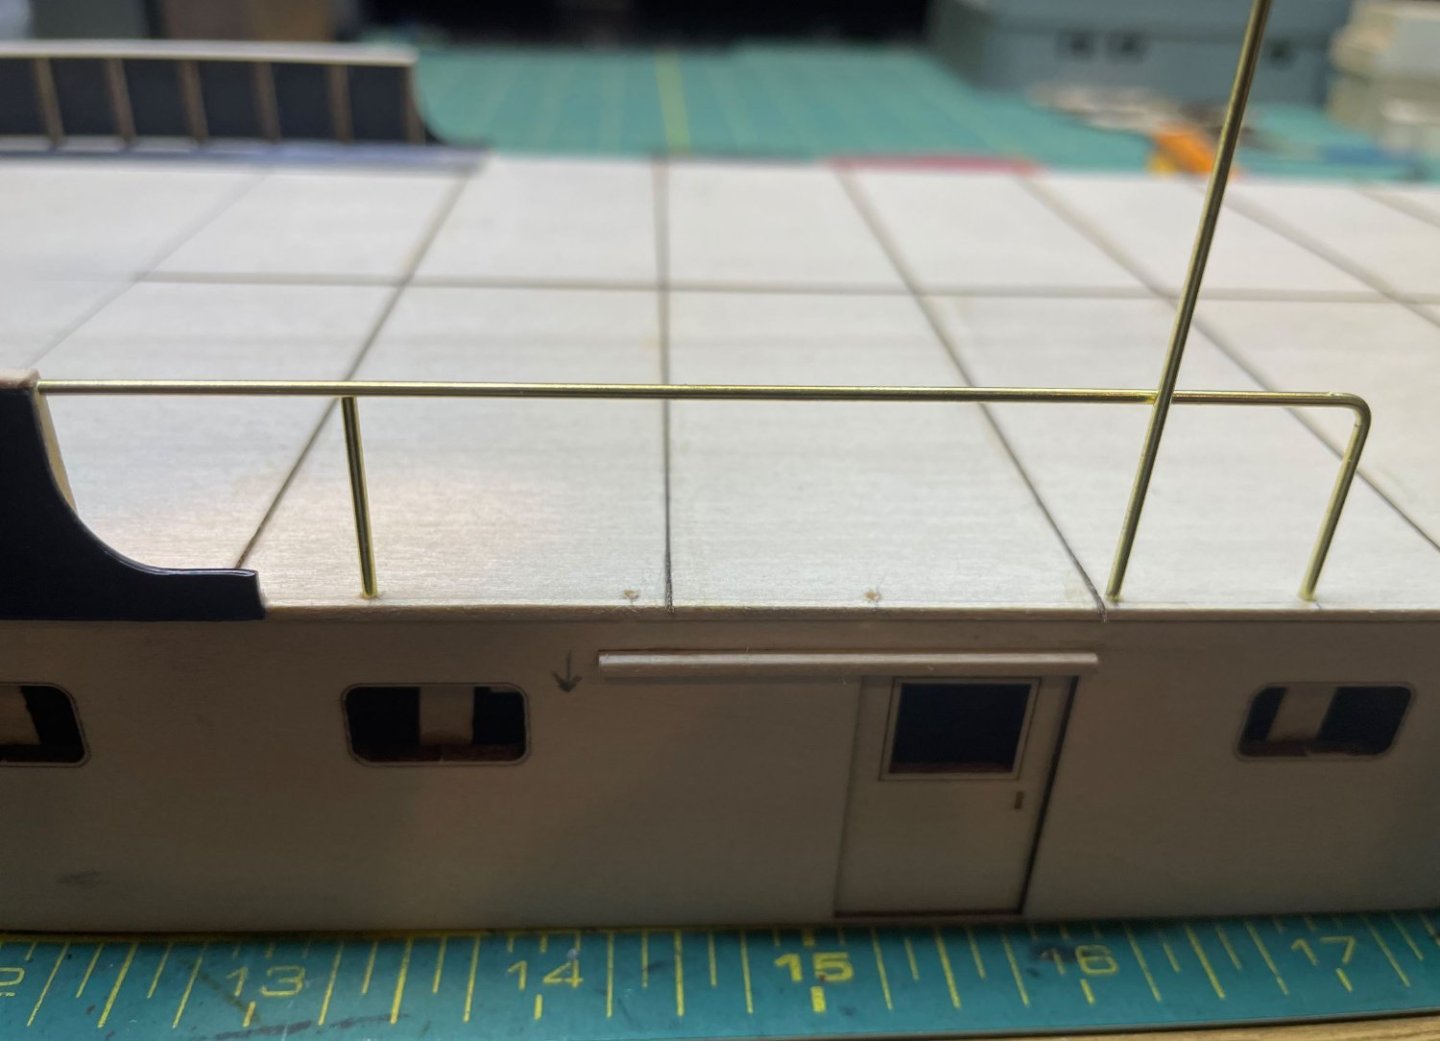
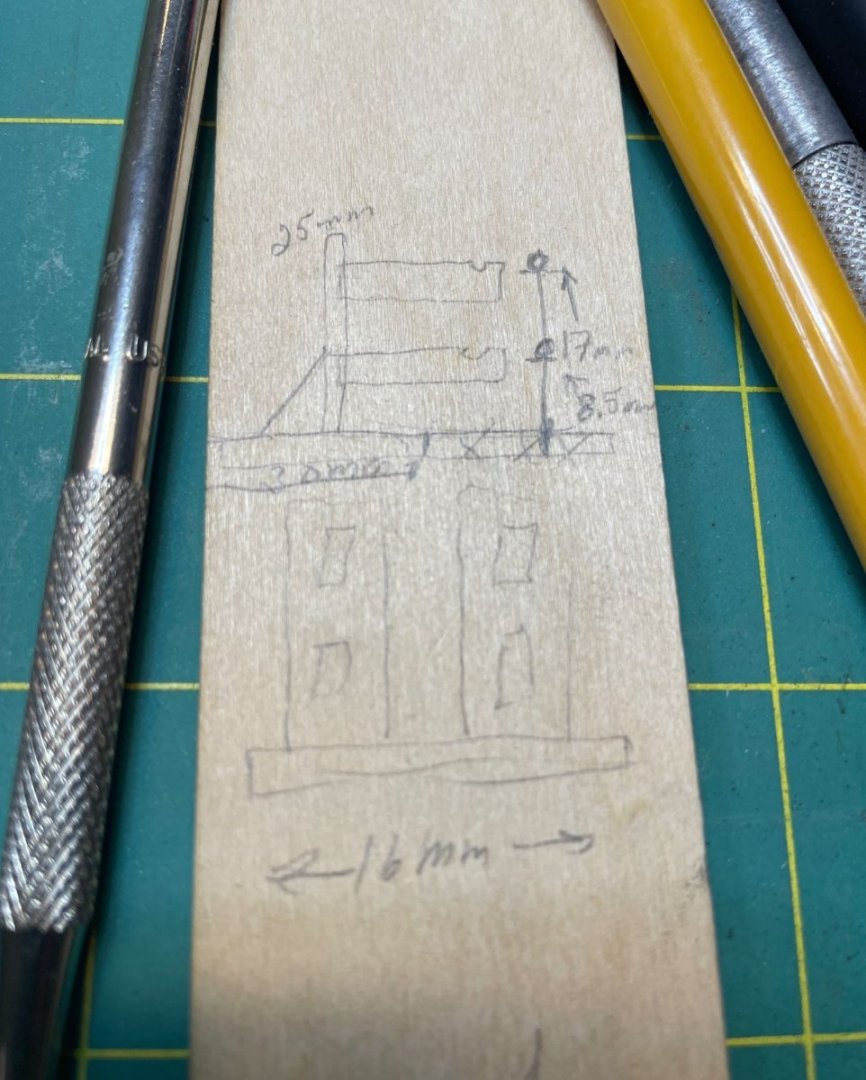
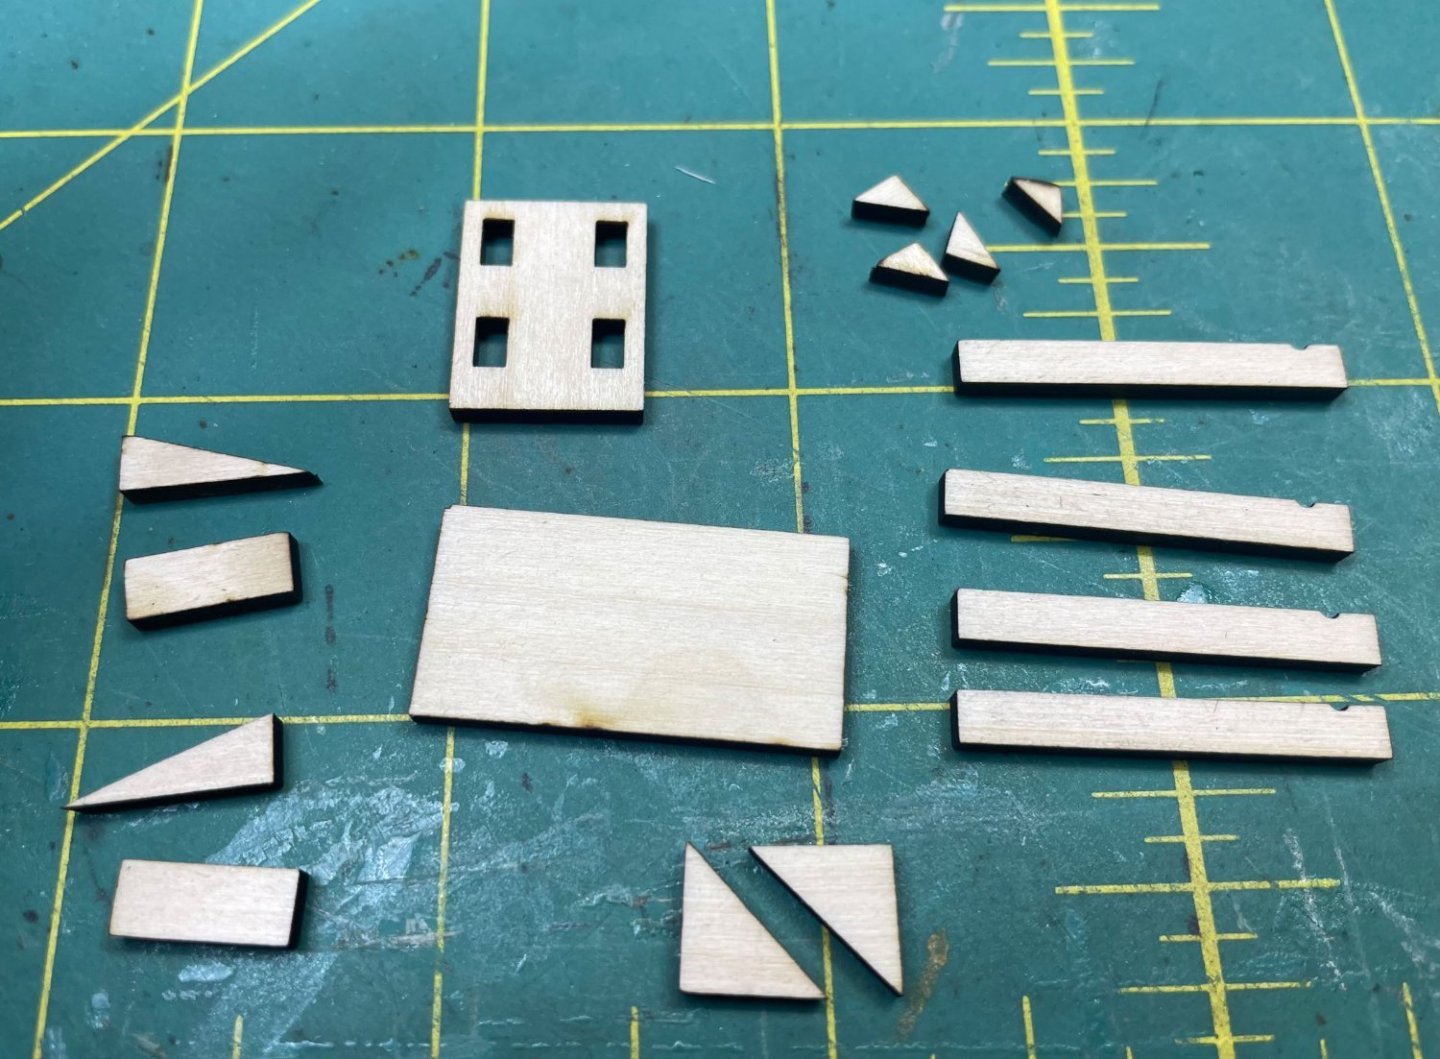
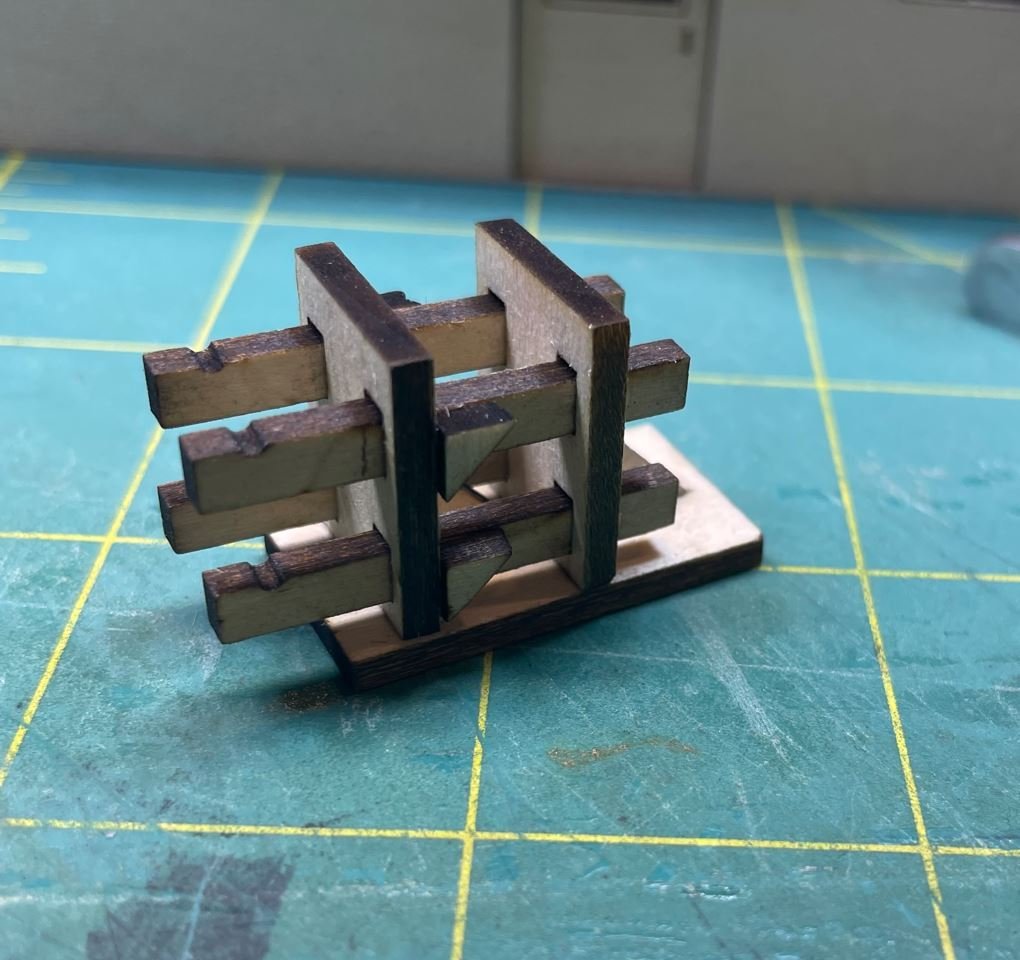
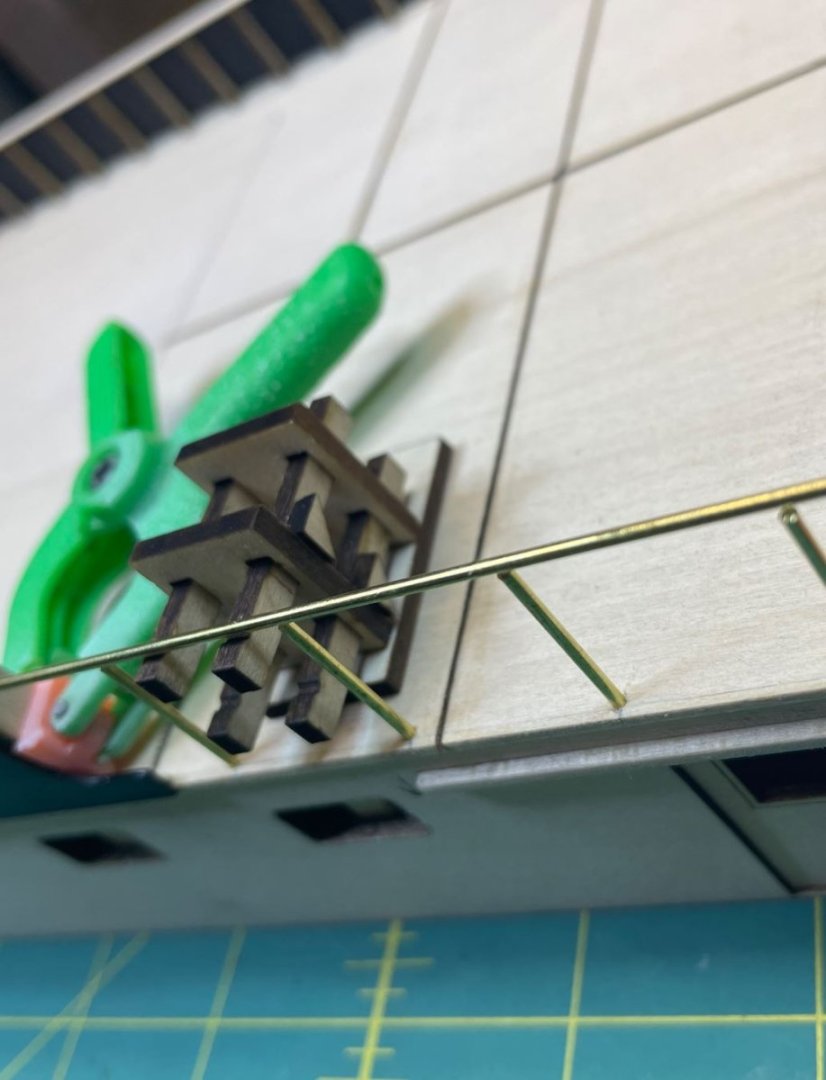
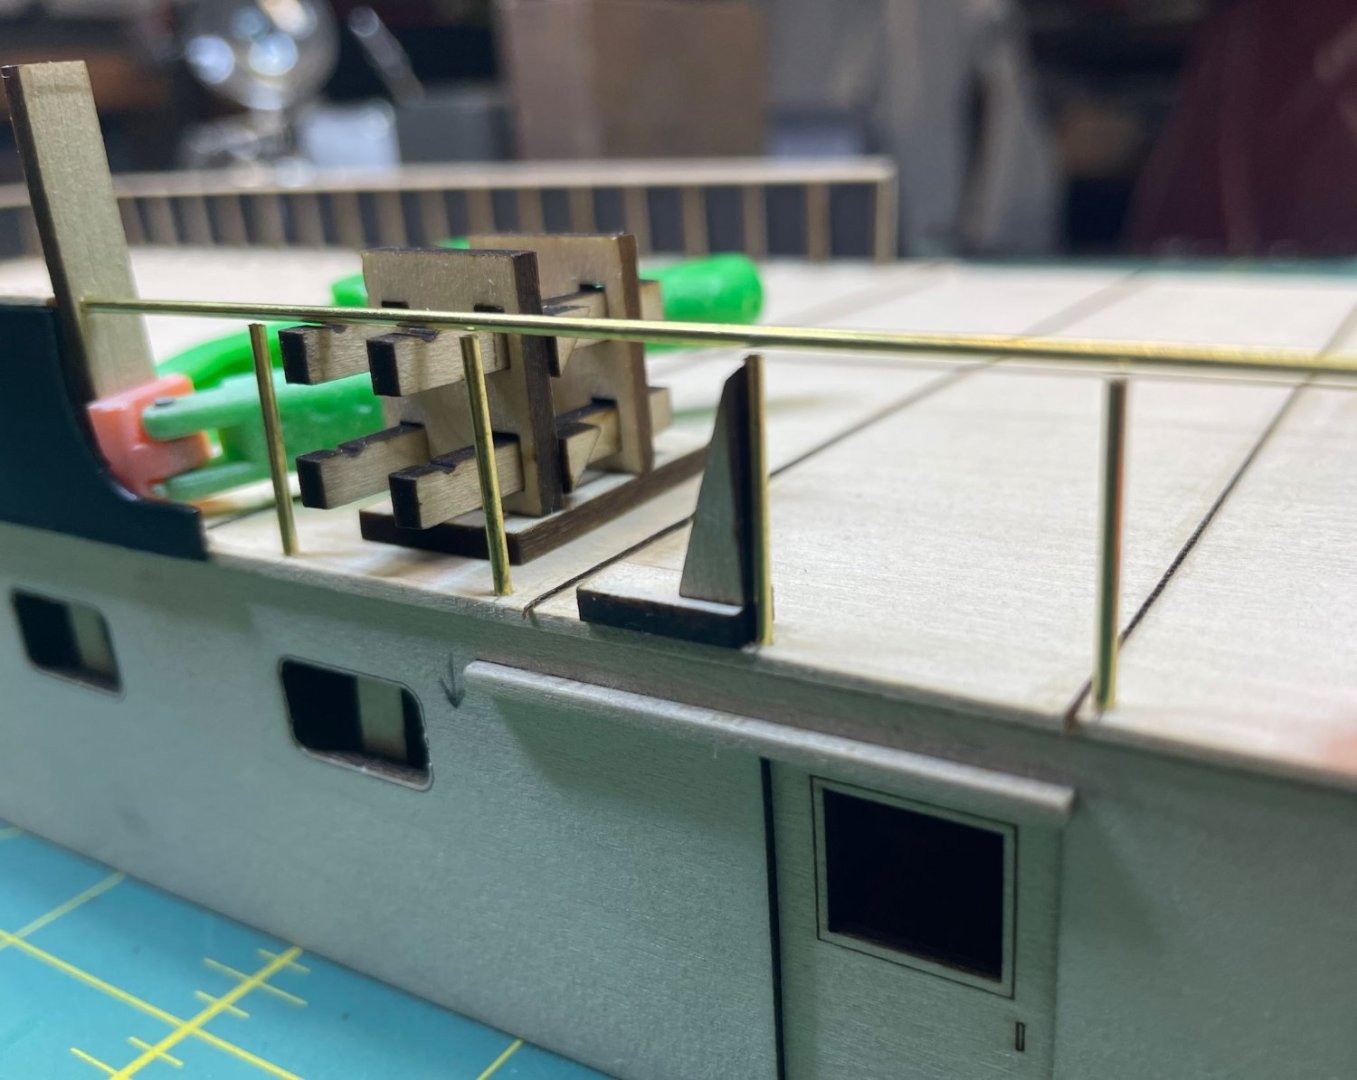
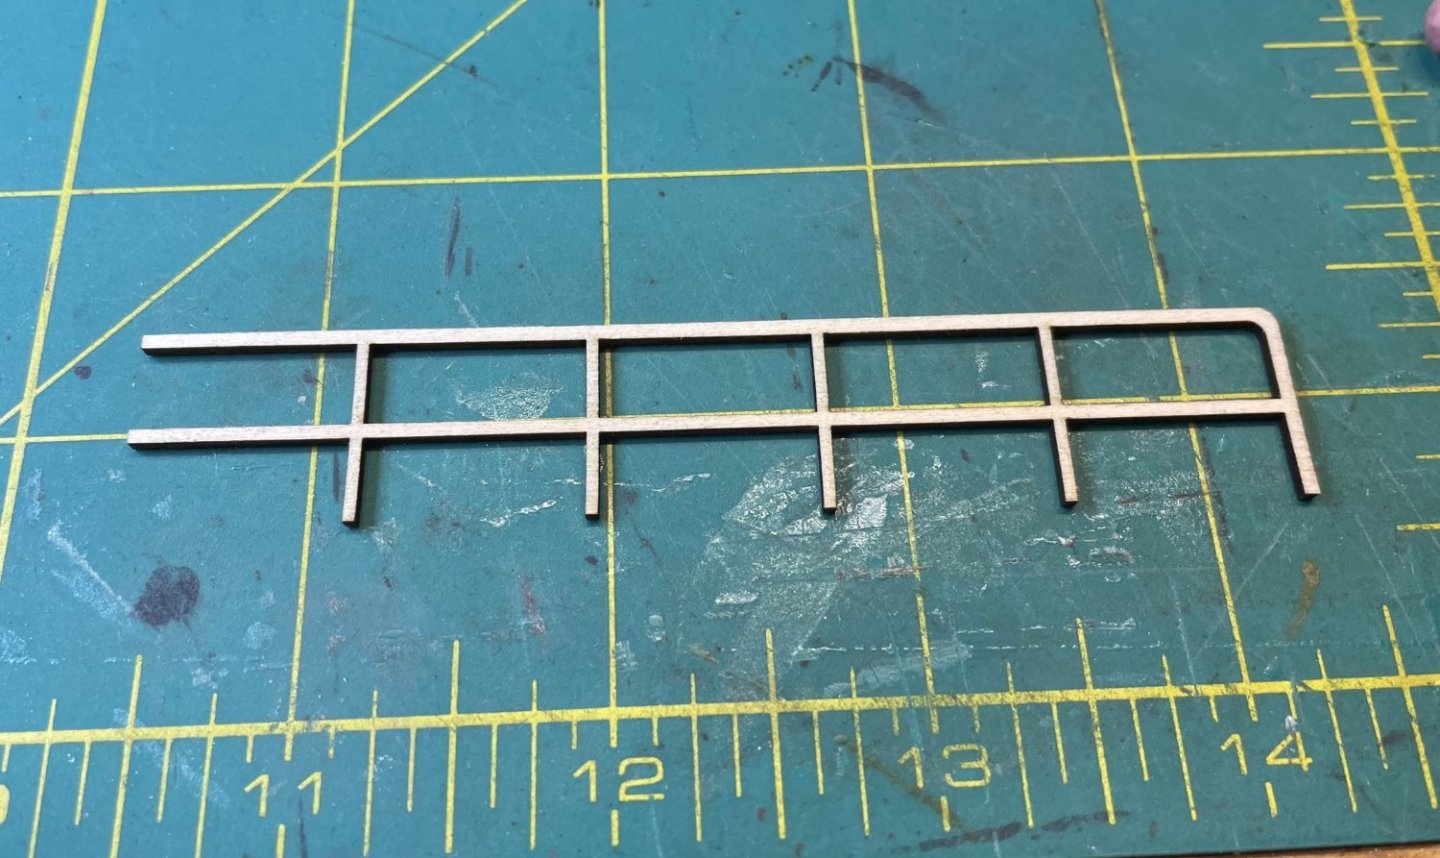
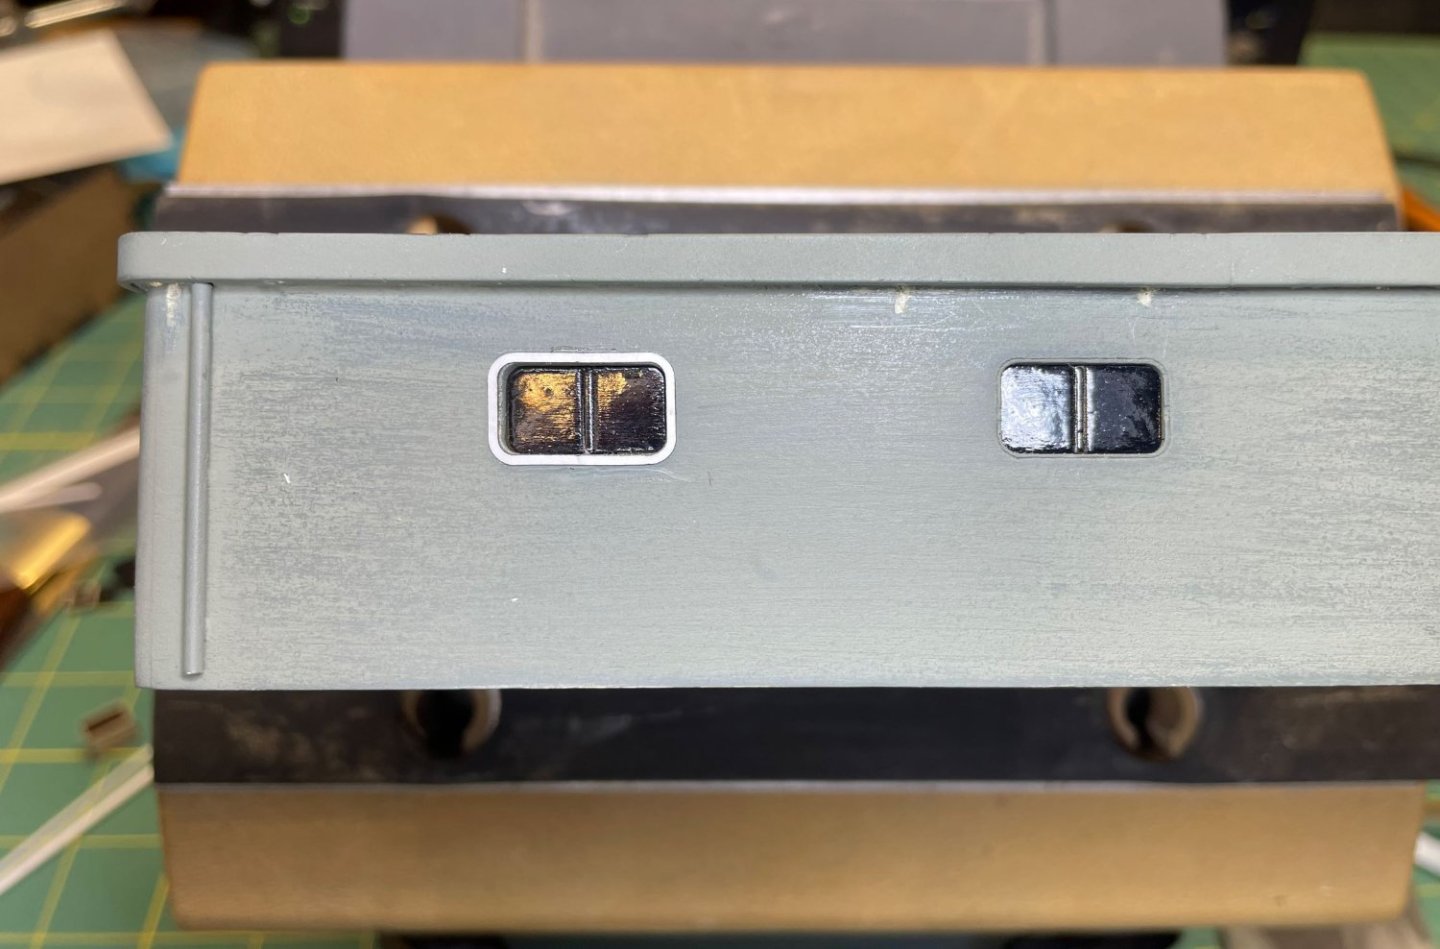
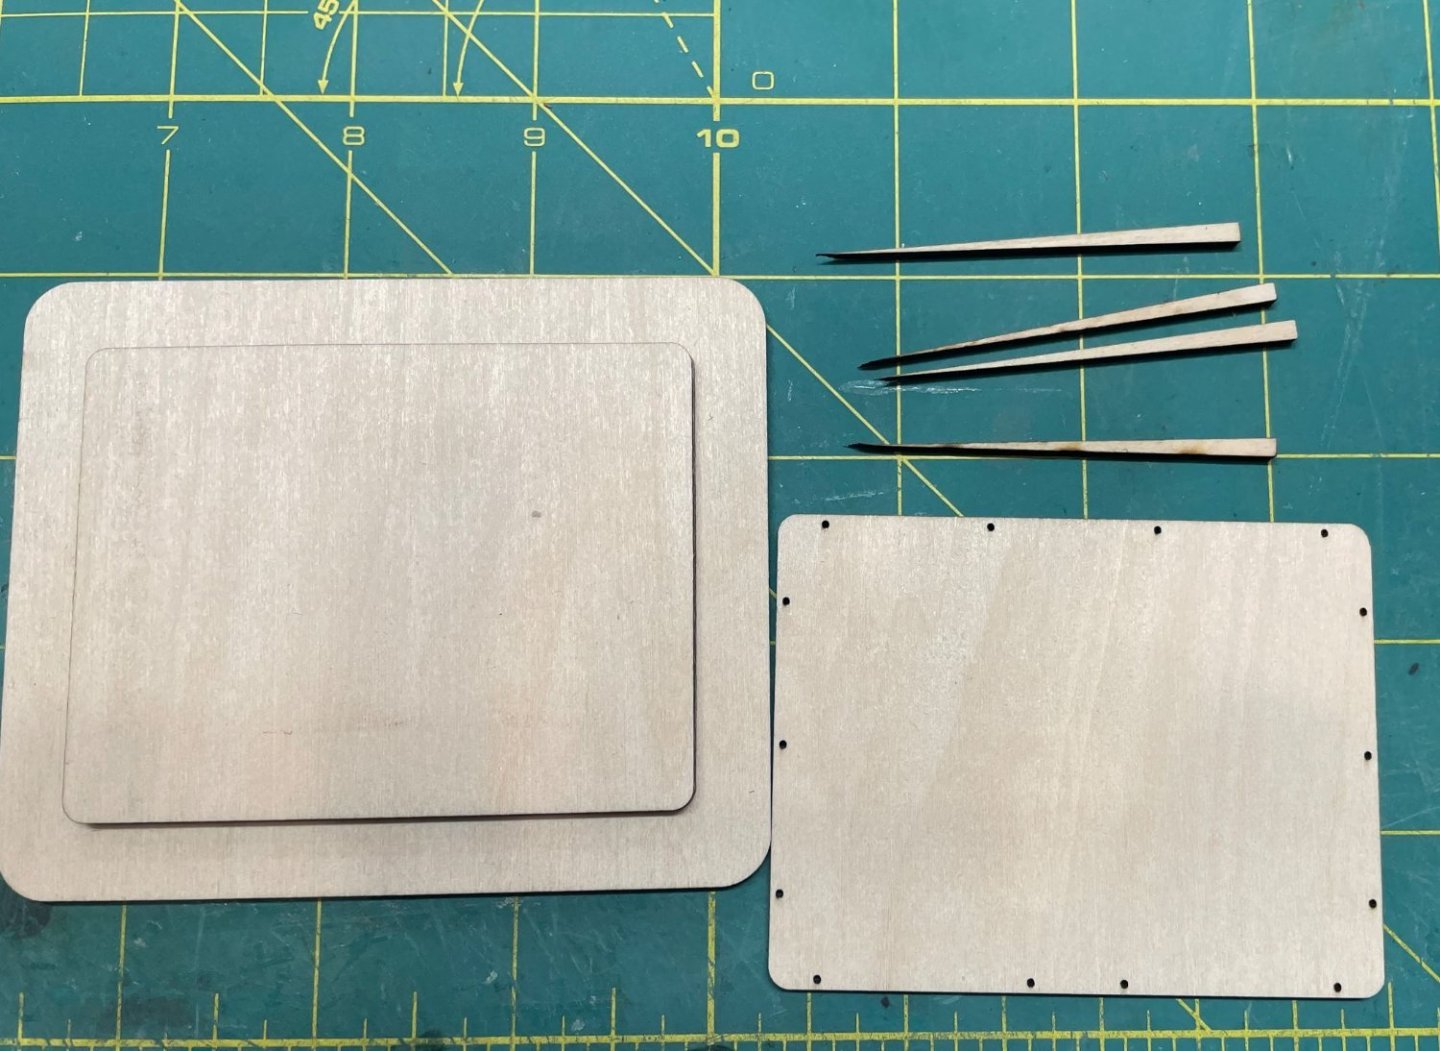
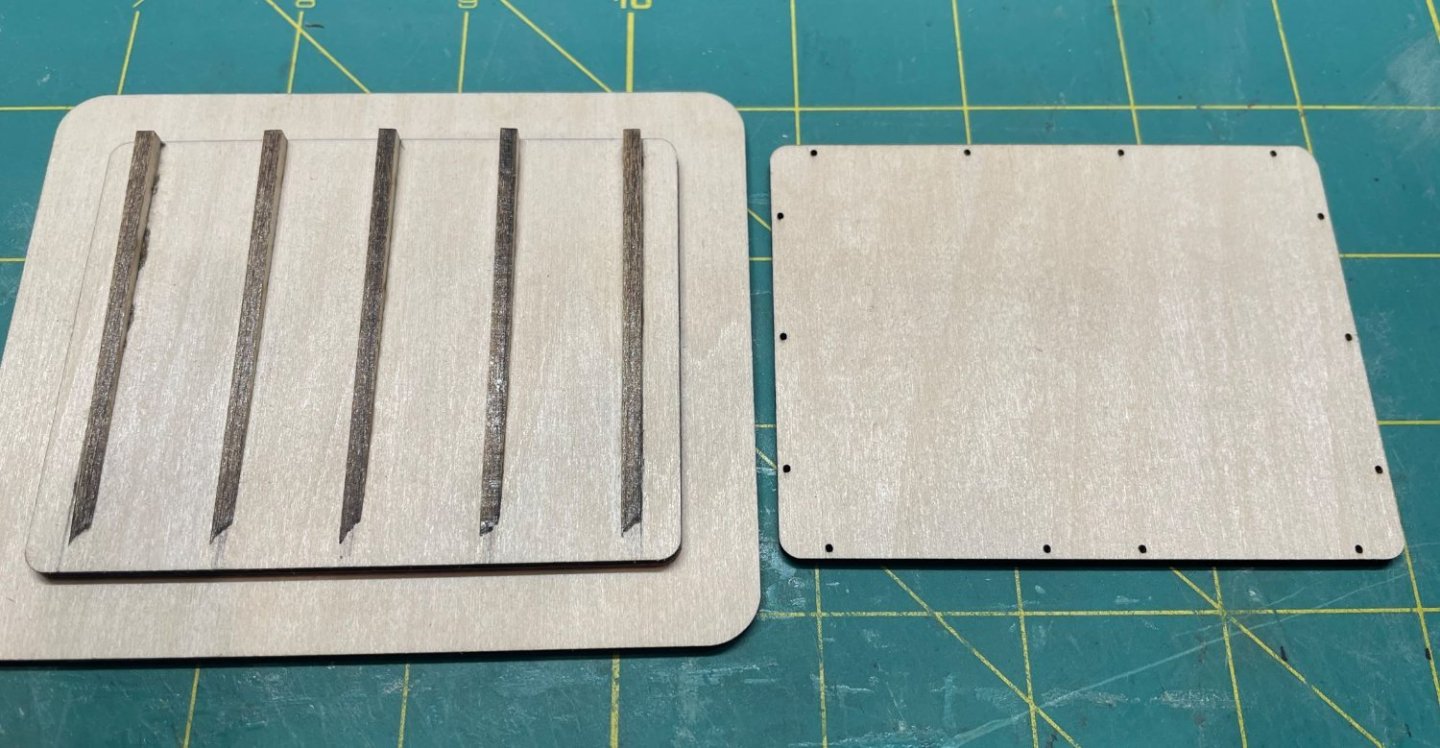
Hello again everyone, I figure I had better get some progress shown on her or people may start to lose interest. It's not for lack of work being done on the Caroline, it's just laziness of not updating the build log. Since my last update a month ago I have been busy and I have been giving my XTool quite the workout. So i was able to get all of the deck walls drawn up, cut out and assembled. These were real simple shapes to work with. The main roadblock that I kept running into was the window locations on each of the decks. I first located them all according to the plans, but then I started finding videos of the Titletown USA (Formerly The Caroline N) and discovered that the windows were not all located in the same location as the plans. So I had to do a lot of research of the videos to get the right angle so I could properly locate the windows. I did this by scrolling through the video to the right spot, pausing it and then taking a screen shot the image. I think it worked pretty well and I believe that I have all the windows and doors in their correct locations. Once I felt confident that I had everything correct, it was on to getting the deck walls cut out and assembled. Here is the main deck going together. I cutout some cross bracing and brackets to add some stability to the structure and to give the deck a stable mounting surface. Second deck going together. Pilothouse assembly And all the deckhouses assembled and resting on the hull. So I wanted to play around with some of the smaller detailed pieces, just to see how they would turn out. I started out with the window unit that sits in one of the galley windows. I assume that it gets a bit toasty in there when the cooks is preparing the crews meals. I started with the five pieces that make up the unit. Apologies for the blurry picture, I phone had trouble focusing on the tiny pieces. The assembled window unit. I used one of the blanks from the window cutouts and glued the window unit to it for that perfect fit. Not too terrible. Next up, I wanted to work on the hull some and get the contour of the deck set. There is a slight rise in the bow and stern areas that I needed to build. I am assuming that the bow rise was to keep the waves from coming over as well as giving a higher surface area for contact with the barges. As for the aft rise, my best guess is that it just helps keep the churned up water from the props from coming over since this area can get a bit turbulent. Profile of the boat showing the bow and stern rise. Waters get pretty churned up at at the stern. To add this rise, I cutout a bunch of basswood strips that tapered down from the full rise of 3mm at the stern to 0mm and from 4mm at the bow to 0mm. I glued these in place and then for the stern I cutout some plywood panels to raise the deck beyond the rise. For the bow section, I just glued down the strips from the forward end of the deckhouse to the bow since the rise terminated at the very front. Since the bow rise starts before the front of the deckhouse, I trimmed the strips back a bit to coincide with the front of the deckhouse. I thought this was easier than trying to trim the correct amount off the bottom of the deckhouse and maintain the correct angle without any gaps. Next I wanted to play around some more with some of the deck details, and since I was on the AC unit kick, I figured why not build the main AC unit. This unit sits between the two funnels on top of the main deck. Kind of hard to make out since I had to zoom in quite a bit. Once again, I drew up the pieces and added some details like the door panels and the protective grill that covers the fan blades. Glued all the pieces together then added control and power boxes to the assembly. I'll get this painted up later on and add some drain lines and power conduits once it has been installed. Now it was time to move on to building up the trim and railings for the upper decks. Starting with the second deck I added the forward railing bulkheads. The were cut from .020 ABS plastic sheets and formed around the deck curves with a heat gun. I cut out the stanchions that support the panels and glued them all in place. Next I did the same for the main deckhouse. Then it was on to cutting more ABS strips to trim out the Texas deck. Trim complete on the Texas Deck and the downspouts going in. Once the trim was installed I gave each deck a shot of primer to help locate any flaws that need to be touched up. There are some and I will address those later. The forward steps were built and added to the main deckhouse. I took pictures of the started construction, but forgot to snap some of it going in. I wanted to add a bit of detail to the topside of the main deck. As you can see the weld lines of the steel panels is pretty visible on the next photo. I felt that since this is pretty open area I should go ahead and add this detail. I started by marking off the panels where the welds should be. Then I took some small thread and glued it down along the lines. This should provide a nice profile of the welds on the deck once everything is painted up. At least that's the theory, we'll see how it works out. Then it was time to tackle on of the features that I have been dreading. The railings. Personally I feel the same way about railings and ladders as some people feel about rigging. So here we go. I figured that brass rod would be the perfect thing to build the railings out of. Its sturdy, easy to bend and cut. So I started with the portside main deckhouse railing. I cut and shaped the top rail and the stanchions. As I was working on this I was trying to figure out how I was going to hold the second rail pieces in place while I soldered the joints. So I drafted up a quick drawing of a jig that would help hold the cross pieces steady and level. I measures out and drew up the pieces on the computer, then cut them out. Assembled the pieces for the jig. Then gave it a try. Everything work as it should, with one exception. My soldering skills stink. I tried several times to get the joints straight and to get the solder to pull in correctly, but I'm not sure If I had the iron too hot or too cold, but it just wasn't working for me. I even tried using the solderless adhesive, designed for brass and copper. So it was on to my next option. I tried cutting the railing out of basswood. These made perfect railings, but then I ran into another obstacle. Now I have to sand all the rails to get them rounded. Definitely not worth the trouble of having to sand each and every pipe to get it round, not to mention taking care not to snap the raining in half along the grain. Attempt number three. Why not try making the railings from styrene rods? Styrene is easy to bend and cut and can be held together with CA. No soldering involved. I'm thinking that I like this route better, And the three attempts at my first railings. I decided to take a break for the railings for a bit and focus my attention elsewhere. To give the windows some depth and detail, I cut some framing from some heavy card stock and applied them to the outsides of the windows. Once painted up they will and a nice little level of detail to the walls. I wanted to finish up on the deck structures so I could get them all painted up and get a good Idea of what the boat was going to look like. So I worked on the pilothouse top. Again, I drew up the pieces and cut them out. Got them assembled. I used some of my leftover risers from the main deck to get the slope of the roof. I couldn't figure out how I was going to get the sloped sides of the roof. There are several compounding angles that would very difficult to cut out and shape. The outside edges are sloped a good bit and curve around with the corners as well as the top sloping backwards to shed the rainwater off. So after scratching a bald spot on my head, pondering this quandary, I finally came up with a solution. I taped the top off to protect the stanchion holes from getting filled in. and with some air dry putty that I had on hand, I figured I could shape the outer slope and sand it to shape once it had dried. Well another failed attempt. I didn't take into consideration that the moisture content of the putty would cause the assembly to warp. I tried setting some heavy weights on top of it for a few days, but I couldn't get the warp out of it. So, I ran another set of pieces and glued them all together and this time I used body filler instead of putty. That worked better with no warpage. Of course in my frustration I failed to take pictures of the body filler assembly. While the body filler was drying I worked on more of the main deckhouse details and installed some of the manhole covers. Finally after a good sanding and a shot of primer on the whole assembly, this is where I am at. It's all starting to take shape. Upcoming work, I need to get the deckhouses painted up white and work on the hull. I want to get the props, Kort nozzles and rudders in place and the hull painted up so I can get it mounted to it's base. Those will be some updates for my next installment. Thank you all for stopping by! -Brian


-
Beautiful work Eberhard! Your straps have given me an excellent idea. I have been struggling with my build on how to make my fire hoses. If I “borrow” the technique you used for your boat straps, I may just be able to disguise them as hoses and lay them in their racks. -Brian
-
Looking good Eric, you can chalk (pun intended) the pastel smears up to soot and grease from the boiler and engine room. Also looks like you might need some smaller clamps, one slight slip with those and the results could be disastrous. 😁 -Brian
-
Stunning work gentlemen, absolutely stunning! I sure hope that everything works out with the museum, I will make a trip to see this build first hand when it’s done. -Brian
-
Very interesting topic Eric. I remember a couple of times seeing ice flows on the Mississippi in Baton Rouge. For the northern folk that’s not a strange occurrence, but for south Louisiana, it’s a rarity. People would flock to the levee to watch the ice drifting downstream. By the way, at the time of this writing we are getting that freezing rain here in North Texas. Should provide for some slick roads in the morning. Y’all be safe up there. -Brian
-
Beautiful work, as always Keith! Now the real fun begins. Not sure if I mentioned this or now before, but rigging is one of my favorite tasks. Something about it just brings me joy seeing all the lines come together on a ship. Of course snagging them while I work and almost dragging the boat off the bench, tends to quell some of that joy, as well as bring out a few expletives, but it’s all part of it. Looking forward to seeing the shroud progress. -Brian