RGL
-
Posts
5,550 -
Joined
-
Last visited
Content Type
Profiles
Forums
Gallery
Events
Everything posted by RGL
-
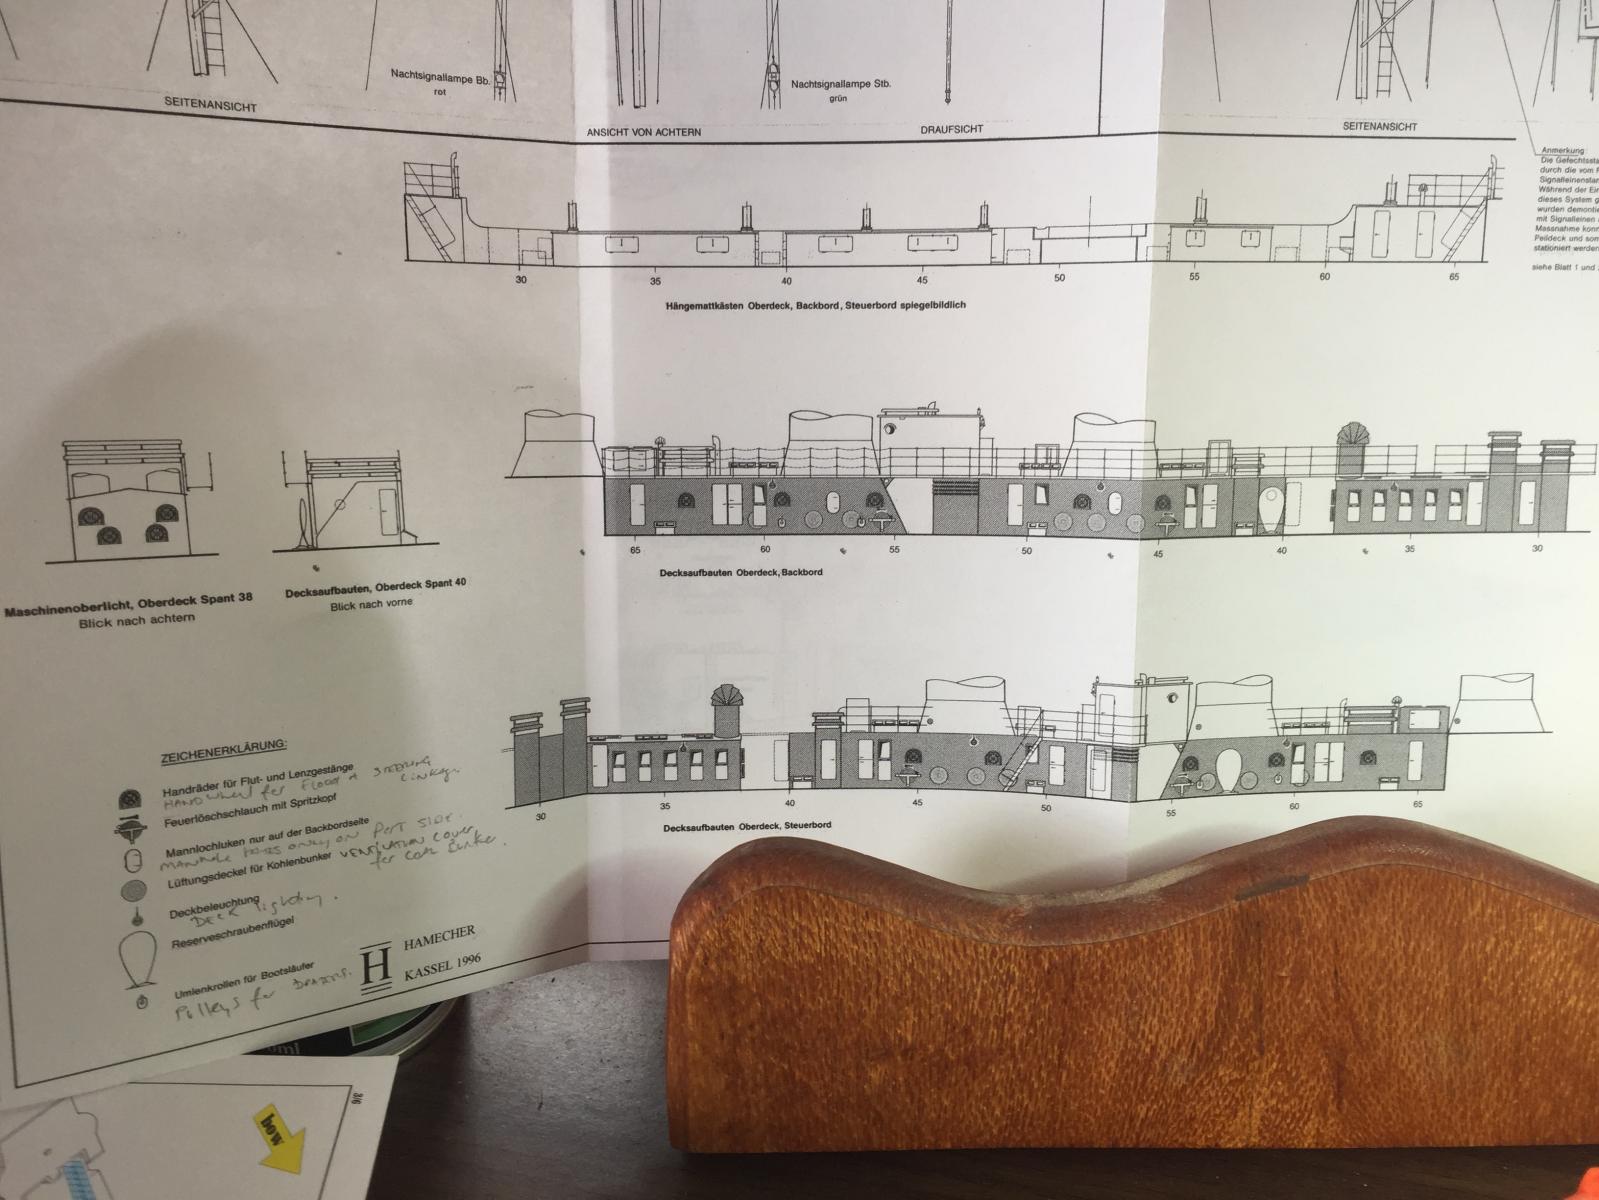
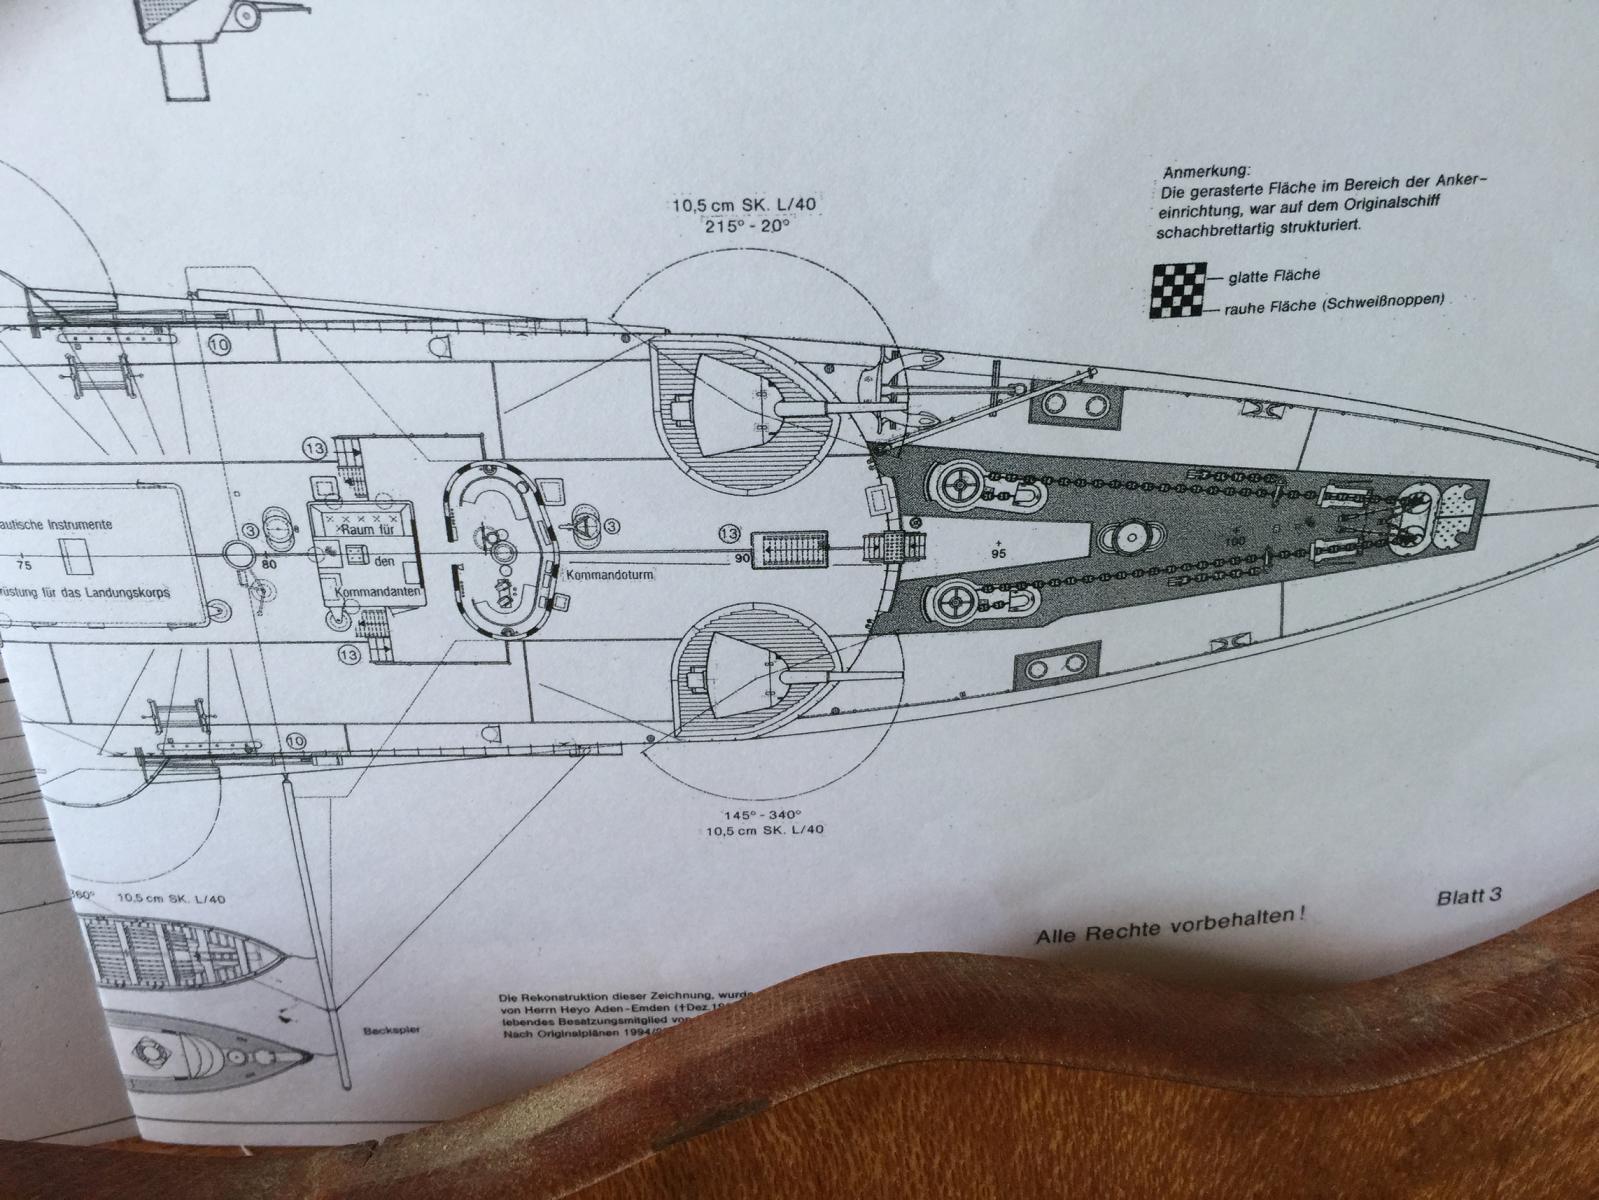
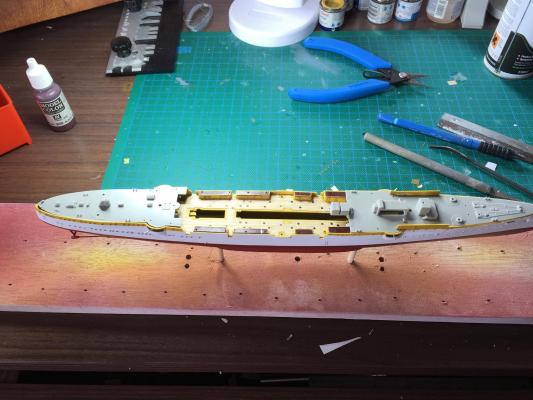
 Now going off the Huff plans, I decided to start painting and detailing. As you can see from the plans, there is very little difference but very little detail. the MK1 designs german doors was also added the ever increasing list of aftermarket.
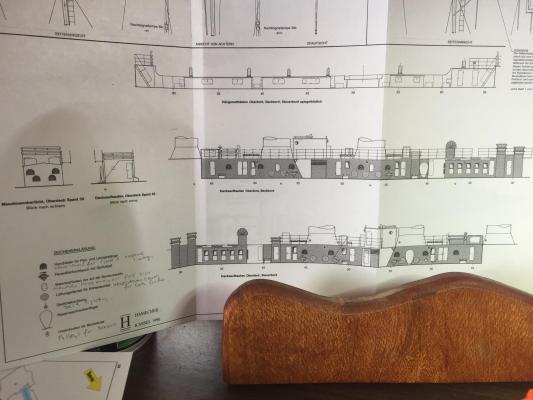

-
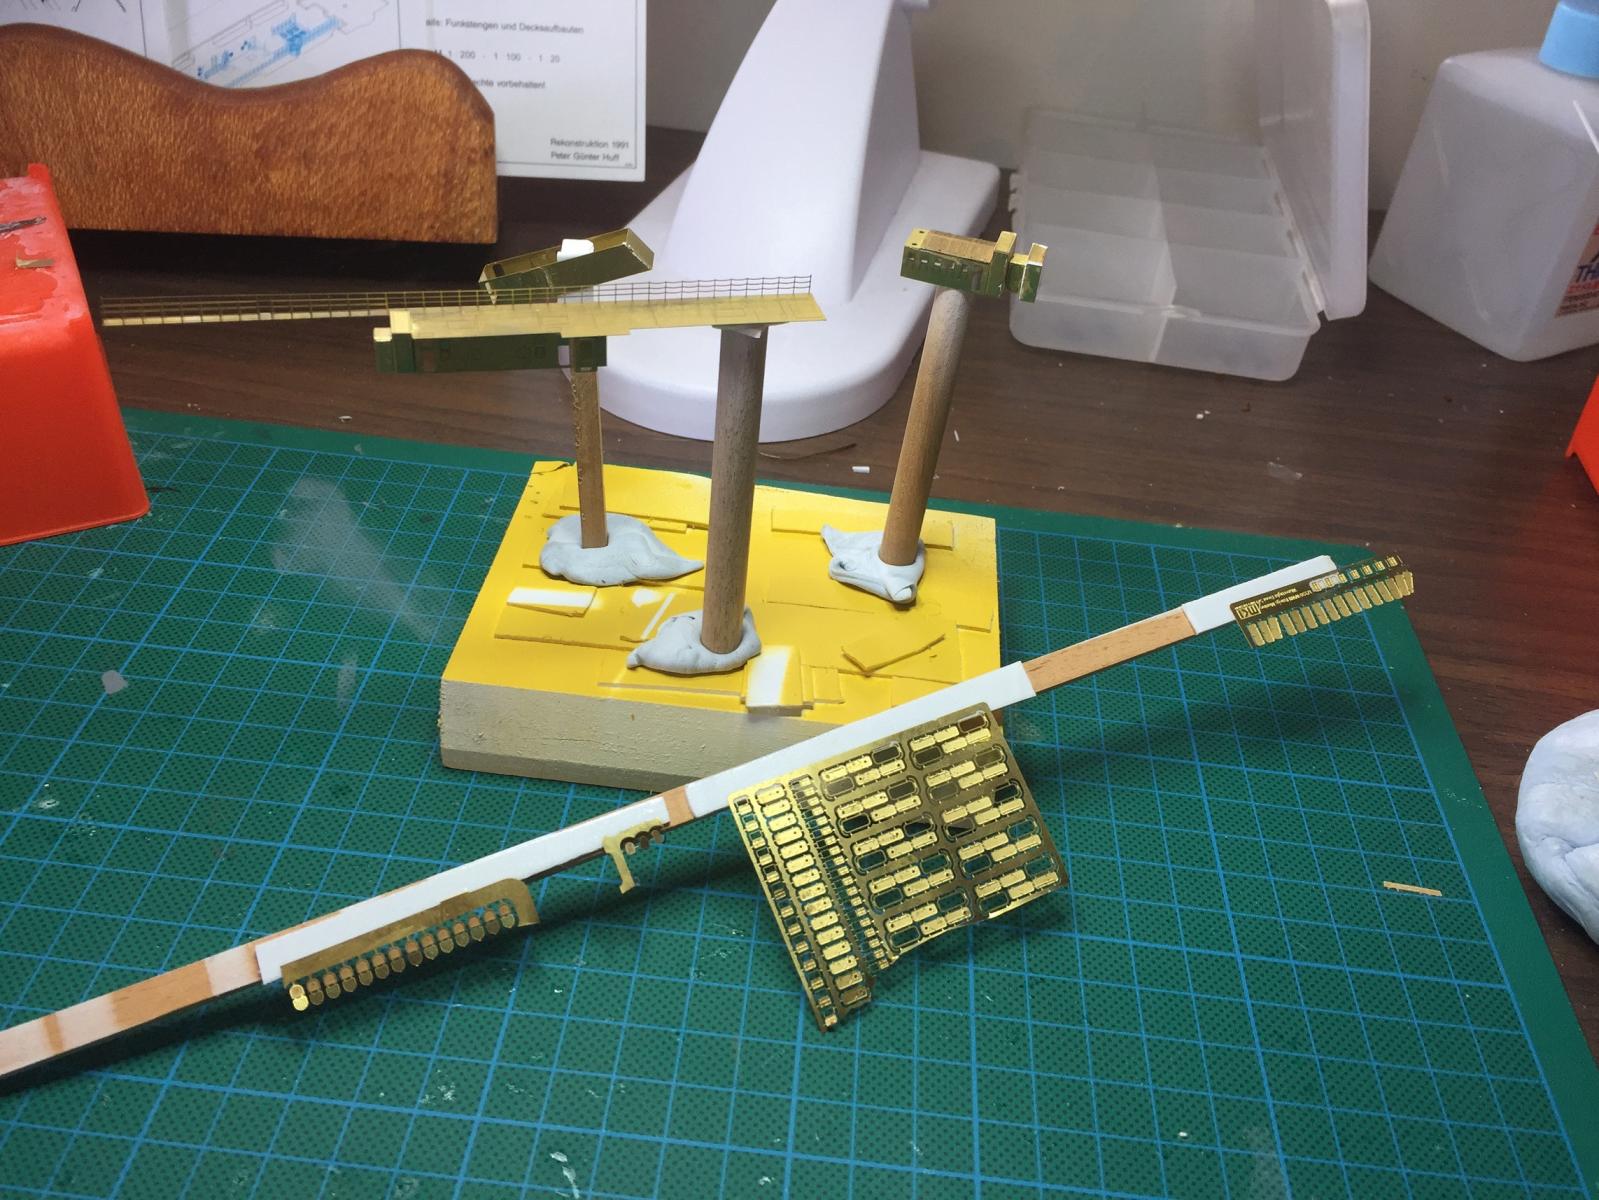
Hof, I do use an etch bender, and I only recently read about using white glue on railings, so that's something I'm going to have to practice first, but if it makes a good gap filler I'm keen to try it out. I only use CA due to its instant bond and strength and it's the only way to bond the etch together. The varyag's deck fit perfectly, but the Emden......not so good! I want to use individual stanchions again so that can preclude it. If I was doing 1/200 it would be easier than the smaller scale.
-
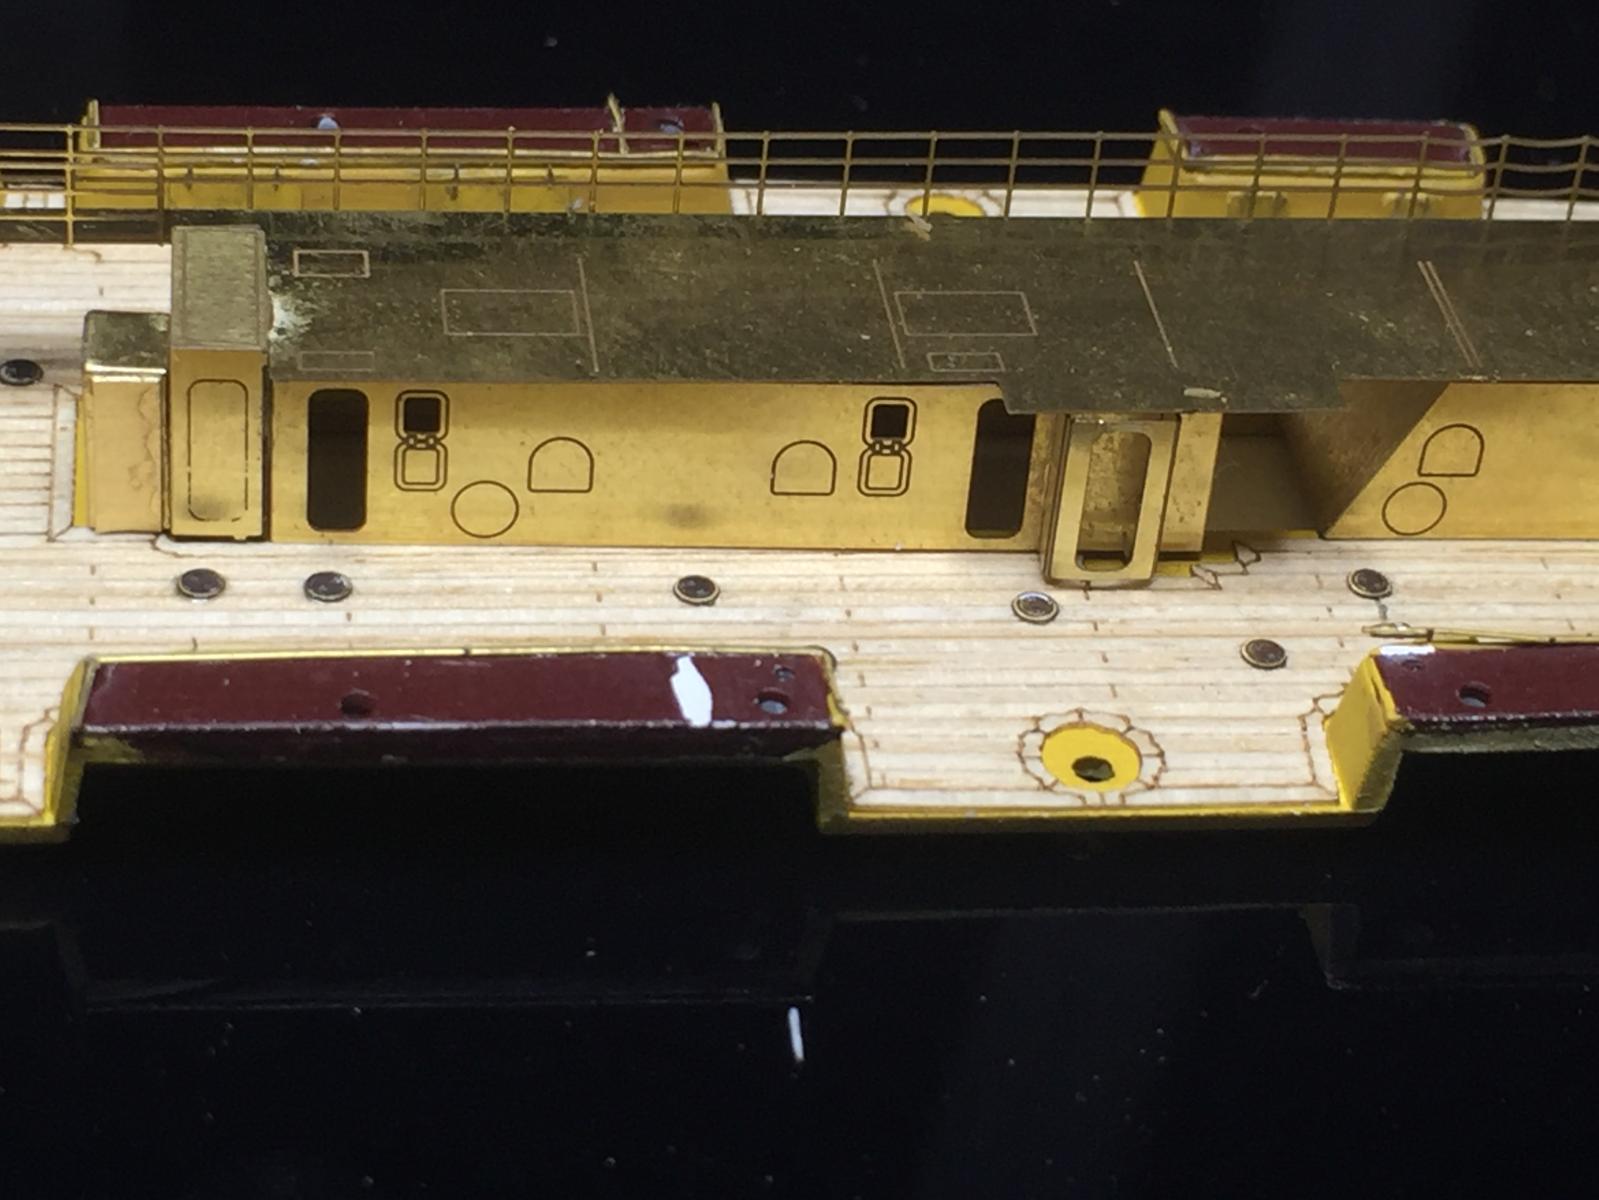
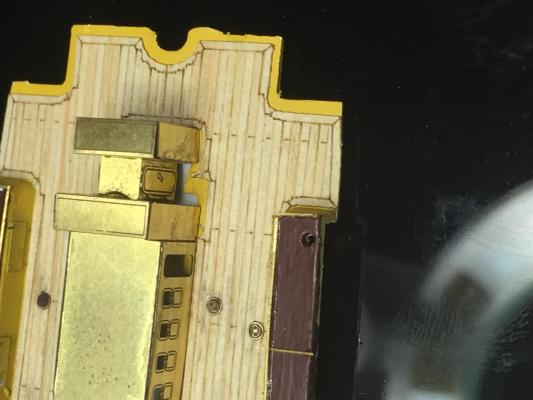
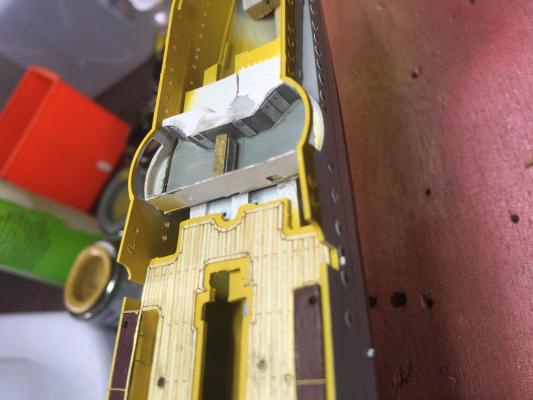
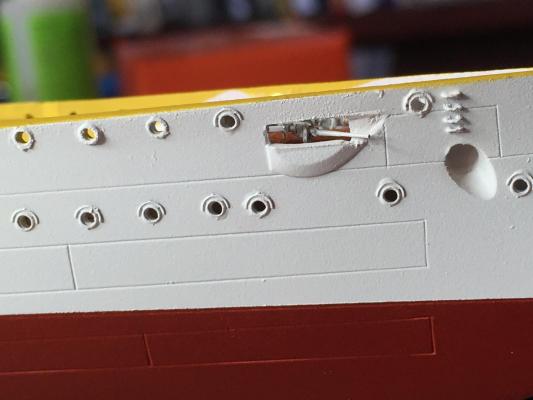
Problem solved. The planks line up and it will still be fairly invisible when I finish as most of the stiff is covered and i can have the last little bit of housing off centre to allow the gangway to run true. Working on an even surface should allow things to speed up considerably. The Eduard etch is just that, the doors and hatches are etched into the brass. I shall paint them first then add after market German hatches and doors over the top. I find that if I do it this way the details come out better with a pin wash. The hammock boxes are going to have to be re done. The vajello paint keeps coming off and taking the brass with it even after it has been varnished down. You can see the white stripes on the red bits. Maybe I needed to get thier primer but I'm just not going to start playing that game. No biggie as I intend on using a red brown (there is no red black available in an enamel).
-
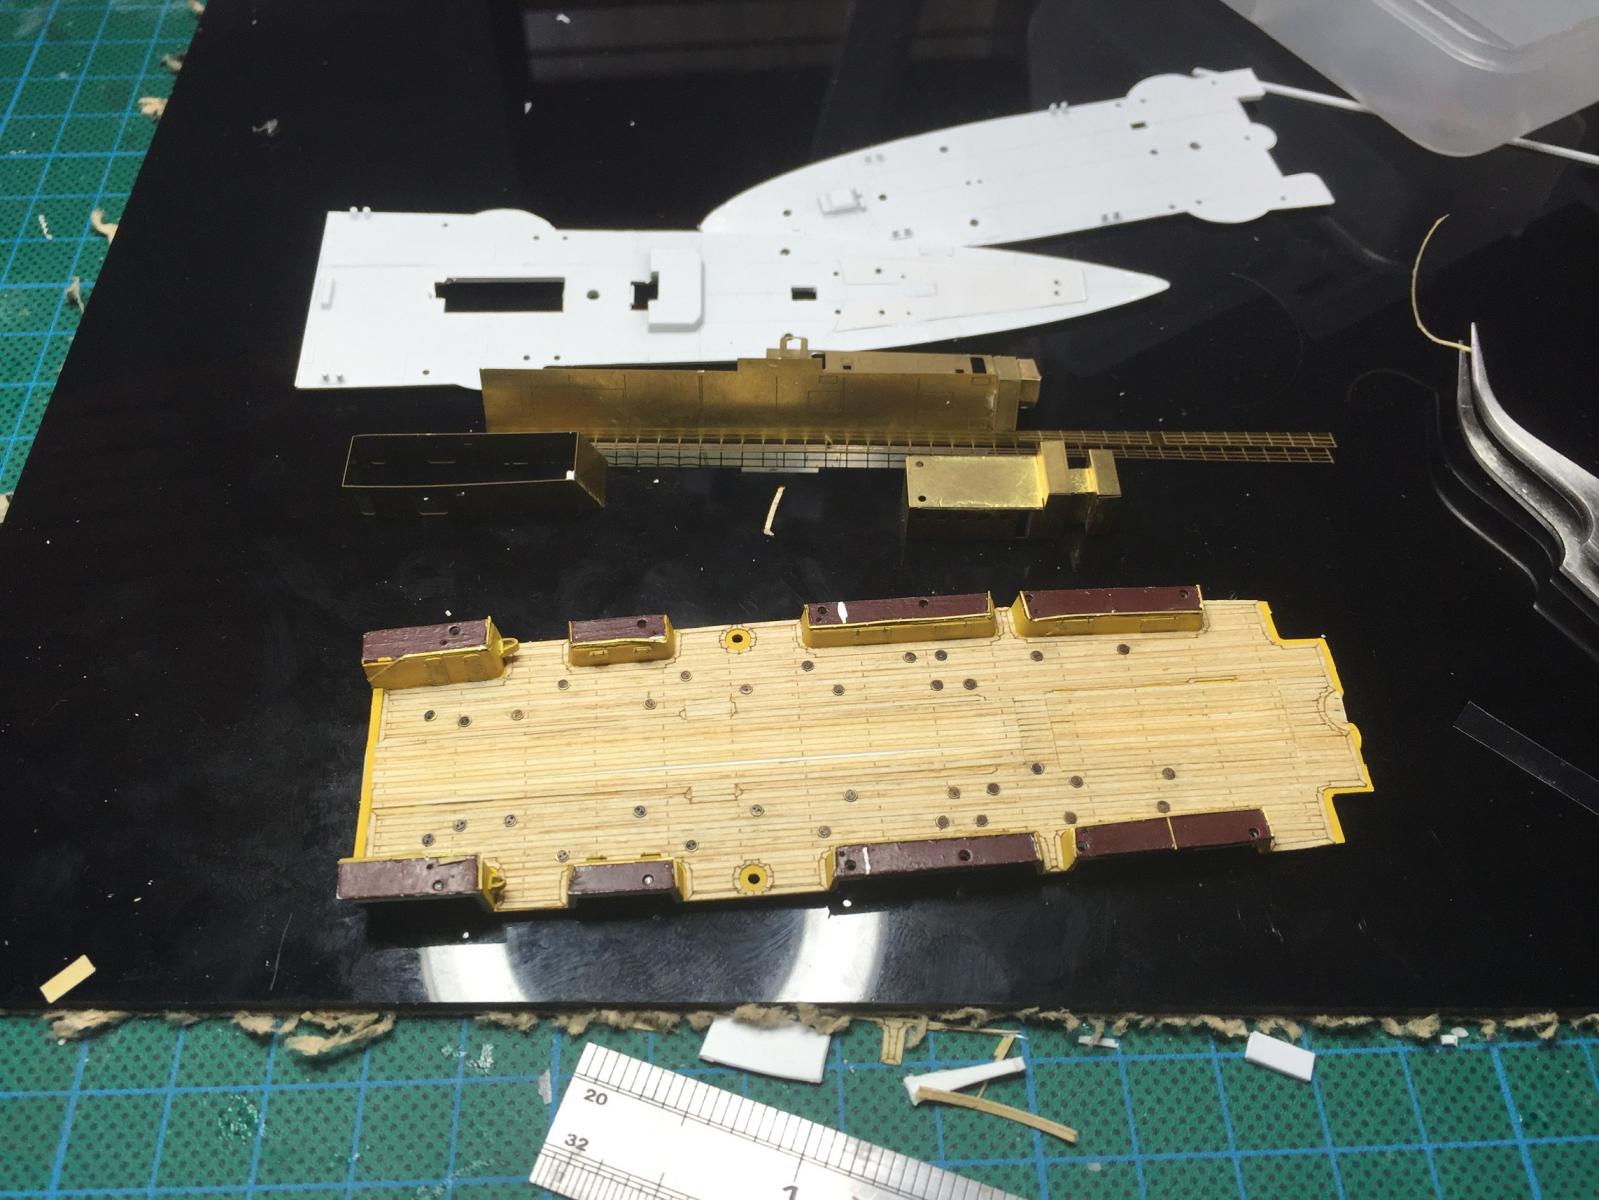
It's pretty simple really, level up the centre of the deck, use a scalpel to cut along the plank lines, use the extras that came with the Artwox to lay another layer along the centreline, lay the housing on top! Just not what expected if have to do.
-
Now this is an exercise in why one should not assume. I started the housing for the amidships today, of course expecting the Artxox deck would match up. Not a chance in hell. Huge gaps and the last bit of housing is about 2 mil off so it does not sit correctly and in alignment at all. The instructions are pretty good, just does not align. Give I have already layed the deck, this causes some significant revision. Sigh. Sometimes nothing is easy. I can see now why I cannot find a single build in any language using this photo etch. Oh well, challenge set.


-
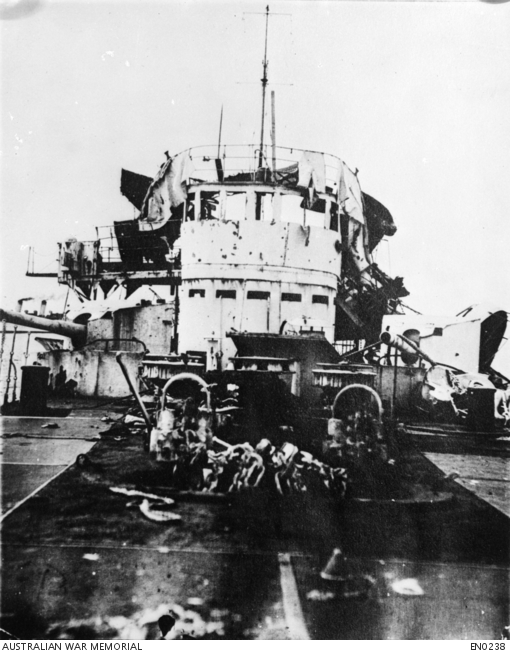
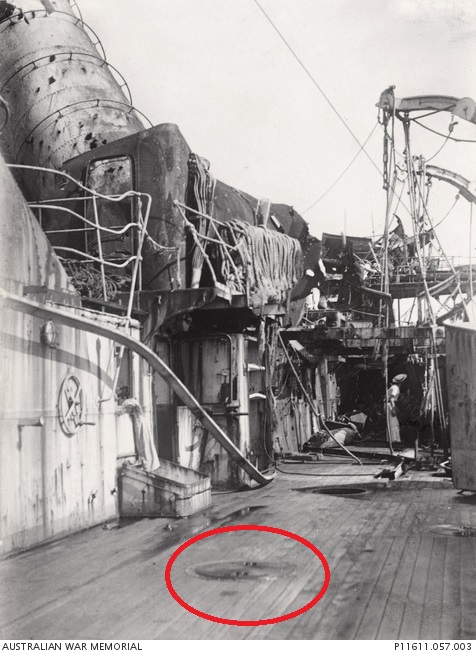
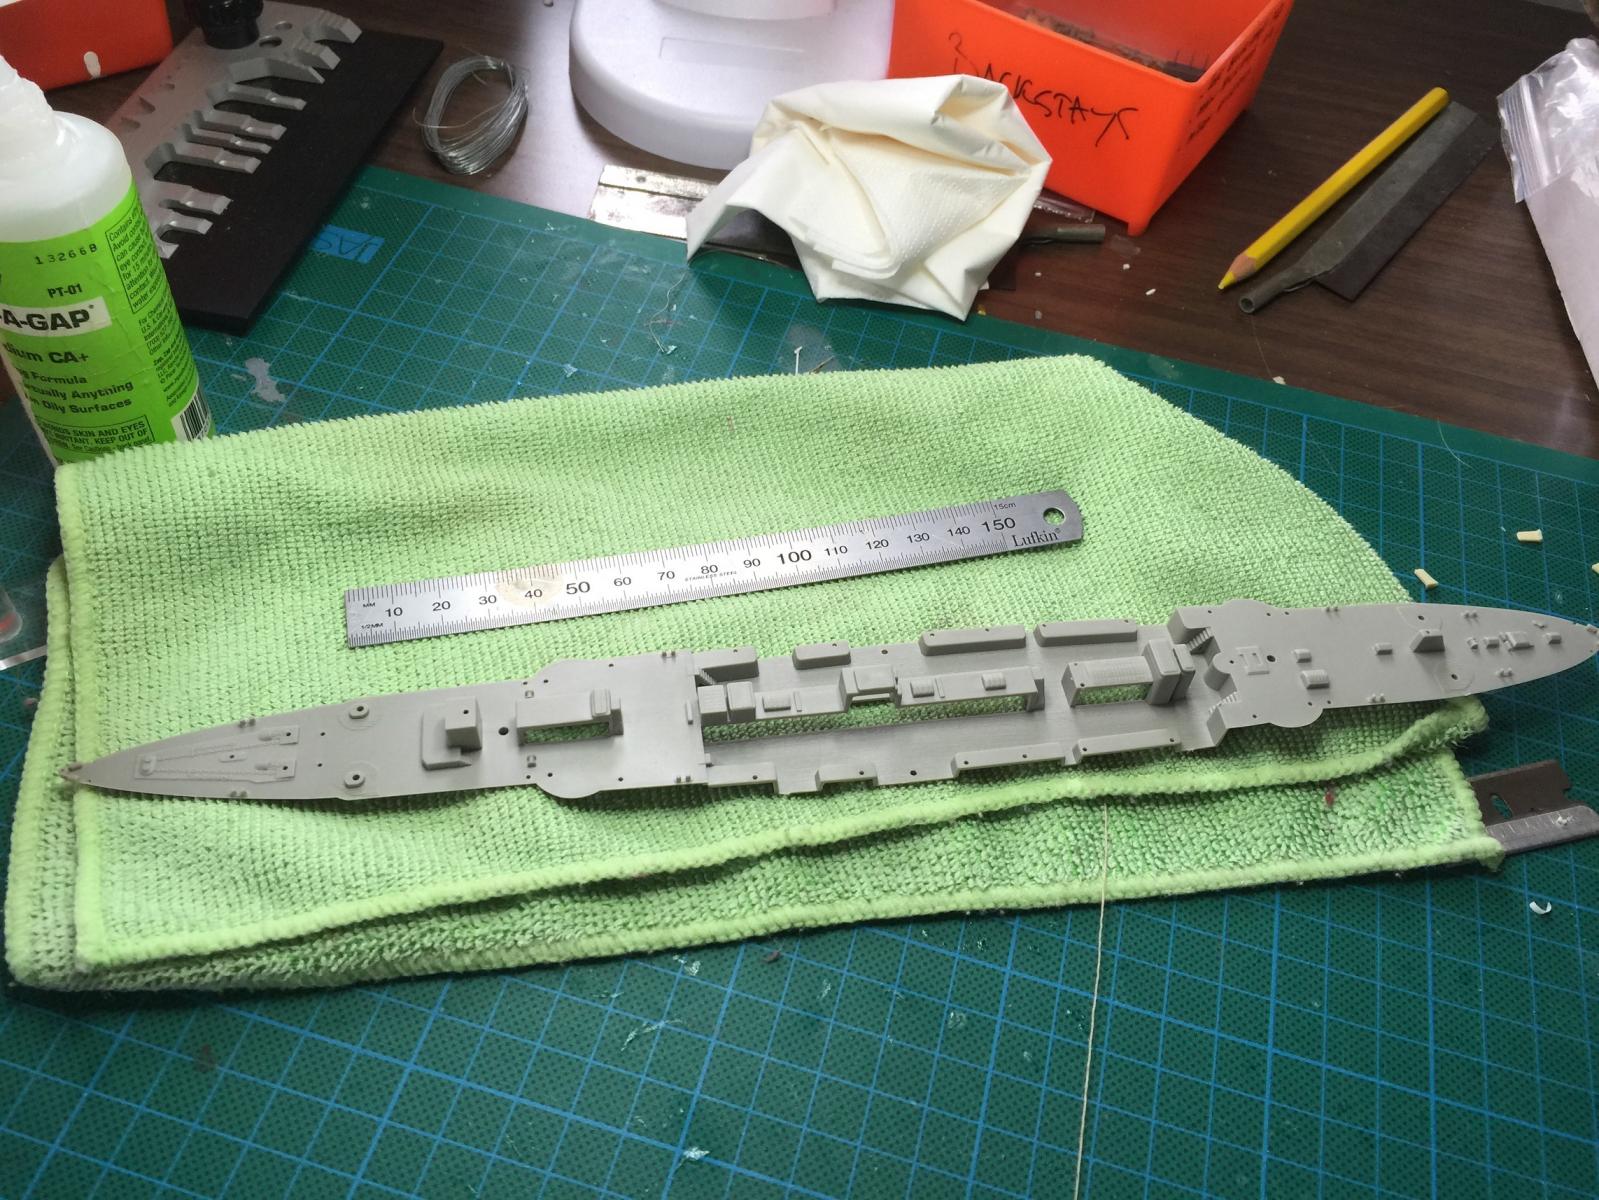
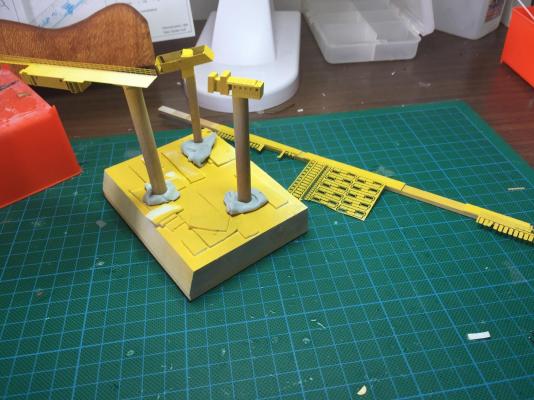
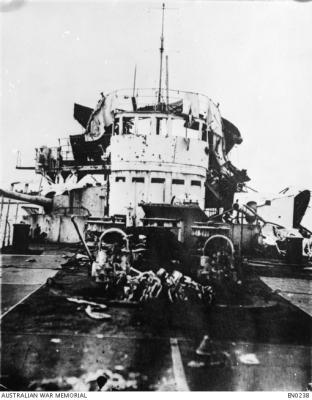
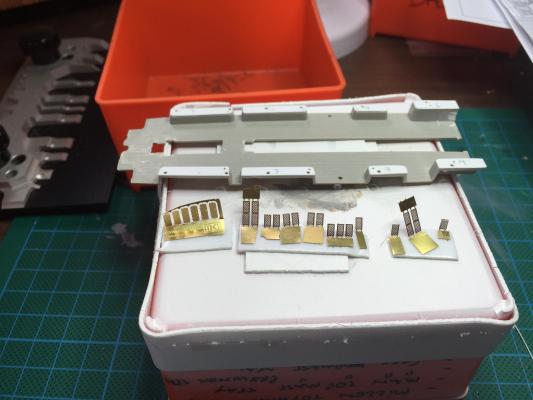
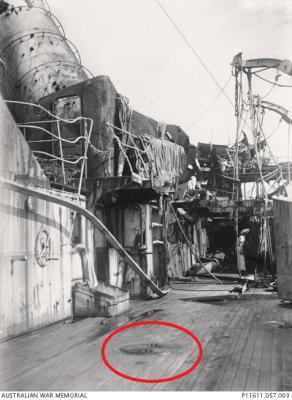
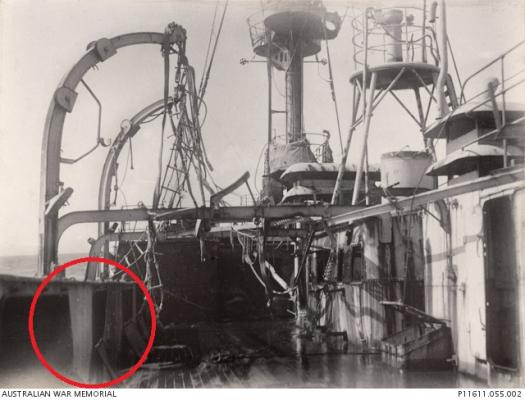
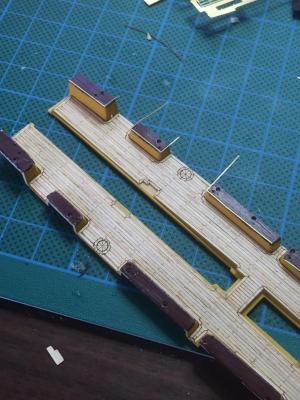
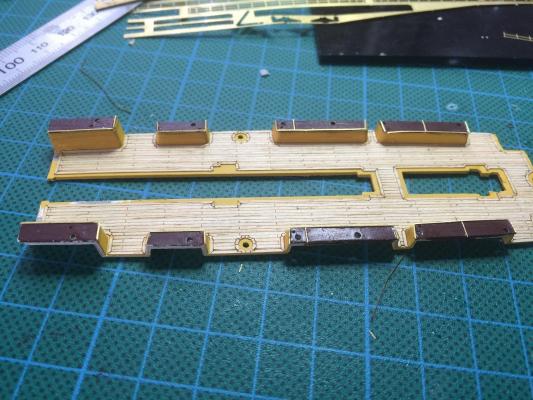
back from 10 days at the beach and back to the deck. To get the anchor chains to run correctly I had to scrap the capstans at the front, and fabricate new ones that the chain will actually run around. More filing required but I needed to ensure they fit properly on the metal deck. The eduard fret comes with a flywheel that goes on the top of the capstan. You an see a little piece of grey plastic that is the Revell capstan. Now I have stuck down the metal deck the rest can go back into a container until the entire deck is done. I can then add the chain brakes etc. I then scored the two upper decks for the brass strips that will run on the deck to hold down the linoleum. I did this as they will show up after painting and give me a guide. I did a practice run with the Vajello Red Black paint and it is rubbish on plastic, even after I varnished it, the slightest scrape and it comes off. Off to get some red brown enamel paint. The AWM photos of the front of the Emden shows the metal area for the chains and the Huff plans state that this area is black and the other parts of the deck are red brown. His own model has the entire deck black, but as you can see from the contrast in the photo it is different. I was thinking of taking the easy way out until I looked at the photo and thought no, do it properly.


-
Sorry to butt in Pat, Paul, use a grown up size file on a dowel, that's what I did.
- 517 replies
-
- 2
-

-
- Endeavour
- Artesania Latina
- (and 1 more)
-
Nice work, that's the hardest part of the rigging done now. Anchor bouys will look great.
- 517 replies
-
- 3
-
-
- Endeavour
- Artesania Latina
- (and 1 more)
-
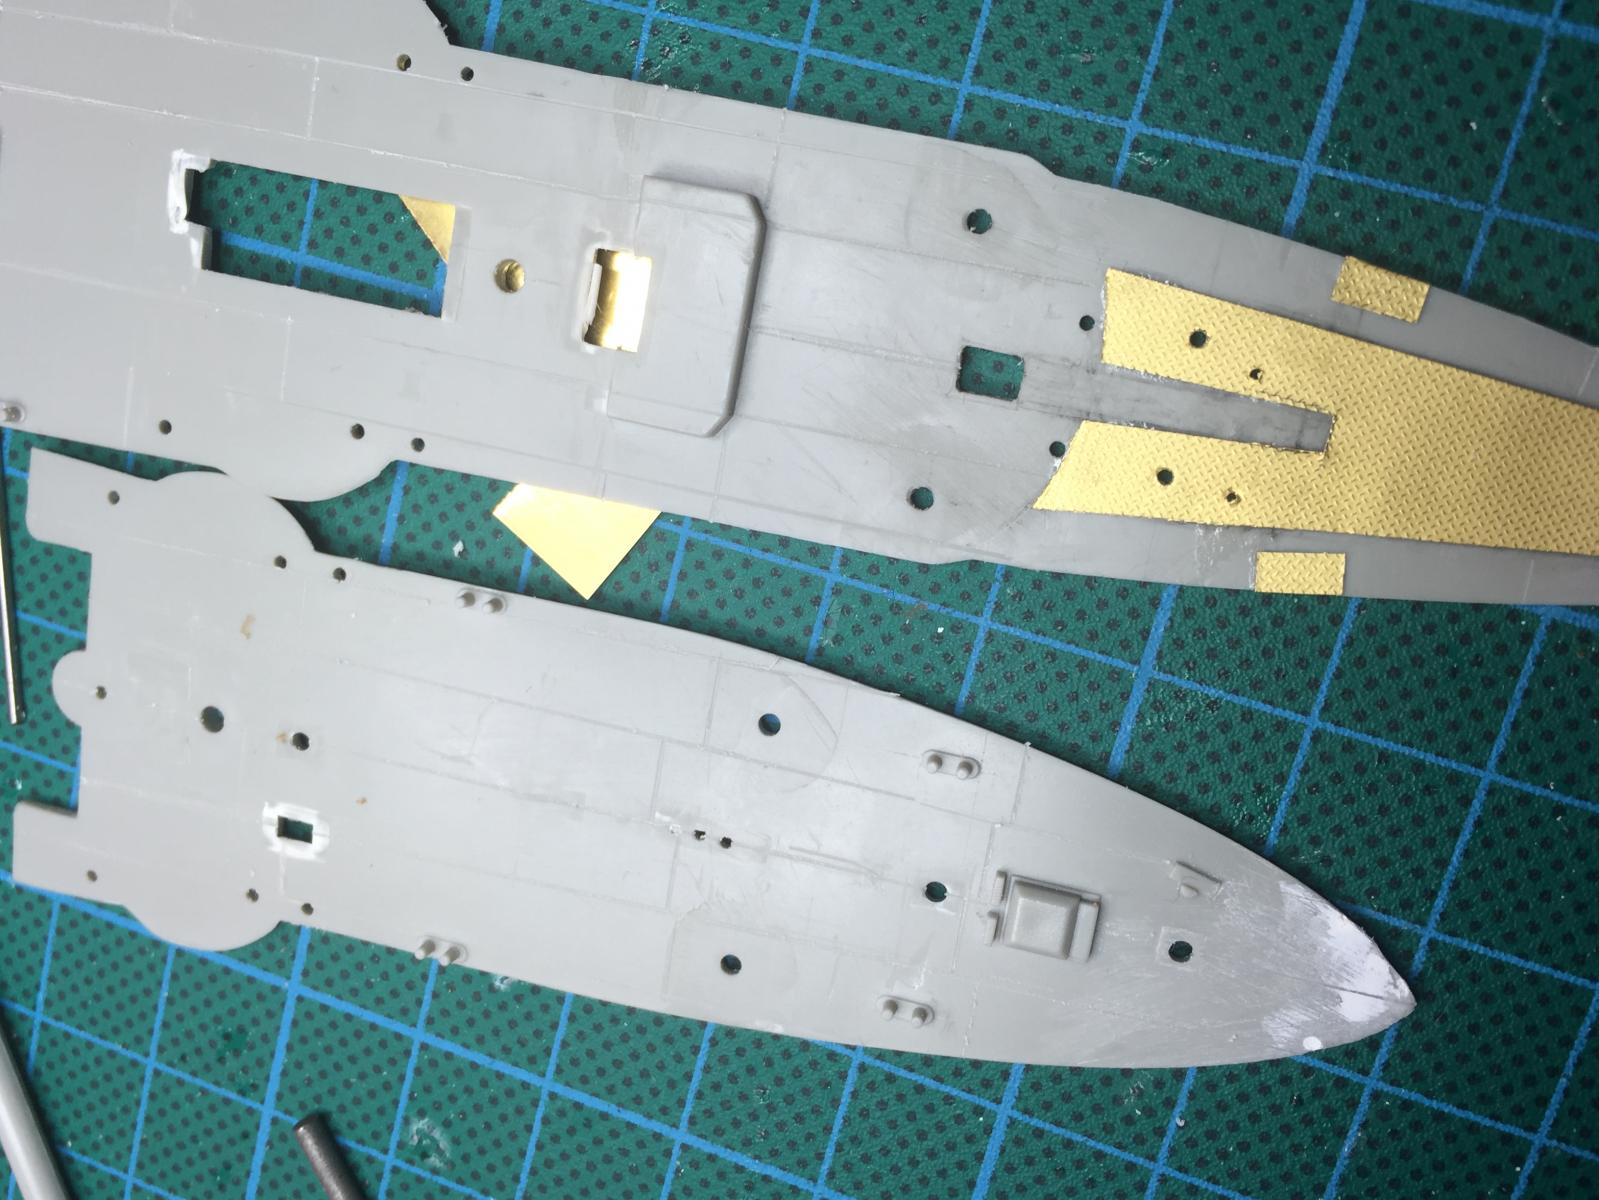
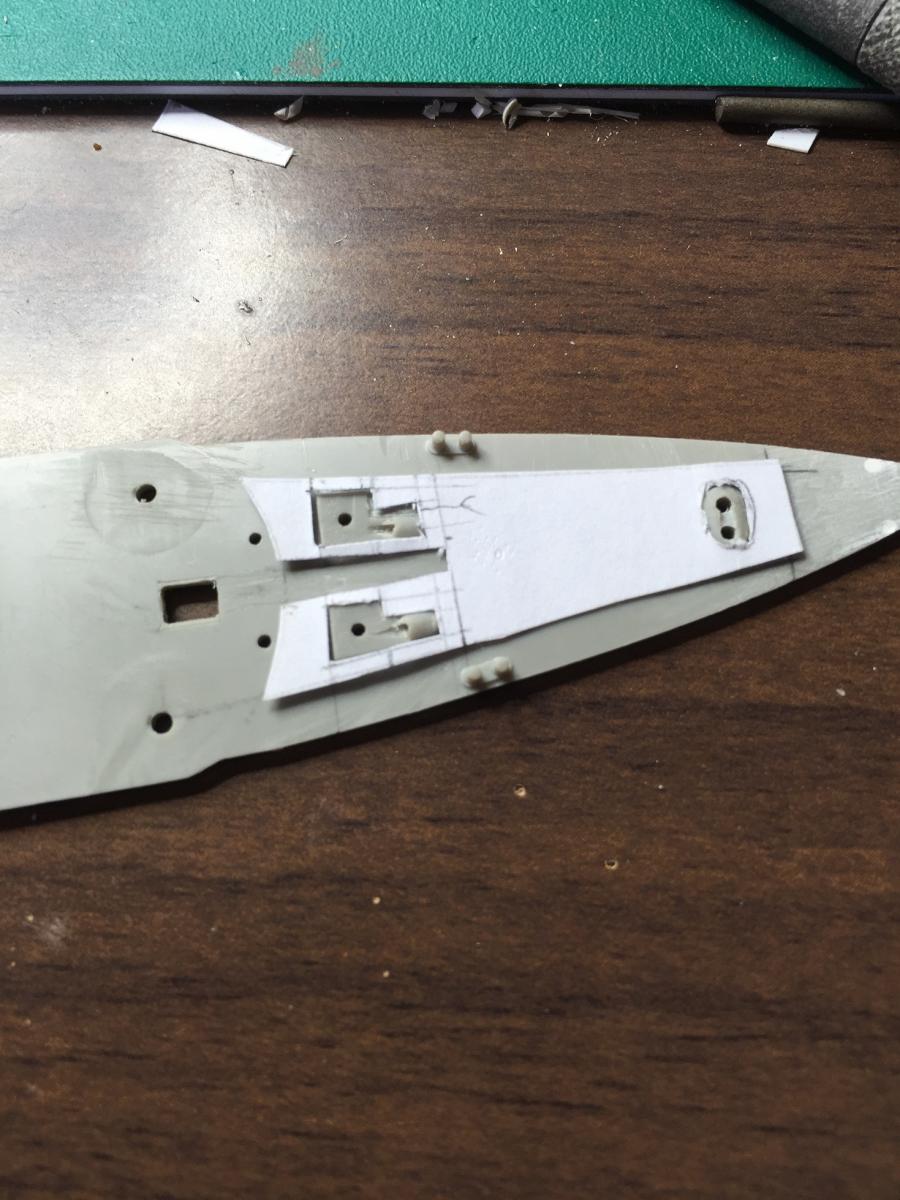
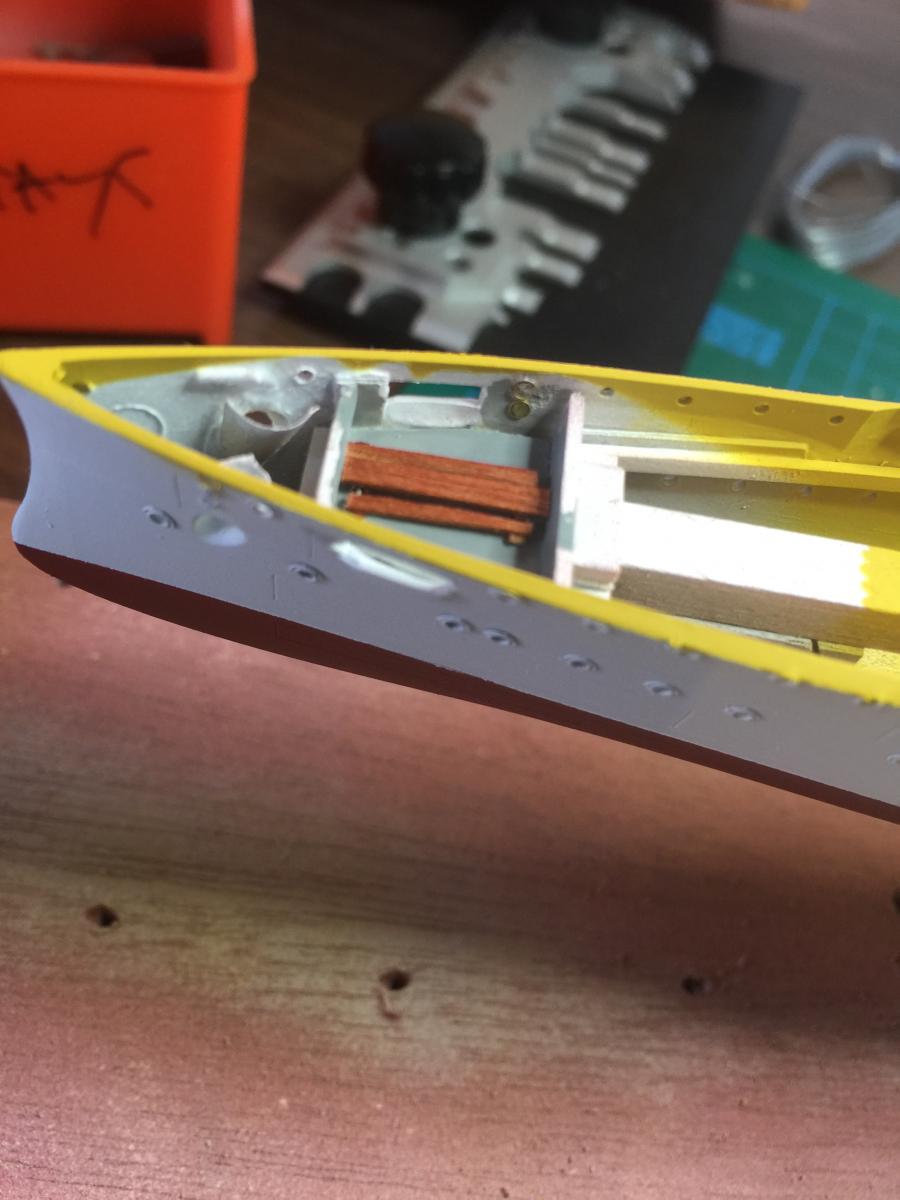
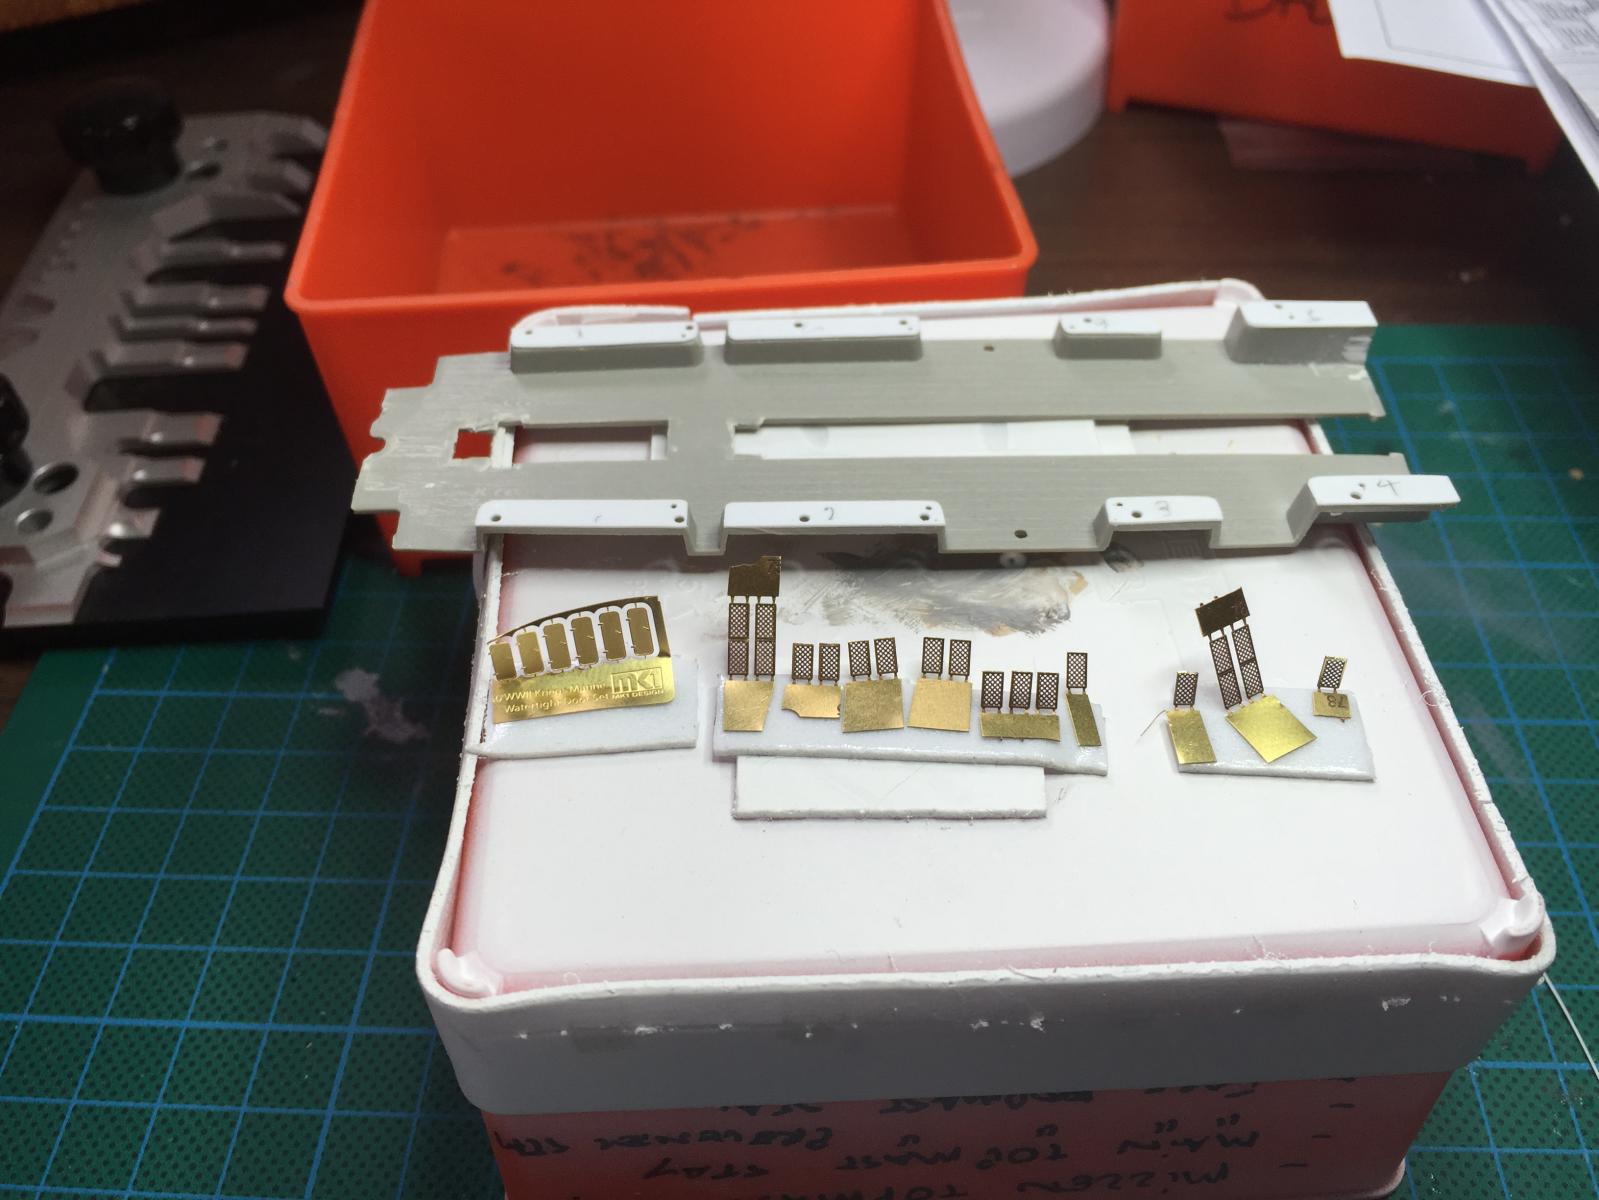
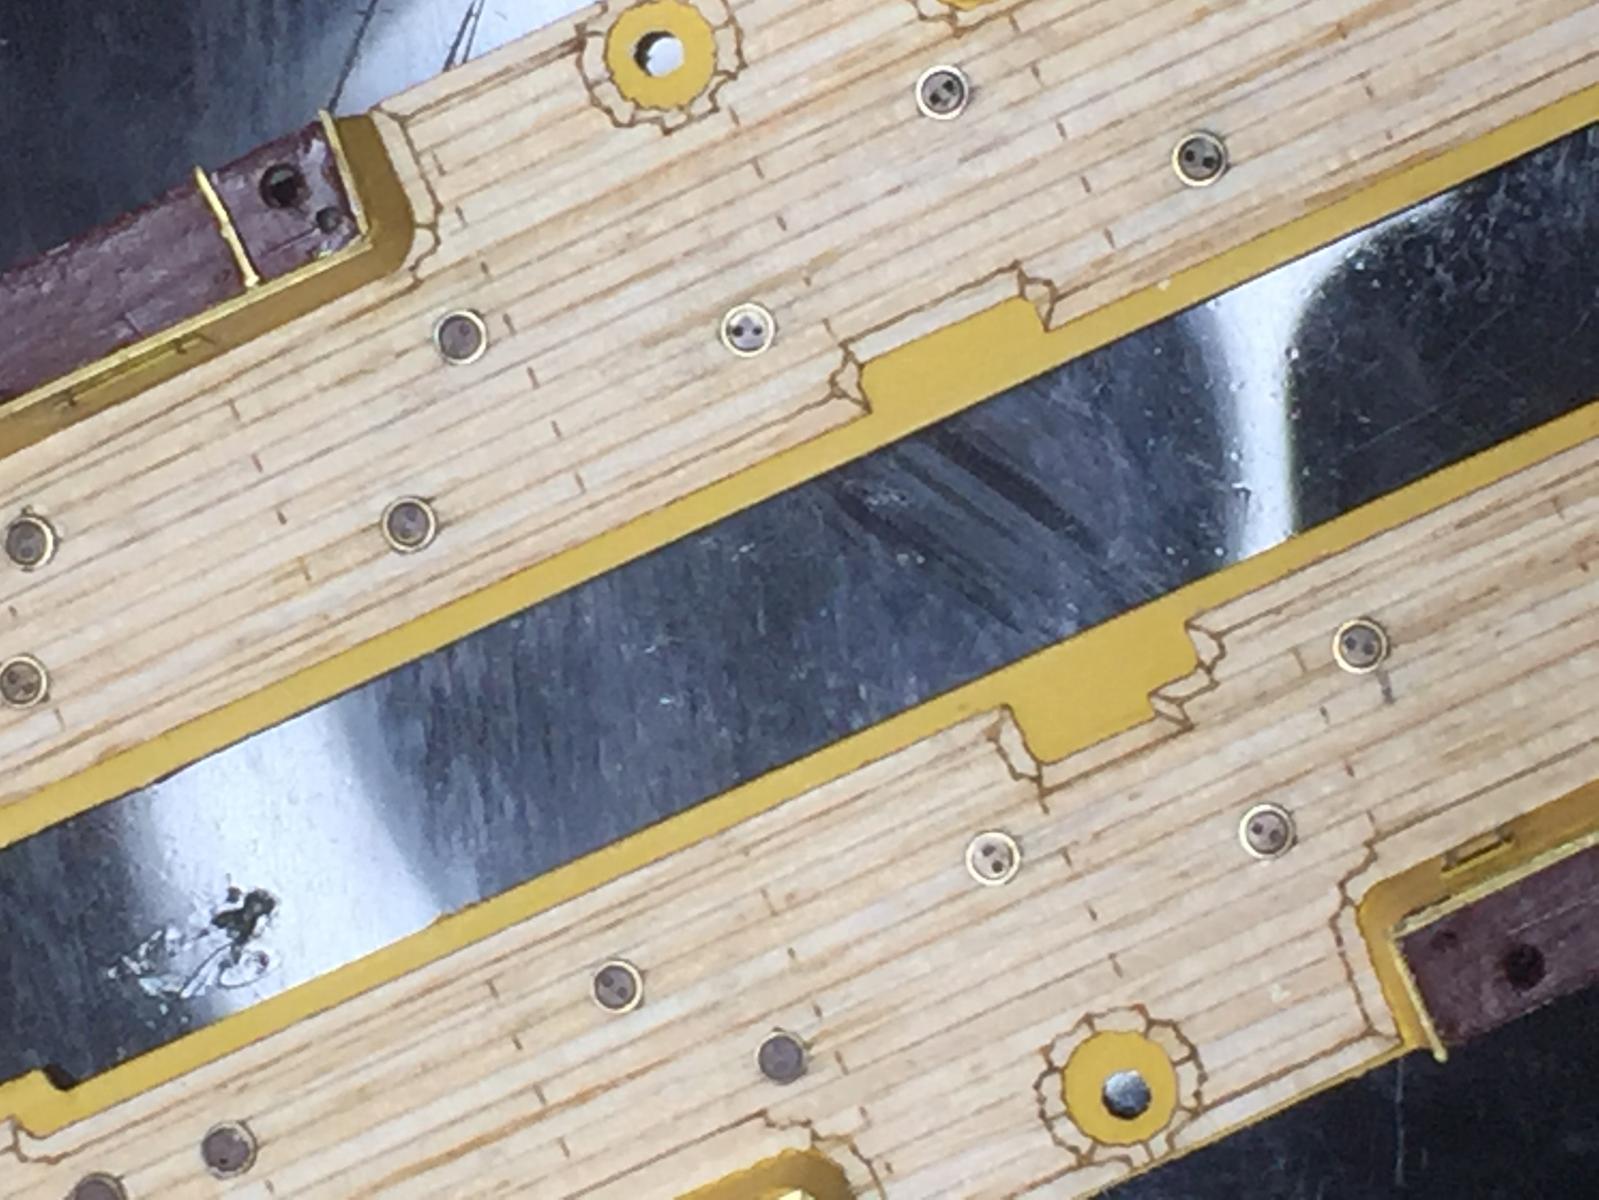
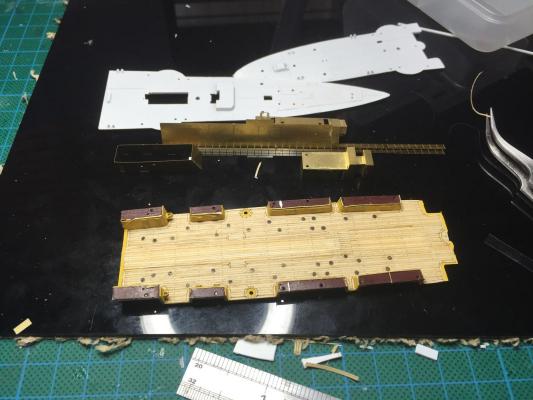
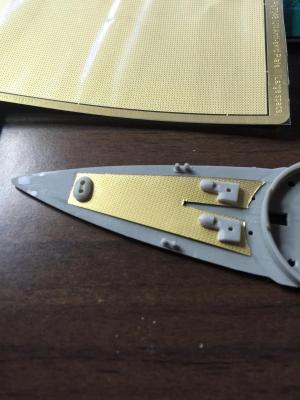
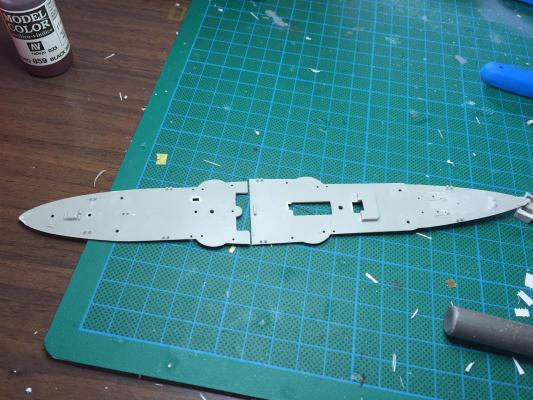
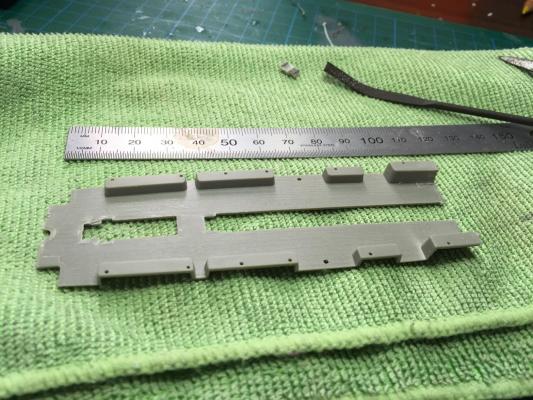
the fordeck has traditional molded chains which are of course ridiculous. Artox provides a chain with the deck set but is is very much out of scale, the leftover Varyag chain is perfect, but t requires a lot of work to make sure it all runs properly. I intend to use some 1/700 etched decking plate to cover the front deck which is paper thin (and in real terms more to scale than 1/700 where you would just not see the detail). After the first try at making a template, I realized that it would just be too hard to cut, so I removed the anchor holes and capstan bases from the Dresden kit and sanded the deck completely flush. I also had to cut a hole for the hatch that sits between the gun which is not referenced in the kit. This allows for one piece of etch with minimal cuts to go over the top. They need to be reduced a fair bit yet so the plates can run a lot narrower. At least the chains will fit in the hawser holes this way. The capstans are just pathetic and I have ordered some from the US which seems to have the slowest postal system in the world. Next a primer coat then decking colour and a varnish coat over the top. I'm off to the beach for 2 weeks so into storage it goes.

-
As there is going to be photo etch to replace nearly everything topside, the decks have been cut flush. A little bit of sanding n the edges to make sure they'll sit flush and cover the internal guns properly.
-
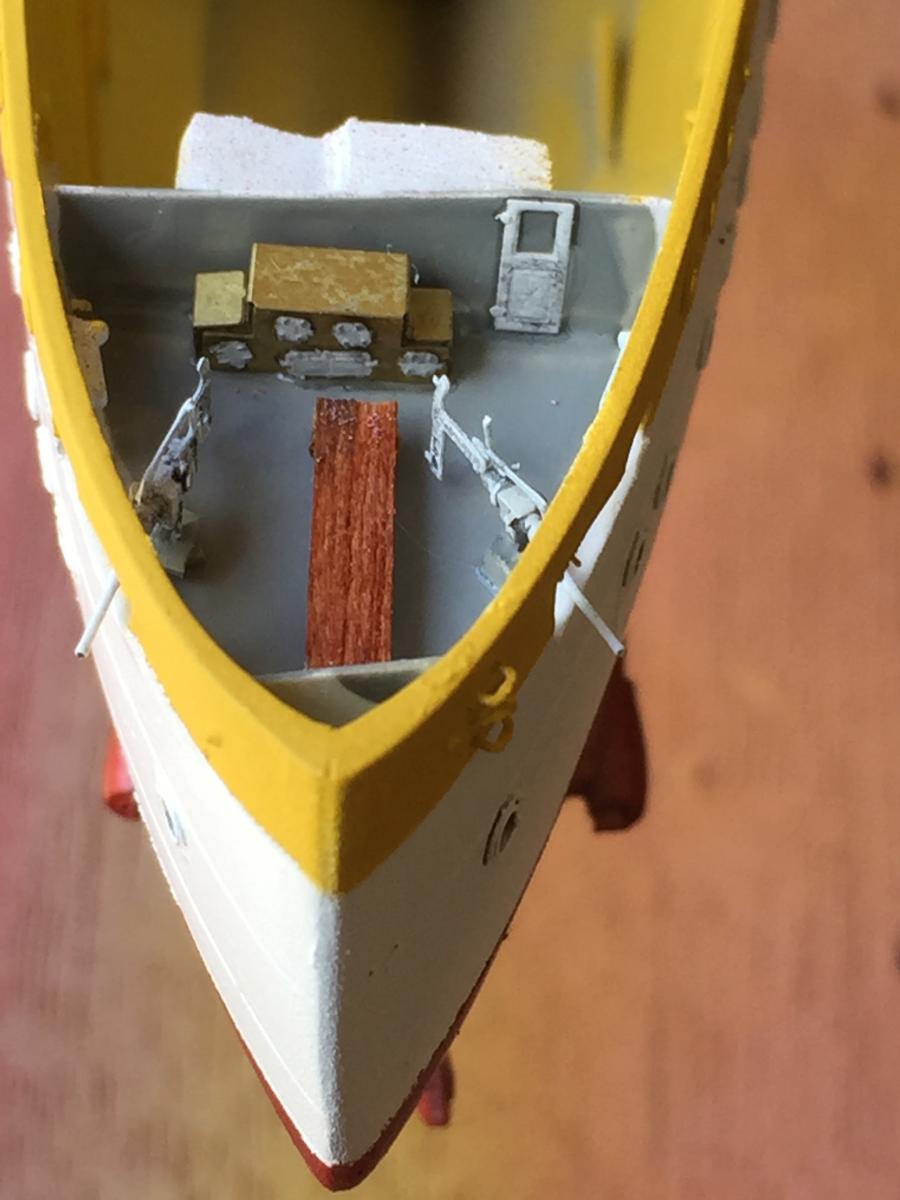
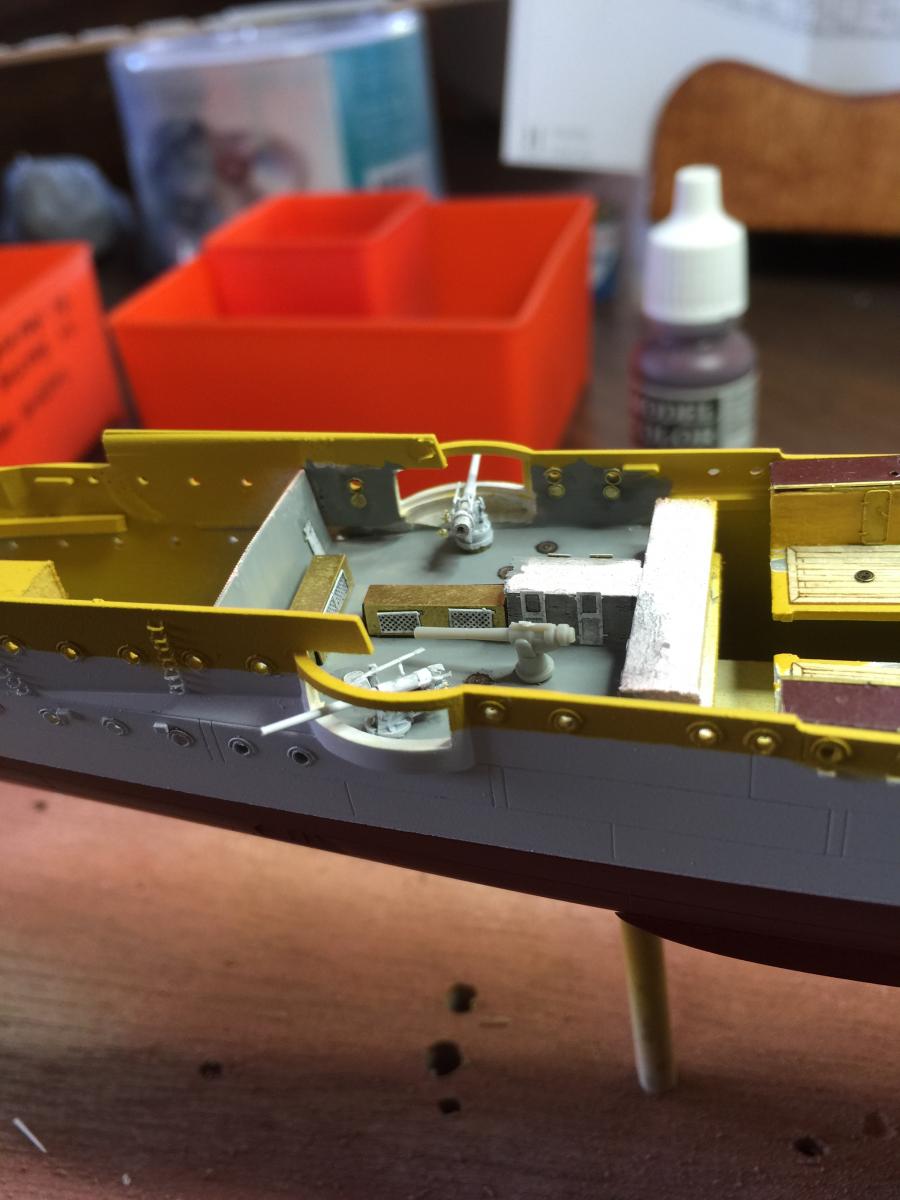
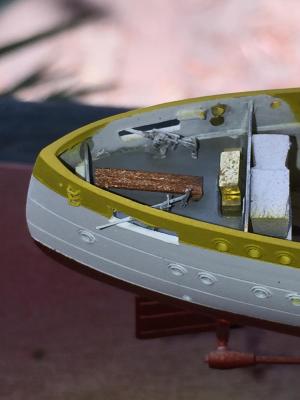
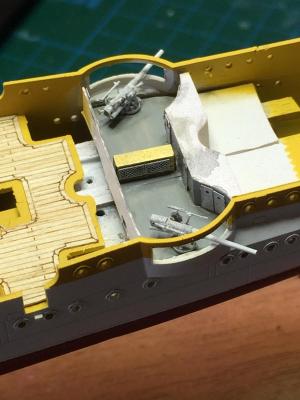
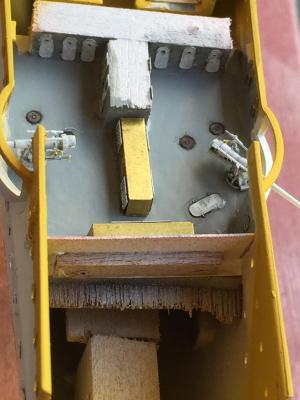
Finally the stern chasers. The plans has this as the officers mess, thus the attempt at a mess table again. I wont attach the hinged doors to any of these till the end of the build. I was going to leave the guns out till the end but they do not fit through the holses
-
The second set of waist guns is in a much smaller area on the plans. Macro is not flattering but I am happy with their appearance to the naked eye. I think if I used a camera with a 50mm lens and not my phone

-
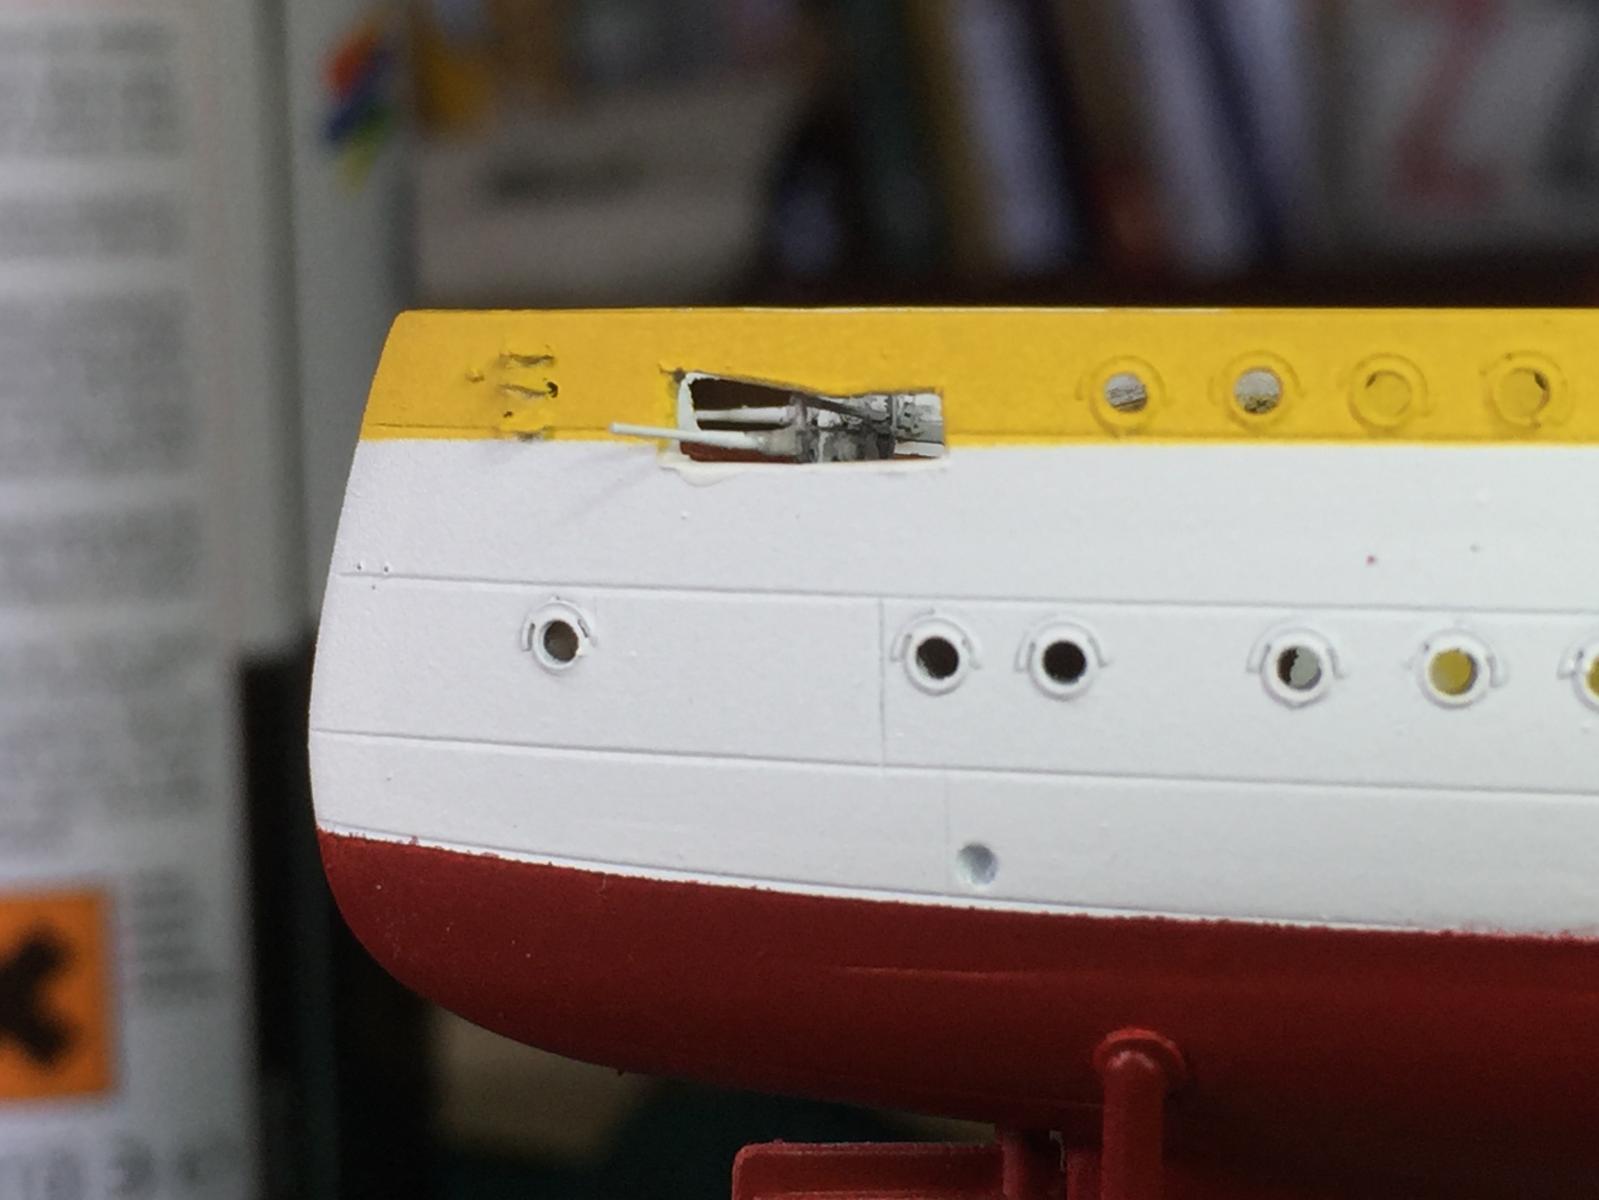
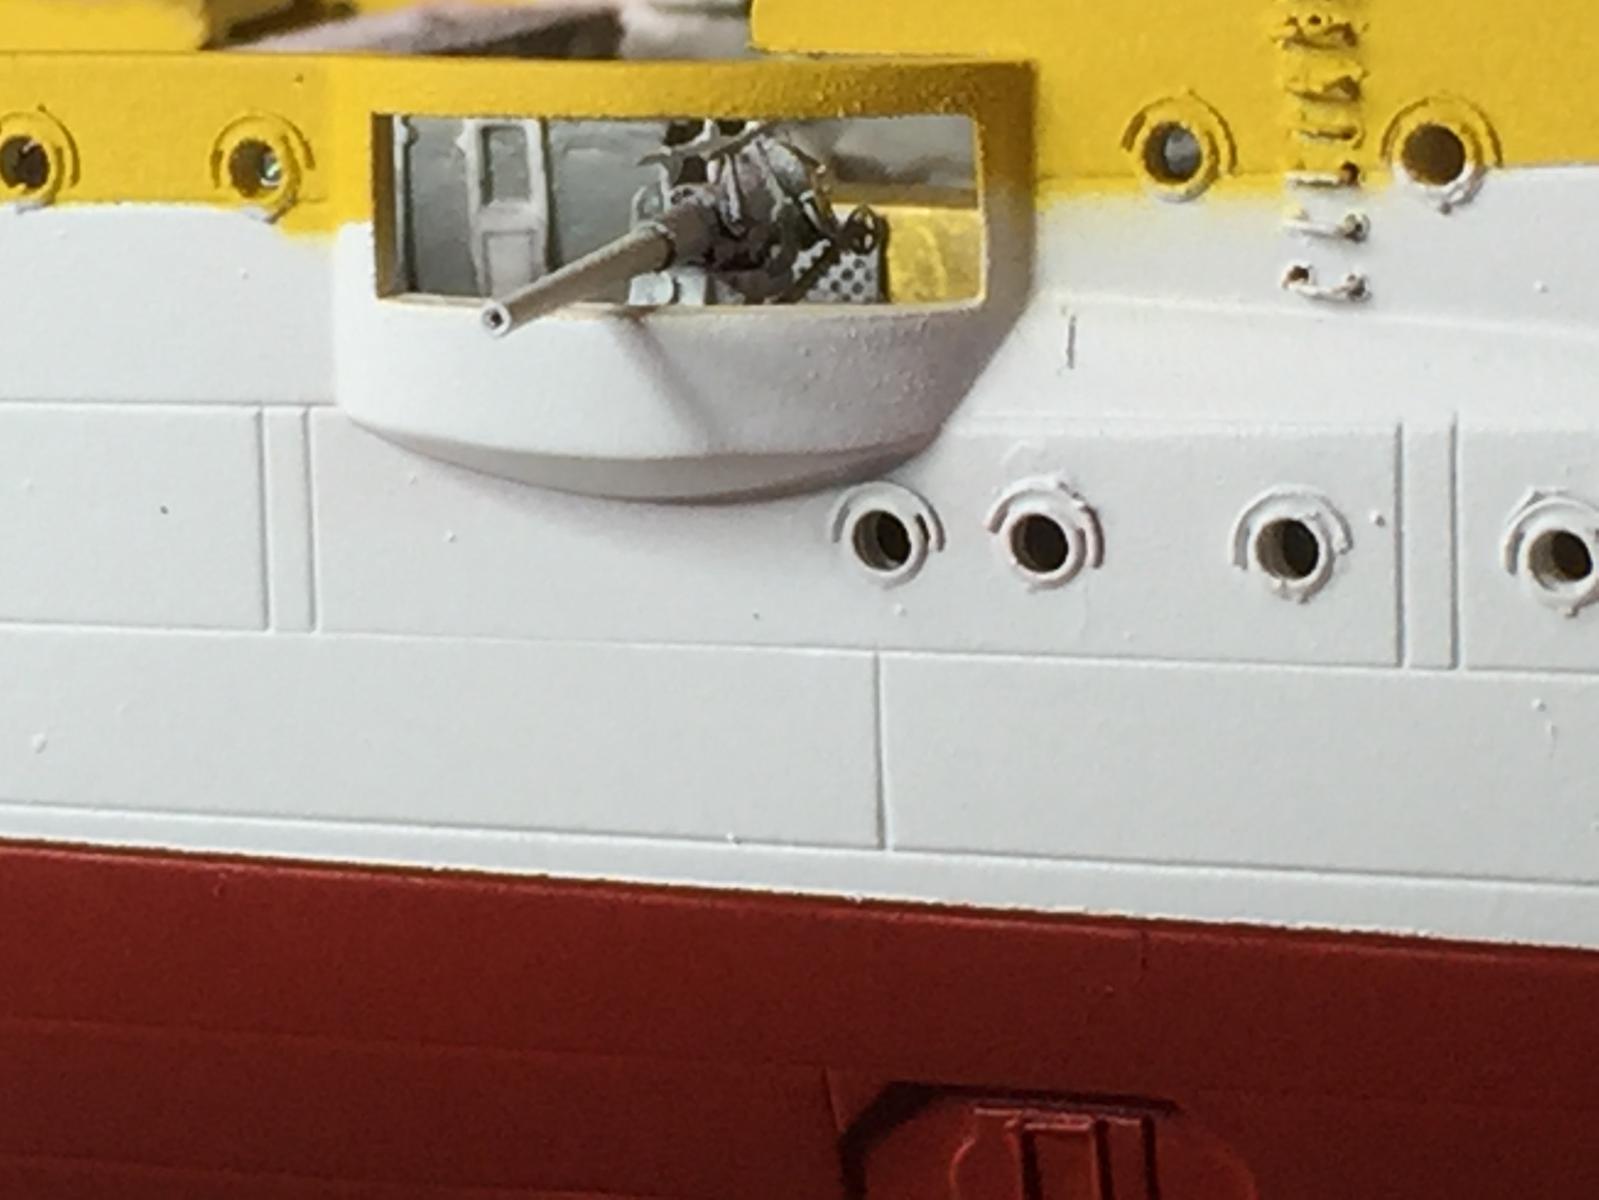
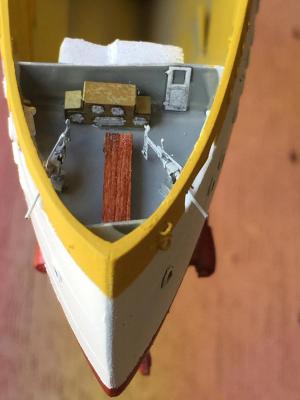
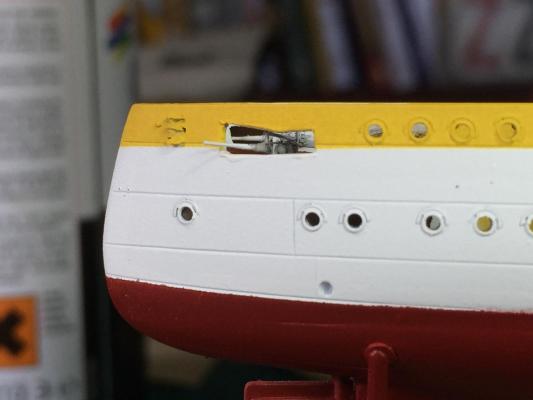
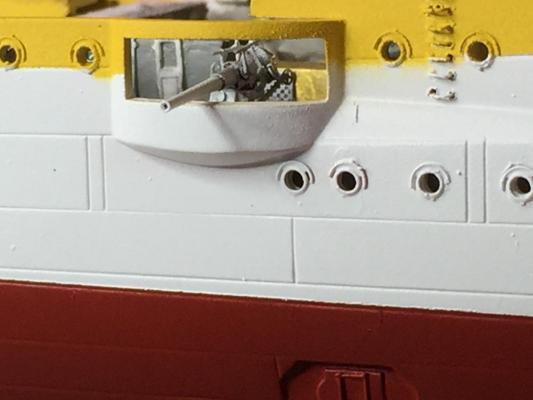
This front waist 105mm gun is actually open on the kit, and I added a torpedo loading hatch, a few coaling scuttles (on the plans) and a few other doors. the reason i have added the contrasting colours was that if I did not they would just not be visible when the roof is on without internal lighting. It's like being a little bit pregnant, I'd have to do the entire thing. you can see from the first picture what the kit 105mm gun looks like in comparison to a scratch built one.

-
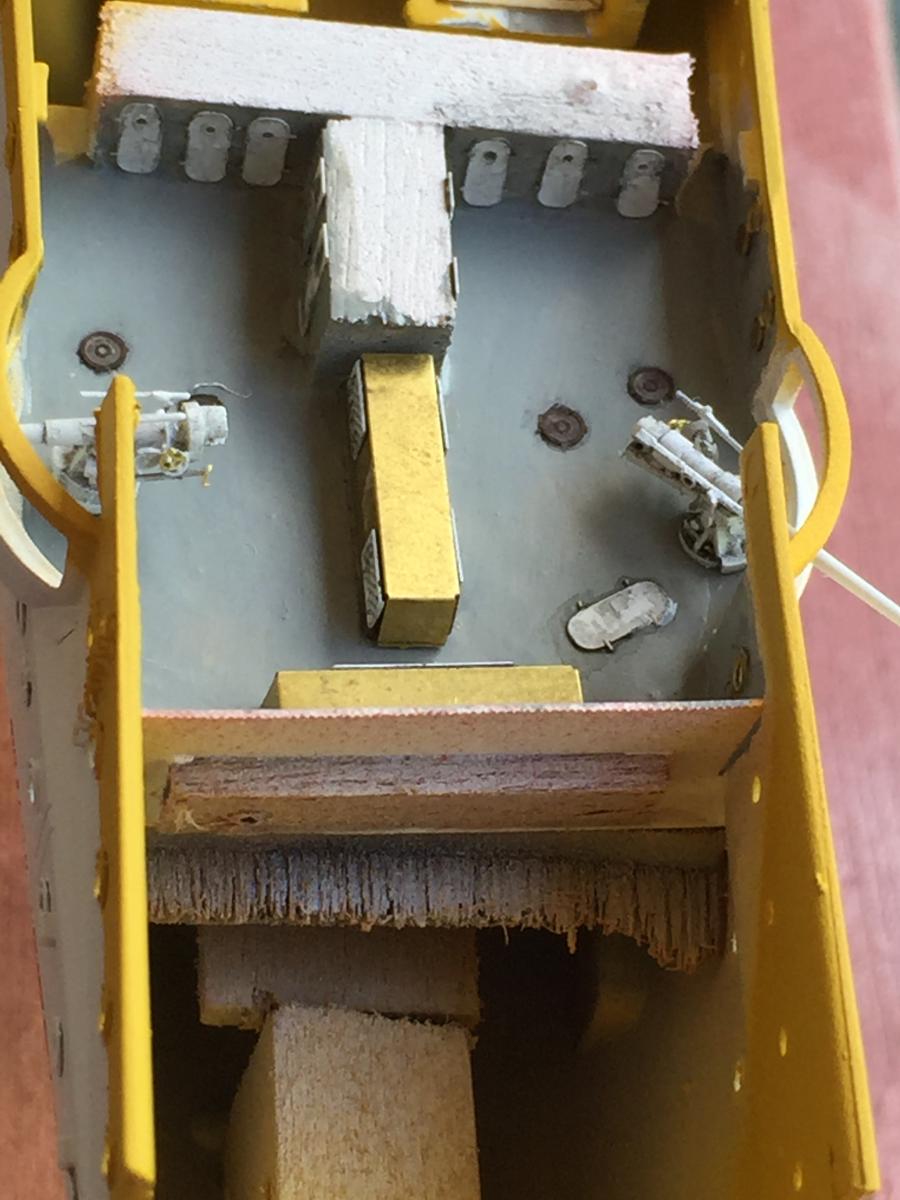
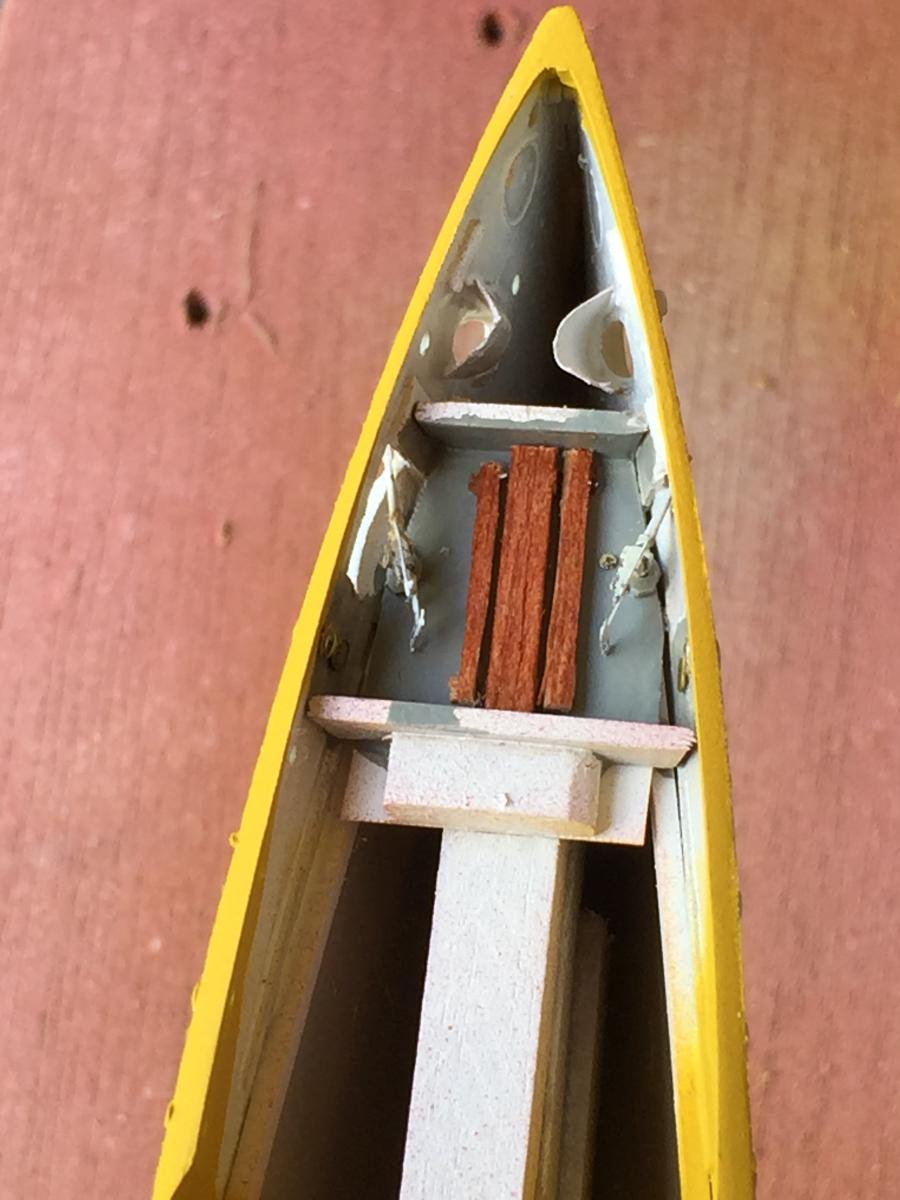
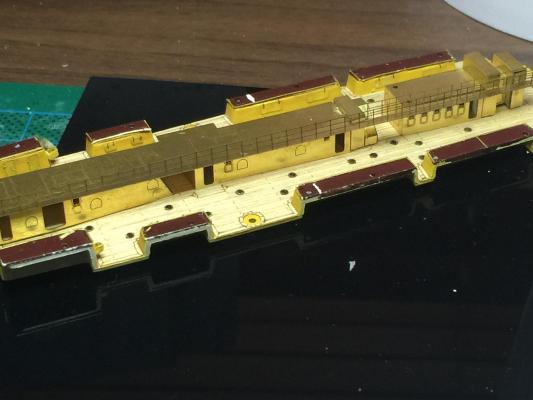
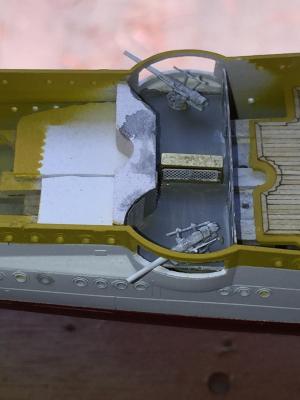
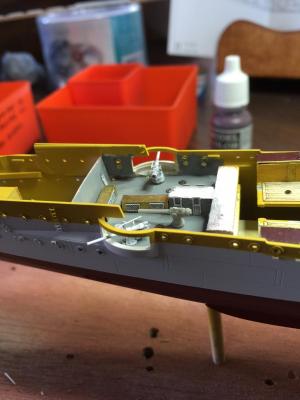
I have made separate areas for the guns under the decks. The guns themselves come up very nicely when painted. the first part is the bow, utalising a mess table between the guns, and a few interior brass porthole covers. None of this will really be visible once the roof goes on.

-
And dropped into the hull. Not going to glue it yet until i have all the housings done.

-
Lovely build, it's a great feeling of satisfaction getting to this point. All I can say is beware the belaying!
-
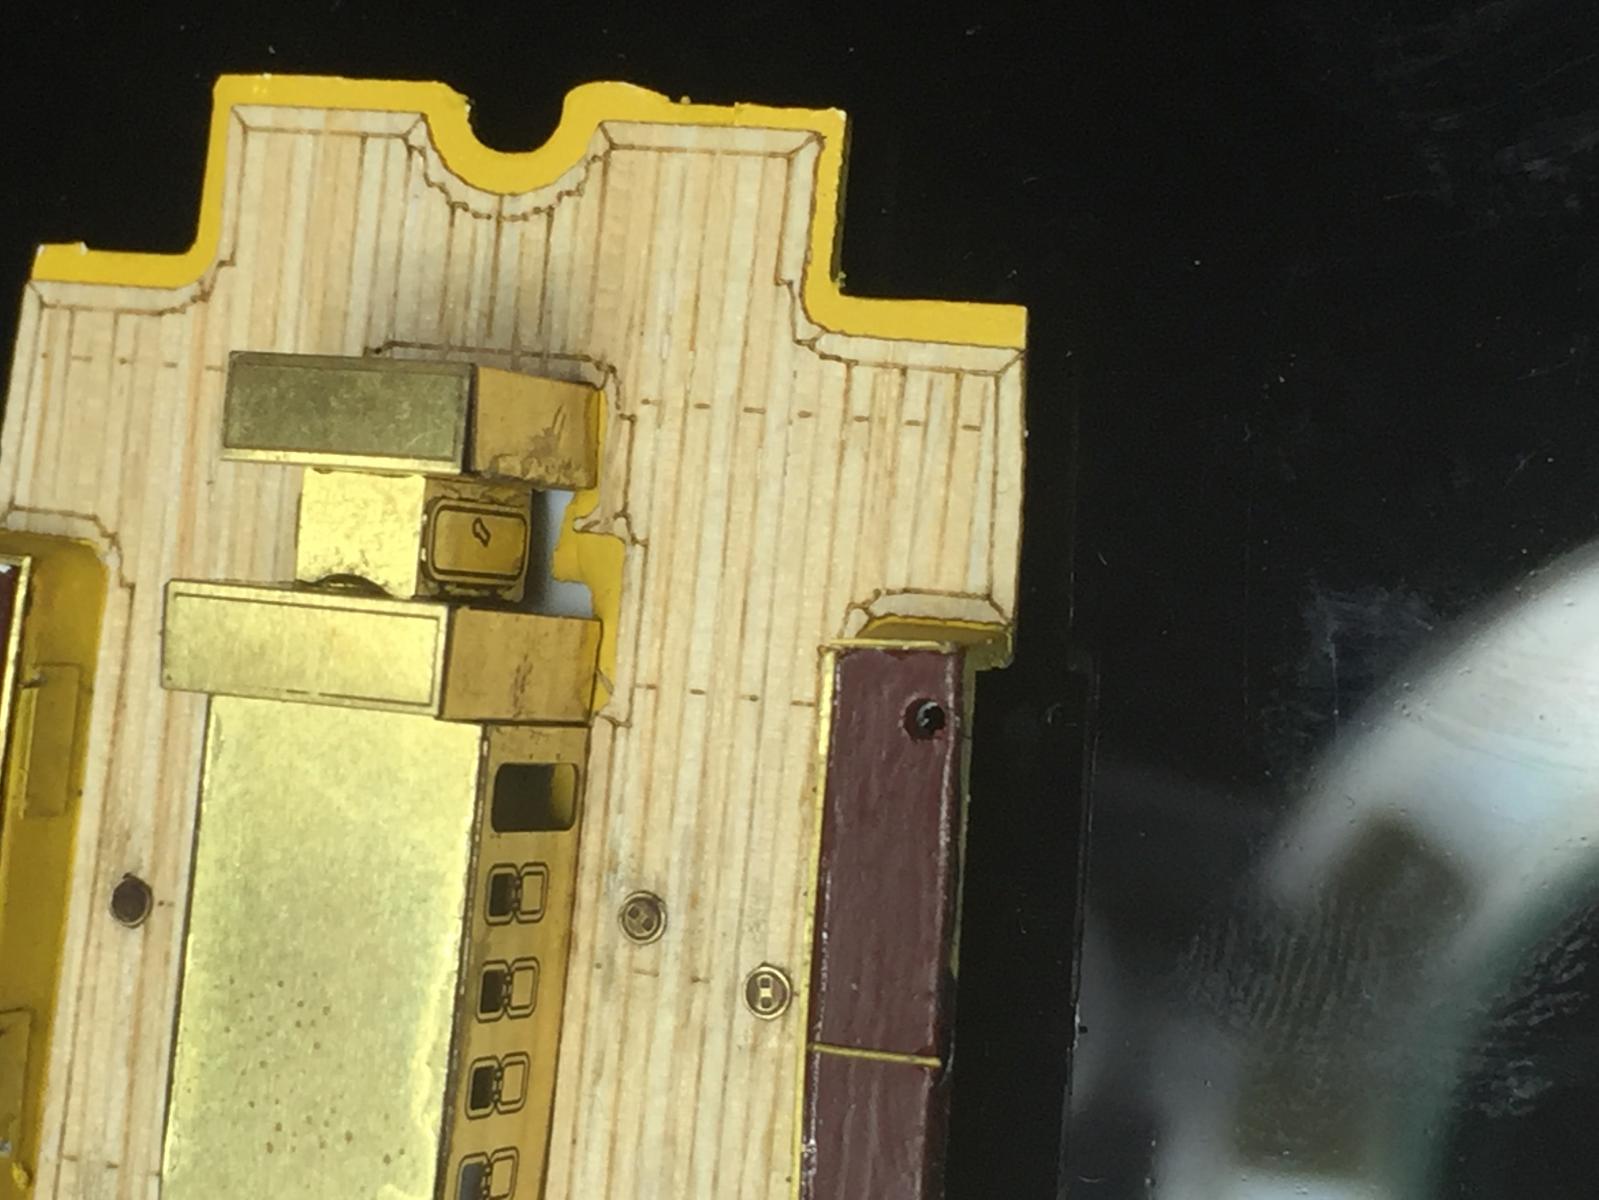
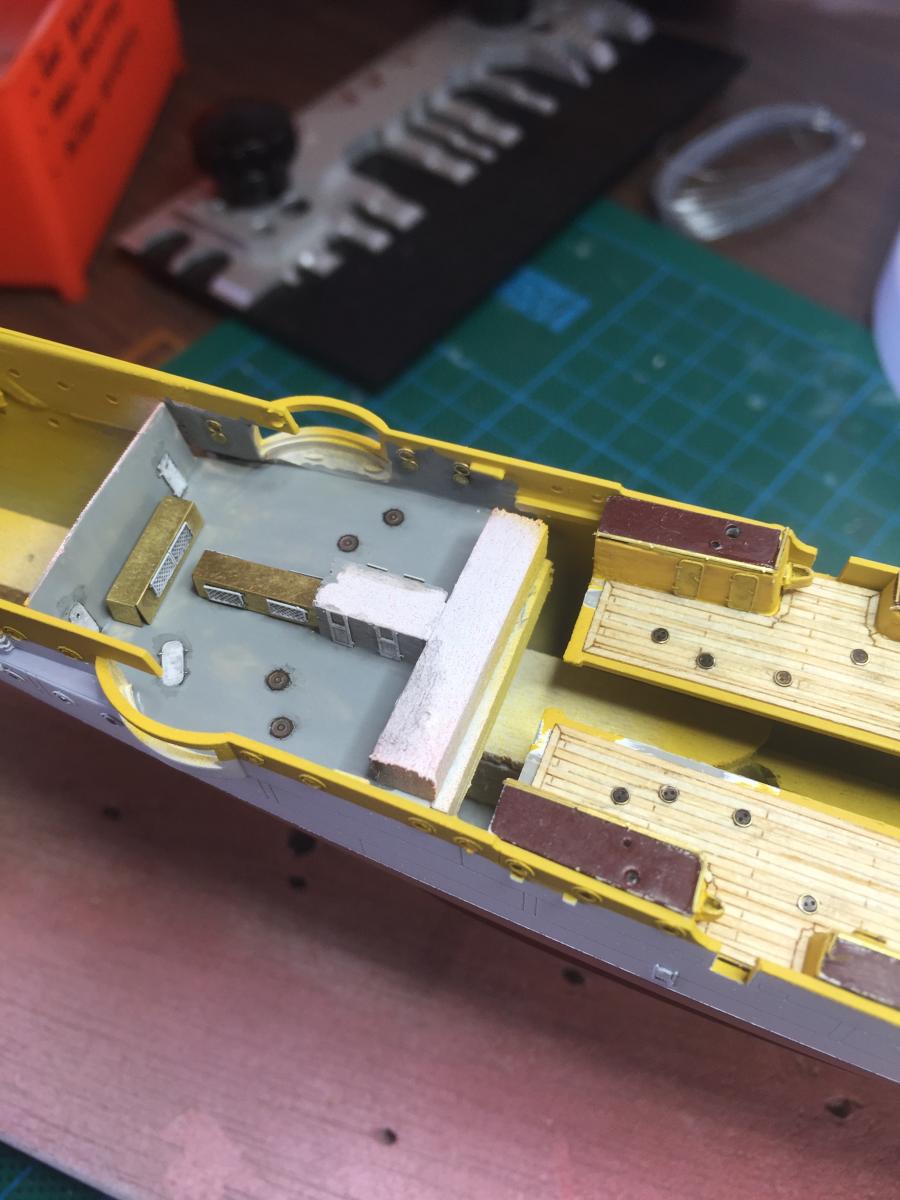
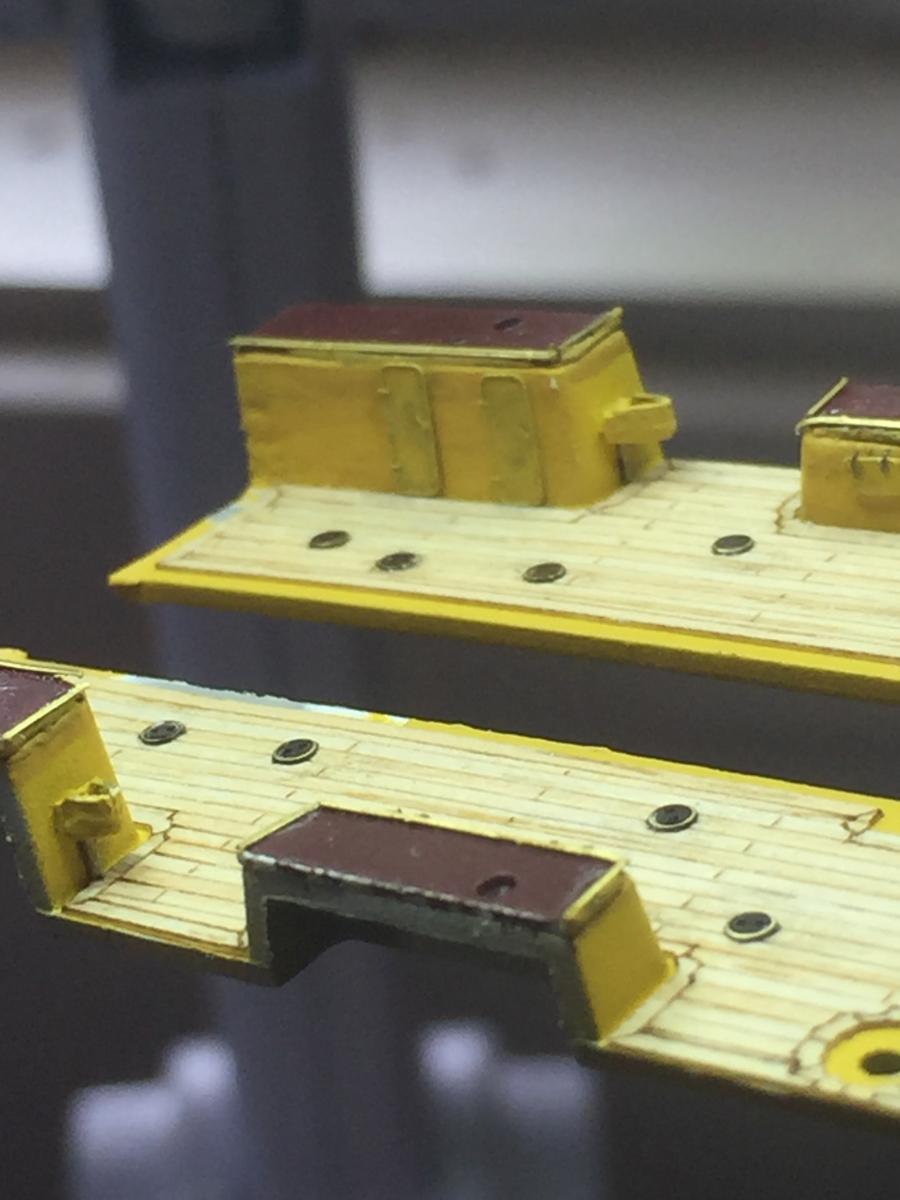
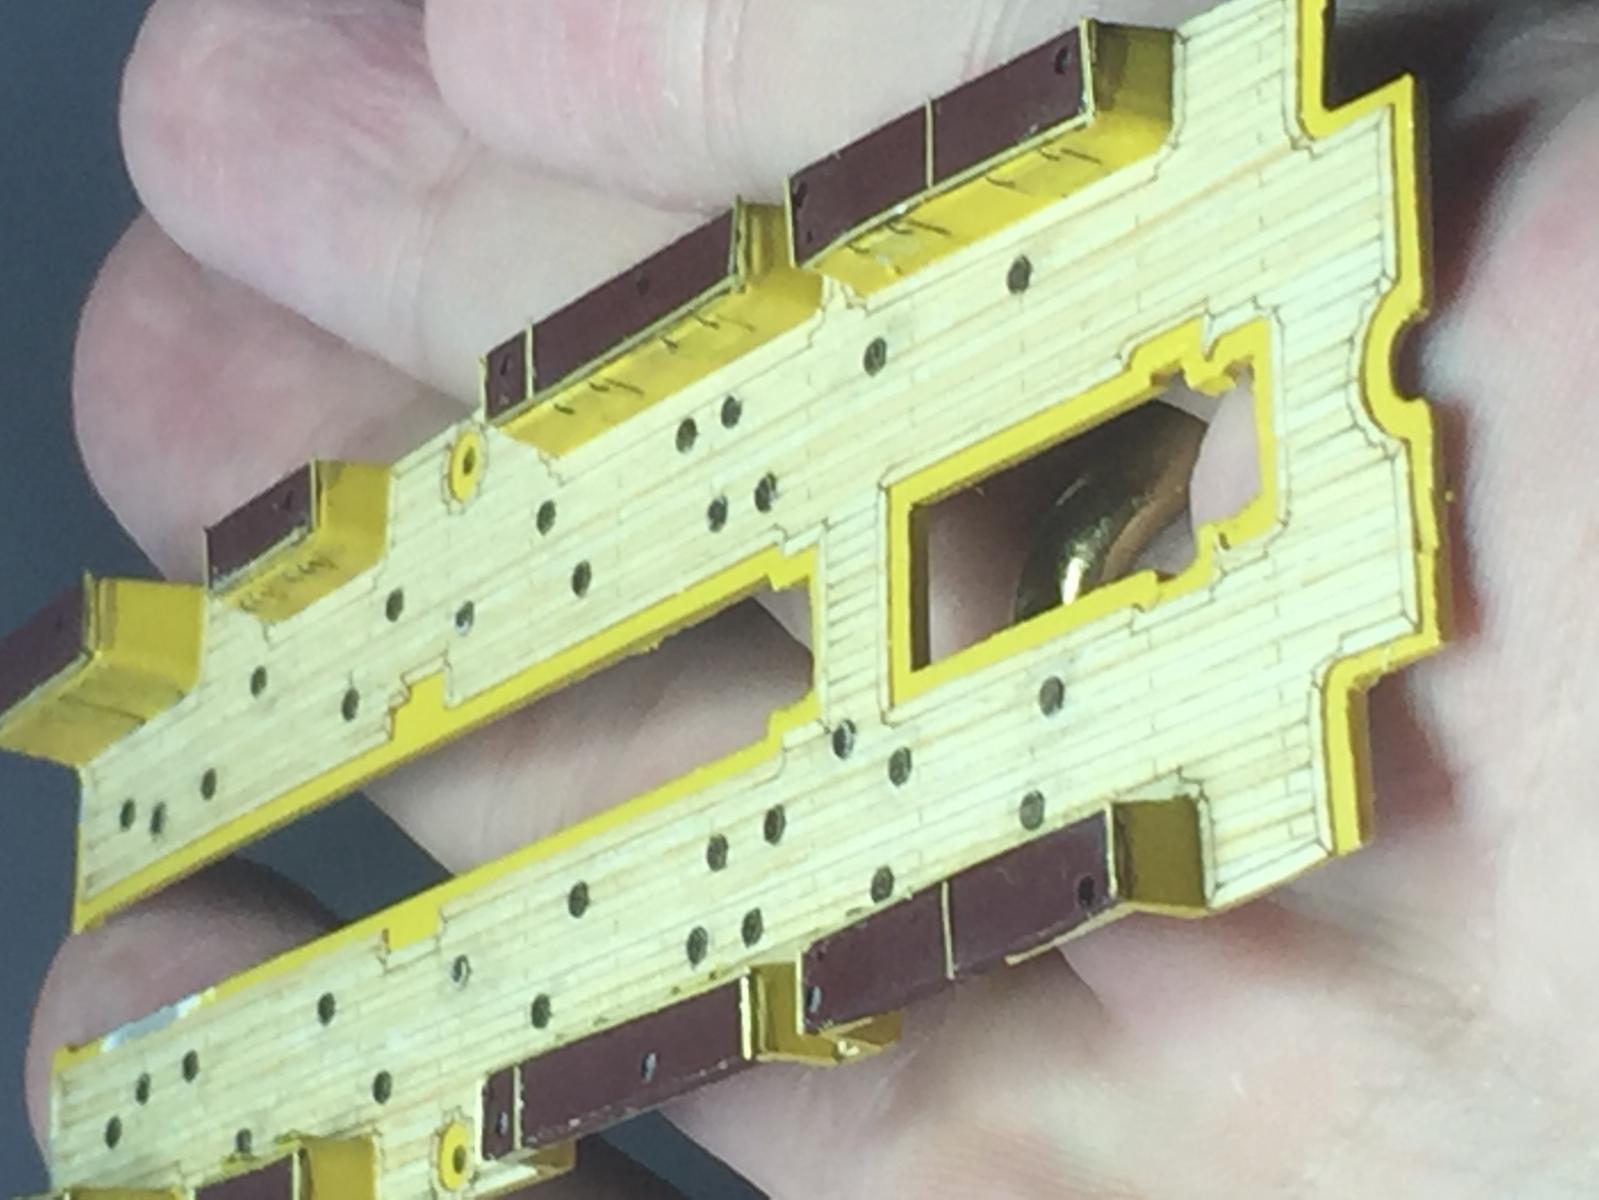
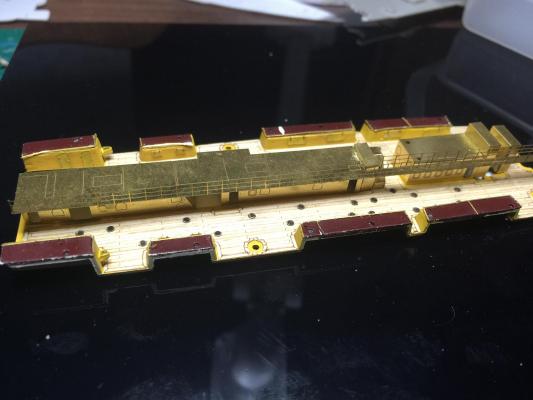
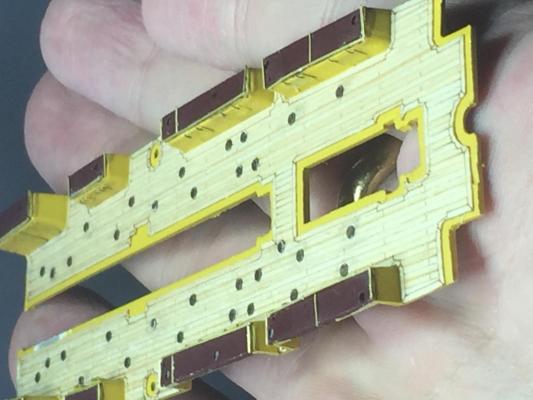
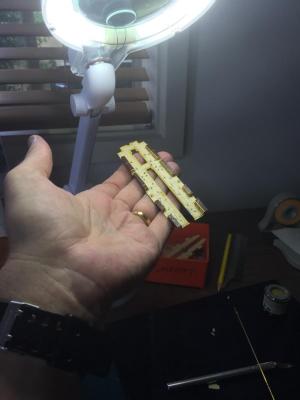
The side storage has hatches provided by Eduard which are lovely grates but just not accurate.This is the photo on the orange box. The coaling scuttles are very nice though and were blackened then sanded to provide detail. The kit nor Artwox mention them. The B/W photos are from the Australian War Memorial website and show the scuttles and the side hatches. I replaced the hatches with other spares, a little too big but they will almost be invisible after the kit is complete. As you can see from my hand size they are pretty small. I am in the process of making sinks which sit outside the toilets which are the first main door you can see forward.

-
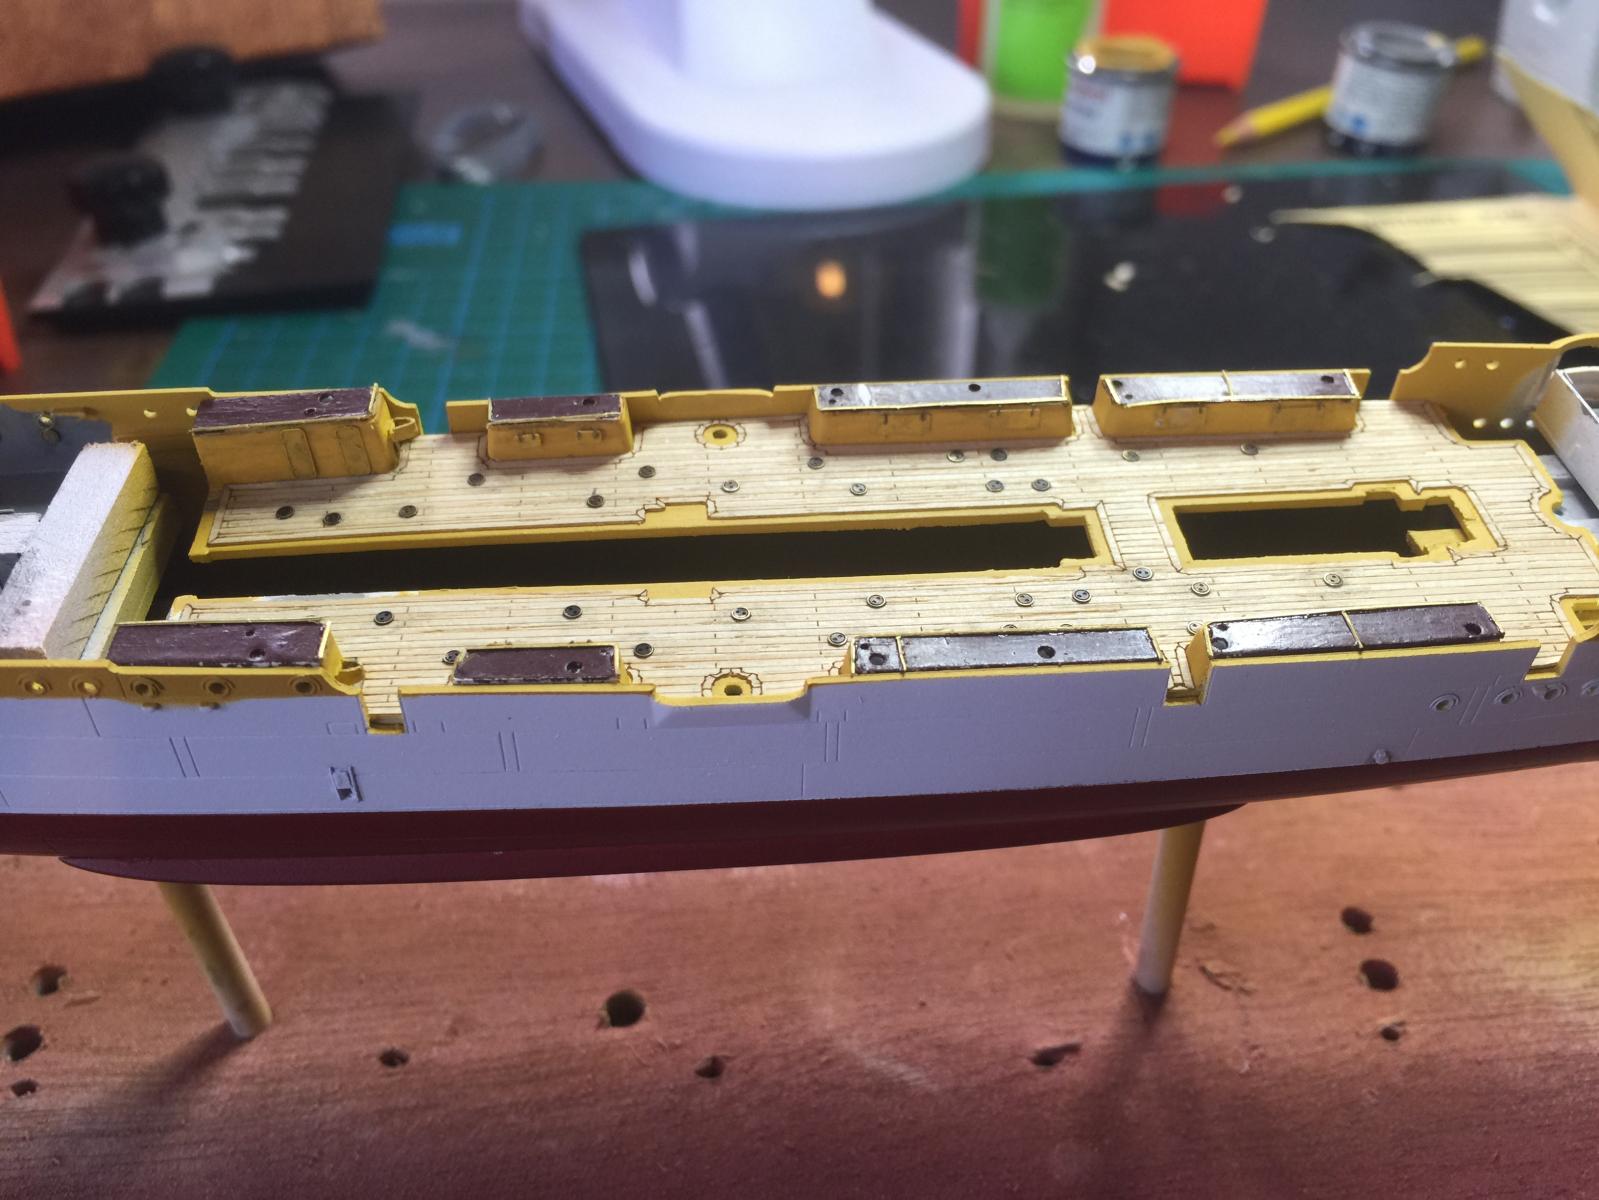
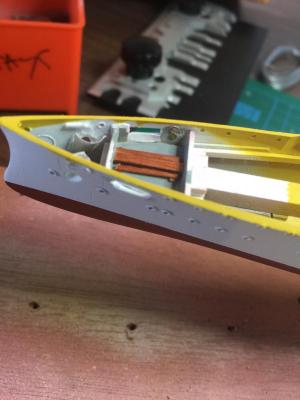
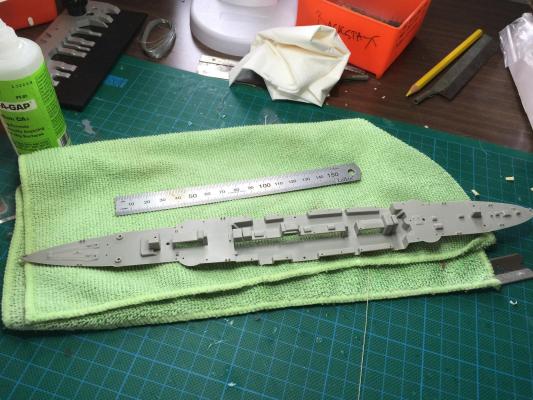
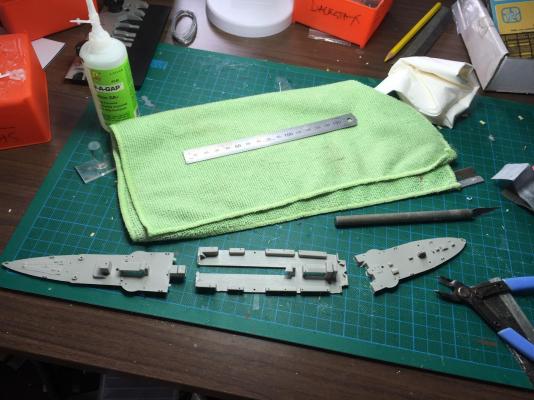
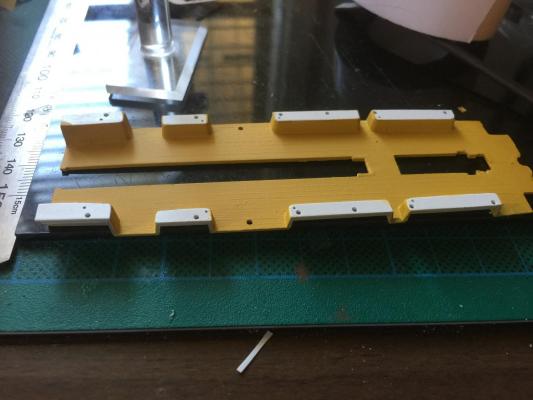
I have started on the deck. Given it is one continuous piece, it is far easier to cut it to bite size pieces. That way I can do the interior detail and amidships before starting on any of the housing. Firstly snipping it in three and filing it back. The adding a layer on top of the side storage which on the real ship was vinyl held down my 5cm brass strips. I have used cut off photo etch railing to represent this. The deck is from Artwox.
-
Don't forget they don't have to work! Once lashed up you will not notice them. It's a lot of revision for something that's never going to move. Unless you own little people who are going to sail it, then I'd say they'll need revision.
- 517 replies
-
- 3
-
-
- Endeavour
- Artesania Latina
- (and 1 more)