RGL
-
Posts
5,539 -
Joined
-
Last visited
Content Type
Profiles
Forums
Gallery
Events
Everything posted by RGL
-
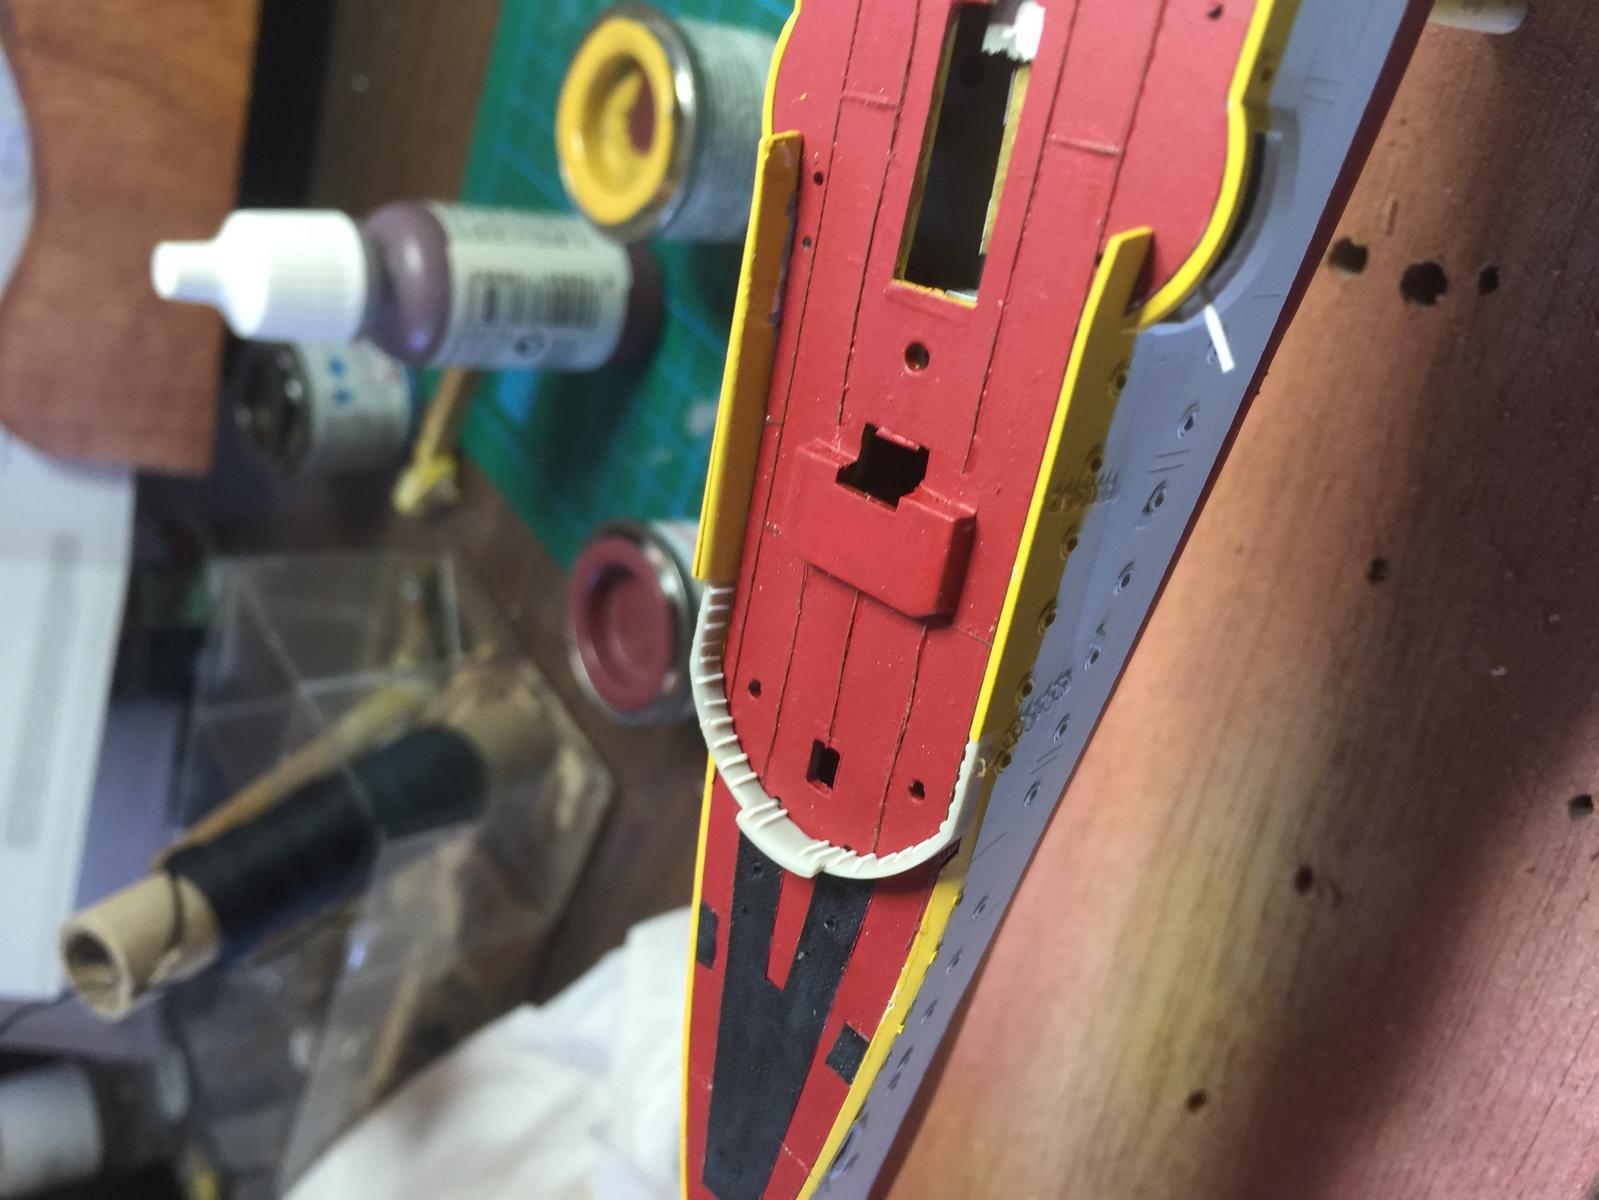
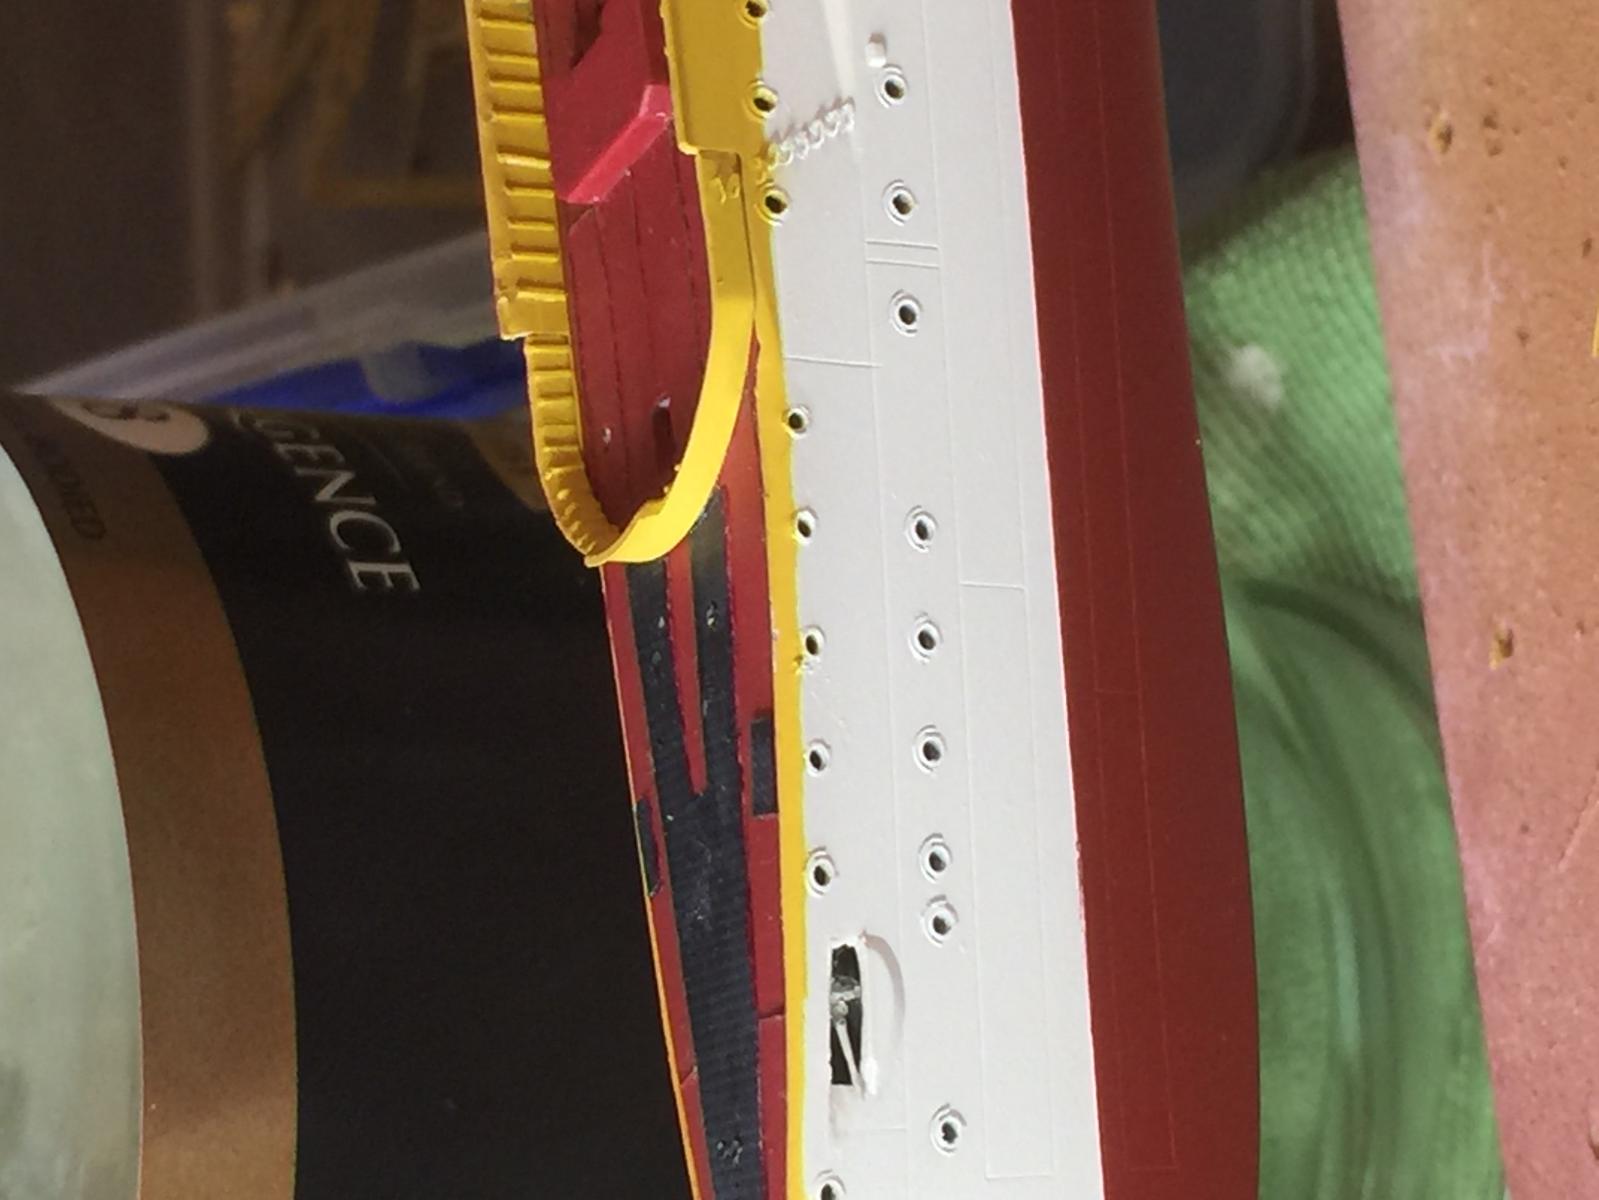
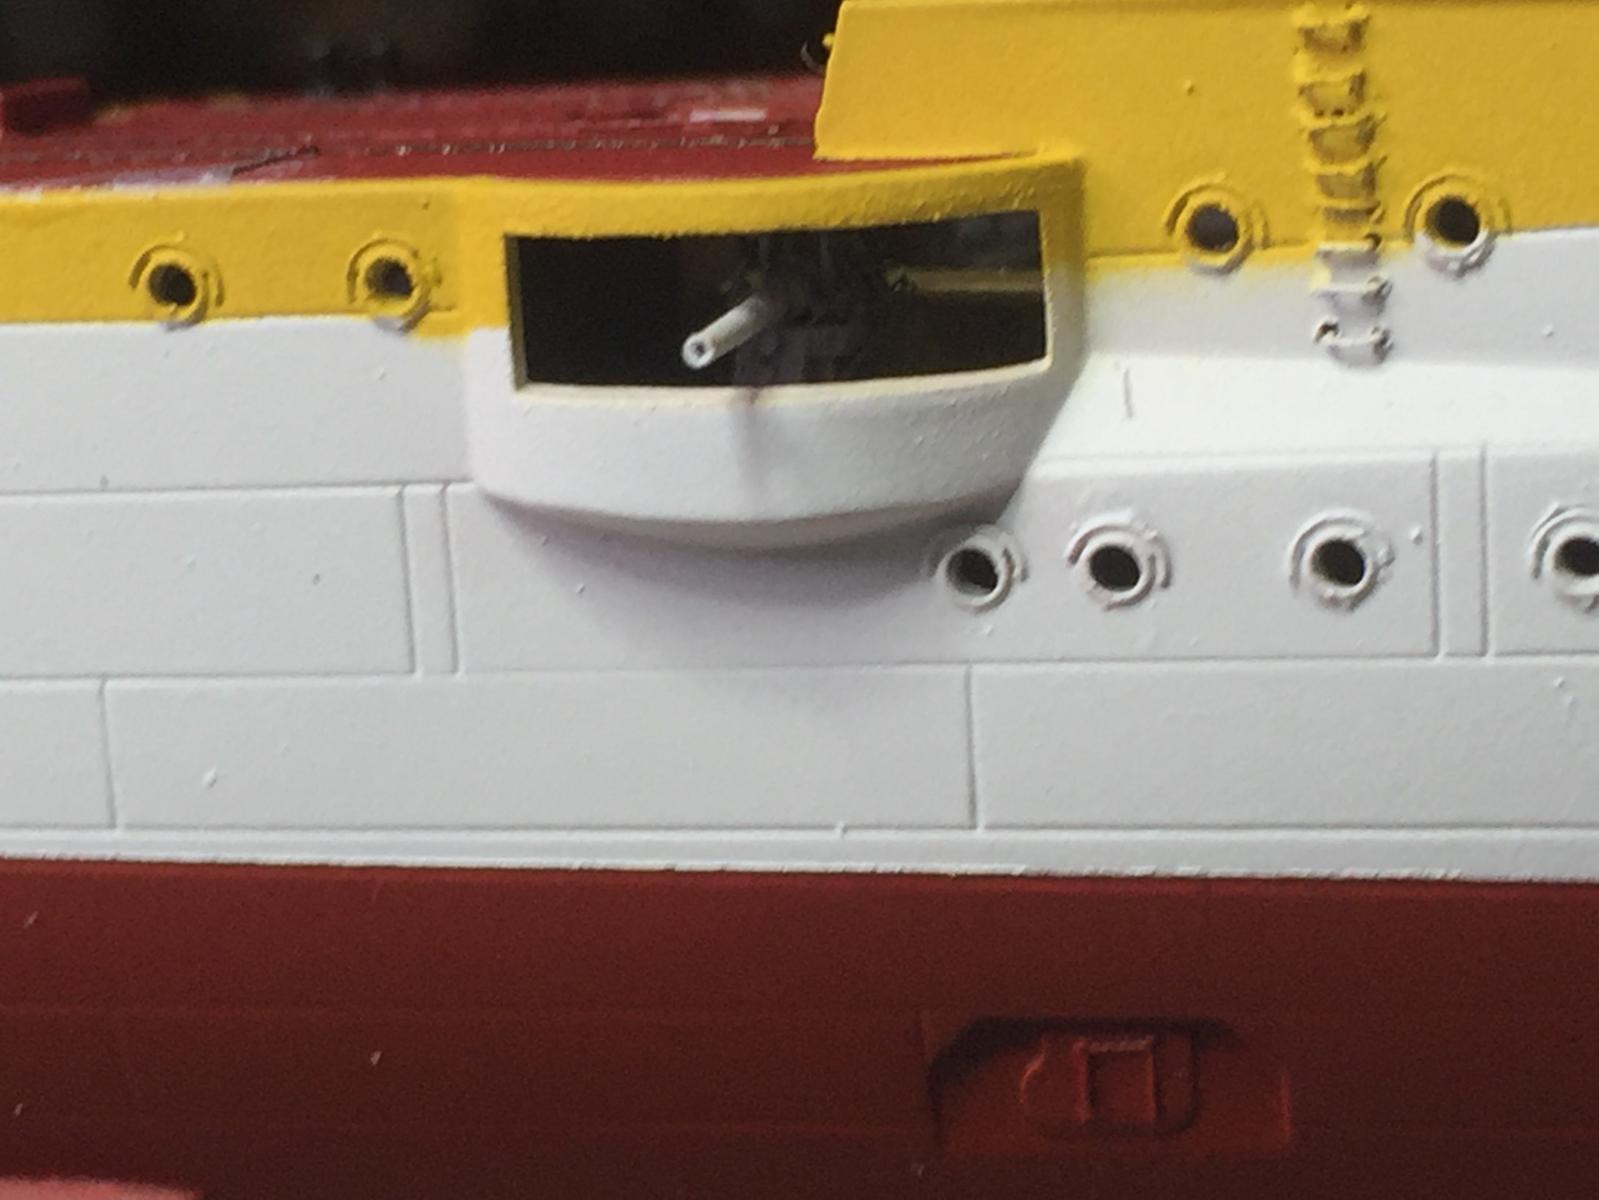
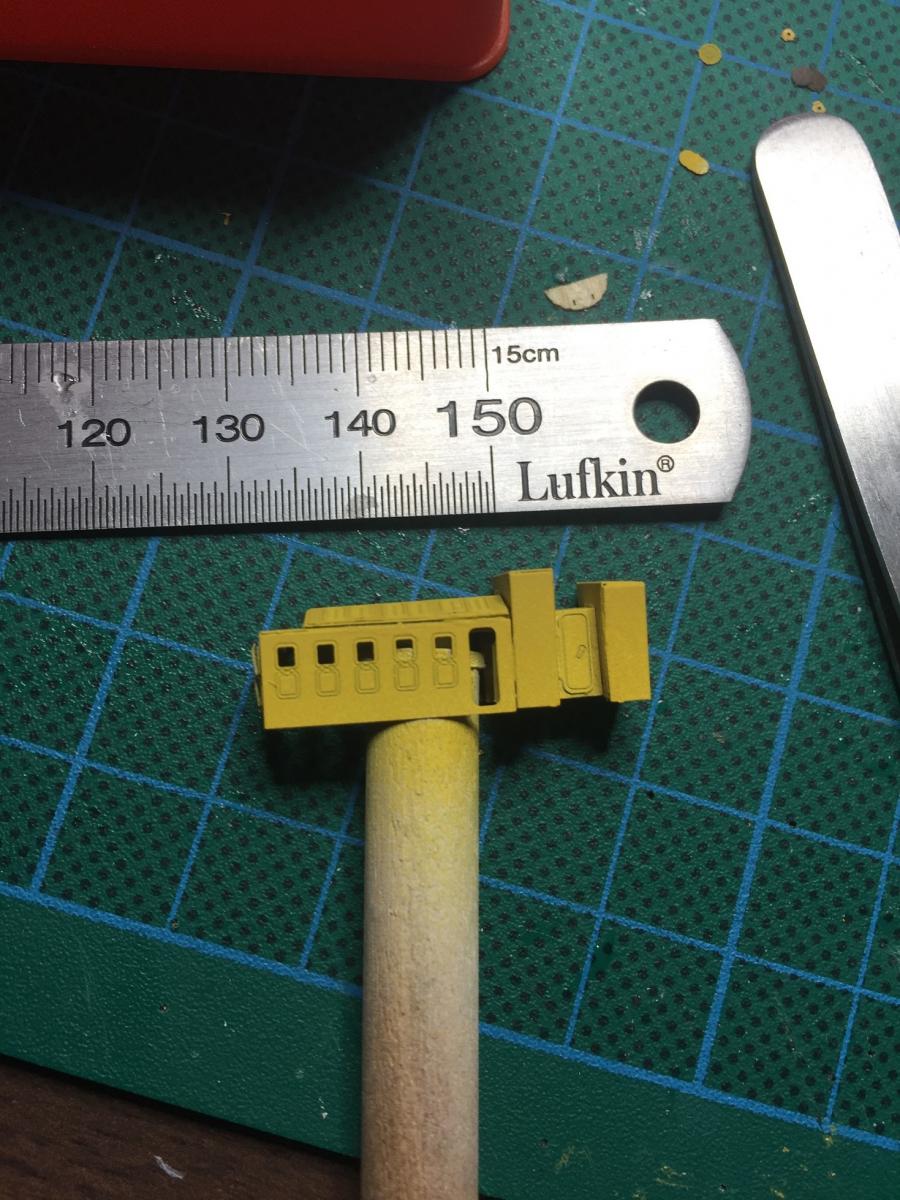
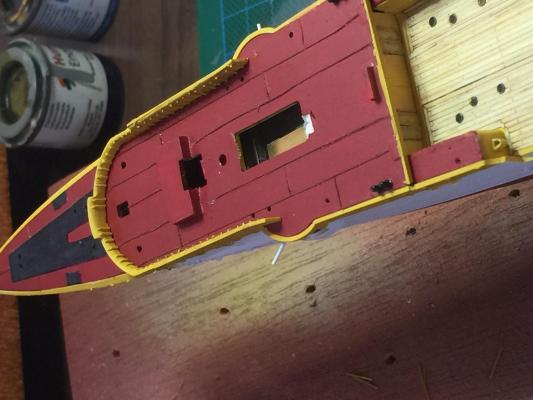
 The bow splinter shield or wave shield. I added a few pieces of 0.5mm polystyrene cut to shape to represent the bolsters. I'm just awaiting some red trimline to add to the hull. I can start on the rest of the etch bending now. I have no idea why but I cannot get the photos to orientate correctly.


-
Tick tick tick tick........ Will he, won't he? (Easy for me to say as I've finished!)
- 517 replies
-
- 4
-

-
- Endeavour
- Artesania Latina
- (and 1 more)
-
It's a lot of work to reconsider, I had to file the metal to the angle, add bolsters, putty, sand flush. I used a Caldercraft etch for the window frame which was at that angle. I'd leave it be.
- 517 replies
-
- 3
-
-
- Endeavour
- Artesania Latina
- (and 1 more)
-
I went with the replica, but this does not man it's correct.
- 517 replies
-
- 5
-
-
- Endeavour
- Artesania Latina
- (and 1 more)
-
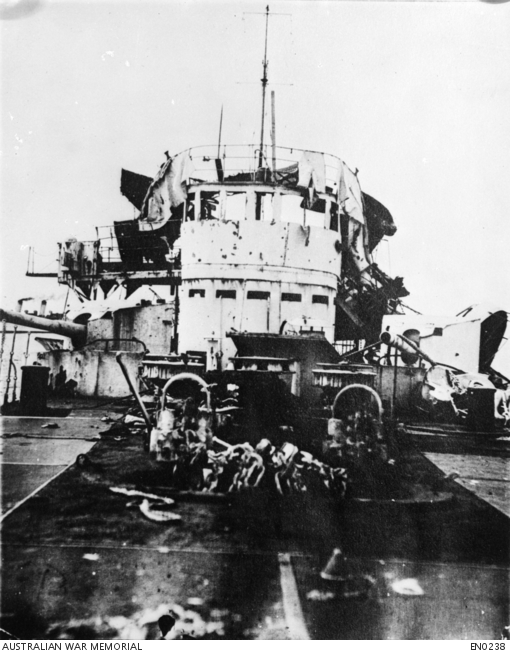
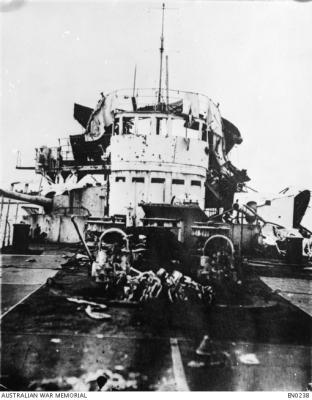
The Japanese used Lino in Ww2, but I have no idea why. The Humbrol paint colour is called "Wine", and it's the closest I could find to Black Red which Huff said is the deck colour(RAL 3007) as the only Company that makes it is Vajello, and I just can't work with their product. The photos of the wreck show a distinct change in tone between the chain area and the deck on bow area. Huff's own model has the entire deck as black, which after having lived and worked in Cairns, I find would be near impossible to believe you could even stand on the deck in the Tropics. The other photos show that the deck areas astern have been badly burnt down to metal, which corresponds with the accounts of the final battle where the Aussies kept pounding her when she ran aground as she wouldn't/ couldn't lower her ensign. The Kagero book shows the Stern and Bow areas are planked, which I think they just made up as it is fairly easy to disprove and their inaccuracies with the Varyag were so glaring when so much other material is available destroys their credibility. That being said, I'm probably justifying by colour choice as I didn't want to use brown and I could not convince myself a black deck was correct. I'm happy to be corrected as its a fairly simple thing at this stage to do it black but it doesn't make sense. Again, thanks for the likes and comments and I'm open to advice.
-
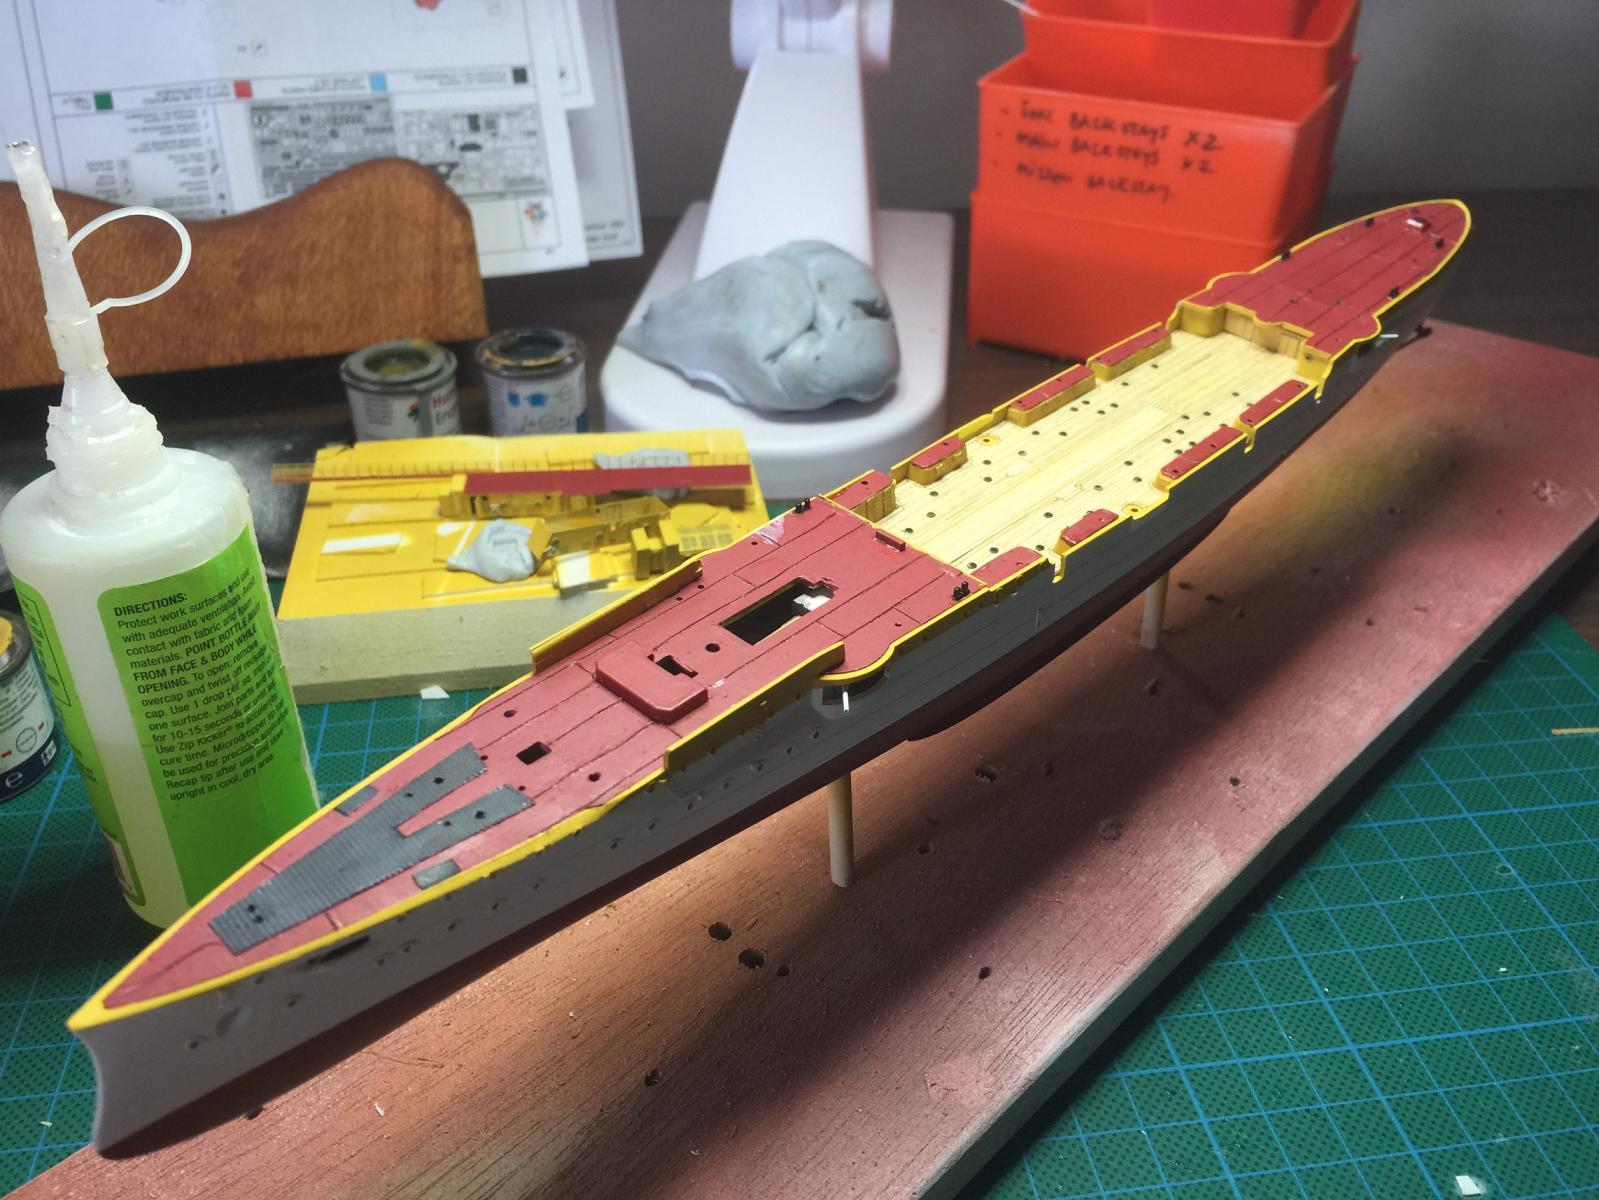
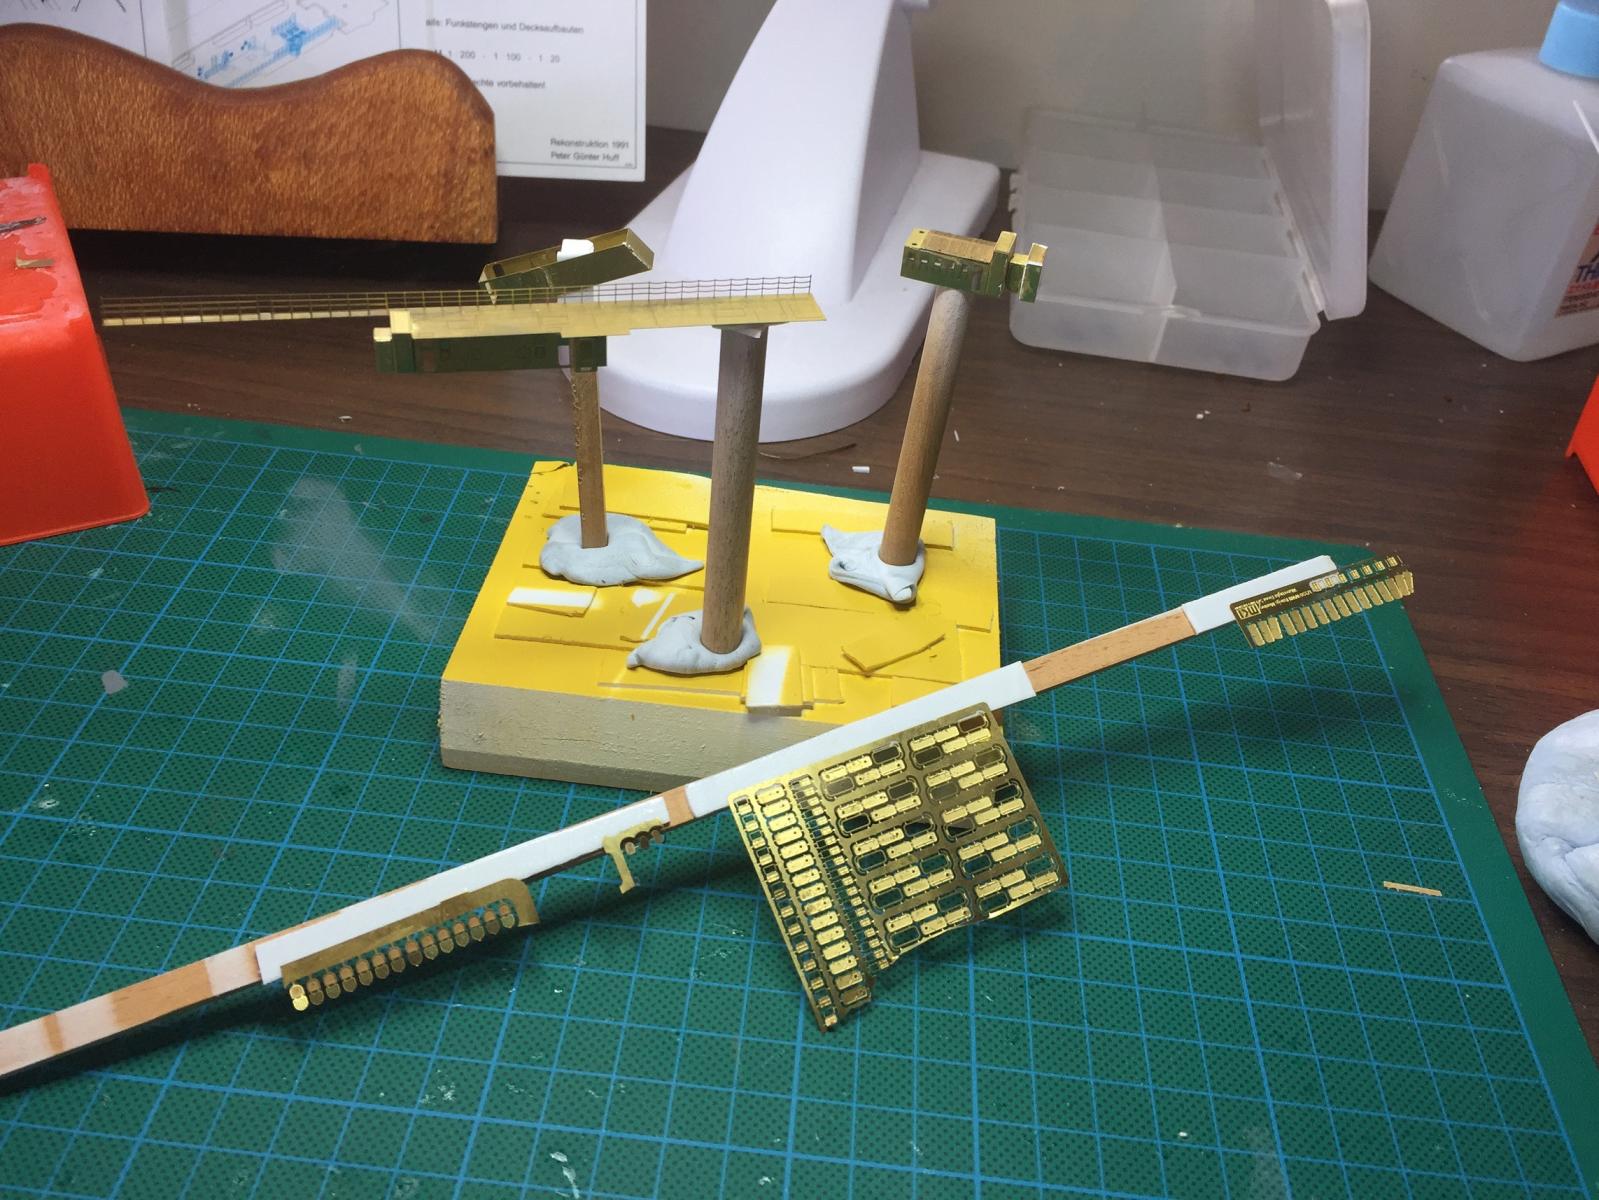
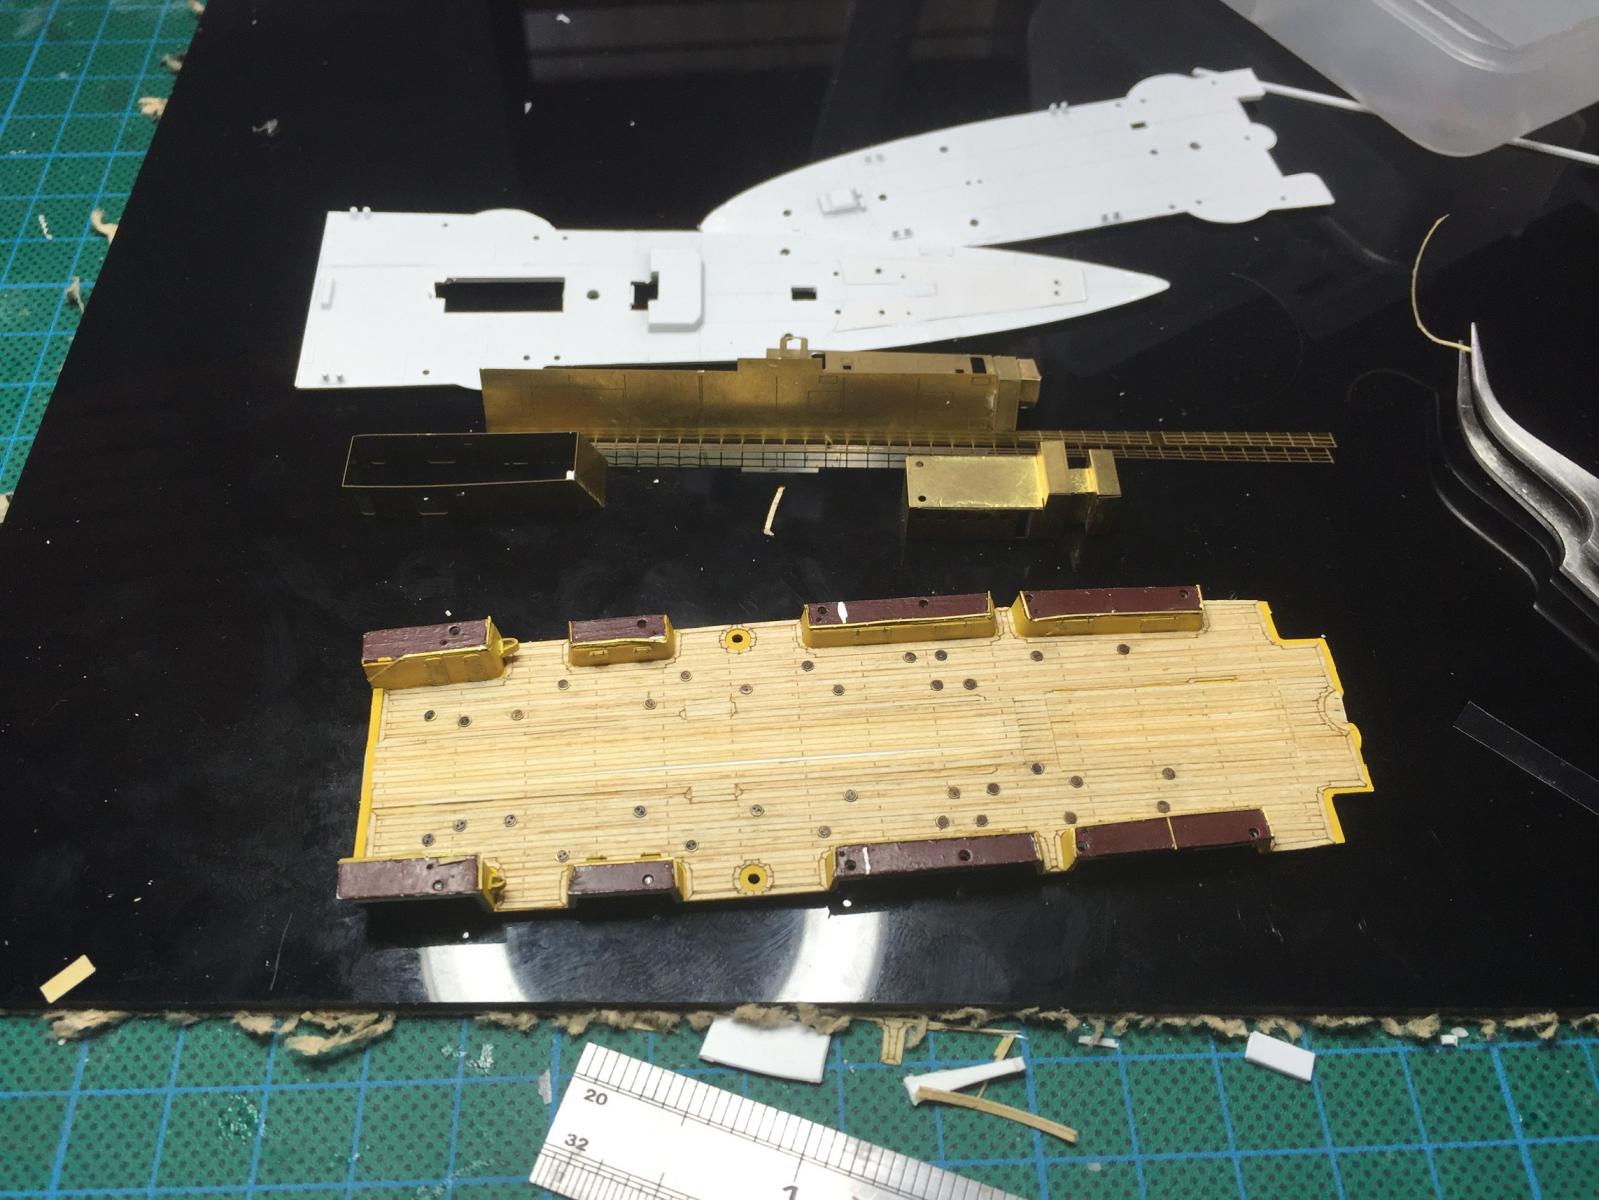
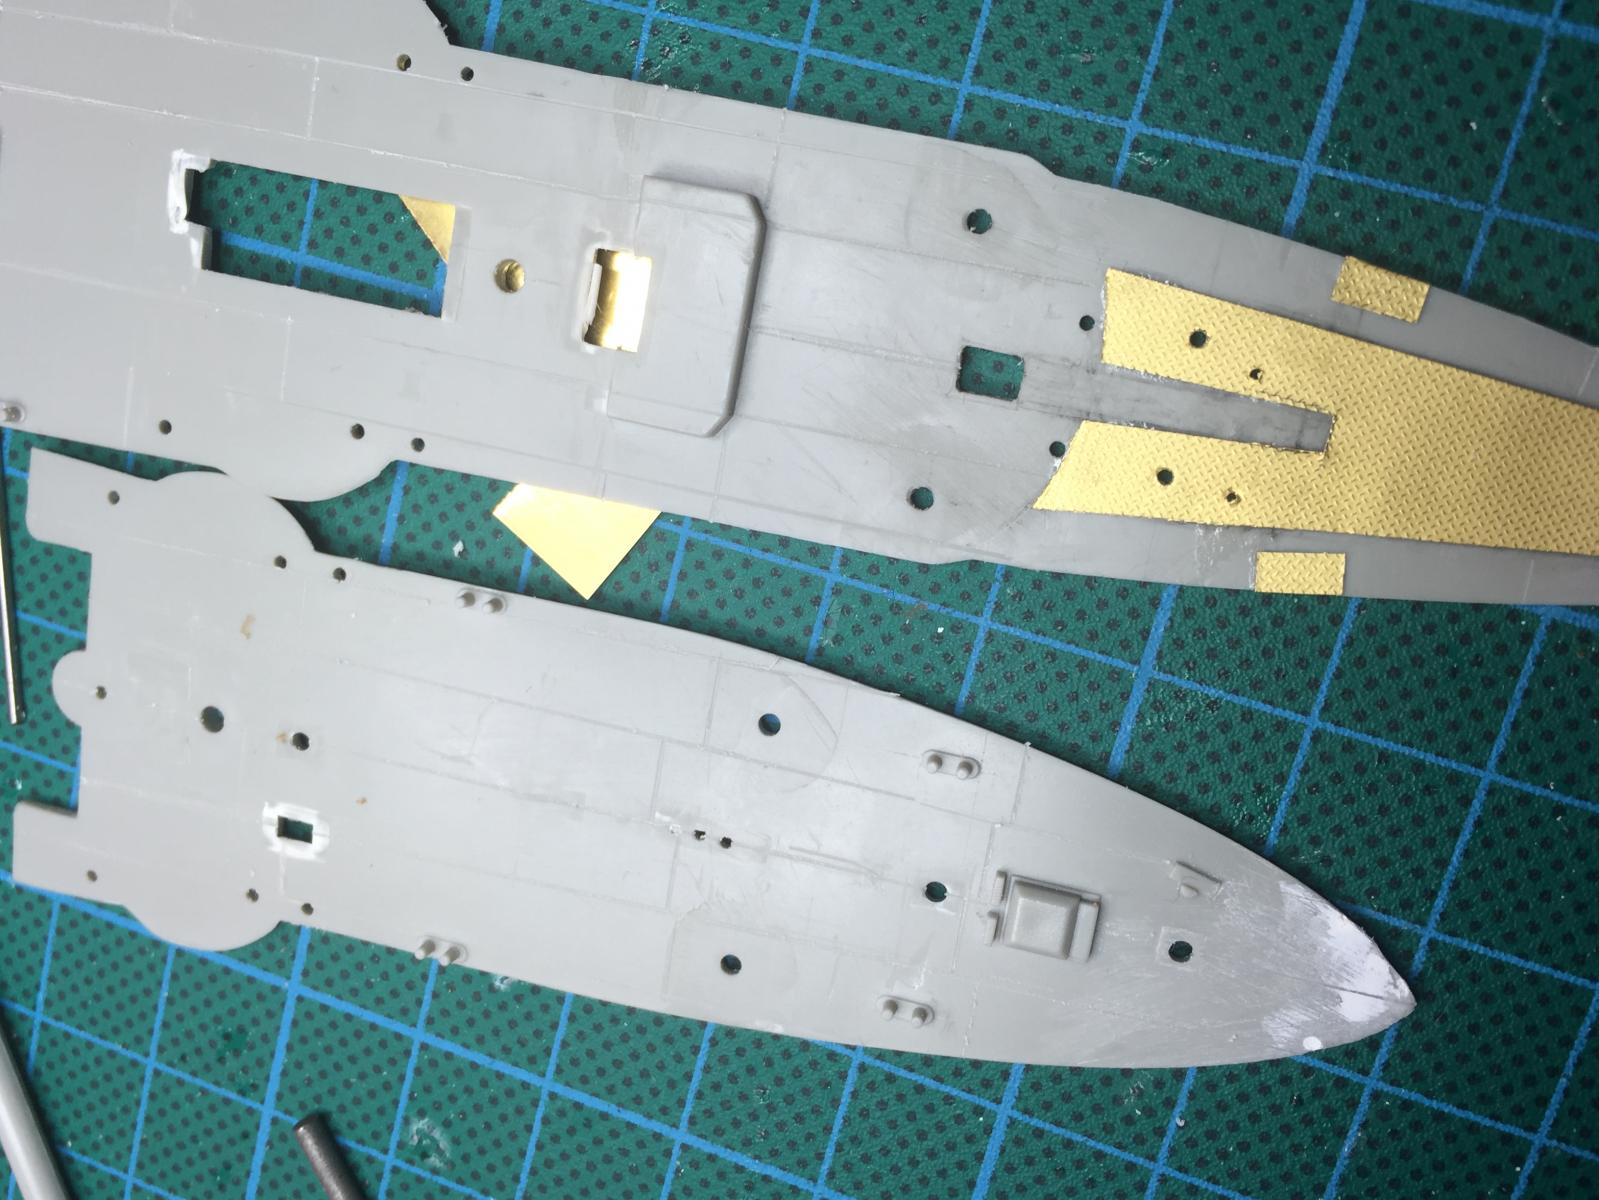
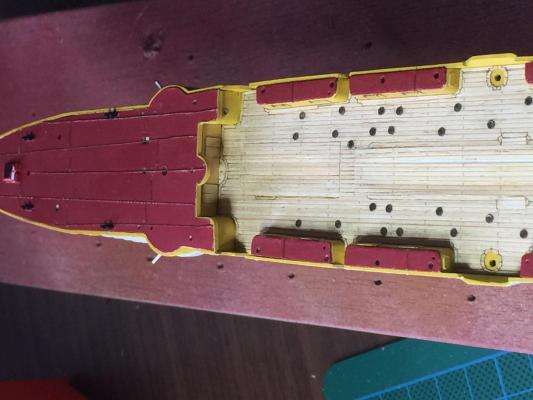
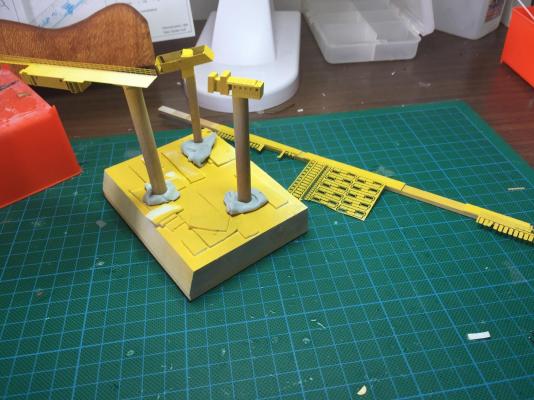
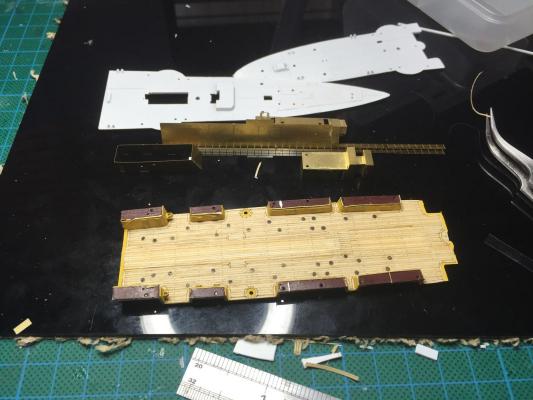
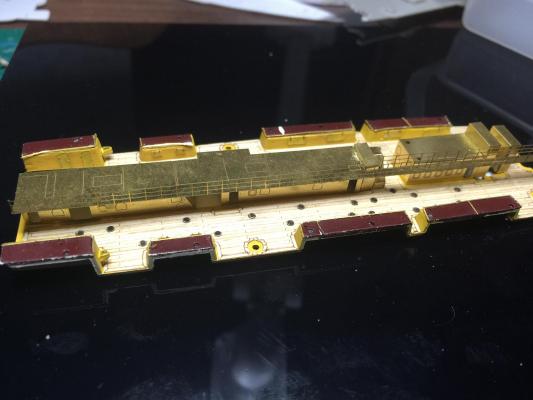
Draft 1 of the deck. I'm at the stage where i have to place the deck or I cannot progress. It looks as rough as guts at the moment but I can't remedy any of the gaps and errors until it was stuck down. There are little areas where it is not 100% flush but with the railings and the davits it will cover many sins. As I cut the deck in three pieces, it adds to the challenge as there are photo etch ladders to go to the amidship area. The lines on the deck are .01mm brass that replicate the strips to hold down the red linoleum. They bend very easily and will be straitened up now the deck is attached. I'm happy with the wine colour as it is very close to the red black required. Amidships requires 4 sets of double doors. To the stern there will be an I beam that runs the length of the amidships area which is a trolley for ammo. The eduard doors are not to scale and waaaay to big, even though I had to fabricate the bulkheads. The doors are aftermarket and reduced at the stern end to facilitate the I beam. There are a few gaps, some which I will remedy, and others will not be visible when the deck furniture is attached. Once I have fixed up the messiness of the deck as it is, I can add the red pinstripe to the hull, then start on the details. There are heaps of vents not mentioned anywhere in the instructions which I ordered from battle fleet models which appears to have gone bust or the owner has had a breakdown meaning lots of scratch building, which at this scale is a lot harder to make look authentic. There is no company in the world that makes cowl vents at 1/350.

- 236 replies
-
- 11
-
-
Thanks guys, I spent 6 hours today (last day of leave, wife at work and kids at school) laying the brass strips on the deck that hold the Lino. Apparently they are 5cm wide which at 1/350 are 0.142mm. It's been an adventure getting them to stick at that scale! Once that's done to my satisfaction I can finally do the bulkheads on either end of the amidships section, get the fore and rear decks glued down, fill the gaps, do the pinstripes, and then start attaching the etch housings I have already posted. Soo much to do but no where near as daunting as the grown ups doing a 3 master.
-
Kev, you may be better off reading the online reviews and comparing the parts included, as some are designed for specific manufacturers
-
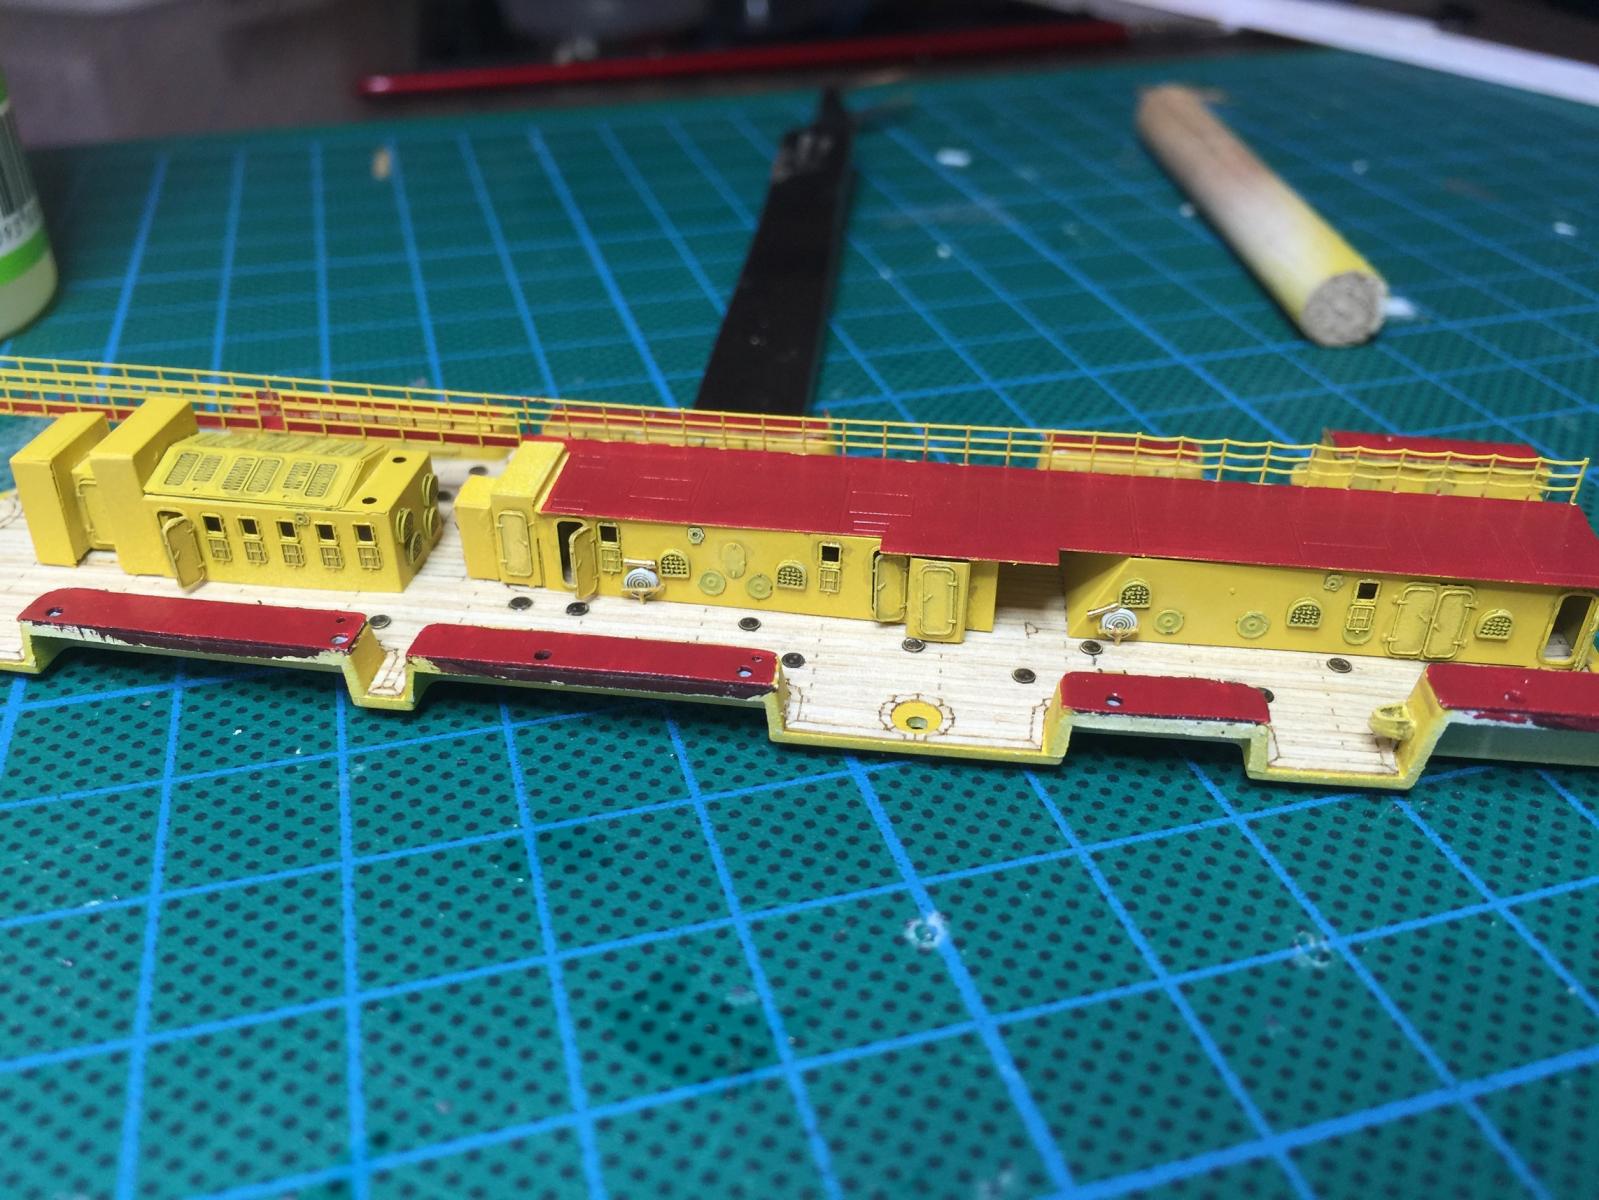
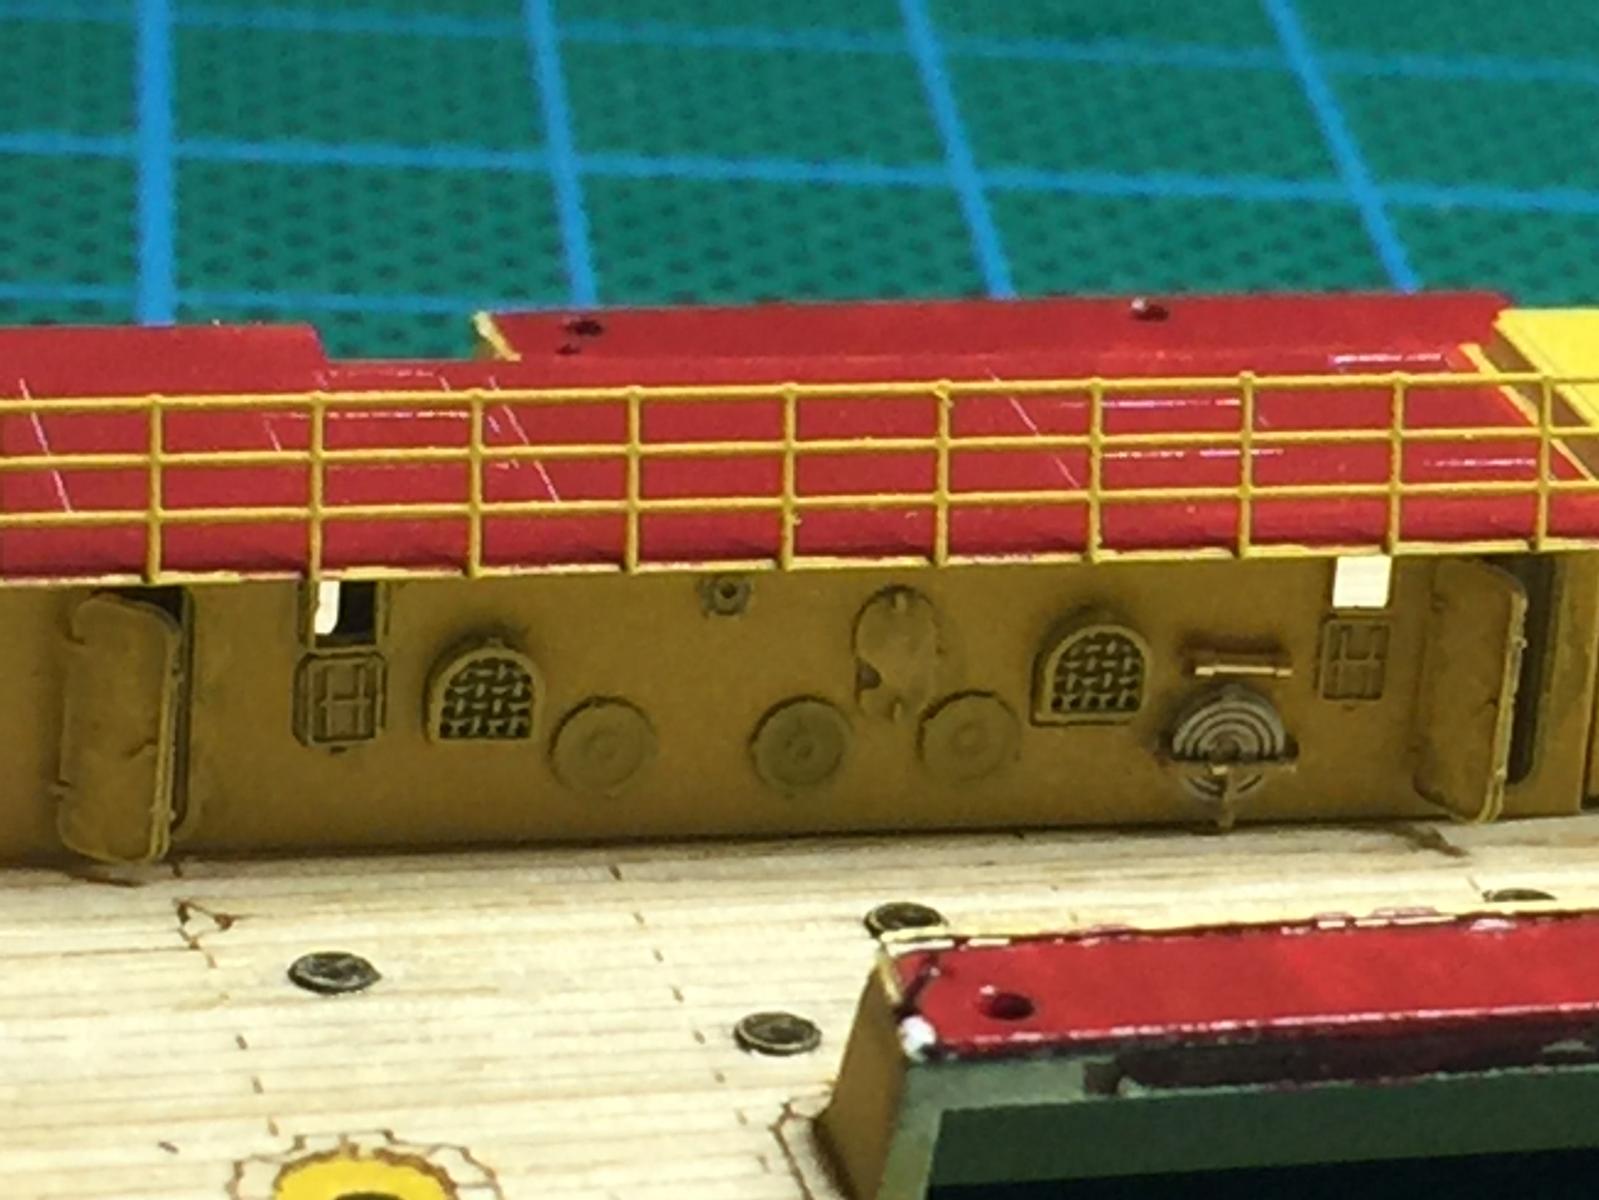
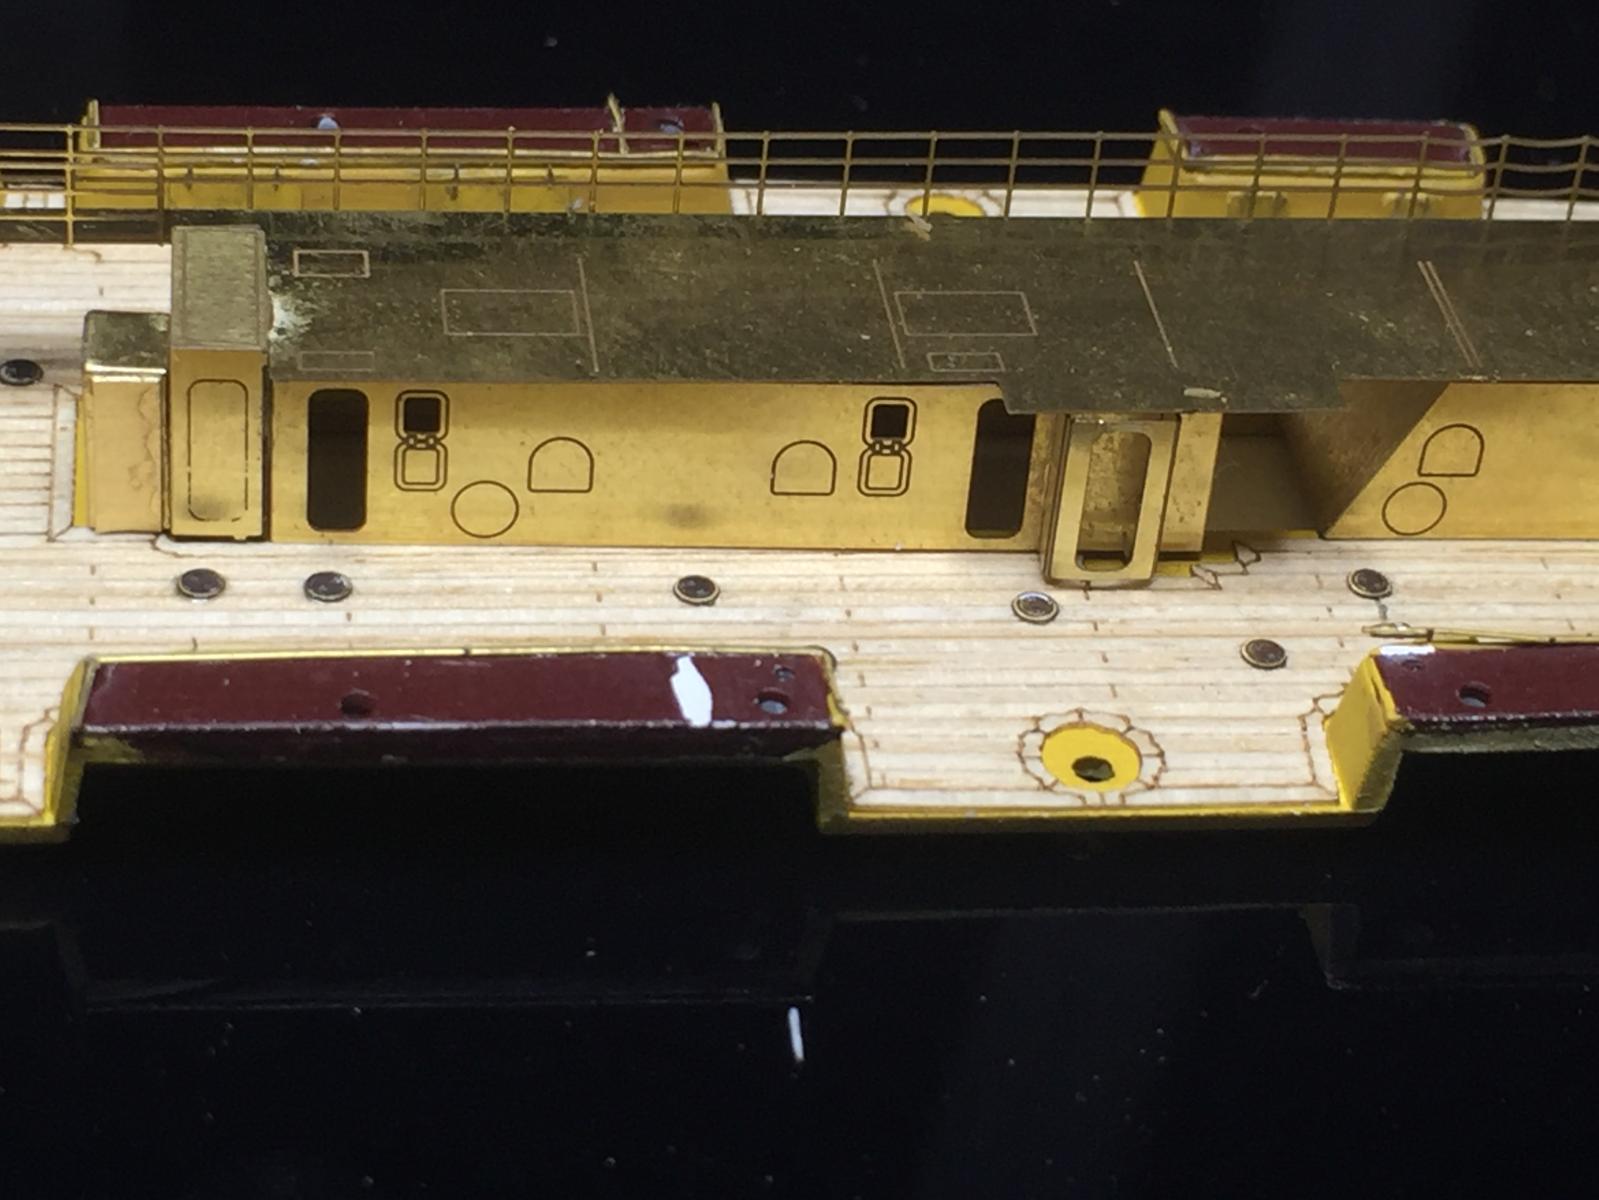
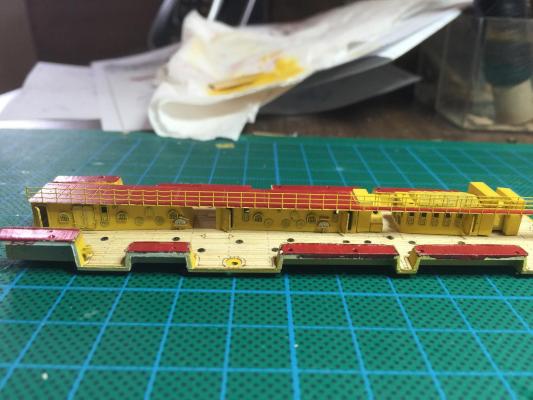
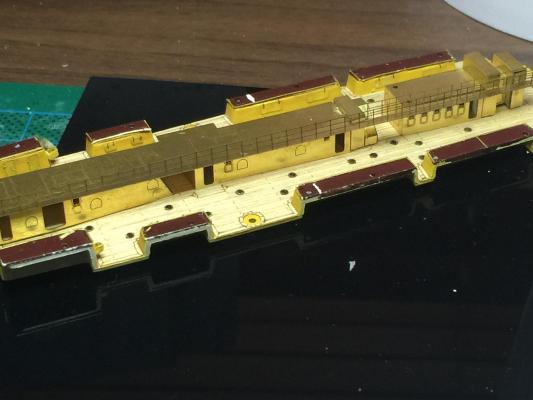
Today's update. I scraped off all the vajello red/black paint and half of the brass. I found a Humbrol Wine colour which is very similar and it will still need about three coats and maybe a bit of black added. The housing has been given a pinwash and two lighter shades of yellow drybrush. The Fire Hose reels have been added as well as a nozzle (from the end of a set of barrels I misordered. I am pretty happy to date.


-
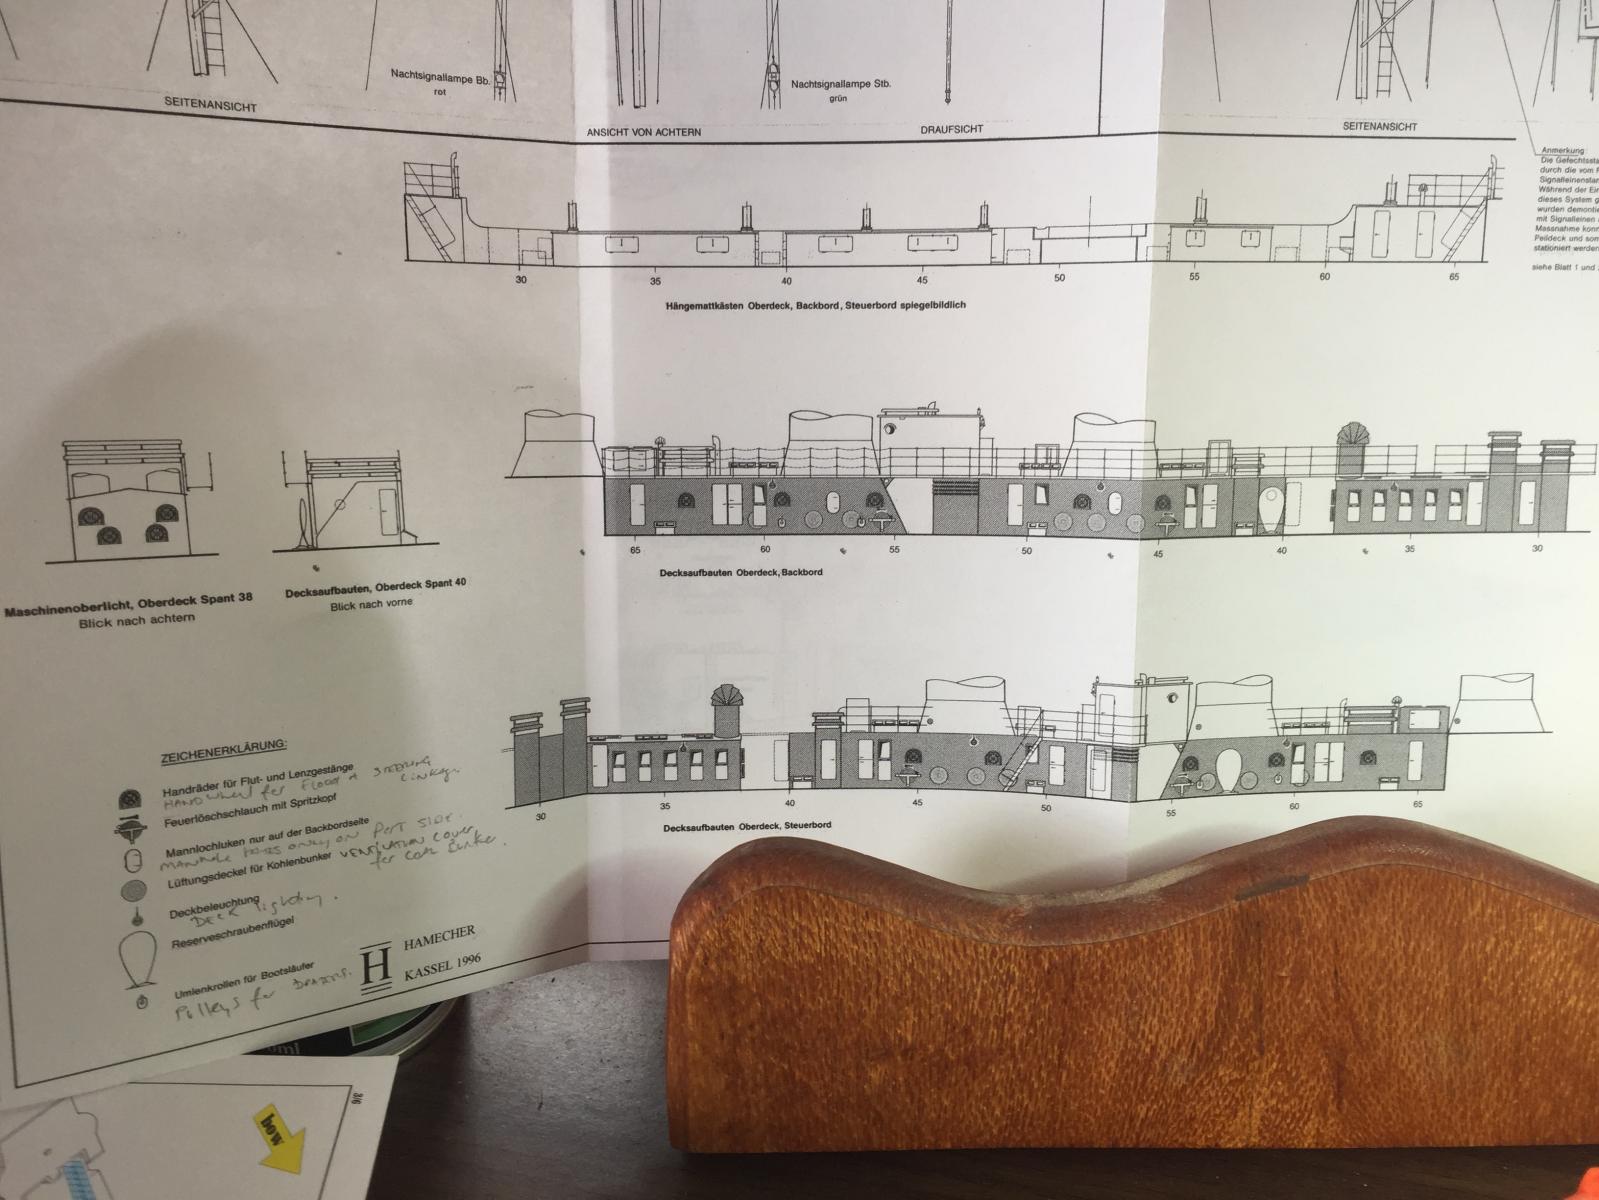
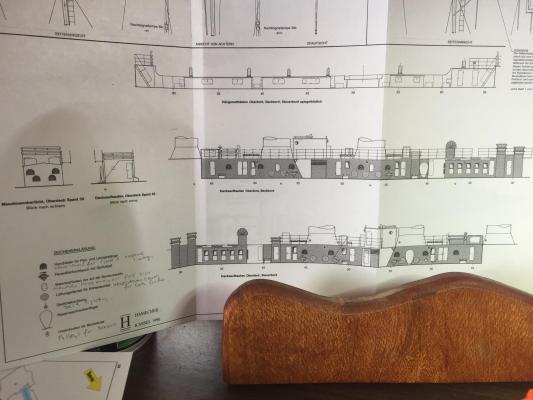
Slog, I managed to find the last set of plans available on ABE.com, $50 from Germany, a set of 10 A3 plans, I'd be lost without them. They are in German and I have to use the German keyboard in google translate. The kit is so old the only way to get a decent one is to fork out $500 for a 1/200 resin kit. The big bonus in getting a double kit is spares, but apart from the hull and deck everything is after market. New kits have heaps of really good stuff but they are only now starting to push out pre WW1 stuff and most of the etch comes from Russia (it's really good stuff and reasonably priced to Oz). Russia and Poland have some excellent forums, but no one seems to be building this kit.
-
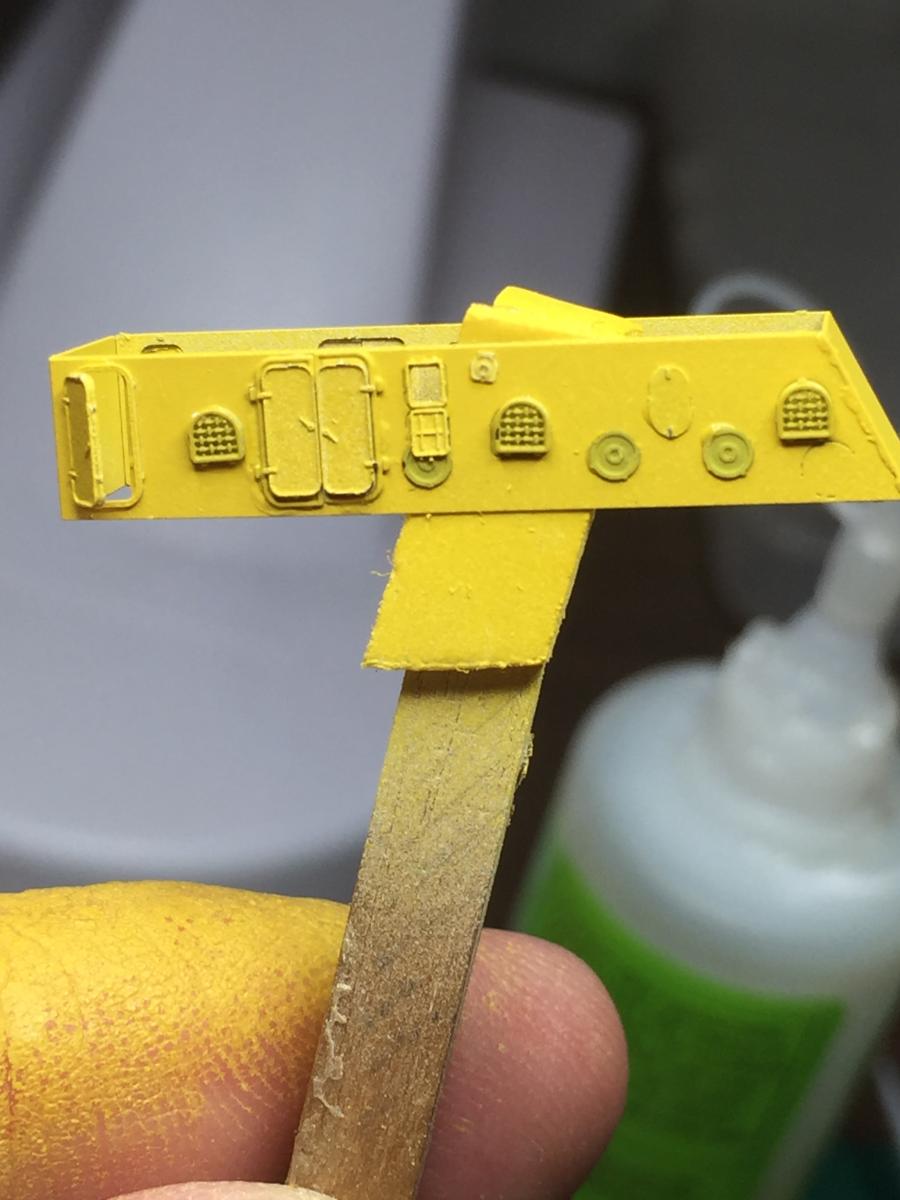
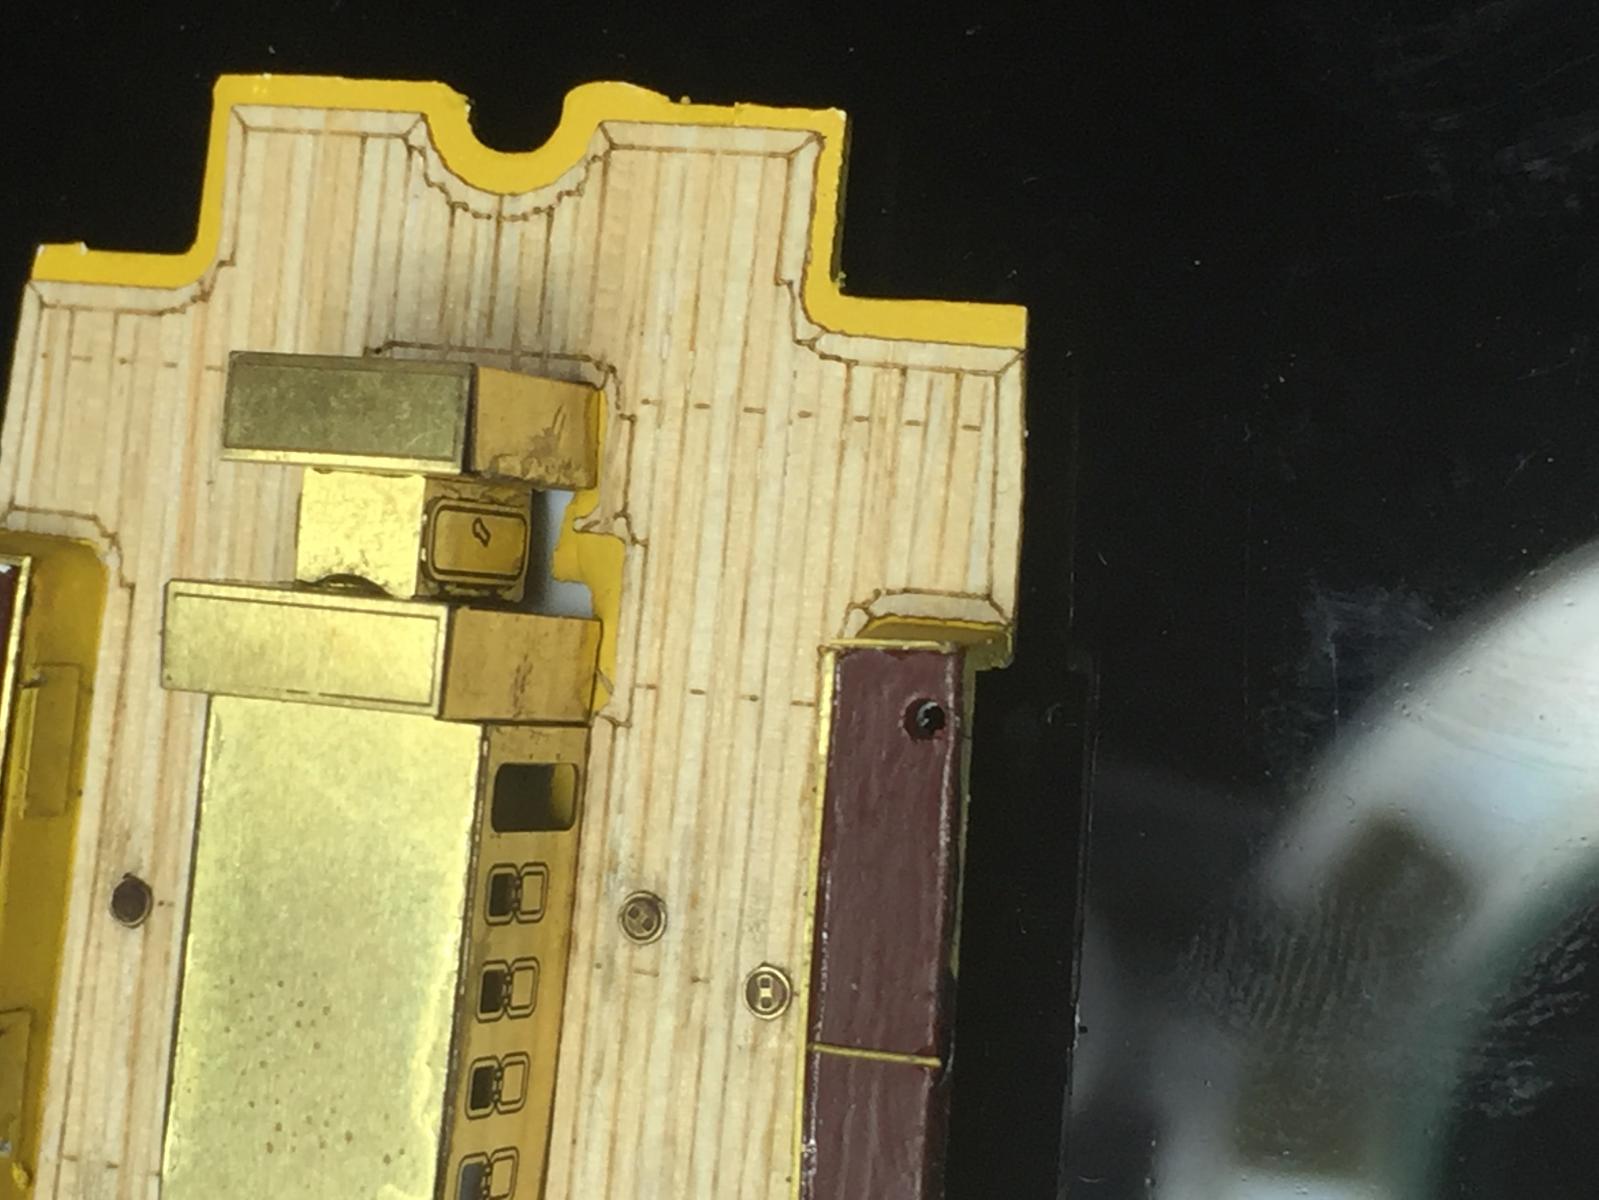
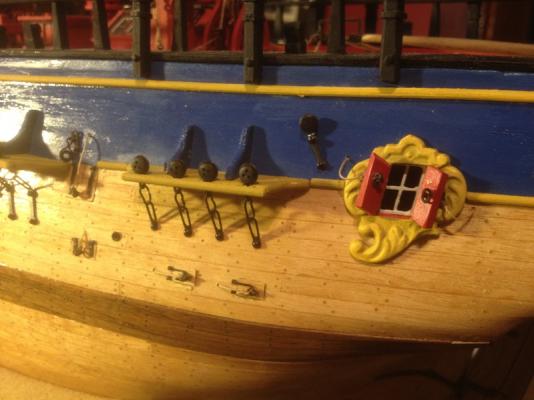
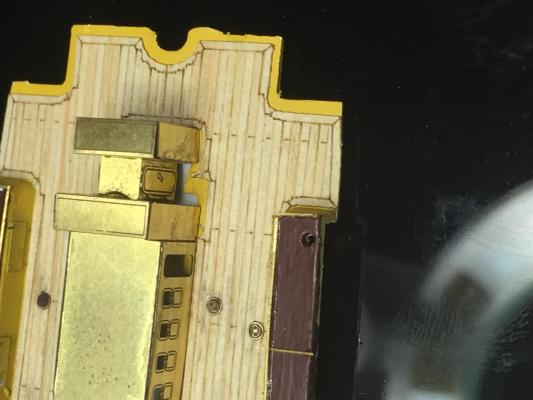
There are coal bunker vents on the plans but not on the kit, so i used some coal scuttles on the sides to represent these. As you can see the Eduard Etch is engraved, but the addition of actual doors and windows makes a world of difference, these will need to be washed and dry brushed yet, but a lot of these details will be hard to see on the completed ship. I still need to add some more hatches and fire hoses but they do not need to go on yet.


- 236 replies
-
- 12
-
-
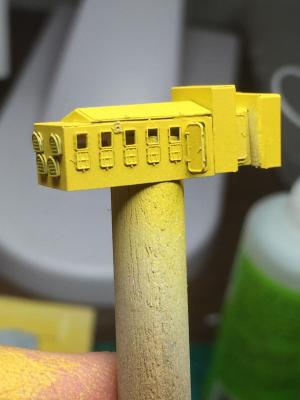
Now going off the Huff plans, I decided to start painting and detailing. As you can see from the plans, there is very little difference but very little detail. the MK1 designs german doors was also added the ever increasing list of aftermarket.

-
Hof, I do use an etch bender, and I only recently read about using white glue on railings, so that's something I'm going to have to practice first, but if it makes a good gap filler I'm keen to try it out. I only use CA due to its instant bond and strength and it's the only way to bond the etch together. The varyag's deck fit perfectly, but the Emden......not so good! I want to use individual stanchions again so that can preclude it. If I was doing 1/200 it would be easier than the smaller scale.
-
Problem solved. The planks line up and it will still be fairly invisible when I finish as most of the stiff is covered and i can have the last little bit of housing off centre to allow the gangway to run true. Working on an even surface should allow things to speed up considerably. The Eduard etch is just that, the doors and hatches are etched into the brass. I shall paint them first then add after market German hatches and doors over the top. I find that if I do it this way the details come out better with a pin wash. The hammock boxes are going to have to be re done. The vajello paint keeps coming off and taking the brass with it even after it has been varnished down. You can see the white stripes on the red bits. Maybe I needed to get thier primer but I'm just not going to start playing that game. No biggie as I intend on using a red brown (there is no red black available in an enamel).
-
It's pretty simple really, level up the centre of the deck, use a scalpel to cut along the plank lines, use the extras that came with the Artwox to lay another layer along the centreline, lay the housing on top! Just not what expected if have to do.
-
Now this is an exercise in why one should not assume. I started the housing for the amidships today, of course expecting the Artxox deck would match up. Not a chance in hell. Huge gaps and the last bit of housing is about 2 mil off so it does not sit correctly and in alignment at all. The instructions are pretty good, just does not align. Give I have already layed the deck, this causes some significant revision. Sigh. Sometimes nothing is easy. I can see now why I cannot find a single build in any language using this photo etch. Oh well, challenge set.


-
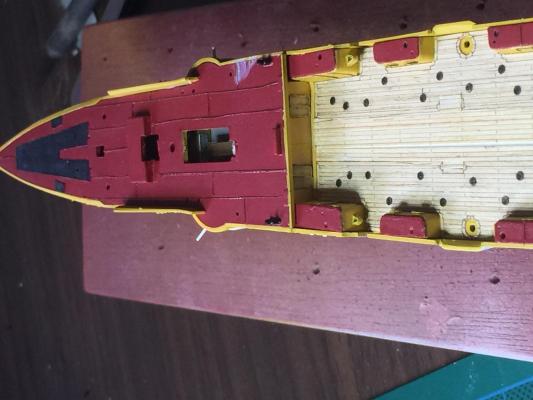
back from 10 days at the beach and back to the deck. To get the anchor chains to run correctly I had to scrap the capstans at the front, and fabricate new ones that the chain will actually run around. More filing required but I needed to ensure they fit properly on the metal deck. The eduard fret comes with a flywheel that goes on the top of the capstan. You an see a little piece of grey plastic that is the Revell capstan. Now I have stuck down the metal deck the rest can go back into a container until the entire deck is done. I can then add the chain brakes etc. I then scored the two upper decks for the brass strips that will run on the deck to hold down the linoleum. I did this as they will show up after painting and give me a guide. I did a practice run with the Vajello Red Black paint and it is rubbish on plastic, even after I varnished it, the slightest scrape and it comes off. Off to get some red brown enamel paint. The AWM photos of the front of the Emden shows the metal area for the chains and the Huff plans state that this area is black and the other parts of the deck are red brown. His own model has the entire deck black, but as you can see from the contrast in the photo it is different. I was thinking of taking the easy way out until I looked at the photo and thought no, do it properly.


-
Sorry to butt in Pat, Paul, use a grown up size file on a dowel, that's what I did.
- 517 replies
-
- 2
-
-
- Endeavour
- Artesania Latina
- (and 1 more)
-
Nice work, that's the hardest part of the rigging done now. Anchor bouys will look great.
- 517 replies
-
- 3
-
-
- Endeavour
- Artesania Latina
- (and 1 more)