RGL
-
Posts
5,550 -
Joined
-
Last visited
Content Type
Profiles
Forums
Gallery
Events
Everything posted by RGL
-
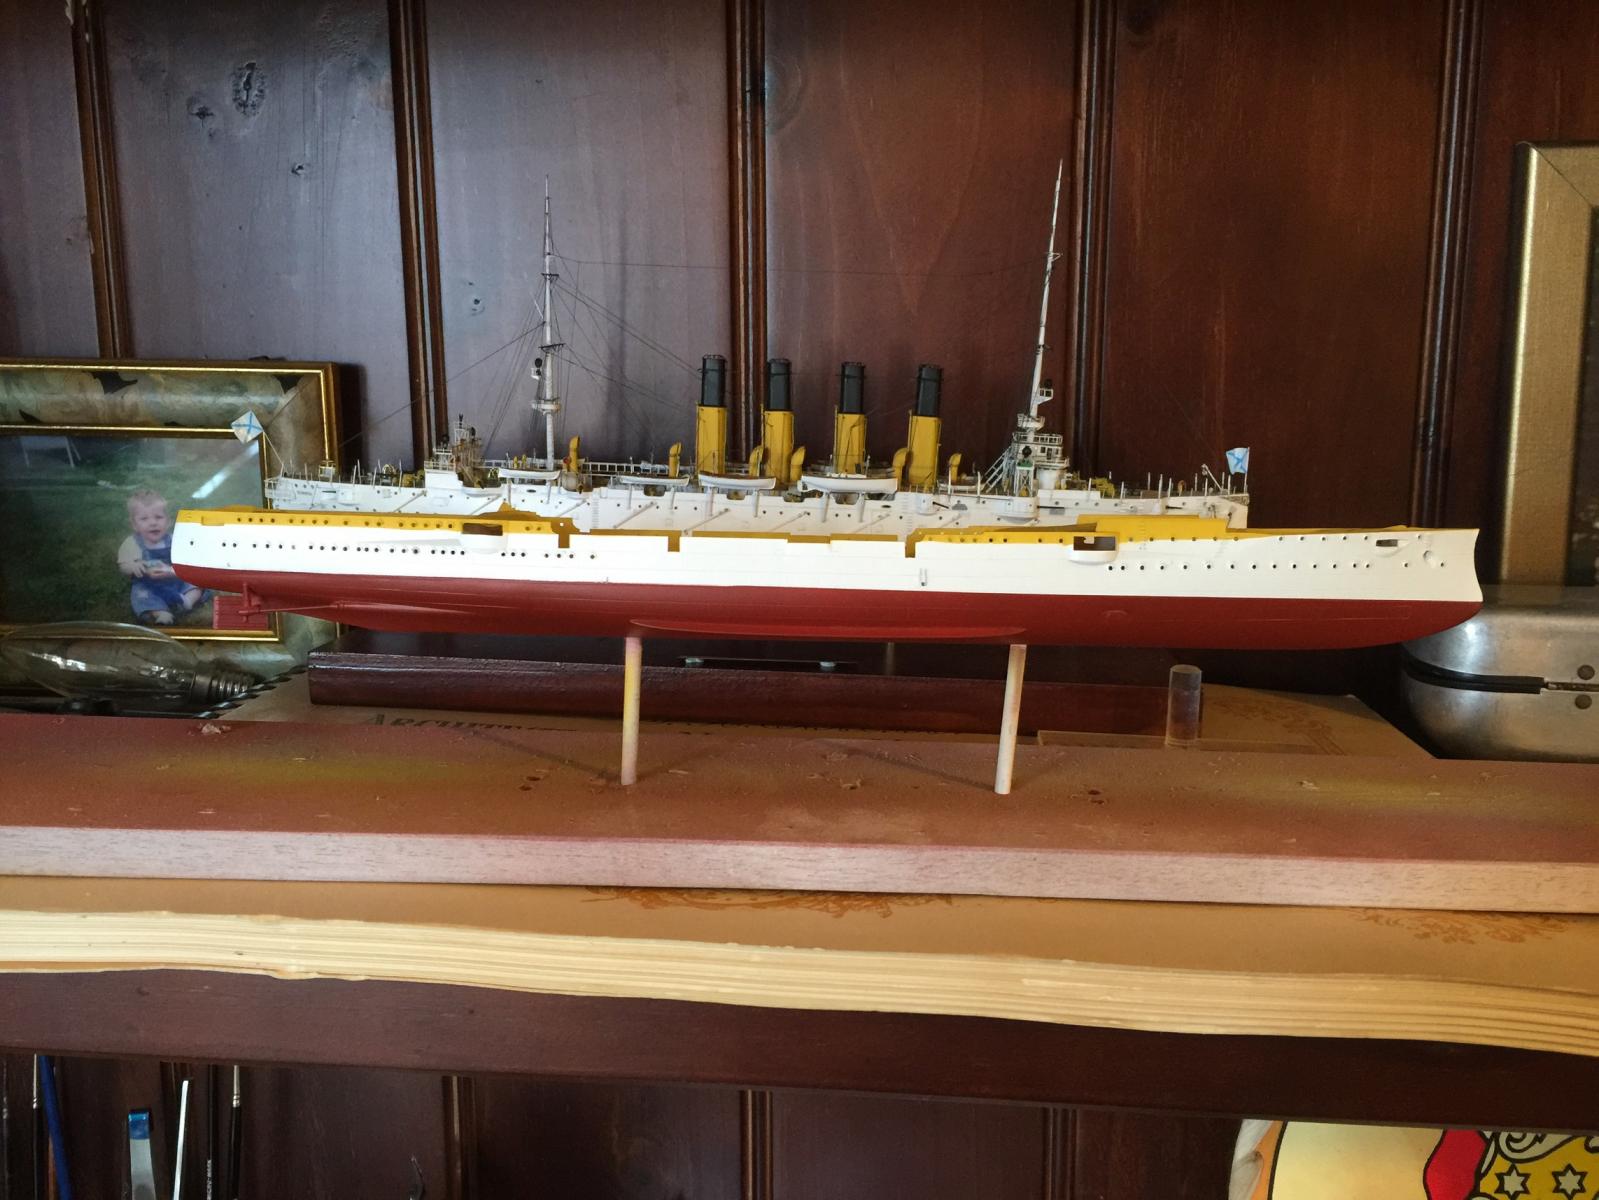
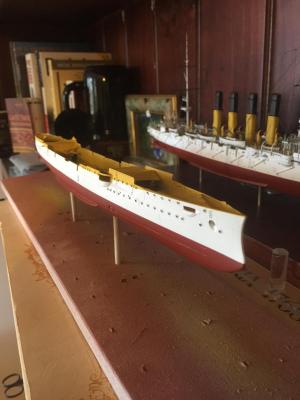
 The hull is pretty much painted, just a few little touch ups to go. The Tamiya mask worked very well. Huff's plans state that the pre WW1 ships had no boot straps and I can find no reference to them apart from the Revell painting guide. It is somewhat of a relief. I am missing, however, a red pin stripe at the yellow and white border which was apparently 5cm and I have no idea how to paint a strip which is essentially 1mm thick. Open to suggestions or if anyone makes decals that thin in red stripe. Next is the interior detail for the below deck guns.
-
I'm away at the moment but if you have a look at my photo on 14 September 2014 (the phone does not show the post number) it shows it.
-
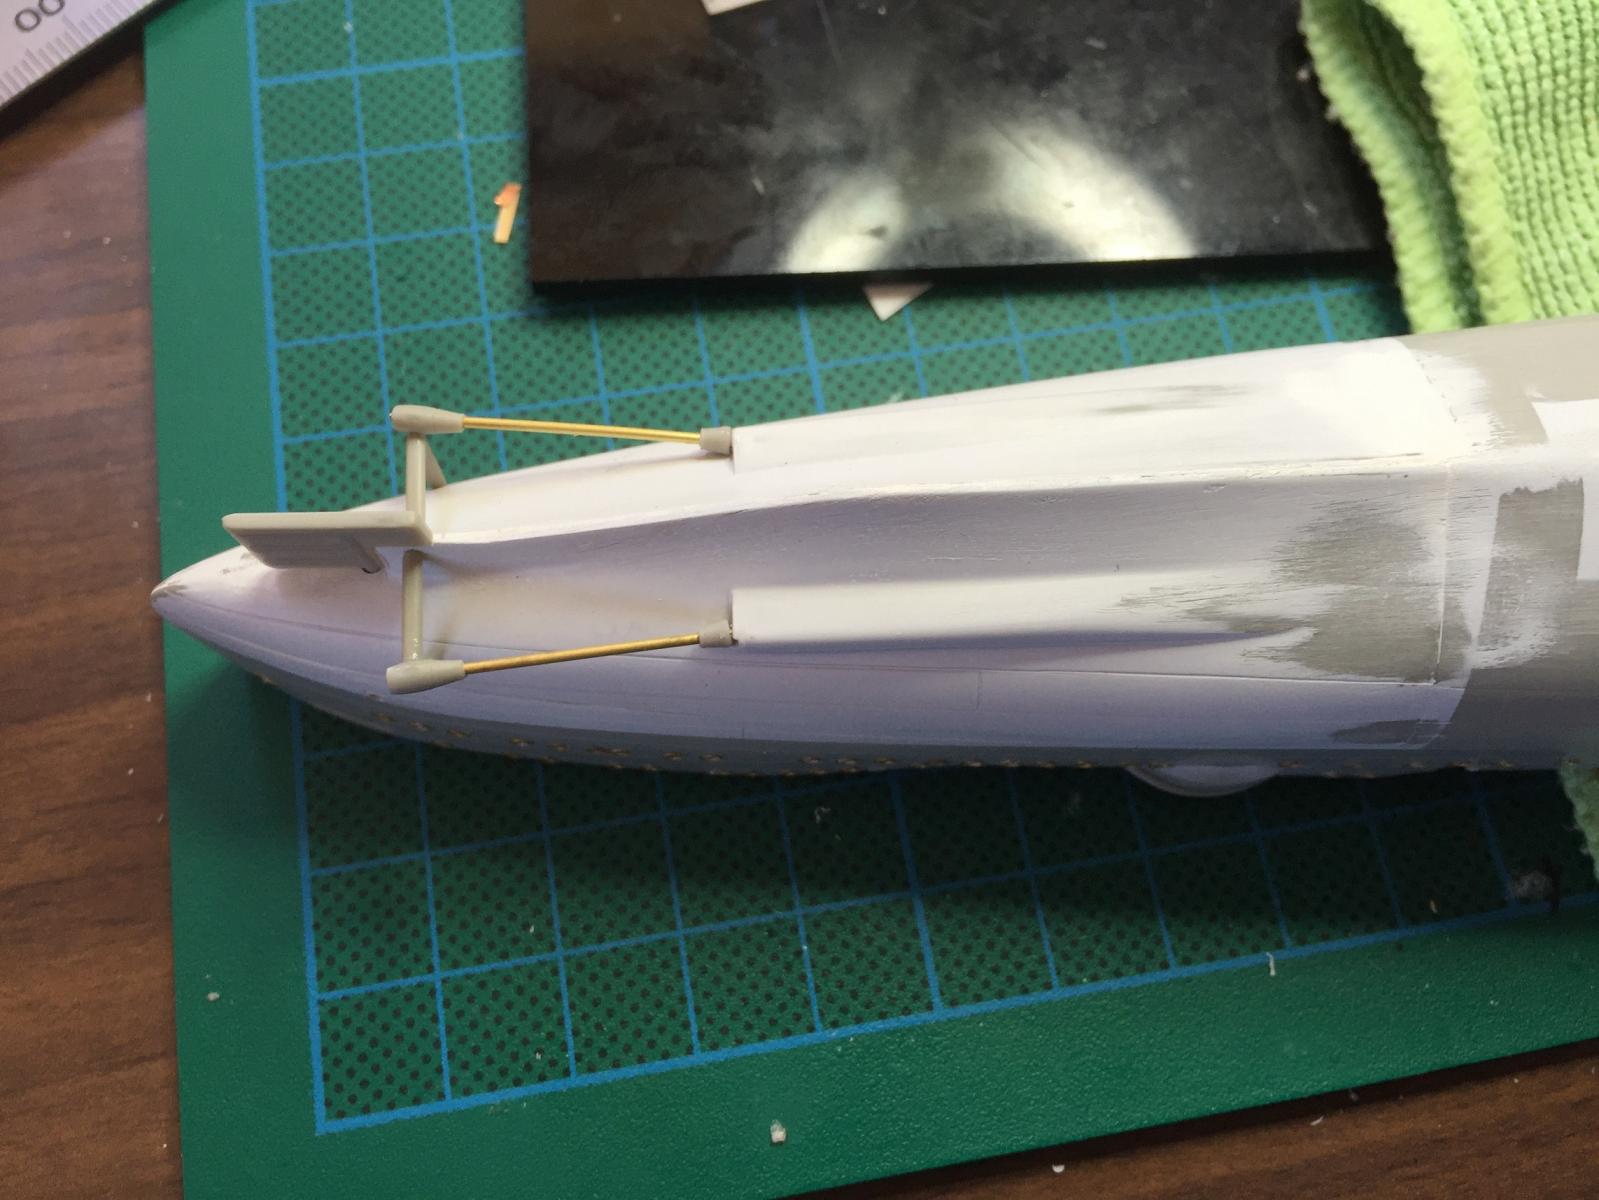
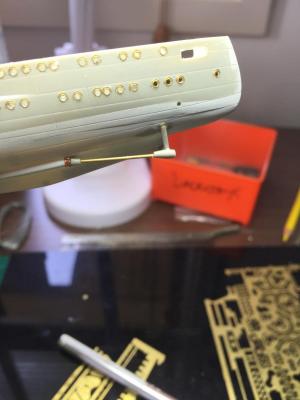
I think Danny commented on mine, I think the bumpkin stays would probably be released when working the anchors. In my final photos, (and on my finished model), I have one sides anchor being drawn in with the fish hook tackle and have one stay hanging loose to allow the hawser the run properly. Otherwise I imagine they would be attached so the tackle attached to their ends could be braced properly.
-
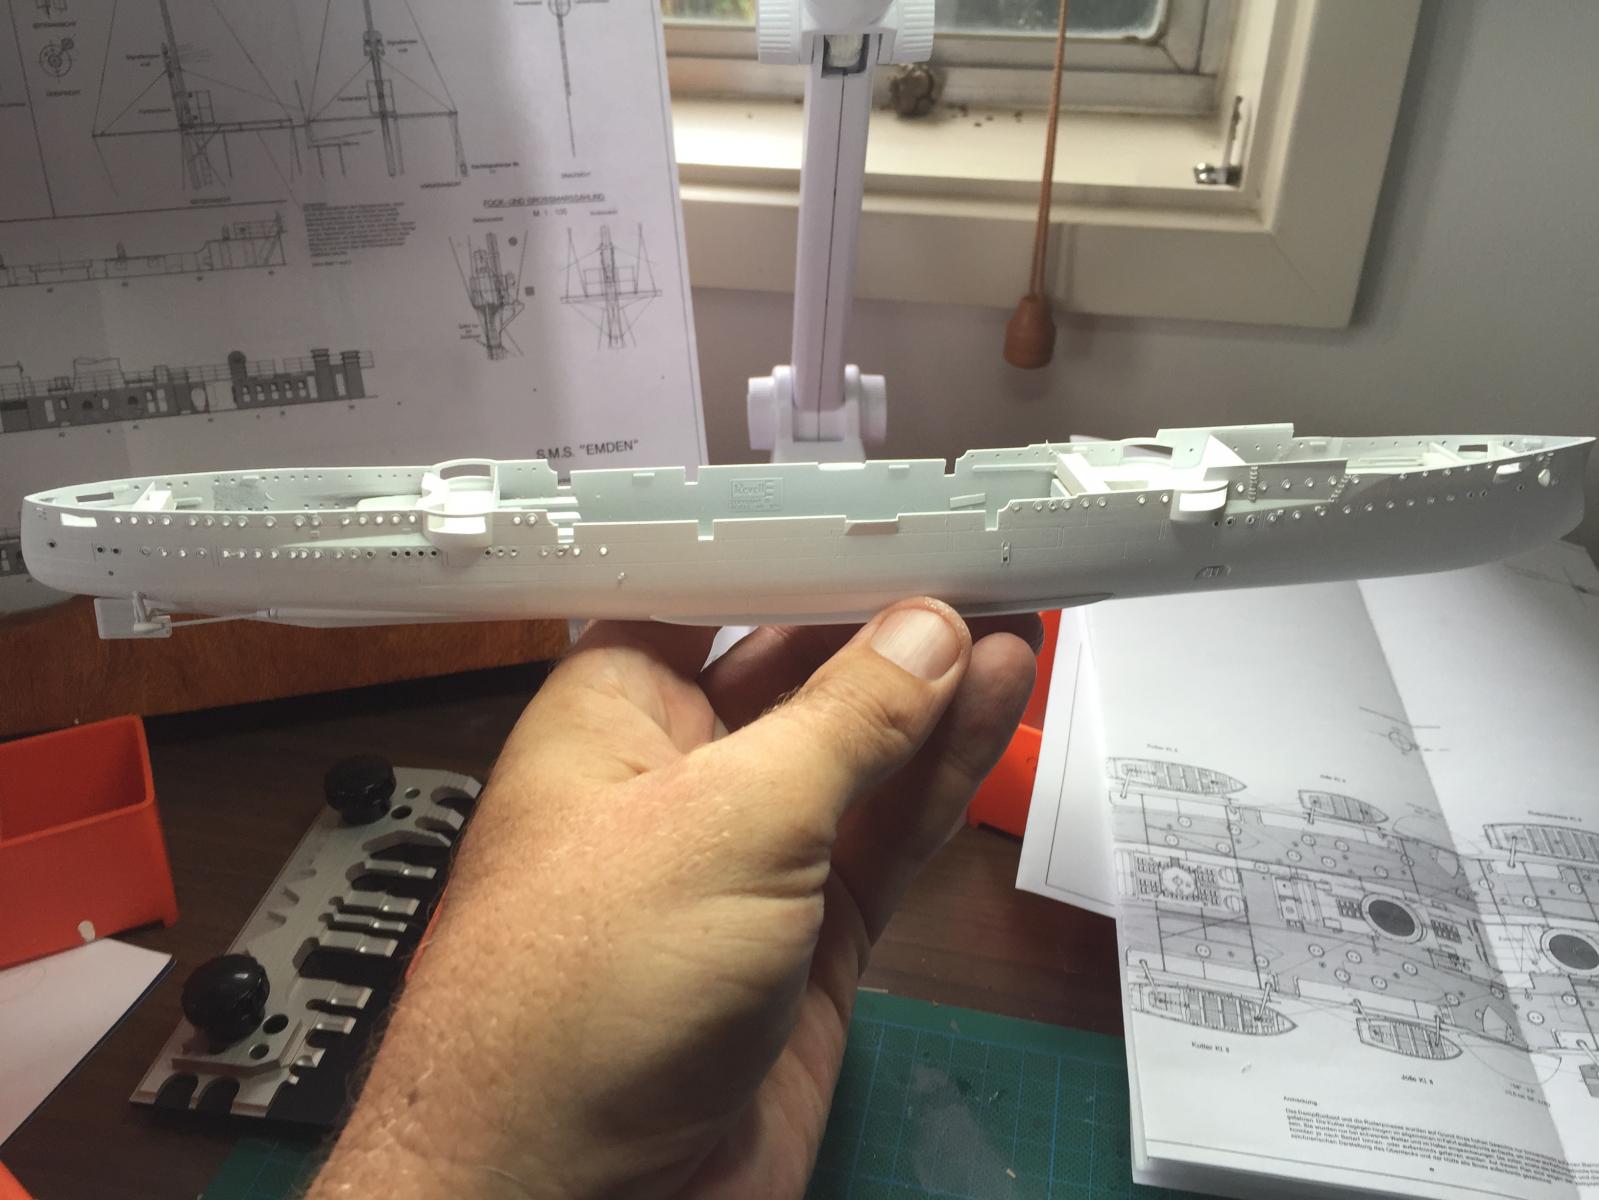
First primer coat. There are a few things I want to fix up that are visible to me, like a tiny gap in the bilge keel, which I may remedy by running some CA along the gap to fill it. This kit is a little bit smaller than the Varyag and requires a lot more bashing.


-
I love the bumpkins mate, just check the clearance on the bowsprit. And keep them away from cats.
-
Wow, retirement, only 14 years to go! Well done.
- 517 replies
-
- 3
-

-
- Endeavour
- Artesania Latina
- (and 1 more)
-
Now, a bit more cut and paste and I'm finally happy. Slog certainly save me a lot of recovery work, that's what happens when you're working upside down.

-
Not NYD this or next year! as I posted above, I removed the shafts and reversed them. Nup, angle all sorts of wrong again when compared to the plans.
-
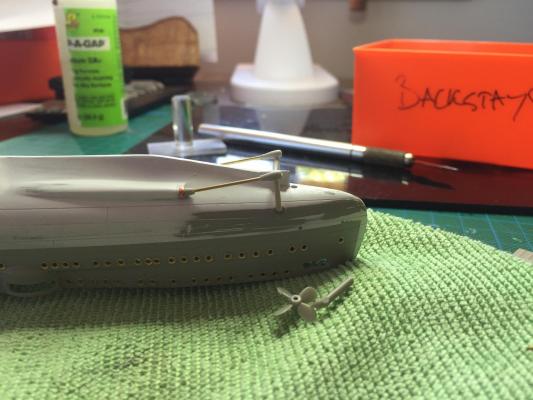
David, there are only 2 in the kit, so if I stuff it I'm stuffed. I used the brackets from the Dresden kit and a 1 mm shim which will not be visible on the finished product. The shafts are now appearing to run true and the props run clear of the hull.
-
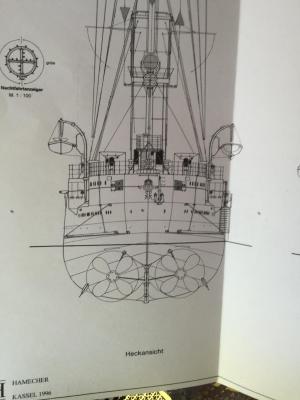
Slog's right, the angle is wrong. I cut them off and reversed them. Still wrong! The placement of the braces on the kit does not align with the plans as the start of the prop itself needs to align with the rudder post. More cutting and sanding required. The props are about 2mm out (too big) which is a lot at this scale and would hit the hull. The Dresden props are much smaller and of no use to me (there were 4 of them). I shall post some photos when I can get the computer from my 10 year old who is currently battling the forces of evil. I had hoped to get the primer coat on today!!
-
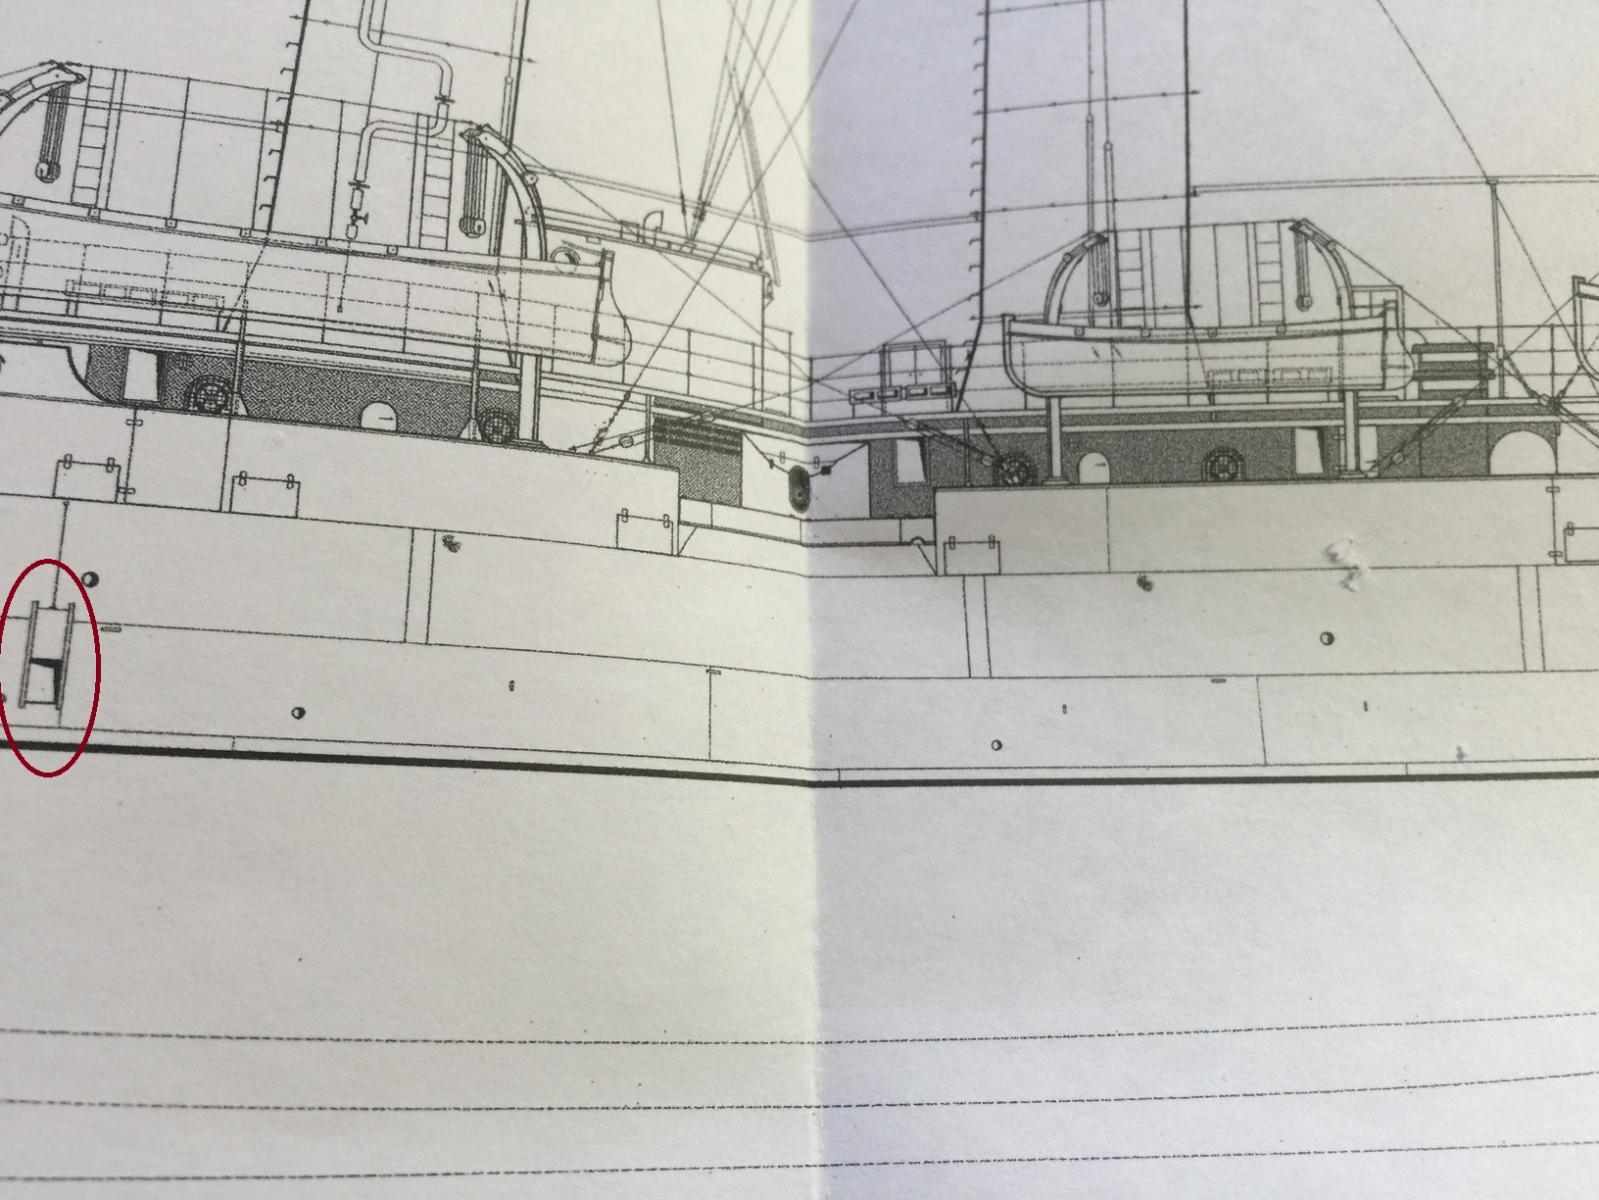
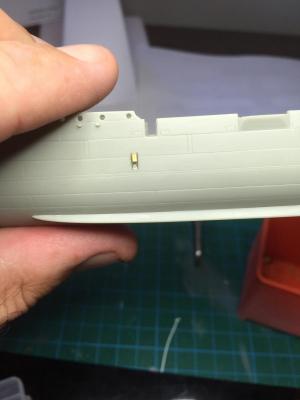
The final part of the hull before priming are the hull steps. These are about 1mm each, I drilled all the way through the hull, place the set then put superglue behind them from the interior of the hull to set them and fill any gaps.

-
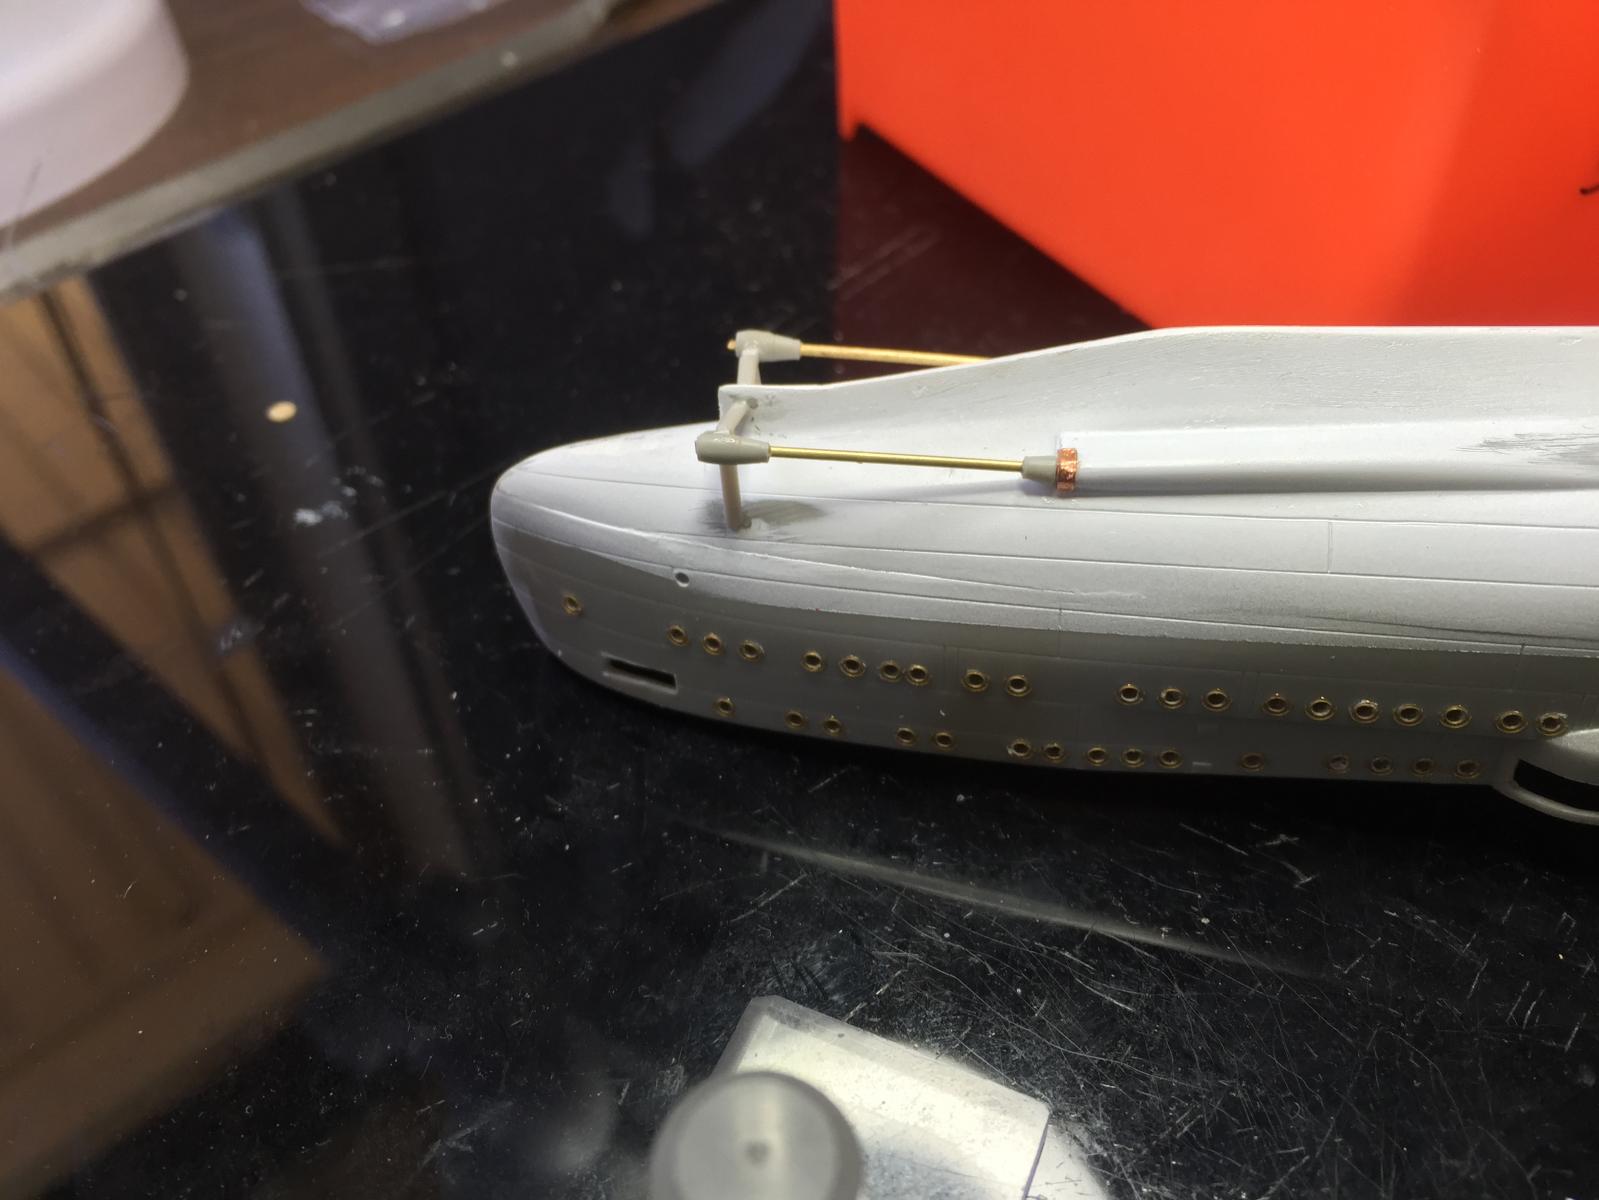
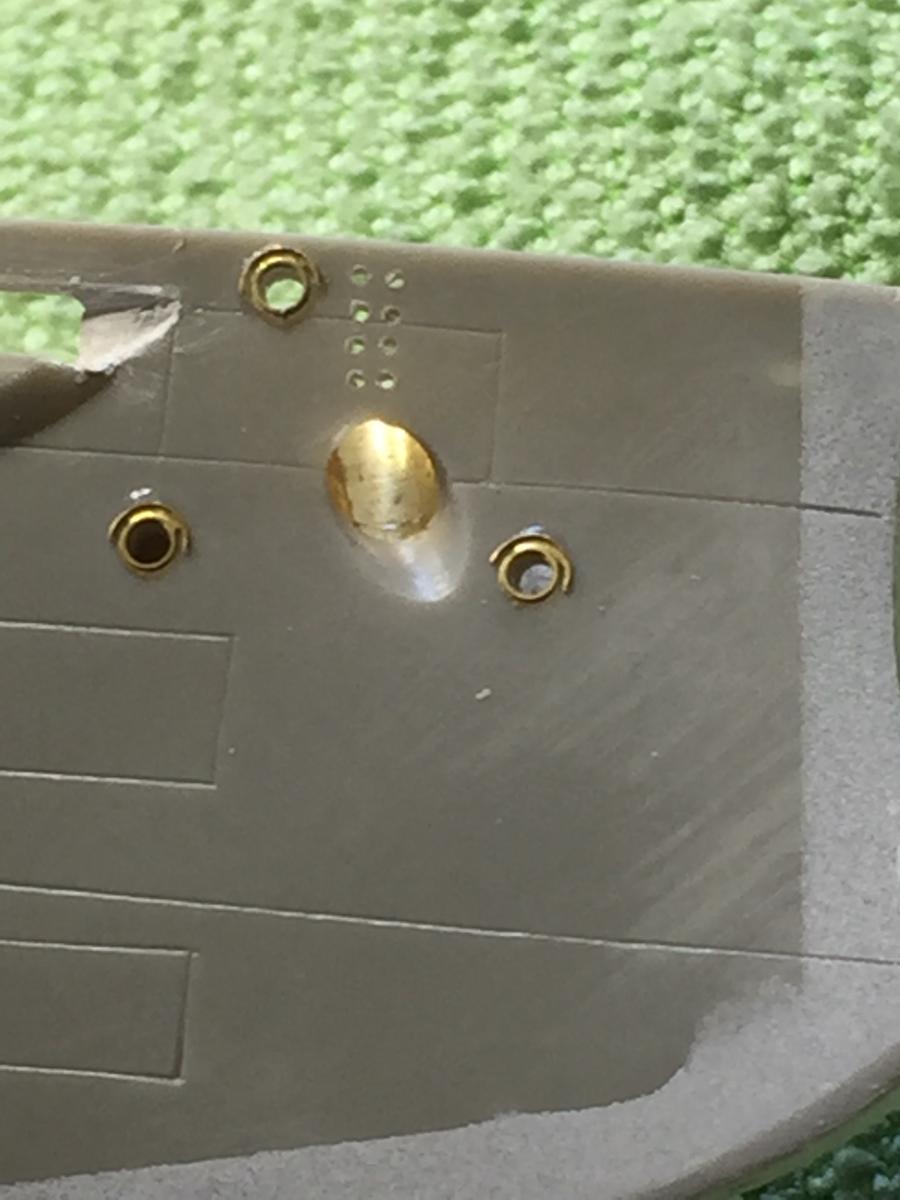
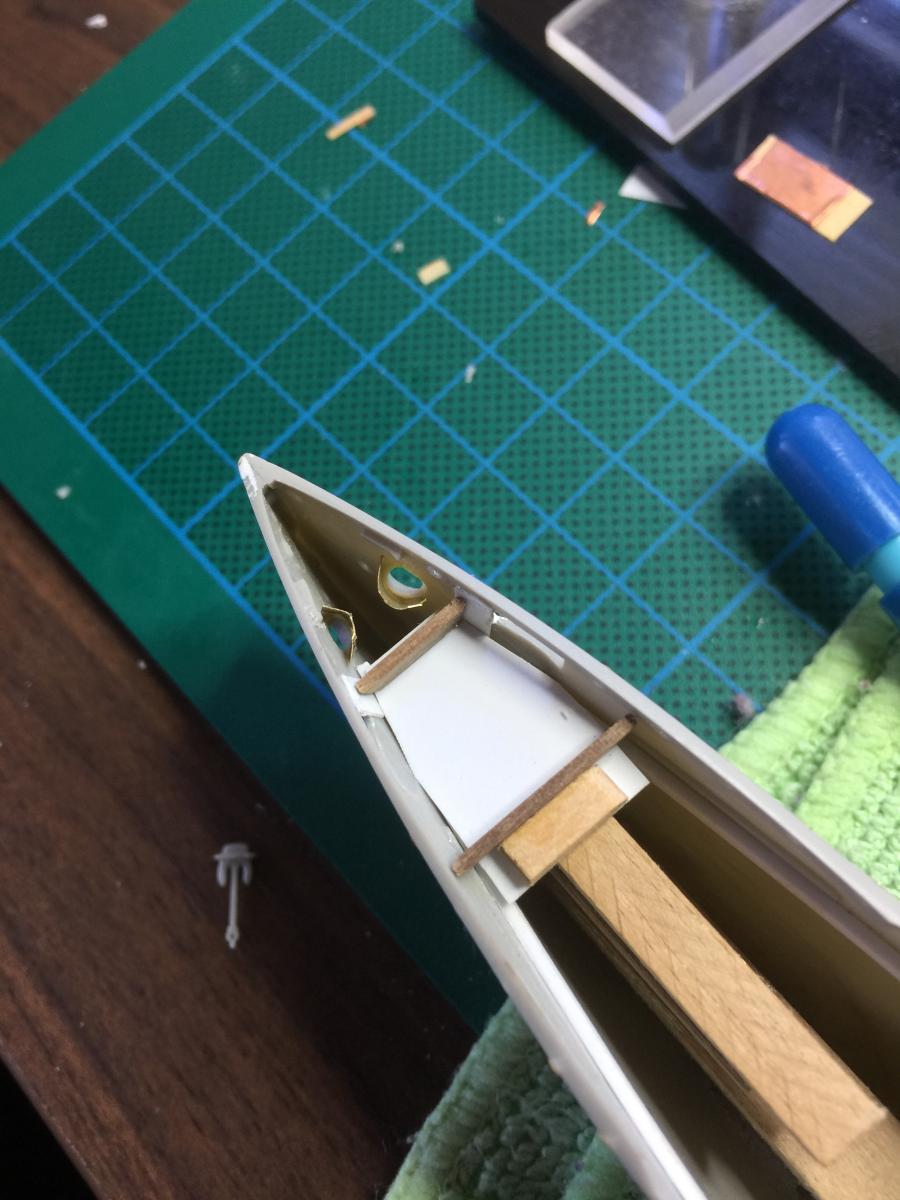
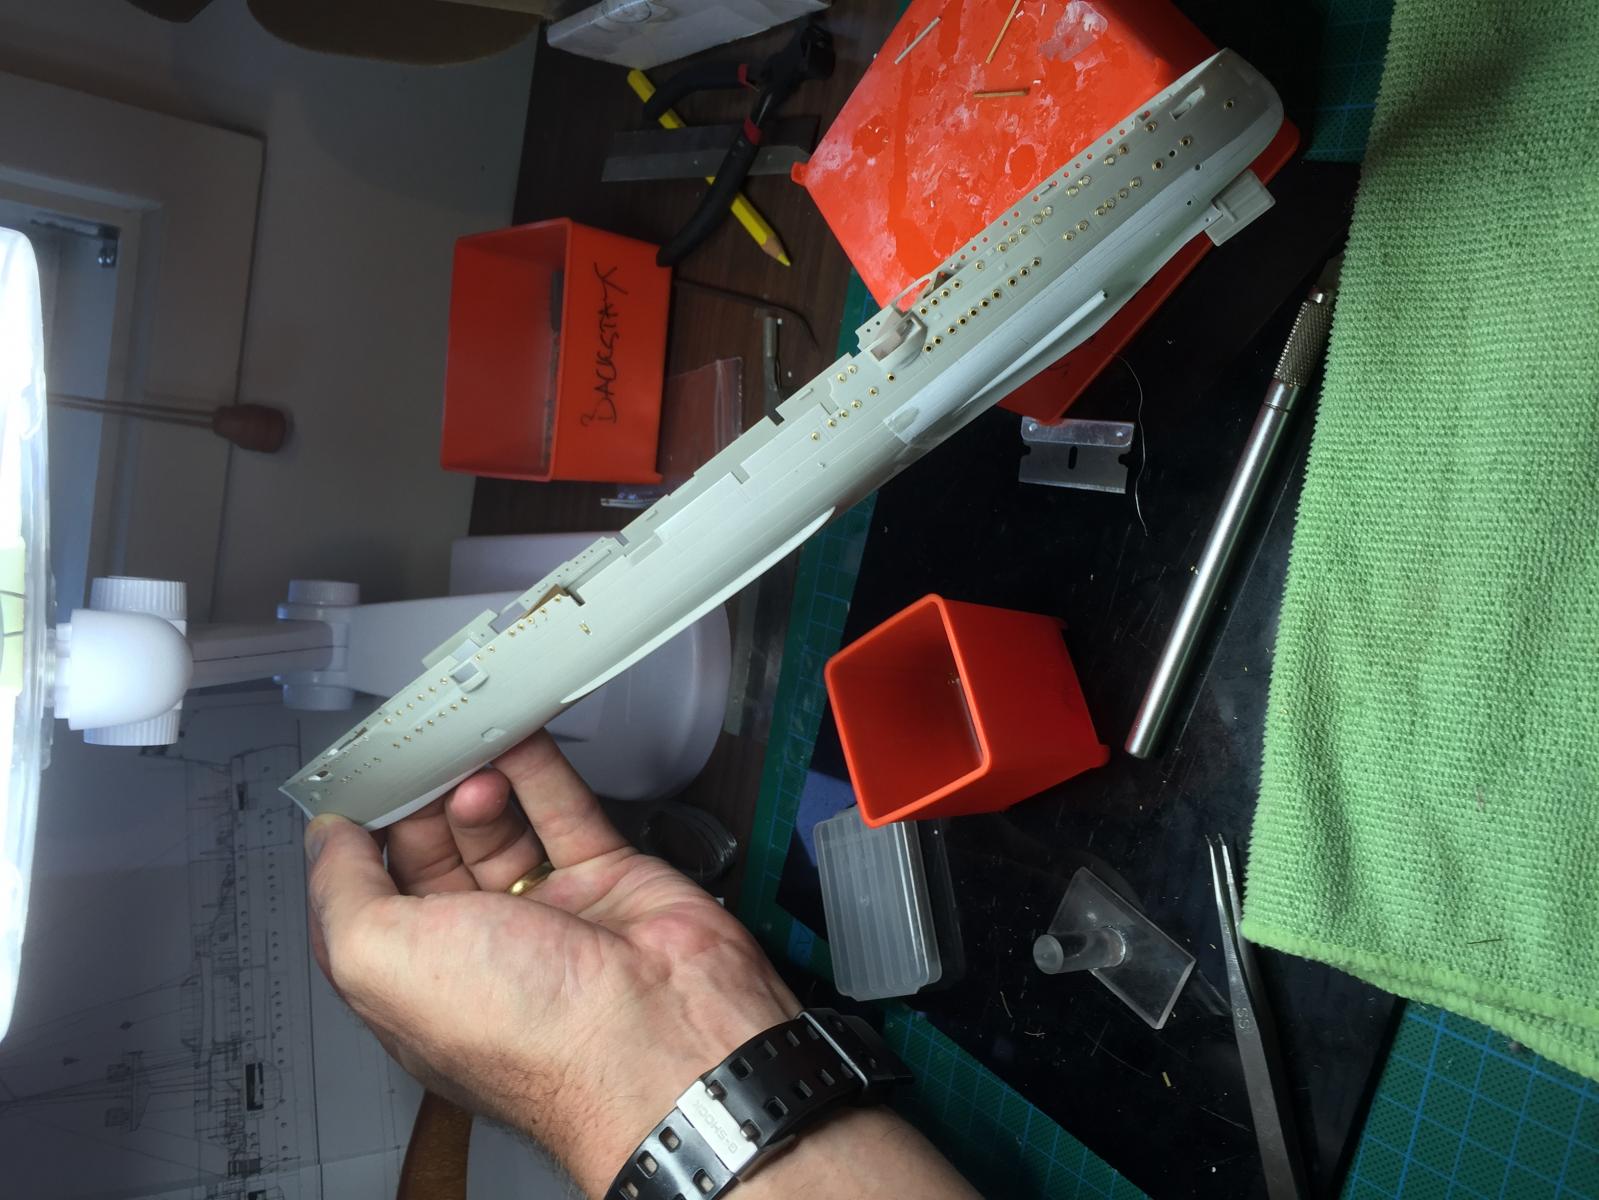
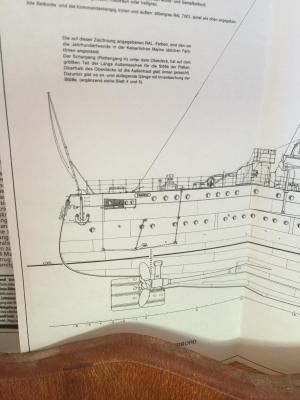
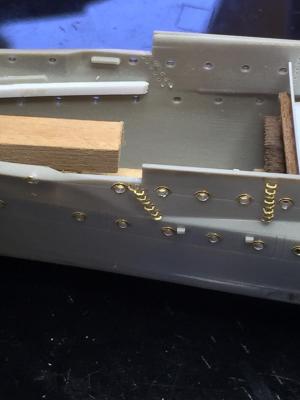
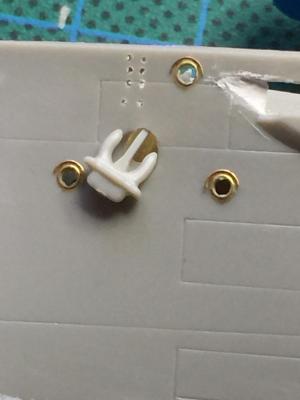
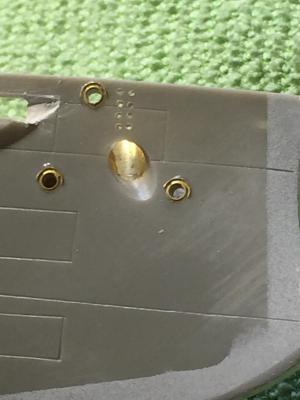
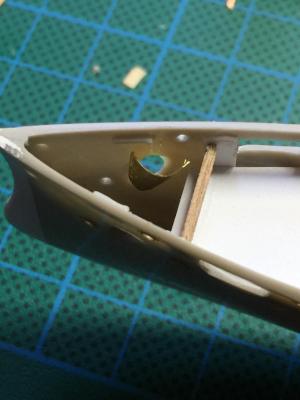
Next step is the Anchor or hawser holes. Your can see strait through to the other side. as you can see from the tiny anchor its going to look a bit silly so using a bit of off cut etch and a mandrel I shaped some inner tubes.

-
A one off is the torpedo tubes below the hull. Just a tint bit of etch to represent the hinges matches the plans.

-
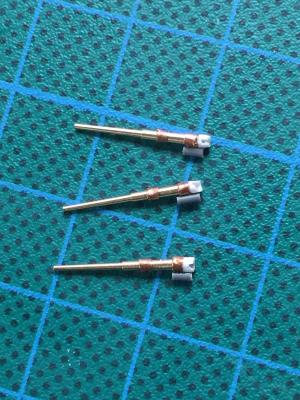
Next are the shafts. I will put the props on last. I had to utalise some of the kit and drilled out the plastic shaft replacing it with brass rod. i hope this makes them more sturdy.


-
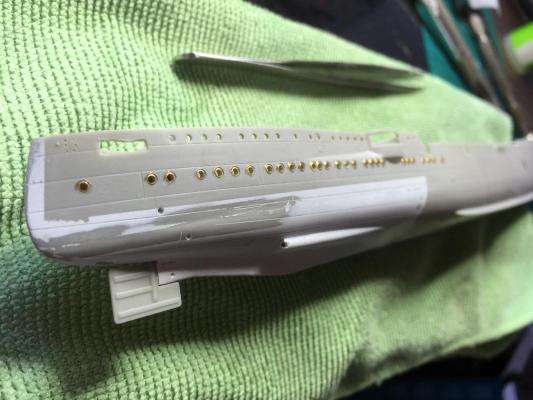
Next the portholes. I was a bit torn here as the 20 year old kit males no effort at making the eyebrows for the portholes and the photos have them fairly flush. I used 152 individual photo etch portholes which took several hours to get right with a file and tweezers. some keep falling off which means i have to check and re check to make sure they're still there. When painted they will hopefully not be so prominent.

-
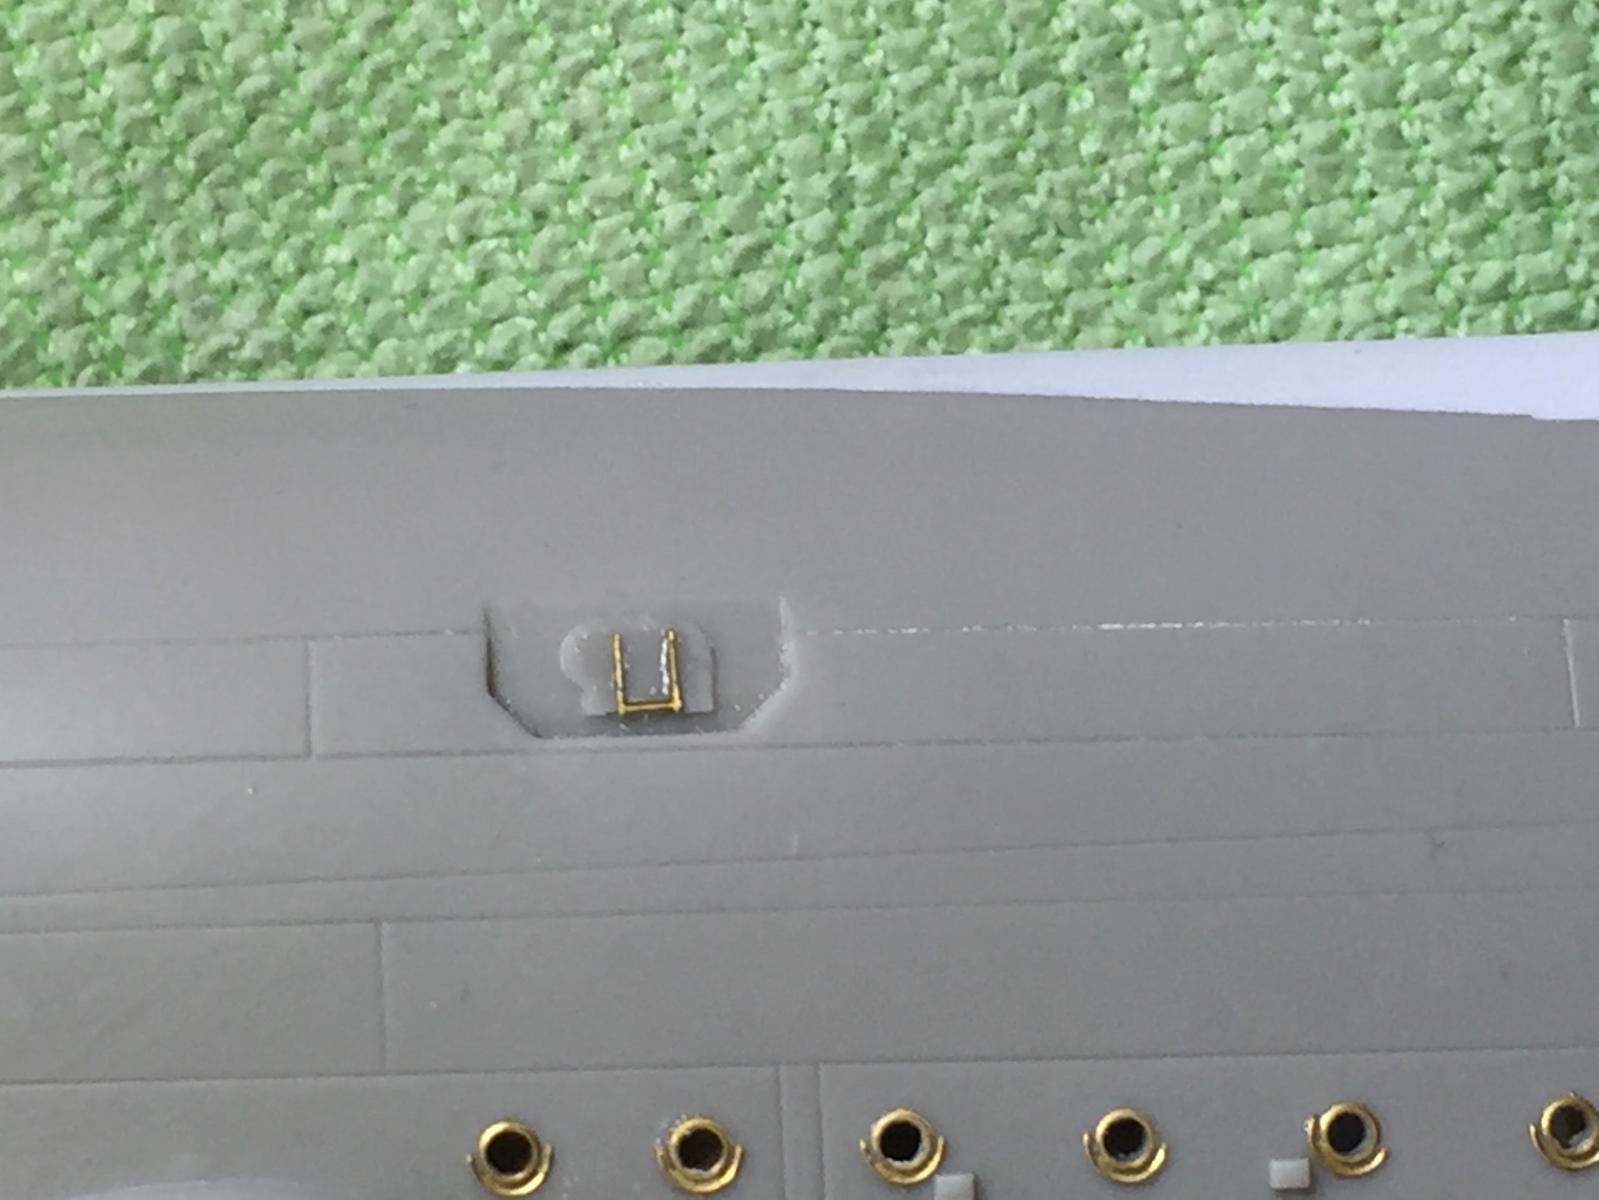
Moving along, there is a scuttle of some sort on the plans but not the kit. reproduced with a bit if etch and plastic strip.

-
I don't mind the 6 month projects at the moment, but I do want to build the Atlantic. It comes down to what catches my fancy and allows my OCD to grab me. I was always going to do an Emden, but when I saw the Varyag I was like "Oh, shiny!", thus my foray into plastic for a while. . 3 masters take a LOT of time.
-
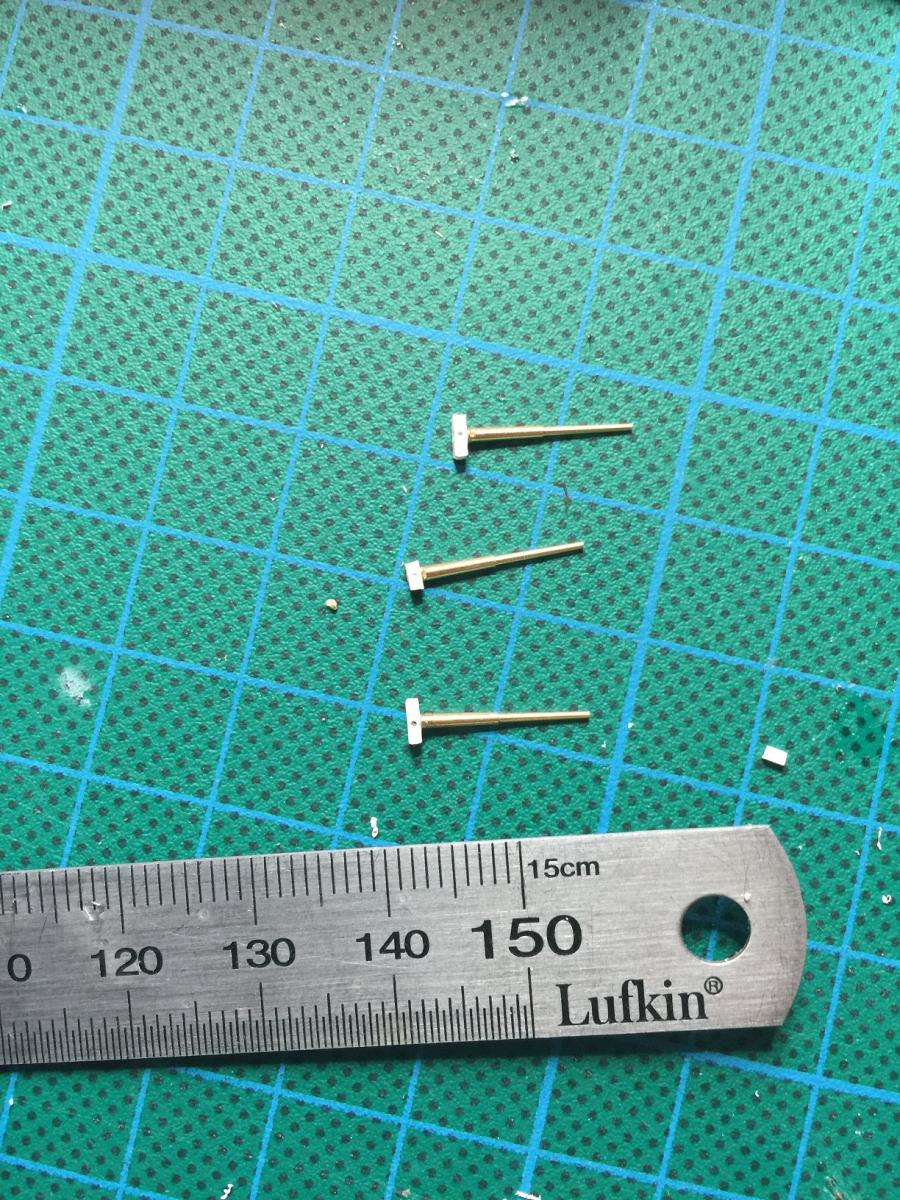
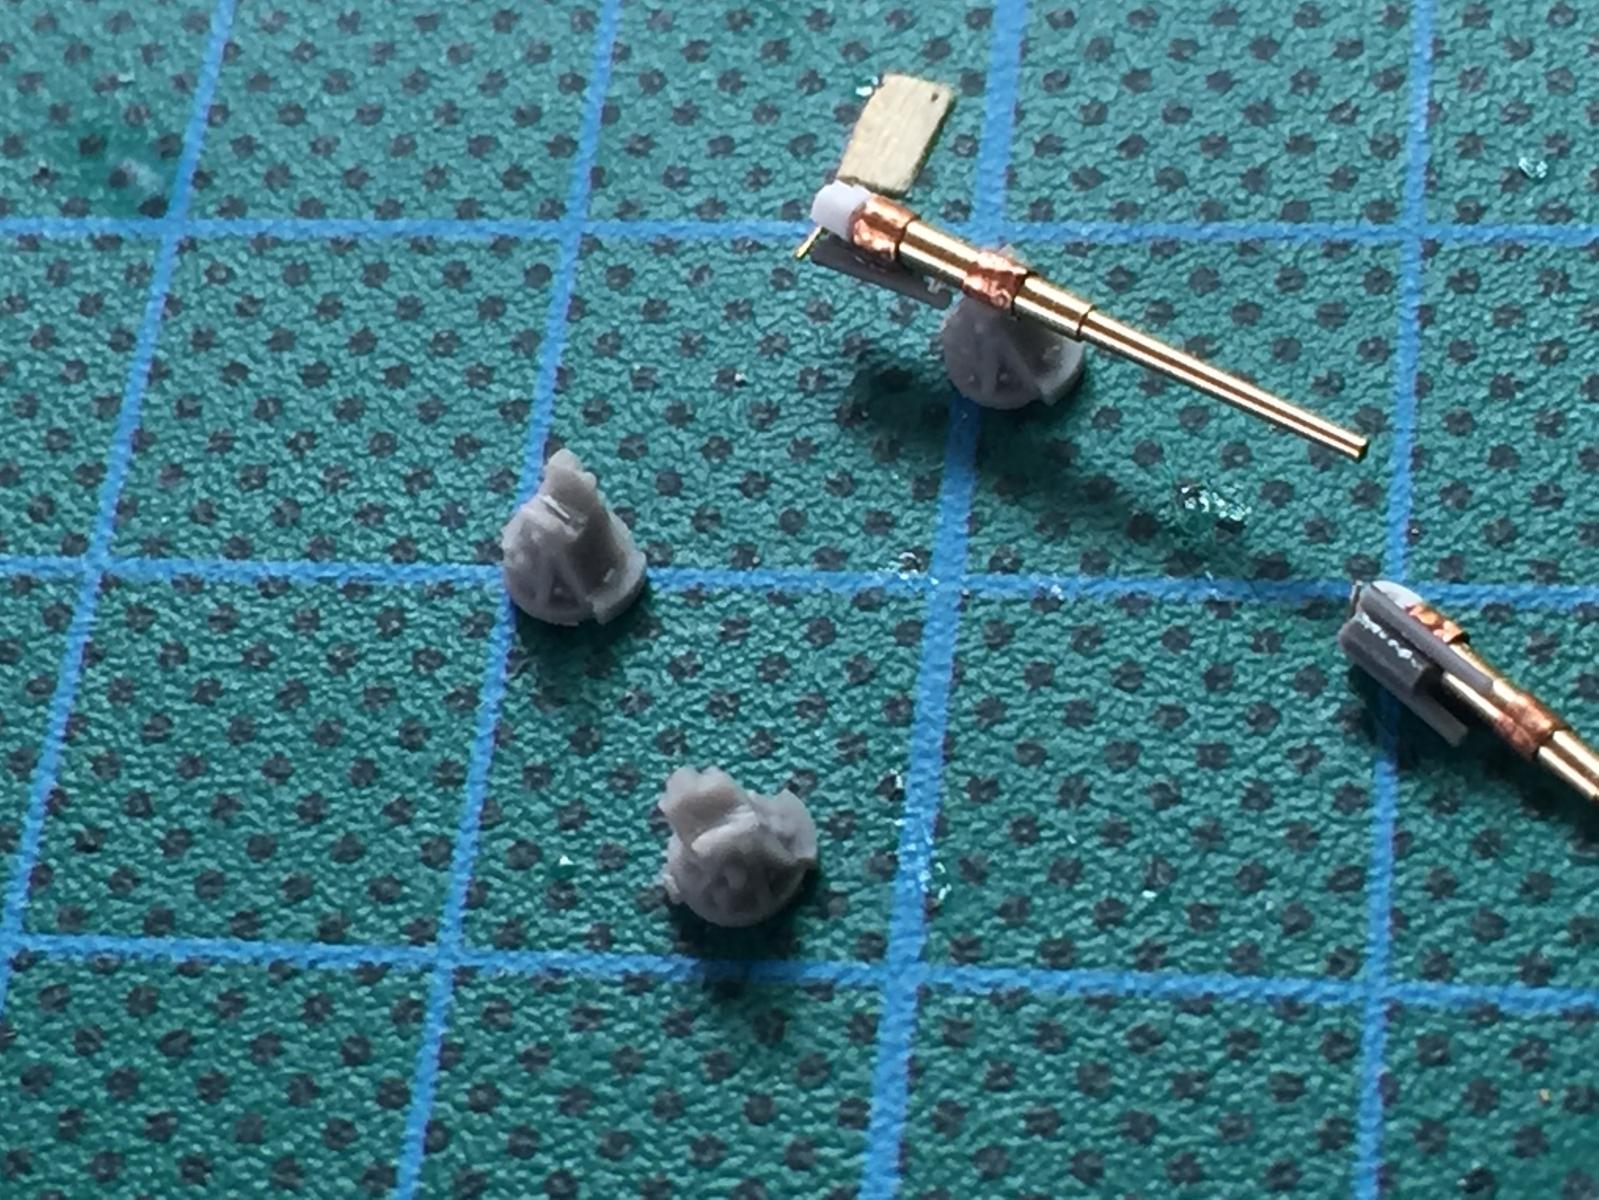
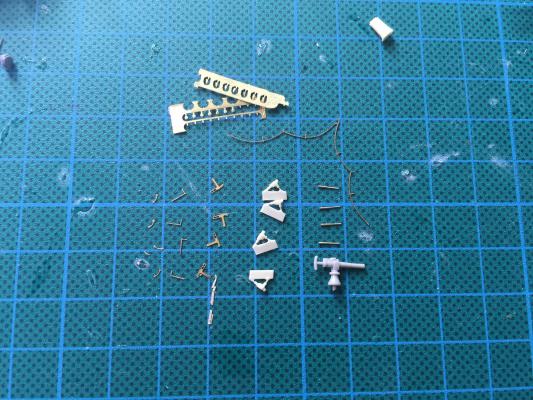
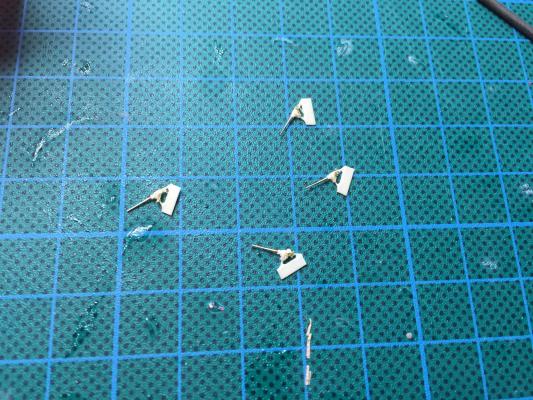
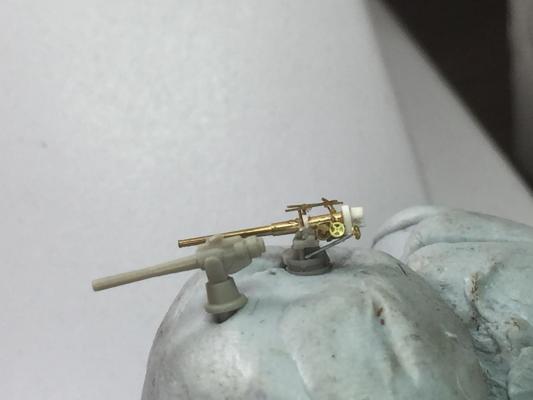
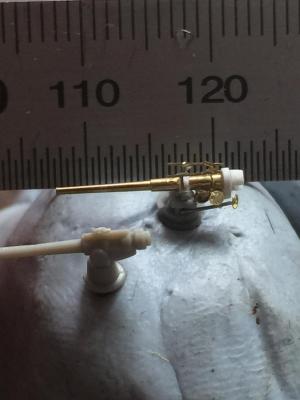
The next challenge is the 52mm chaser guns. These are to scale so it shows how much the kit ones are out. Not perfect yet but again they are beneath deck. I have not added a pedestal as they will be able to be put into the hull via the openings once most of it is complete and I will build a little interior ledge on the inside. I will put a bit more effort into the 4 that go onto the deck itself. These really are tiny. I used the 47mm resin guns from the Varyag kit, and 1/700 150mm barrels as well as various offcuts from the photo etch spares box to make up the details. The sighting telescope was somewhat challenging. As they will be interior, if one side looks crap I can face it inboard.


- 236 replies
-
- 11
-
-
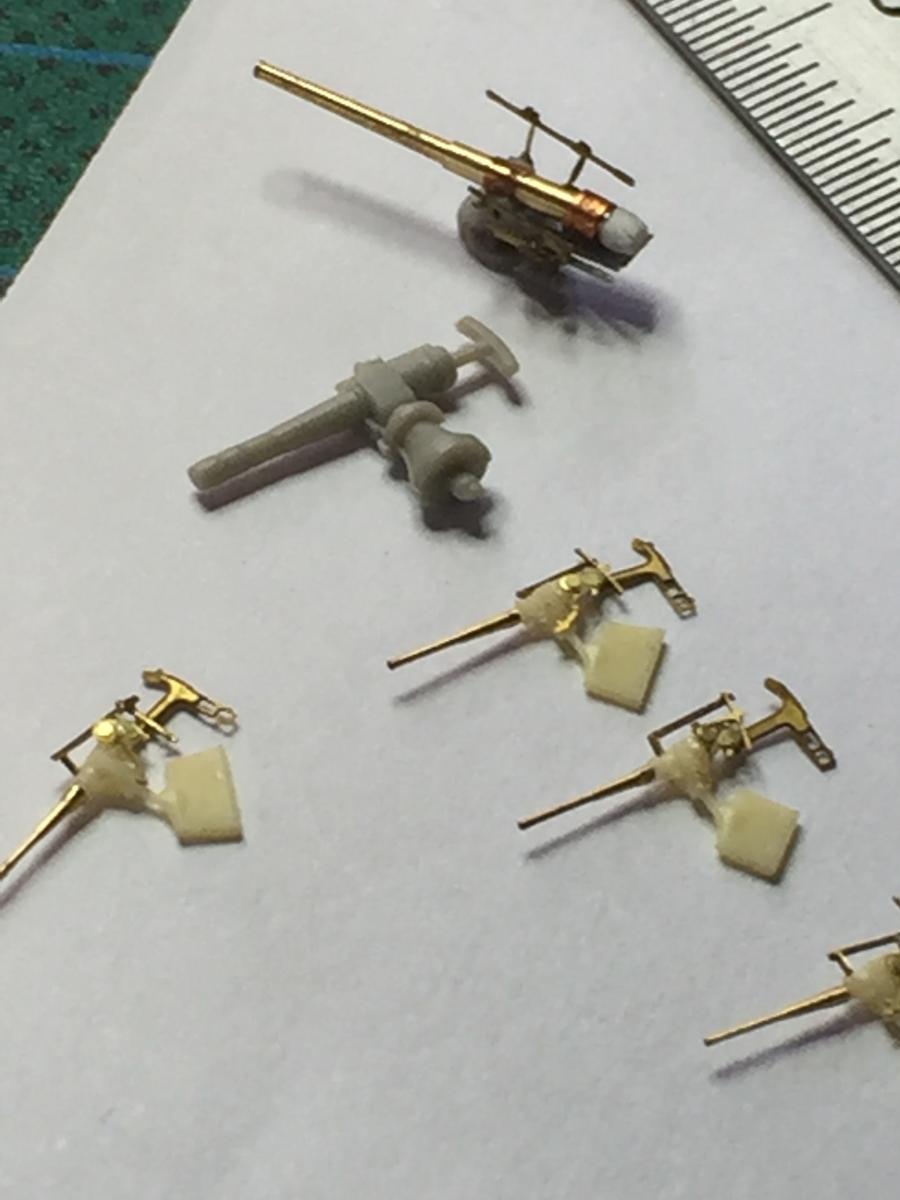
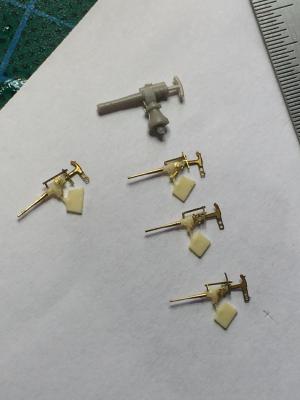
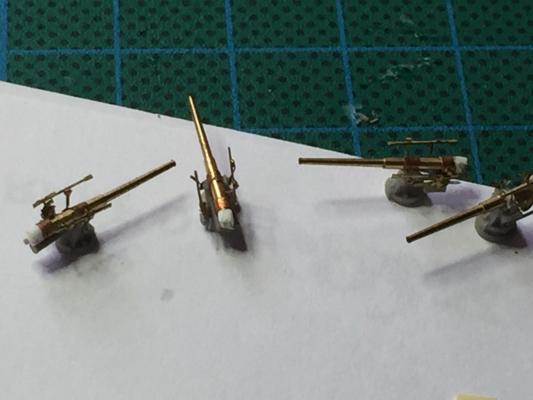
I tried to add a bit more detail to the 105mm guns for the remaining 3. There will be below decks to they are acceptable. I just need to paint them up now. I utalised a pedestal from a set of Complect Zip guns which I misordered. When I do the deck guns I will use the kit supplied pedestals which I will bash more than Mike Tyson would.


- 236 replies
-
- 10
-
-
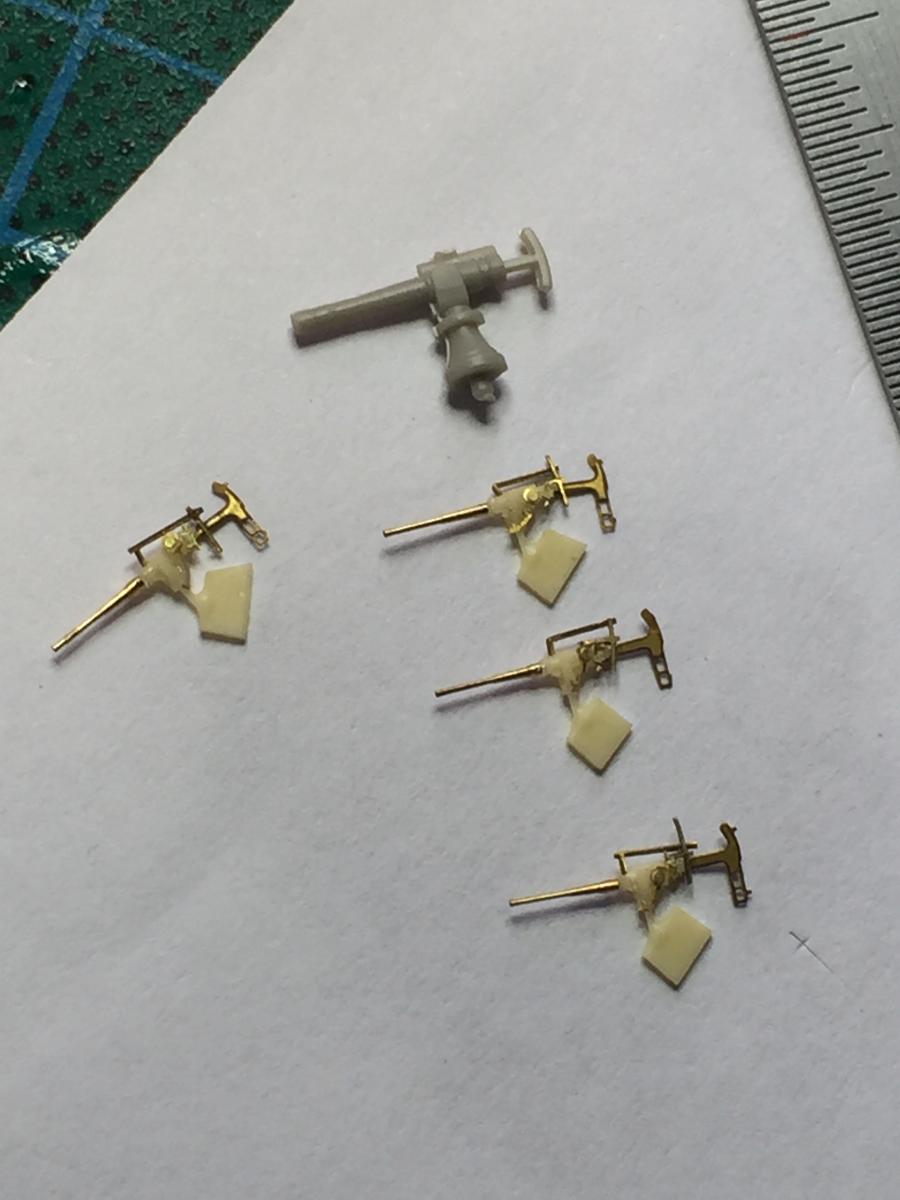
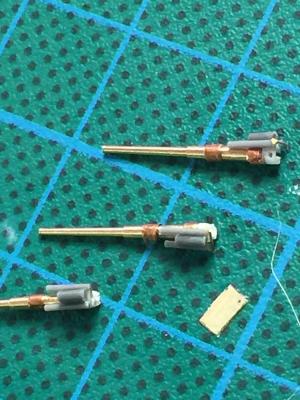
OK, as promised, it's taken several hours, but my first attempt at the 10.5cm guns. I will make 4 on this pedestal to go below decks as you won't see the bottom bits. I think they will come up OK when painted 9compared to the kit ones) and put in at a later date. Now I know what to do i will be a fair bit quicker. Then there are four 5cm guns to fabricate. I will leave the above decks ones until I'm almost finished.

- 236 replies
-
- 13
-