RGL
-
Posts
5,563 -
Joined
-
Last visited
Content Type
Profiles
Forums
Gallery
Events
Everything posted by RGL
-
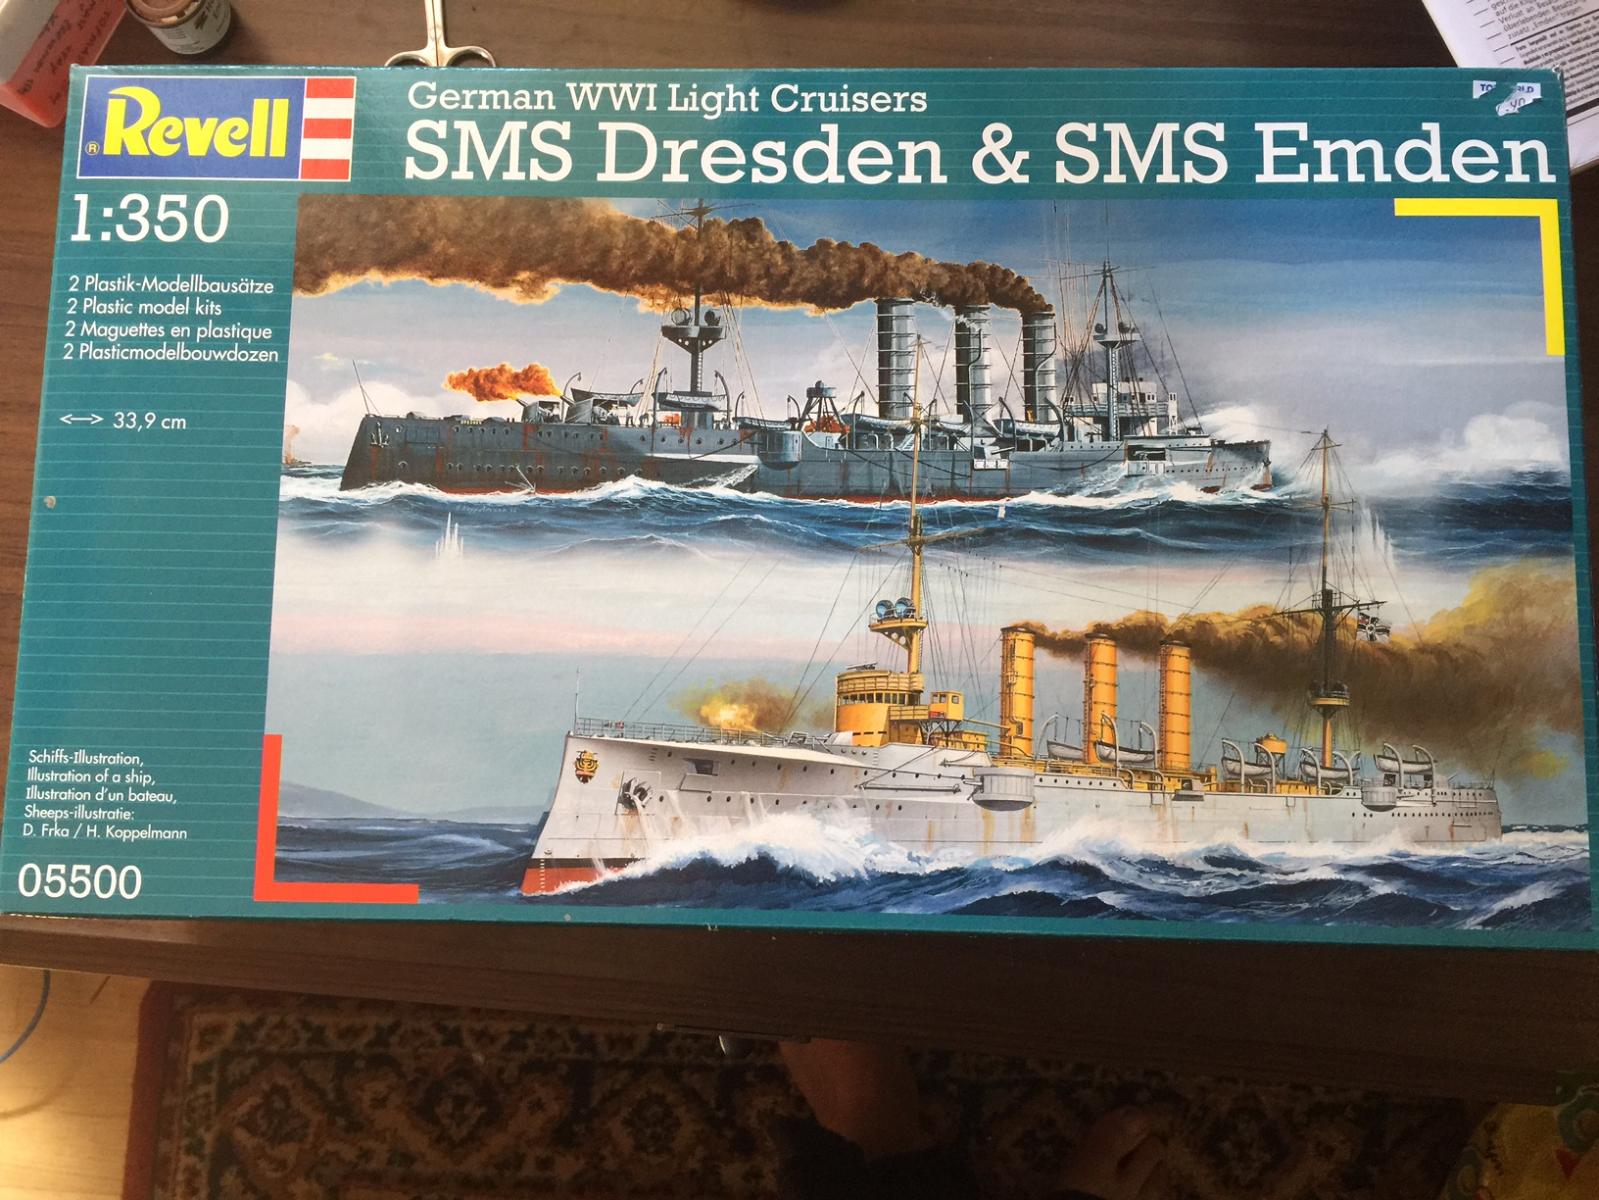
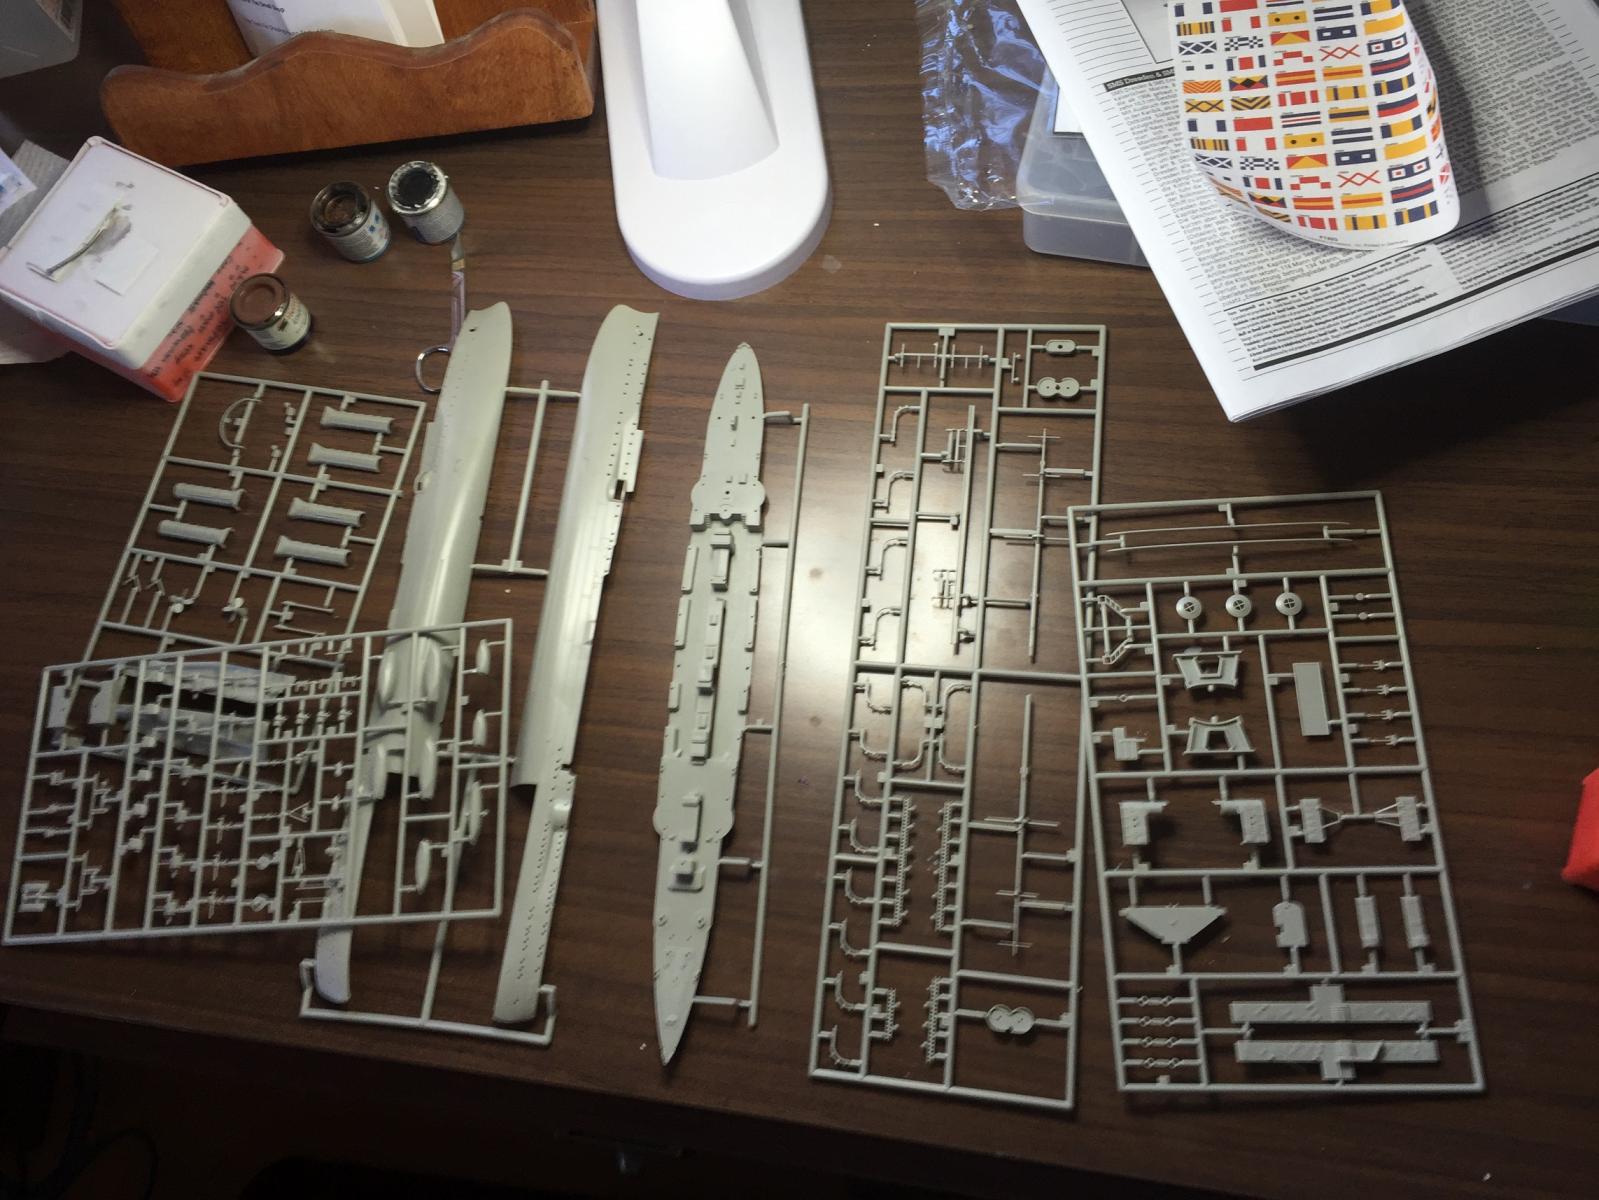
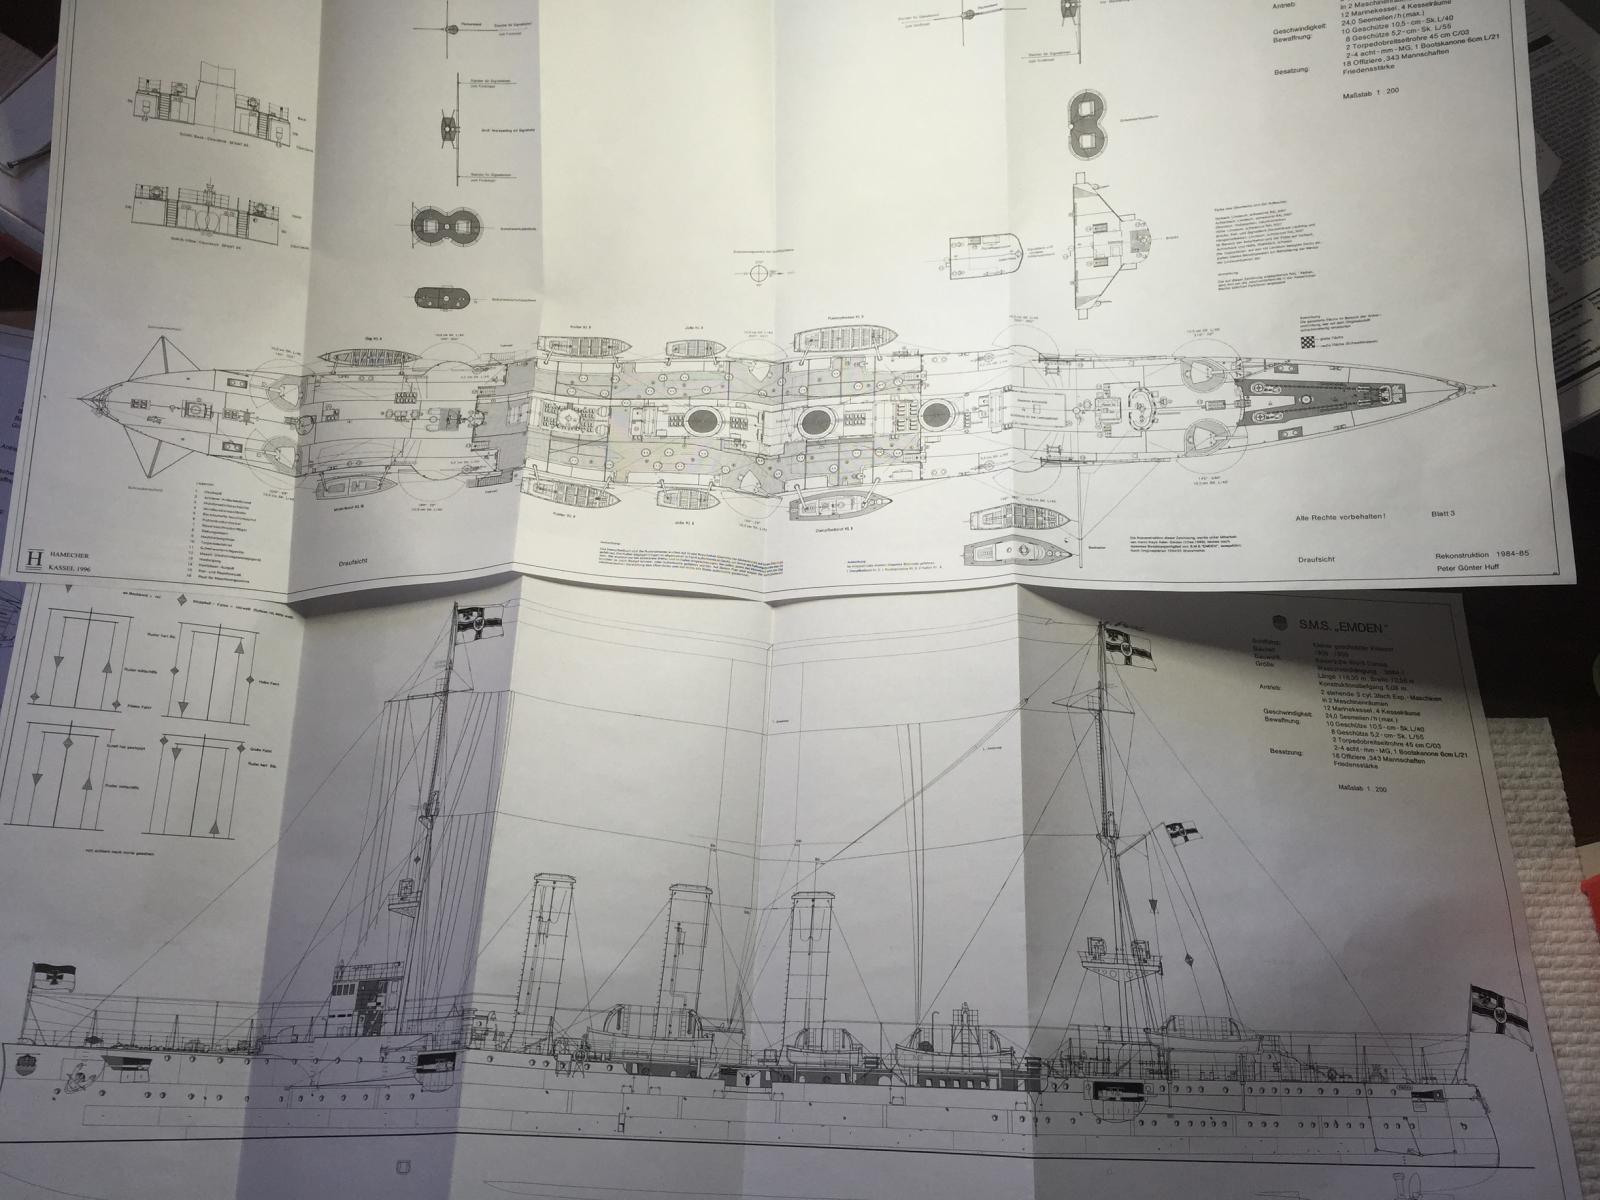
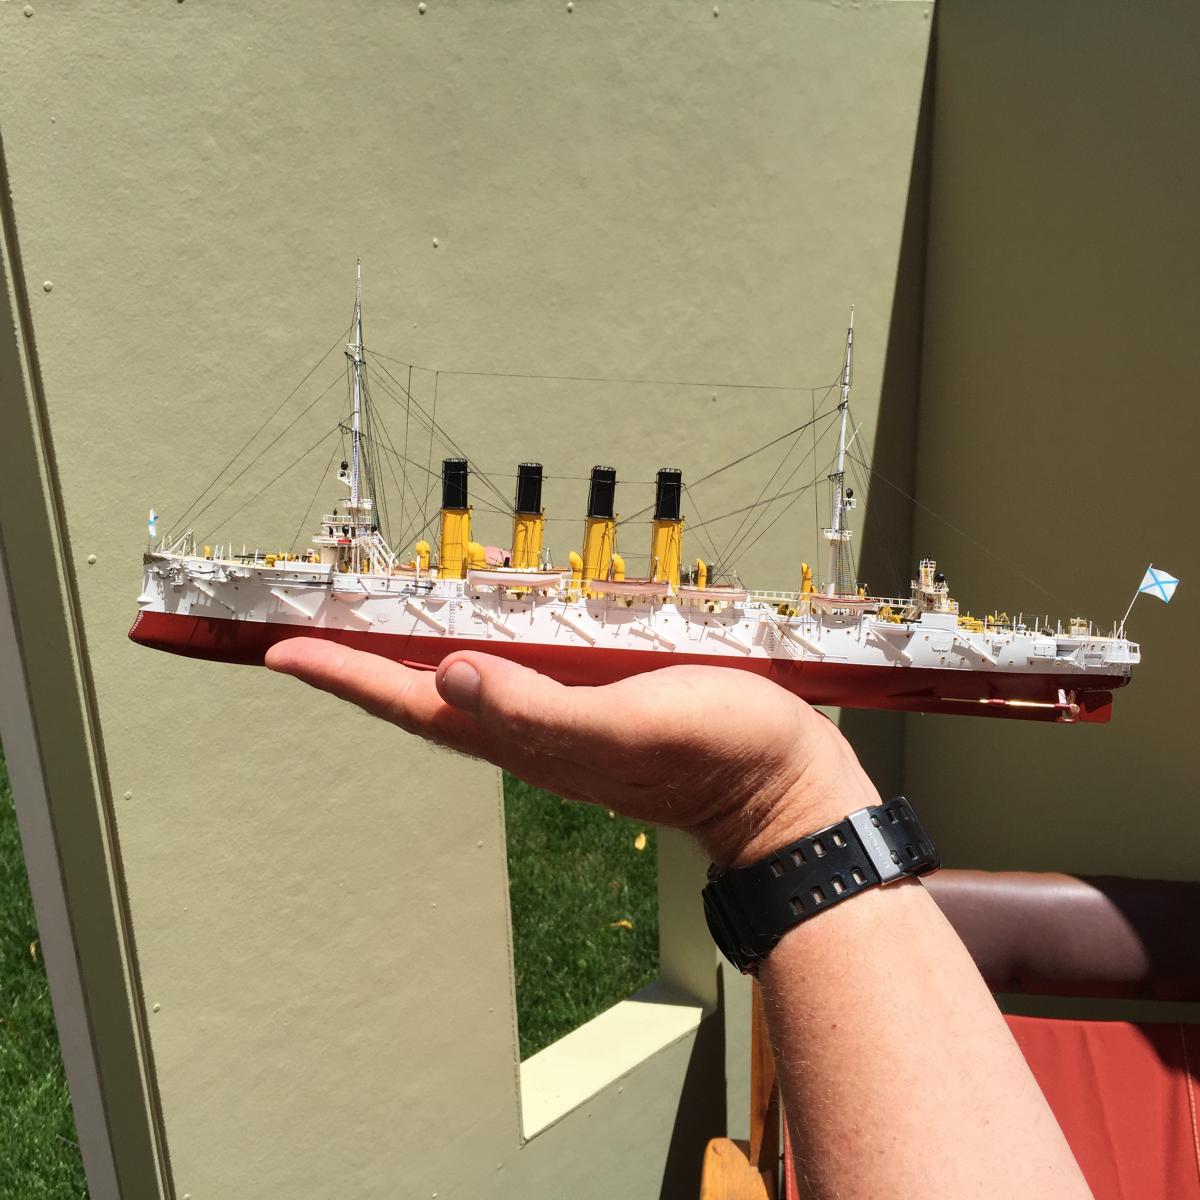
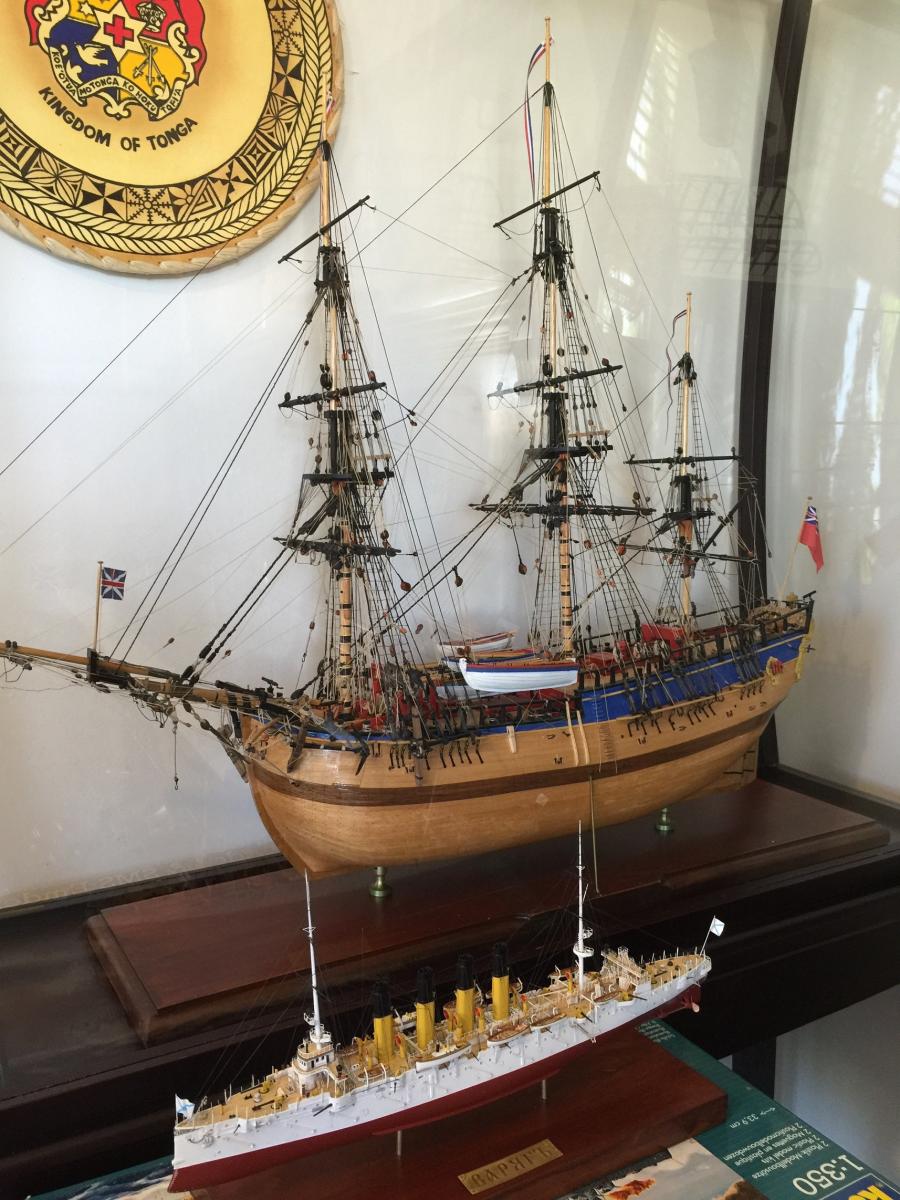
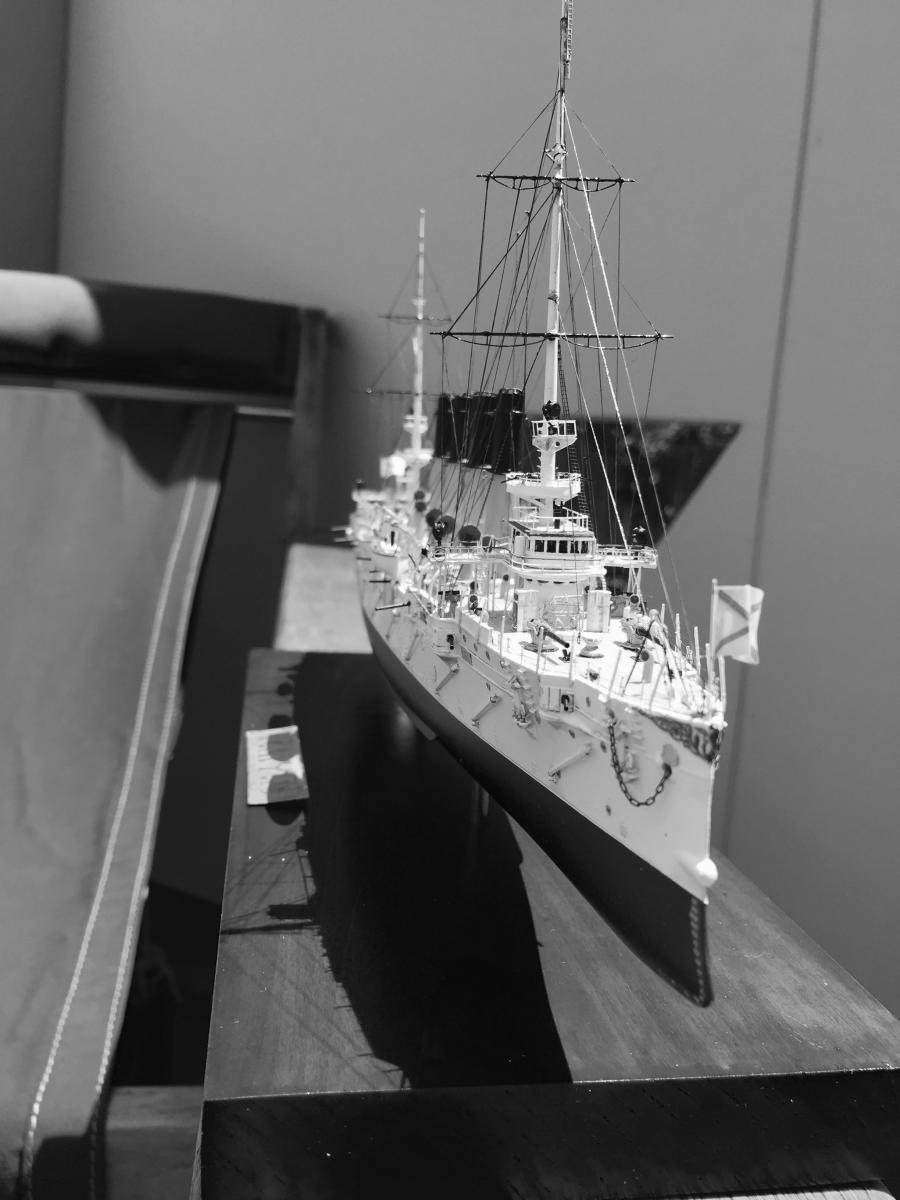
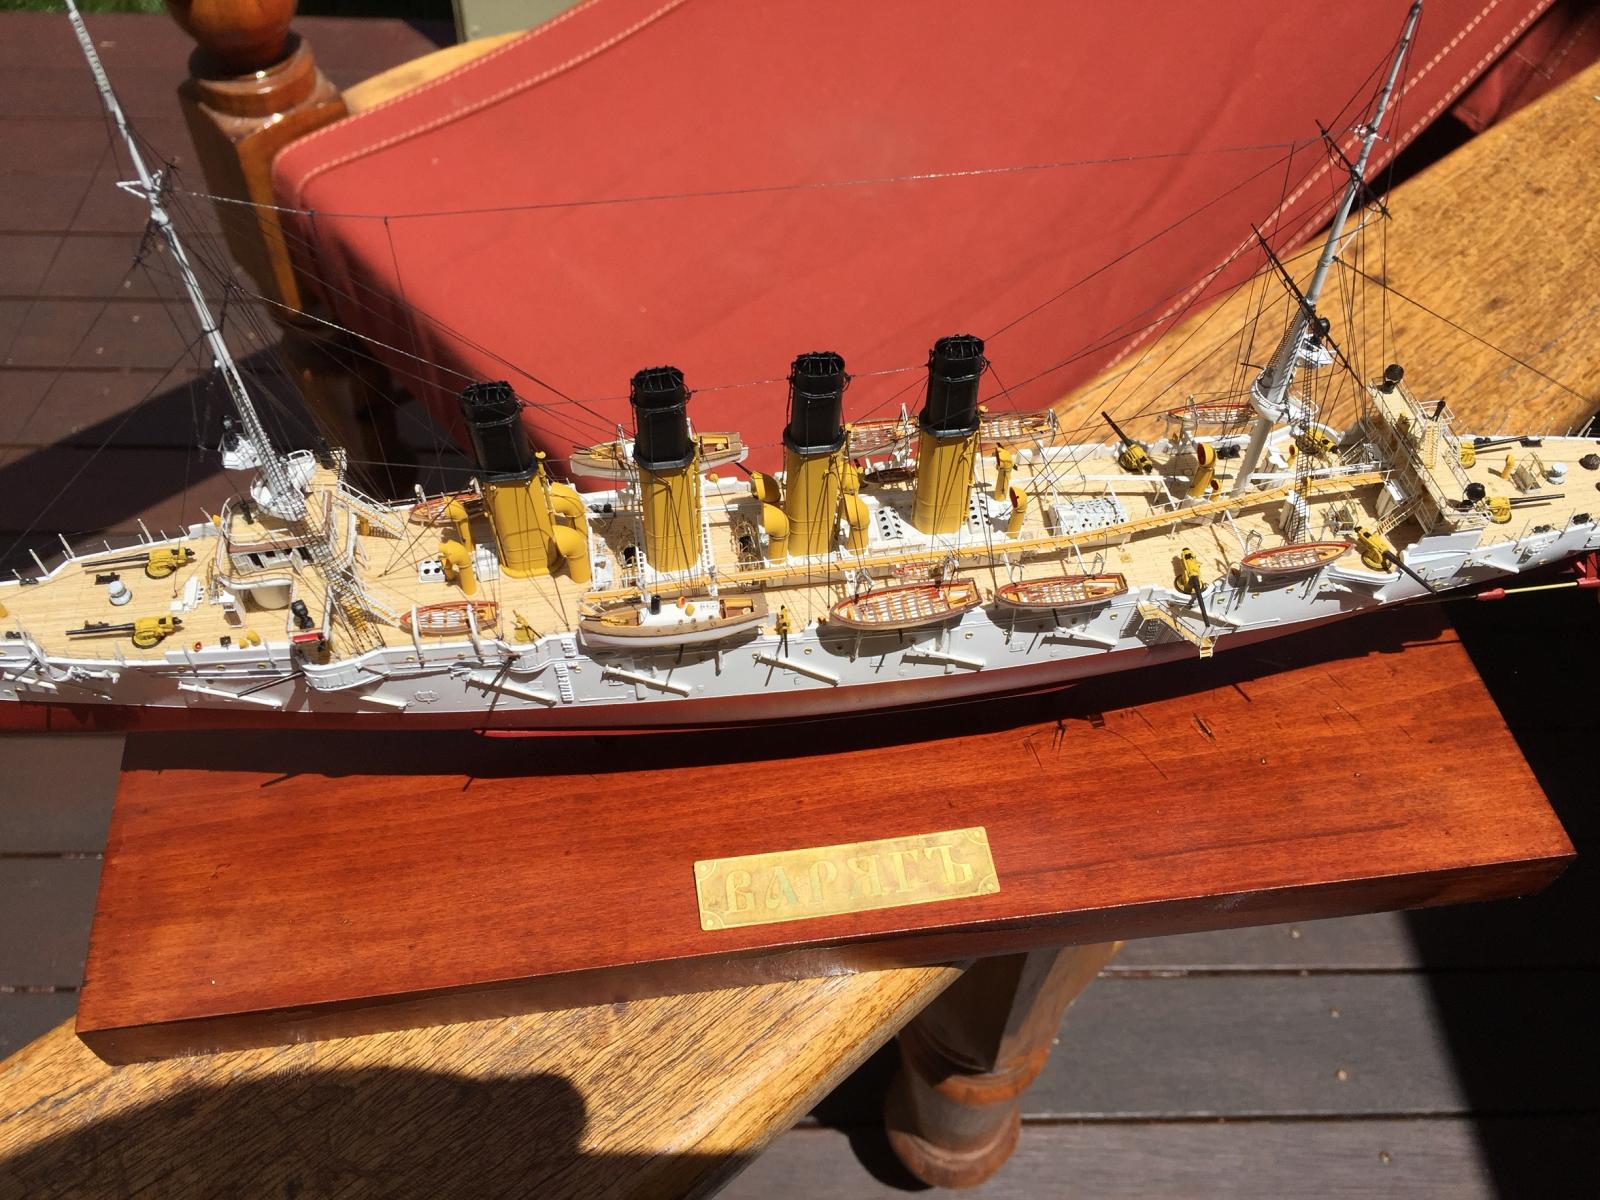
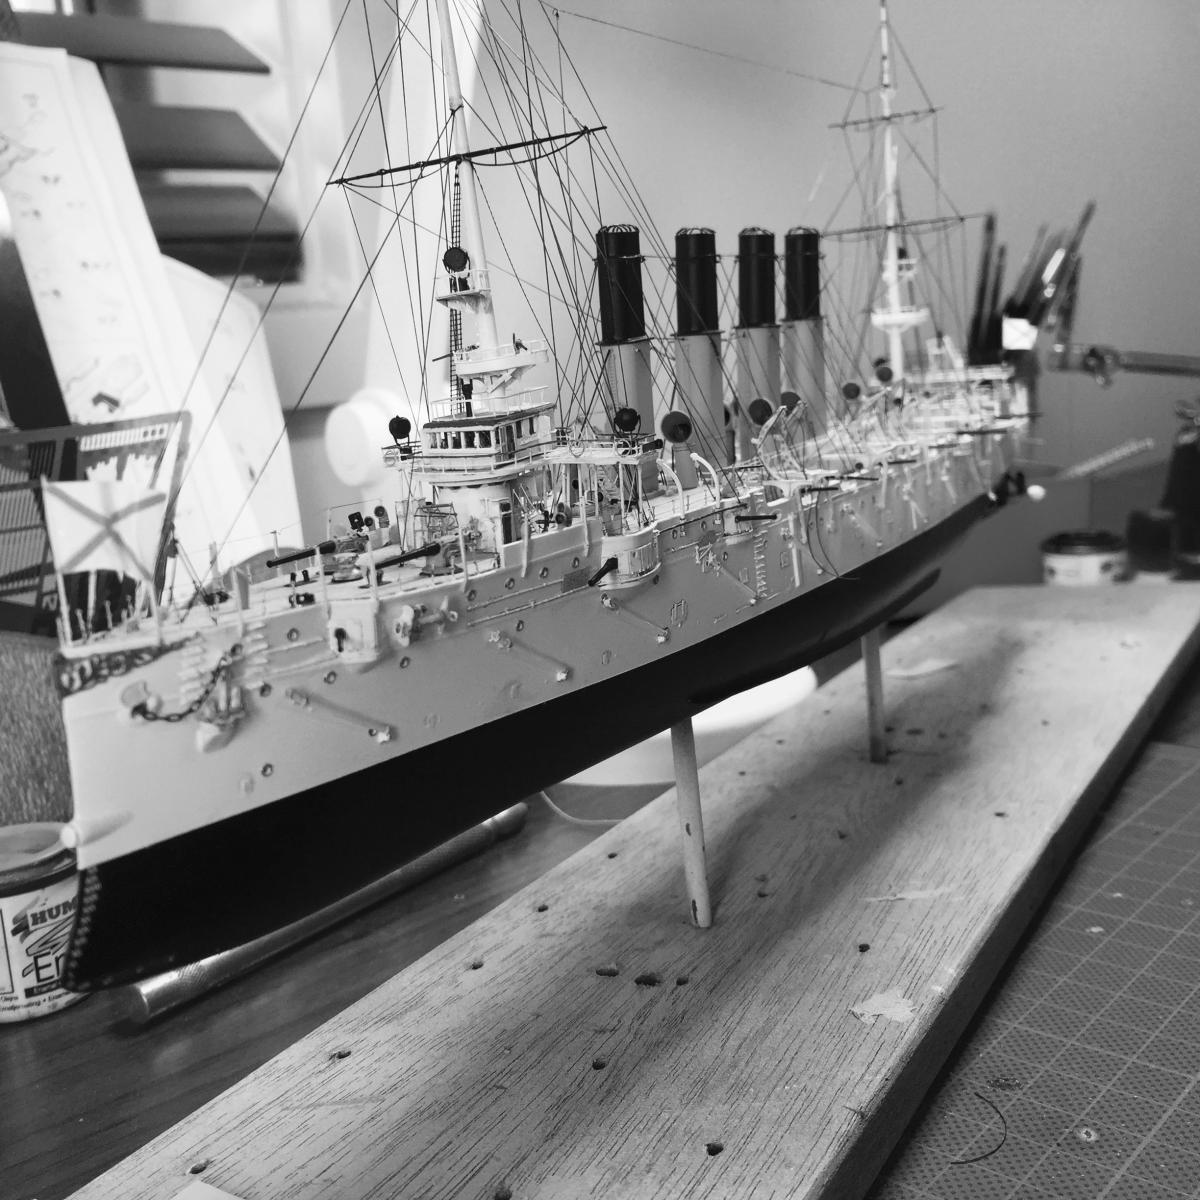
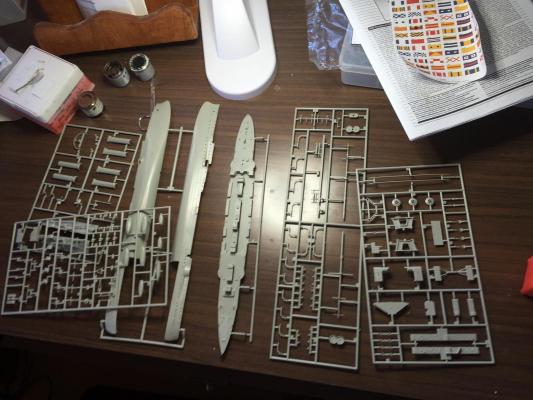
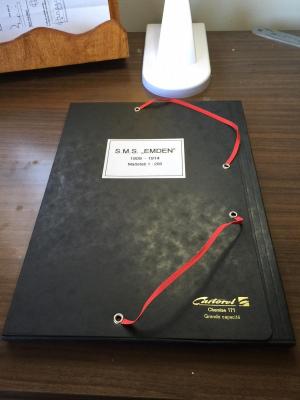
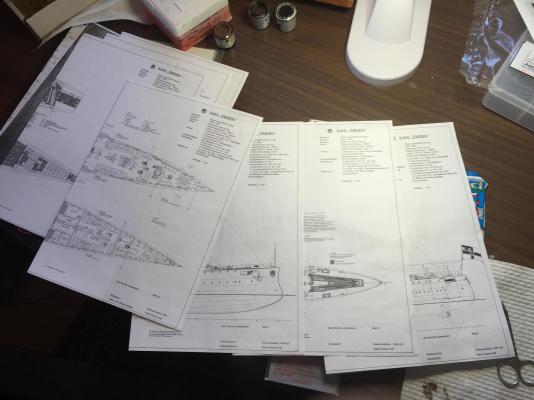
 My third build will be the SMS Emden. It has a history for us Aussies I suppose. I won't go into the history as there is the whole of the internet for that. Revell brought out a twin kit recently which will be good if I stuff up something, as I don't intend on building both it and the Dresden. There are a lot of open source builds on the net for this kit, most of which seem to be strait out of the box. I managed to purchase the last set of draughts in 1/200 on the internet for Peter Huff's 1995 publication. I had a look at the Kagero book and yet again, their research leaves a bit to be desired, as the even the photos don't match. The kit will need a LOT of bashing. Thus more internet shopping for bits and pieces. Heaps of work, but that's the joy of it. I got the Eduard Emden photo etch set for a start. A lot of the sprues look like they have been put in an oven as they just look blurry with very little detail. There will be very little of the original kit used but the hull is nice. I'm thinking six or more months, given my Varyag has a lot more detail but also a lot more commercially available extras. This era is not well represented for after market.

- 236 replies
-
- 10
-

-
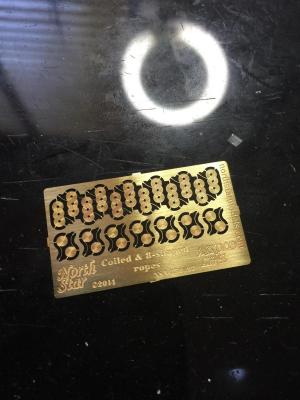
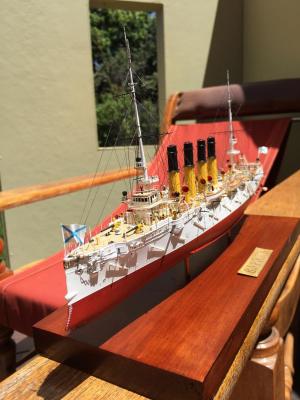
Last post on this build. I finally received the rope coils from North Start Models in the Ukraine. I only used them for the braces on the davits, but they are a nice bit of kit for that final bit of icing on the cake.

- 174 replies
-
- 12
-
-
Rename them in numerical order
-
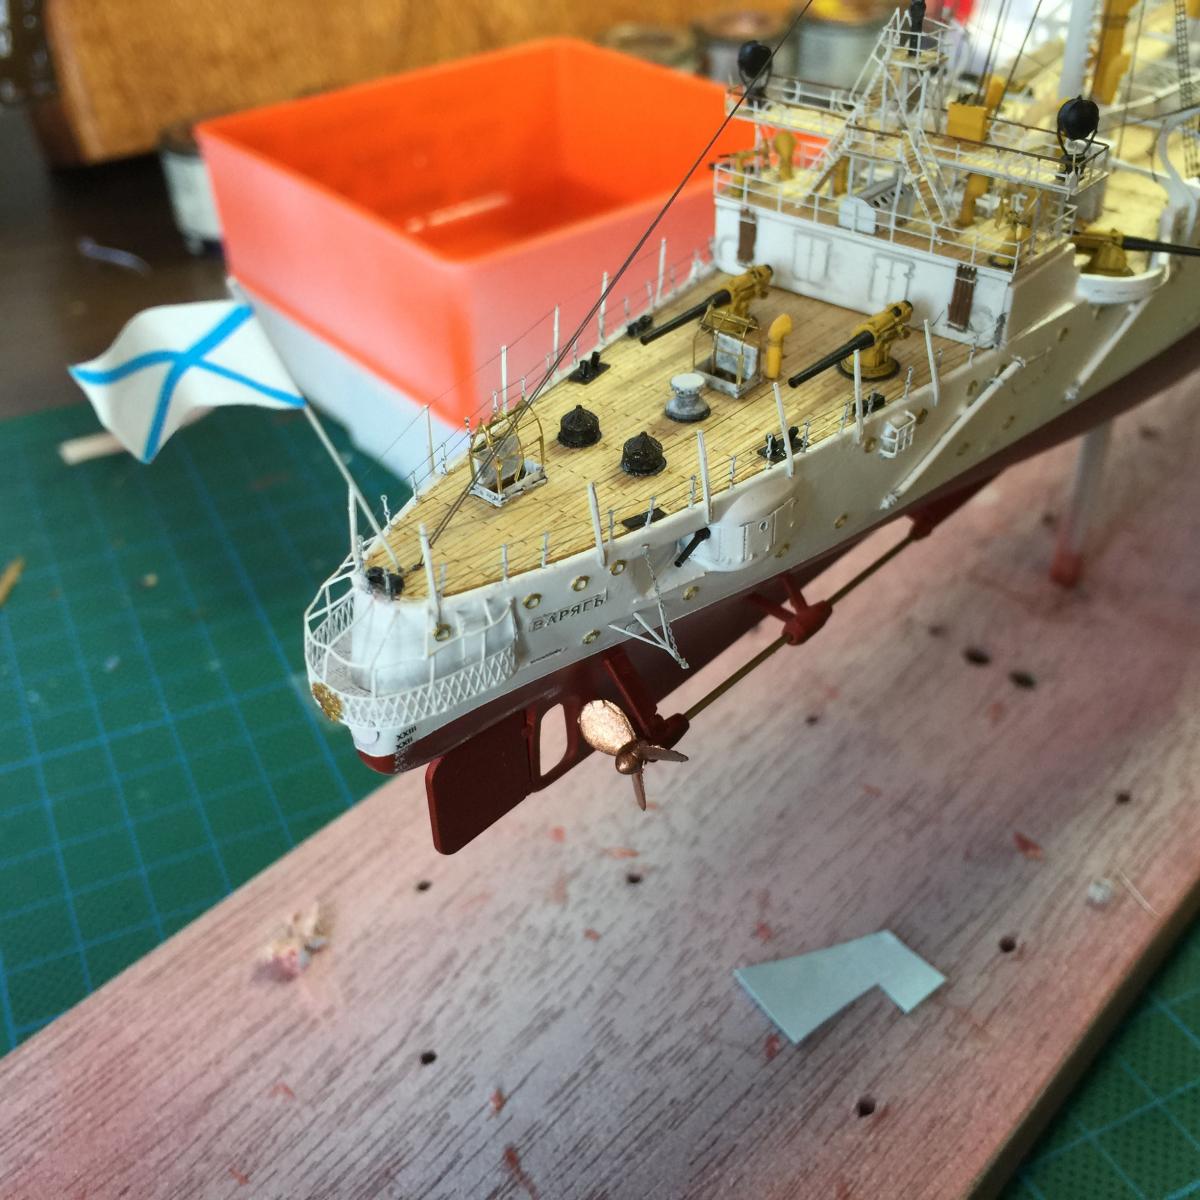
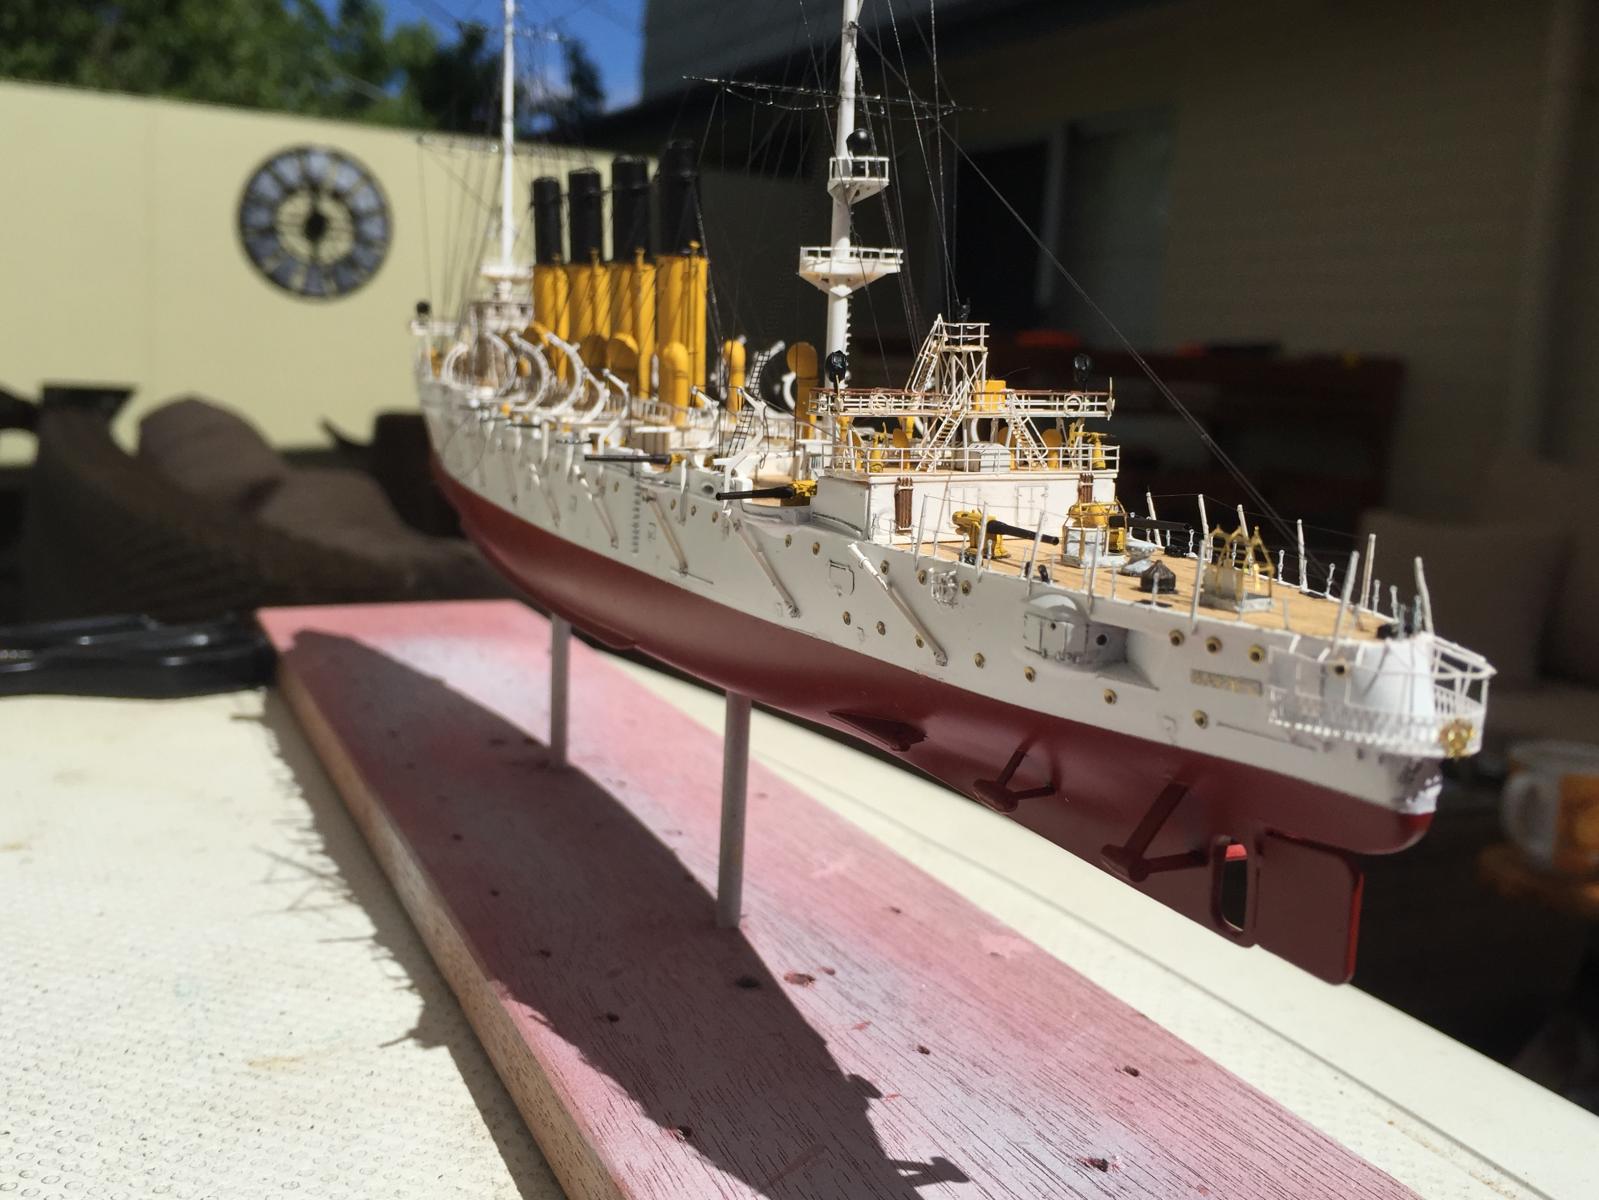
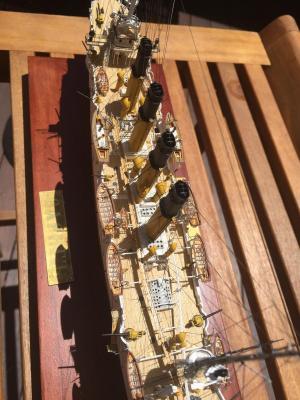
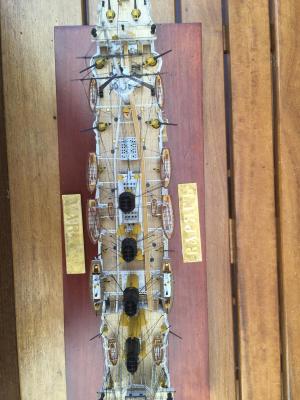
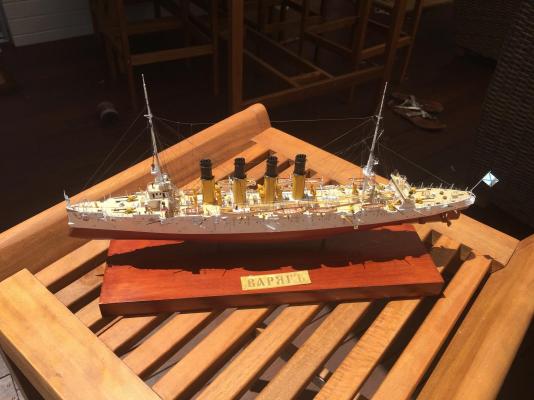
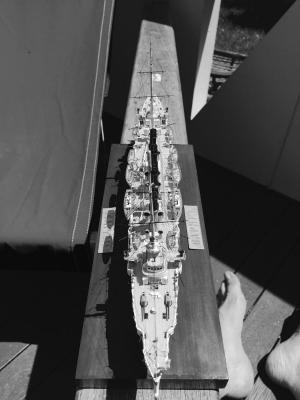
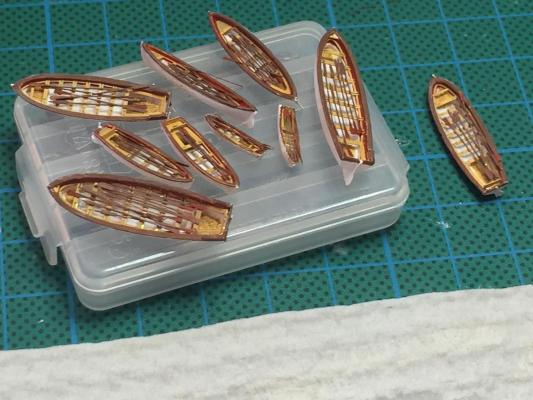
OK, third last post for this build: I affixed the ships boats, I got to the stage where I had to draw a line, the kit does not include cradles (which it really should) and fabricating them at this scale is quite hard and I think I'd probably just make a mess of it. I have made a temporary base where I'll park the old girl for a while, I only have to add the rope coils when they arrive. It's a really nice and very different kit, the Artwox resin is nice, but it is missing many deck fittings and I think the creators went of the Kagareo book a little too much for accuracy when the plans are available. I would like to see some of the resin made available commercially, such as the ships boats and the fairleads. No sea steps, just the original Zvesda bumps on the hull, no mast ladders, no stand for the model at all. The guns have all been replaced, the kit ones are just too inaccurate. The masts are wrong, the instructions are atrocious, some of thr alignments are not explained and you don't find out till way too late, and some oif the details left on teh fret I'm still scratching my head over. Whilst I'm a mutt at the photo etch thing, the frets are too thin. I think it they were as thick as the Eduard ones it would be a step ahead,as the detail is very nice.


- 174 replies
-
- 14
-
-
Thank you for the likes and comments, I don't think I'll ever show her or my Endevour though, the shipping to the states would be a killer.
-
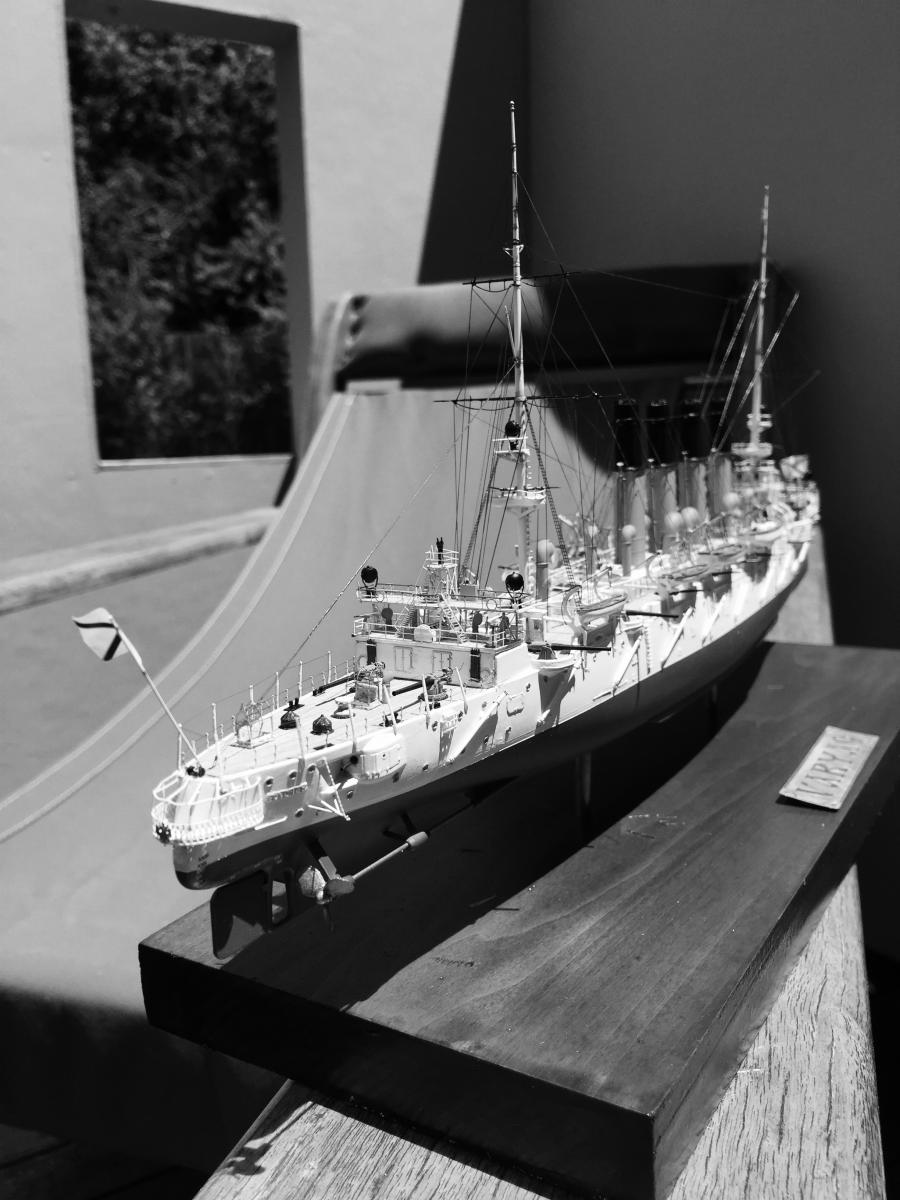
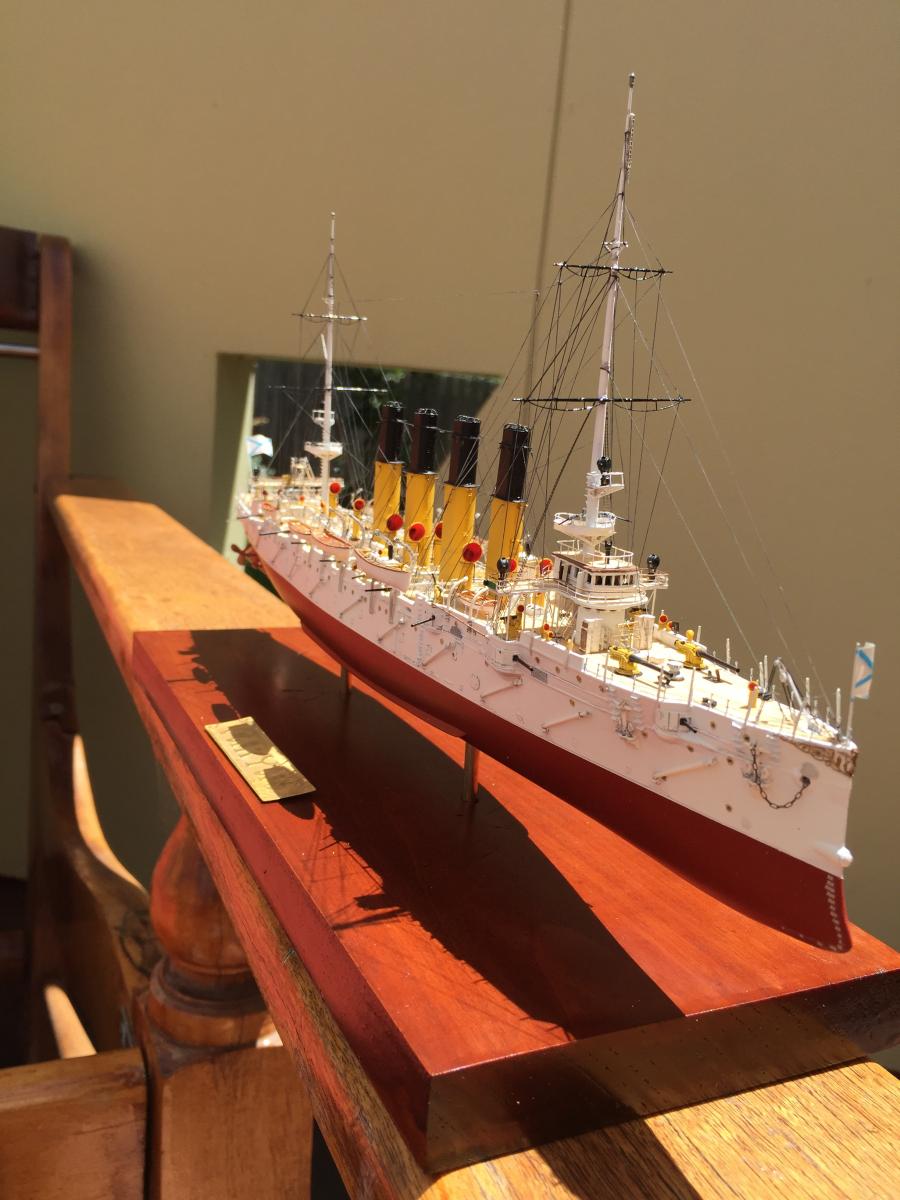
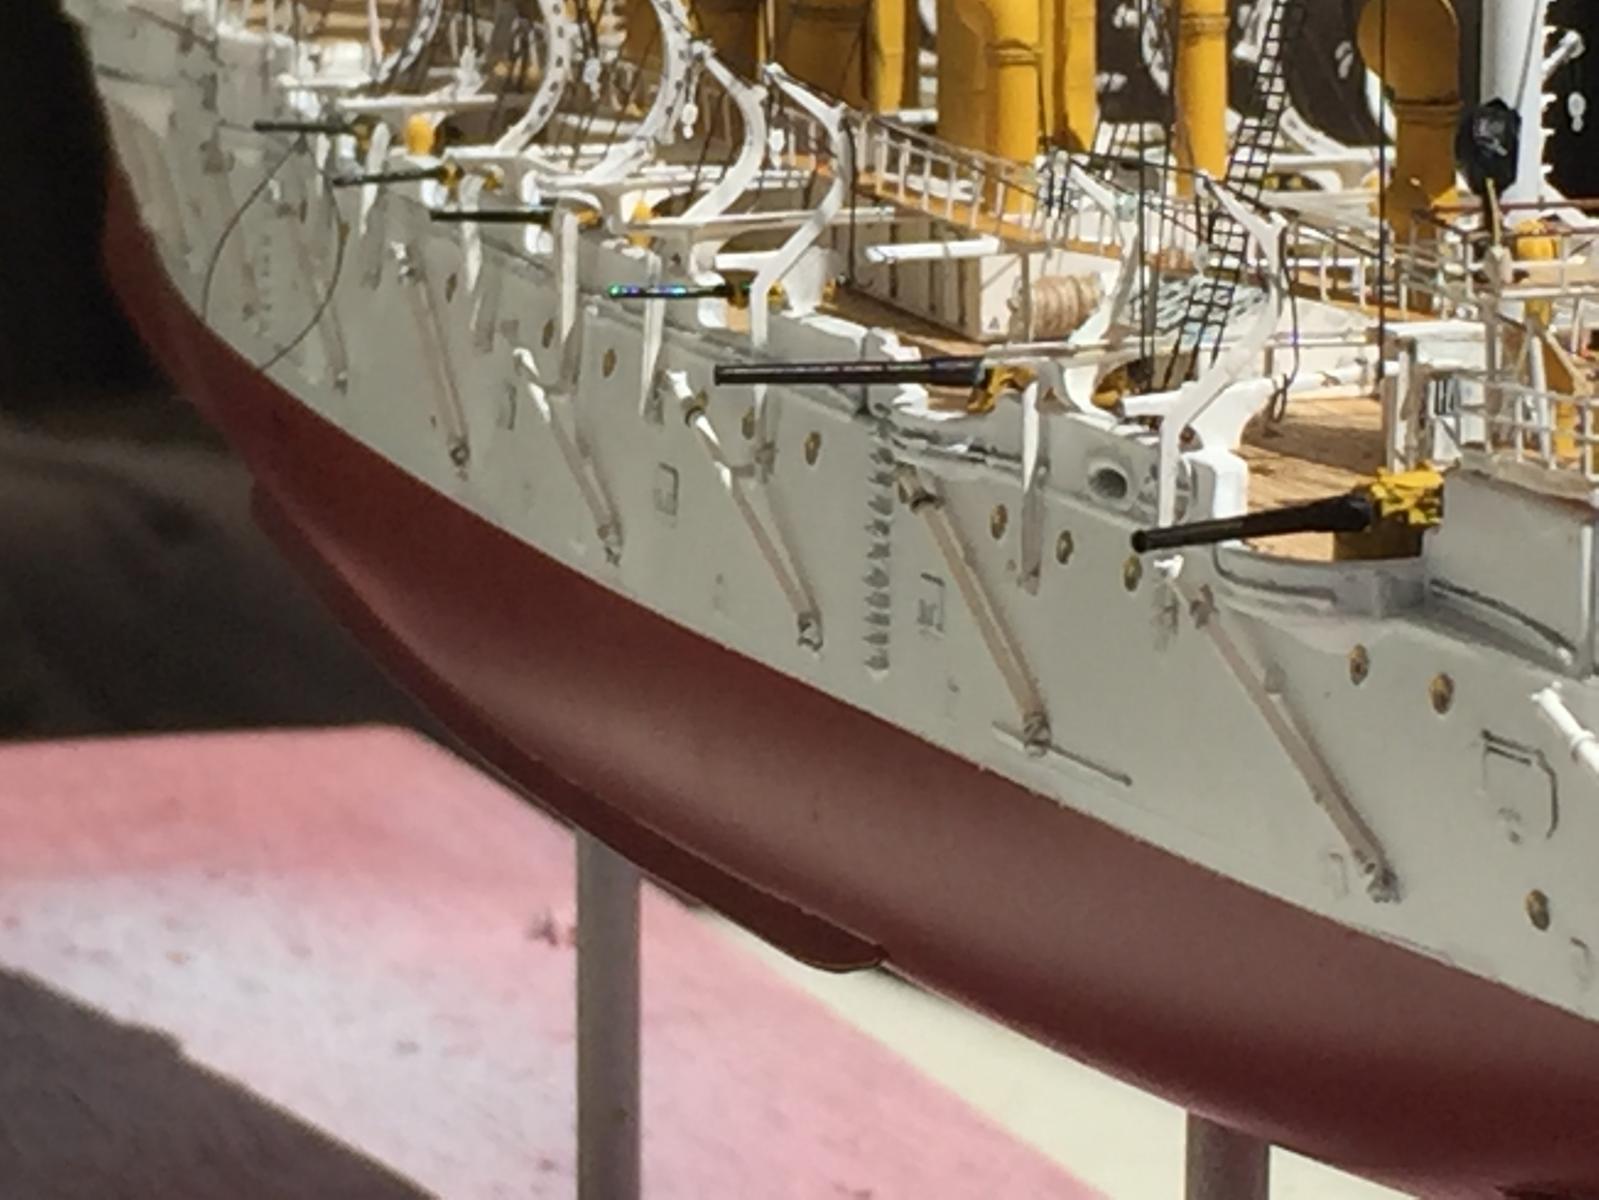
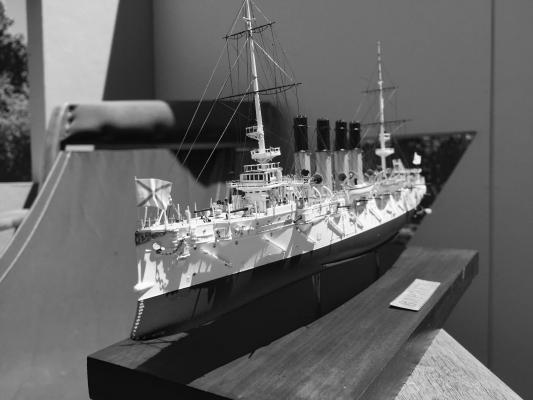
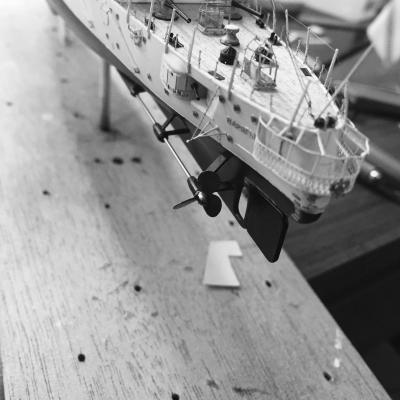
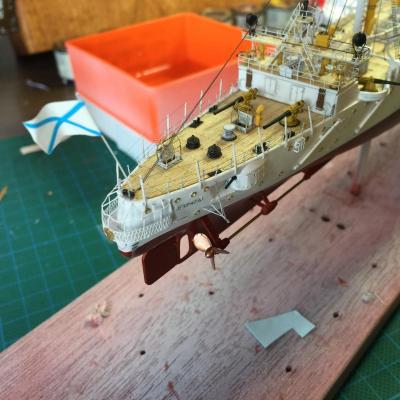
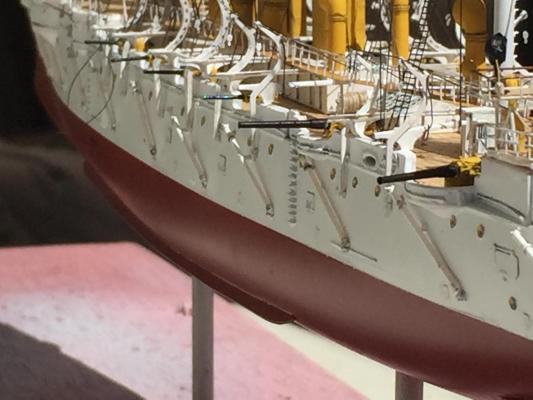
Getting there, the anchors are attached, I just needed some micro chain to secure them, there is no reference to it in the instructions. All the guns are now attached as are the flagstaffs and one set of stairs. I just have to attach the lifeboats and fabricate some braces for them, and I am awaiting some photo etch rope coils from the Ukraine. I added the shafts and screws, and propeller guards which are by no way known referenced in the kit!


- 174 replies
-
- 12
-
-
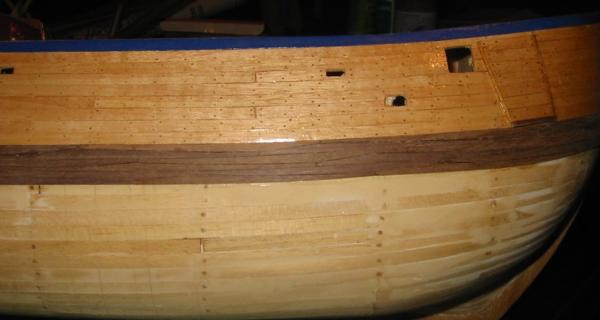
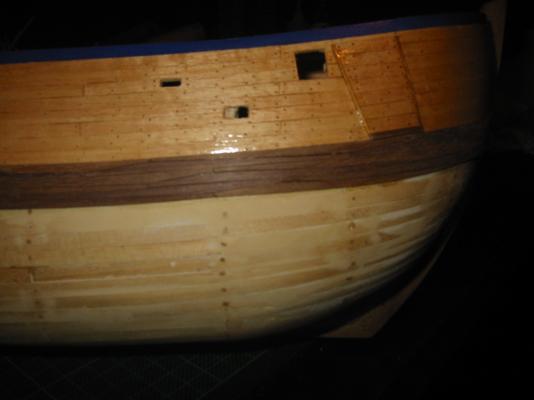
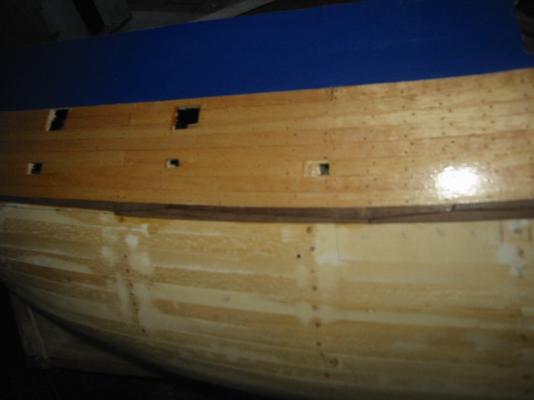
If you can be bothered, sand the Wales flat, then use some1mm hardwood. Just do it piece by piece, cutting each one to exactly the same size, bending where required to follow the hull. Drill your treenails in after putting a layer of varnish so they don't split. You need to do 3 planking lines. Any gaps use a dark filler. I know Janos doesn't use treenails just a dark filler. It's a Couple of days work. Not the best shots but you can get the idea.
-
I attempted it on mine, it's not that hard, just a lot of work. A lof the photos went with MSW v1 but I have back ups, but use a good hardwood.
-
I tried to use it and I got the same spillage (it's crap for house painting too!), try the Tamiya though as I think the glue is on finer or better coverage. Nice kit tho, I have the Emden to go then maybe I'll go large with the Dreadnought, there's something about the old girls that appeal to me.
-
Looking good mate, I used the Caldercraft brass pins as well and blackened them, the wooden ones seem to be so out of scale that a human hand could not grab them at the scale. I think the amount of work required to fix up something that's replaceable with aftermarket comes down to time v money at times. That being said, your detail is fantastic. Leave some space for the mast coats.
-
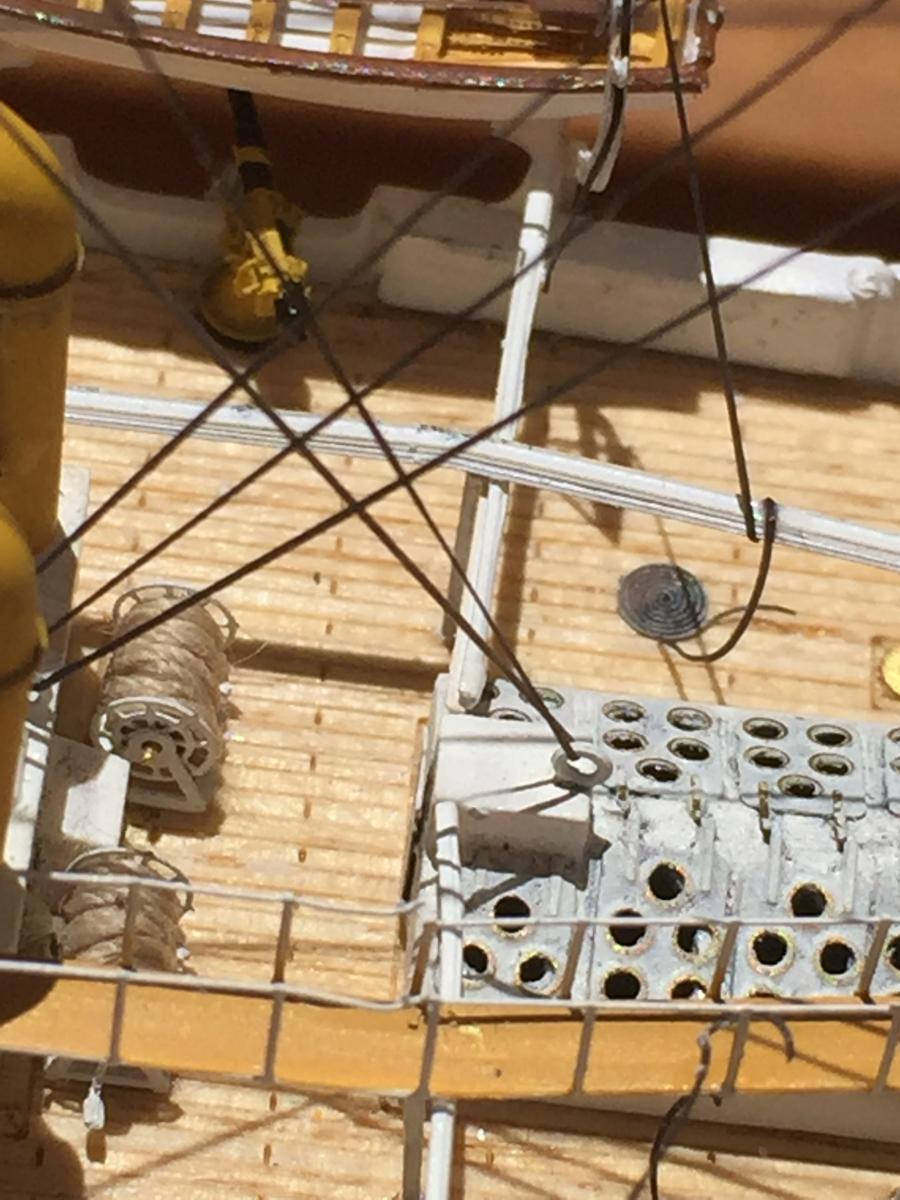
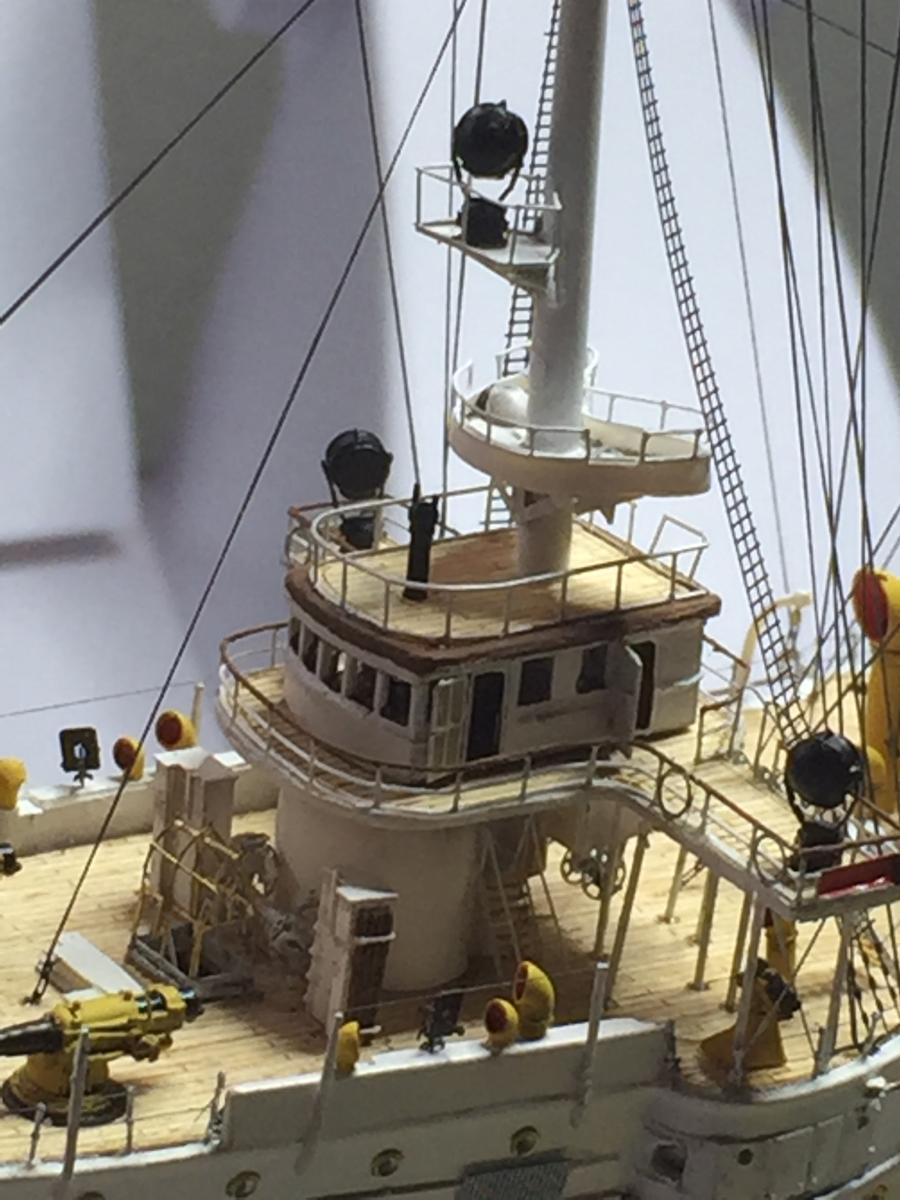
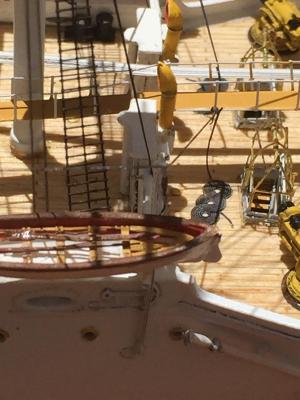
I've already rigged the Davits, it how they are correctly braced and lashed whilst at sea with chocks etc, there is no reference to it apart from 1 photo.
-
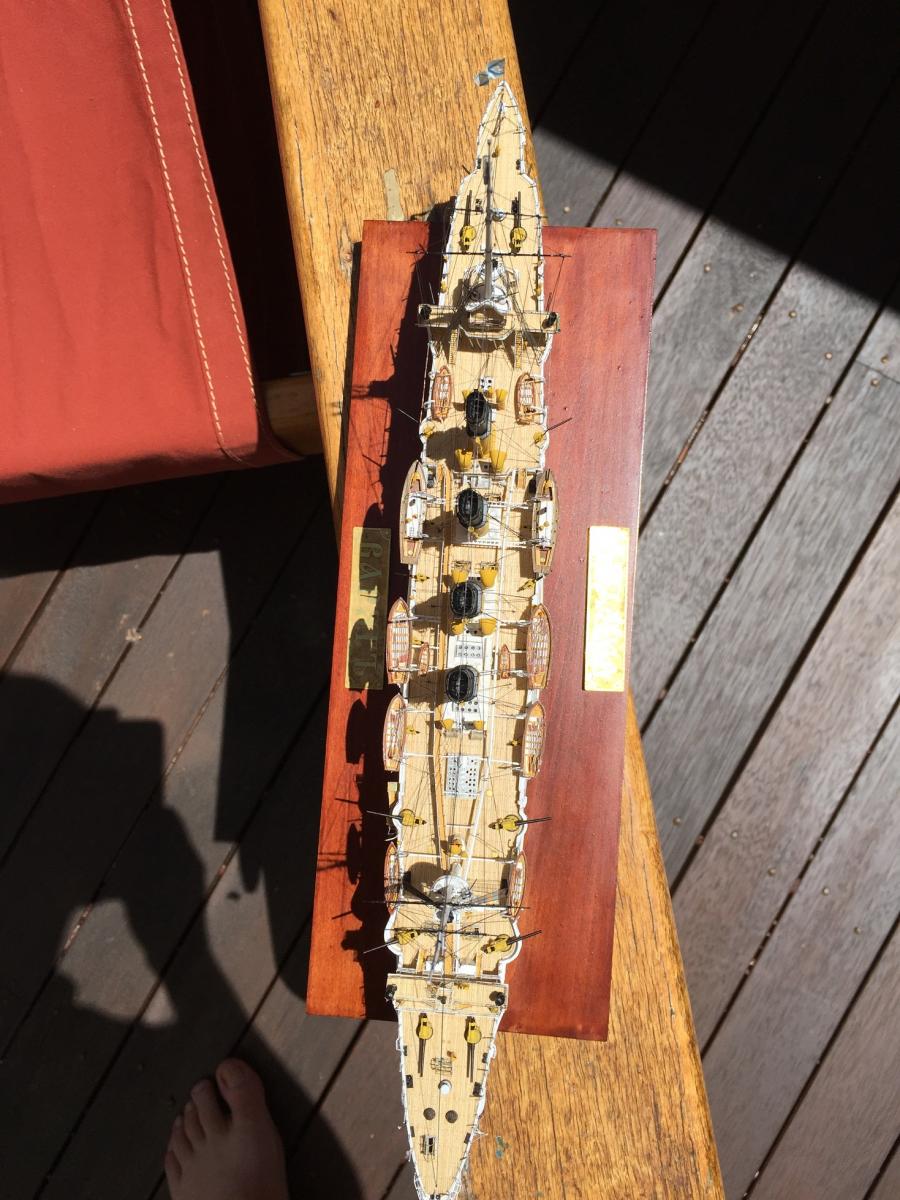
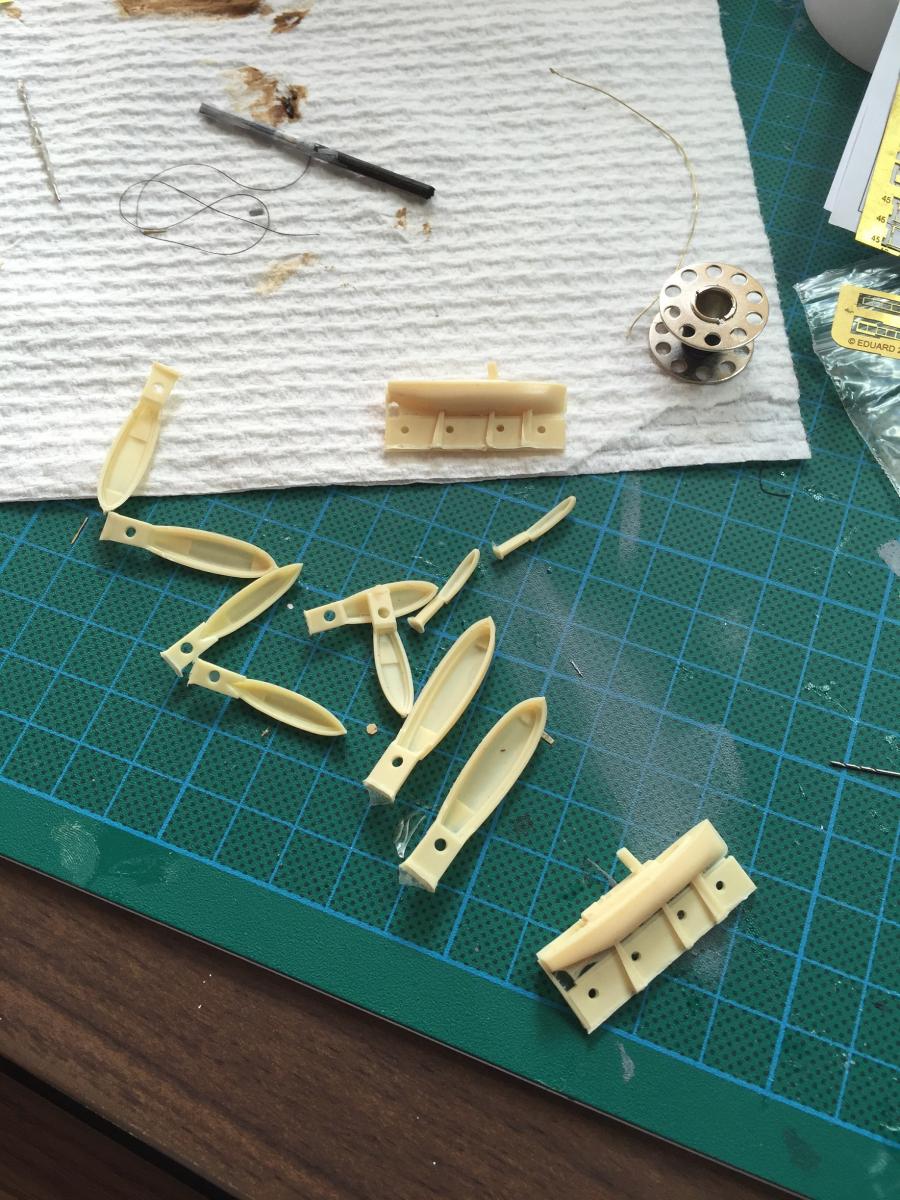
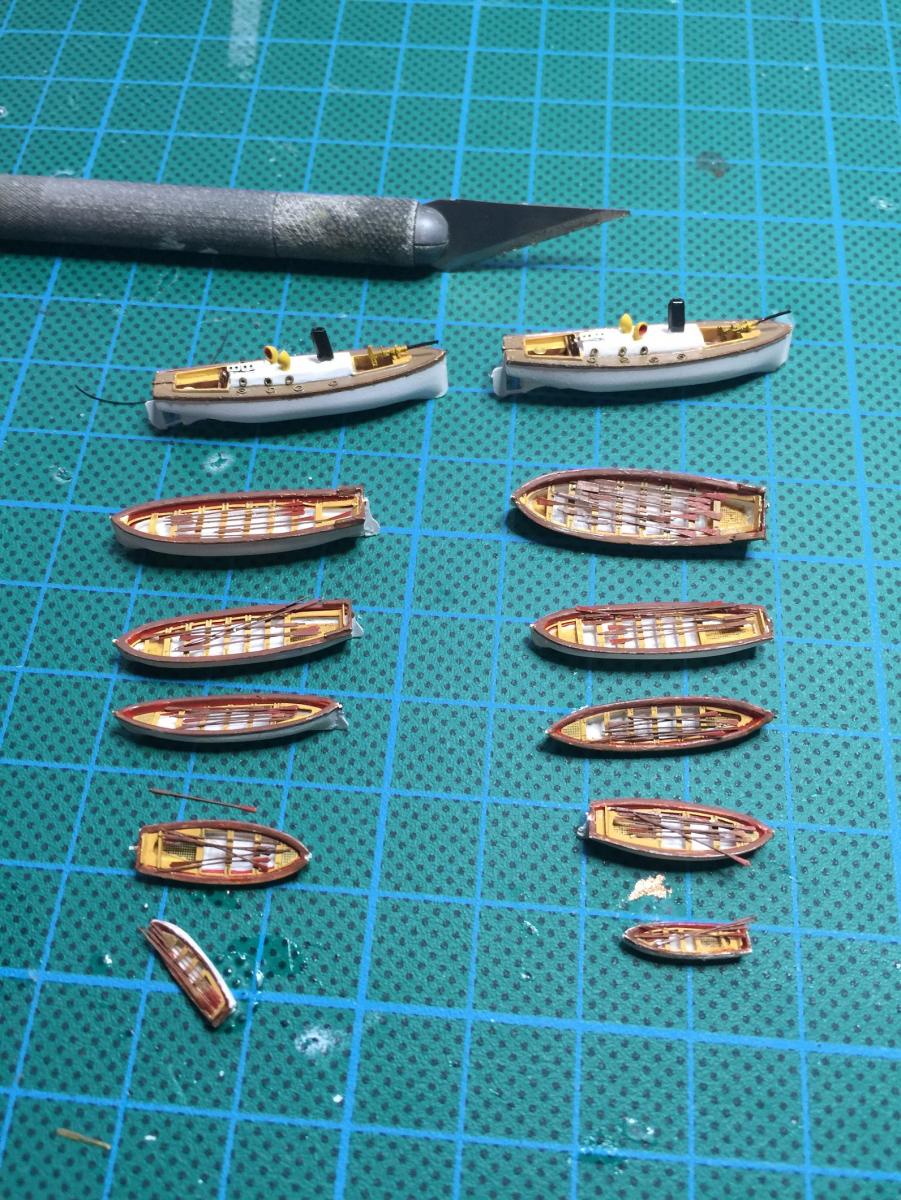
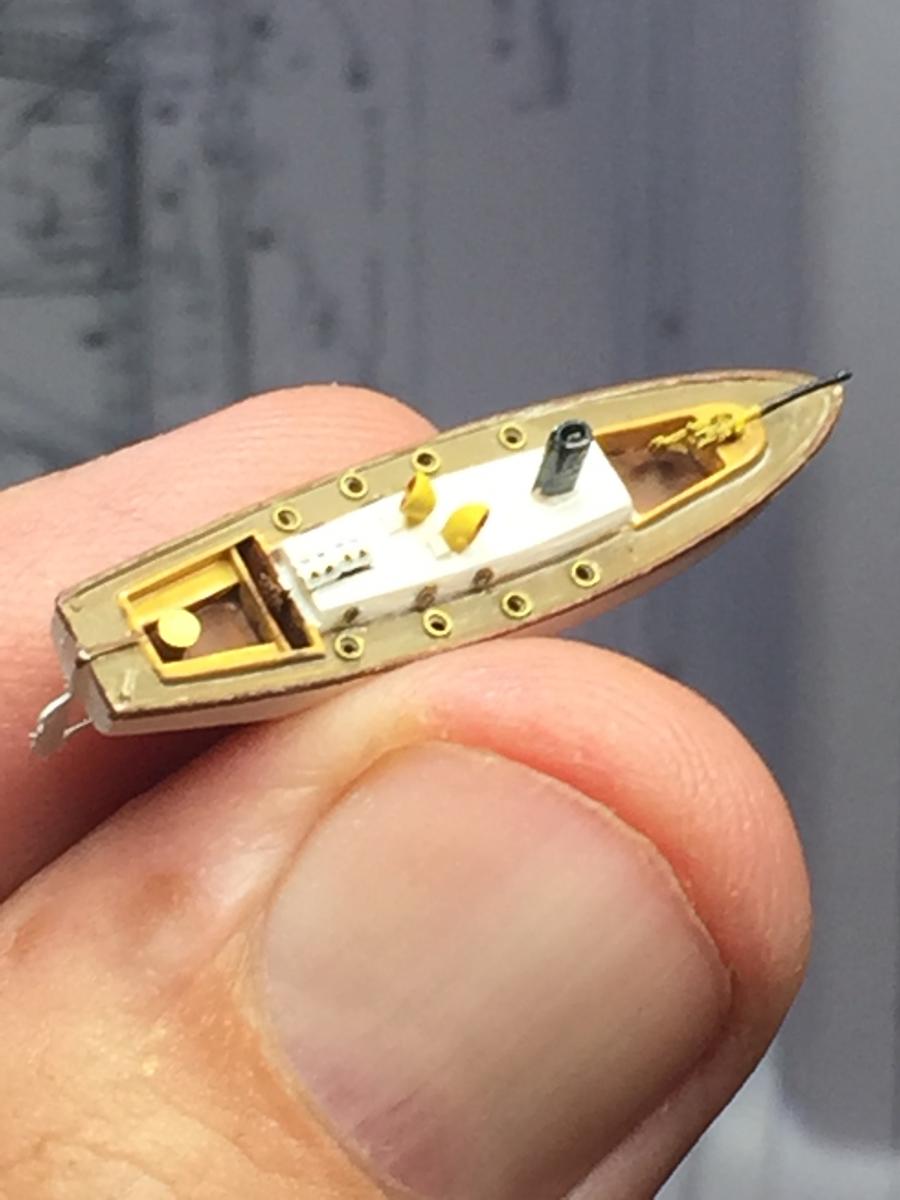
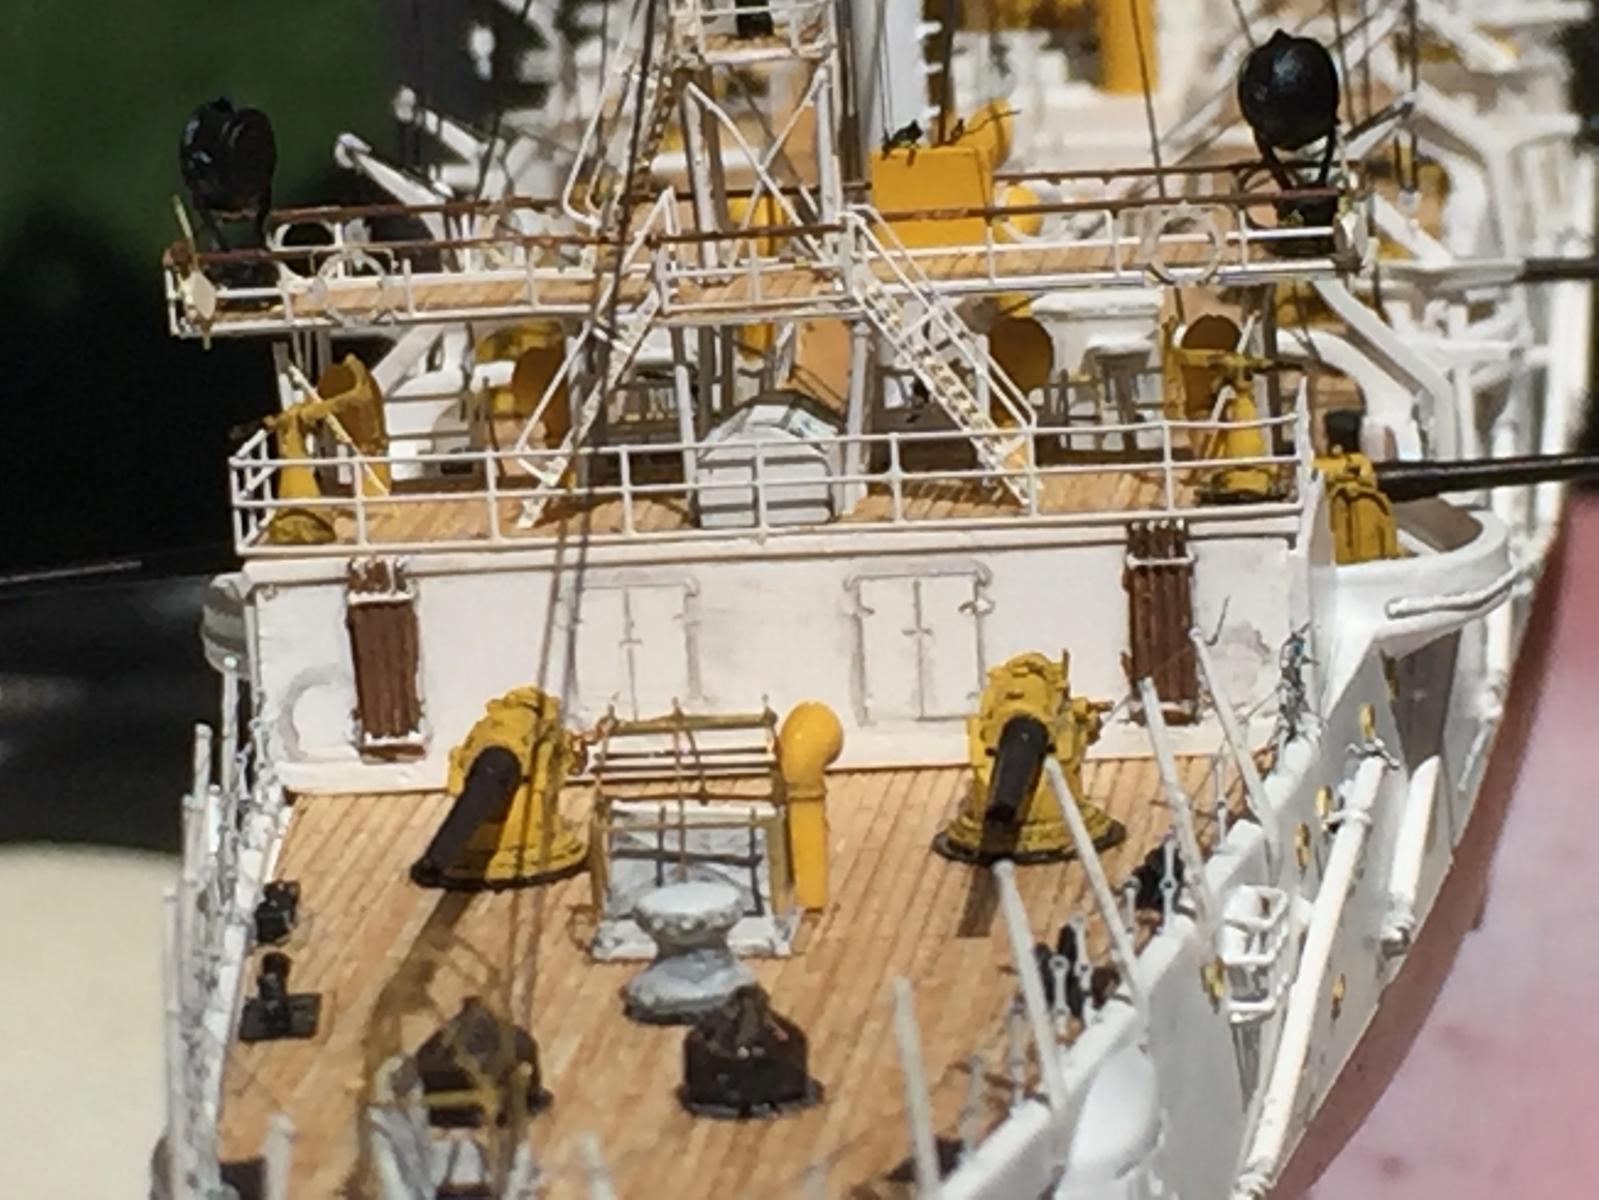
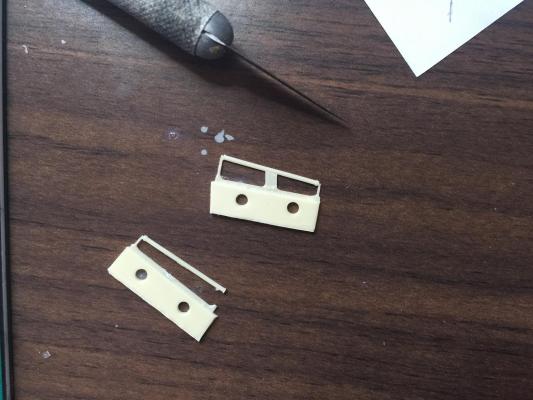
Onto the ships boats; 12 in all, nothing overly complicated. What is complicated is how I'm supposed to secure them to the davits properly as they seemingly are just plonked down. The Eduard fret has a semblance of braces but not the Artowx fret. Mind you, the boats are very nice. I drilled out the windows on the large cruiser and put brass rims on them to actually represent windows and not just a resin divot.


- 174 replies
-
- 15
-
-
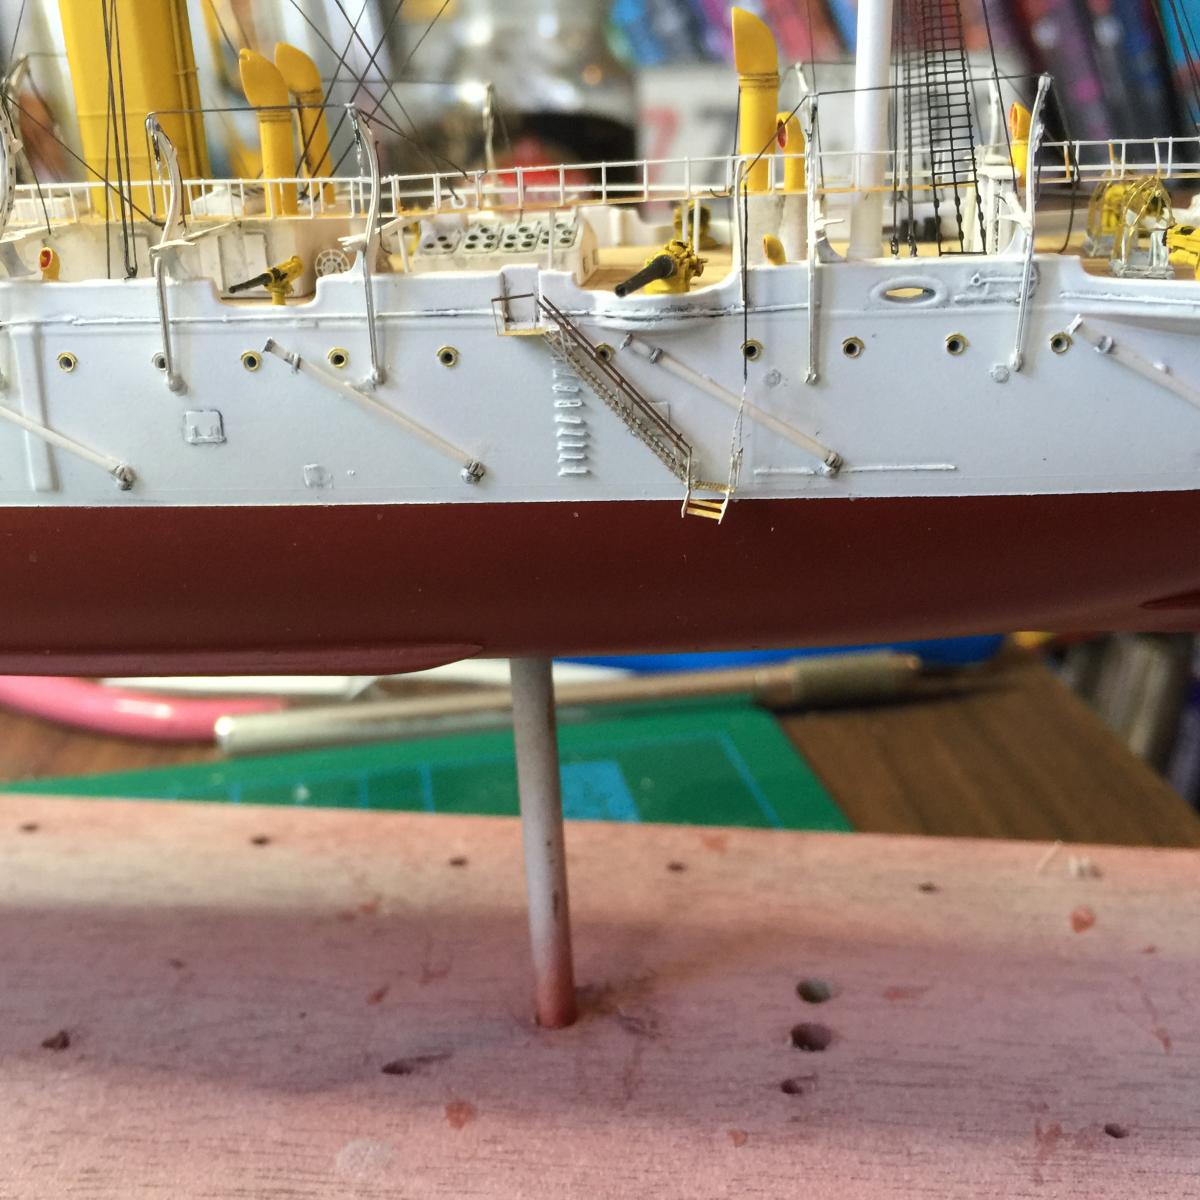
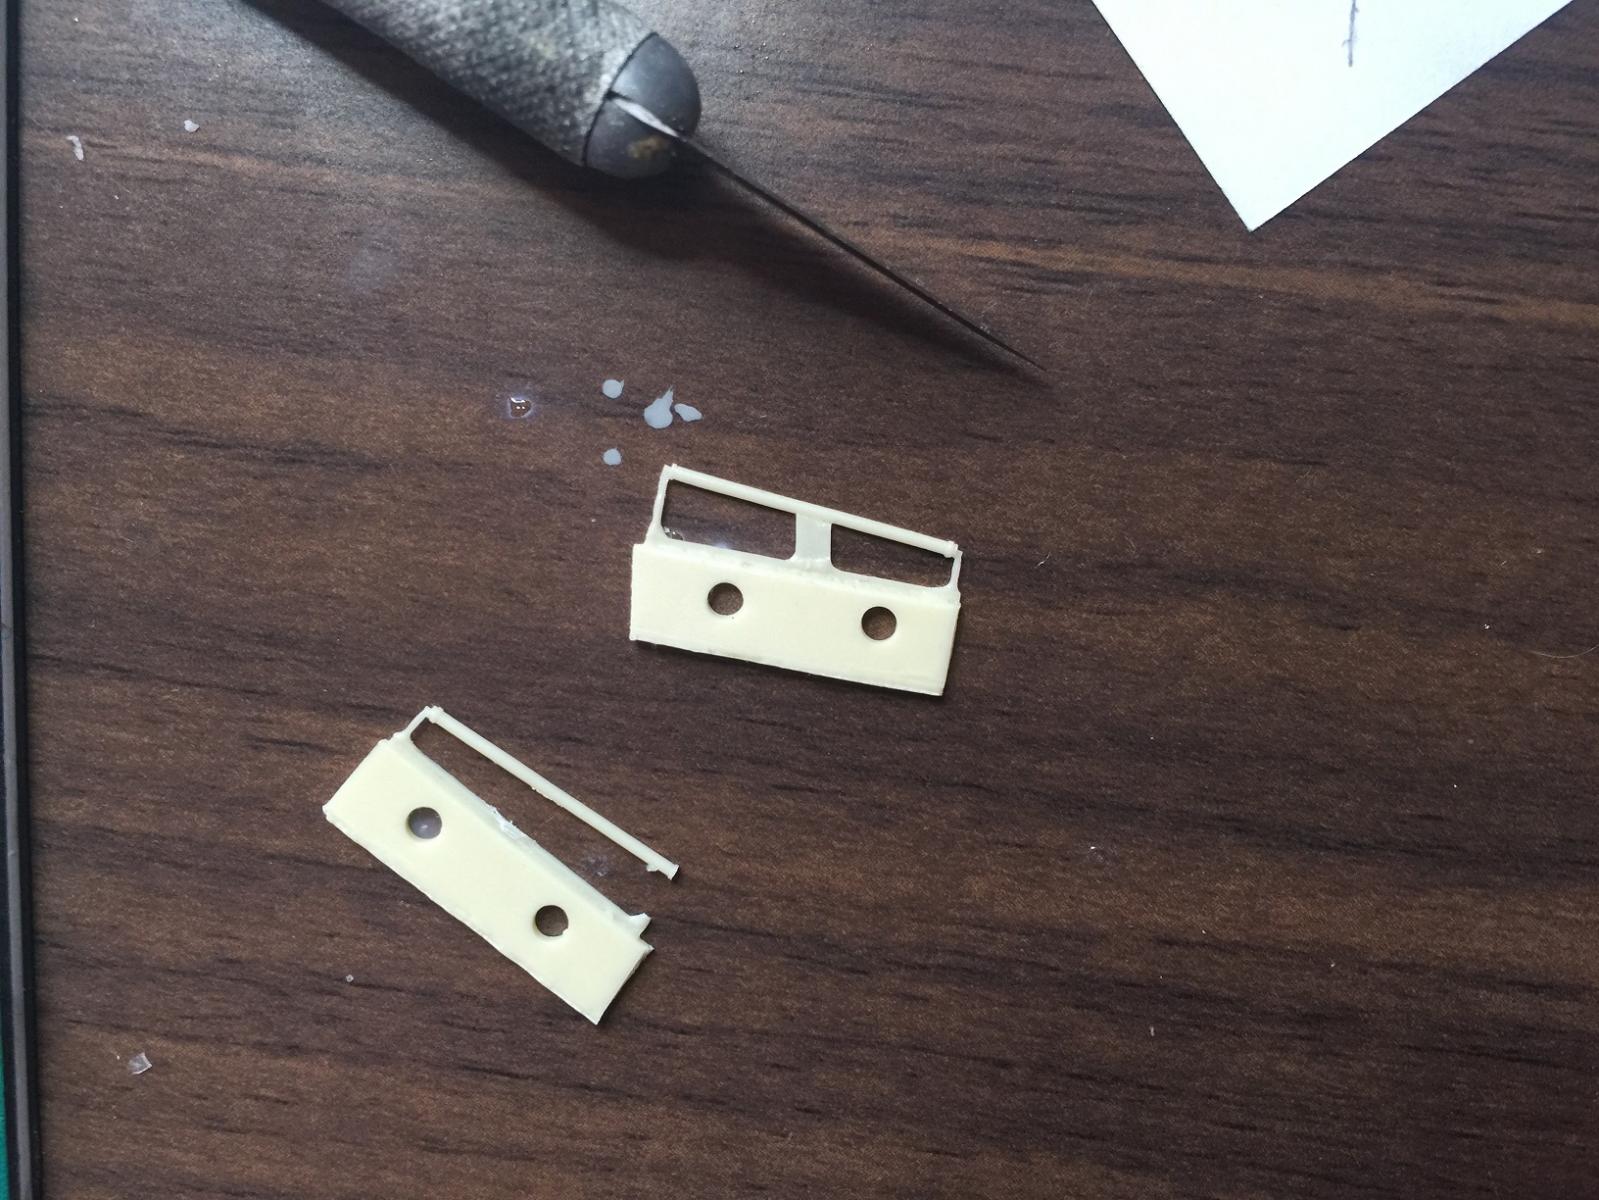
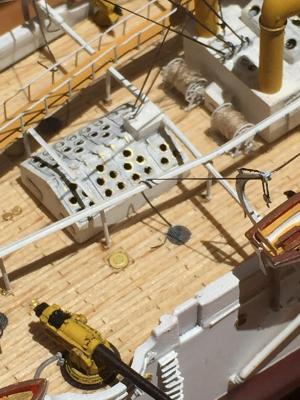
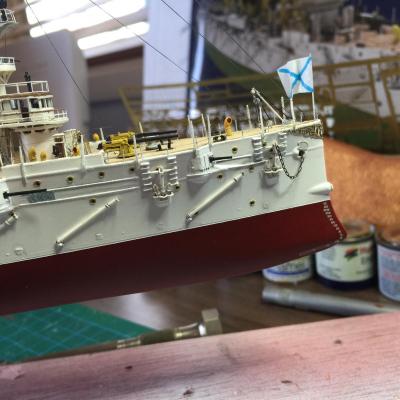
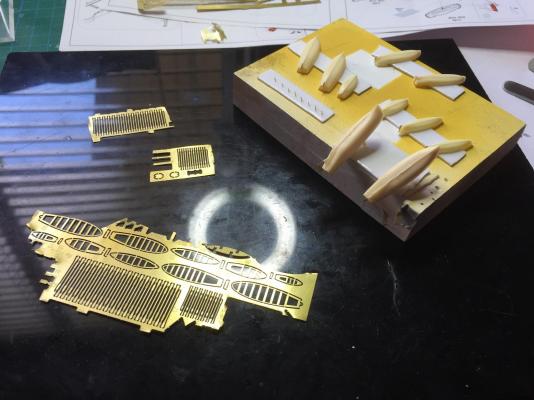
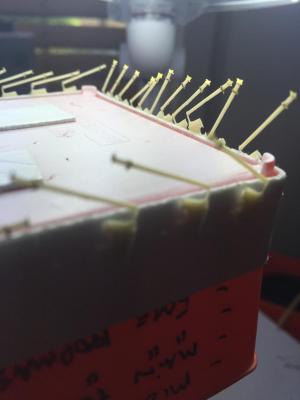
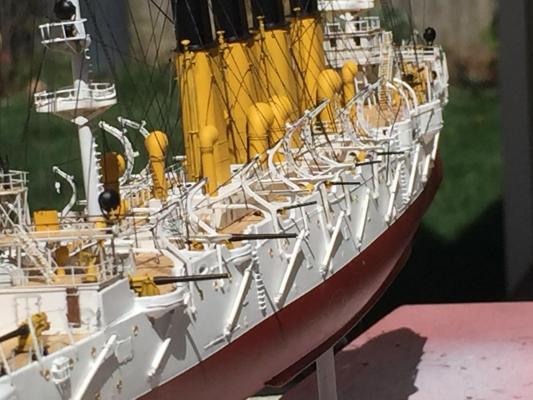
Next are the torpedo booms. There is no bracket on the booms to hold them to the ship which exist on the real thing. I used parts of the oars from the Eduard Fret to add them. there were not rigged in most photos that I saw so I didn't even try, whilst I could have it just would have looked messy. I think Artwox could have done these in brass as other era ships have of these details, and that allows them to be swung out. I took the old girl into the sunlight which shows her up nicely. anchors, chains, props and prop guards to go, as well as the replacement 47mm. Then the lifeboats.


- 174 replies
-
- 16
-
-

-
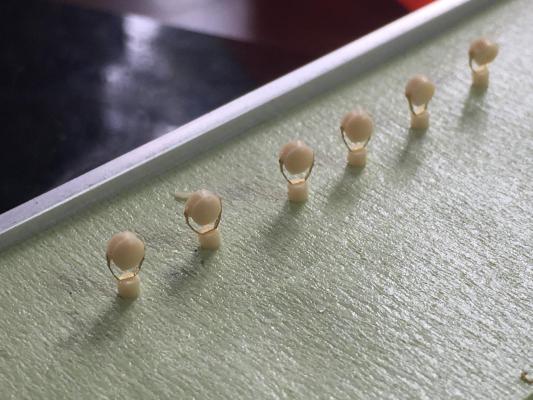
the searchlights, a couple of nice pieces of resin and photo etched cradle, and two tiny flywheels on the base. There are six in total. I also included some to scale 37mm rapid fires at the stern (next post)


-
Couple of things I missed on mine Dave, a brace behind the belfry and cleats on the side of the belfry. If you do the rigging according to the AOTS you will need them. First class effort on the carving tho, beyond my ability.