HOLIDAY DONATION DRIVE - SUPPORT MSW - DO YOUR PART TO KEEP THIS GREAT FORUM GOING! (89 donations so far out of 49,000 members - C'mon guys!)
×


RGL
-
Posts
5,538 -
Joined
-
Last visited
Content Type
Profiles
Forums
Gallery
Events
Everything posted by RGL
-

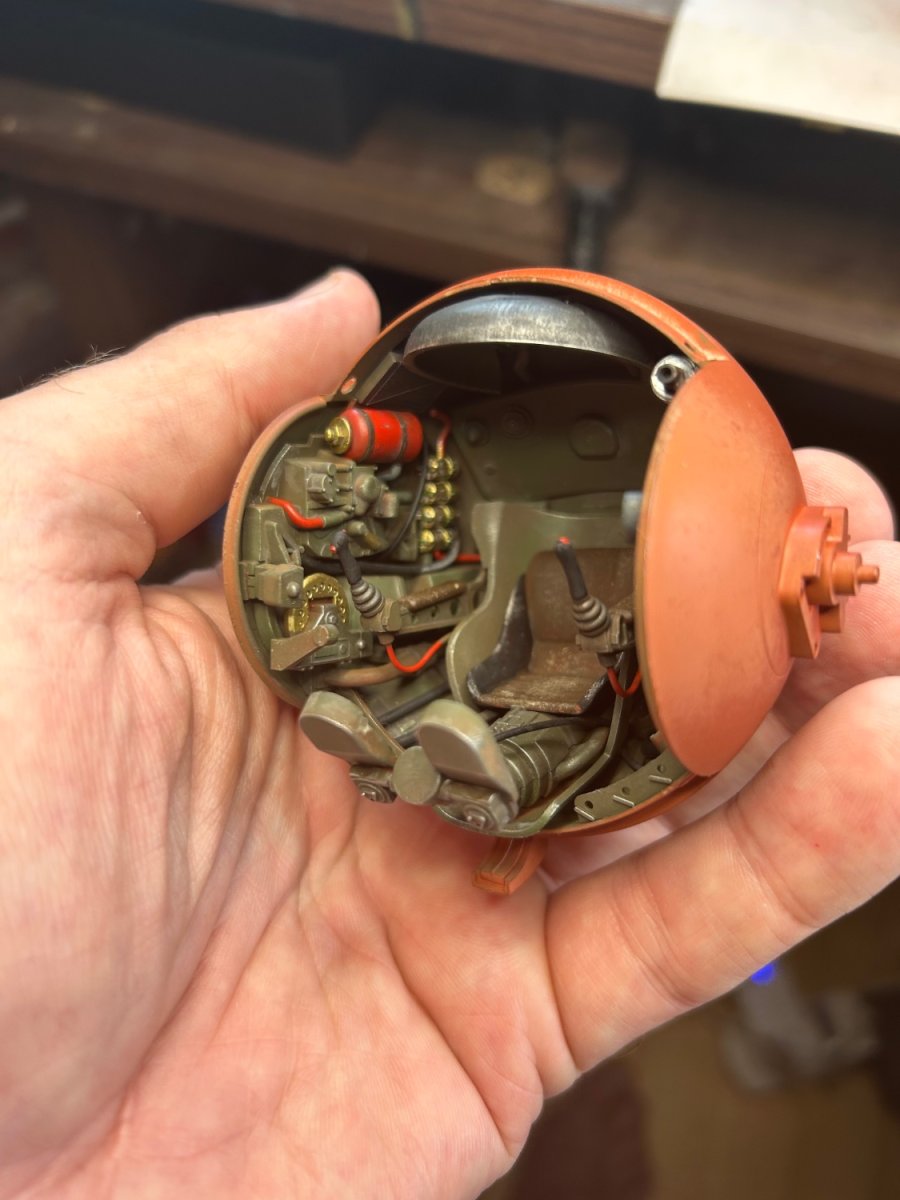
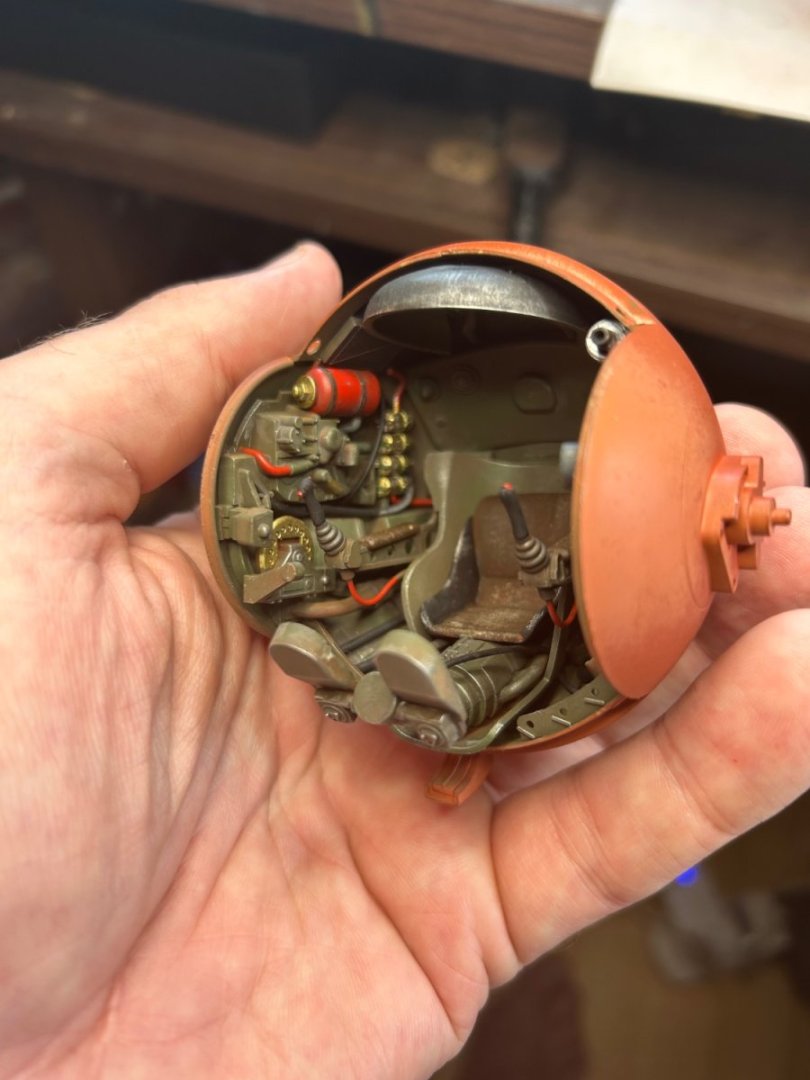
Camel by RGL - FINISHED - Machinen Krieger - 1/20
RGL replied to RGL's topic in Non-ship/categorised builds
The fighting cabin, just need to add seatbelts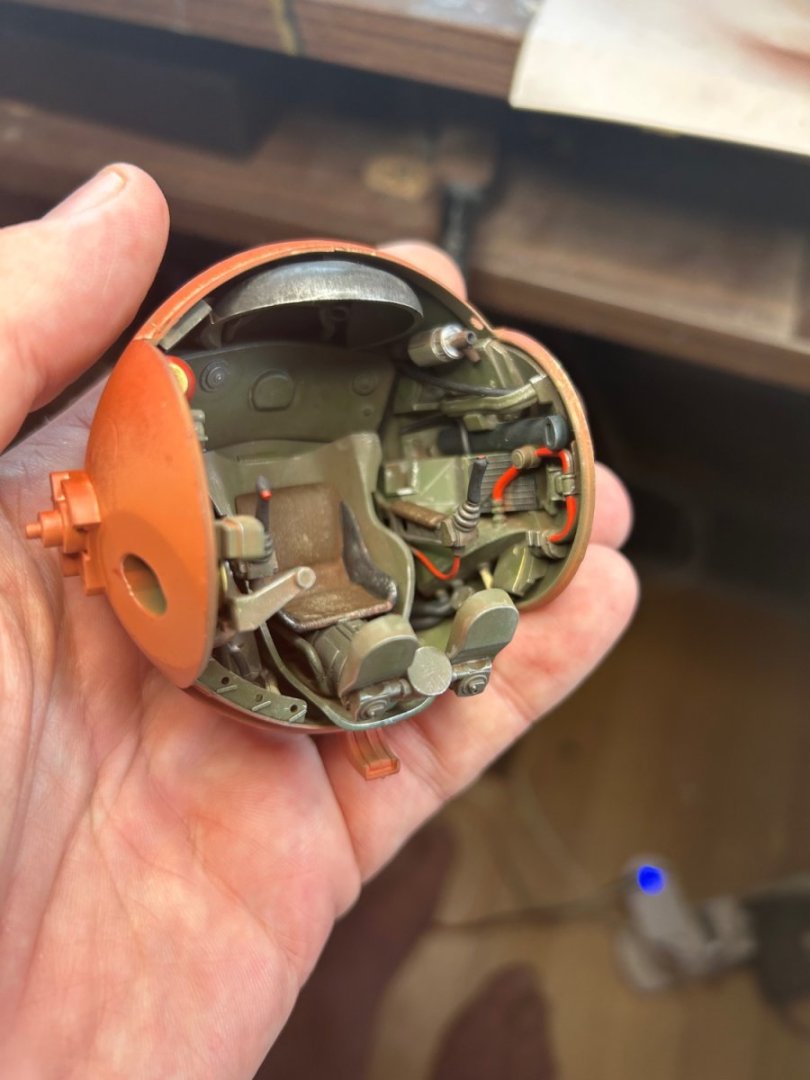
- 47 replies
-
- 16
-

-
Have you looked at Profile Morskie for plans? paints, don’t worry about them, just use acrylics and mix to get a close enough. the 3D parts are all amazing g but unless you use an airbrush don’t bother as you will lose the detail using a hairy stick.
-
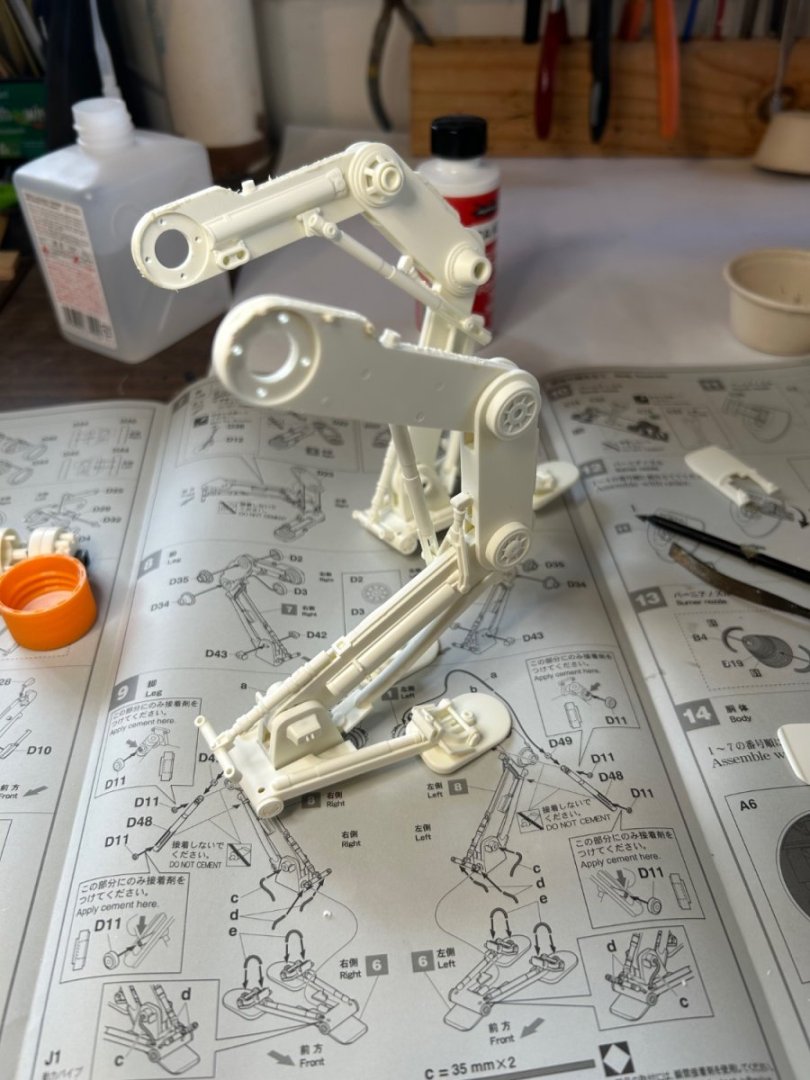
Camel by RGL - FINISHED - Machinen Krieger - 1/20
RGL replied to RGL's topic in Non-ship/categorised builds
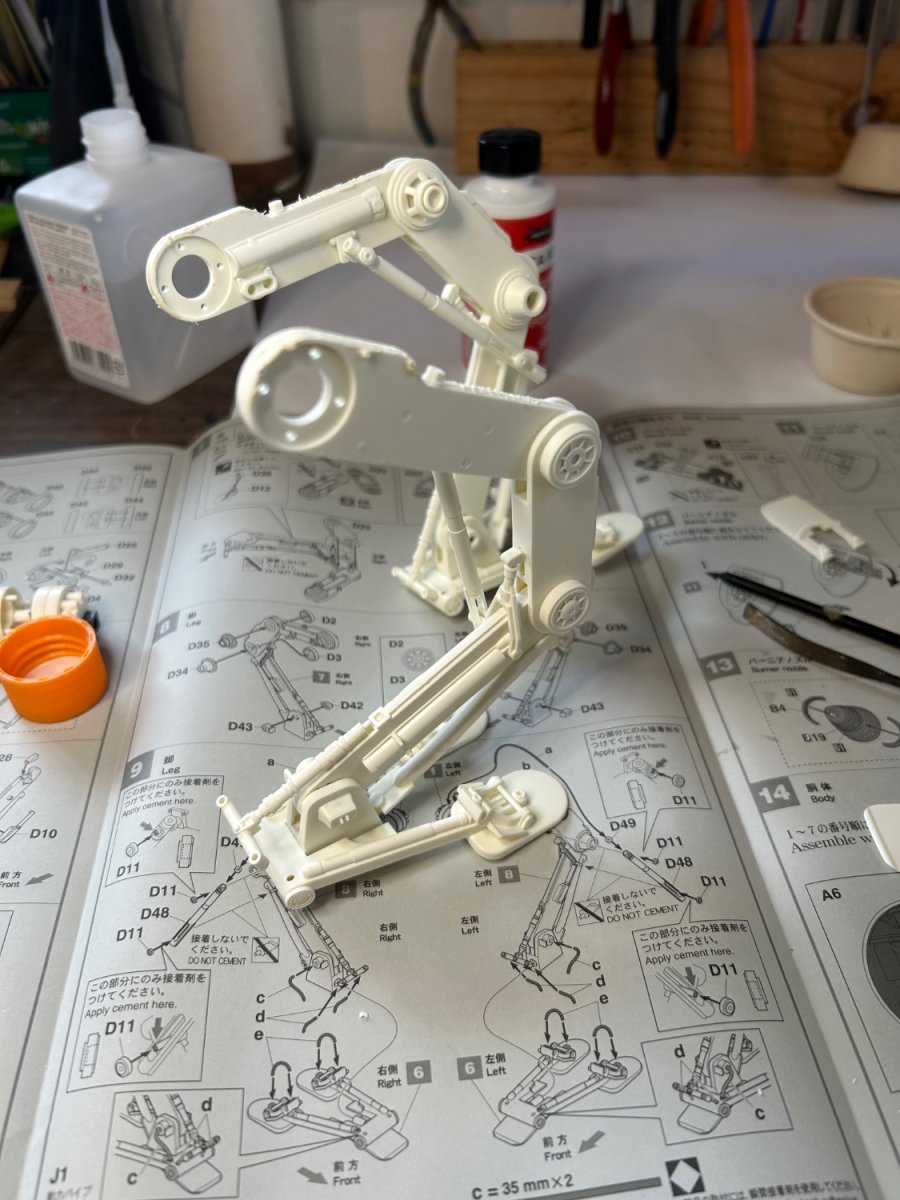
Big!!!
- 47 replies
-
- 11
-
-

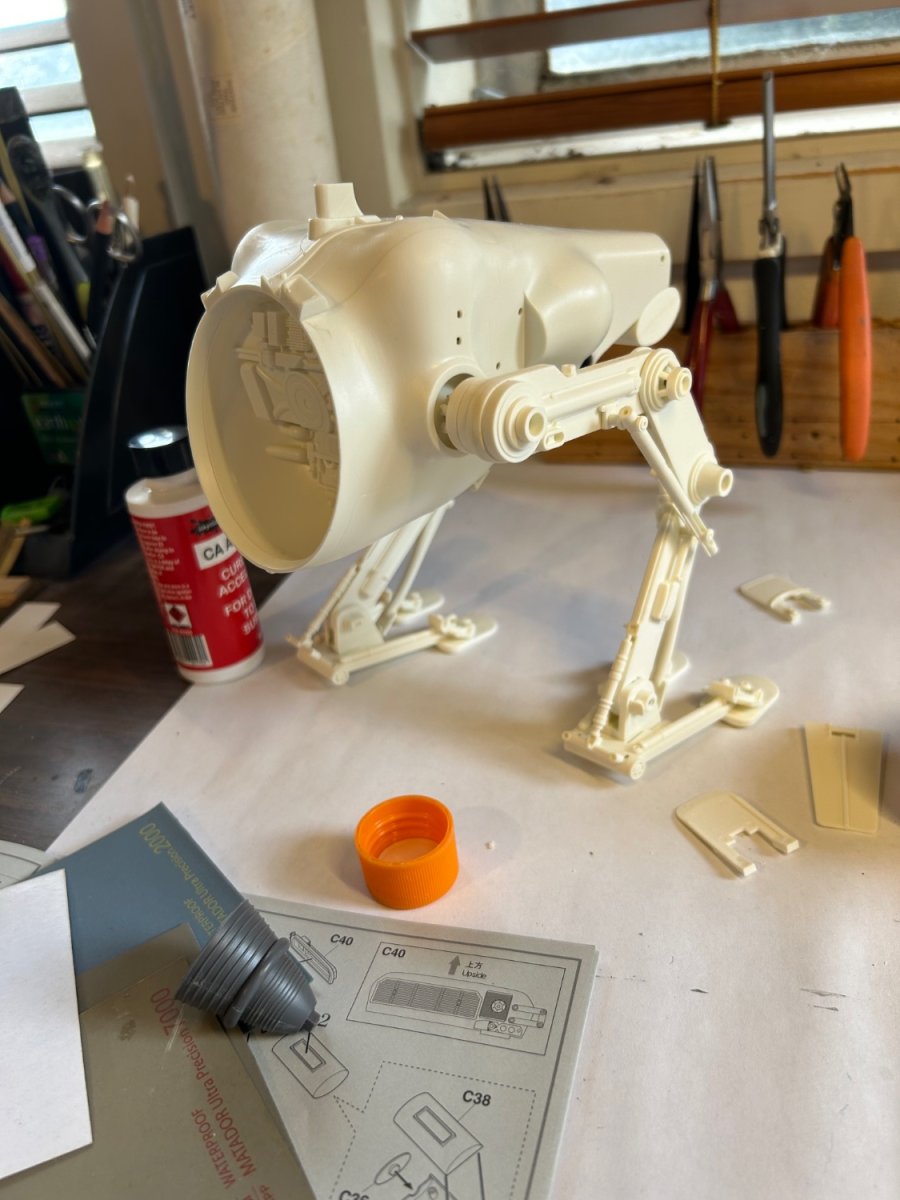
-
Something completely different, a massive alternative kit from the 1980’s. Don’t need much glue but does need some putty so far.

- 47 replies
-
- 13
-
-
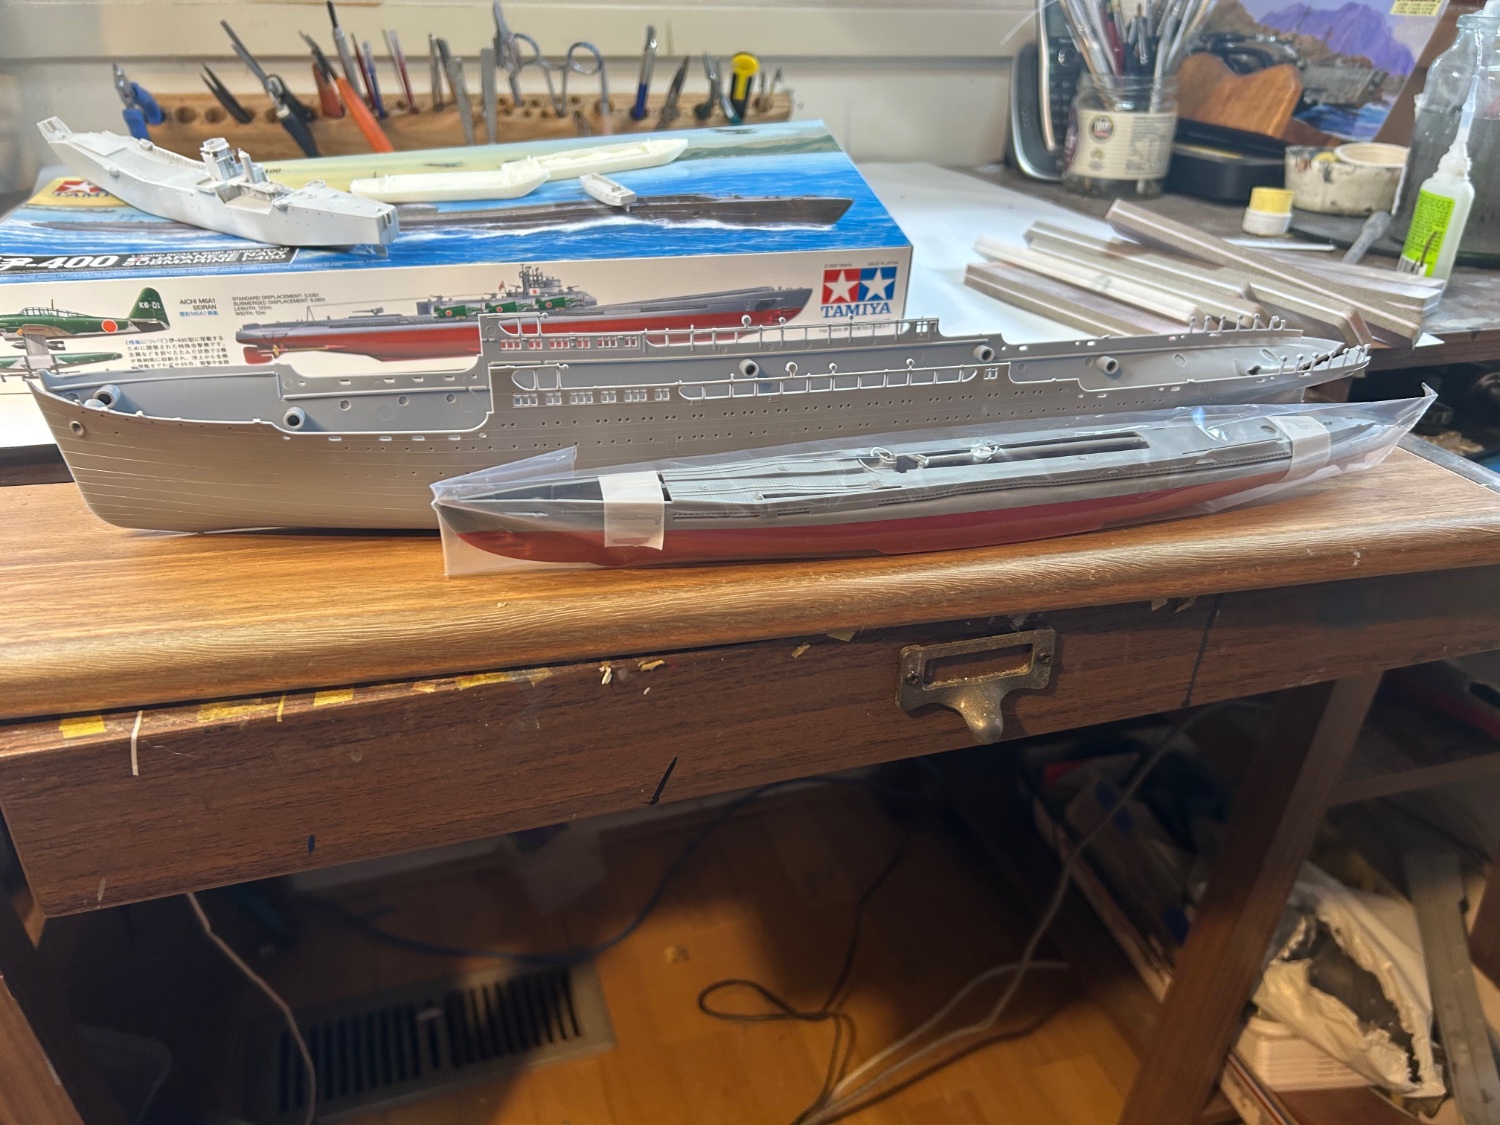
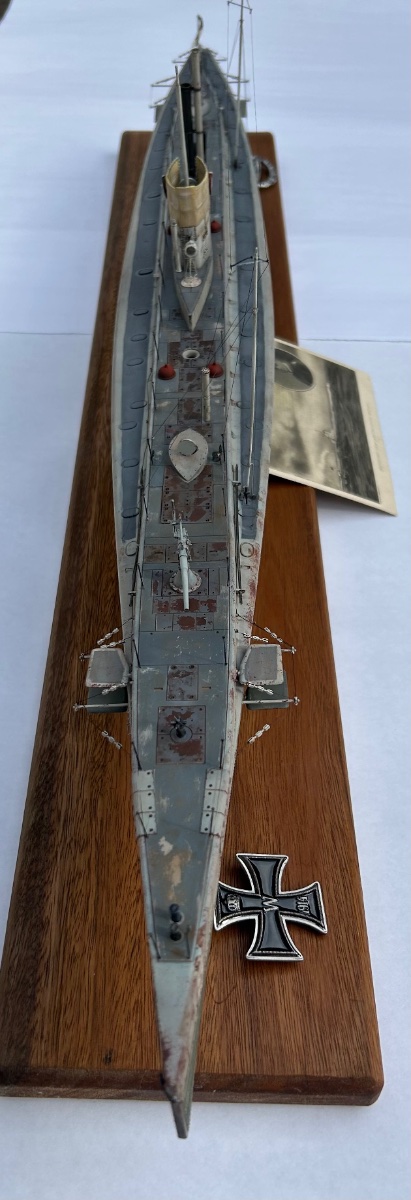
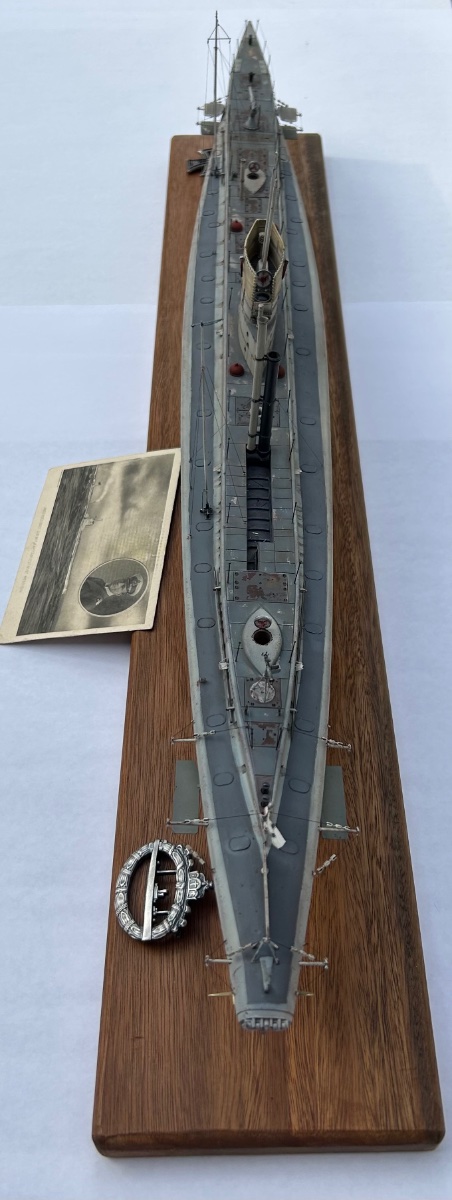
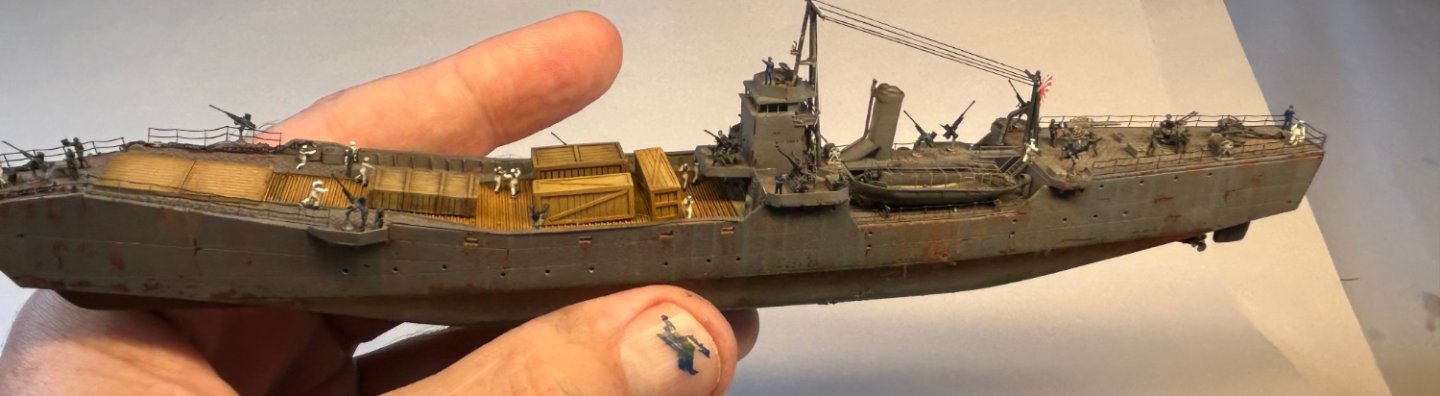
Now, I’m happy this is done, now for some submarines

- 200 replies
-
- 17
-
-
-
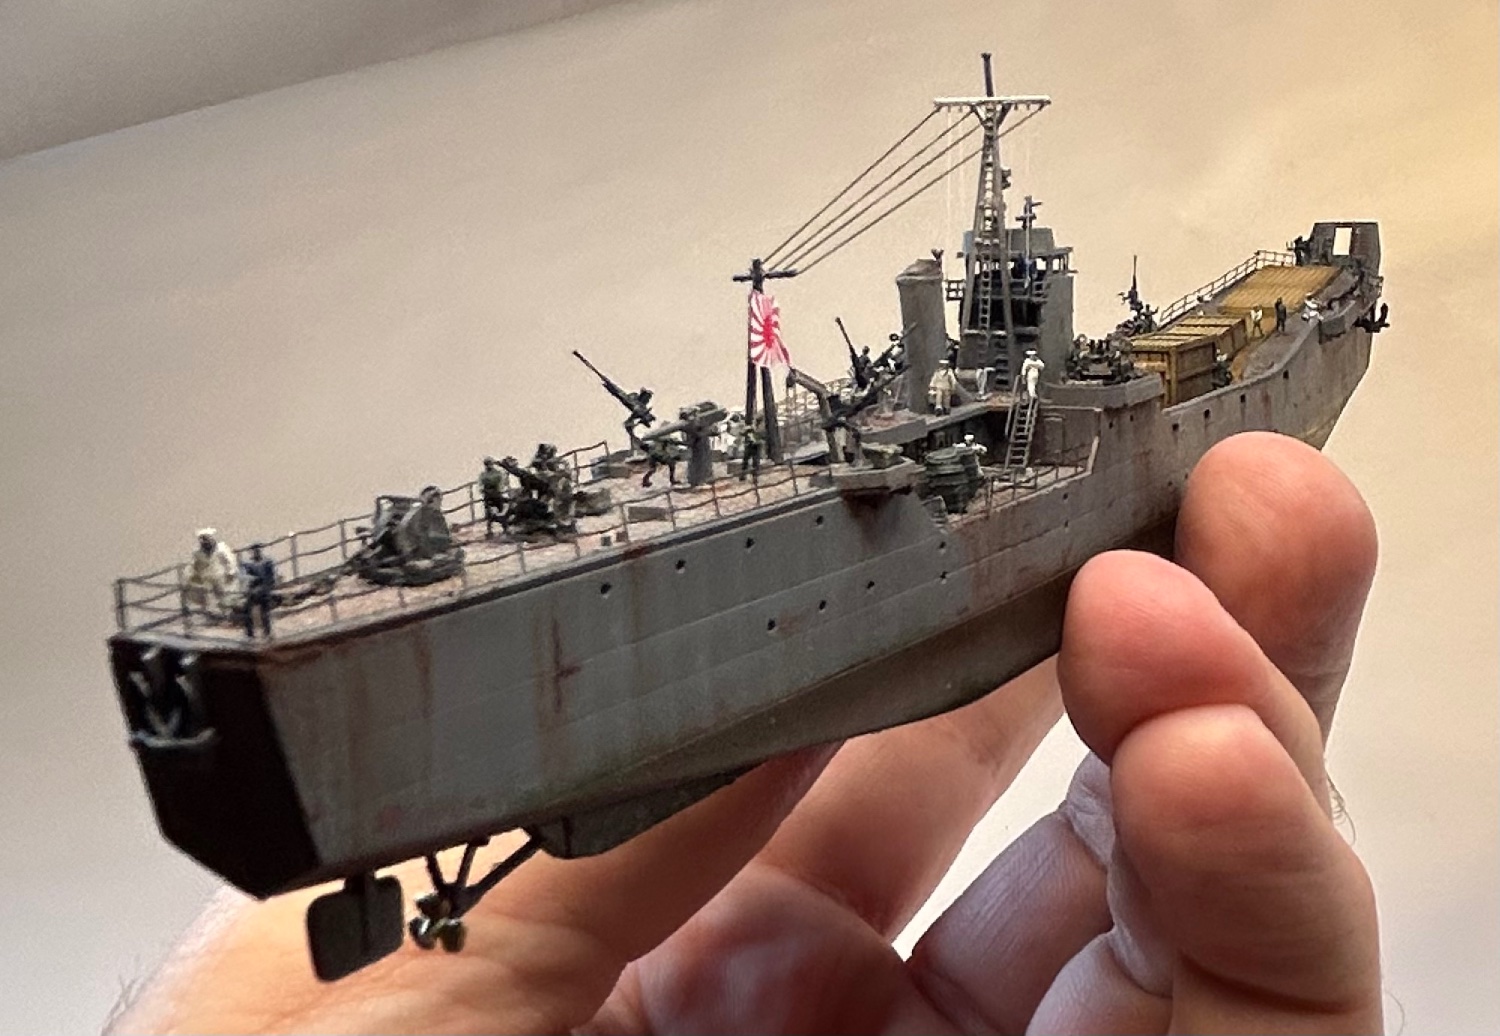
- Transport No. 103
- Hasegawa
- (and 4 more)
-
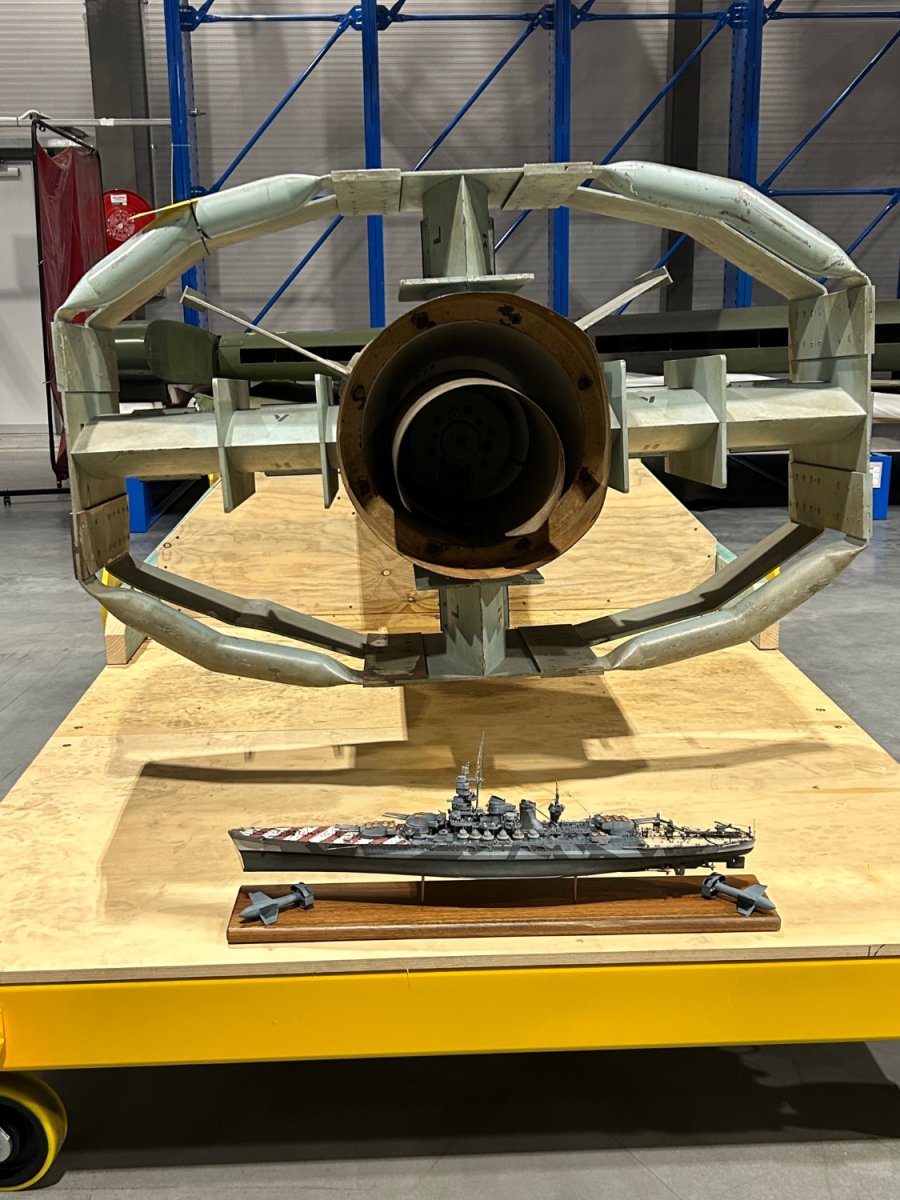
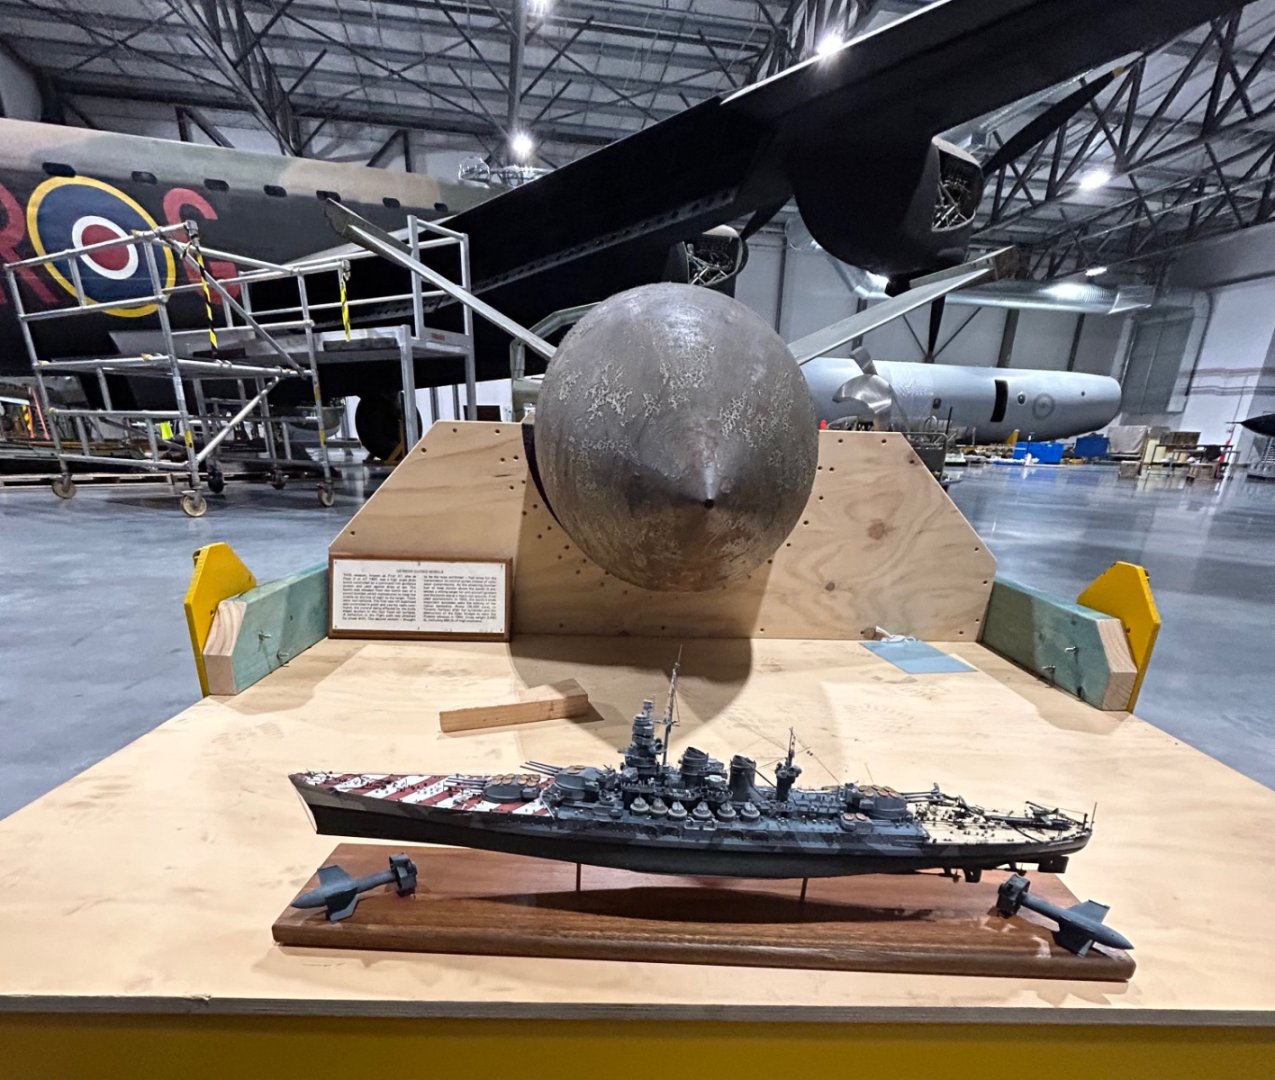
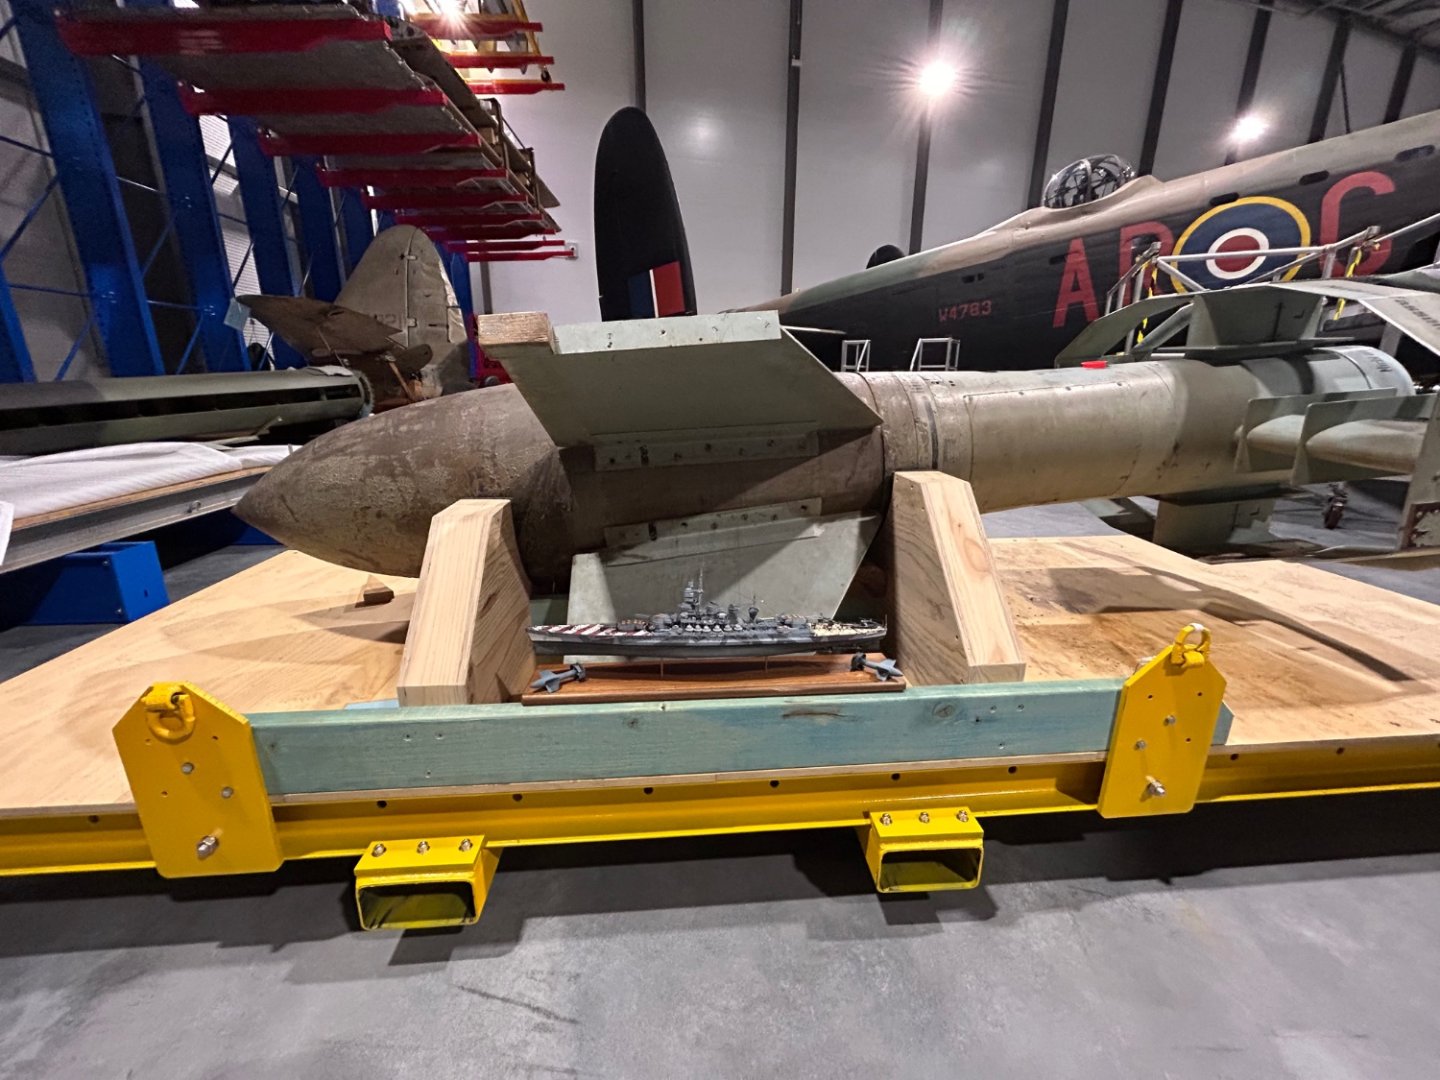
So today I had the great privilege of getting a tour of the Australian war memorial annexe. Three massive warehouses full of stuff. I got to finally show off Roma with a real Fritz X. My guide said no one has ever done this with a model before. IMG_1633.MOV

- 203 replies
-
- 8
-
-
-
- Roma
- Micromaster
- (and 4 more)
-
Thanks mate, I’ve got some very nice rope from one of our sponsors to tie them together and a lot of figures

- 200 replies
-
- 15
-
-
-
- Transport No. 103
- Hasegawa
- (and 4 more)
-
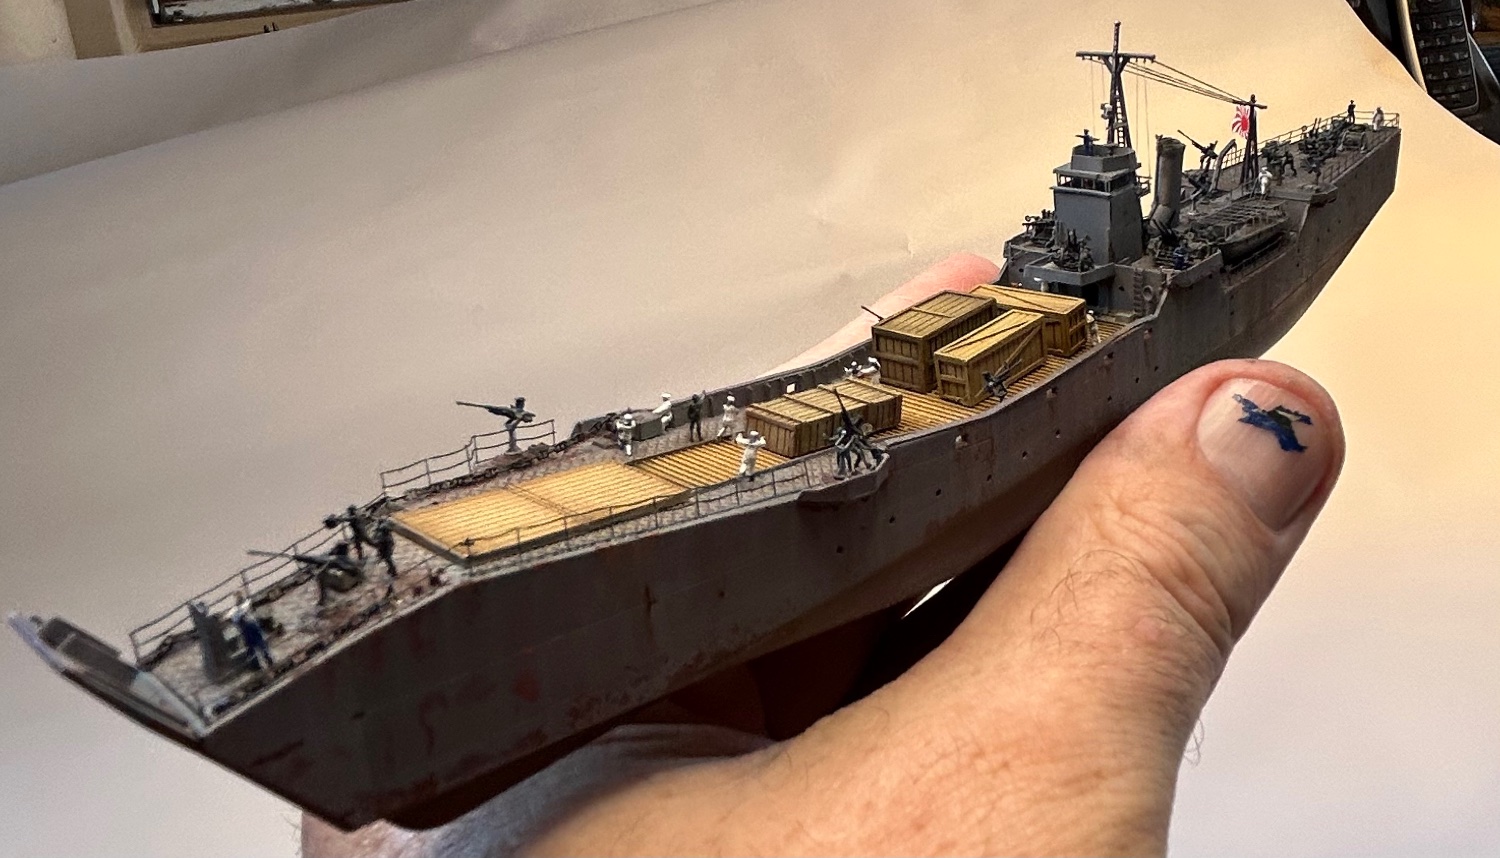
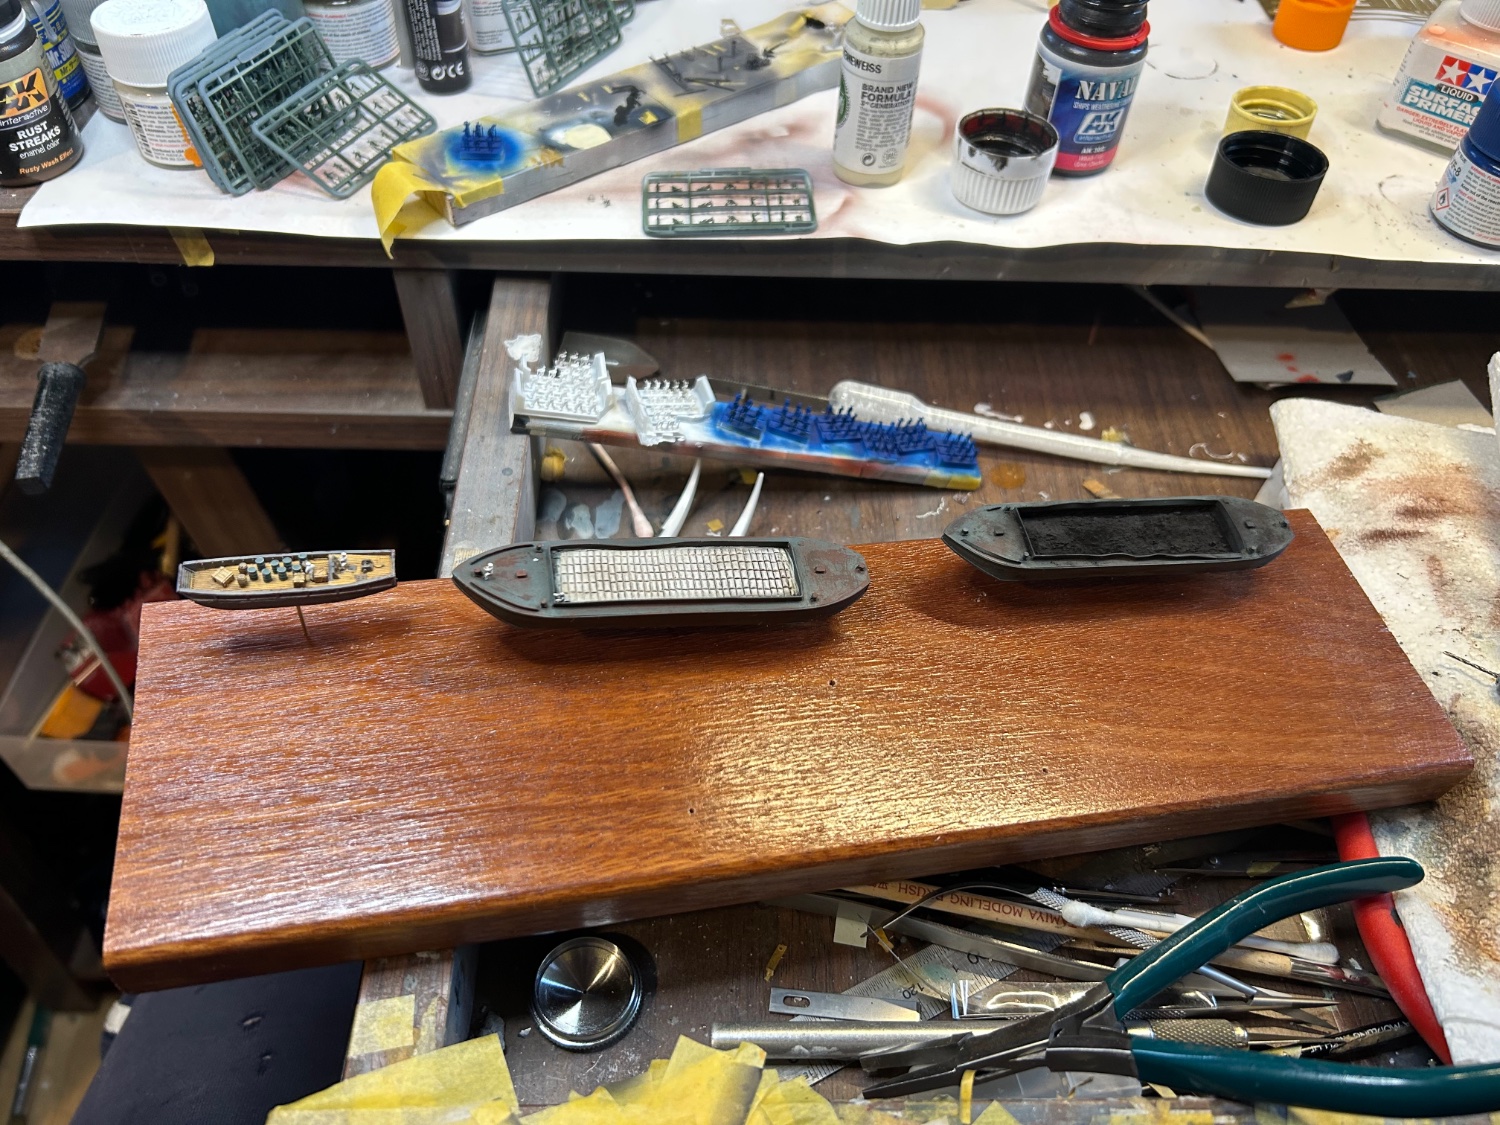
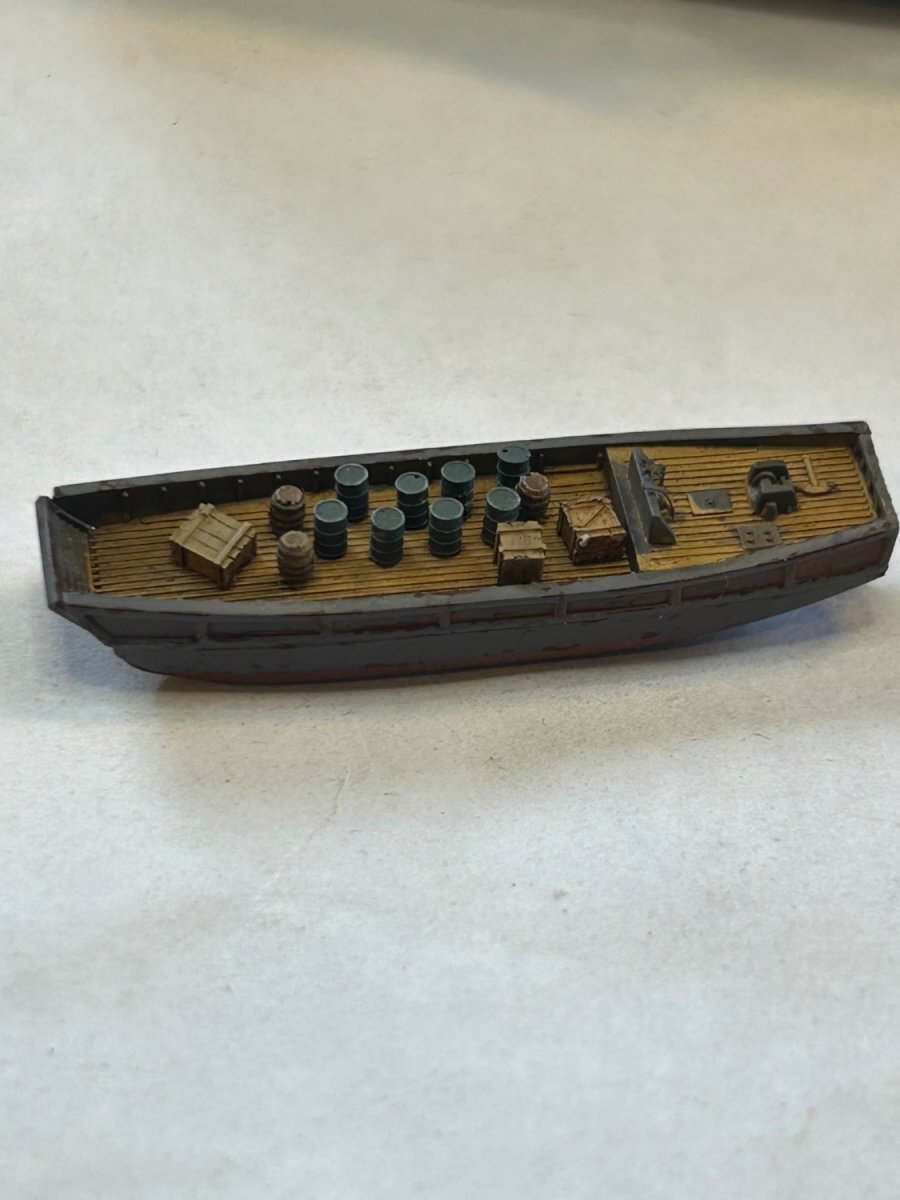
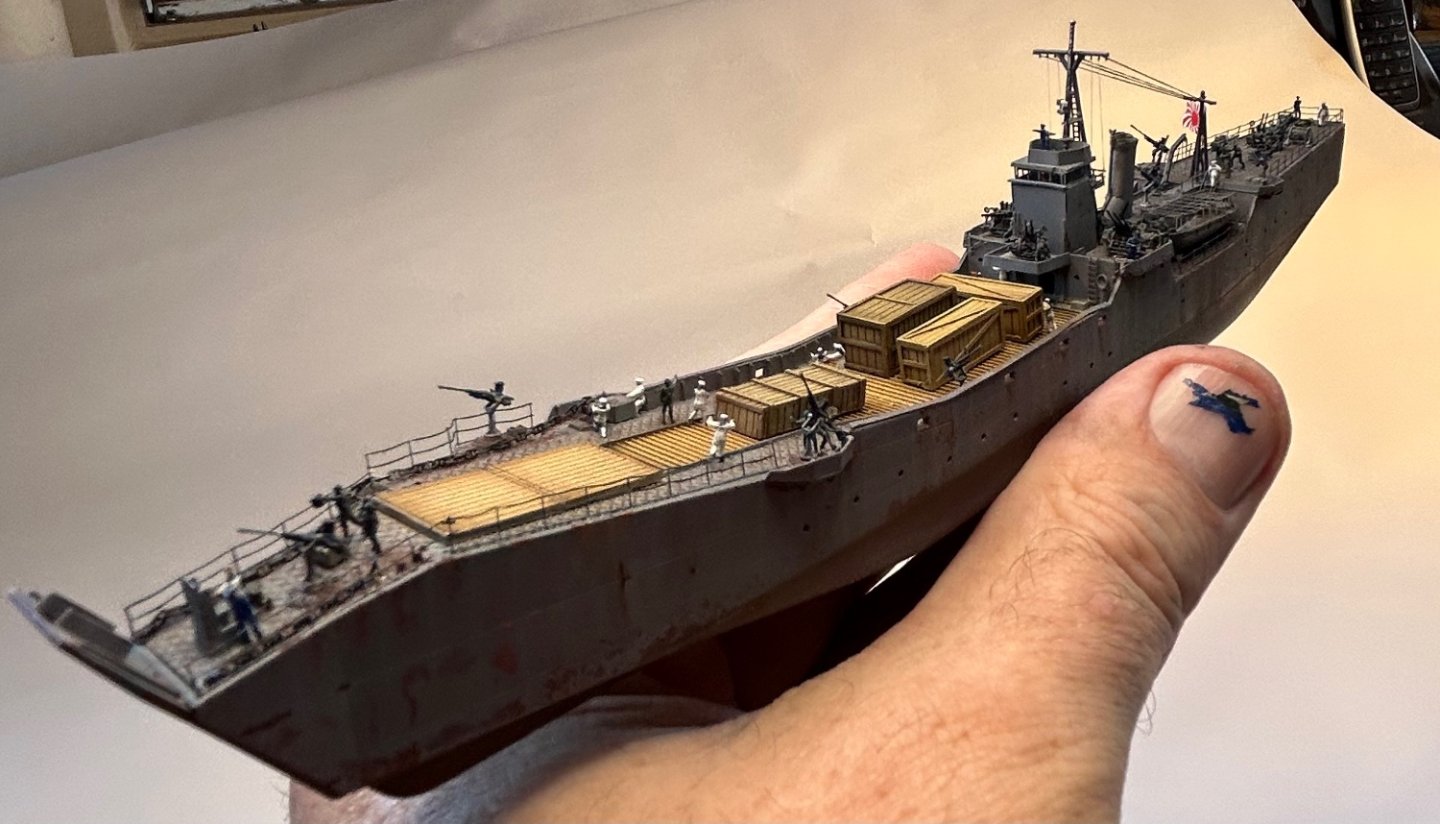
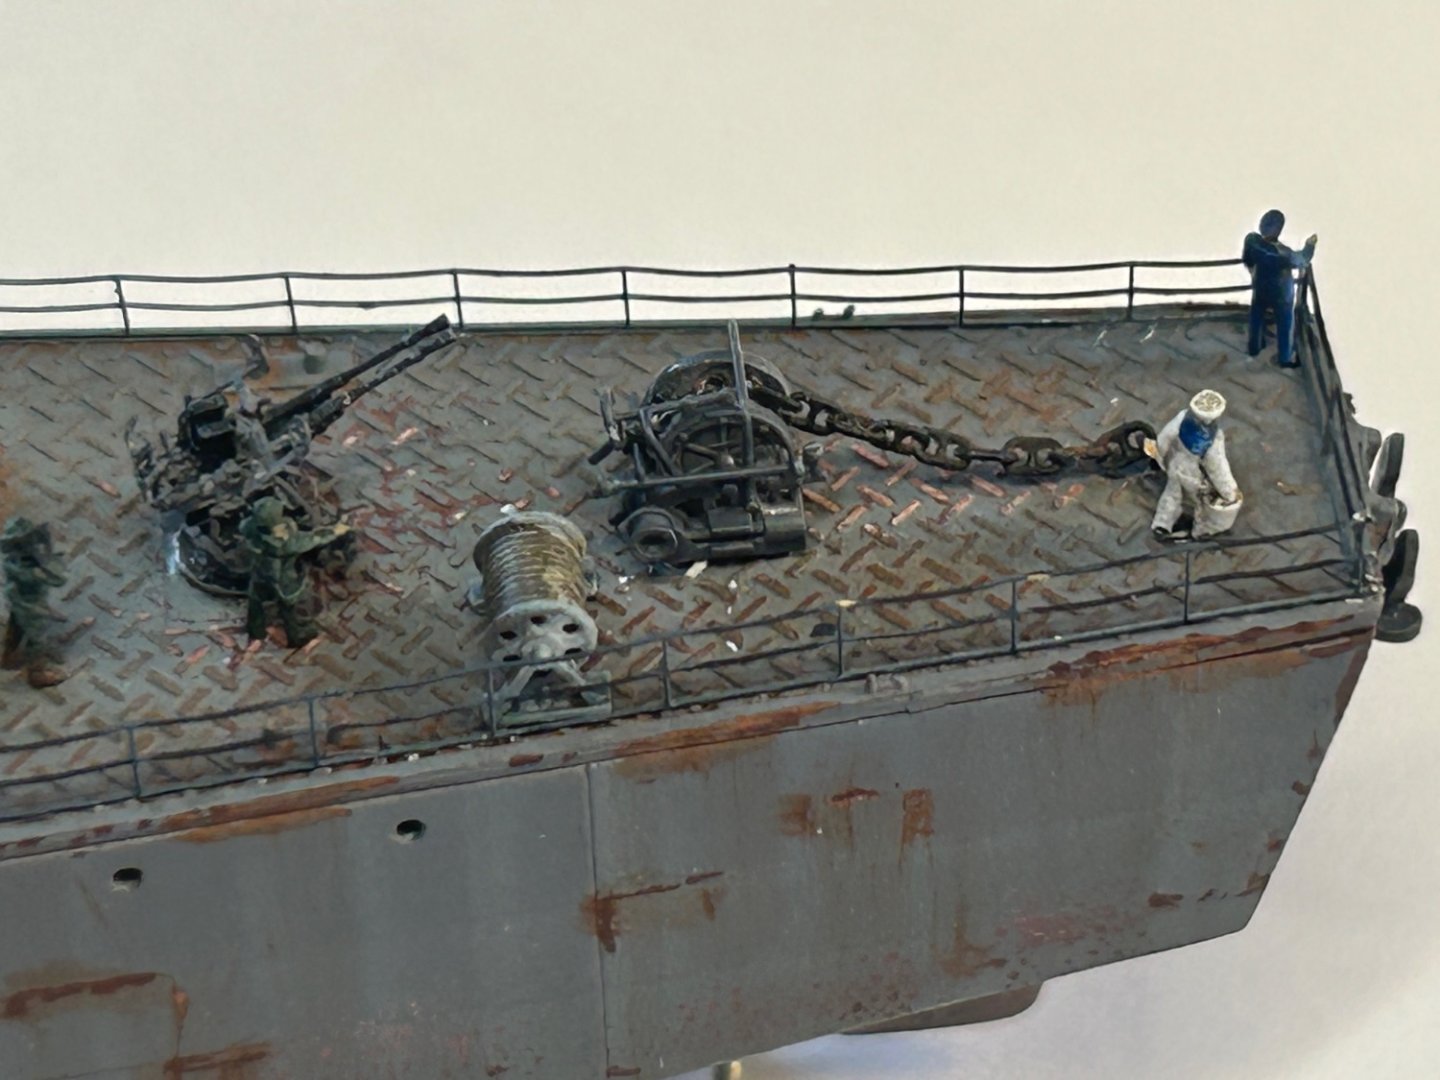
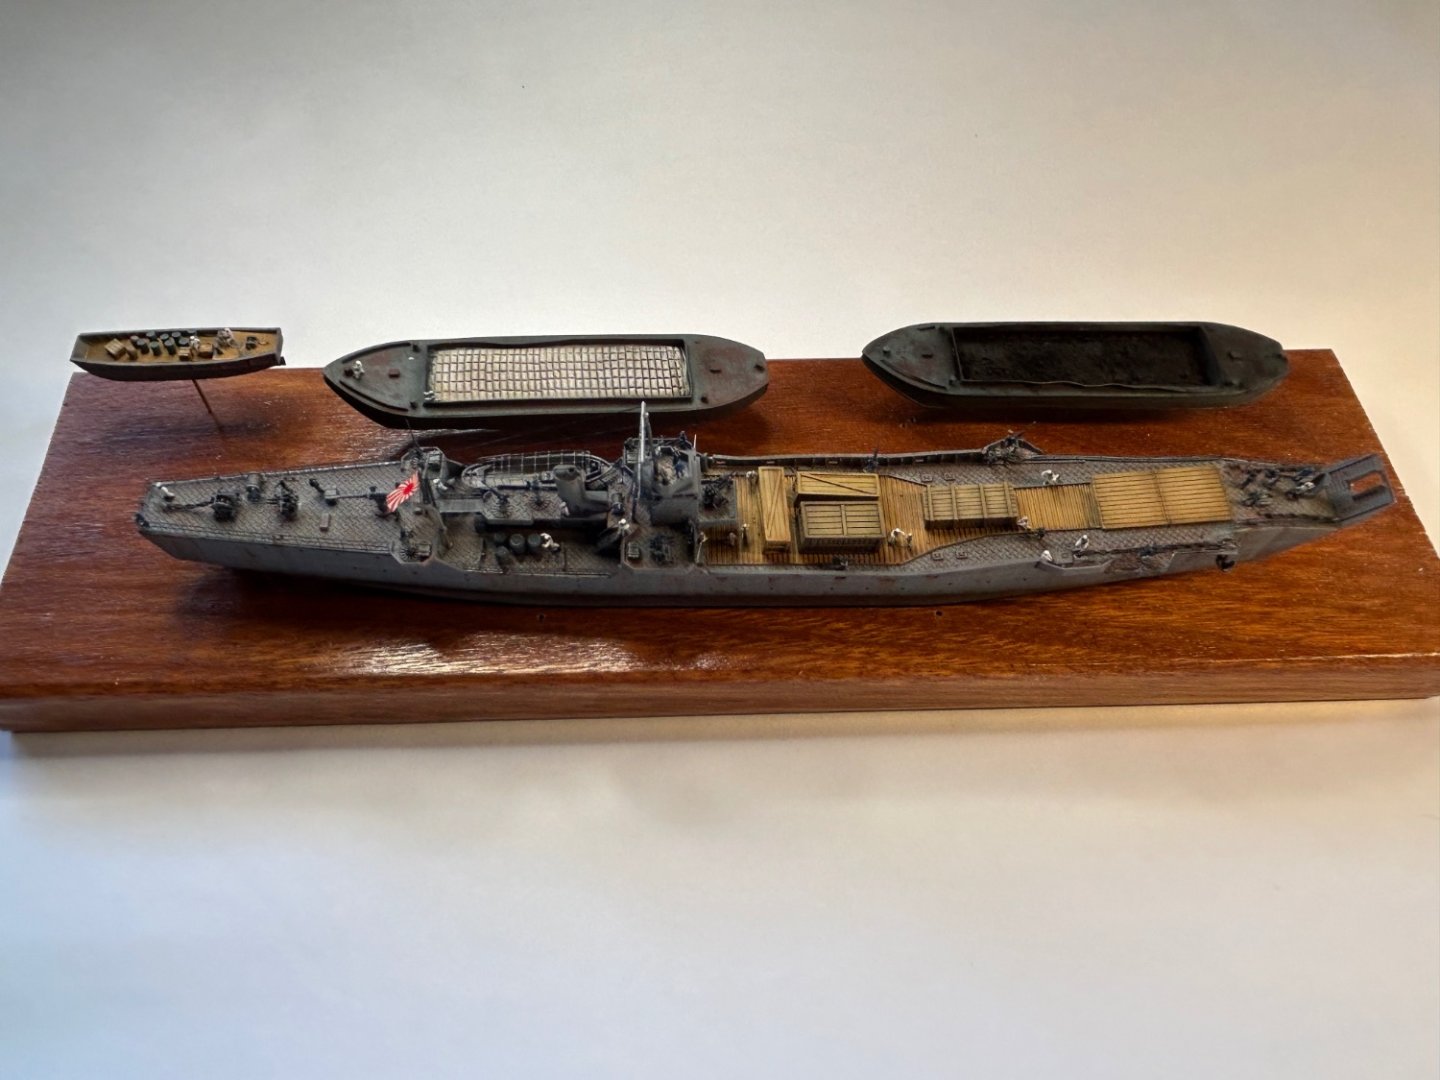
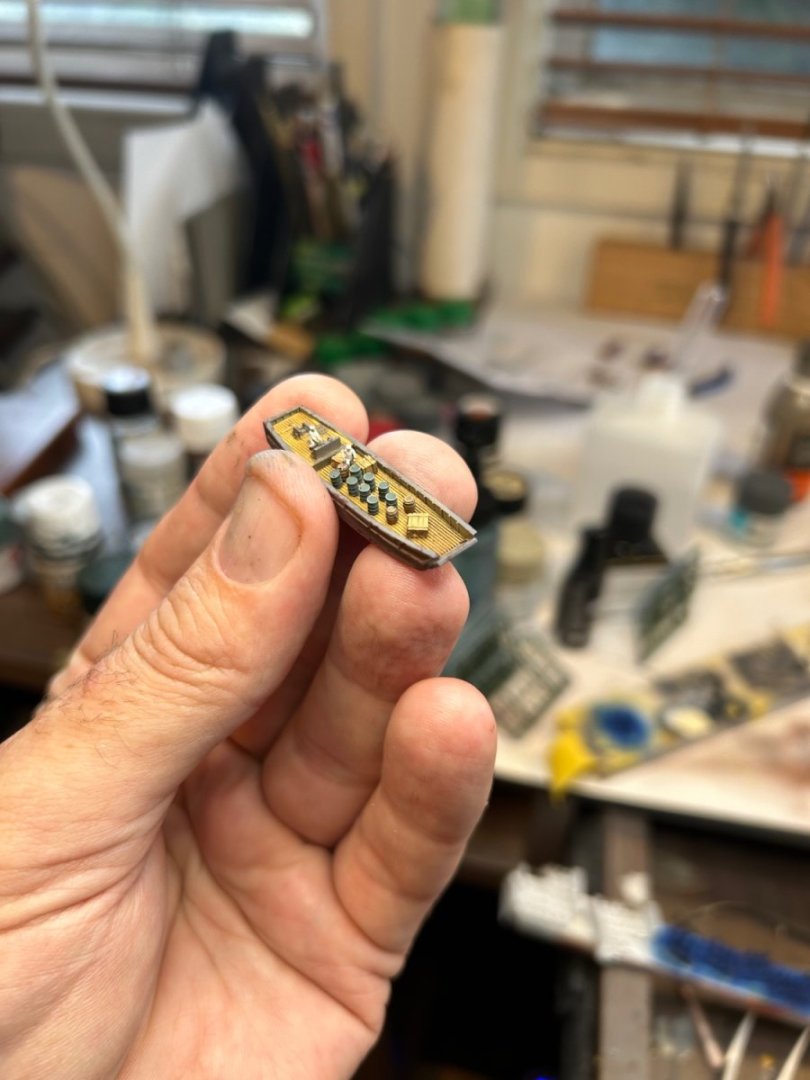
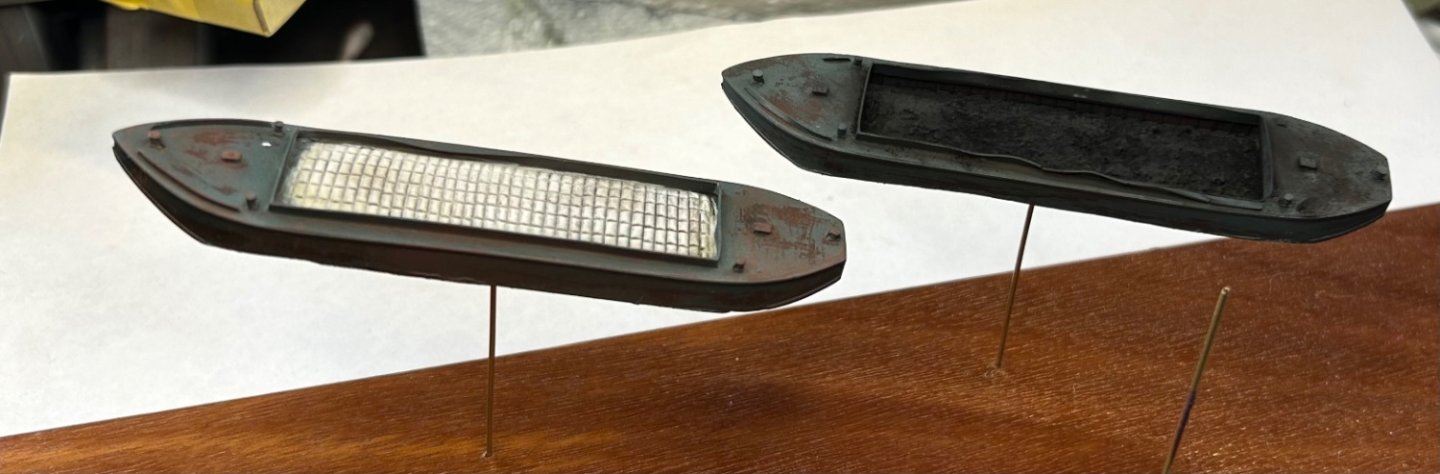
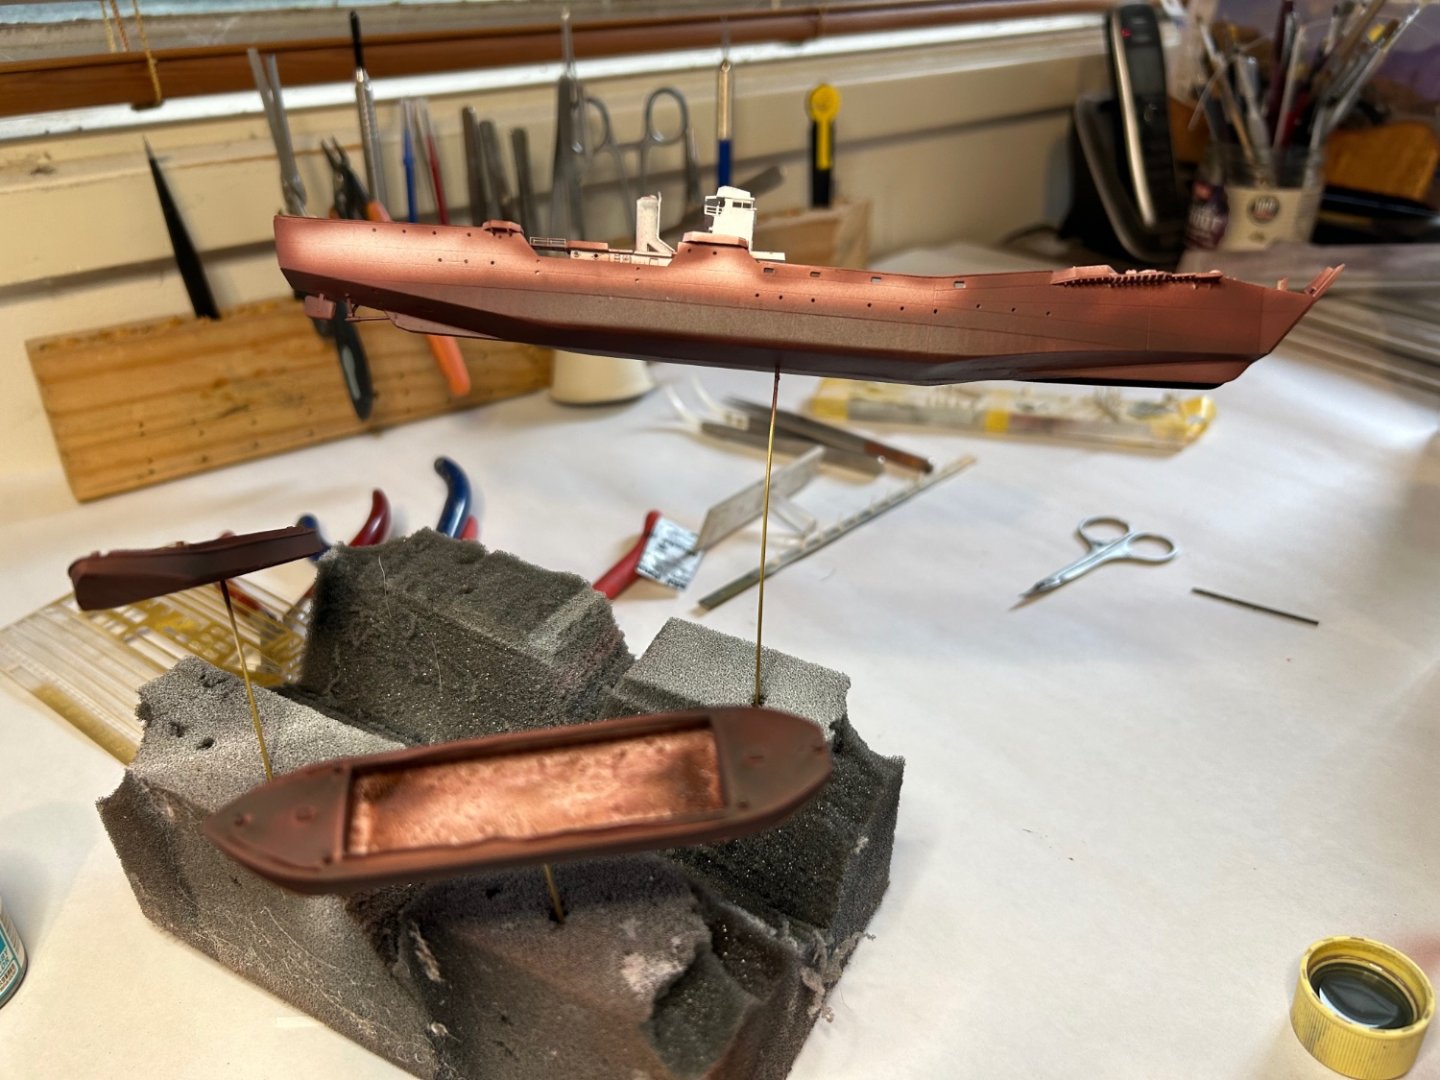
Progress at last, not much to do now on it. Also a Landing craft and some barges


- 200 replies
-
- 12
-
-
-
- Transport No. 103
- Hasegawa
- (and 4 more)
-
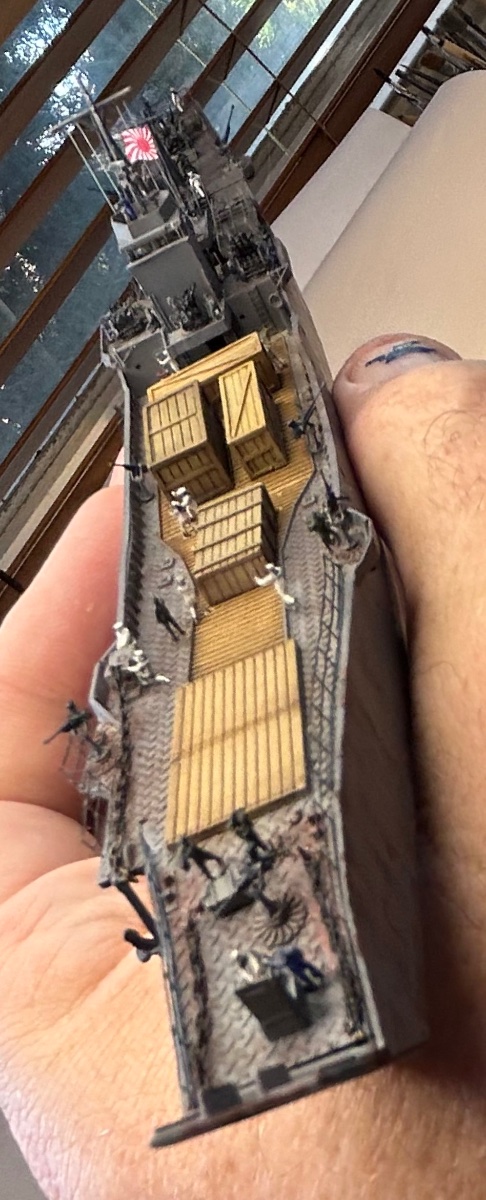
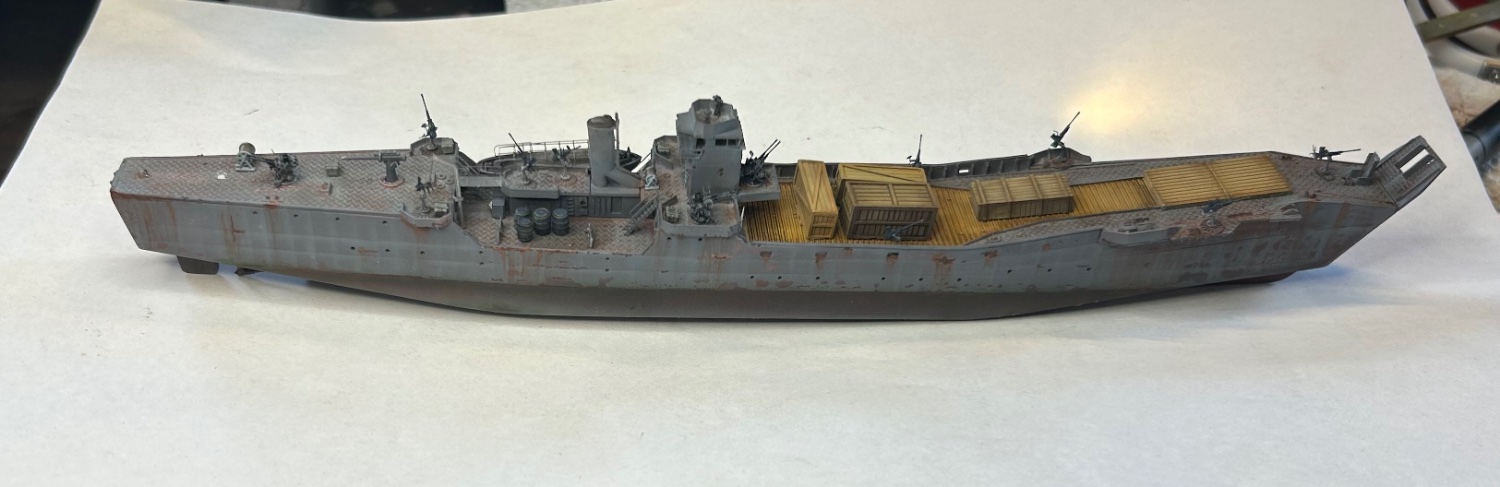
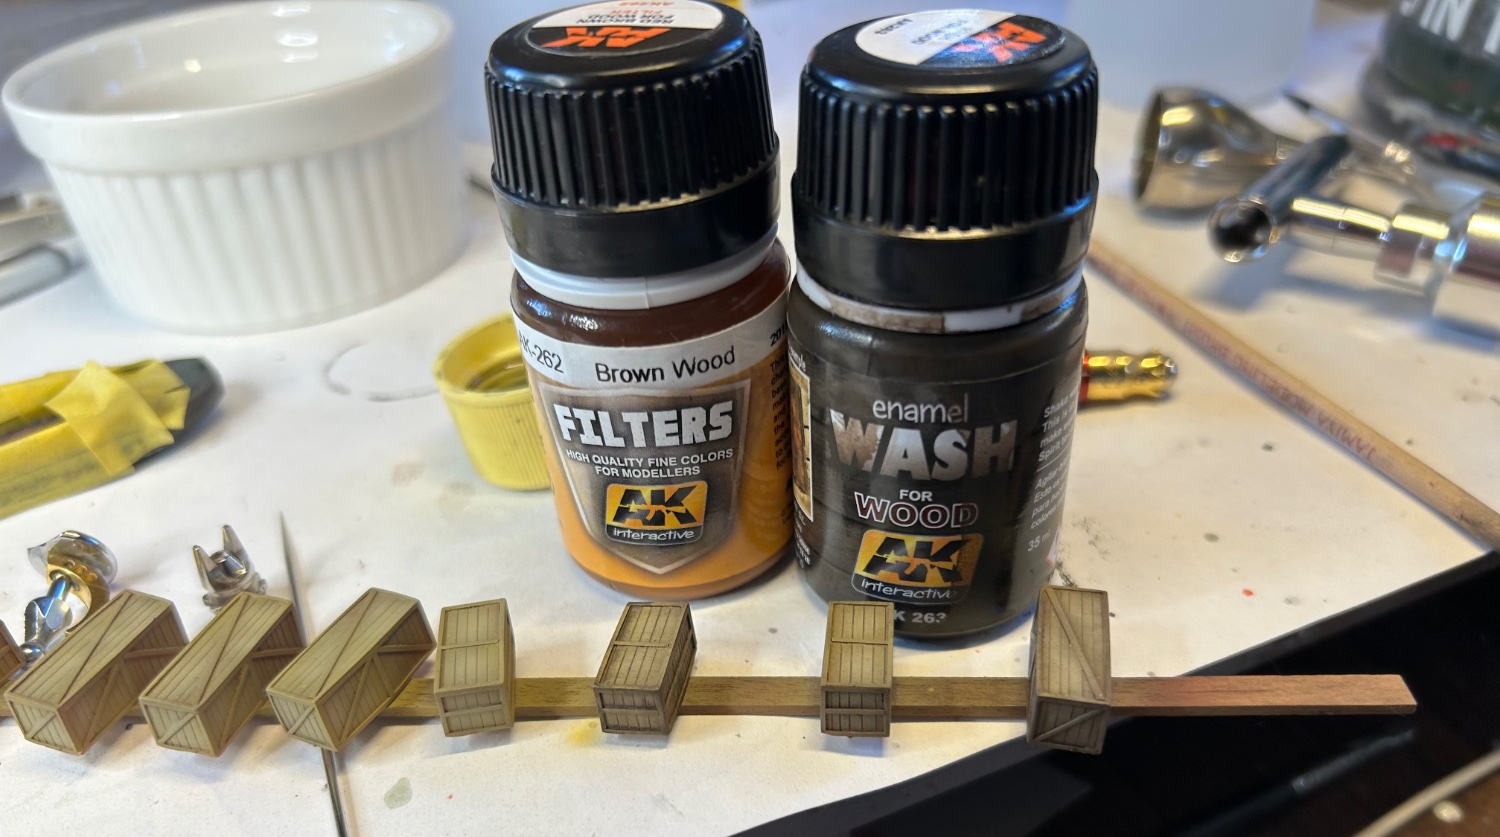
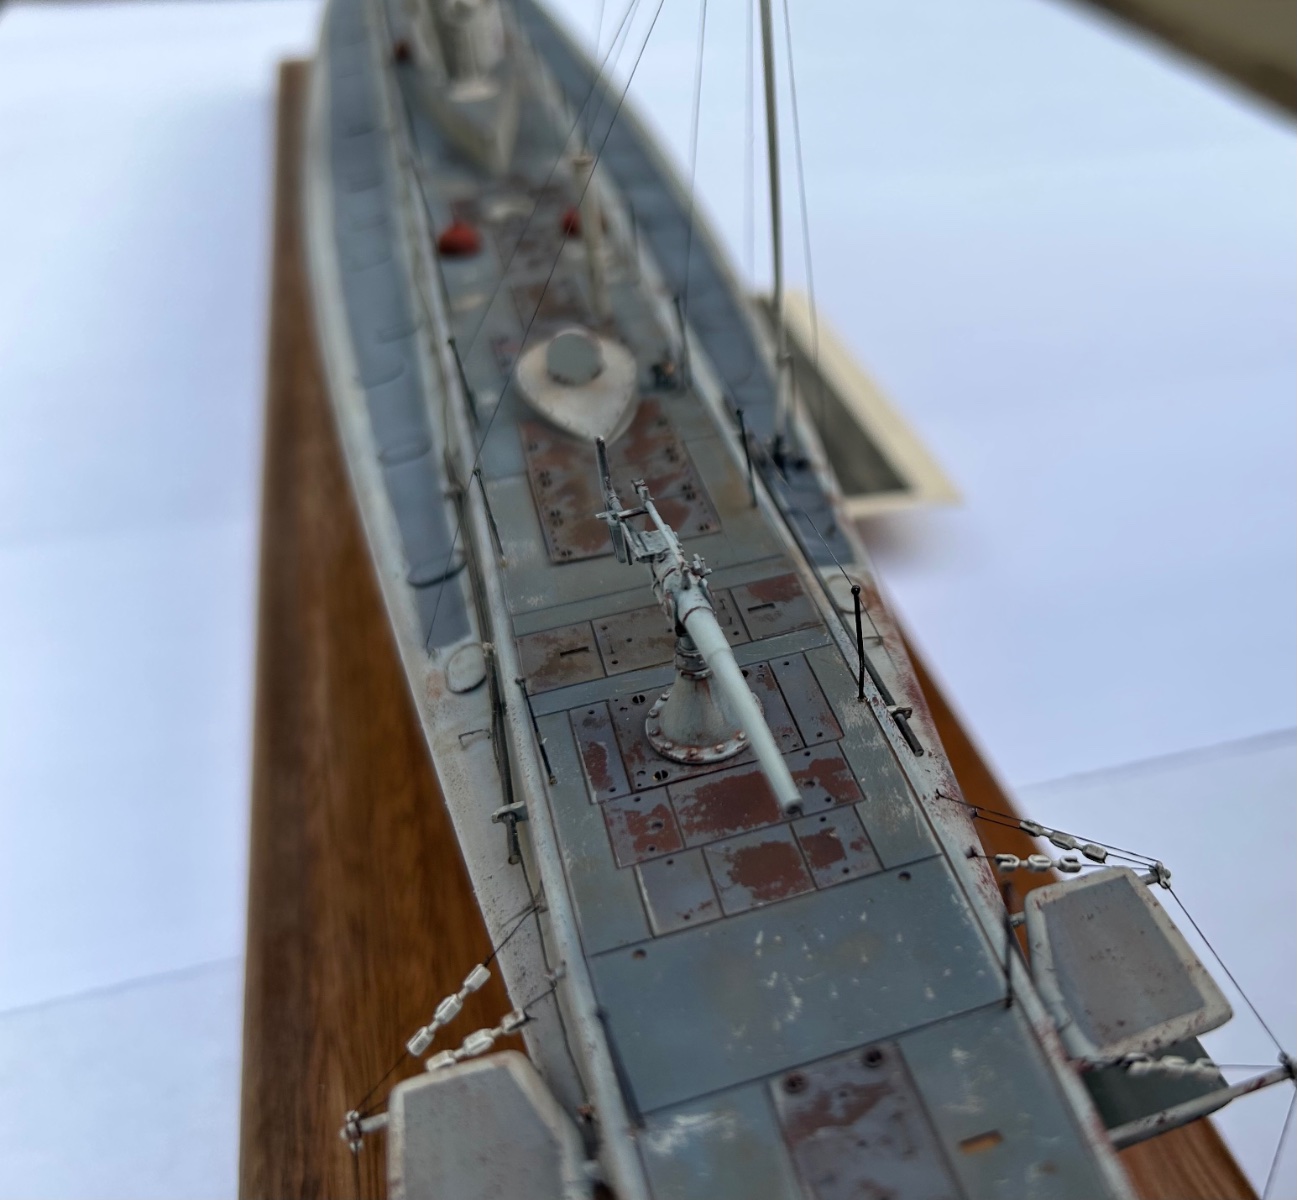
So I grunged up the lower hull and added a blue filter. I think I’ll add some more scratches and obviously a lot more rust on the hull yet before moving onto the topside. I’ve discovered some new wood filters from AK for the deck which are just great to work with


- 200 replies
-
- 11
-
-

-
- Transport No. 103
- Hasegawa
- (and 4 more)
-
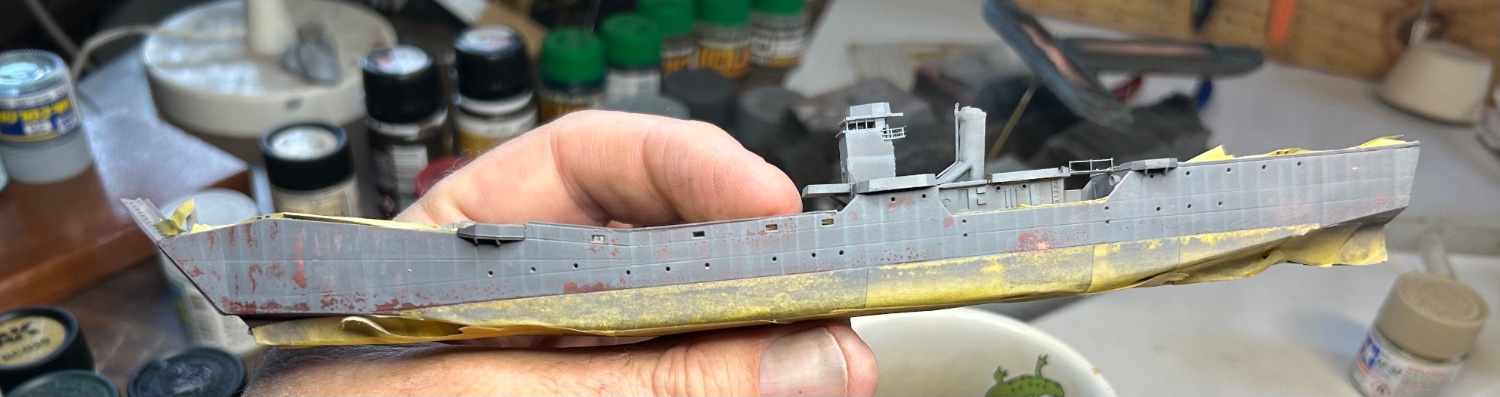
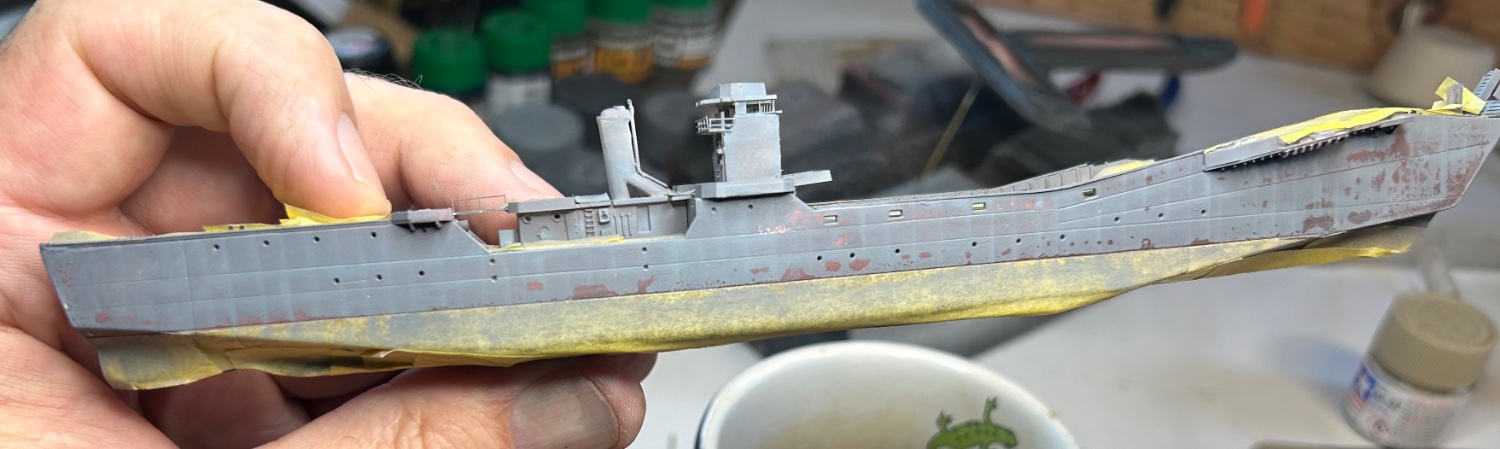
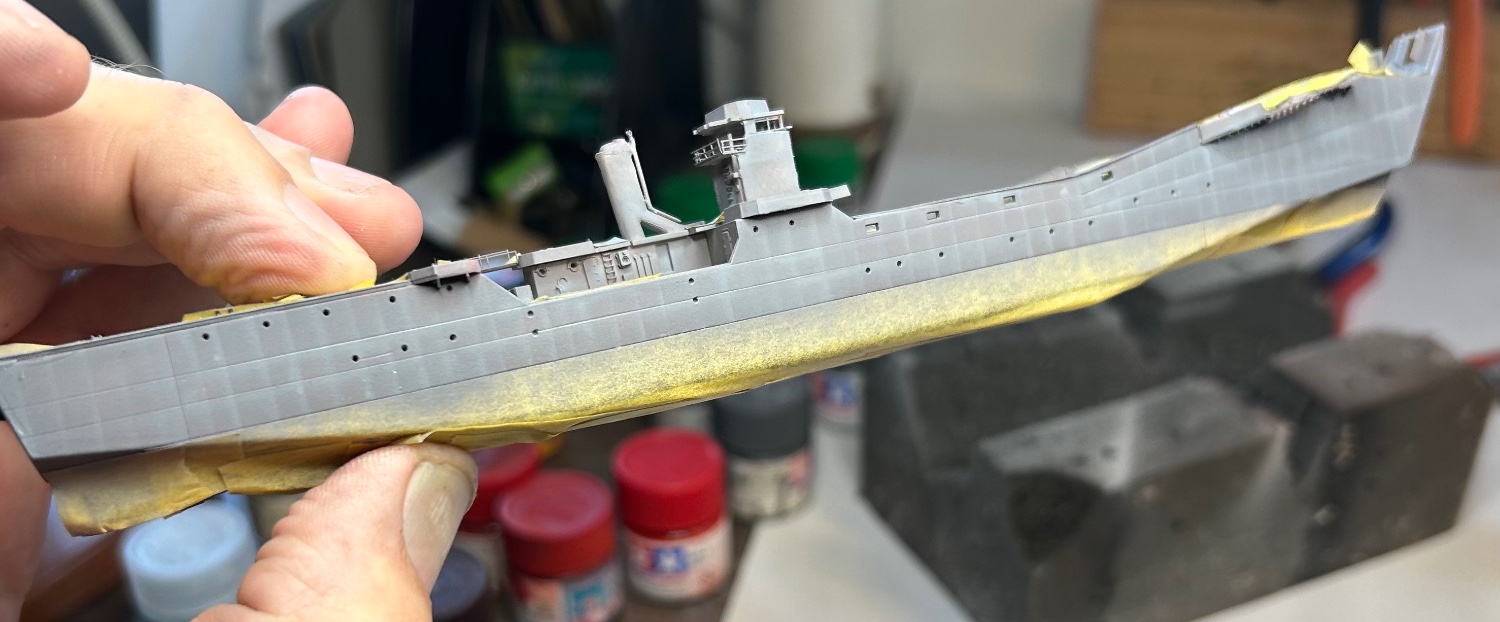
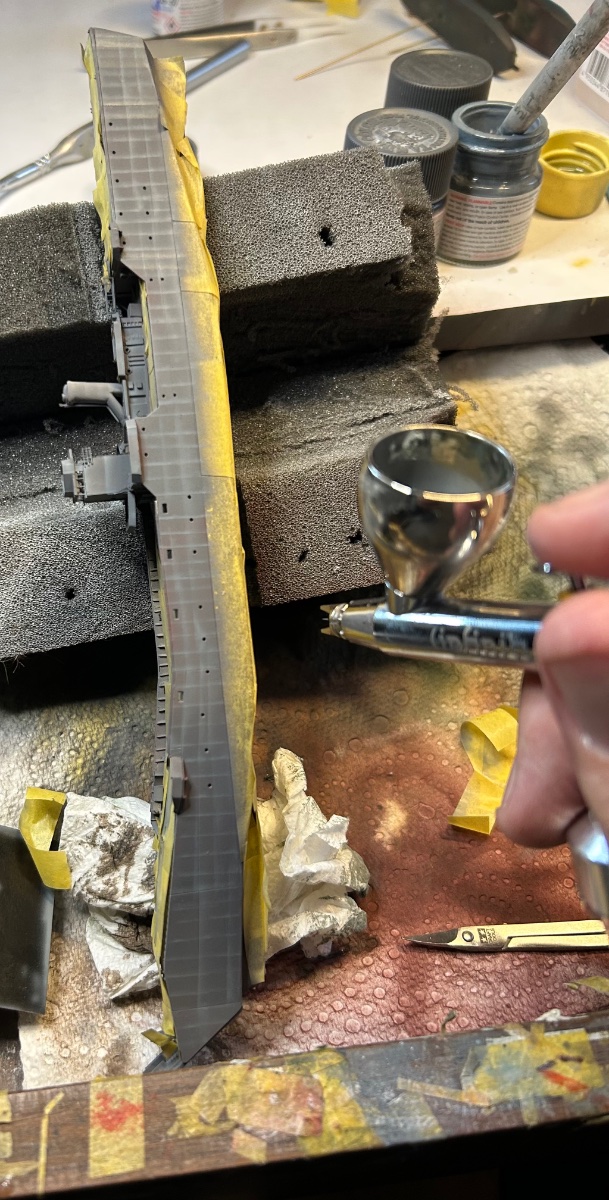
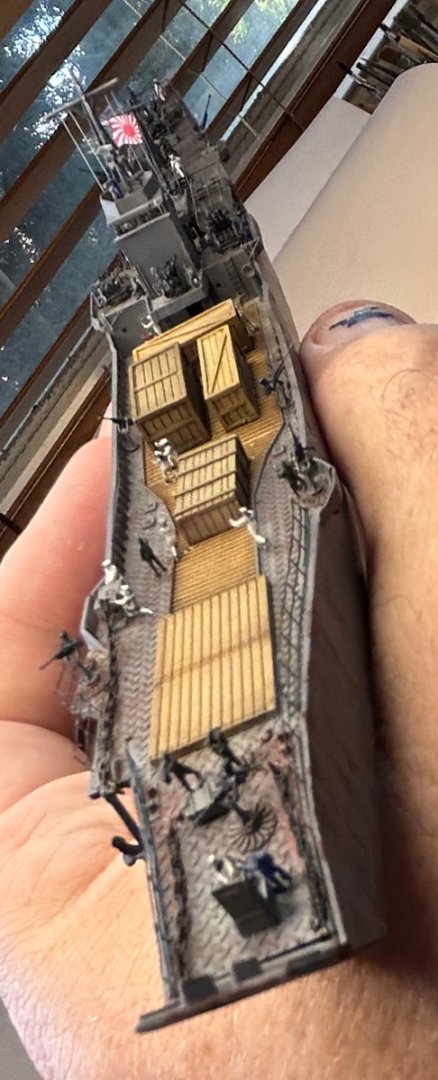
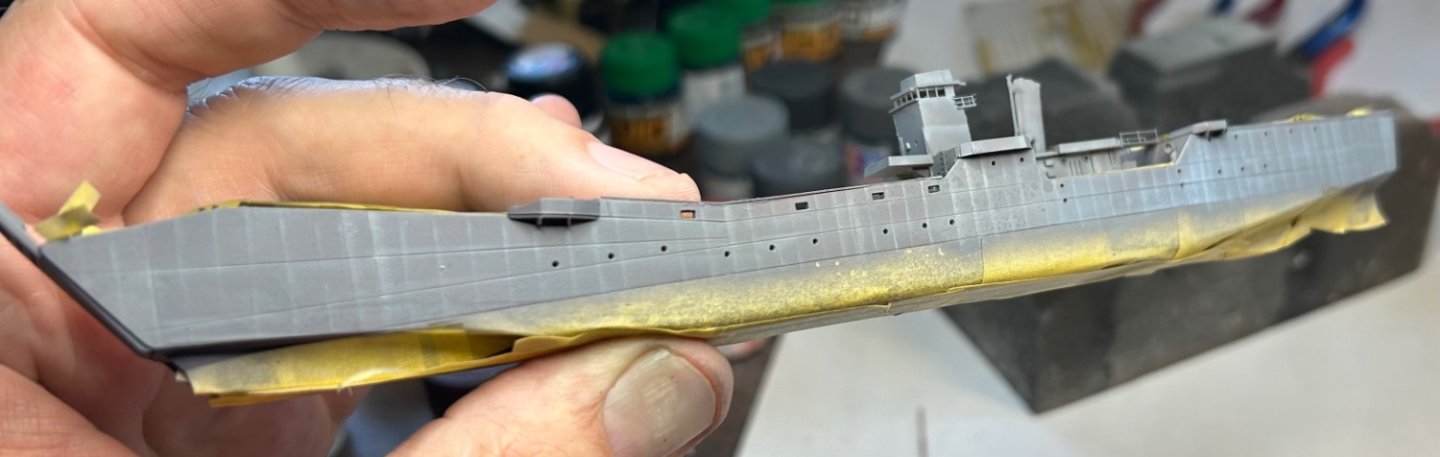
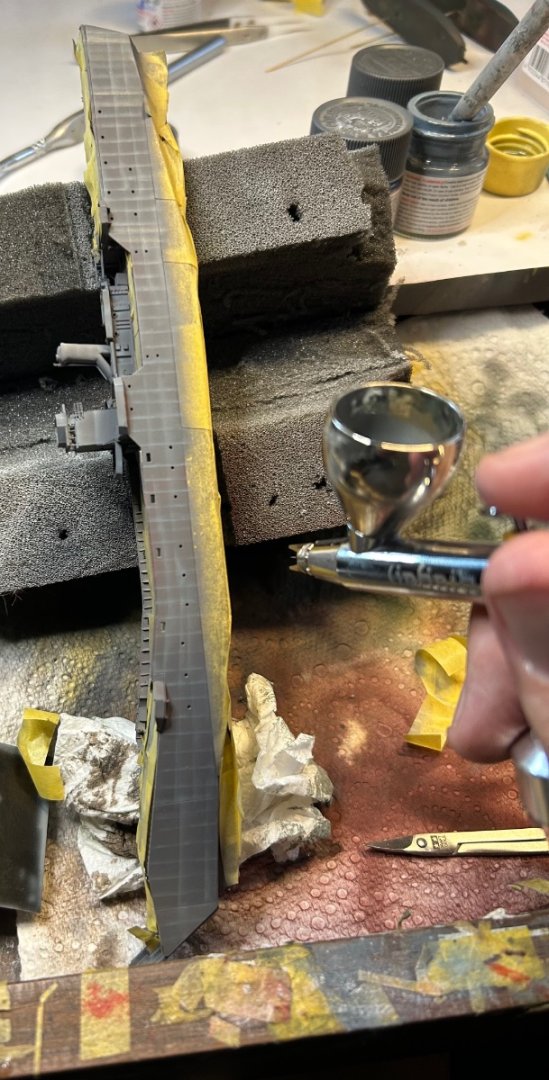
Removing the tape, now the weathering can begin

- 200 replies
-
- 8
-
-
- Transport No. 103
- Hasegawa
- (and 4 more)
-
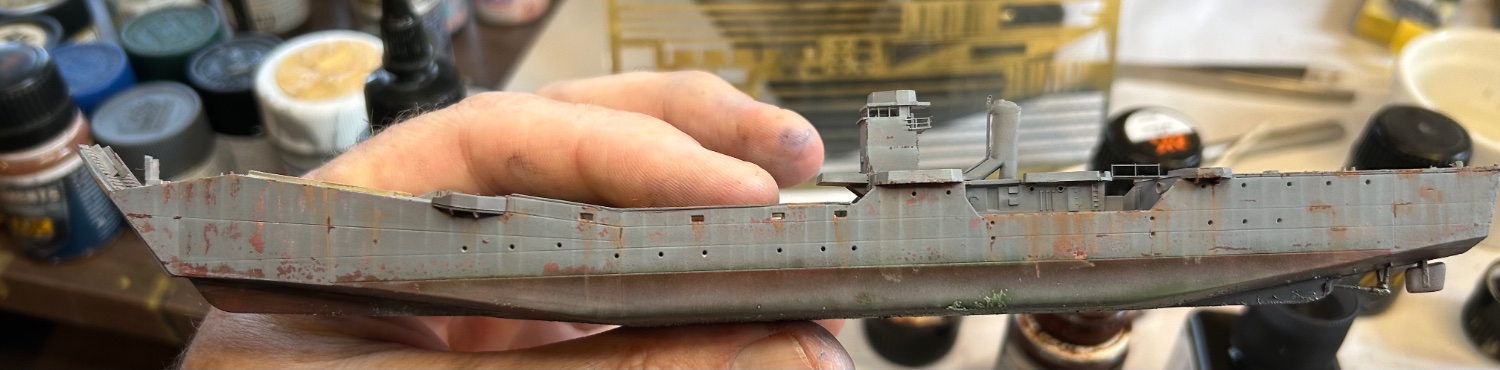
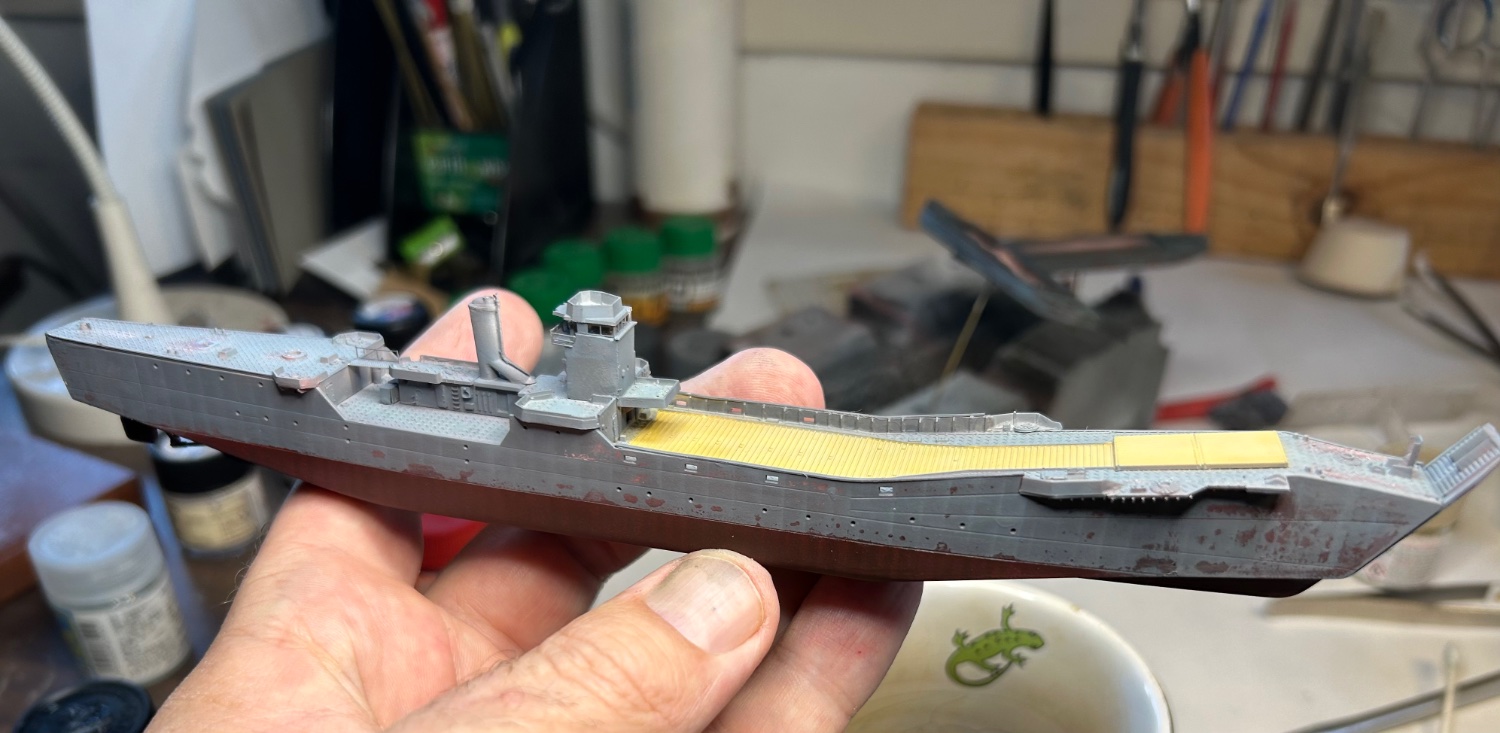
So I’ve sprayed a chipping coat then IJN grey and oil canning

- 200 replies
-
- 4
-
-
- Transport No. 103
- Hasegawa
- (and 4 more)
-
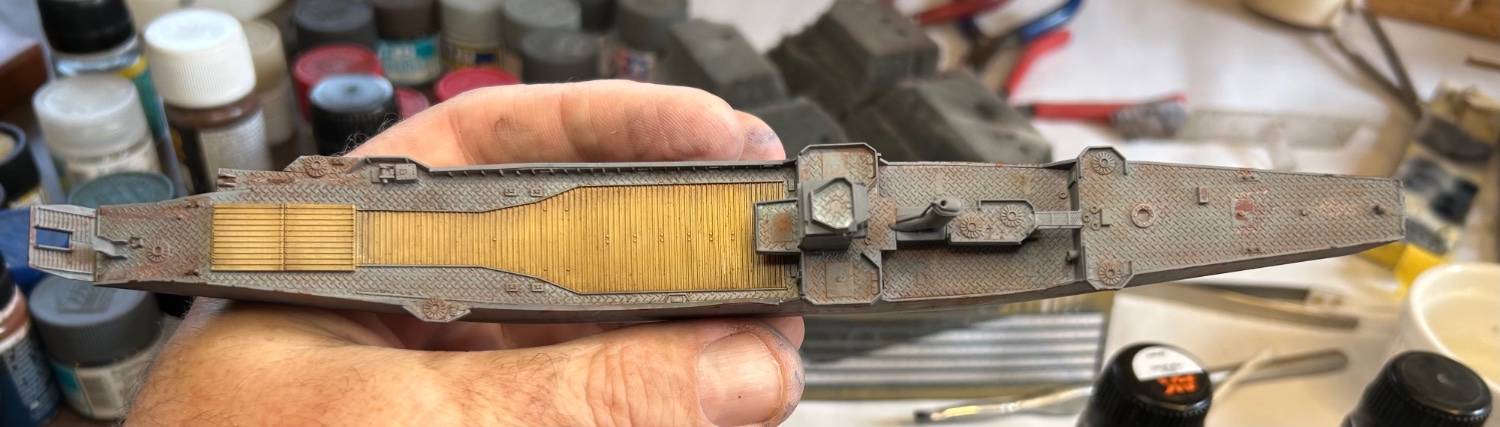
So today; the lower hull is done, and I’ll grunge it up afterwards. Lots of dark brown which I’ve sealed in with a matte coat so I can use chipping fluid afterwards. Then the wooden deck, using a few difference buff coats, again the weathering will come last. Masking done, I’ll do the decks first and just brushed in some chipping fluid, once it’s dry I’ll paint them chip Beattie moving to the Hull and and do some oilcanning. Then destroy it with chipping.
- 200 replies
-
- 13
-
-
- Transport No. 103
- Hasegawa
- (and 4 more)
-
I just do not have the space for a diorama, to do it justice it would need to be a metre square. I do have a plan for some next year.
- 200 replies
-
- 3
-
-
- Transport No. 103
- Hasegawa
- (and 4 more)
-
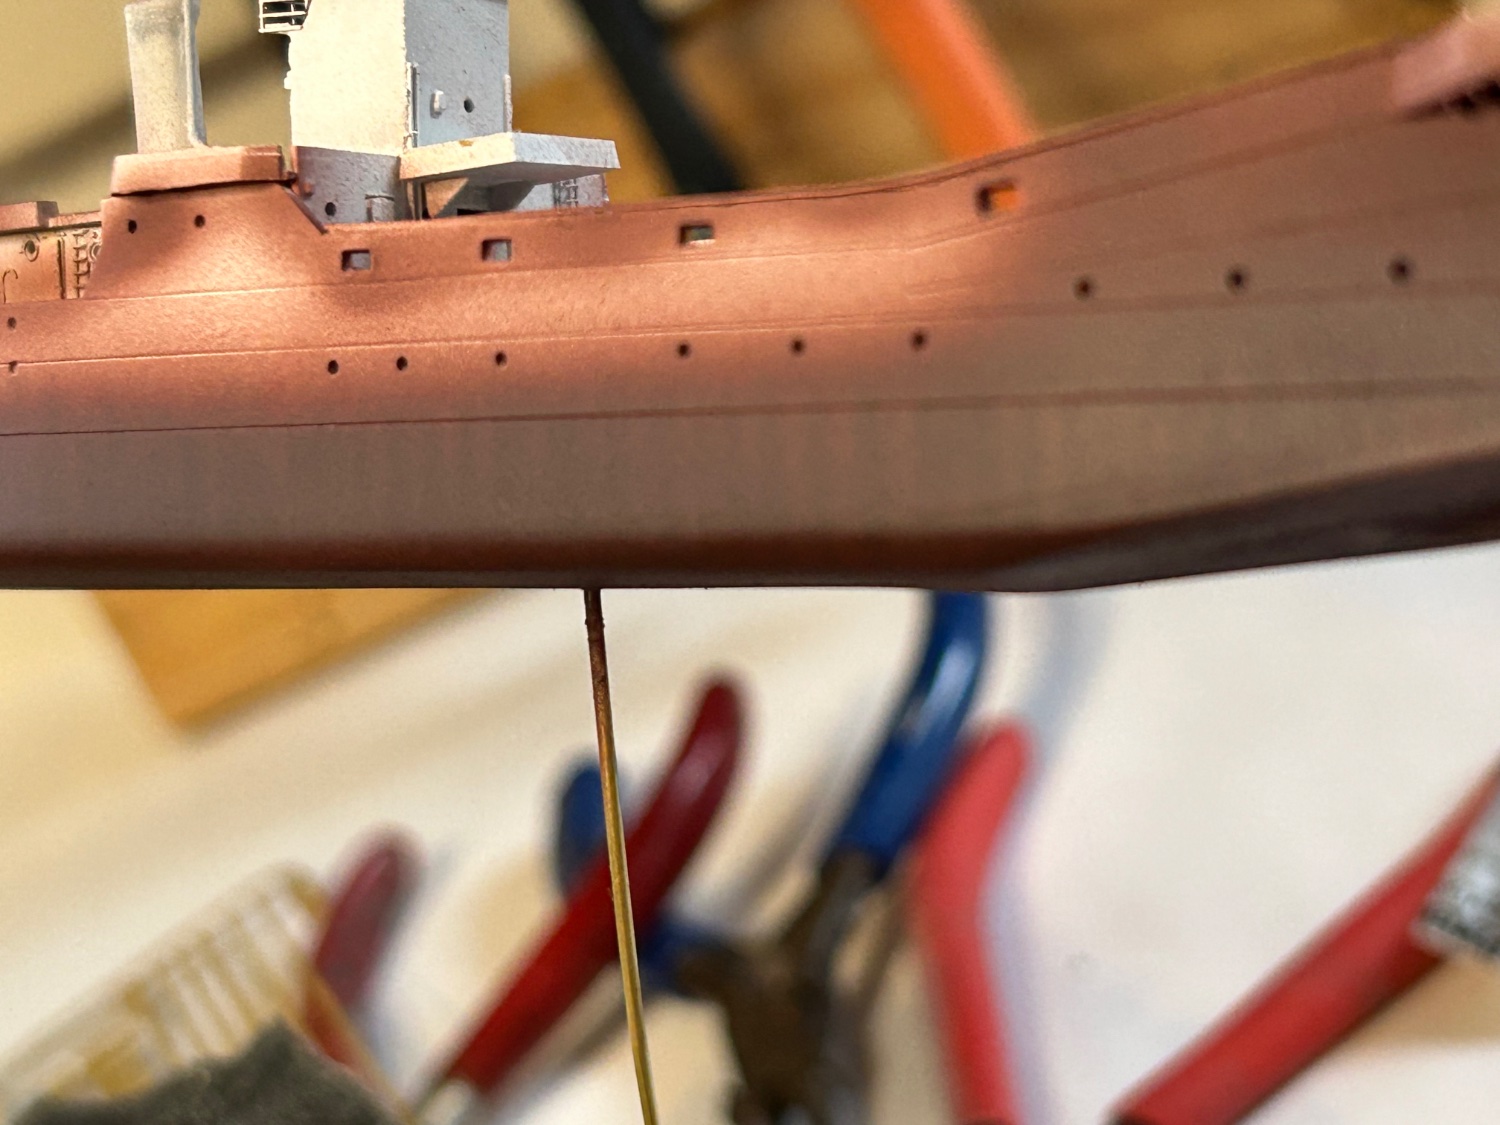
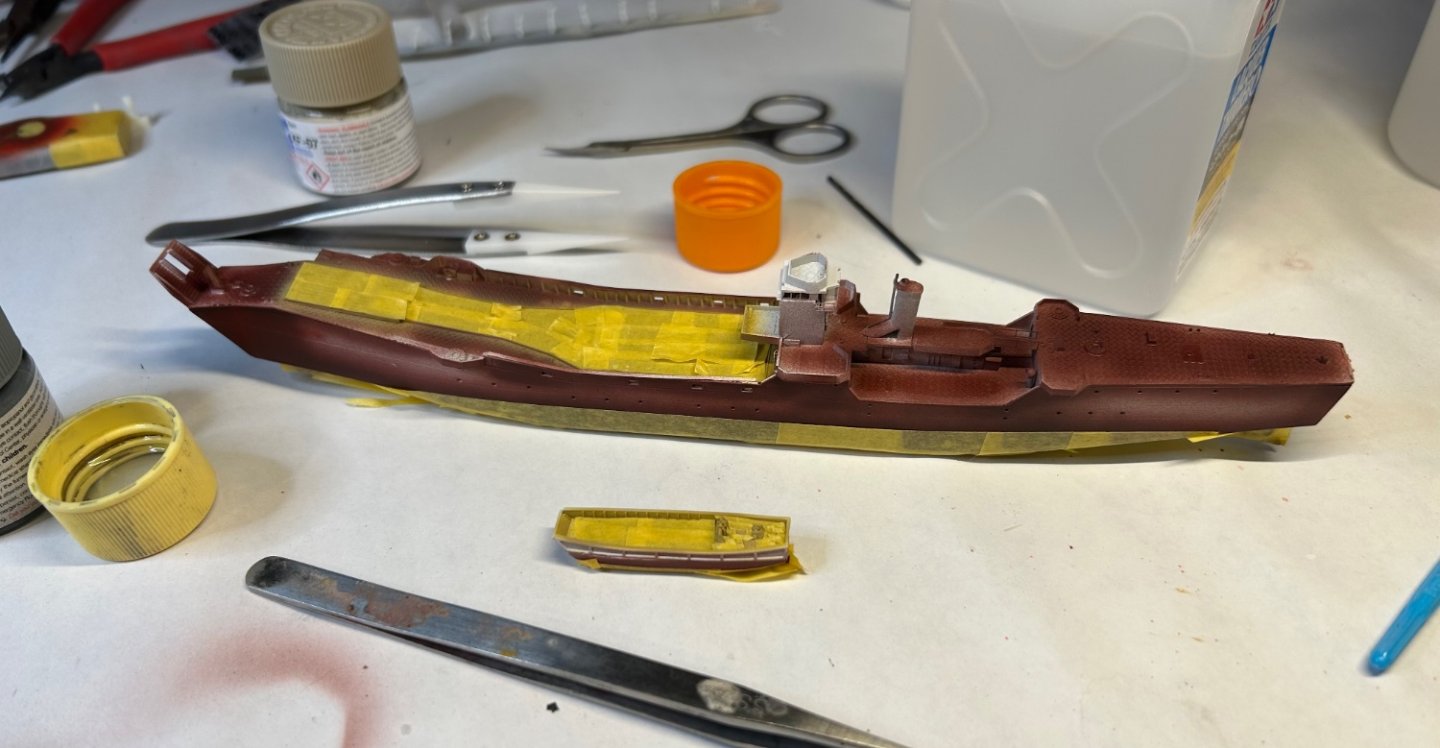
Lower hull given a coat of dark red. You can just make out the ribs. As these ships were built later in the war the lower hull would not be that worn.

- 200 replies
-
- 8
-
-
- Transport No. 103
- Hasegawa
- (and 4 more)
-
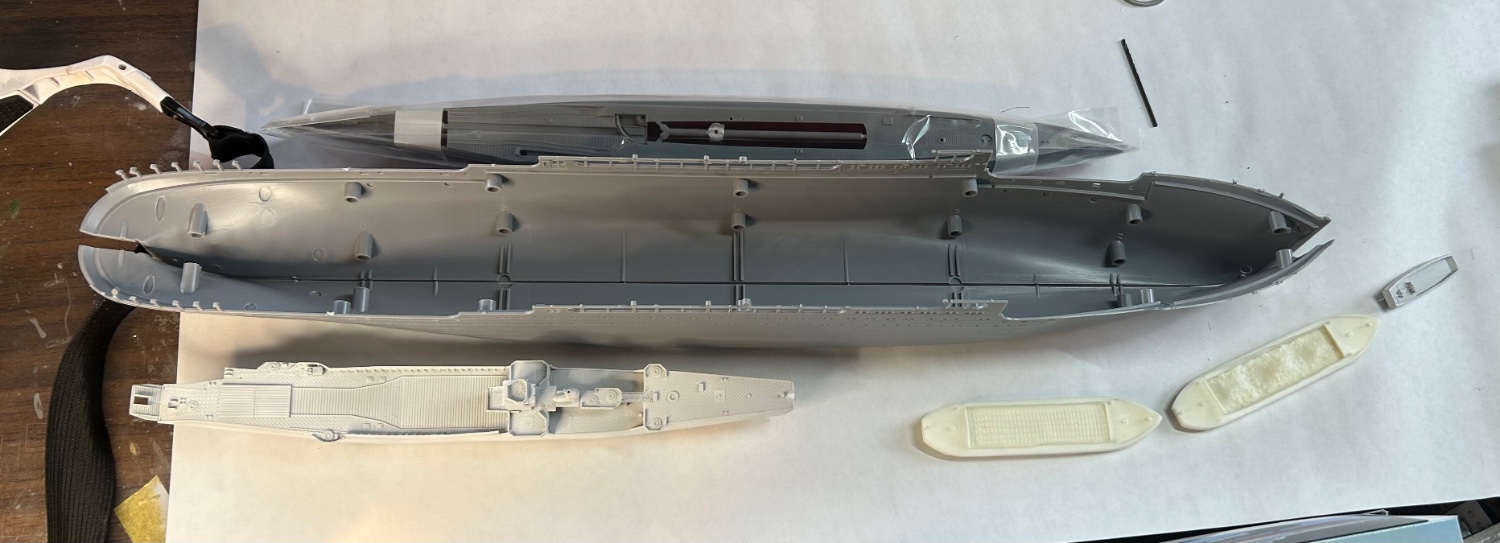
So the plan, a sub tender, loading and offloading


- 200 replies
-
- 7
-
-
- Transport No. 103
- Hasegawa
- (and 4 more)