RGL
-
Posts
5,554 -
Joined
-
Last visited
Content Type
Profiles
Forums
Gallery
Events
Everything posted by RGL
-
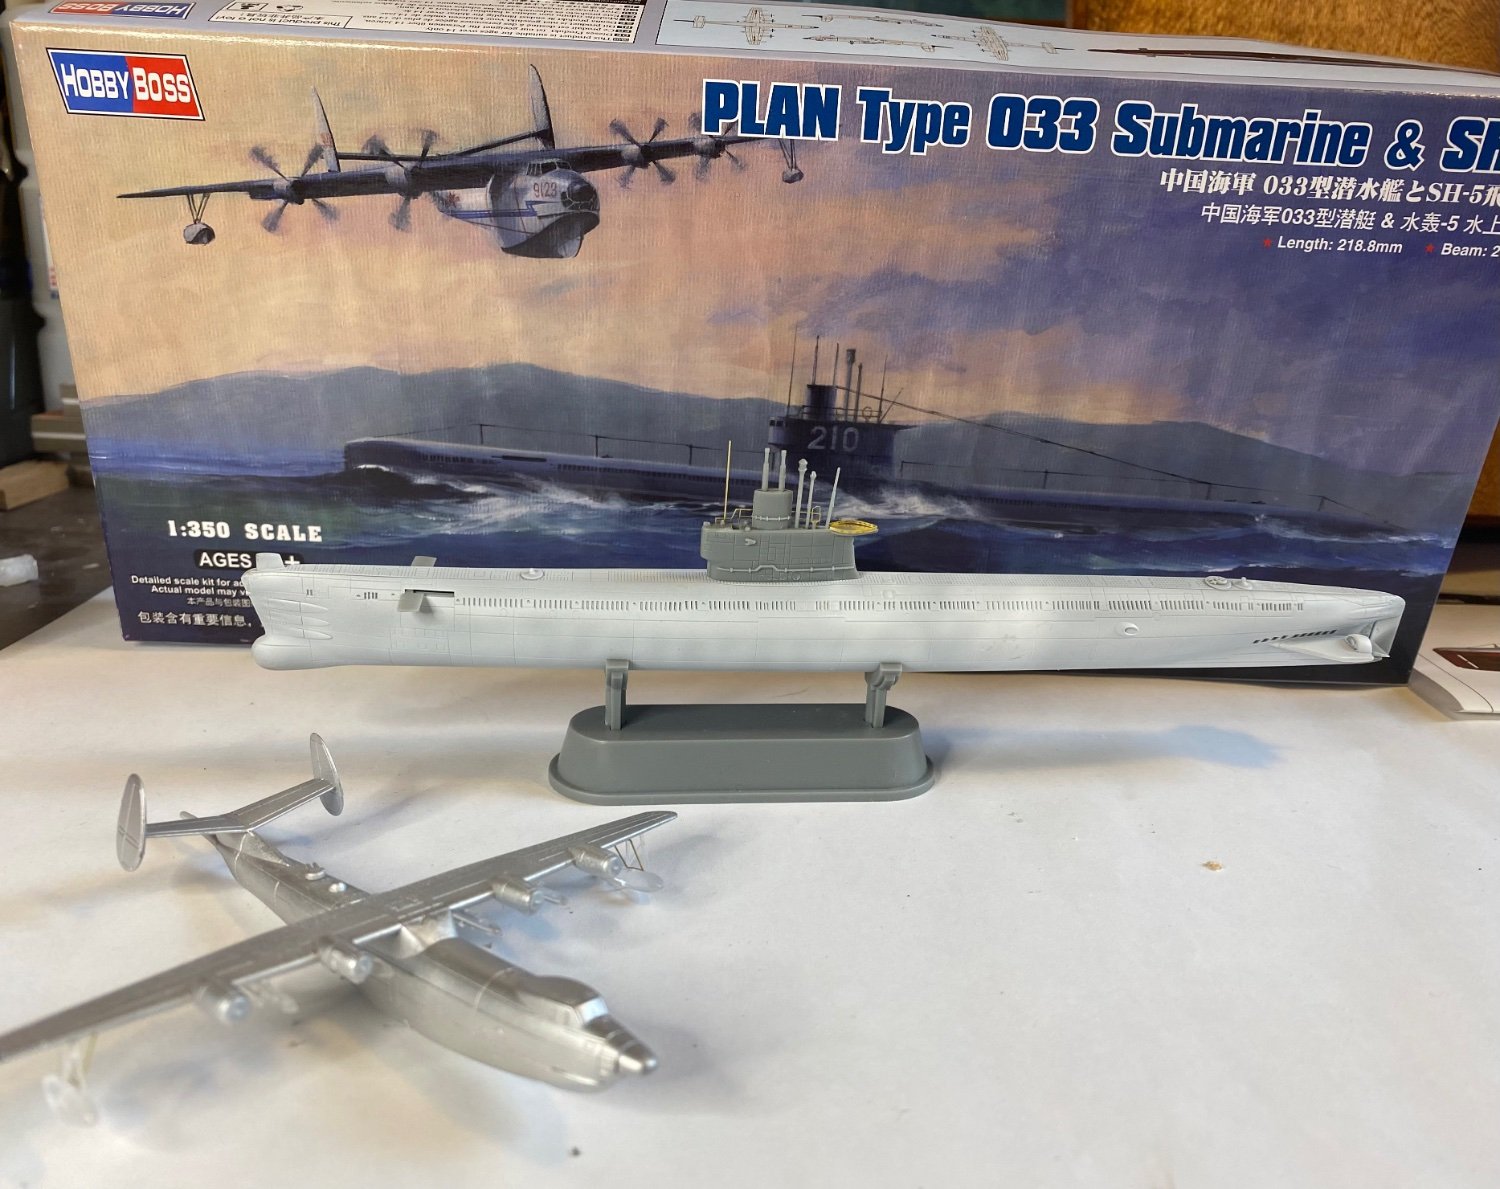
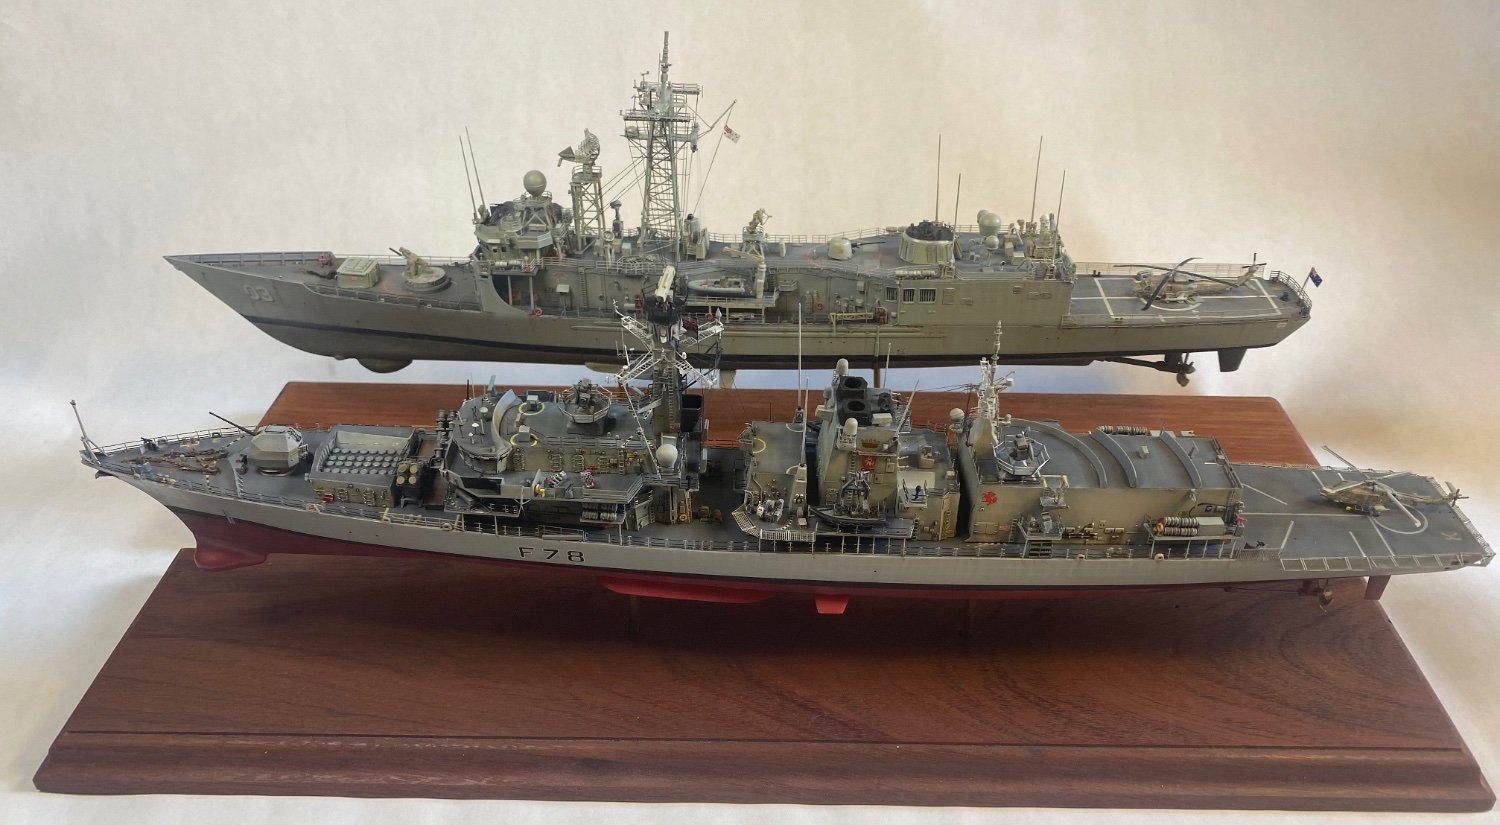
 I’ve decided to make a few small submarines as a painting horse exercise. Each kit is about $20, easy to build, usually poor in design and detail.


- 48 replies
-
- 12
-

-
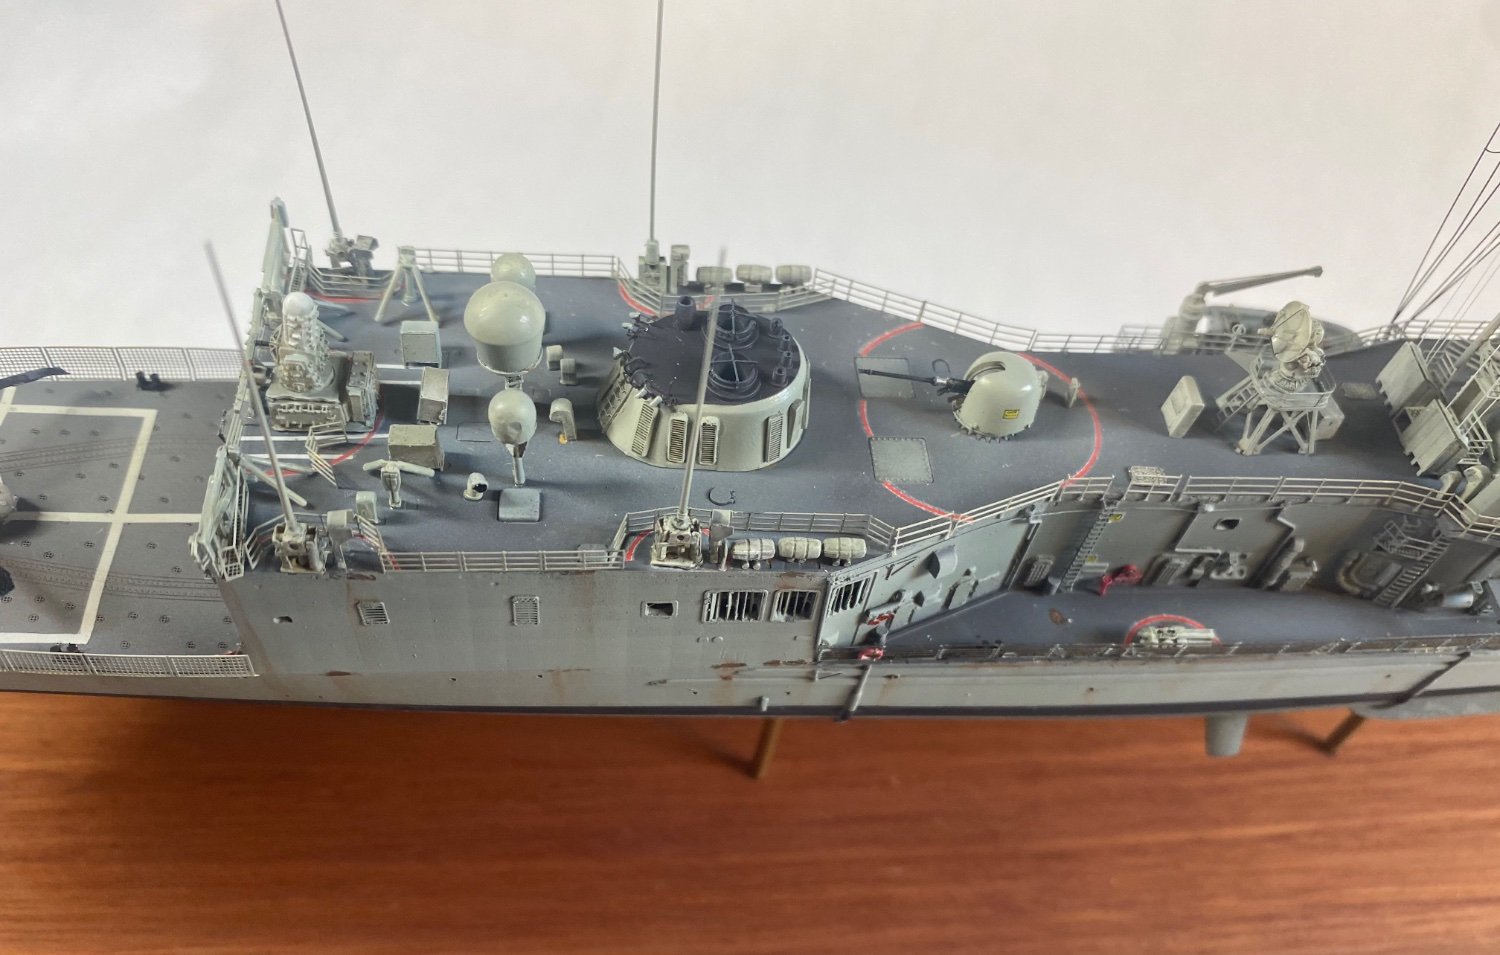
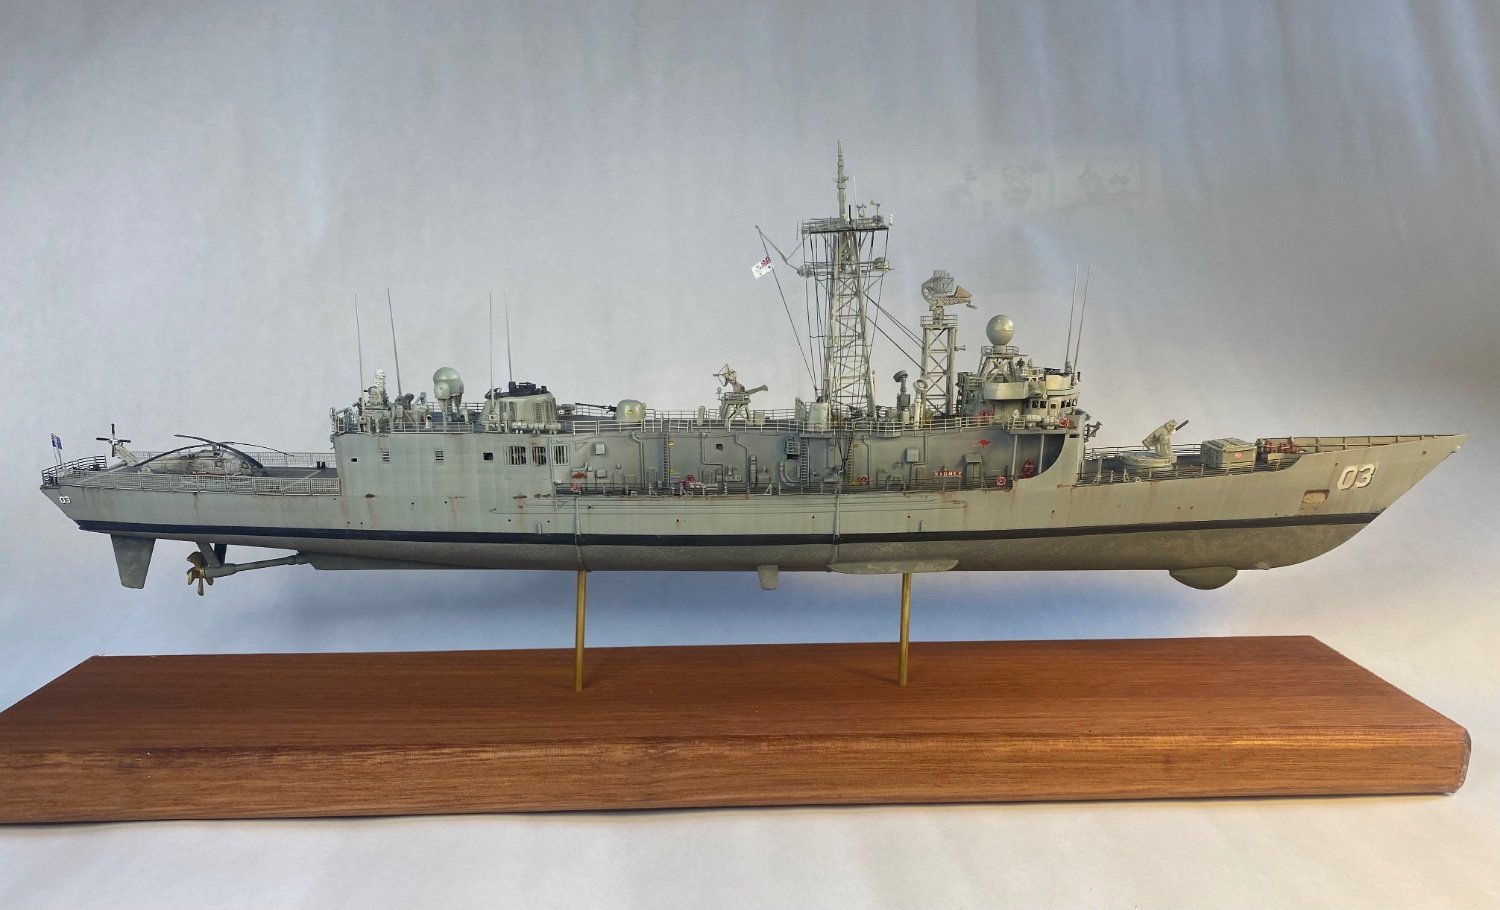
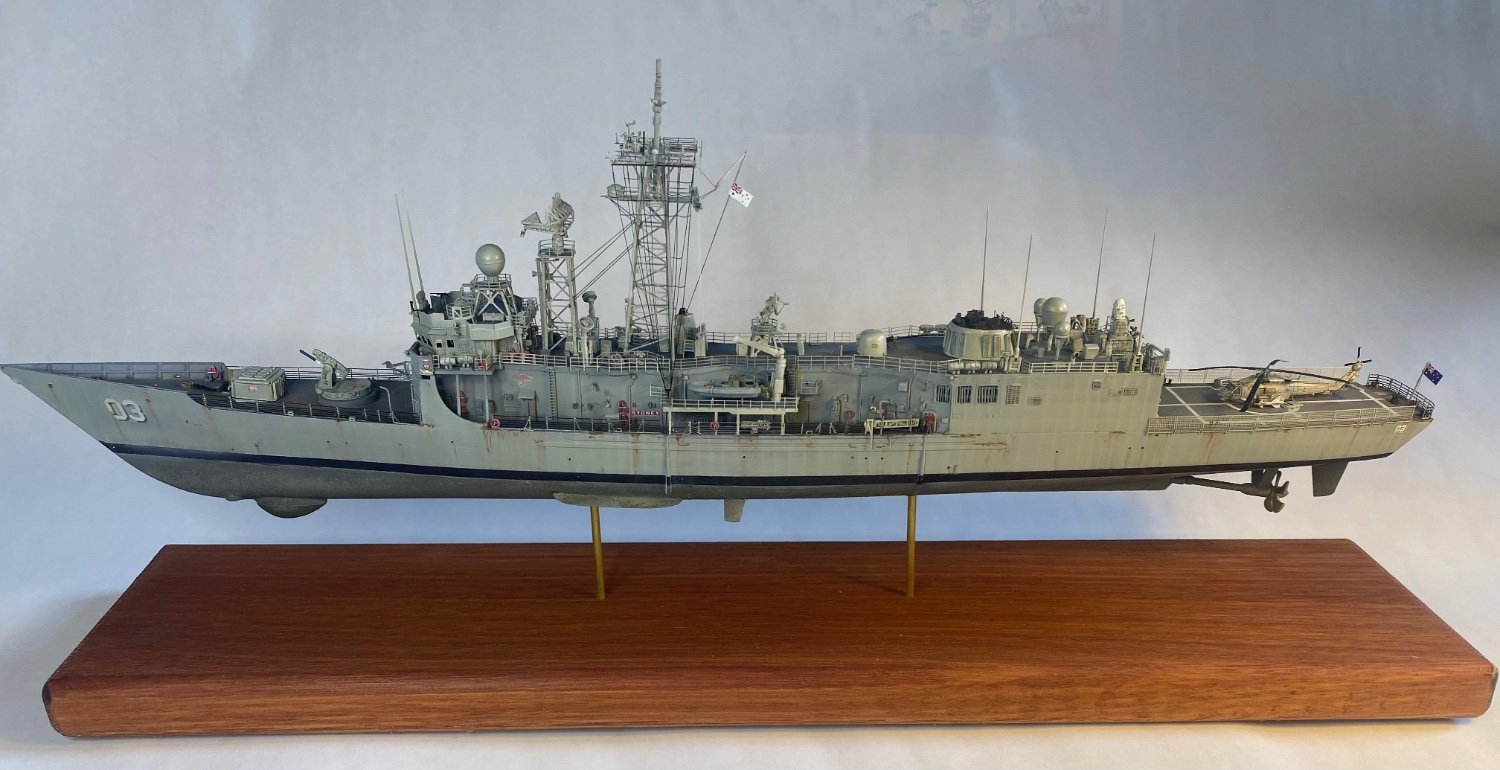
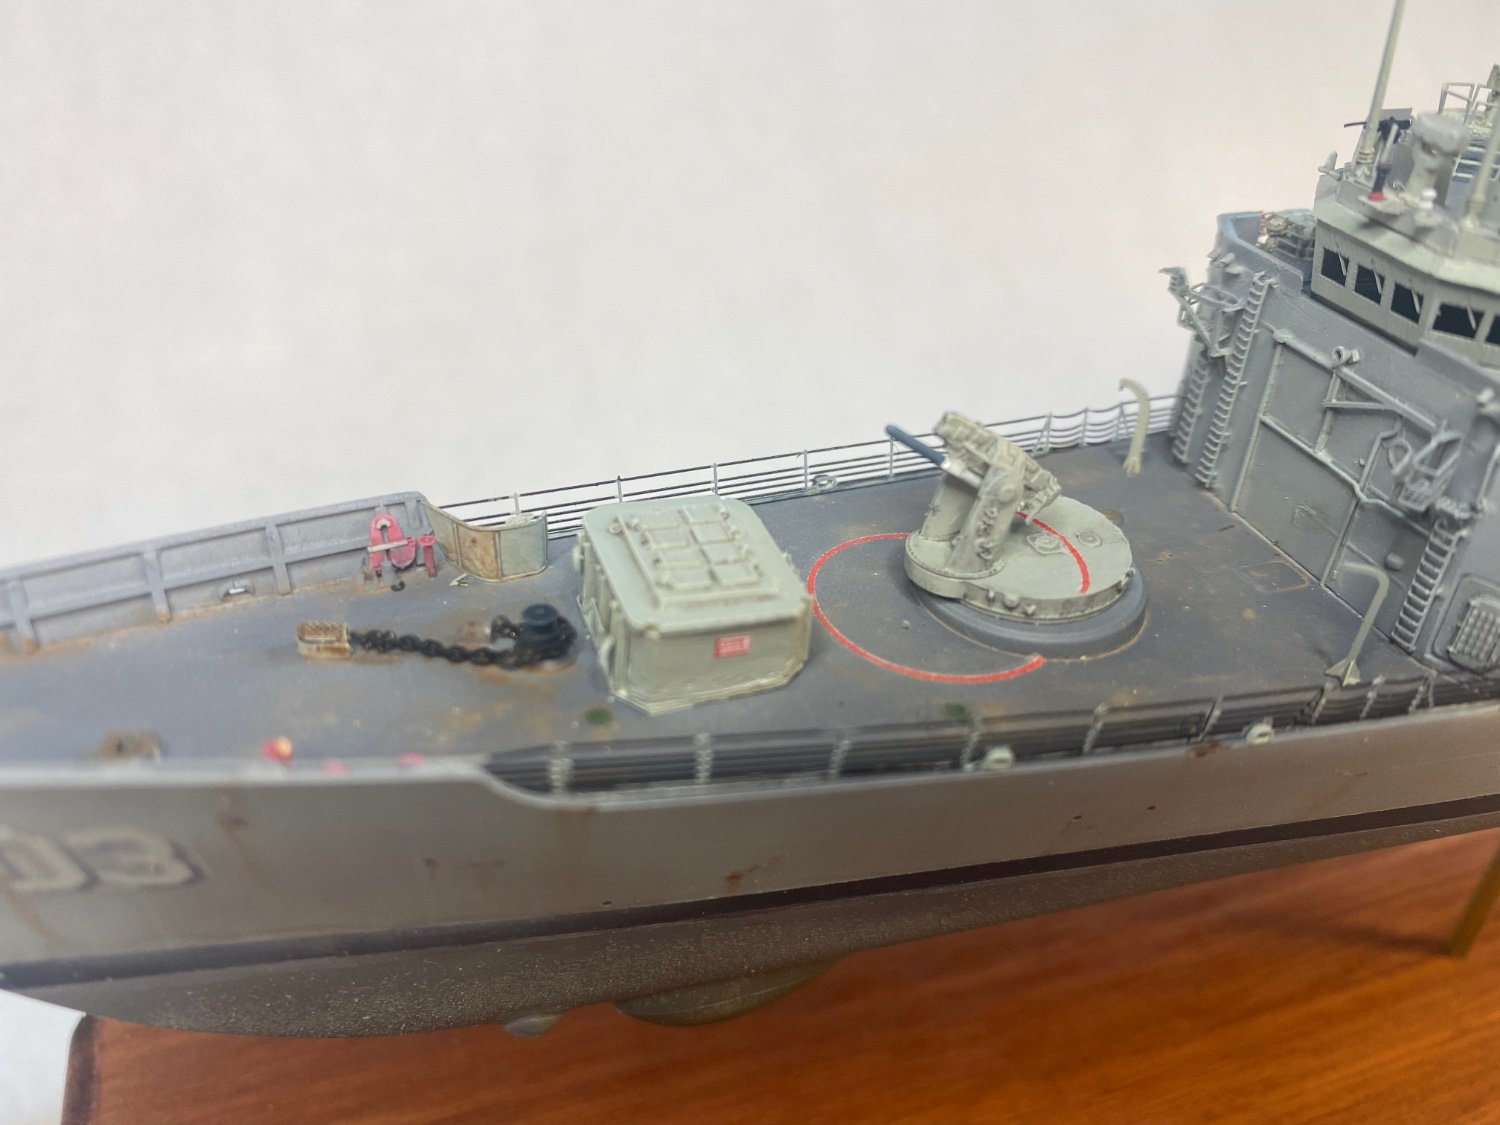
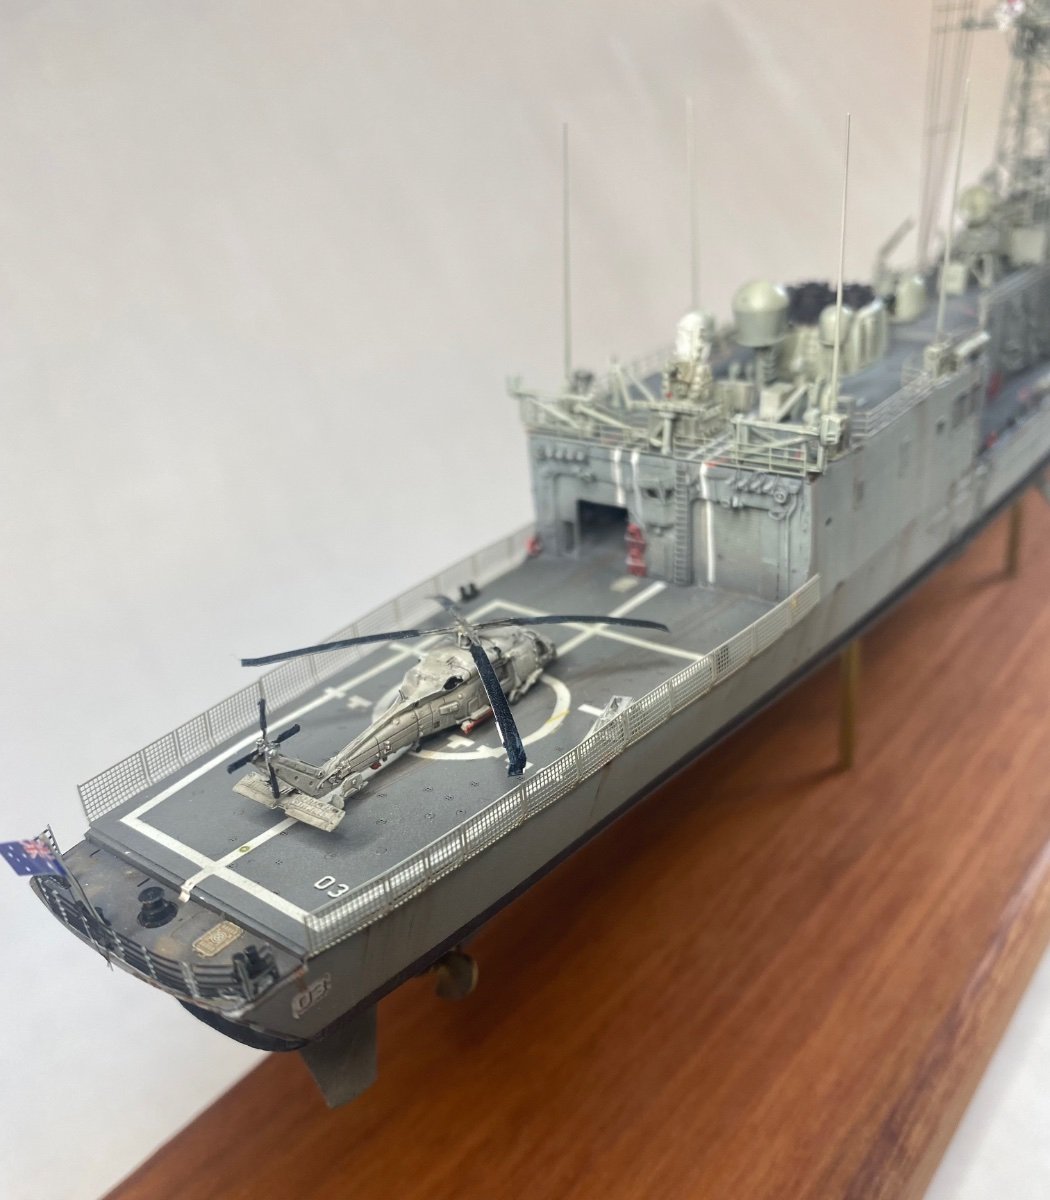
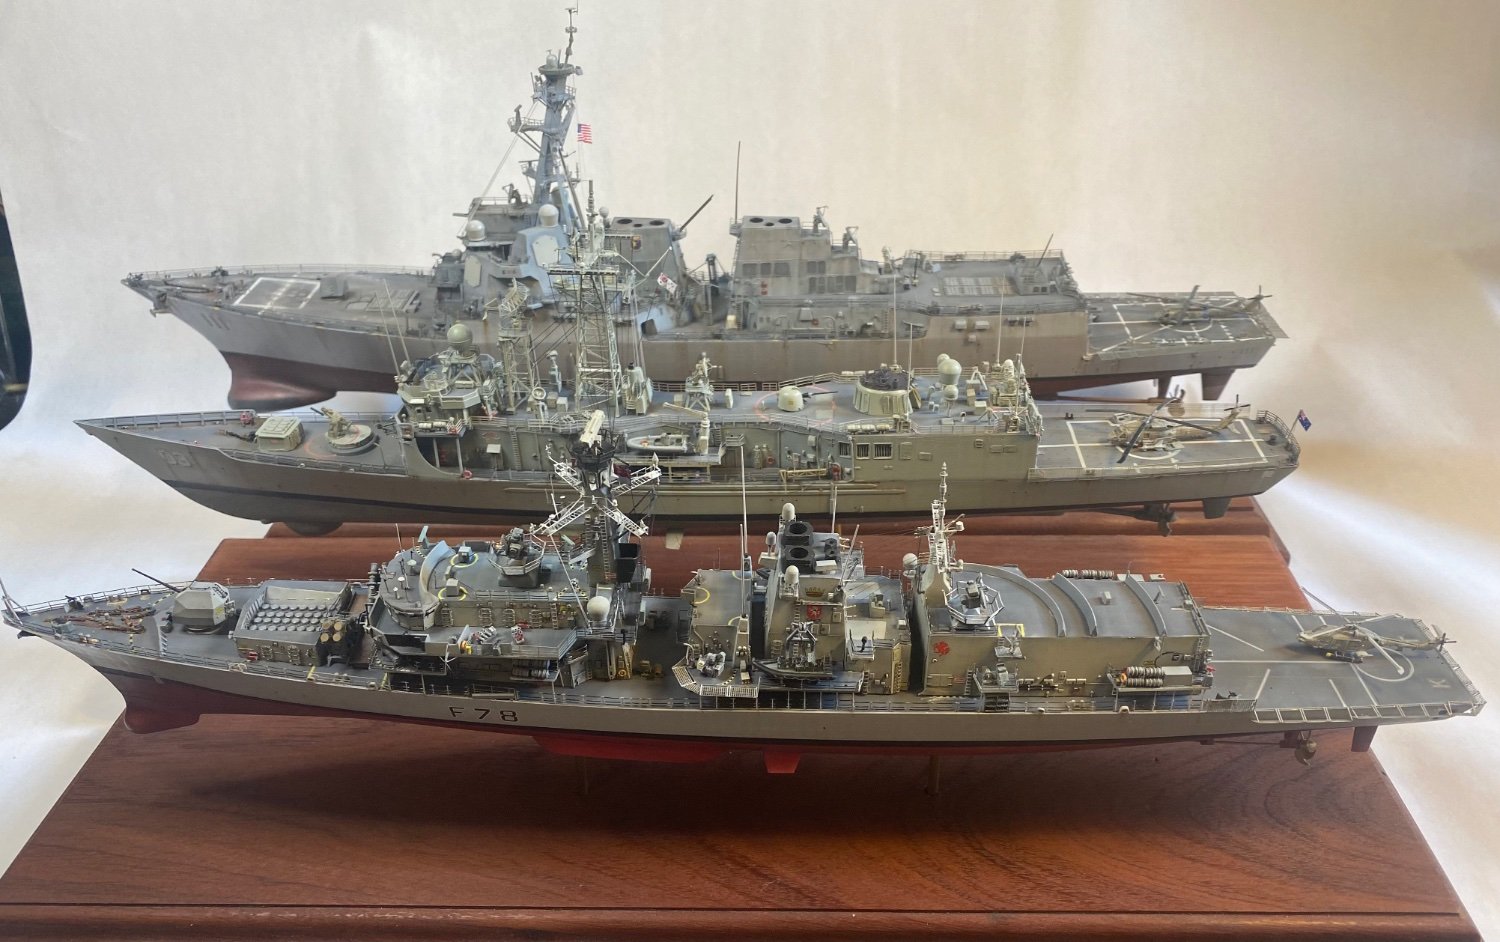
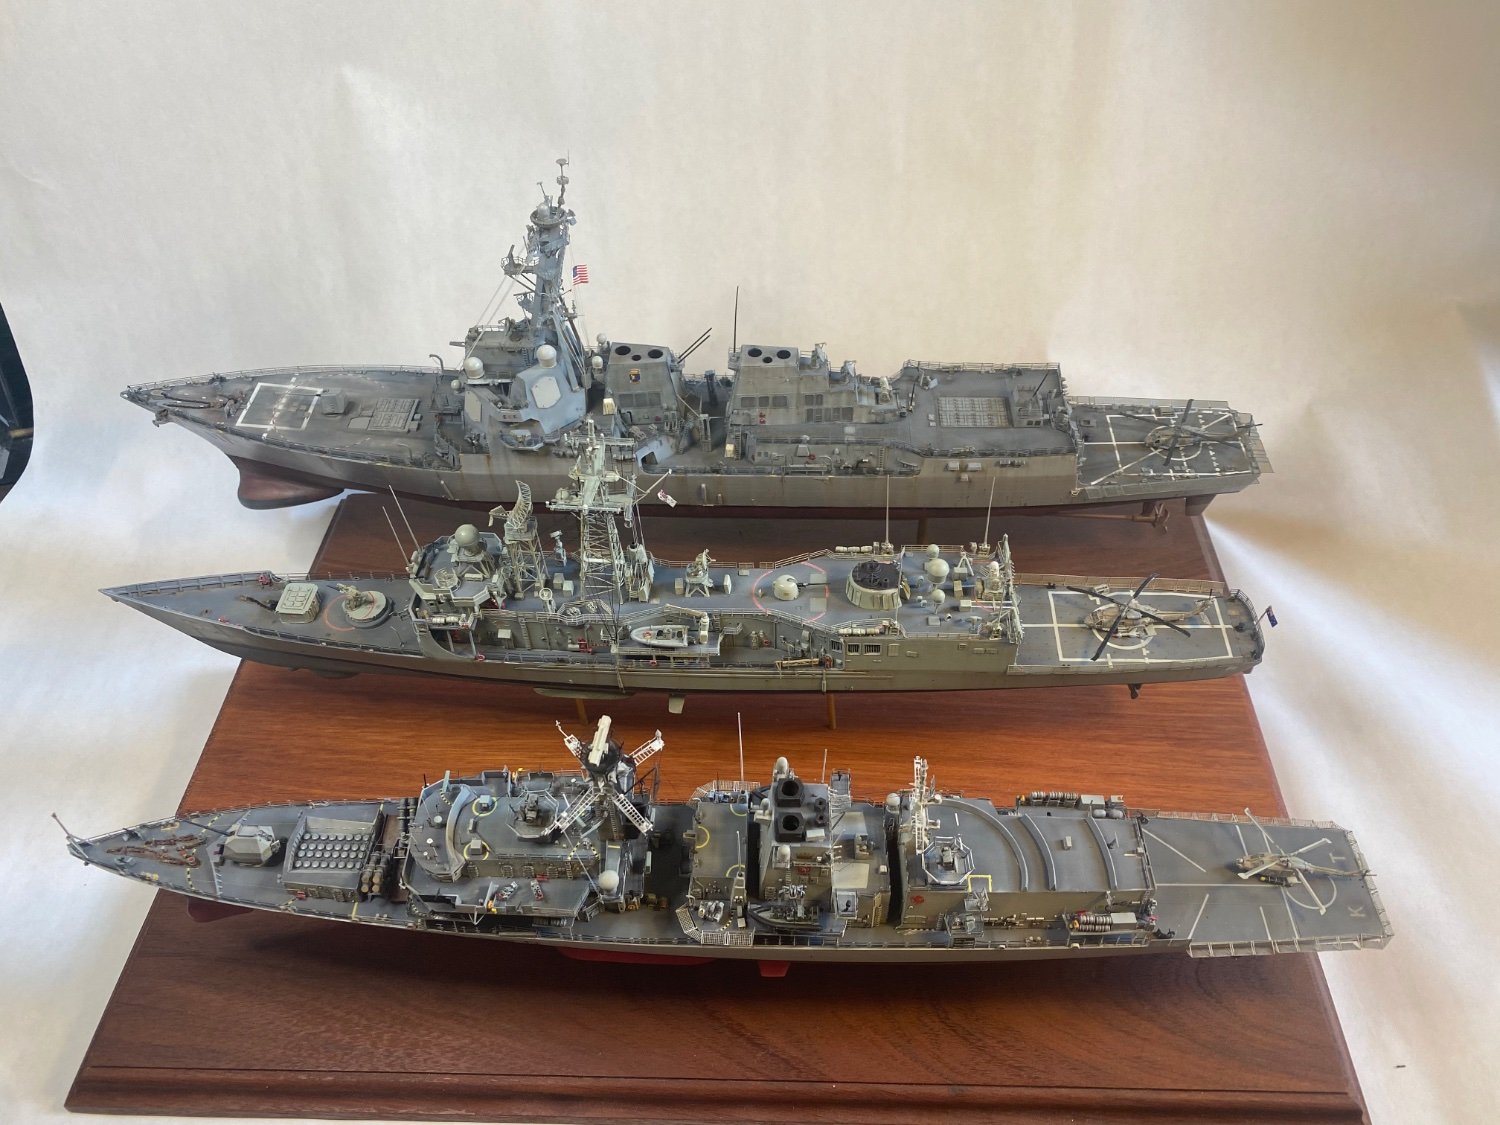
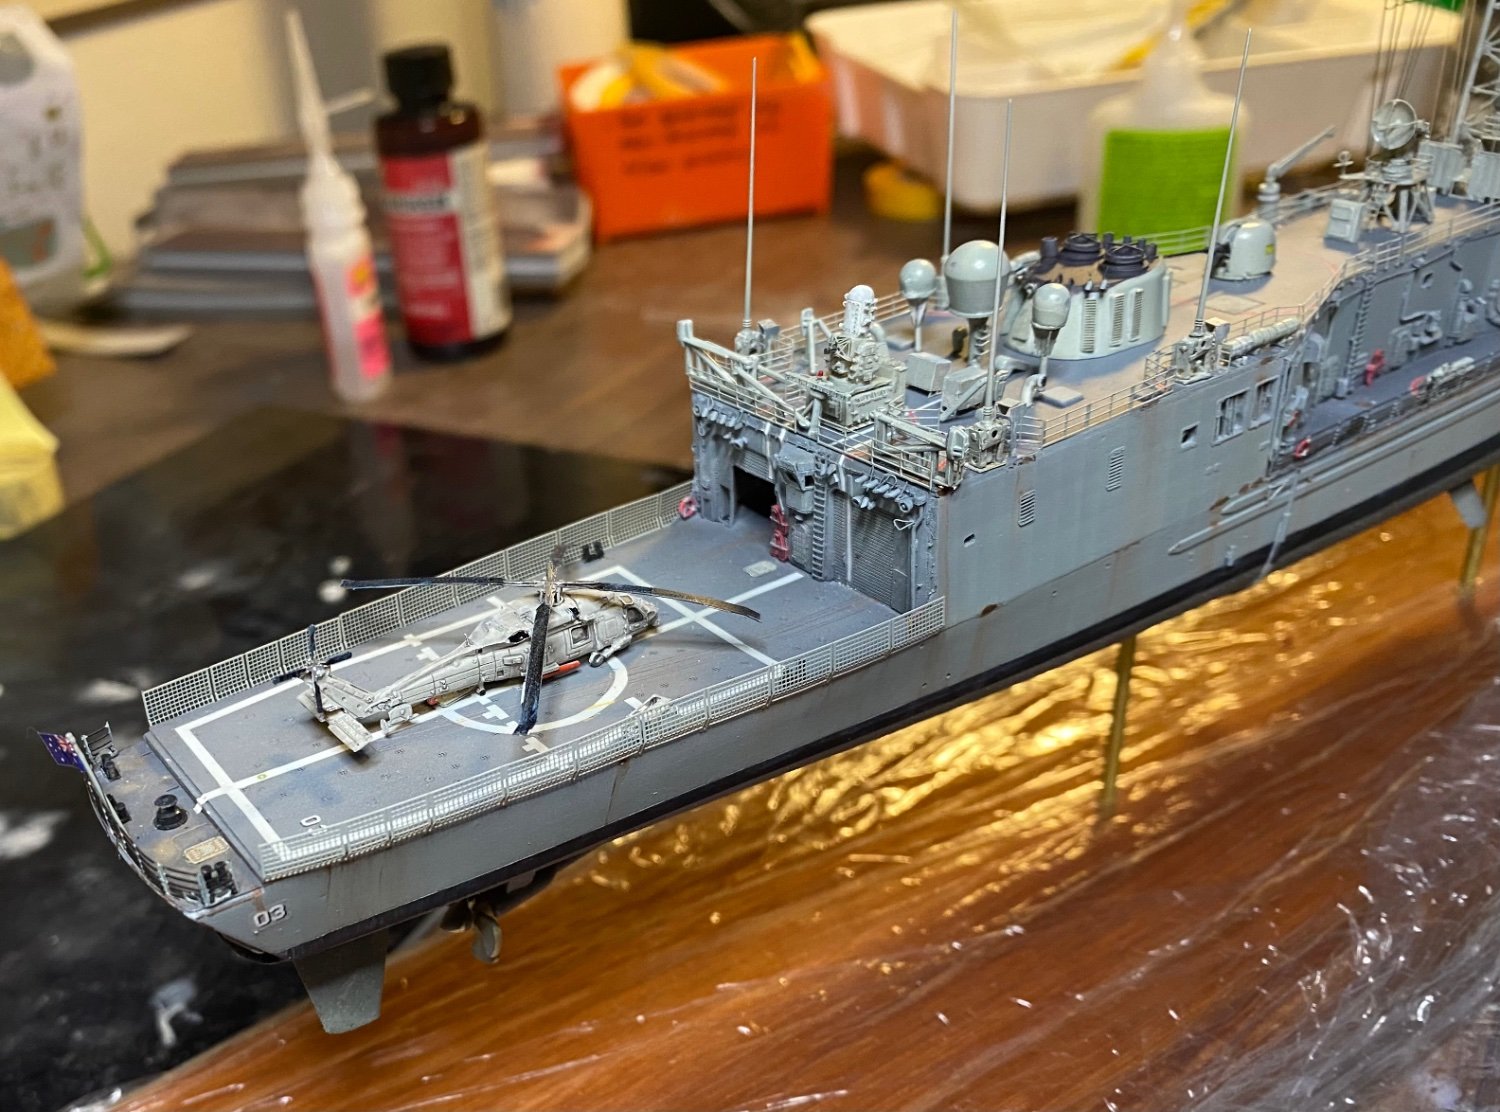
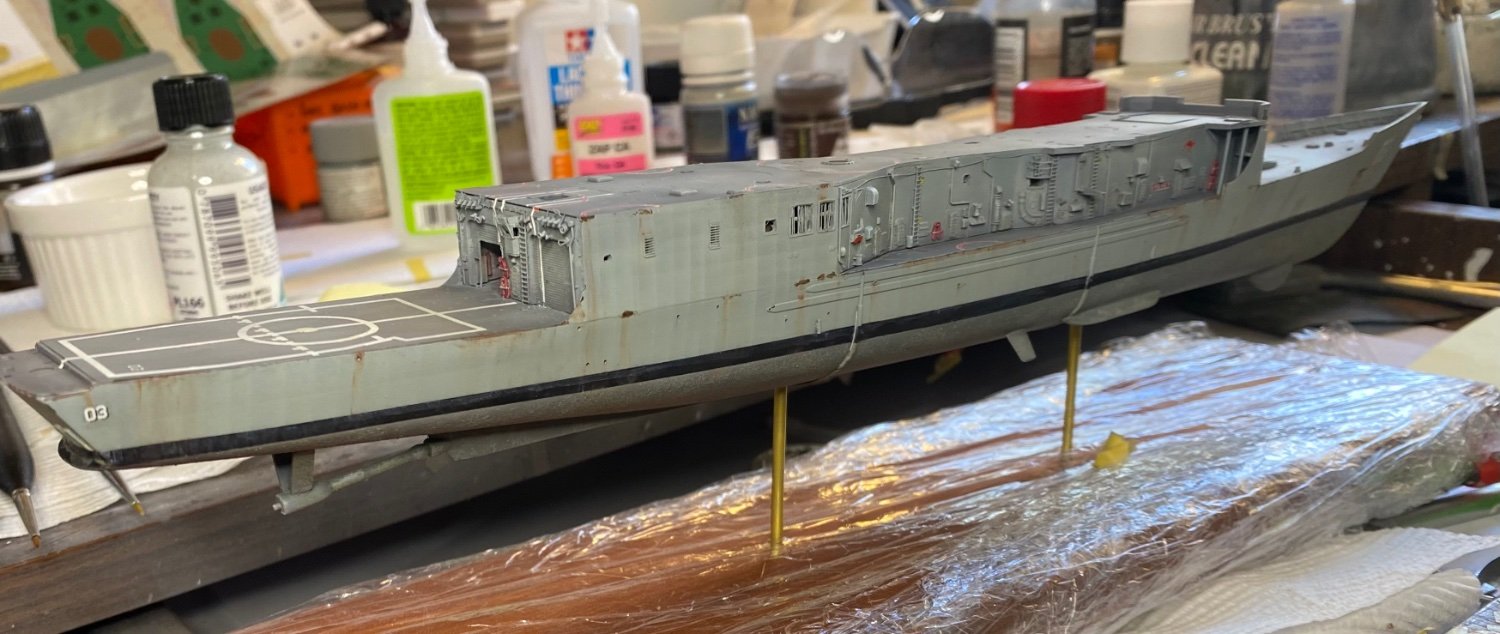
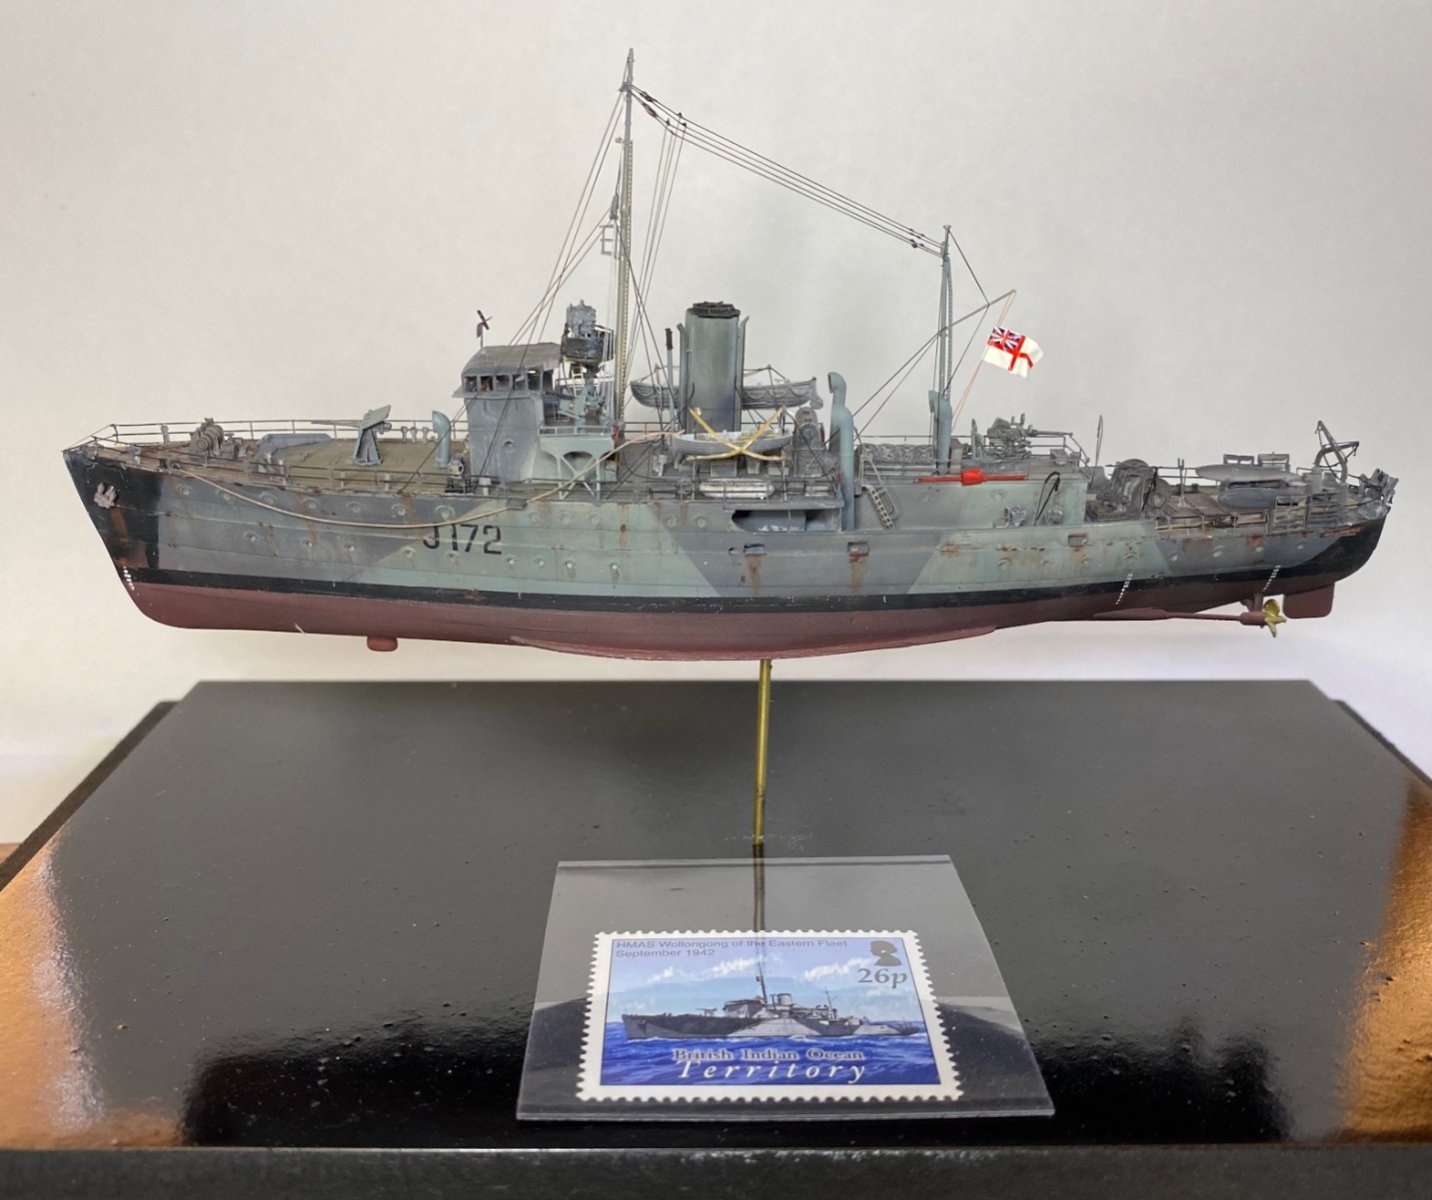
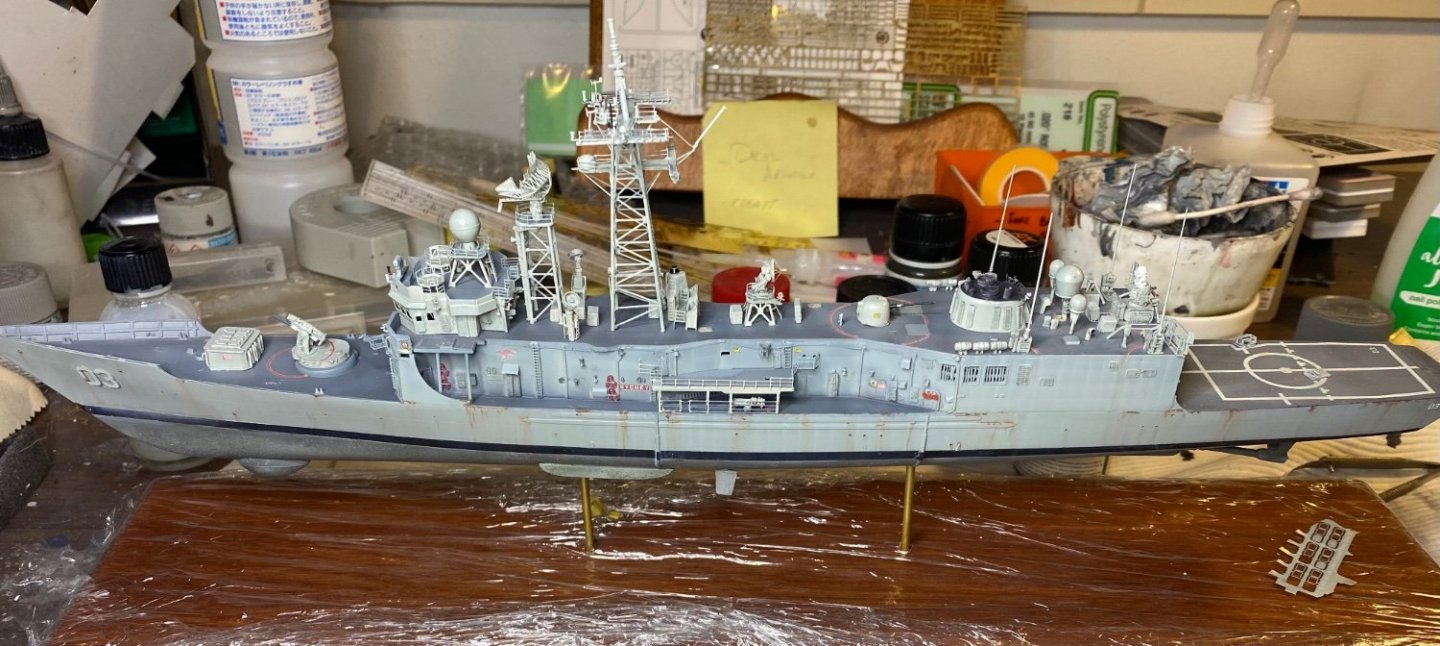
I am soo close to finishing her now, just need to finish painting the helicopter! then i had it pointed out I’m missing the Petrel sonar bulb which sits in front of the sonar bulb. So a piece of plastic rod, which I will reduce then repaint


- 102 replies
-
- 11
-
-
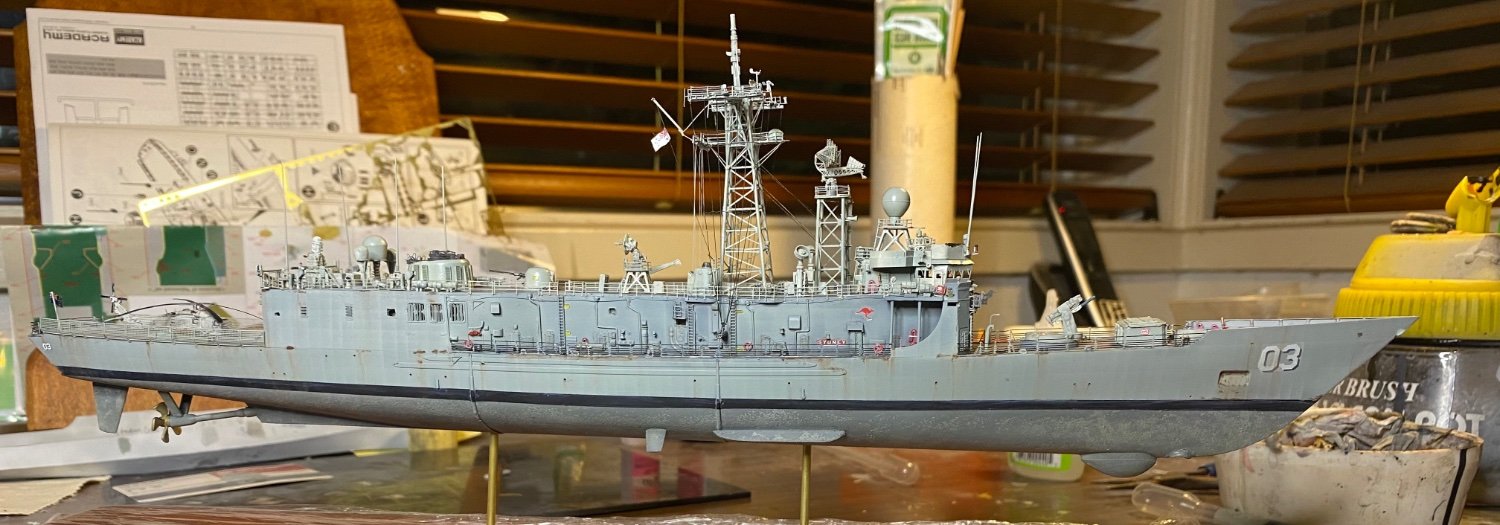
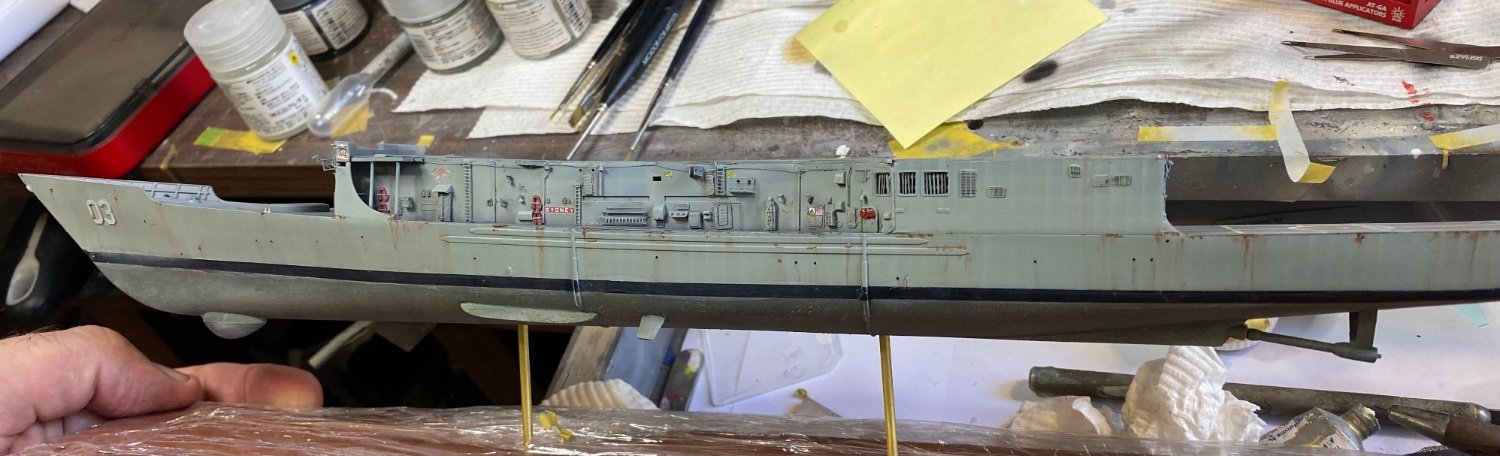
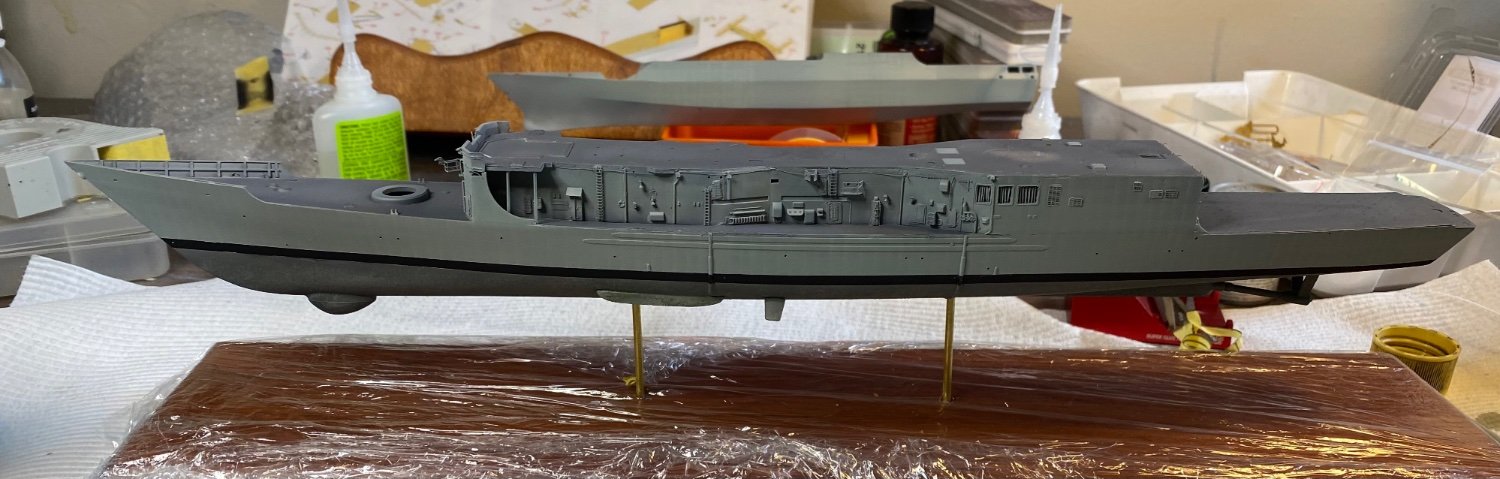
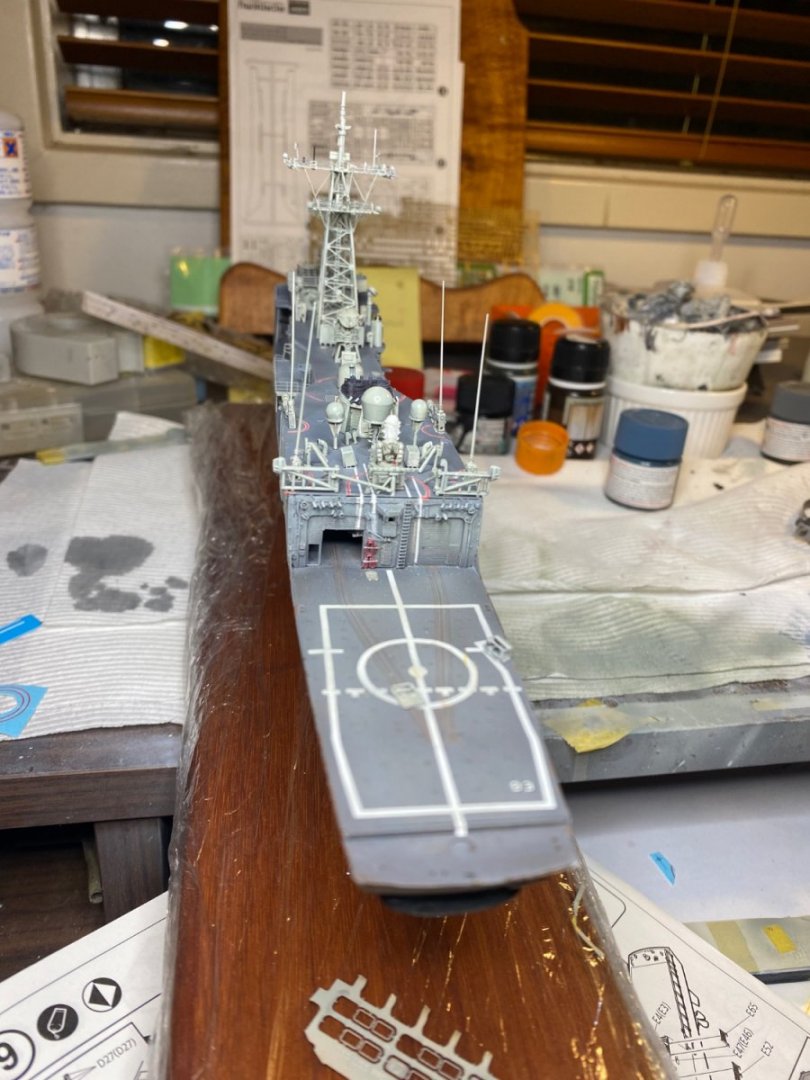
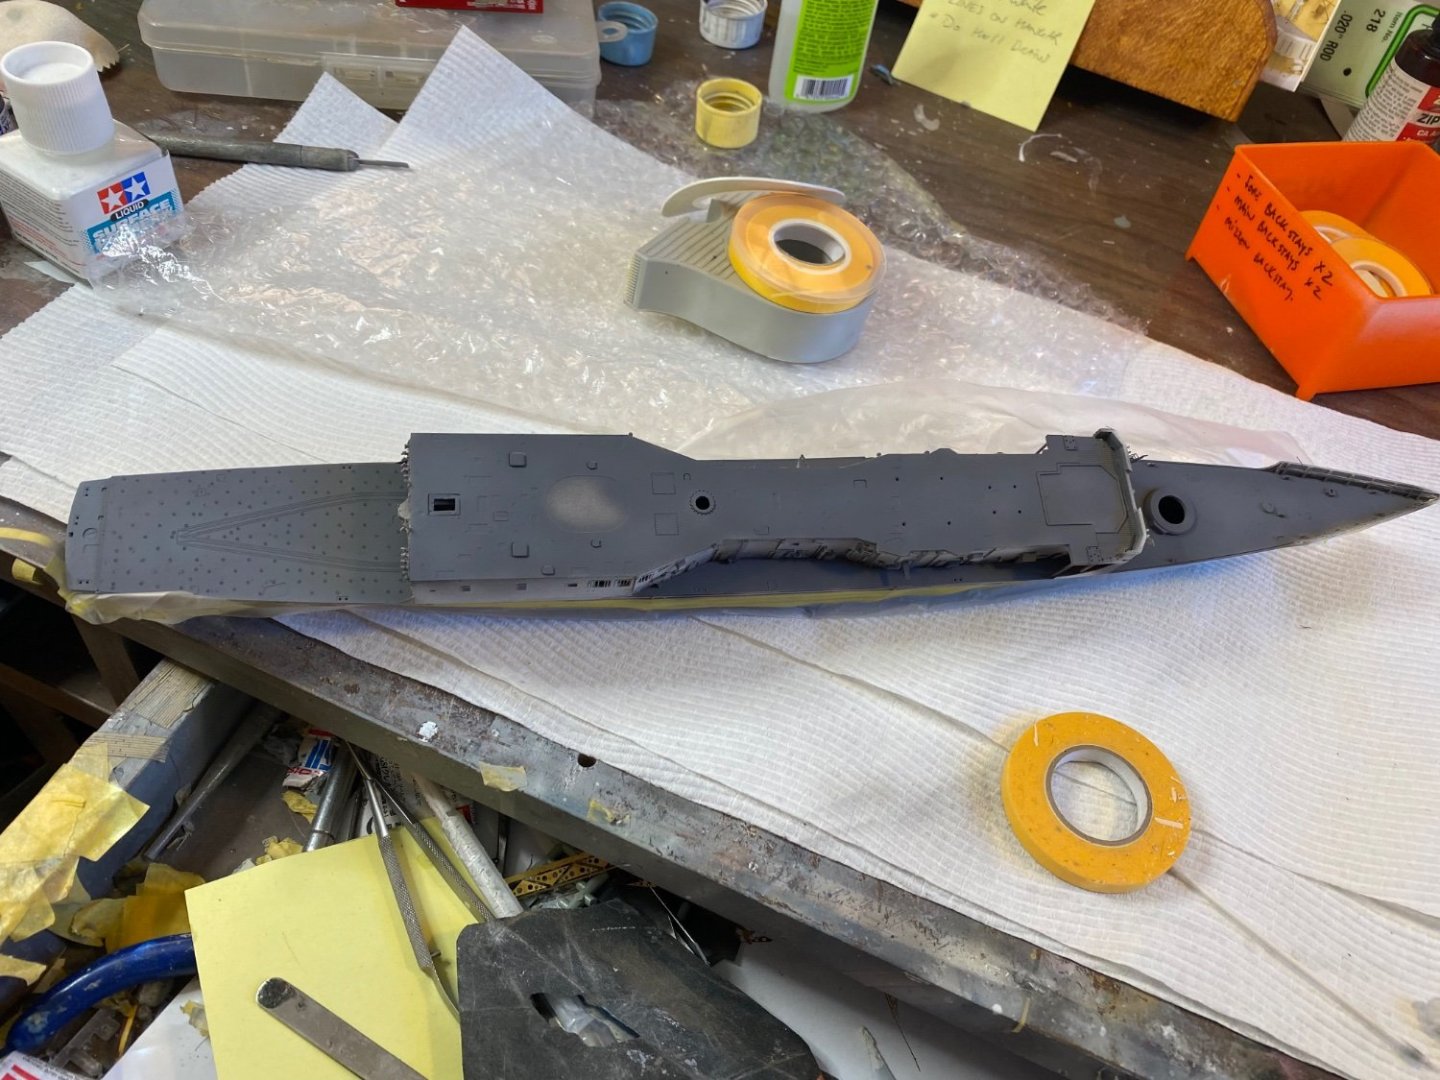
Some really big misalignment issues coming to the fore here. Academy is not Tamiya or even Trumpy. Looks OK and it will never be a showpiece but nearly done now.
- 102 replies
-
- 14
-
-
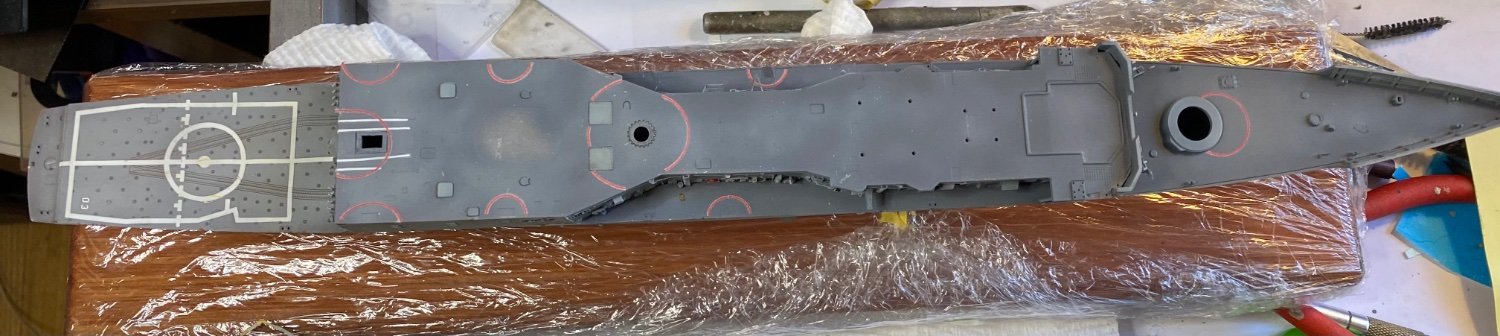
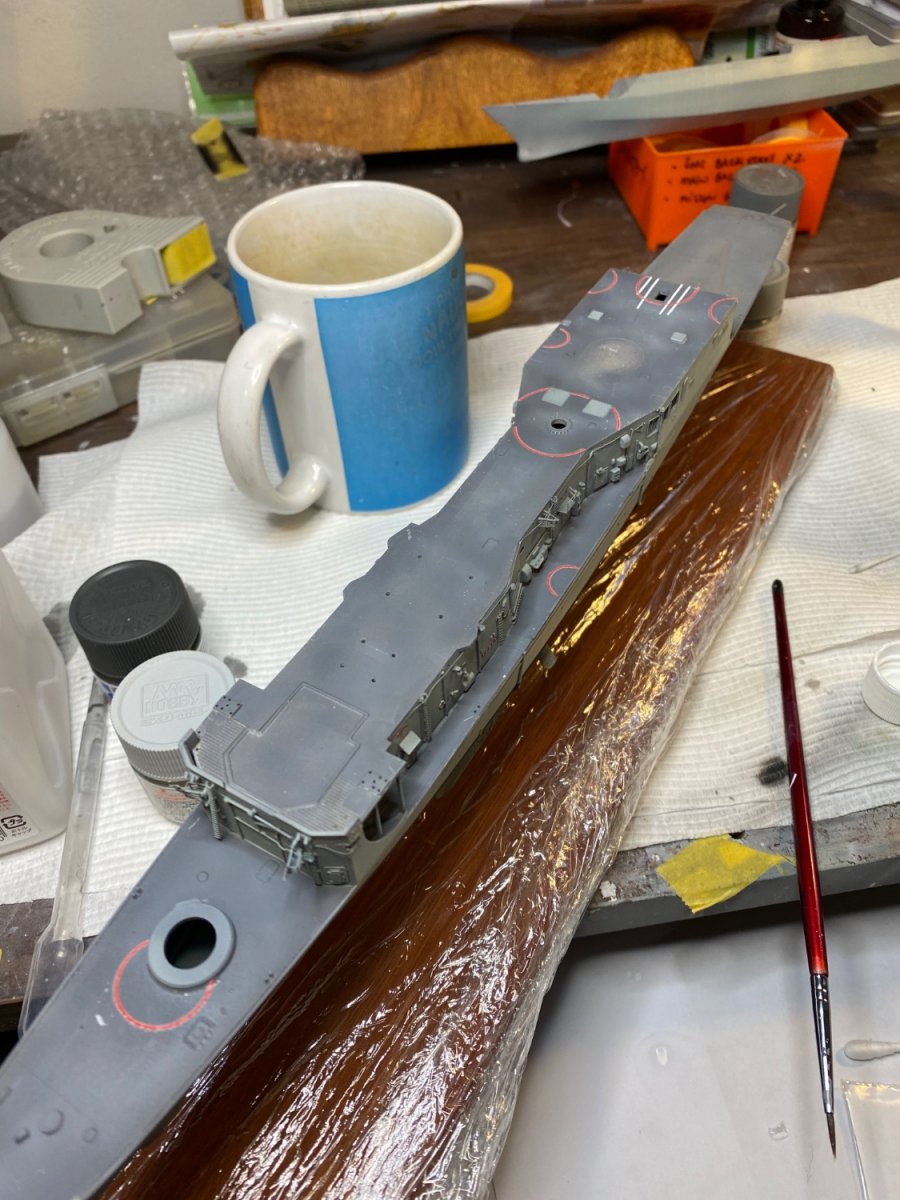
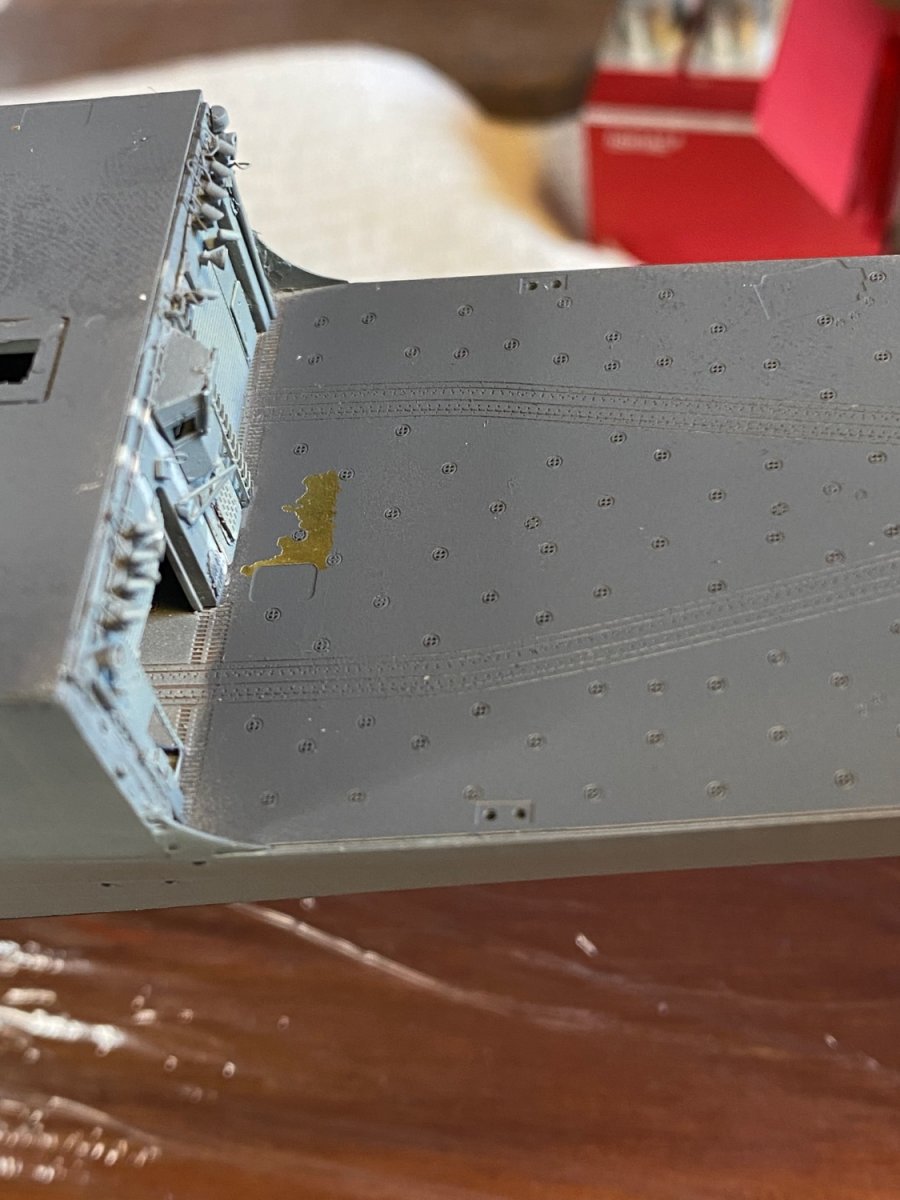
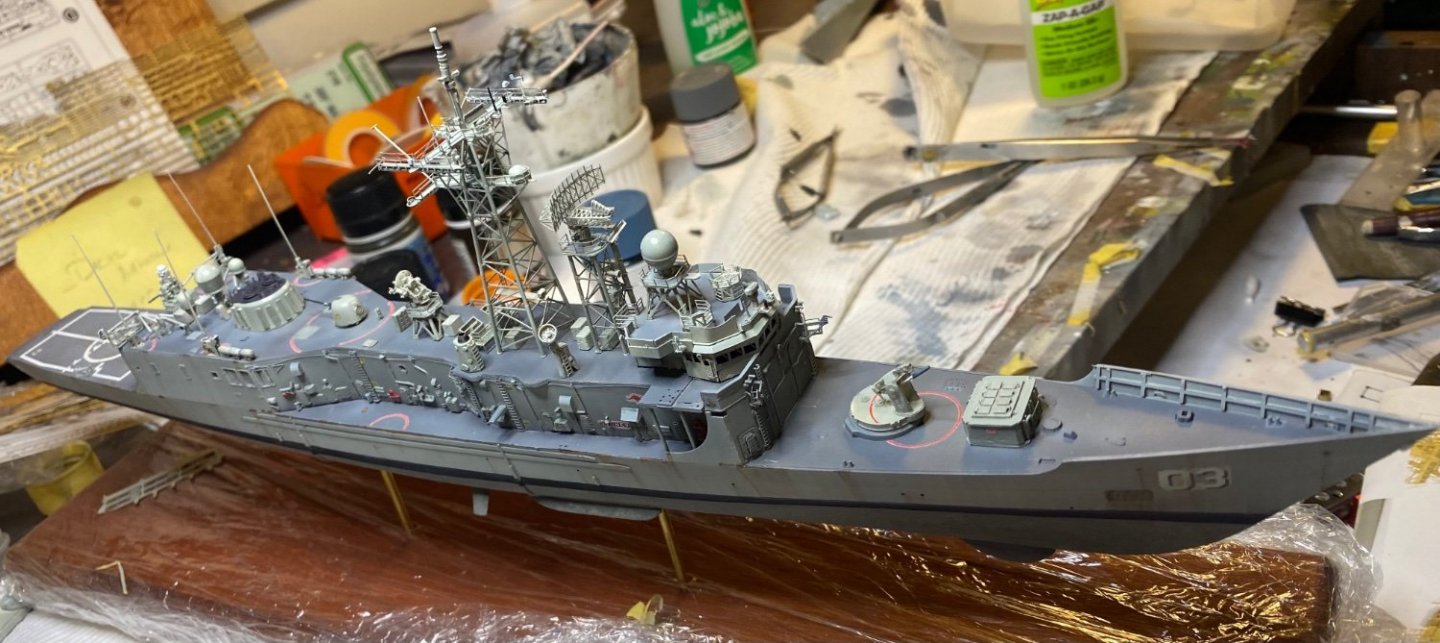
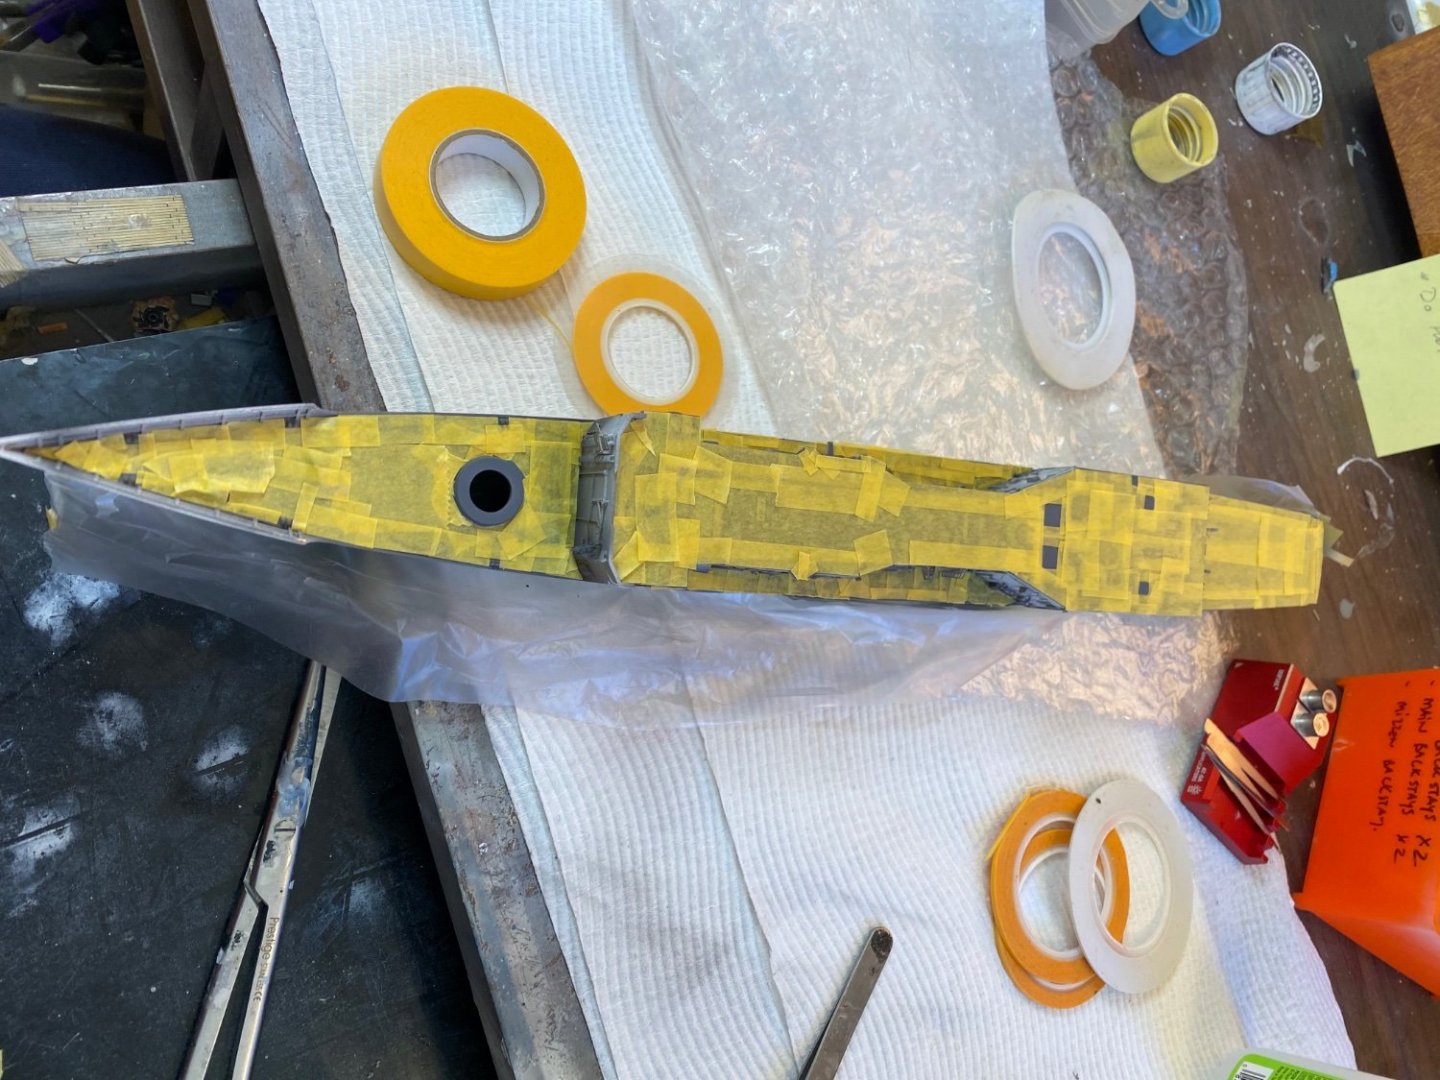
I used the rub on decals for the flight deck. Did not work, completely stripped it back and re painted it. The issue is I have flight deck decals but they are one big piece so surgery will be required. I’ve used safety warnings rings from Atlantic models for the de k markings

-
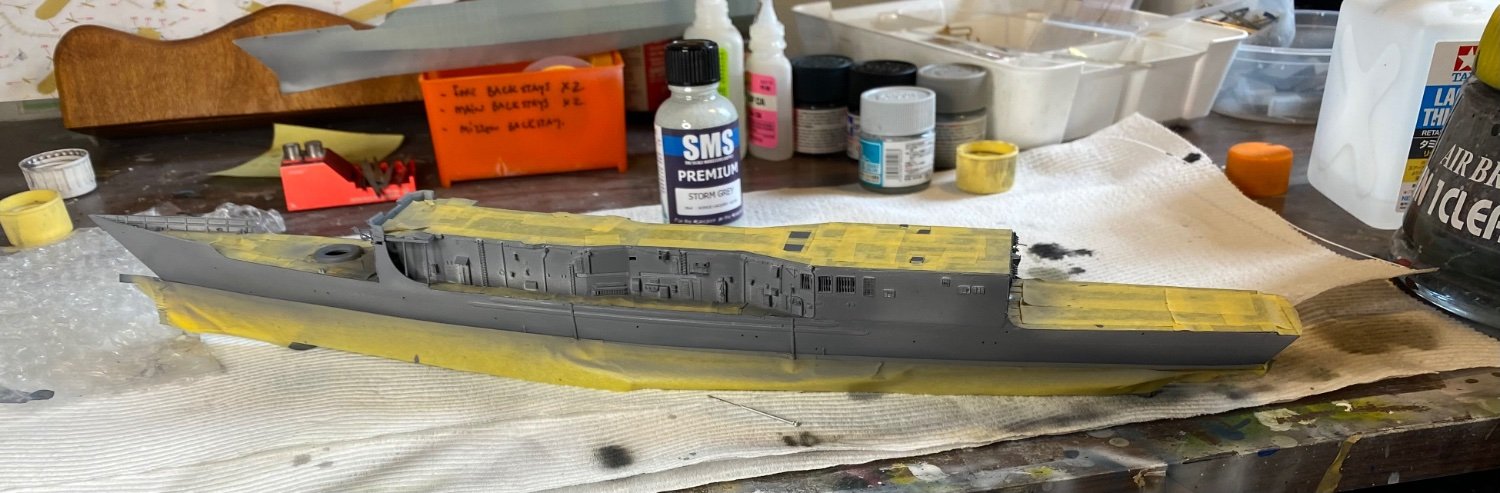
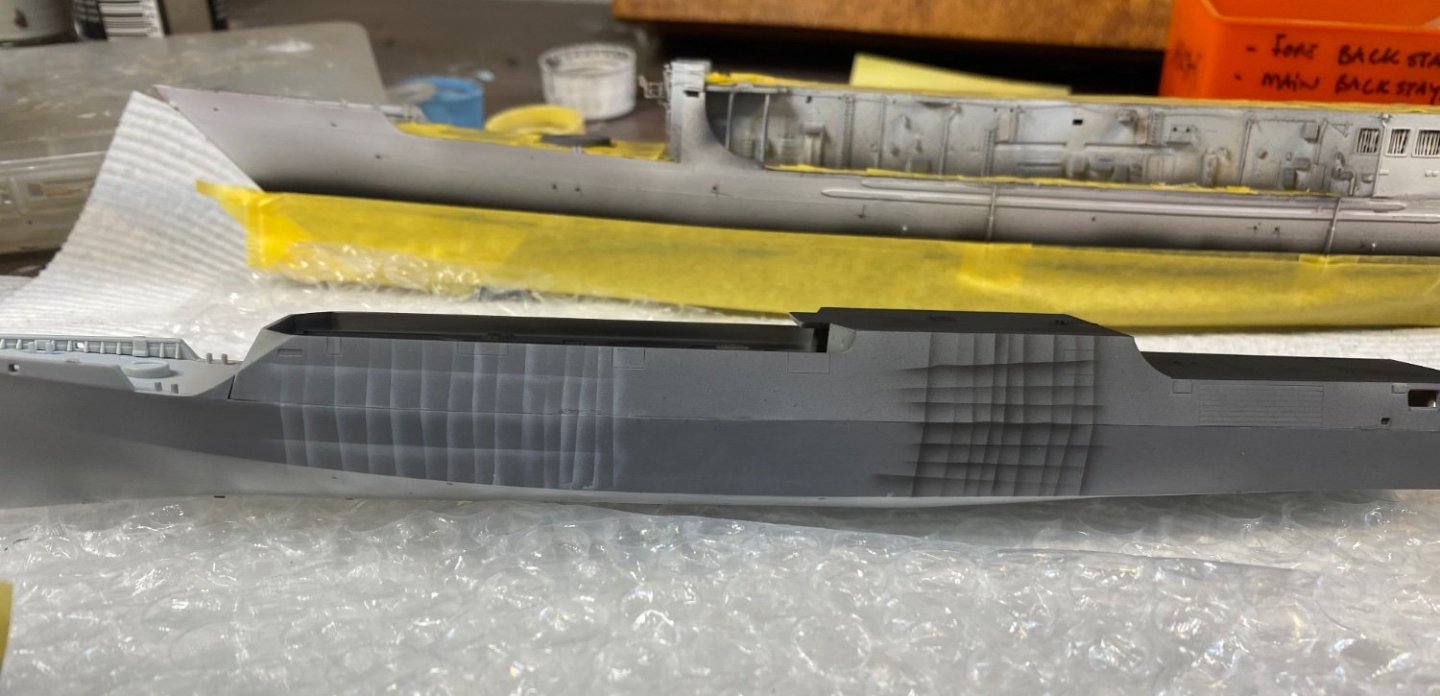
Oil canning; on my paint mule I thought I’d change the colour technique a bit and just use a light grey and a darker overspray. You can see the difference between the black and the grey. The lines are not straight but it’s about colour not accuracy on the mule.
-
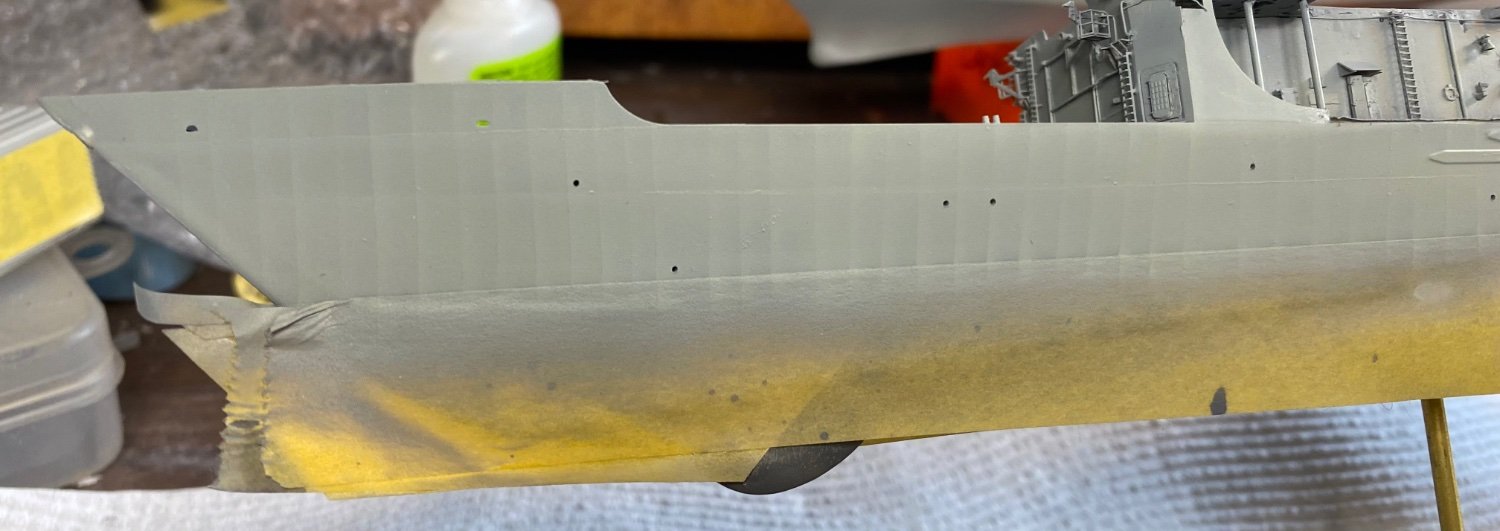
So a week away in Tasmania and I’m back at the bench. Got to do the Dawn service at Hobart for ANZAC day. A few coats of grey, and I’ve learnt my lesson, and no decals yet that won’t lift with the masking.

-
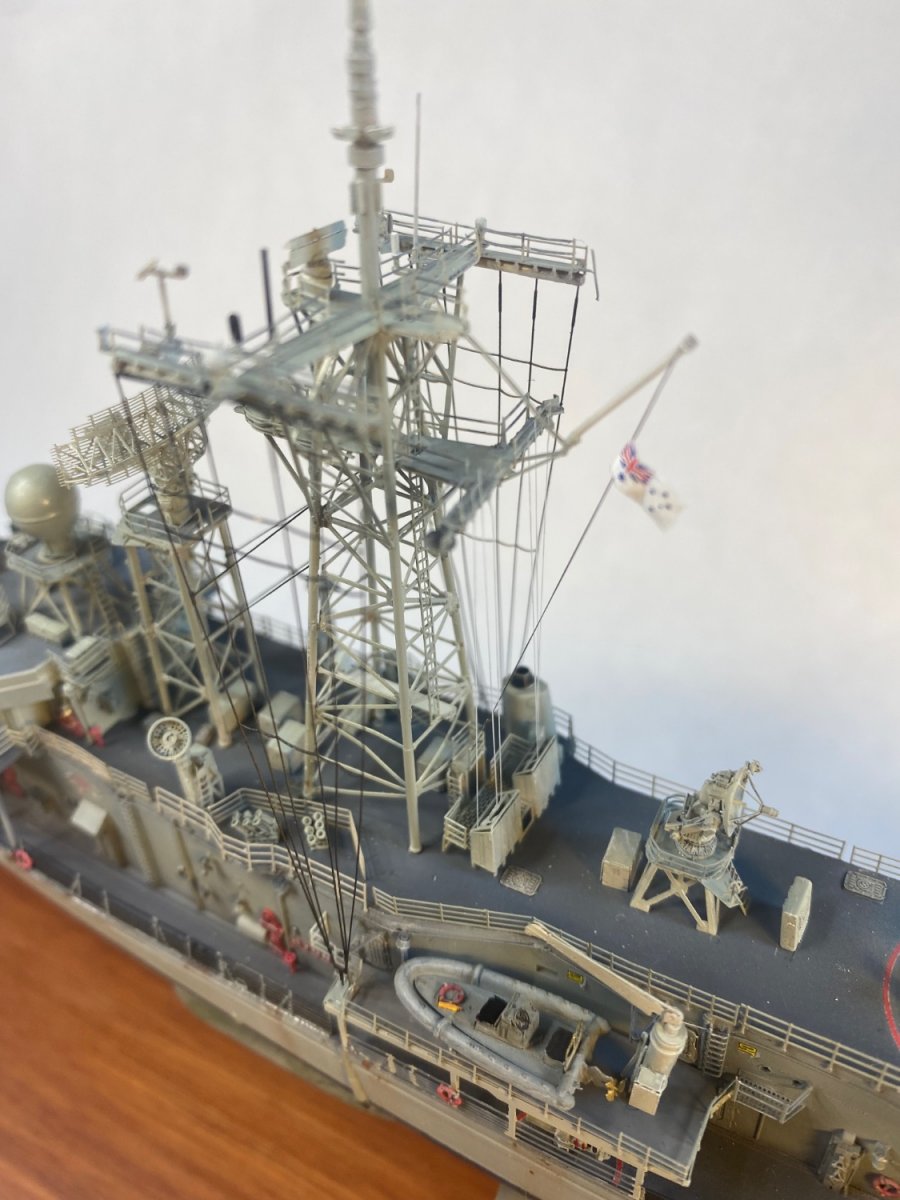
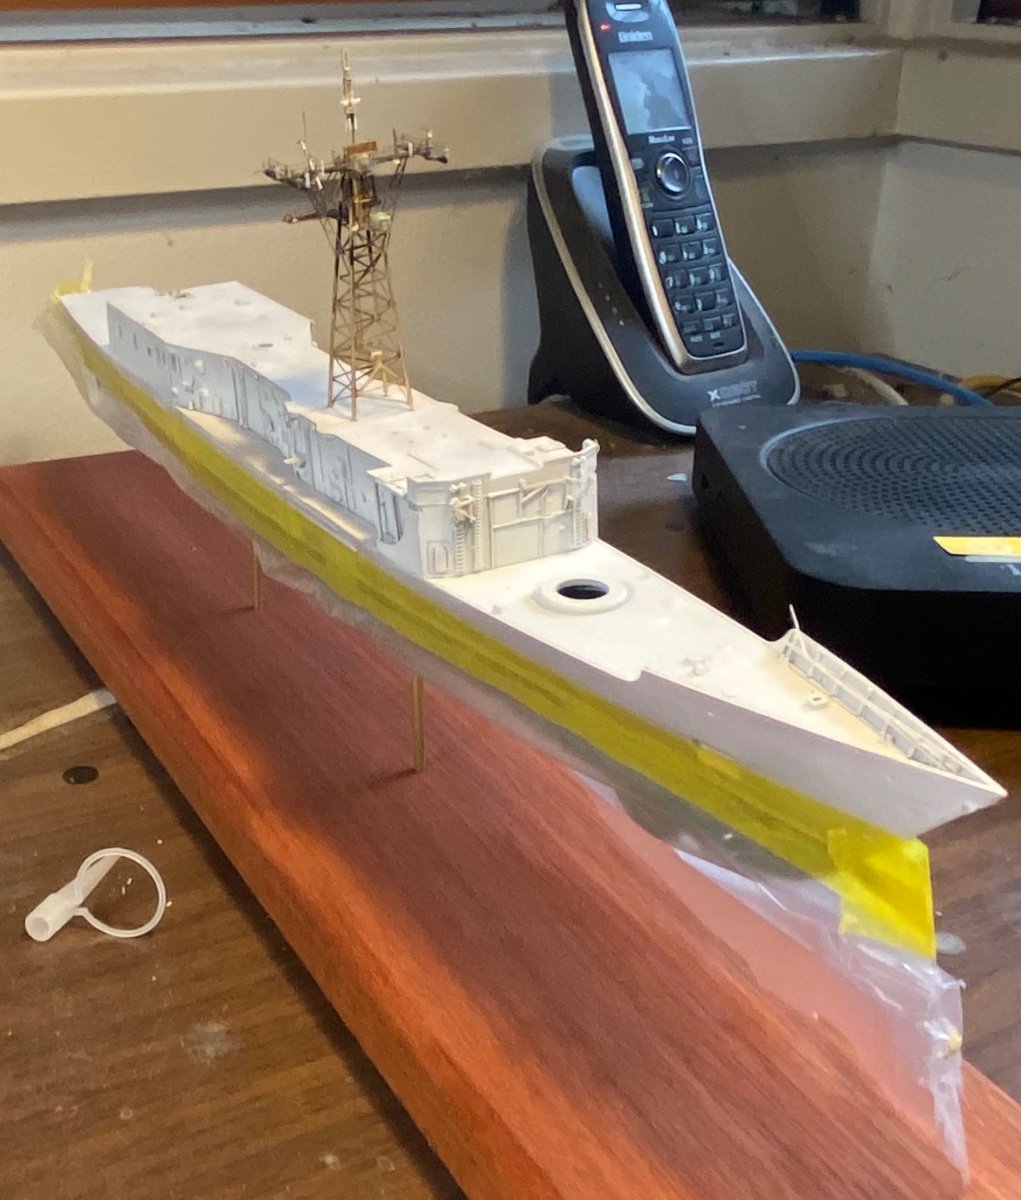
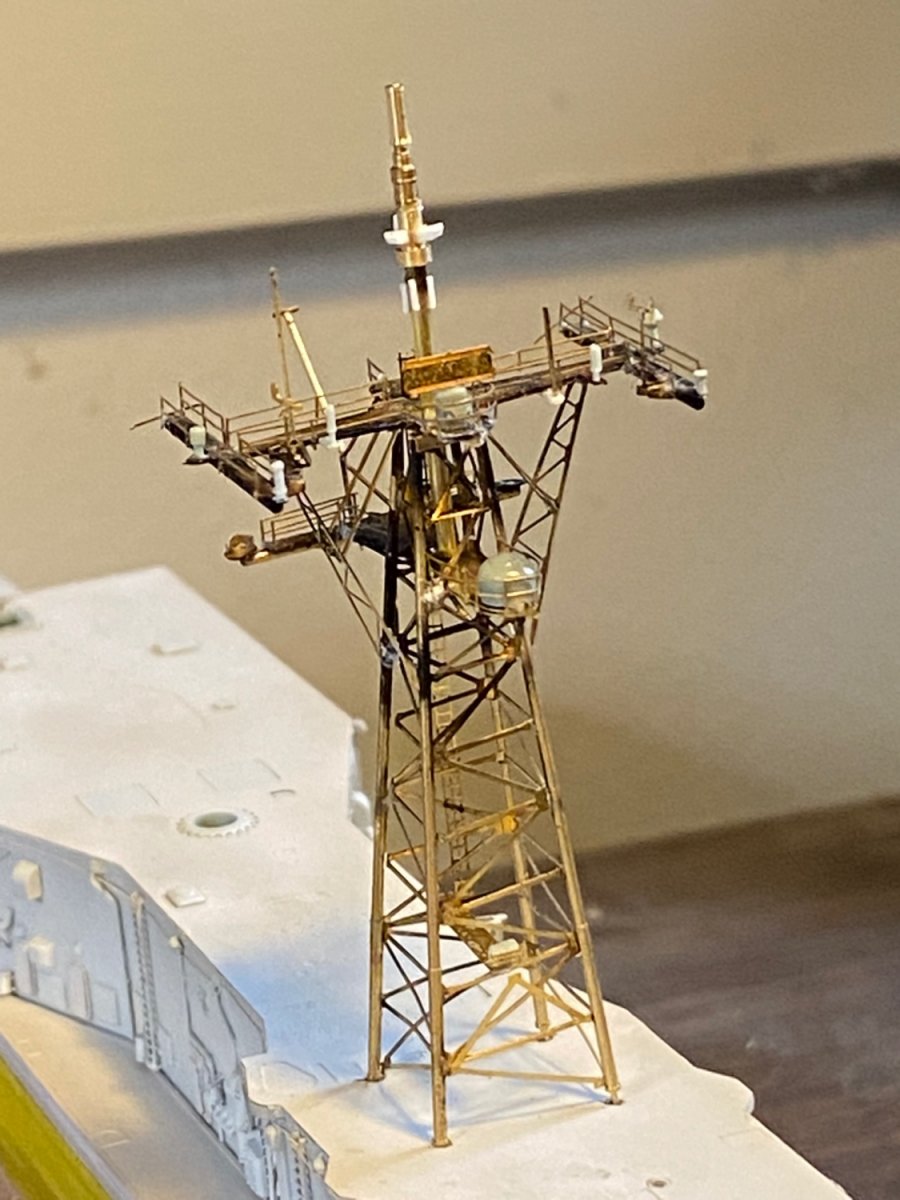
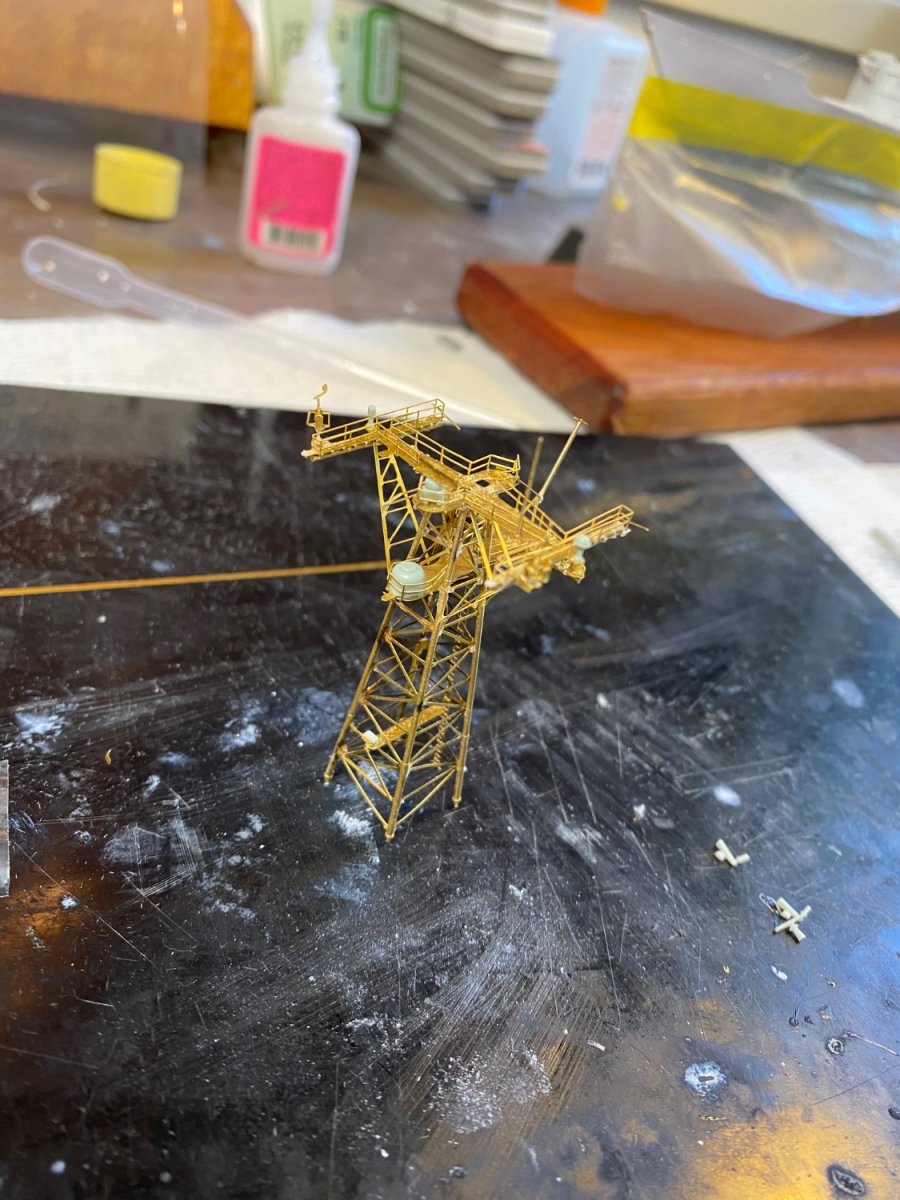
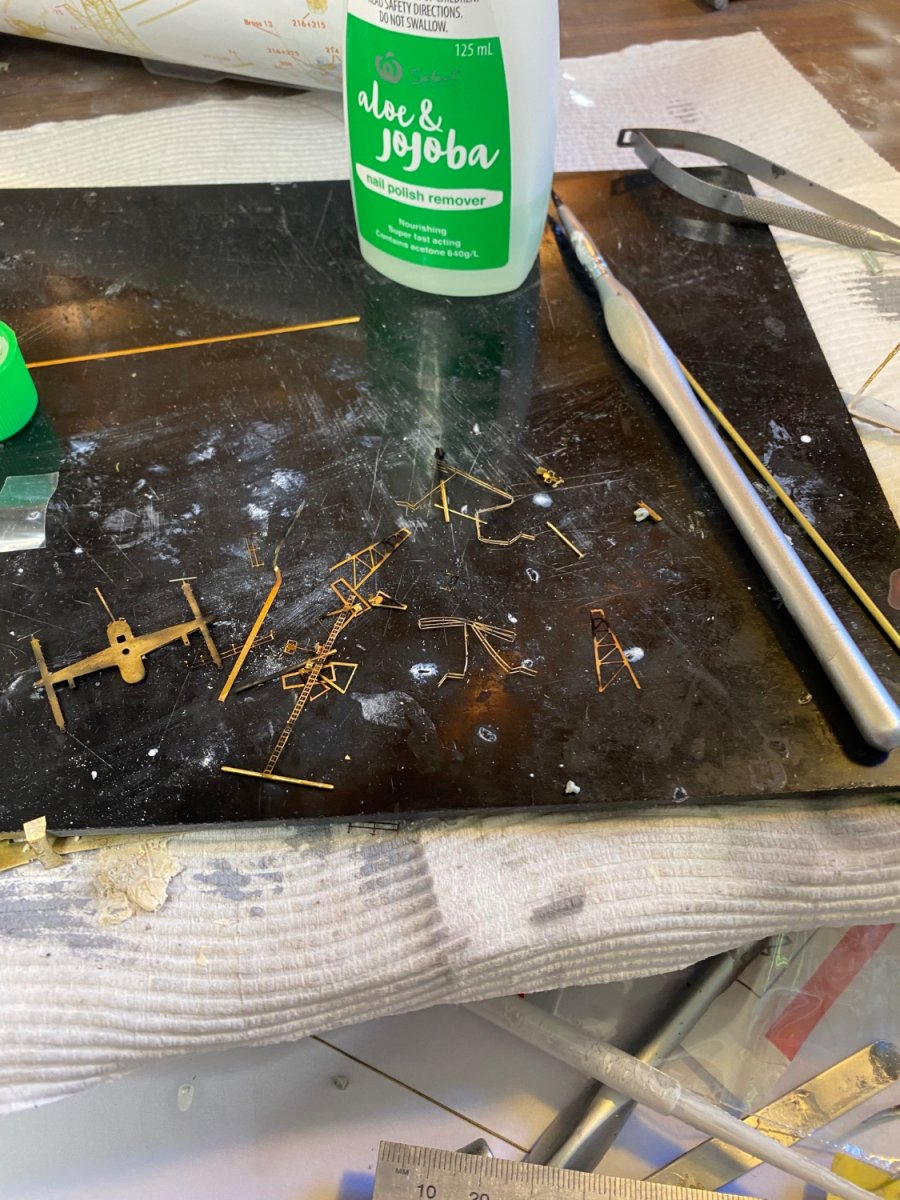
Main mast redone and the topmasts more similar to the reference photos and very different to the US kit reference


- 102 replies
-
- 19
-
-

-
Pontos models makes sets for several kits
-
http://ka-models.co.kr/?product=1350-dkm-graf-zeppelin-dx&ckattempt=1
- 345 replies
-
- 2
-
-
- graf zeppelin
- trumpeter
- (and 2 more)
-
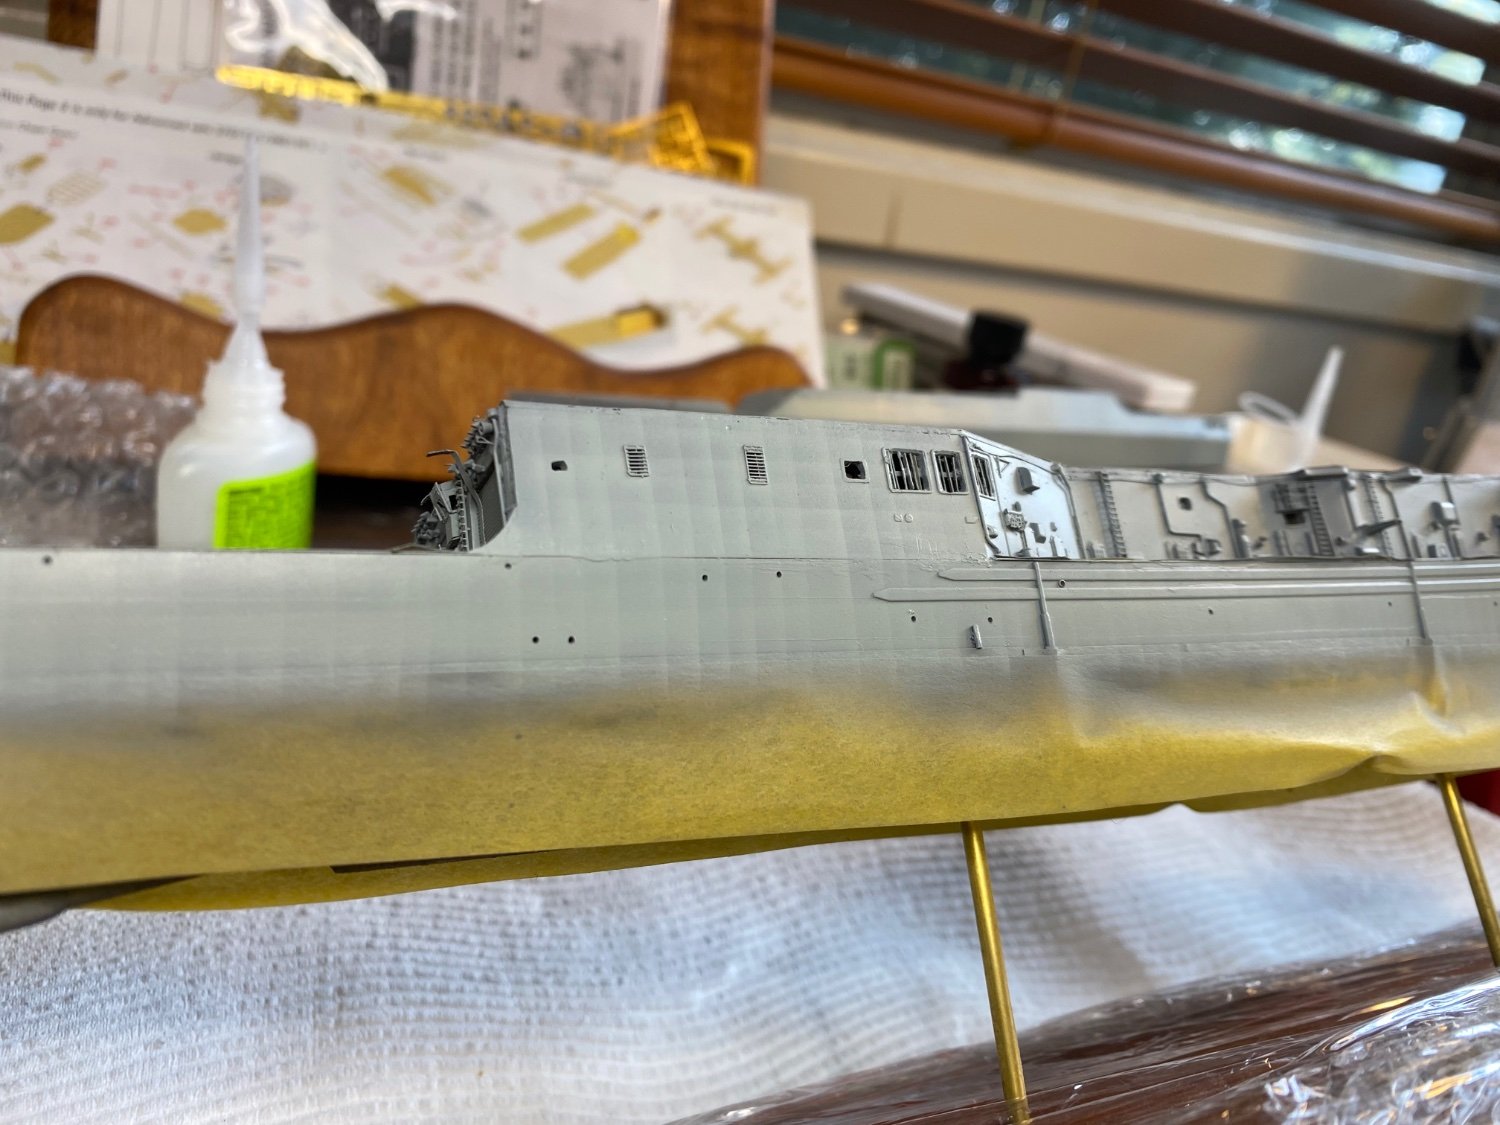
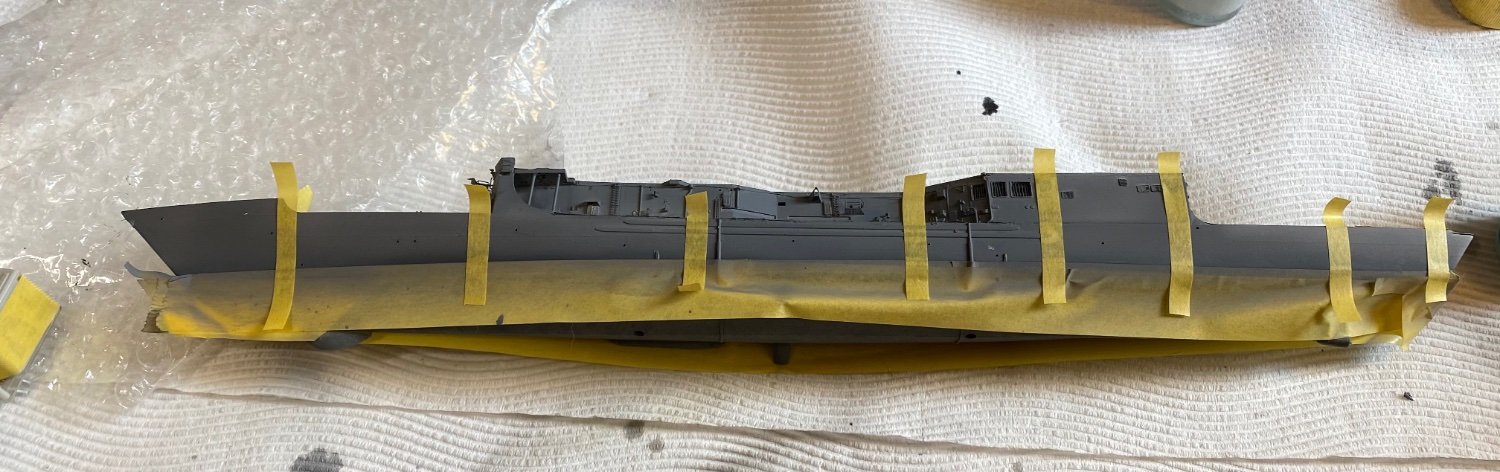
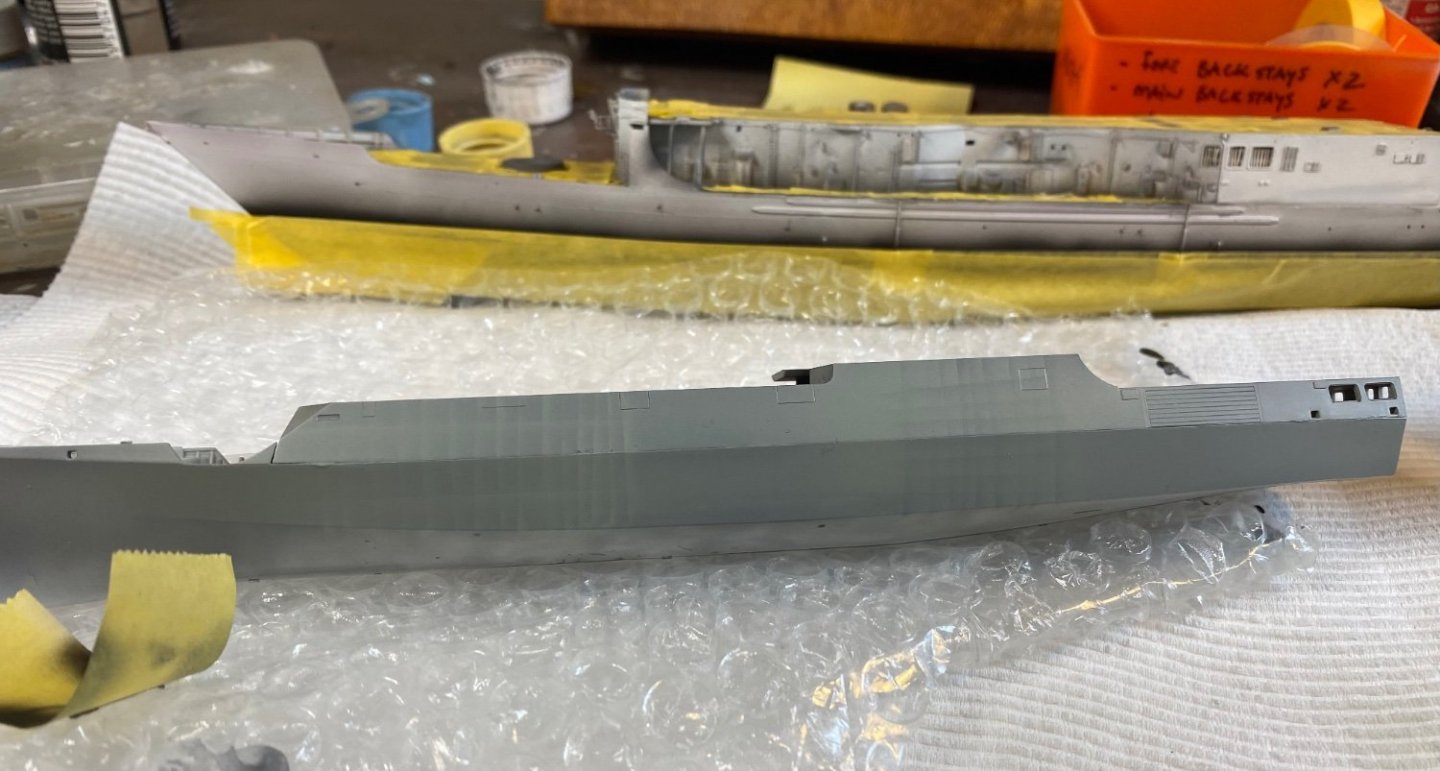
I remove the tape after primer coats, the tape would we way too thick this scale. The vertical lines are scribed in