
HOLIDAY DONATION DRIVE - SUPPORT MSW - DO YOUR PART TO KEEP THIS GREAT FORUM GOING! (Only 13 donations so far - C'mon guys!)
×


Steve 12345
-
Posts
438 -
Joined
-
Last visited
Content Type
Profiles
Forums
Gallery
Events
Everything posted by Steve 12345
-
 maybe I should add the last bulkhead adds up to exactly 4 full plank widths same as mid ship ignore all pencil marks seen these are from many other hrs pondering think I do more of that than actually building
- 291 replies
-
- 4
-

-
- bounty
- billing boats
- (and 1 more)
-
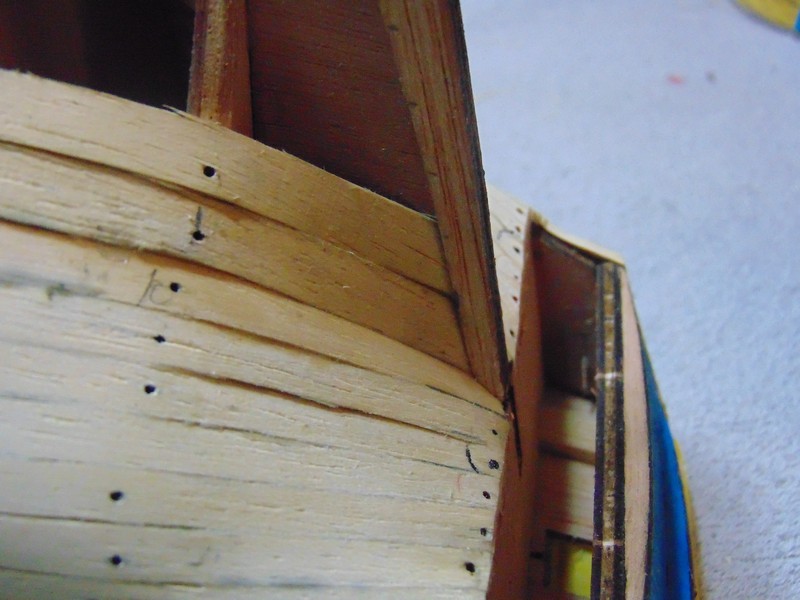
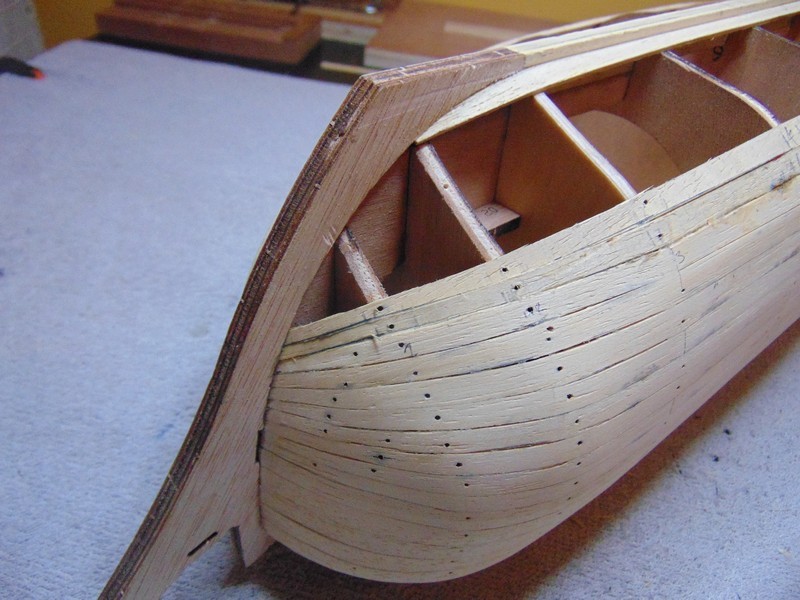
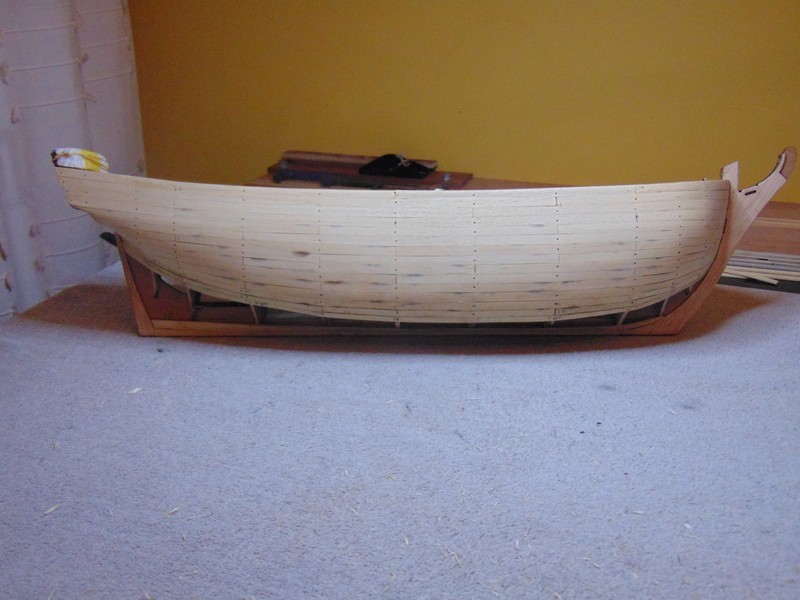
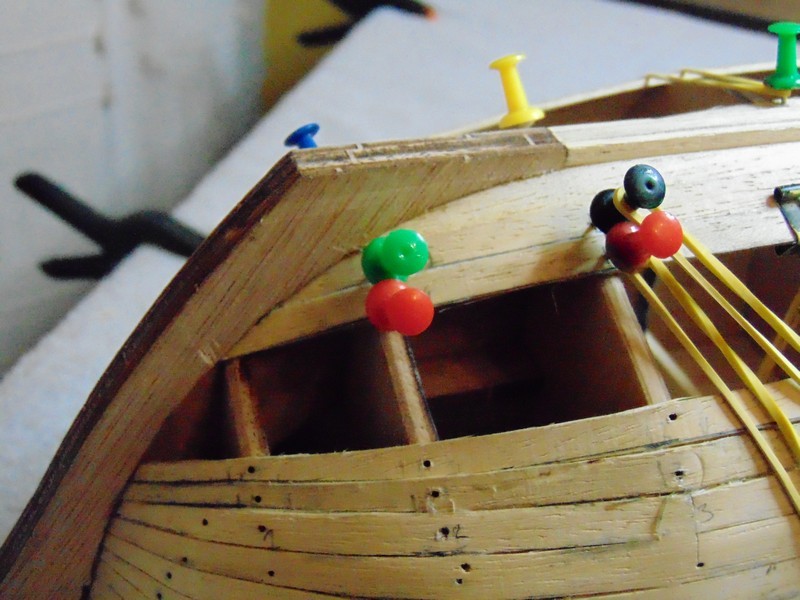
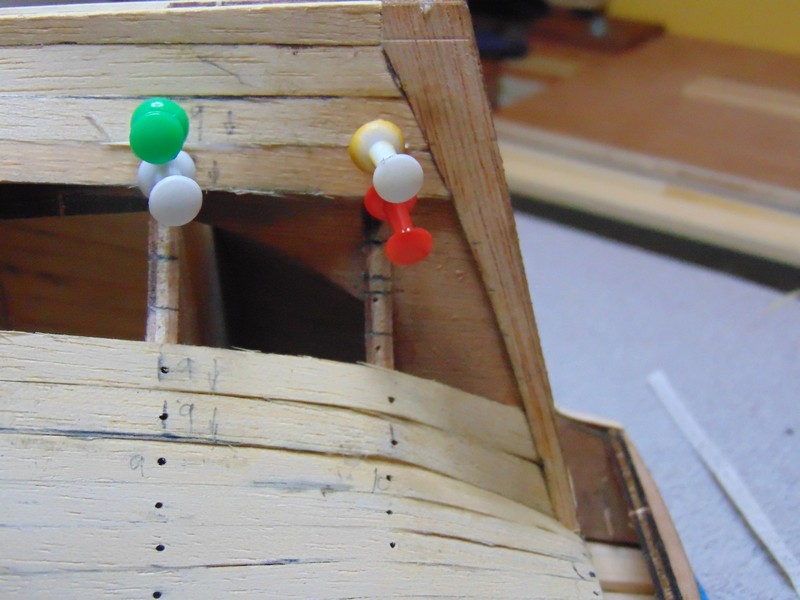
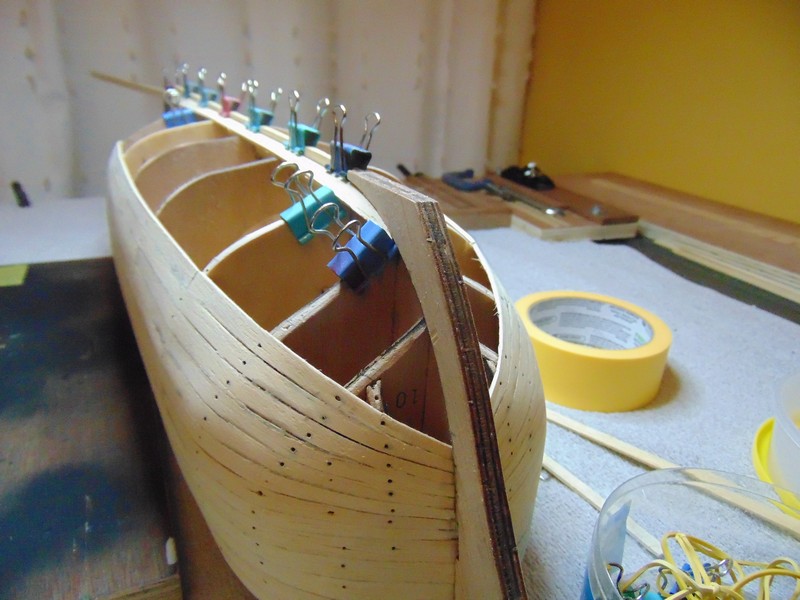
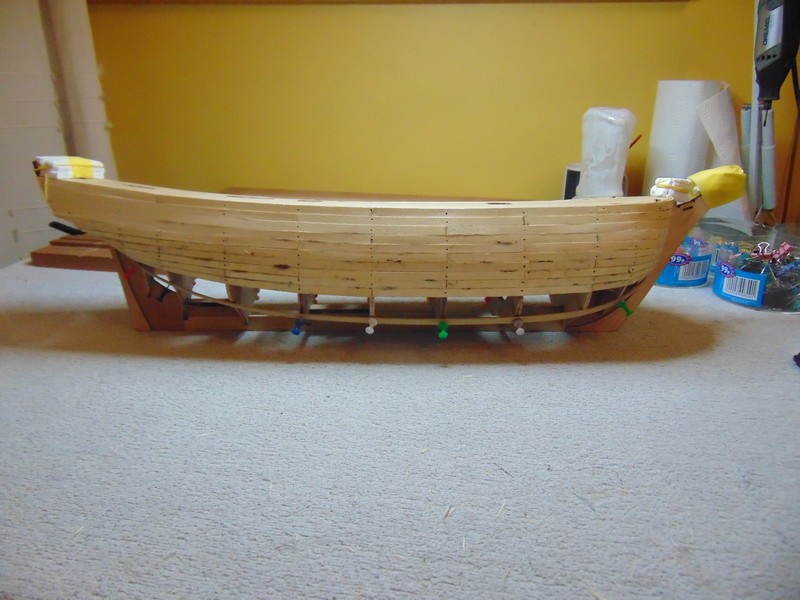
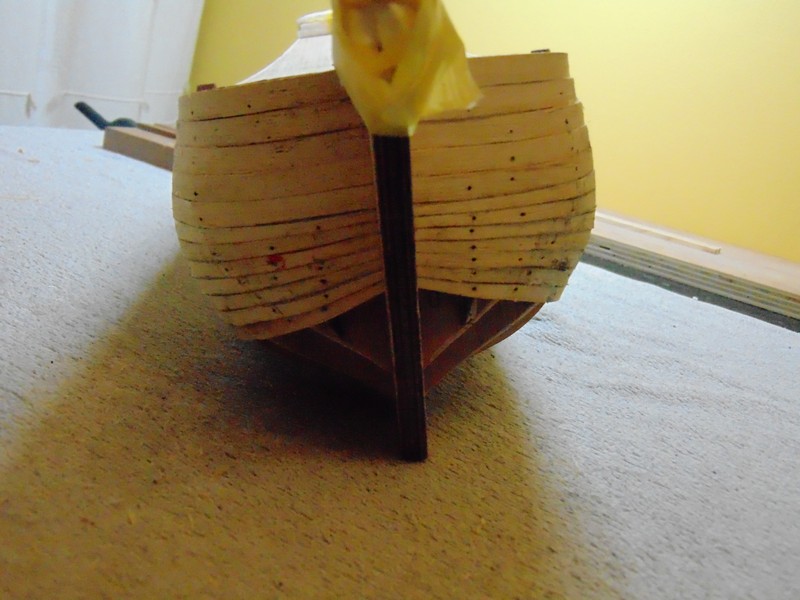
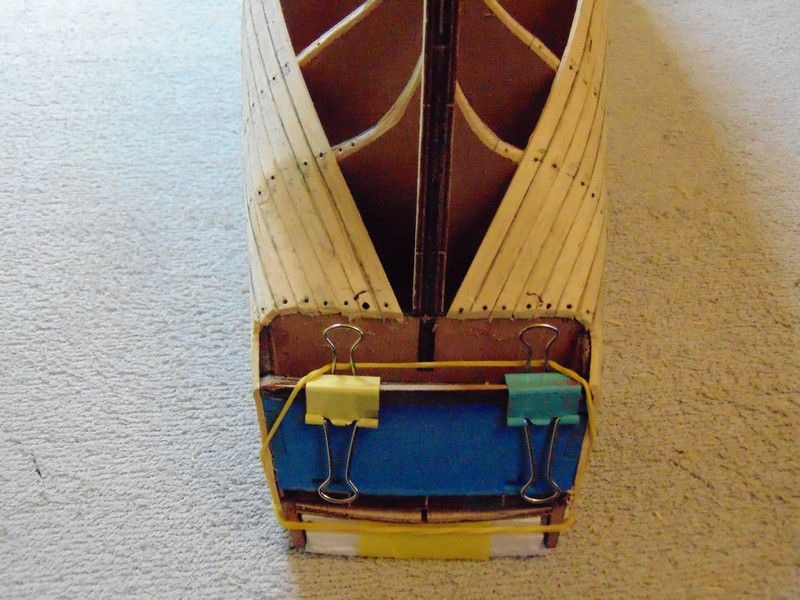
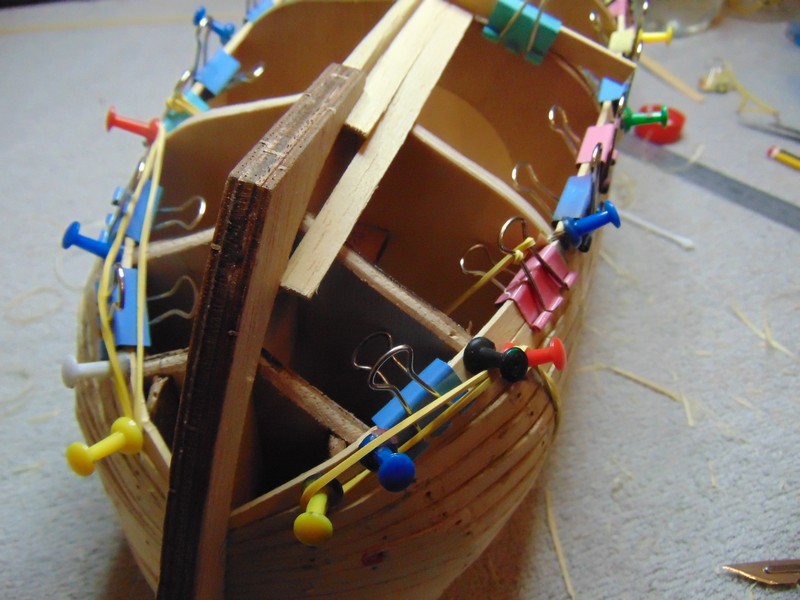
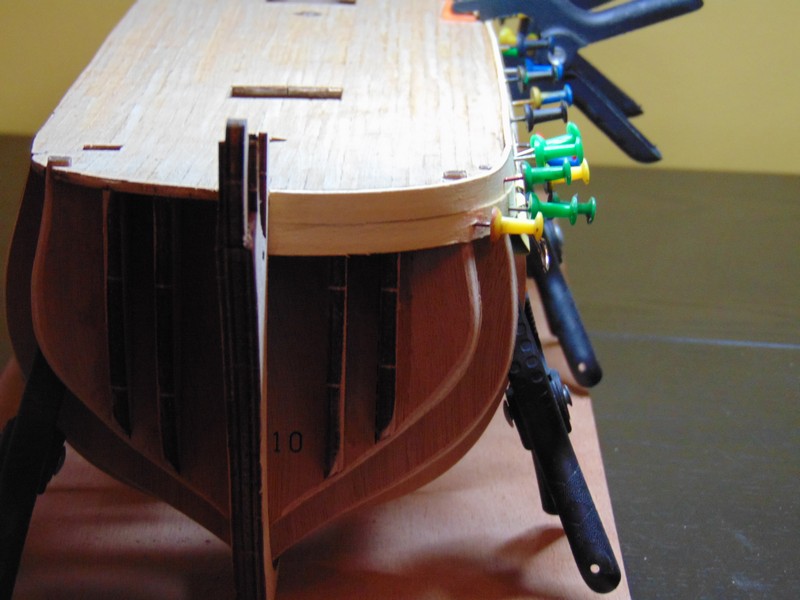
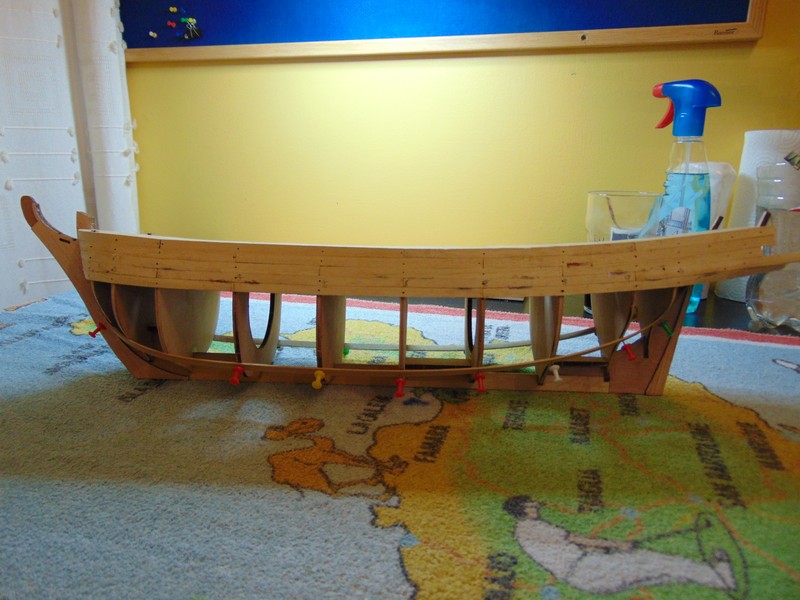
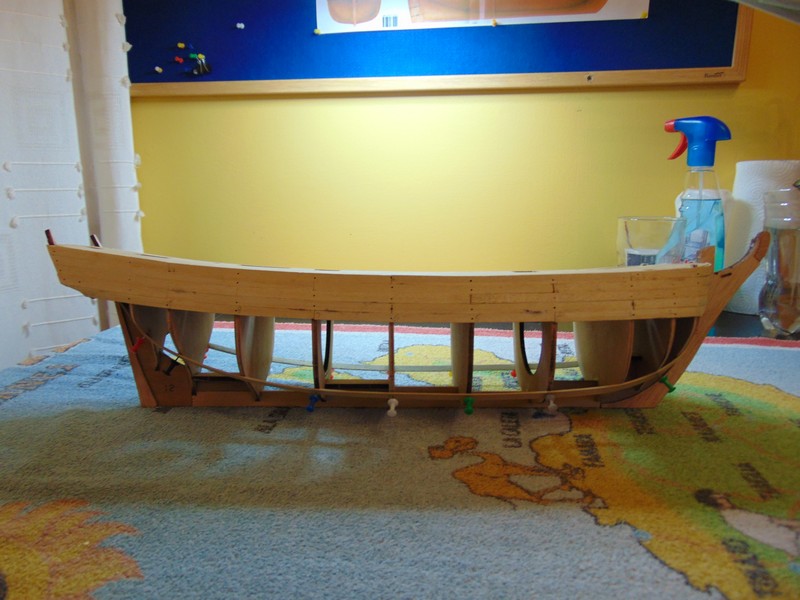
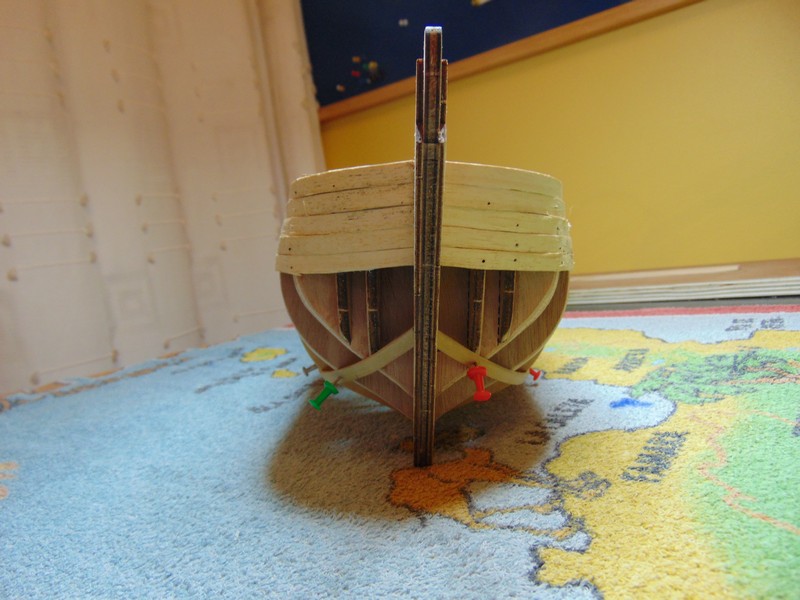
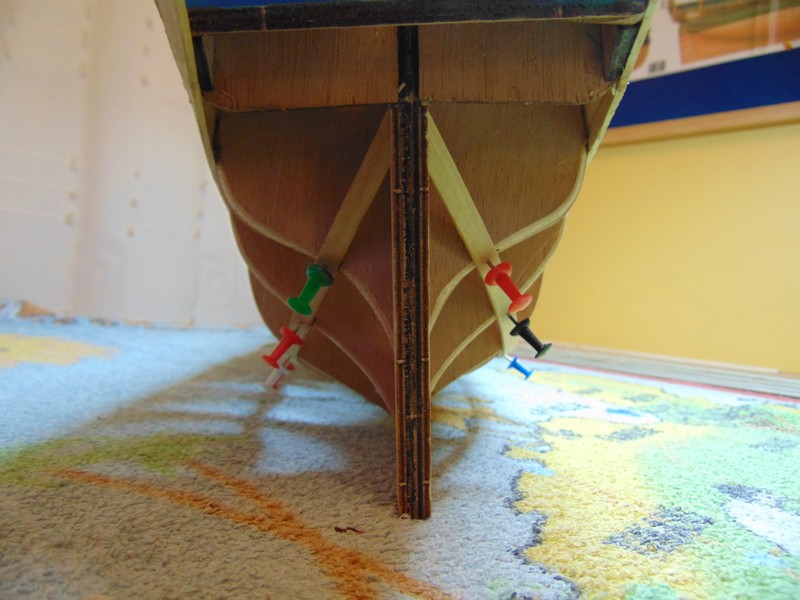
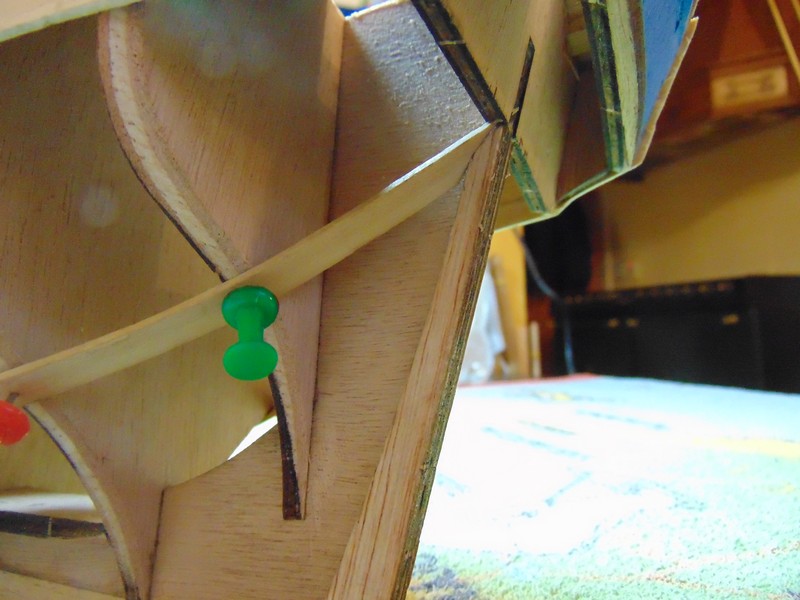
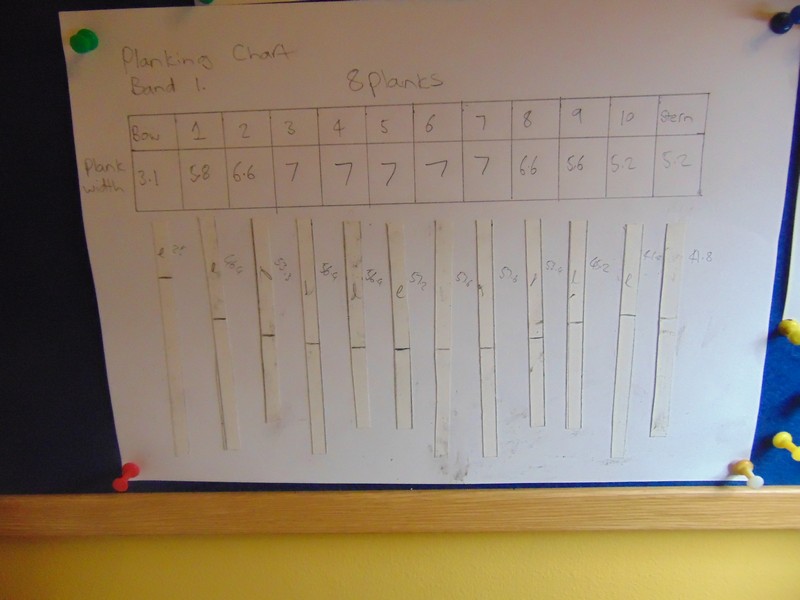
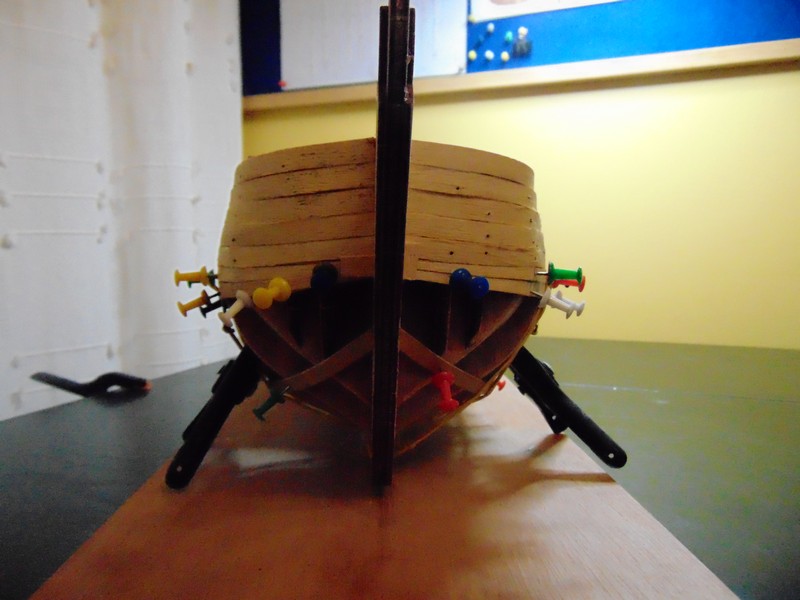
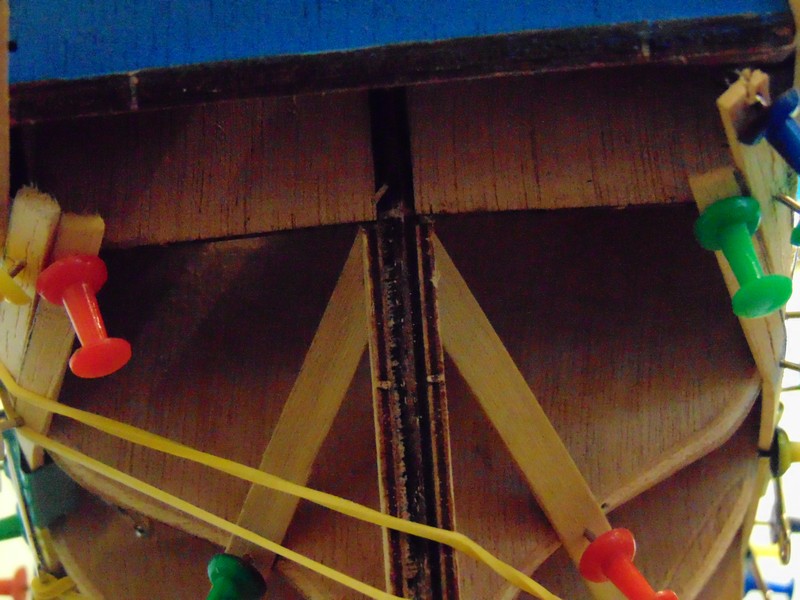
small update showing the planking . now I have a question for the experienced members as a carpenter with eighteen plus years experience of carpentry I have pondered over this all evening please take a look at the last picture and answer. is there a difference if I close this band of planking from deck to keel or keel to deck . I feel from deck to keel the band will close successfully as the angle that the plank meets the stern creates a wider band for example 2 seven mm planks create 21 mm however from keel to deck only 14mm perhaps im over thinking this and just need to crack on but im curious if there would be a difference
- 291 replies
-
- 6
-
-
- bounty
- billing boats
- (and 1 more)
-
Nice would like to build this it will be a large model !
-
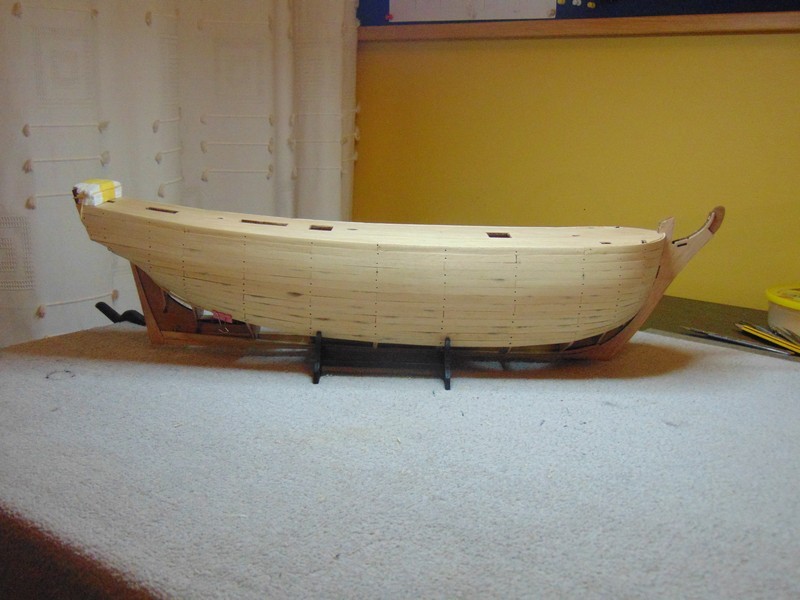
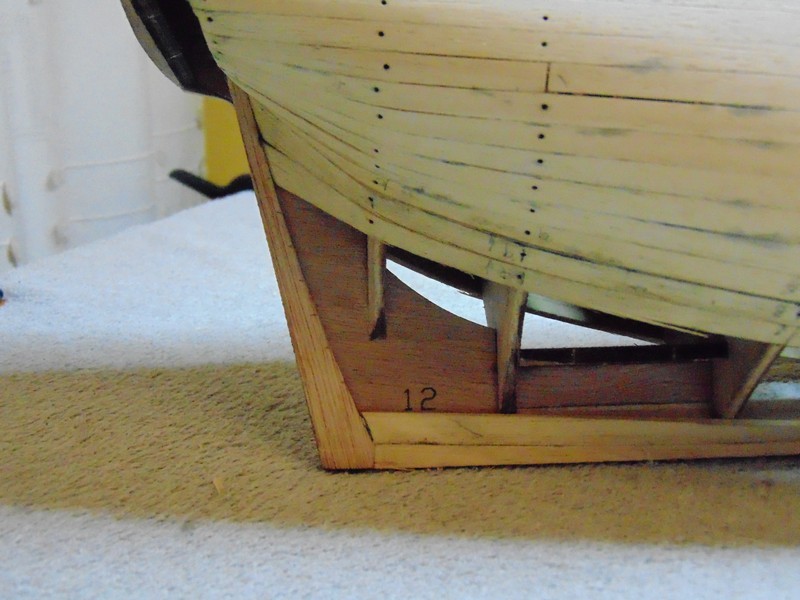
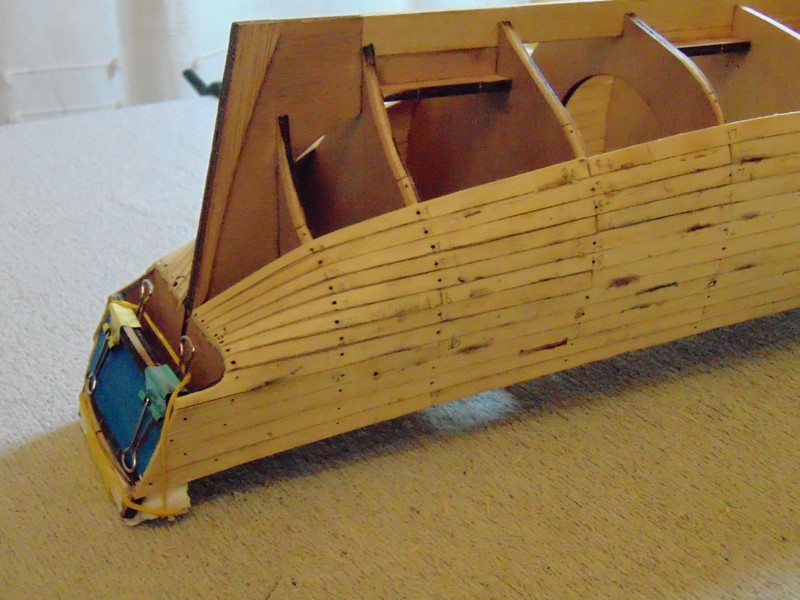
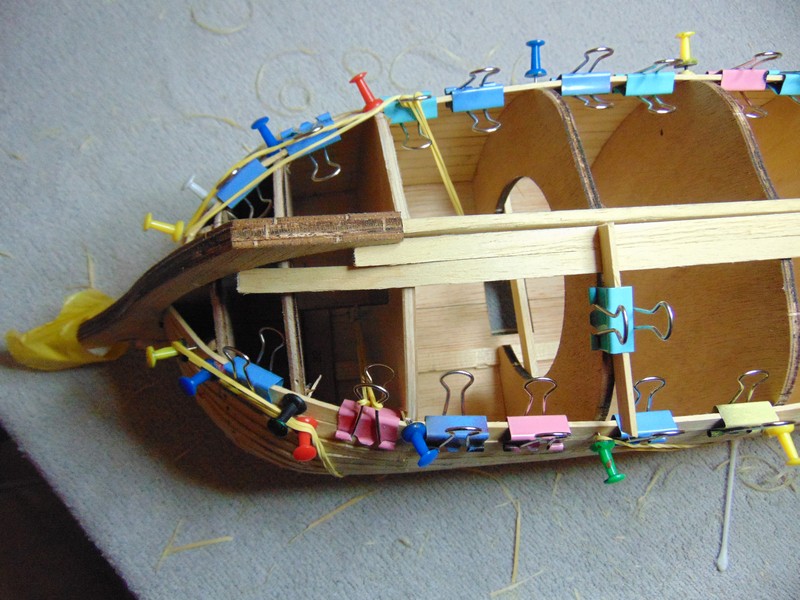
garboard plank not sure if correct position however ive done my maths and this will work for me hopefully no drop planks at bow. stern will definitely requires stealer or two as the distance is one plank greater than mid ship im still happy with this
- 291 replies
-
- 5
-
-
- bounty
- billing boats
- (and 1 more)
-
Where are you "picking up" these old models from? I try eBay but always get outbid then find the same model up for auction for extortion prices
- 291 replies
-
- 2
-
-
- bounty
- billing boats
- (and 1 more)
-
Looks like a nice start is this the second model or the practice model? just curious
-
Thanks ej for following along and your continued support
- 291 replies
-
- 2
-
-
- bounty
- billing boats
- (and 1 more)
-
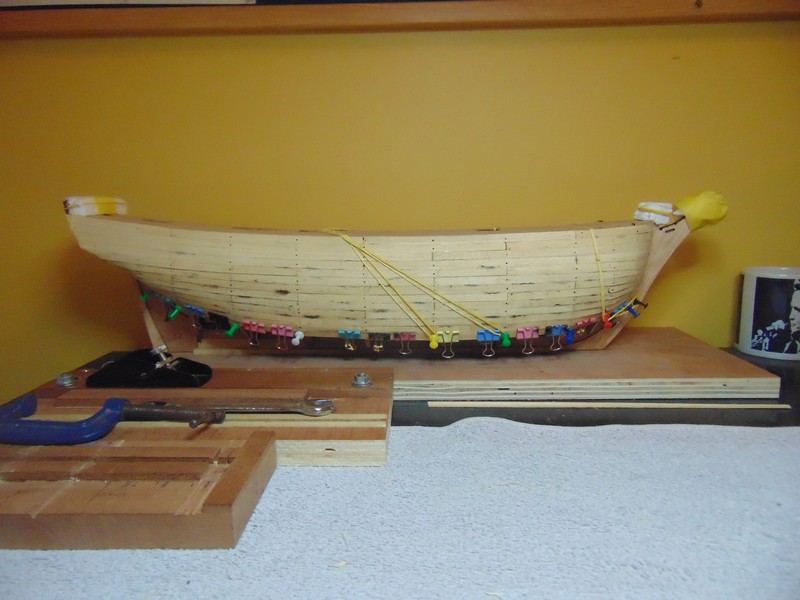
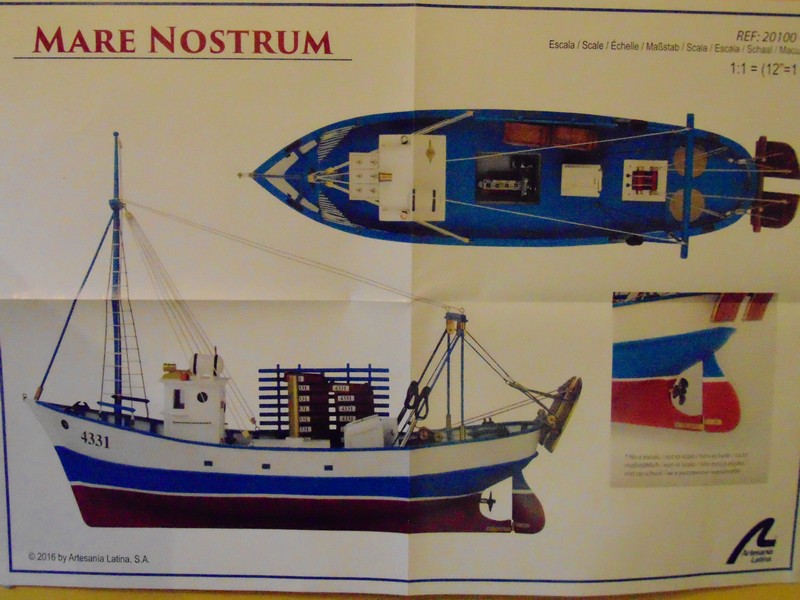
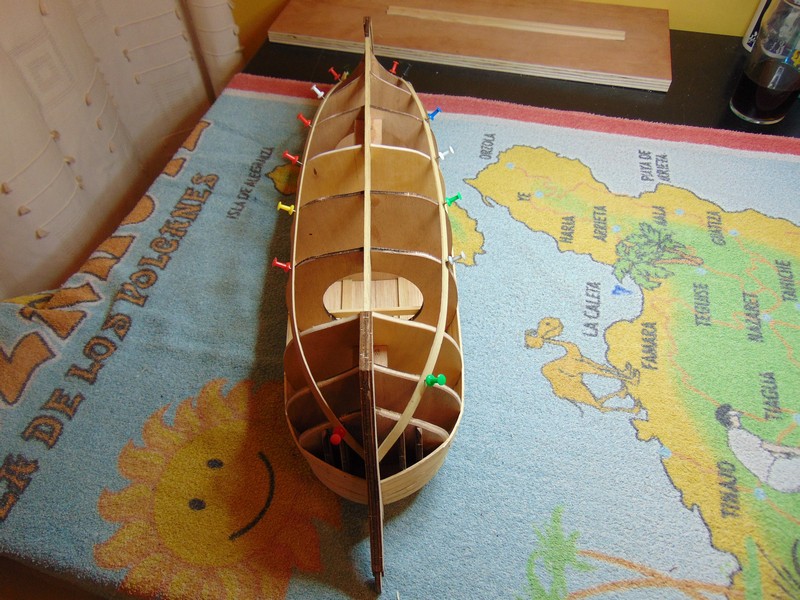
some further progress on the bounty I have finished the first band of hull planking and my next step is to fit the garboard plank then create a second band to close the gap. from the pictures you can see how I intend to find where the garboard plank begins im really not sure and some further research may be required unless anyone would kindly like to throw in some suggestions all feedback much appreiciated. I have added for the final picture a scale plan of my latest addition to the shipyard the Mare Nostrum I will be building this as a side project to the bounty and will be creating it a separate build log if more than one log is permitted at a time. the mare nostrum will slow progress on the bounty a bit however these being my second and third builds I now know its not a race.


- 291 replies
-
- 4
-
-
- bounty
- billing boats
- (and 1 more)
-
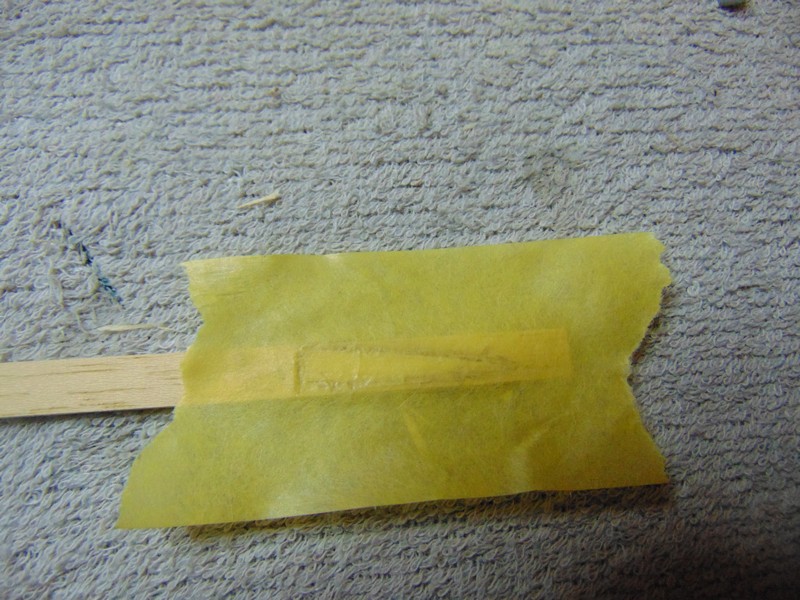
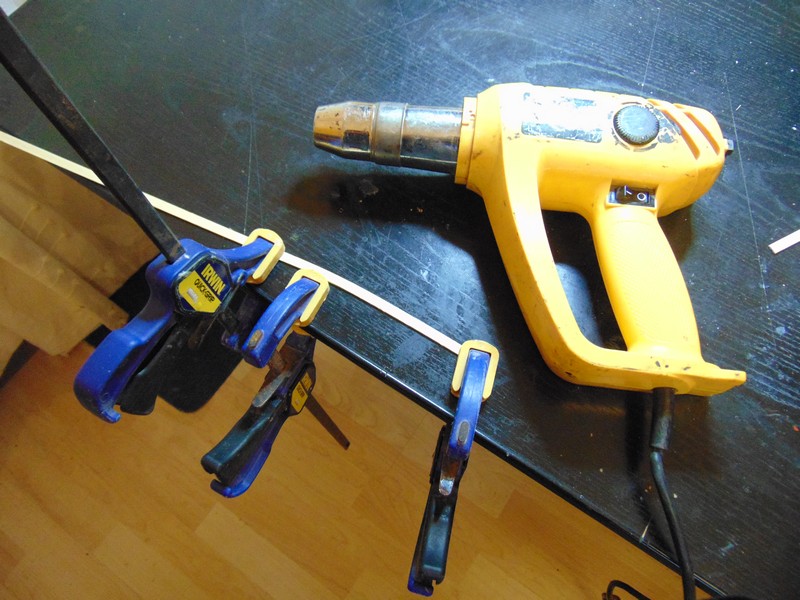
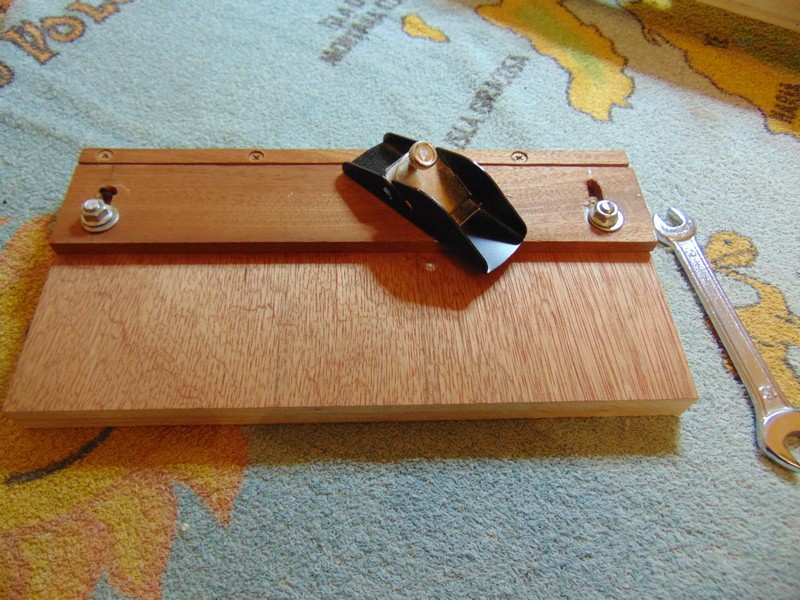
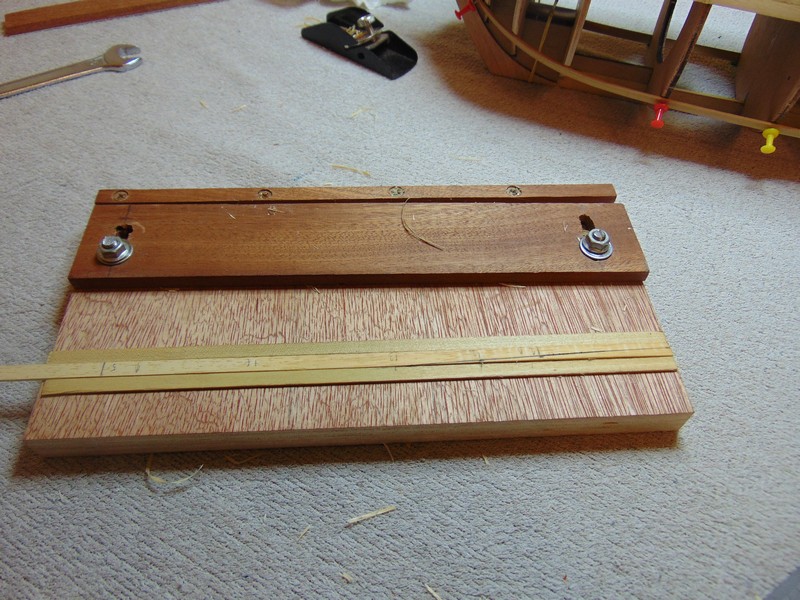
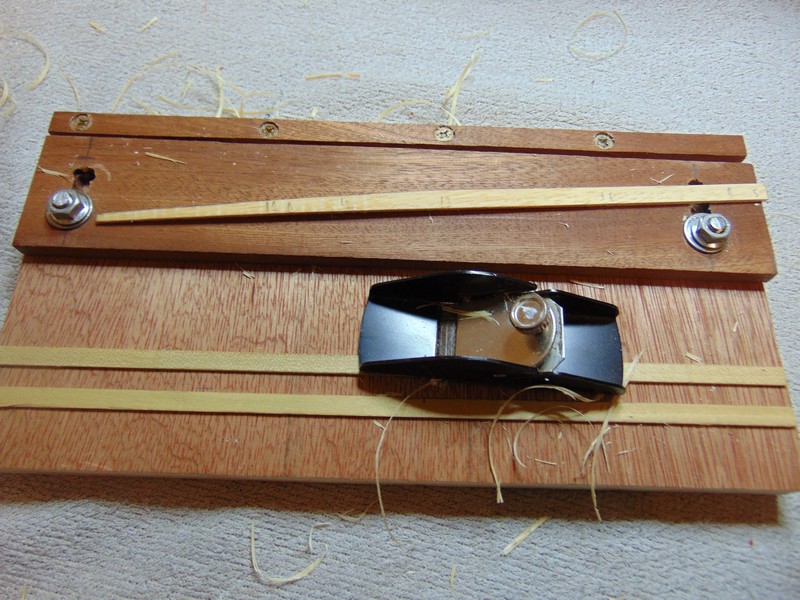
Hi Doug I didn't get time for ship building or more pics this evening but here's a link I found interesting showing a plank crimping tool
- 291 replies
-
- 5
-
-
- bounty
- billing boats
- (and 1 more)
-
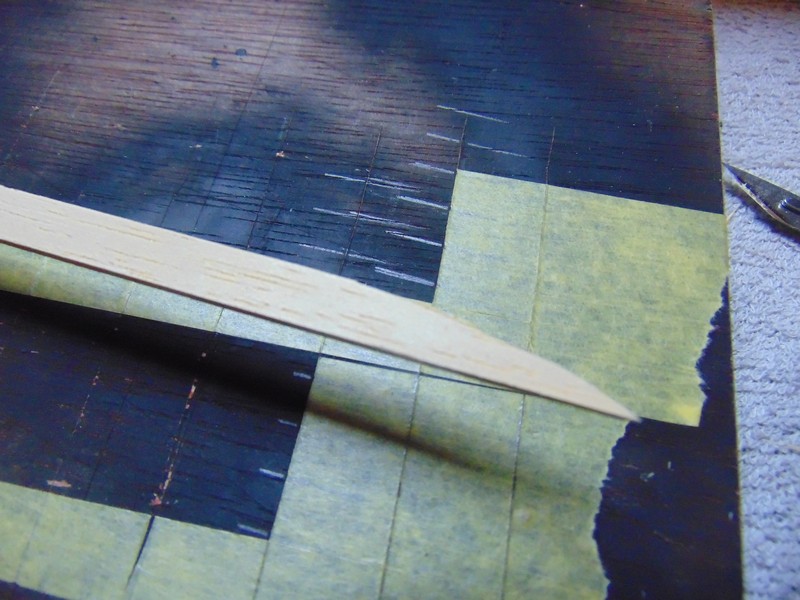
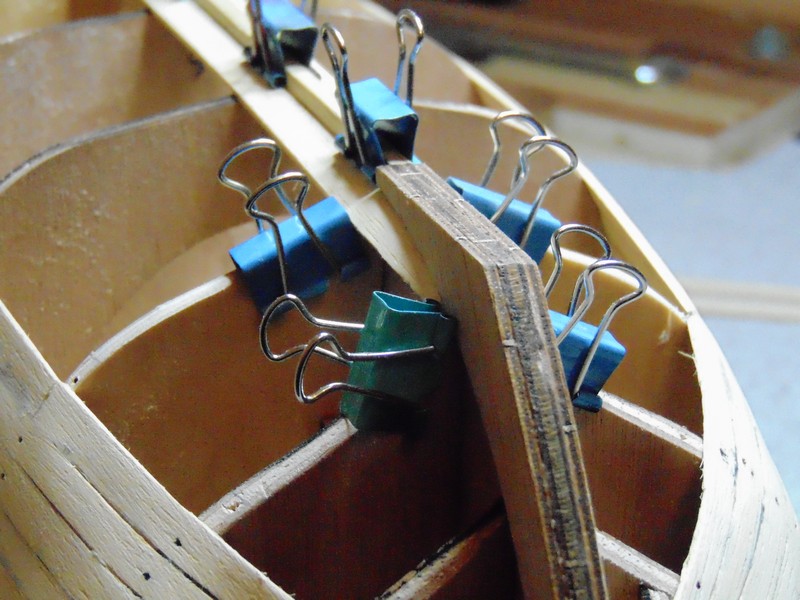
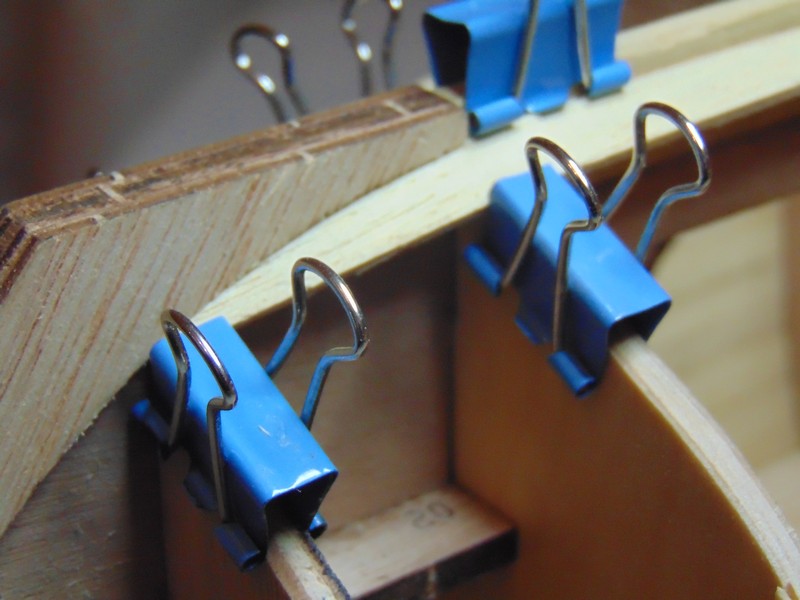
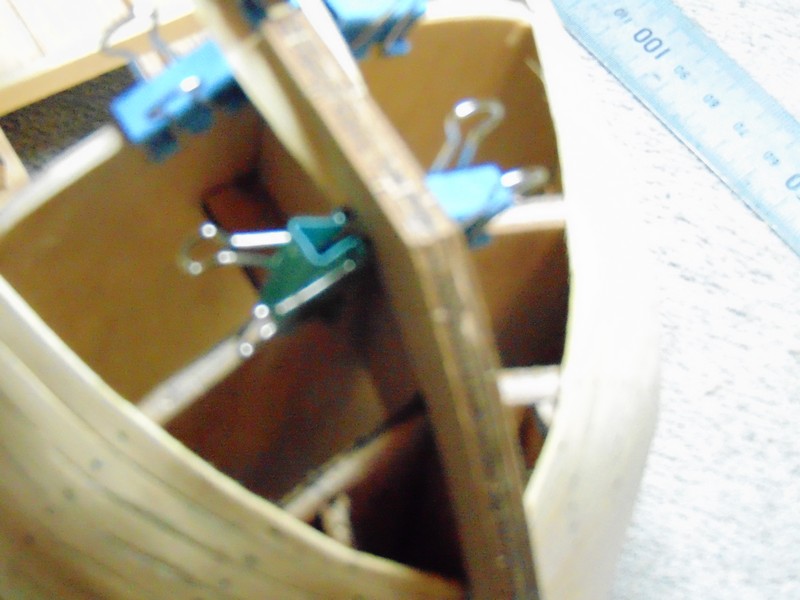
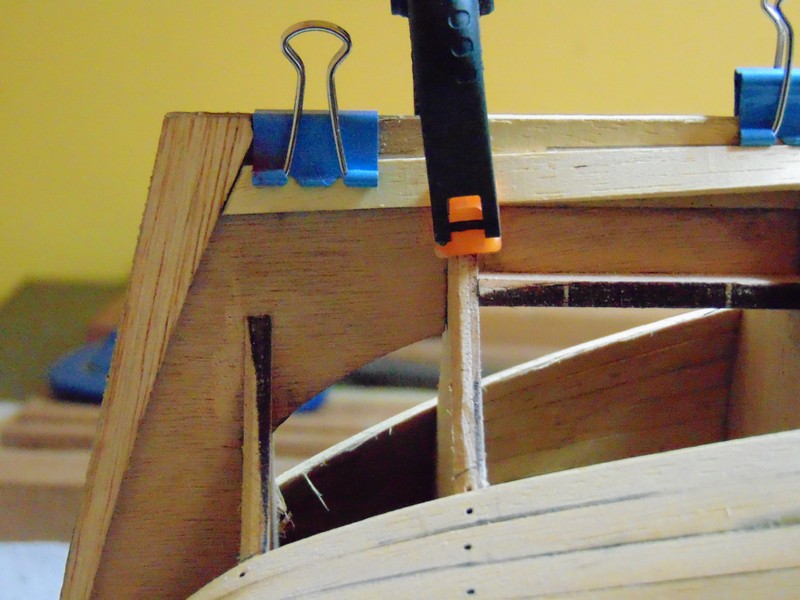
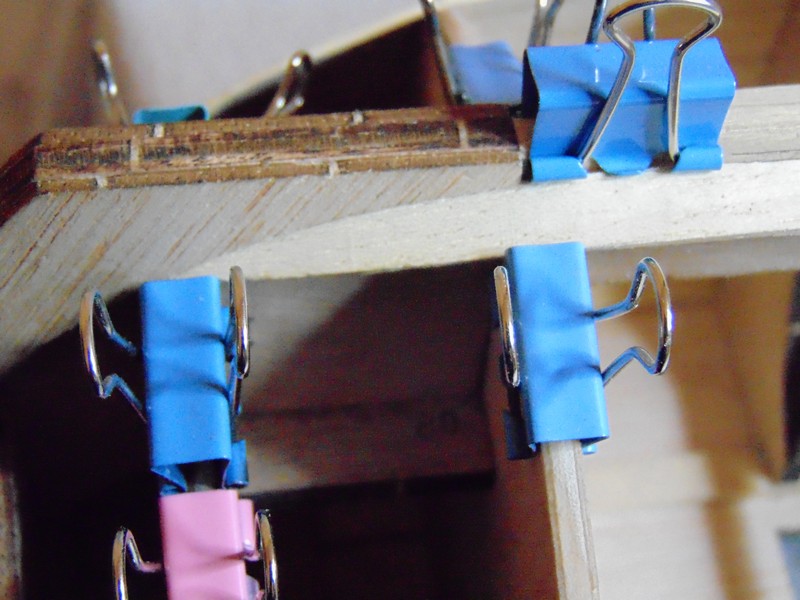
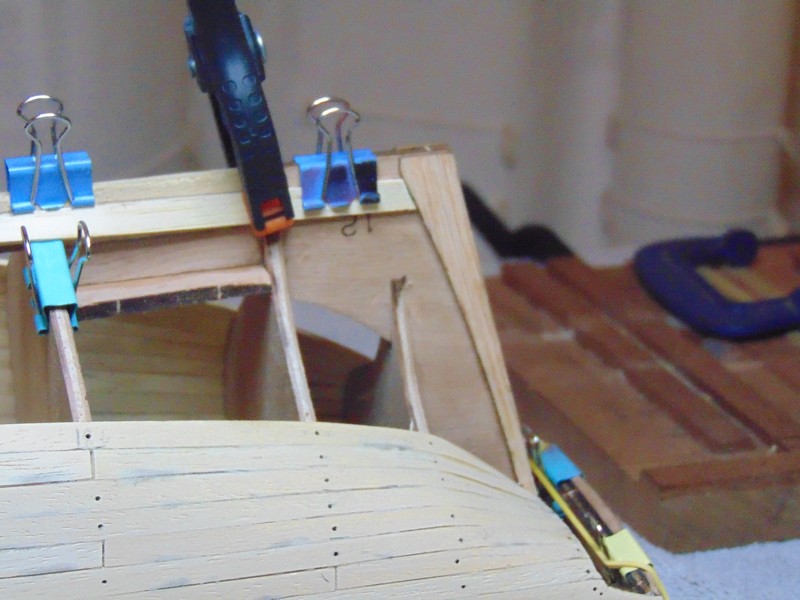
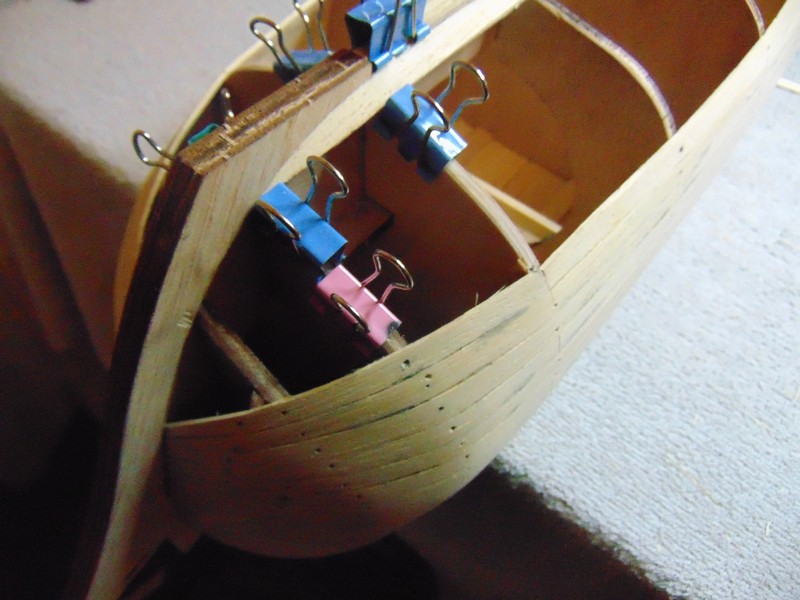
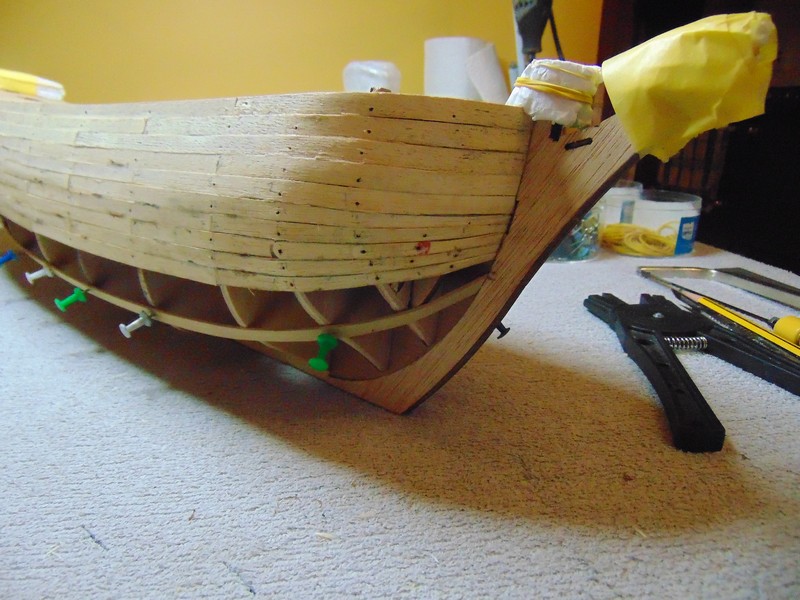
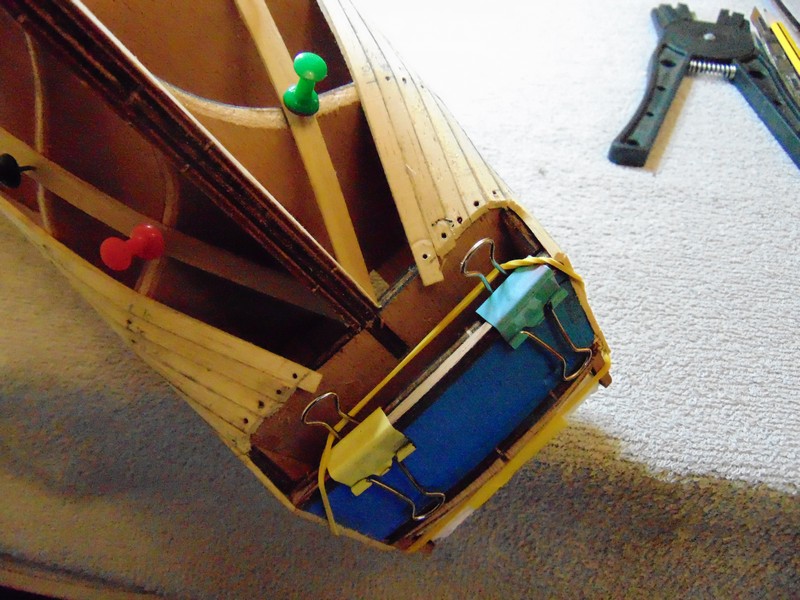
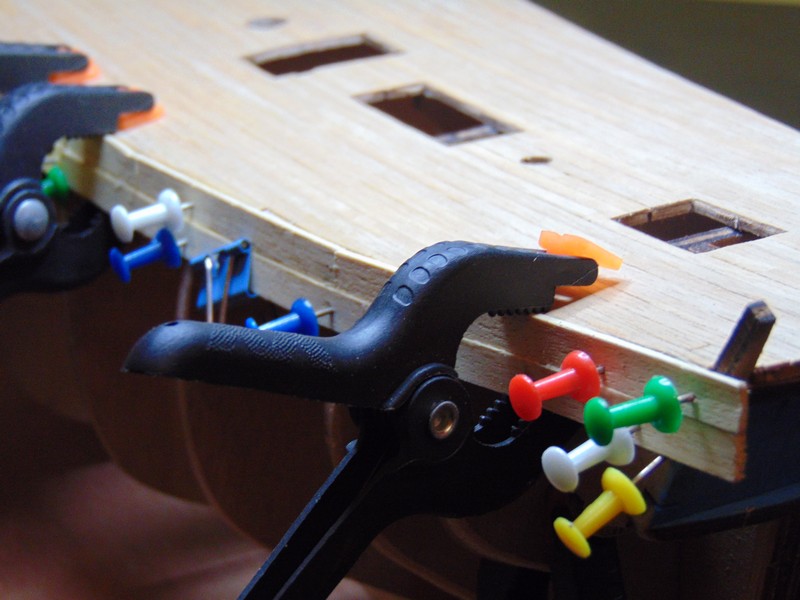
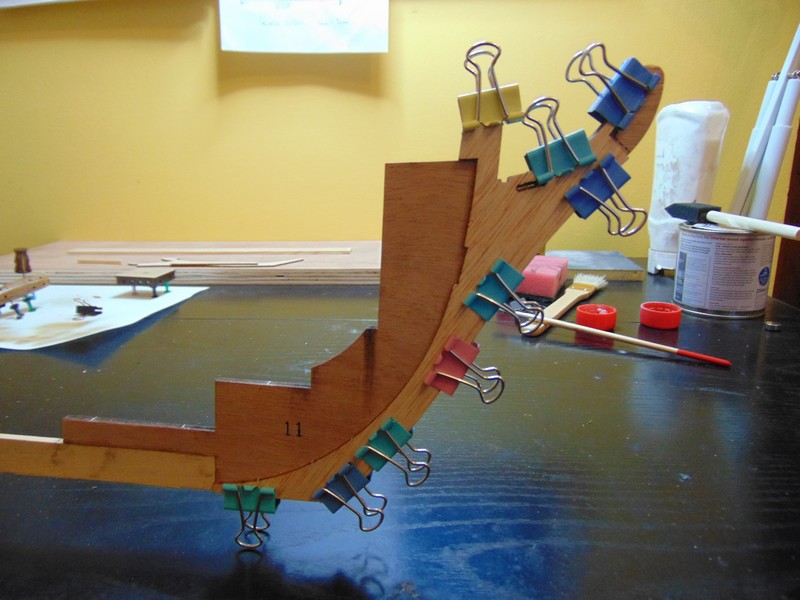
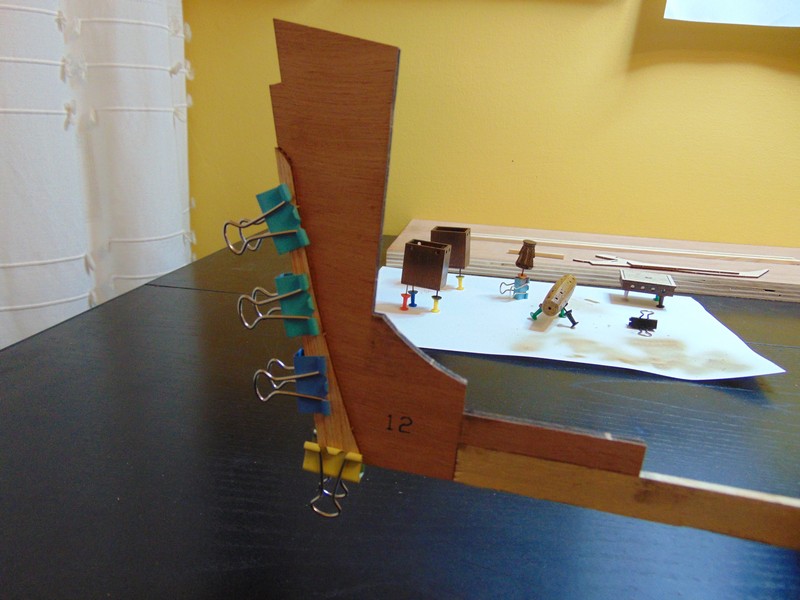
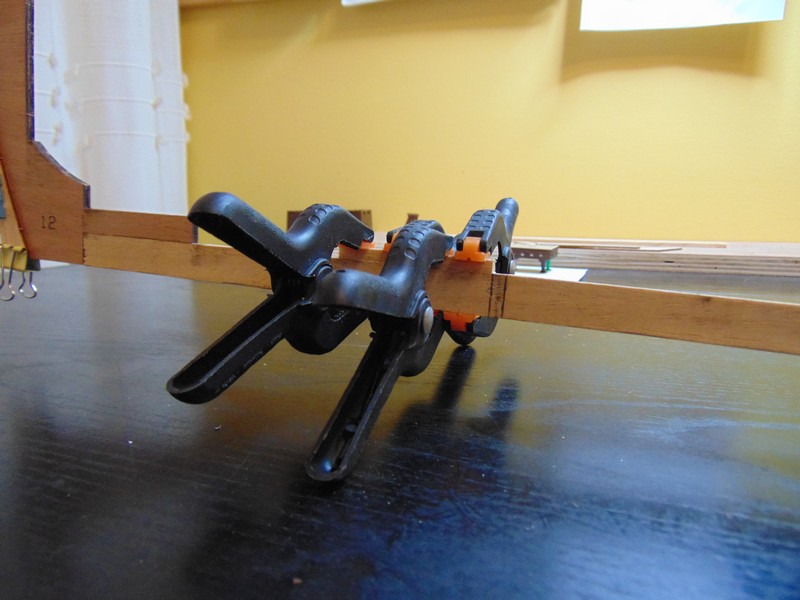
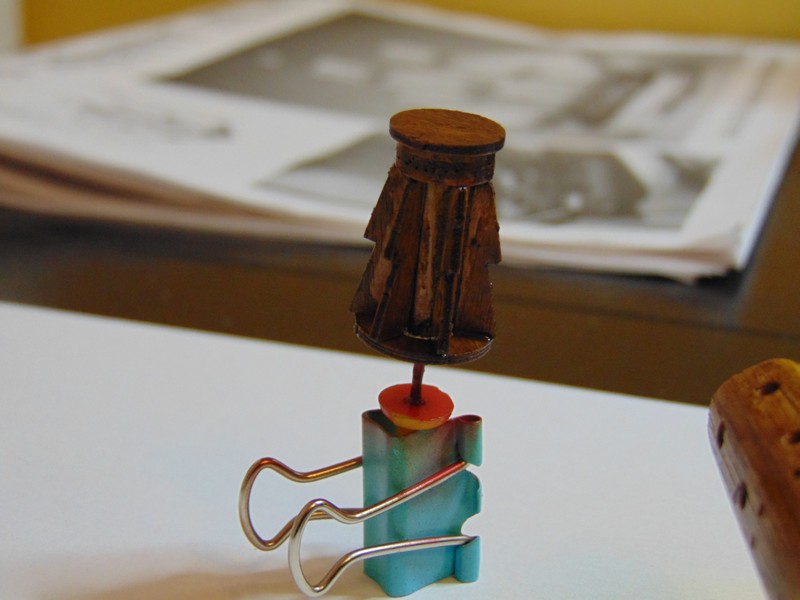
Hi Doug thanks for viewing my log I'll try to answer all three questions I always pre drill before the pins however where the planks join I found even with predrilling the plank will split . So to combat this I use a bulldog clip the elastic band stretched to the other side of the hull helps twist the plank to fit the curve. As for bending the plank around the radius of the bow I use a plank crimping tool I will post some pictures of this process tomorrow evening .one additional piece of advice I might add is to not be tempted to do any sanding until entire hull is planked this way you can get a better shape of the hull . I hope this helps happy building regards Steve
- 291 replies
-
- 3
-
-
- bounty
- billing boats
- (and 1 more)
-
Hello Doug I hope you continue to enjoy my posts model building is a great hobby and allow a begginer myself if I can help please don't hesitate to ask Steve
- 291 replies
-
- 2
-
-
- bounty
- billing boats
- (and 1 more)
-
Thank you peter for the kind words I hope to show every step in this log some times we forget the simple stuff and the reason we look at these logs is to see how others did it Where was the first plank located? Where was the first band determined? Where did the garboard plank start? The list goes on I hope to show all this DISCLAIMER nothing I do is the absolute correct way this is just how I will do it and I hope you enjoy the results Steve
- 291 replies
-
- 2
-
-
- bounty
- billing boats
- (and 1 more)
-
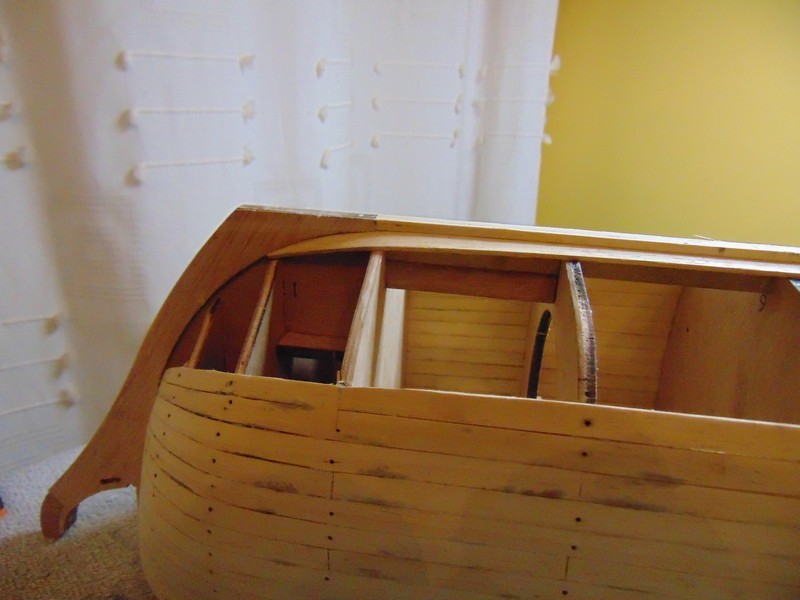
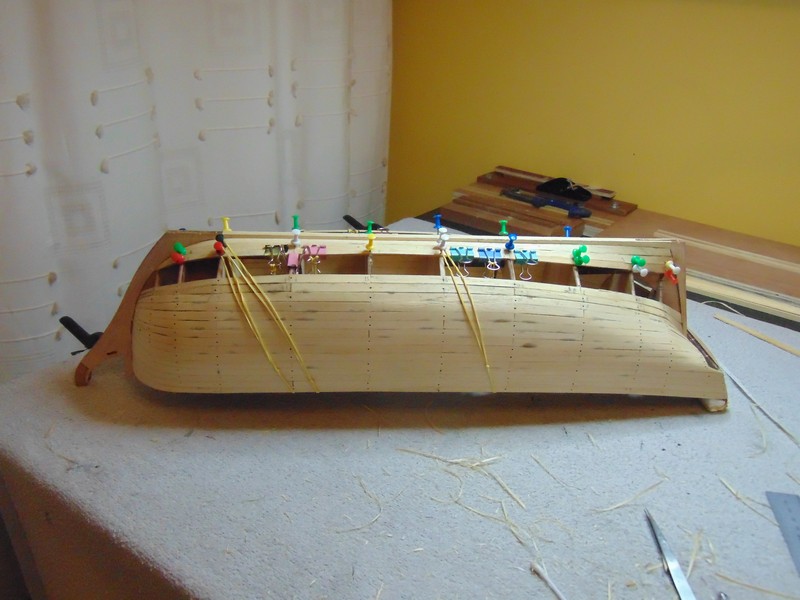
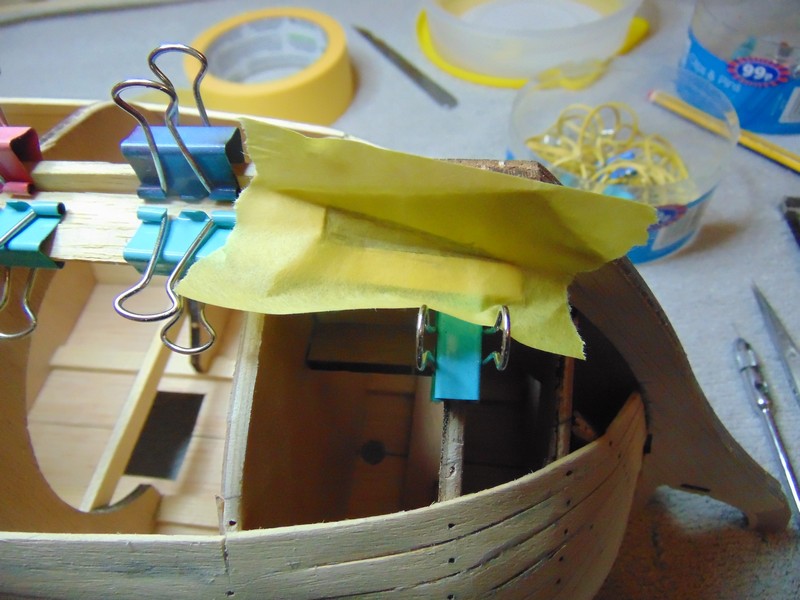
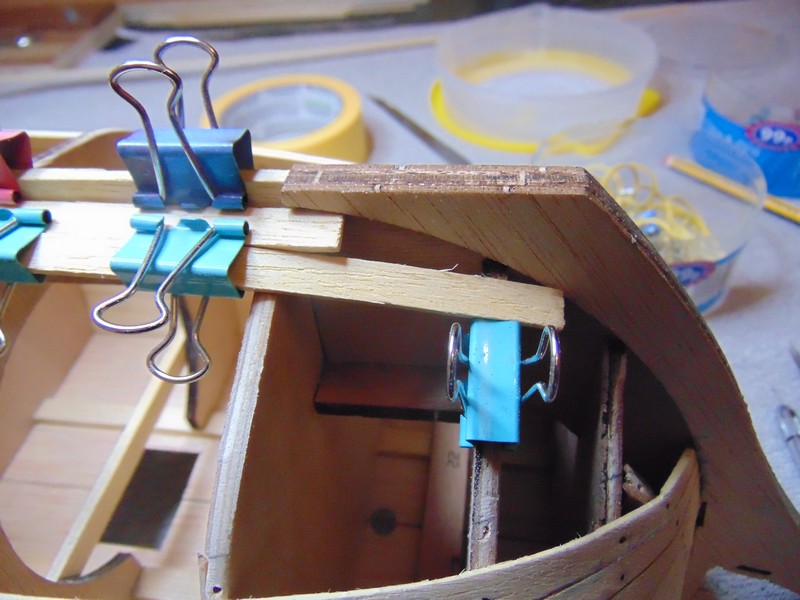
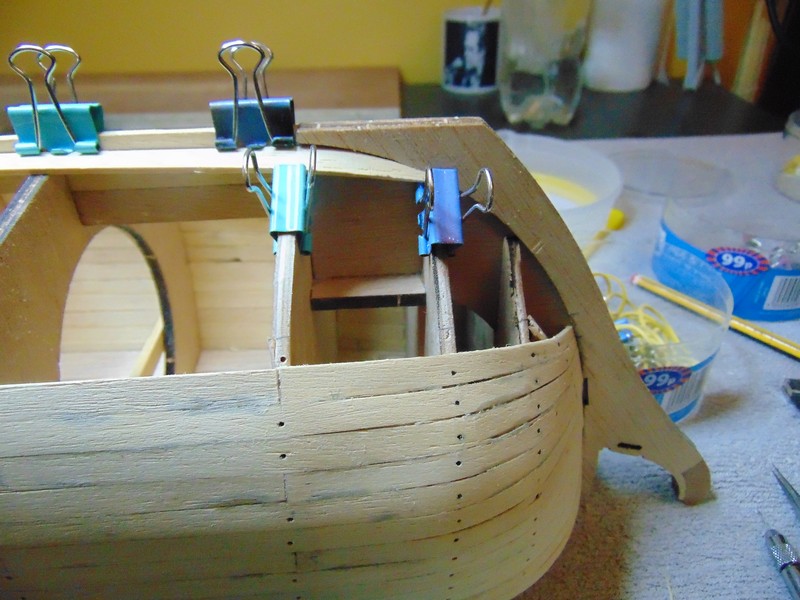
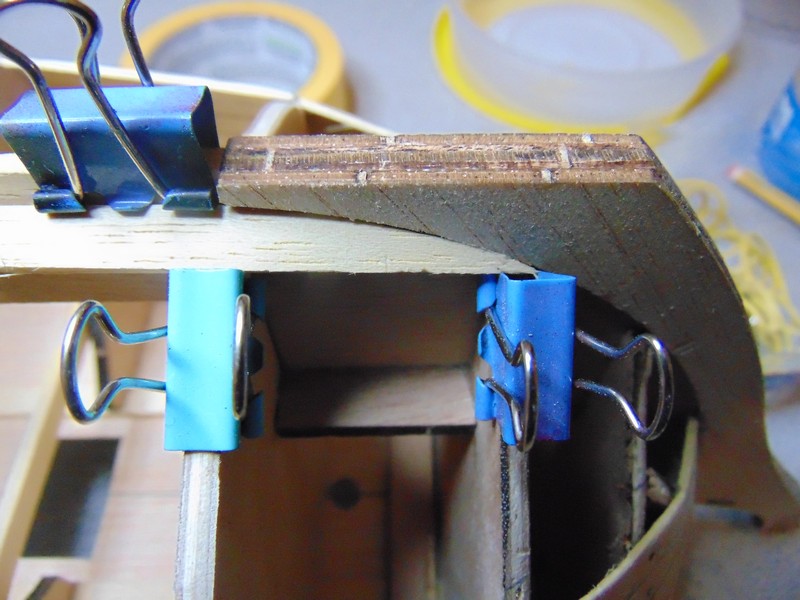
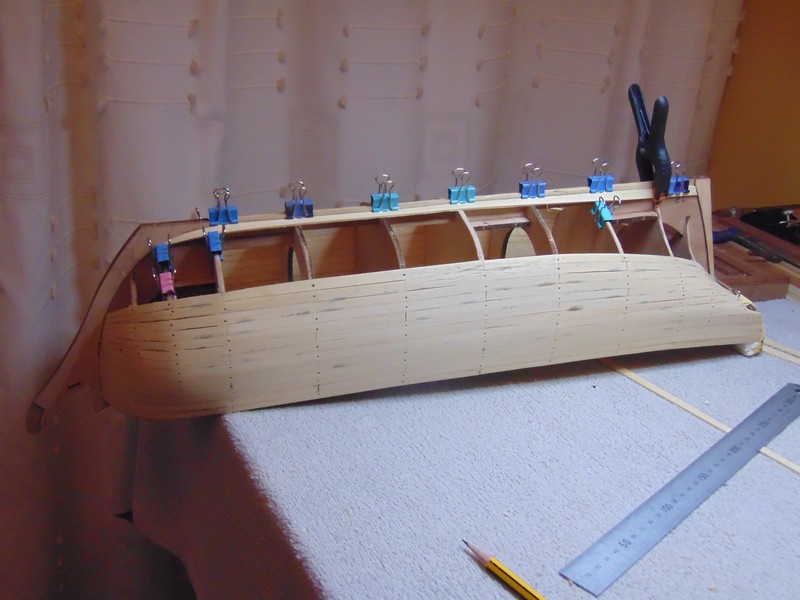
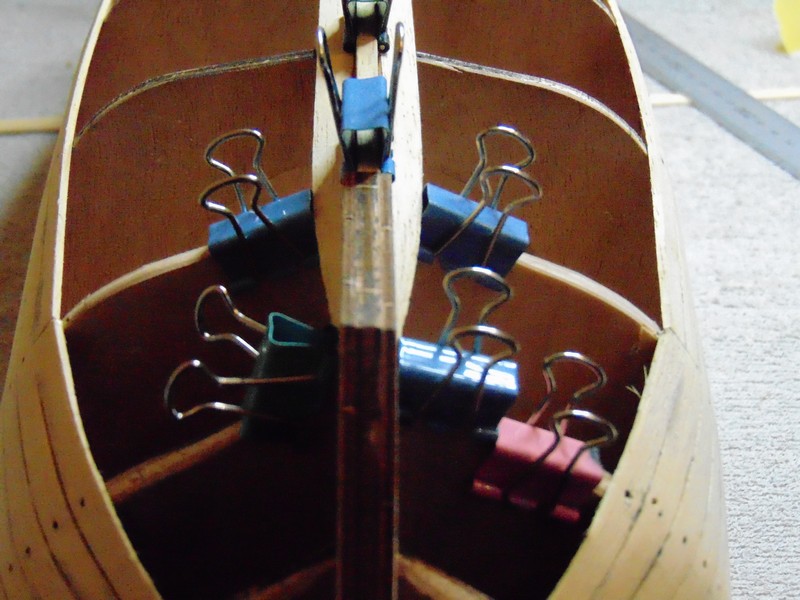
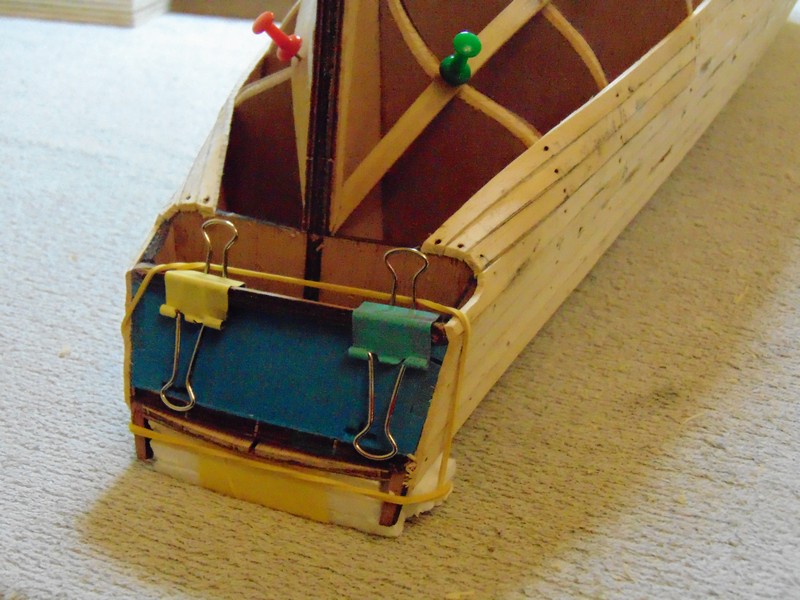
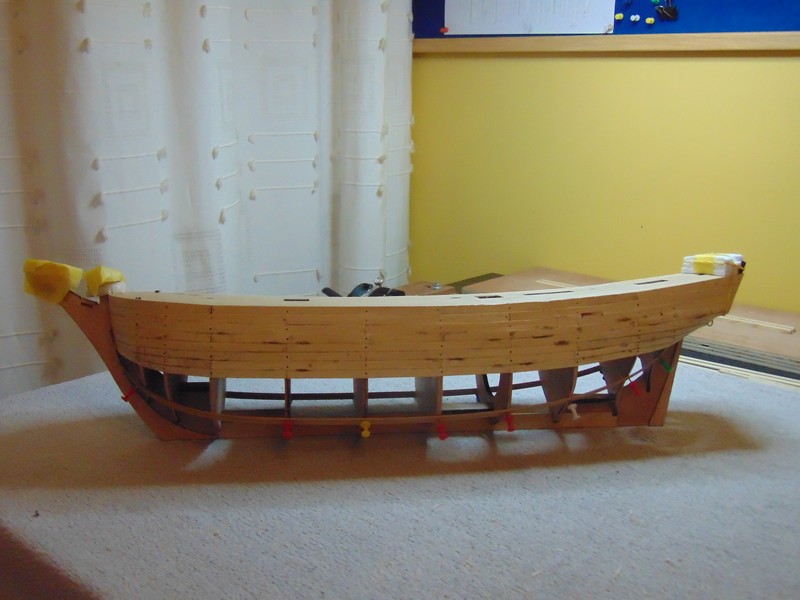
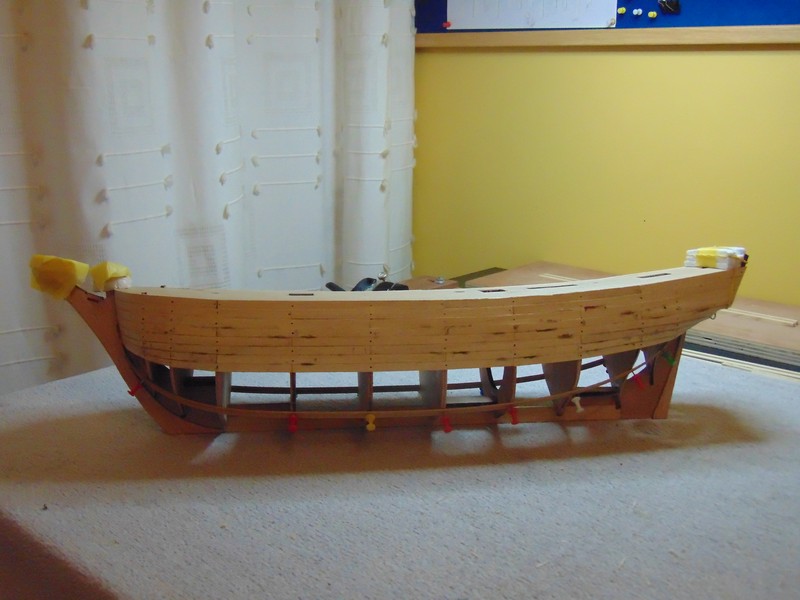
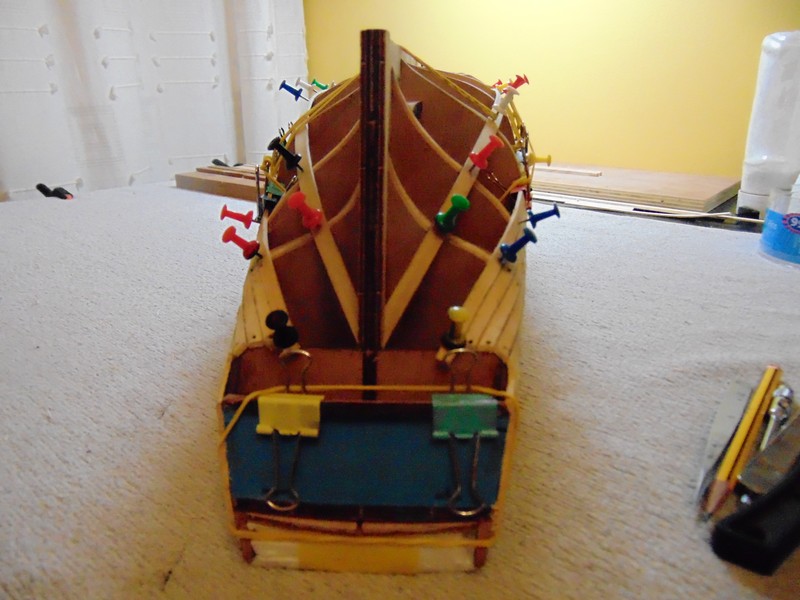
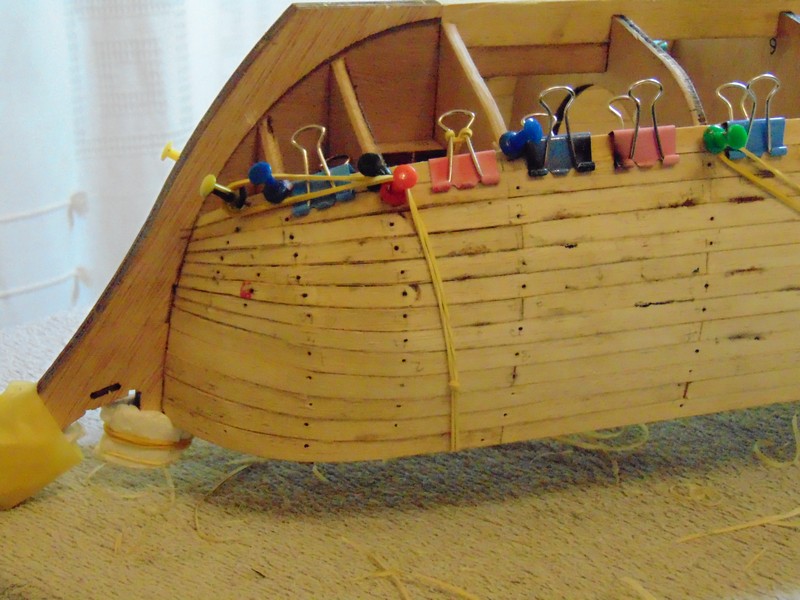
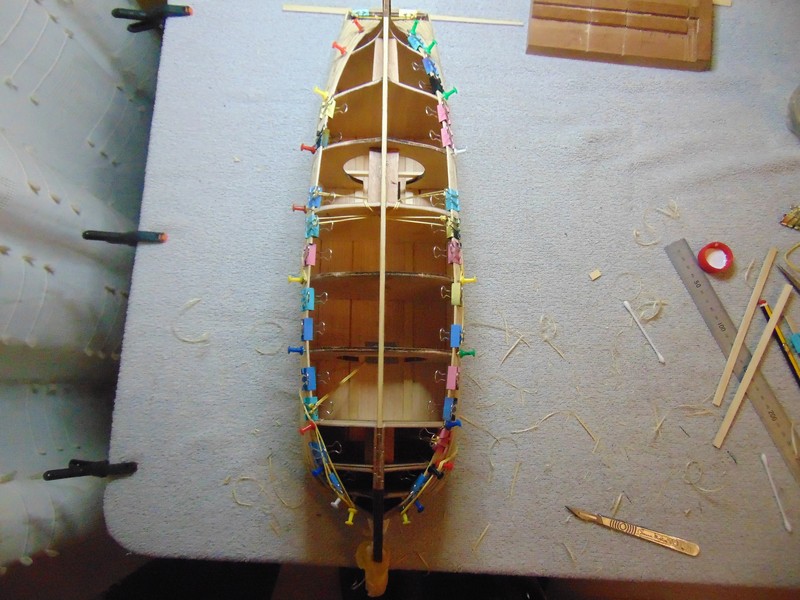
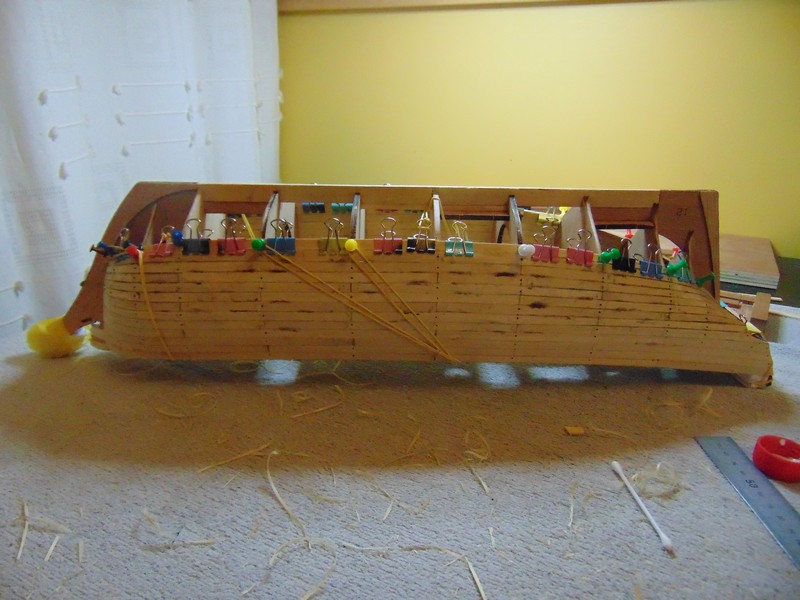
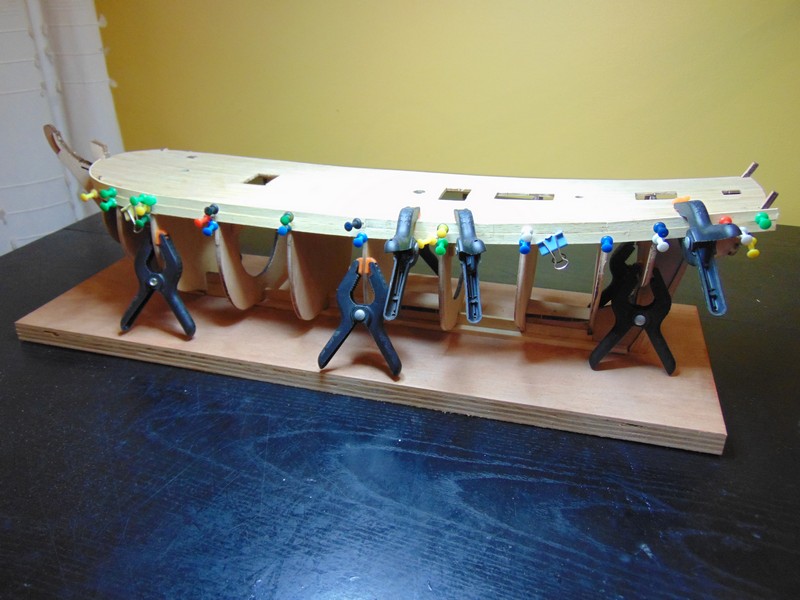
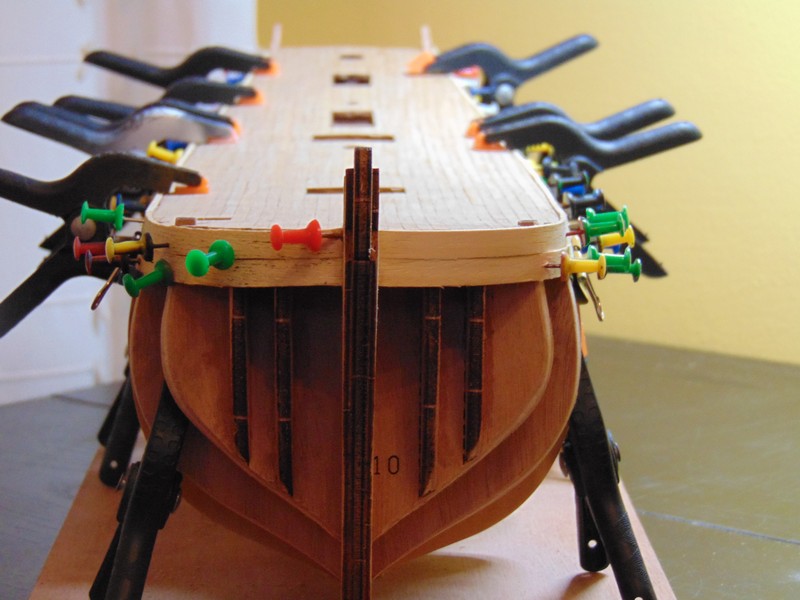
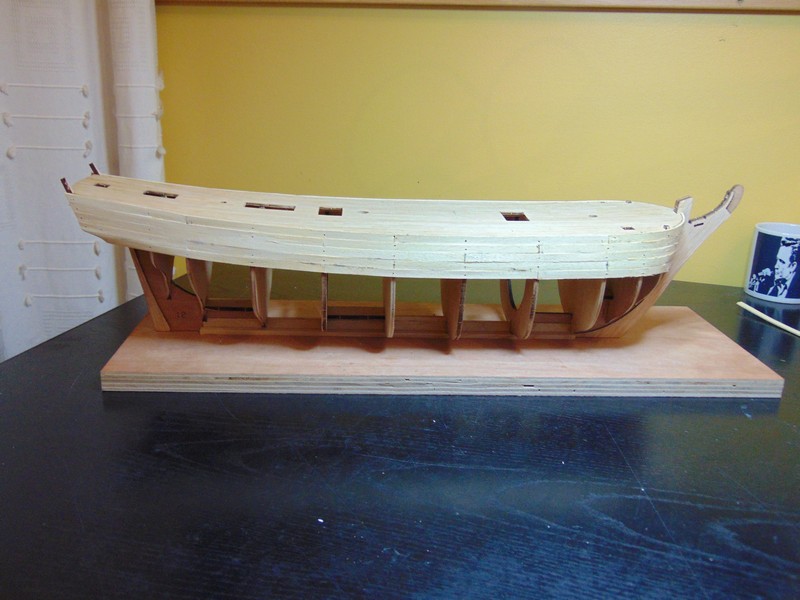
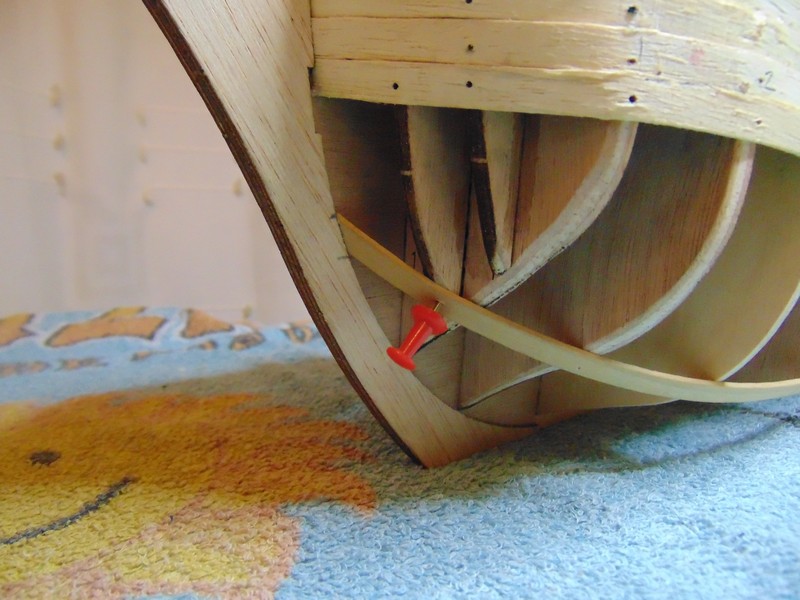
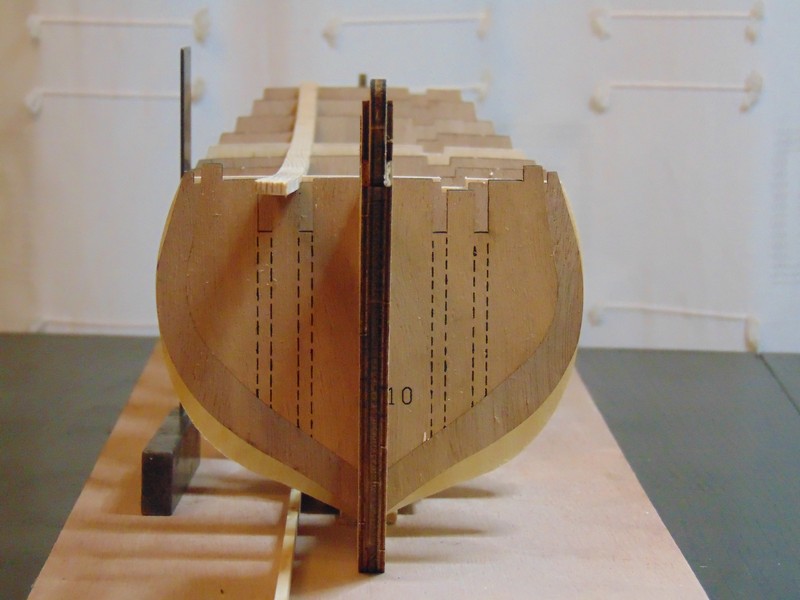
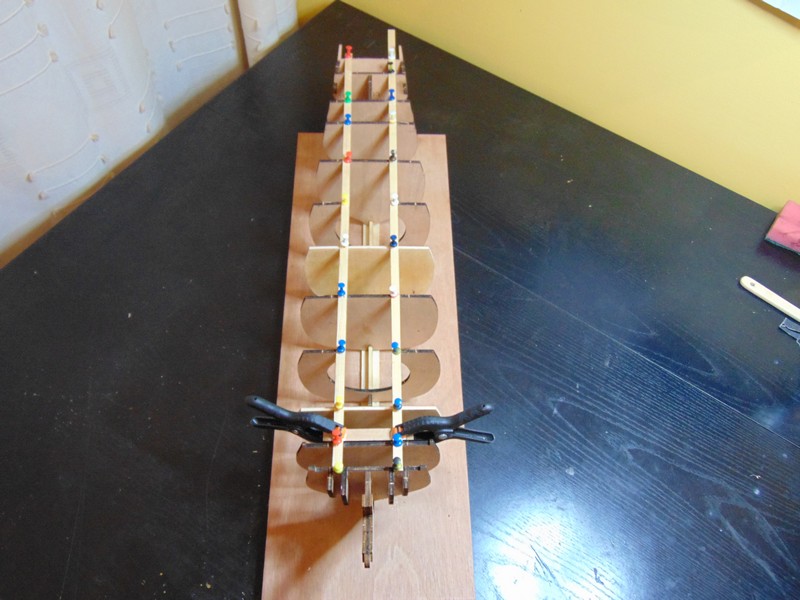
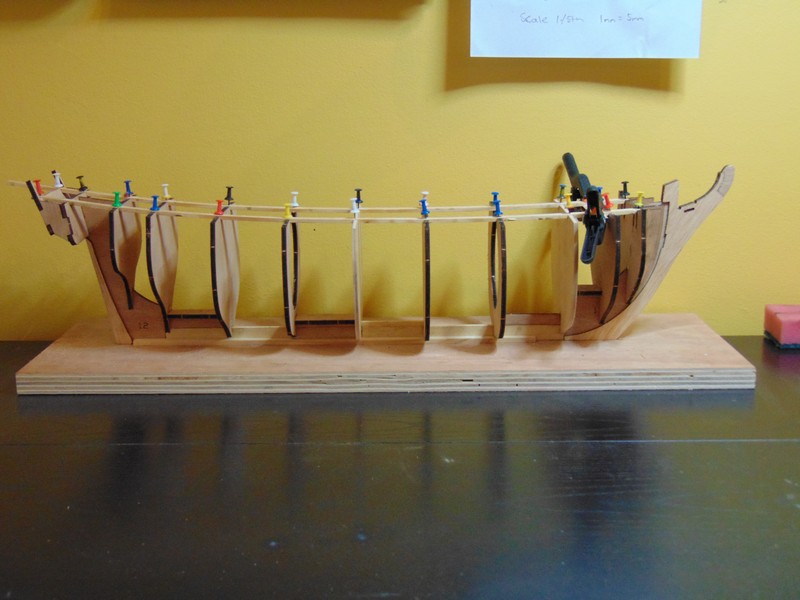
hello all just a quick check in showing the hull planking progress so far. I went with the shimming of the bulkheads as previously discussed and have begun hull planking. for the first five runs down to the whale line I have not tapered the planks and used heat to shape the planks a method I have seen chuck use in a utube video.below the whale line I have marked out the first band and begun tapering the planks I hope not to require any drop planks at the bow however suspect a wedge or two at the stern. i was planning on not using warm water but must admit ive resorted back to water and pins however i will not use excessive force to bend planks and avoid any clinkers at the bow. apologies if this is to many photos im trying to show every step.


- 291 replies
-
- 3
-
-
- bounty
- billing boats
- (and 1 more)
-
I like your answer ej I stare at the plans for hours then commen sense provoles why didn't I think of that.this is the dilemma ship building and kits can be a puzzle but very satisfying when you find a solution and 9 out if 10 times the solution is staring you in the face in the form of a scale drawing but hey
- 291 replies
-
- 4
-
-
- bounty
- billing boats
- (and 1 more)
-
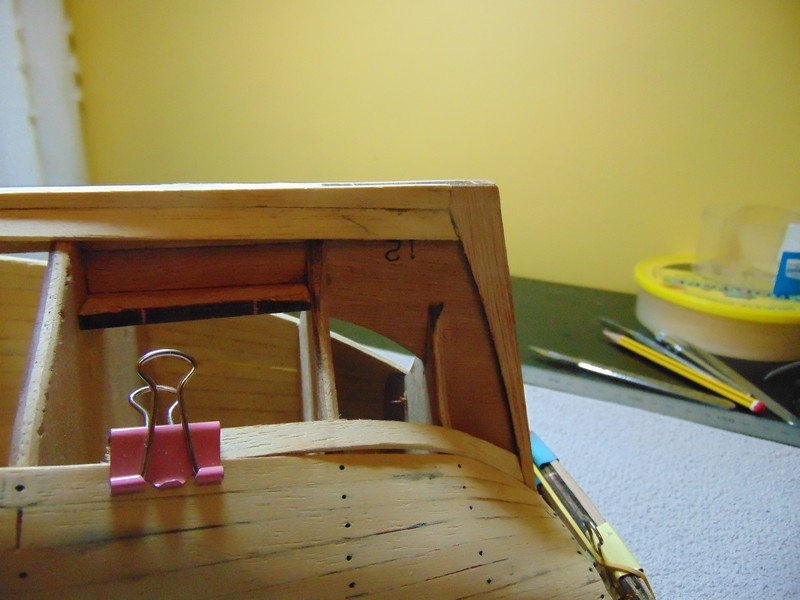
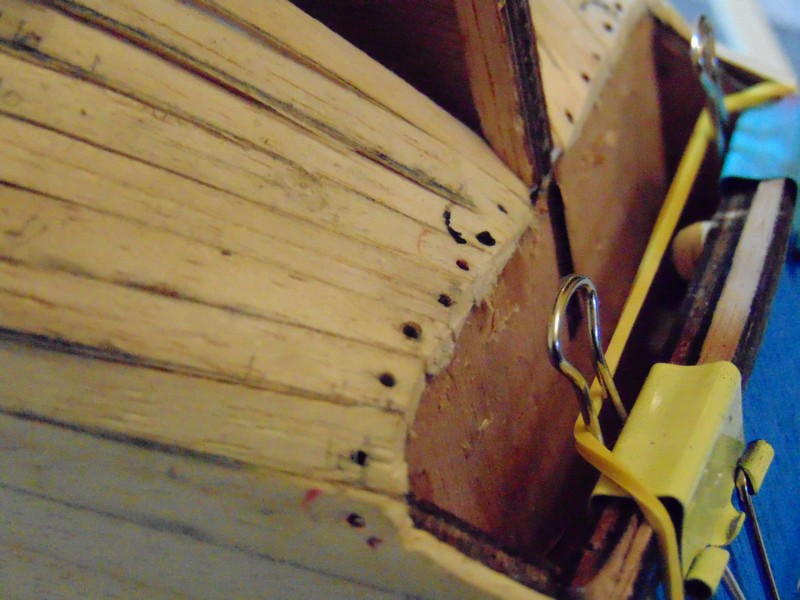
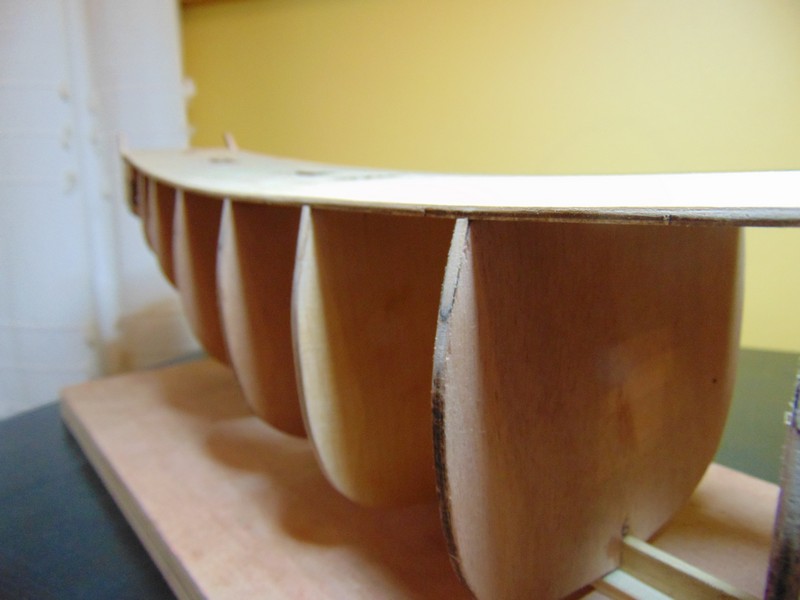
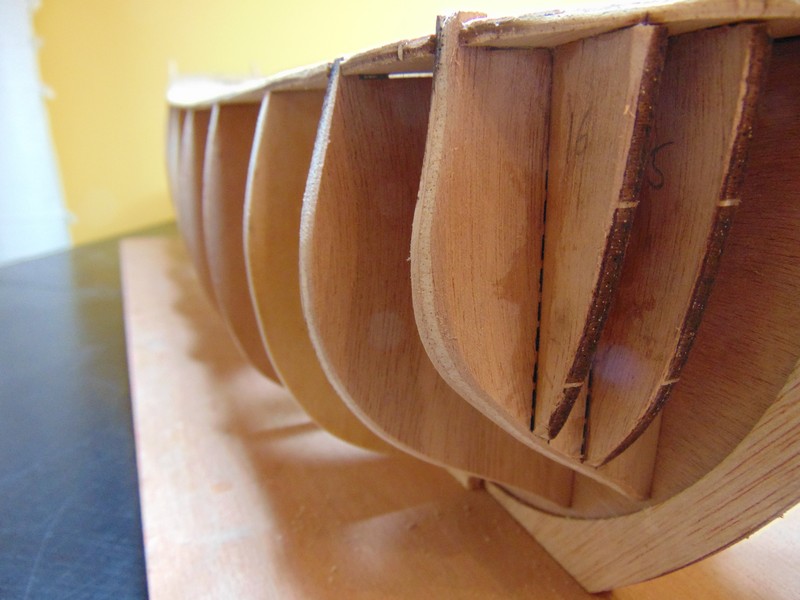
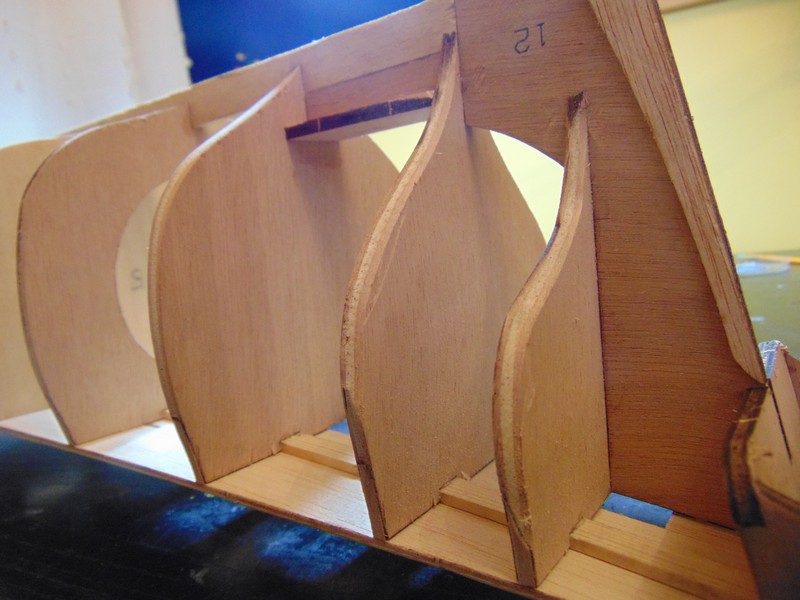
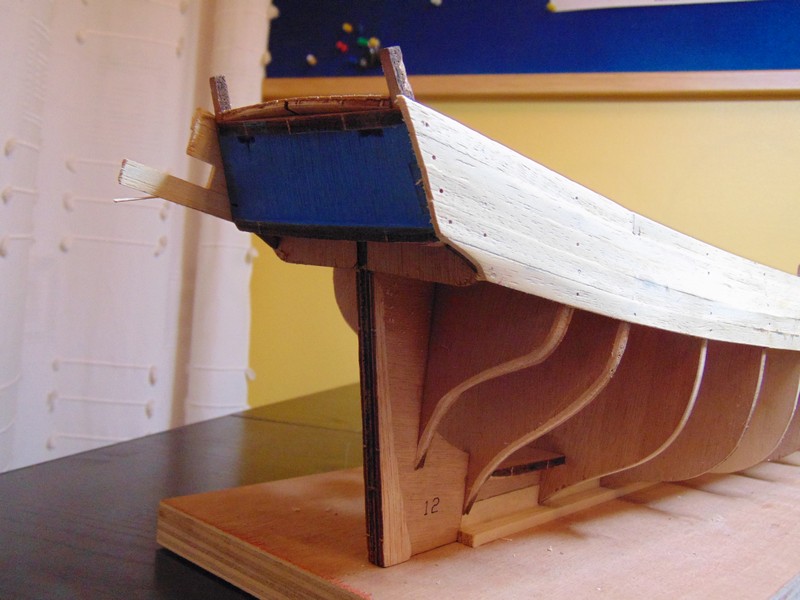
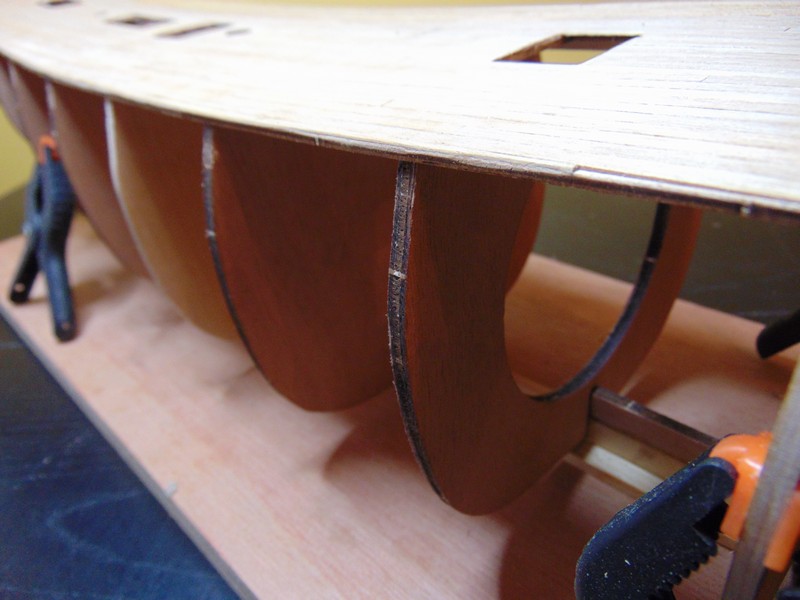
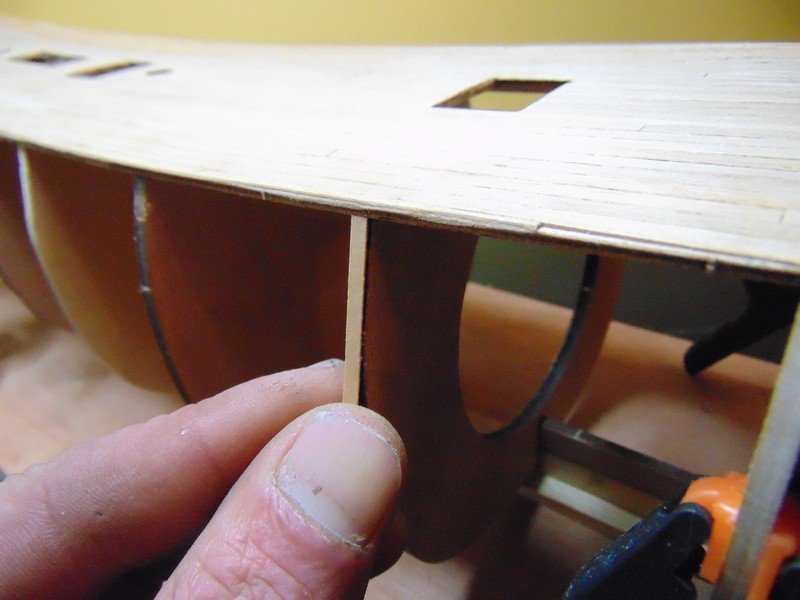
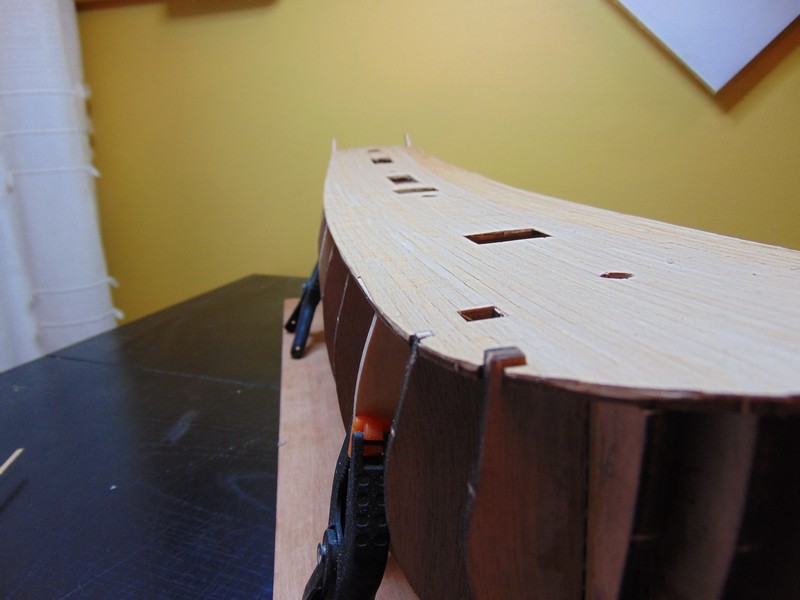
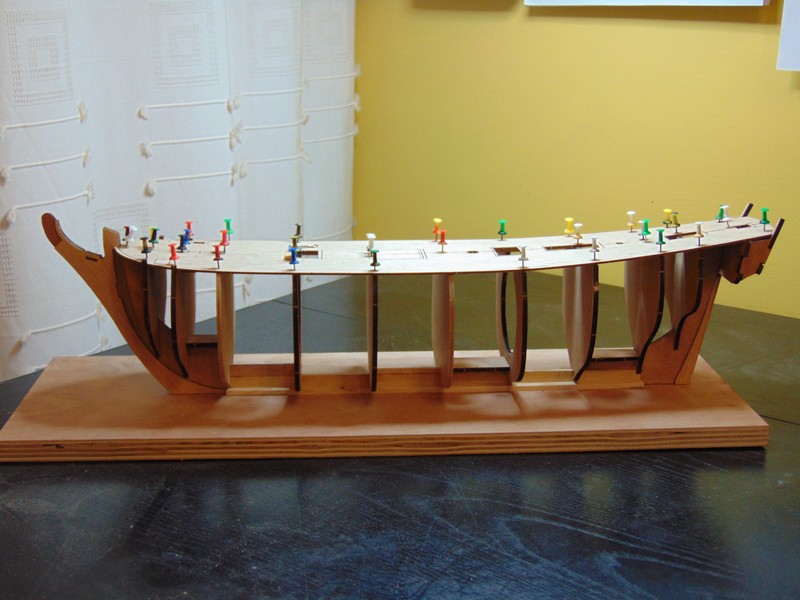
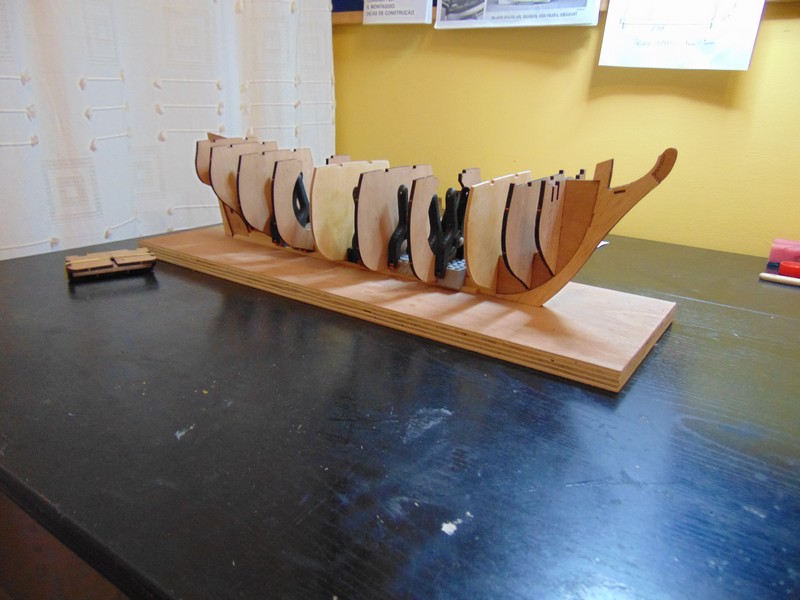
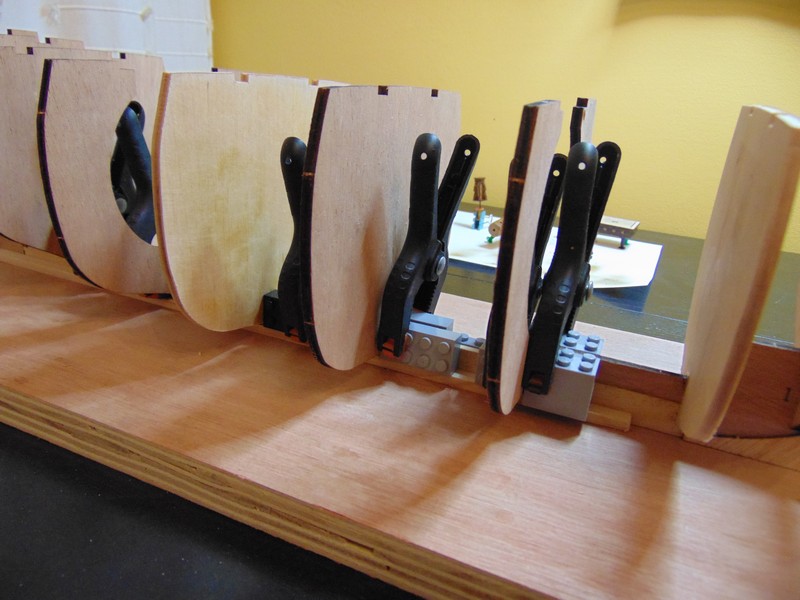
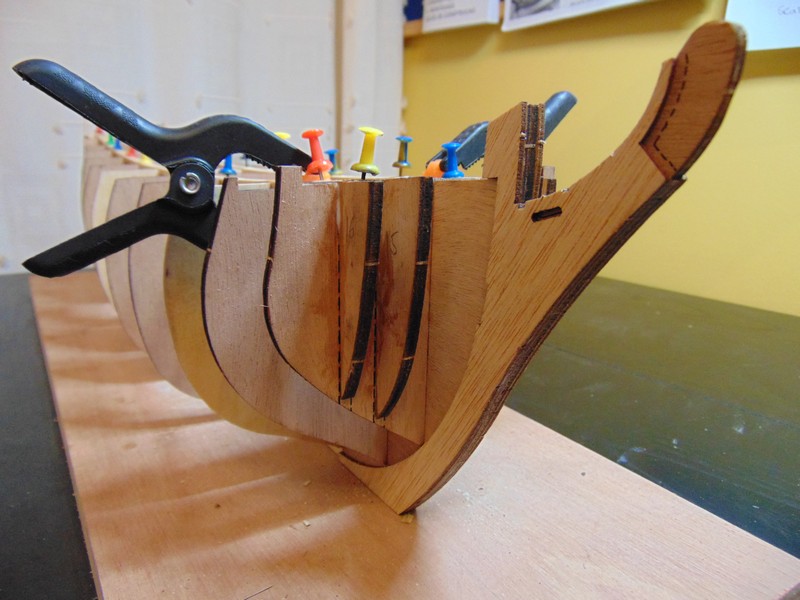
advice needed please on bulkheads . as you can see from the pictures some of the bulkheads are flush with the deck others are not .I have studied the plans all evening trying to figure out the position of the first hull planks im thinking it will be flush with the deck however I will need to sort this issue out . would the best approach be to sand the deck back flush to the frames when fairing the hull or to veneer some packing material to the frames to bring them flush with the deck.
- 291 replies
-
- 4
-
-
- bounty
- billing boats
- (and 1 more)
-
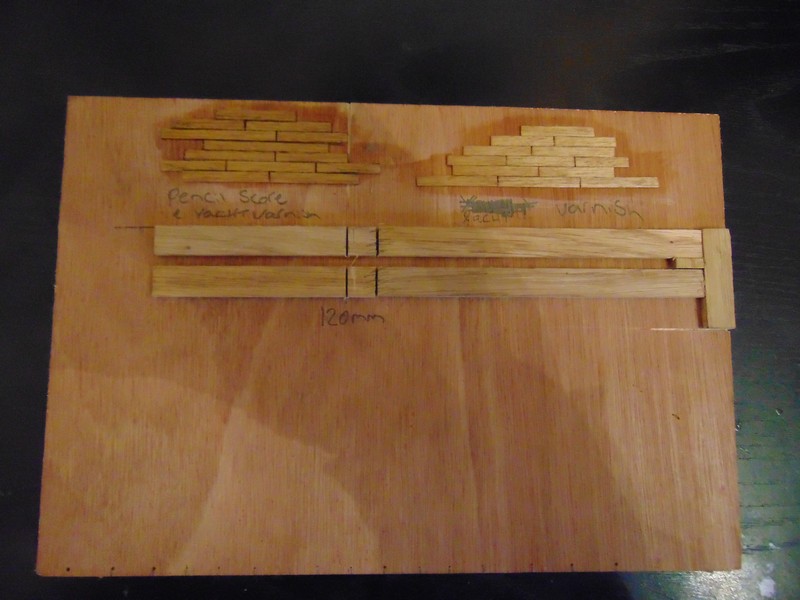
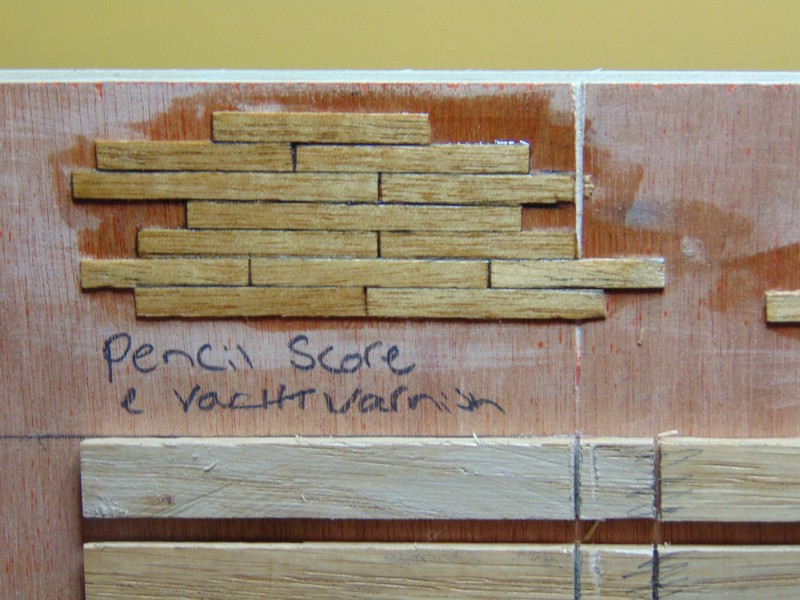
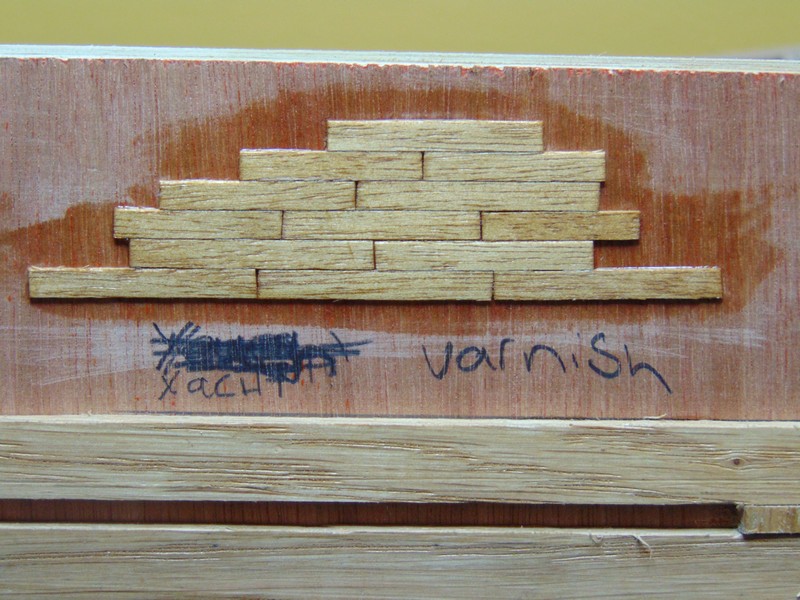
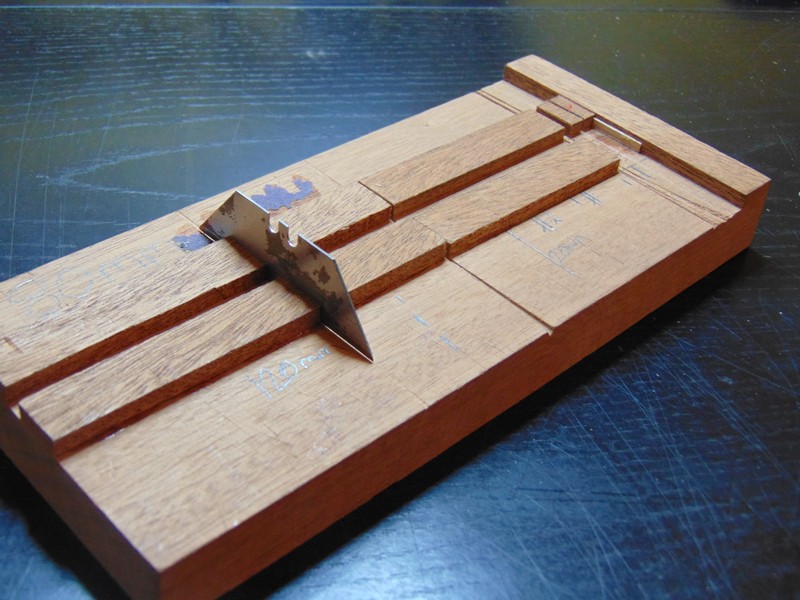
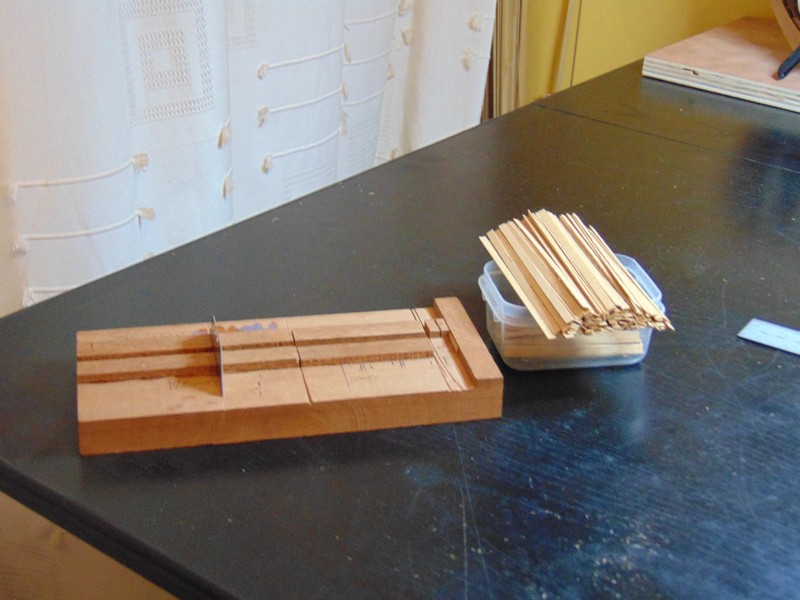
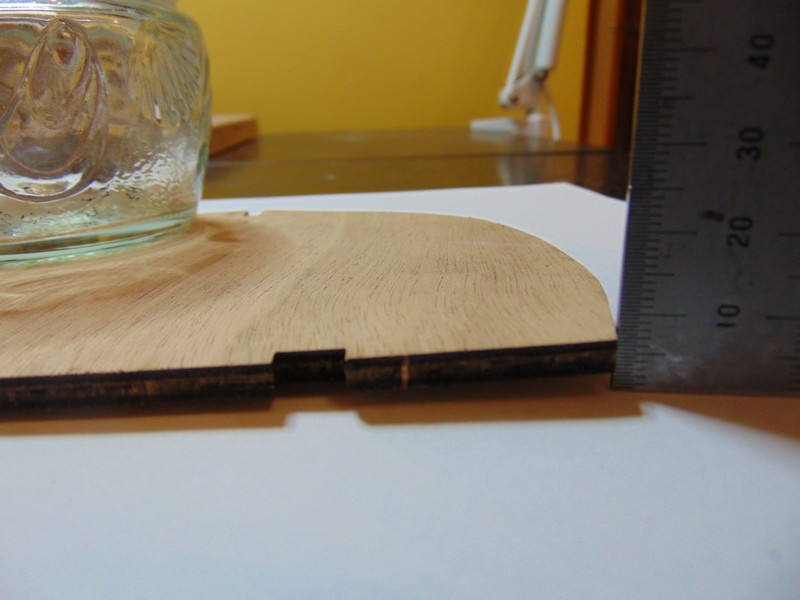
so back to the bounty the ply wood deck is fitted then a simple jig made to cut all the planks to a consistent length of 120mm. I got the length and the lay out of the planks from a link found above in this log provided by donrobinson . I toyed about doing some sampling with the finish of the boards using a pencil and some yacht varnish im unsure if I will use this method and will try other finishes before deciding . on my victory build I used clear satin varnish but it drys out like no finish has been applied at all .I do like the yacht varnish but feel it might be a bit to shiny any suggestions would be welcome thanks ive read about treenailing and read a post where a member wished he had not attempted it and wasent happy with the result so I will skip this on this build a perhaps attempt it on a later build

- 291 replies
-
- 7
-
-
- bounty
- billing boats
- (and 1 more)
-
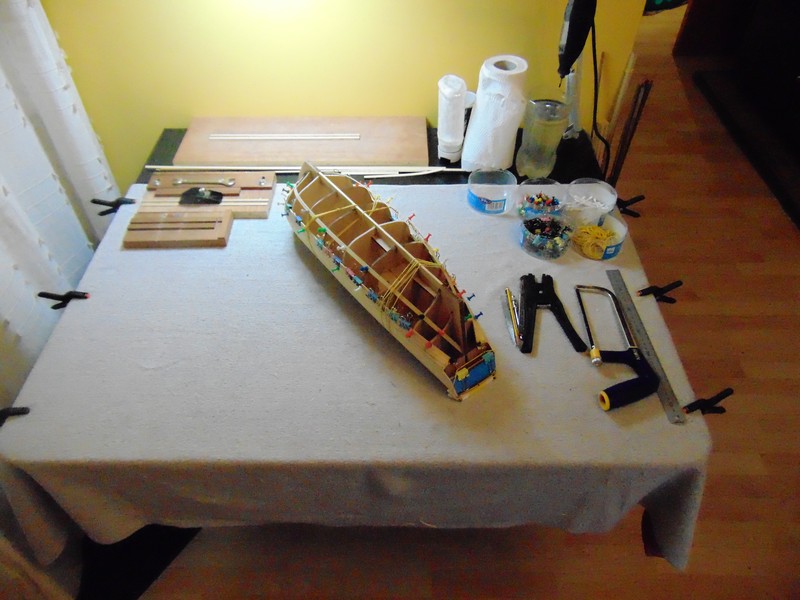
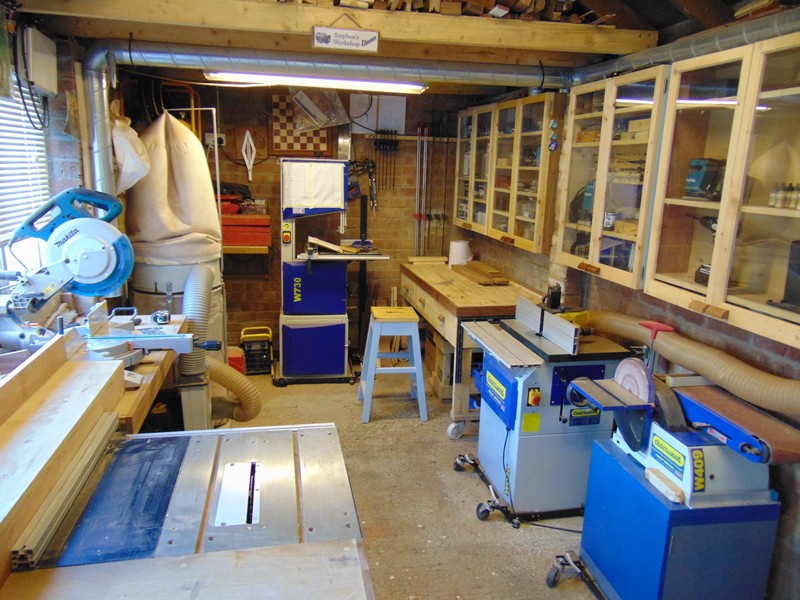
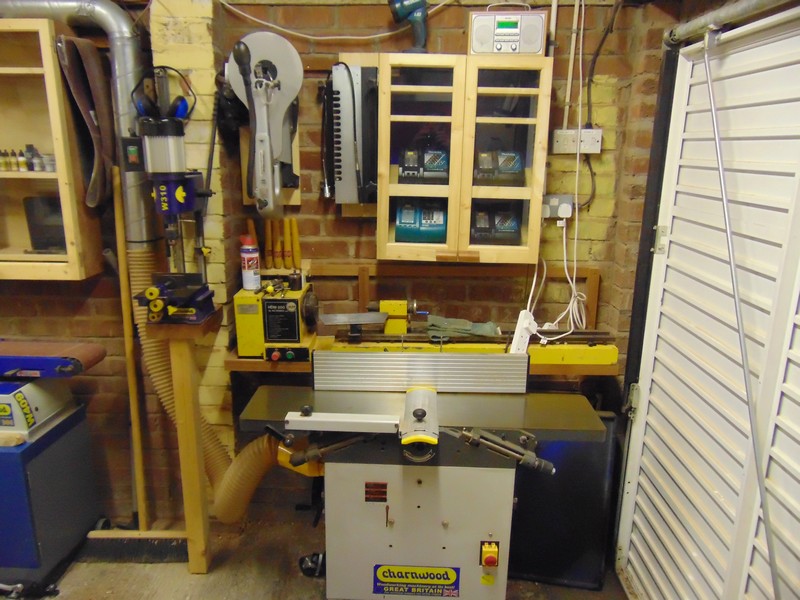
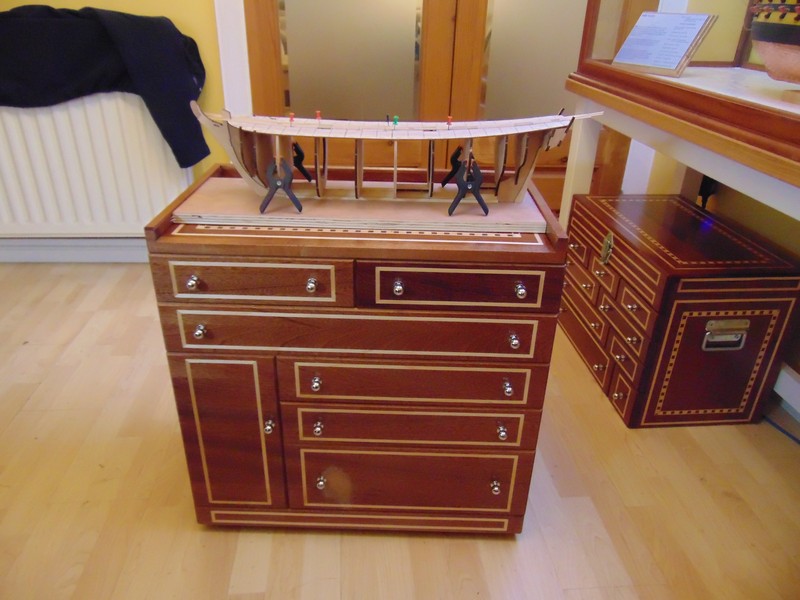
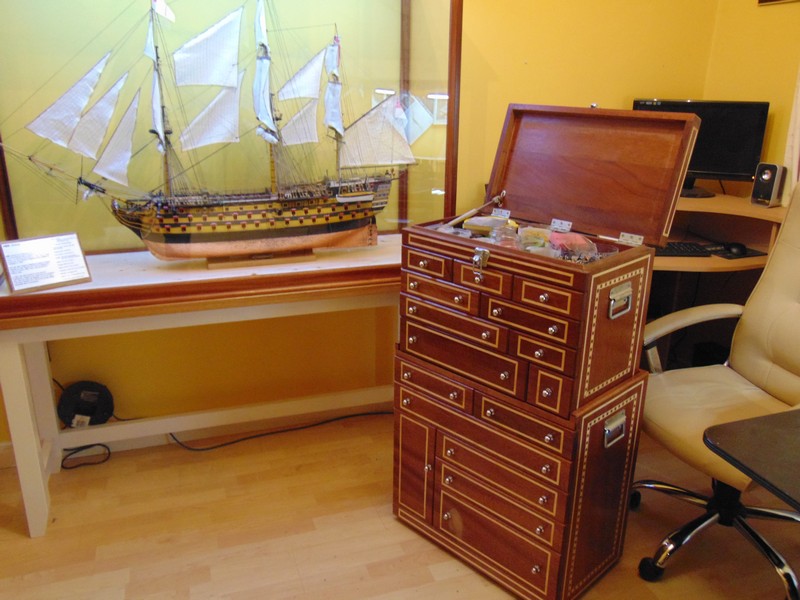
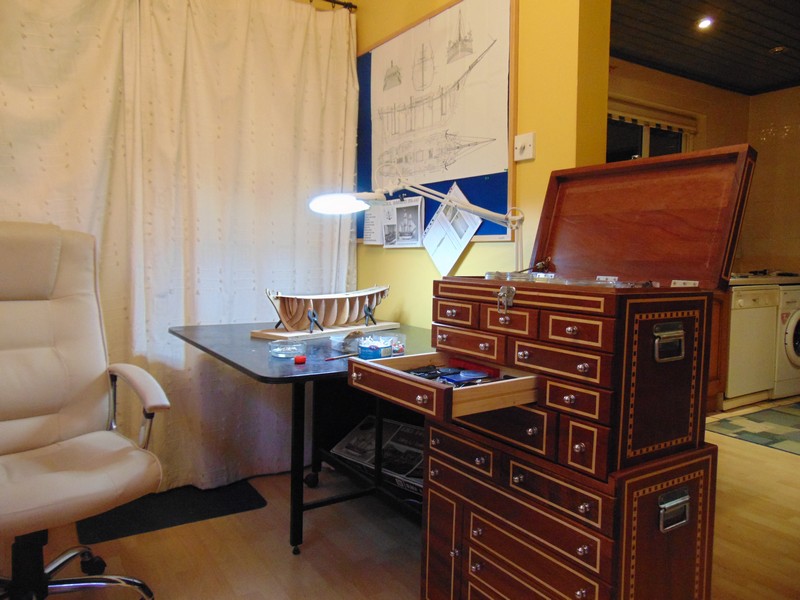
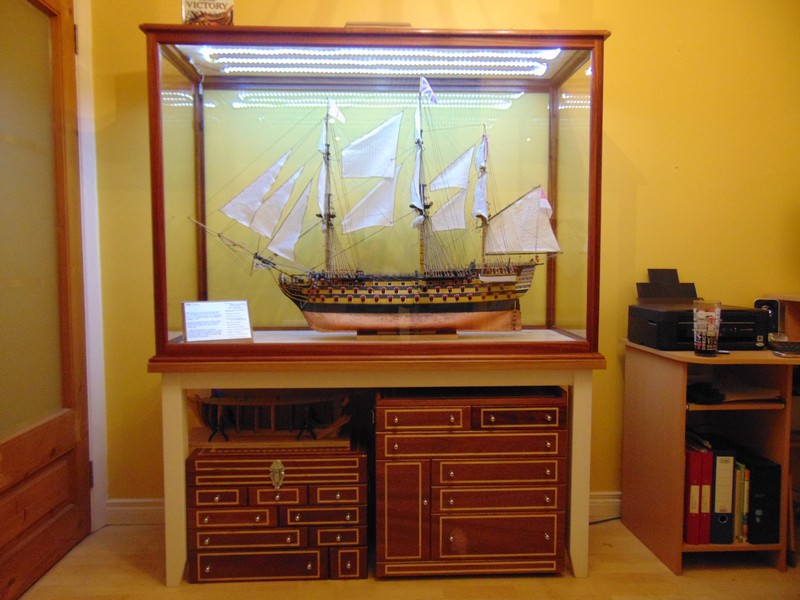
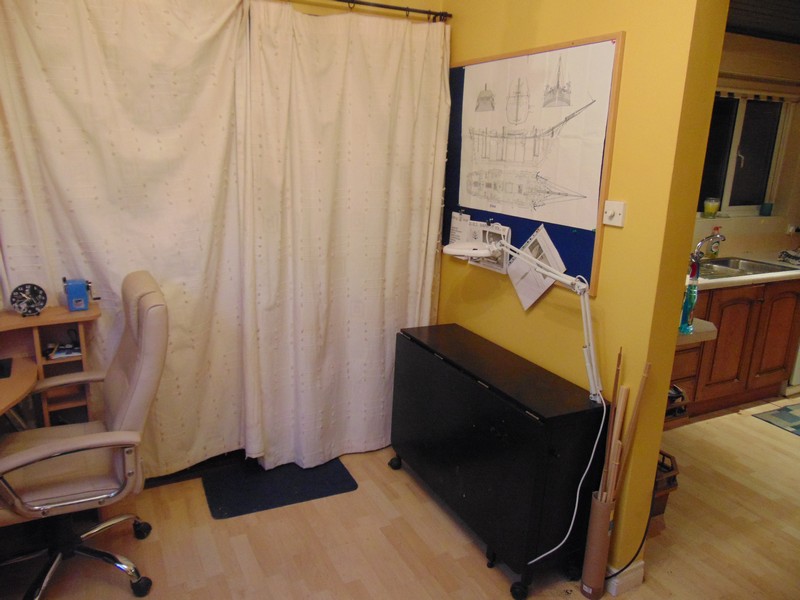
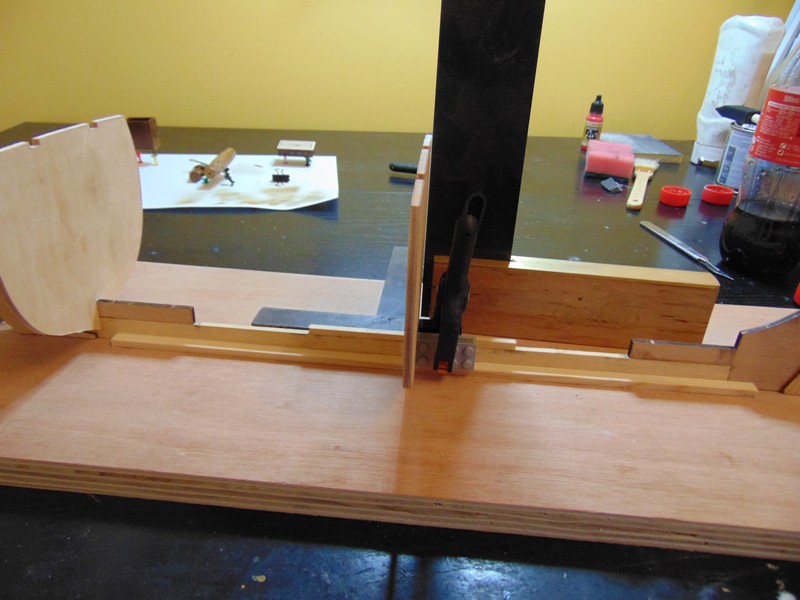
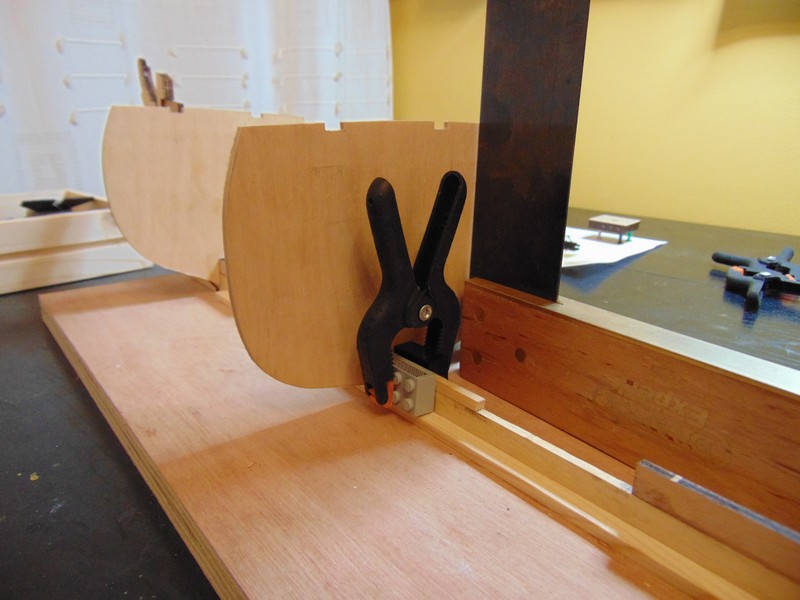
Hello all there has been a bit of a delay on the bounty build I promised myself before I started the build I would create more storage for my dining come hobby room .I started the bounty regardless then the winter has well and truly began so I went back to the storage issue before it gets to cold in the garage .I built a tool box a few years ago for my garage workshop but it soon found a home with my modelling tools so the lower box you will see in the pics is my latest creation to hold more tools in doors.so now that that's finished I can close up the garage workshop for the winter and concentrate on the bounty build except for ocasionaly nipping out to use the bandsaw or disc sander the whole set up in my dining room come hobby room takes only a few mins to set up and parks neatly under my victory when im finished for the evening
- 291 replies
-
- 10
-
-
- bounty
- billing boats
- (and 1 more)
-
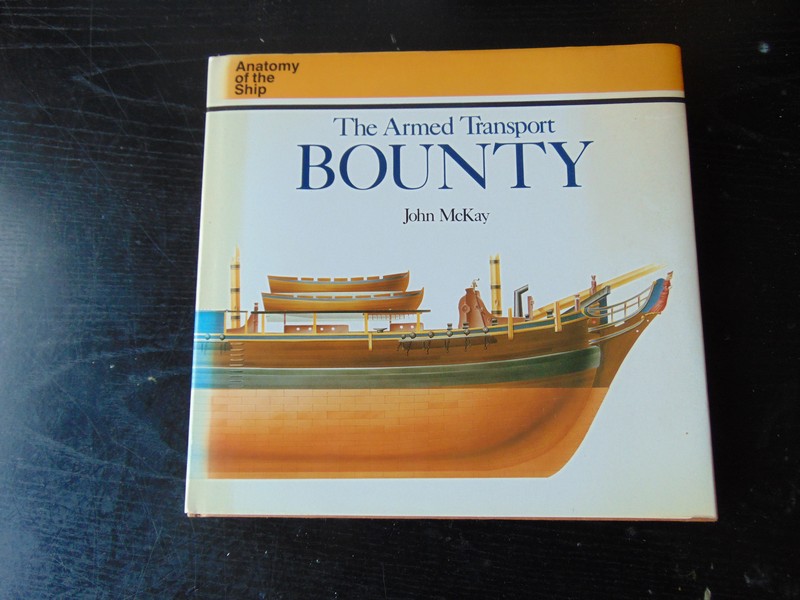
This arrived safely today courtesy of a very kind member robin lous a big thank you to robin this will greatly help my build. I particularly like the paint scheme that the book depicts and the drawings will help me scratch build the deck furniture and include a flag locker not included in the billings kit and im sure there is many other items I will change in accordance to this book Once again robin I thank you for the help and will ensure to return the book upon completion of my build.
- 291 replies
-
- 6
-
-
- bounty
- billing boats
- (and 1 more)
-
Thank you for the link don that answers my question perfectly I will download and print it out
- 291 replies
-
- 2
-
-
- bounty
- billing boats
- (and 1 more)
-
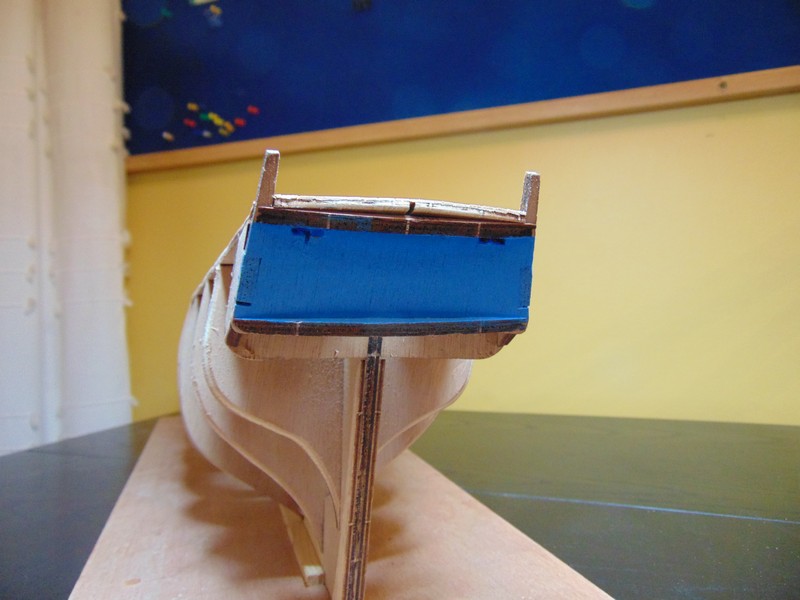
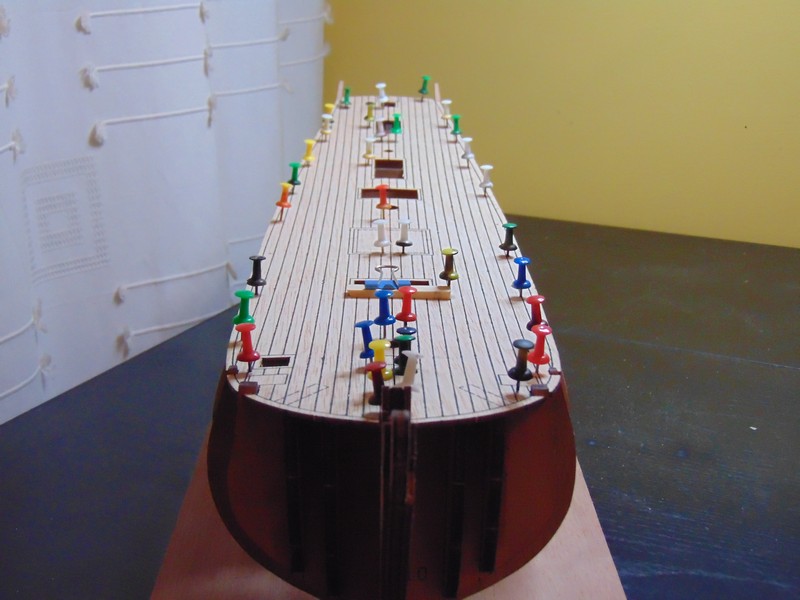
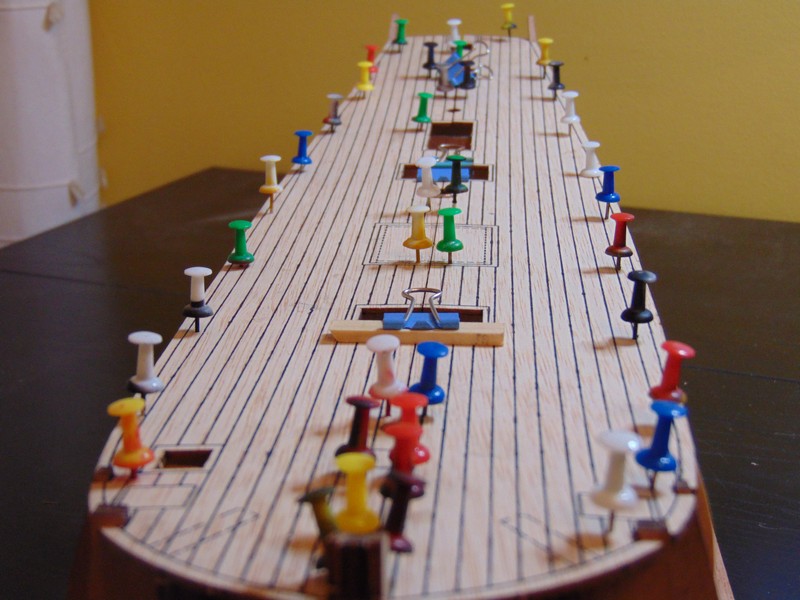
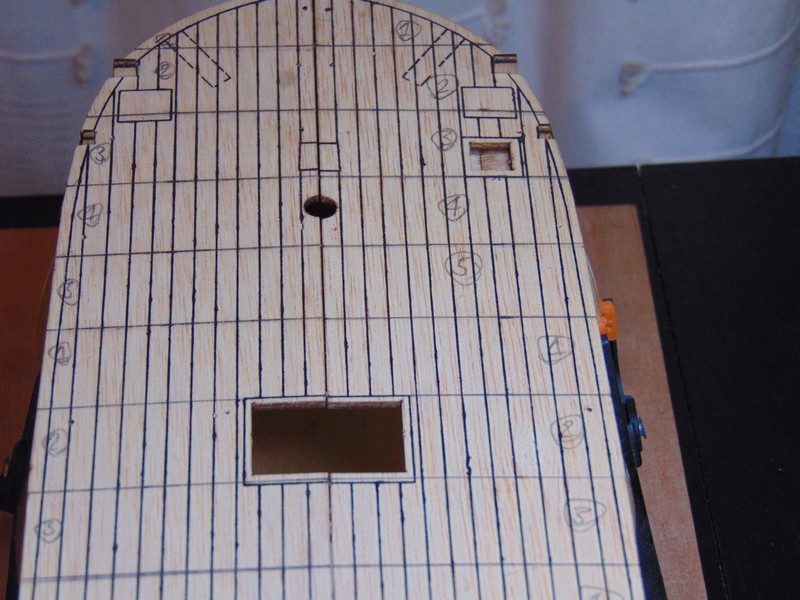
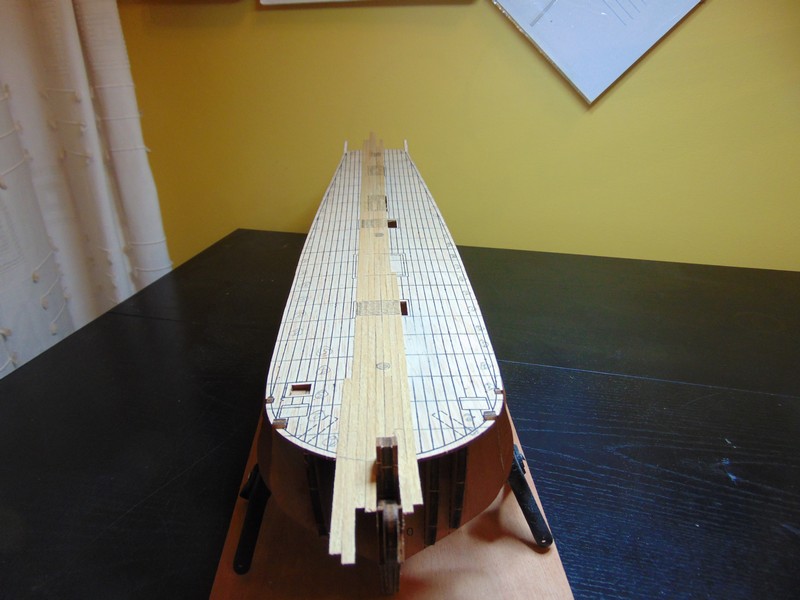
I have fitted the false deck and I am ready to begin planking the deck. Could anybody please answer a question thanks. My question is how long would the deck planks have been on a ship of this period and then I can cut them to appropriate size to suit 1/50 scale thanks Also any links on how to stagger the deck planks would be extremely helpful as on my previous build I staggered them half way each run however I believe there was other patterns. As a carpenter by trade when fitting wooden flooring I would do a run then begin the second run with the off cut there fore staggering the join every time would this have been the case back then or was there a pattern ? I could probably google the answers but would much prefer the answer from experienced builders from the forum thanks.
- 291 replies
-
- 2
-
-
- bounty
- billing boats
- (and 1 more)
-
Are you serious robin I've tried to buy that book and the price is crazy the victory version is on amazon for 5 pound the bounty version is anywhere from eighty
- 291 replies
-
- 3
-
-
- bounty
- billing boats
- (and 1 more)
-
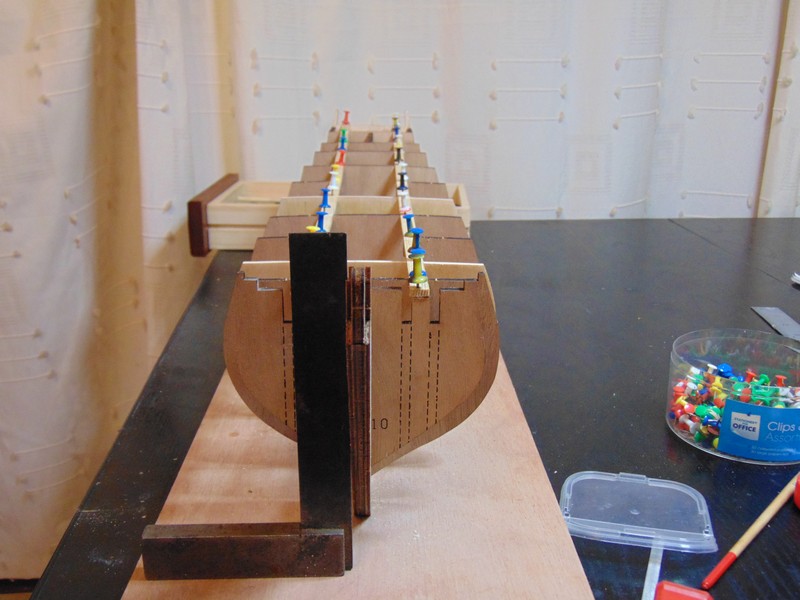
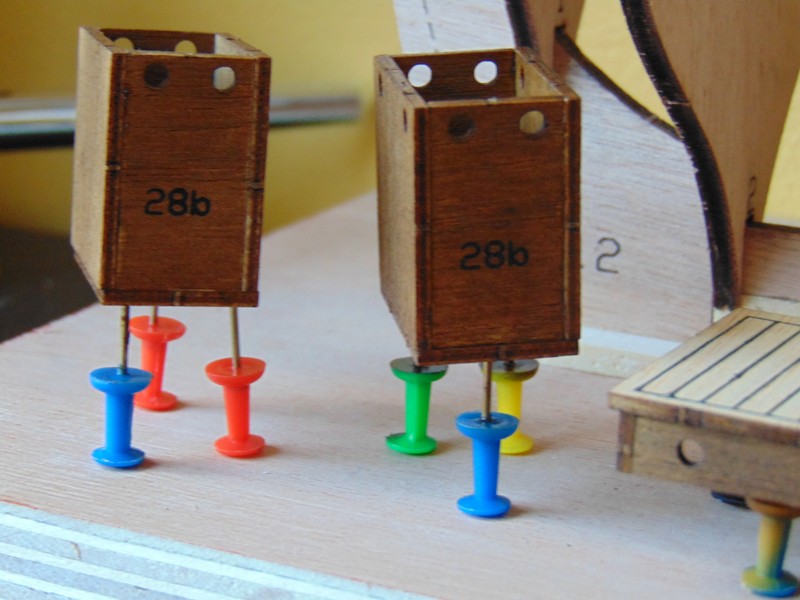
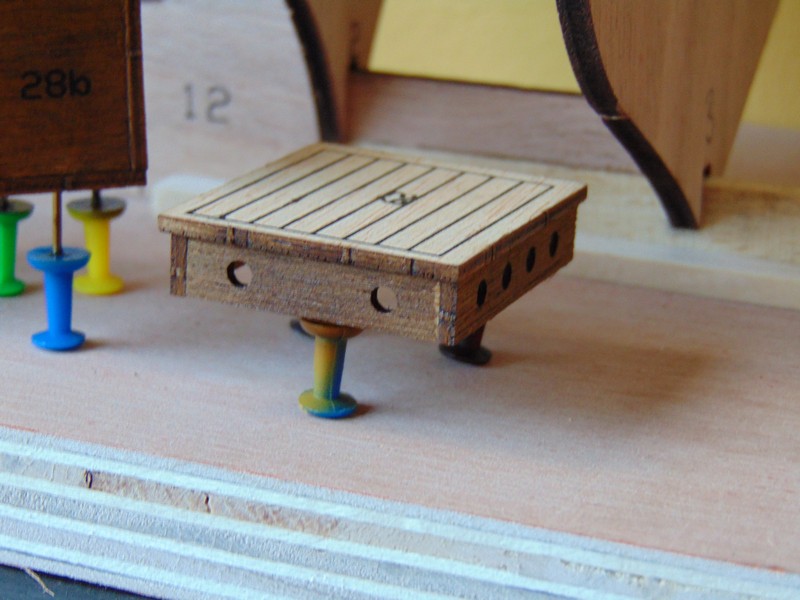
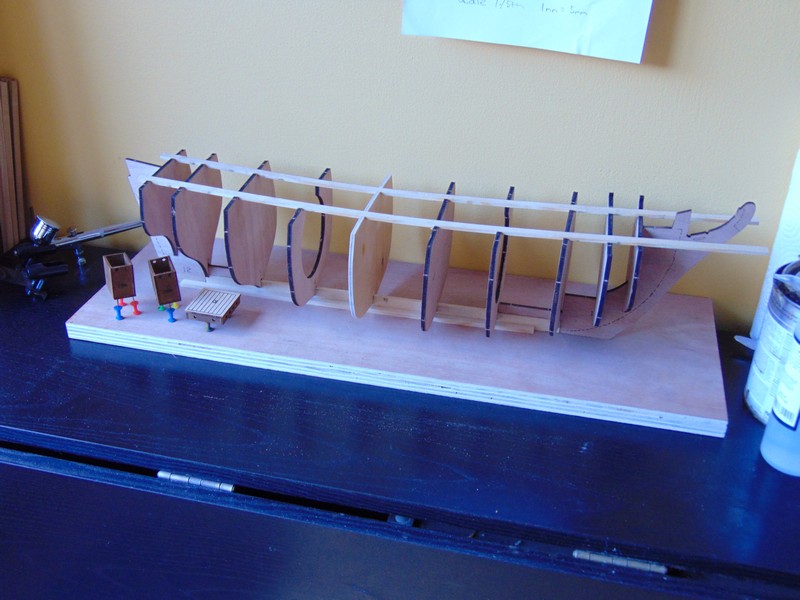
so to bring things up to date the next series of photos show the build commencing using the two scratch build parts
- 291 replies
-
- 7
-
-
- bounty
- billing boats
- (and 1 more)
-
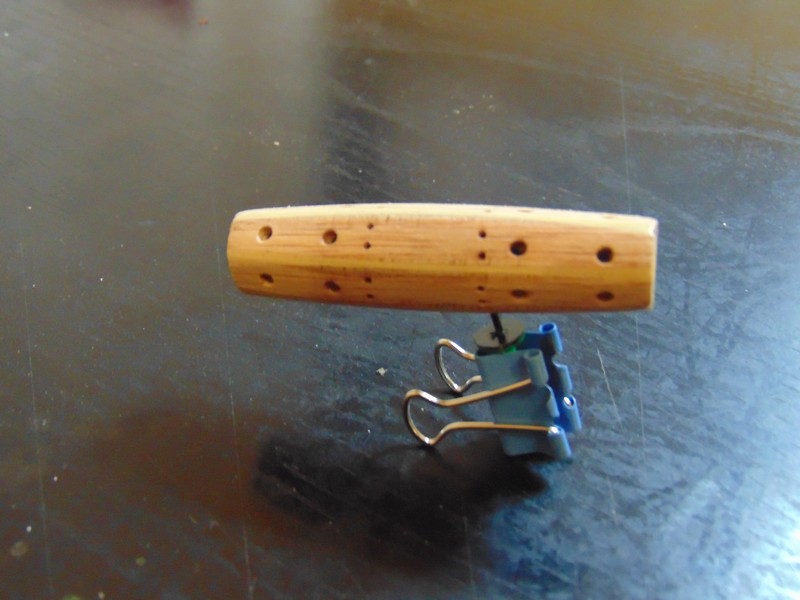
At this stage I have decided to scratch build the two faulty pieces and work on other things such as the stairwells
- 291 replies
-
- 6
-
-
- bounty
- billing boats
- (and 1 more)
-
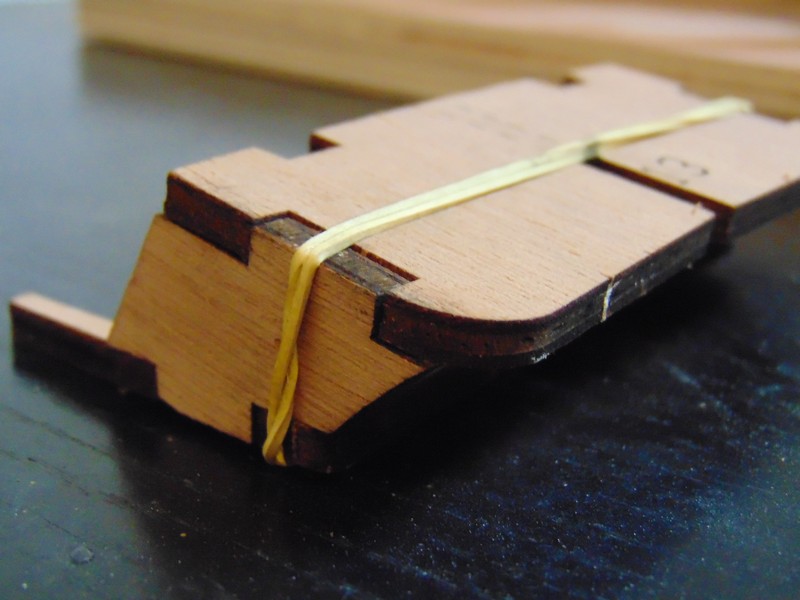
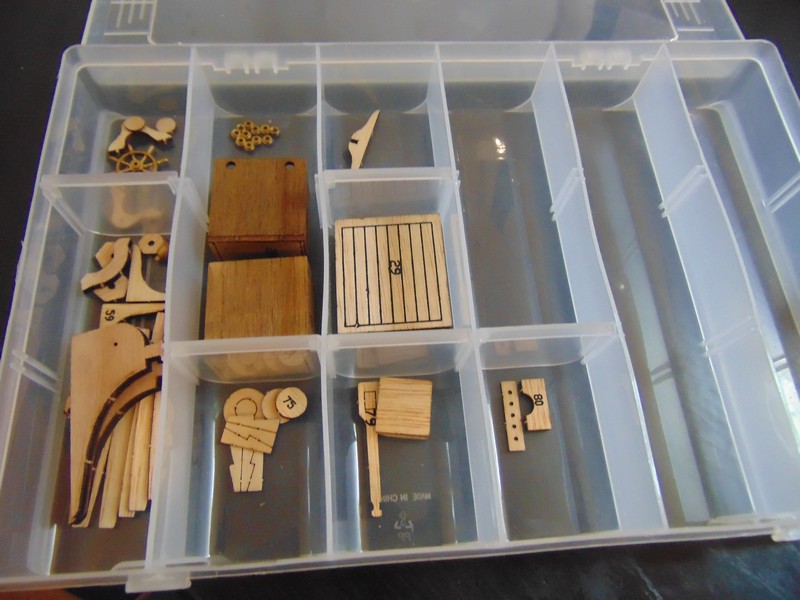
I have opened all the parts and checked all the pieces are there and placed them in storage boxes and can report the pieces where all there and in most cases with the smaller pieces there was infact extras. However two of the plywood bulkheads where warped.The kit did include a green form to report any missing pieces or problems I have written to the address for the U.K supplier however three weeks later have heard nothing.This may be due to the fact I bought the kit second hand and have no idea how old it is that supplier may have moved address

- 291 replies
-
- 2
-
-
- bounty
- billing boats
- (and 1 more)