
HOLIDAY DONATION DRIVE - SUPPORT MSW - DO YOUR PART TO KEEP THIS GREAT FORUM GOING! (Only 13 donations so far - C'mon guys!)
×


Steve 12345
-
Posts
438 -
Joined
-
Last visited
Content Type
Profiles
Forums
Gallery
Events
Everything posted by Steve 12345
-
 Thanks Gemma if there is anything I can help you with don't hesitate to ask . I have found instructions lacking so have done a few things my own way so don't take anything I do as gospel but I do hope the photos help and you can see how things turn out my way before committing to my approach
- 291 replies
-
- 4
-

-
- bounty
- billing boats
- (and 1 more)
-
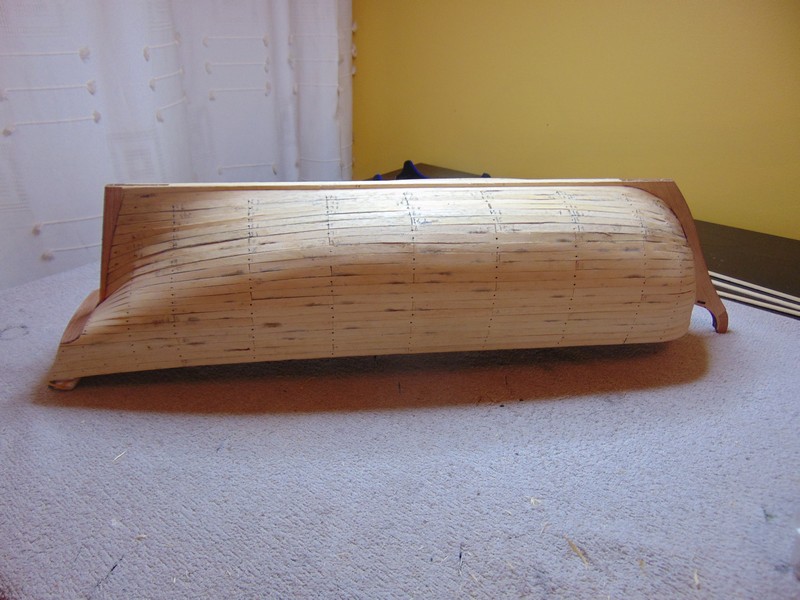
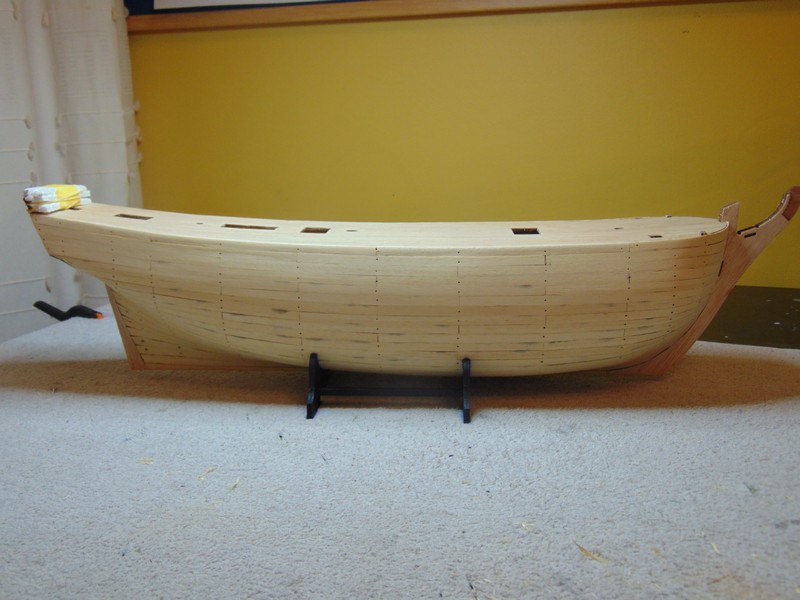
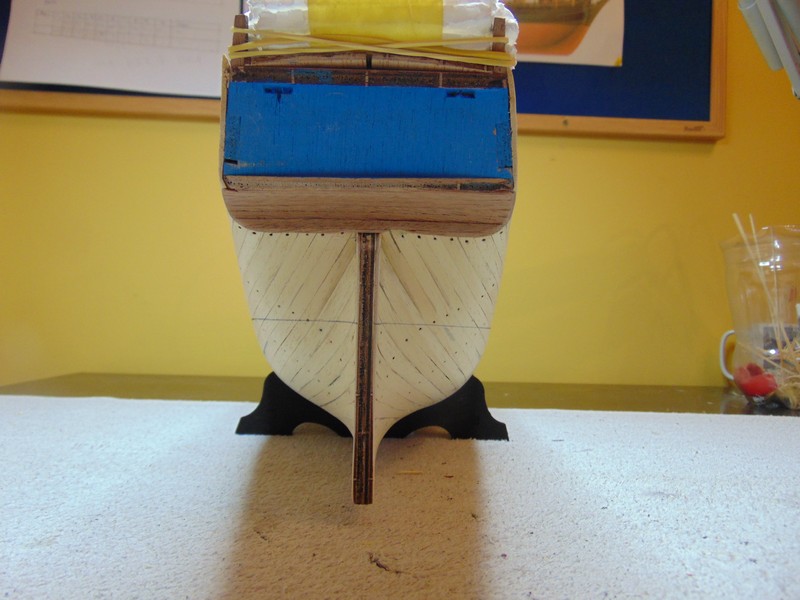
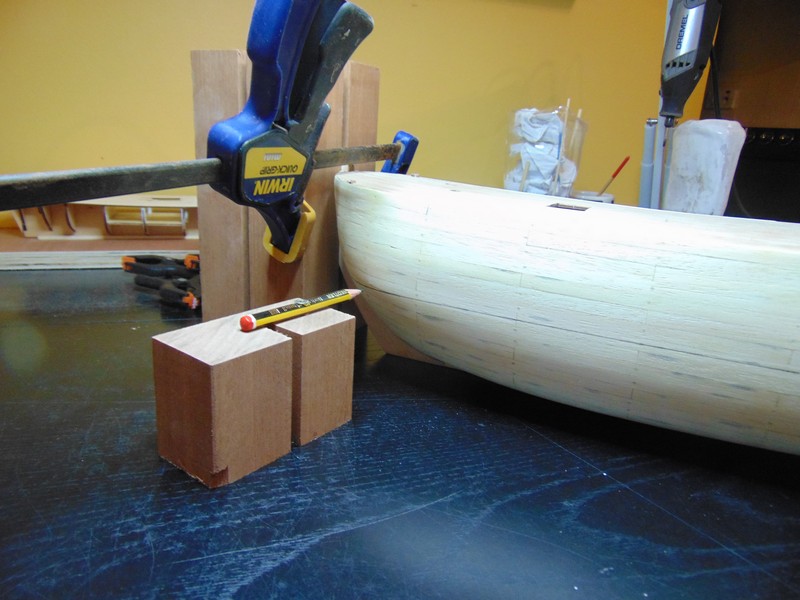
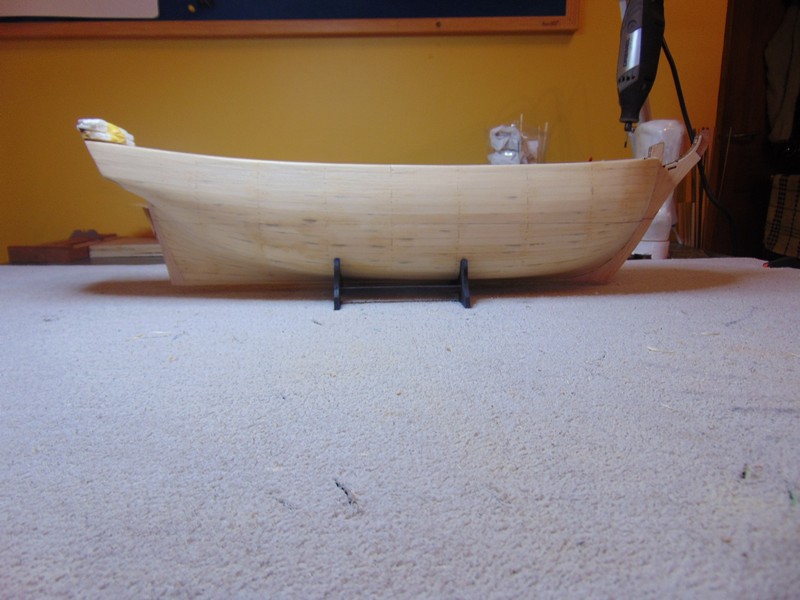
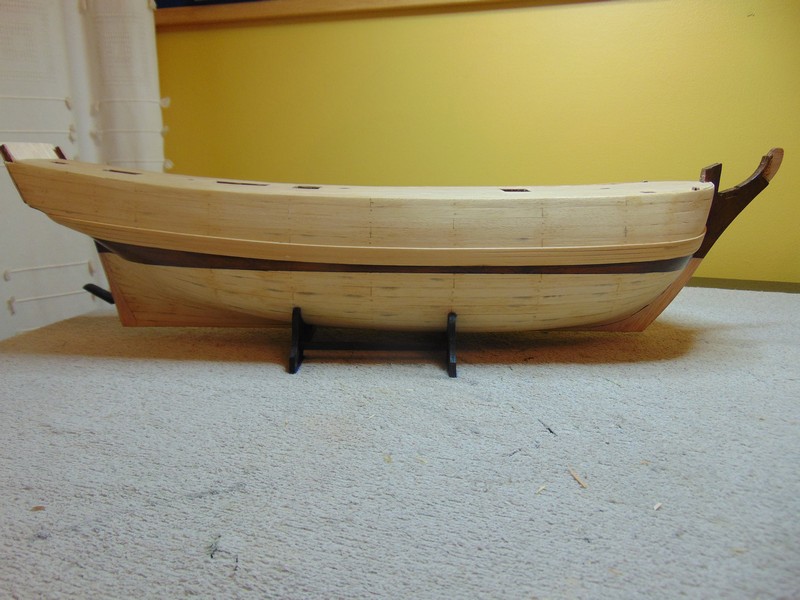
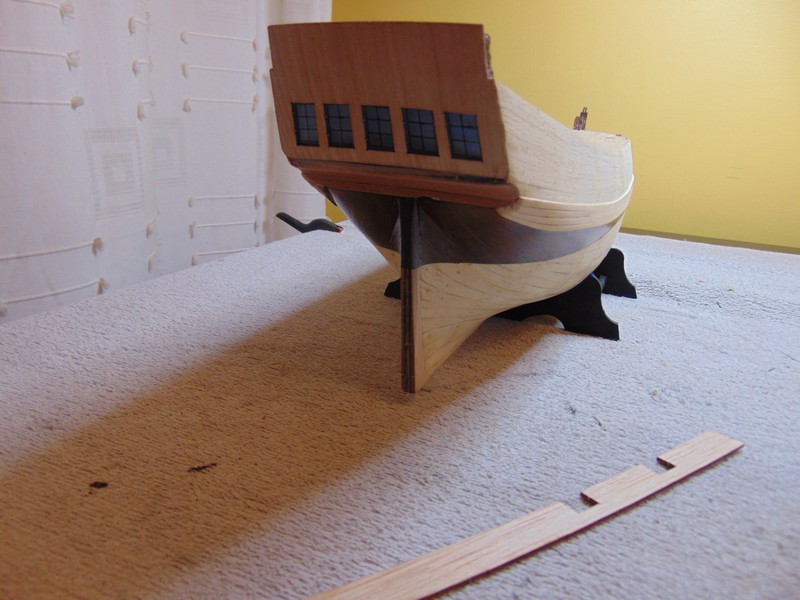
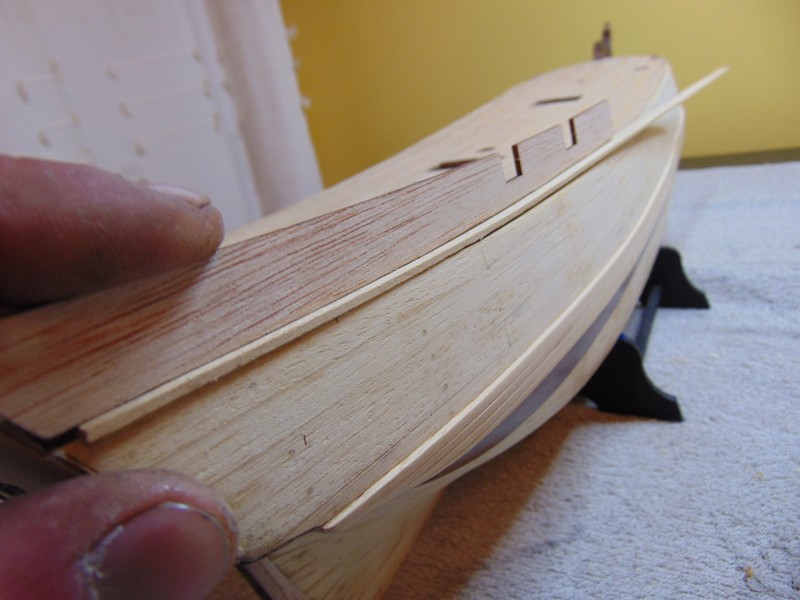
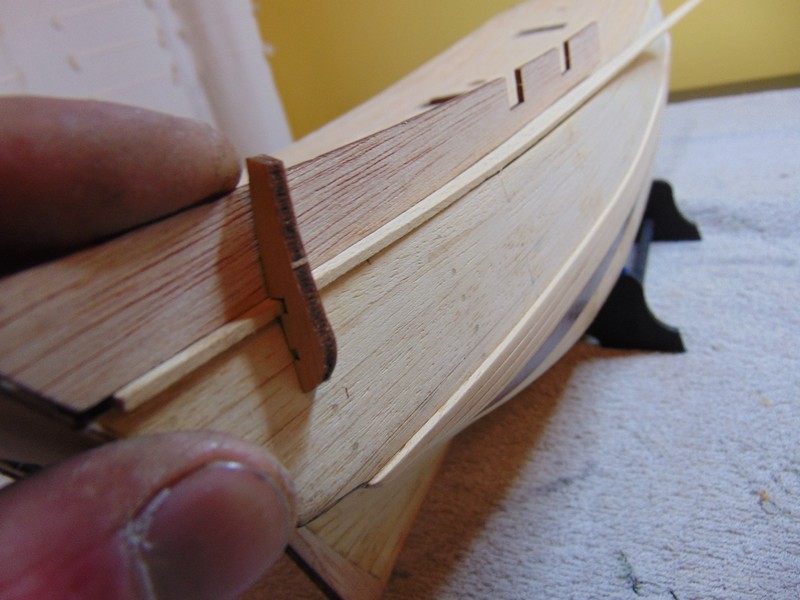
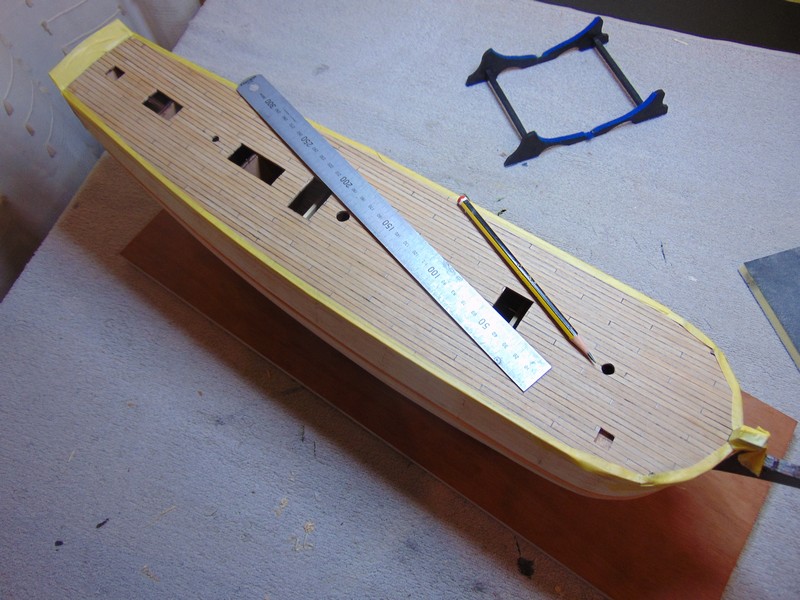
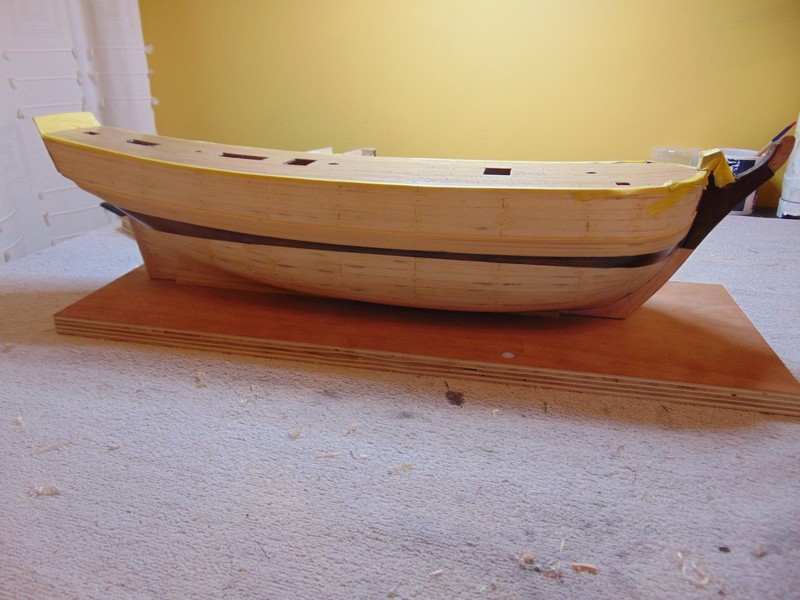
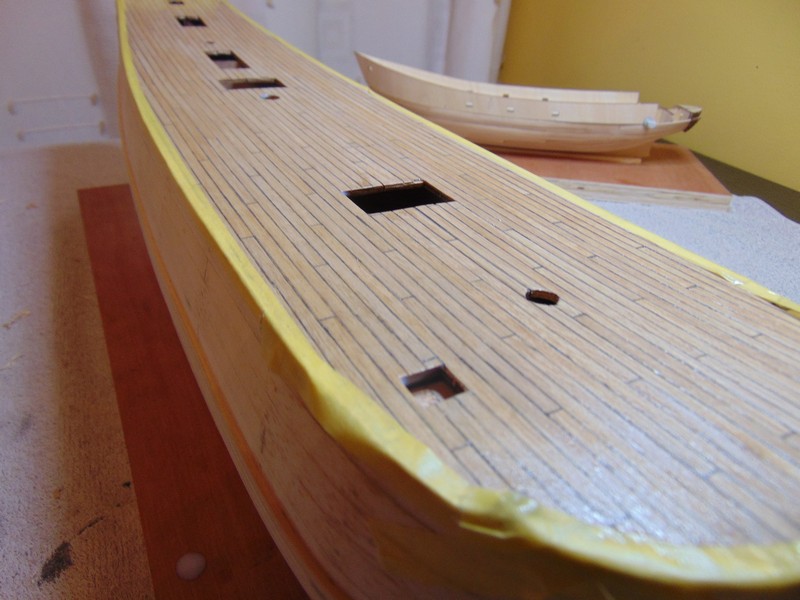
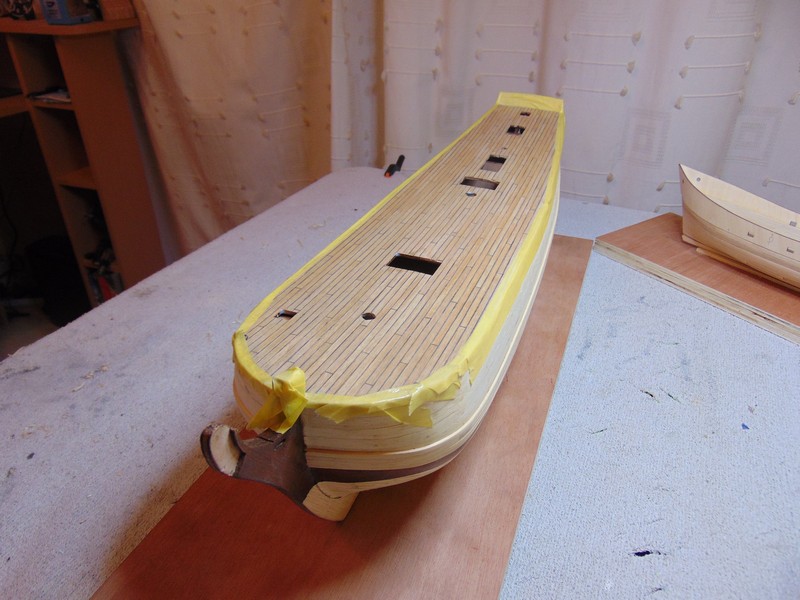
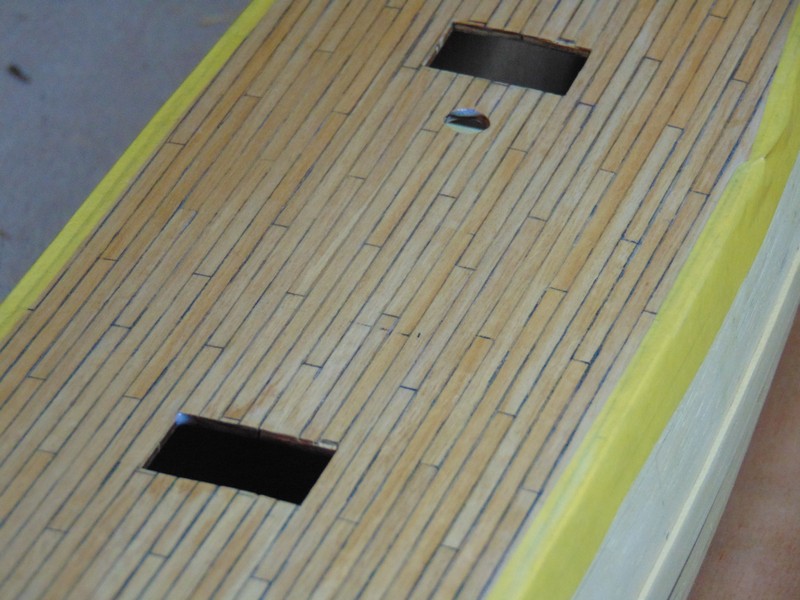
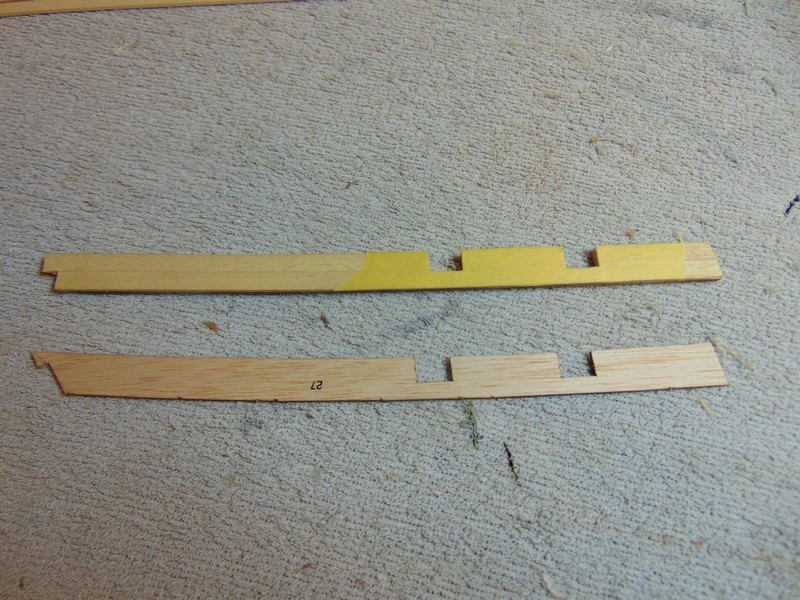
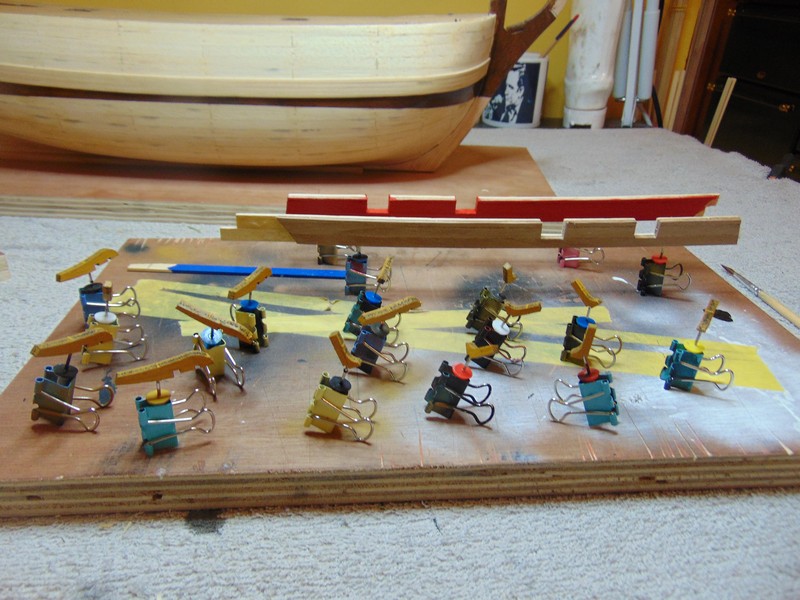
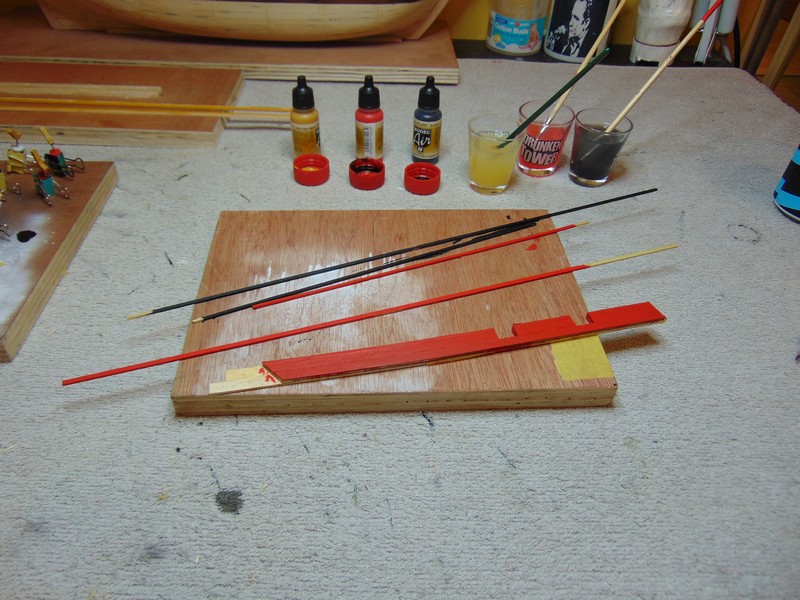
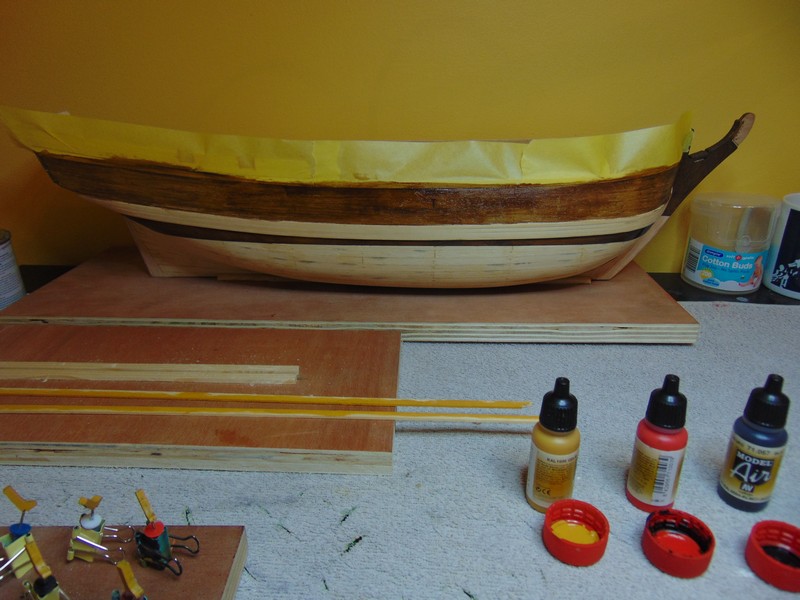
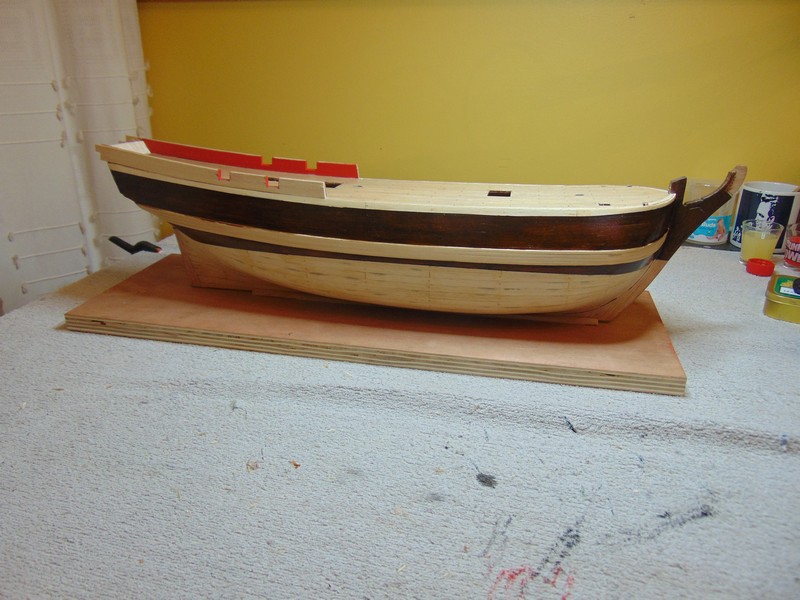
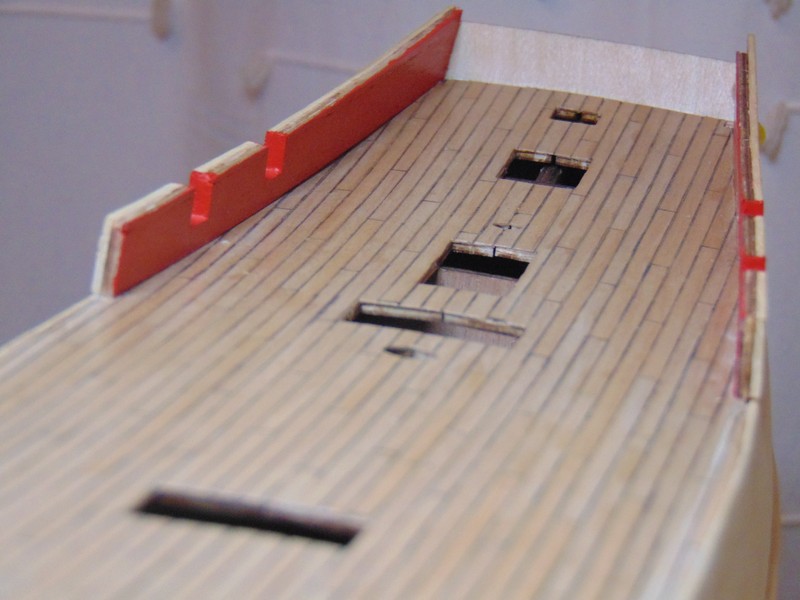
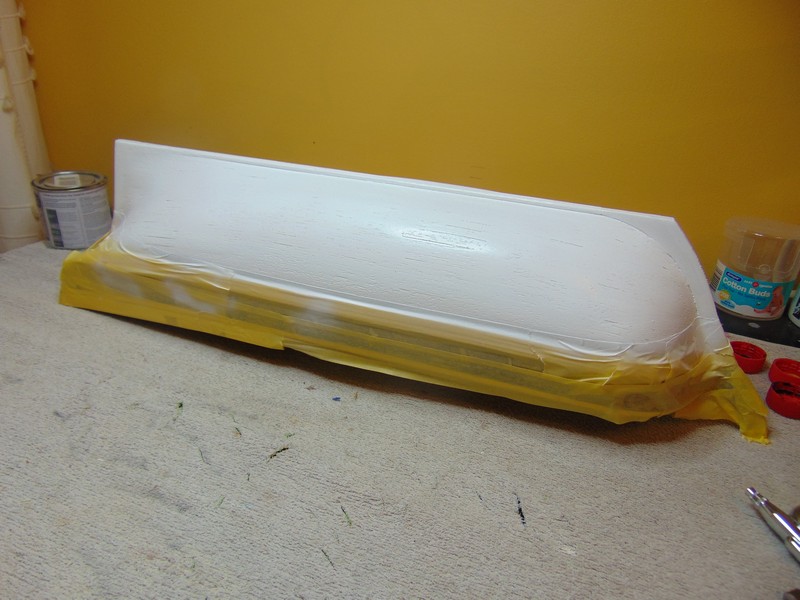
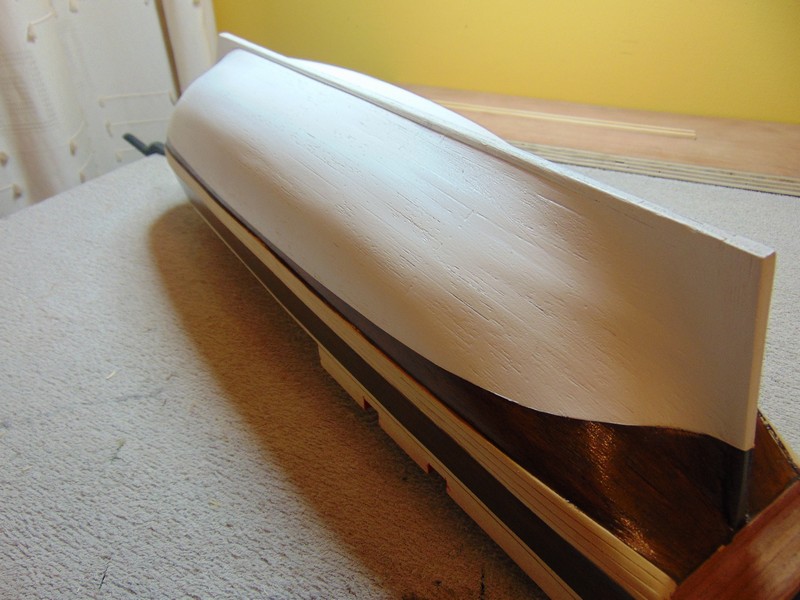
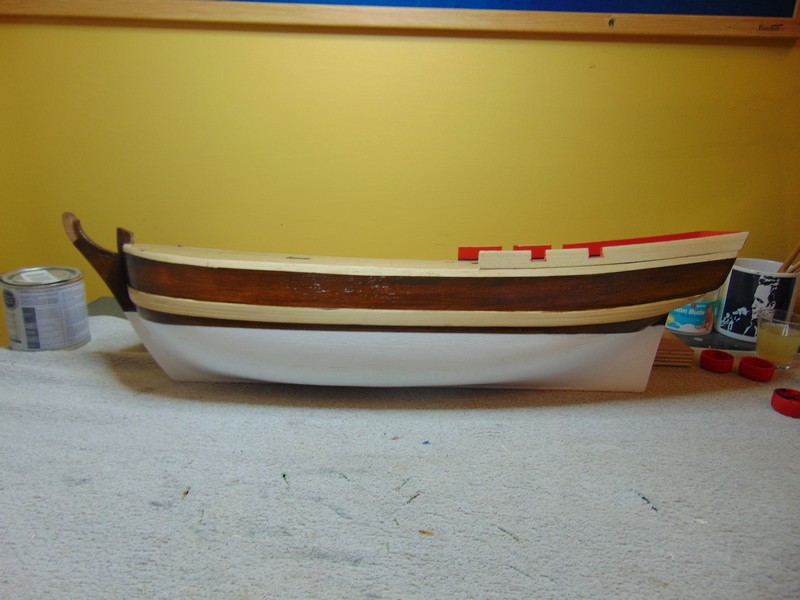
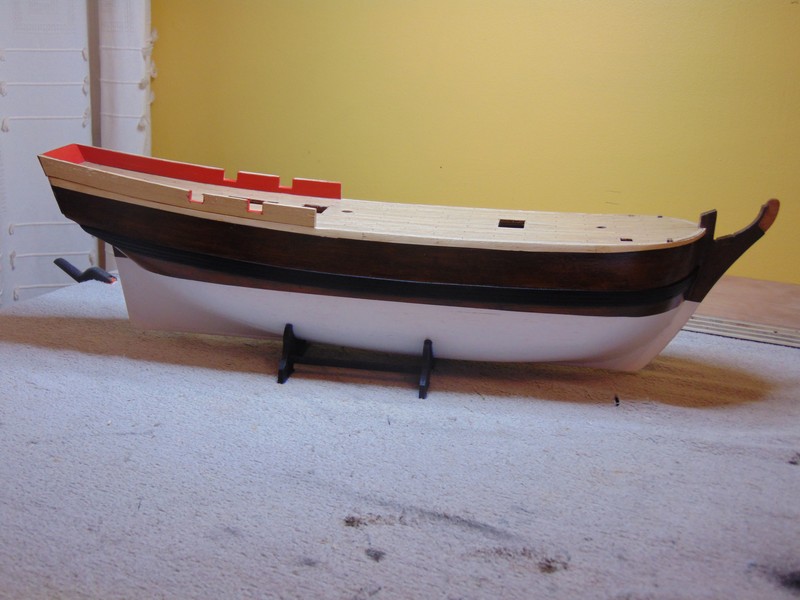
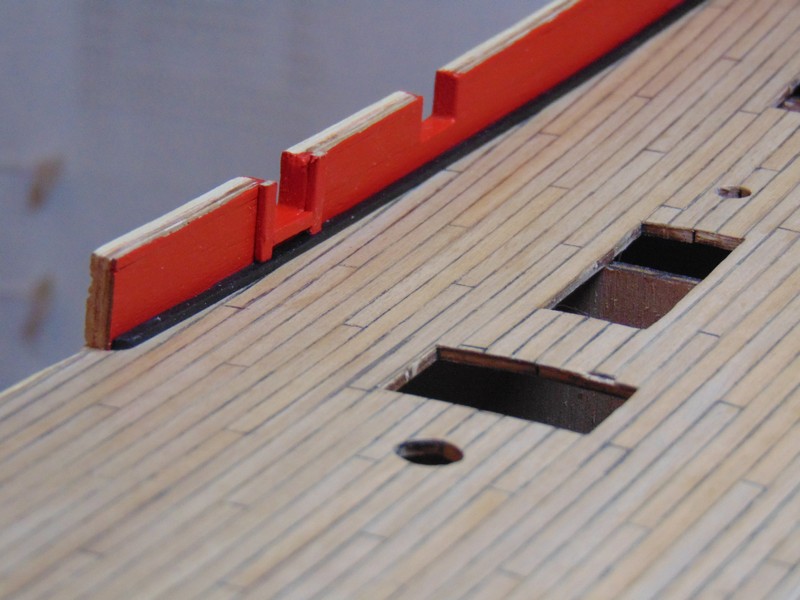
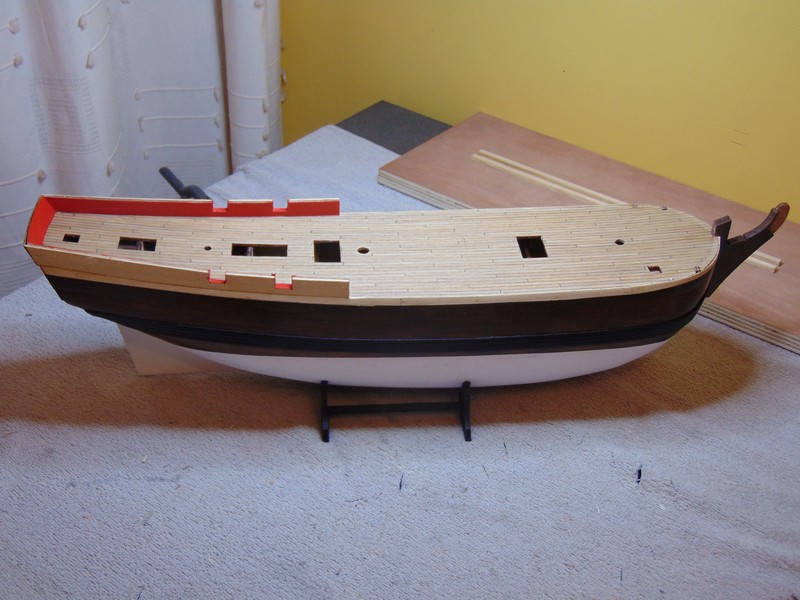
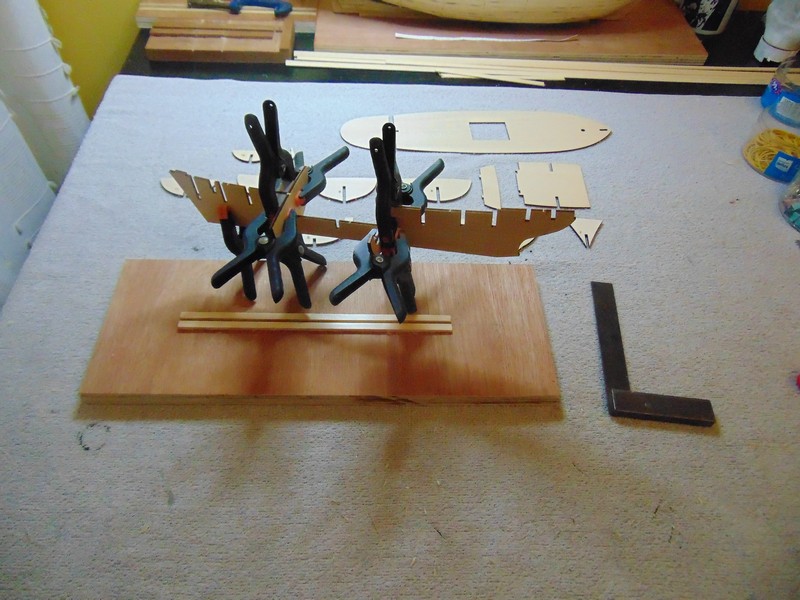
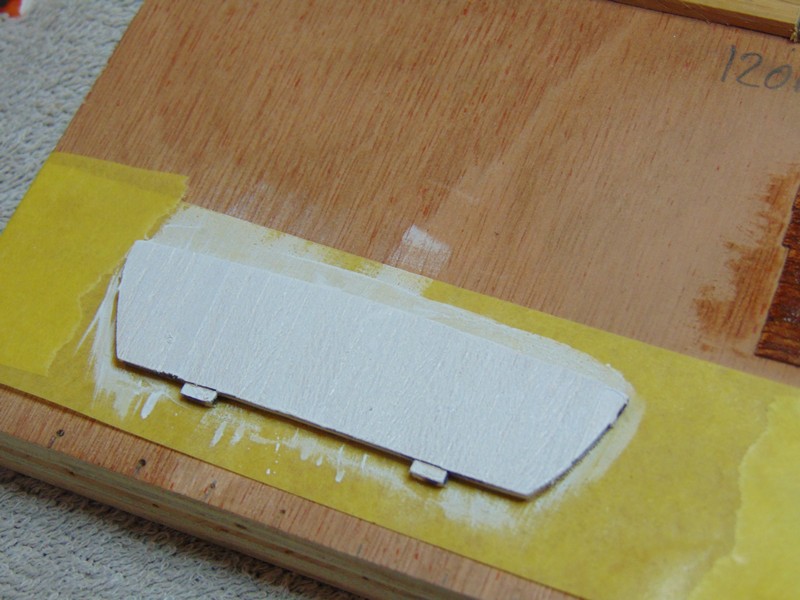
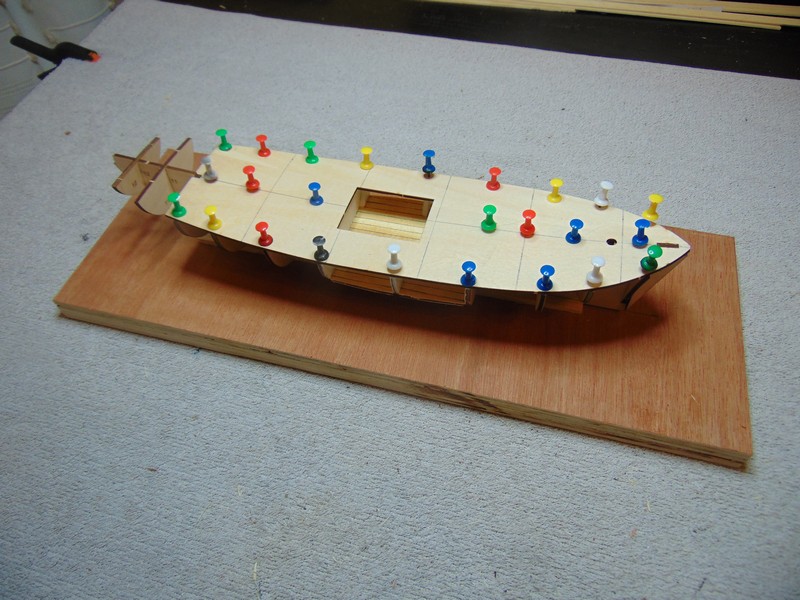
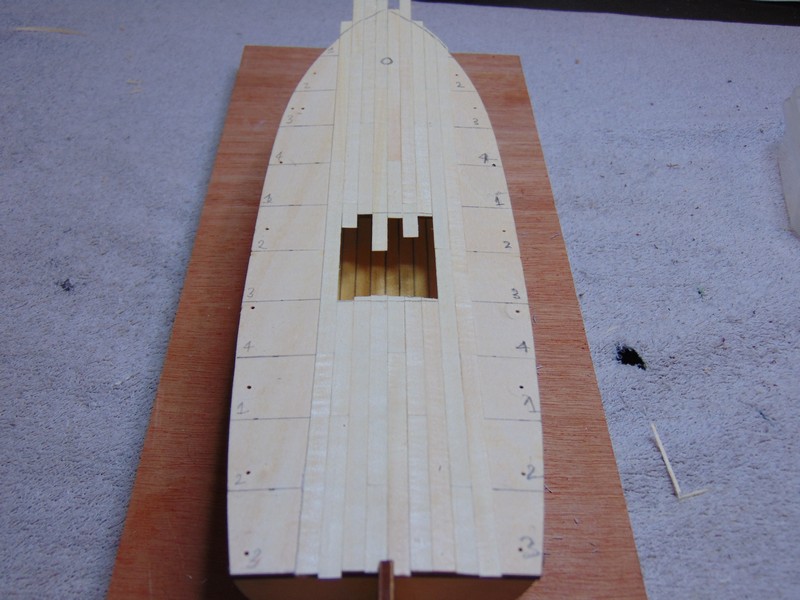
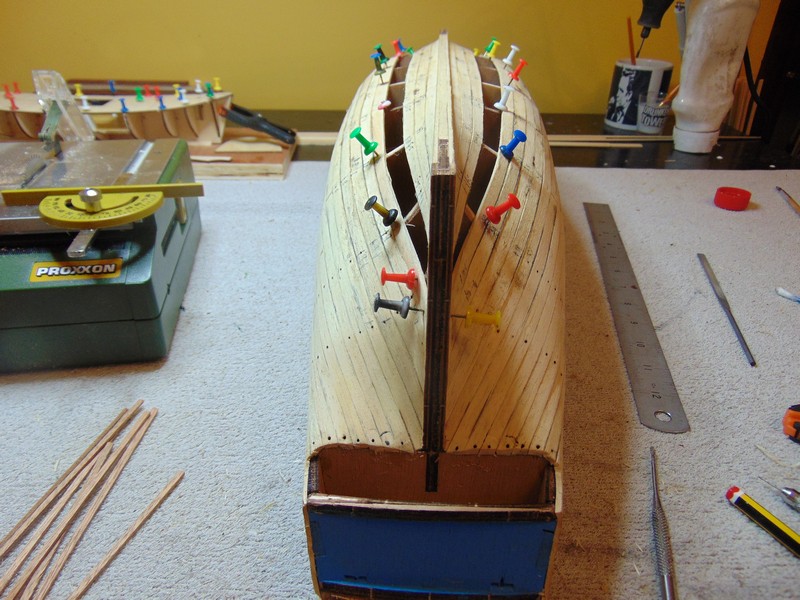
Hello all welcome back for an update. I have completed planking and must say after going at it with a proper plan and layout have really enjoyed this sometimes frustrating part of the build I have sanded the hull lightly filled the pin holes I used to hold the planks and re sanded. as you can see from the photos there is no need for expensive keel clamps and water line type drawing devices I have simply held the ship plum by clamping a block of wood to the keel and I screwed a pencil to the top of a piece of wood tested height on wall then cut wood block to apropiate height. after fitting the whales I begun paint starting with the stain because if I go over the lines I can paint over the stain but cant stain over the paint For months before I started the build I have struggled with how the bulwarks are fitting in a billings kit they seem to show me in the drawing laying a plank flat and building on top of this however it then does not marry up with the scale drawing. also I think they want me to just use the bare plywood . So I have taken matters into my own hands cut the tabs off I so tried to protect from damage from start of build . I then planked the bulwarks inside and out and will add thin strips on outside and inside of bulwark so it looks like it is on top of these and marrys up with scale drawing. also stern cabin mouldings are going straight in the bin forcing myself to come up with something more accurate.not sure how that will go watch this space. finally ive begun work on framing the inside of the bulwarks . Thanks for viewing Steve.


- 291 replies
-
- 13
-
-
- bounty
- billing boats
- (and 1 more)
-
One thing to consider The first ship I built was reasonably exspensive I learned a great deal from building it but now working on my second that was a tenth the price I now find myself beginning to resent things I did on the first learning new things thinking I wish I new that when building the first ship I now wish I got a few under my belt before spending the big bucks I'm still happy with my first build don't get me wrong but there is a lot I could have done better if I'd have known and an investment like your considering is fairly big I would instead maybe consider investing in tools like miniature table saw or planer so you can buy raw materials for very cheap and make your own parts as hobbie shops tend to be very expensive for the material you get I hope this helps it's just meant to give you something to think about and ocourse the decision is yours and yours alone to make Steve
-
I've seen Steve priske on utube long before I found this forum he was a great inspiration definitely worth a look
- 453 replies
-
- 6
-
-
- thermopylae
- sergal
- (and 1 more)
-
I like to have a smoke then take them out not suggesting you start smoking if you don't already
- 134 replies
-
- 3
-
-
- artesania latina
- mare nostrum
- (and 1 more)
-
A plank crimping tool would also help with this Derek if your still having probs
-
Are you soaking the strips in cold water ? I like to use boiling water but find with planks they will swell quickly if left in to long round about five mins seems about right for me
-
Hello Popeye I have enjoyed viewing your post and will def follow along
- 453 replies
-
- 6
-
-
- thermopylae
- sergal
- (and 1 more)
-
I did notice a different texture to ply wood bought from a builder supply compared to a hobby shop ply wood maybe the older stuff is building type material
-
Thank you Doug it is a pleasure to meet people on this forum with the same interest facing the same challenges and getting so much success from a great hobby
-
Well done Doug jumping in at the deep end I'm sure there is method in the madness and it will pay off your fourth will be a buety good luck on this one and your others I think what your doing with the different builds is great and I will be following along Steve.
-
Hello From David - A new member
Steve 12345 replied to David of Berwick's topic in New member Introductions
Hi David your photos won't upload unless you shrink them down many youse windows paint I struckled with this I downloaded a program called faststone photo resizer and it works great if you are concerned about viruses etc u can check it out on utube so for it has caused me no concern. -
Hi derek I use a brand called zap a gap not sure if that is available where you are it works very well for wood to wood There are different colour bottle zap a gap I go with the green one it's a medium That's if I'm wanting something to dry instantly otherwise I use white pva not sure of the brand it's just a trade glue I borrow it from work by the gallon don't tell anybody tho
-
Thanks Harry Ireland is terrible for ship parts the only model hobbies shops I know of don't stock wooden ships only plastic planes and tanks etc guess there is not enough demand to justify having shelfs full of wooden ships. Everything I need has to come from England Cornwall modelships and such places however there is a minimum postage so I'm better making a list of multiple items to get at once . As for timber However I'm quite lucky as my day job is ripping out timber windows and doors and replacing them so I have and endless supply of timber .also some of the old mahogany I rip out is the real stuff and not the seppily you will get sold as mahog these days
- 130 replies
-
- 1
-
-
- mare nostrum
- artesania latina
- (and 1 more)
-
Thanks rexy when mine arrived in the post I was a bit taken back with the missing hardwood that explains it Hoff thanks for the pictures and the explanation I do very much like the unpainted version also and think it will be good practice for me to scratch build the missing components Steve.
-
Looking good Doug you and certainly on a mission and nothing is holding you back
-
Would very much like to take you up on the offer of the photos harry the more the merrier warts an all as they say I trust you have my email if not I can send it again I'm particularly interested in the planking detail as I'm unfamiliar with a kit that adds the keel after planking Kind regards Steve
-
When to varnish
Steve 12345 replied to medic's topic in Painting, finishing and weathering products and techniques
If you have already painted john I would go with the small pins inserted into the bottom of the deck furniture and the deck (I'm not suggesting nailing the furniture down of course) but rather creating a tenon On my first build the HMS victory I varnished first and close to the stage of fitting the mast dropped a small ladder deep into the hull I was faced with a choice of turn the model upside down and trying to get the piece out or paying silly money for the part plus extortionate postage,I chose to turn the model upside down and shake for approximately 20 mins and got the part out I had pinned the many many canons and furniture down and luckily nothing fell off however I would just pay the extortionate price next time -
When to varnish
Steve 12345 replied to medic's topic in Painting, finishing and weathering products and techniques
If you do decide to varnish first you could consider using small pins to act as tenons this will help hold the furniture down Steve. -
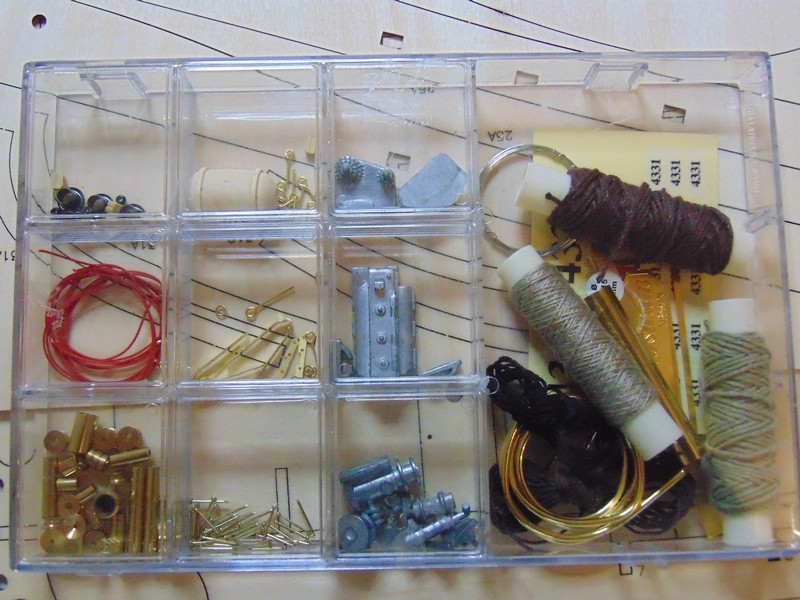
Regards the red thread it's more of a plastic type wire used to simulate spark plug leads on the little engine
-
HI Harry thanks for looking in I hope I can do this small ship justice you sure did a nice job of yours and it was one of the examples that help me choose this build.
- 130 replies
-
- 1
-
-
- mare nostrum
- artesania latina
- (and 1 more)
-
Thanks derek
-
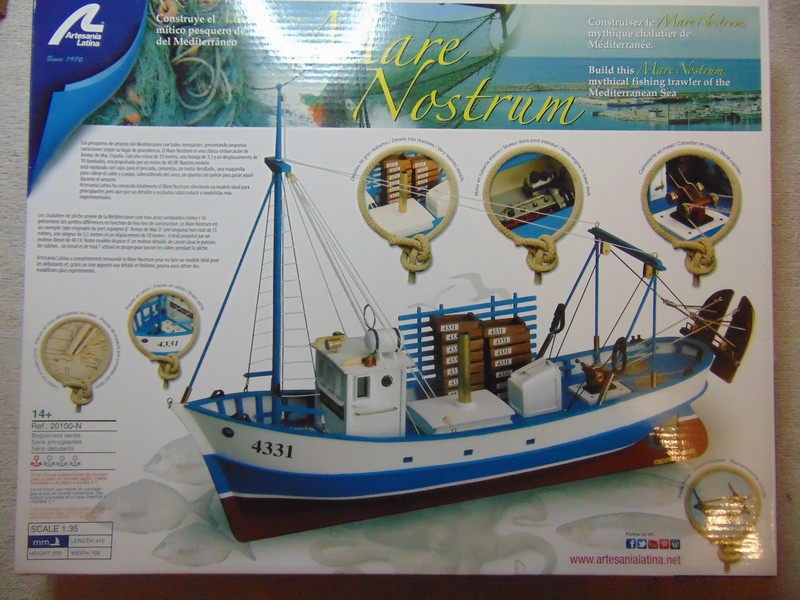
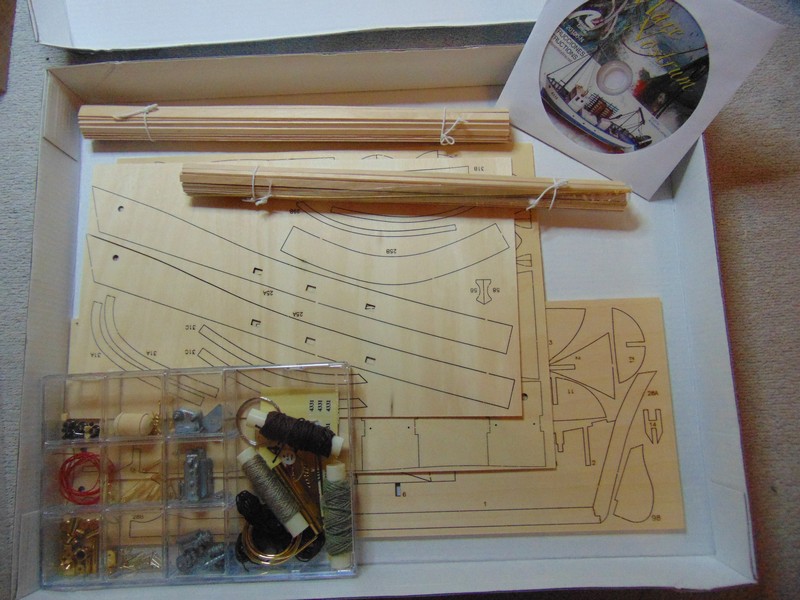
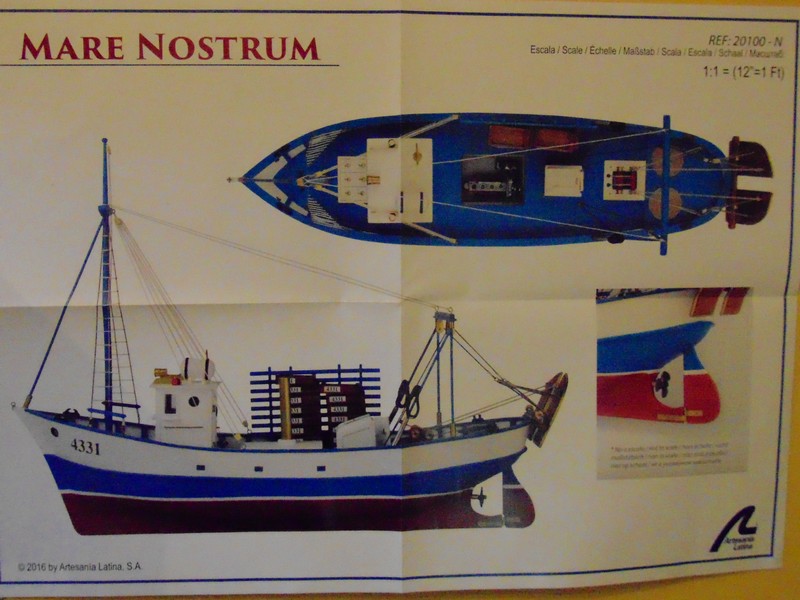
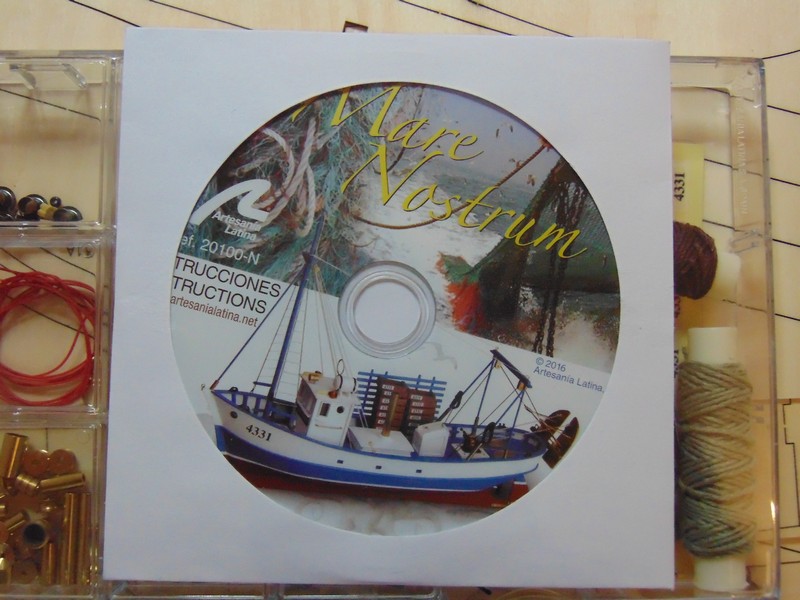
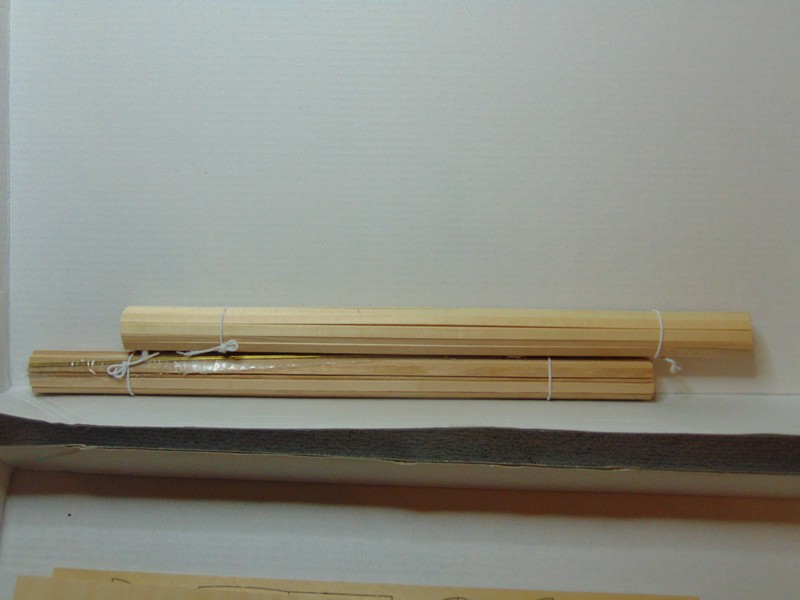
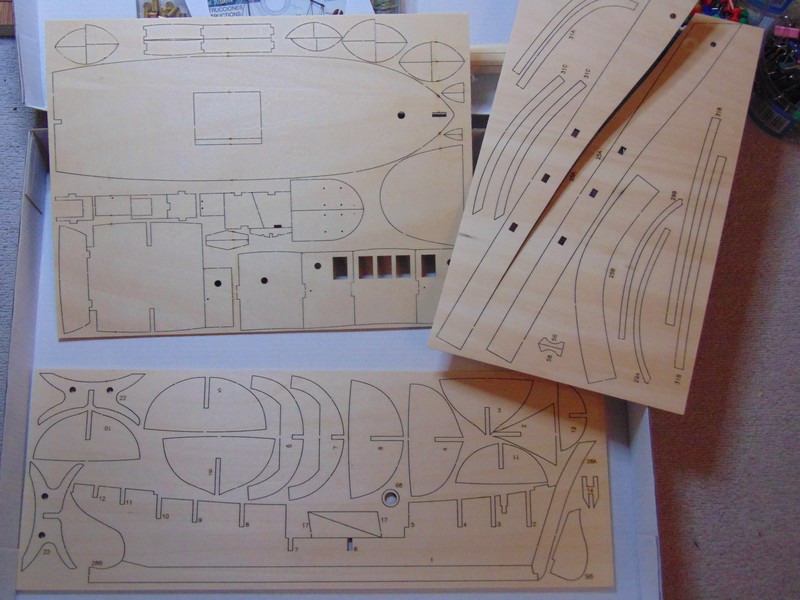
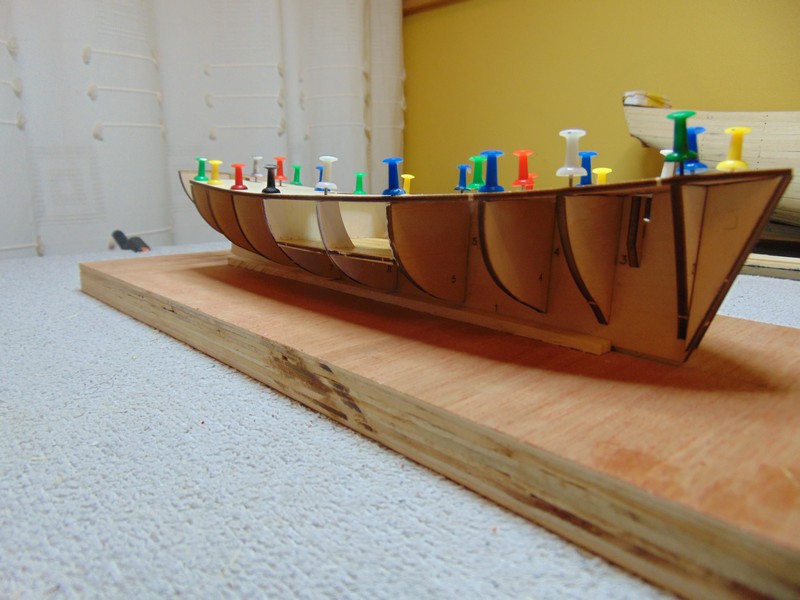
Hello all and welcome to my build log of the Mare Nostrum I chose this kit after viewing some of the other build logs and like the look of the unpainted version however the version I have received is a 20100-N I believe this to be a 2016 kit it does not come with hardwood etc. for double planking however I am happy with the kit and after seeing image on box may decide to build painted version either way I can always add own hardwood have not decided at this point. The kit was very well packaged and the quality seems nice I did find the bulkheads very loose fitting but can only compare this to mantua or billings kits. so here is a few pics to kick things off thanks for viewing Steve.


- 130 replies
-
- 2
-
-
- mare nostrum
- artesania latina
- (and 1 more)
-
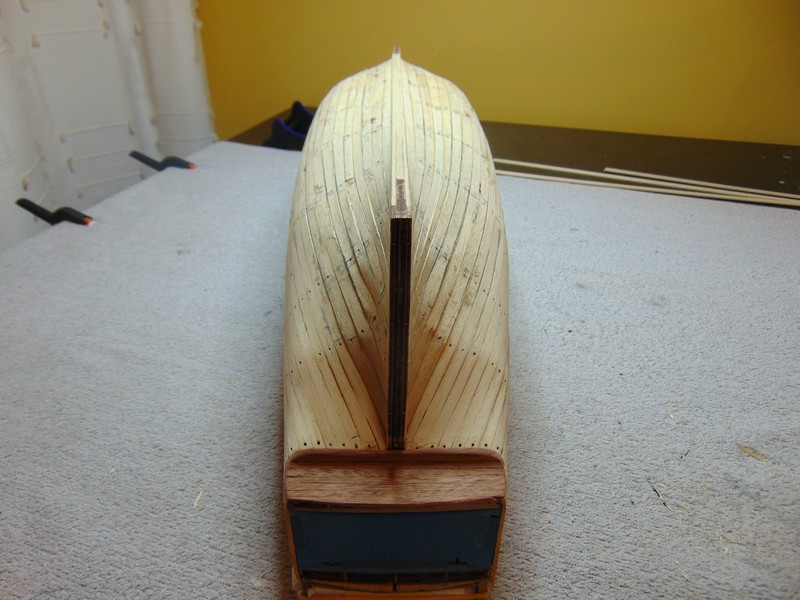
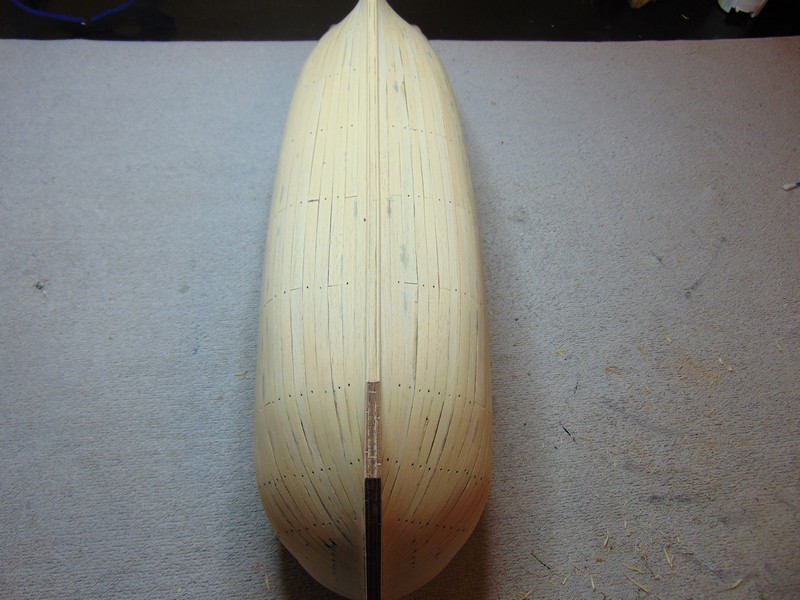
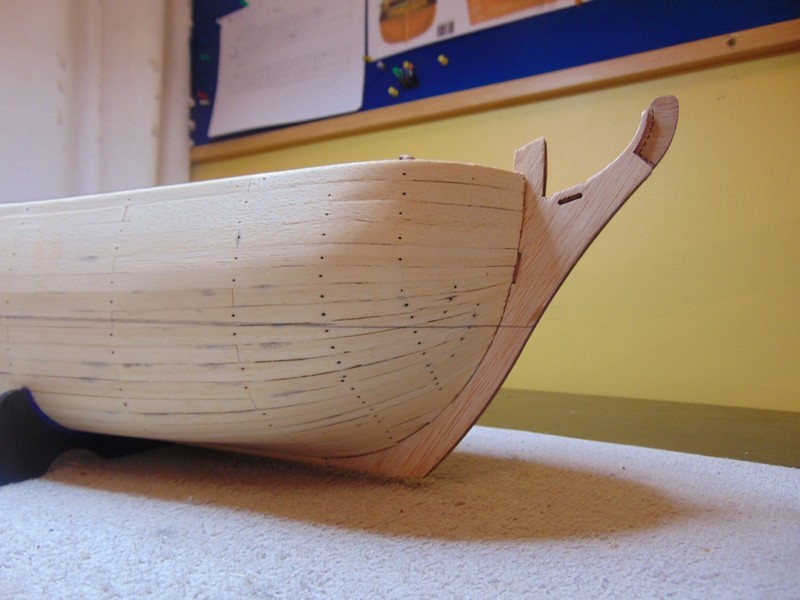
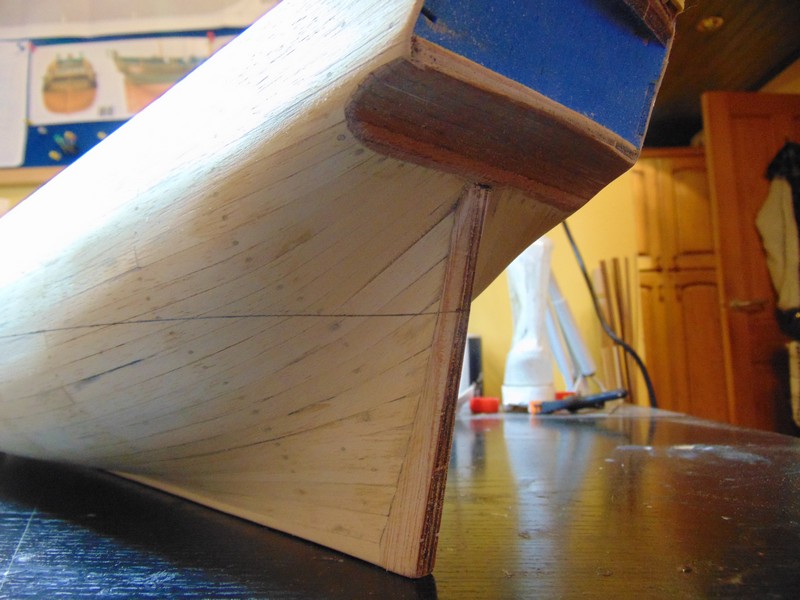
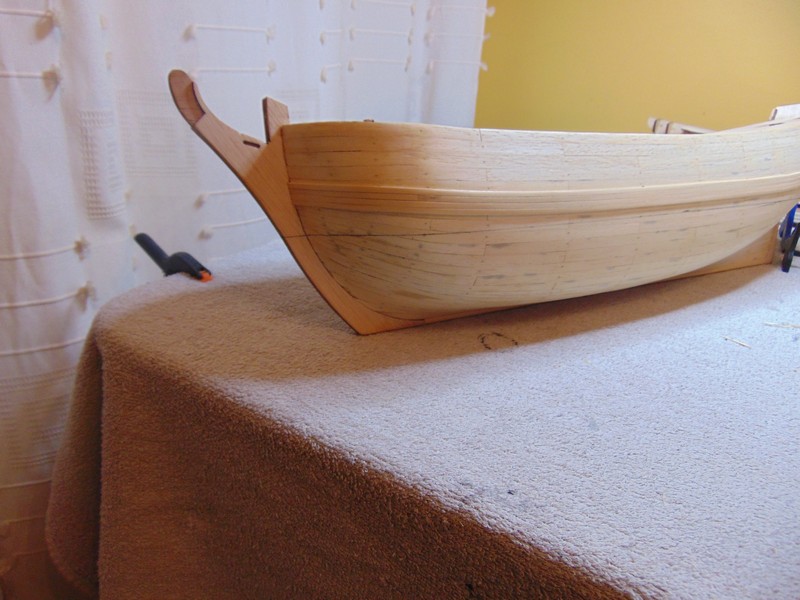
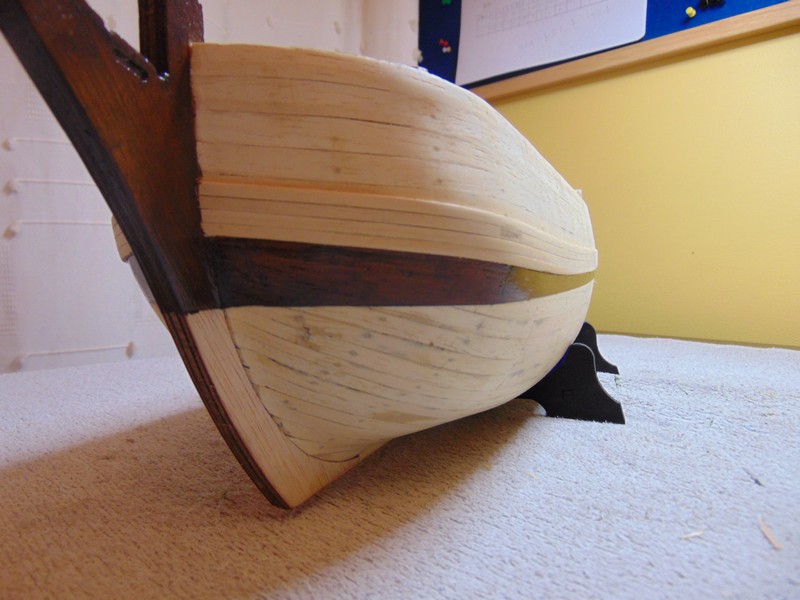
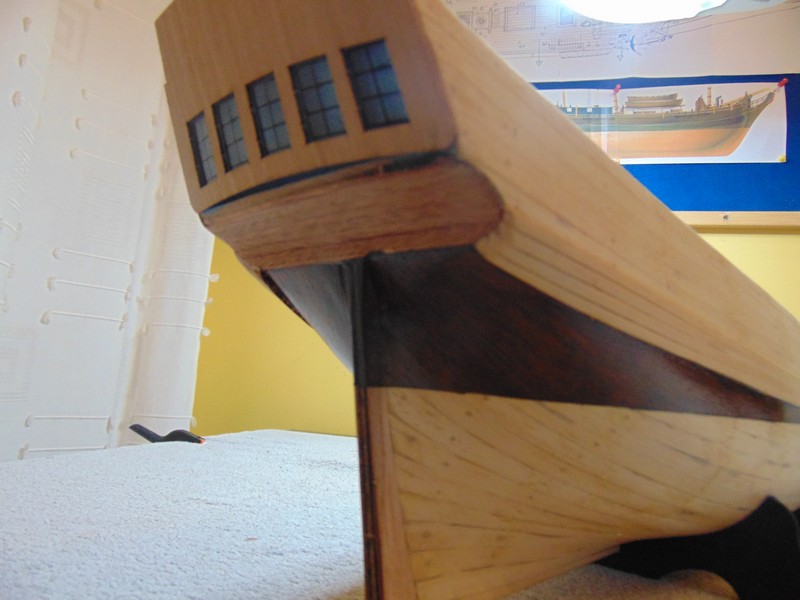
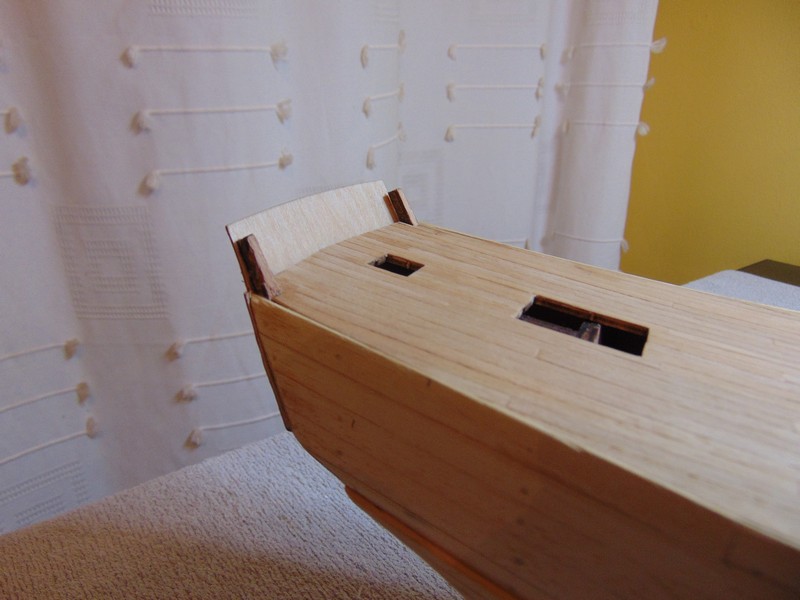
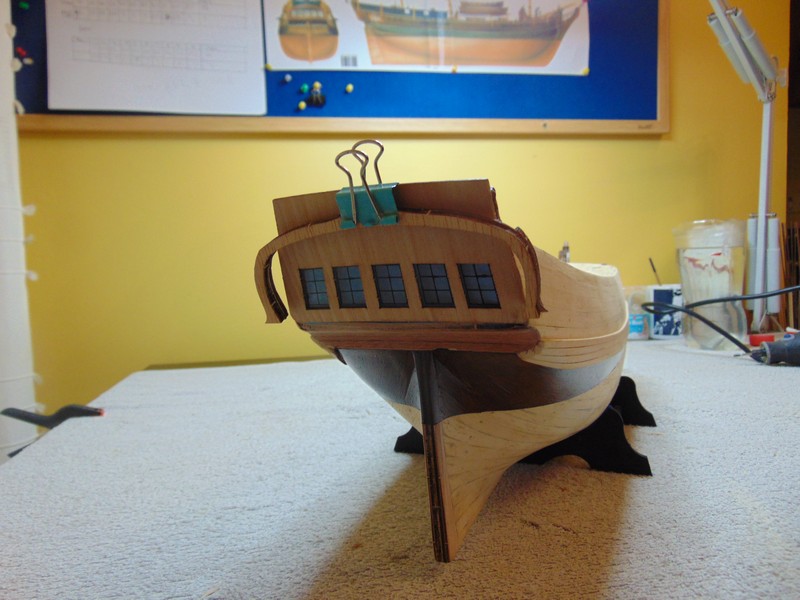
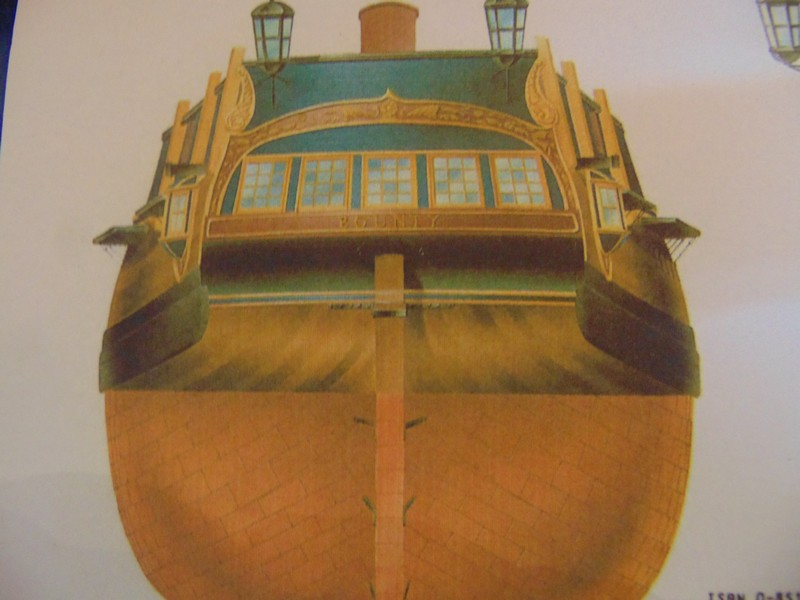
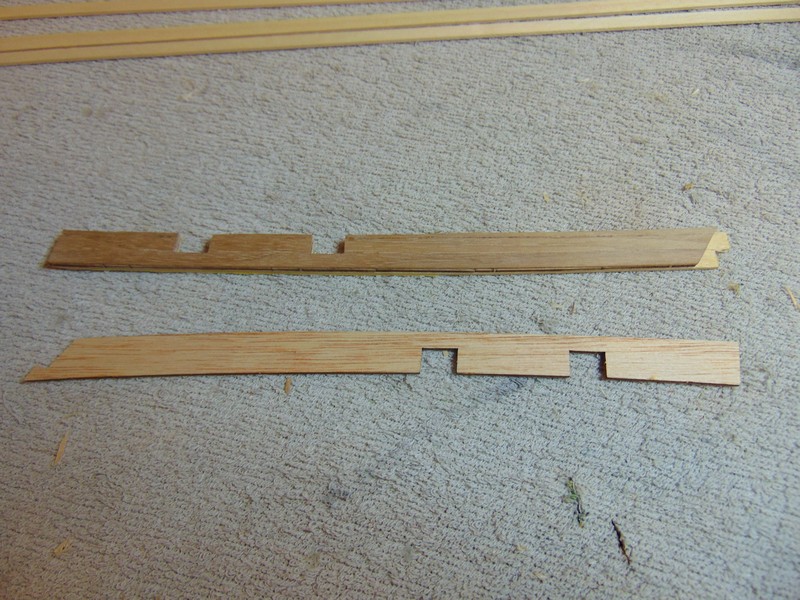
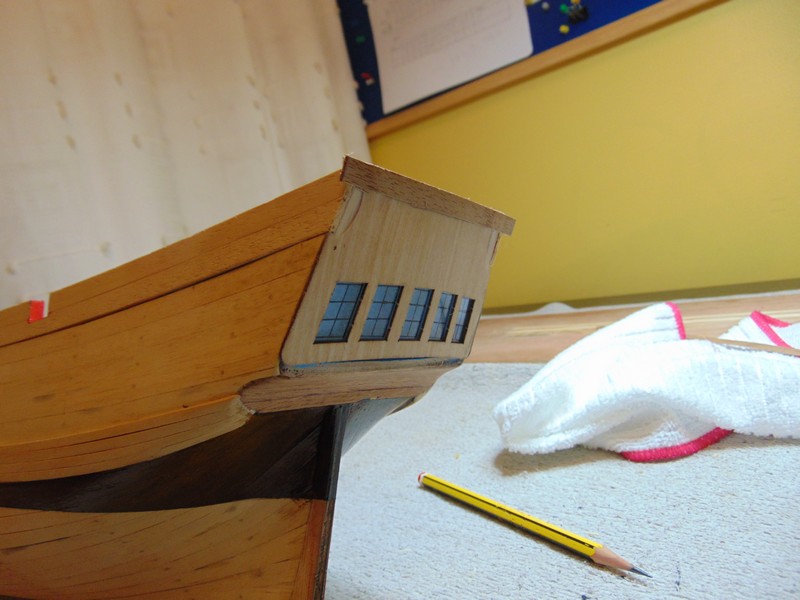
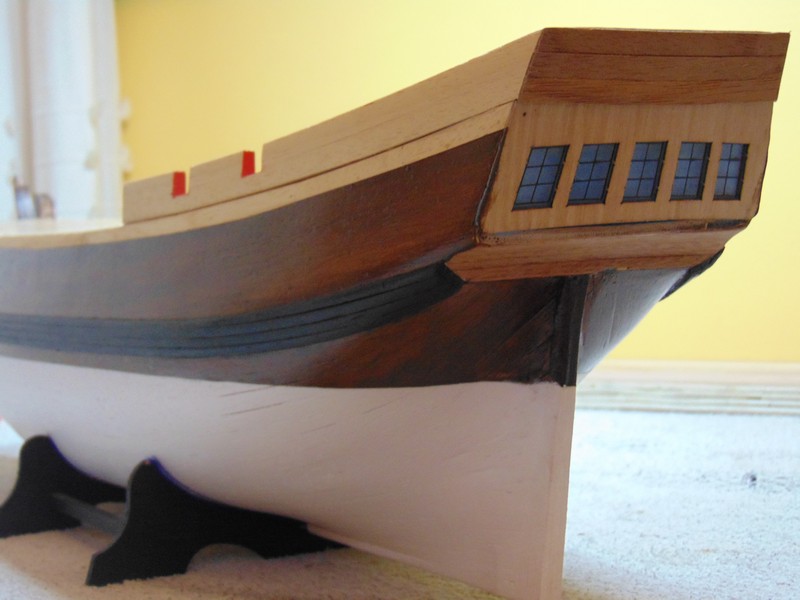
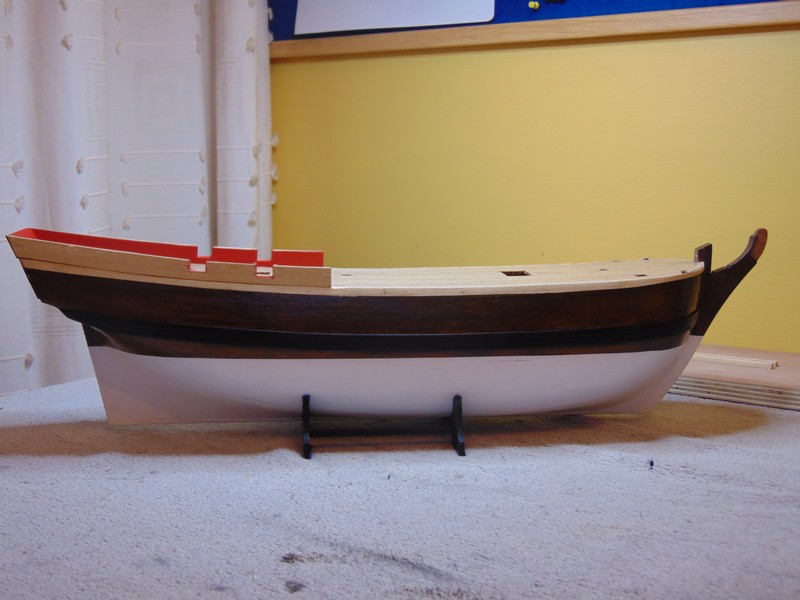
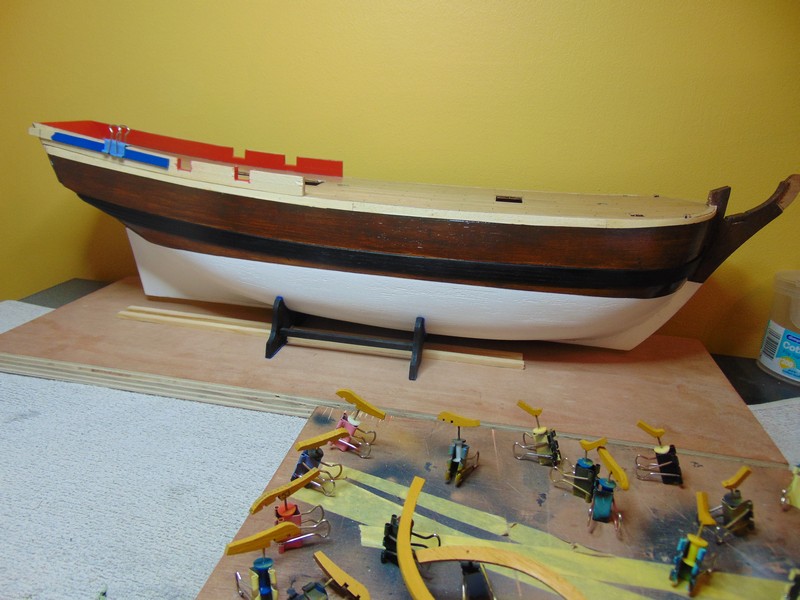
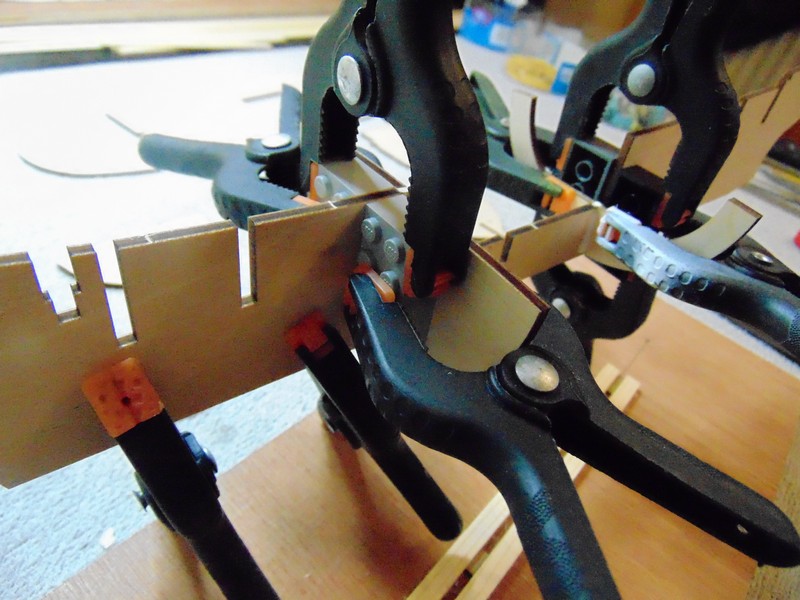
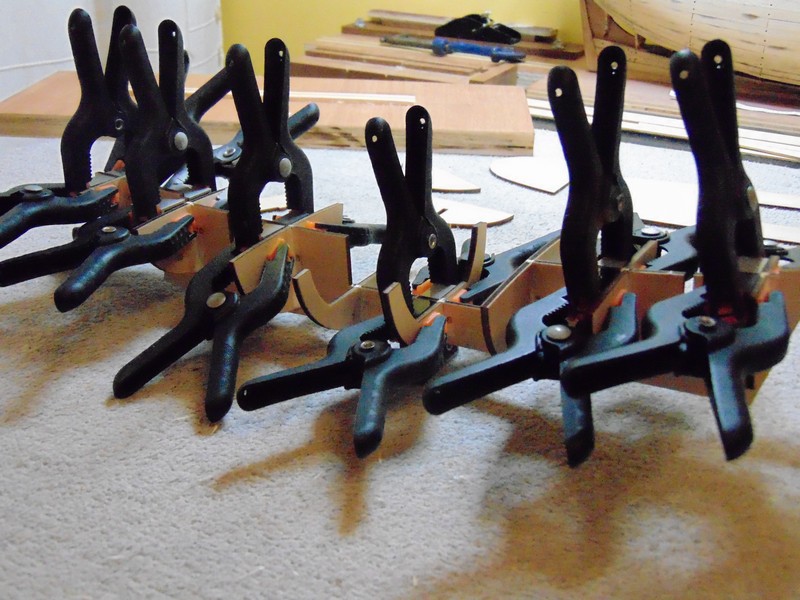
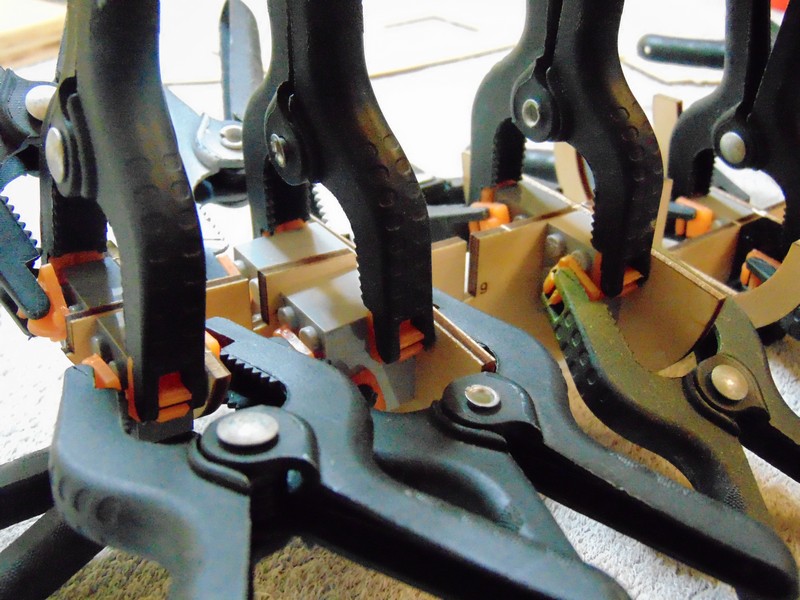
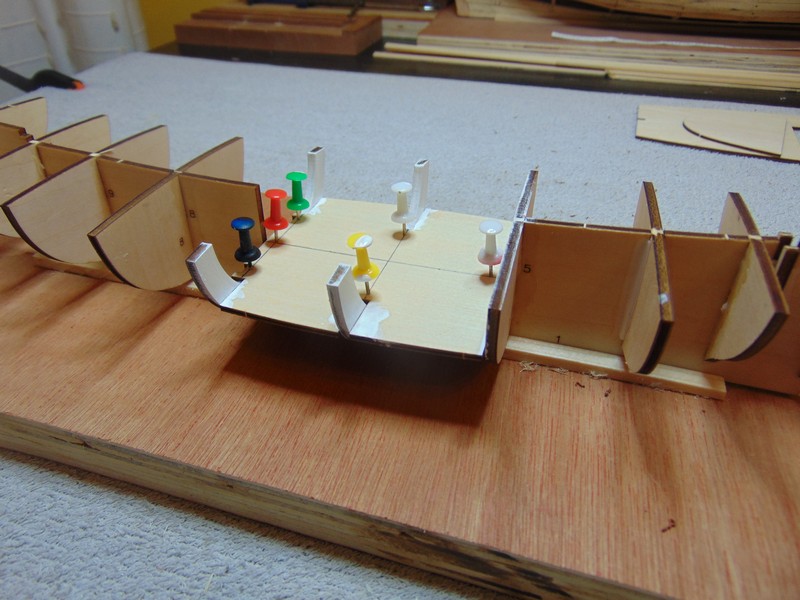
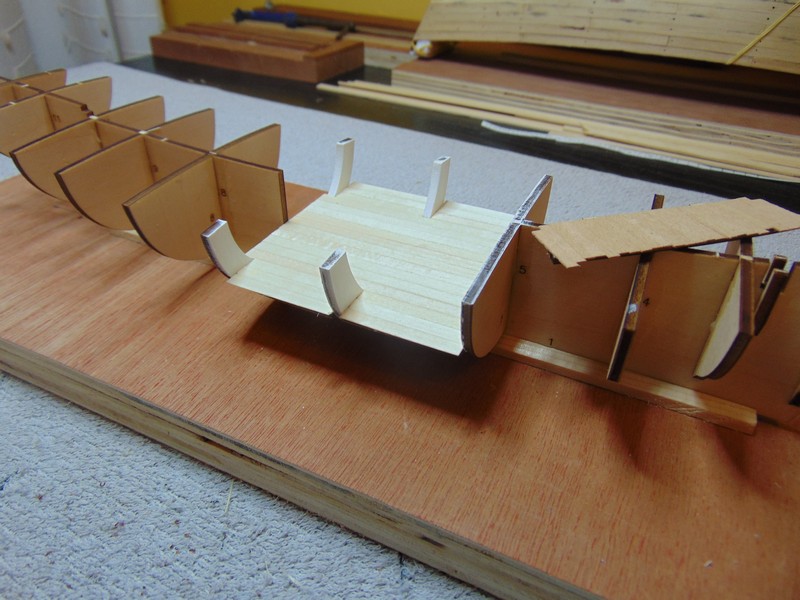
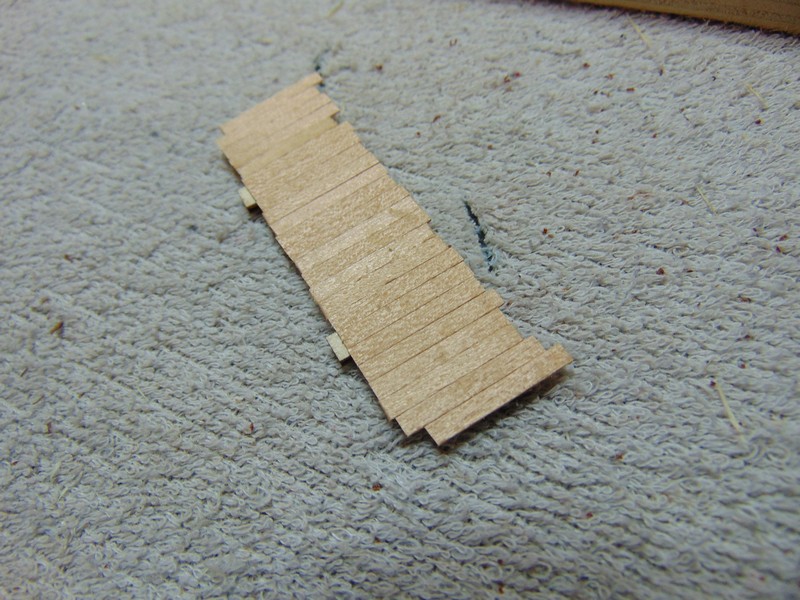
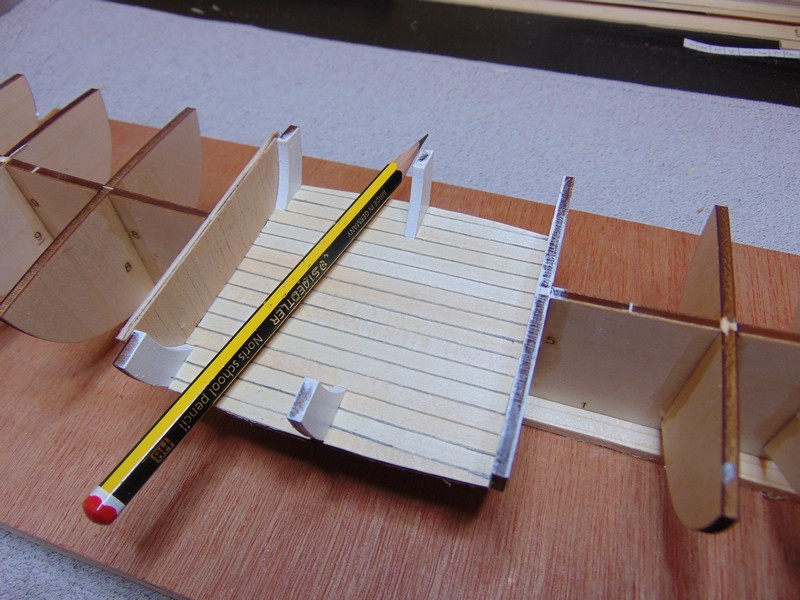
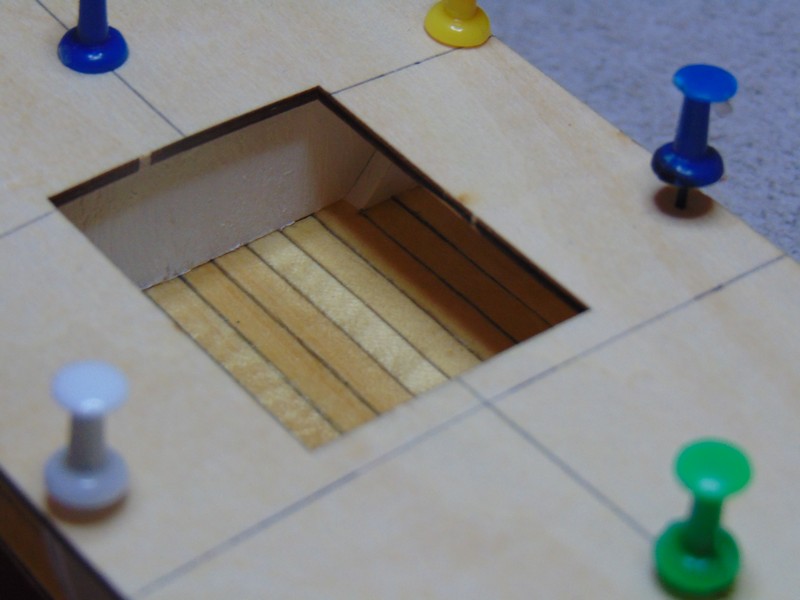
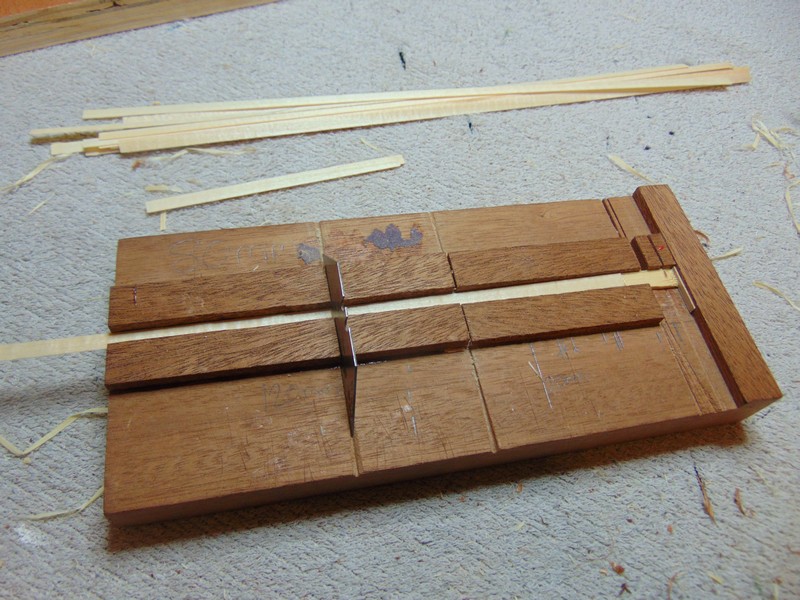
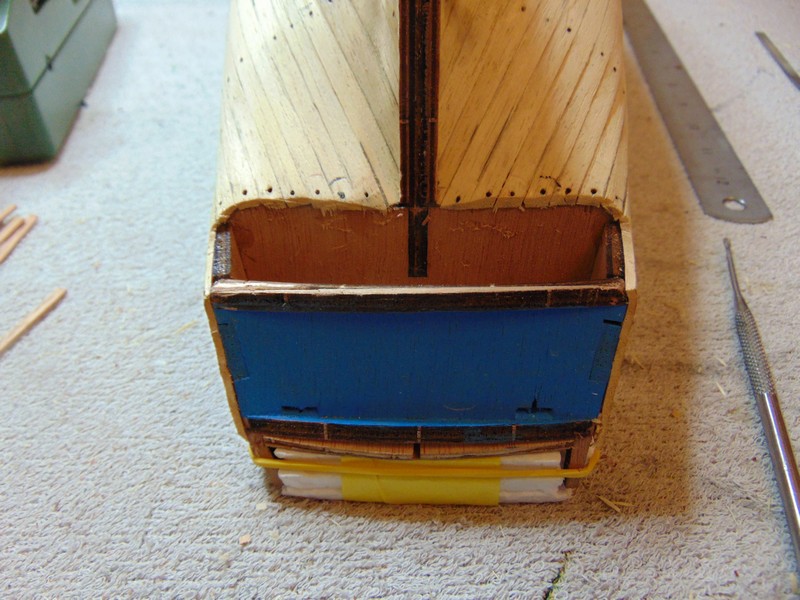
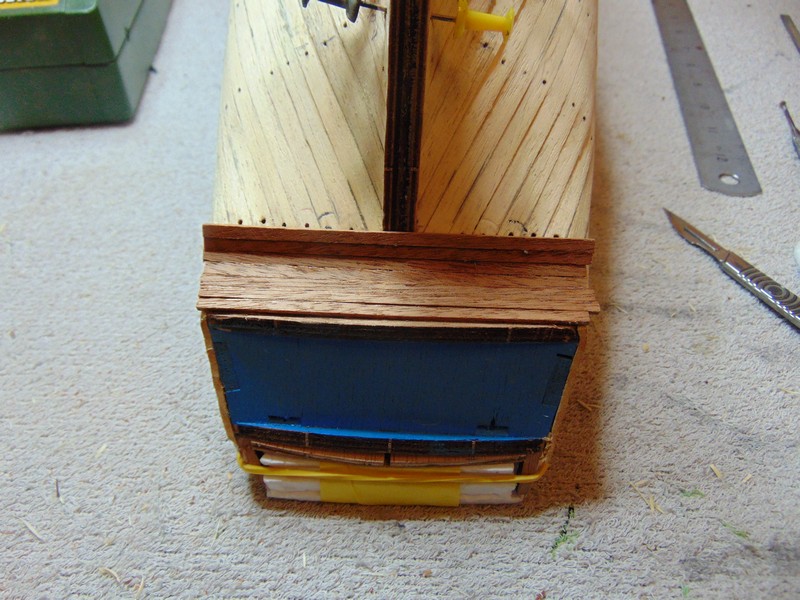
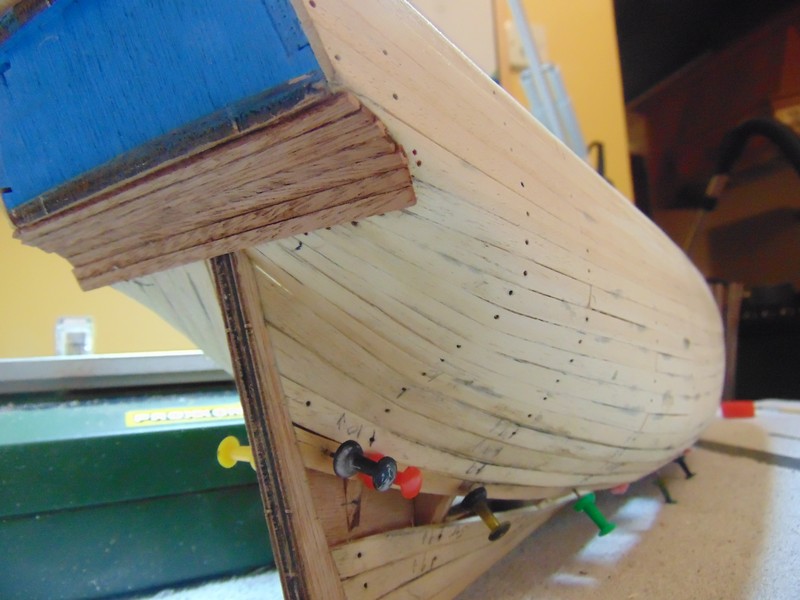
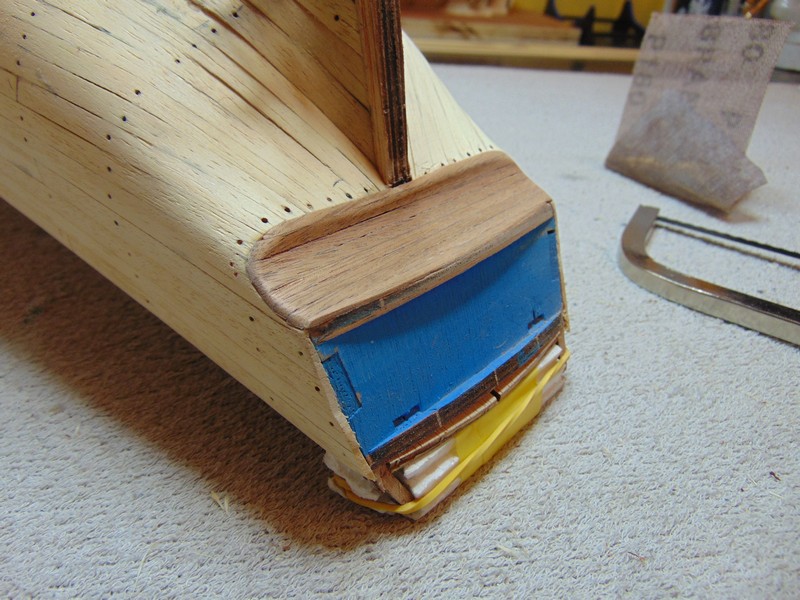
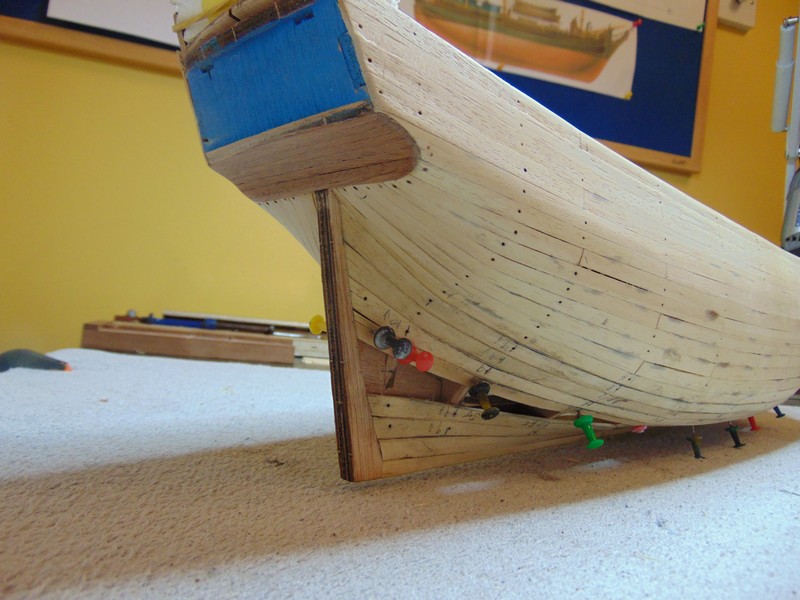
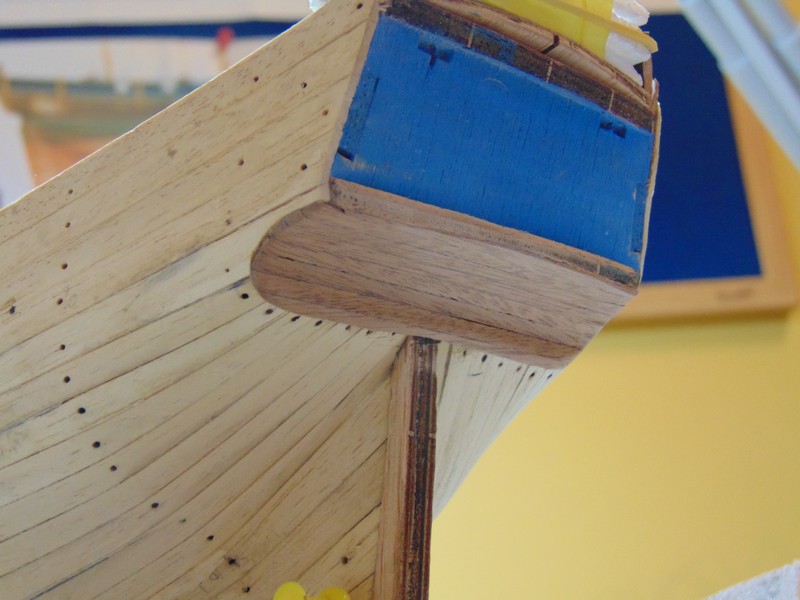
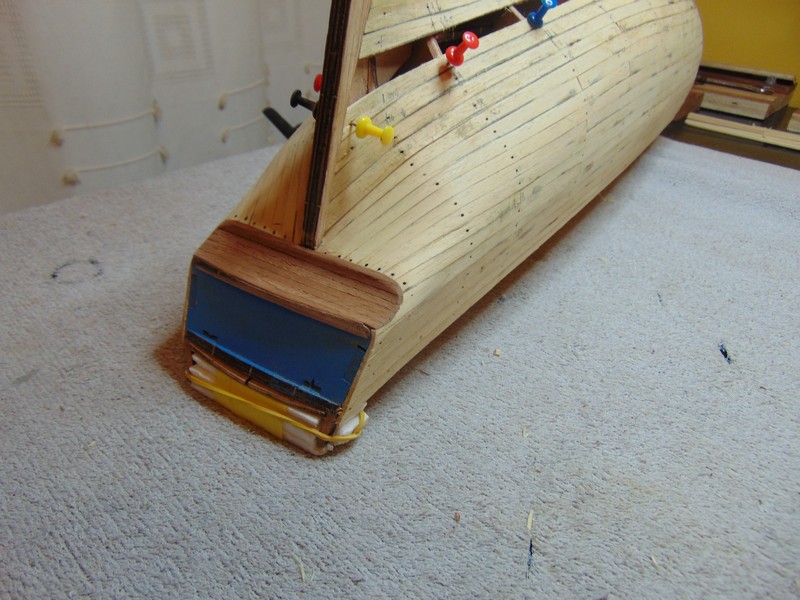
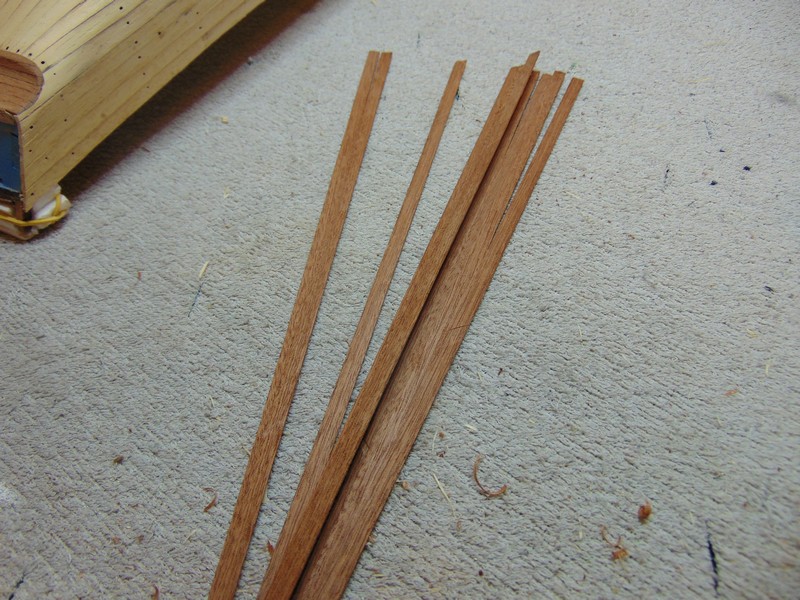
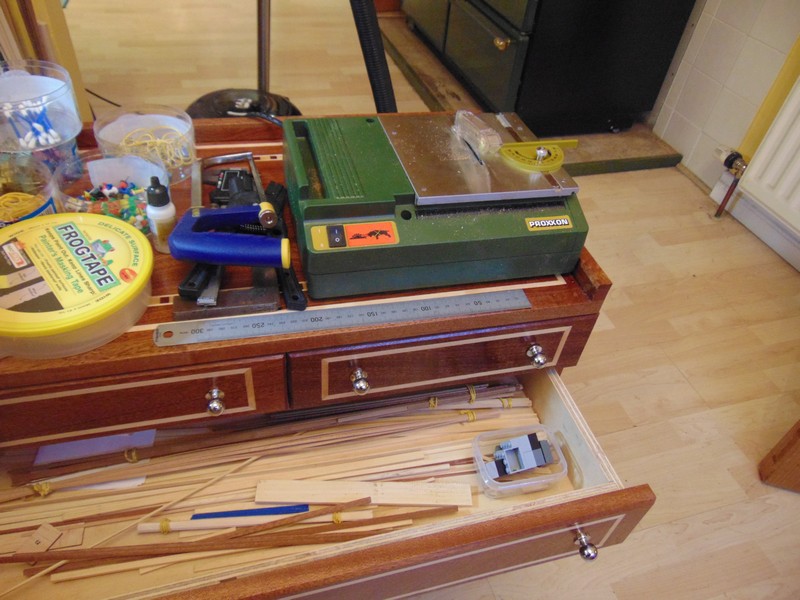
Been very slow progress over the holidays but still tried to get atleast one strake of planking done per day. with a bit of free time this evening after fitting another strake decided to tackle the issue of what to do with the underside of the stern cabin ,this may seem like a simple task but has troubled me from the early planking stage. I have seen other builds and google images where people have run the planking right to the transom however I suspect this is not correct. this is a few photos of how I decided to do it and may not be correct after all the closest ive ever been to a ship is a modern day passenger ferry . As a side note I am always reluctant to dip into the kit materials unless I know what they are intended for so after receiving as a present the small proxxon ks 230 I am now able to rip new material when in doubt and save kit material.Ido have a full size table saw and band saw however to rip material so small I feel would be unsafe . And for anyone wondering as I did if the small proxxon saw is capable of ripping planking material the answer yes most definitely and a fine consitant job at that
- 291 replies
-
- 5
-
-
- bounty
- billing boats
- (and 1 more)