HOLIDAY DONATION DRIVE - SUPPORT MSW - DO YOUR PART TO KEEP THIS GREAT FORUM GOING! (Only 13 donations so far - C'mon guys!)
×
.jpg.4b9546914df2c235b4fe82d7c03670bd.jpg)

Worldway
-
Posts
628 -
Joined
-
Last visited
Content Type
Profiles
Forums
Gallery
Events
Everything posted by Worldway
-
 Don't remove Jud. It's a good addition. A little piece of nostalgia. Thanks
- 30 replies
-
- 3
-

-
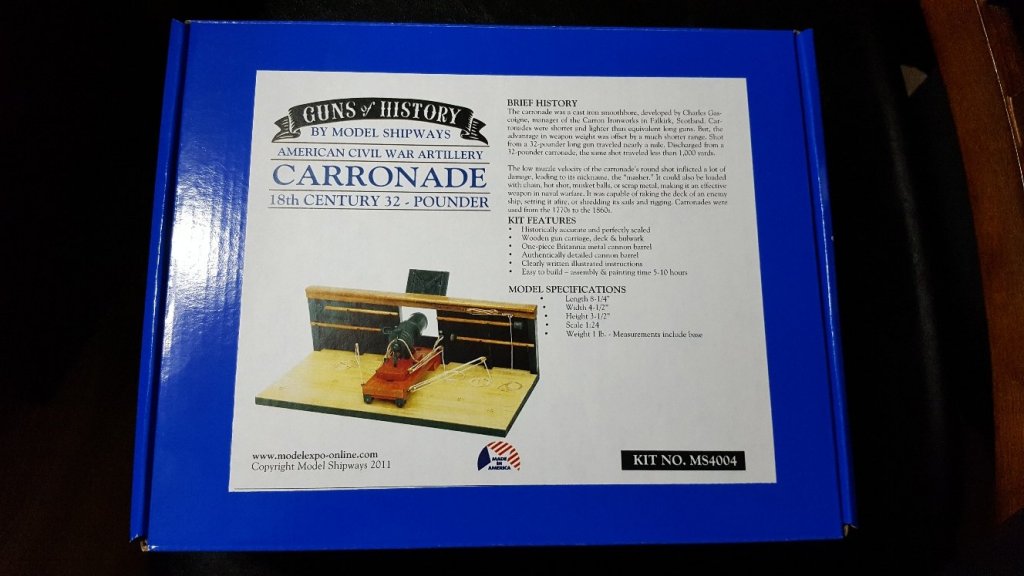
- model shipways
- finished
- (and 1 more)
-
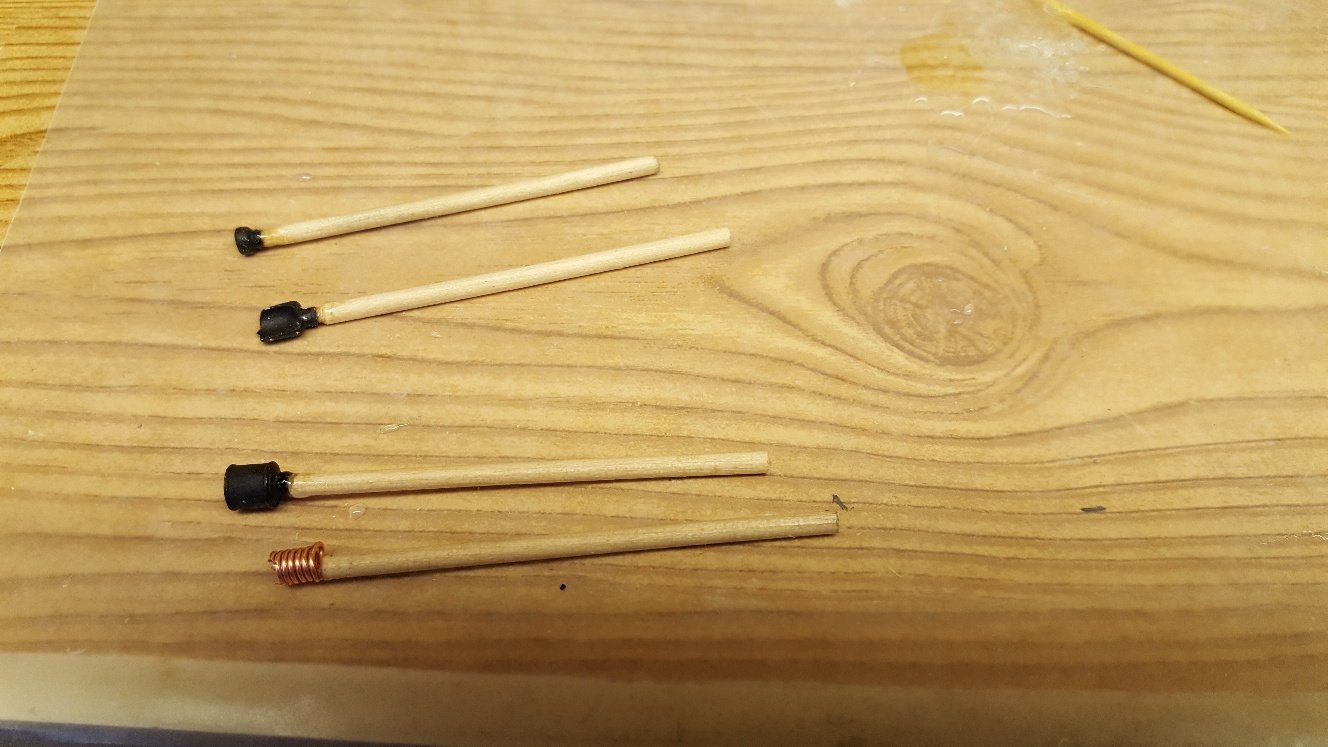
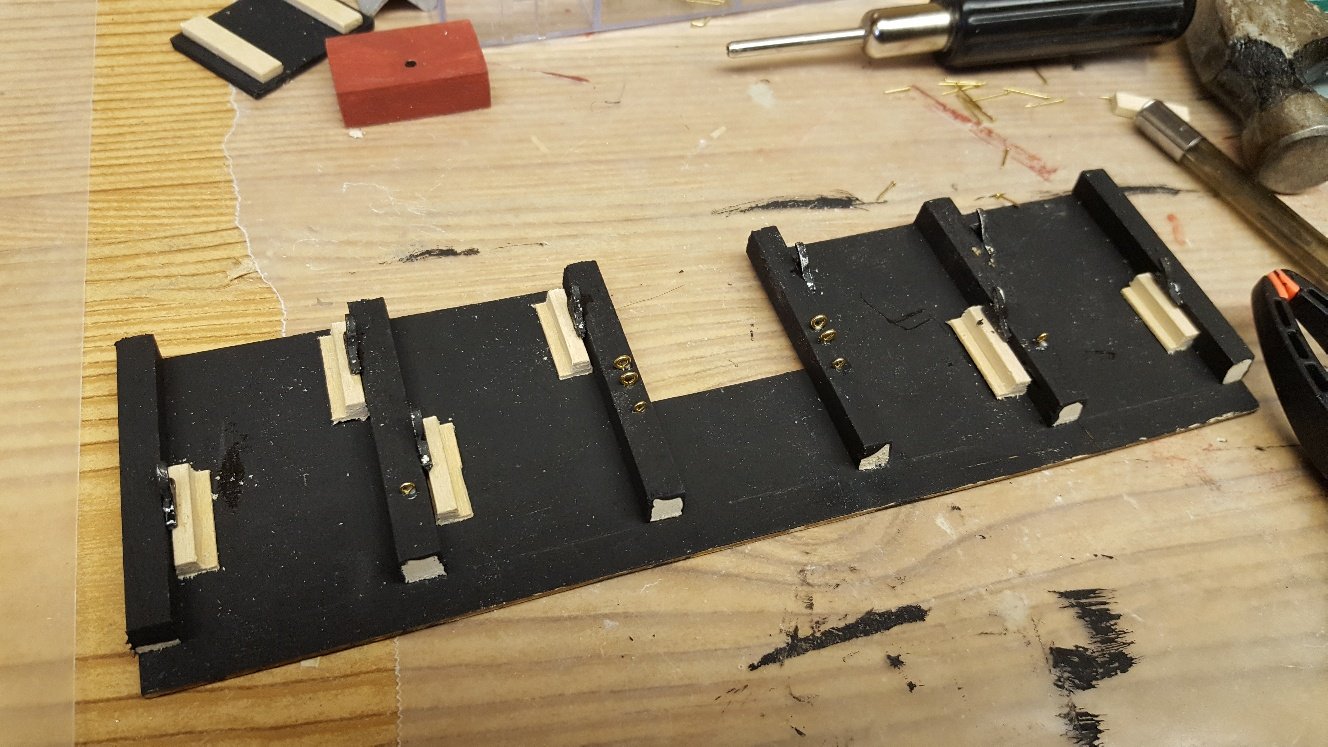
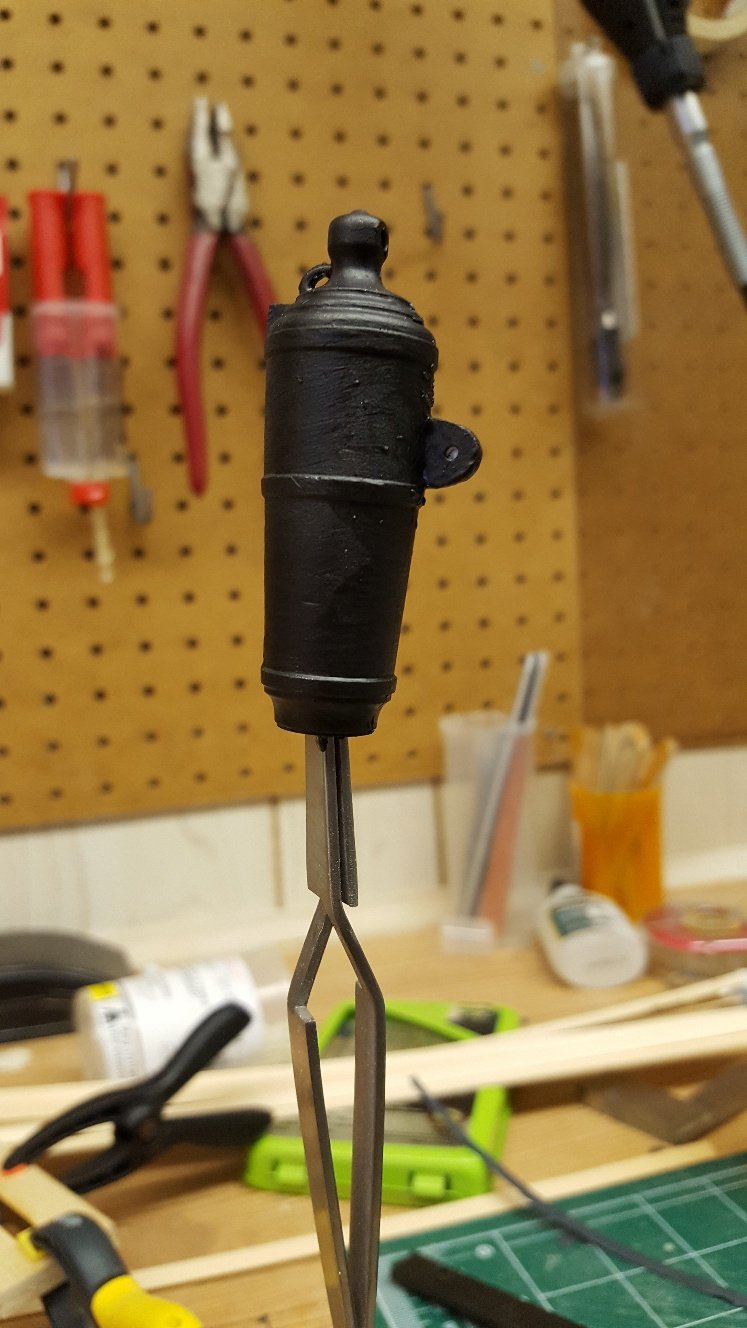
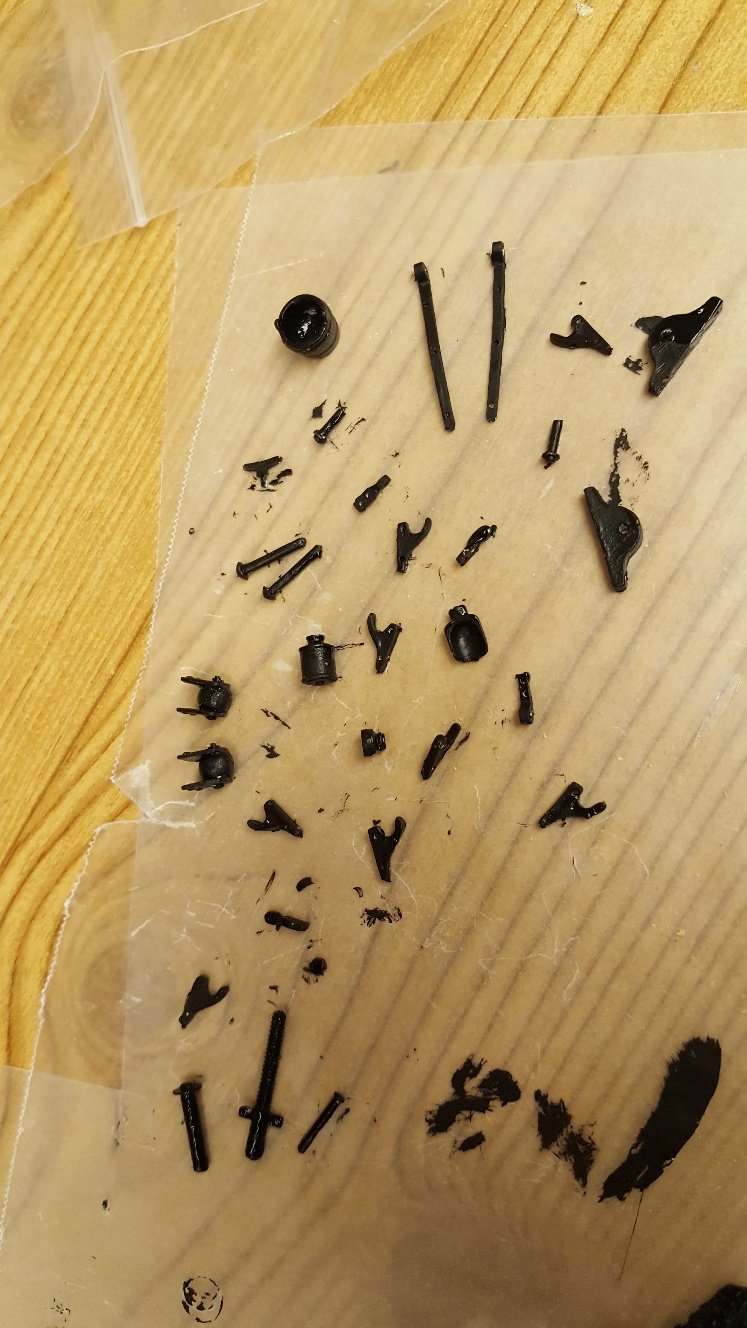
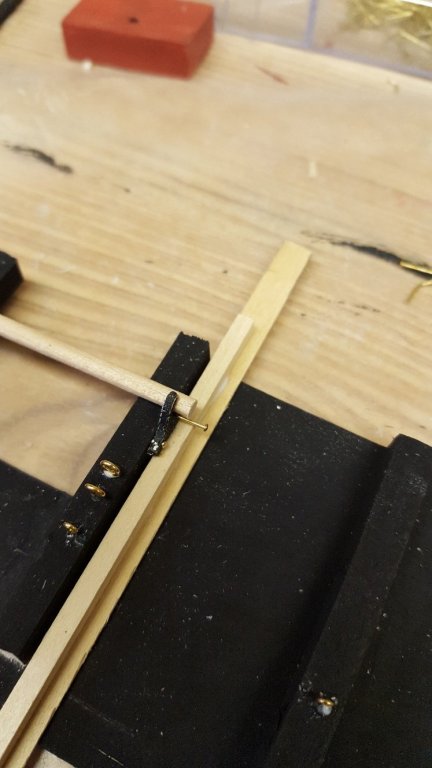
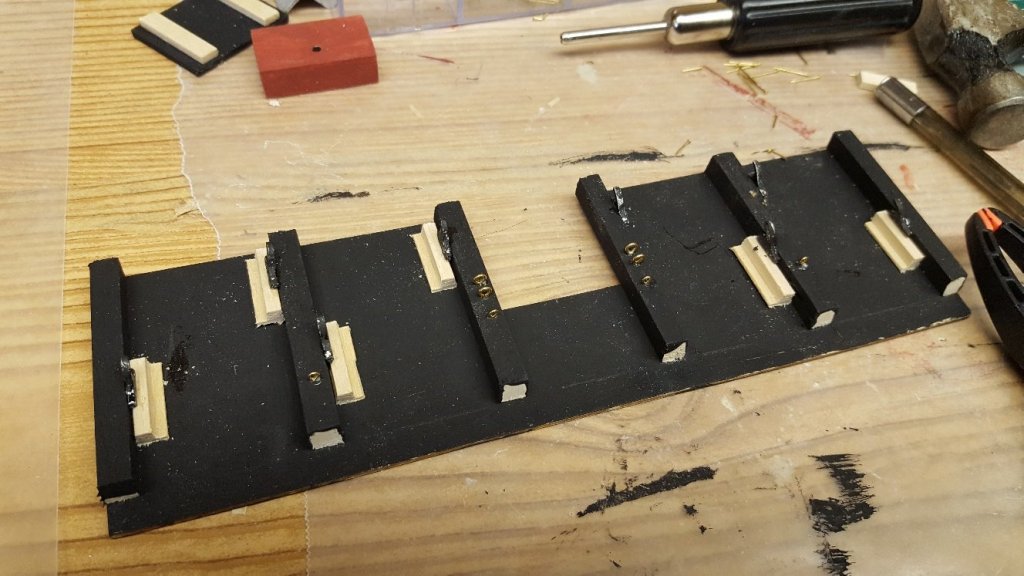
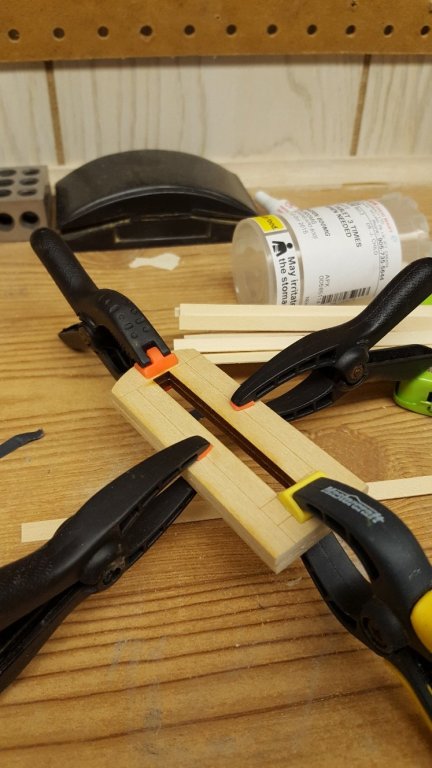
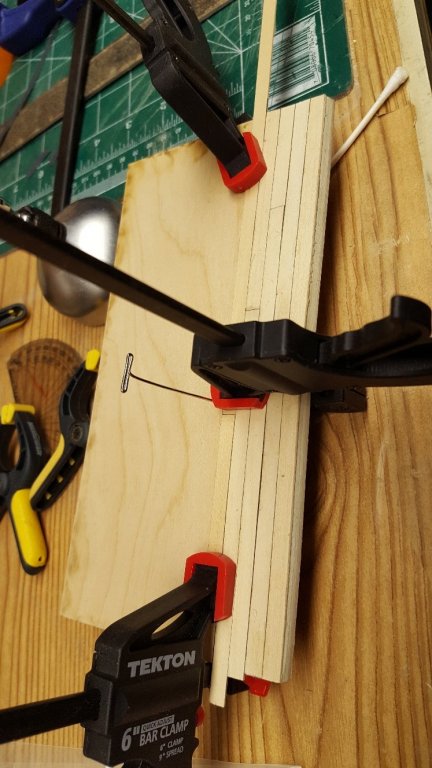
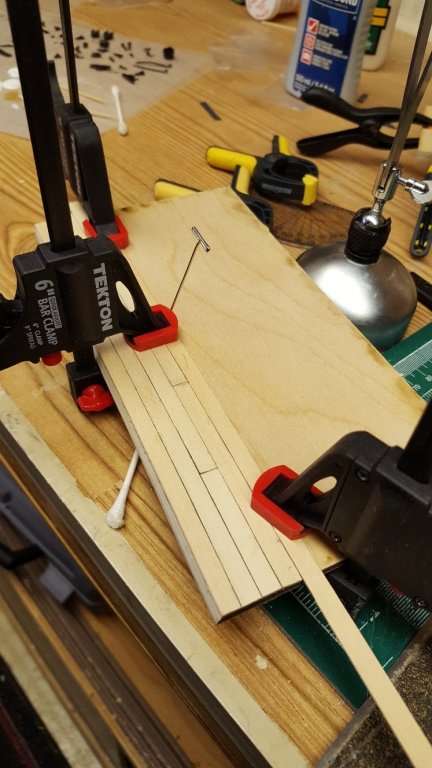
Thanks for the advice Ken and Ron. I did read that the cast parts should be washed first. I guess I just got lazy and figured it "really" wasn't that necessary. Turns out, it is. I may change the type of paint I'm using for the next Long Gun I'll be doing. I'm having some problems with the tiny parts. I need more patience and rely on jigs and fixtures more. The instructions say to attached the tool holding arms using the supplied nails. I knew immediately that this would be a bad idea because of the close proximity to the edge of the timbers. Therefore I made a small jig to help hold the parts while I used epoxy to secure them. I assembled the tools using epoxy. The tools seem to be front end heavy and don't sit properly on the holders. They tend to fall forward constantly. I'm wondering if I should epoxy them in place.


- 30 replies
-
- 6
-
-
- model shipways
- finished
- (and 1 more)
-
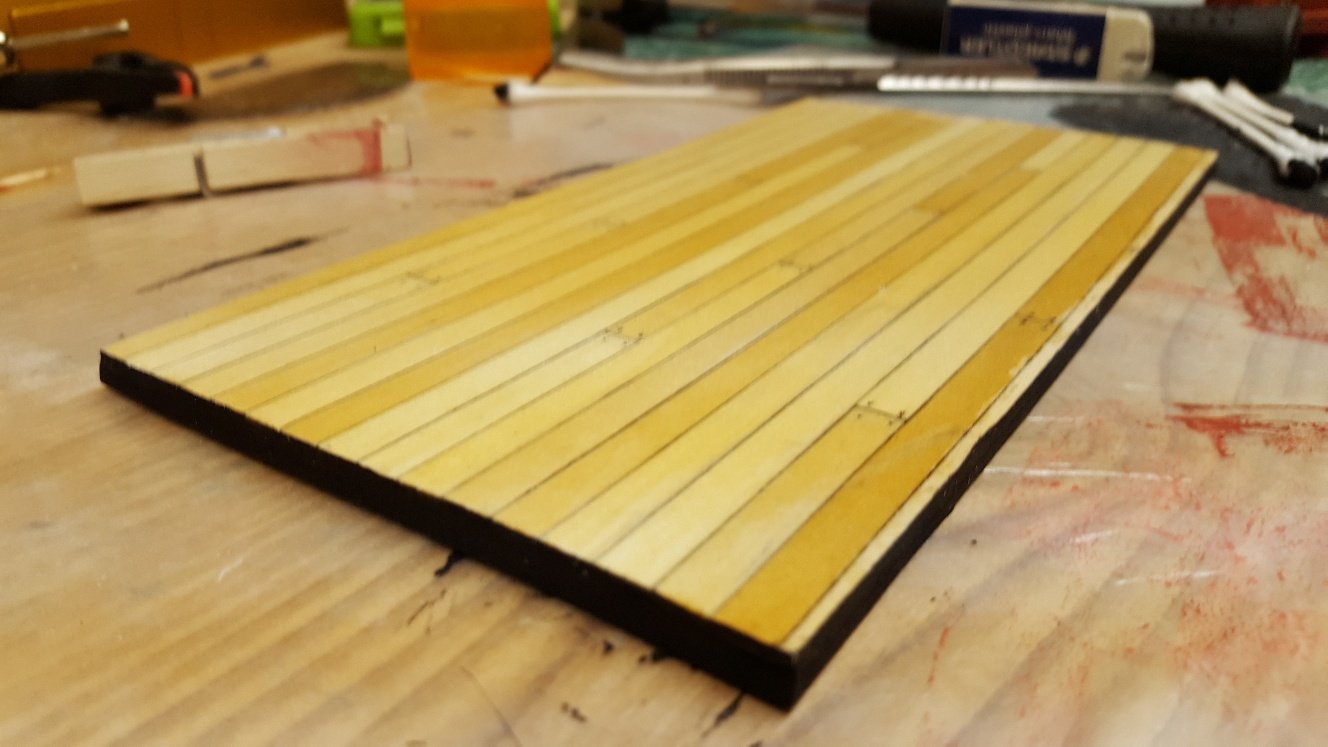
I've spent the last couple of nights painting and doing some sub-assemblies. I have difficulty dealing with minute tiny parts and trying to get them installed correctly. I was getting frustrated last night but think it turned out OK. As per the instructions, after assembly of the carronade, you add glue to hold everything in place. I found last night that the gun tended to be front heavy but after adding Weldbond and mounting it in place it seems to be holding. If for some reason it loses its grip I'll use some epoxy glue hoping that will be better. I used masking tape around the edge of the deck when I painted the ends of the deck. The paint did bleed through, under the tape. However, because I had already added two coats of polyurethane it was easy to scrape the black paint from the top of the deck. I think the deck turned out nice. More painting and on to more assembly, but not tonight. One thing I've noticed is that the paint on the metal parts comes off easily. Not by rubbing or anything but if it gets bumped with another metal part or touched by tweezers the paint seems to come off. I'm wondering if it's because of the acrylic paint or the fact that I didn't wash the parts as instructed prior to assembly.


- 30 replies
-
- 7
-
-
- model shipways
- finished
- (and 1 more)
-
Gees Doug, looking really great. Amazing job.
-
A Model Railroader adding ships to the repertoire!
Worldway replied to T_Warris's topic in New member Introductions
Hi Tim, Do you have a store front or just a private manufacturing facility. If a store front, I may have to go for a road trip. Maybe April 13th next year just to keep it interesting. Welcome aboard. -
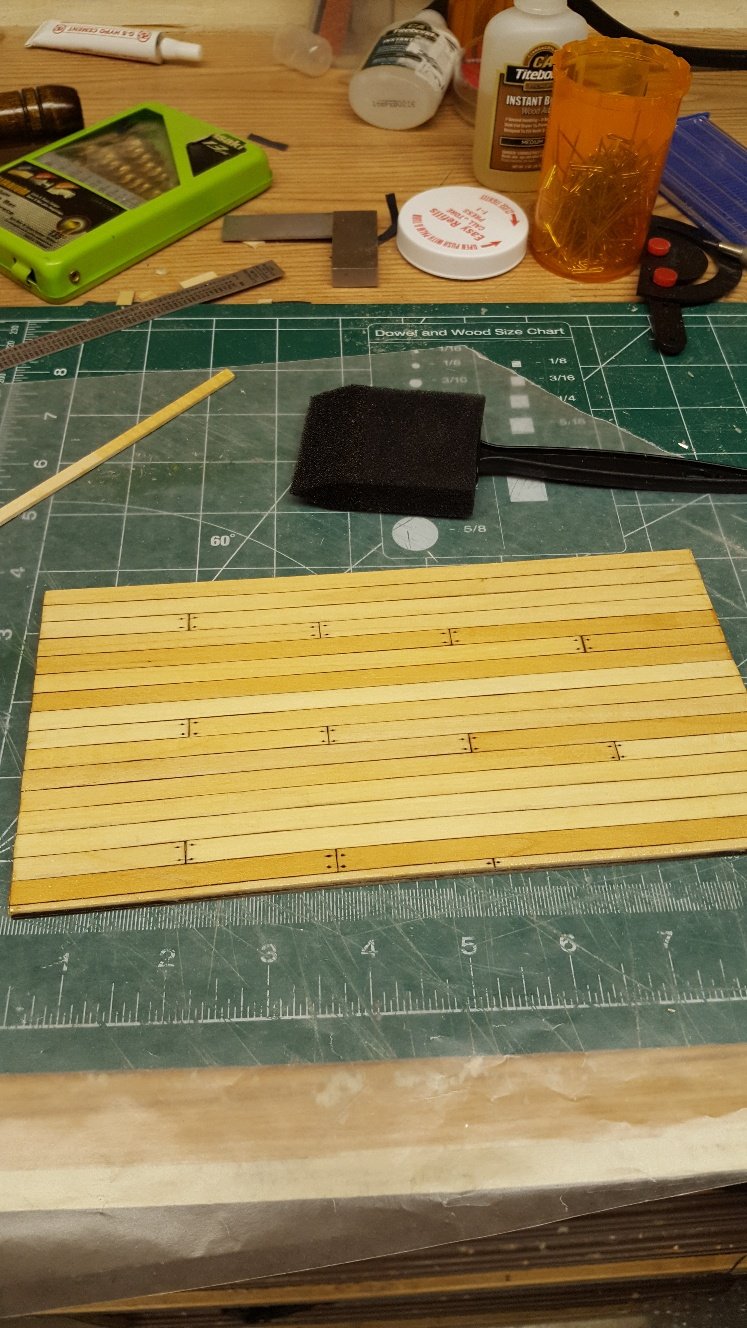
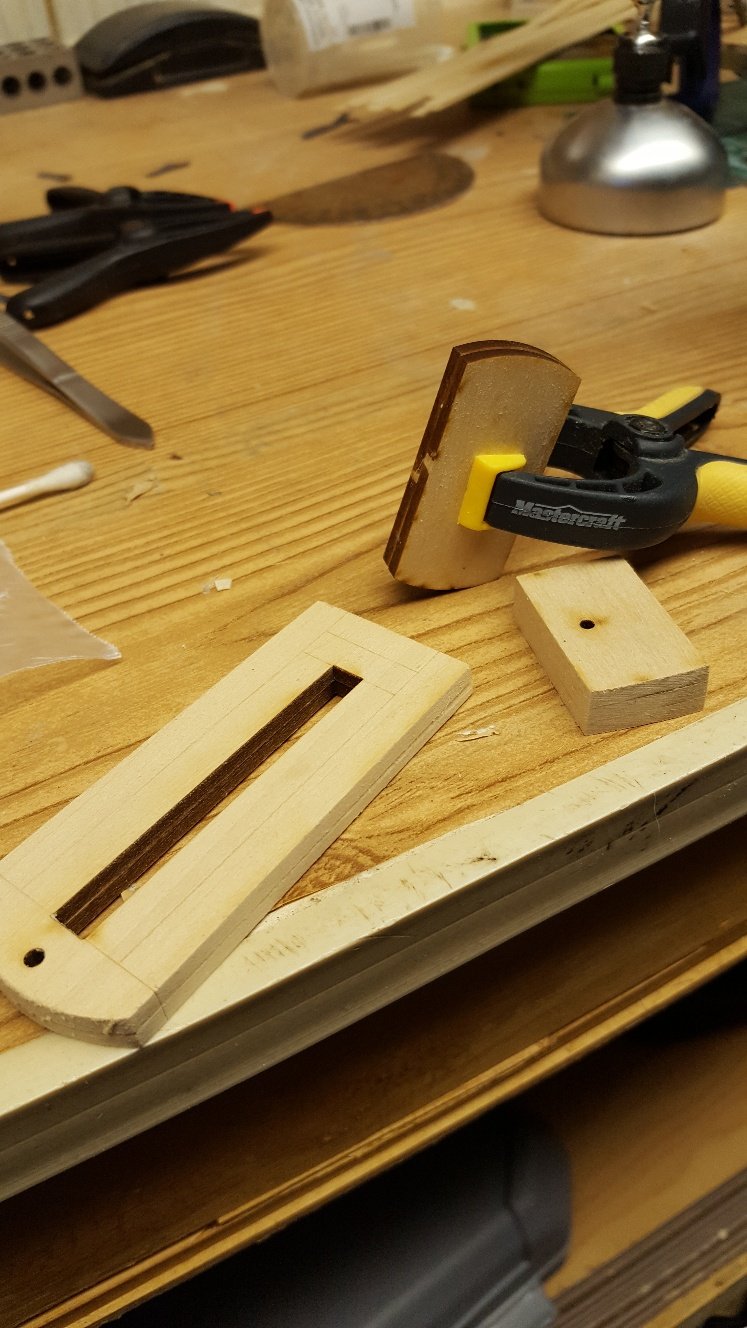
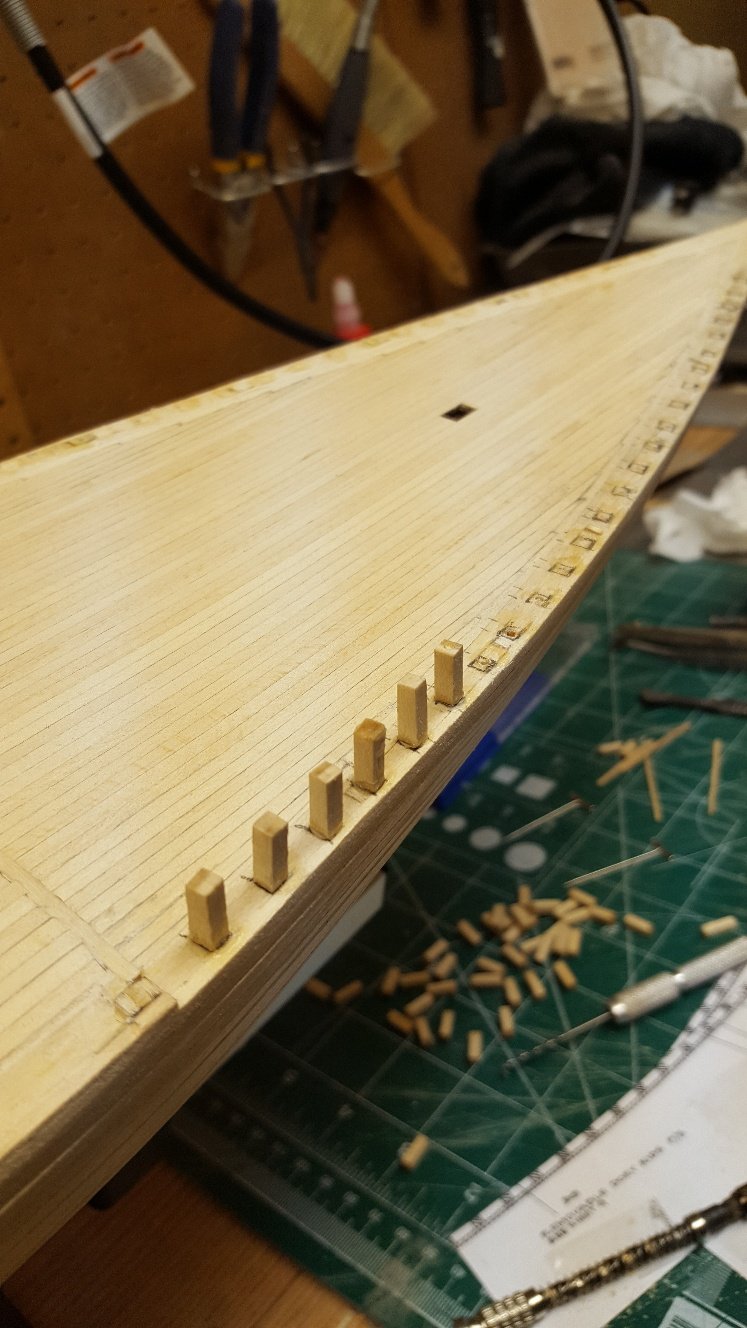
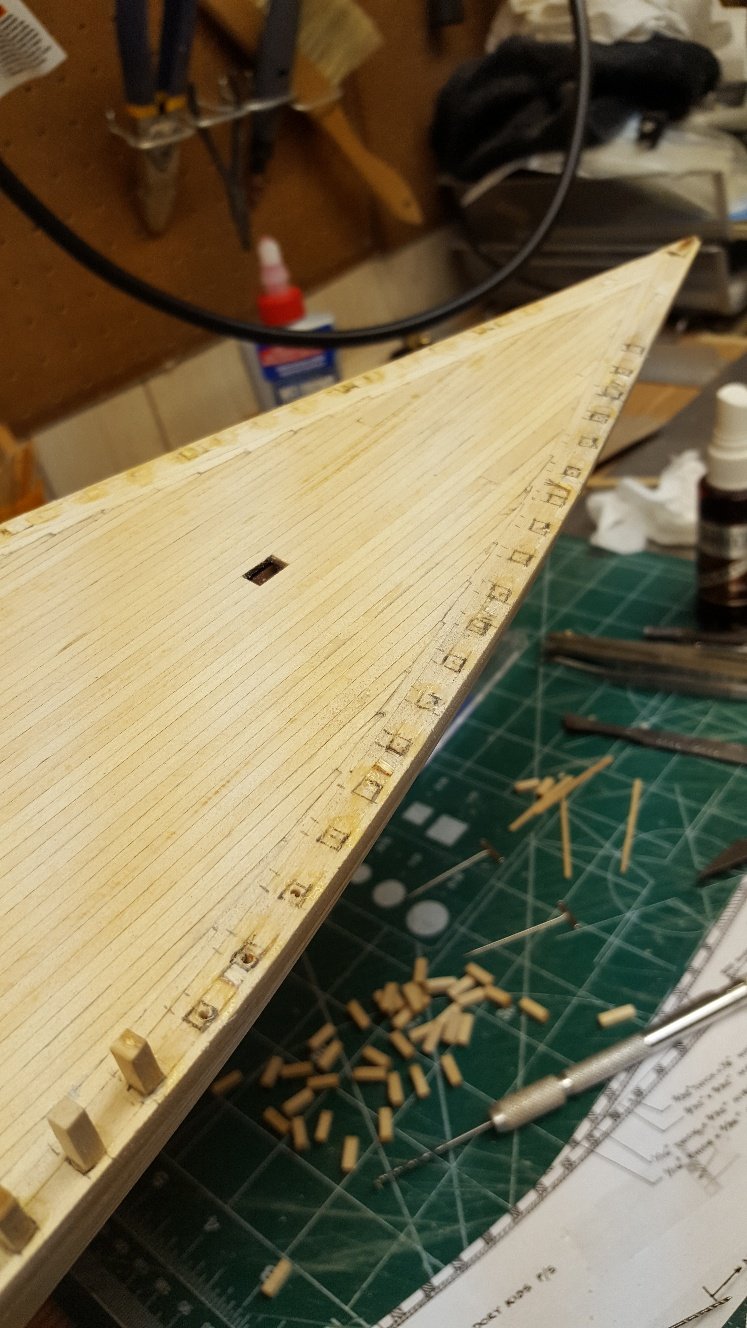
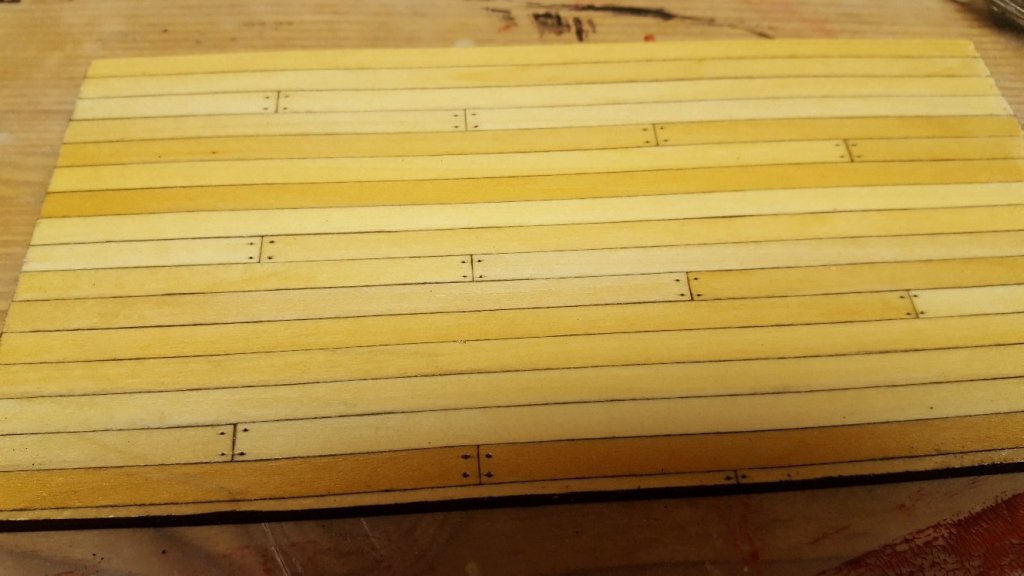
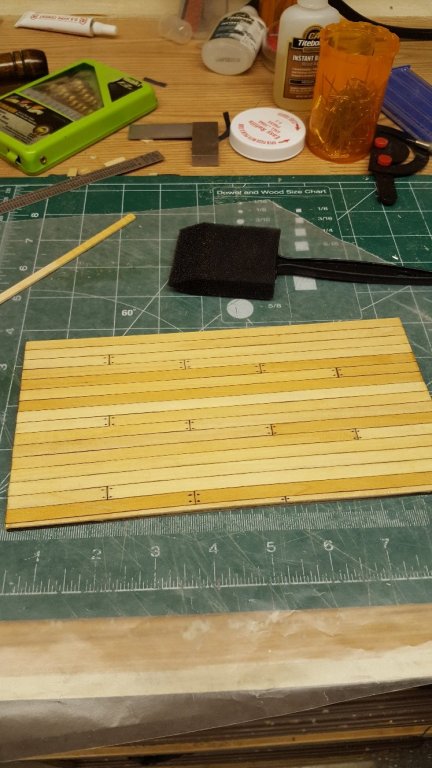
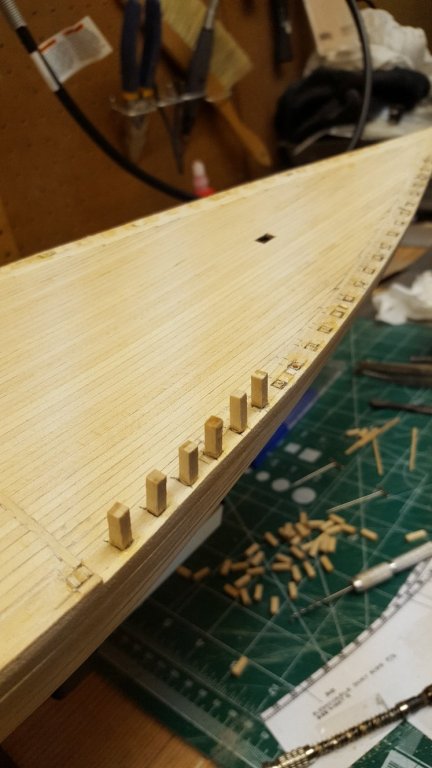
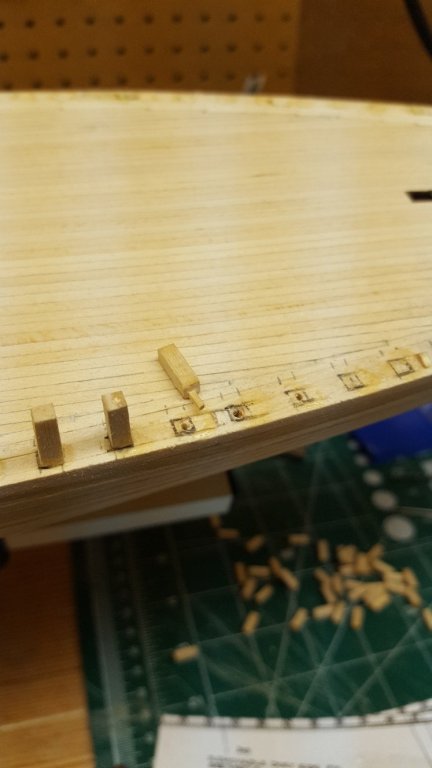
Tonight I finished planking the deck and final assemblies of the carronade base. I also polyurethaned the deck after adding simulated trenails. I used a mechanical pencil to push into the wood and twist to add the trenails. There was a tiny bit of bleeding after polyurethane but barely noticeable. Tomorrow I plan to go to Michael's to get the paint I need to use to paint the model.
- 30 replies
-
- 5
-
-
- model shipways
- finished
- (and 1 more)
-
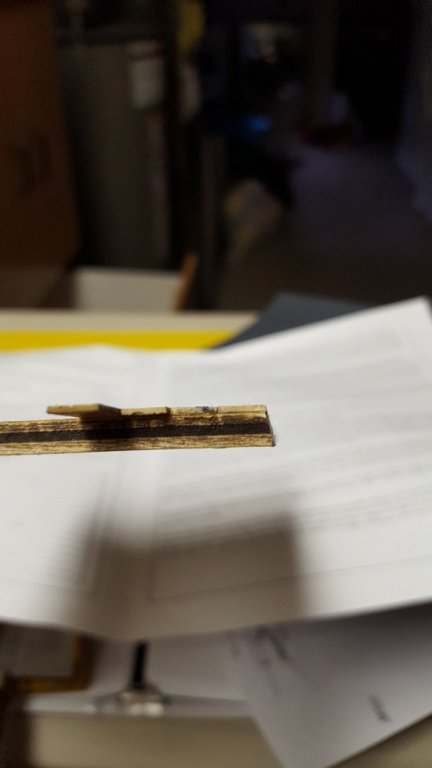
I don't believe you're the first to have a misfit piece. I believe I read this several times in older build logs that this piece needed to be trimmed or remade.
-
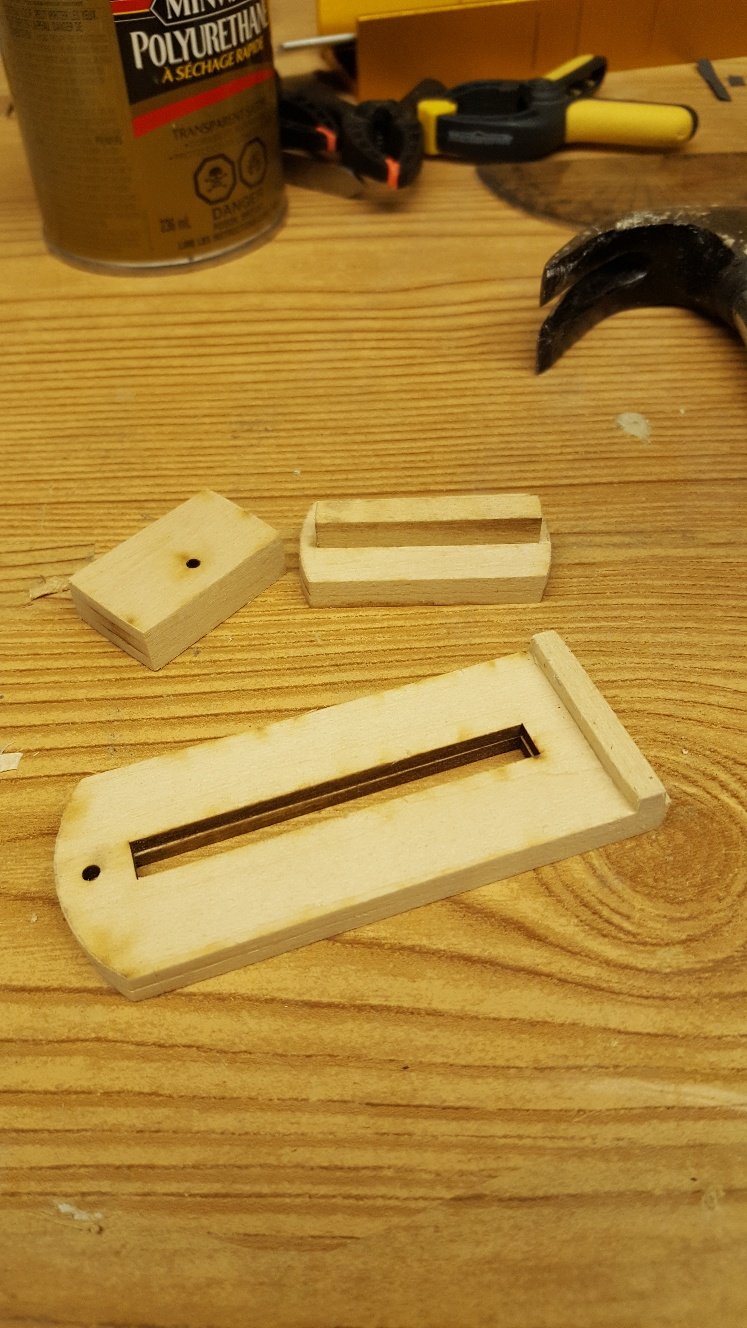
The first thing I realize is that the instructions are limited and you really need to carefully follow along. It's easy to miss an assembly instruction if you're not reading carefully. But. having said that, the instructions are there. For example, I miss the part where it says you have to bevel the deck 10 degrees. Luckily, I had to remove the first few planks so then I was able to do the bevel. I continued planking the deck. It occurred to me that I wasn't following the instructions pattern but I really don't think it matters, or whether anyone would even notice. Next it was time to prep and paint the metal parts. The metal is very soft so it was easy to remove imperfections with a file. I'm using an acrylic paint. Also, I did the cannon base sub assemblies All in all it was a pretty productive day. The advertisement for this model suggests that it is a weekend project. Maybe for some but definitely not for me. Hopefully I will be done by Christmas. I had to put my MS rope walk under the tree so maybe it will be good time to make new ropes for this model.

- 30 replies
-
- 8
-
-
- model shipways
- finished
- (and 1 more)
-
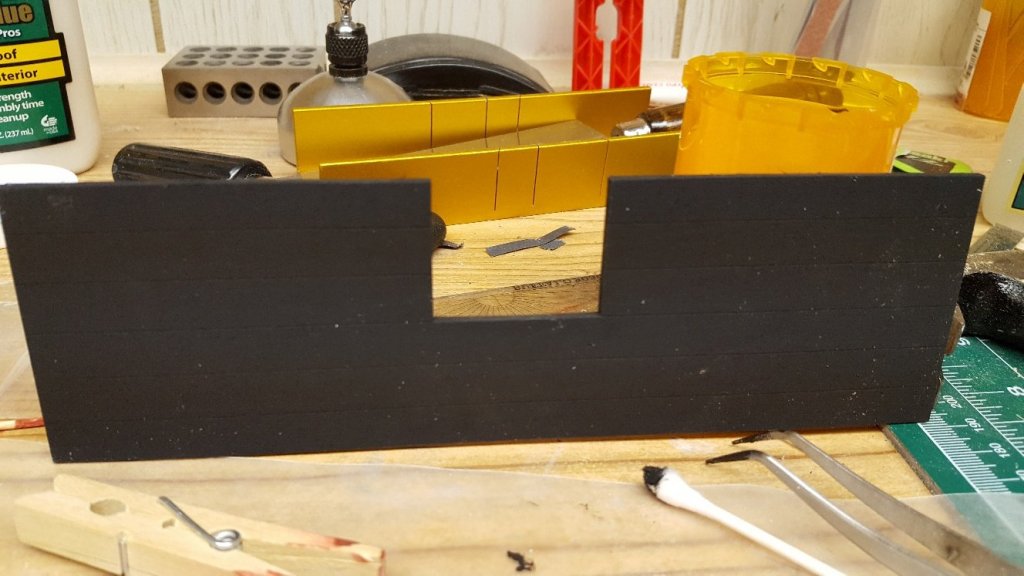
First step was to bevel the front of the plywood 10 degrees to create the bulwark tumblehome (I had to use the dictionary for that word). I did this by using a belt sander mounted upside down on my workbench then running the plywood on the sandpaper as it ran. I eyeballed the bevel using a compass to verify the angle. I next started laying the planks trying Art's (Osmosis) idea of using black construction paper between the planks. It didn't work for me. Likely because I didn't let the glue fully cure before trying to trim the paper (or I didn't have enough glue coverage on the paper). When I tried to trim the paper it simply lifted out leaving a void. Luckily enough, because the glue wasn't fully set I managed to remove three rows I had installed. I'm starting the planking again only this time using a pencil to simulate the caulking. No pictures yet because there is basically nothing to show at this point.
- 30 replies
-
- 2
-
-
- model shipways
- finished
- (and 1 more)
-
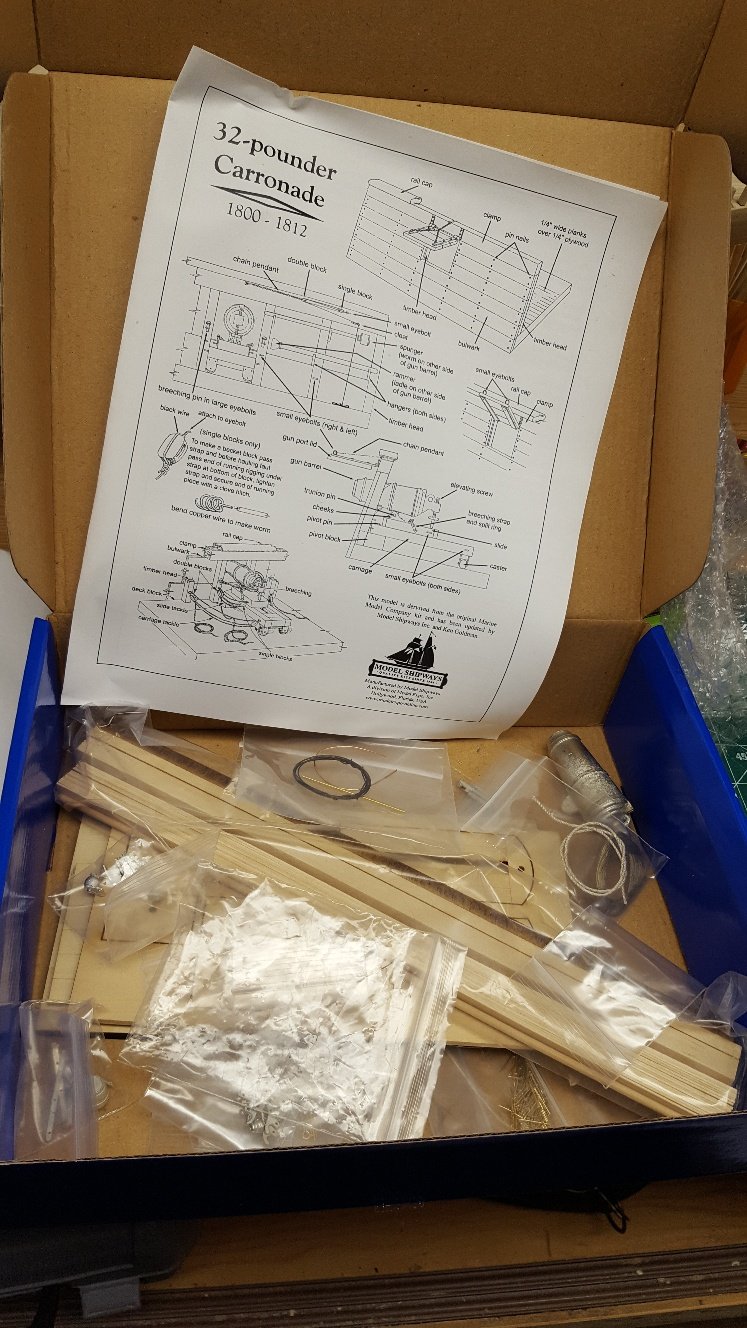
This is a diversion to building my Bluenose. I decided to tackle this to step away from the Bluenose for a while. As per normal operating procedure I checked contents with the parts list to make sure everything was there. I think I'll start the actual build tomorrow. I'm hoping to do it justice but we'll have to wait and see.

- 30 replies
-
- 11
-
-
- model shipways
- finished
- (and 1 more)
-
I didn't have the first row of hull planks on yet. I installed the waterway planks then sanded them down to match the curve of the hull. I also found when said and done I had to add some body fill. My thinking is that it's no big deal because any imperfections would be hidden later with paint.
-
For the outer waterway strakes, I simply cut planks to length and inserted them between the timbers. I found no need to bend them. However, pay attention to the angle that you cut them on. They aren't cut at 90 degrees however I usually just eyeballed it.
-
Yes it should lay flat. it isn't a problem bending it on the flat side as there isn't much of a bend. You don't need to pre-bend the planks. Just install and pin until the glue sets.
-
Ropewalk
Worldway replied to Worldway's topic in Rope Making/Ropewalks's Rope Materials and parts resources
Thanks for the info and tips Tom. Actually, one of the reasons for getting the inexpensive MS Ropewalk is to see how it works and eventually come up with my own design to build. -
Thanks Jon, I think I'll follow your lead. It's definitely been a challenge but I'm hoping the worst is behind me.
-
The fairing looks great. I'm using scalpels as well and am waiting for the day I slice myself. If I think there is a possibility of slipping I will put on a pair of Kevlar gloves. I also wear safety glasses as 2 or 3 times now I have put too much pressure on the blade and it snapped, flying up in the air.
-
Well, I believe, this is attempt No 4. This time I'm not fooling around. I'm pulling a Rambo. This had better work because I don't believe there is any turning back. I am pinning the false timbers and using Titebond III to glue it. I thought it would take forever but it's going faster than I thought. I need to get this right because I need to move forward in the build. I don't want to give up on the Bluenose

-
After adding the false frame timers I was trying to attach the planks to them and the false frame timbers were snapping off quite easily. I've done this twice now, once with Weldbond and once with CA glue and nothing seems to be holding. I'm thinking I may need to pin a few of them for support. And once I get that figured out I need to deal with the scuppers. Not quite sure how to handle them at this stage. I'll likely use Jon's idea above, makes the most sense.
-
Wow looks great. Good job.
-
Hi Brian, I know that Hunt's practicum for the Bluenose isn't spot on. He wrote it, fairly enough, to the new modeler and took a lot of steps out of the build thinking the new modeler wouldn't want or need to do them or go into that much detail. I too struggled with the planking but once I realized that the hull was painted I didn't sweat the details. I planked as best as i could then added a bunch of filler to smooth everything out. I haven't painted yet but once I do I think the hull will look fine.
-
Ropewalk
Worldway replied to Worldway's topic in Rope Making/Ropewalks's Rope Materials and parts resources
For the relatively cheap price I ordered the Model Shipways rope walk. I talked to Domanoff and although I don't doubt he has a quality product it was just out of my budget. Byrnes is talking about bringing theirs back again but said it would be some time before it's on the market. Tom (Used to Sail) said the MS wasn't bad. If nothing else it will give me a starting point to making my own. Thanks for all your input. -
Looks great. I like your thought of adding black construction paper between planks. I'm so stealing that idea. I think I'll add the nails to the planks just to see how it goes. Still no luck getting my kit. First of this week it said it was in Canada then on Wednesday it said it was in Miami. I have no idea when I'll get it. Tonight though I ordered the other cannon kit MS had.
- 82 replies
-
- 4
-
-
- naval smoothbore
- model shipways
- (and 1 more)
-
I'm definitely pulling up a chair for this build. I should have mine next week and look forward to following along.
- 82 replies
-
- 3
-
-
- naval smoothbore
- model shipways
- (and 1 more)
-
Swann-Morton Scapel
Worldway replied to Landlocked123's topic in Modeling tools and Workshop Equipment
Just as a side note, I made this inexpensive way to safely dispose of scalpel blades and other sharp blades such as razor blades. I bought a can of beef stock. Instead of cutting off the top, I simply put a slot in the top carefully with a heavy kitchen knife. I then emptied the contents of the can into a soup I was making and rinsed it out several times. It takes a bit of patience because you are trying to rinse it through a narrow slot. When dull I slip the used blade through the slot. I have been using it for two plus years now and it's still not close to being filled. When it is full you can simply recycle it.