mtbediz
-
Posts
1,346 -
Joined
-
Last visited
Content Type
Profiles
Forums
Gallery
Events
Everything posted by mtbediz
-
 Congrats Greg, you have built an excellent model. You have been posting very infrequently while building the model but I knew you were working on it constantly and I was eager to see the final product. I hope you post more often as you build your Constitution, Once again, congratulations!
- 58 replies
-
- 2
-

-

-
- Santa Maria
- Ships of Pavel Nikitin
- (and 1 more)
-
You achieved very good results Thomas. How is this etching application done? Is it done with a machine or something? Thanks.
-
Your transom looks very nice, Peter. I either have to buy these stars or cut them out myself. What tool did you use to cut these stars?
-
USS Constitution by mtbediz - 1:76
mtbediz replied to mtbediz's topic in - Build logs for subjects built 1751 - 1800
Peter, since I will leave the lids wide open as in the photo, these ropes will not be visible anyway.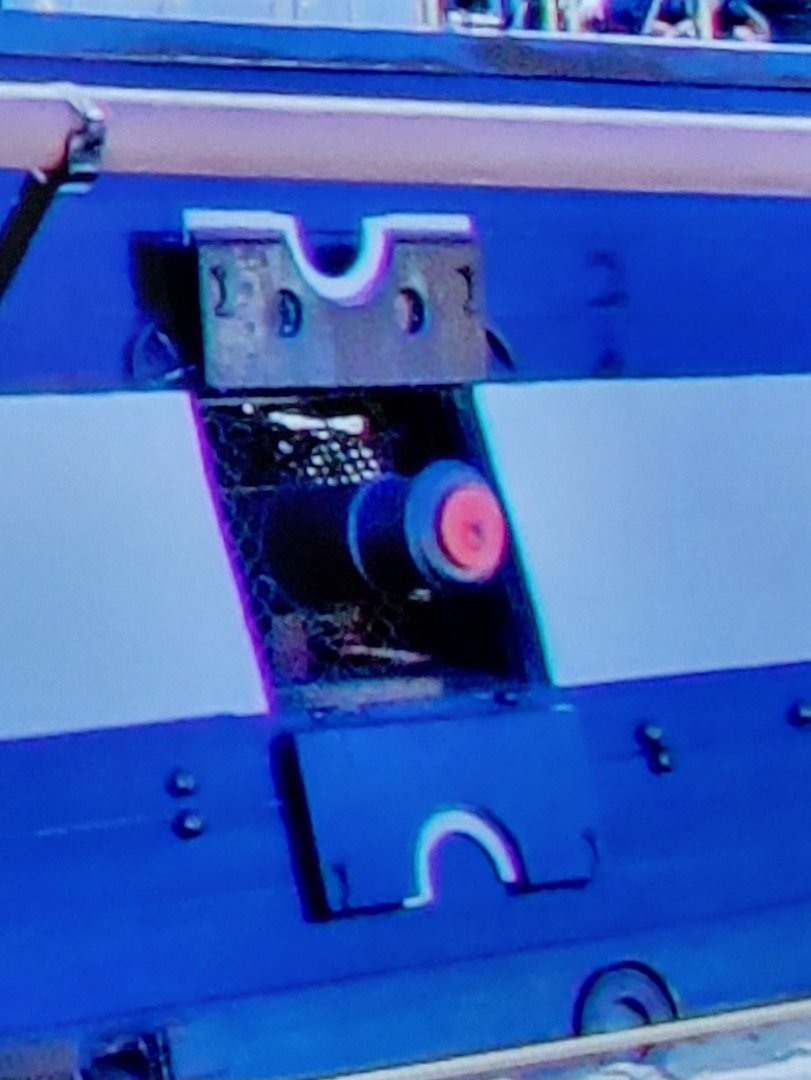
-
USS Constitution by mtbediz - 1:76
mtbediz replied to mtbediz's topic in - Build logs for subjects built 1751 - 1800
Yes Peter, I will not add those ropes because I needed to get the ropes out of those holes before I built the spar deck. But unfortunately I cannot do that as the gun deck is no longer accessible. -
USS Constitution by mtbediz - 1:76
mtbediz replied to mtbediz's topic in - Build logs for subjects built 1751 - 1800
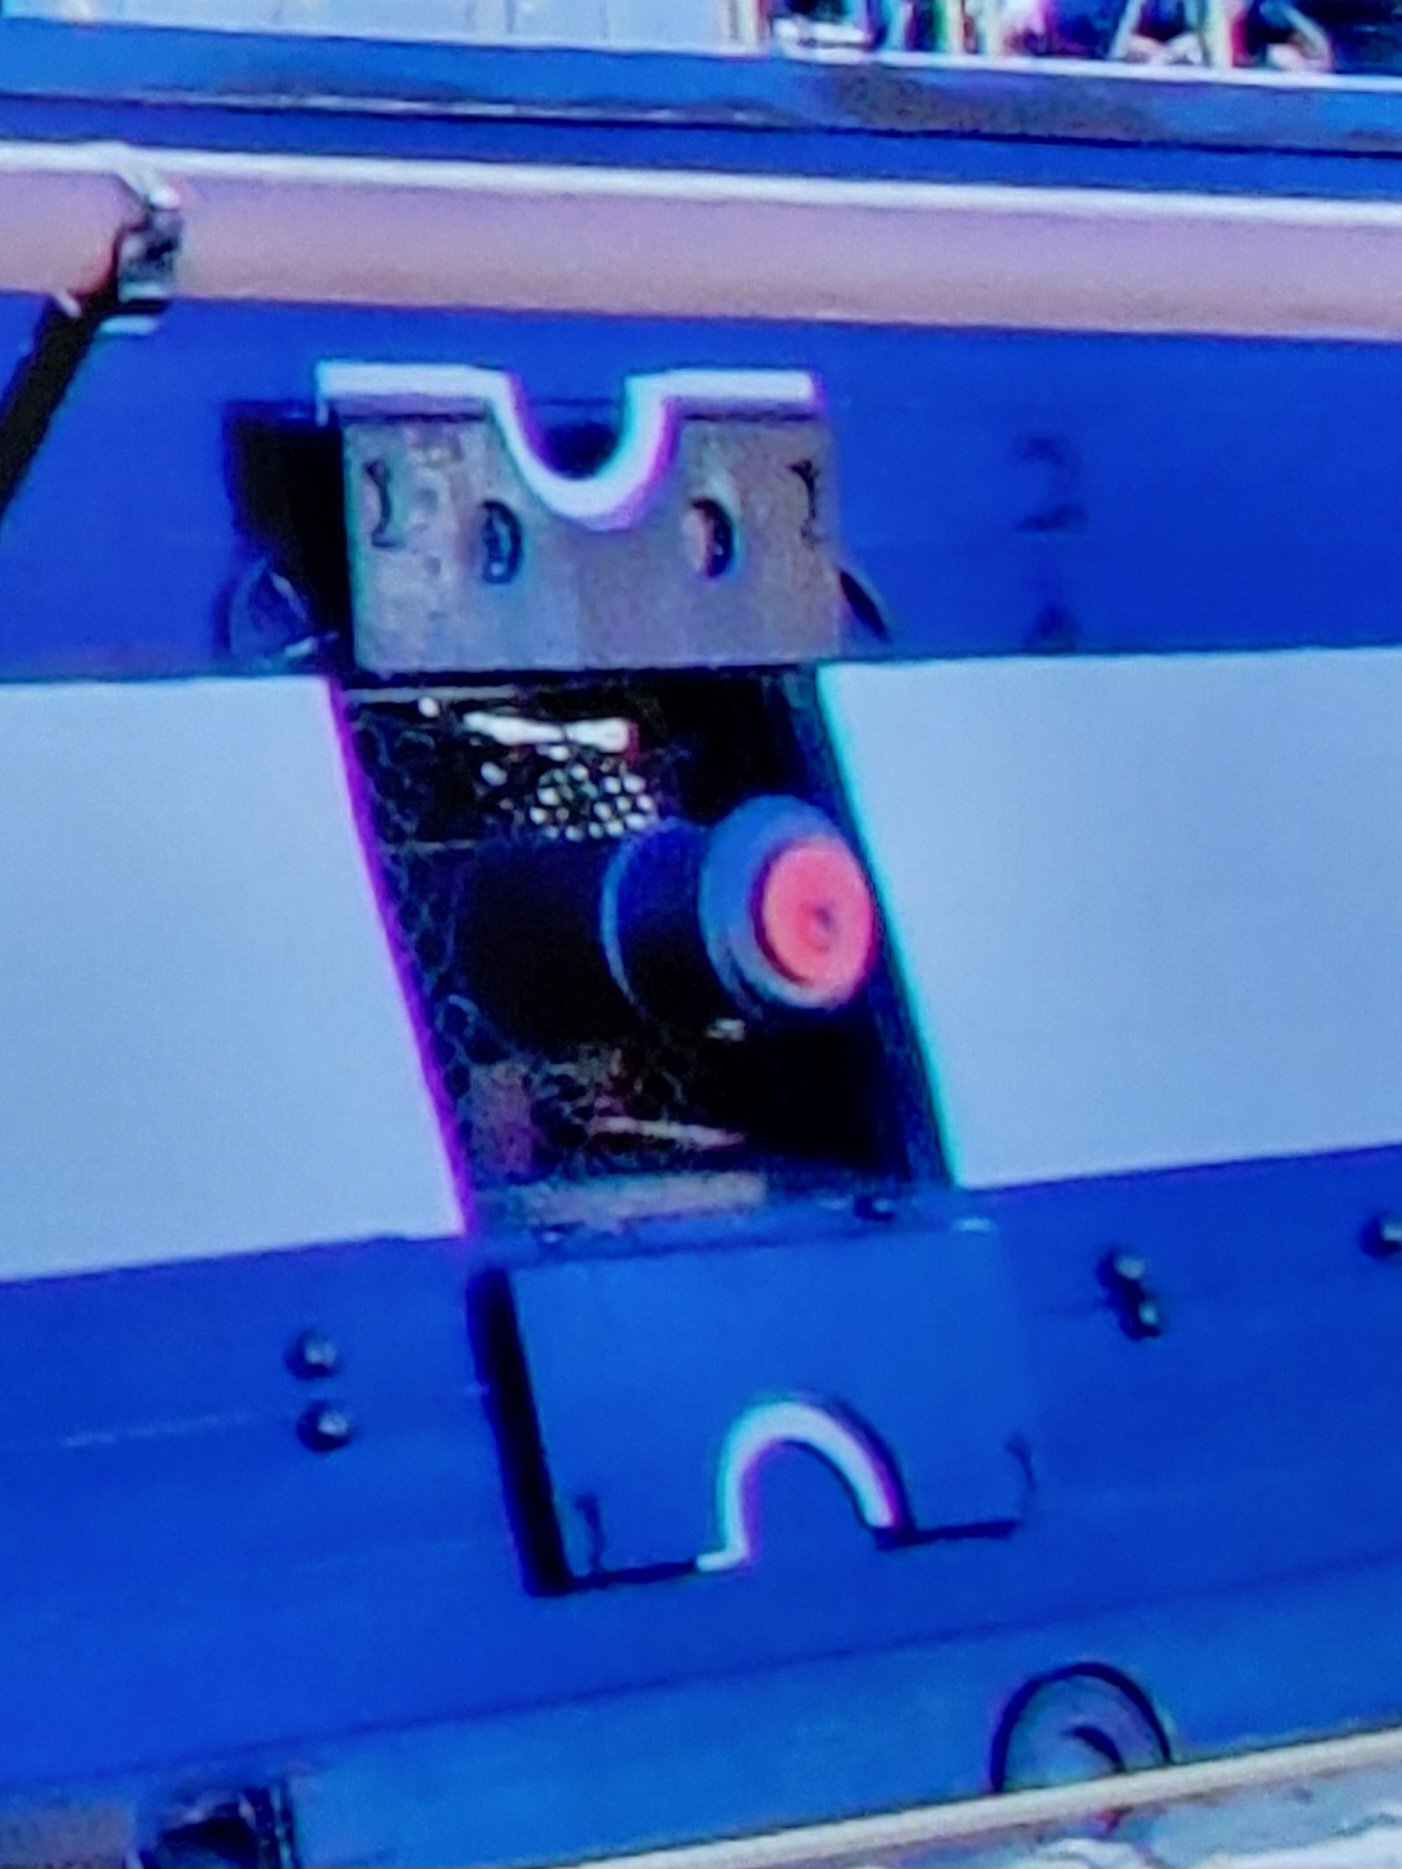
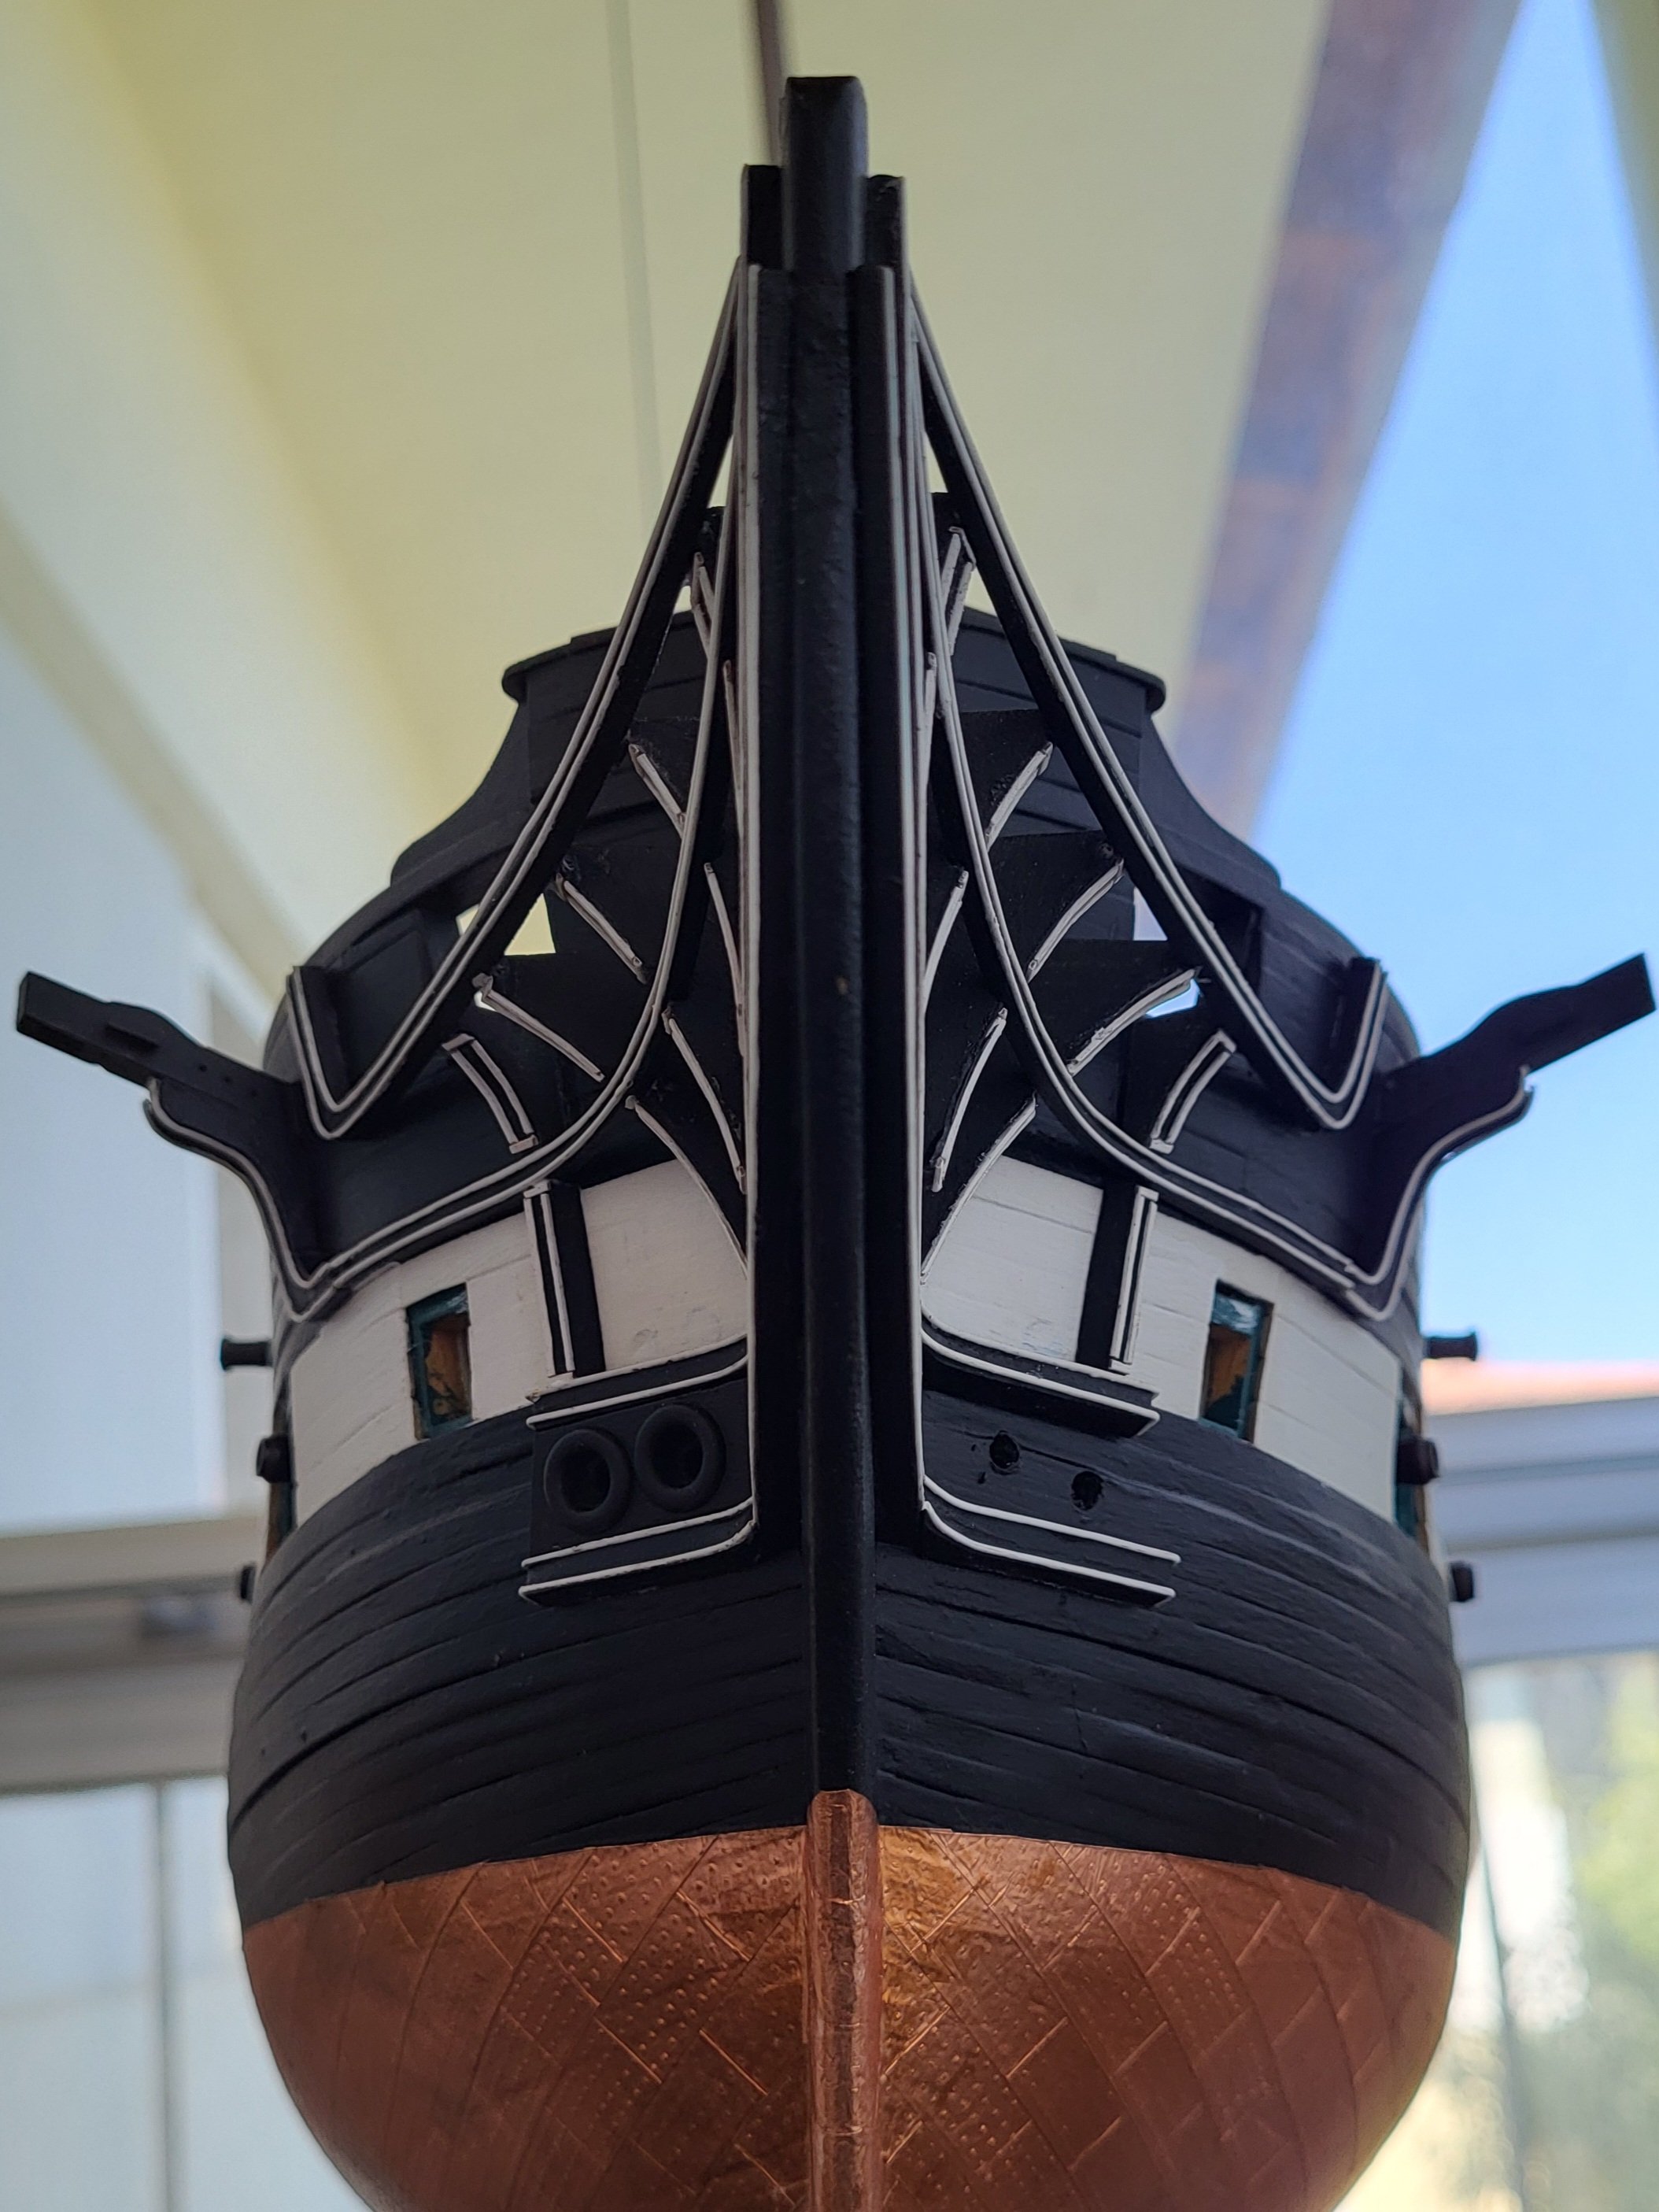
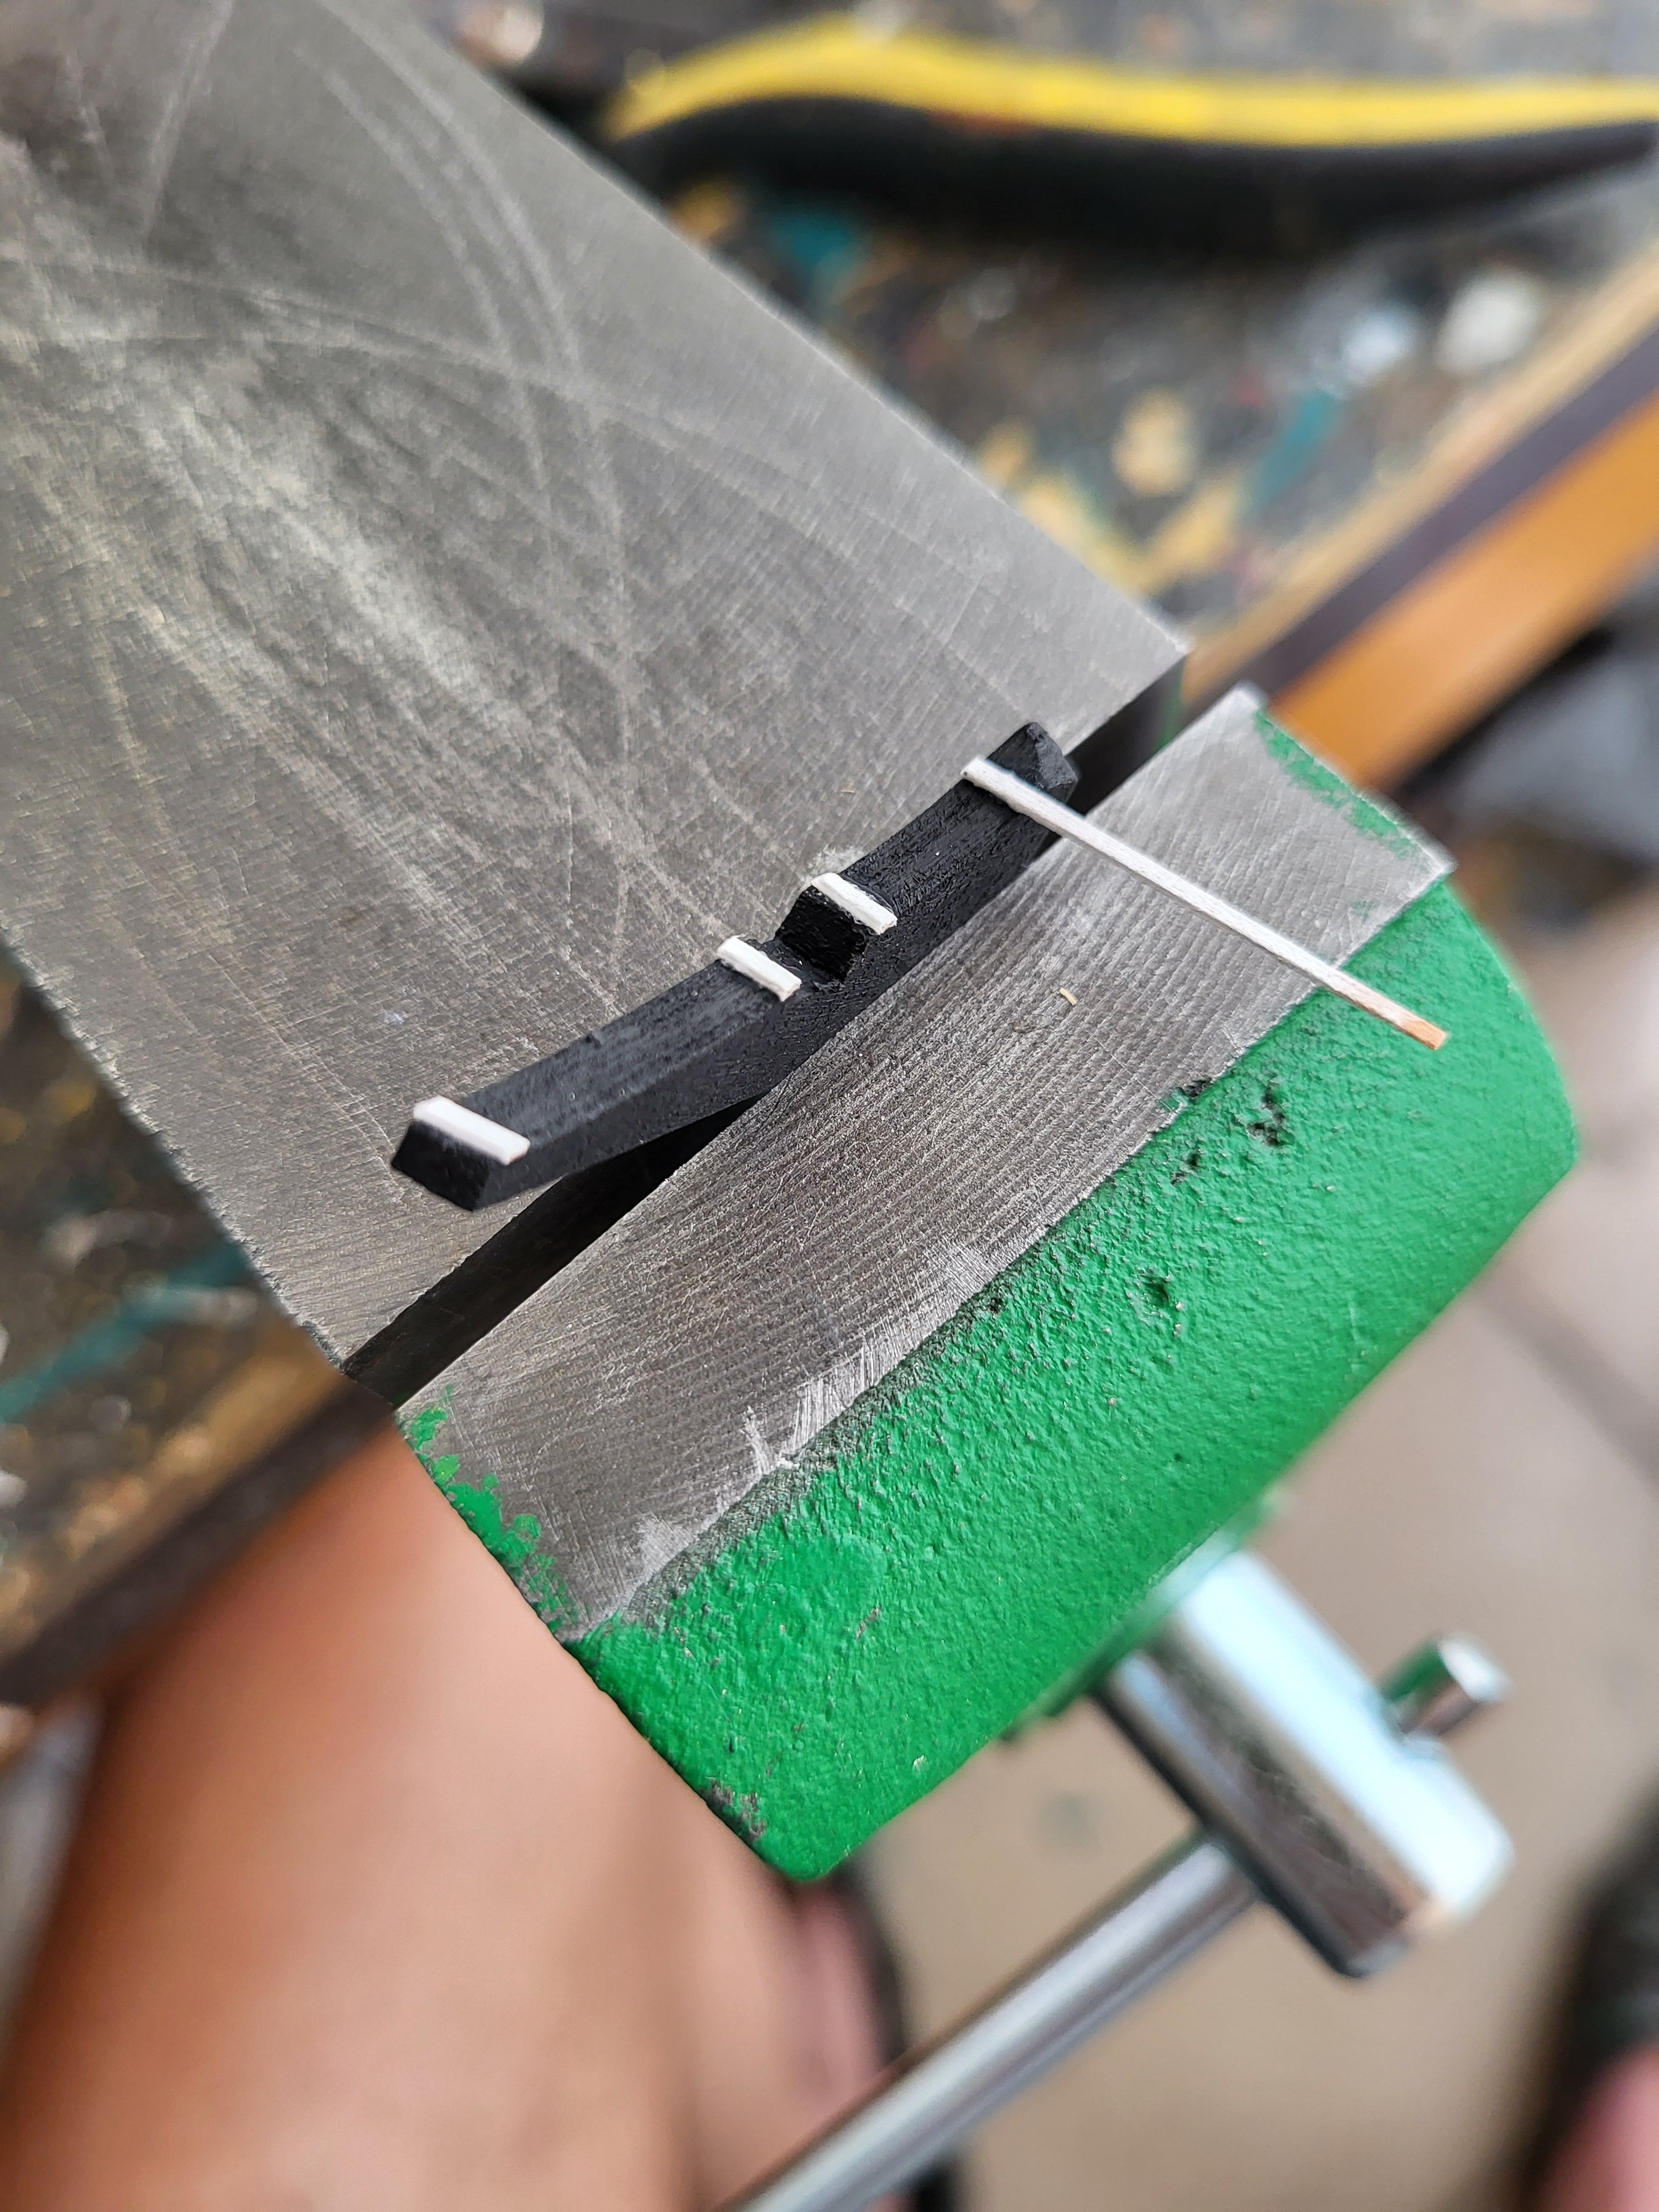
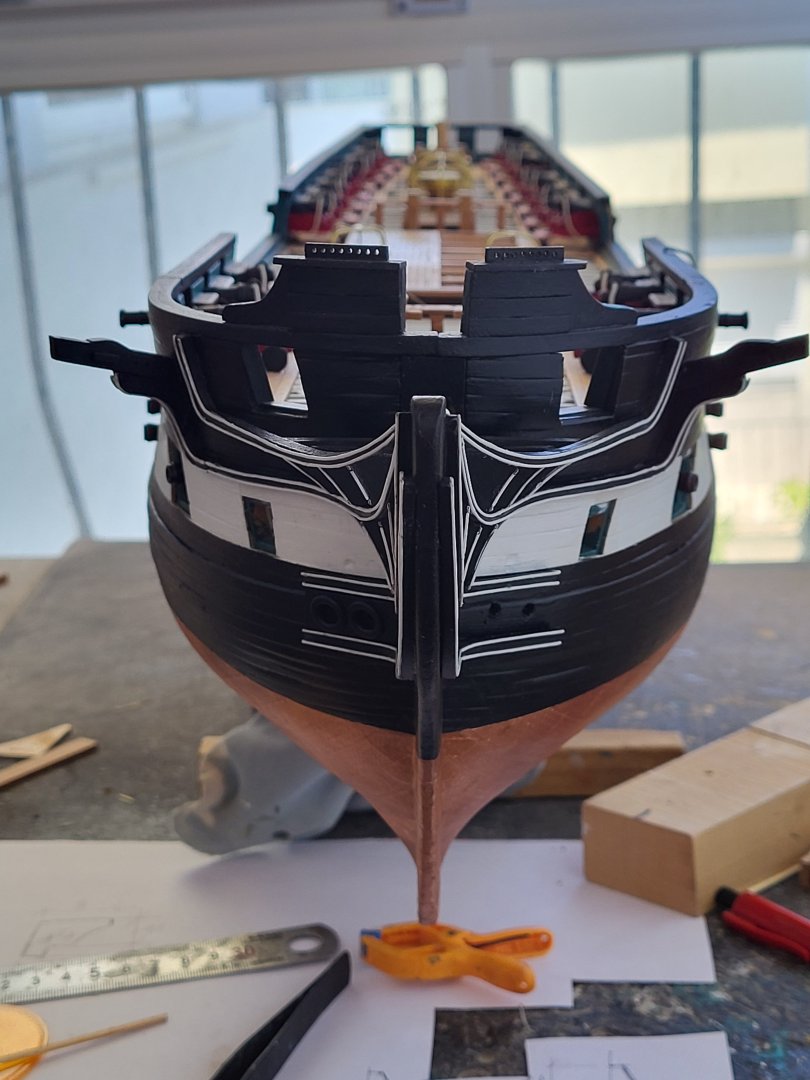
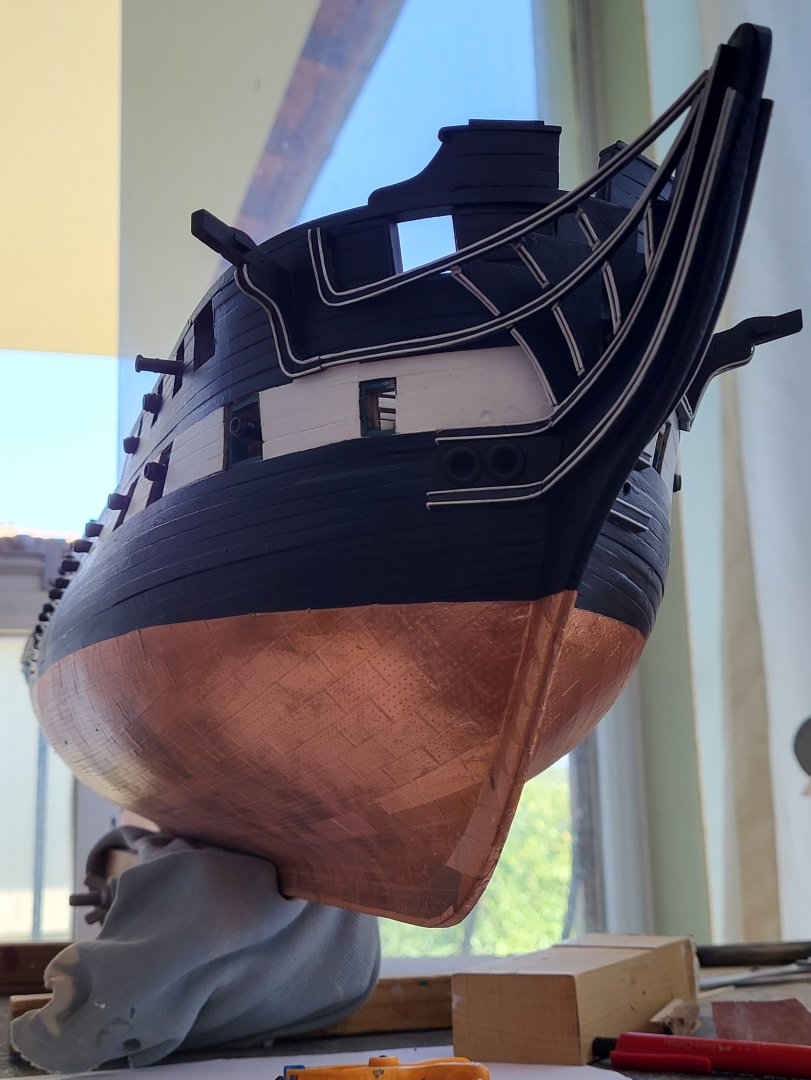
I am manufacturing and attaching the structures above the gun ports, the name and function of which I do not know. Later, I will paint them black. After flattening 1 mm brass wire by hammering, I bend it with a jig and glue it to the board I prepared before.


-
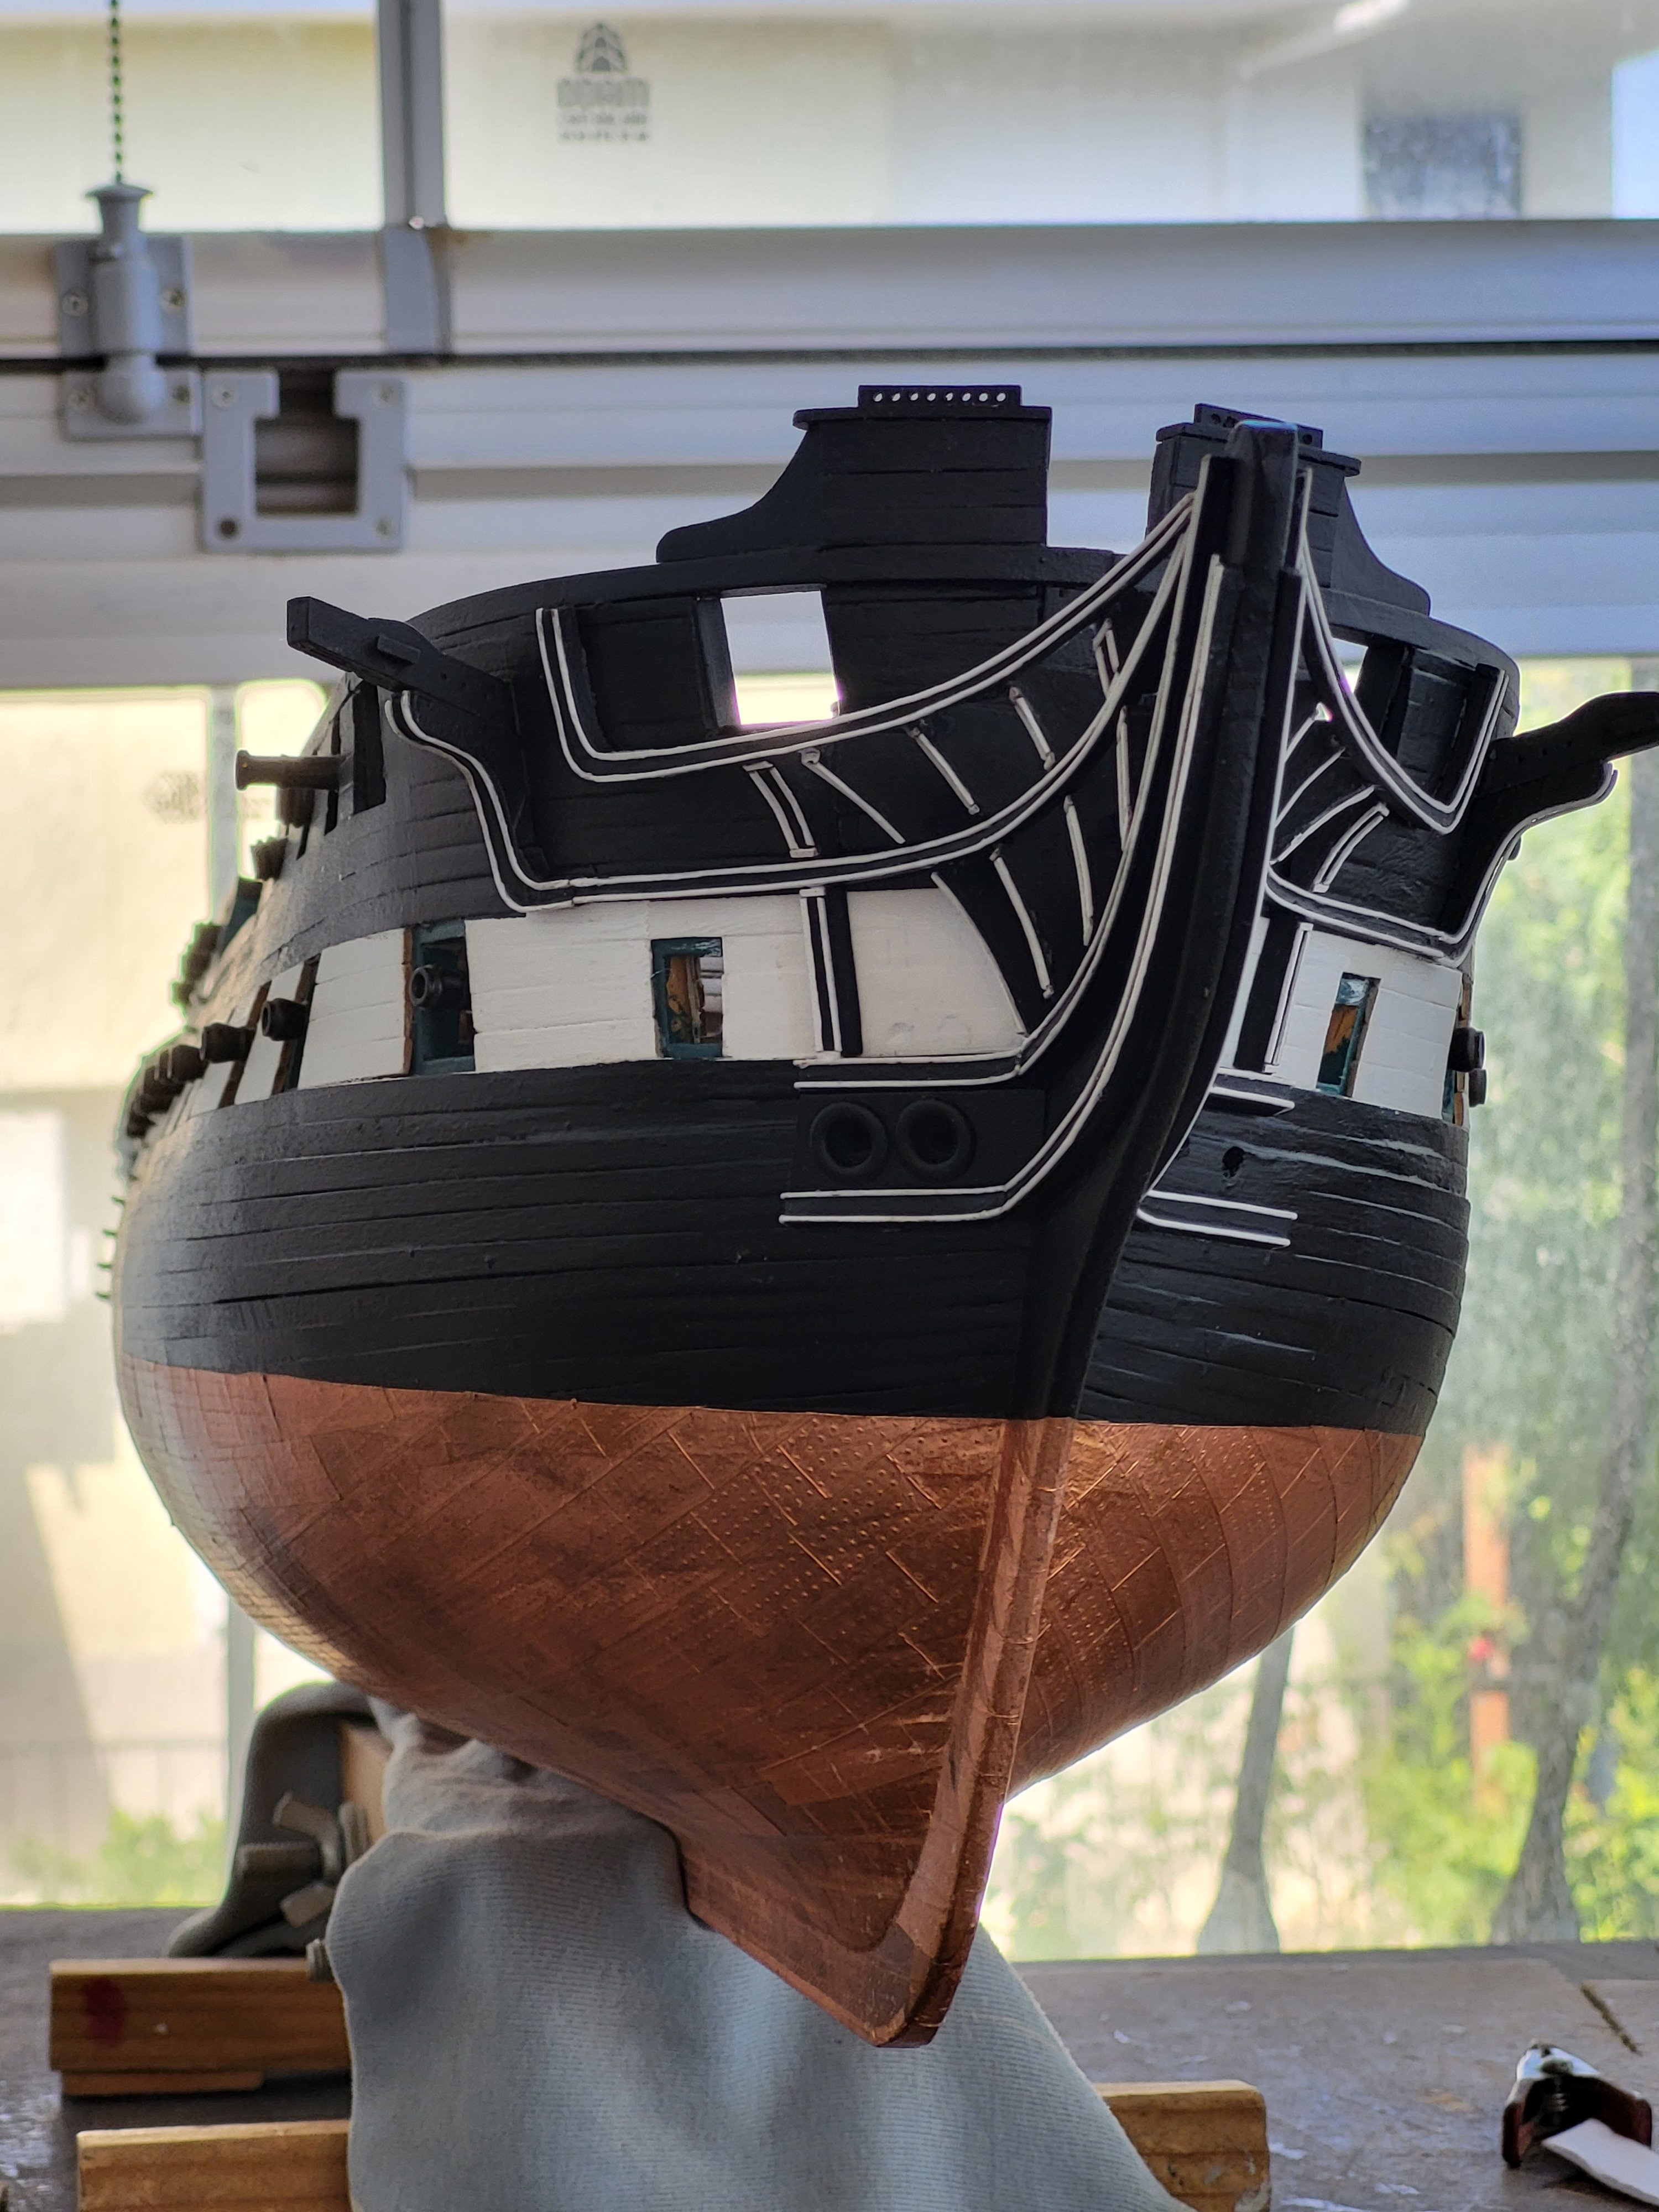
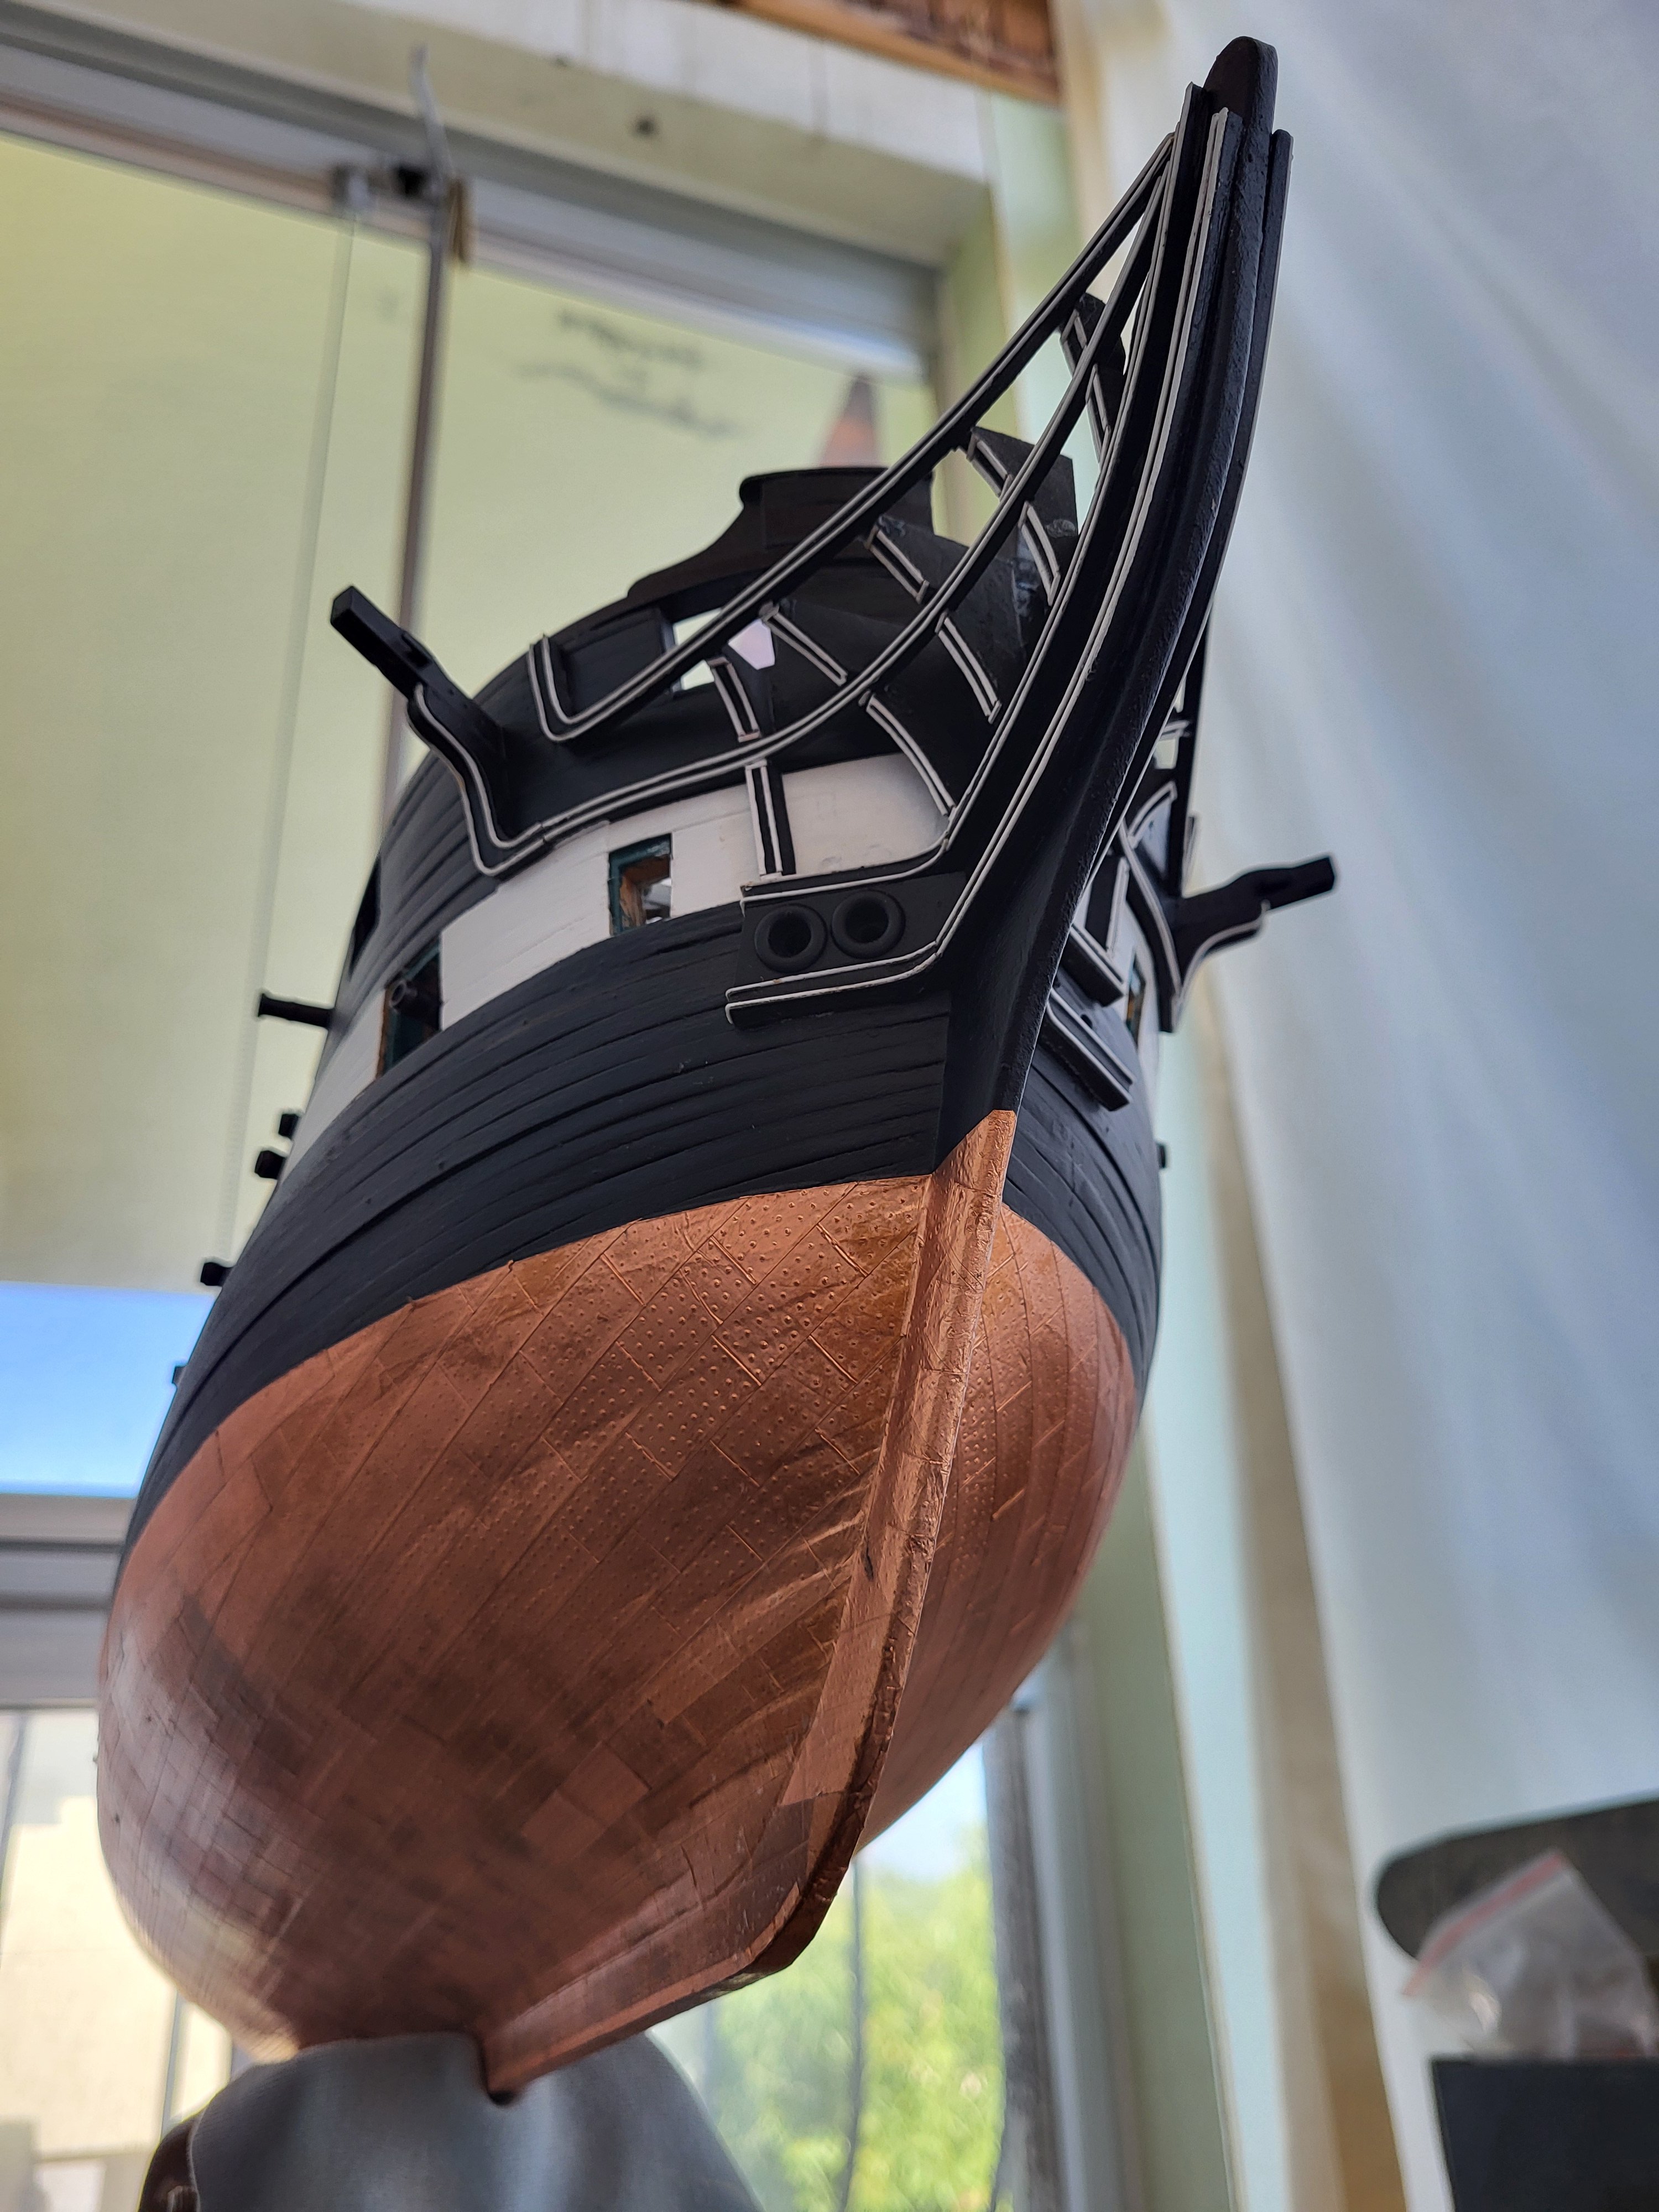
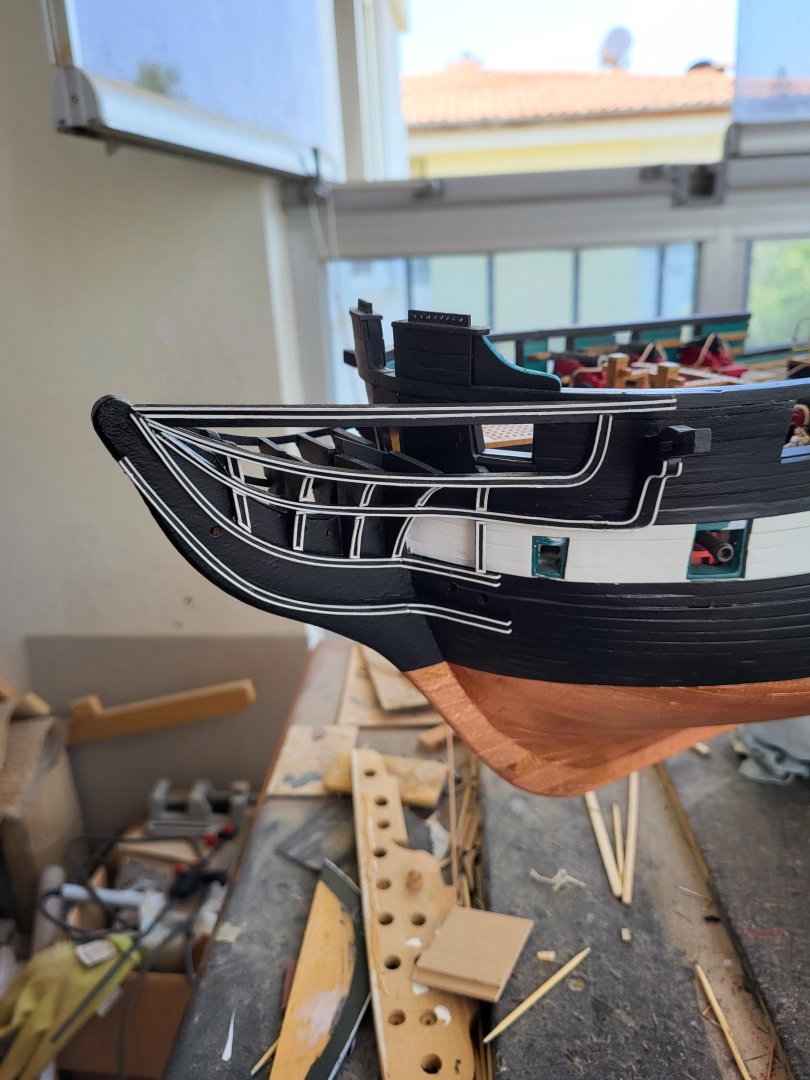
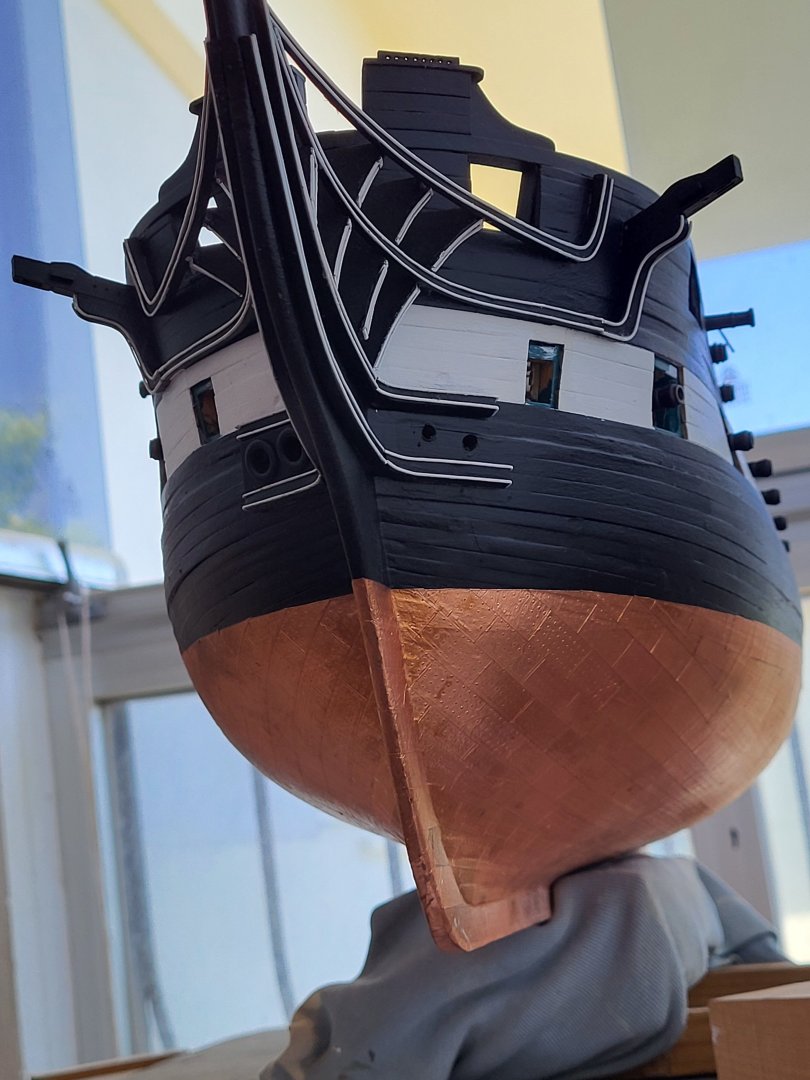
Everything looks great Peter, congratulations. I've also finished the bow detailing for now. I'll fabricate the grates and put them in place after I install the bowsprit and gammoming. The trailboard ornament looks like it's going to wait a long time. Because I haven't figured out how to make it yet because I've never make anything like it before. I haven't made up my mind yet but I think I'll continue with the gun port lids.
-
USS Constitution by mtbediz - 1:76
mtbediz replied to mtbediz's topic in - Build logs for subjects built 1751 - 1800
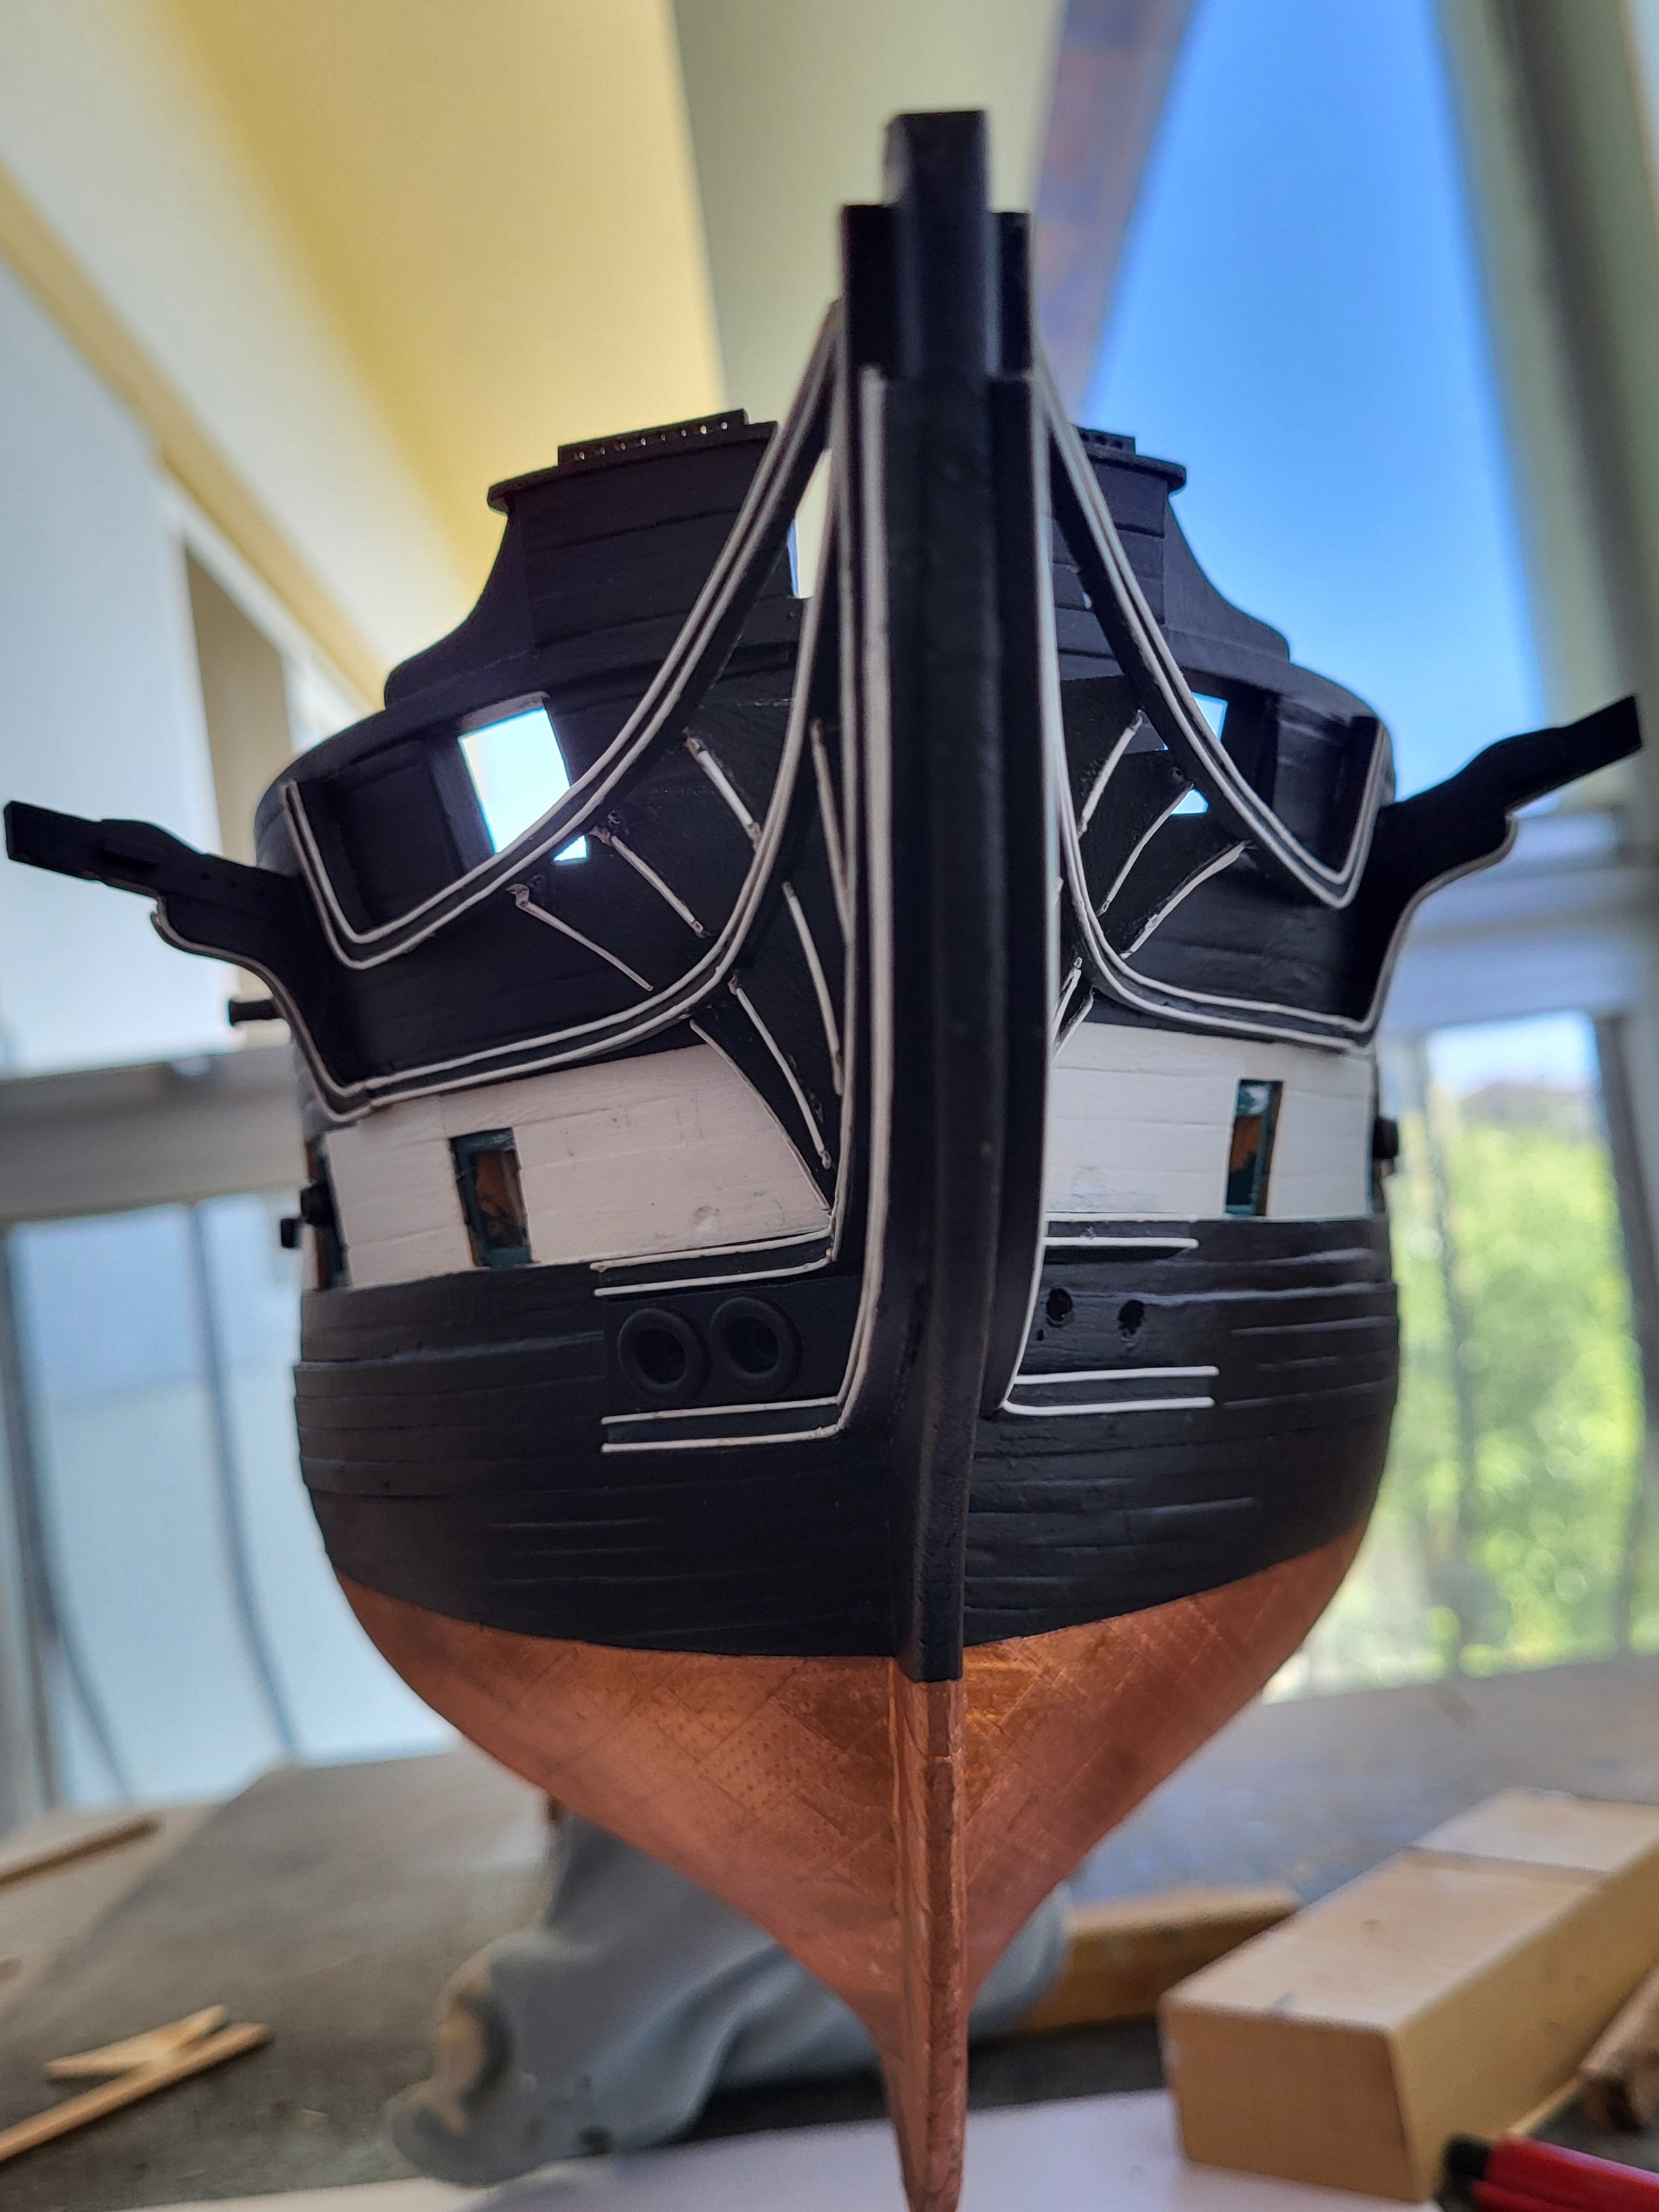
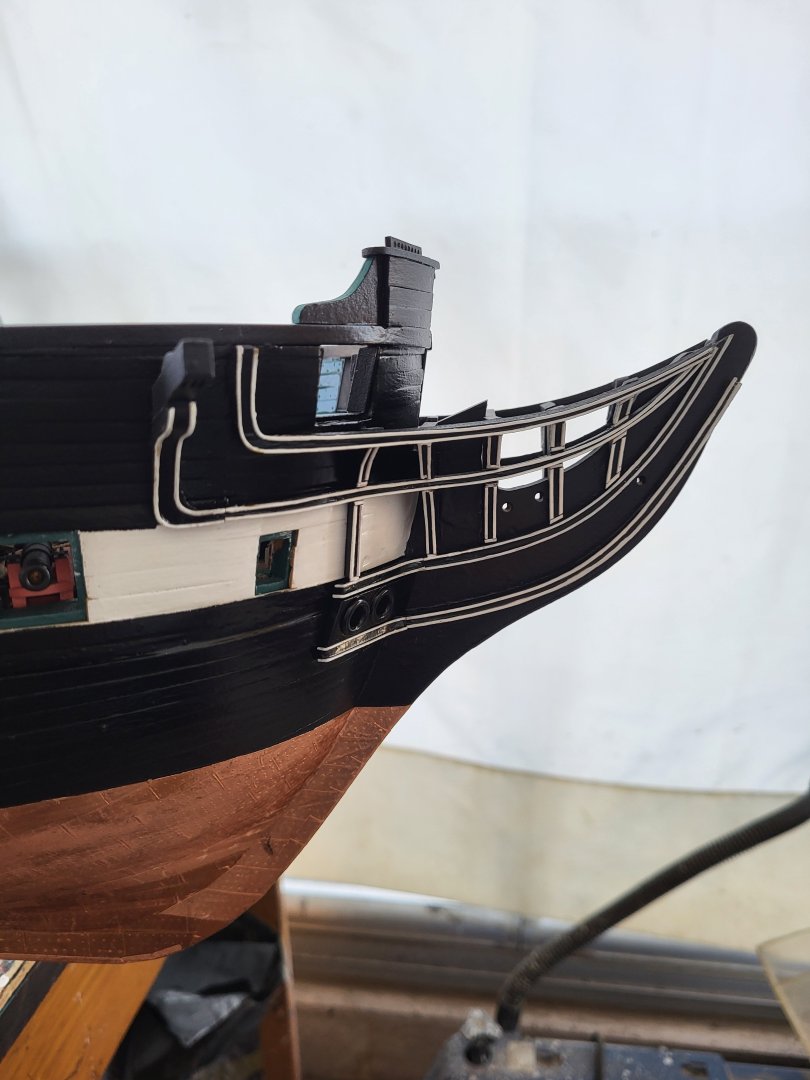
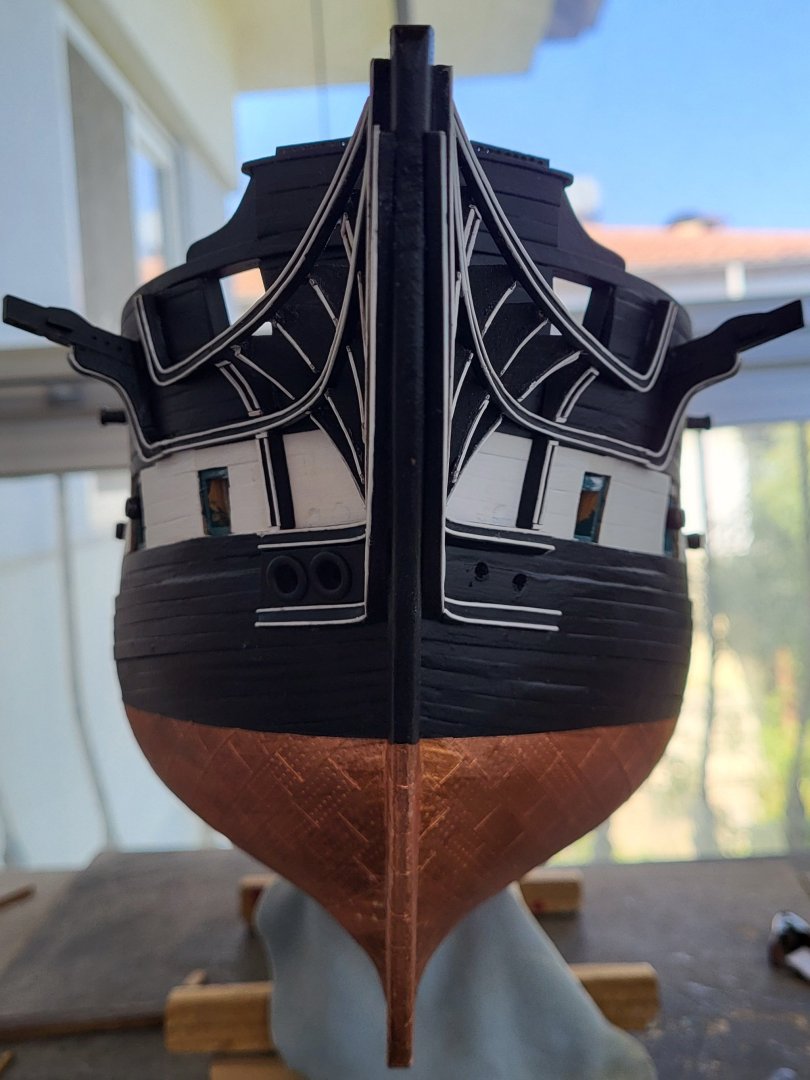
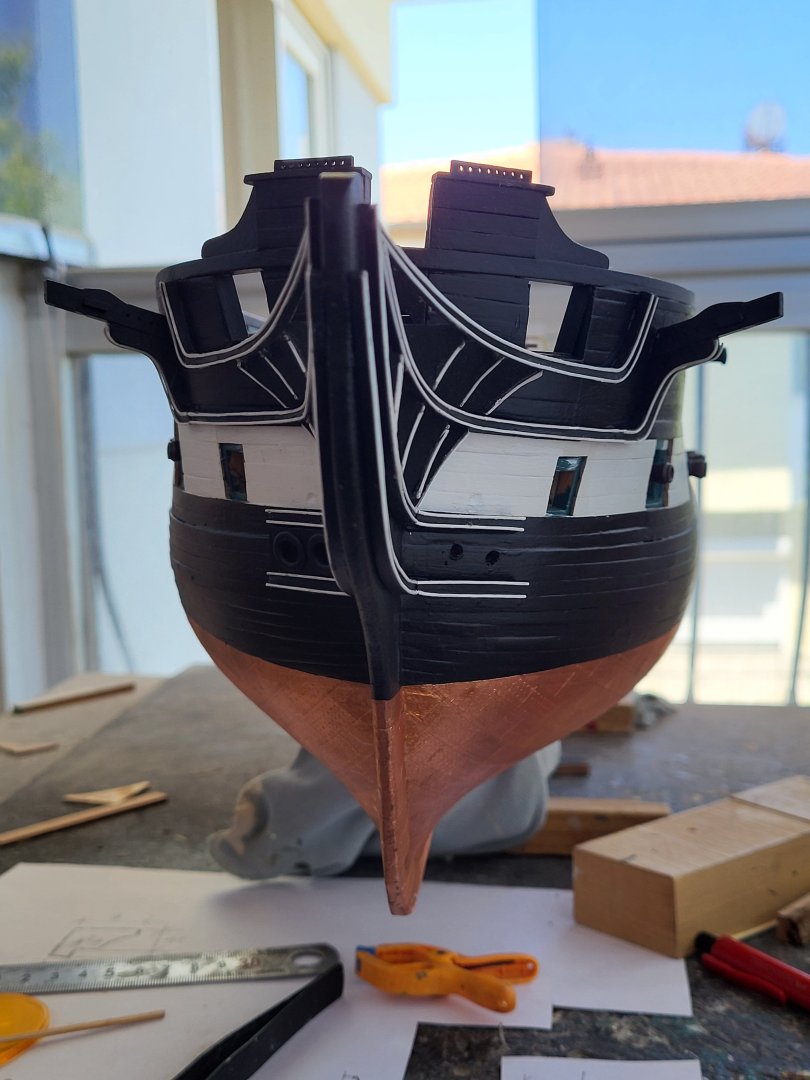
Both sides bow planking completed. The ship doesn't look bad at all with the edited photos. I'm finishing up the bow decoration for now. I'll come back for the trailboard later.


-
USS Constitution by mtbediz - 1:76
mtbediz replied to mtbediz's topic in - Build logs for subjects built 1751 - 1800
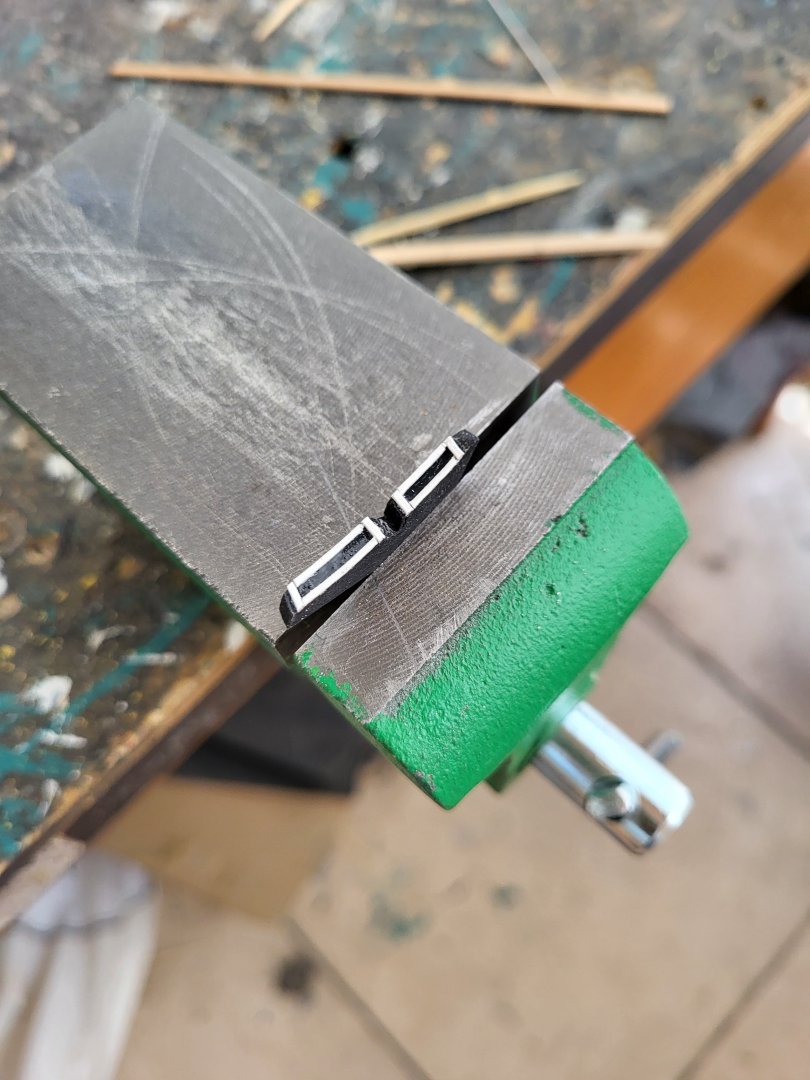
Thanks, Peter. When I noticed that you were having difficulty securing the stiffeners in place, I made something like this. It really made the job easier.
-
USS Constitution by mtbediz - 1:76
mtbediz replied to mtbediz's topic in - Build logs for subjects built 1751 - 1800
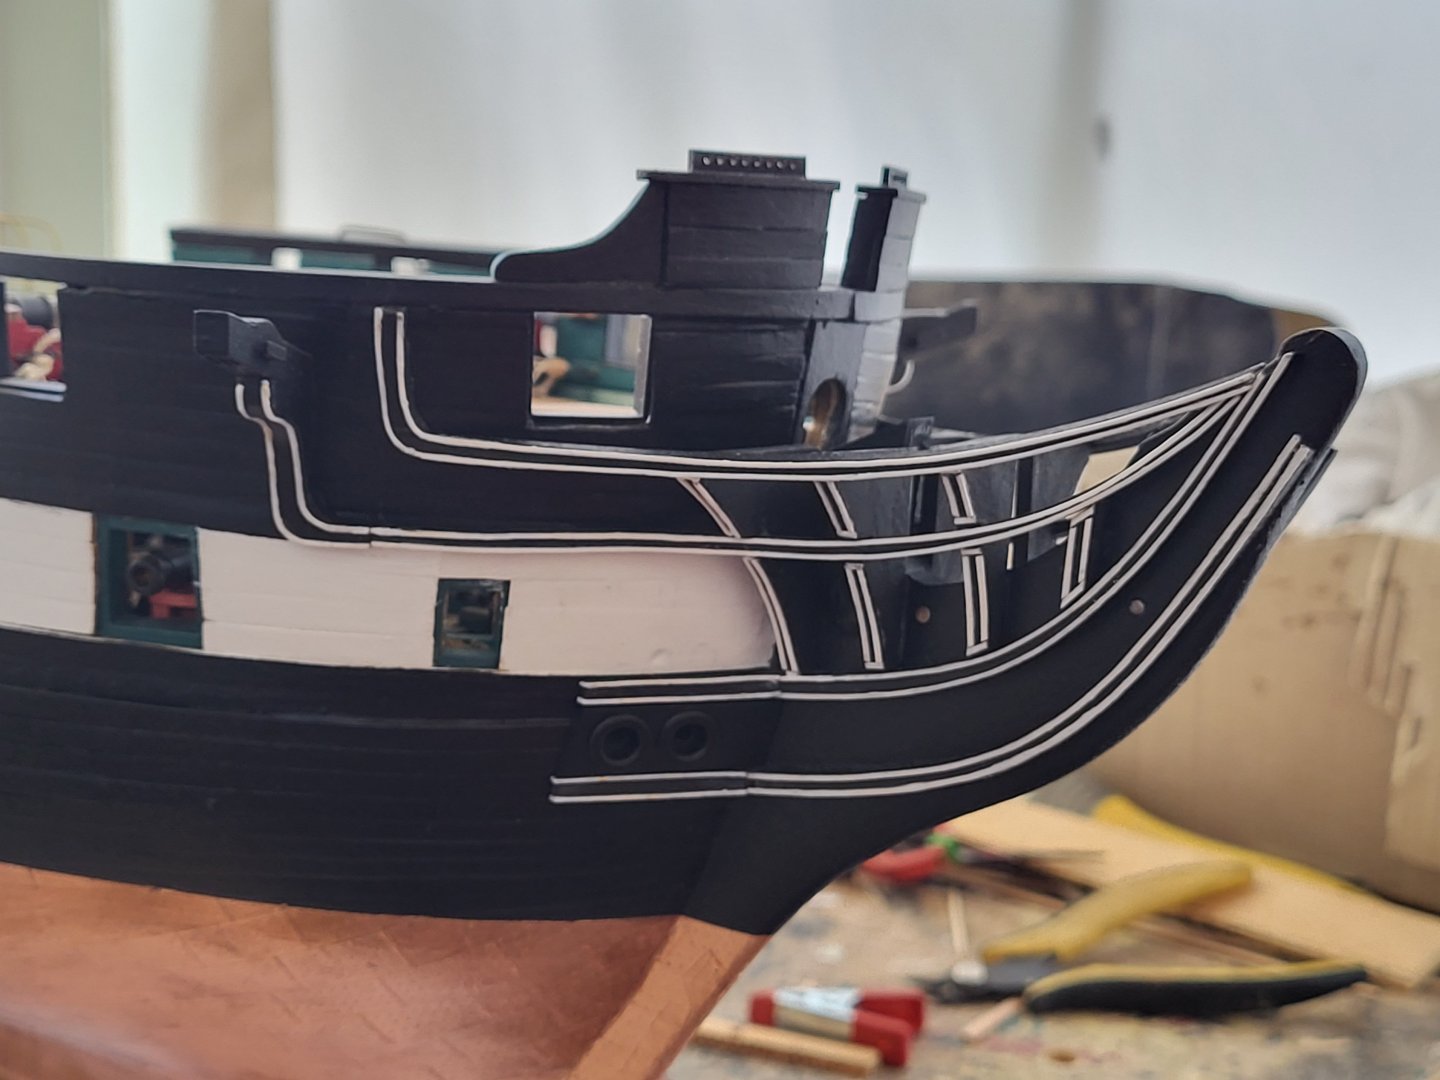
Port side bow planking done.


-
USS Constitution by mtbediz - 1:76
mtbediz replied to mtbediz's topic in - Build logs for subjects built 1751 - 1800
Yes Jon, I had made those hawse holes, but I lost. When I find them, I'll mount them in its place or I'll make it again. -
USS Constitution by mtbediz - 1:76
mtbediz replied to mtbediz's topic in - Build logs for subjects built 1751 - 1800
Thanks Greg. Yes, the unpainted rail in the first picture was not glued yet. Like the other rails, it was painted and striped before being installed on the ship. -
USS Constitution by mtbediz - 1:76
mtbediz replied to mtbediz's topic in - Build logs for subjects built 1751 - 1800
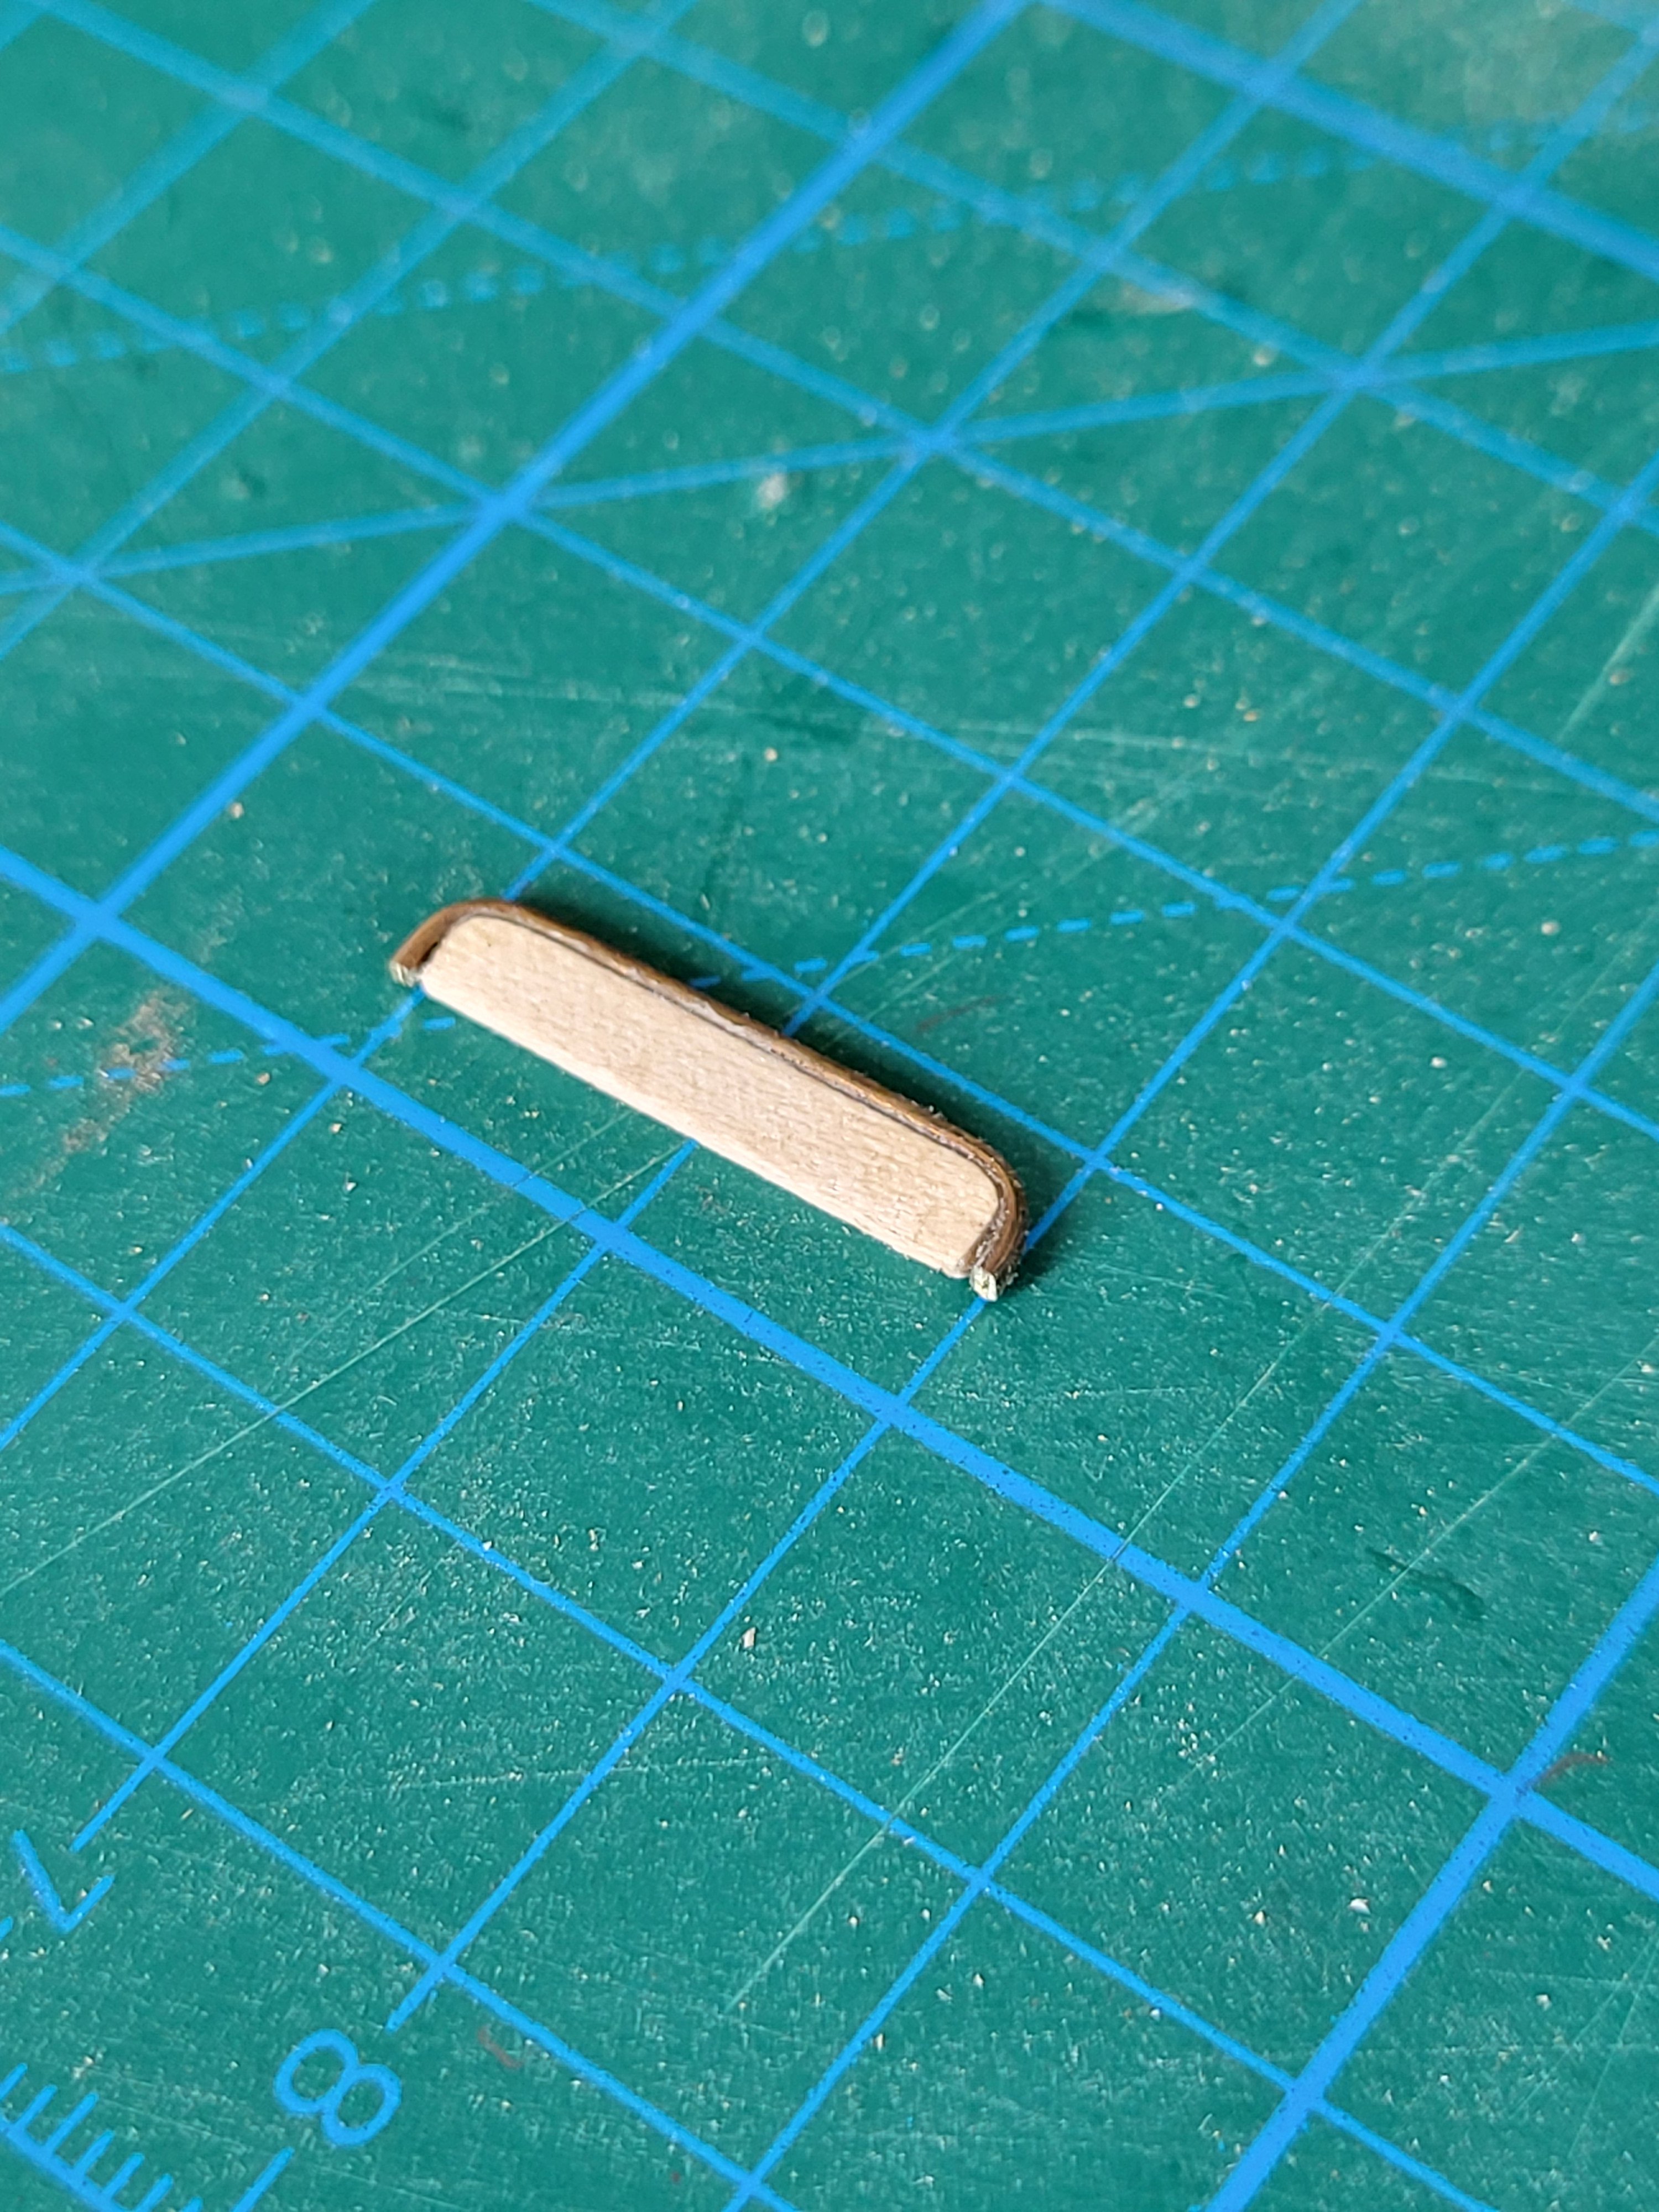
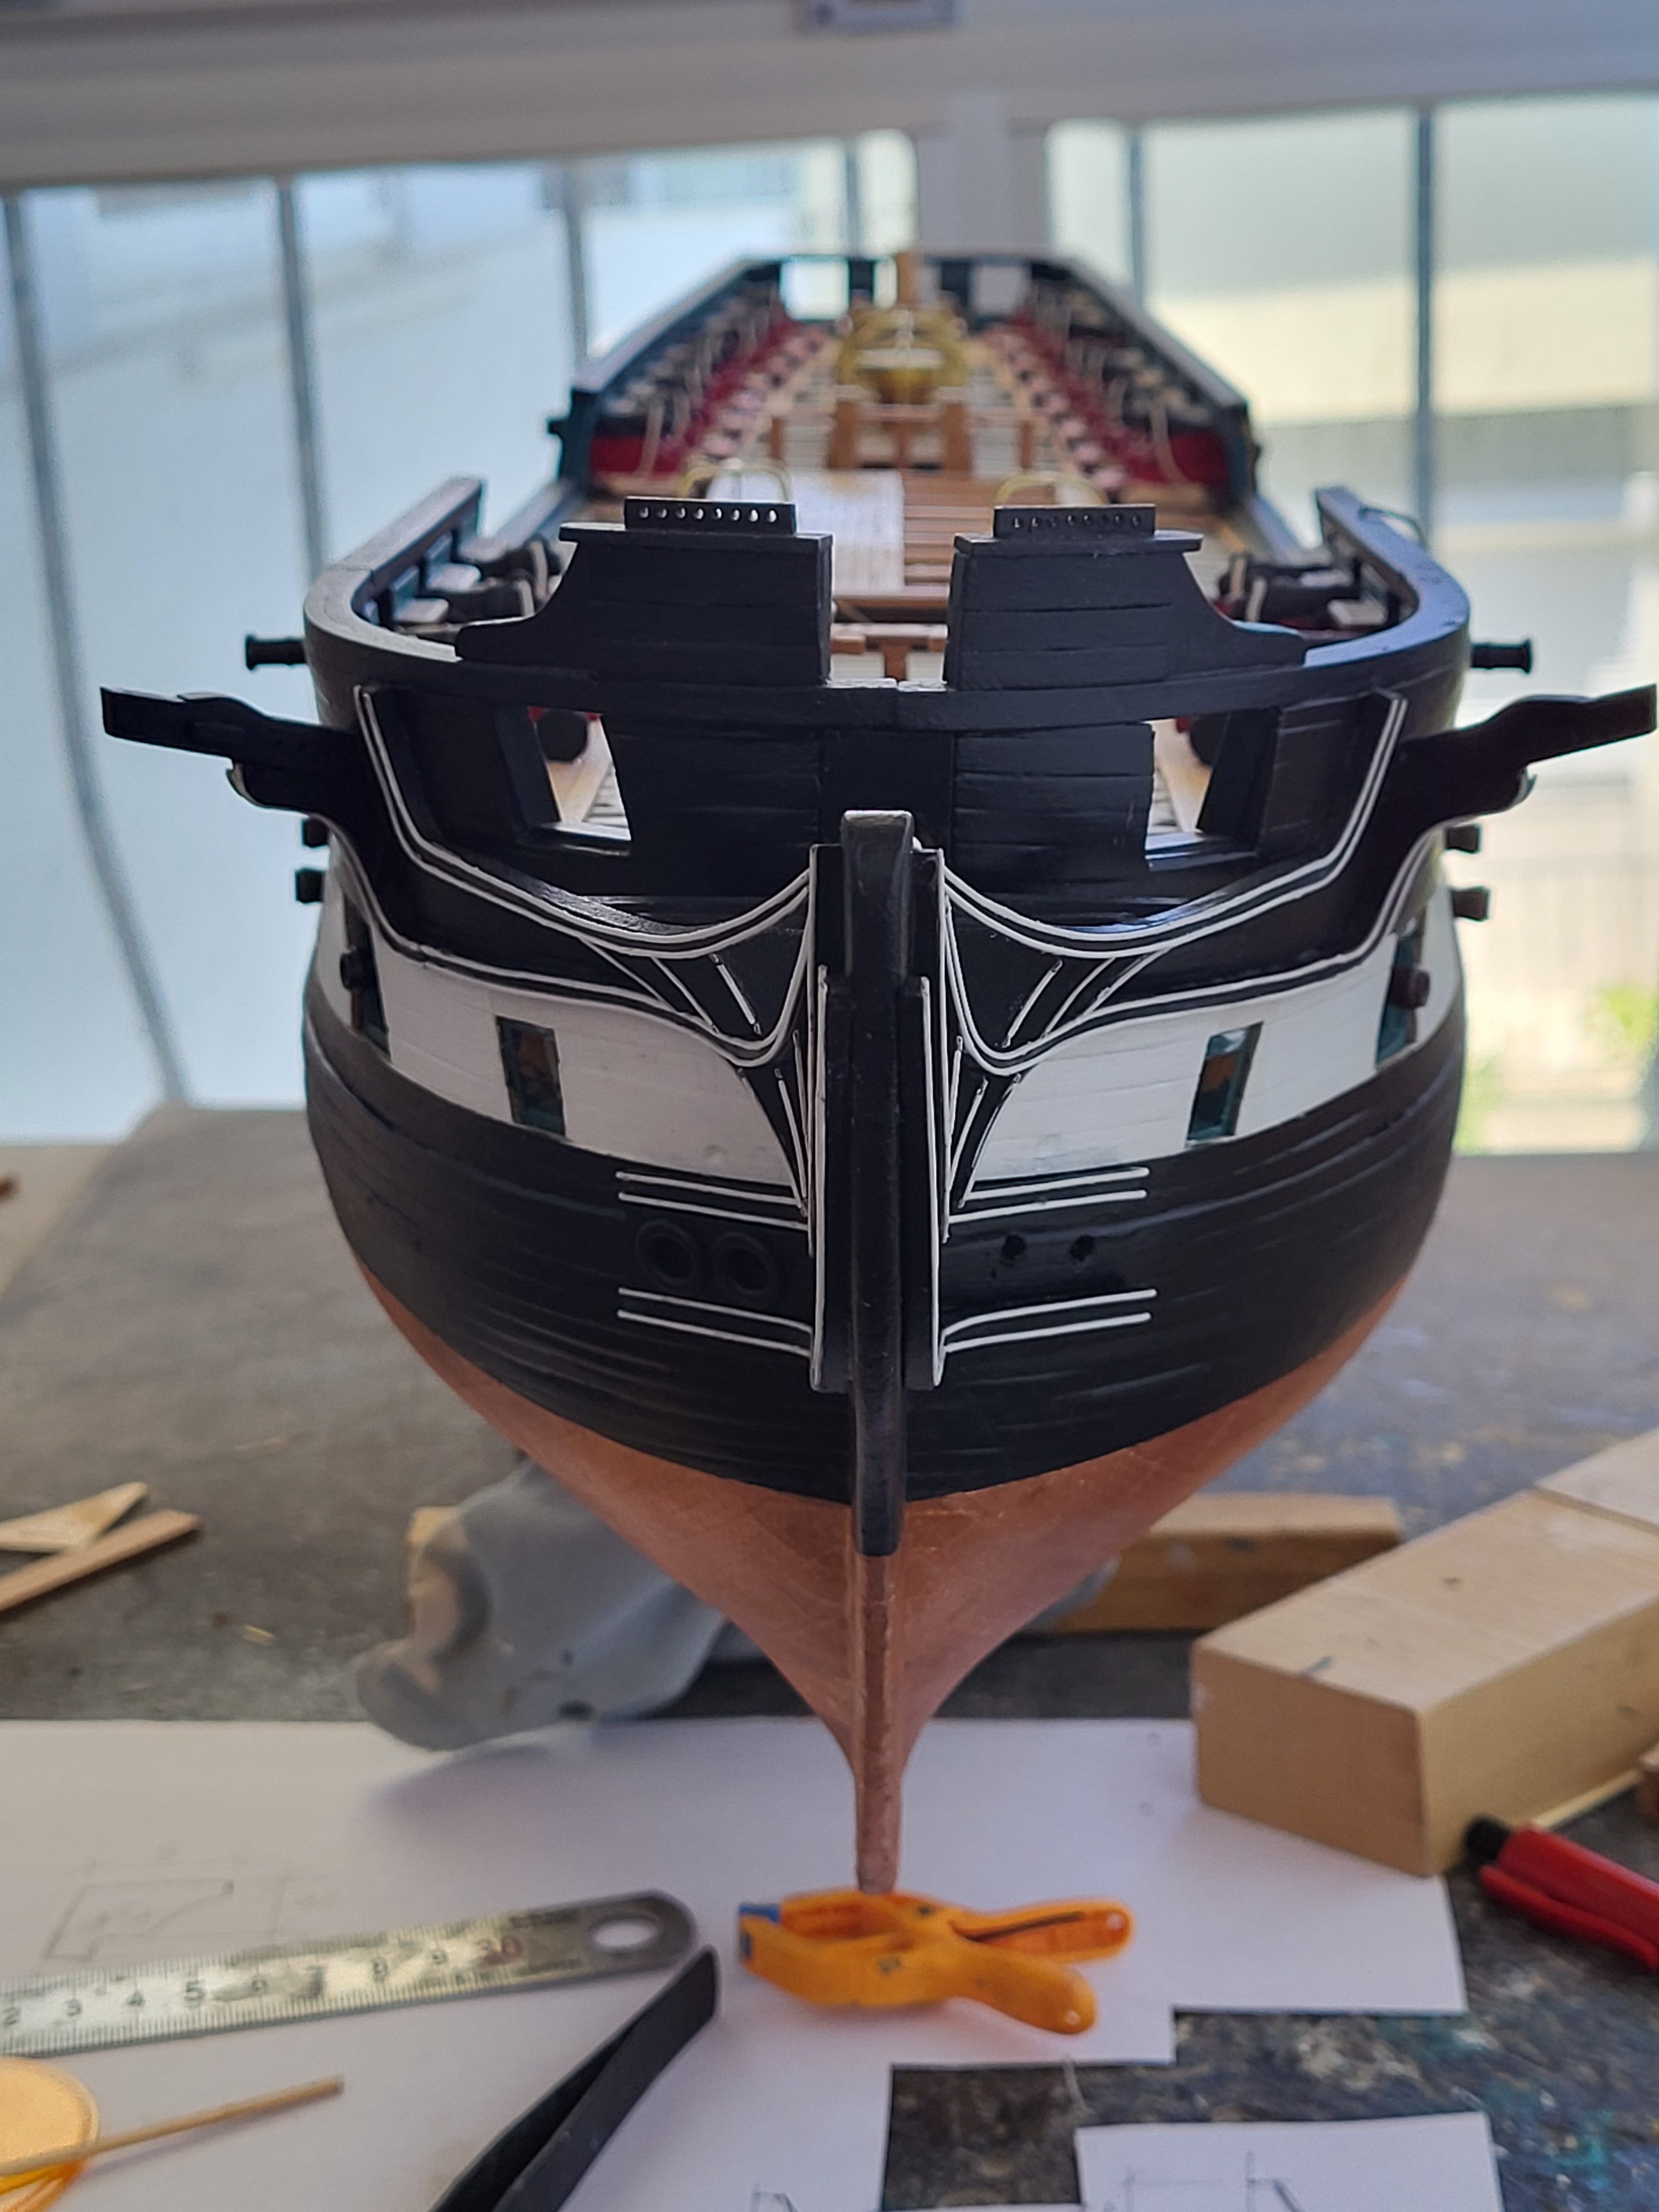
I glued a plank to the top head rail to make it easier to attach the plank stiffeners between the rails. This will provide a larger surface for gluing the stiffeners.

-
USS Constitution by mtbediz - 1:76
mtbediz replied to mtbediz's topic in - Build logs for subjects built 1751 - 1800
I finally completed the supports. I'm happy with the overall look.


-
Peter, I'm glad things are going well for you. By the way, I'll also make the gammon out of rope. Rope is more pleasing to my eye.
-
Yes, there had to be enough space between the bowsprit and the grates for the chains to pass through. But there's nothing to do now. If I were you, at this stage, I would make the gammon out of rope instead of chain, this solution might be easier and wouldn't be wrong. I read somewhere that gammon were made out of rope before the chain.
-
You're making pretty steady progress Peter. I don't know if you're going to glue the gratings in place, but I assume you've planned out how to make the gammoning as well.
-
USS Constitution by mtbediz - 1:76
mtbediz replied to mtbediz's topic in - Build logs for subjects built 1751 - 1800
If you are not going to include the fore sail you will not need the boomkins. Drawing shows how the boomkins were used.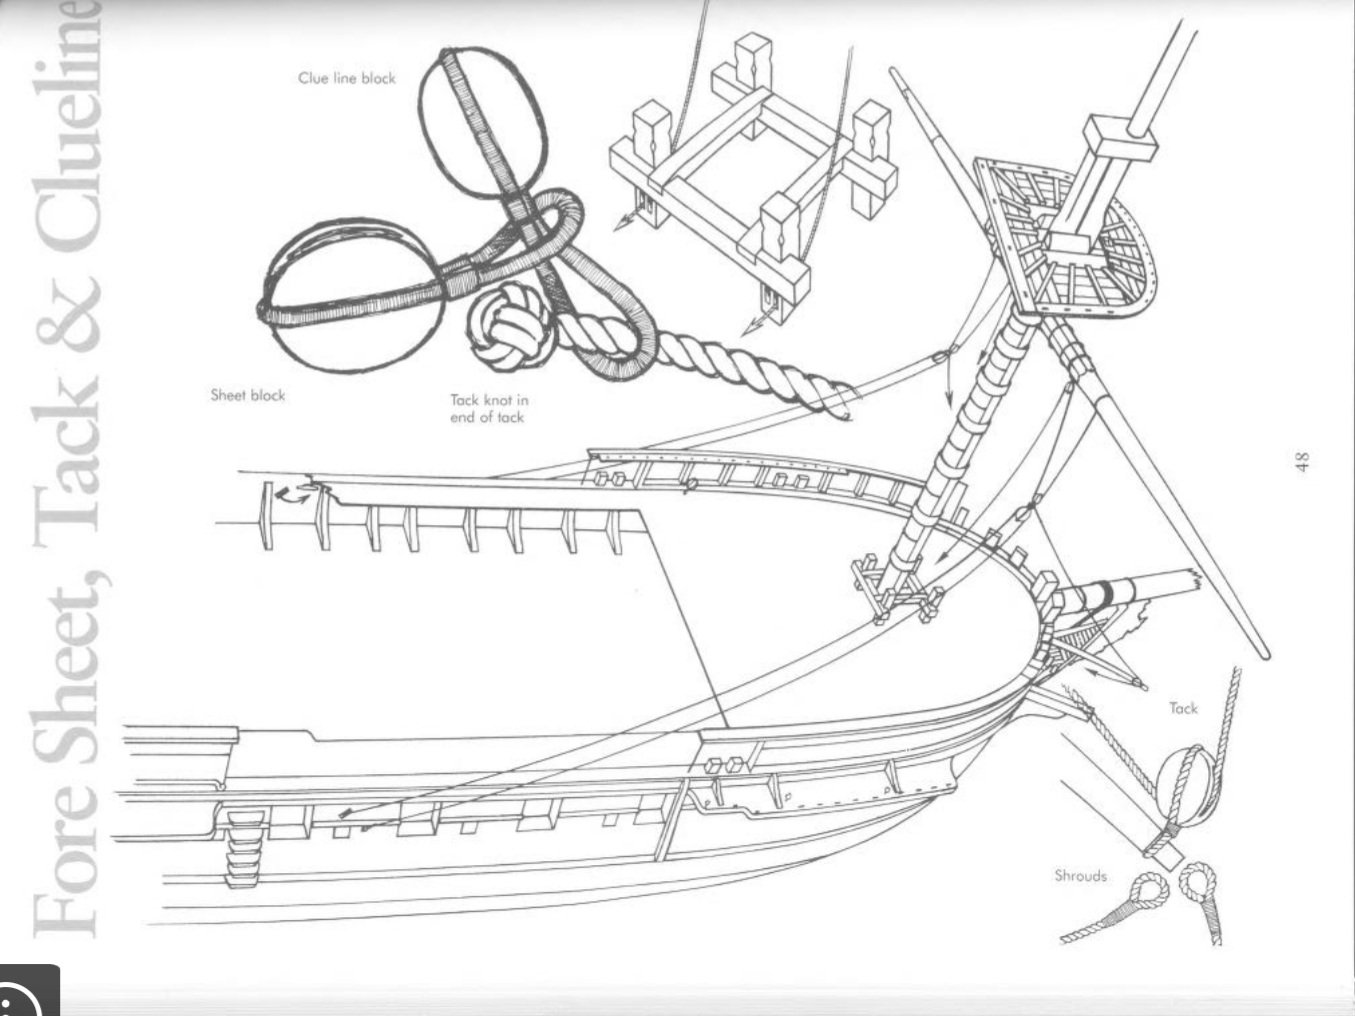
-
If you are not going to make full rigging, you will not need boomkins. If you decide to make a limited rigging, you will not need them either. By limited rigging, I mean making the masts and standing and running rigging, but not adding sails. In the meantime, please feel free to share anything on my page.
-
USS Constitution by mtbediz - 1:76
mtbediz replied to mtbediz's topic in - Build logs for subjects built 1751 - 1800
Supports number 2, 3 and 4 are complete. I am making support number 1 in two parts. I am not 100% happy with the result but this is all I can do.

-
I remember those days as if they were yesterday. If I am not mistaken, you started with another company's kit. Then, after your conversations with us, you continued with the MS kit. My second year with this model will be up in June too. I haven't decided whether to make the masts and rigging yet. As every year, I will close the workshop soon for the summer vacation and will leave my decision until the fall. I apologize Peter, if you clarified this issue before, but I want to ask. Are you planning to add rigging and sail equipment?
-
Congratulations, canopies look beautiful. It was worth the effort
-
USS Constitution by mtbediz - 1:76
mtbediz replied to mtbediz's topic in - Build logs for subjects built 1751 - 1800
Then I'll make it parallel like most people do. Of the Conny builders I follow, only ERS Rich made it angled, all the others are parallel. Thanks friends.