Beckmann
-
Posts
415 -
Joined
-
Last visited
Content Type
Profiles
Forums
Gallery
Events
Everything posted by Beckmann
-
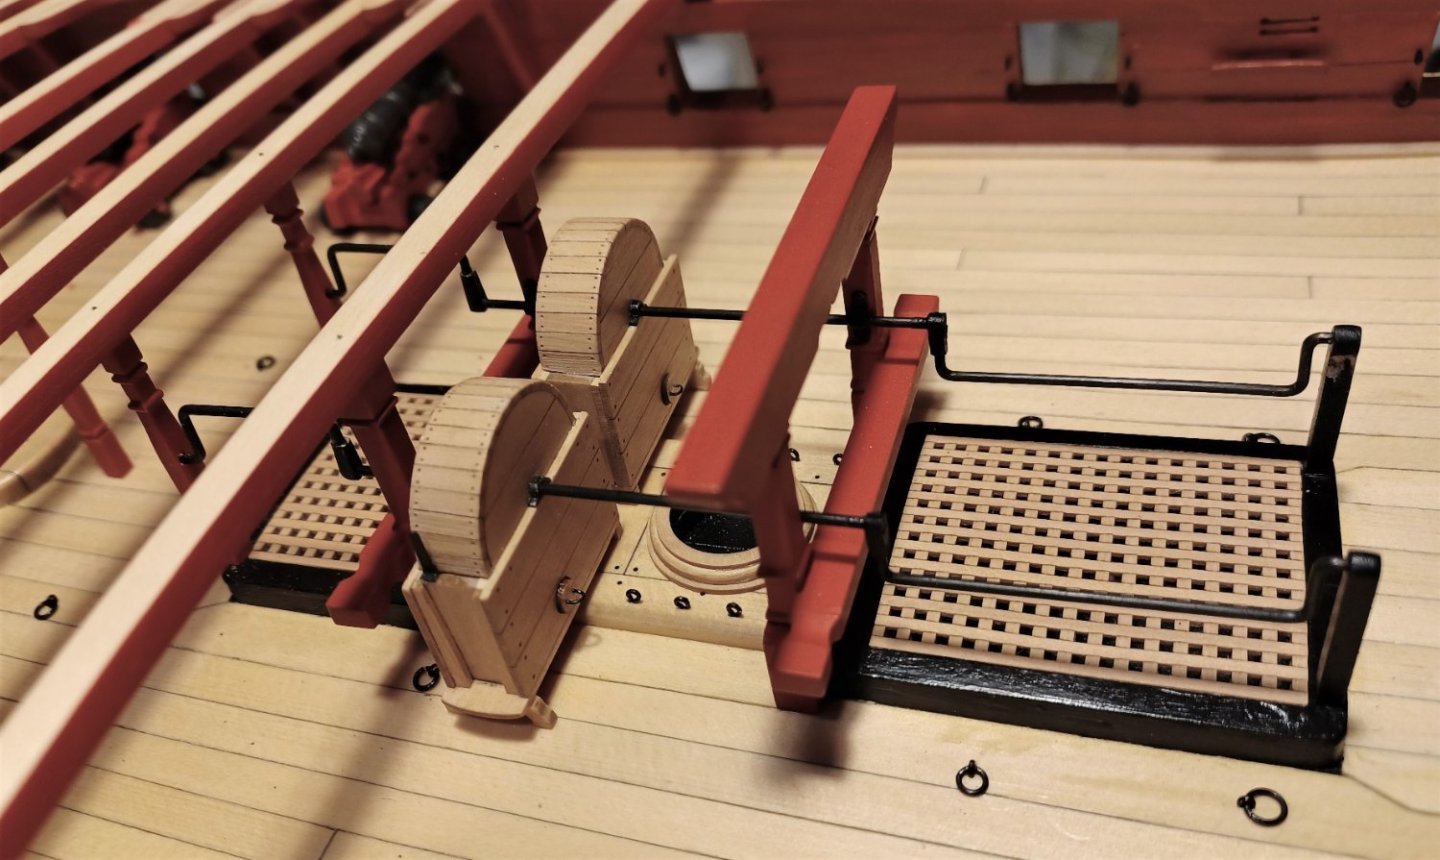
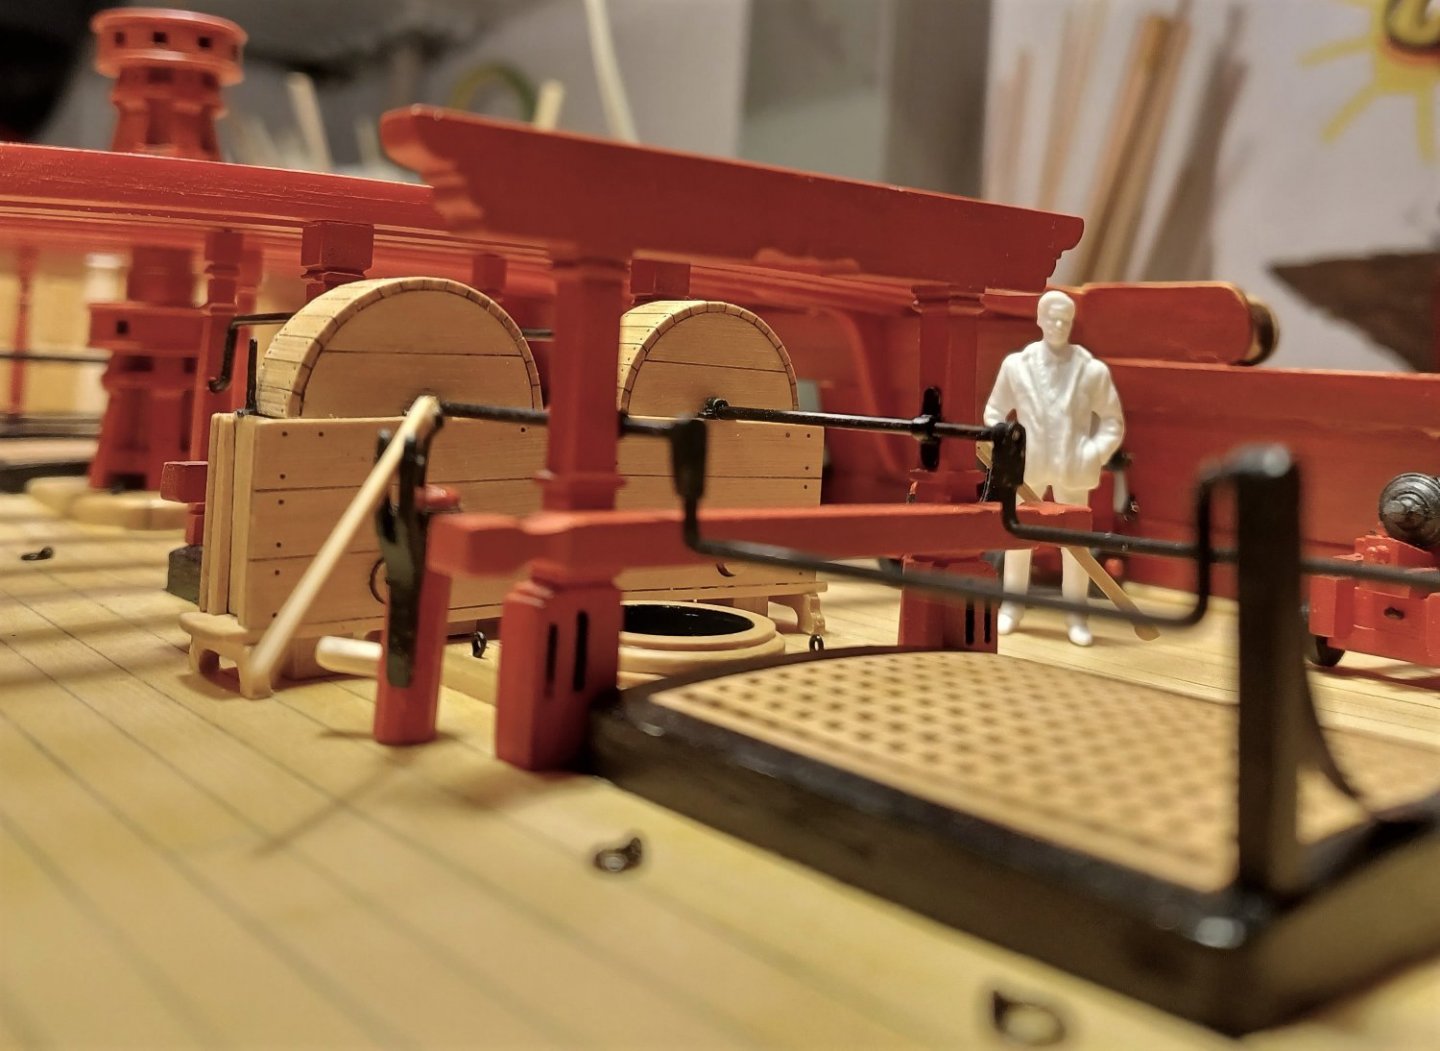
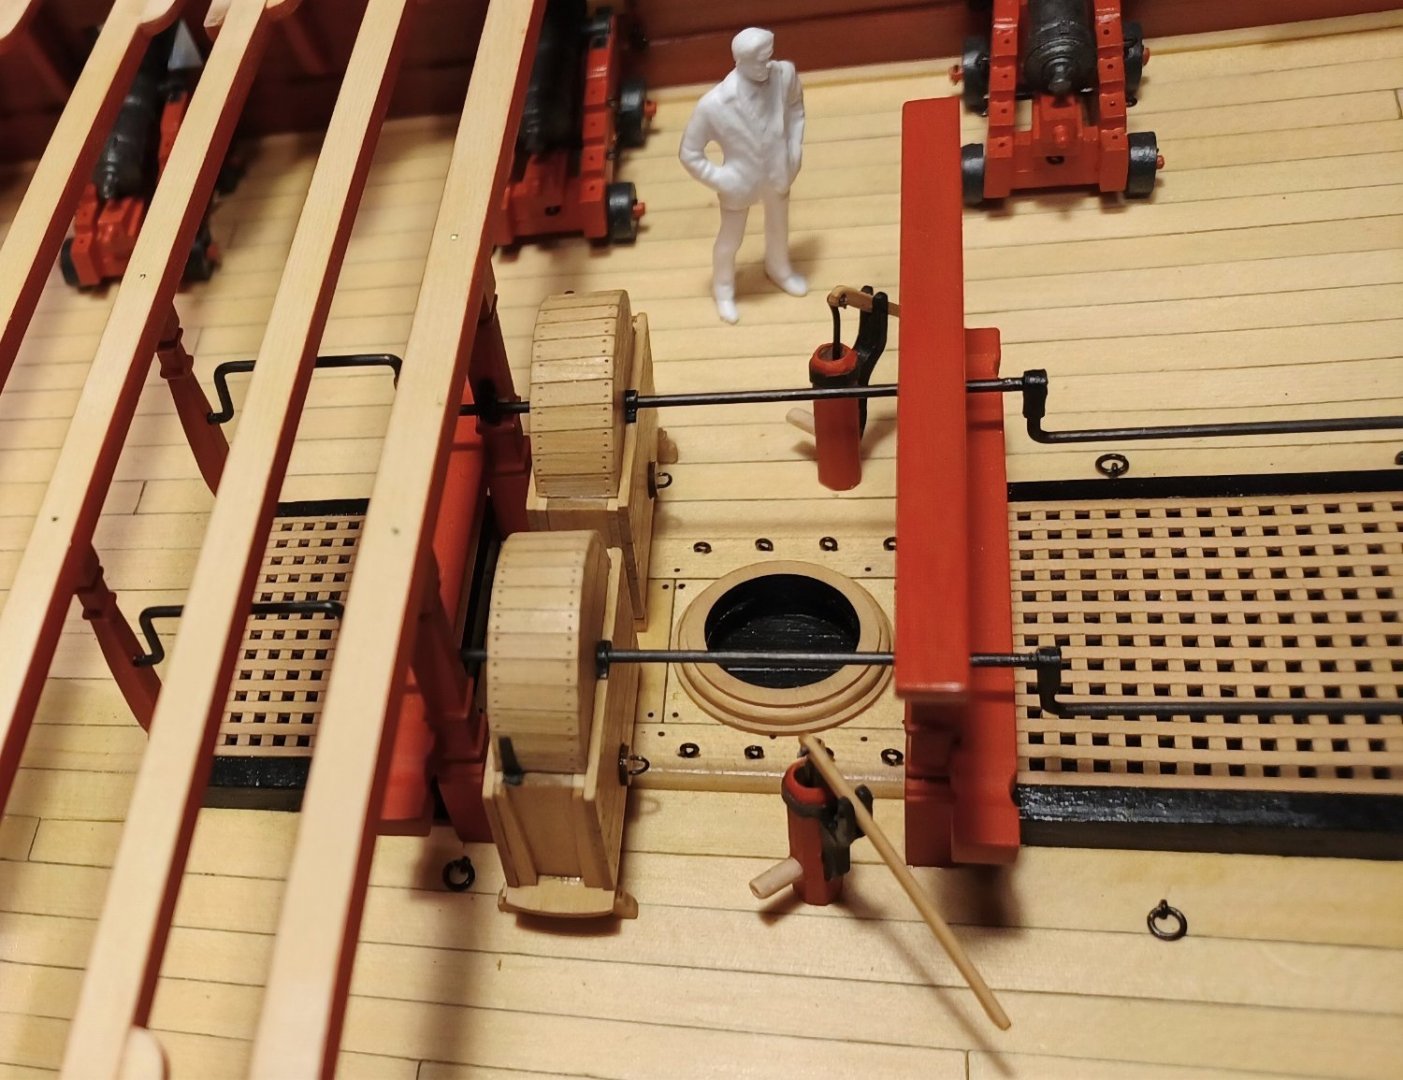
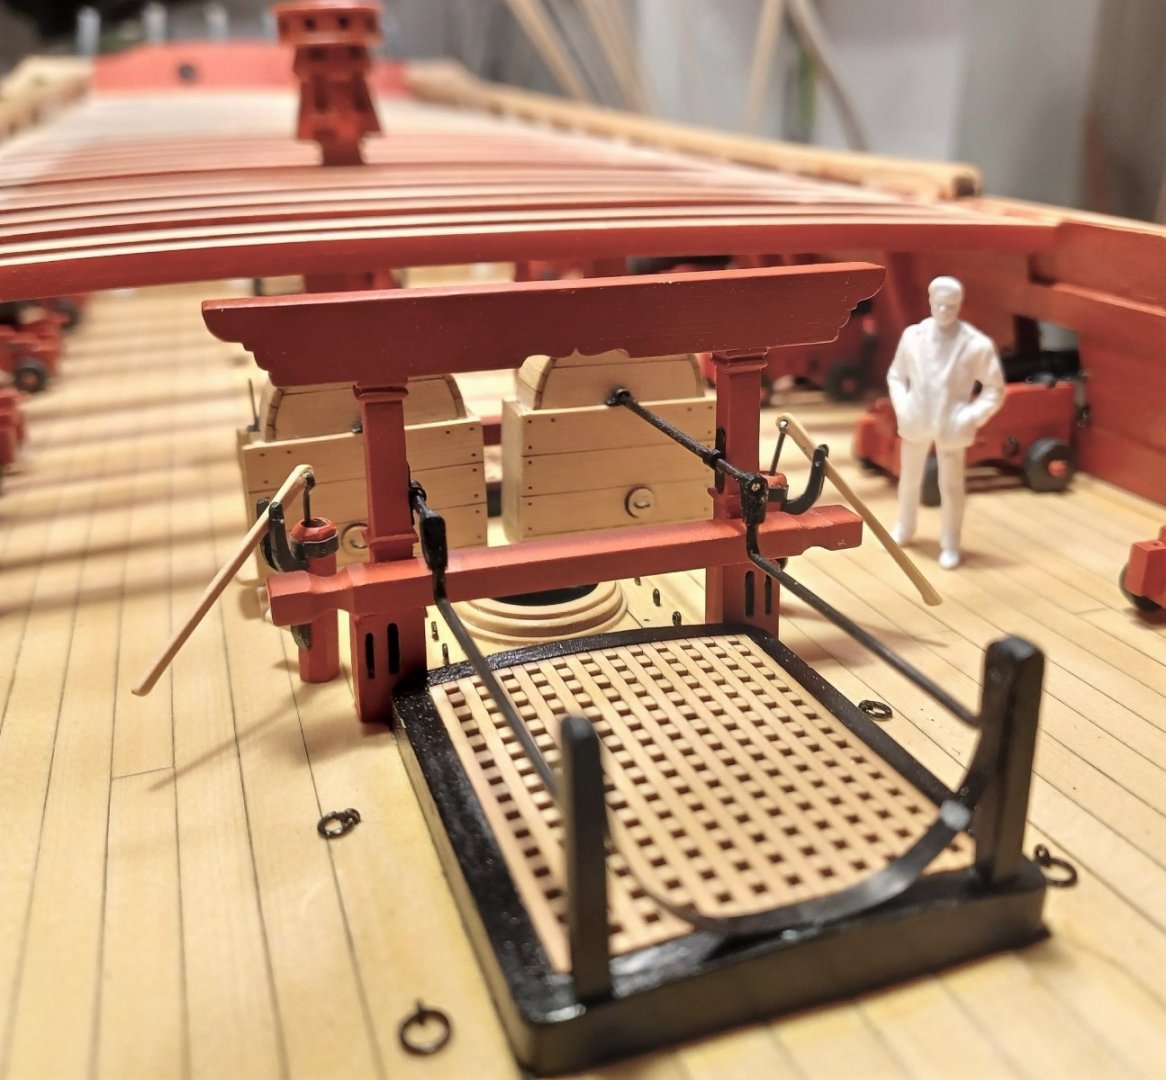
 I needed a rest from modelling and painting water, so I continued with Chapter 8 and installed the forecastle fittings, deckbeams etc. Nothing much to tell about, it was as always perfectly prepared by Chuck and no serious problems occured. Next thing will be the front panel, I want to build it from boxwood like I did for the cabin front below the quarterdeck. Matthias
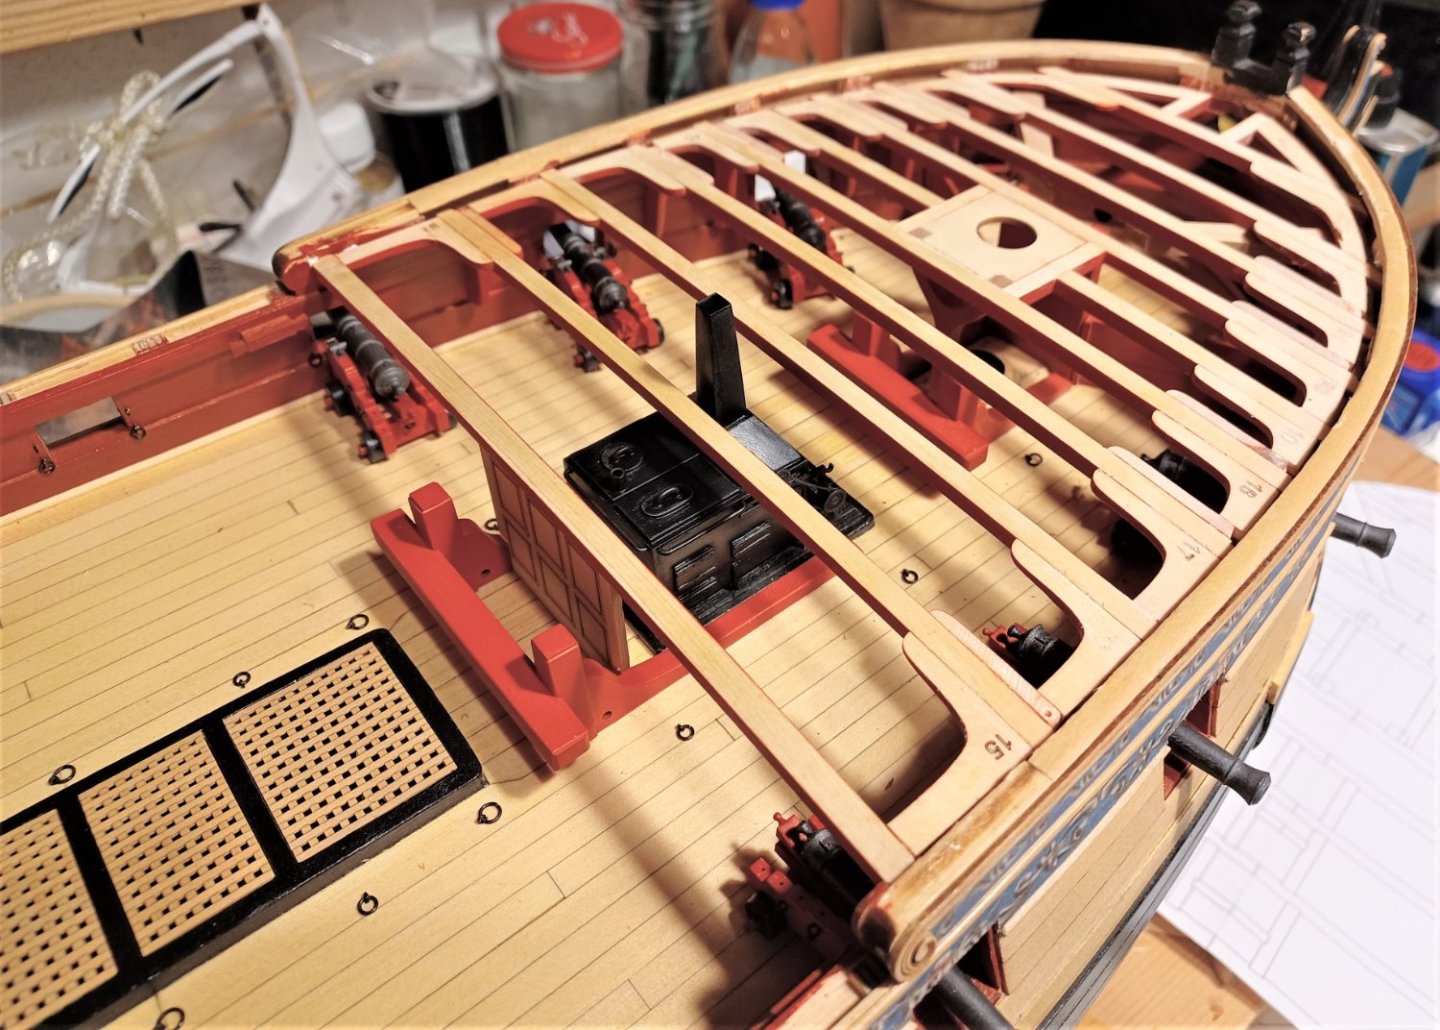
-
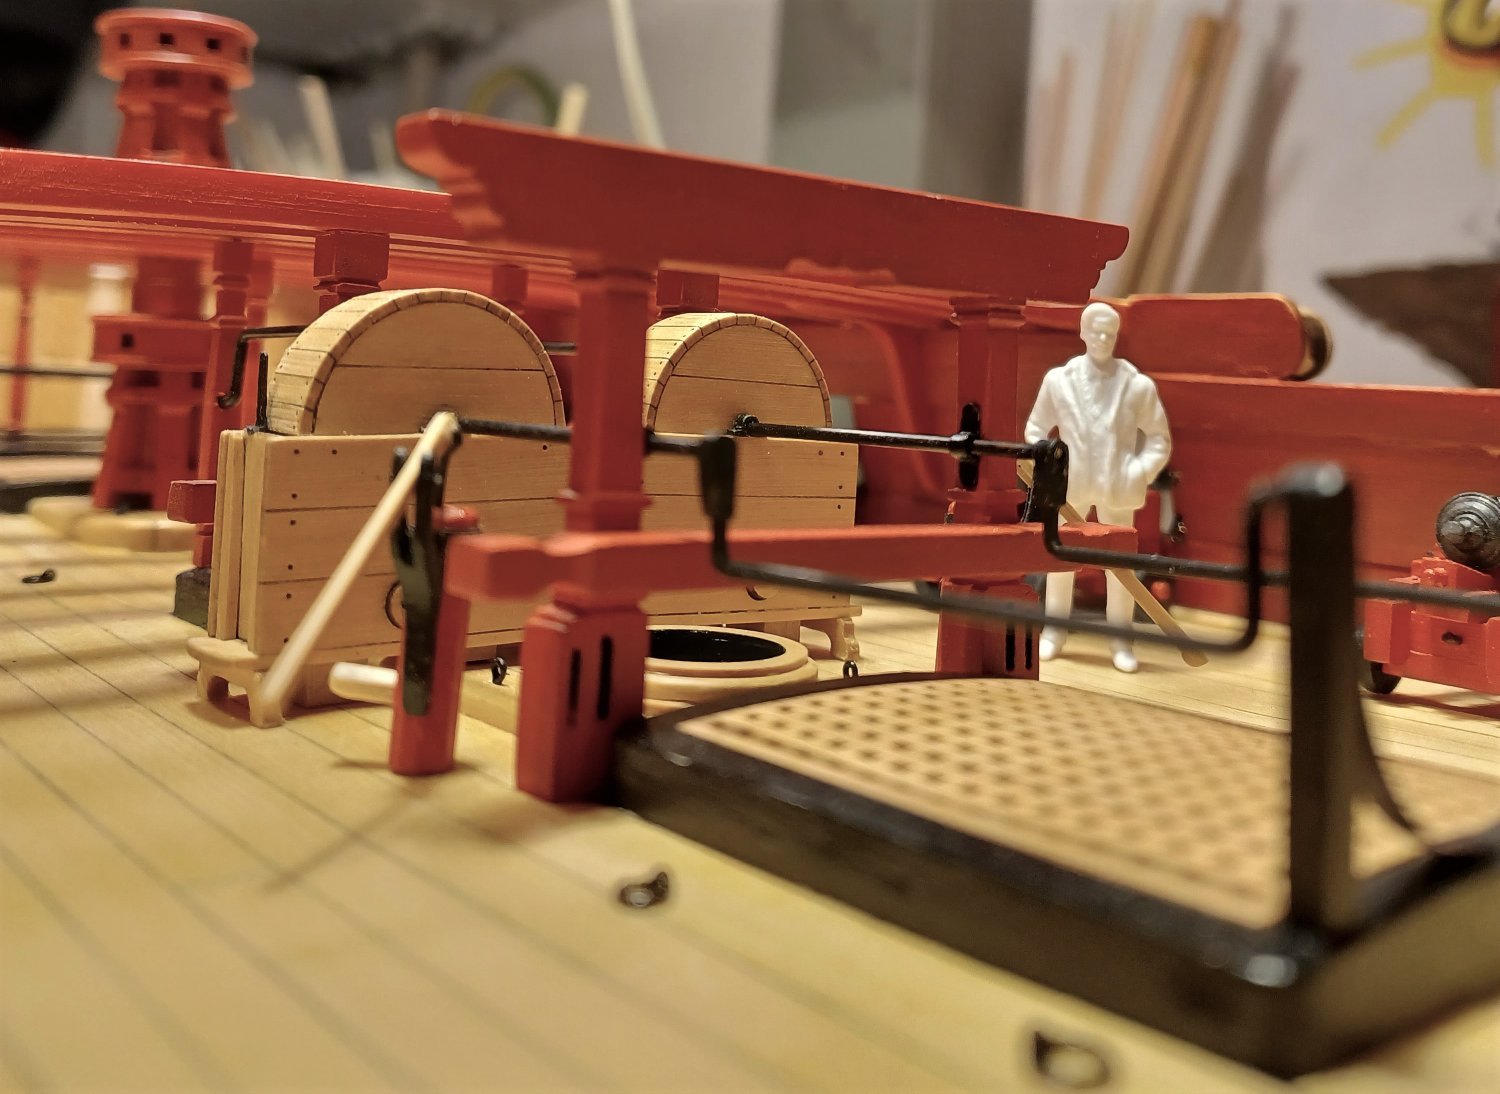
It depends. I always put one figure on the model to get an impression of the scale. At the moment I am working on a 1:72 waterline diorama model. In this case many figures are a very nice addition.
-
Superb!! I really like this crew. Will you offer them in 1:72 scale as well?
-
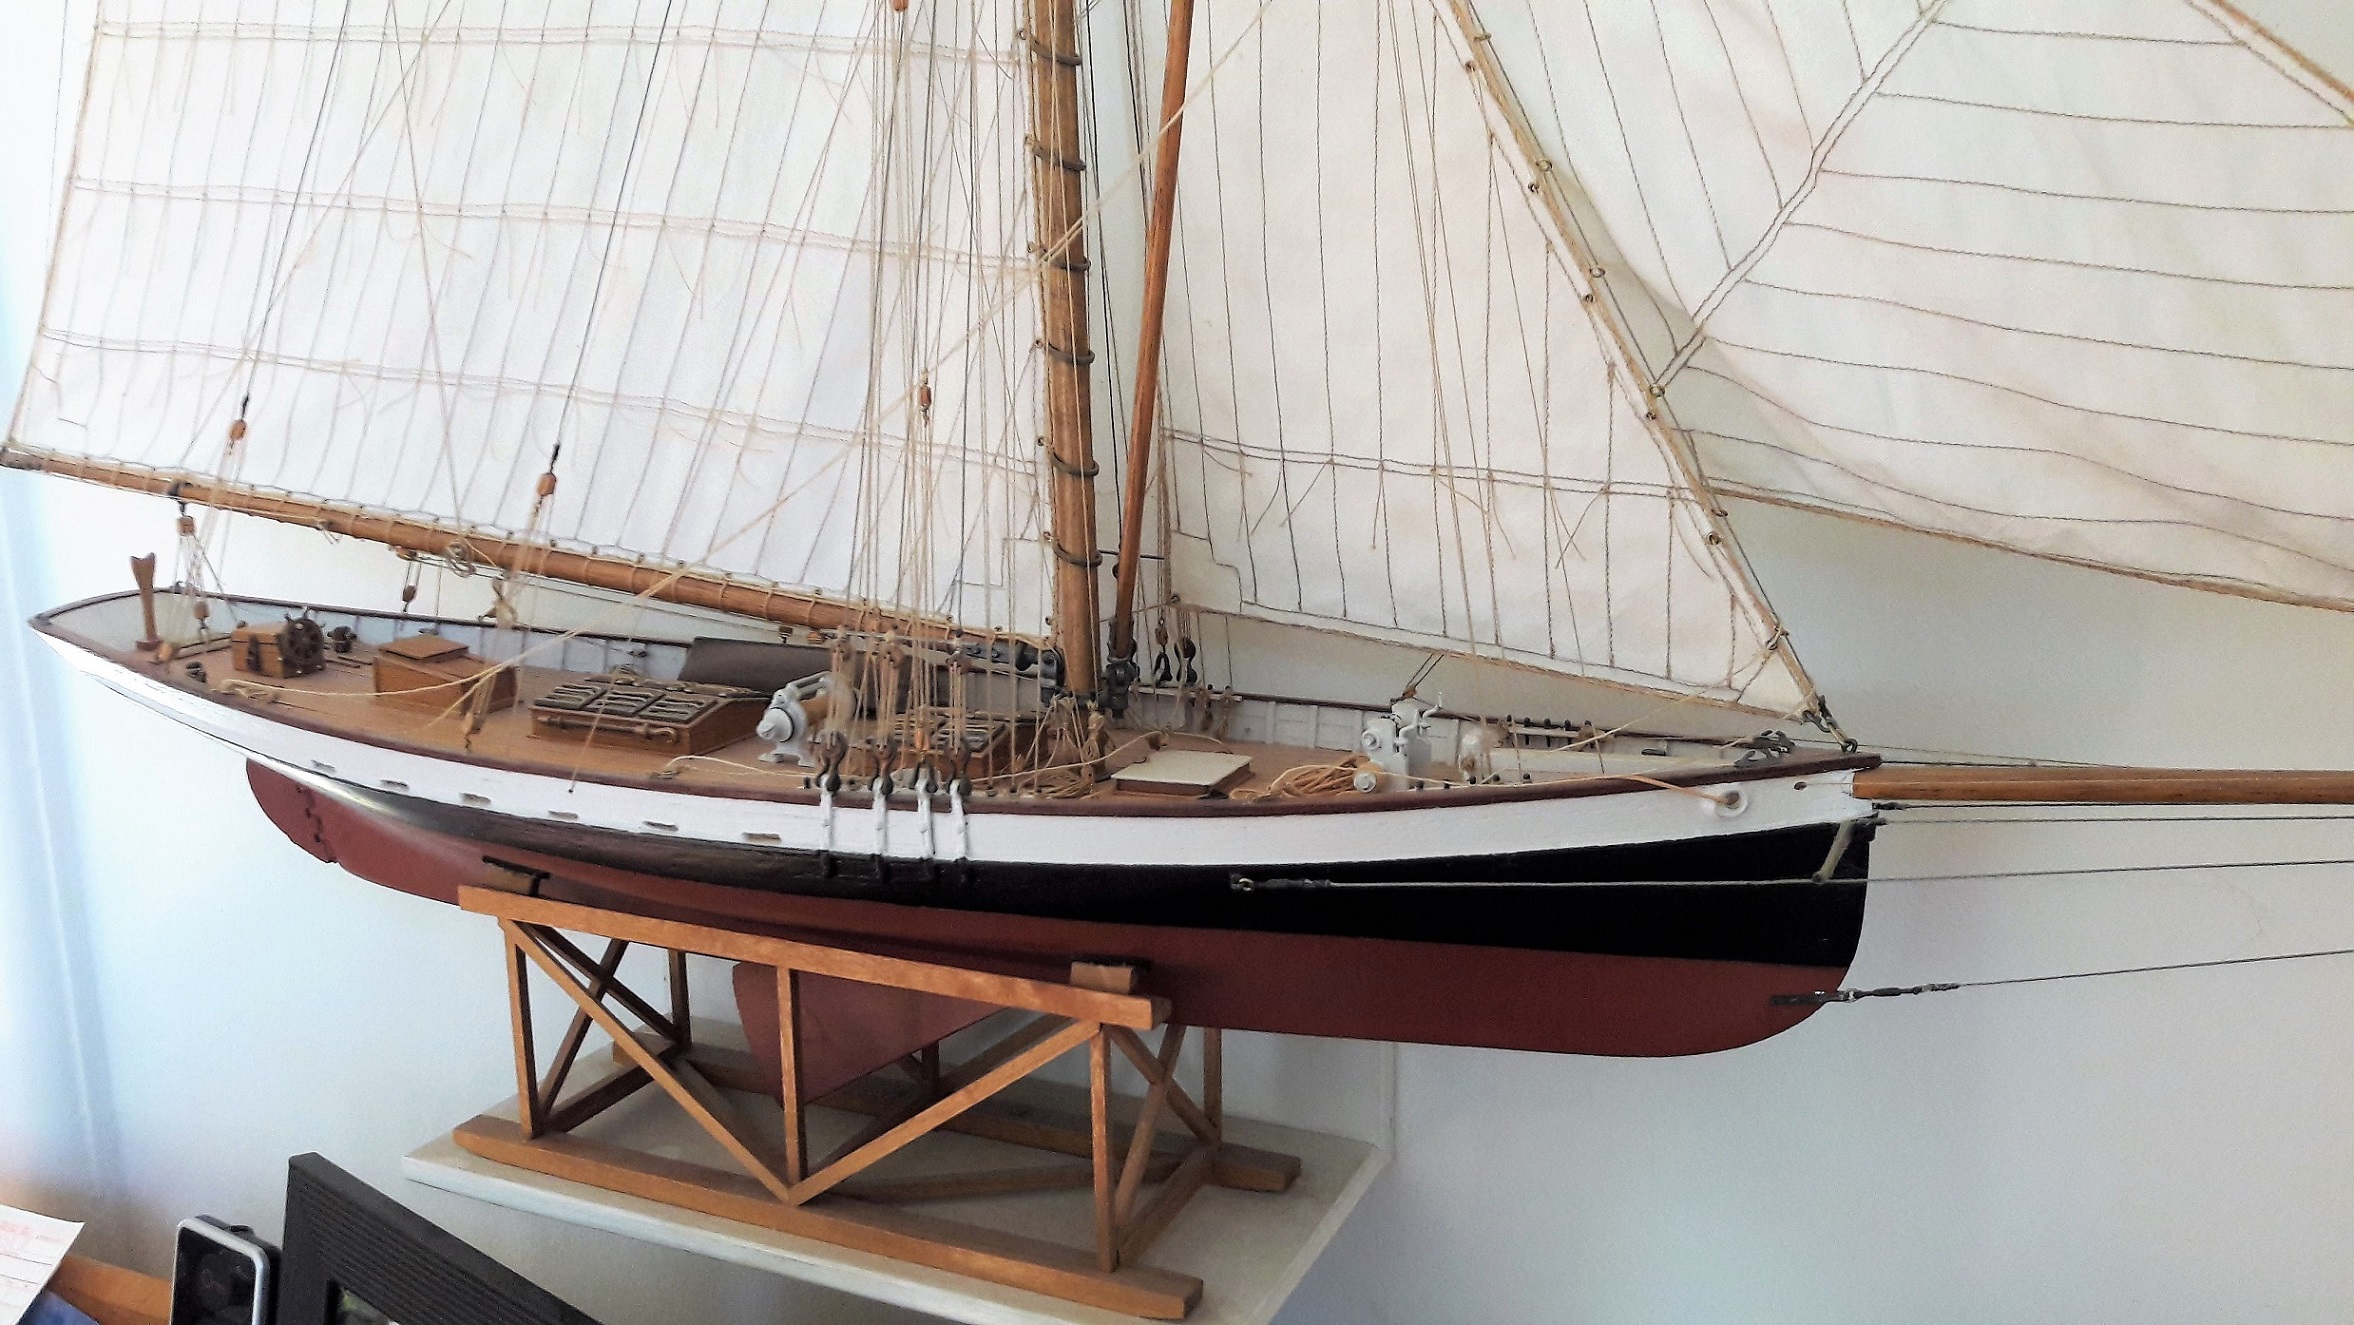
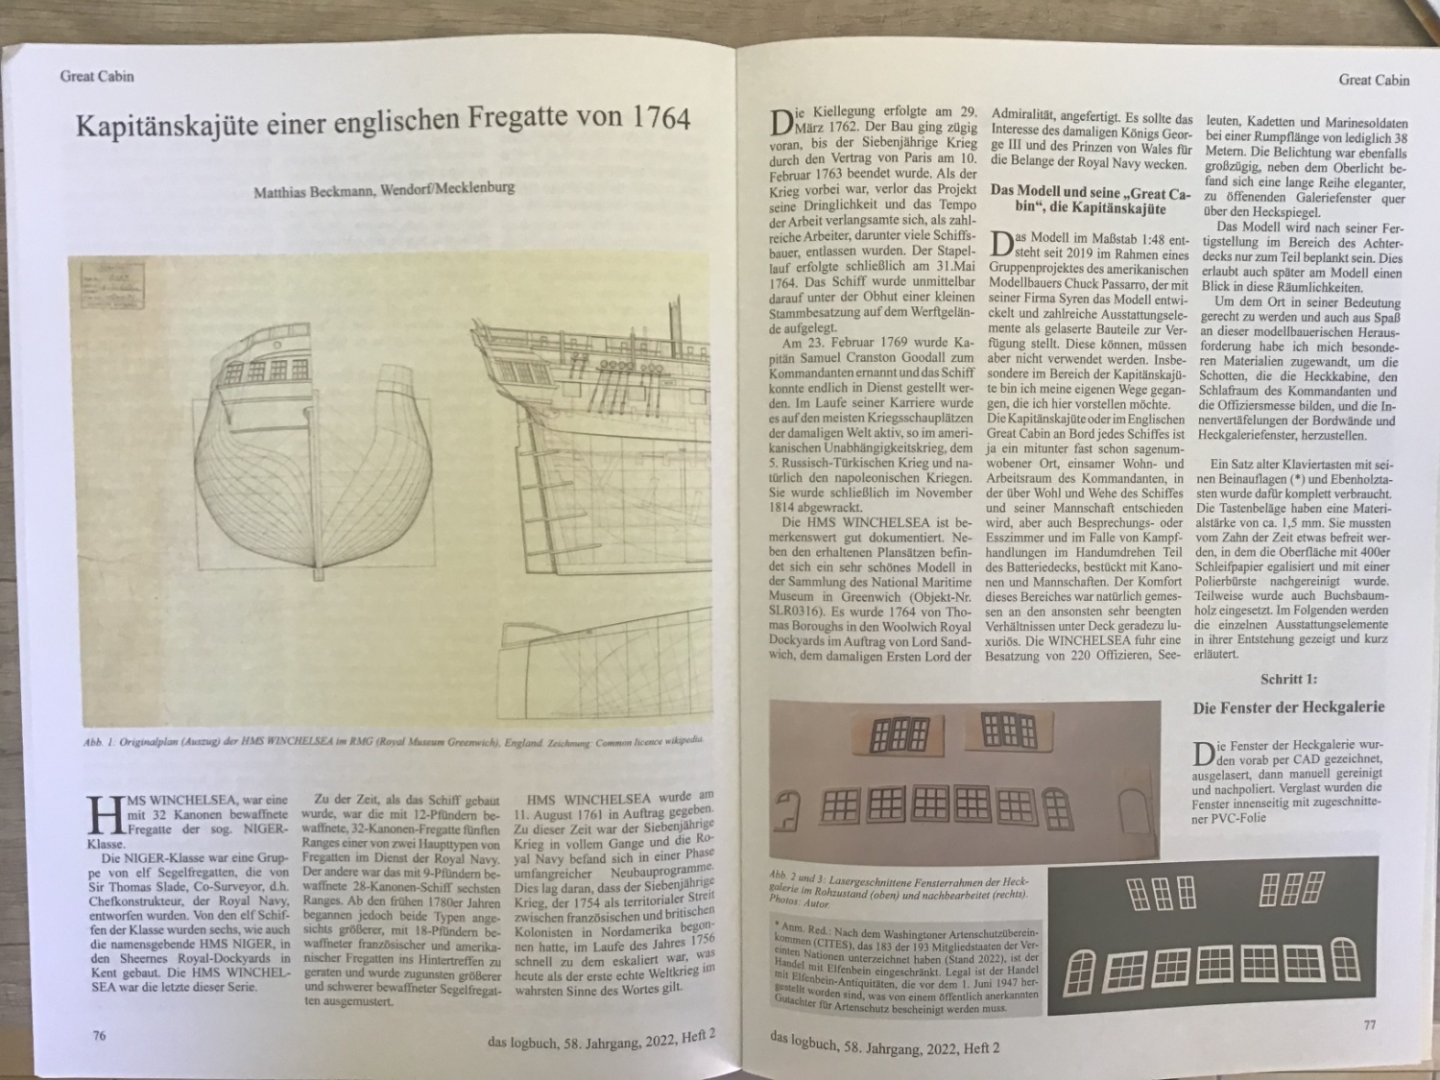
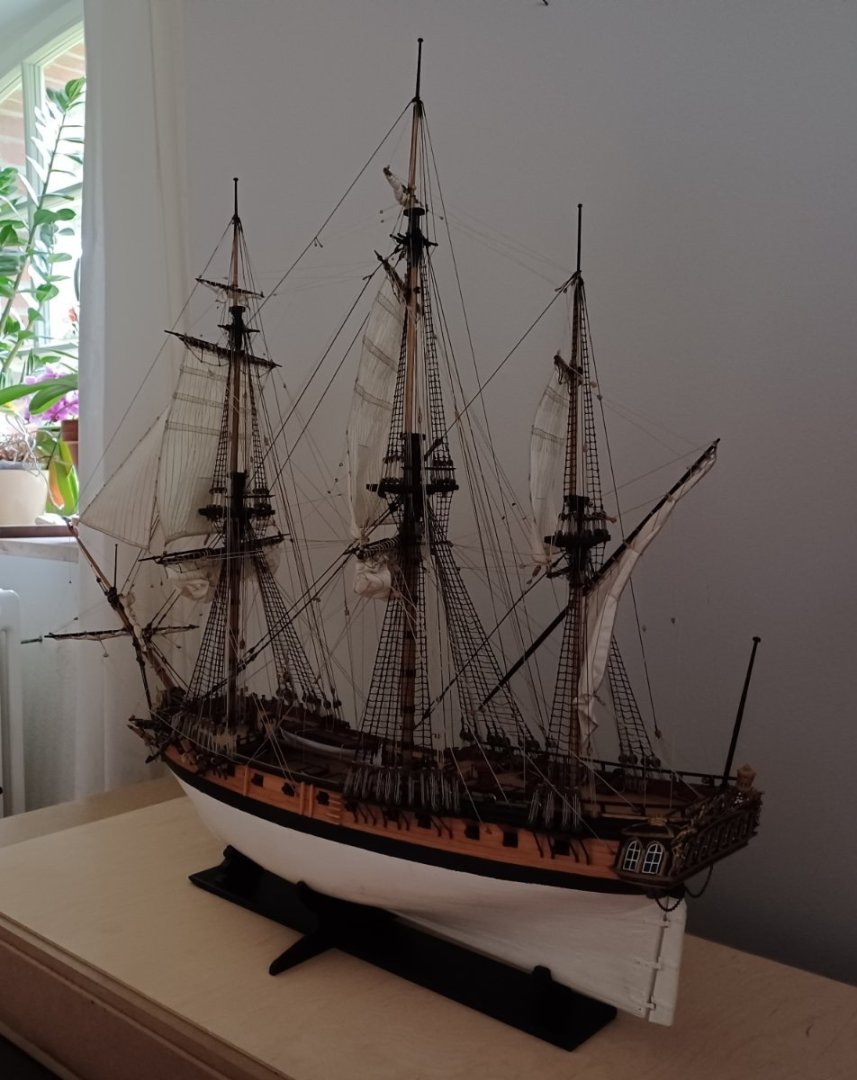
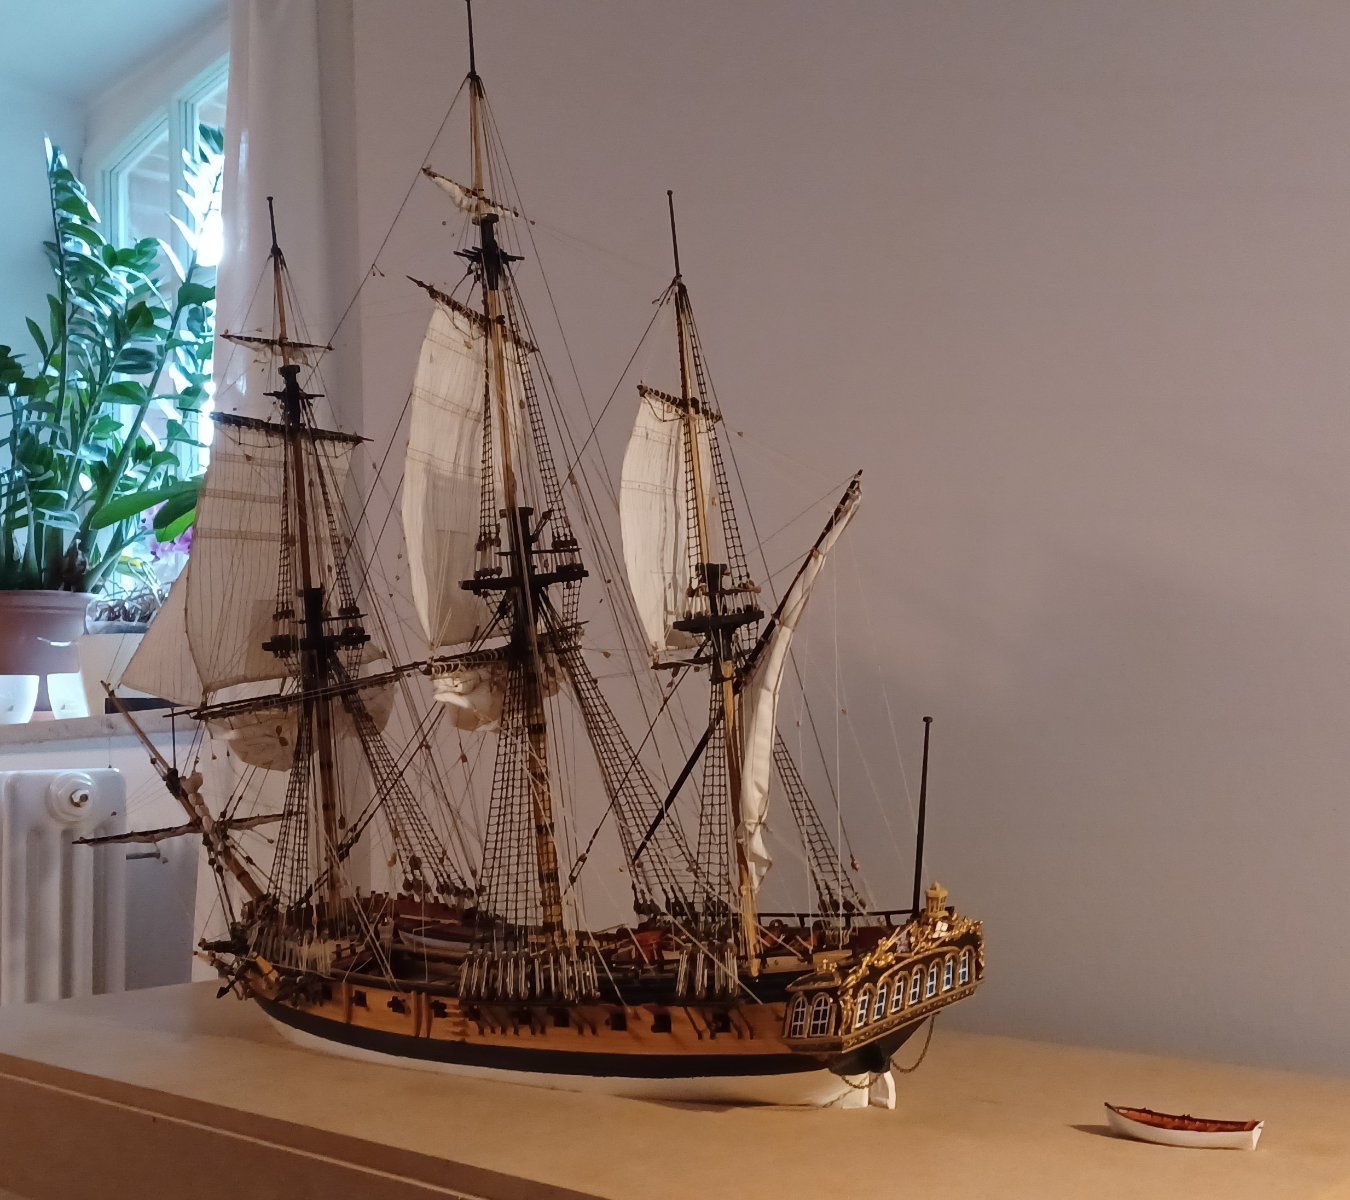
Hi Chuck, no progress since my last post, but I will continue soon! I was asked to write a little article about the Winchelsea, and especially the great cabin for the magazin „Logbuch“ of our Arbeitskreis Historischer Schiffbau. So I was busy doing that. I hope, that is some good promotion for you as well. I put your contact information in the article. At the moment, I am finishing an old project, wich I startet 10 years ago. It is the HMS Unicorn, a frigate from the 1740’s. Scale 1:72, fully rigged. I had to finish some rigging, now I am working on the display case. I want to make this as a waterline-model, because the ships hull is not as well built, as I wish it would have been, and I like the idea of a waterline-scenery. After this is done, Winchelsea will be continued. Matthias

-
Perhaps: "slow and steady"?
-
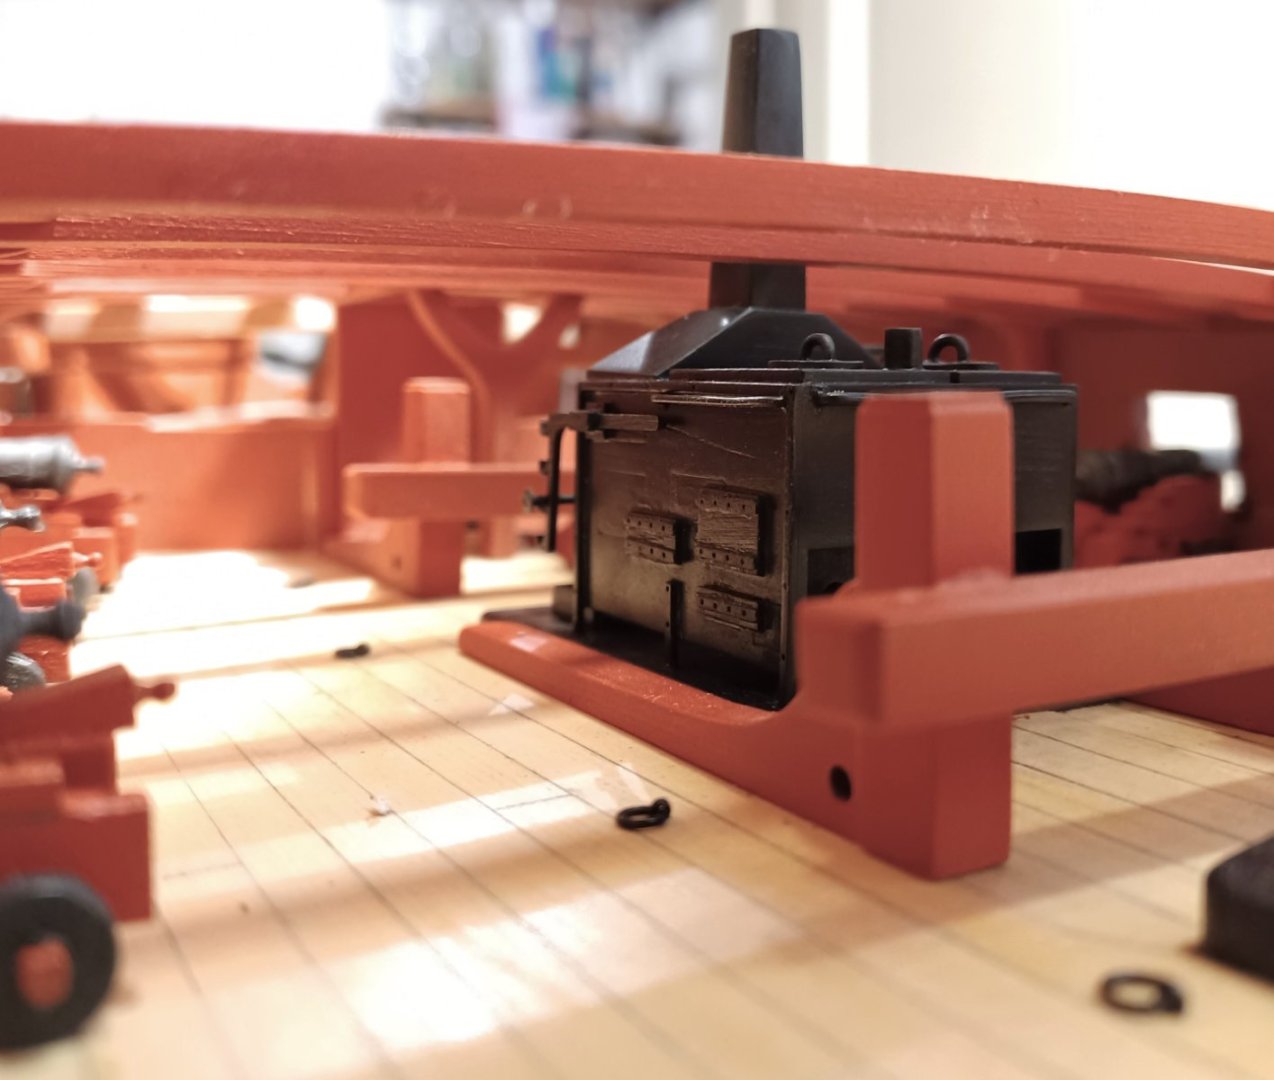
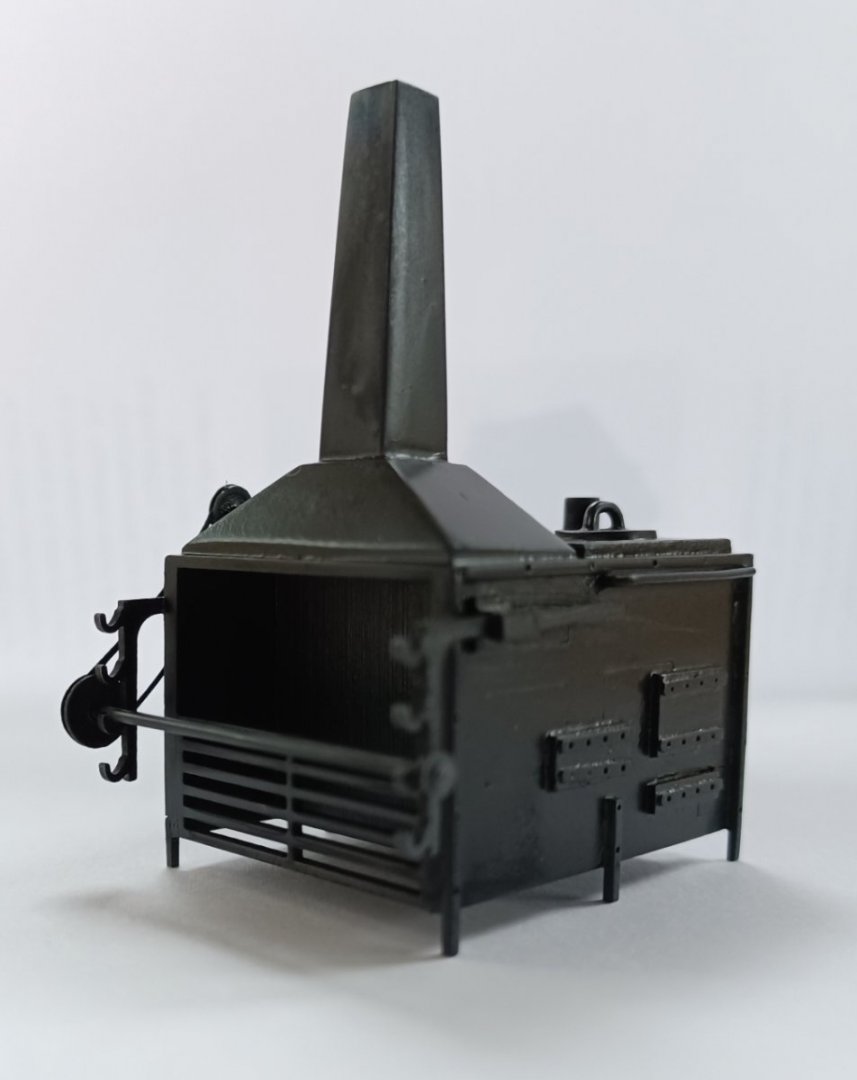
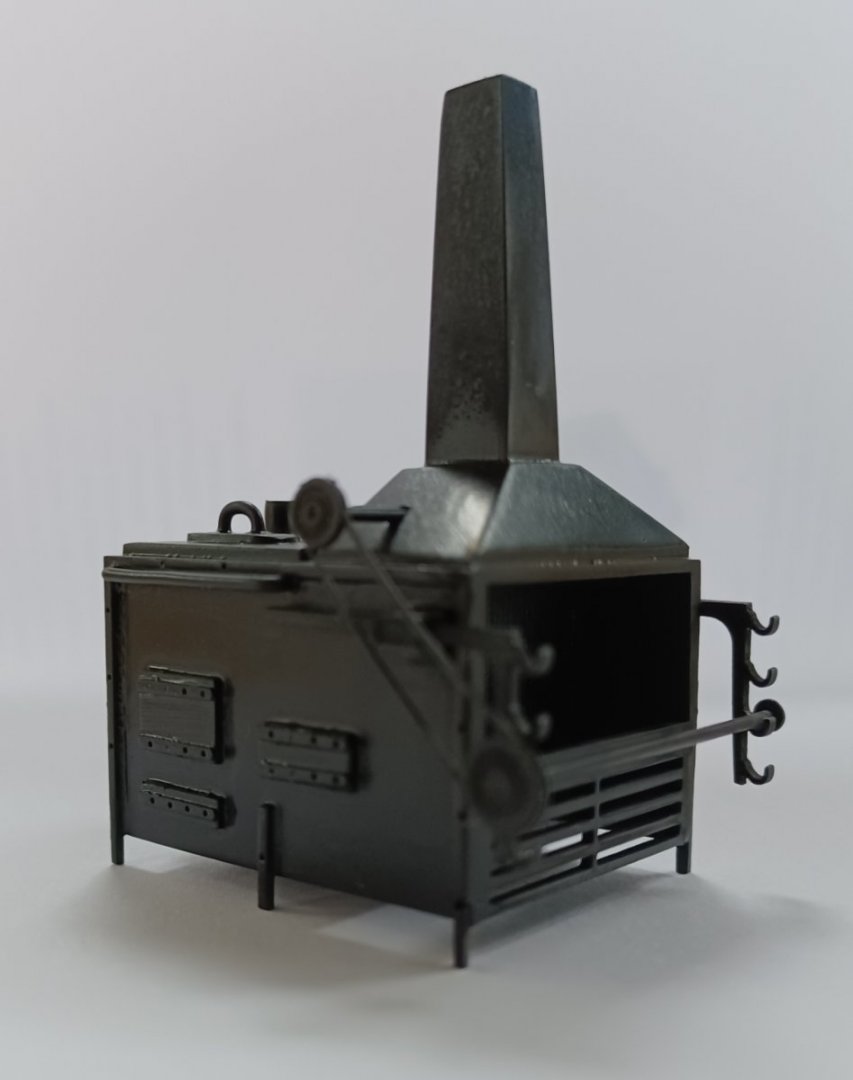
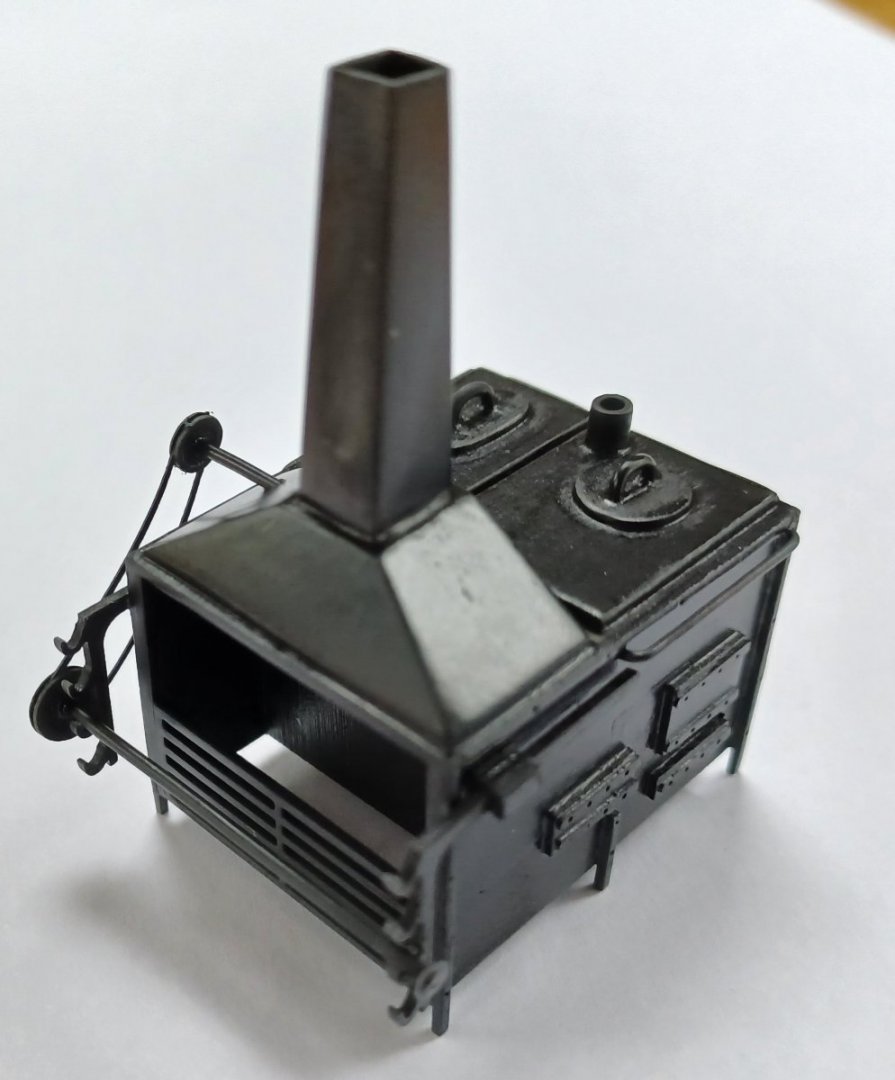
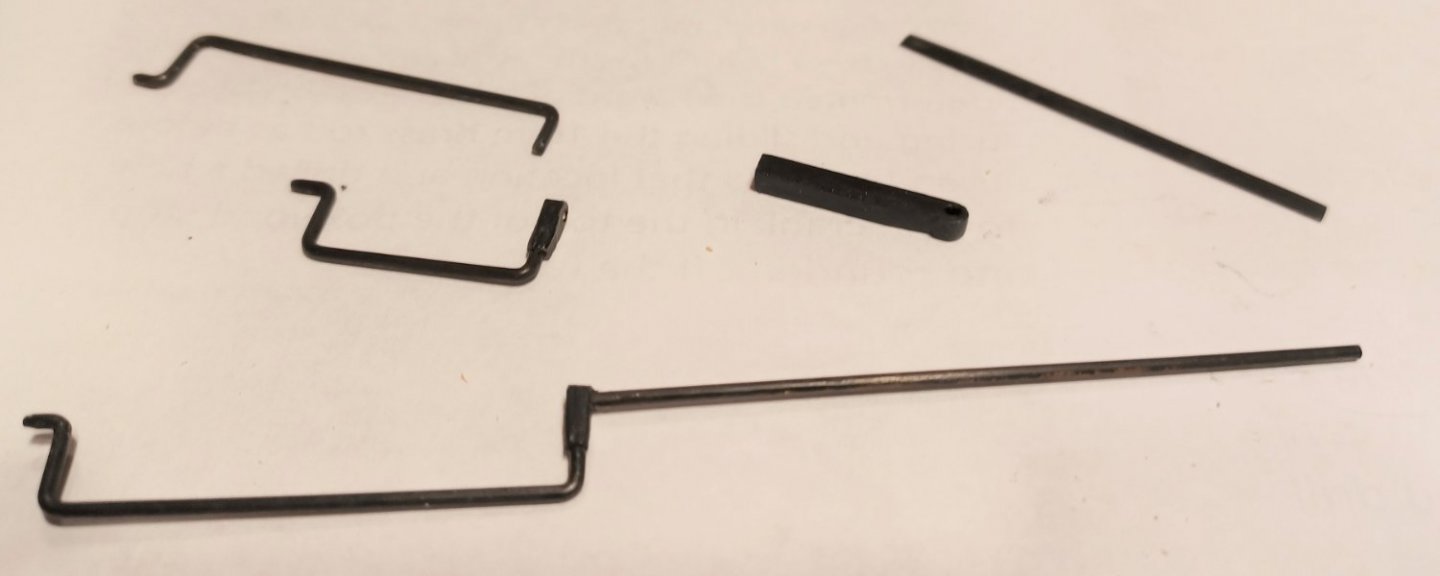
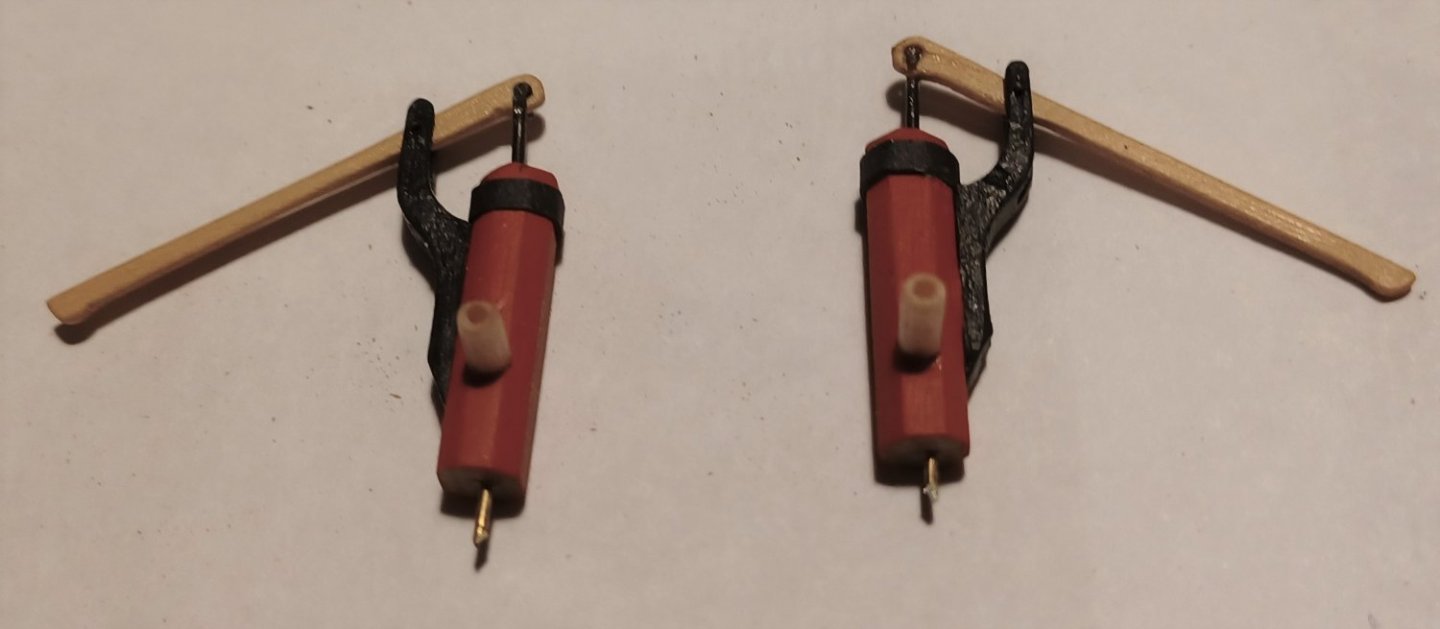
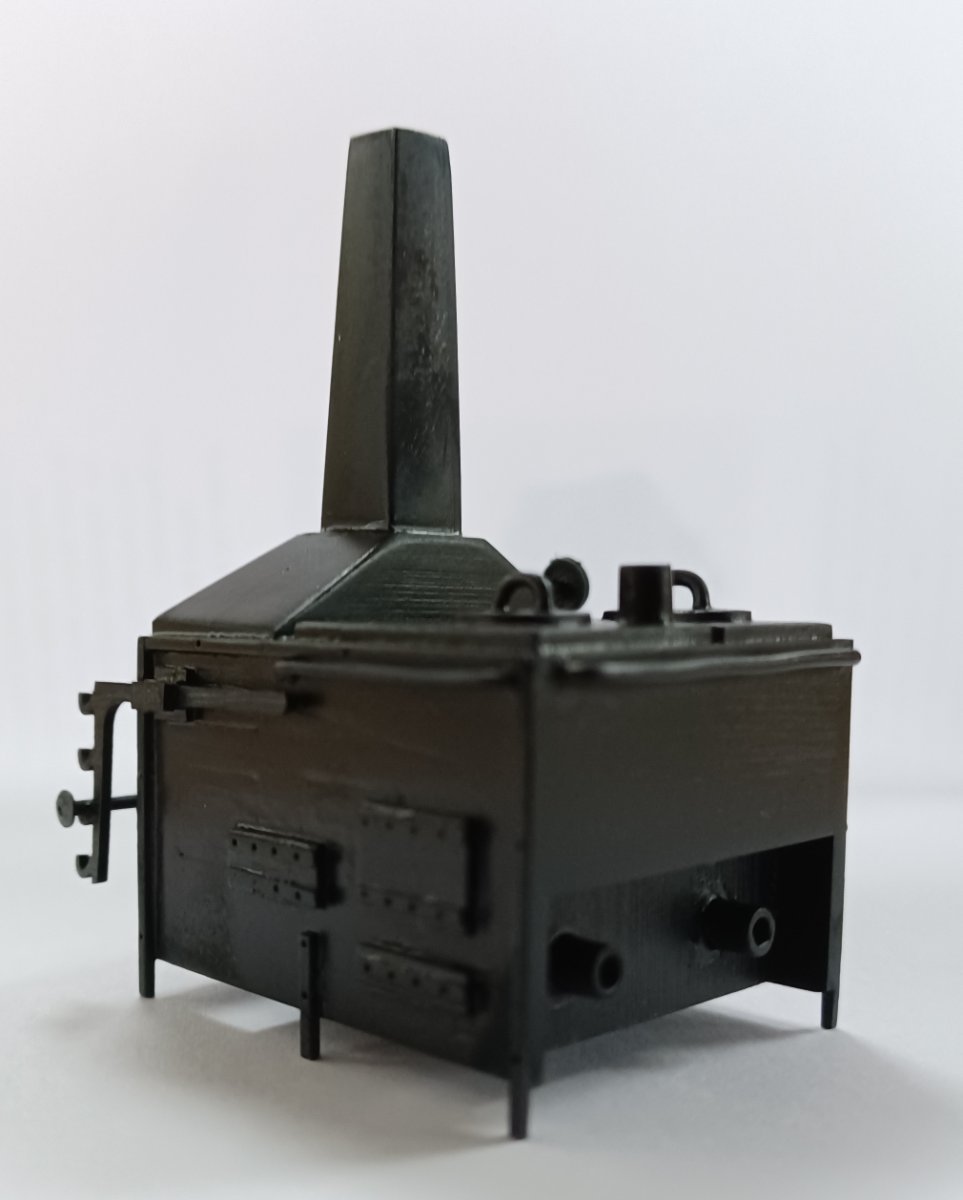
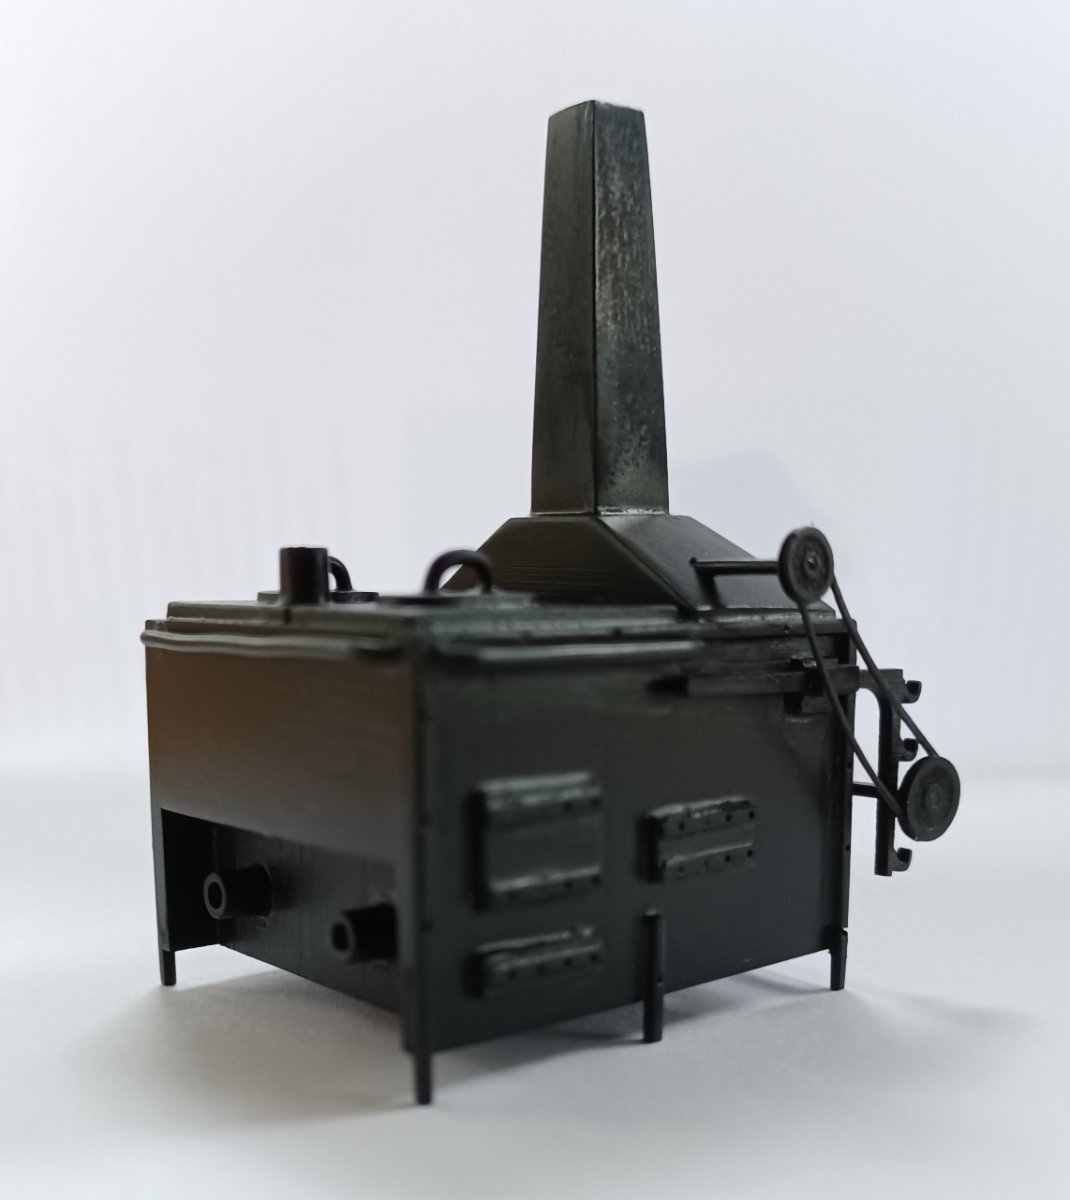
Hello everybody, I didn't have much progress for a while, In preparation for chapter 8 I just recently finished the mini-kit for the stove. Here are some pictures, not very sharp, but it is somehow difficult to take good photos of black objects. I am not shure about the wheathering yet. Maybe I will try to wheather it a bit, maybe I leave it as it is. Matthias


-
Close to perfection. Well done!!
-
Fregat and Snau: Small Cruisers in the Danish Navy 1650-1750
Beckmann replied to bruce d's topic in Nautical/Naval History
Wow, that ist phantastic, M-V, that is Mecklenburg-Vorpommern, this is the region, where I live, thank you very much, I will try to contact him. Matthias -
Fregat and Snau: Small Cruisers in the Danish Navy 1650-1750
Beckmann replied to bruce d's topic in Nautical/Naval History
Hi Bruce, thank you very much for this post! I am very interested in the Danish Navy, it is fantastic to read through this documentation. Who ist the author Jens Auer? Do you have a contact? Is he still working on this subject? Matthias -
Hello everybody and a happy new year!! Thank you all for the likes and comments. In the last days I finished chapter 7. Matthias
-
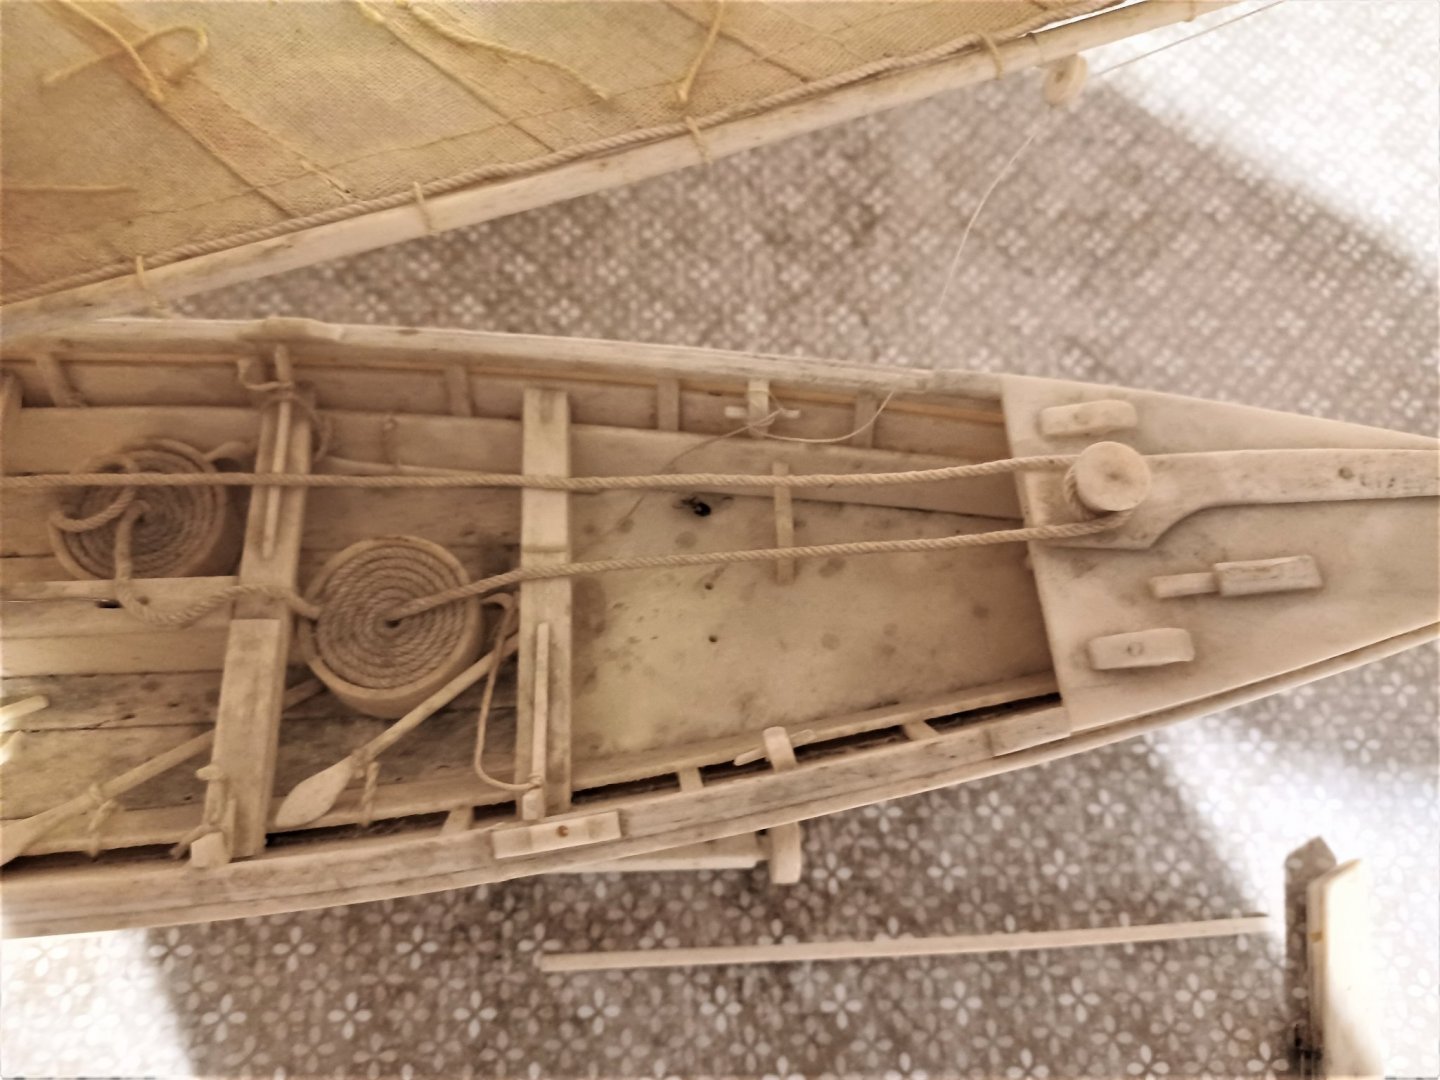
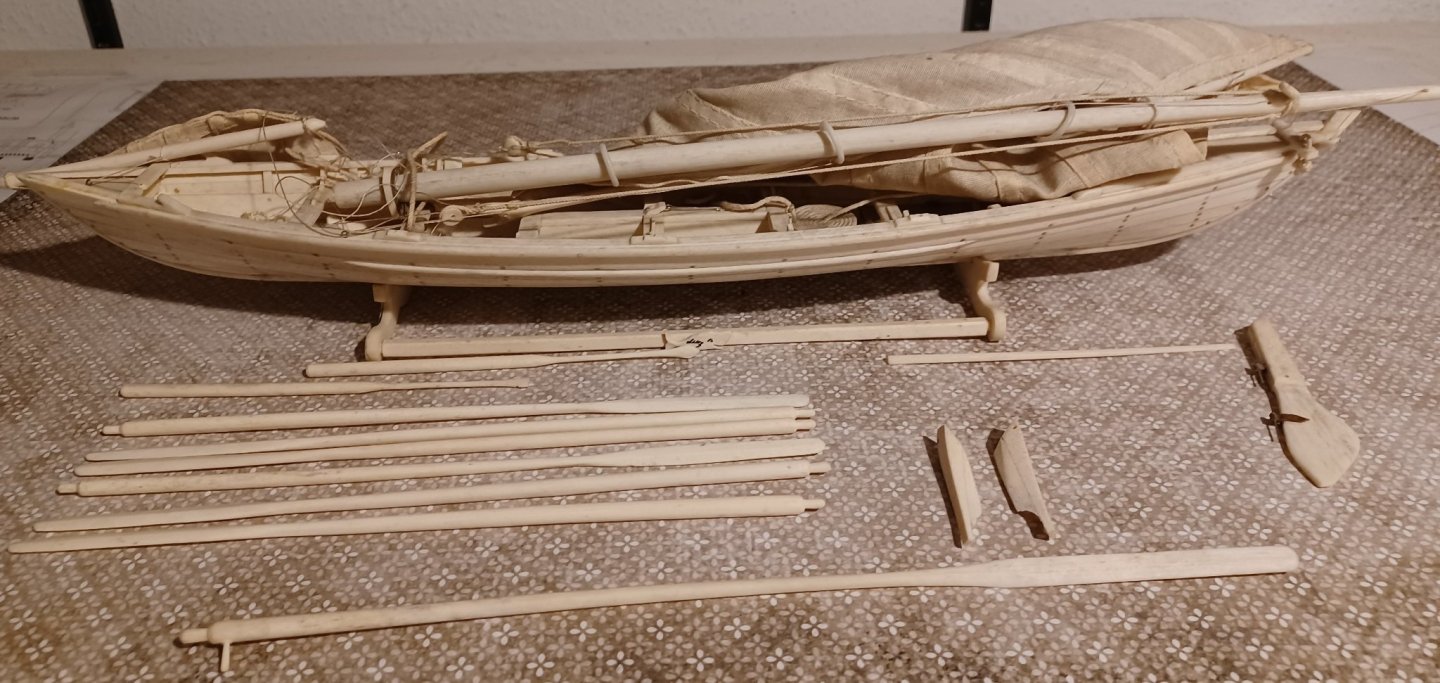
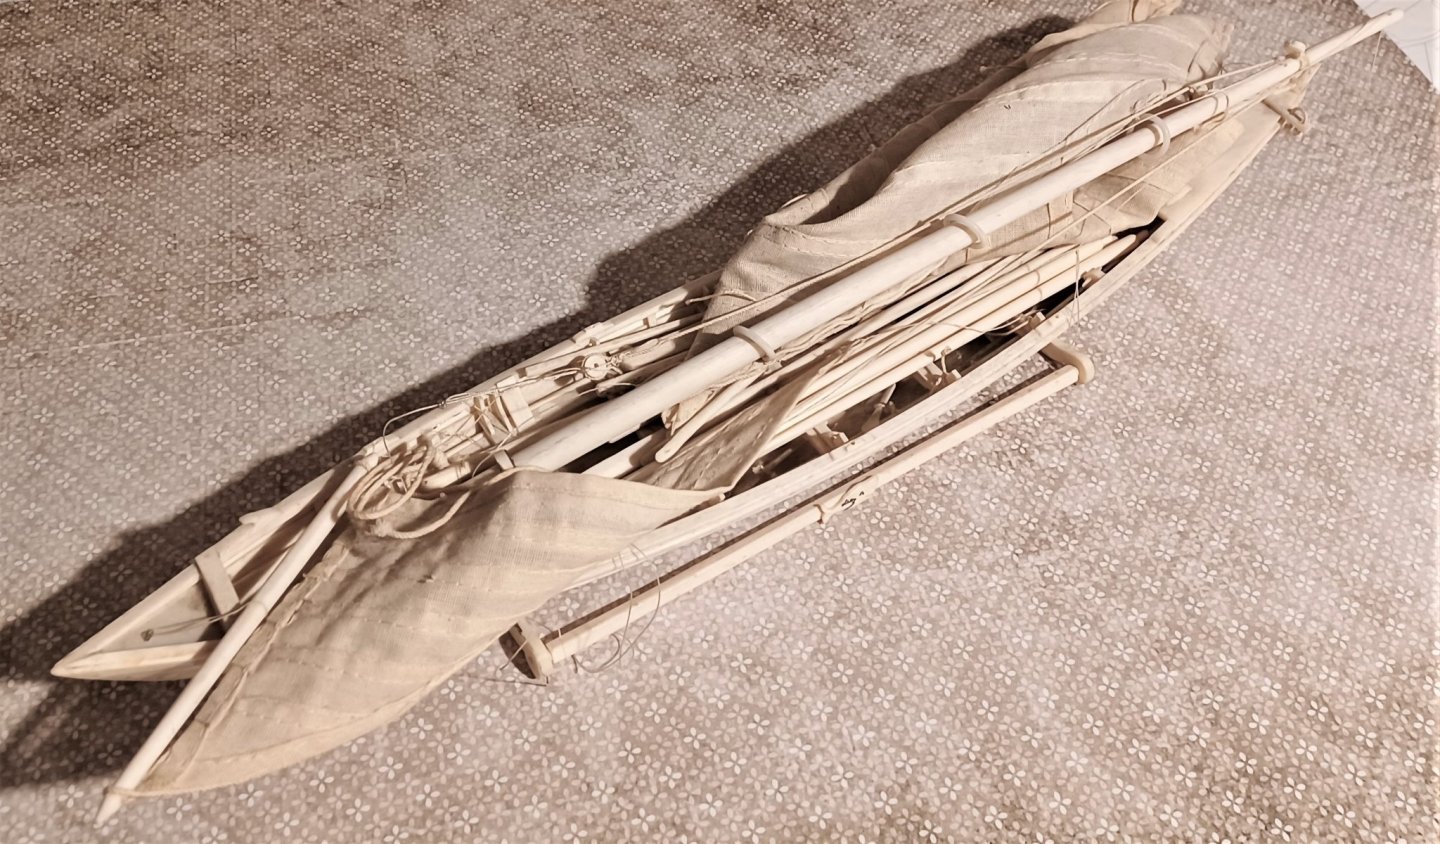
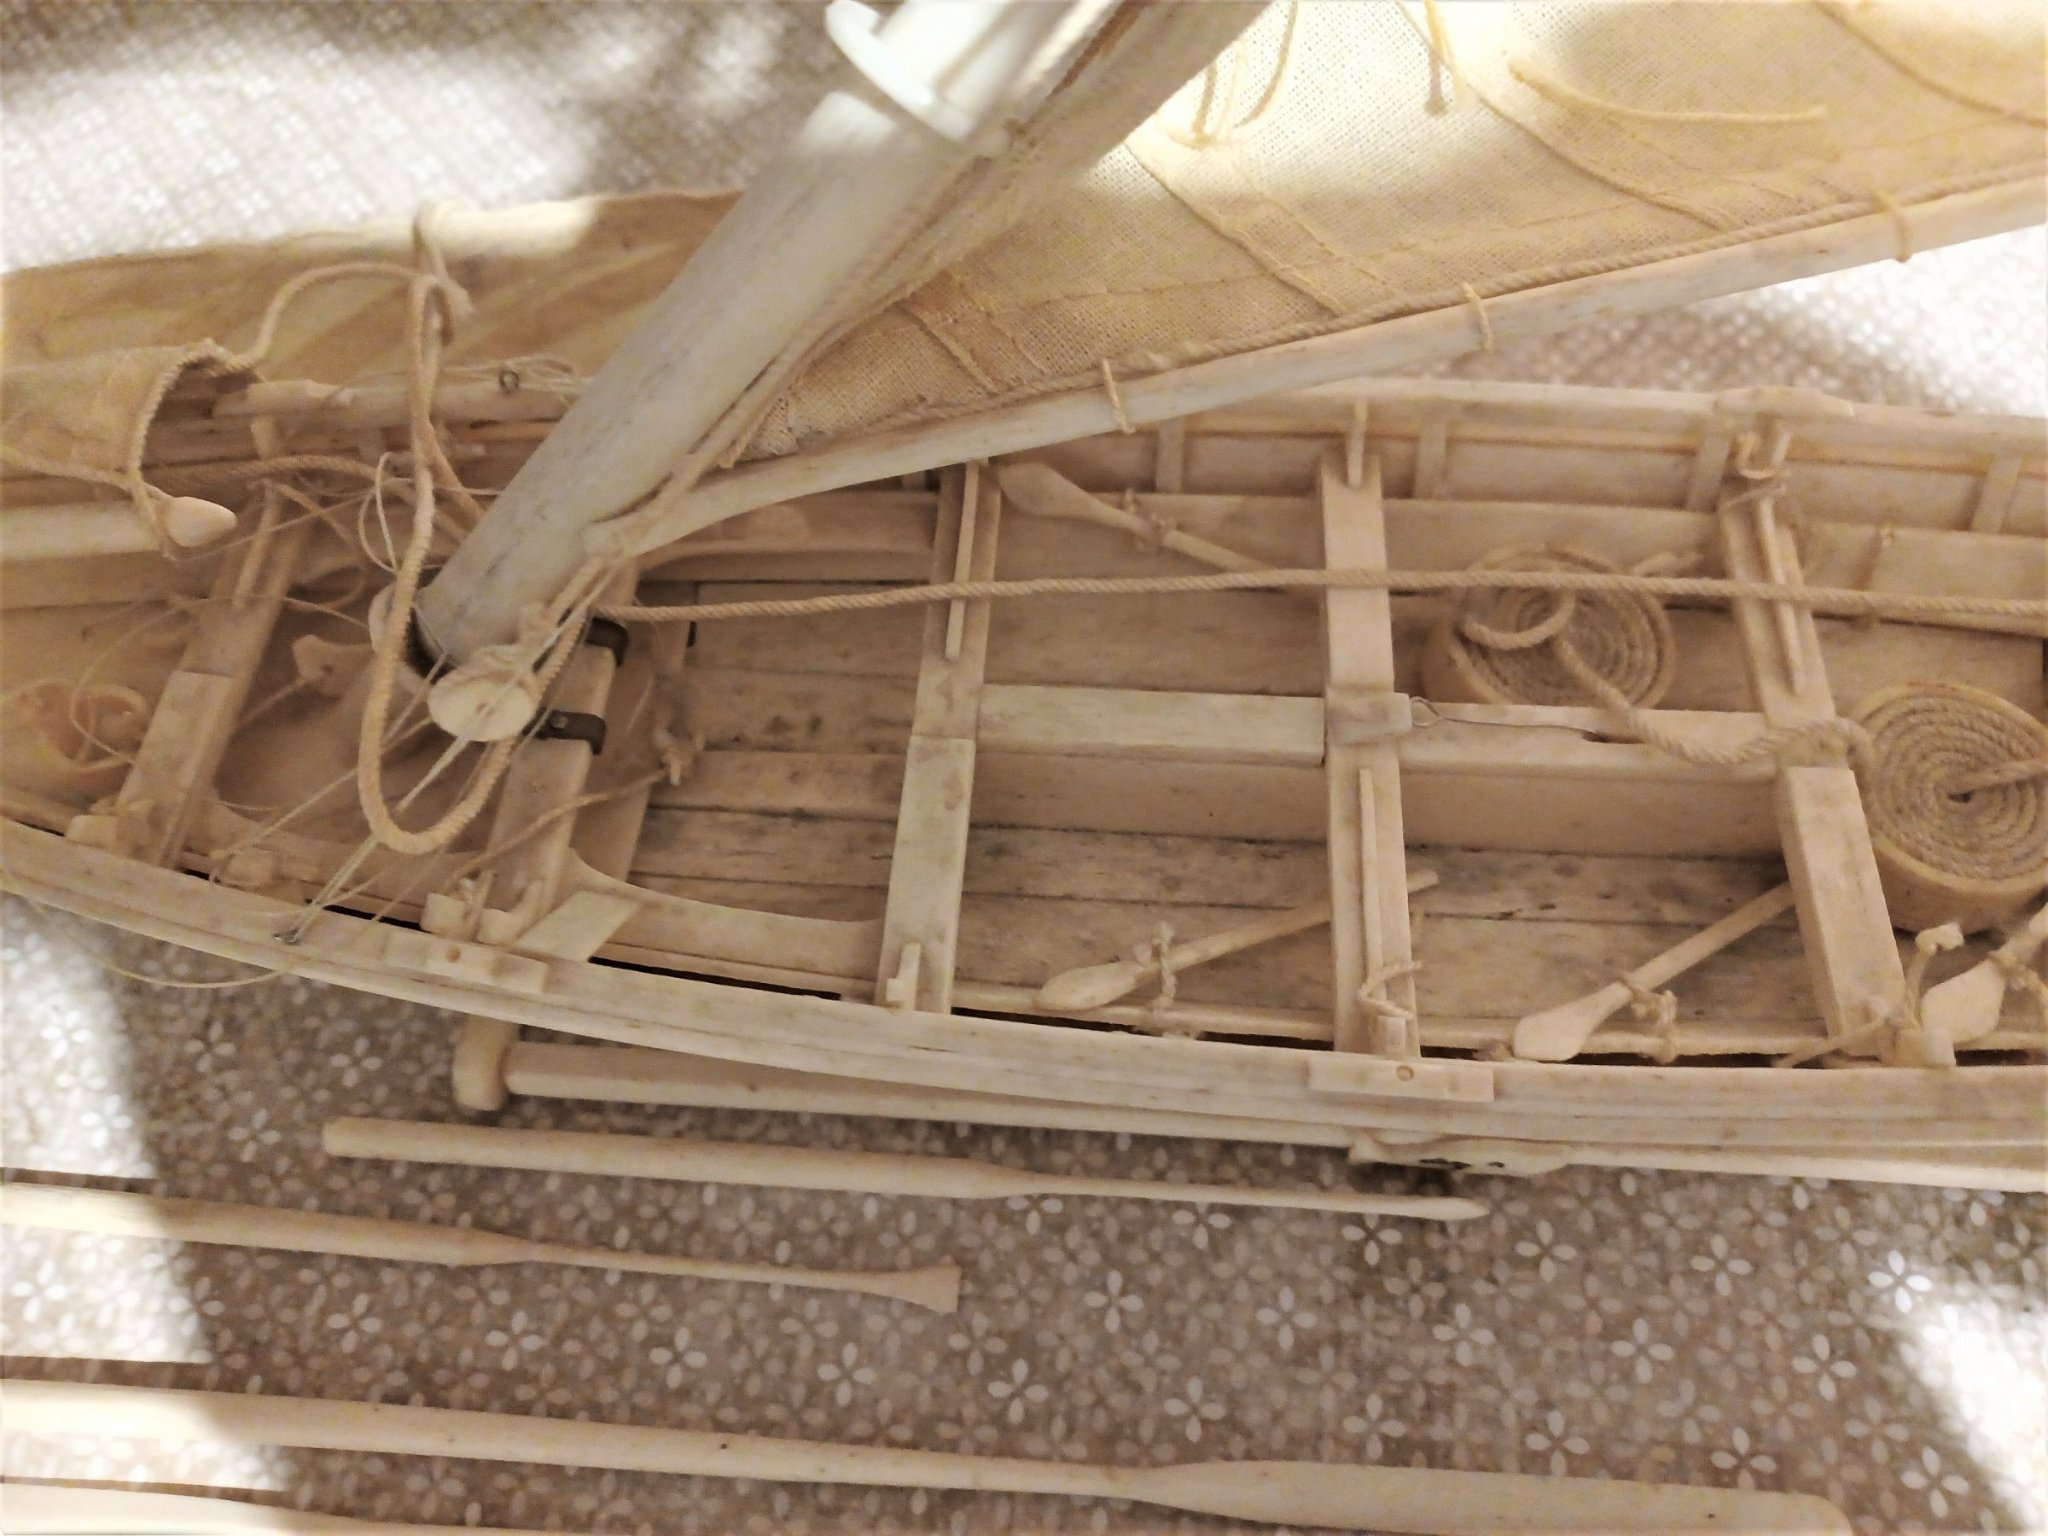
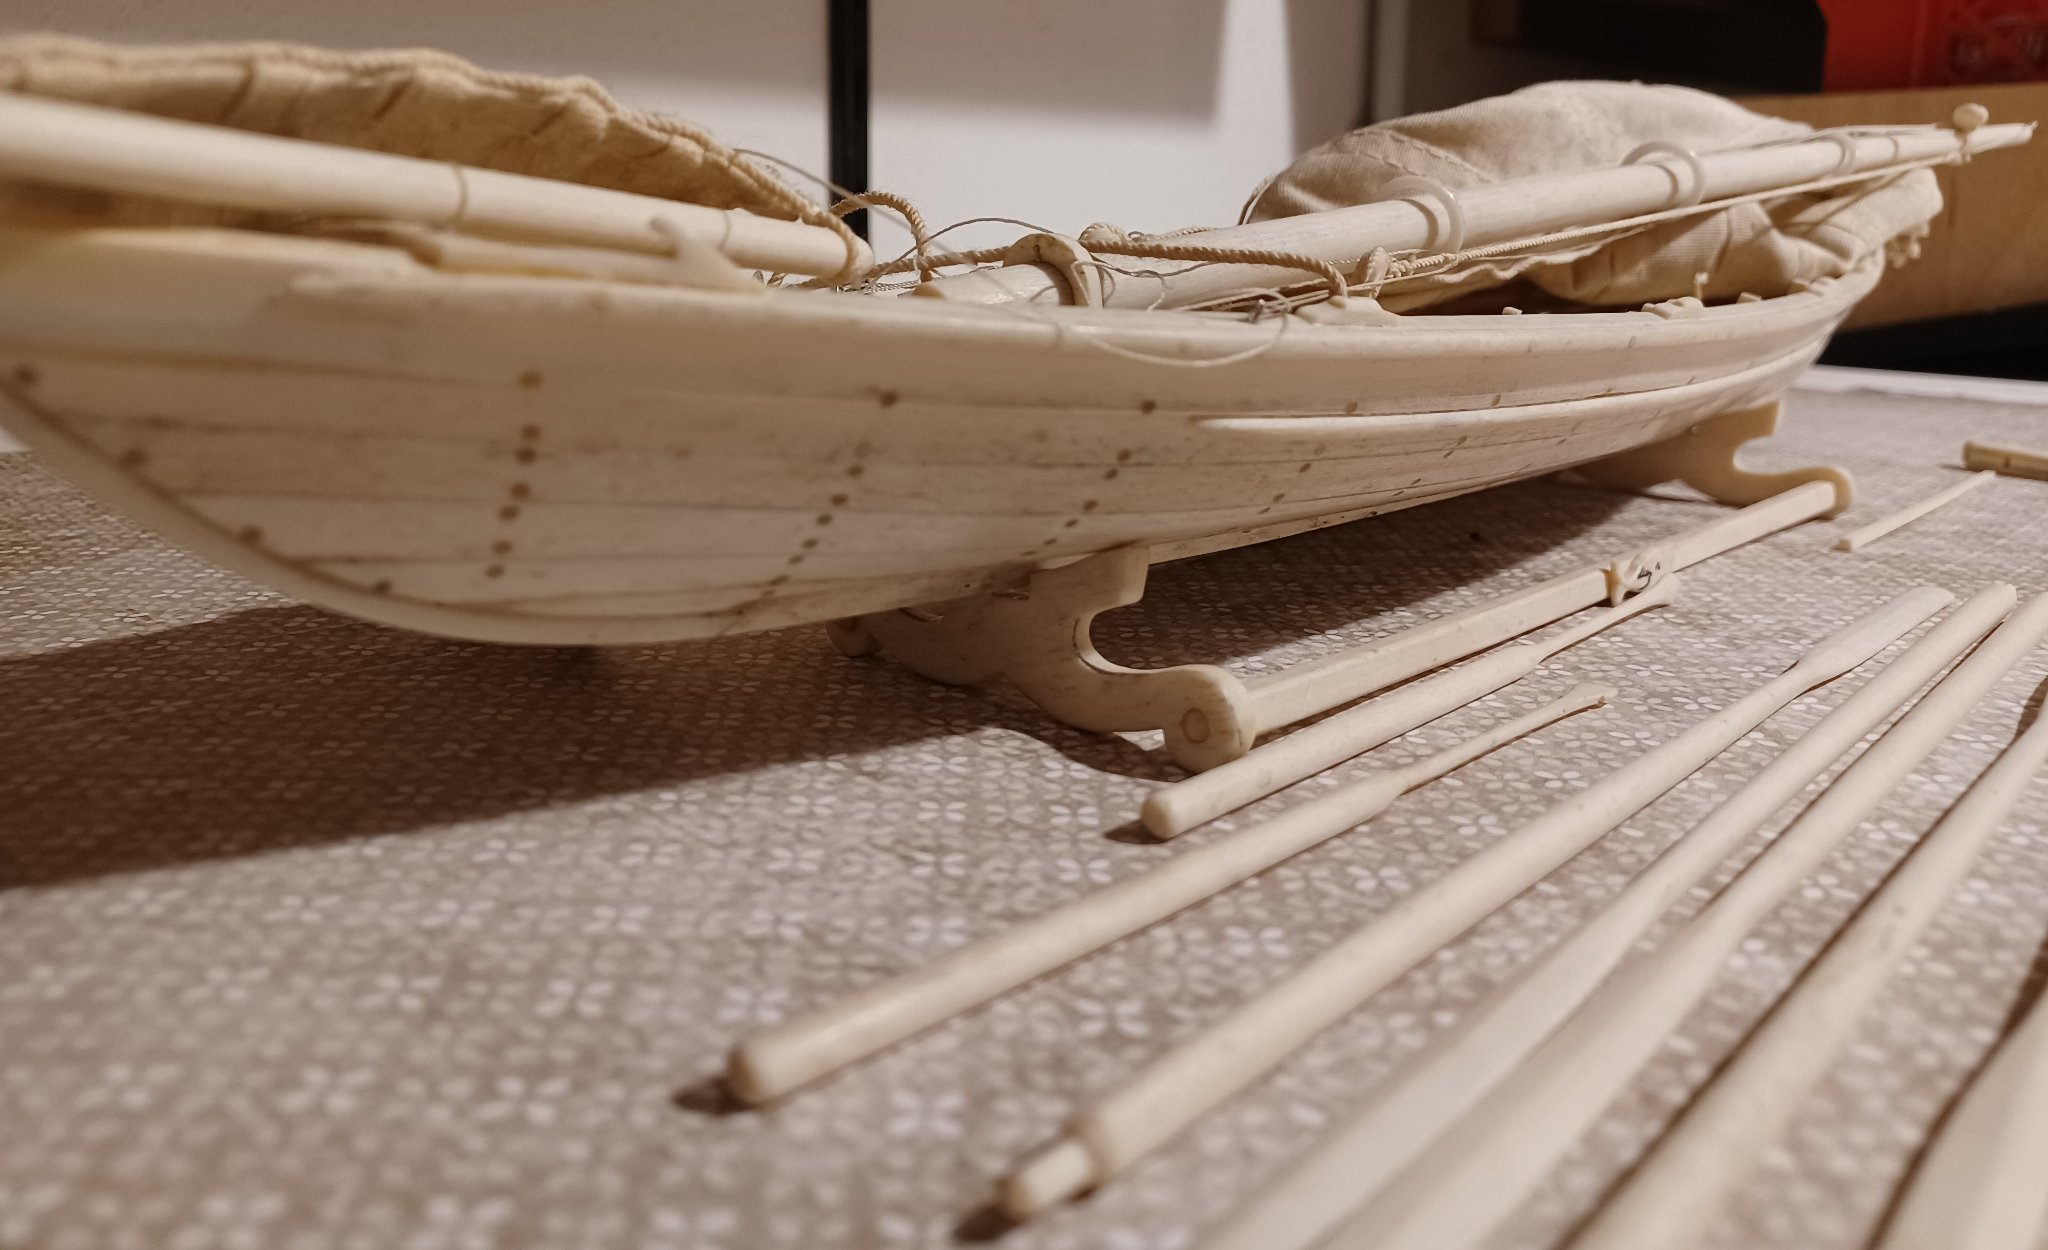
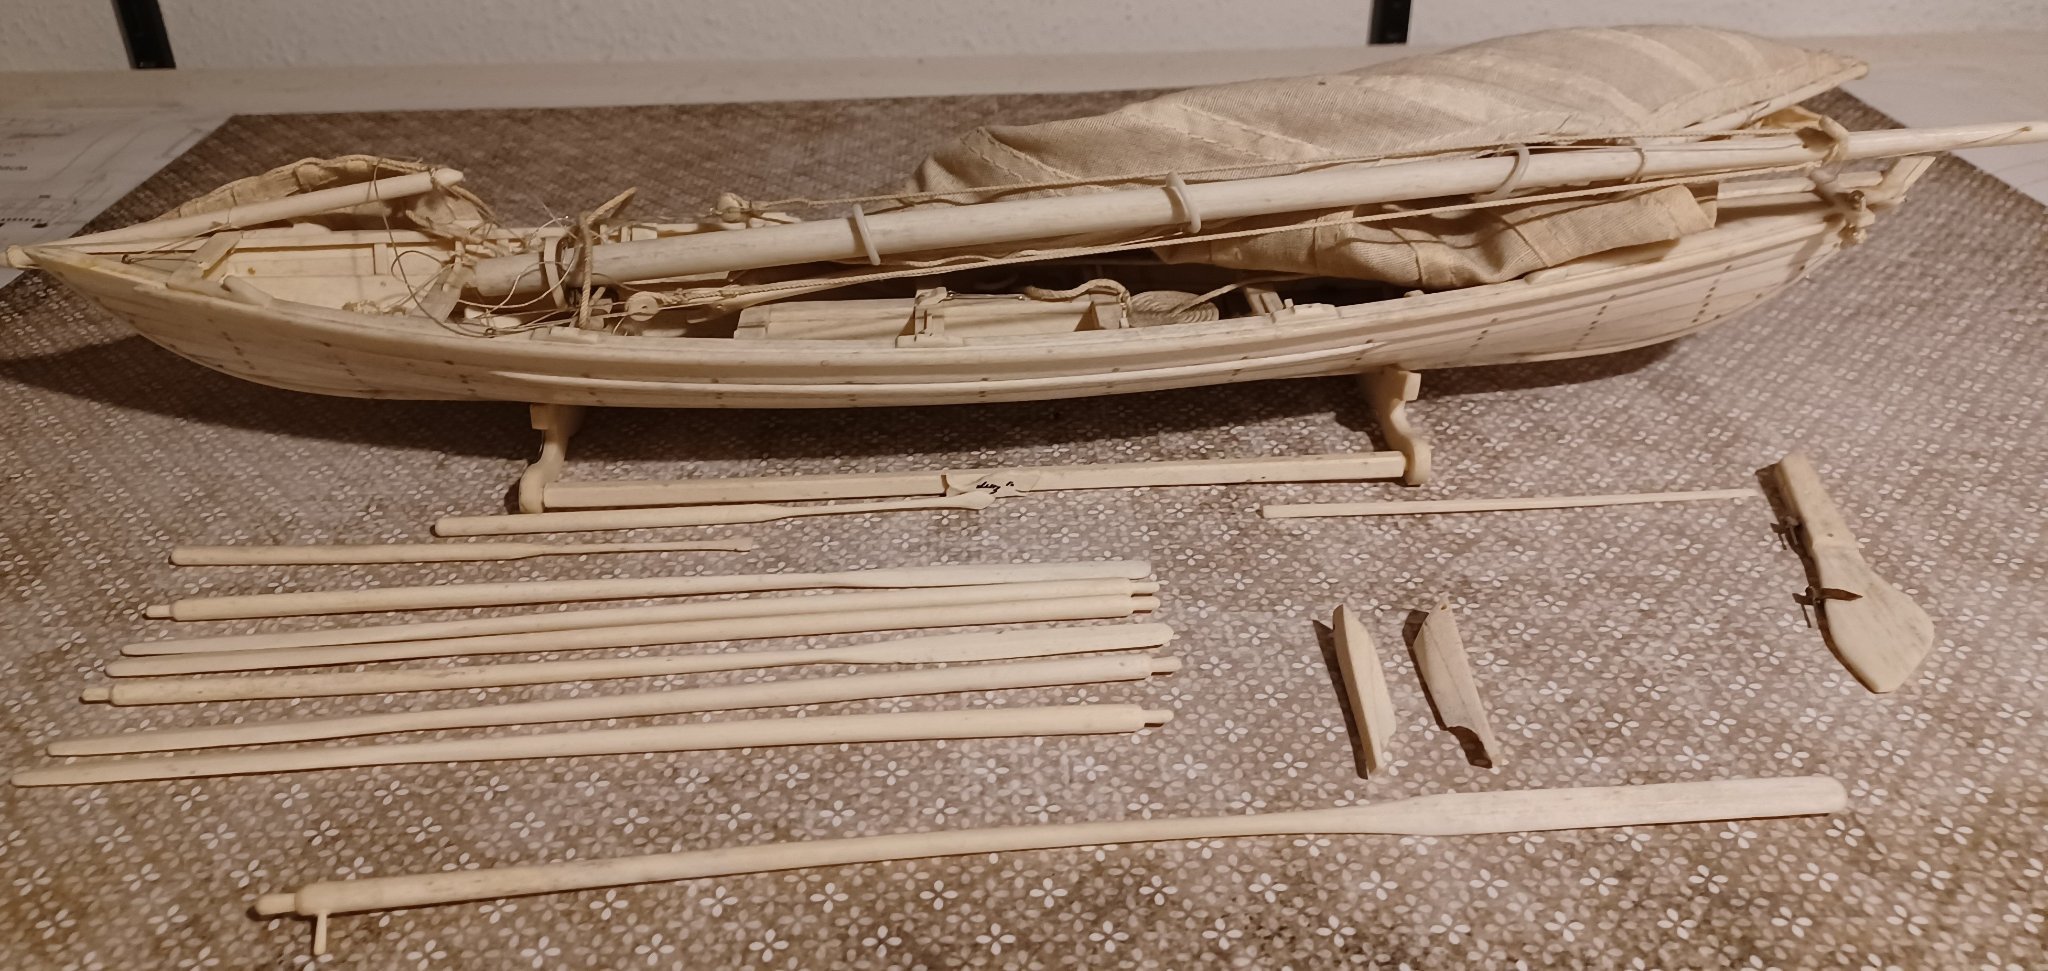
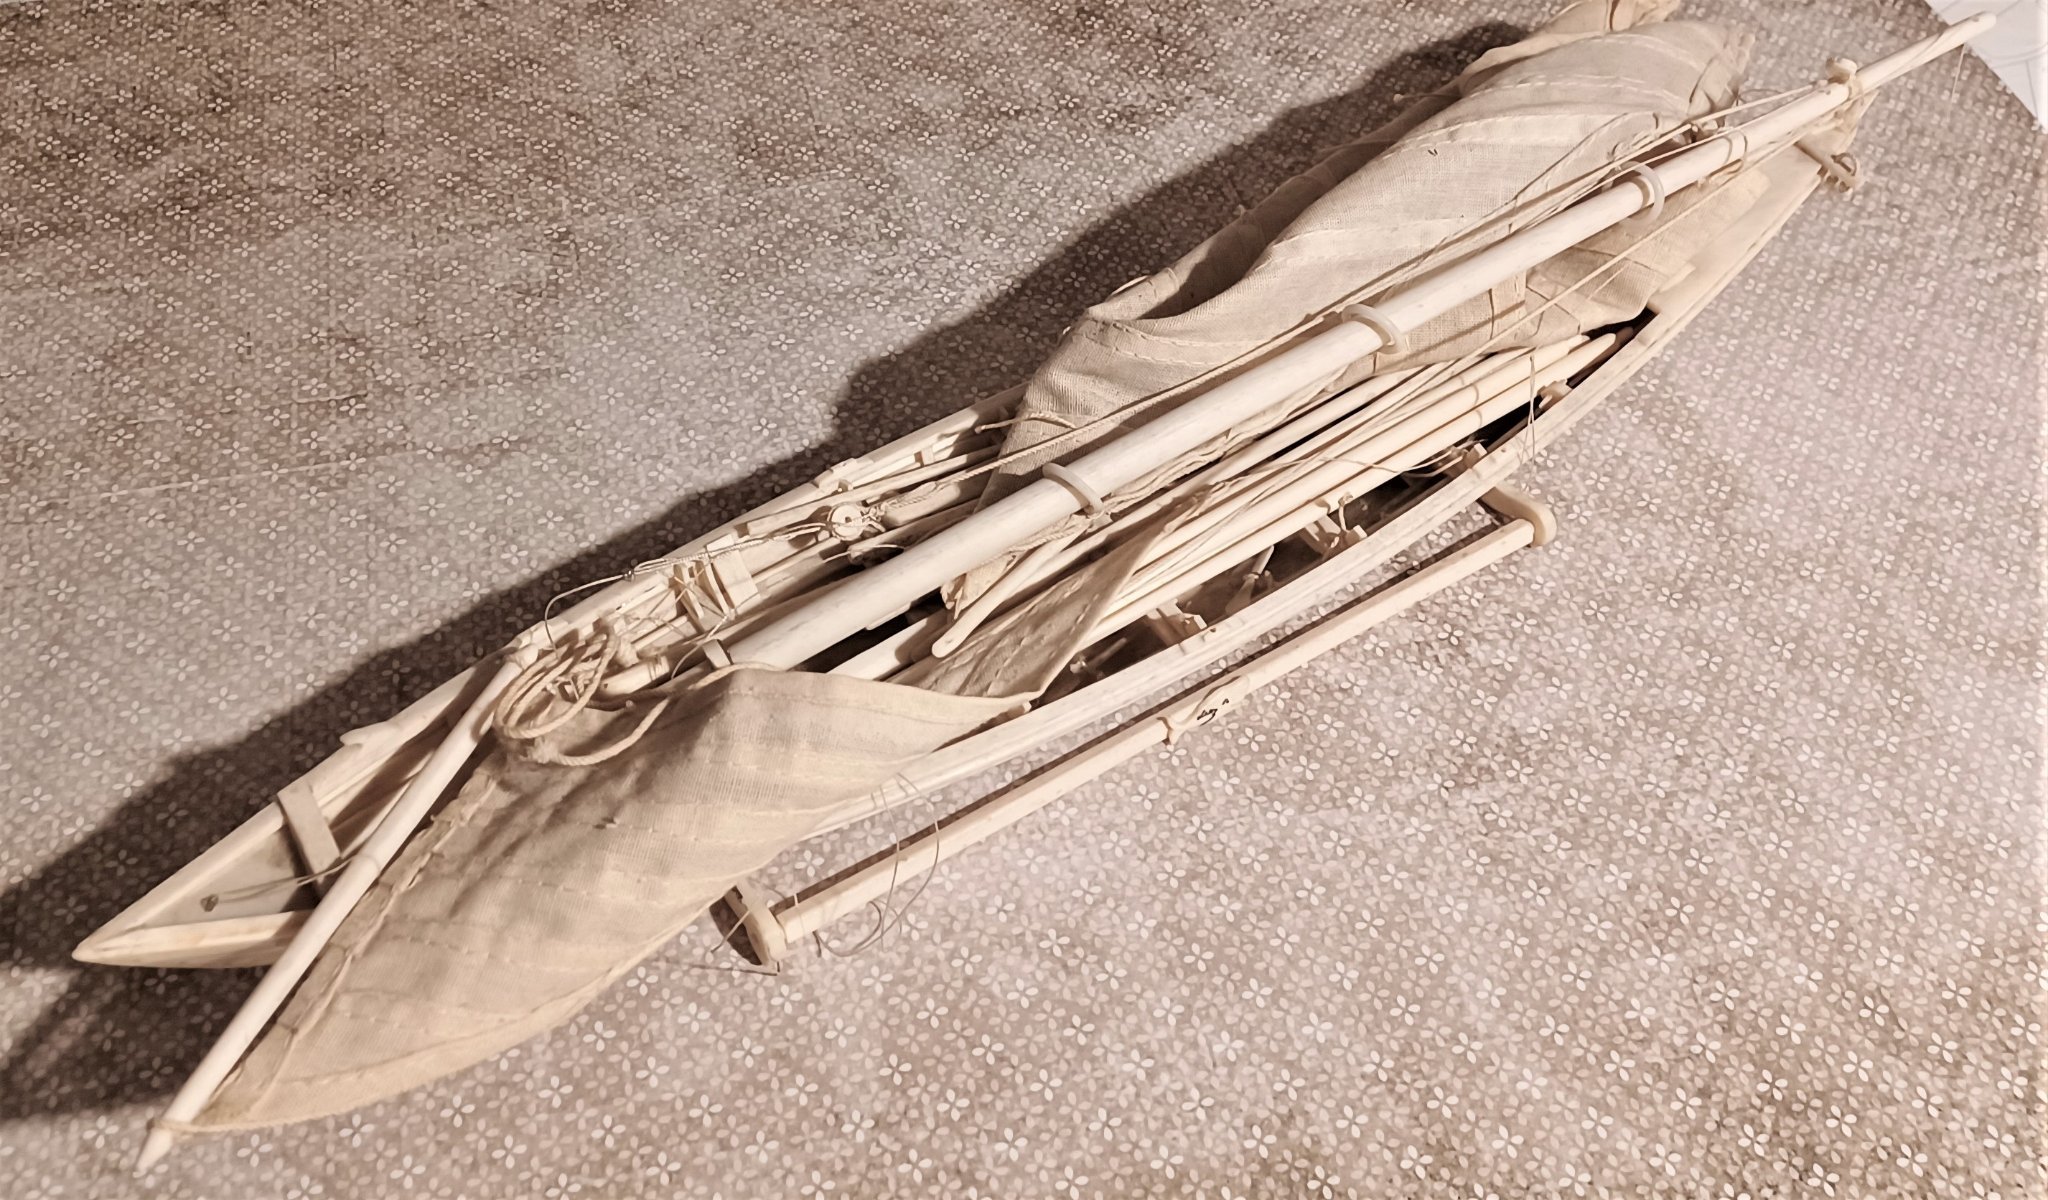
Hello everybody, I recently got this model of a small boat, entirely made from bone. It is about 35 cm long and completely equipped with a collapsible mast, sails, 6 oars and one long oar for steering, a rudder, harpoons and knifes etc. It is a beautiful work of art. Very nicely crafted. it has some damage and is quite dirty. The stand is made of bone as well and bears the name LUZ. Here are some photos of the model: I had a look in the internet and found some similar models in a couple of maritime auctions. On one or two models the name LUZ appeared as well on the stand and it was mentioned, that the guy, who built these models was called Albertino Sousa Luz and that these ships come from the AZORES. Does anybody of you know more about the background of these models? Was there a sort of manufacture for whale-bone-models? Or did the owners of the whalers made them for themselves, like some captains of sailing-ships did in the past? I would be grateful of some background information. Matthias


- 7 replies
-
- 11
-

-

-
- whaleboat
- restoration
- (and 2 more)
-
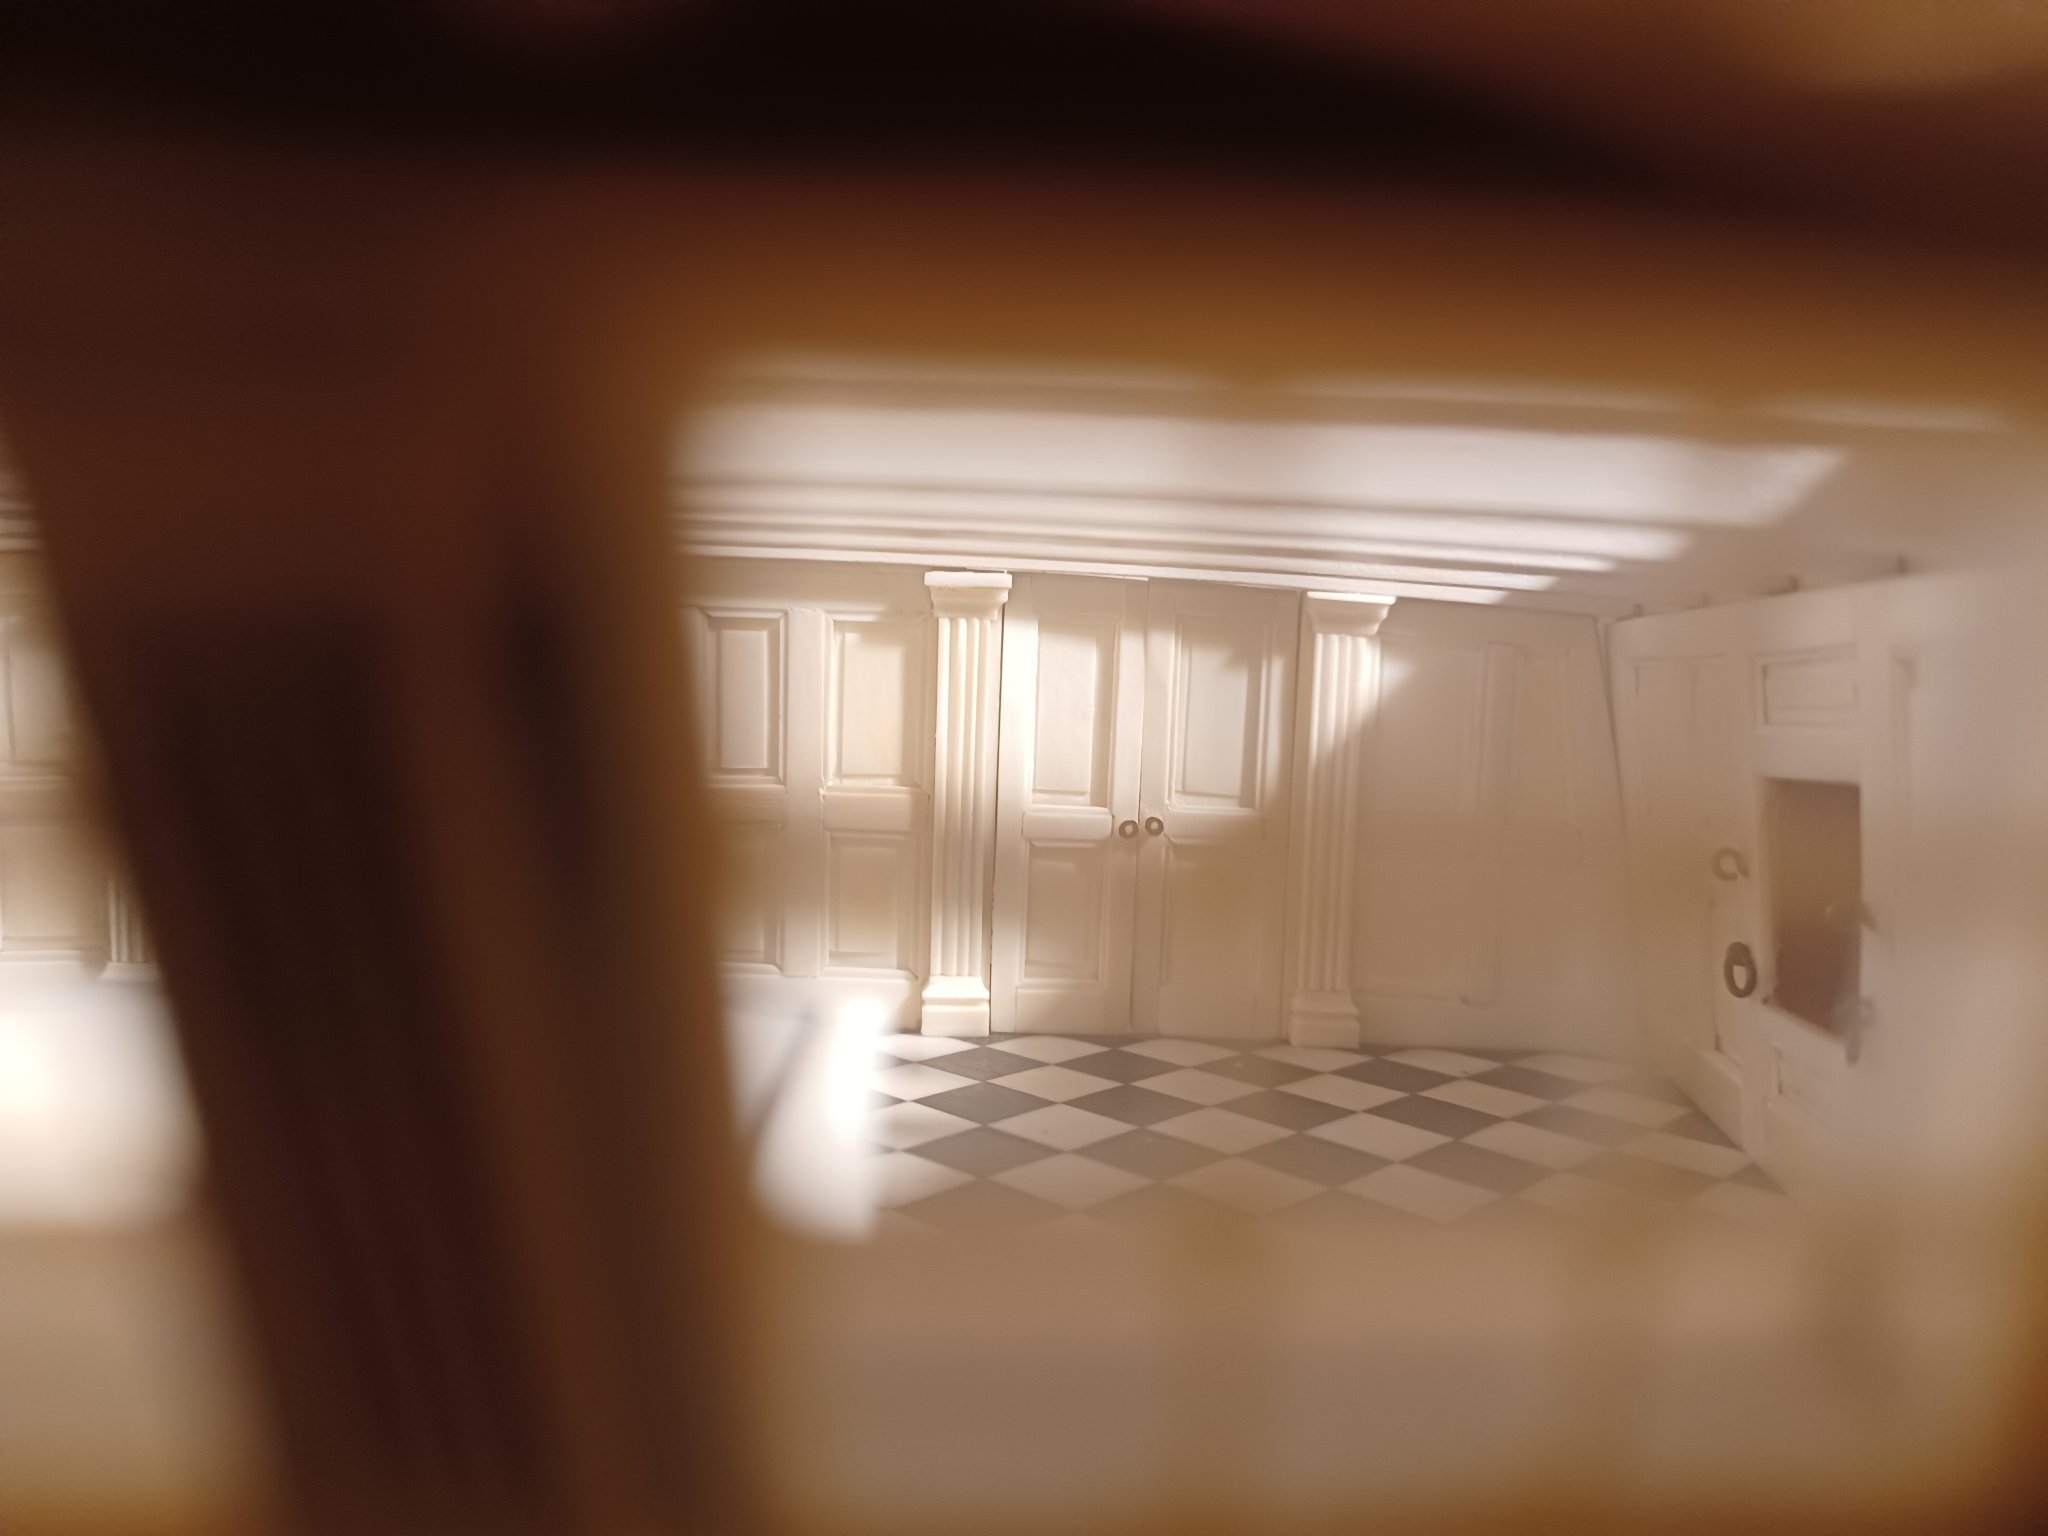
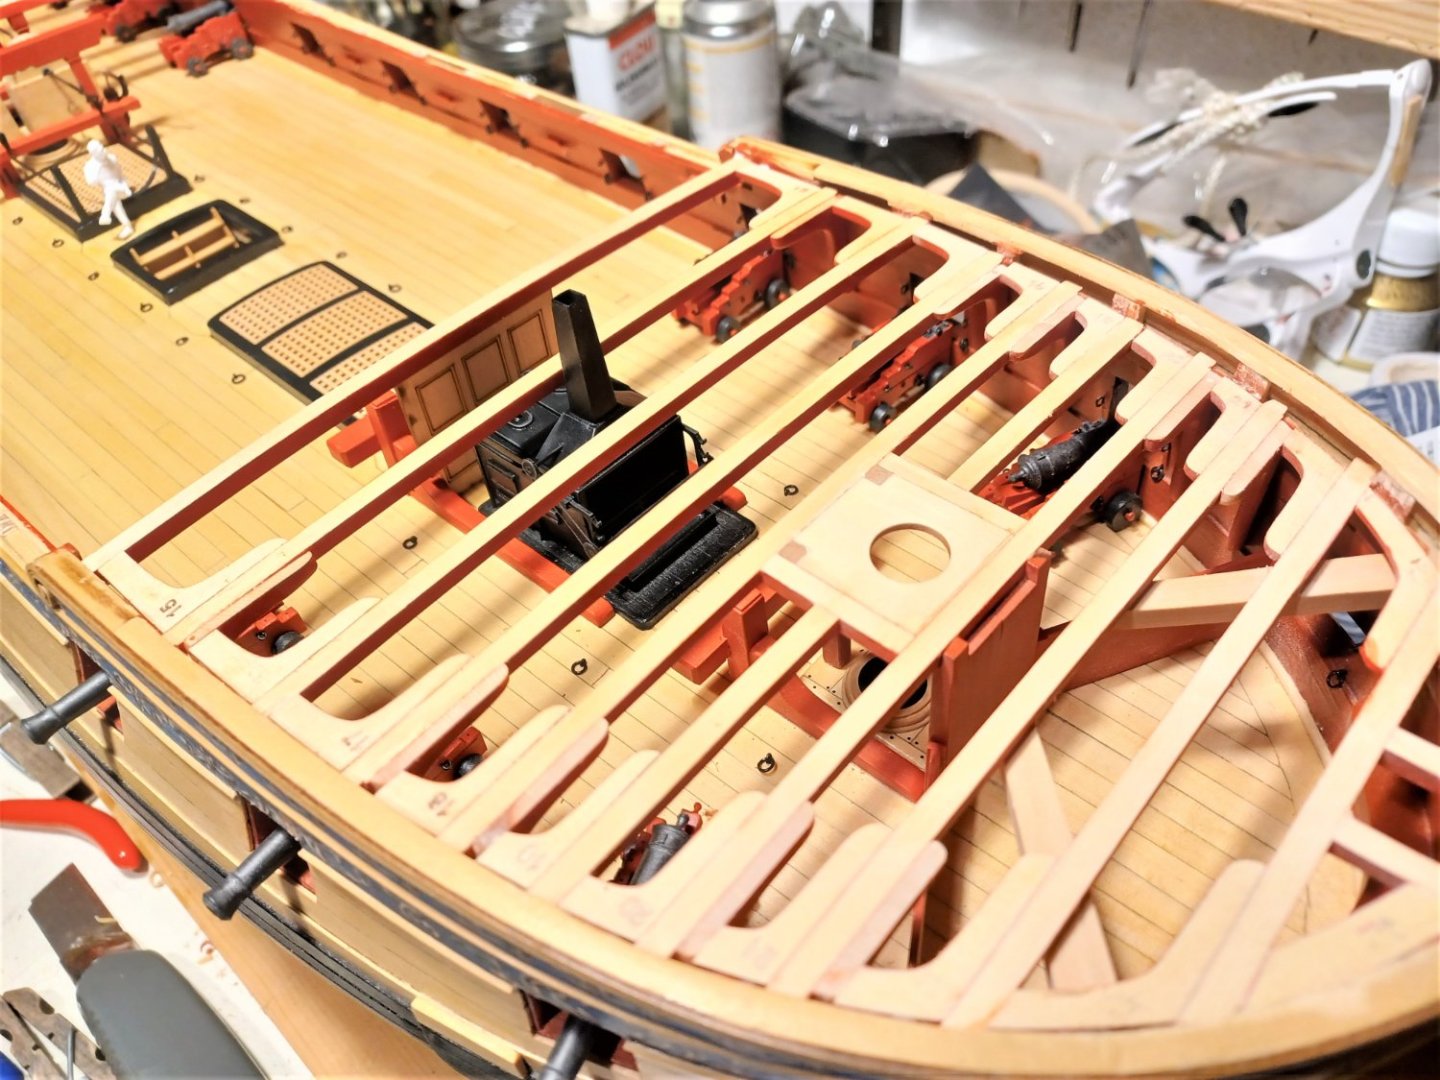
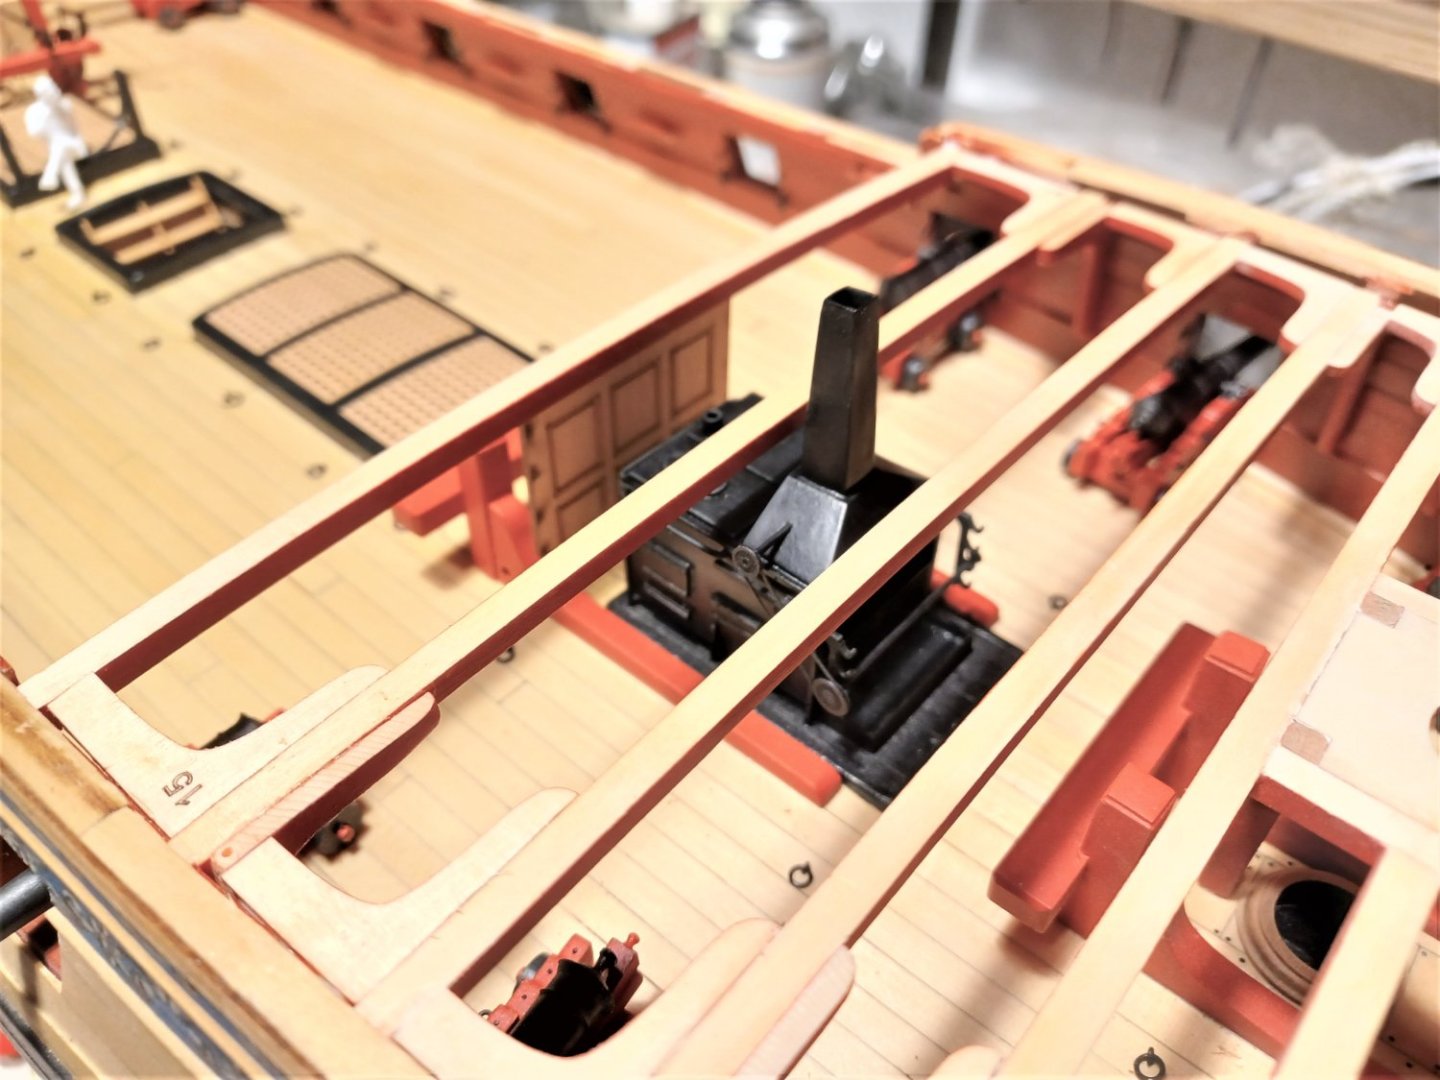
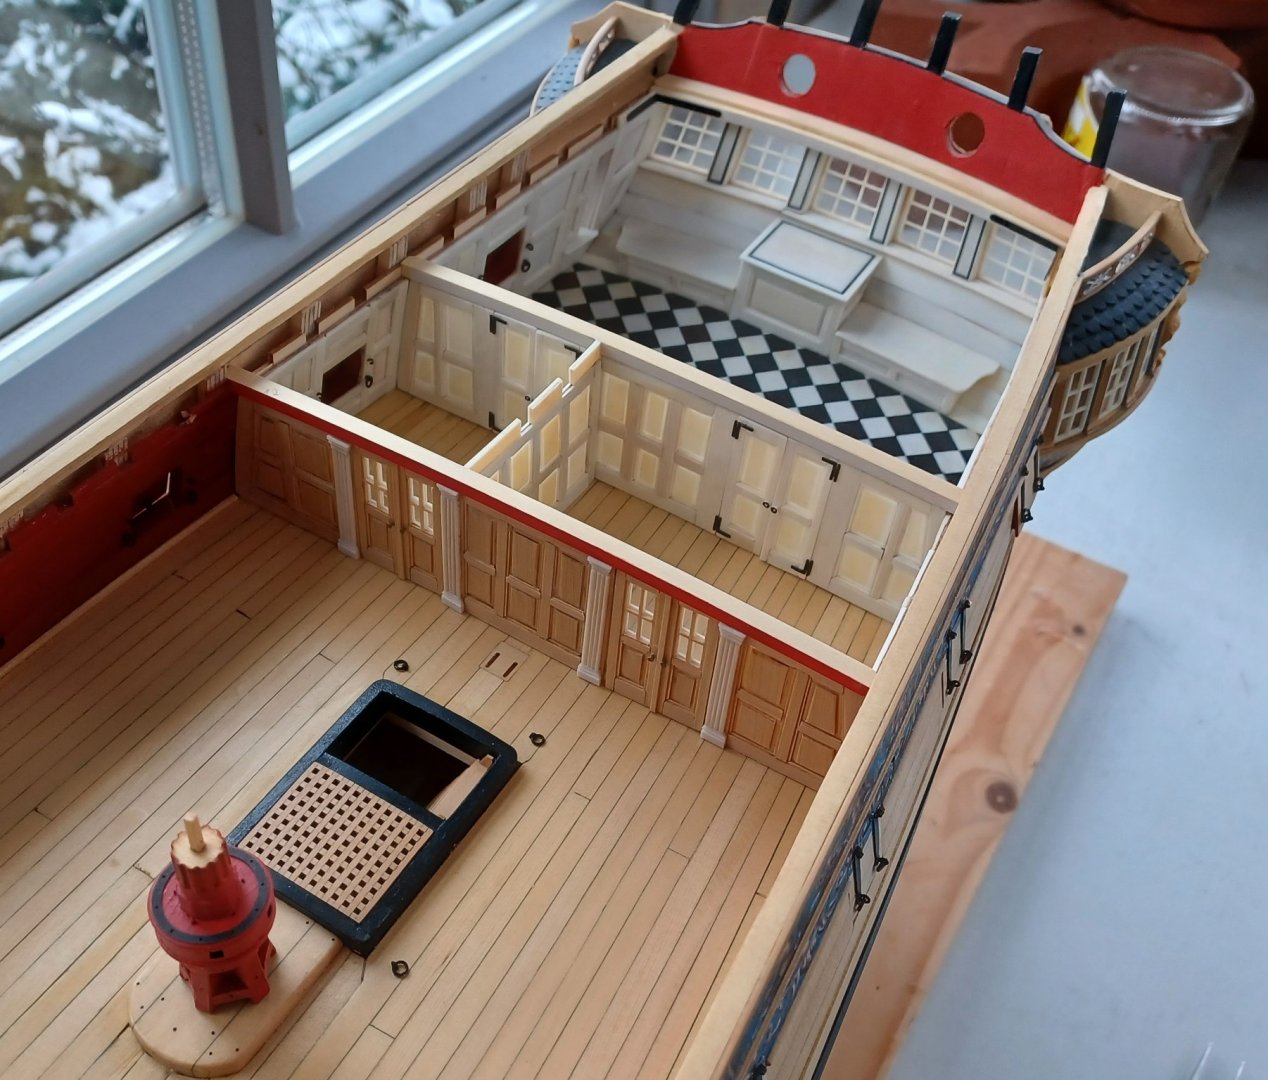
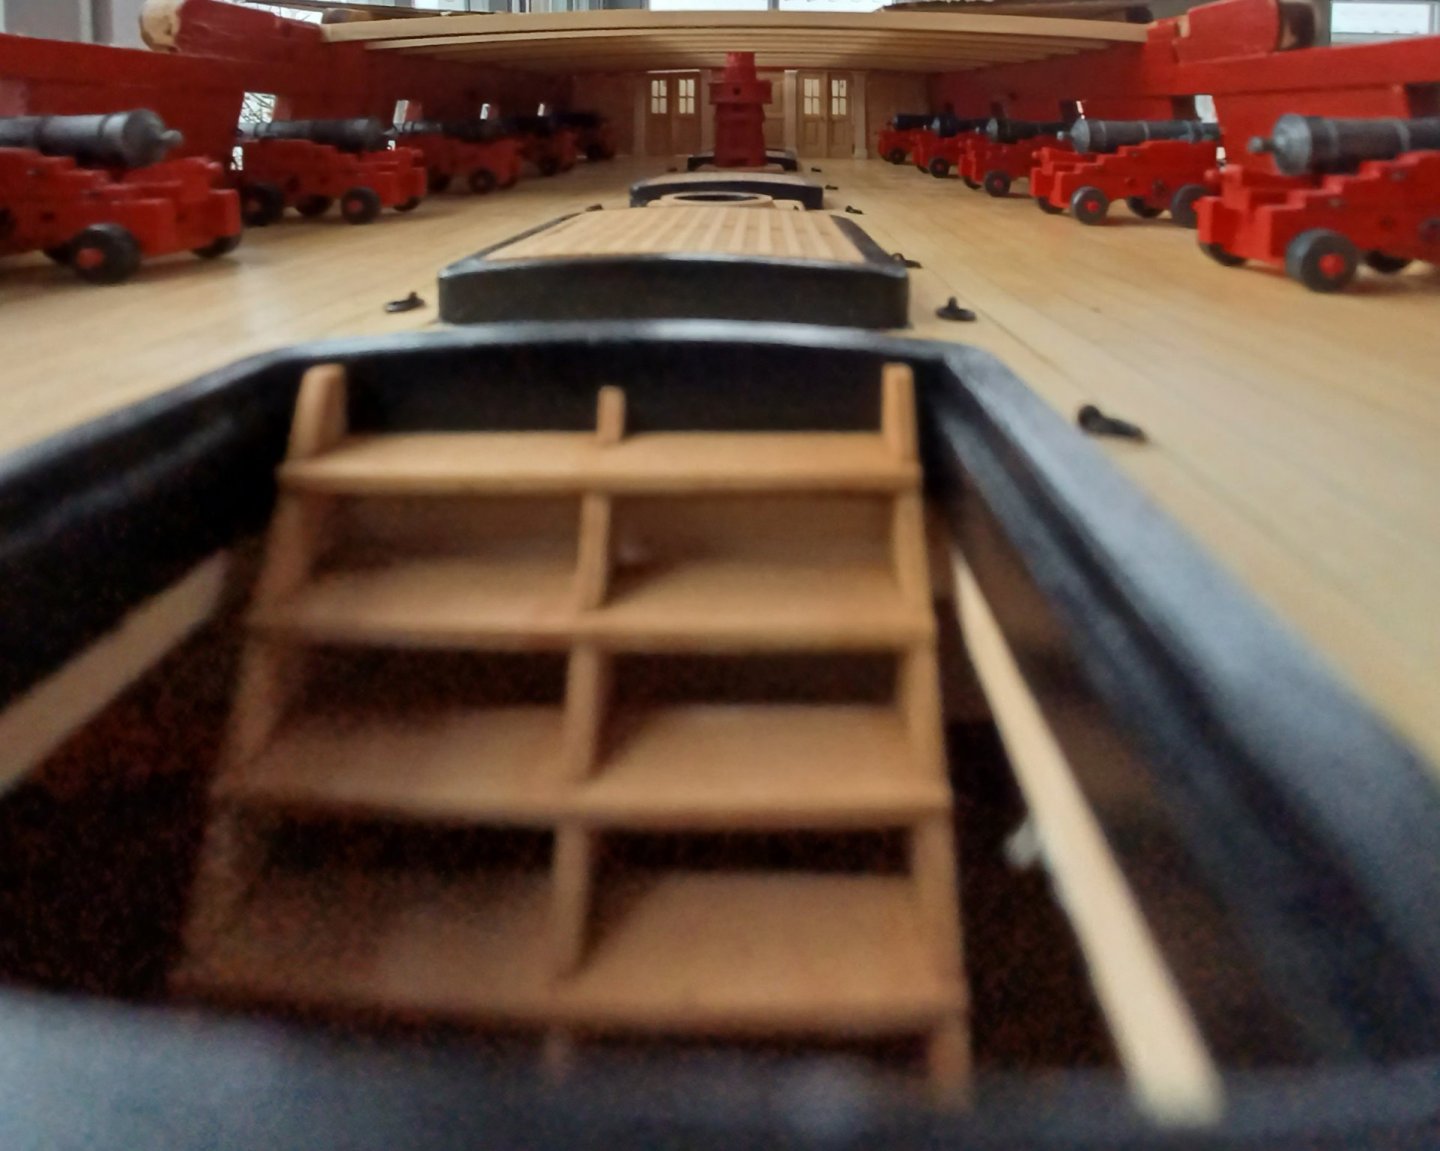
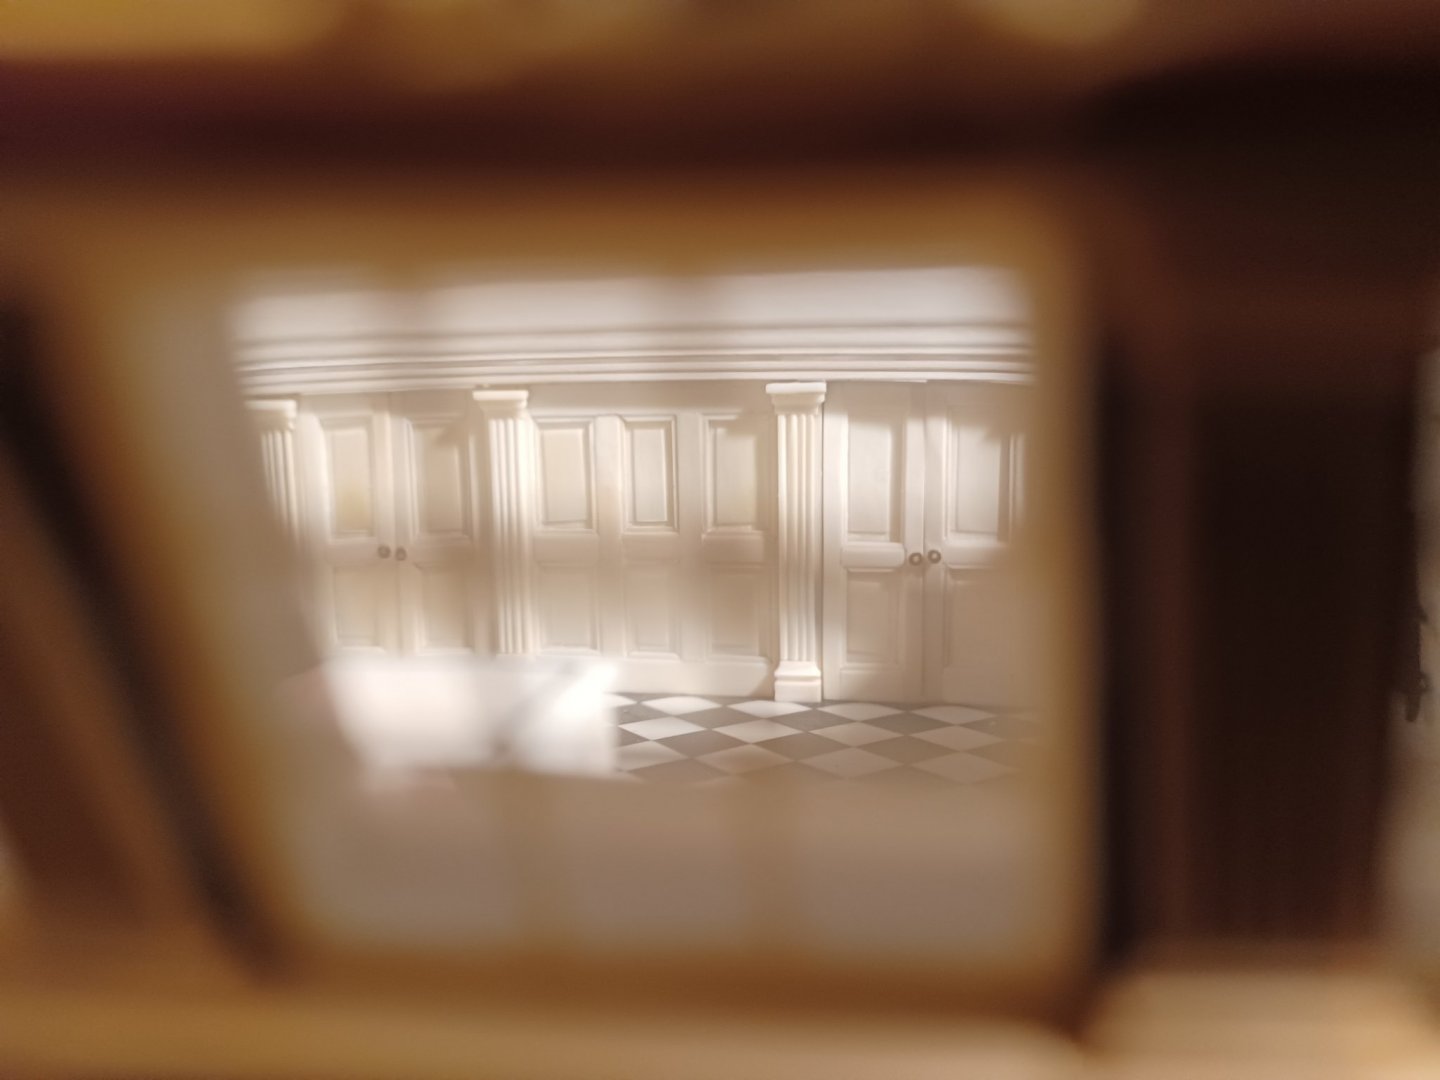
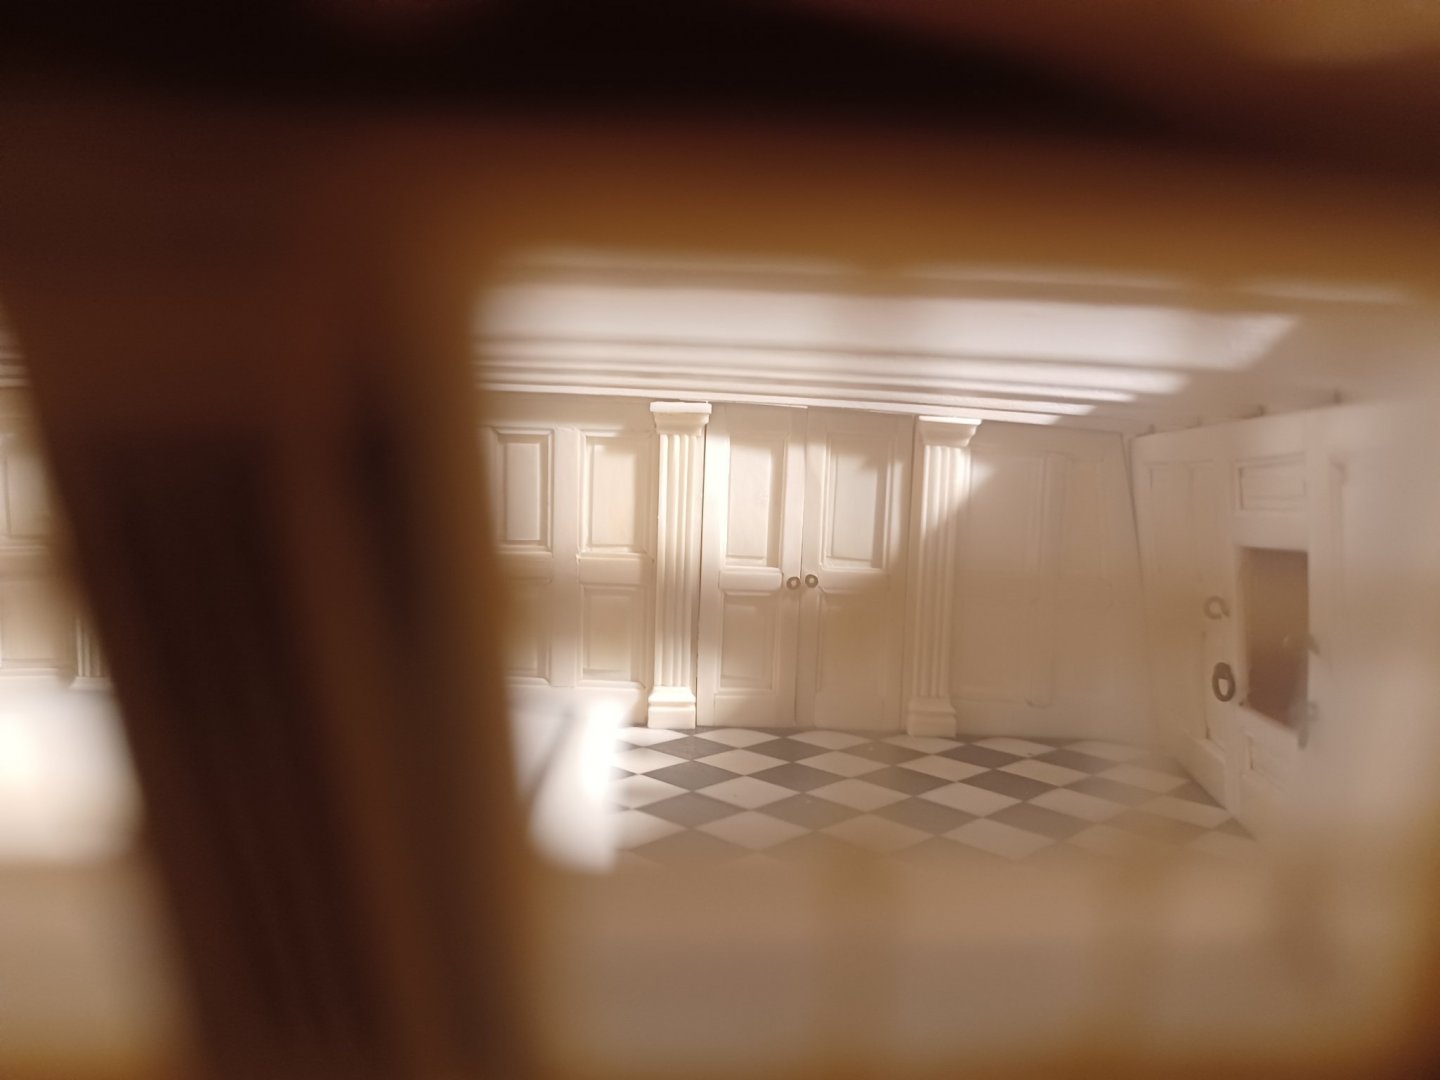
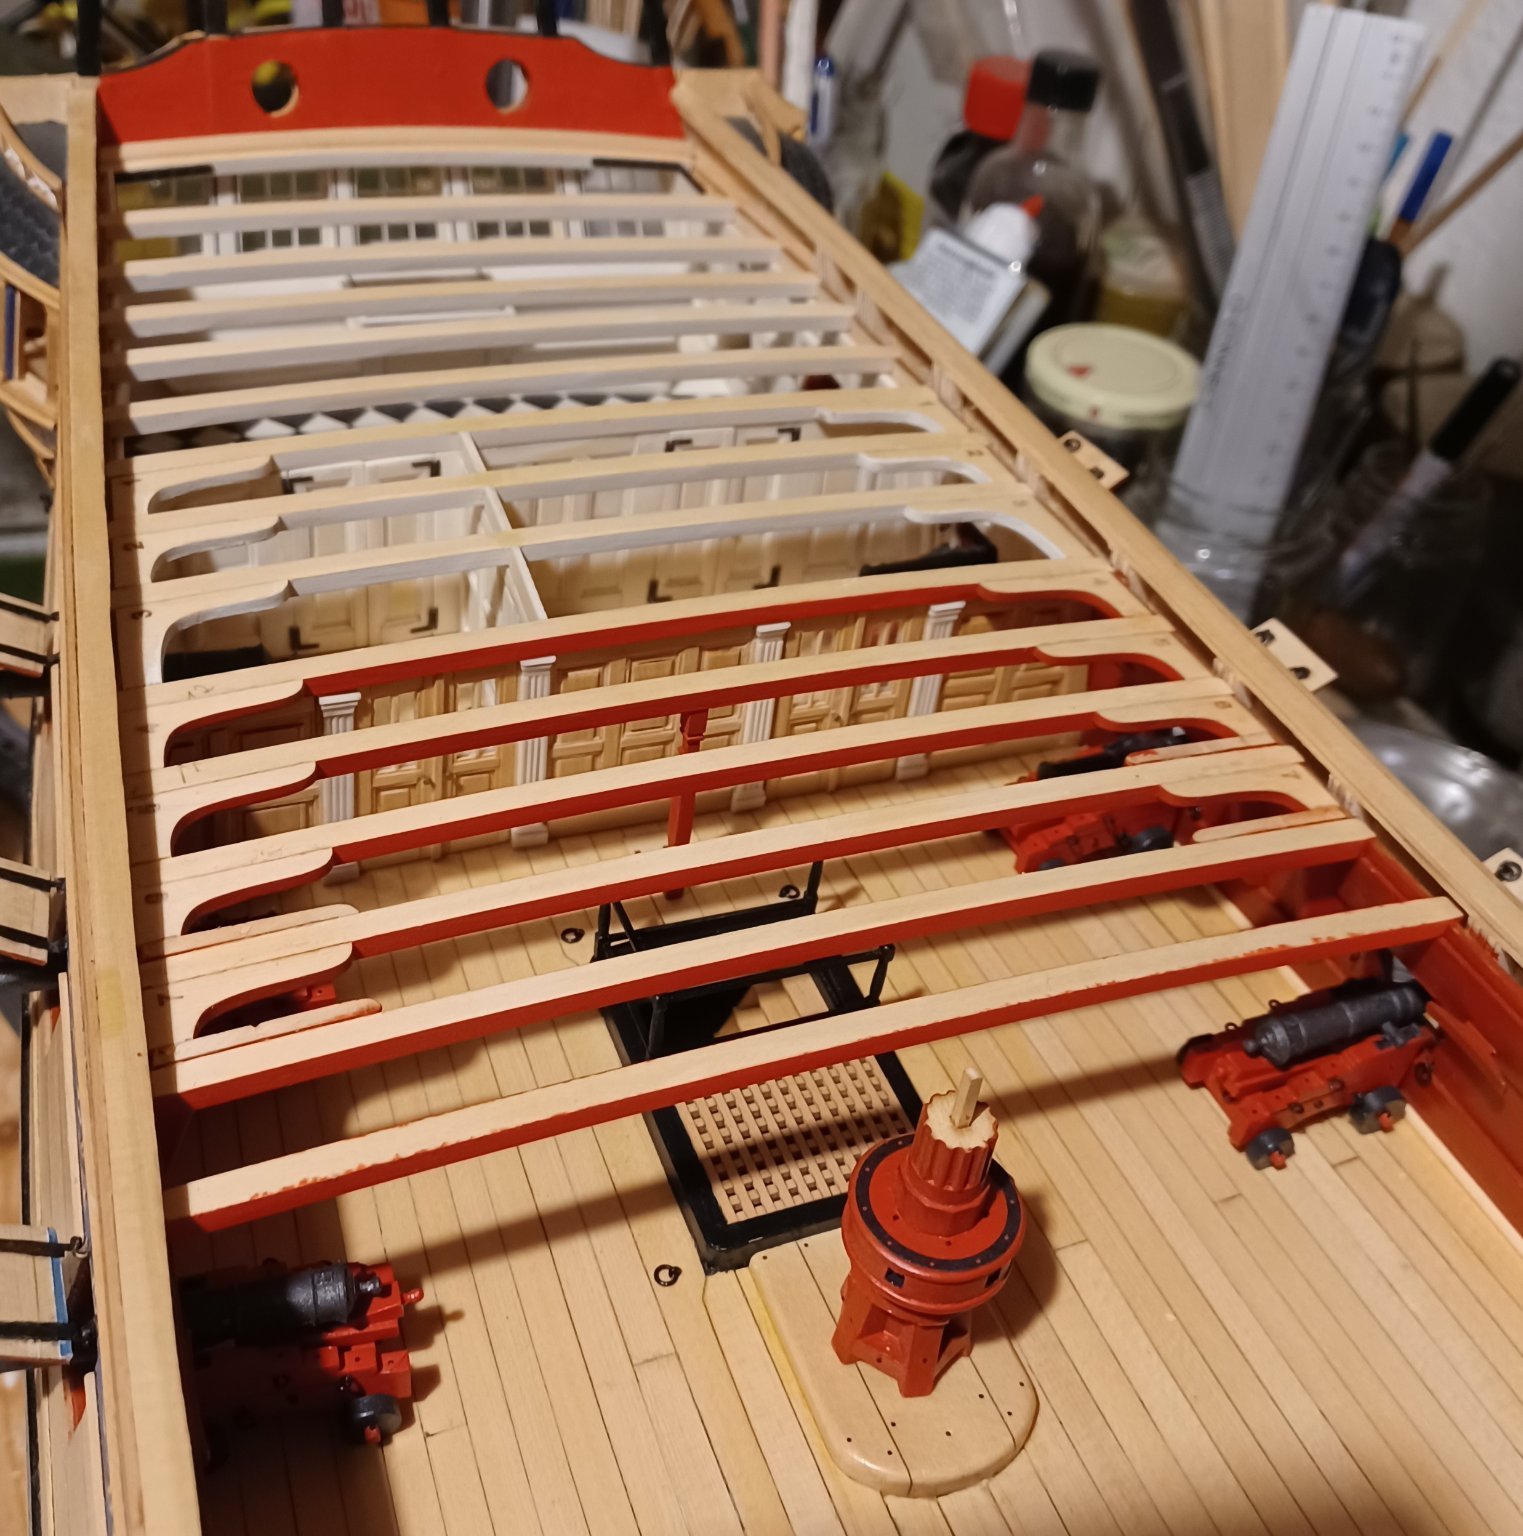
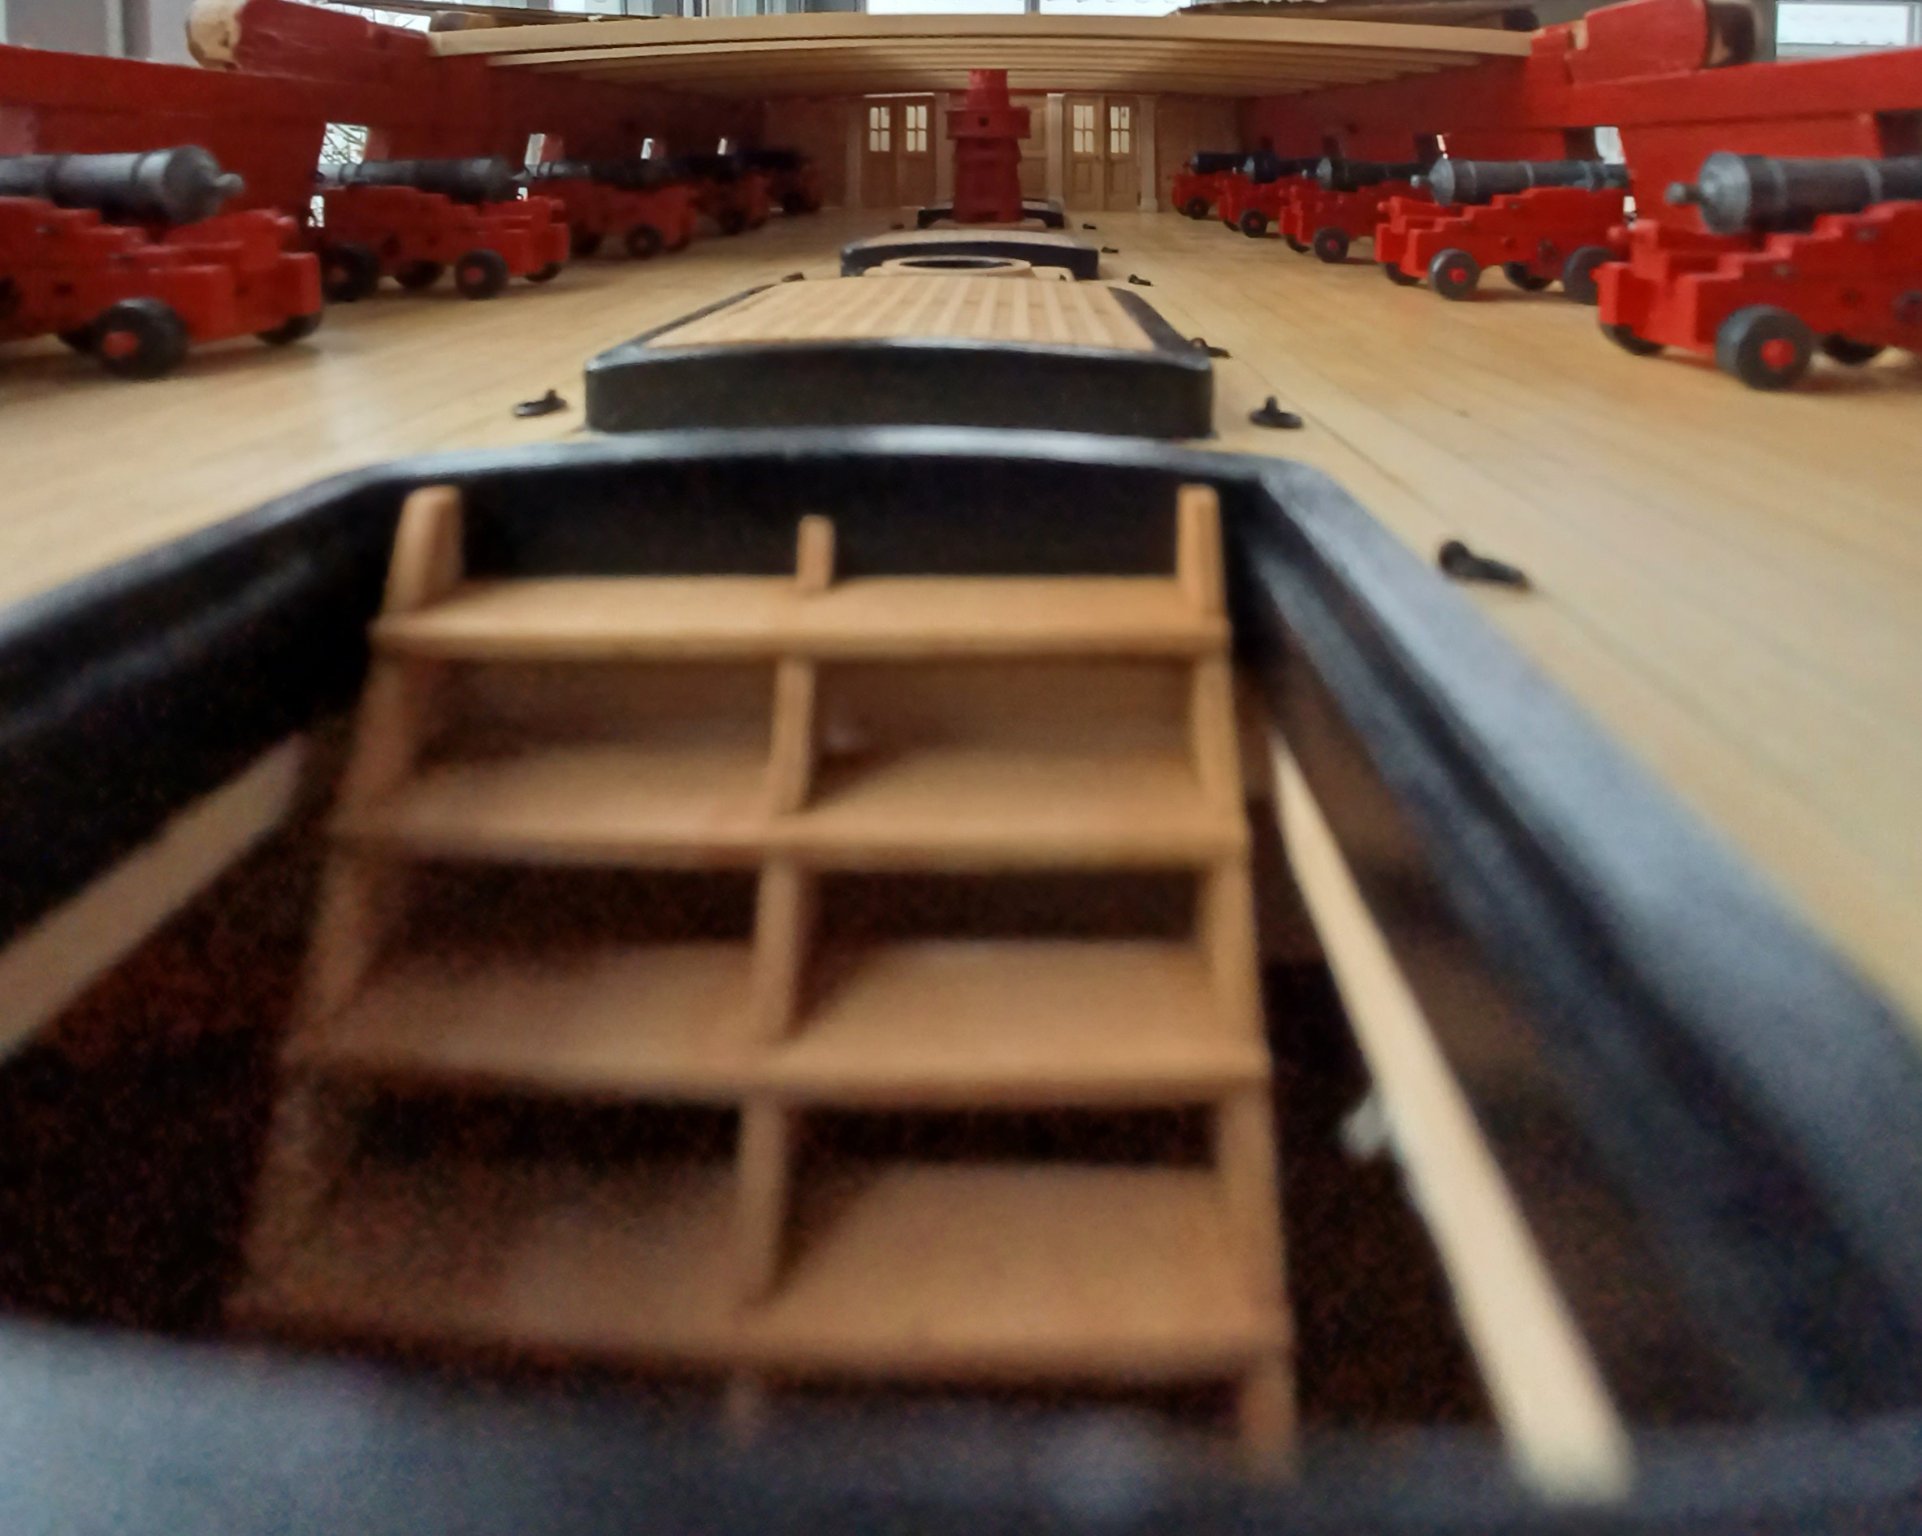
Thank you all for the likes and comments!! After finishing the bulkheads, I continued with the deck beams, knees and fittings, wich is great fun to do. Everything comes together now, and you get an impression, how the model will look, once finished. I have this idea of a photo from the main deck under the quarter deck with a little camera, if that is possible some day. So I painted the beams and knees from the underside, to have it all in color, . Here are photos from the current stage of the building: I will clean the top side of the deck beams once they are all finished. The numbers on the knees will be covered by the planking later on. Matthias


-
That looks almost perfect!! Well done. Matthias
-
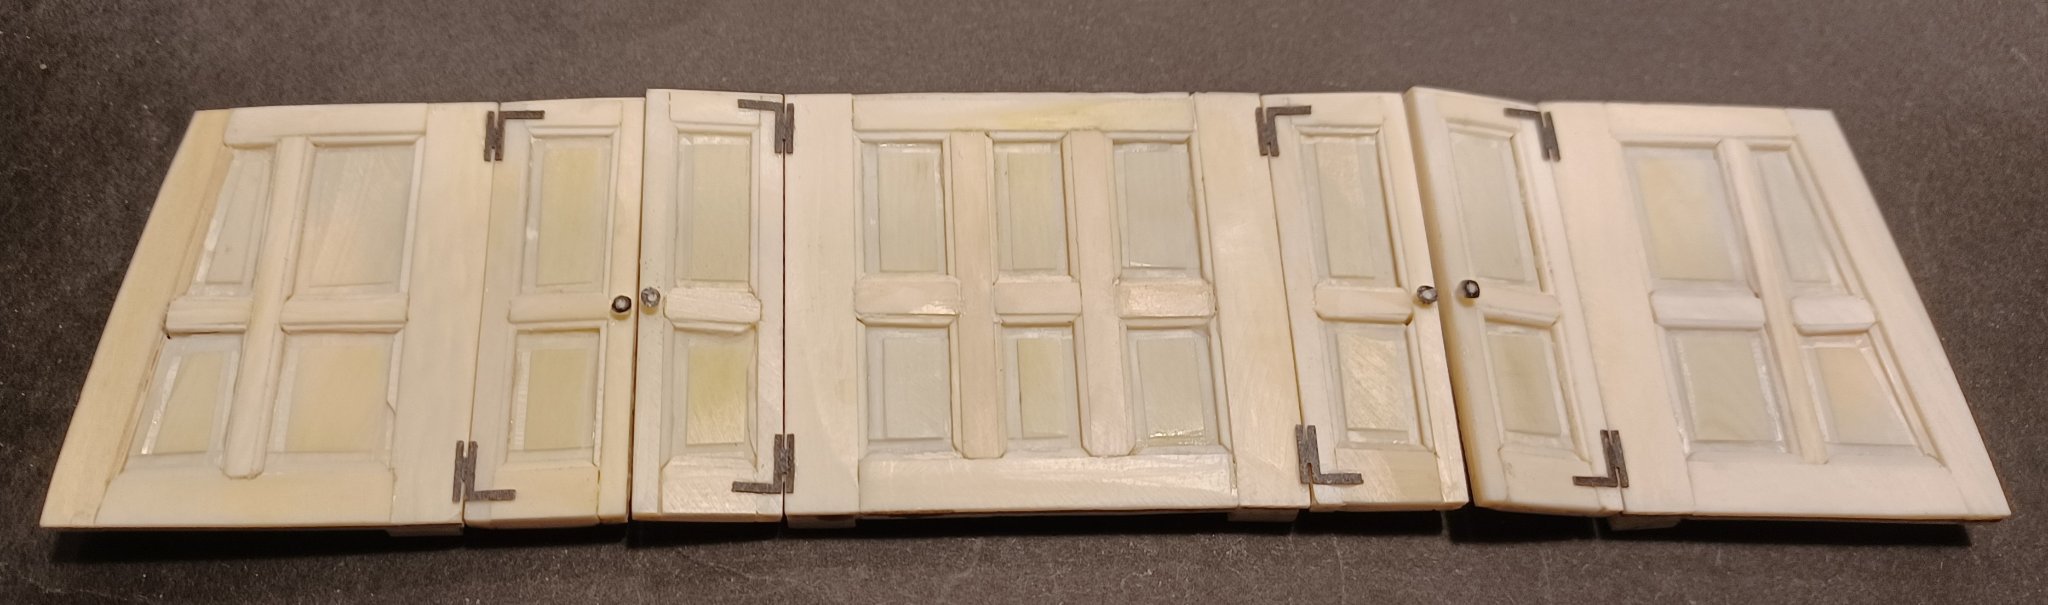
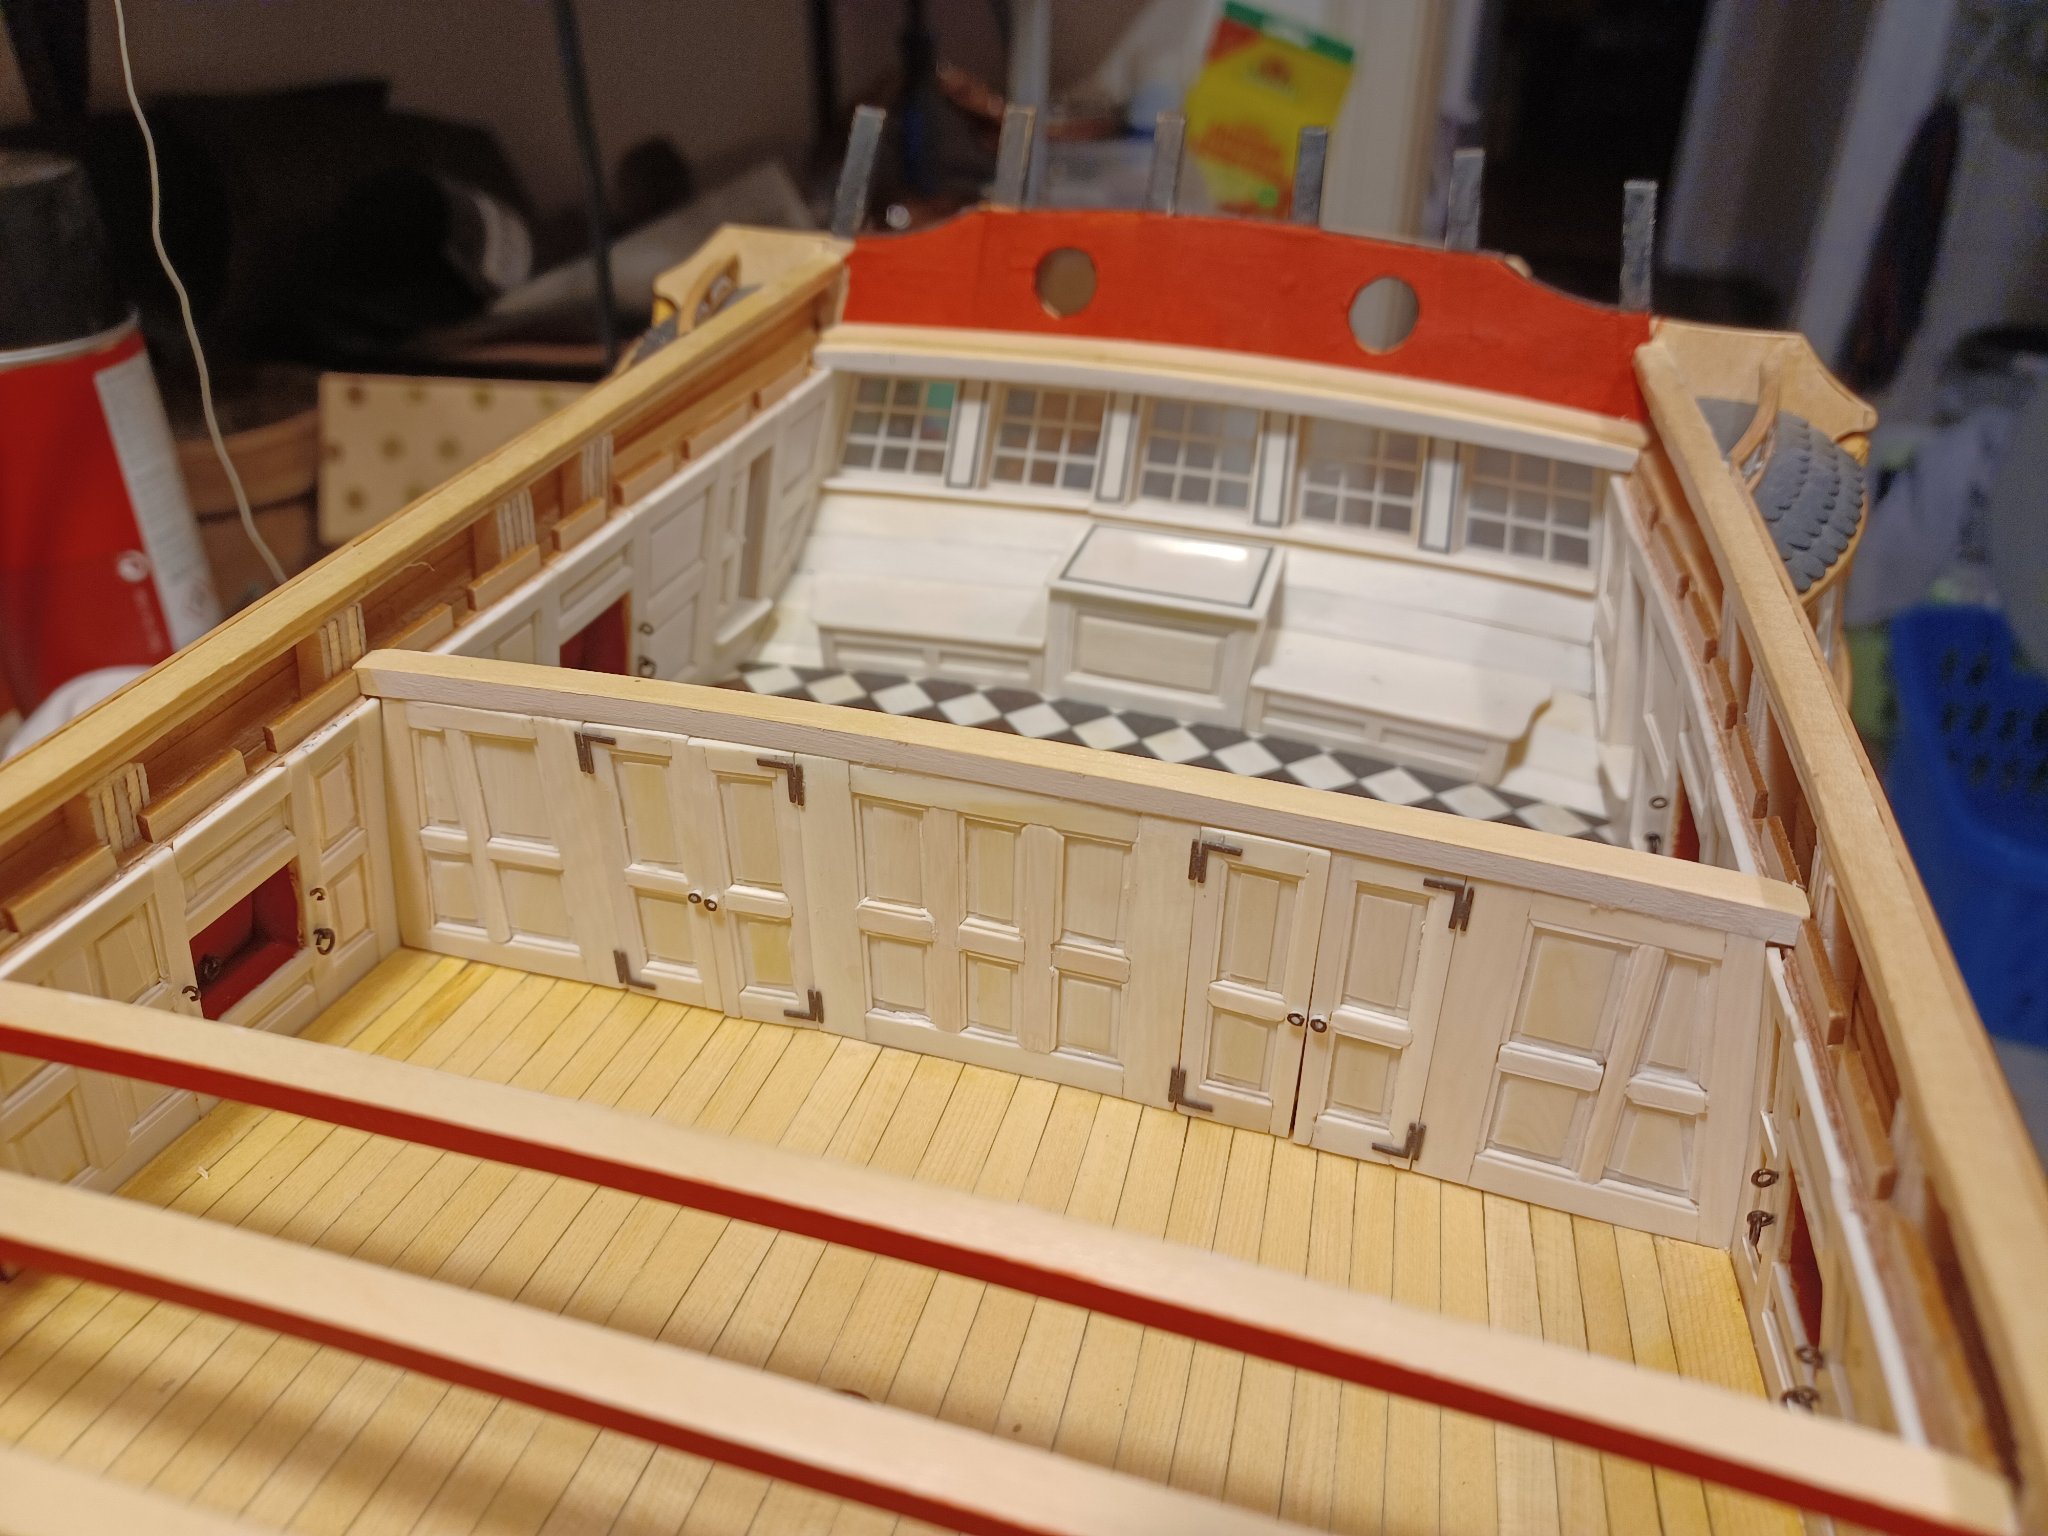
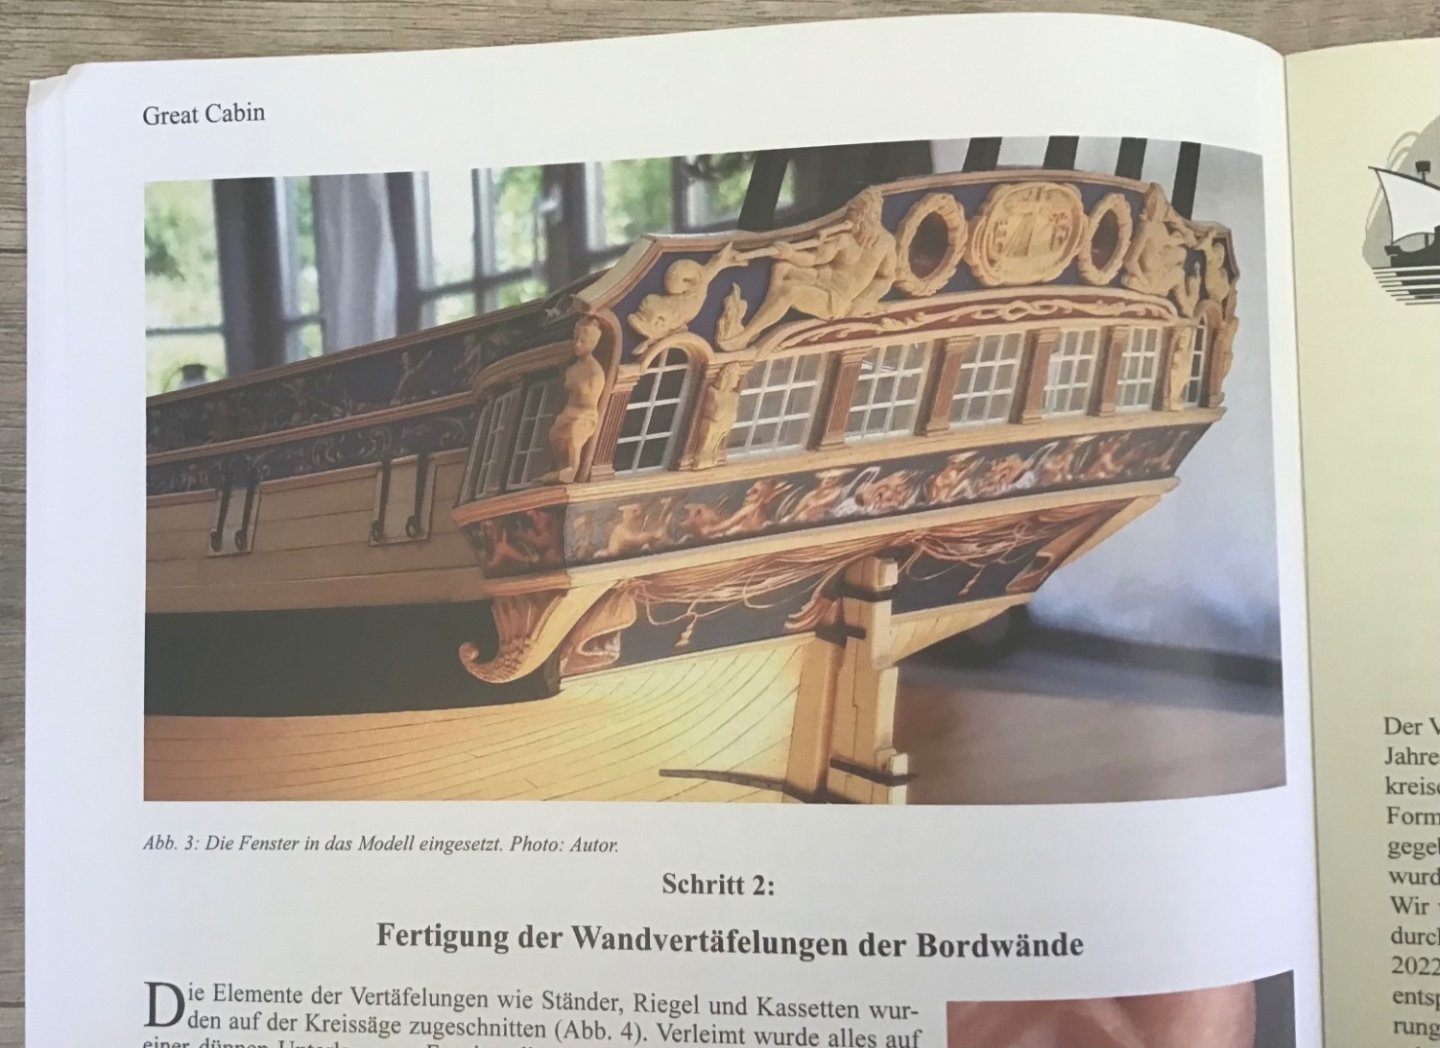
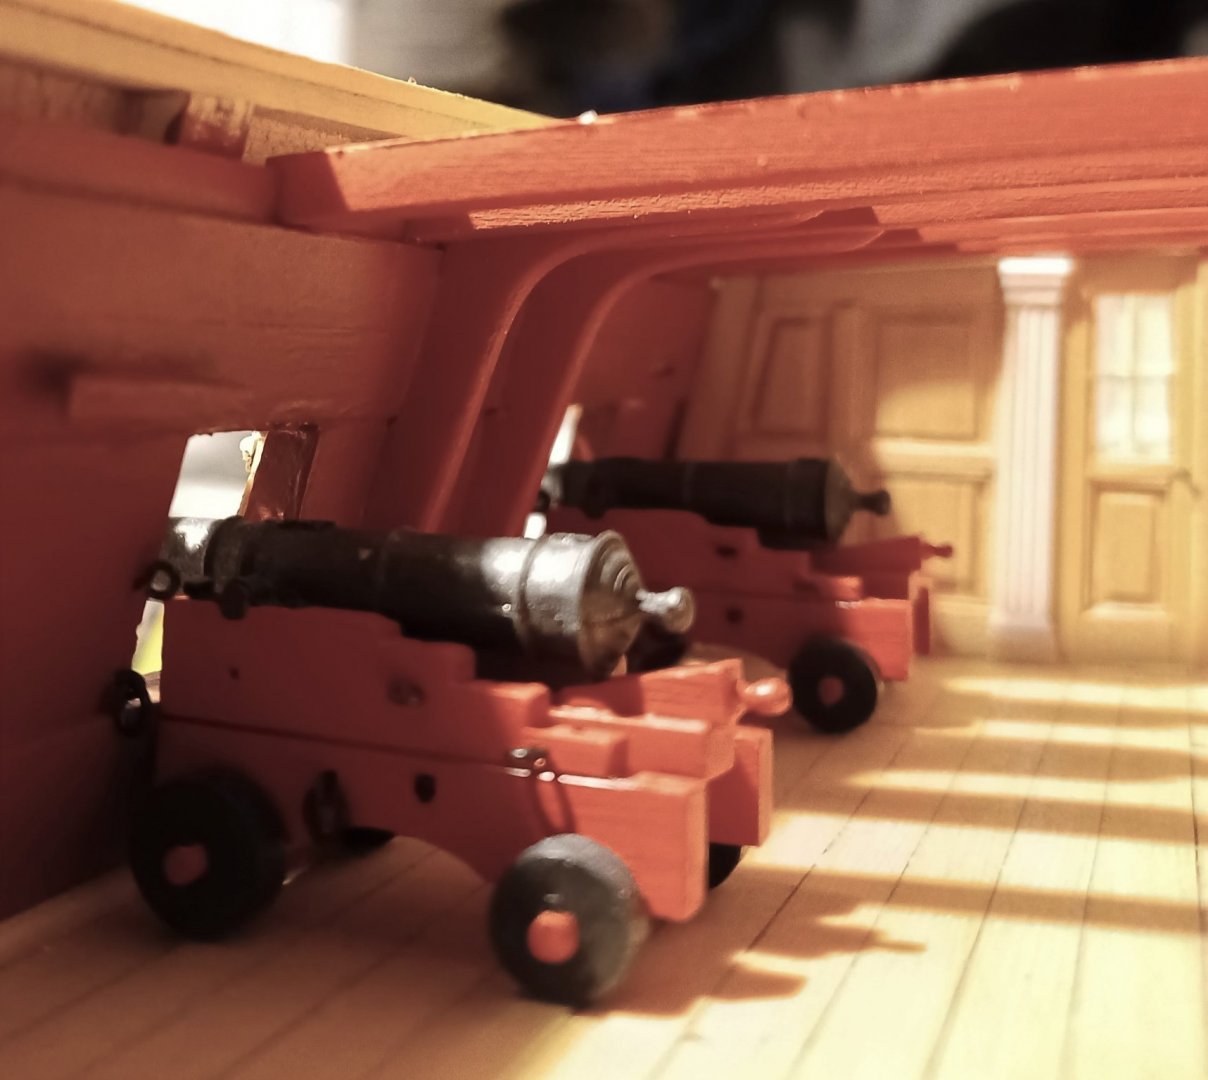
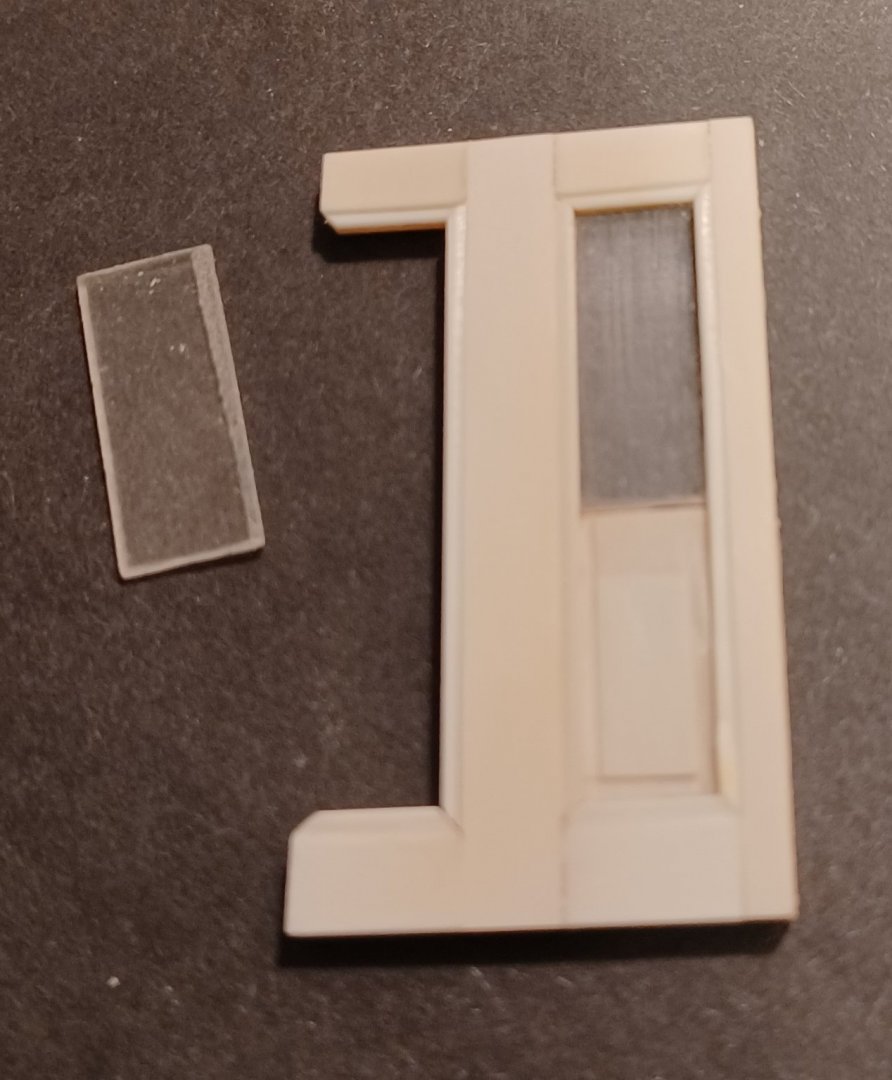
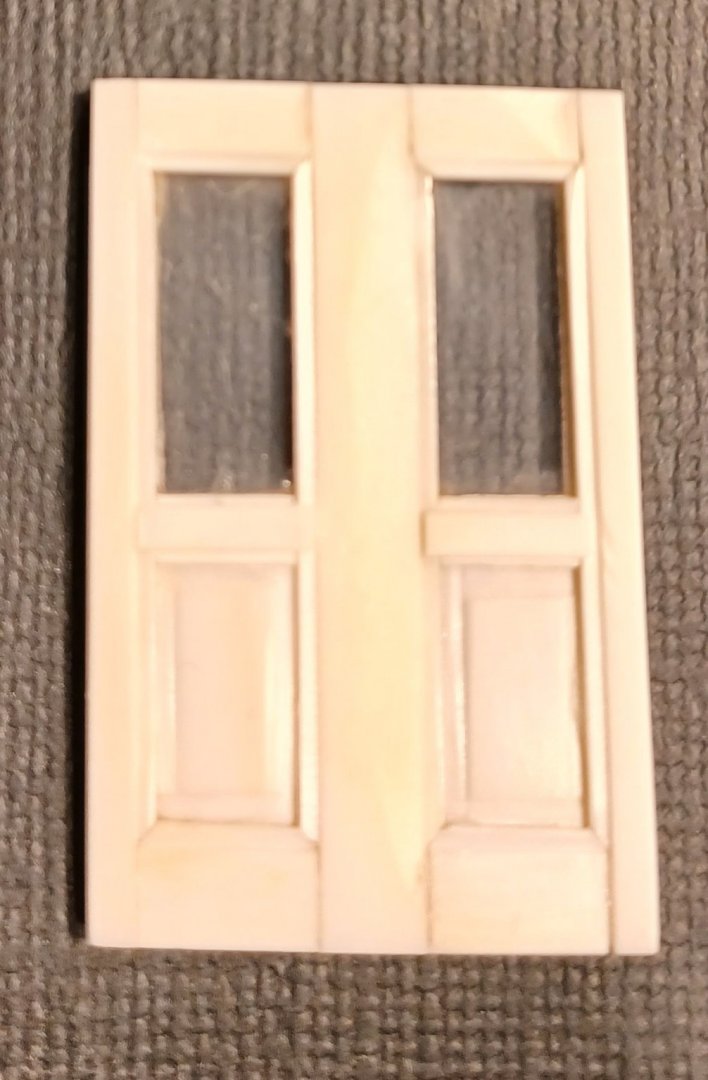
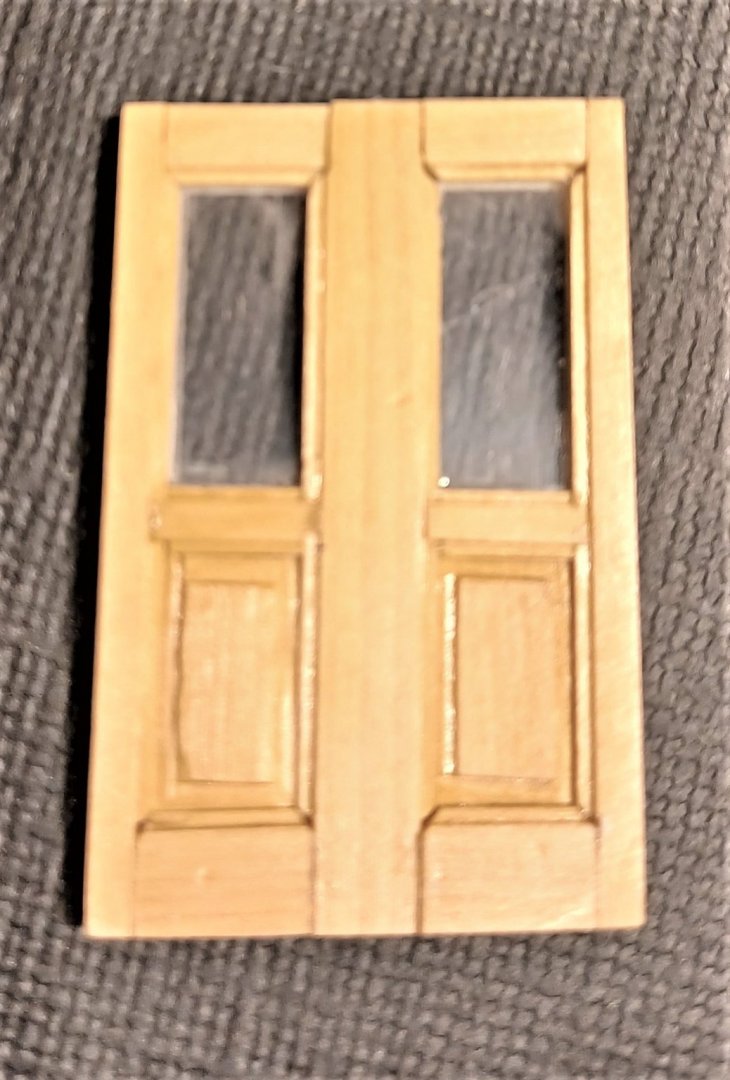
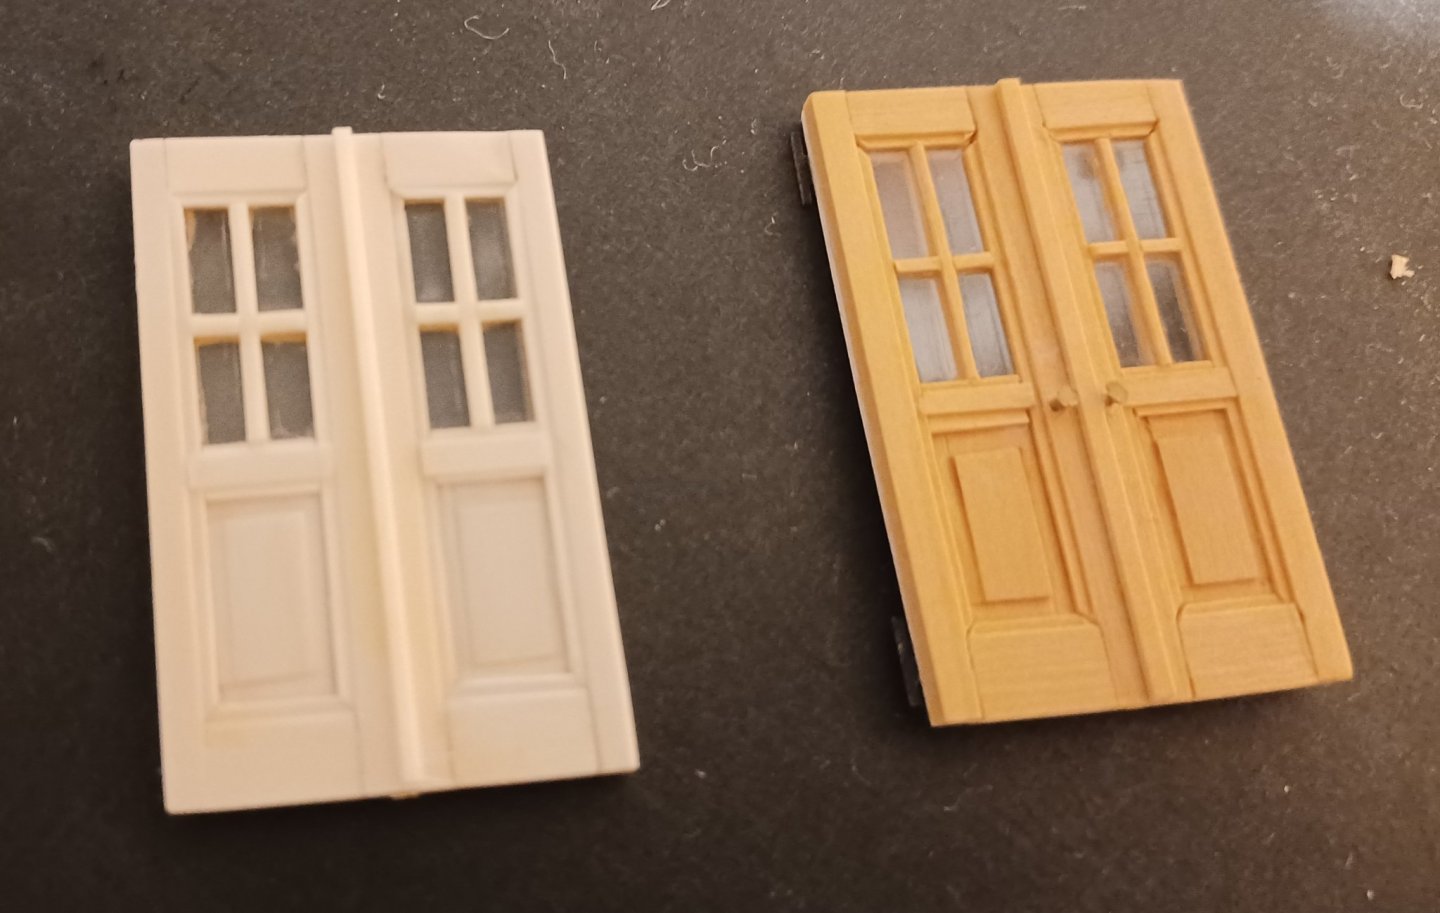
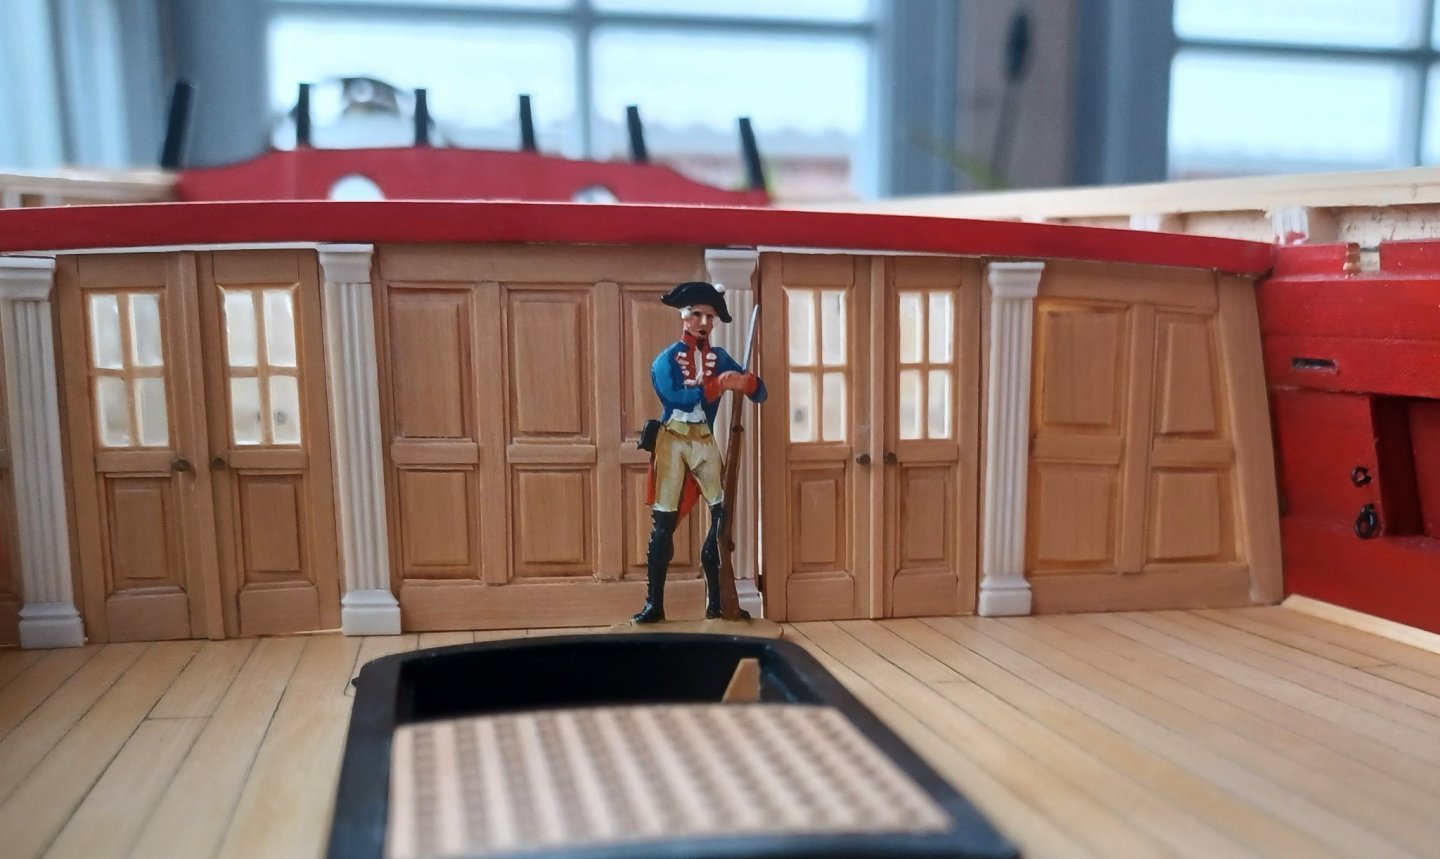
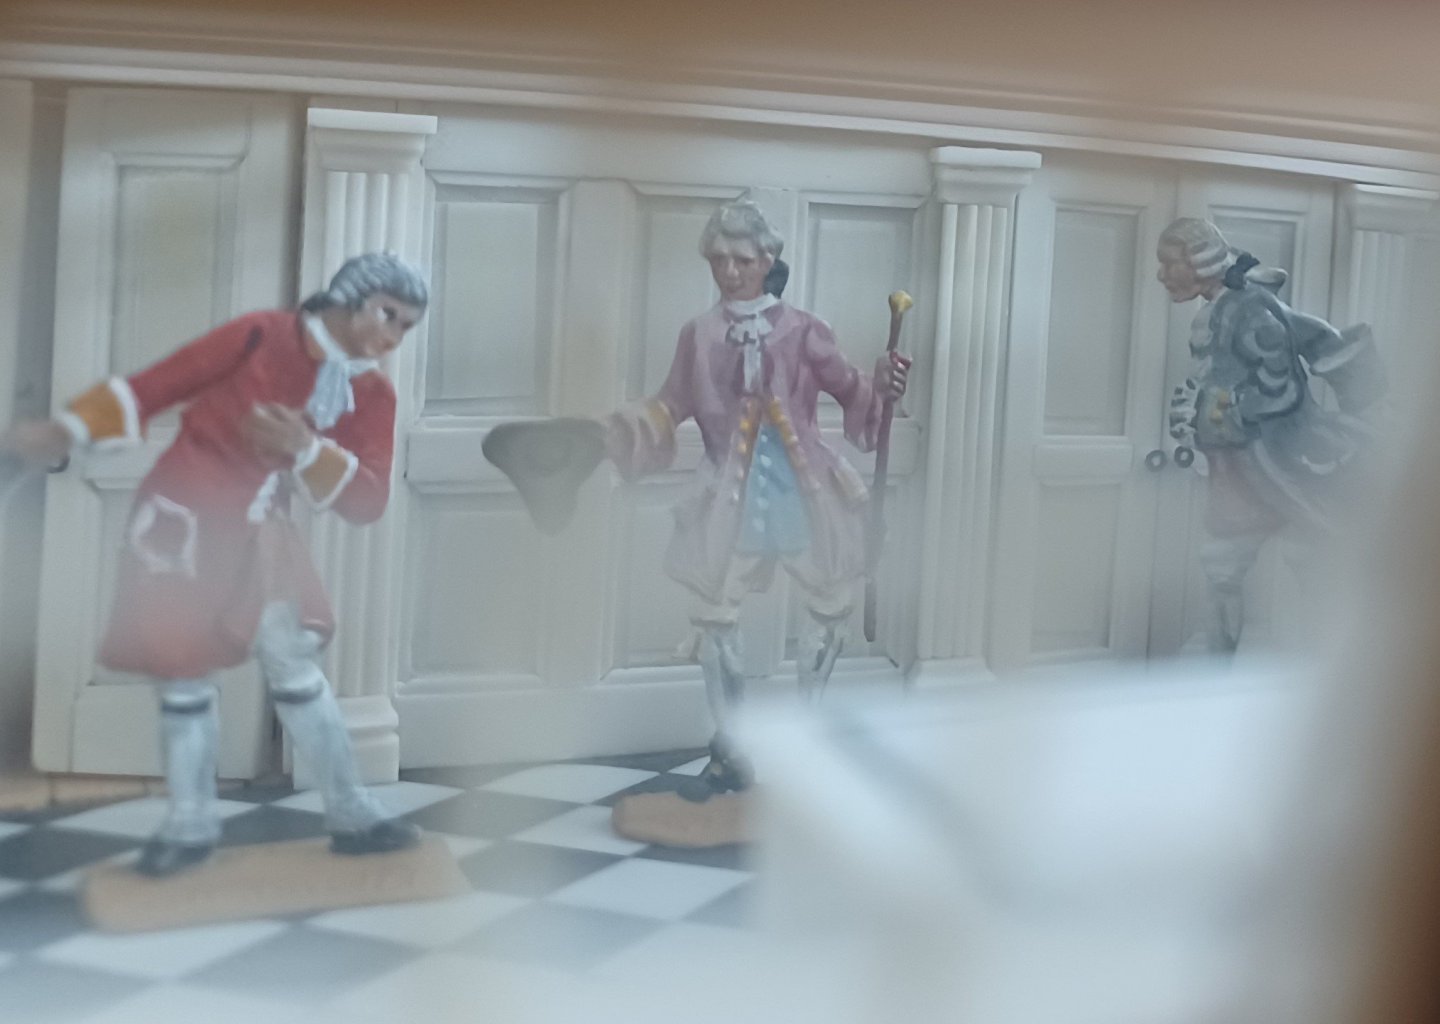
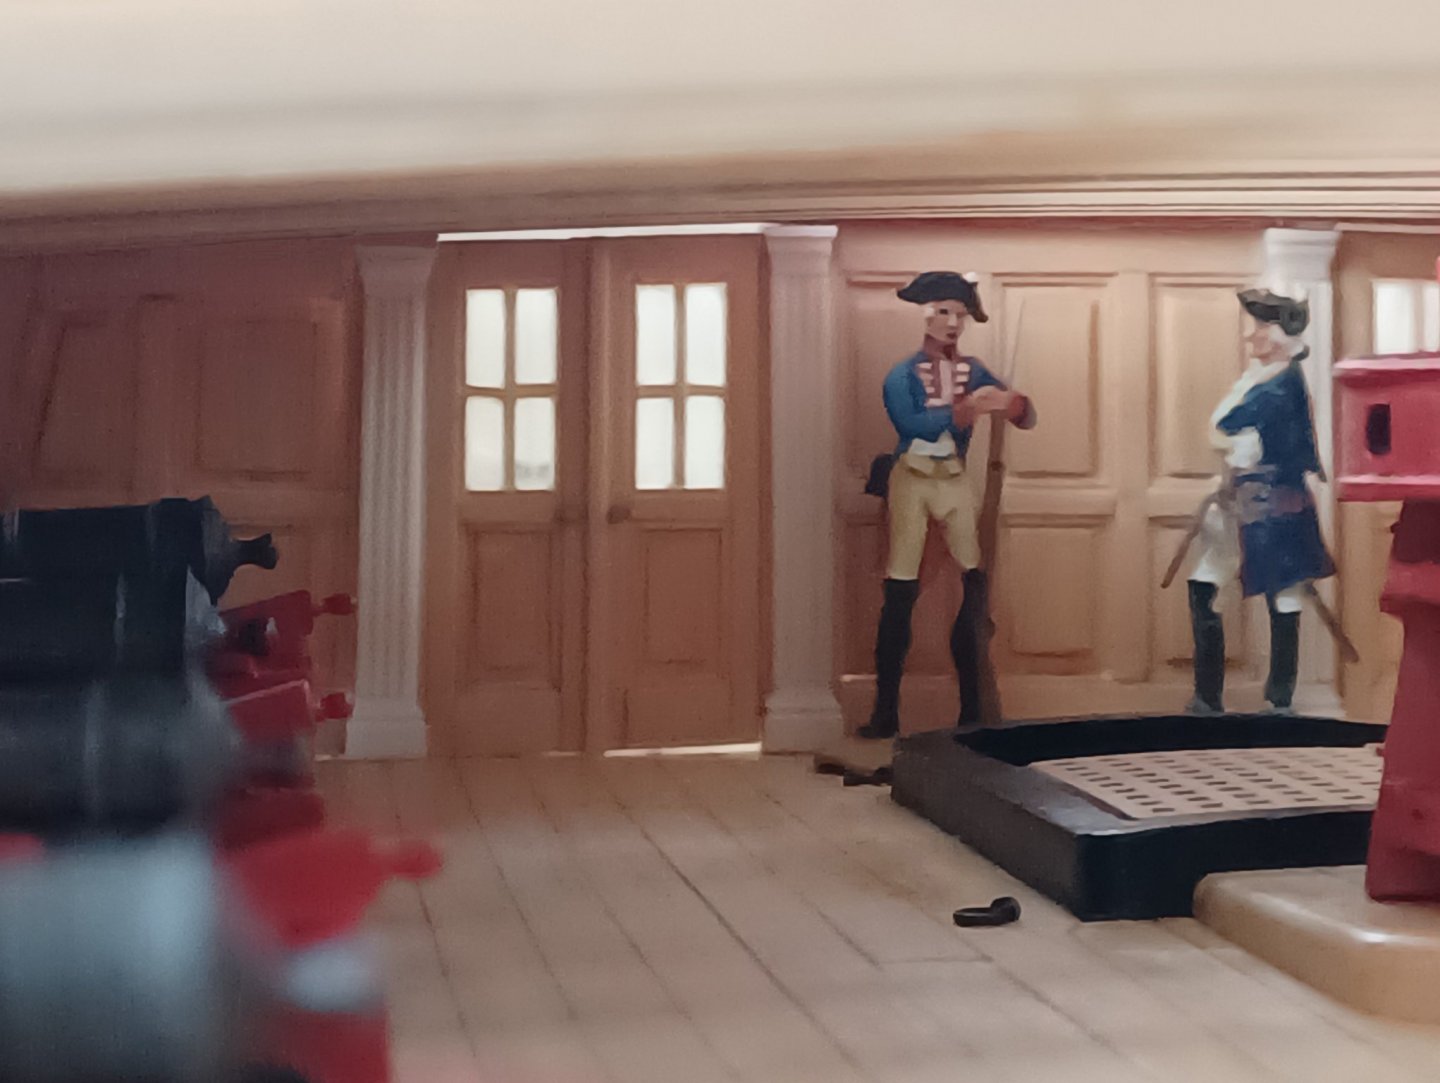
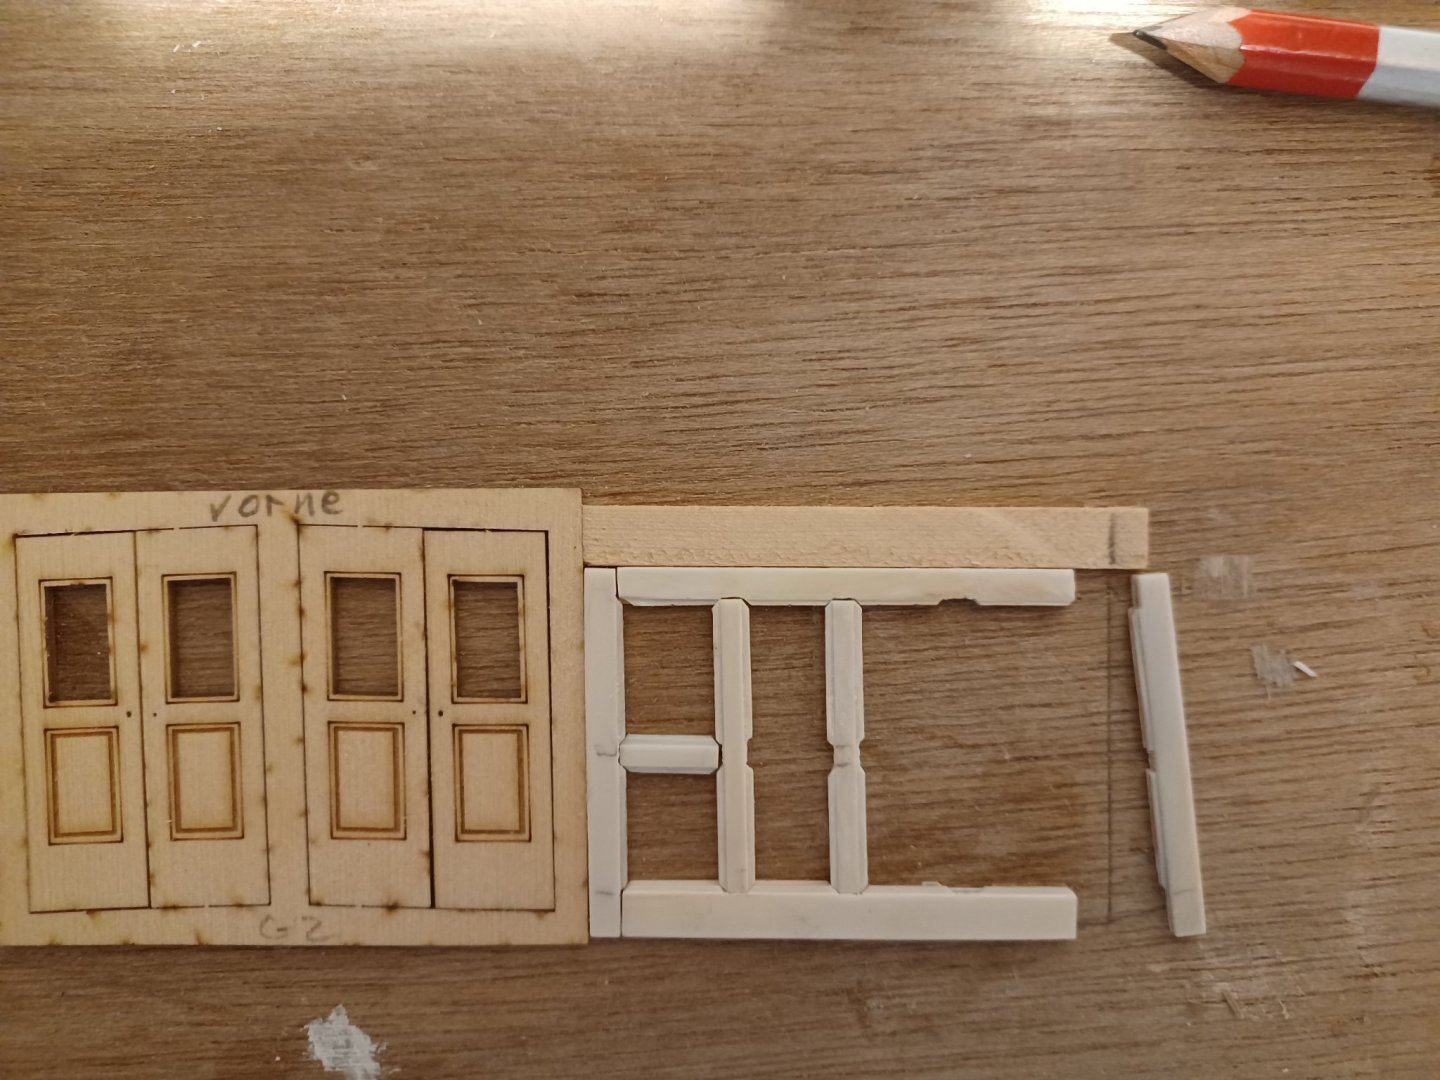
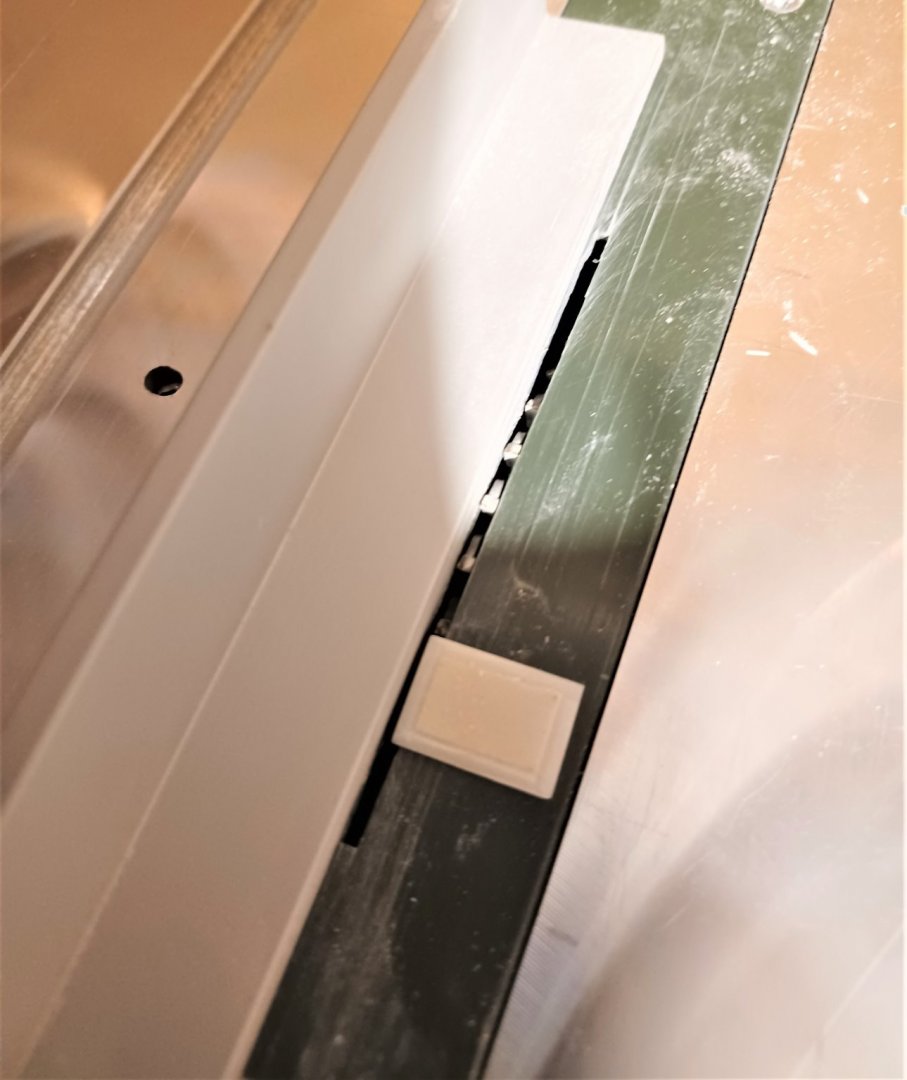
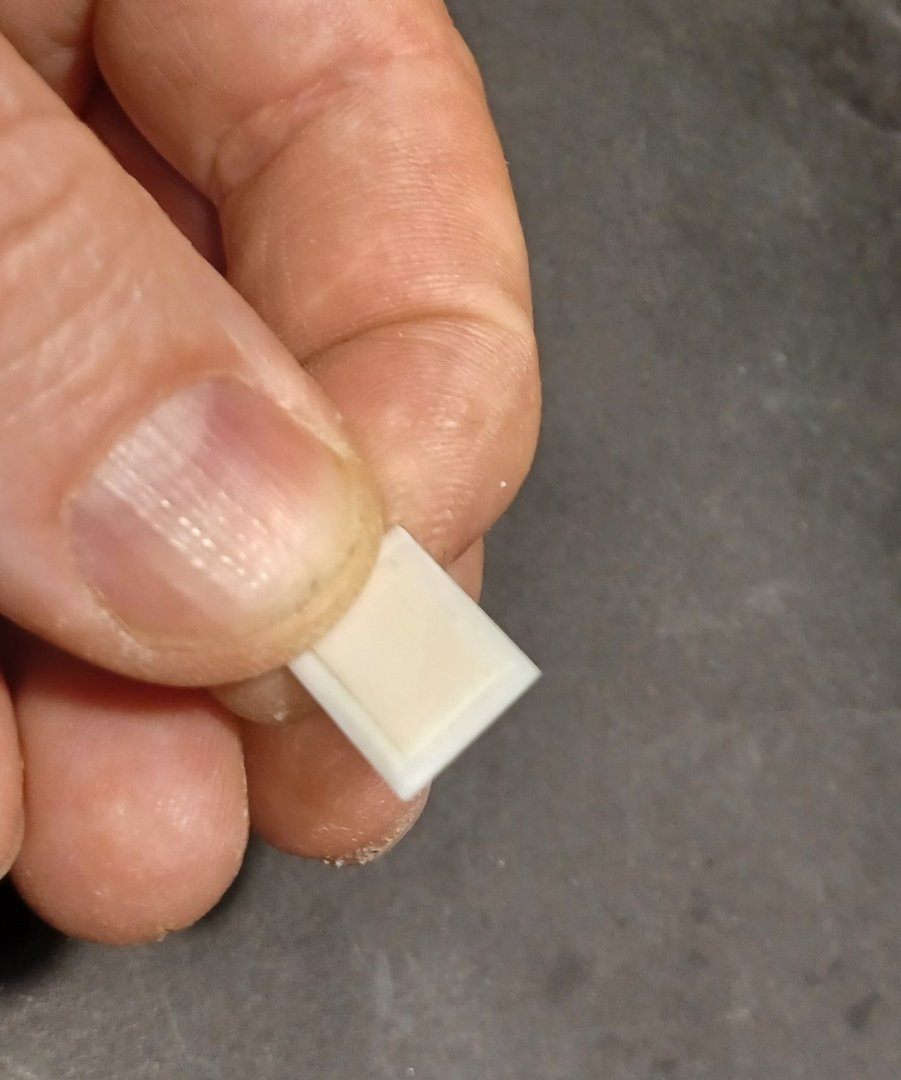
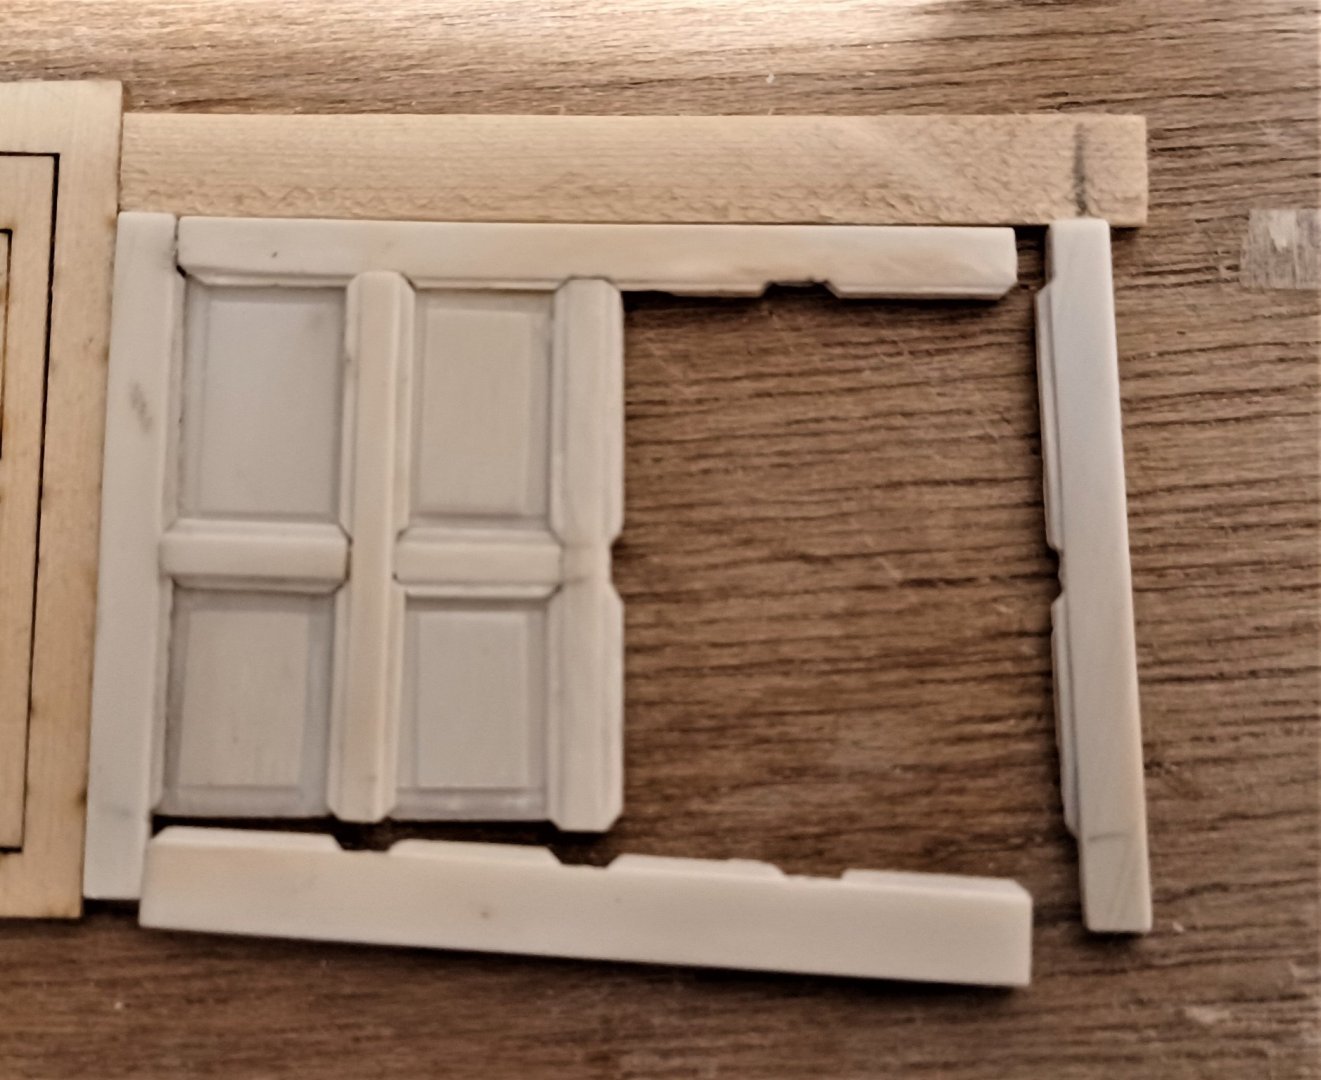
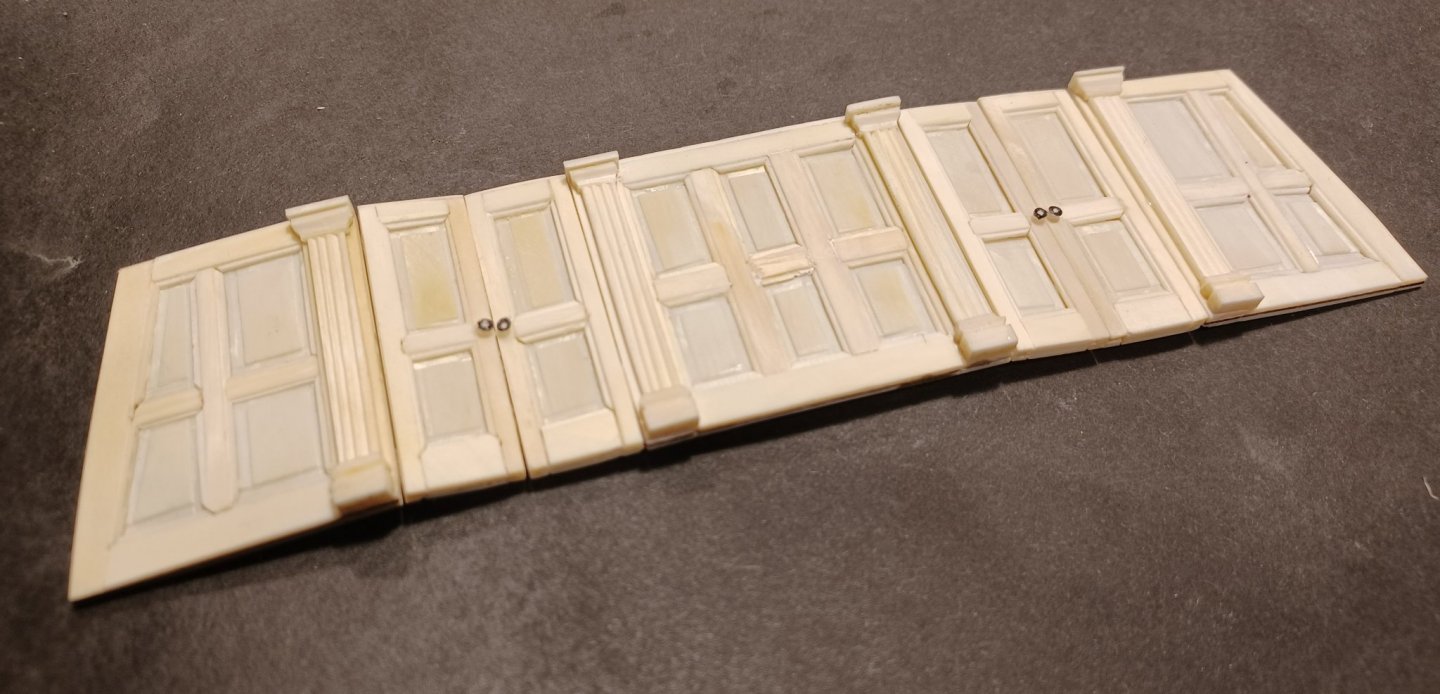
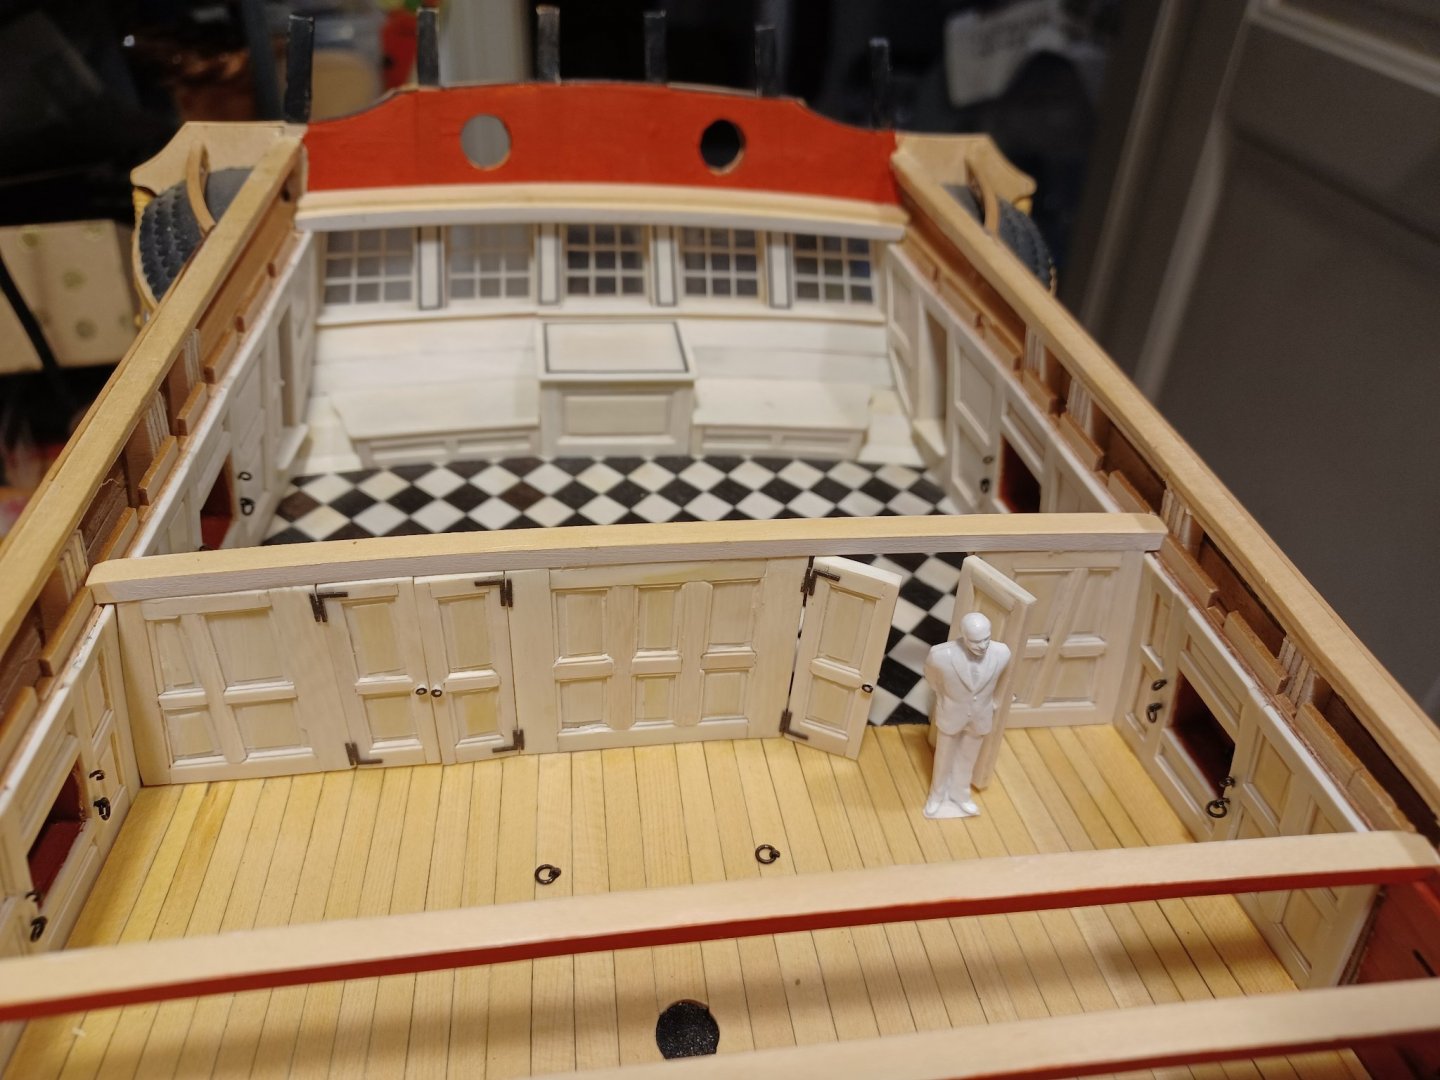
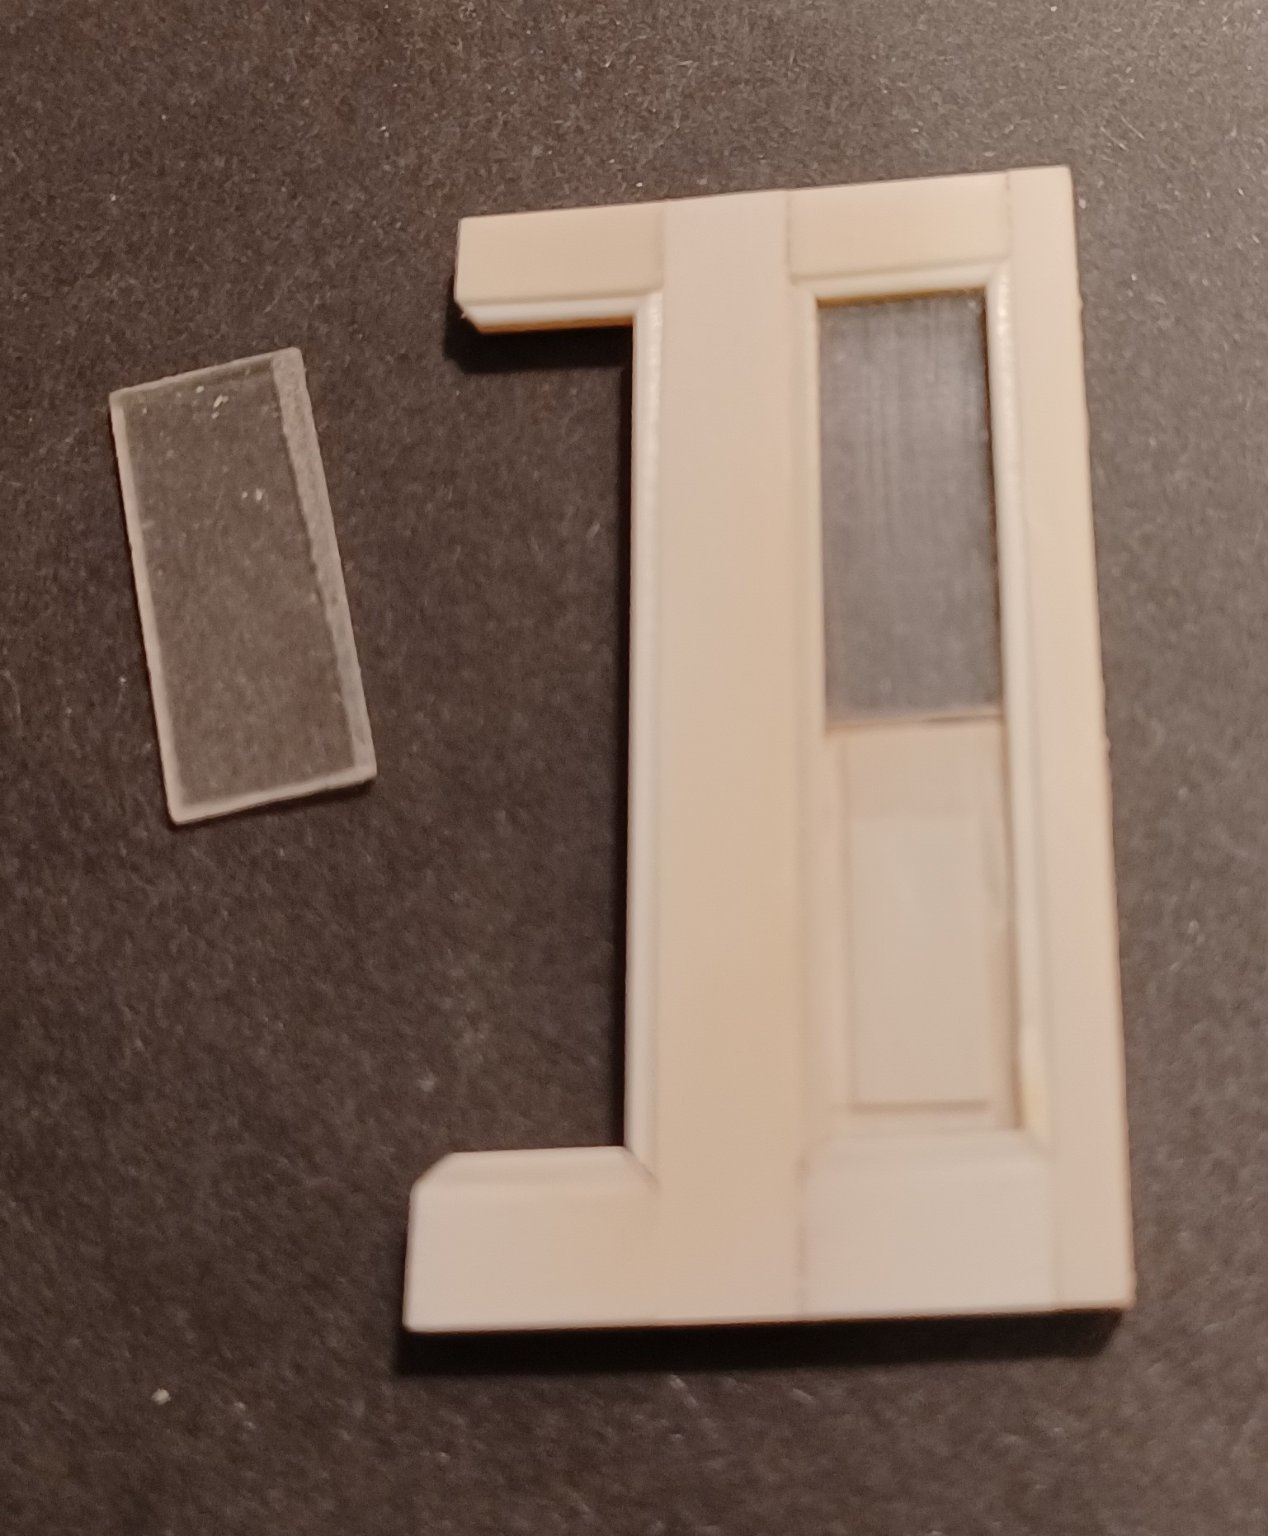
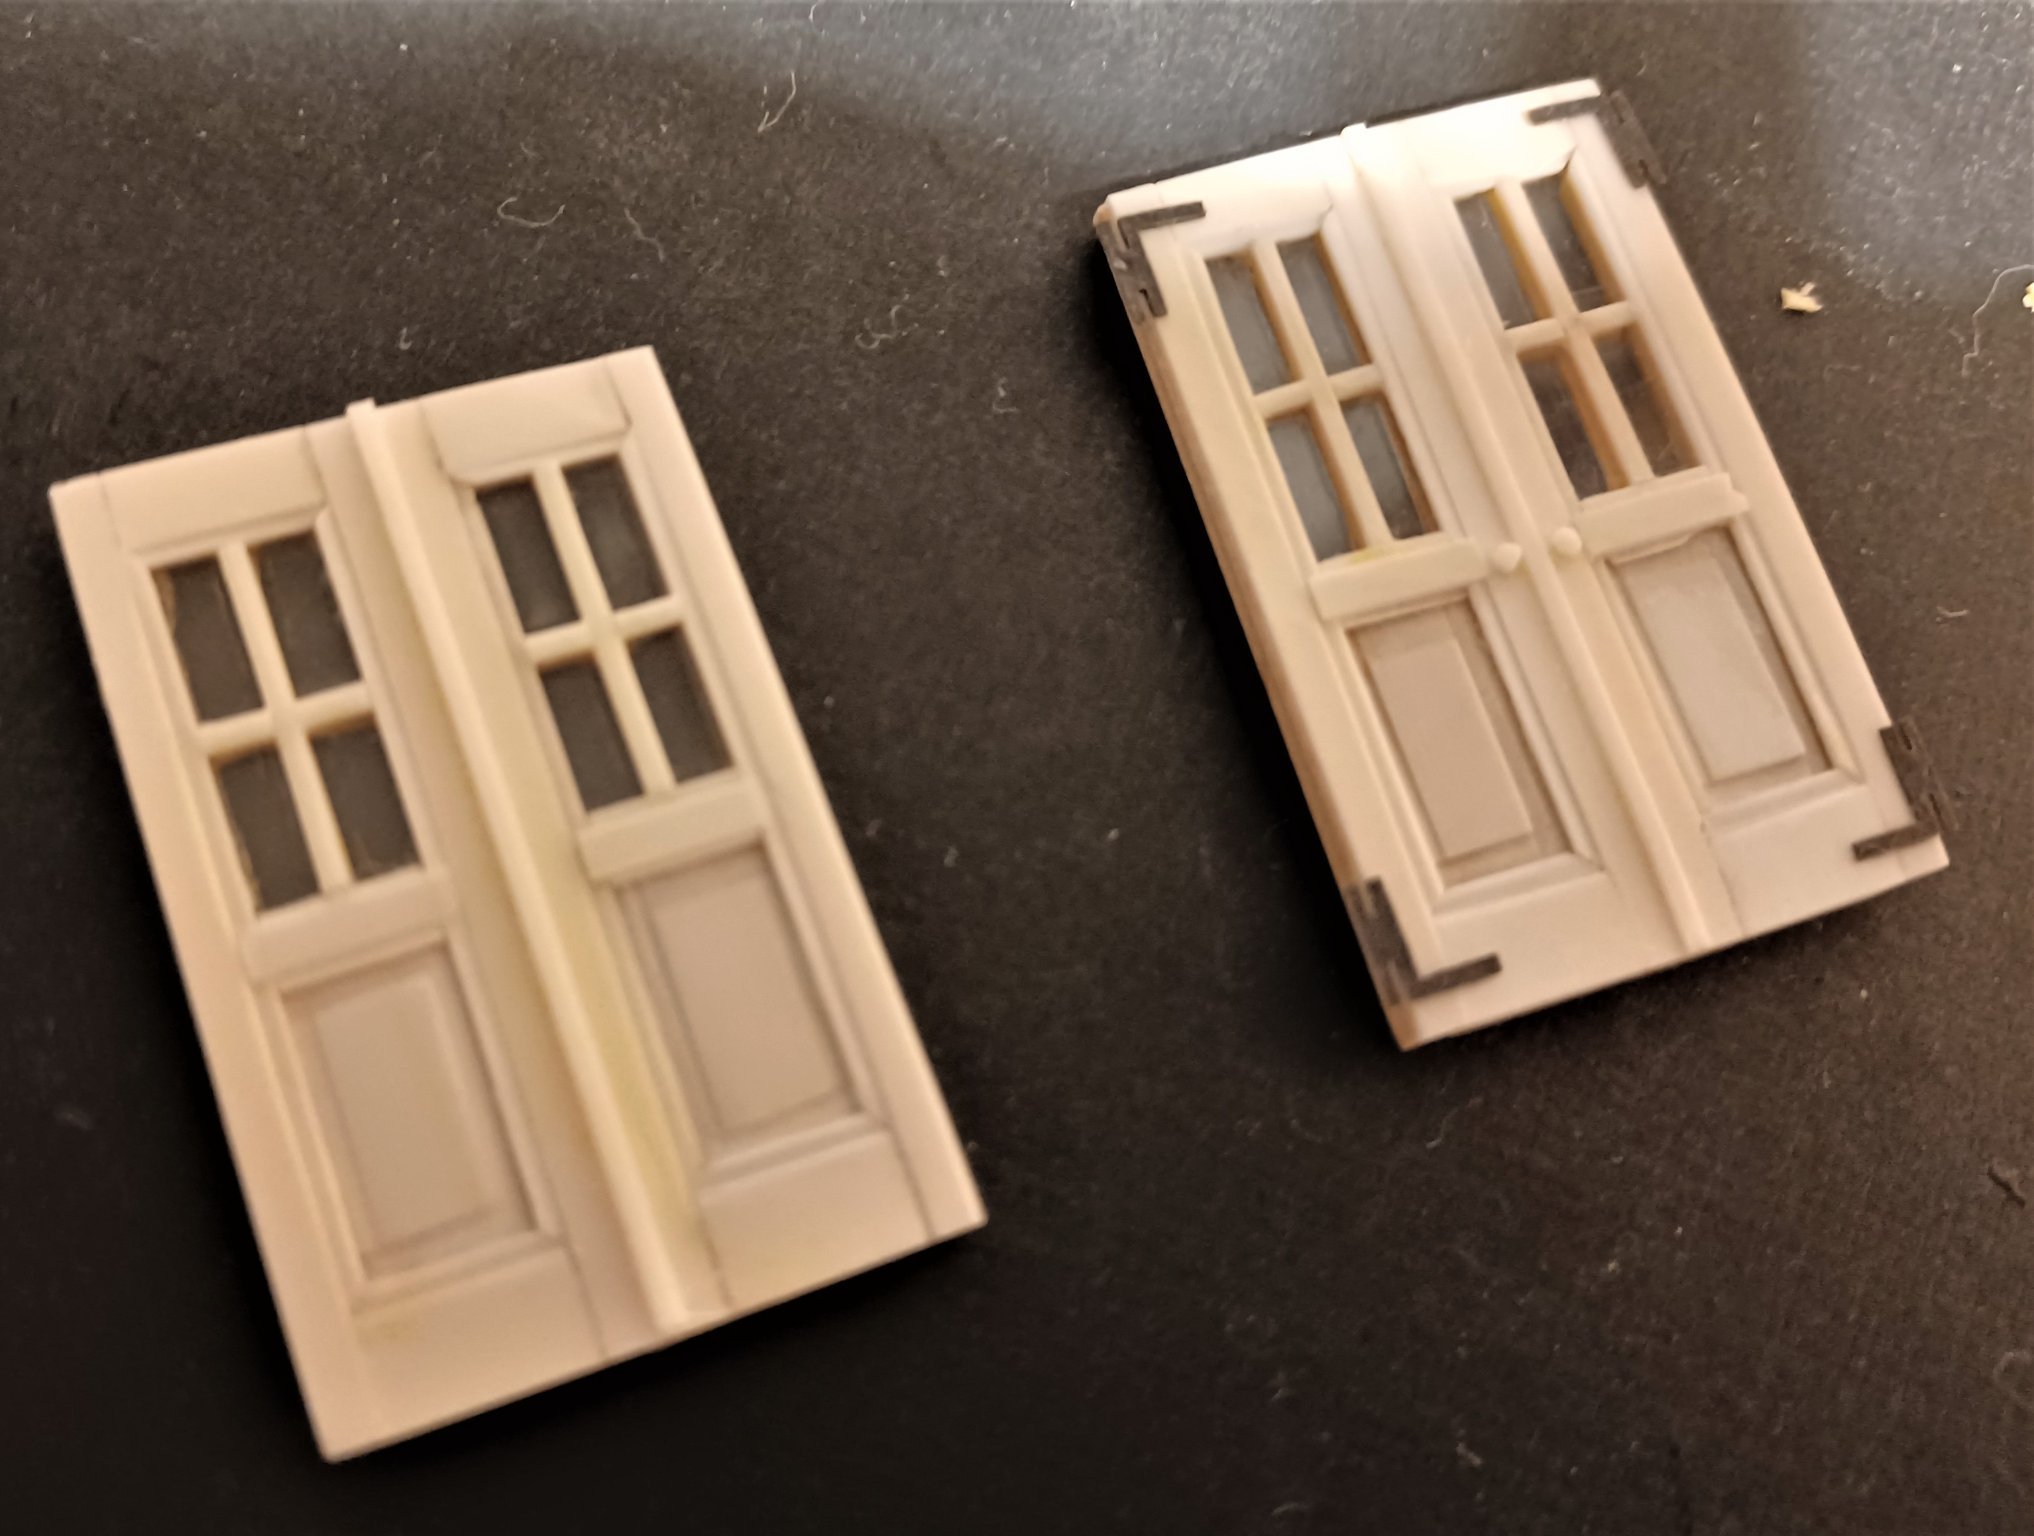
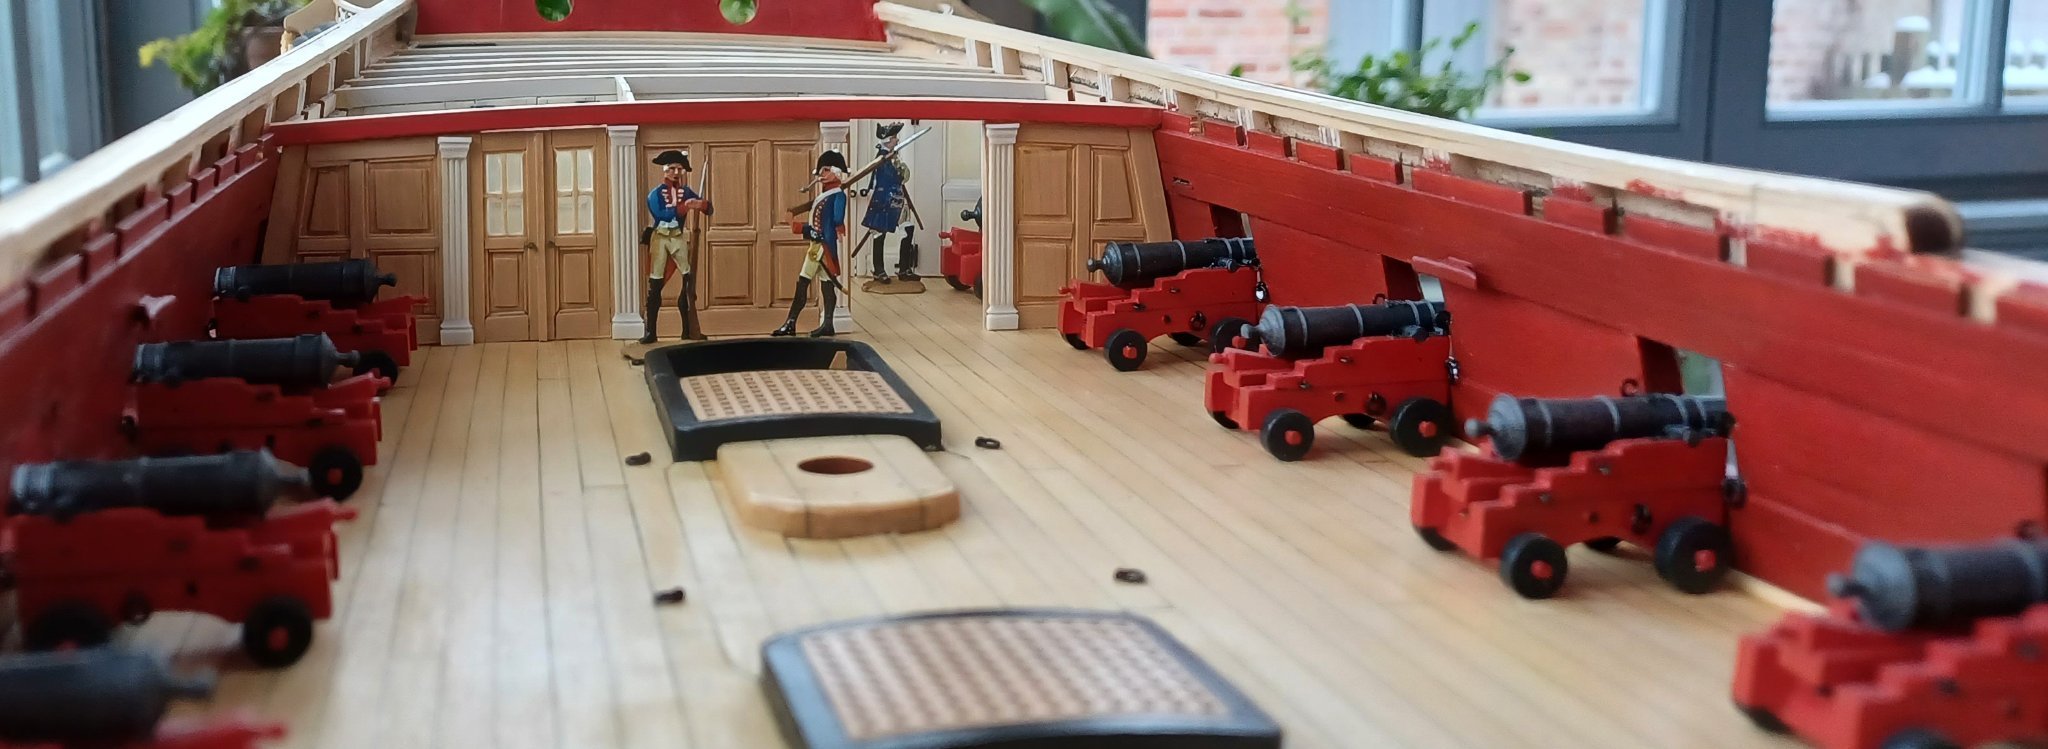
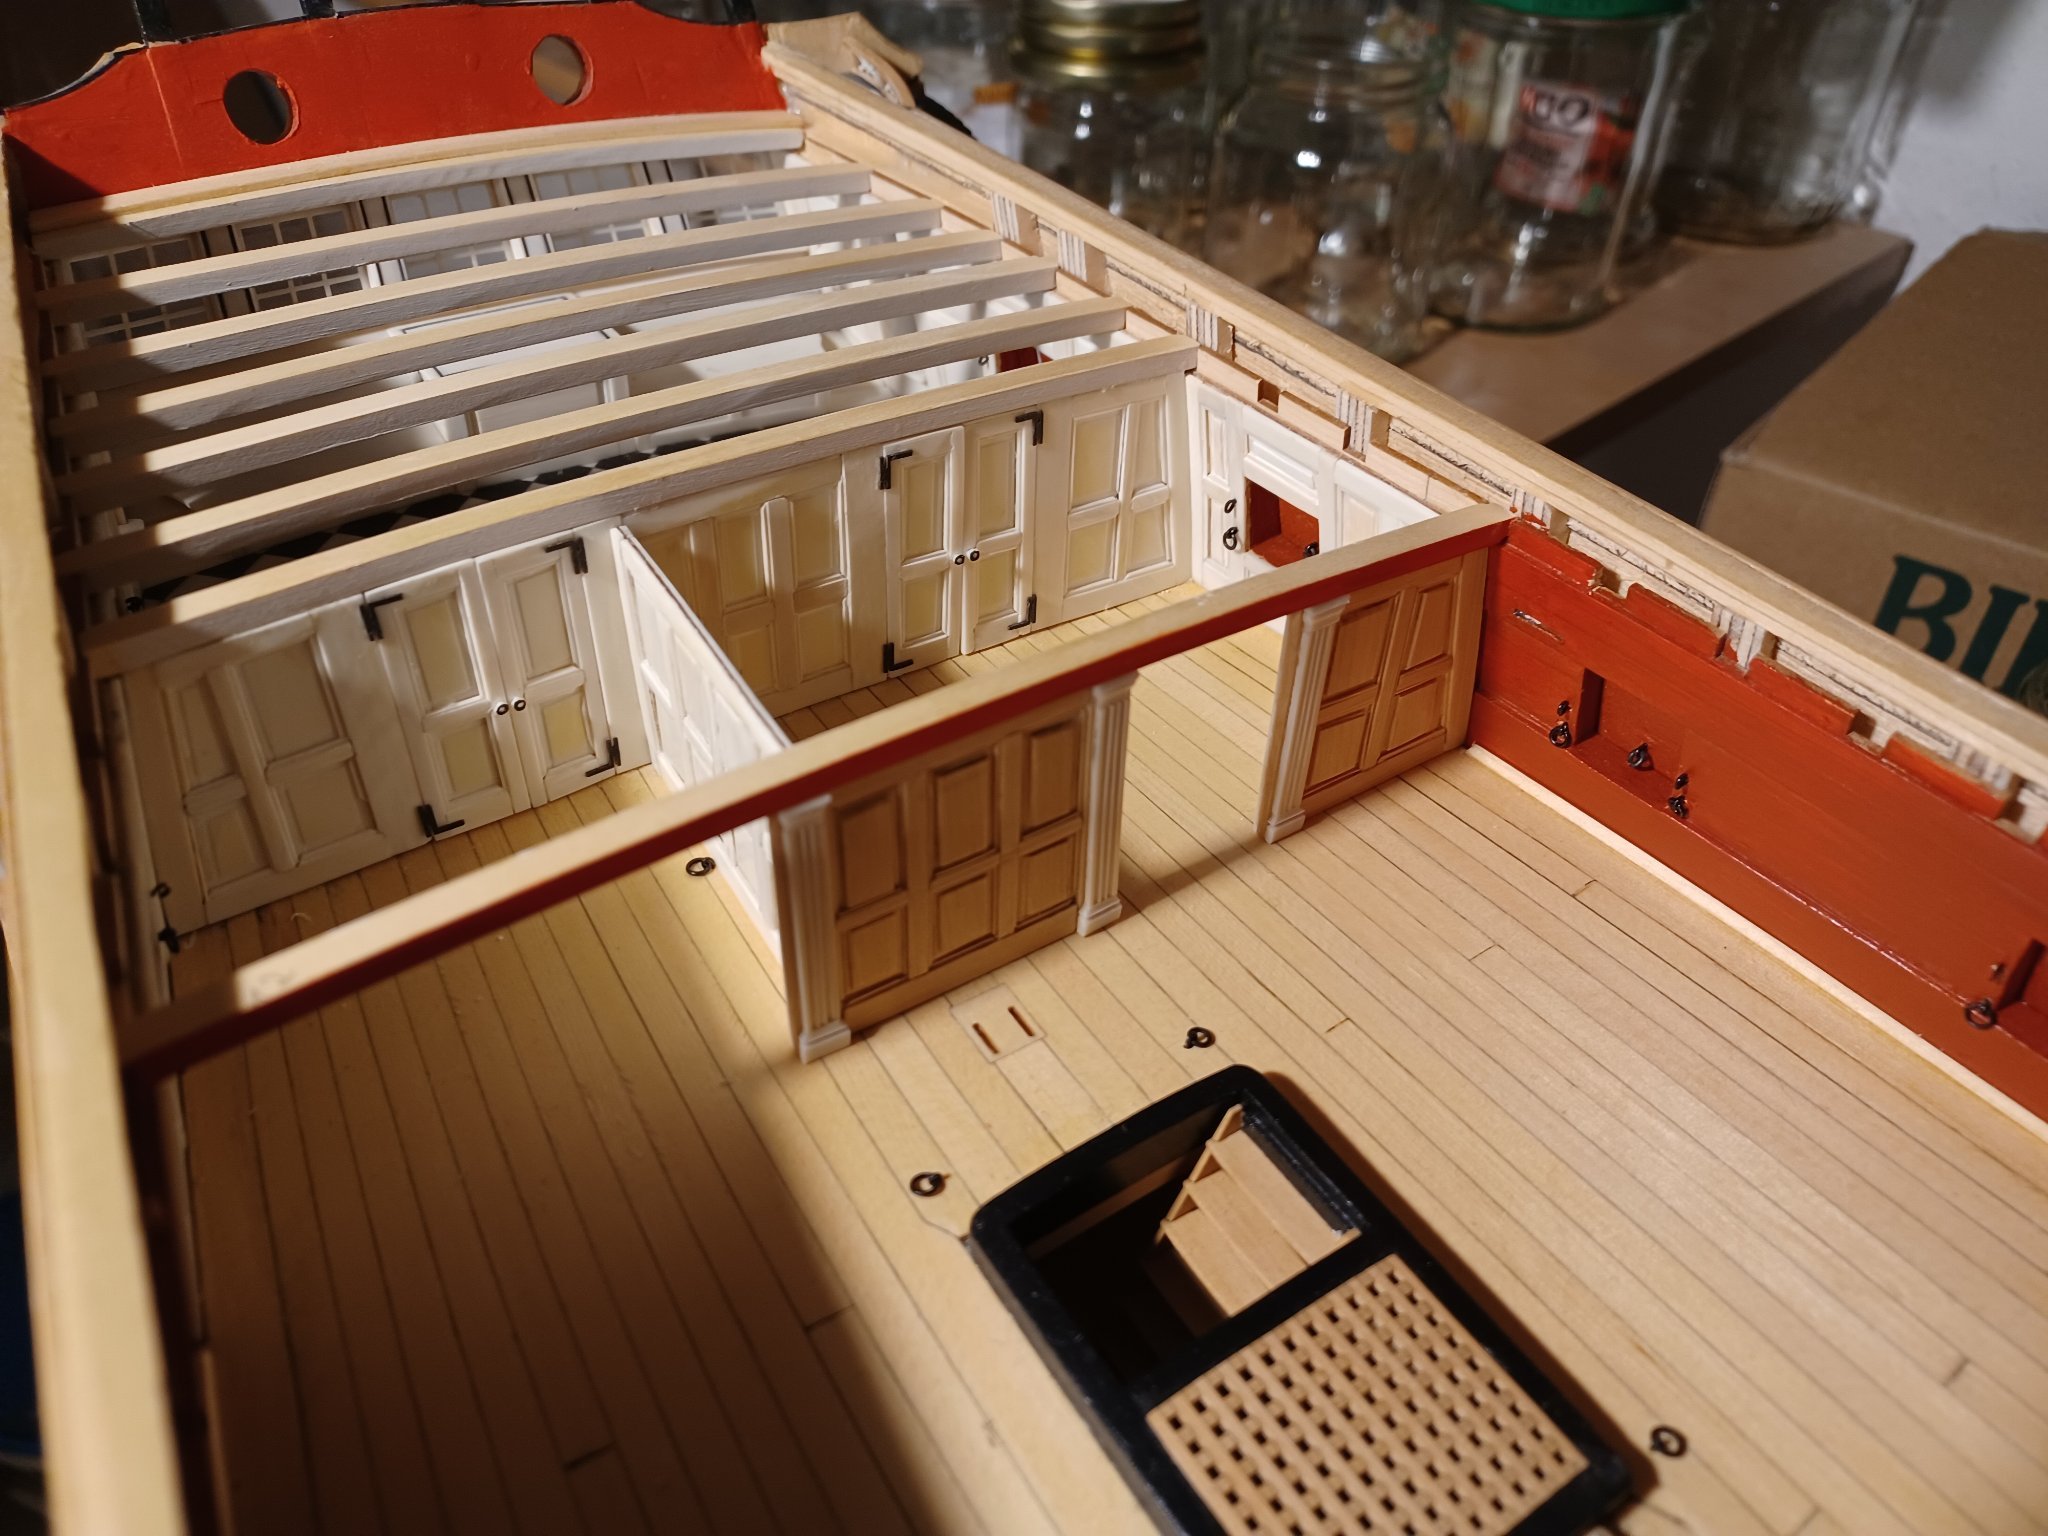
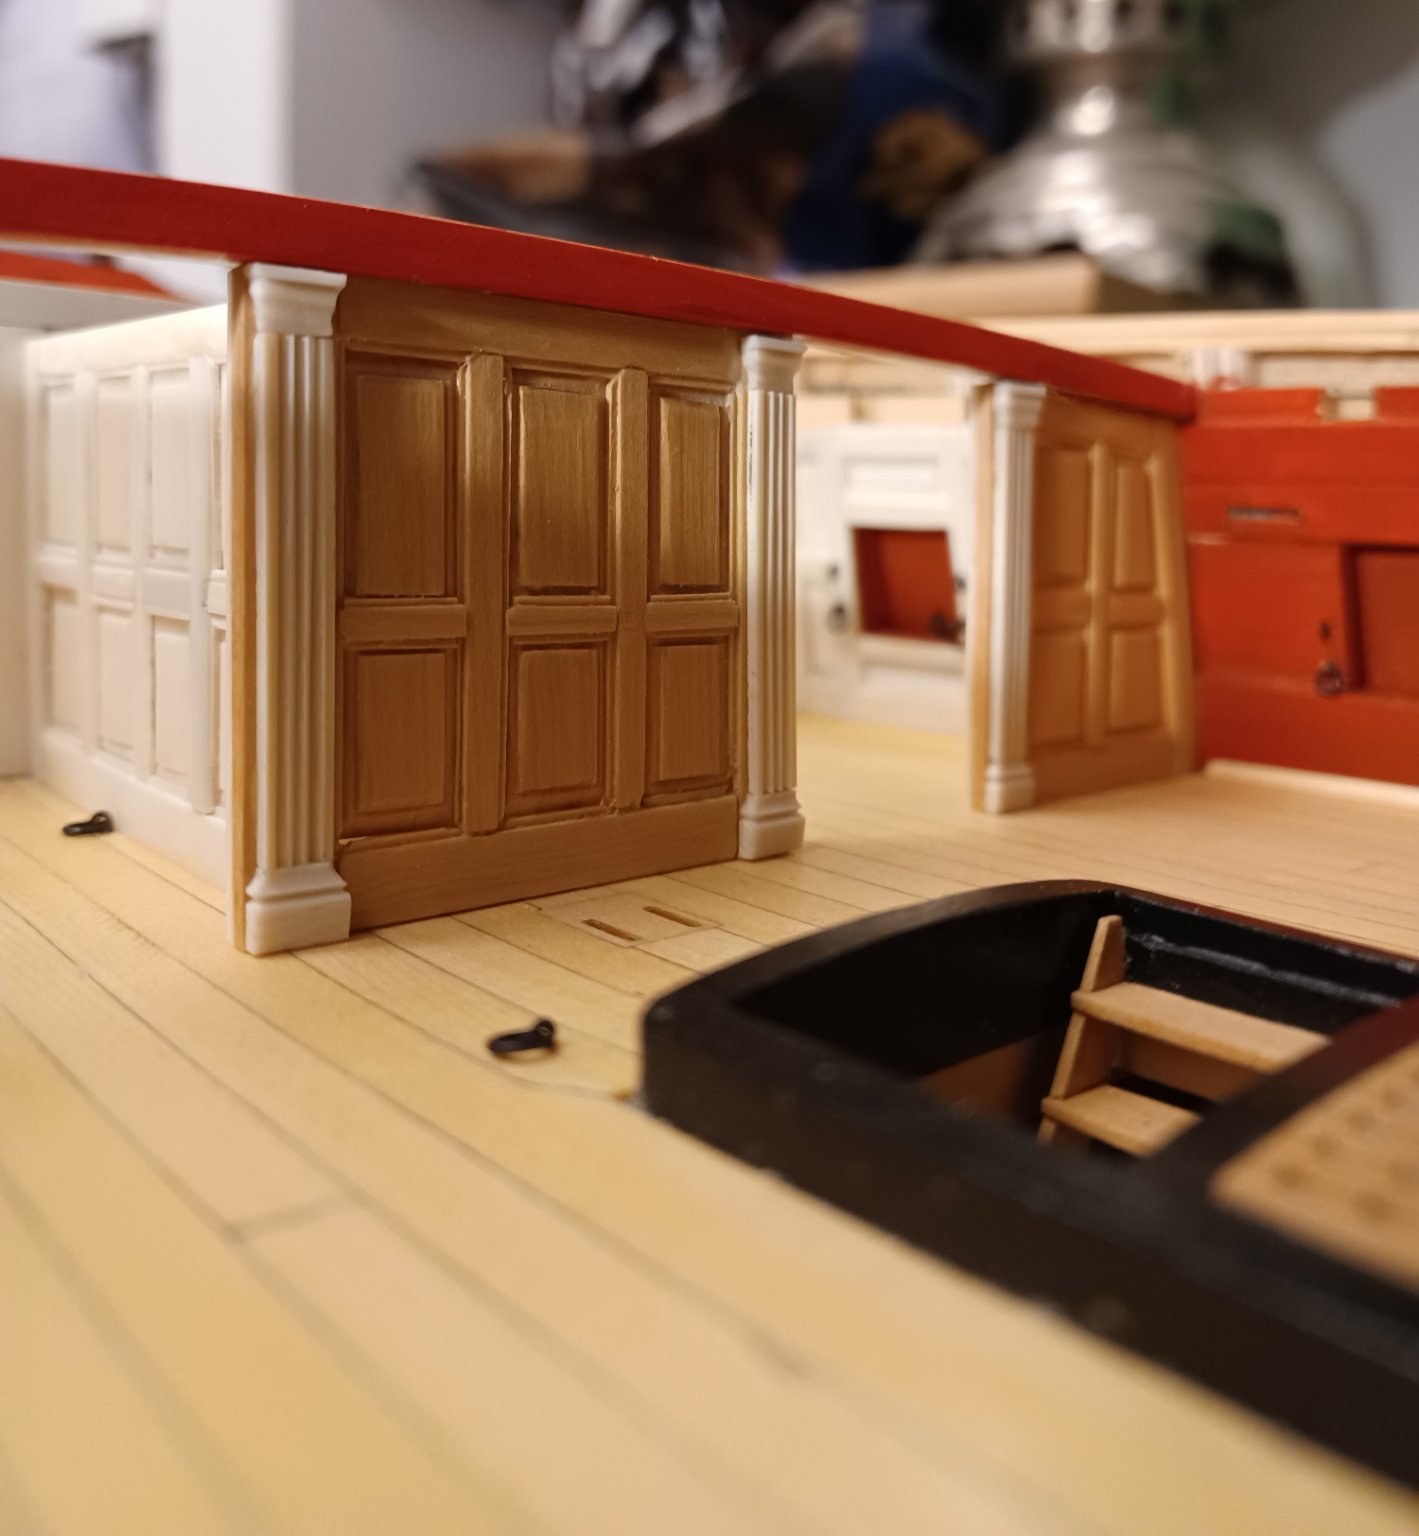
Hello everybody, This weekend I proceeded with the building of the doors for the front bulkhead. And I finally installed the bulkhead-arrangement to the model. The doors were built the same way as the rest of the front-panel: inside ivory, outside boxwood. For the windows I needed something more stable because of the glazing bars on both sides. After looking around a while I decided to cut a ferrero-rocher-box into peaces, they are from acryl and really thin an nice. Perhaps 0,3 mm thick. That worked quite well. After finishing this, I took the model out of the workshop and made some photos, because some prominent visitors came around to have a look at the great cabin. I think it was Tomas Slade himself. Matthias


-
What is the name of this one? It is a beautiful model and not too big fully rigged. And it is just the right size for a POF challenge.
- 1,784 replies
-
- 2
-
-
- winchelsea
- Syren Ship Model Company
- (and 1 more)
-
But you will hopefully develope the model in 1/4 scale?
- 1,784 replies
-
- 1
-
-
- winchelsea
- Syren Ship Model Company
- (and 1 more)
-
A POF-kit from Syren is a wonderfull perspective!! I am thinking of these pictures you posted from the two Thomas-Burroughs models, Winchelsea and the big one, half open, with a view into the framework, half planked on the other side. That would be beautiful.
- 1,784 replies
-
- 3
-
-
- winchelsea
- Syren Ship Model Company
- (and 1 more)
-
Hi, what a wonderful model, I hope you post a video of the maiden voyage!! Matthias
-
Hi everybody, today just a small update, I proceeded with the next bulkhead, wich is half wooden, half ivory. The way to build it is almost the same as shown above. The difference is just the two materials being glued together in advance. Next will be the doors. Matthias


-
Hi Cisco, These ivory keys were cut a century ago. But you can cut it with a circular saw. I glued it with superglue?? I dont know the englisch expression. It is dry within seconds. Matthias
-
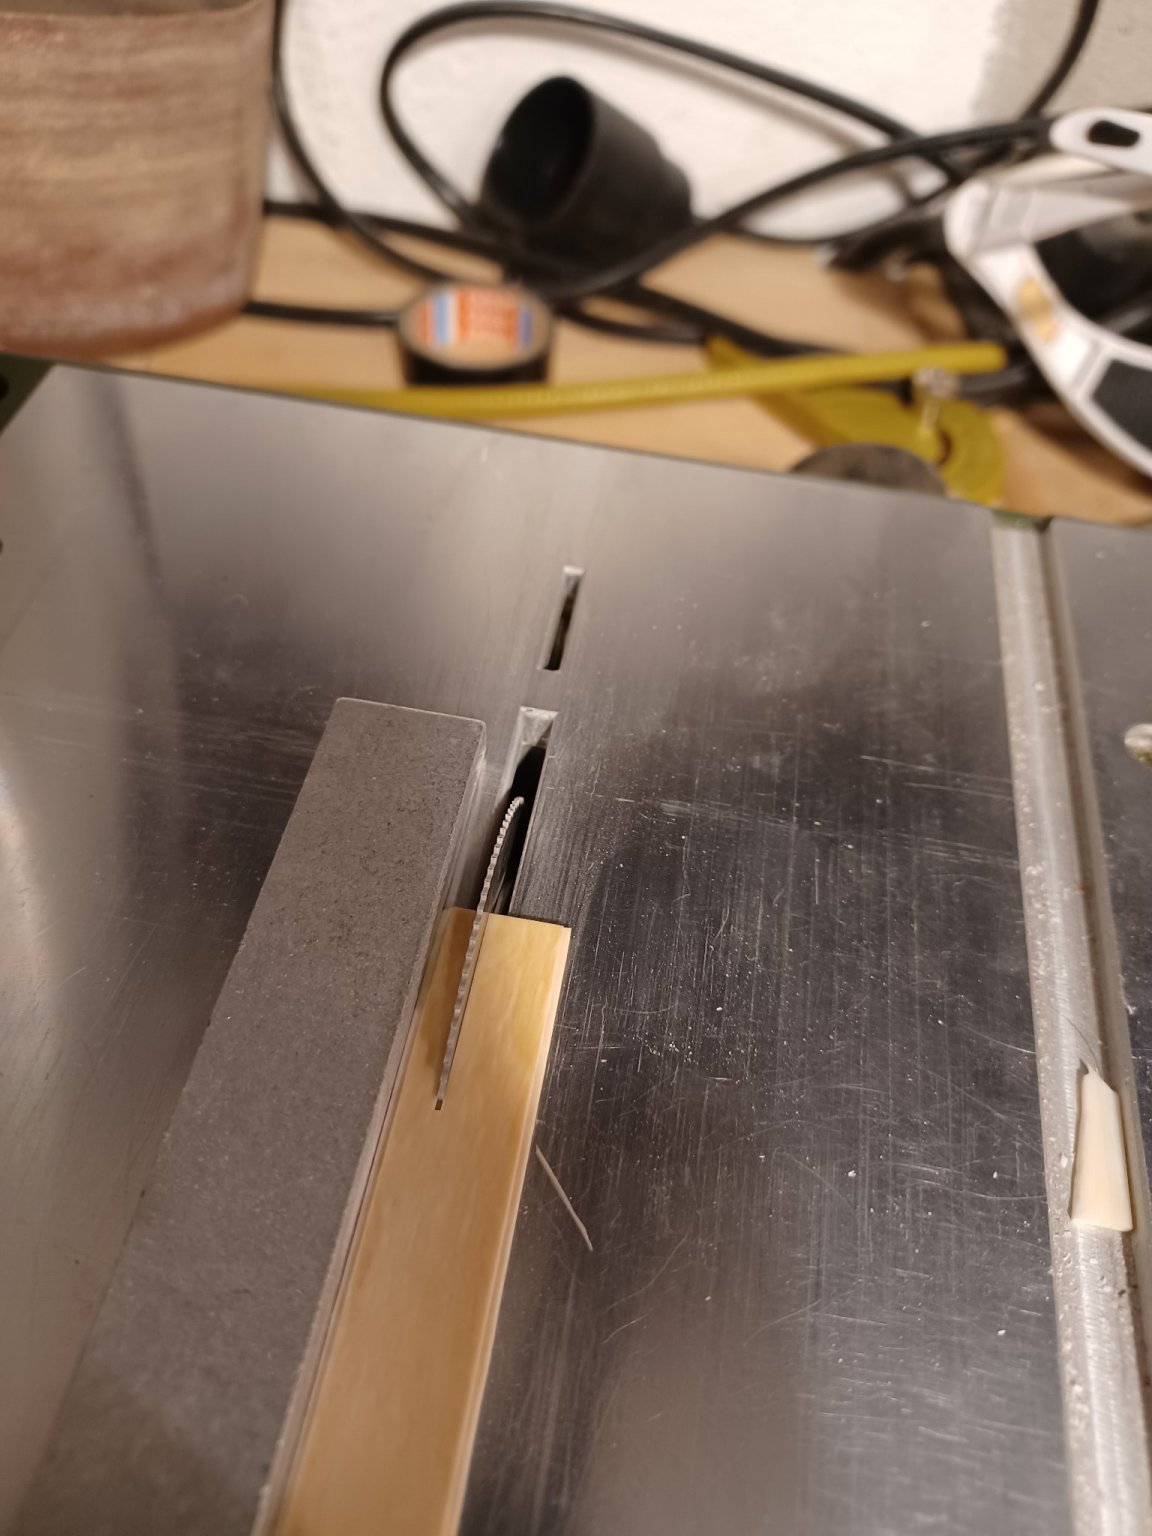
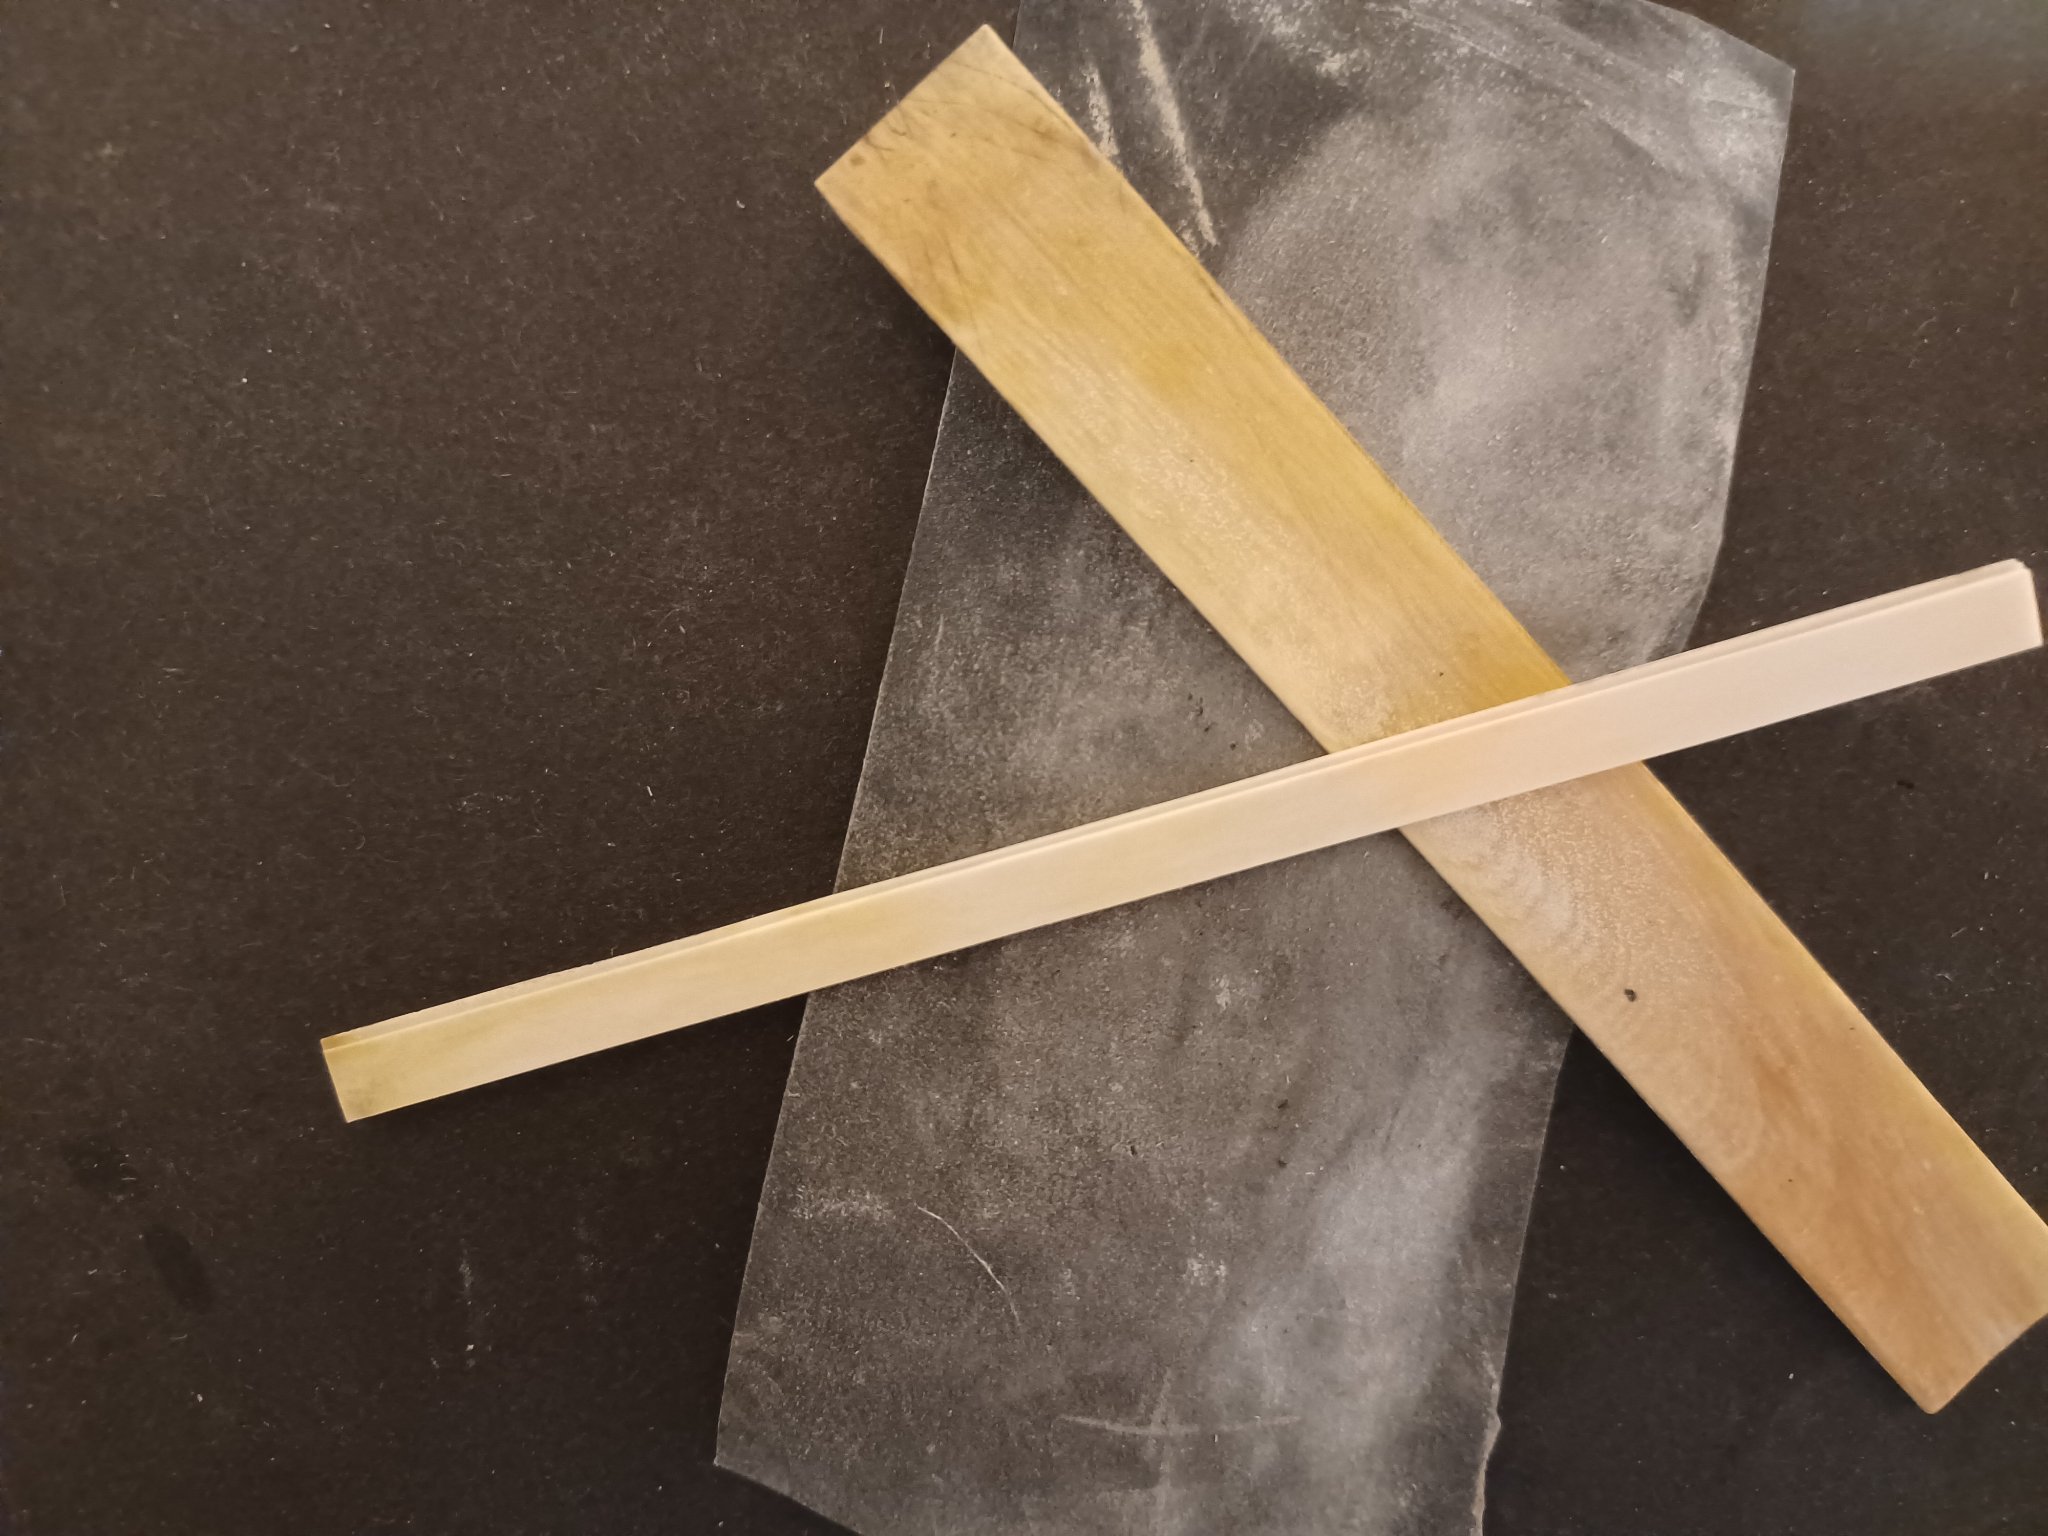
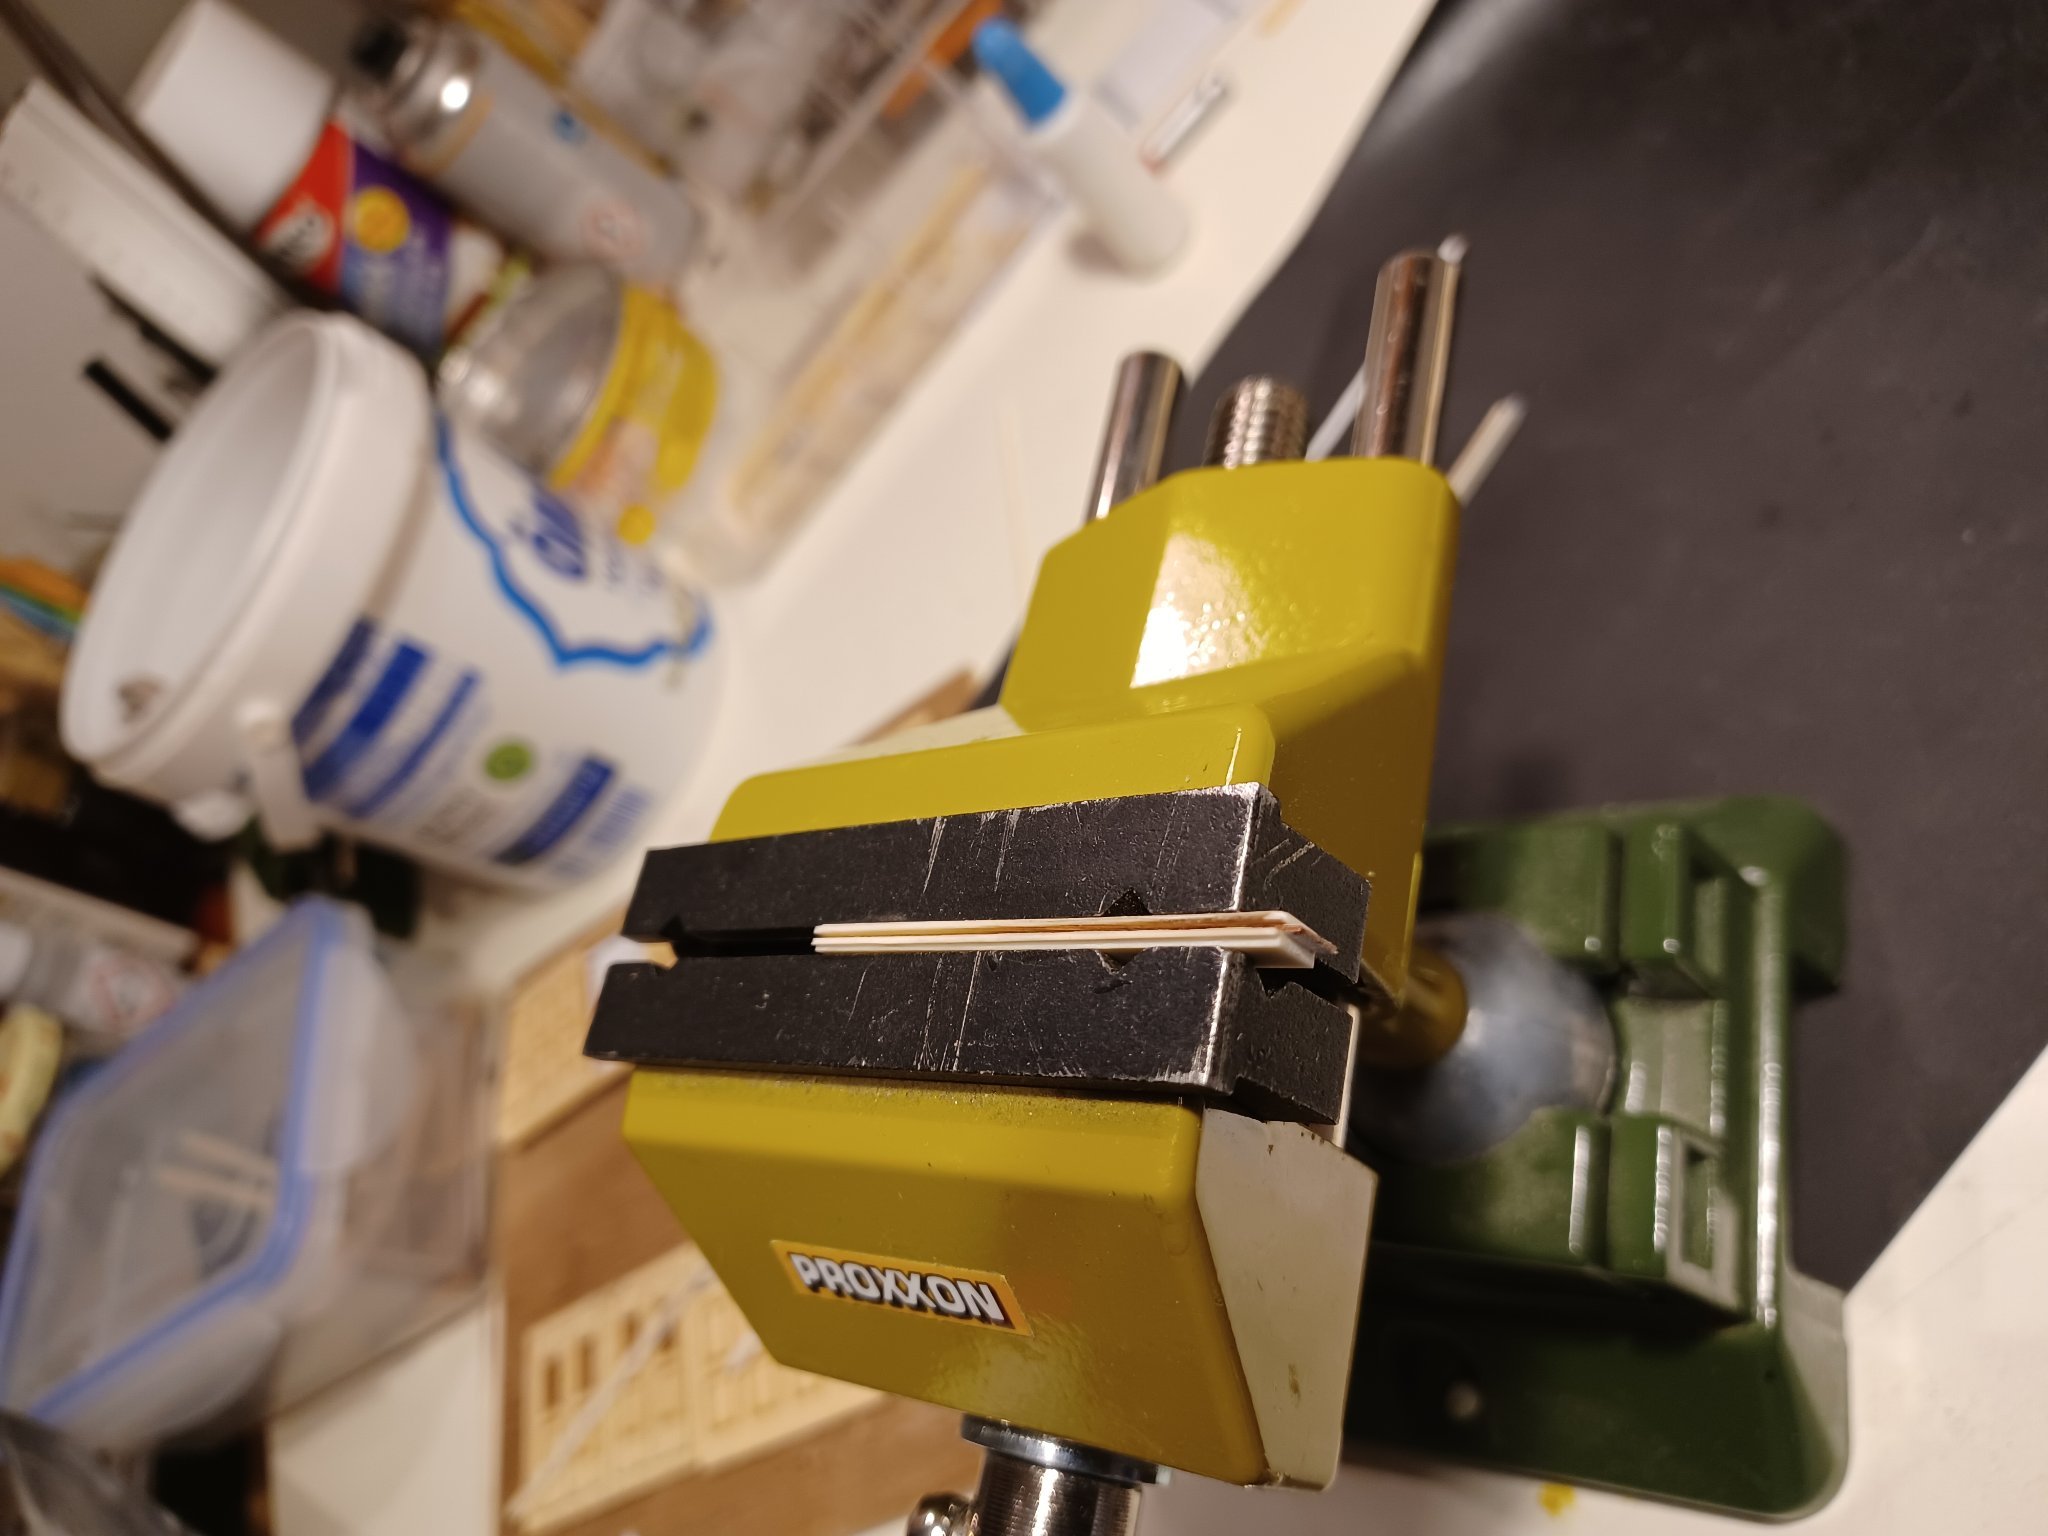
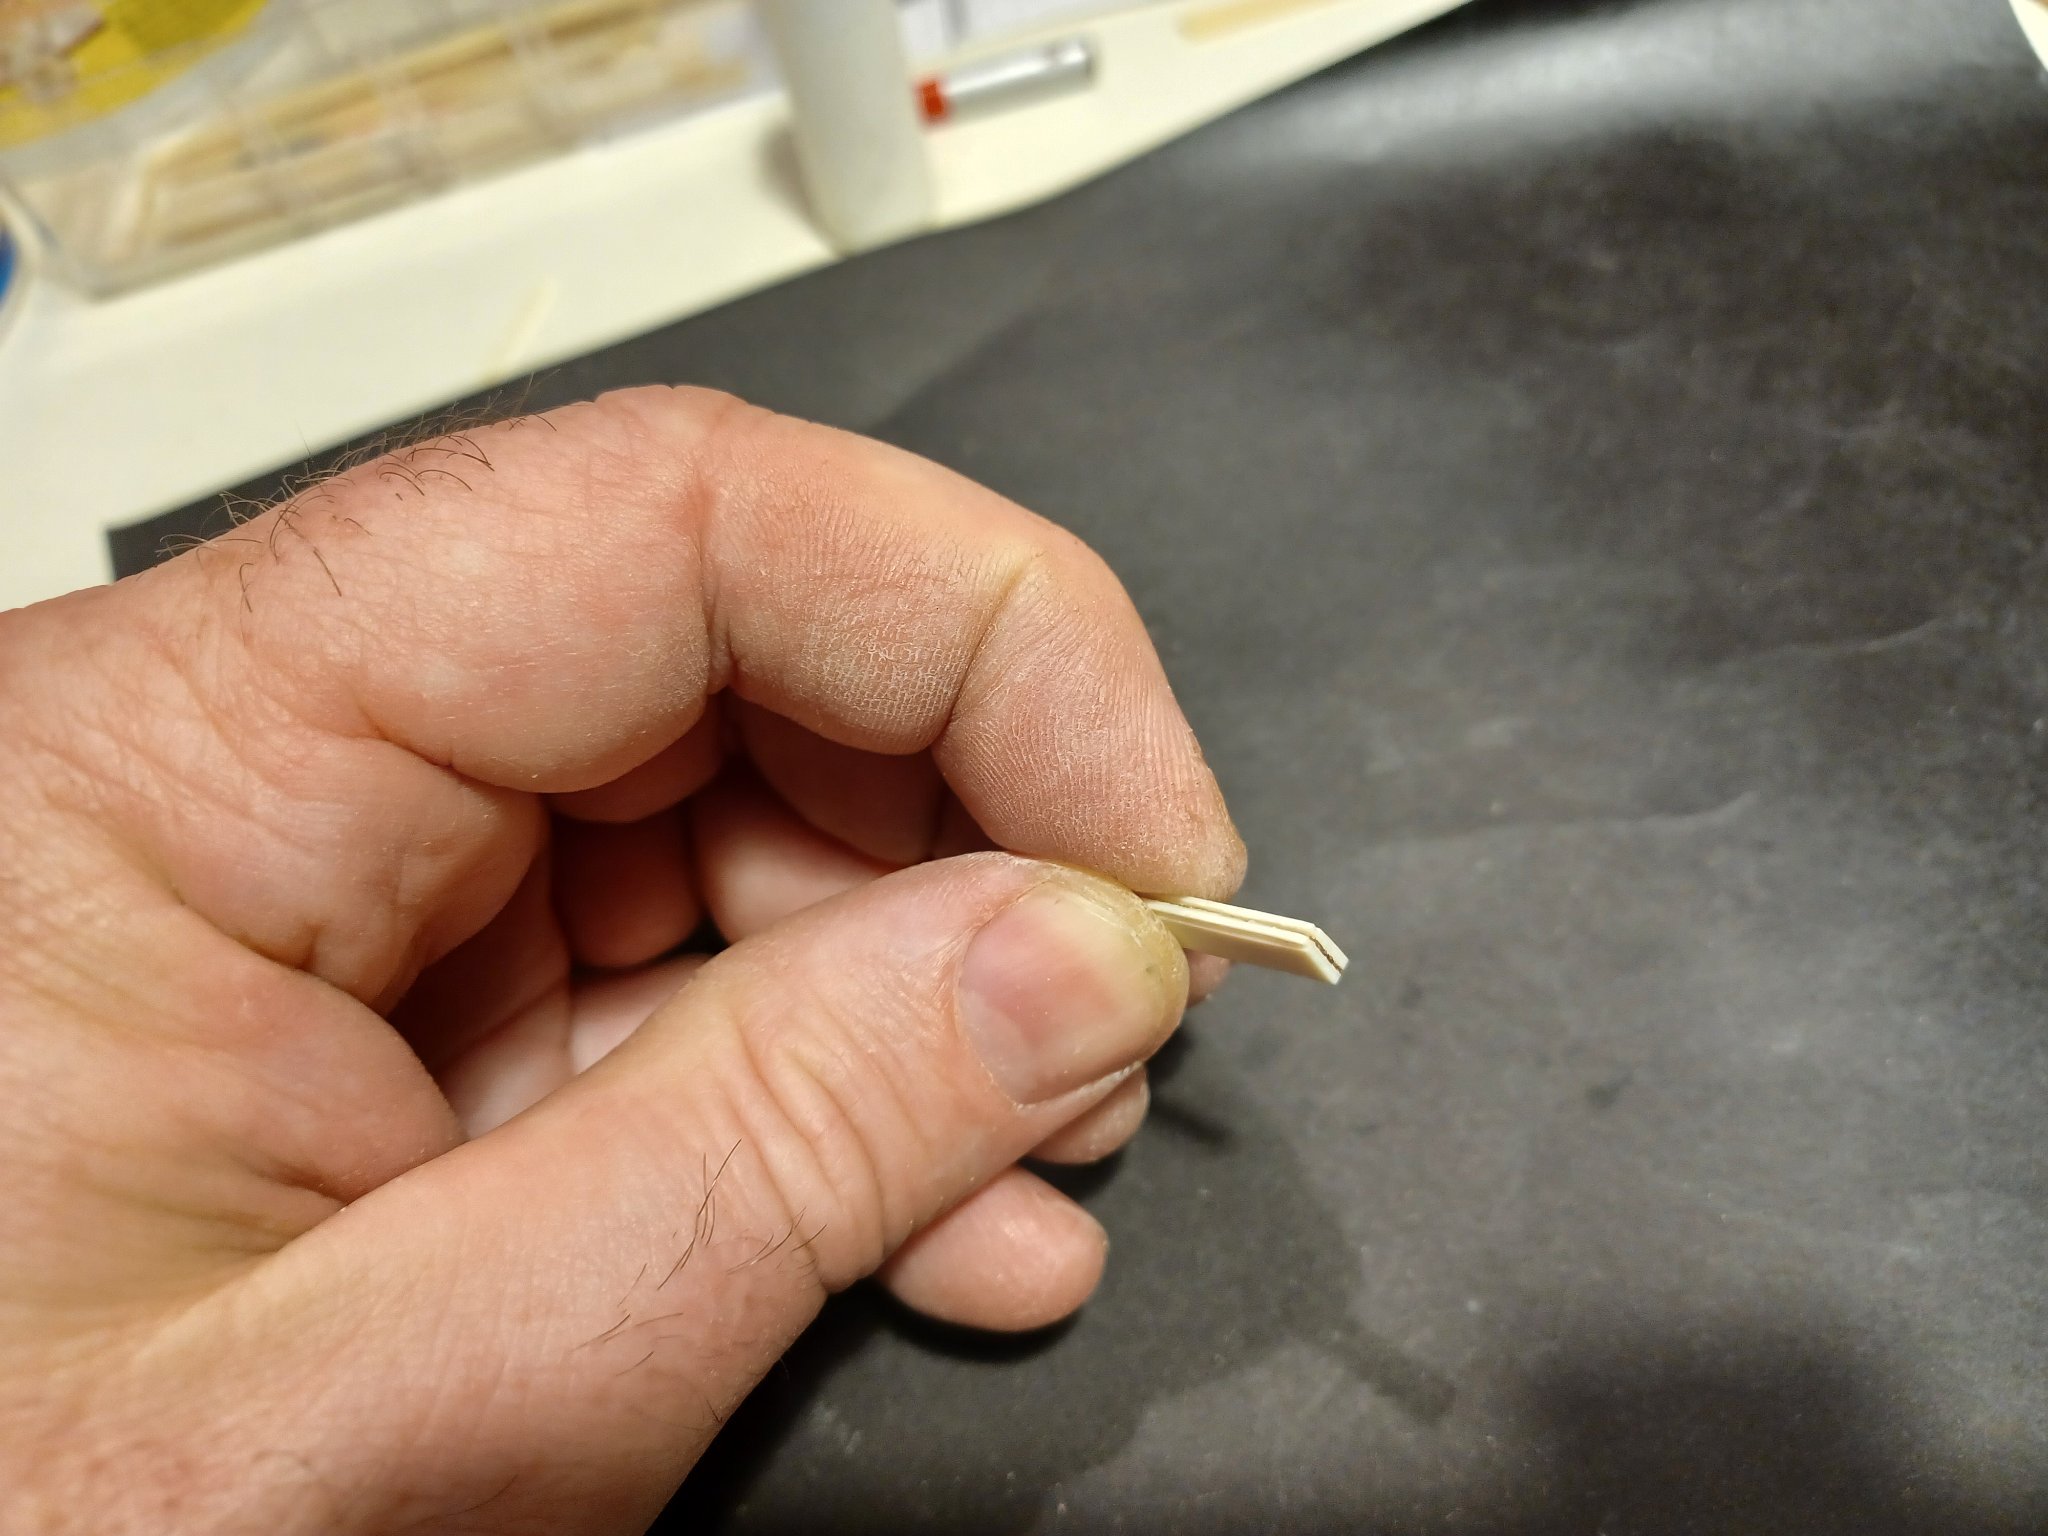
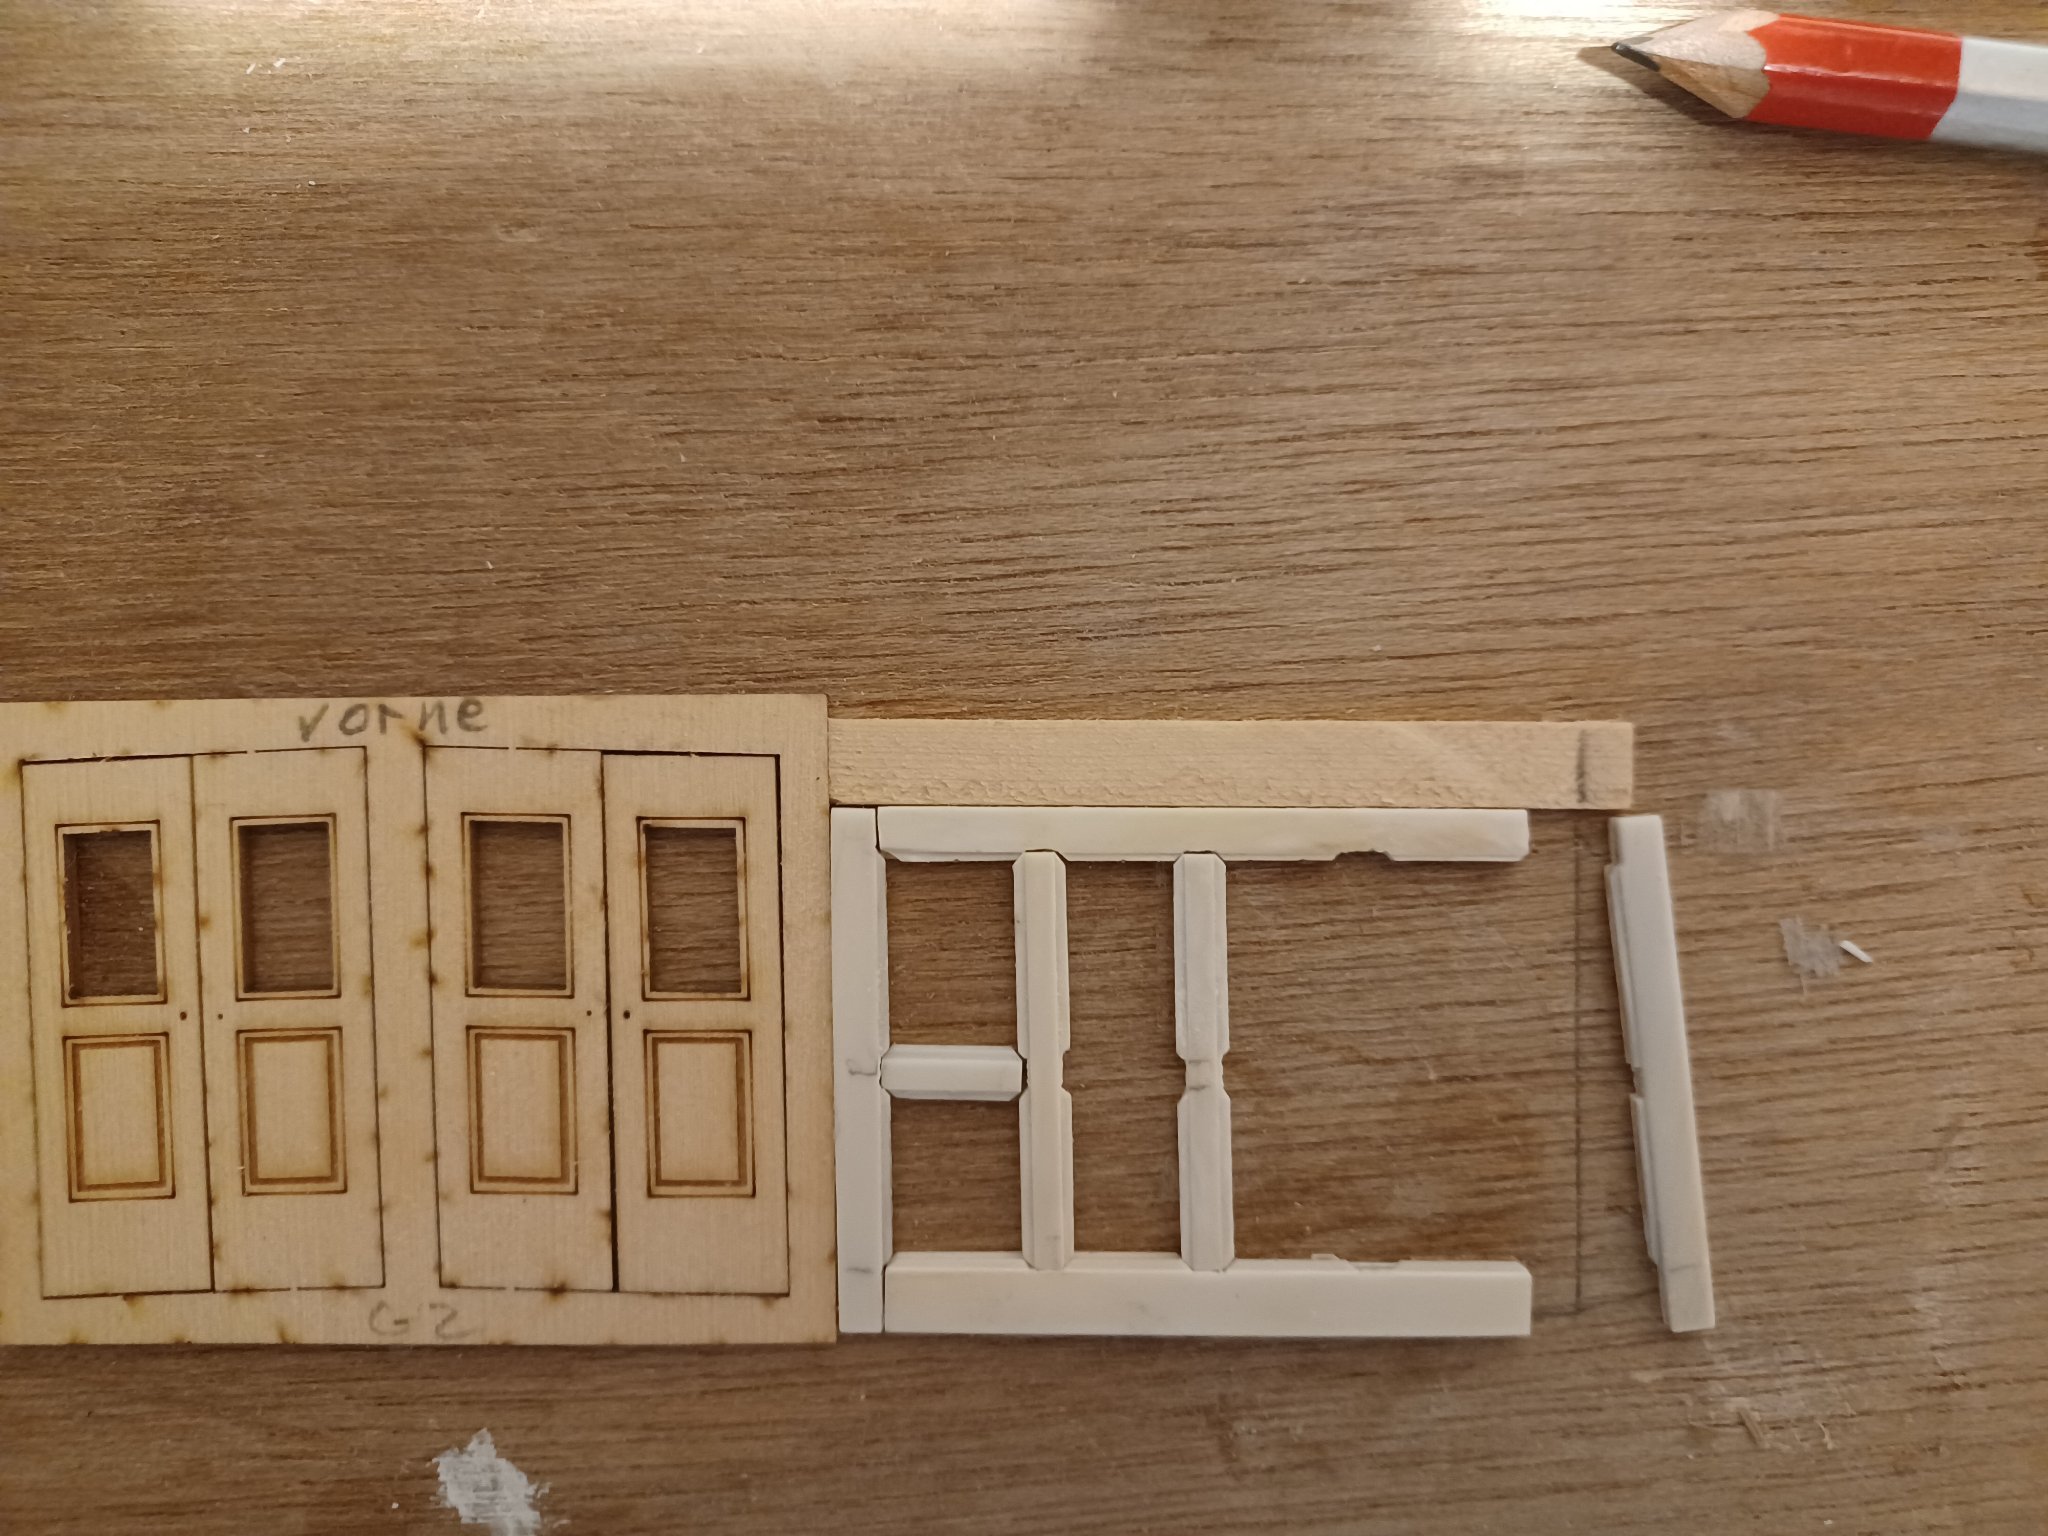
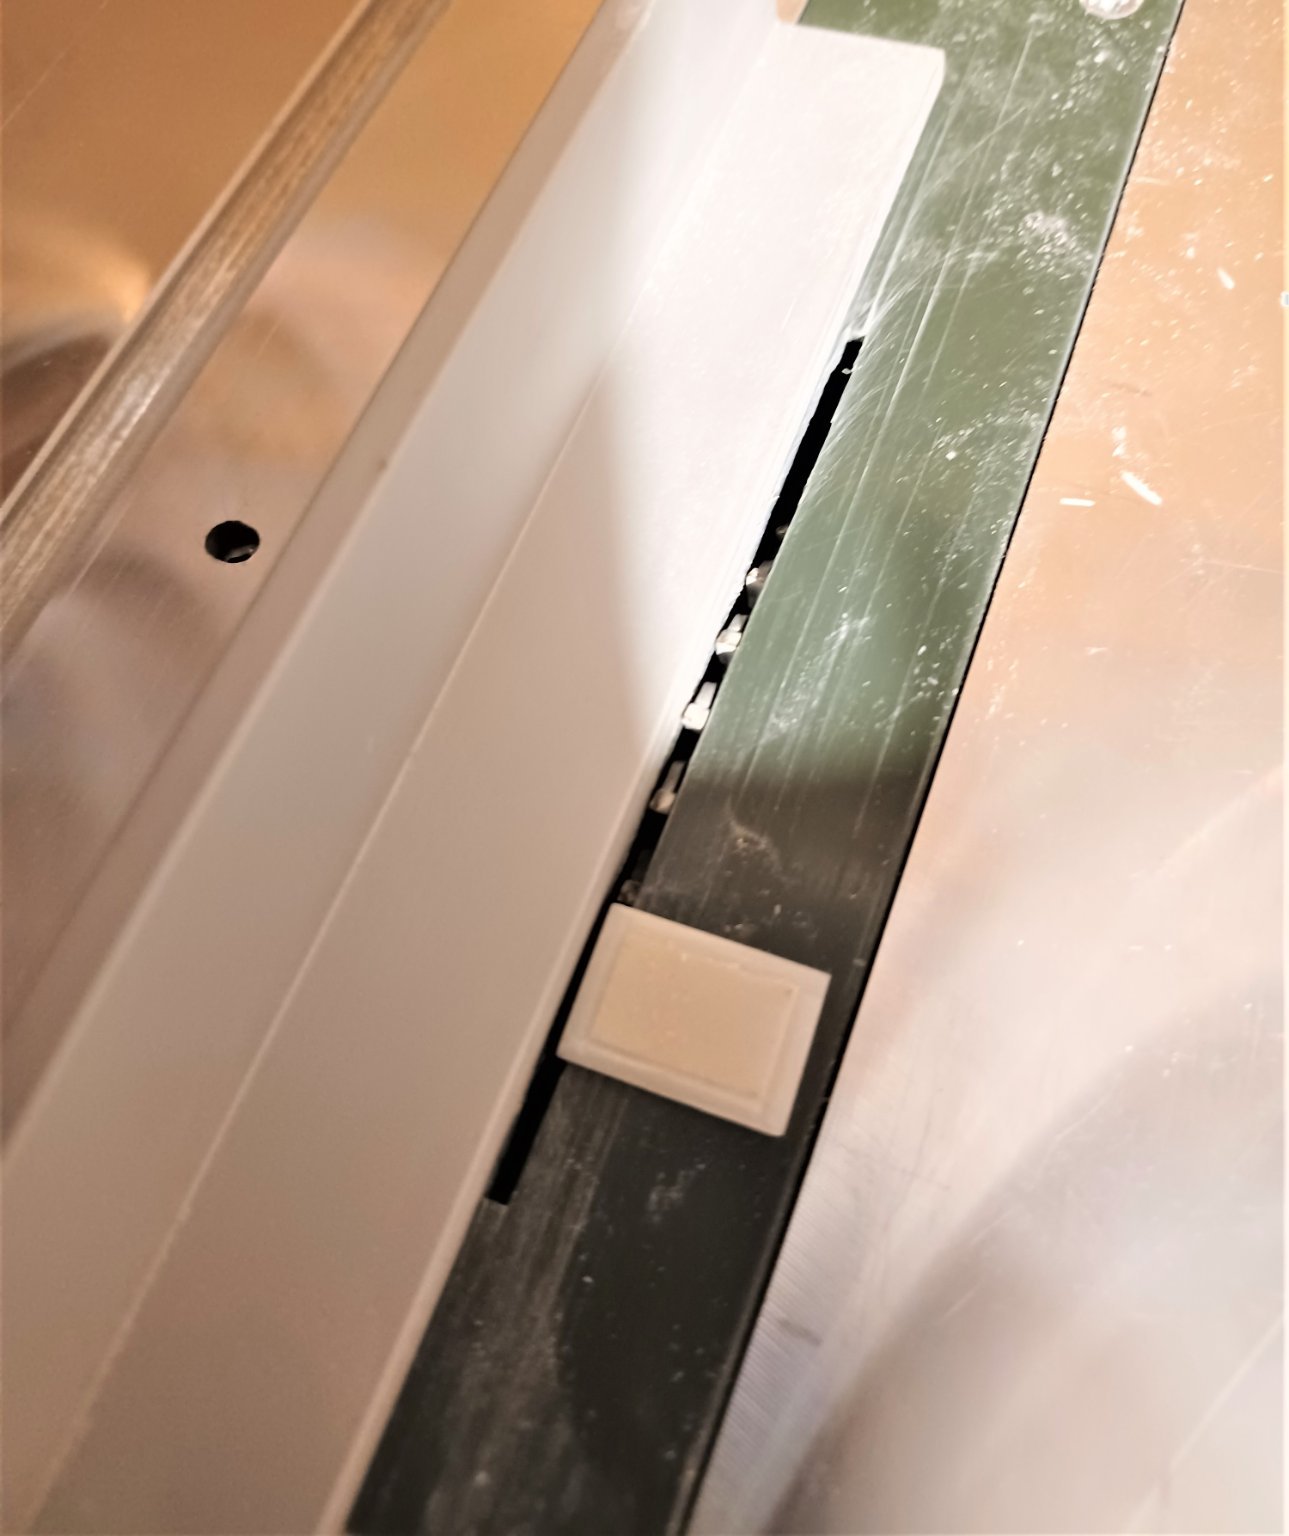
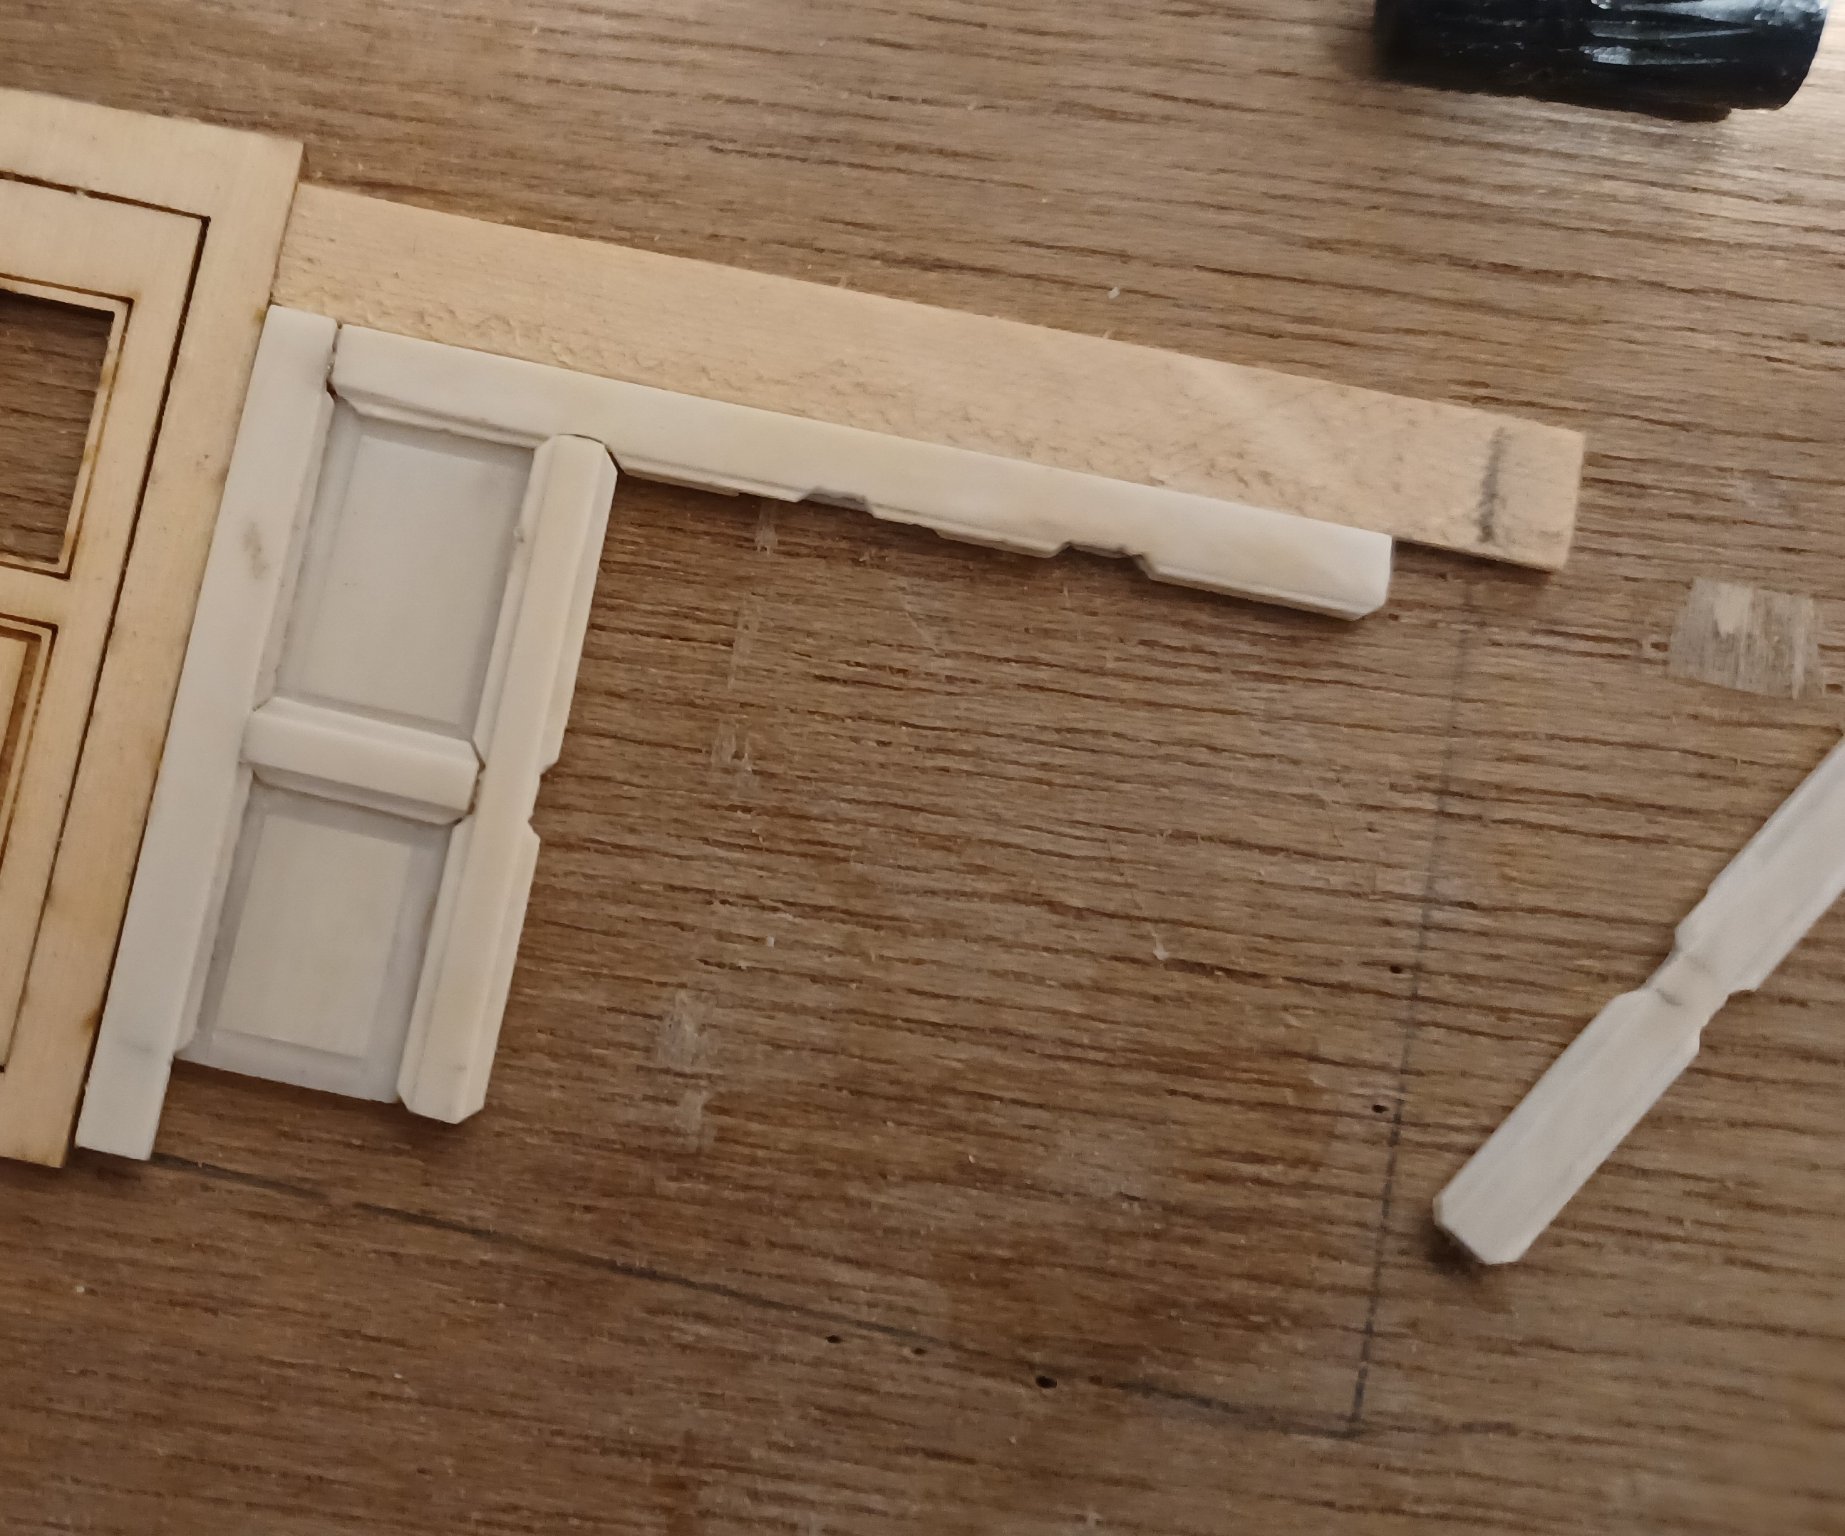
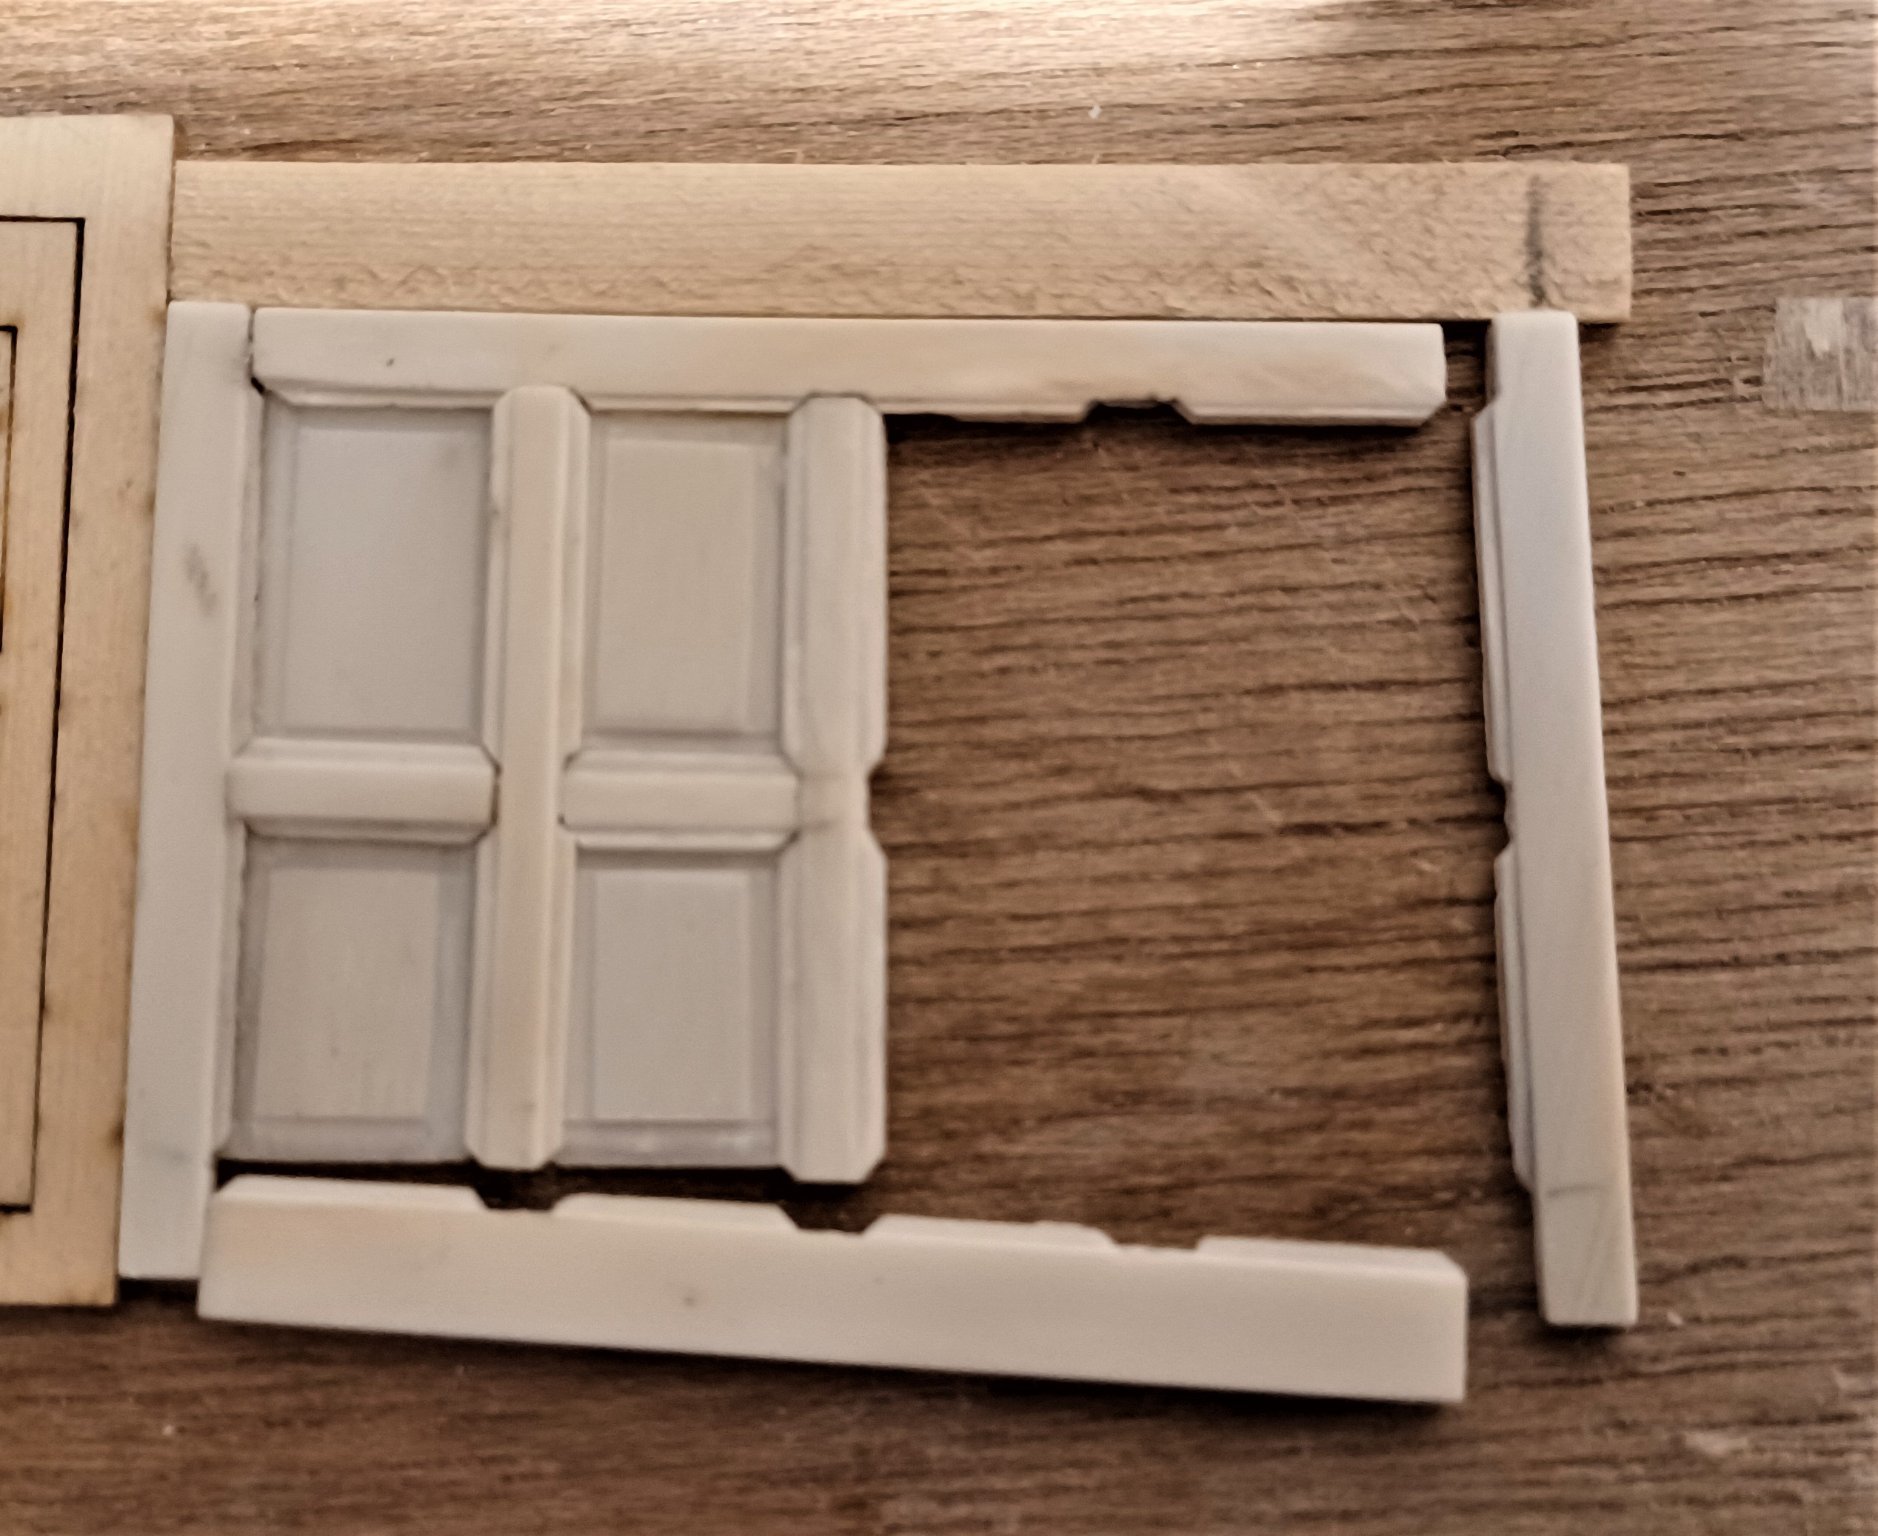
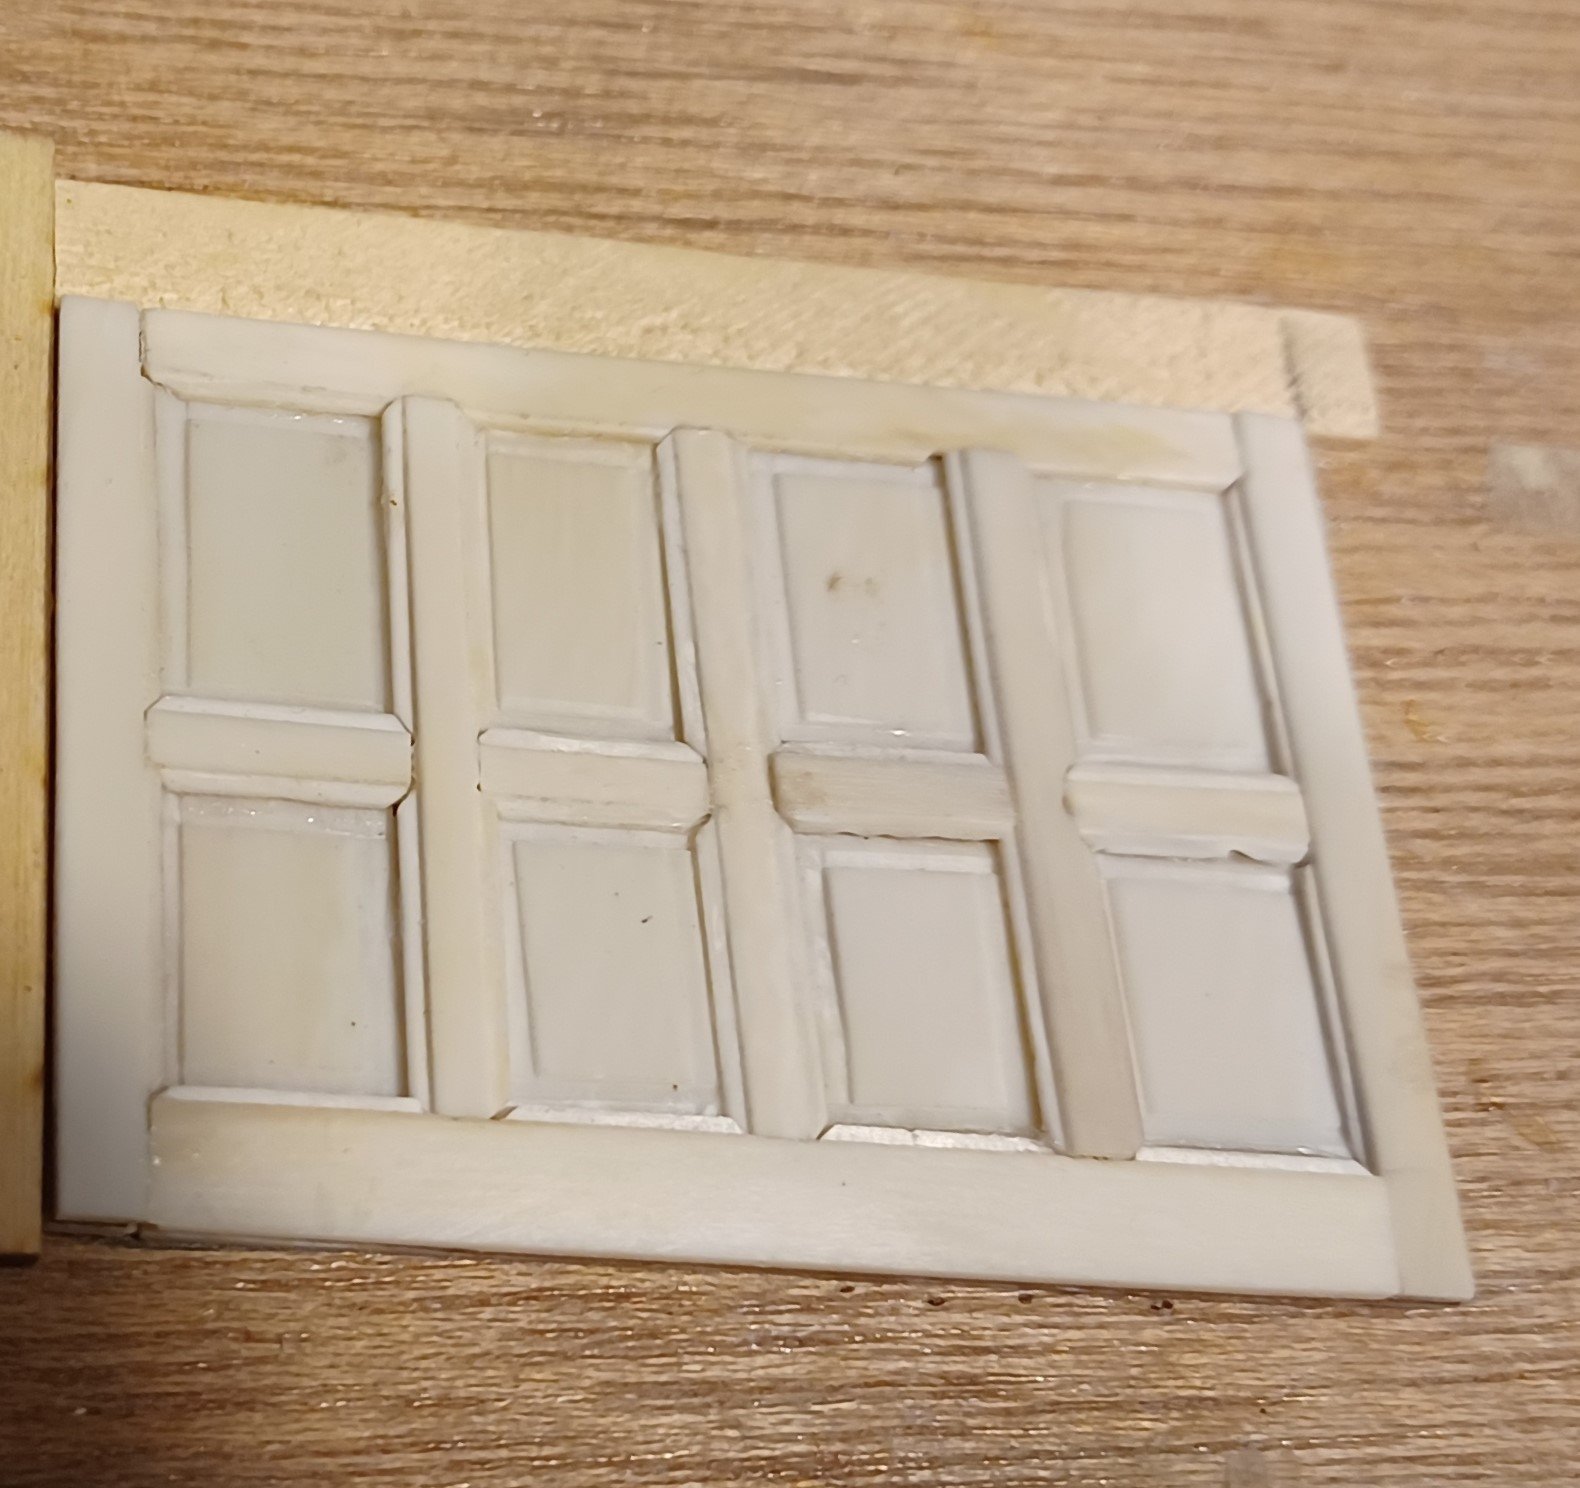
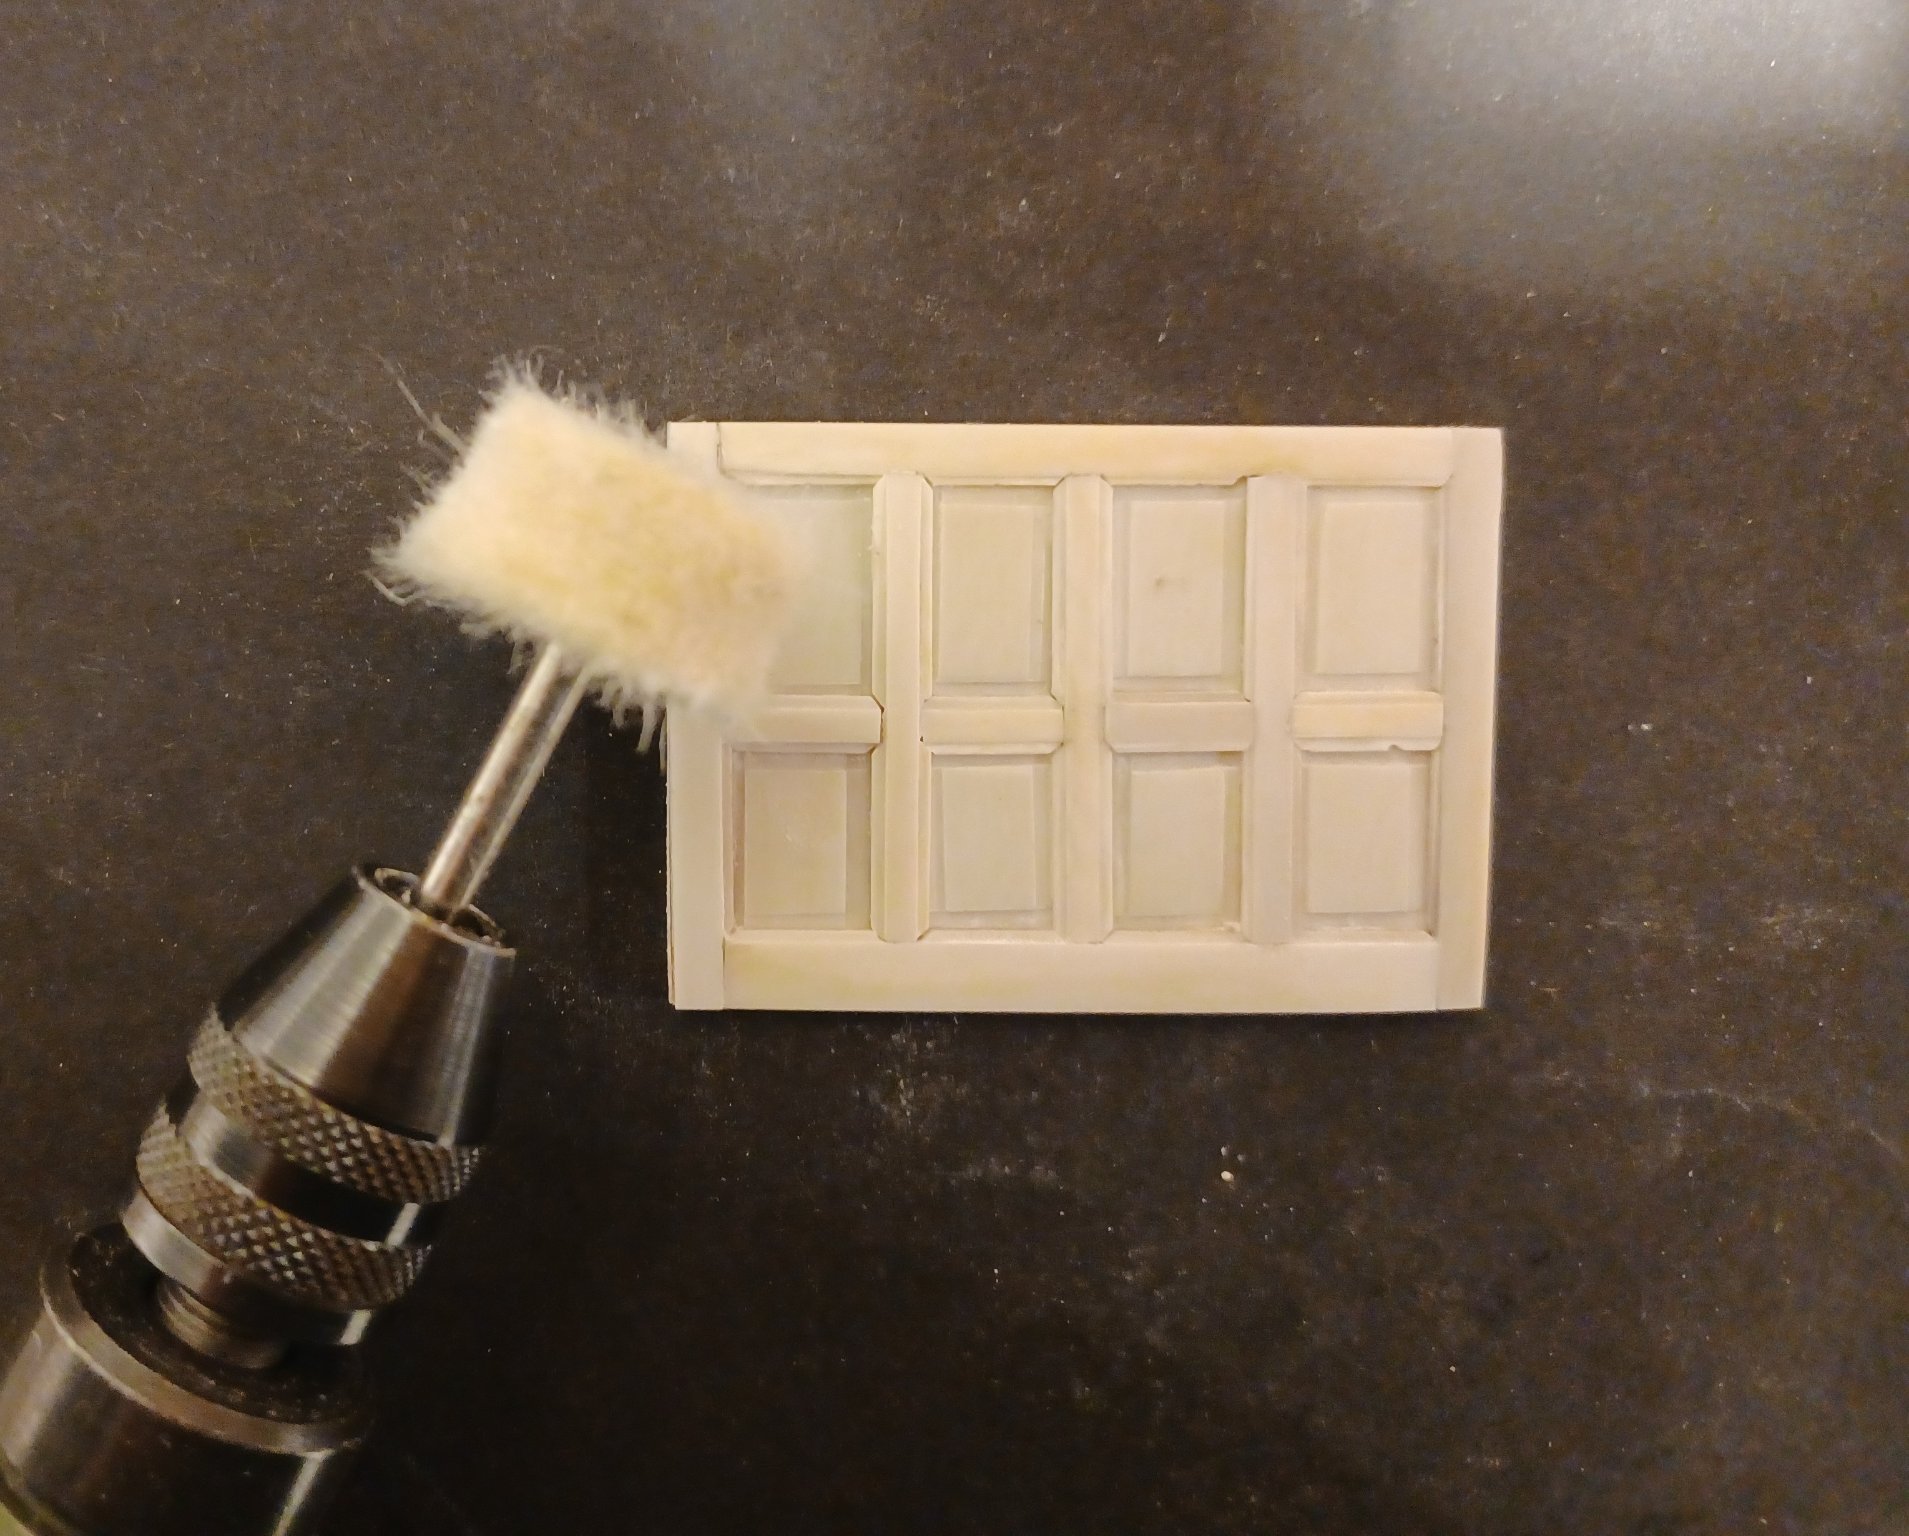
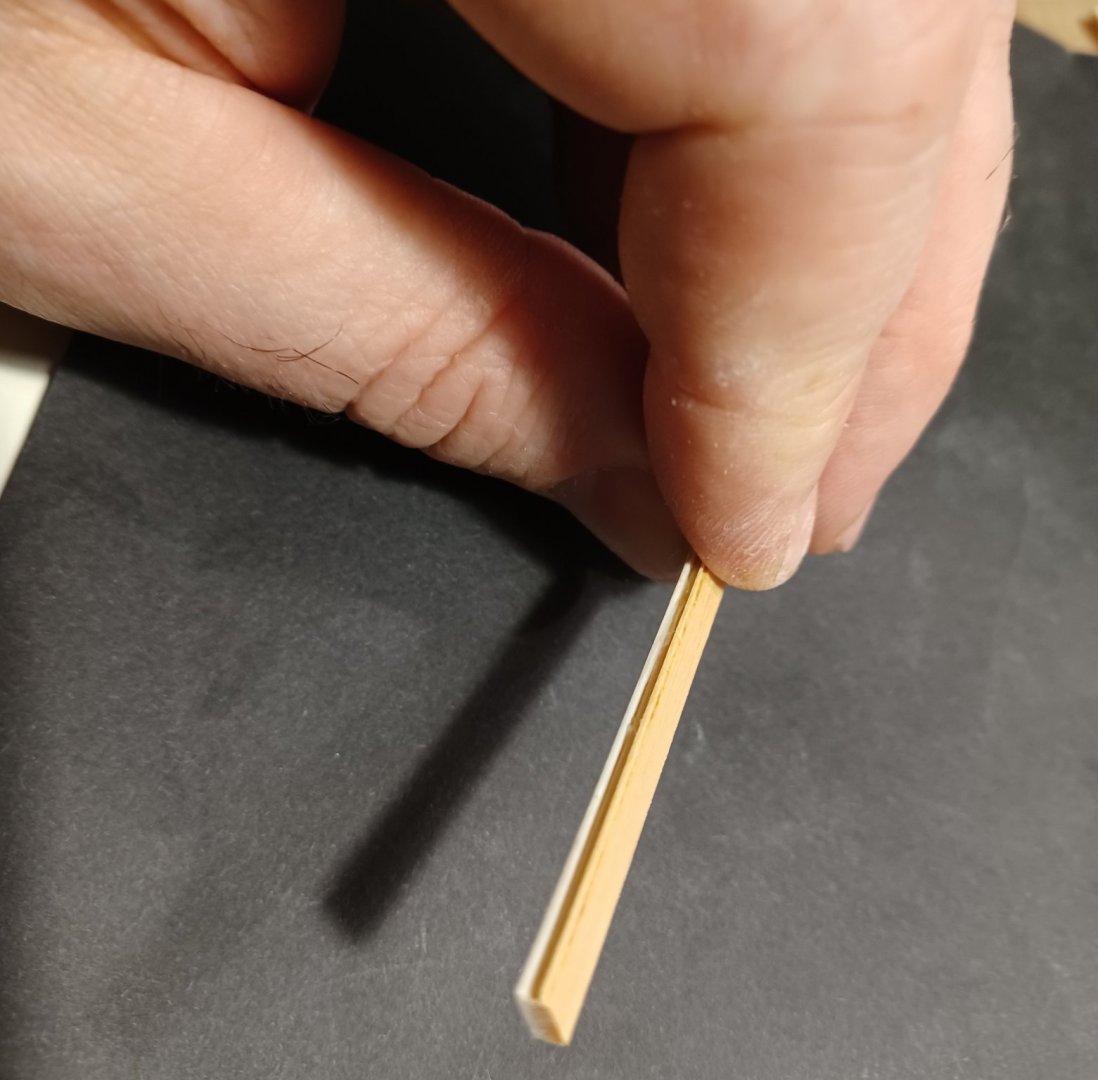
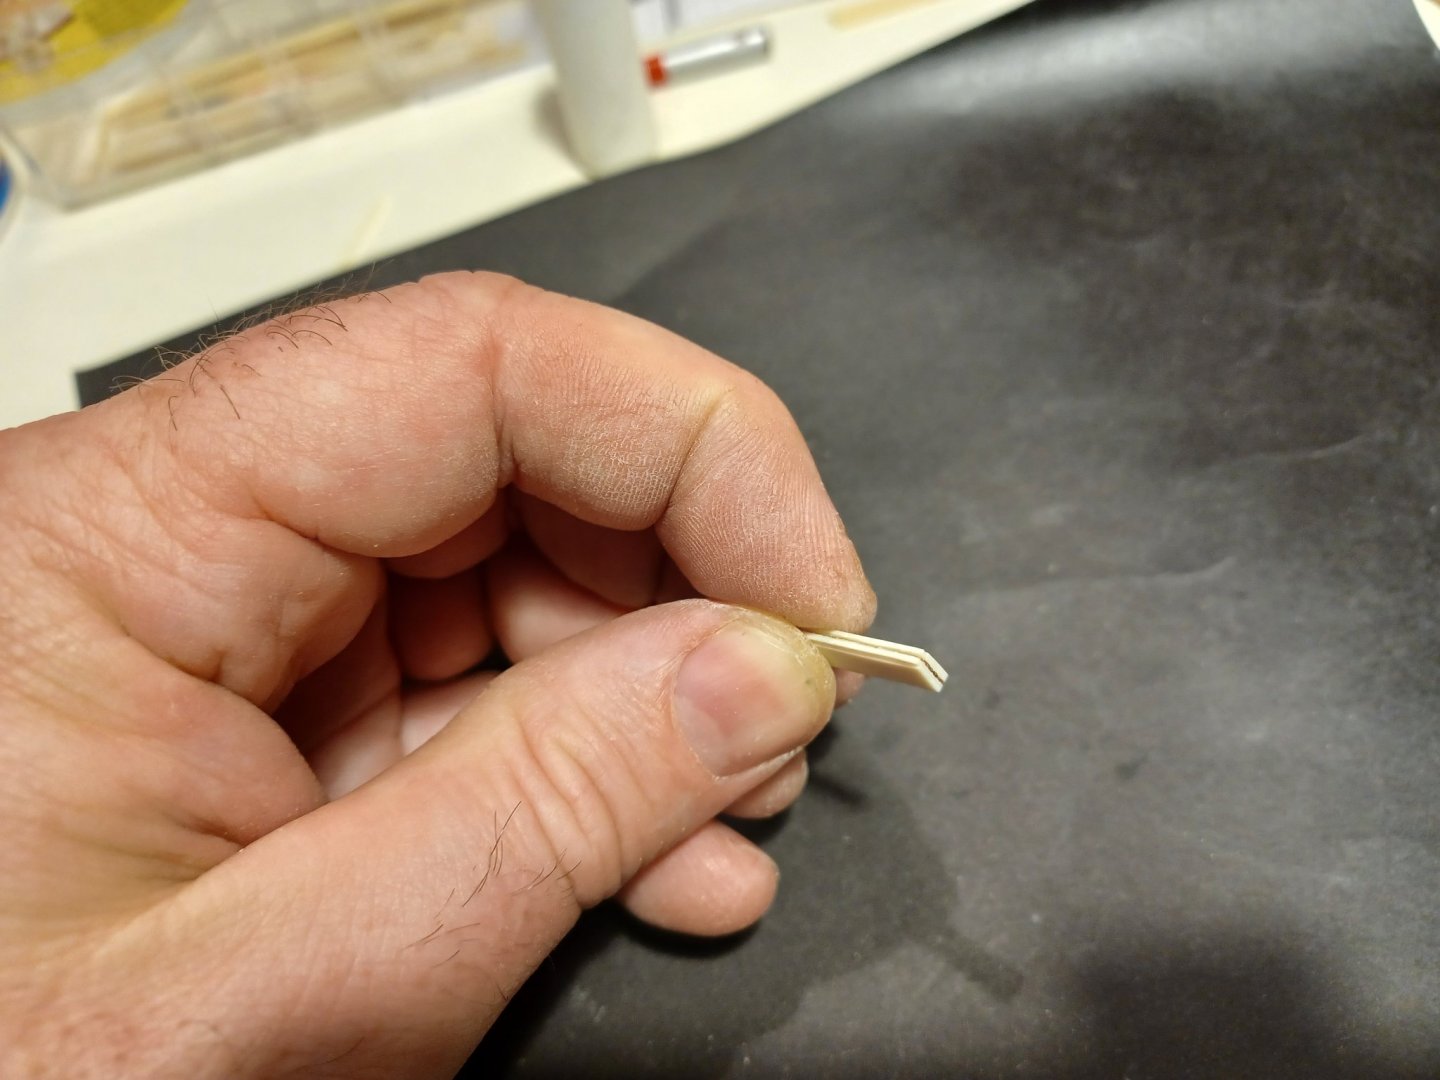
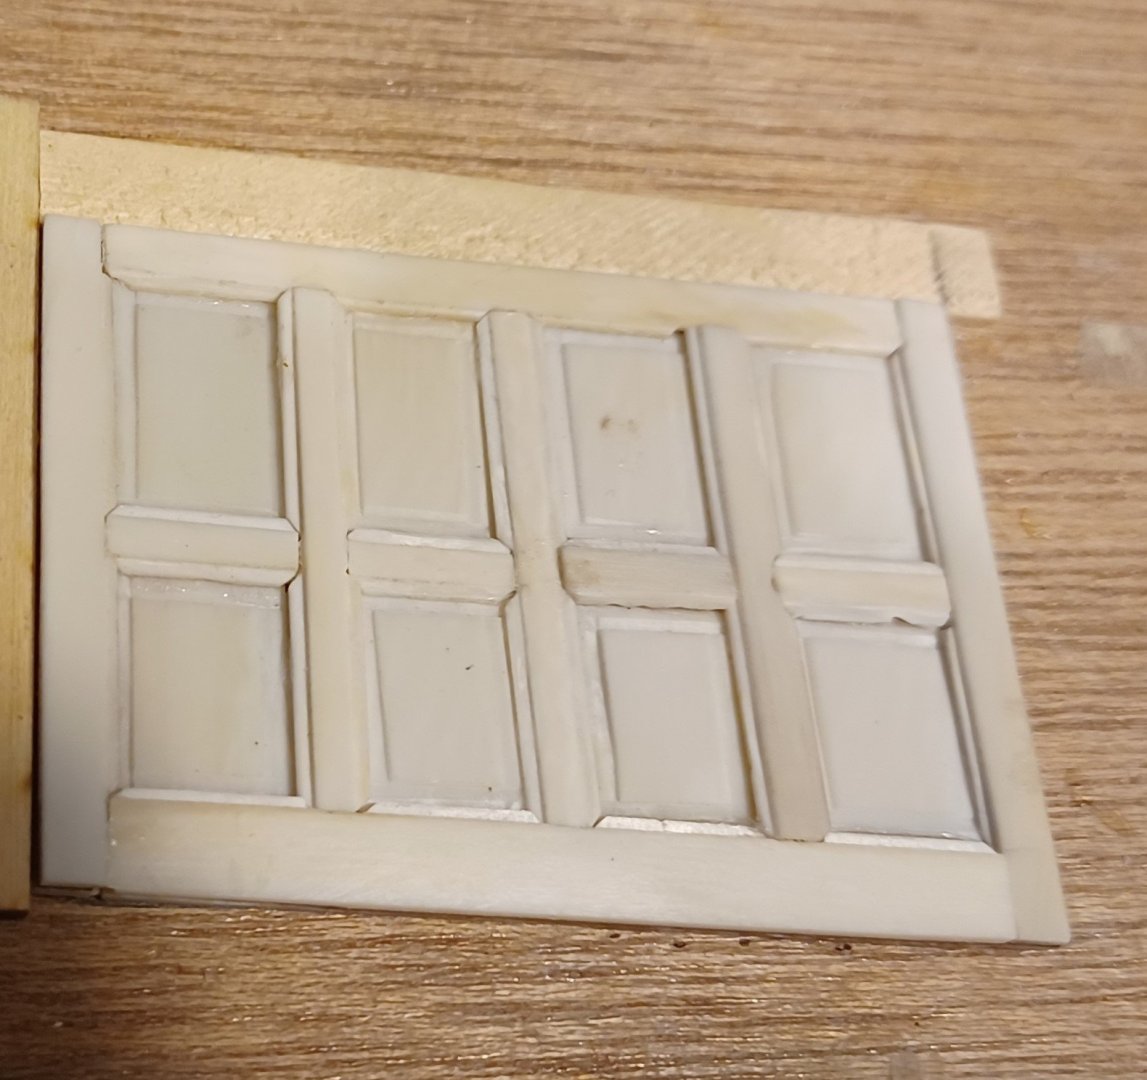
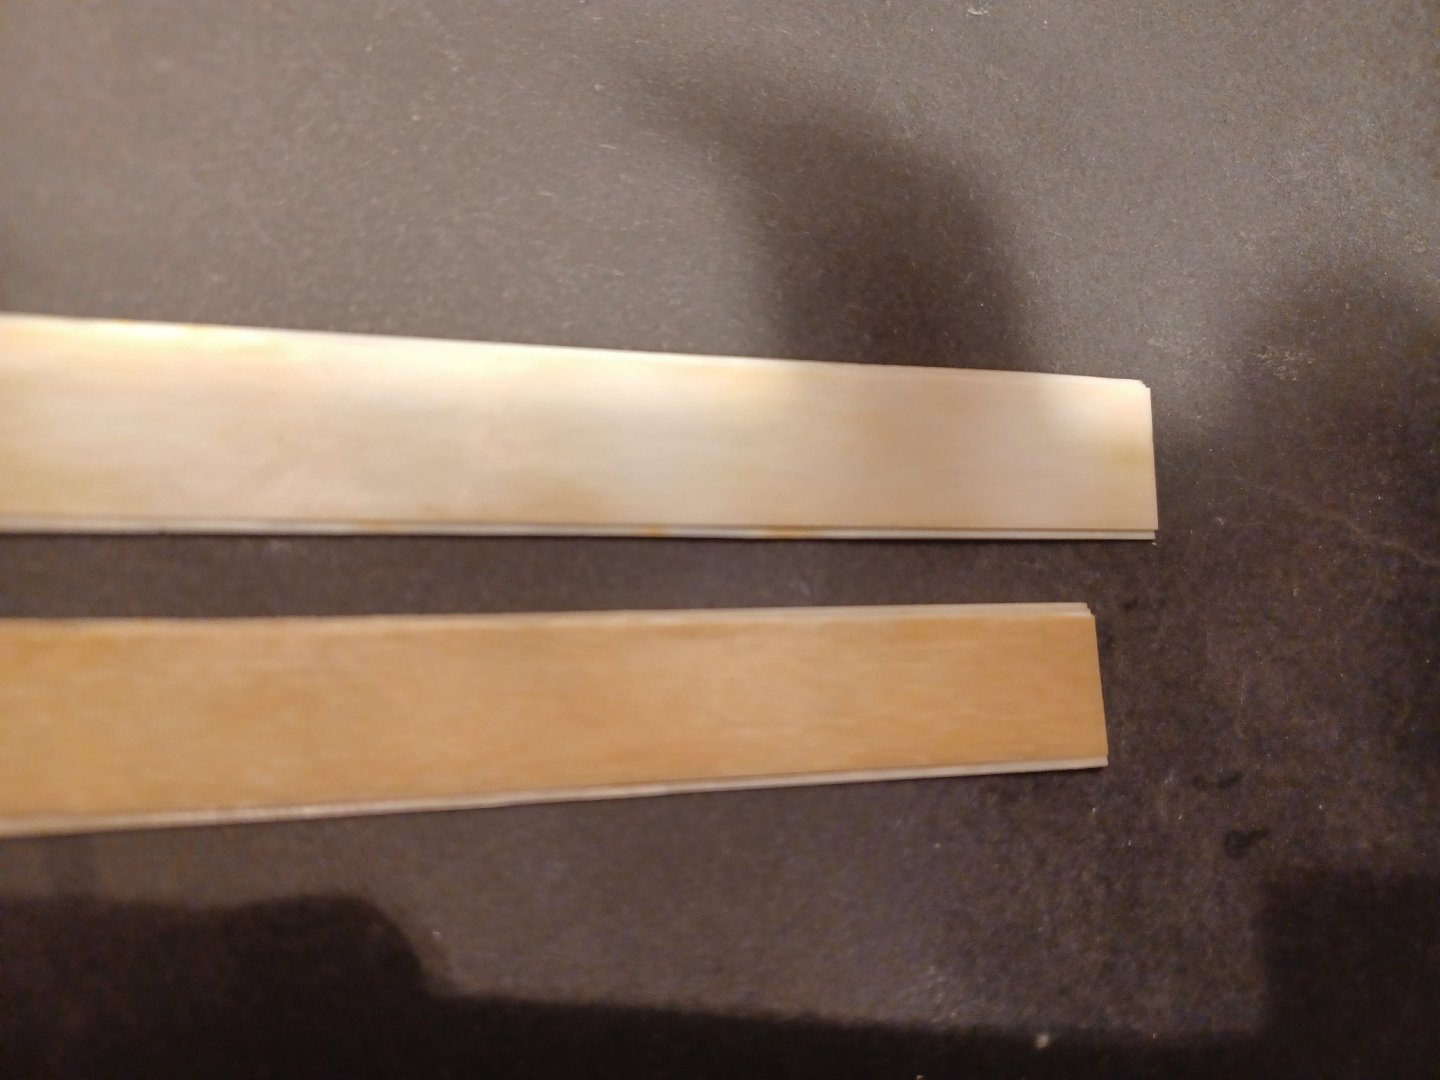
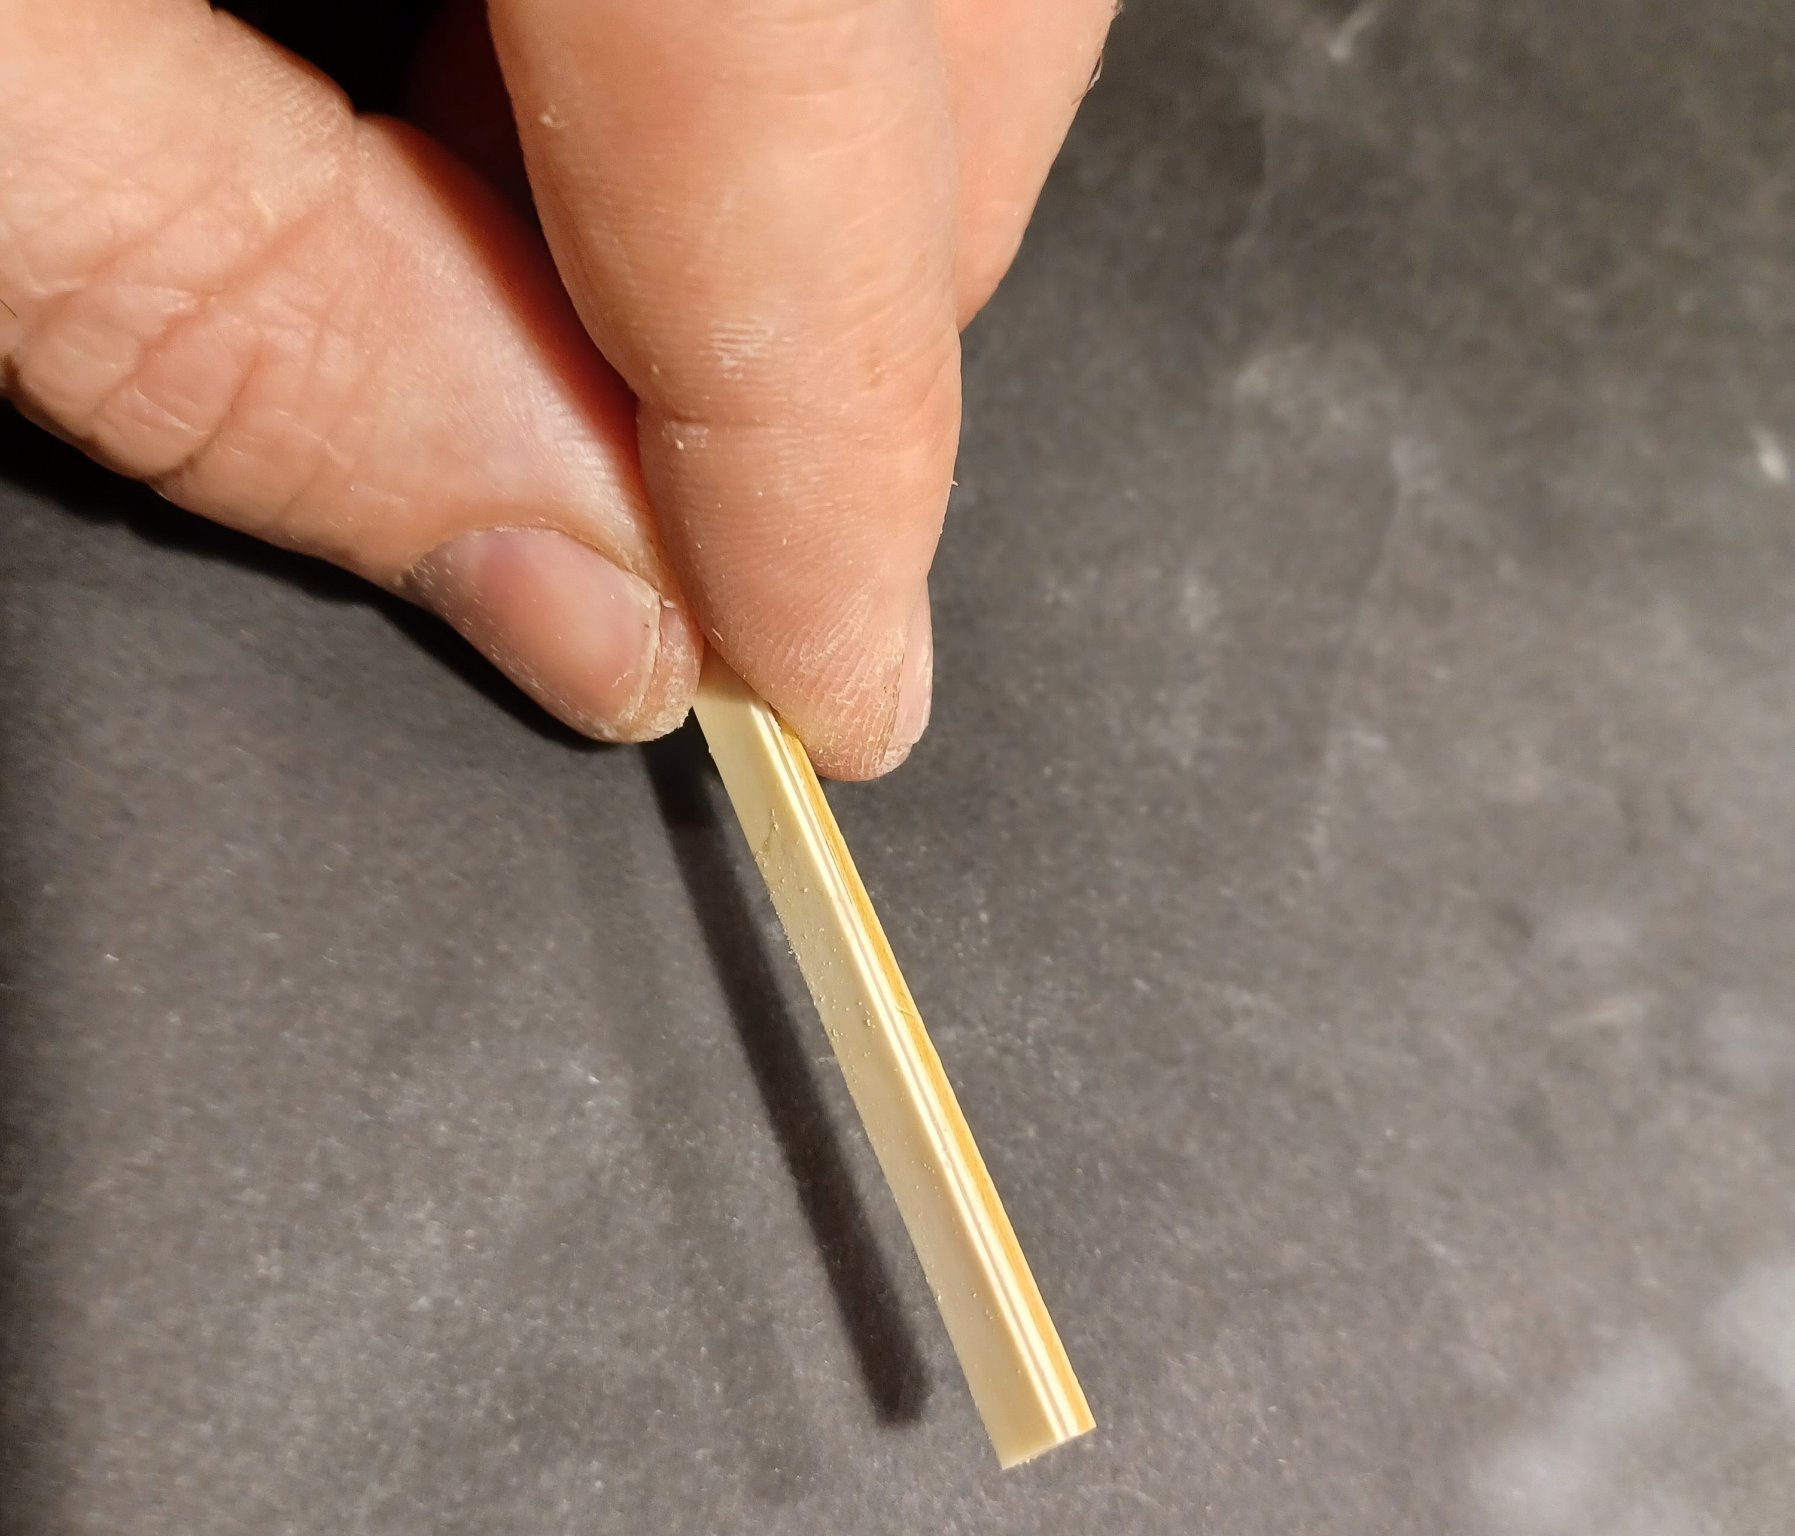
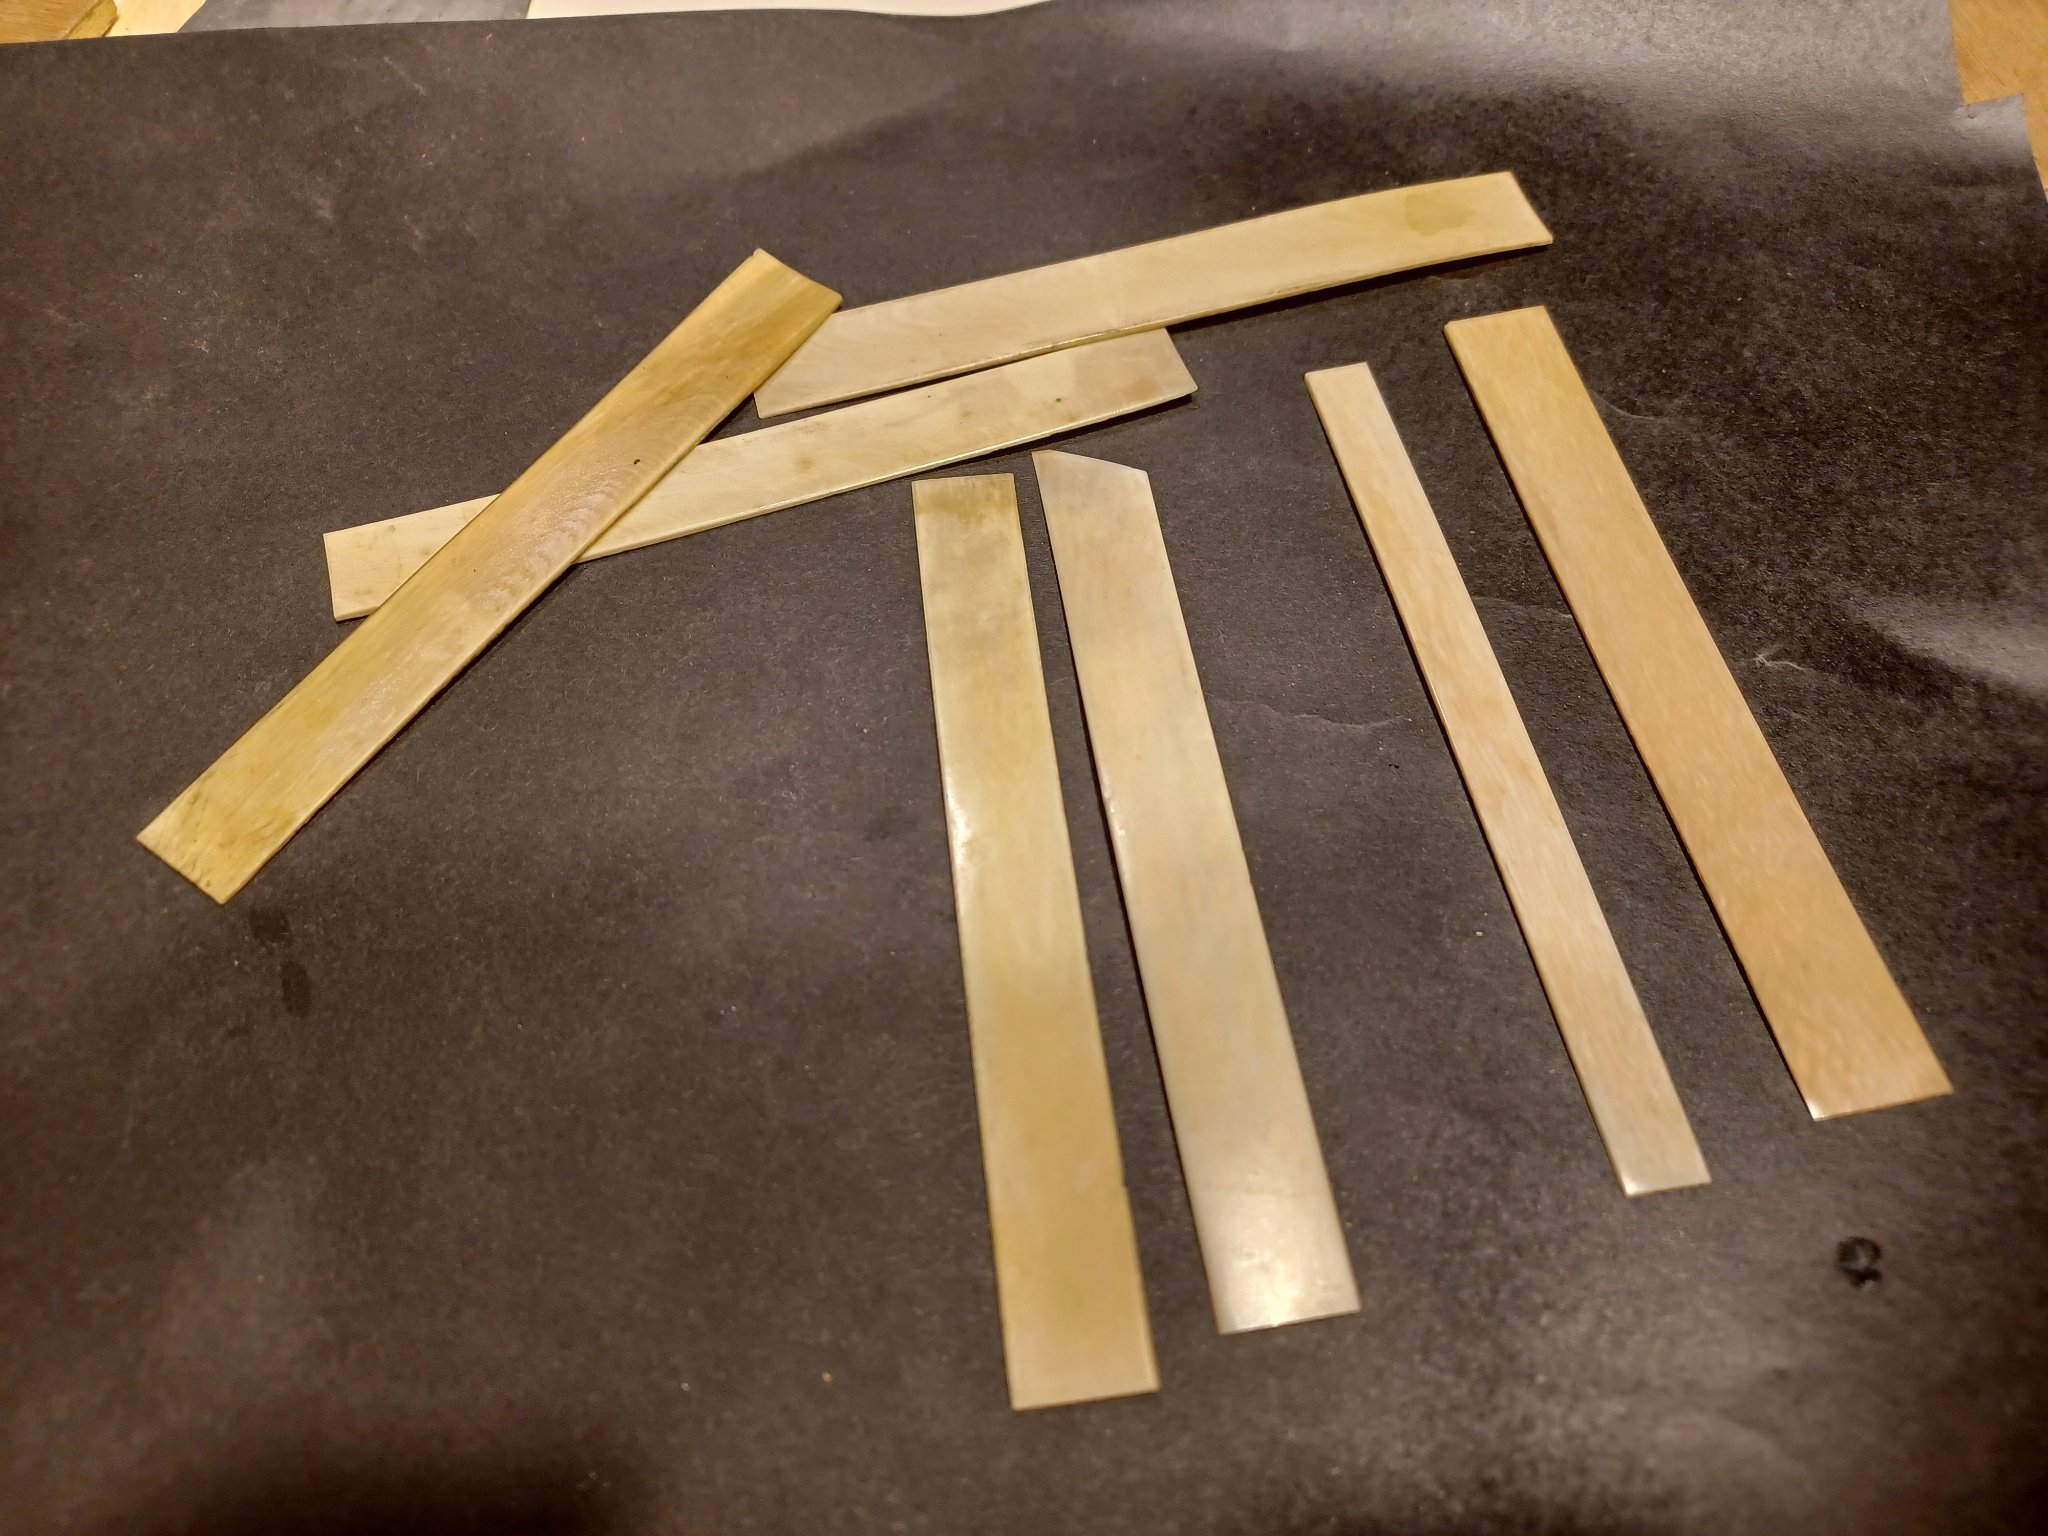
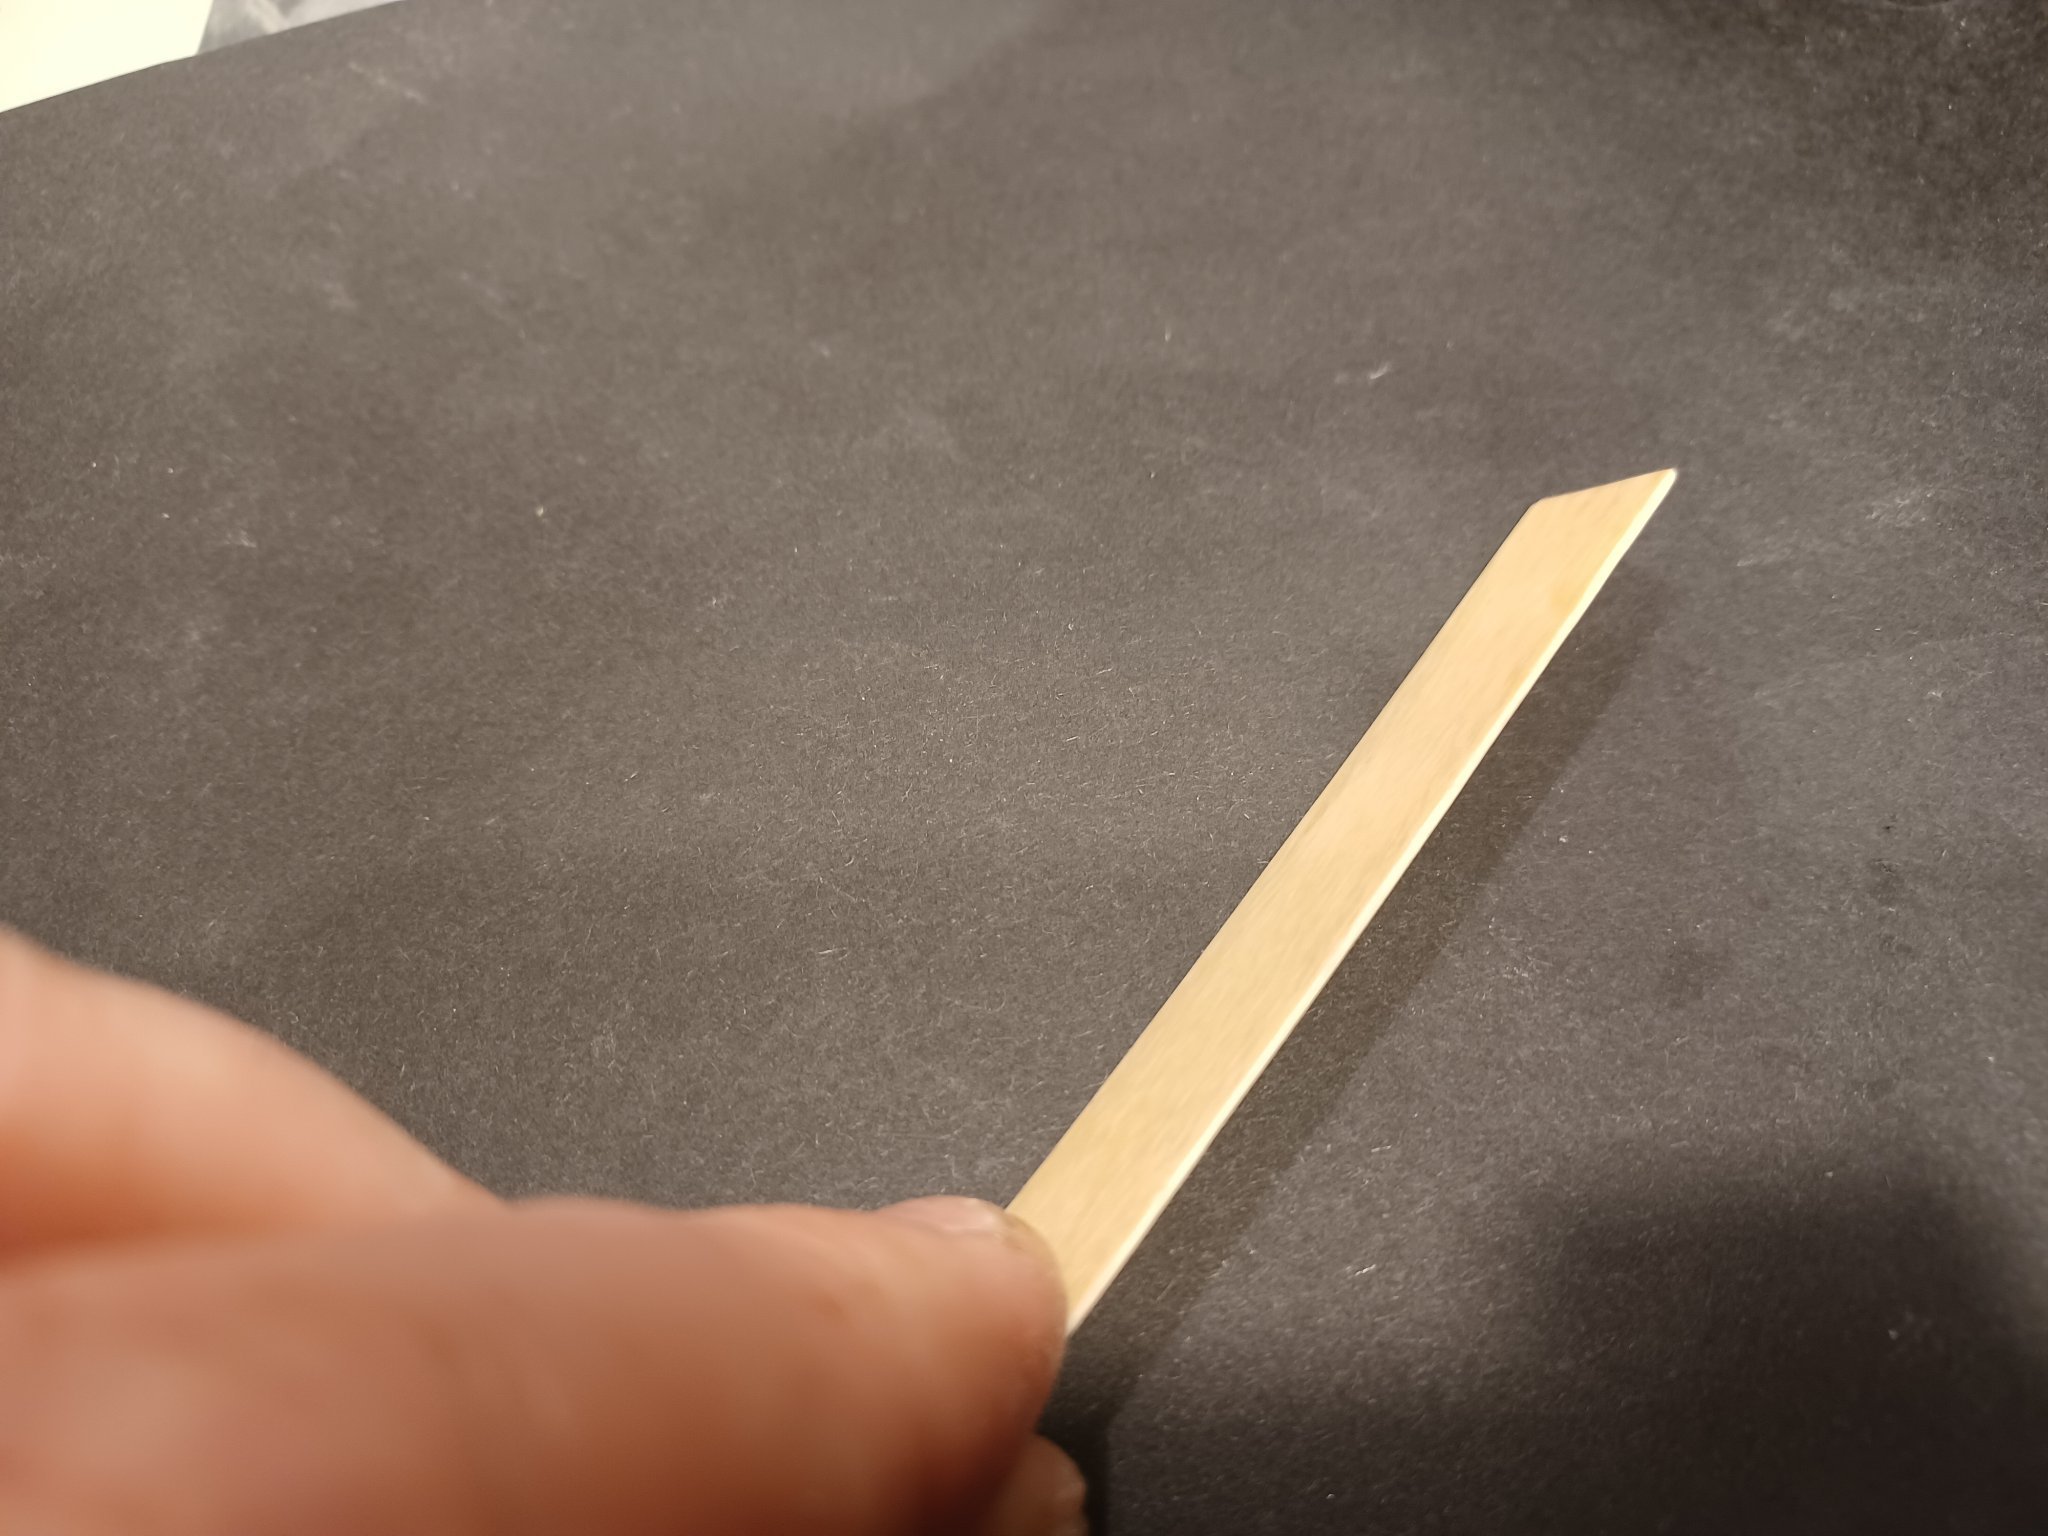
Here we go step by step: 1. The material: I use old piano-keys, if you don't have some, just use bone. From cattle for example, Cut it into strips of about 1,5 mm thickness. 2. Sand the edge 3. Cut a mortise in the edge with your saw About 0,5 / 0,5 mm 4. Then cut the strips into the proper width of the framings: 5. Clean them with fine 400 sand paper 5. Glue them in 3 layers together. In the middle put a small veneer strip to create a gap between the ivory strips. 6. Then make a little jig, to get the shape right and cut and dry-assemble the framing 7. Then make the fillings 8. Afterward you assemble it part by part and glue everything together 9. Finally clean and polish it with the dremel And that's it Matthias


.thumb.jpg.78c8185c920d81ea525d5c9d14dbc080.jpg)


-
Hi Cisco, I will make some photos from the next panels I make, and post them here. Then you can see how it is done, it is not very complicated. Everbody can do this. Matthias
-
I indeed play the piano. And I don't want to stop playing... it is just increadible, what people throw away nowadays. Such lovely, valuable materials like ebony and ivory and you can pick it up from the bulky waste. I use a lot of old stuff like that at my home.
-
Thank you for the feedback. The flooring and panels are not painted, it is the colour of the material (old piano bars, ivory and ebony)
-
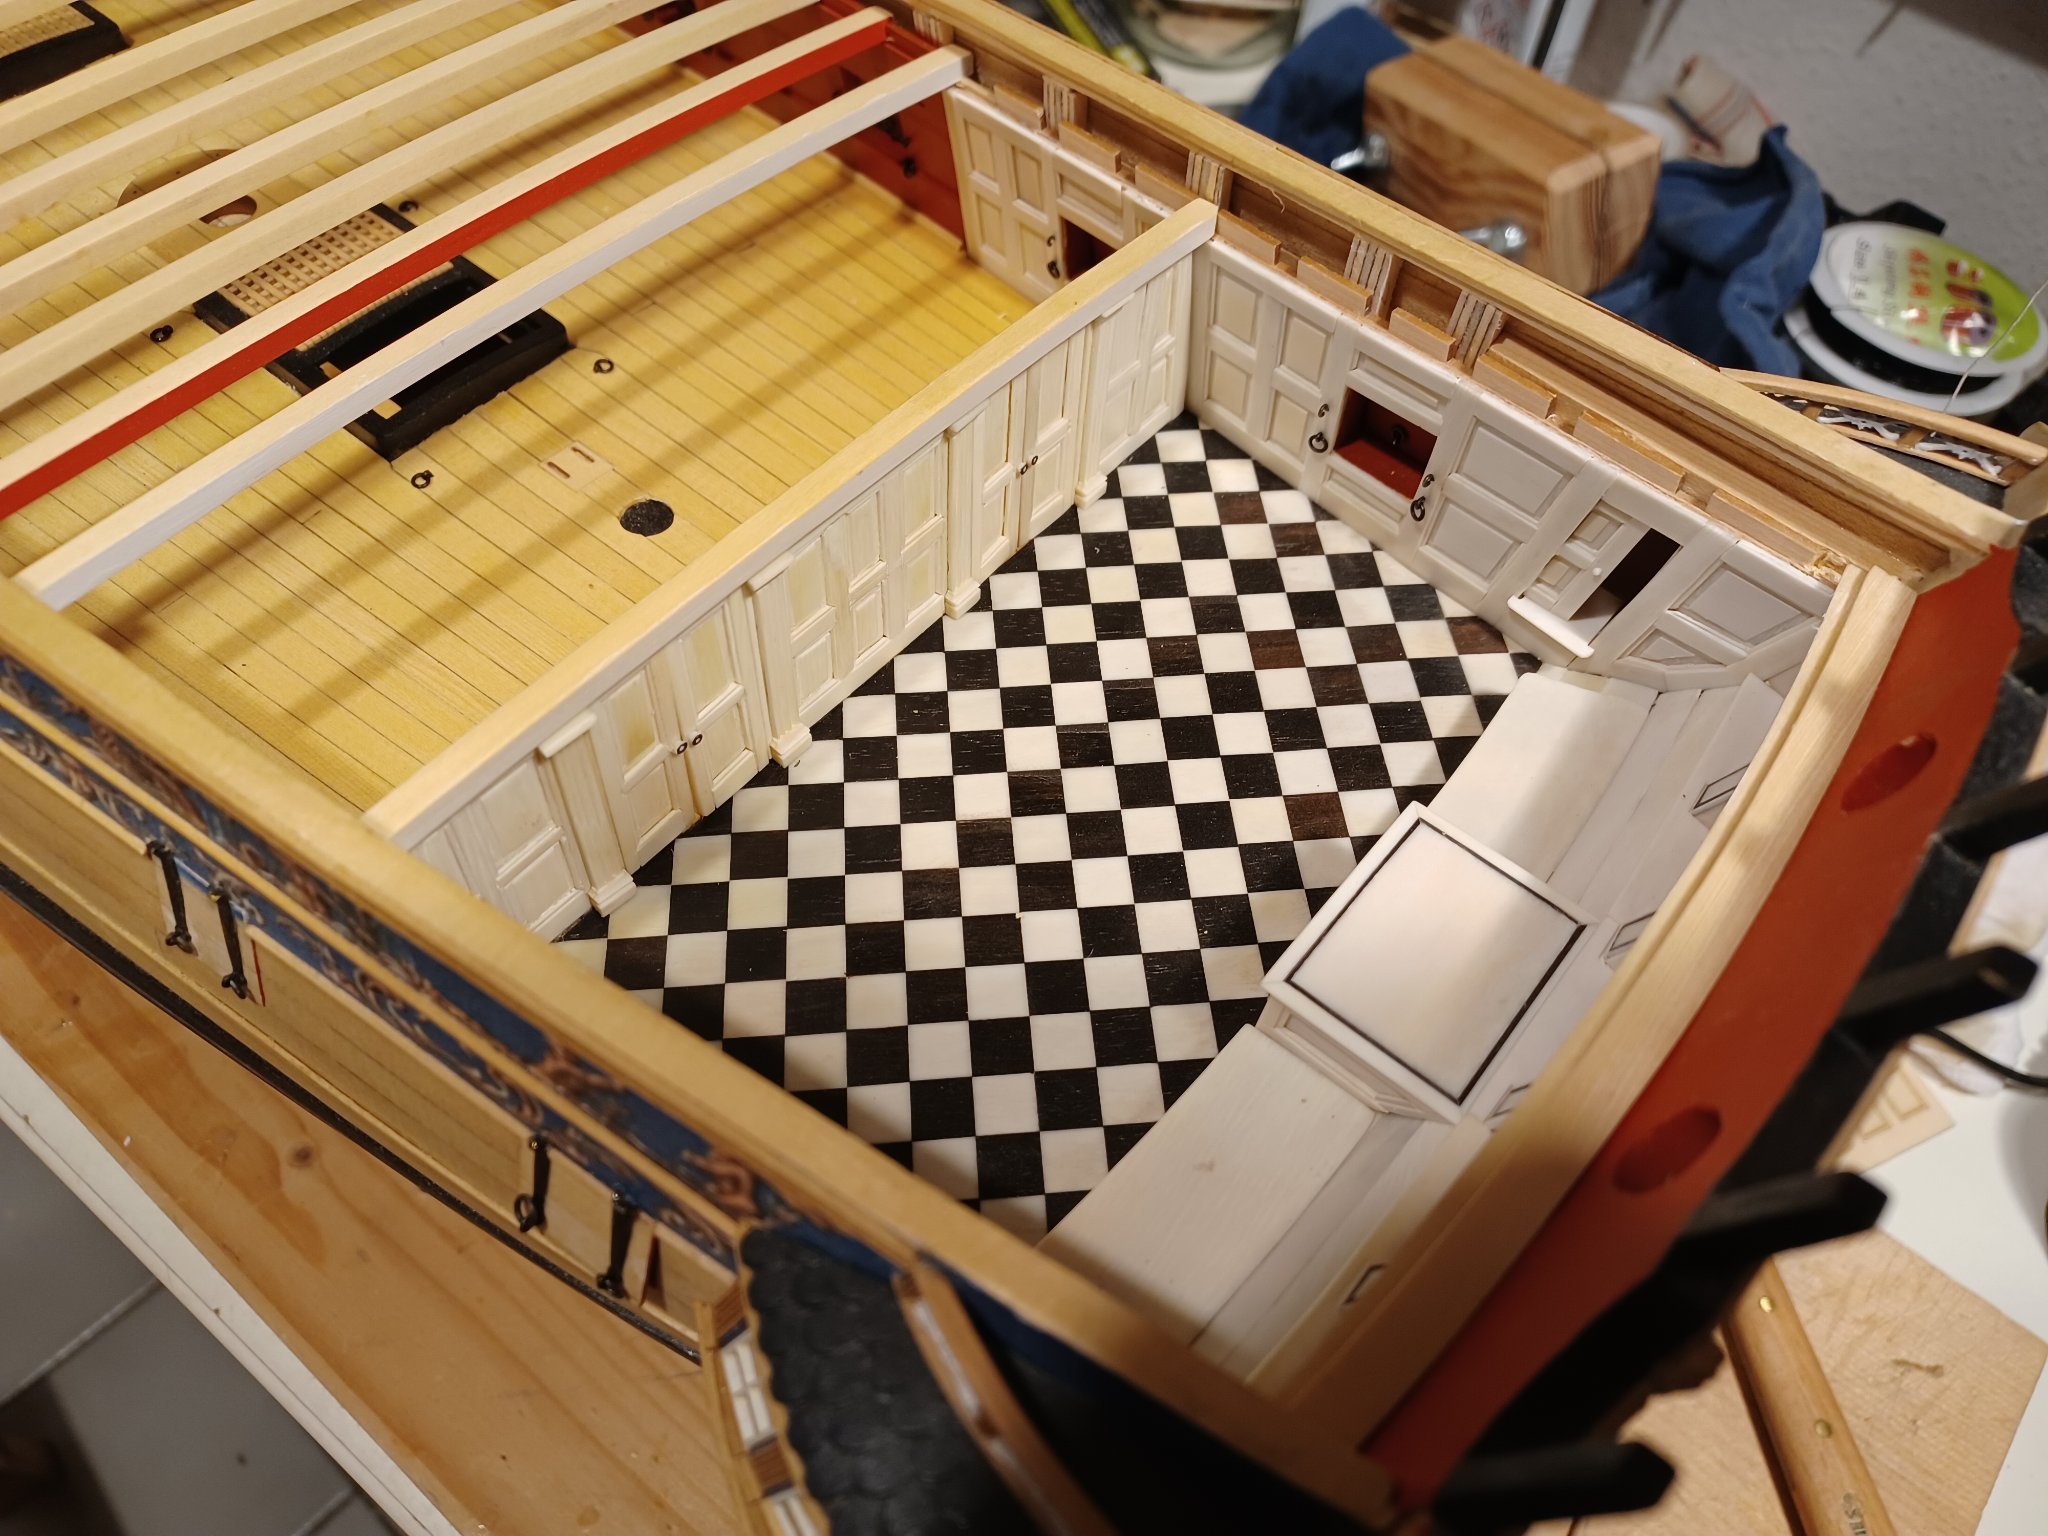
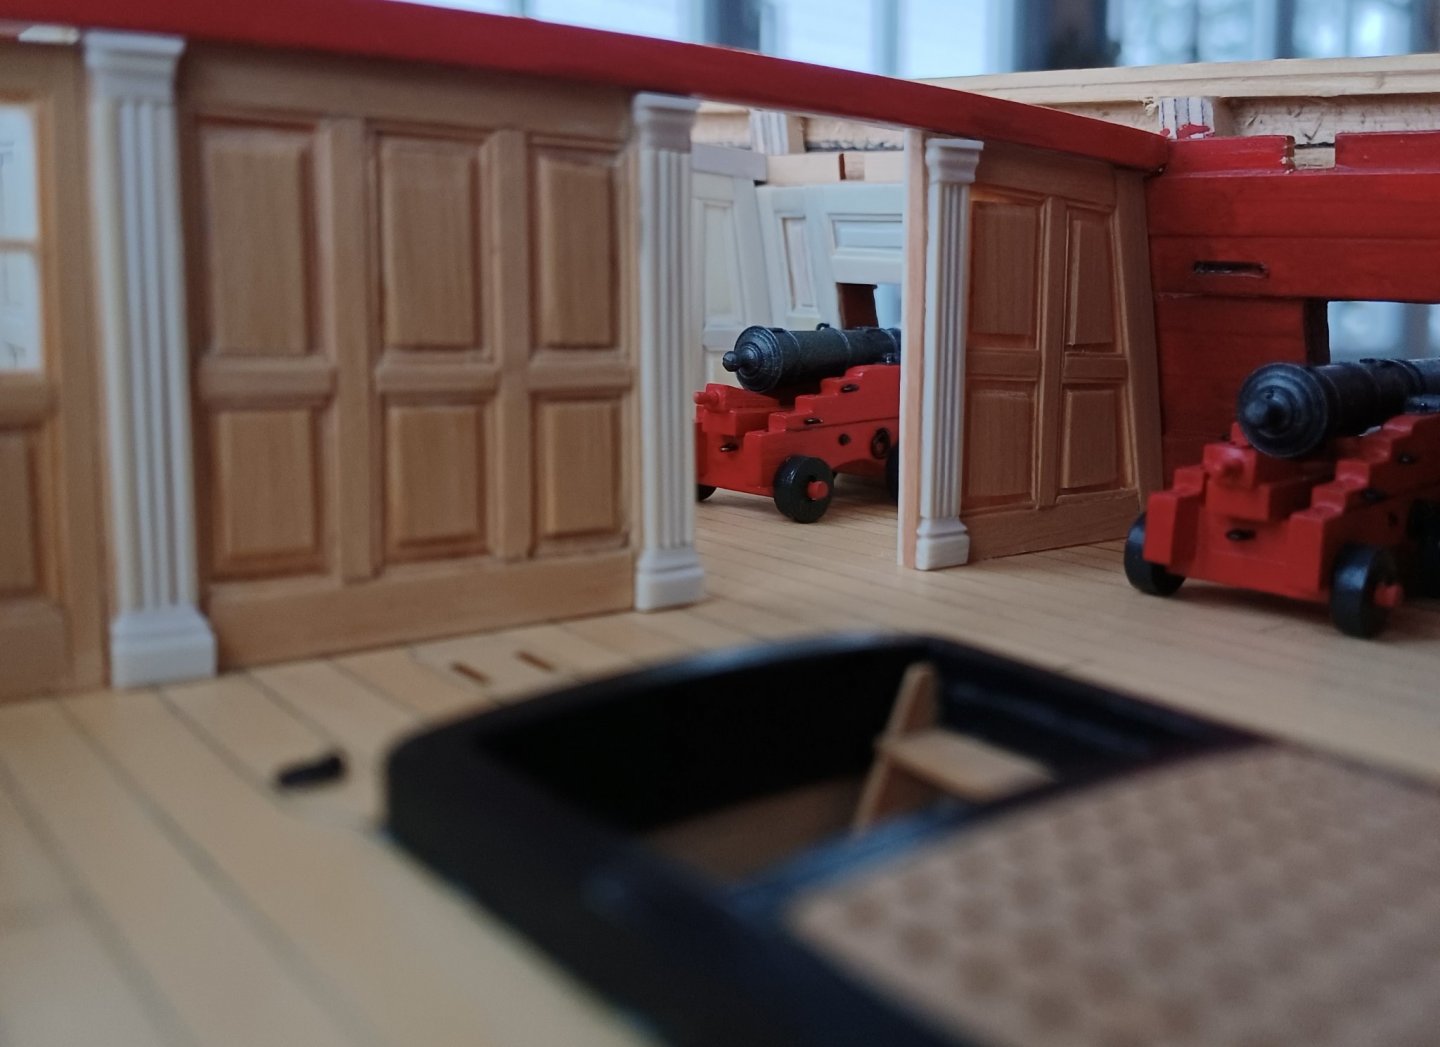
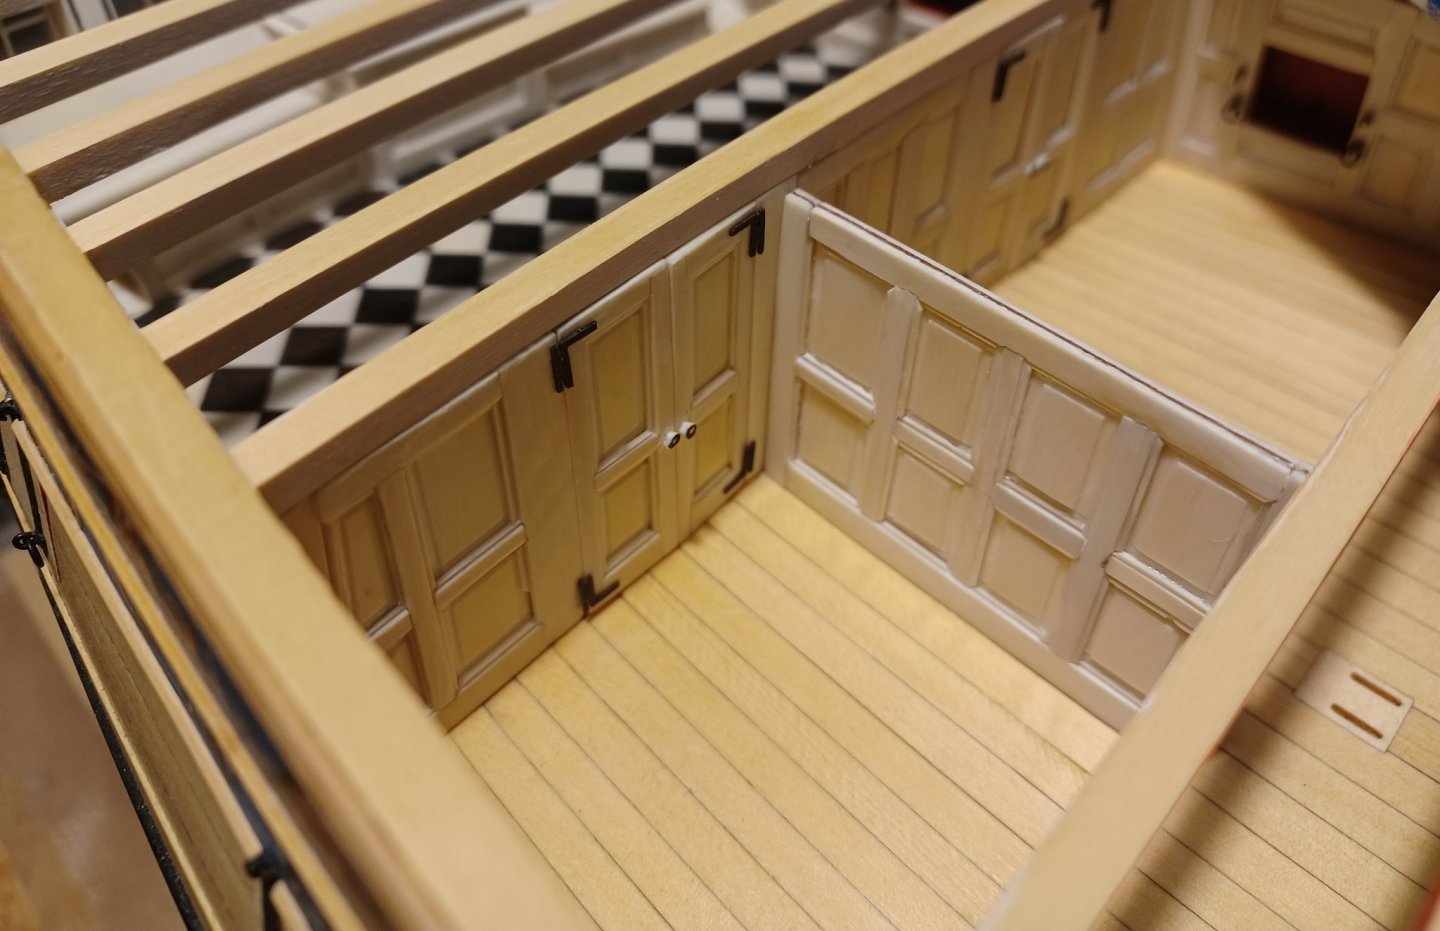
Hi everybody, I continued with the aft bulkhead, wich separates the captains cabin. The bulkhead panels and doors were assembled and glued in place, underneath the deck beam. The doors can be opened, but for now, I leave them shut, because of the danger of being damaged. I am not shure yet, I propably leave them closed anyway. Here are som photos of the result. Matthias


.jpg.c5c39e9131df0a2f883b34fa4dd1217e.jpg)