-
Posts
432 -
Joined
-
Last visited
Content Type
Profiles
Forums
Gallery
Events
Everything posted by Beckmann
-
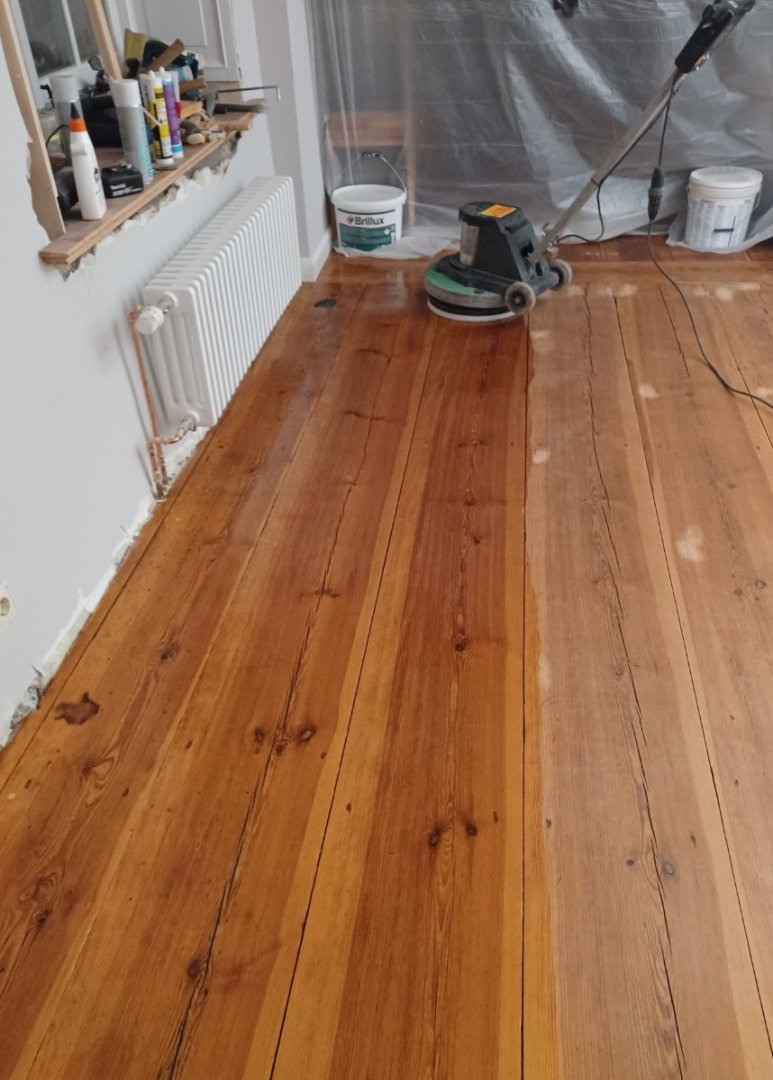
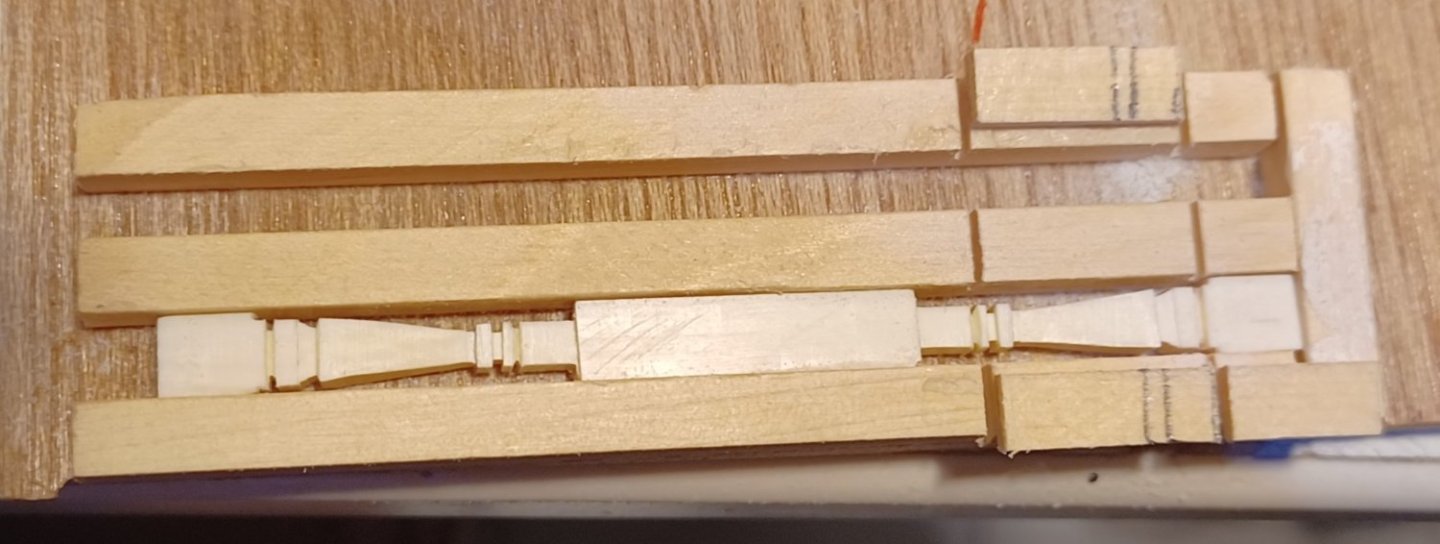
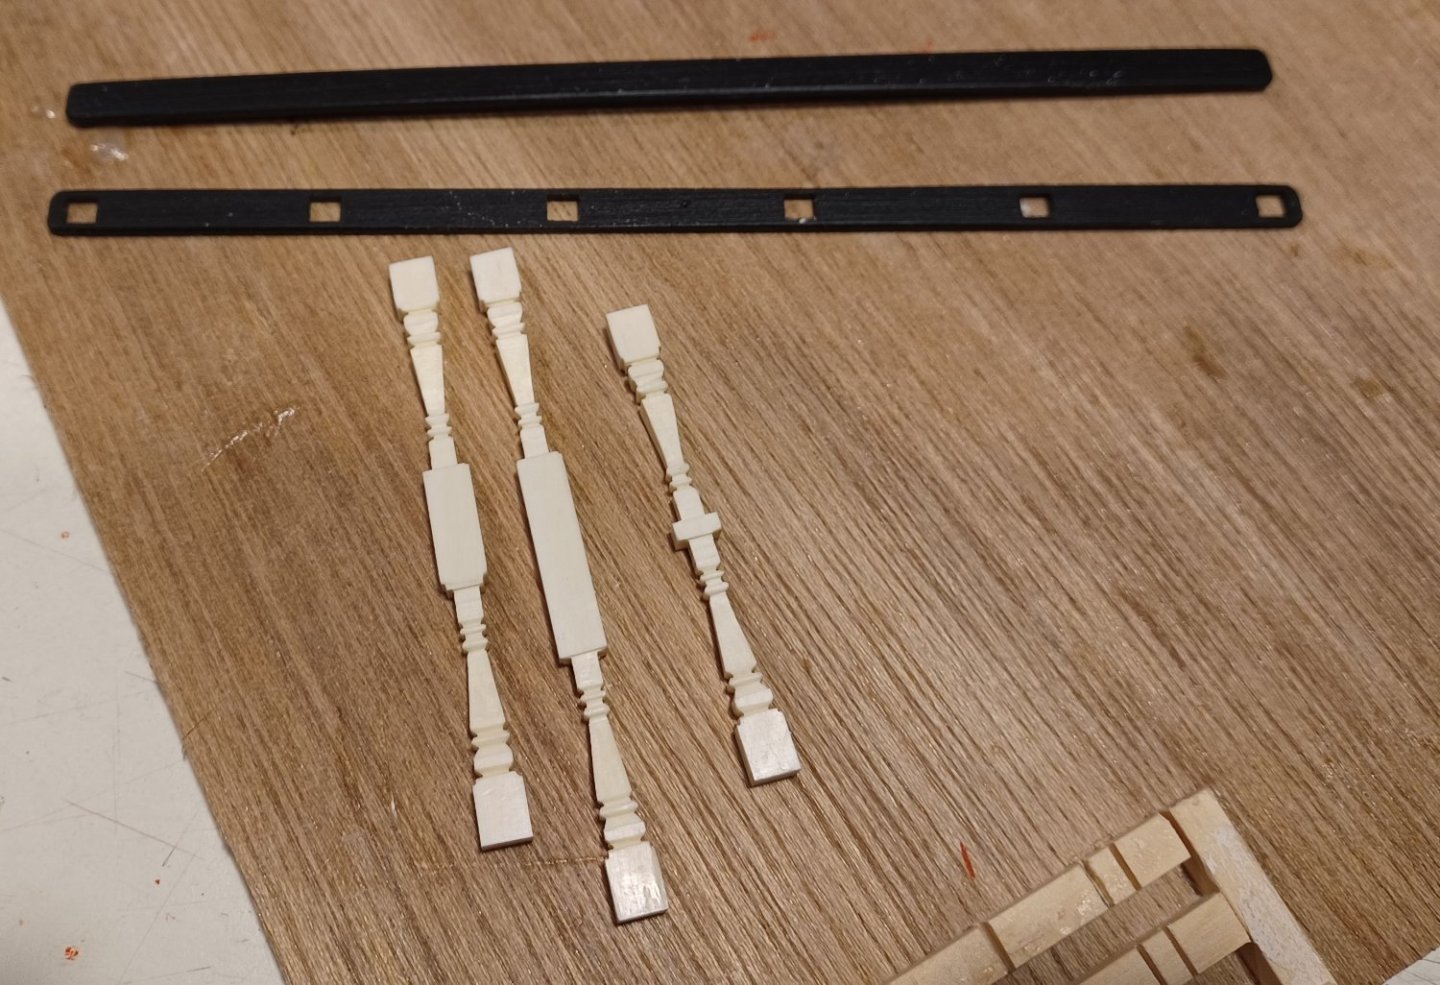
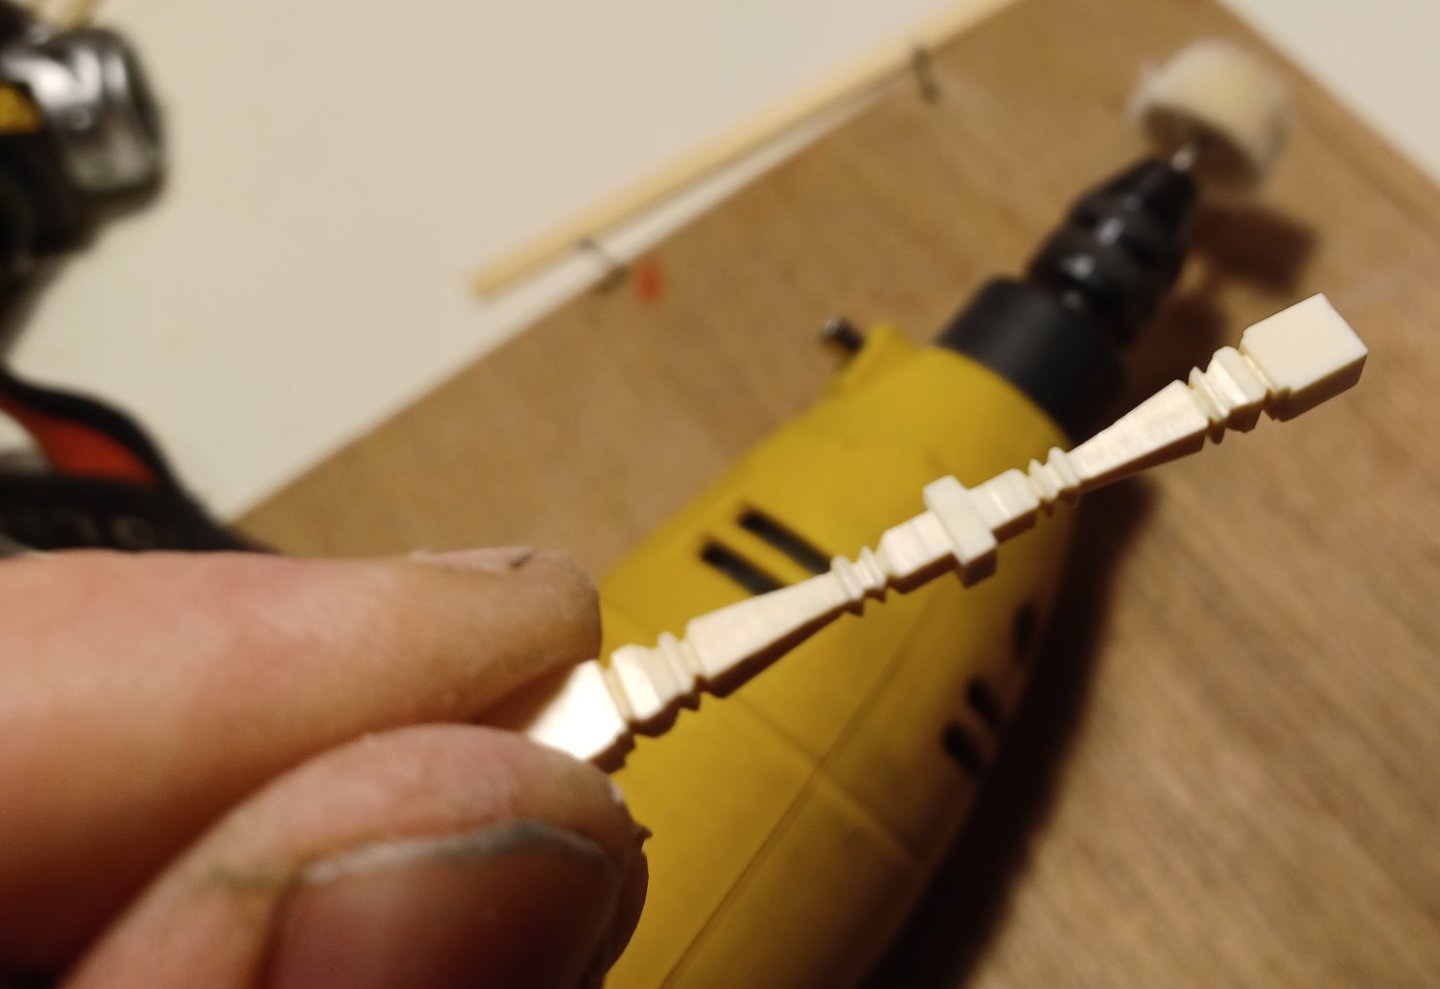
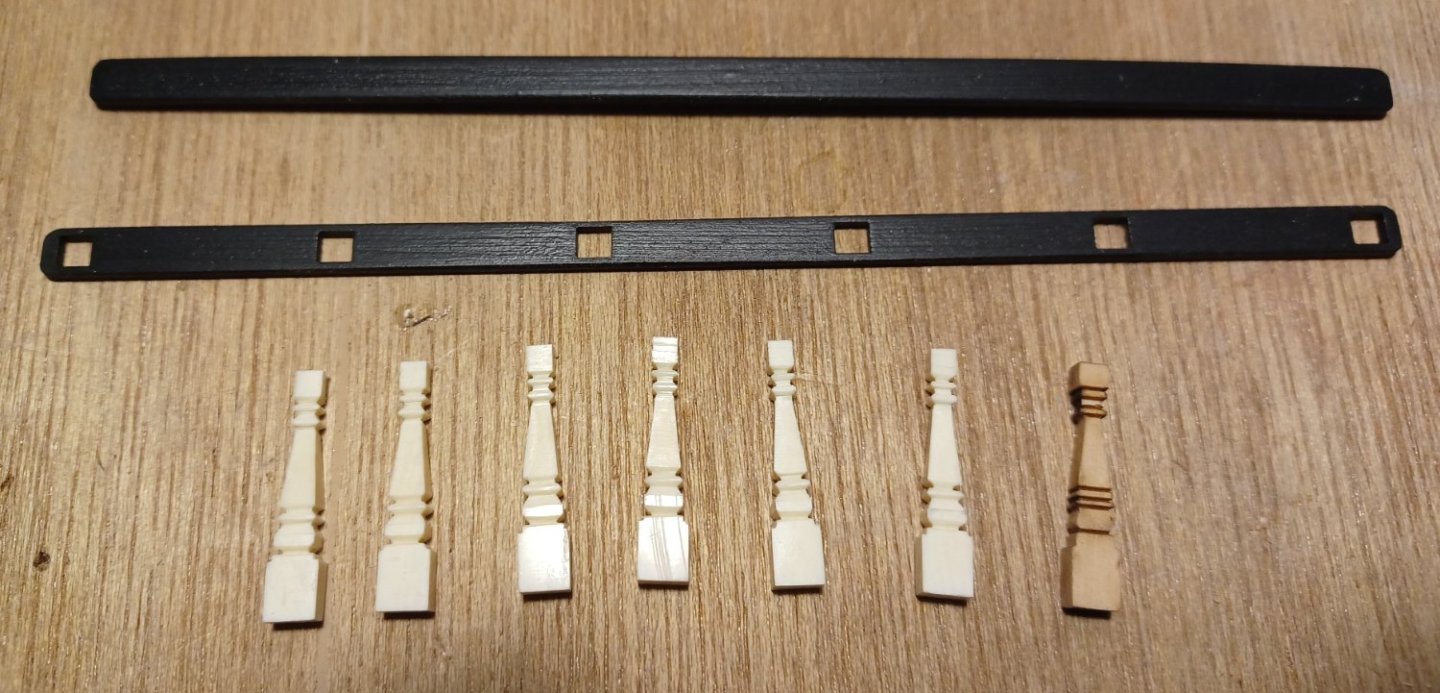
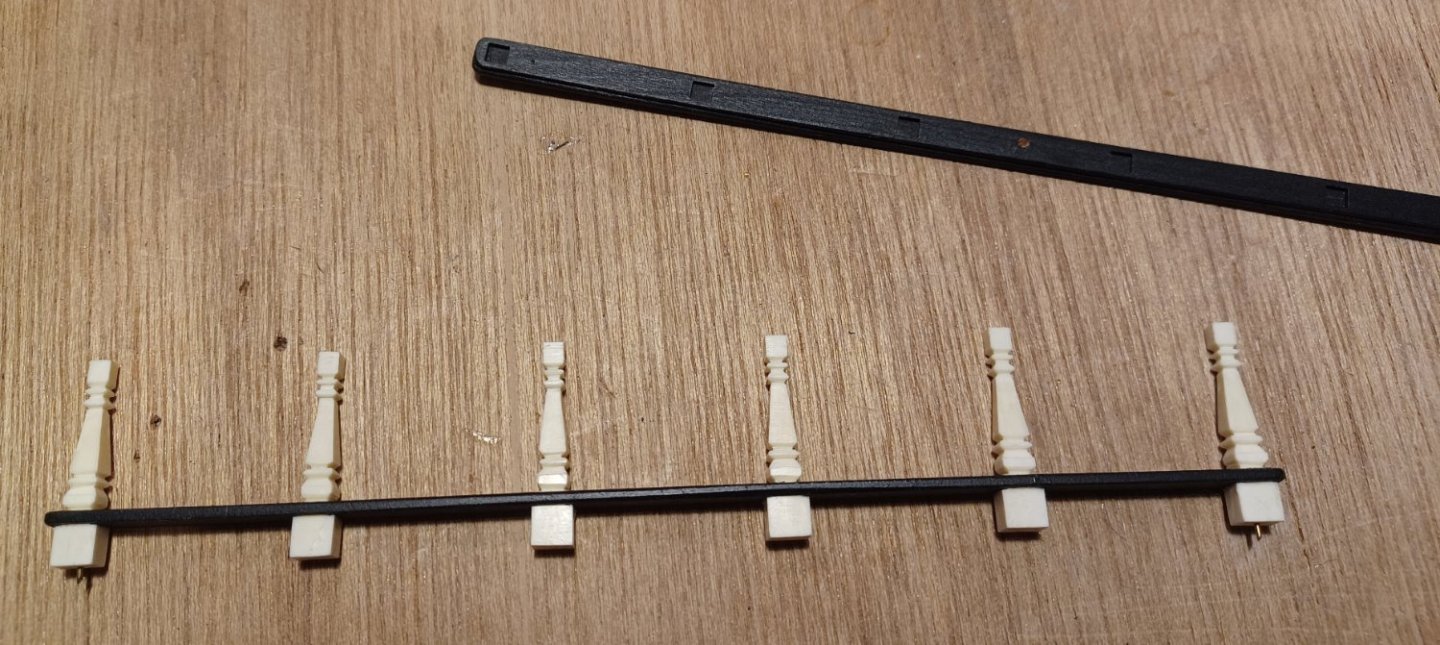
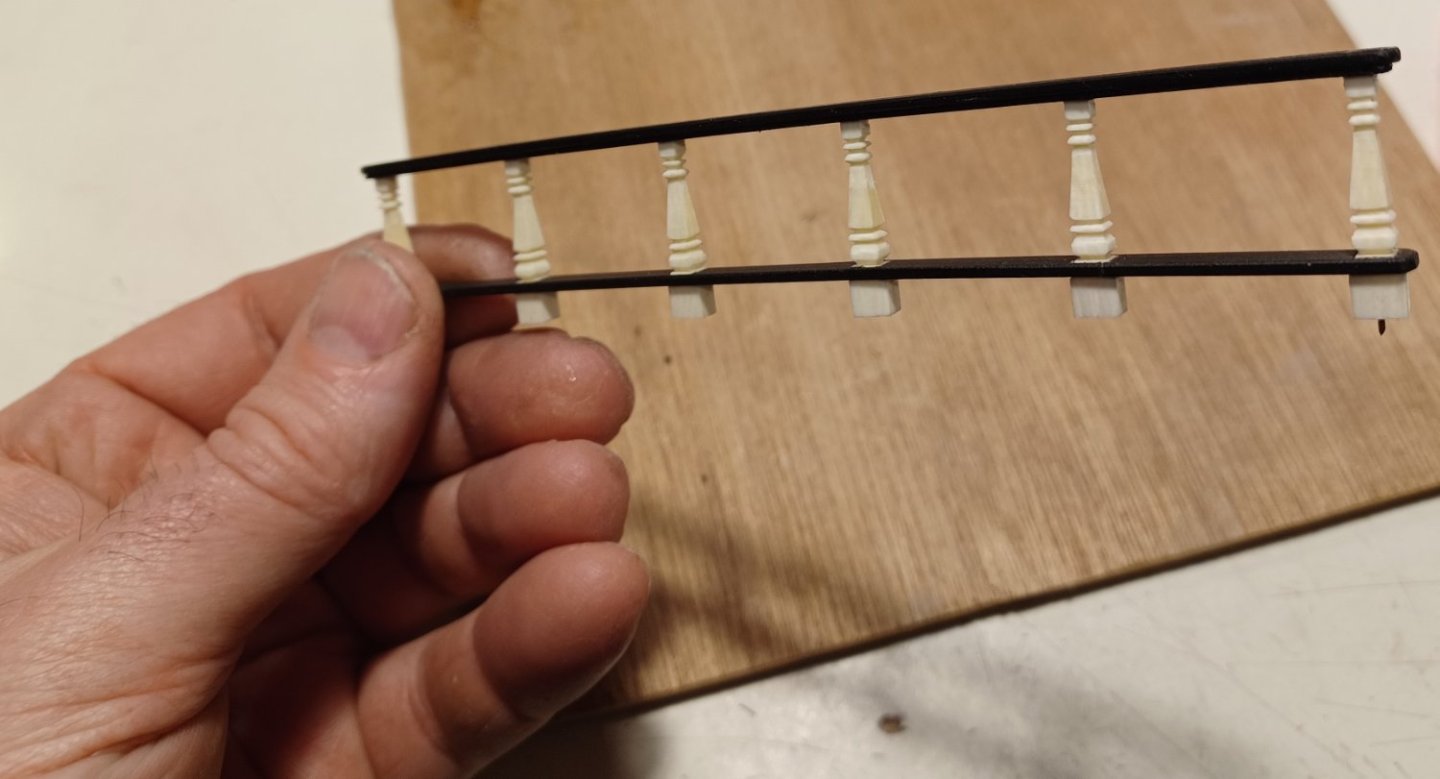
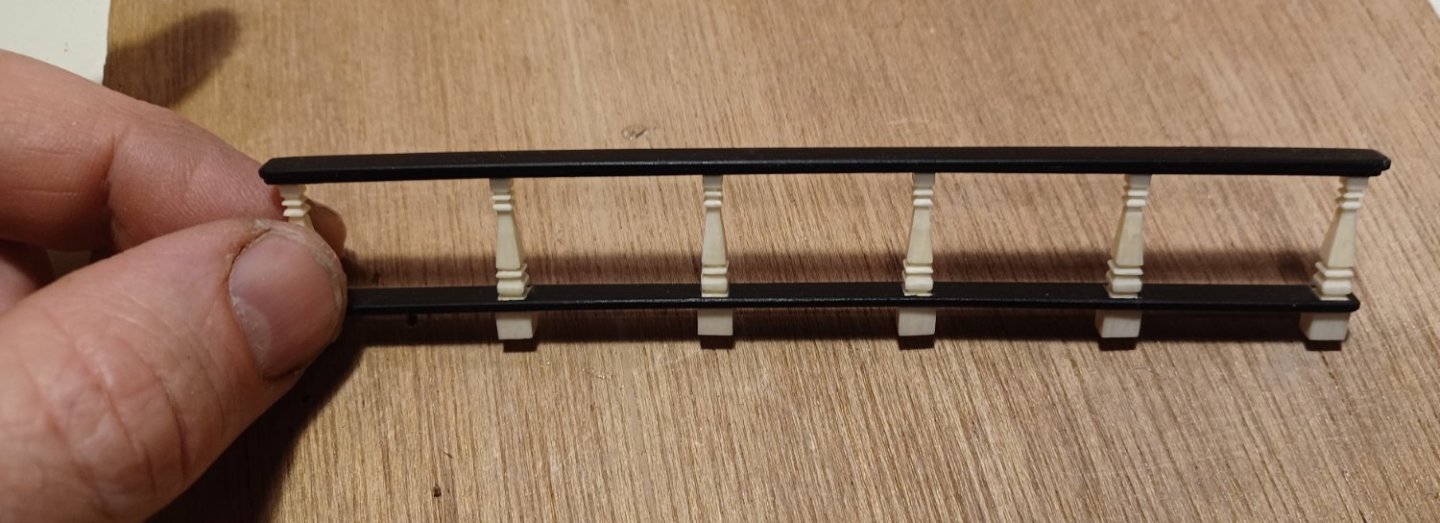
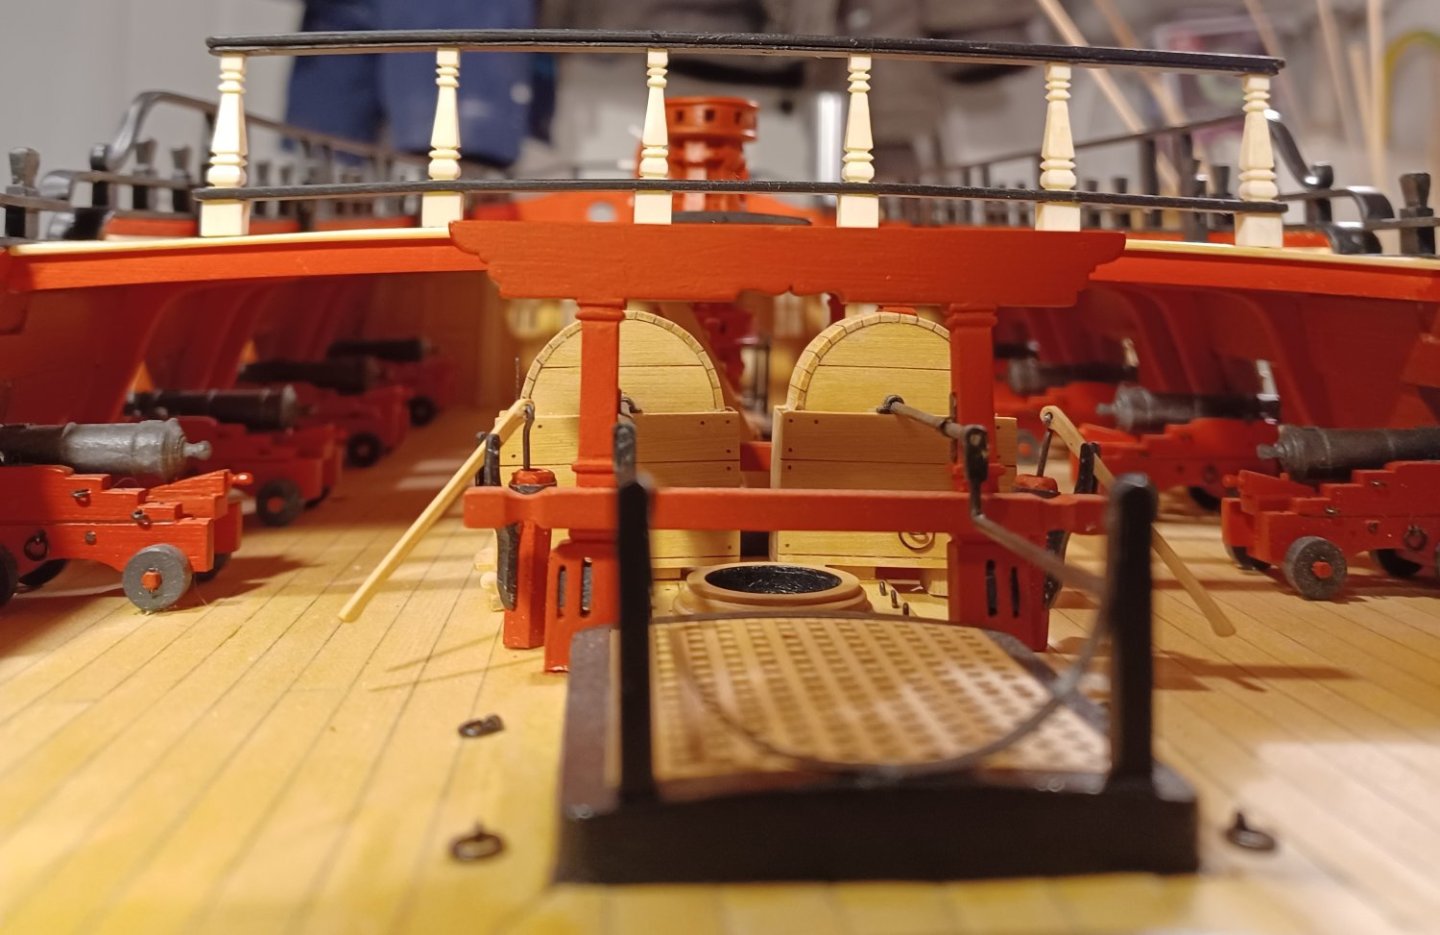
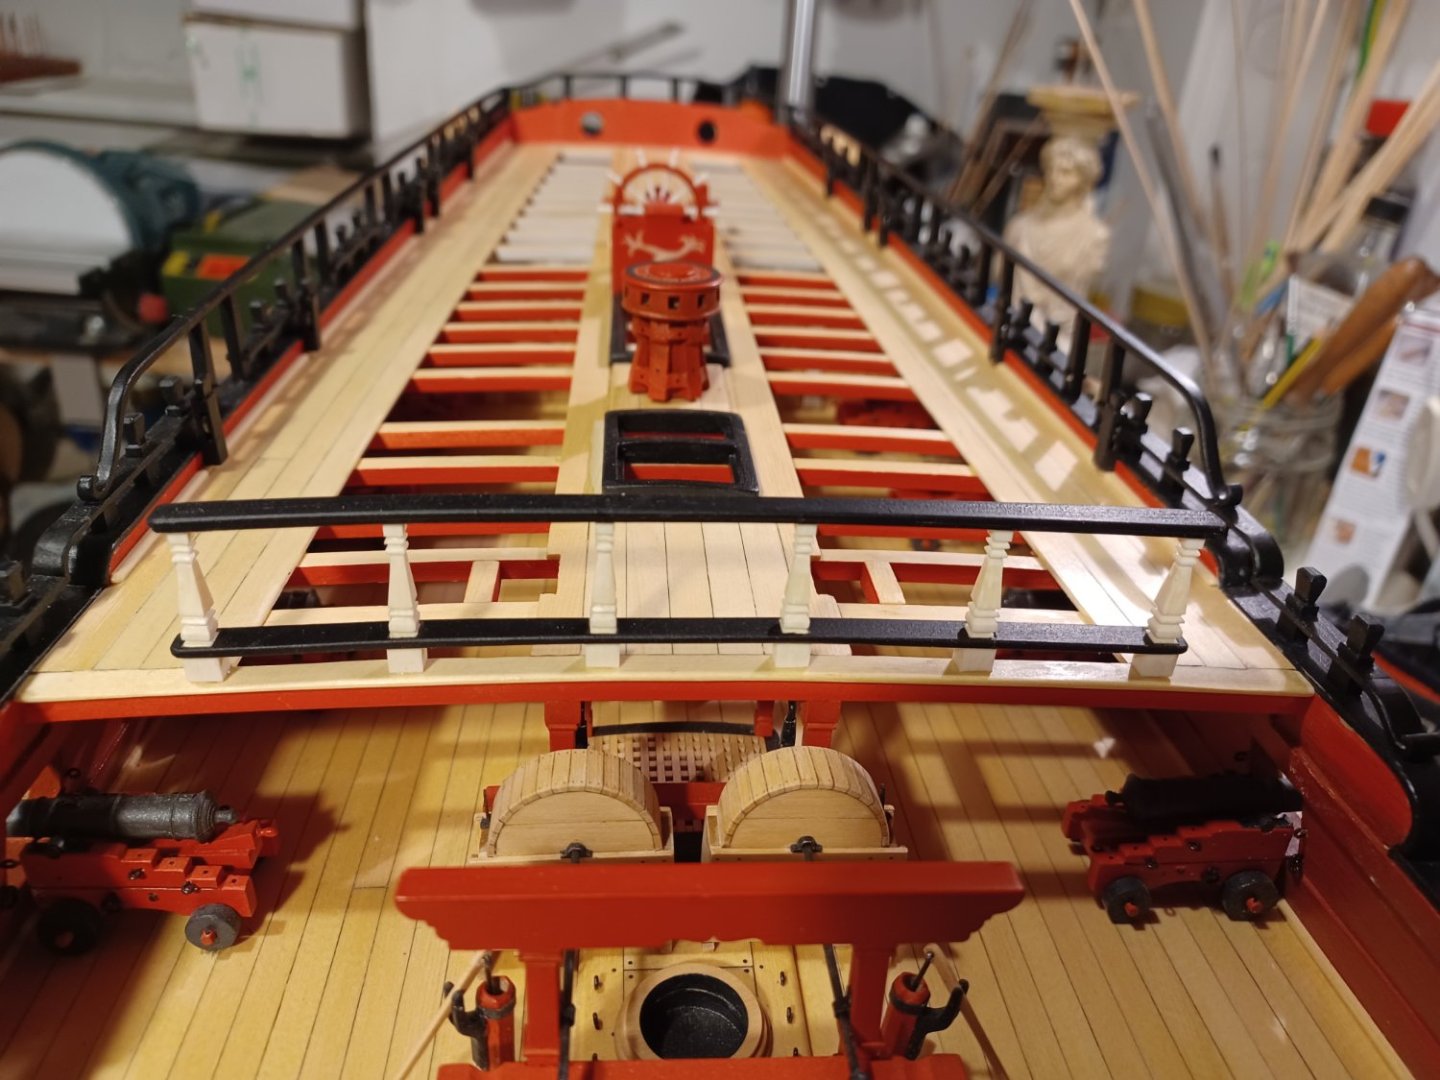
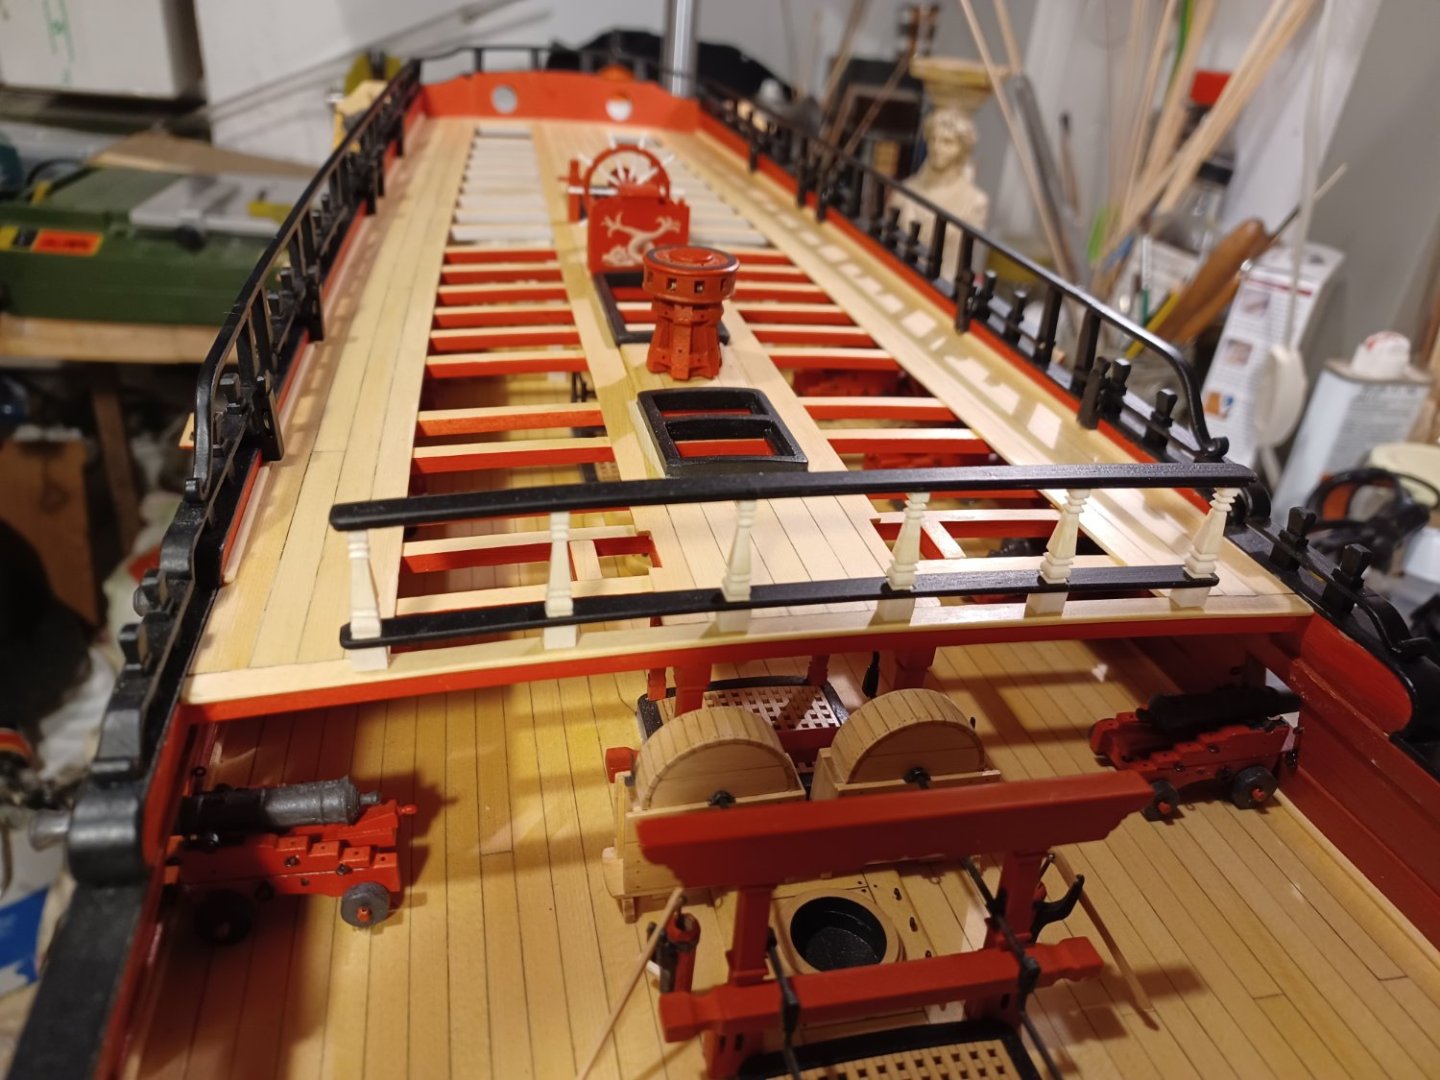
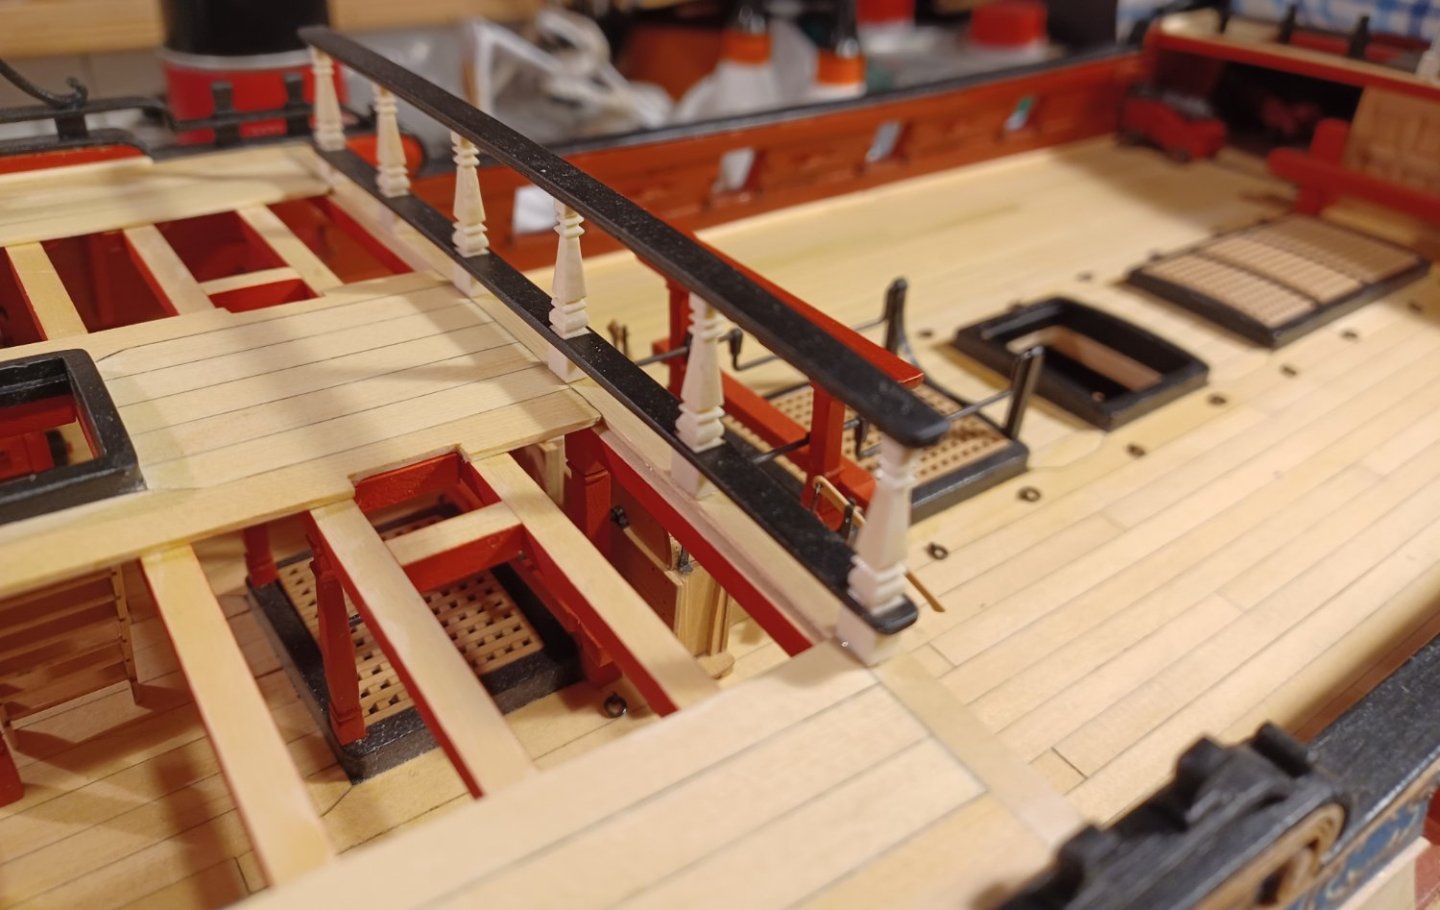
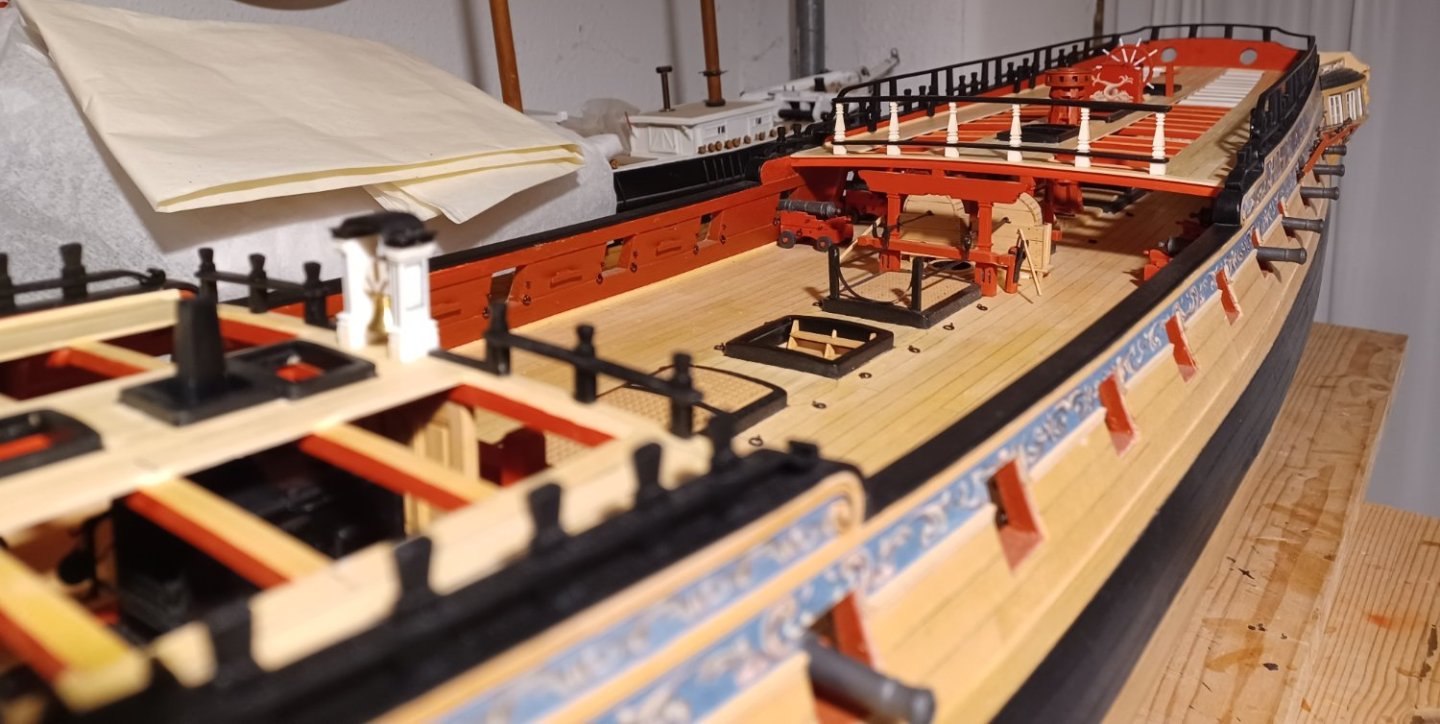
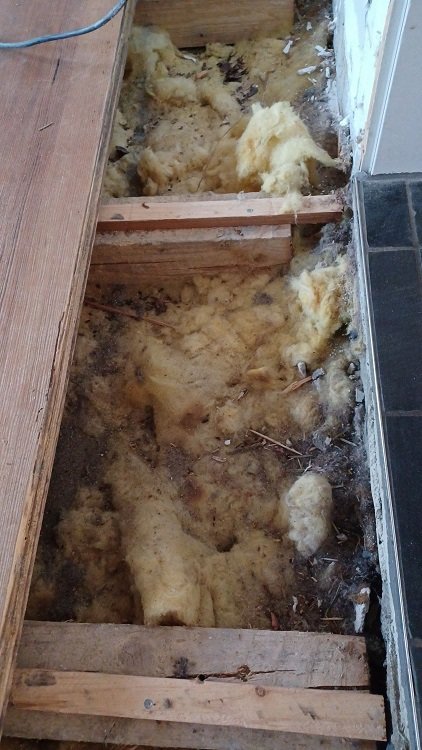
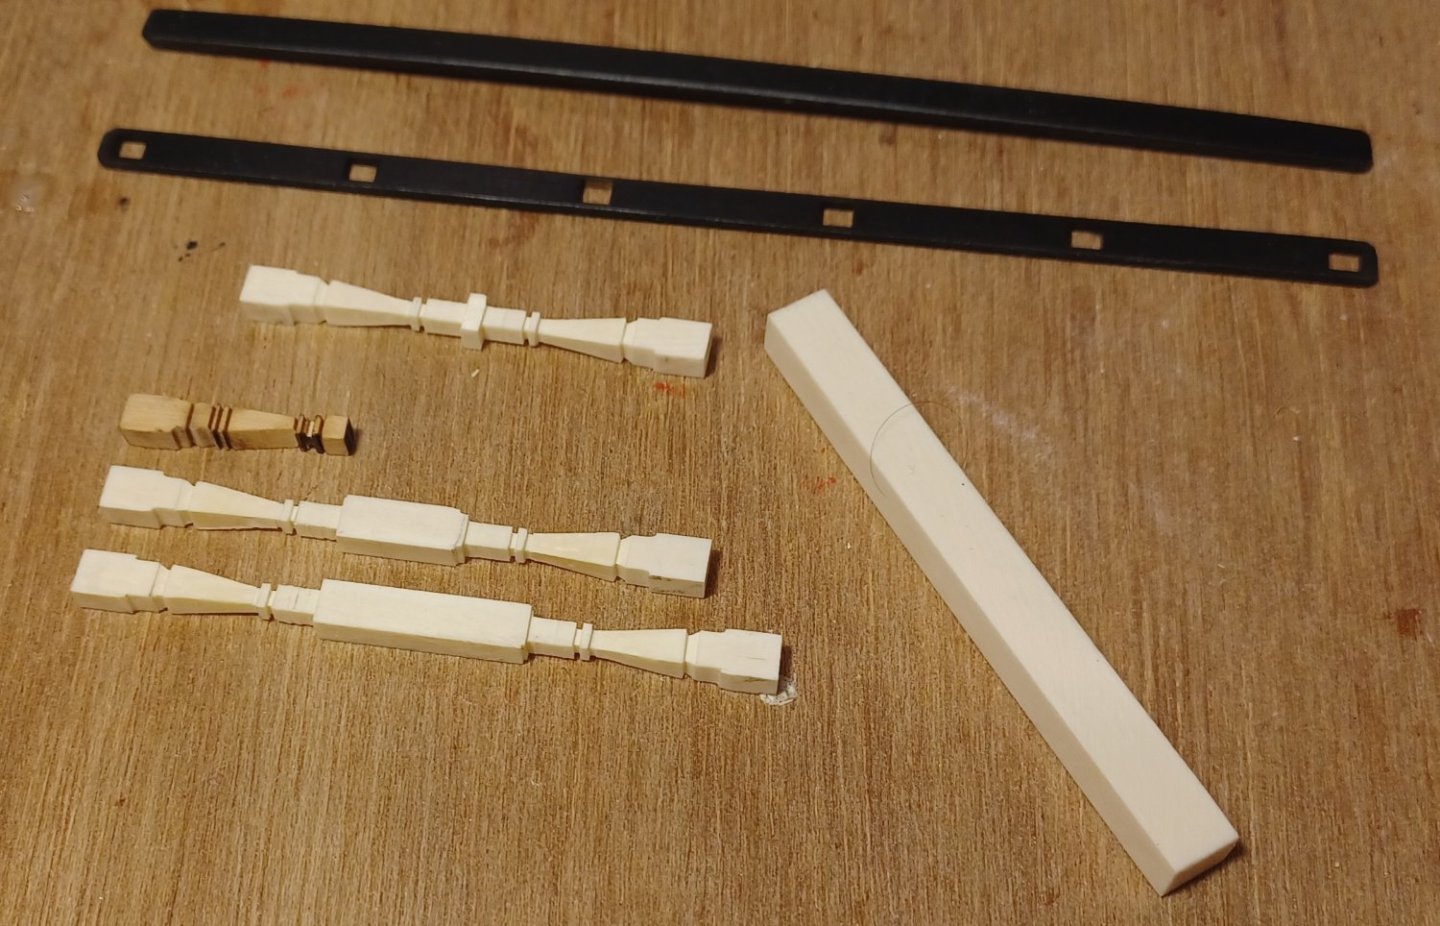
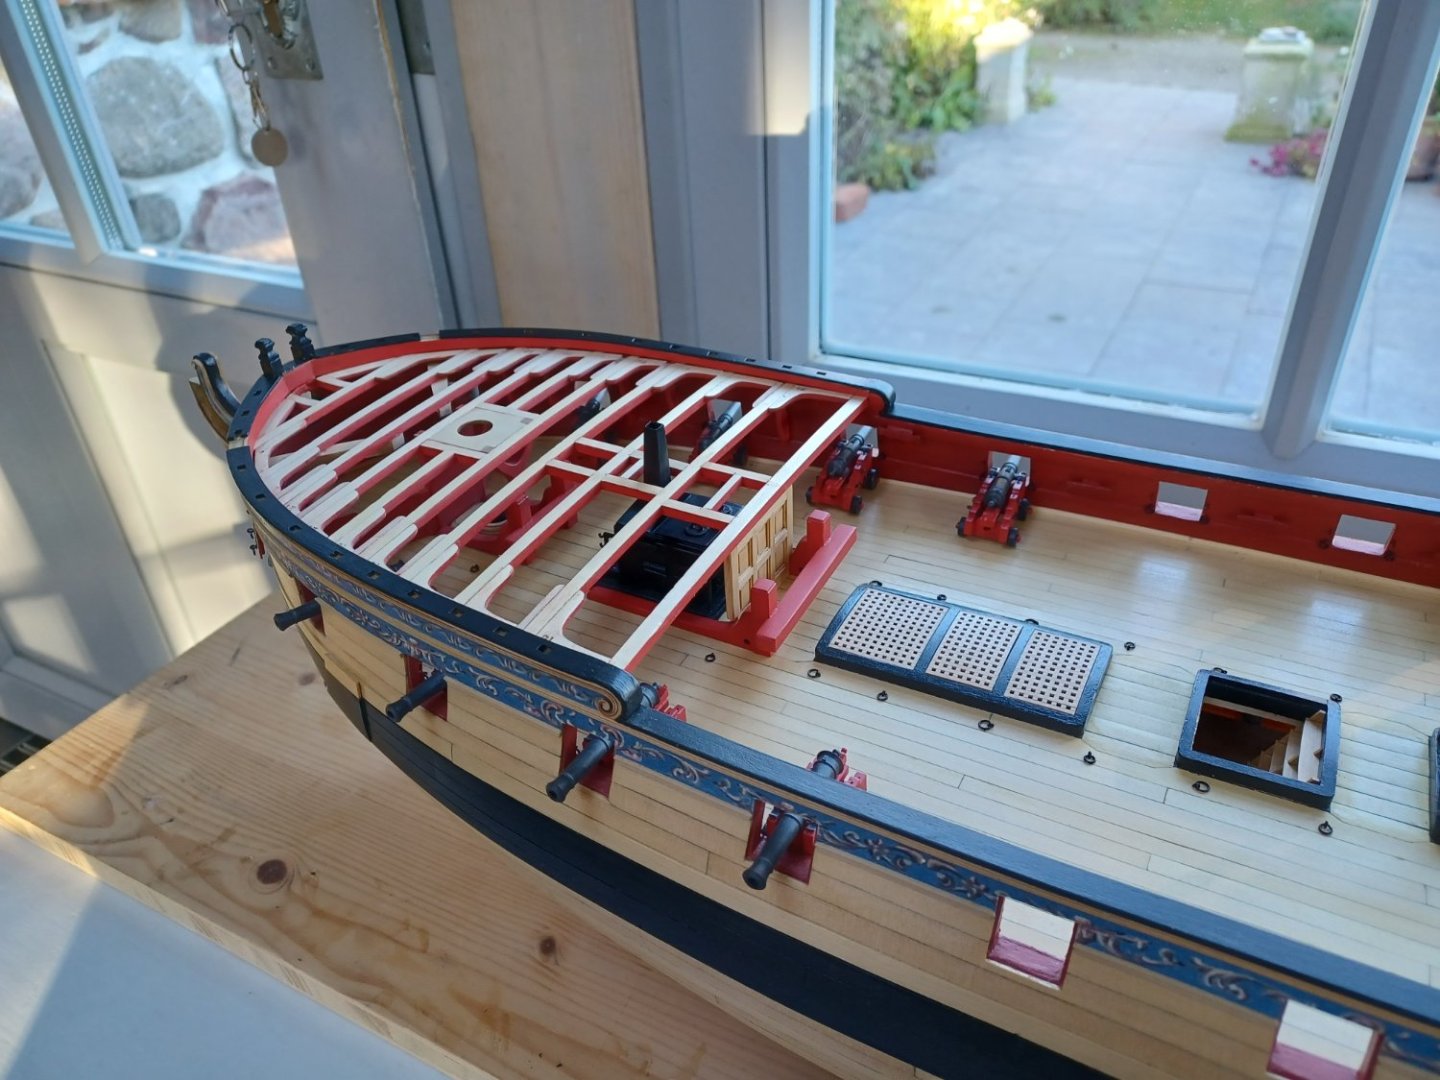
That was a long break for Winchelsea now, I had to do something against the mice under our living-room flooring. Then, more fun, some macro planking These old Floorboards are wonderful stuff. About 200 years old. Just lovely. Anyway, back to my breastrail I first made a jig for the detailed profiles, to get them all in line around the columns. Next step was sanding the profiles in a nice shape ... and polishing each corner to get this lovely dull gloss, wich this material has, when being polished. ... cutting the collumns in the right length and assemblying everything... Finally the installment on the model... This almost finishes chapter 10. I have to do the eyebolts for the guns on the quarterdeck and then proceed to chapter 11. Matthias
-
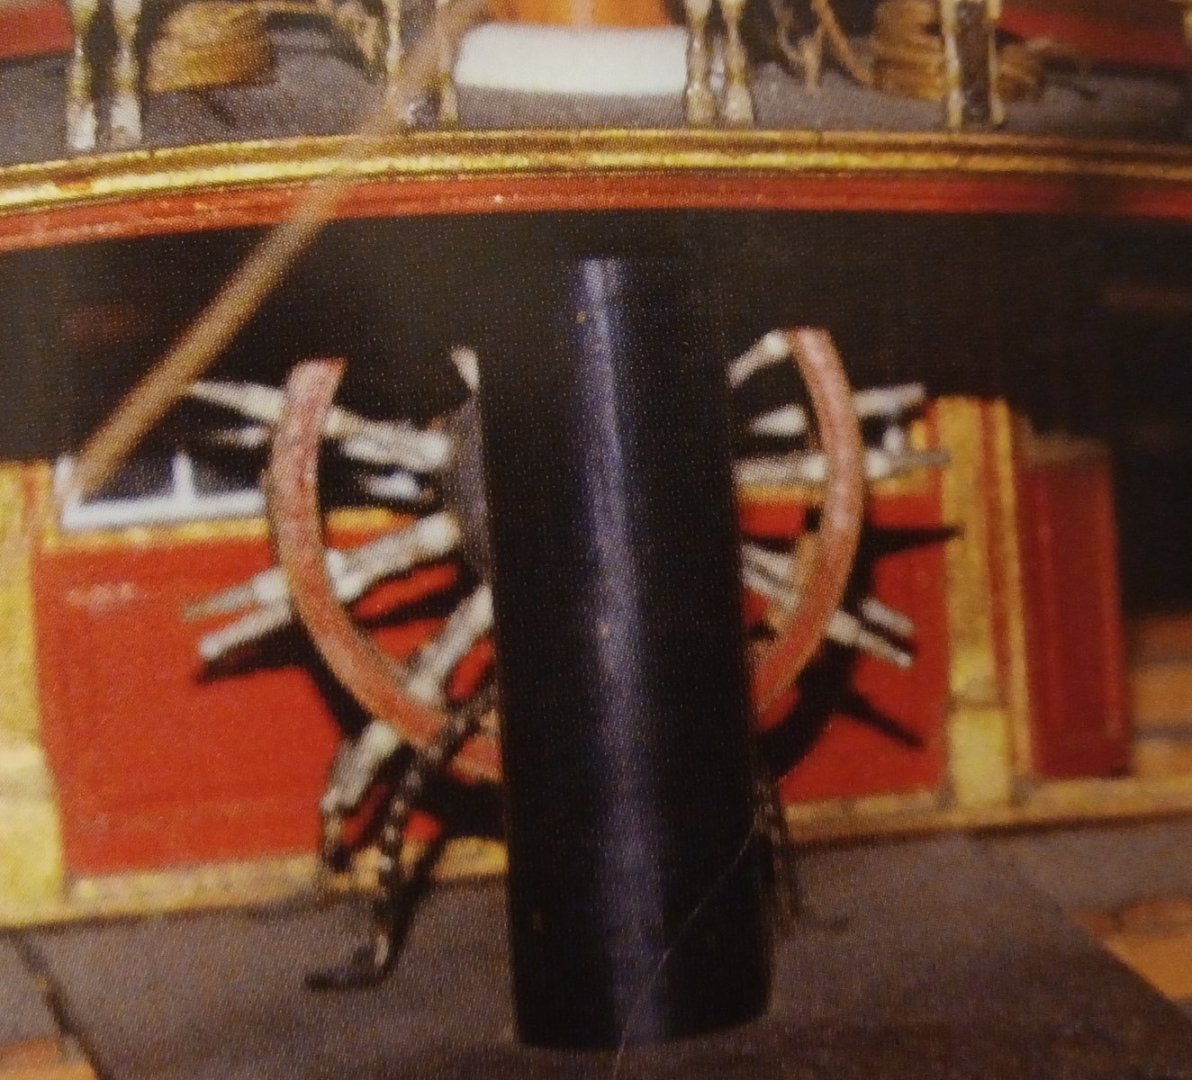
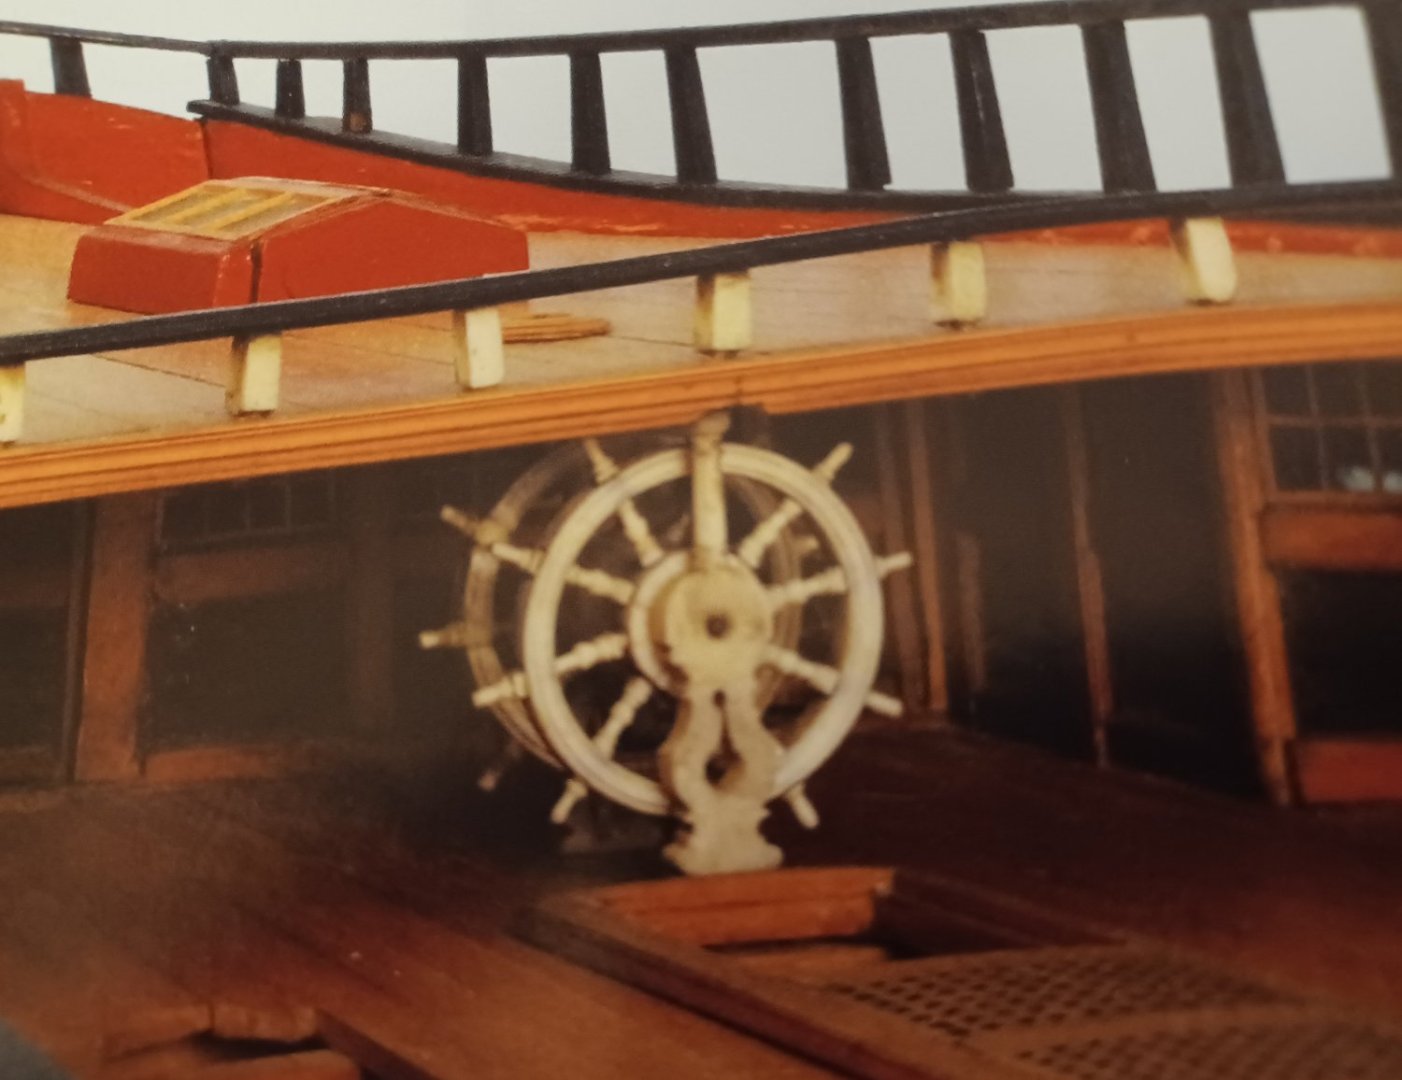
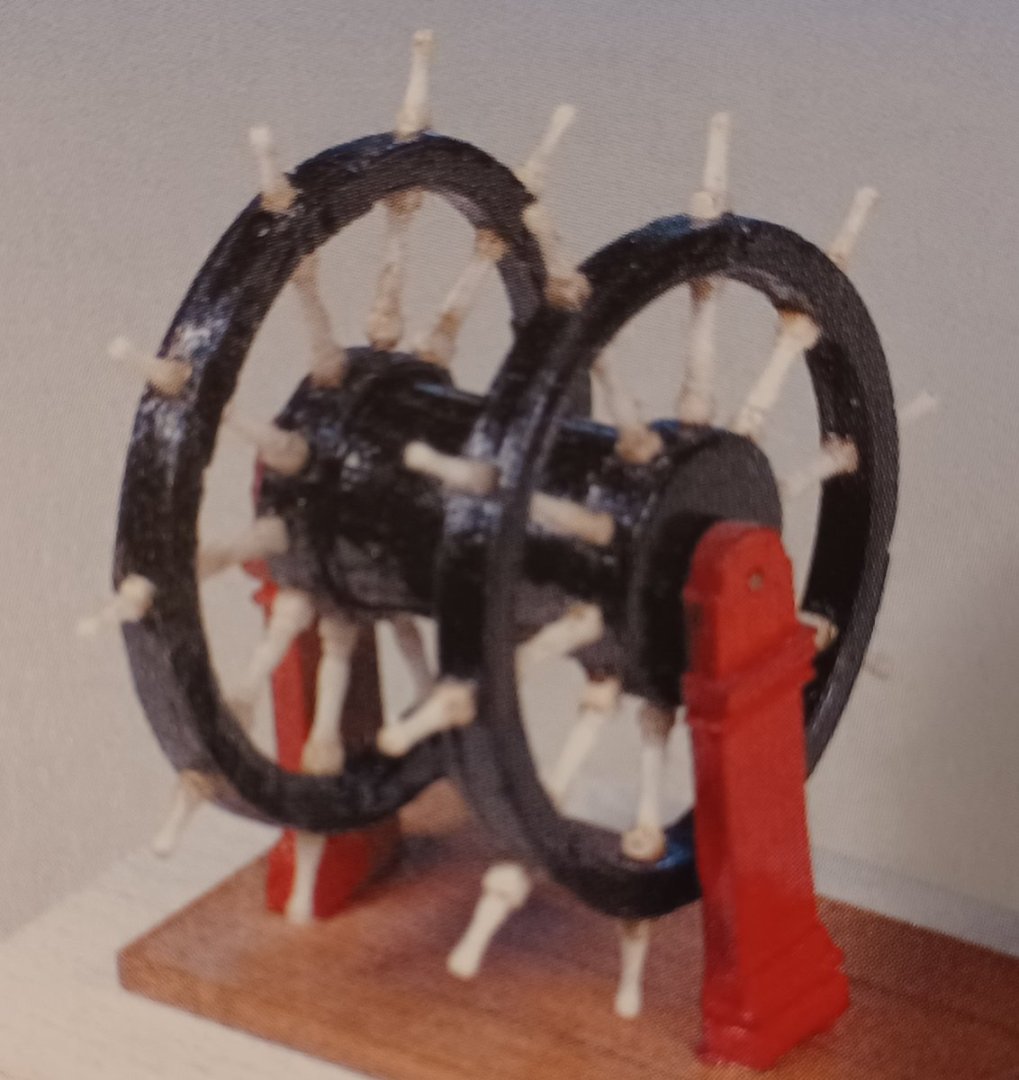
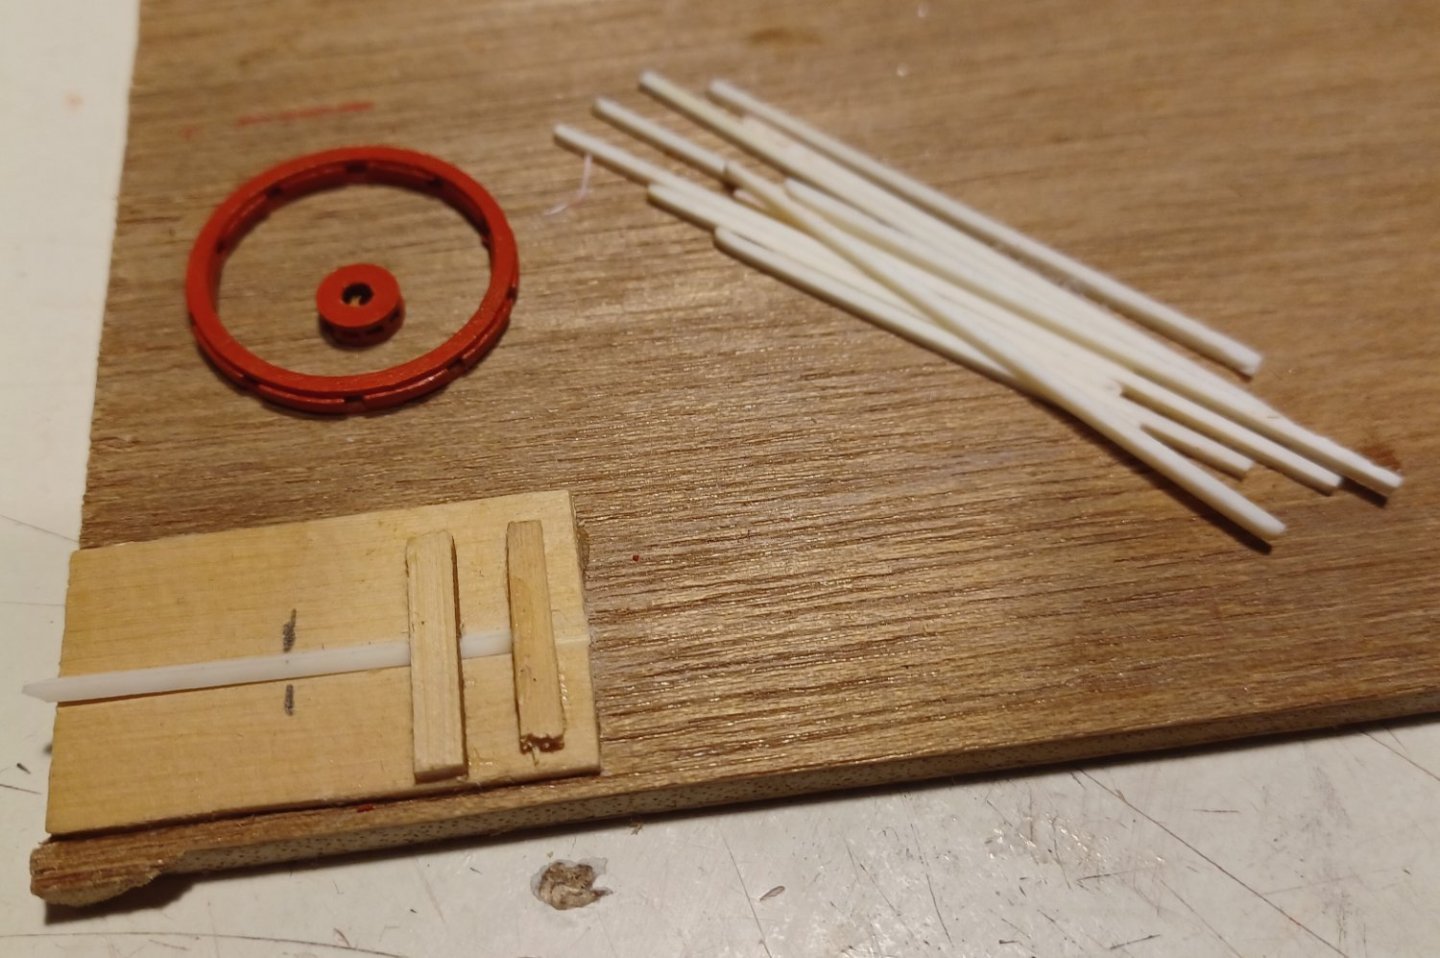
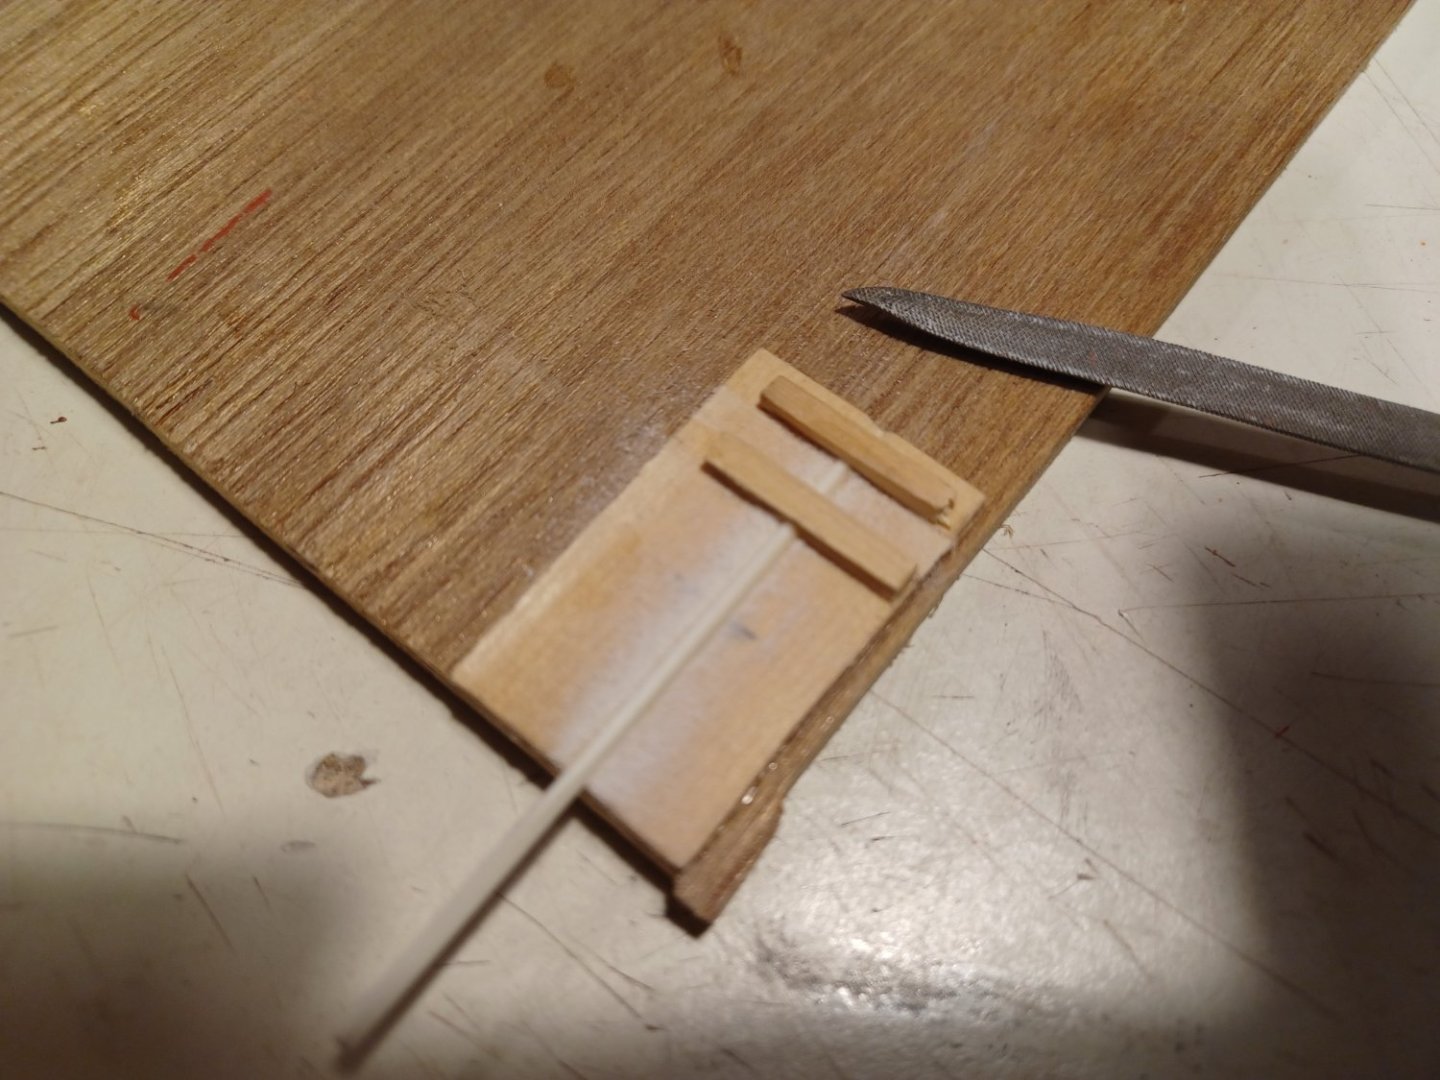
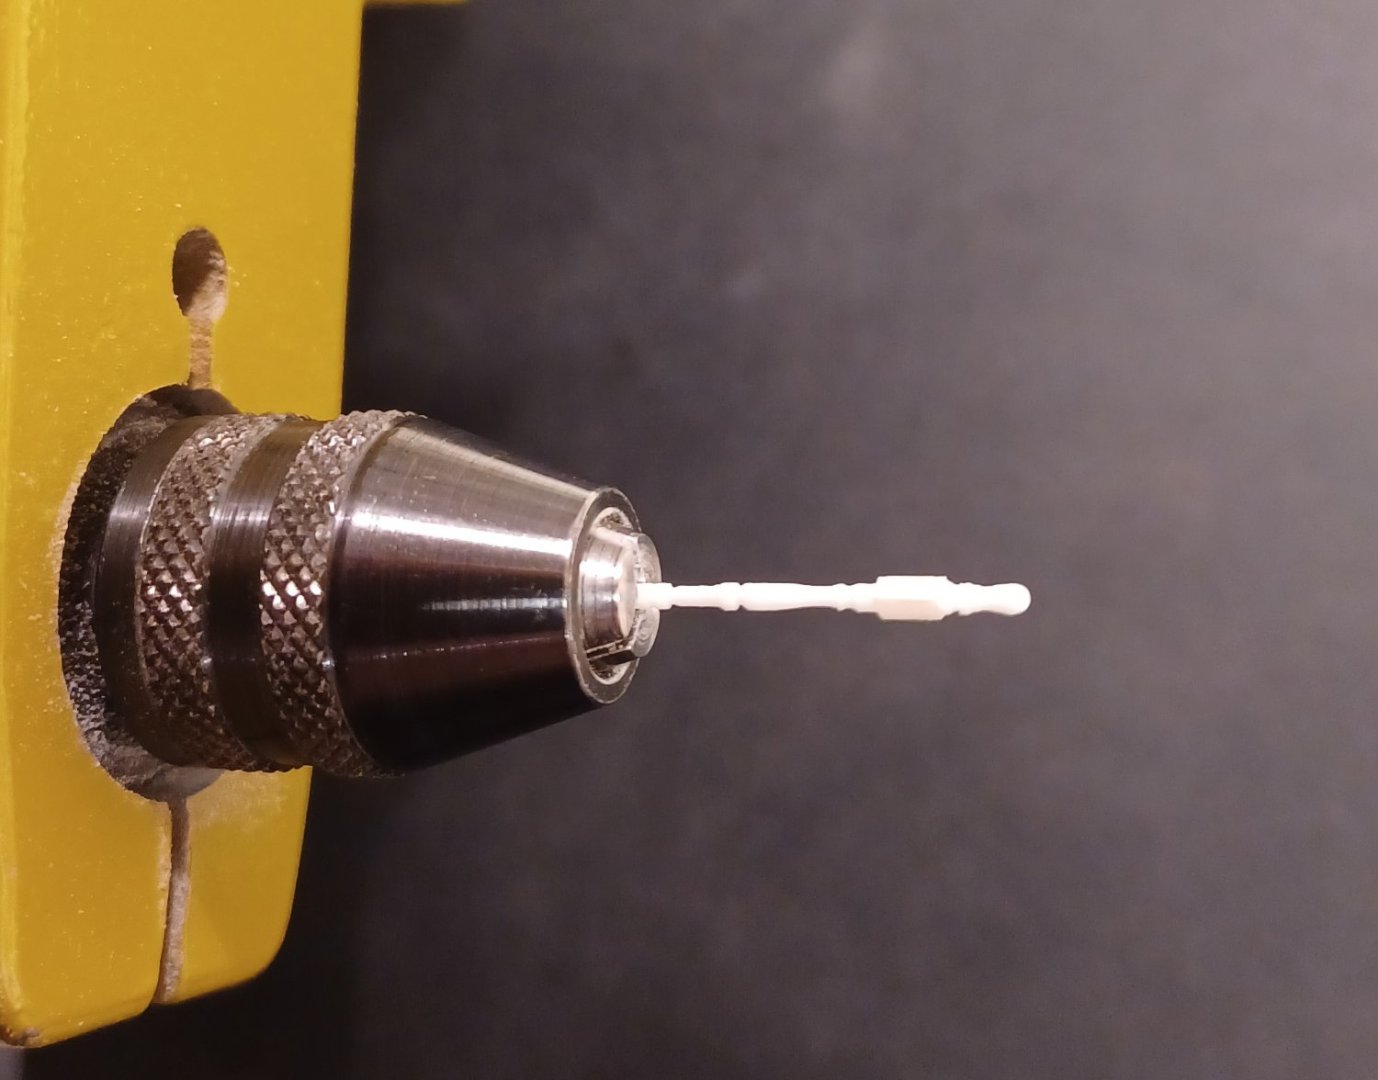
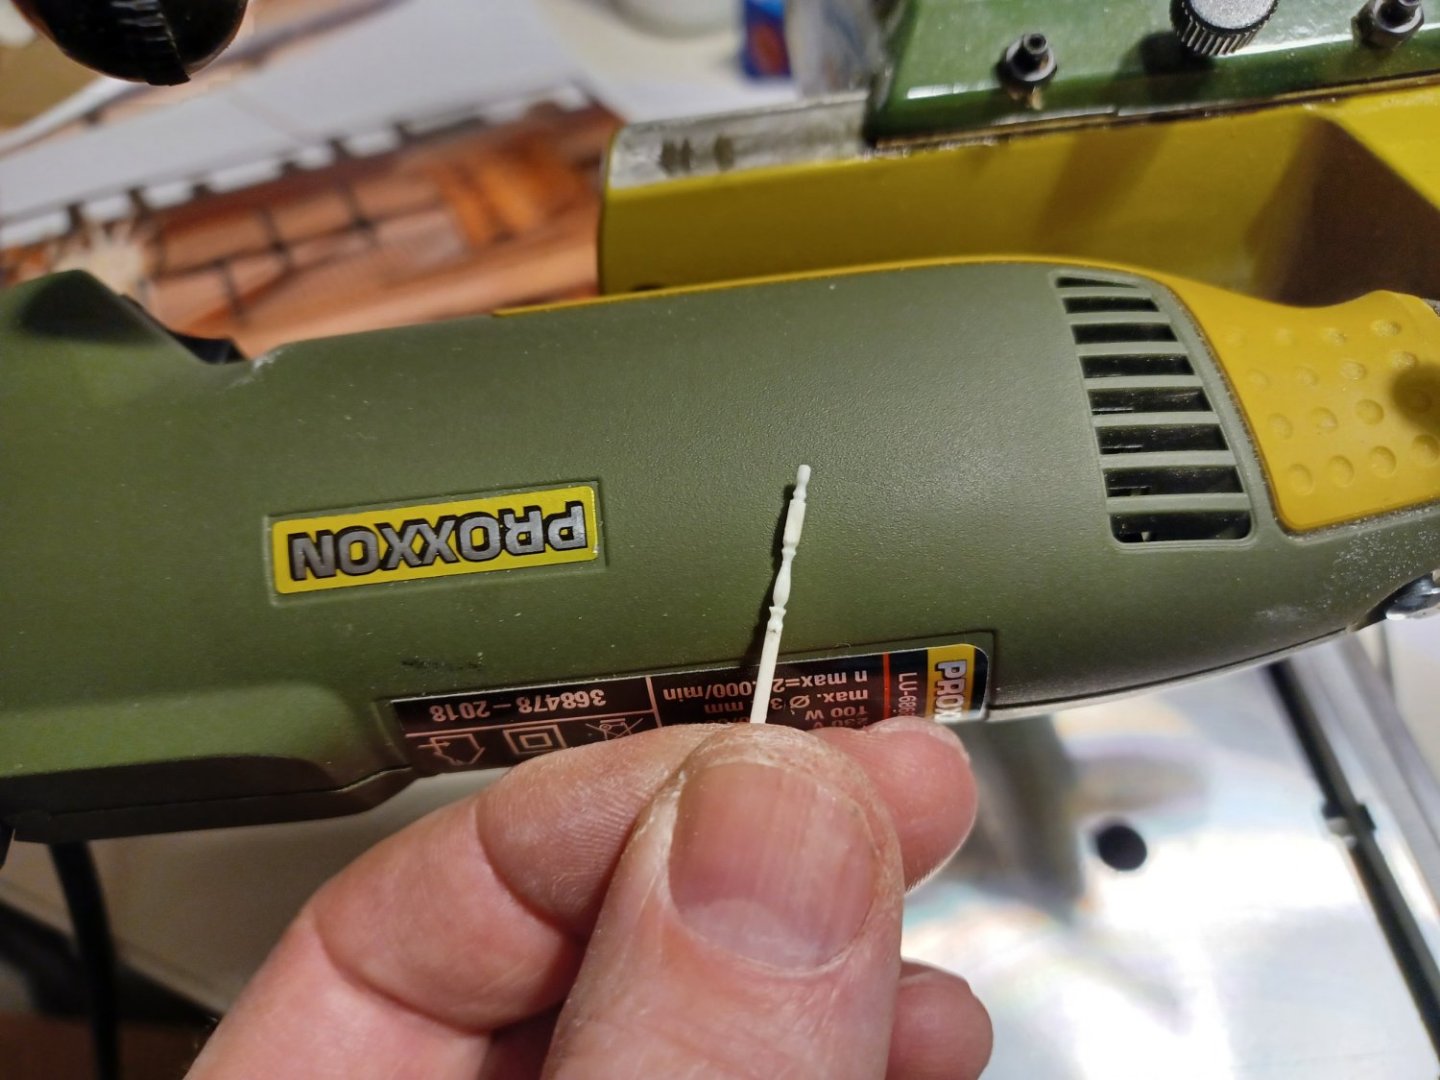
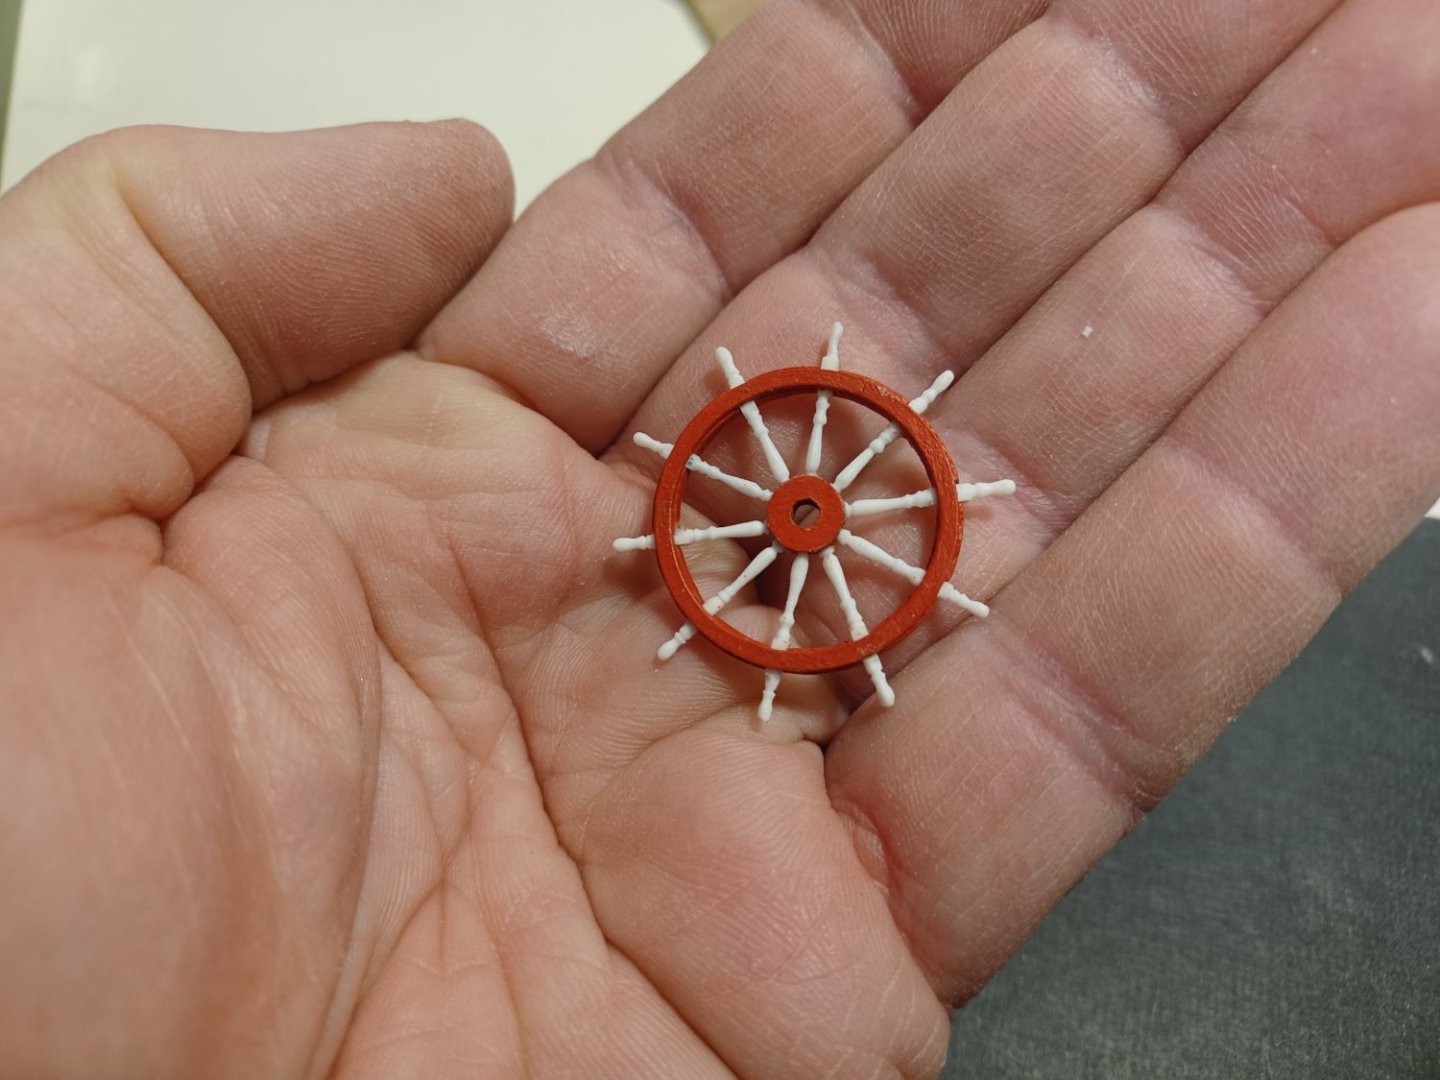
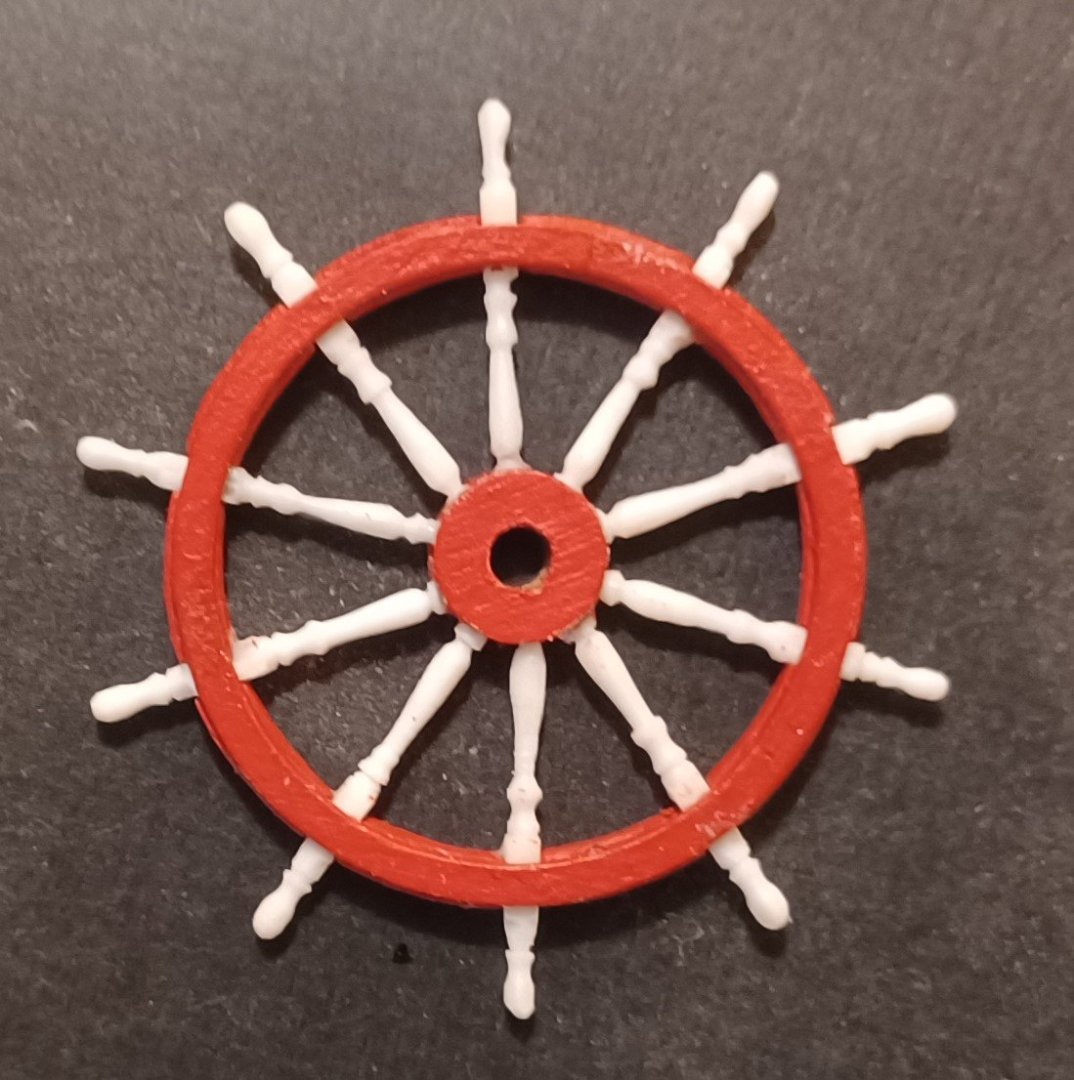
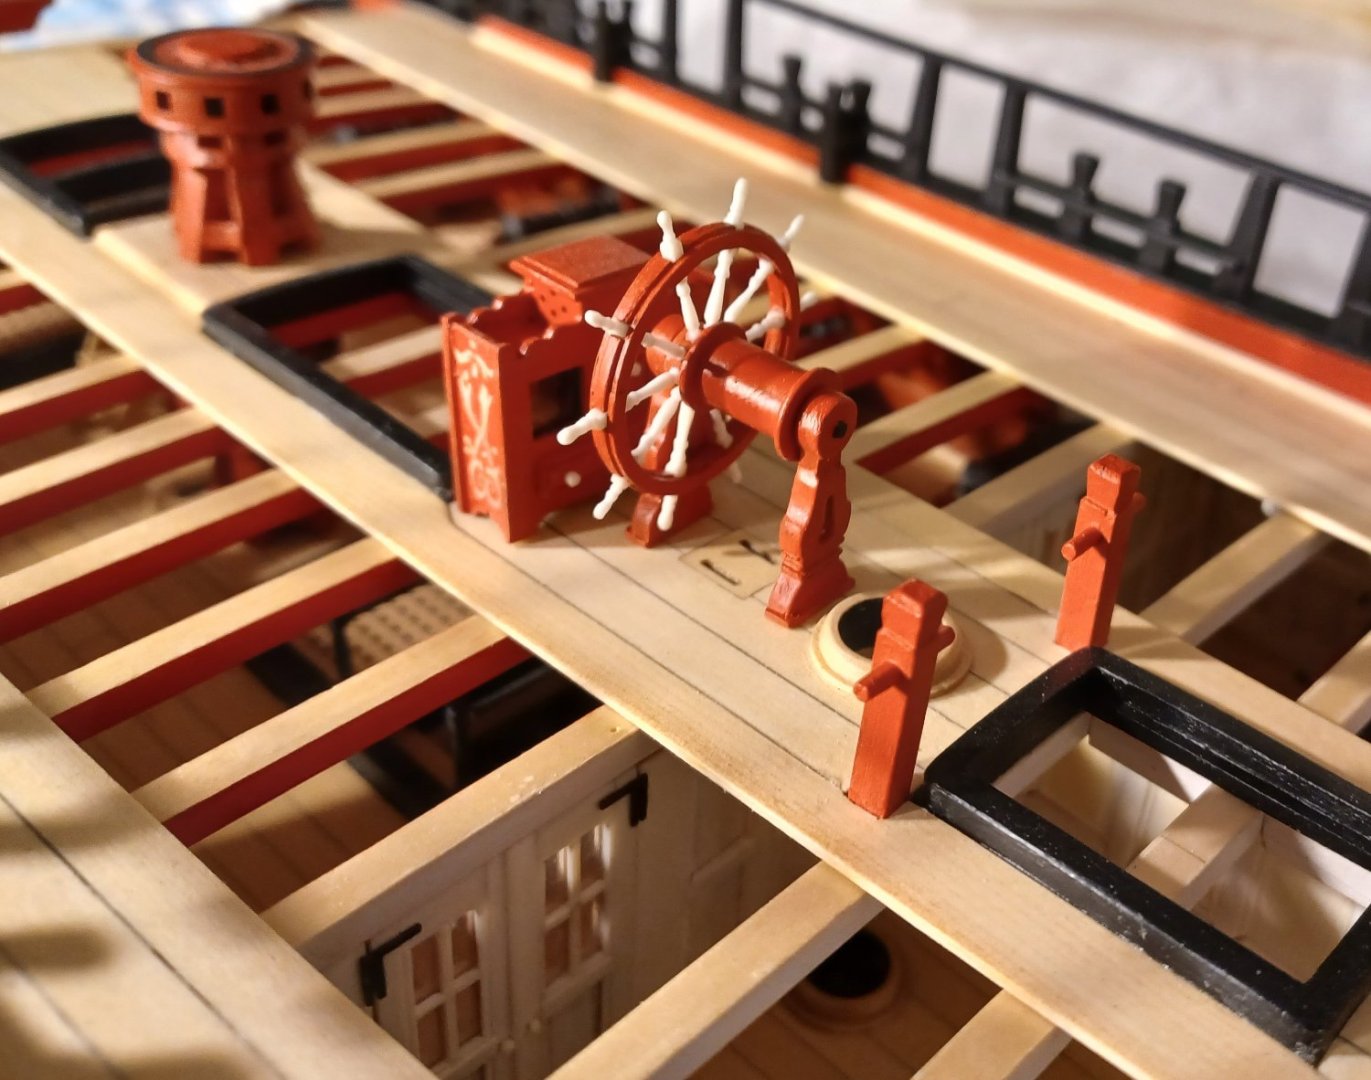
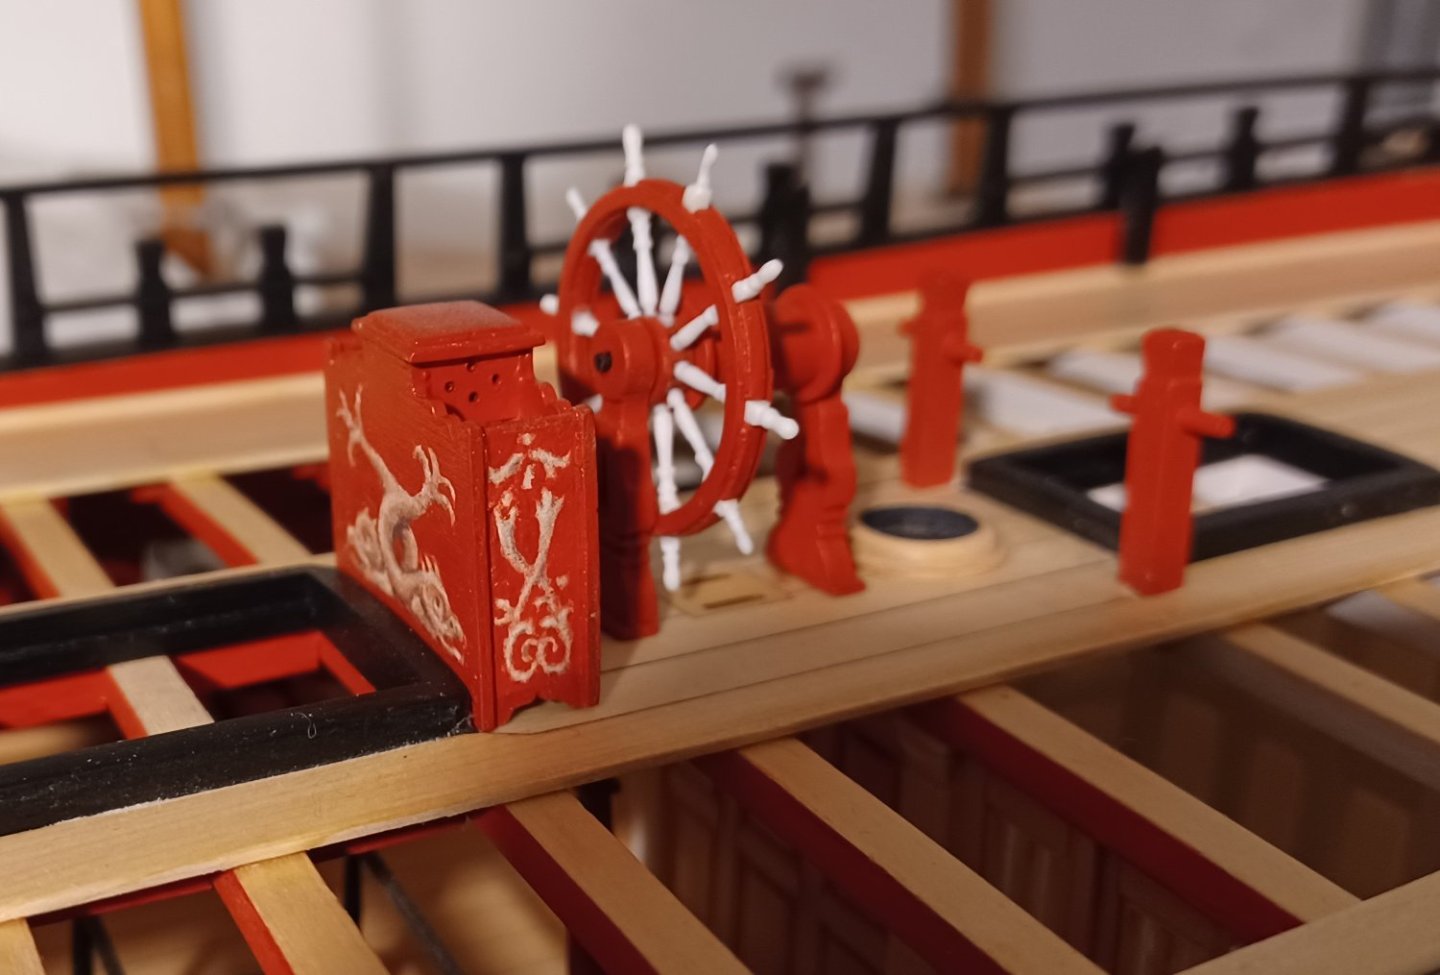
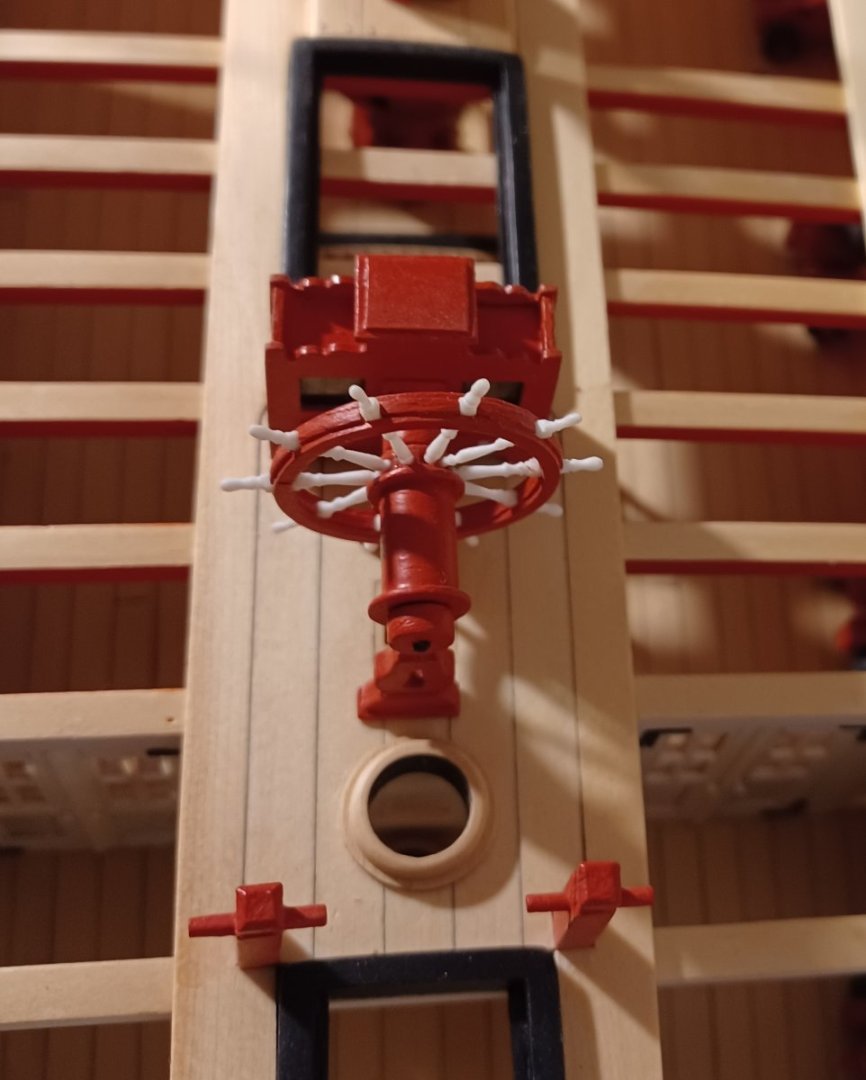
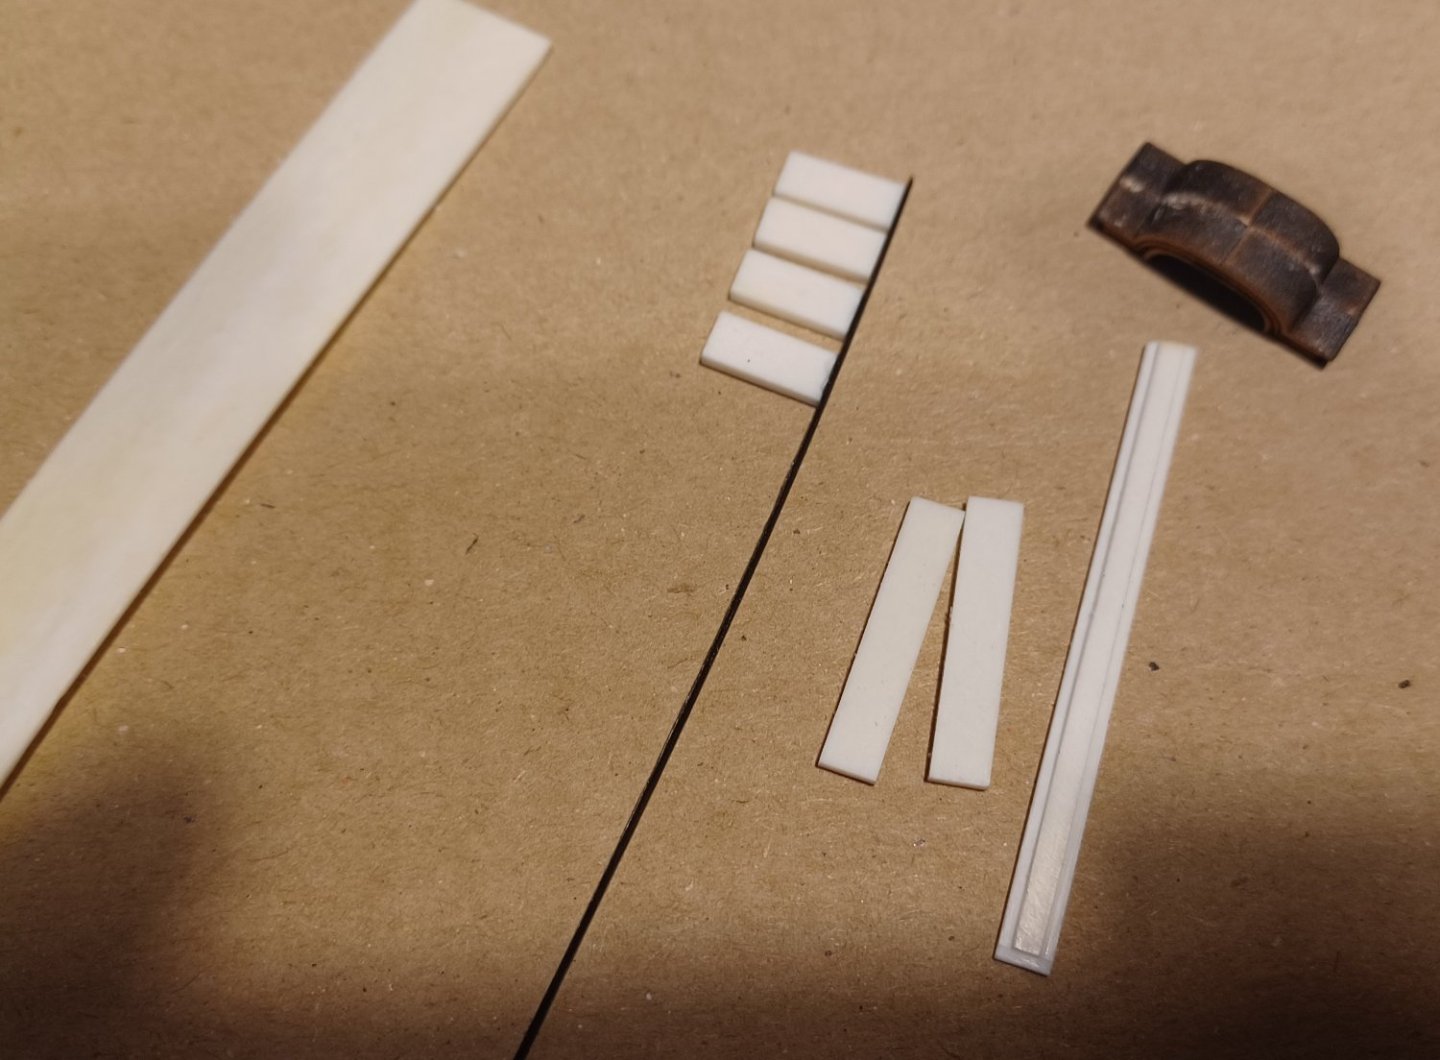
Thank you. I continued with some of the deck fittings. There are quite a few contemporary models, showing excellent deck fittings, including wheels made from ivory. Of course I had to try my best and make one for my Winchelsea model. First I cut the strips and made a jig, so I can sand them to a oktogon. For the red painted parts of the wheel, I used Chucks wonderful mini-kit. After that they were turned and the profiles were made with sanding sticks and files Ivory is a fine material for turning. It can brake if you are not careful, but with some patience one can make nice profiles. The final assembly. Not perfect, but the little incorrectnesses wont be visible later. And here the arrangement on the model. It will be glued onto the deck later, I don't want it to be damaged. Matthias
-
Beautiful!! You should publish some of these photos in a calendar or something like that. They are exceptional. Matthias
- 607 replies
-
- winchelsea
- Syren Ship Model Company
-
(and 1 more)
Tagged with:
-
Absolutely magnificent!! I am looking forward to this workshop you are planning about water surfaces. I will propably overwork my Unicorn diorama afterwards. Matthias
- 542 replies
-
- Sphinx
- Vanguard Models
-
(and 3 more)
Tagged with:
-
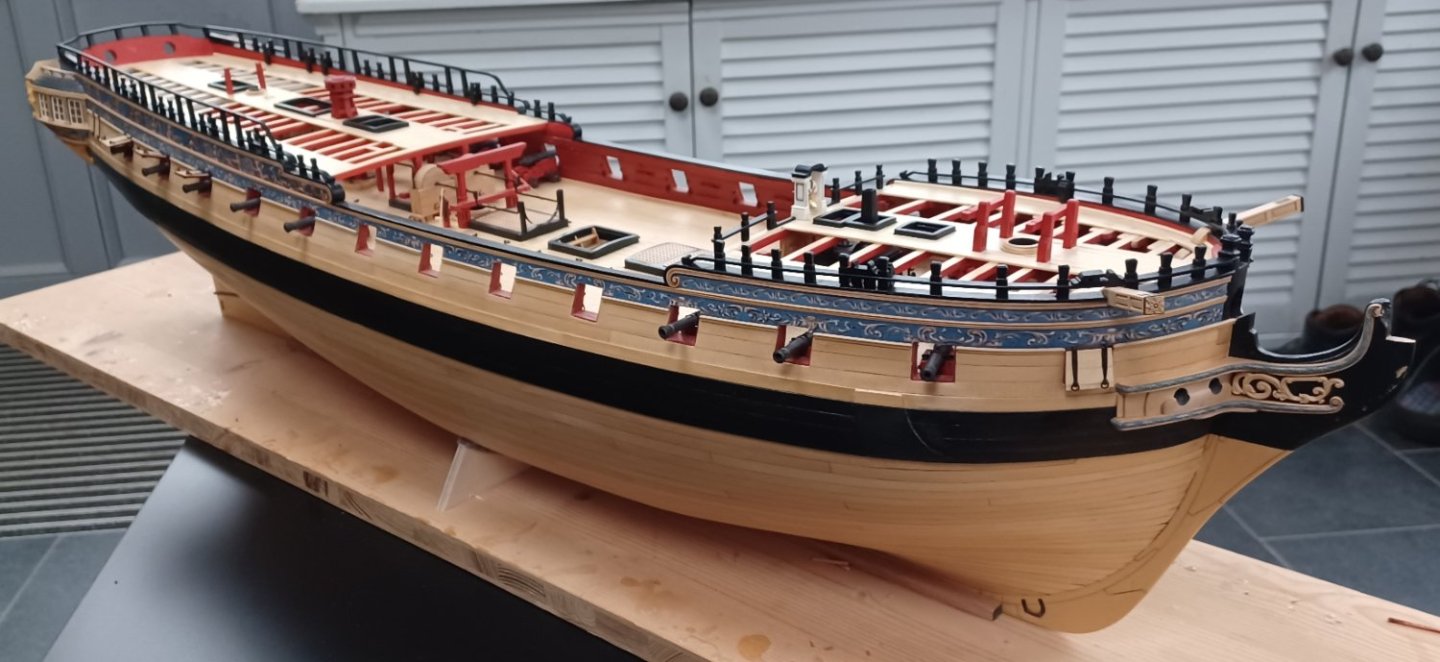
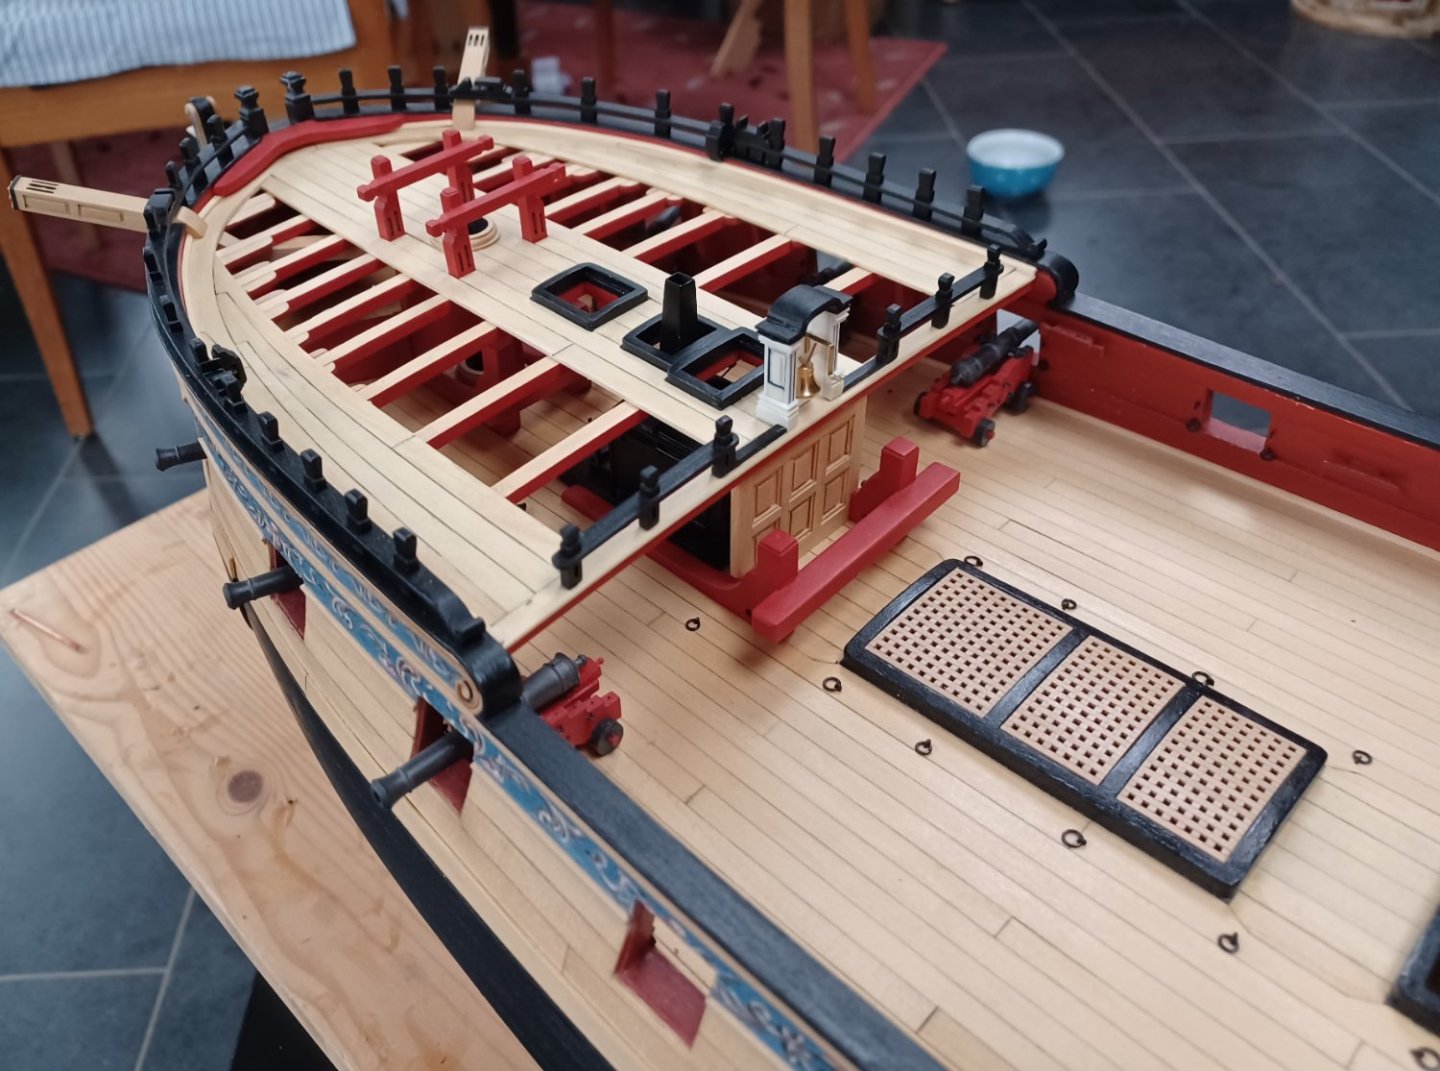
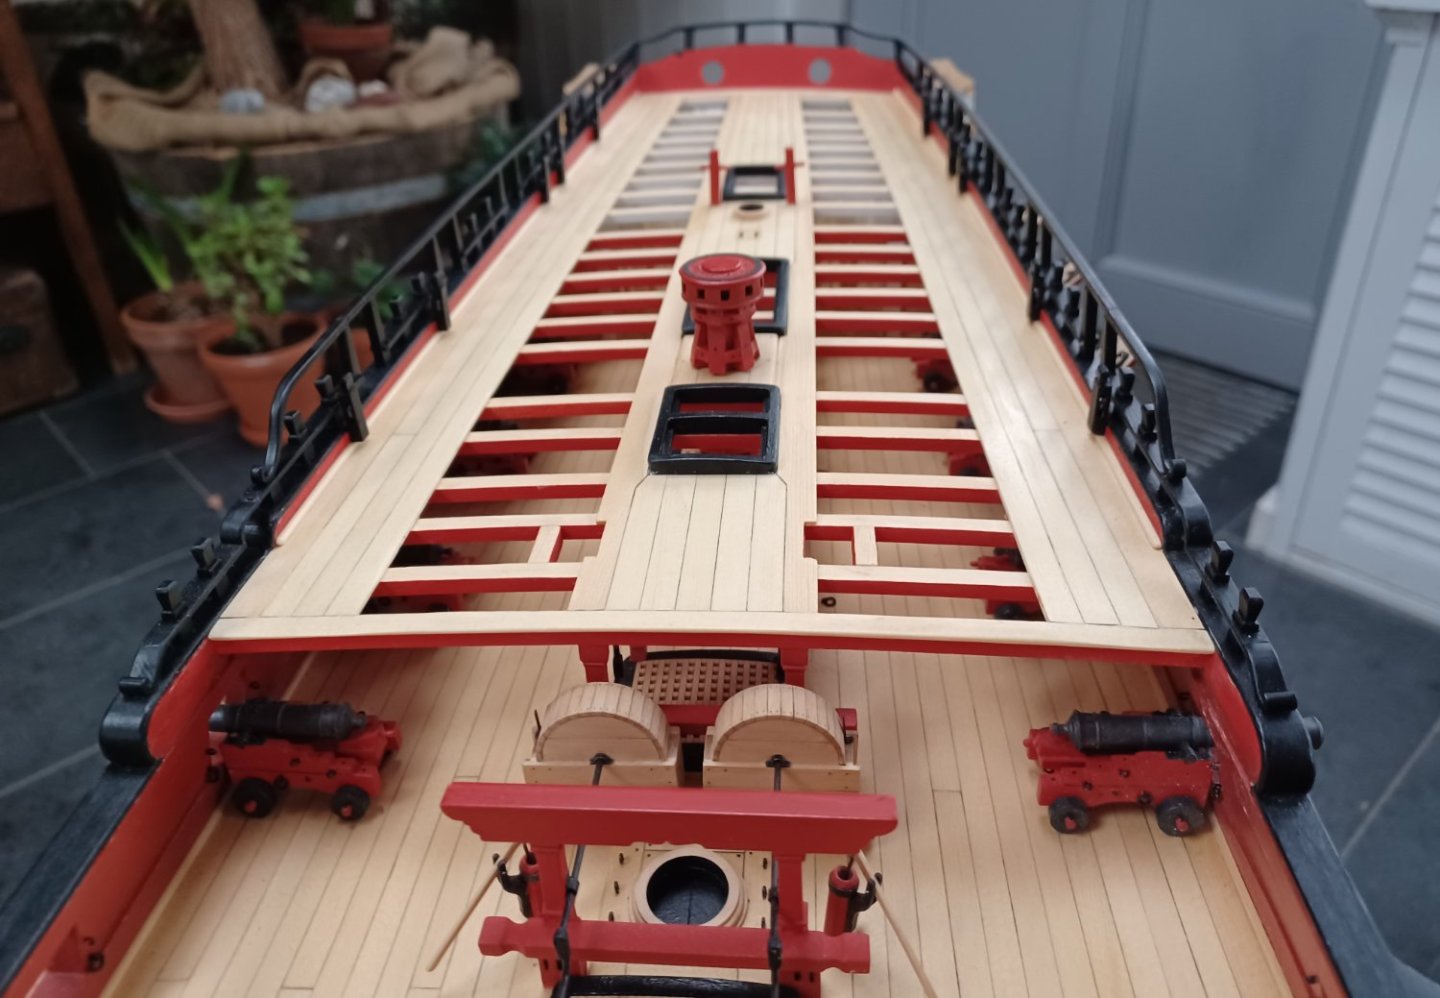
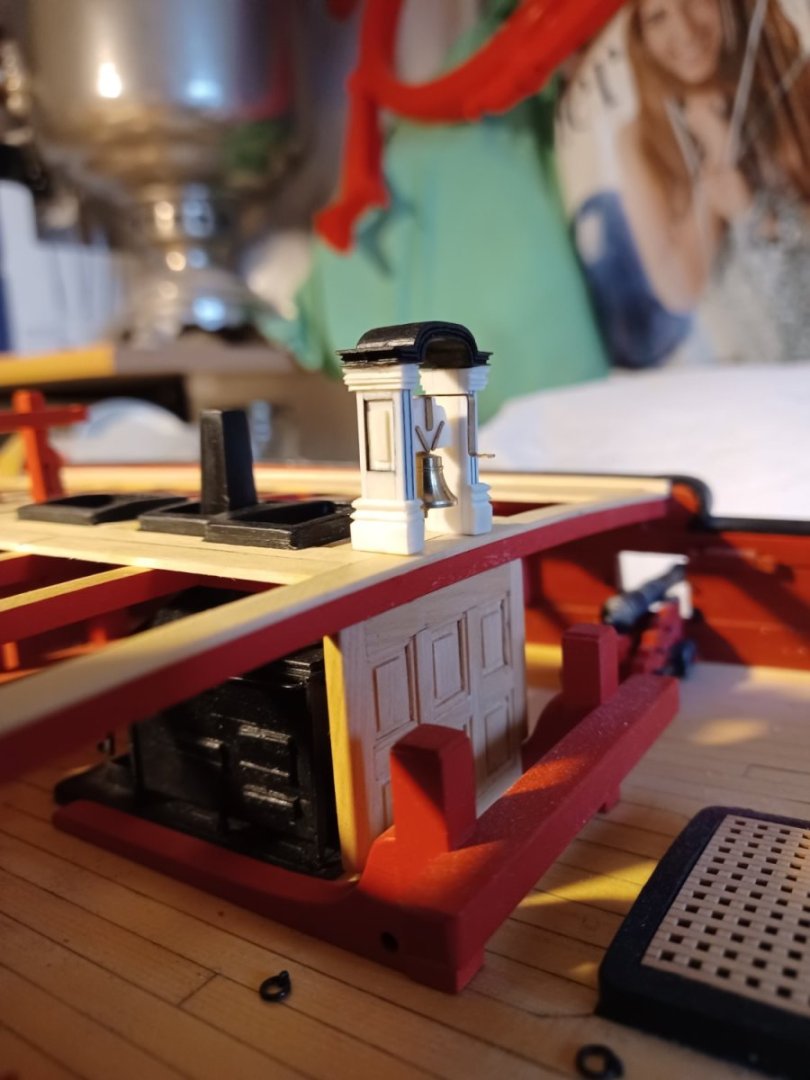
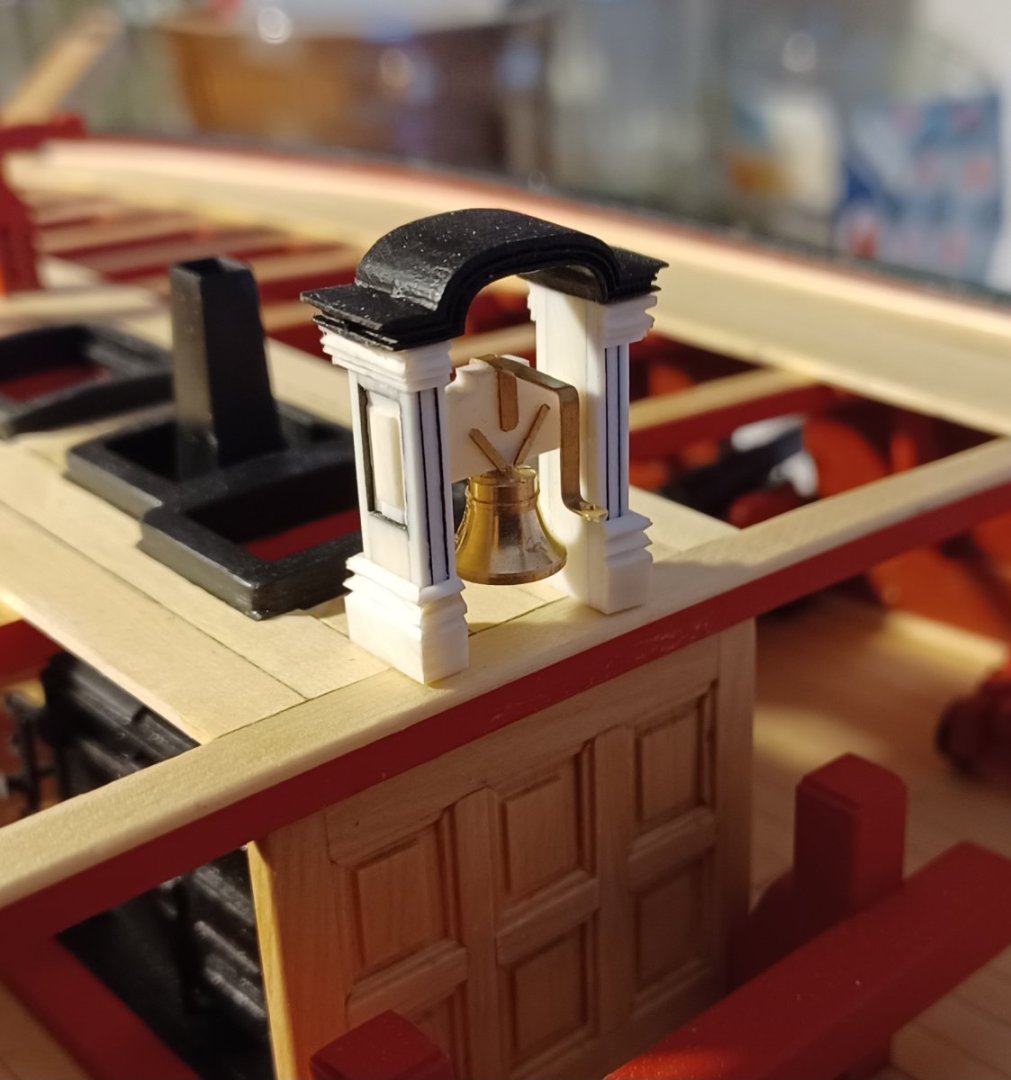
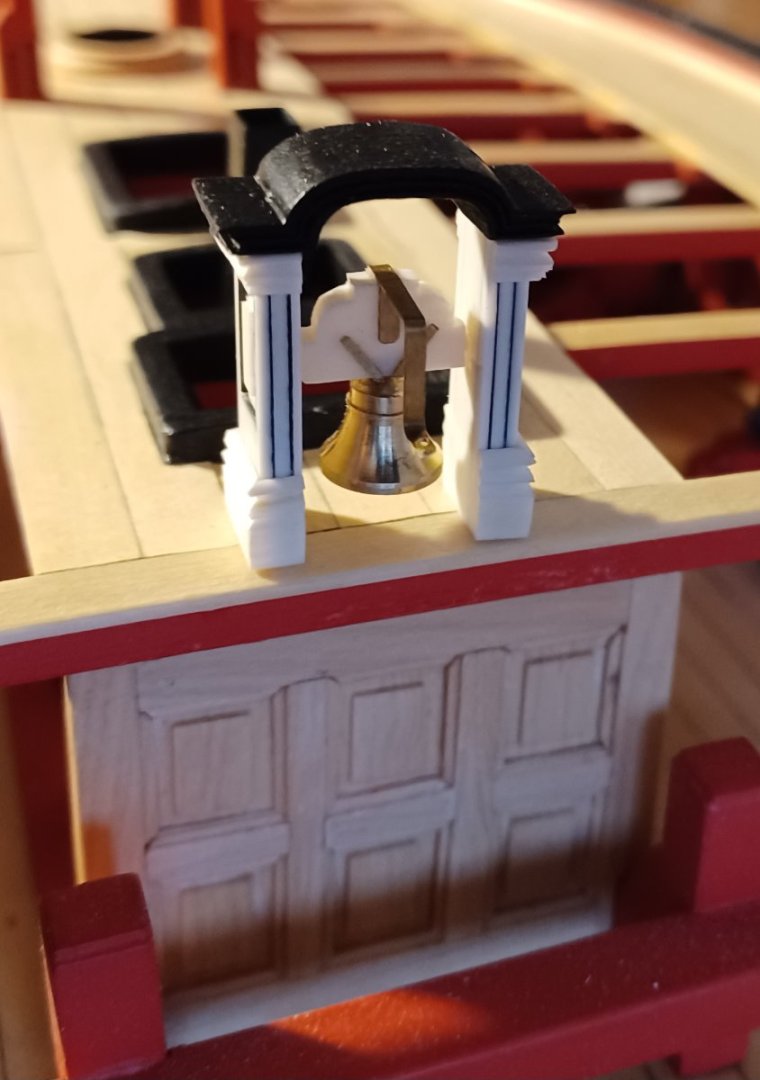
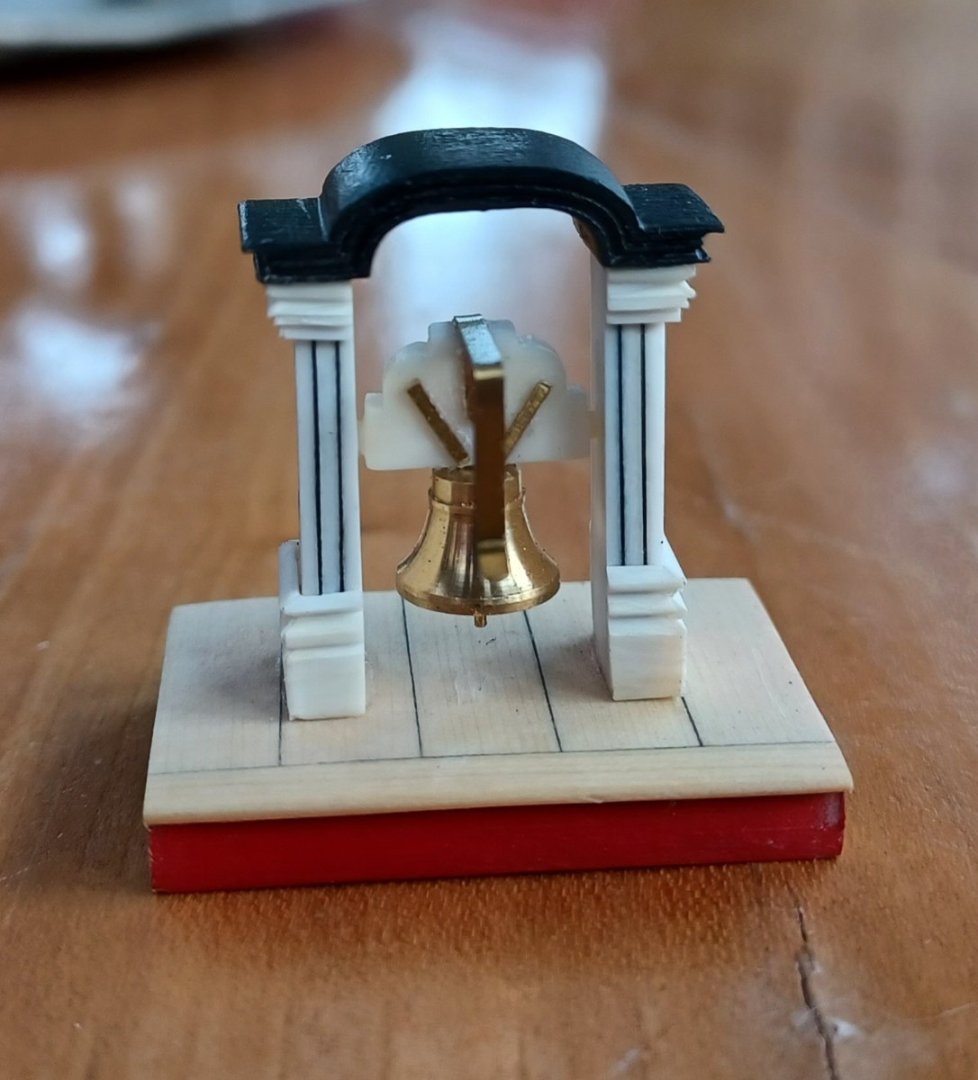
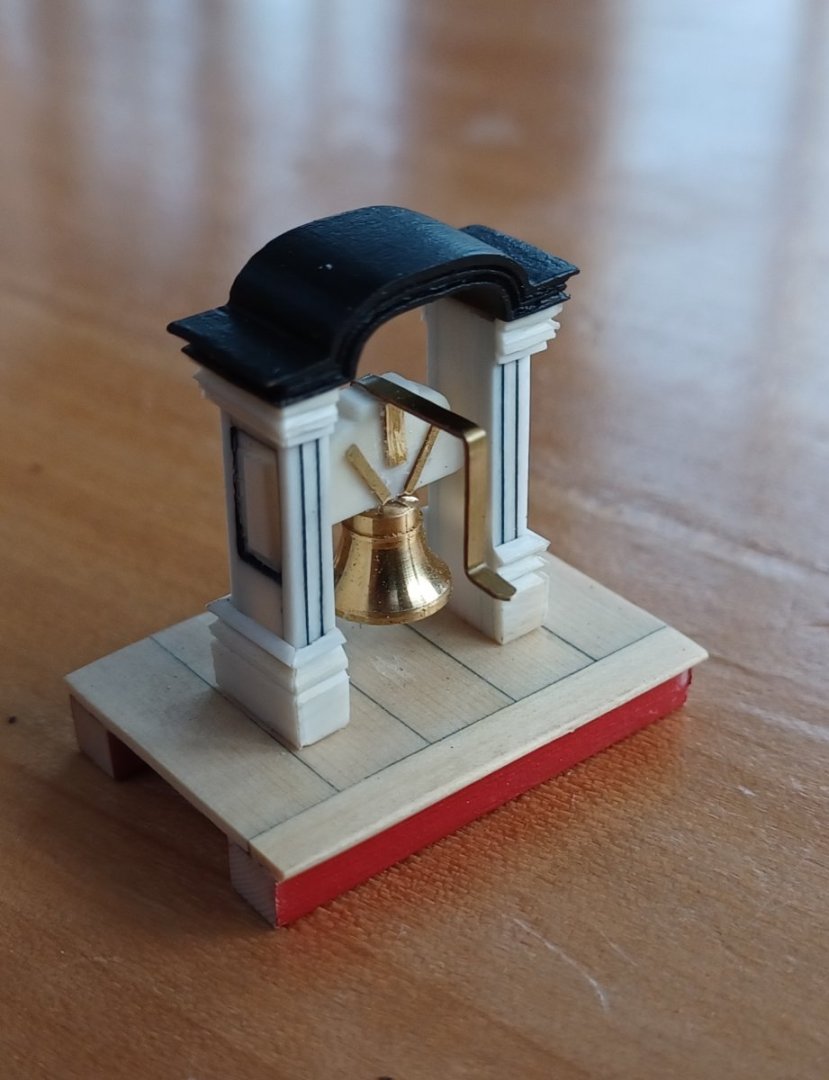
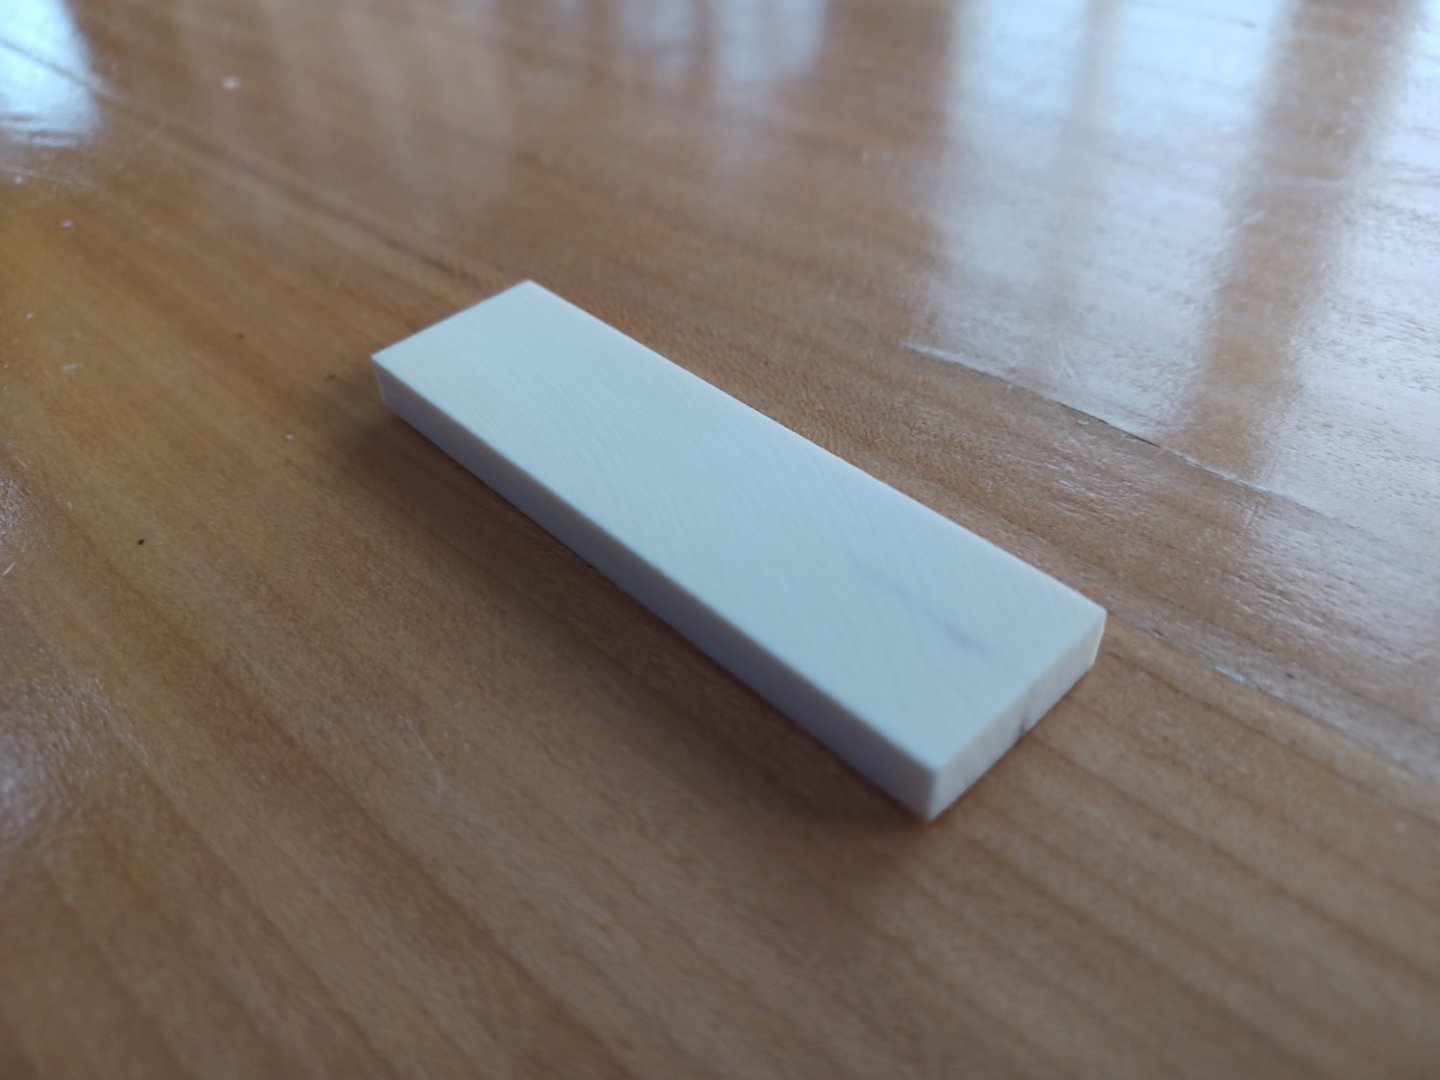
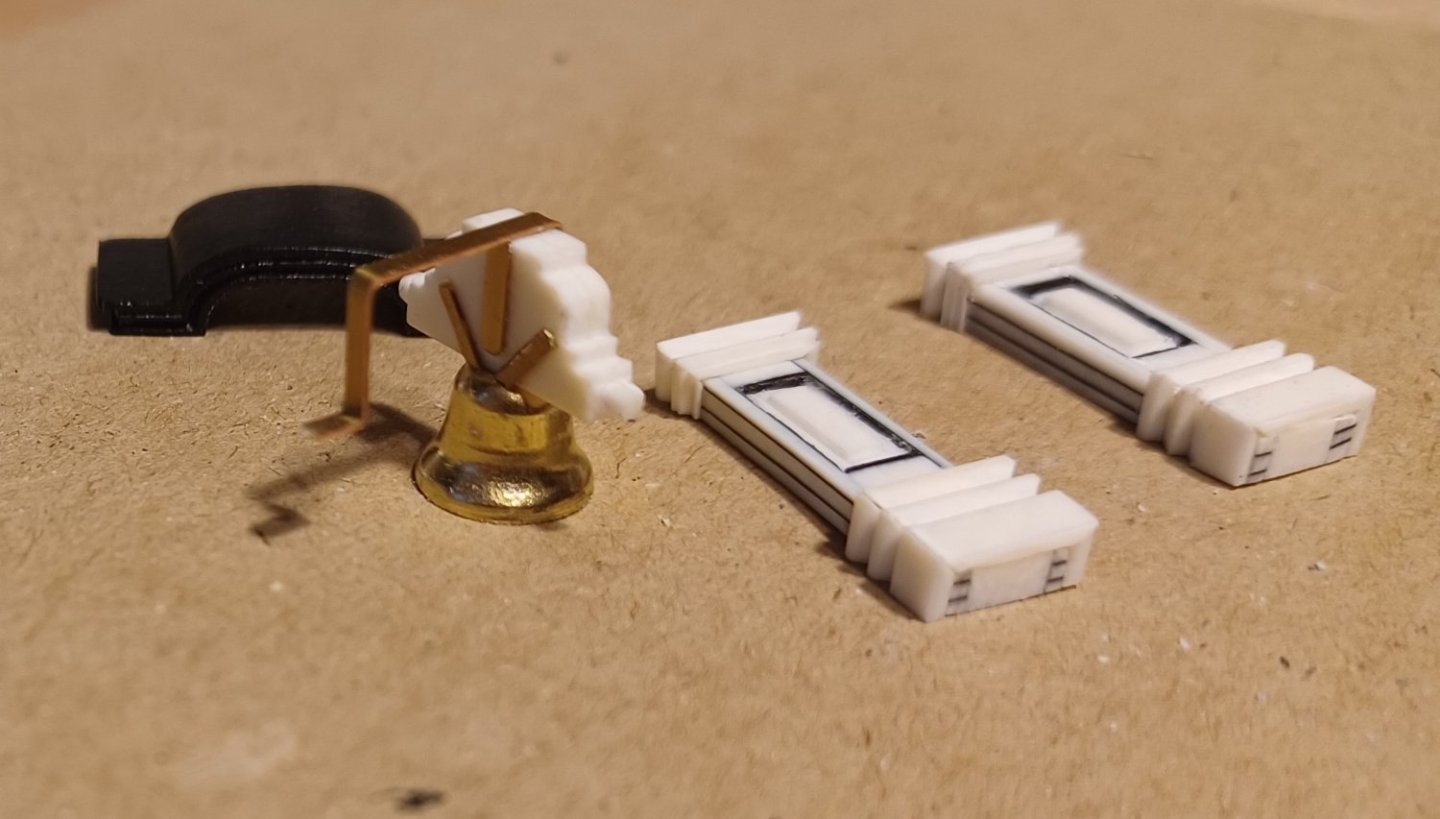
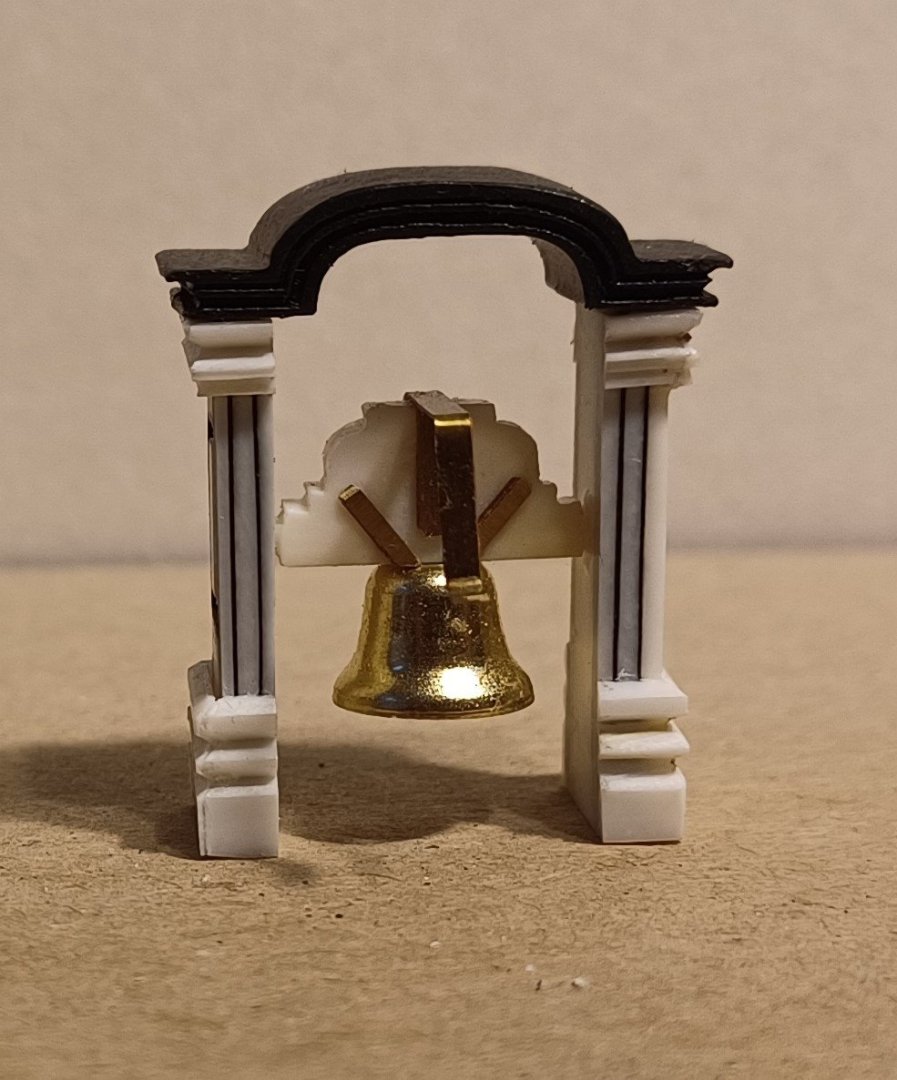
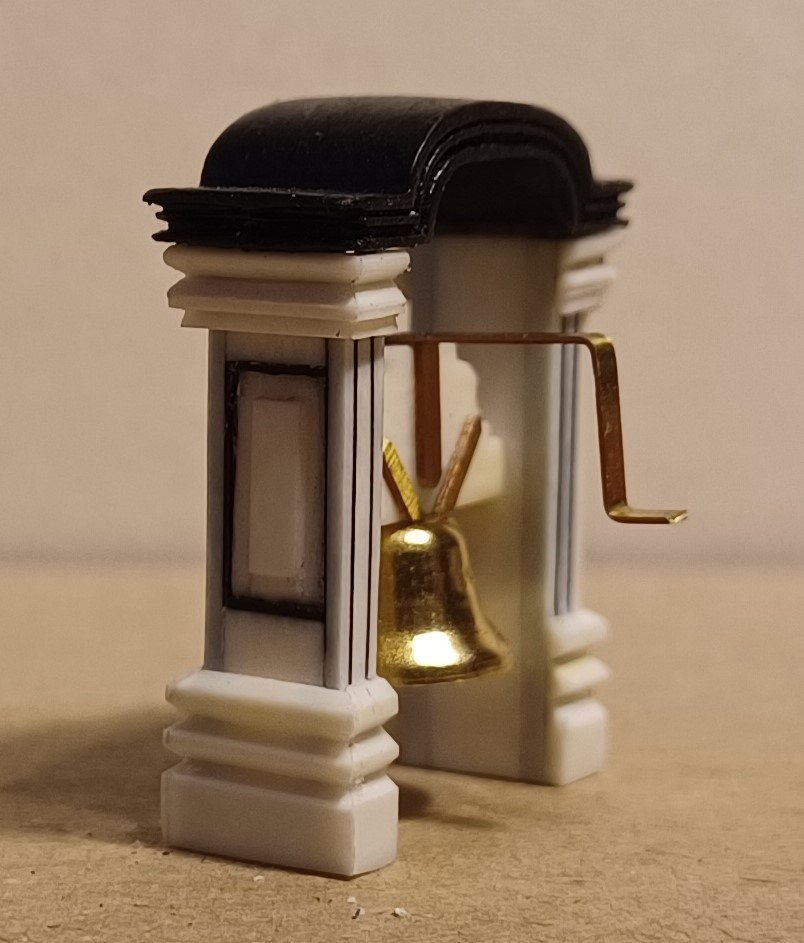
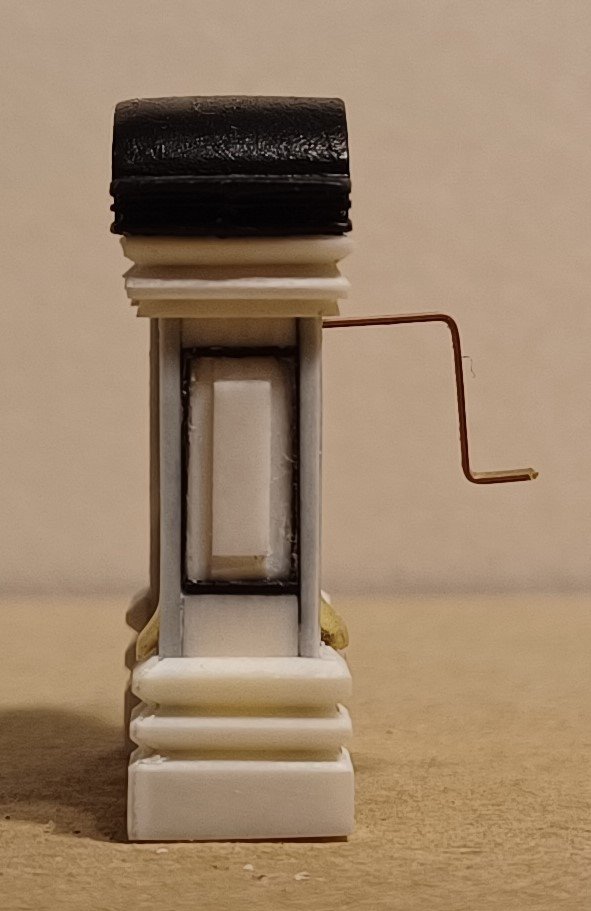
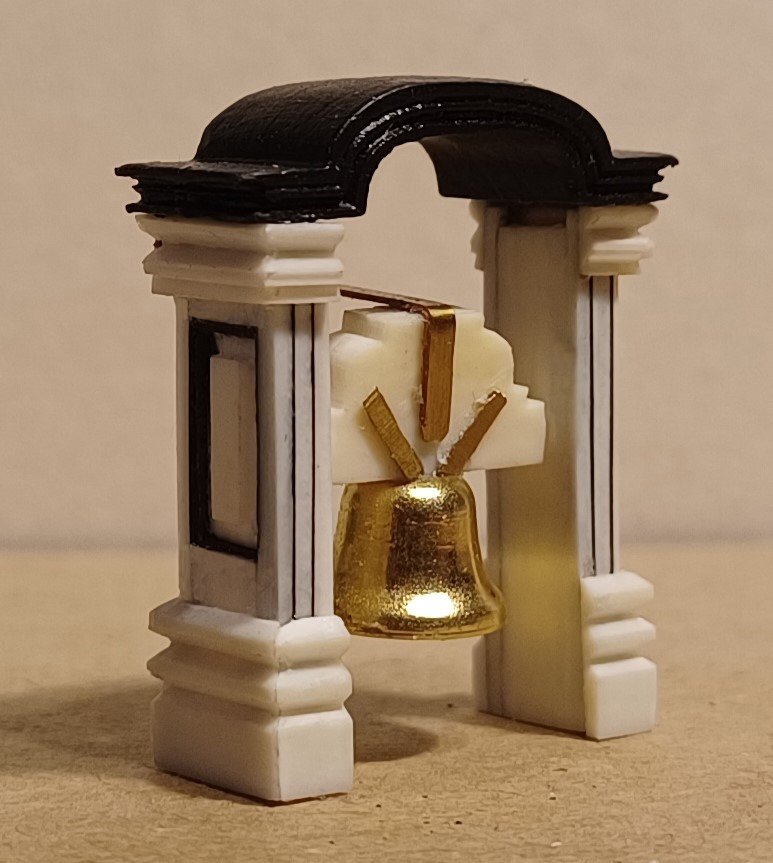
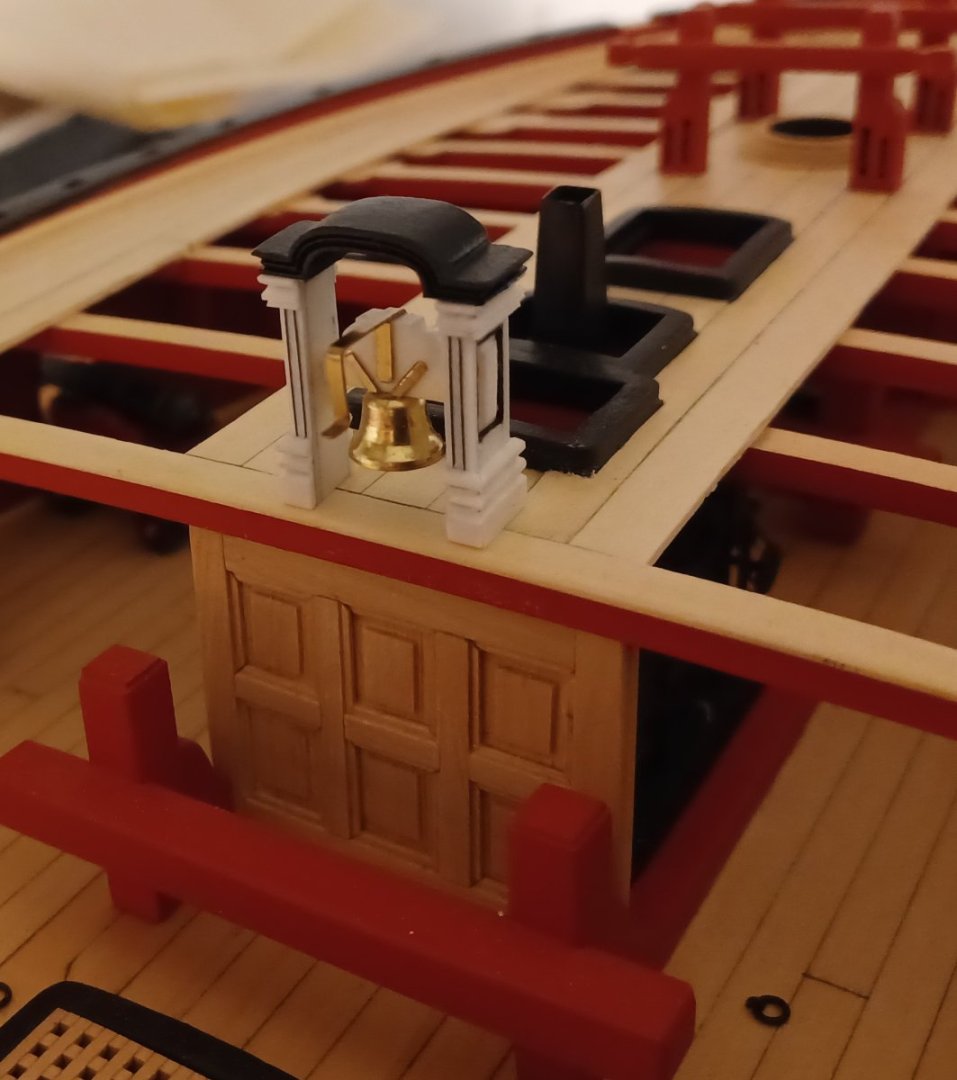
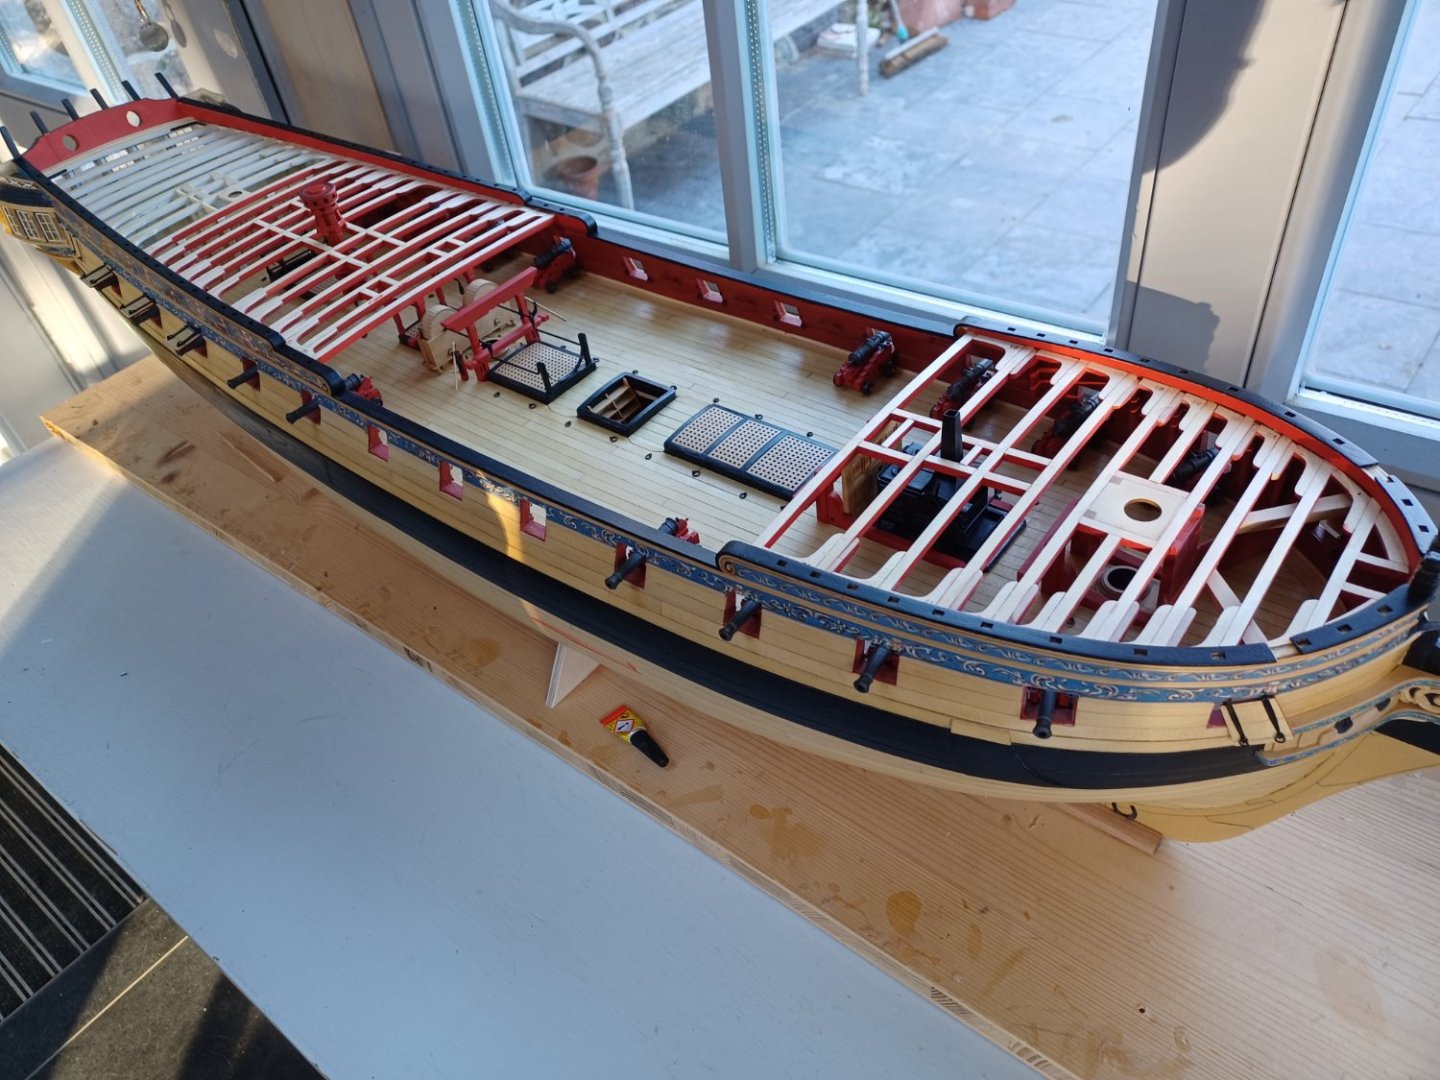
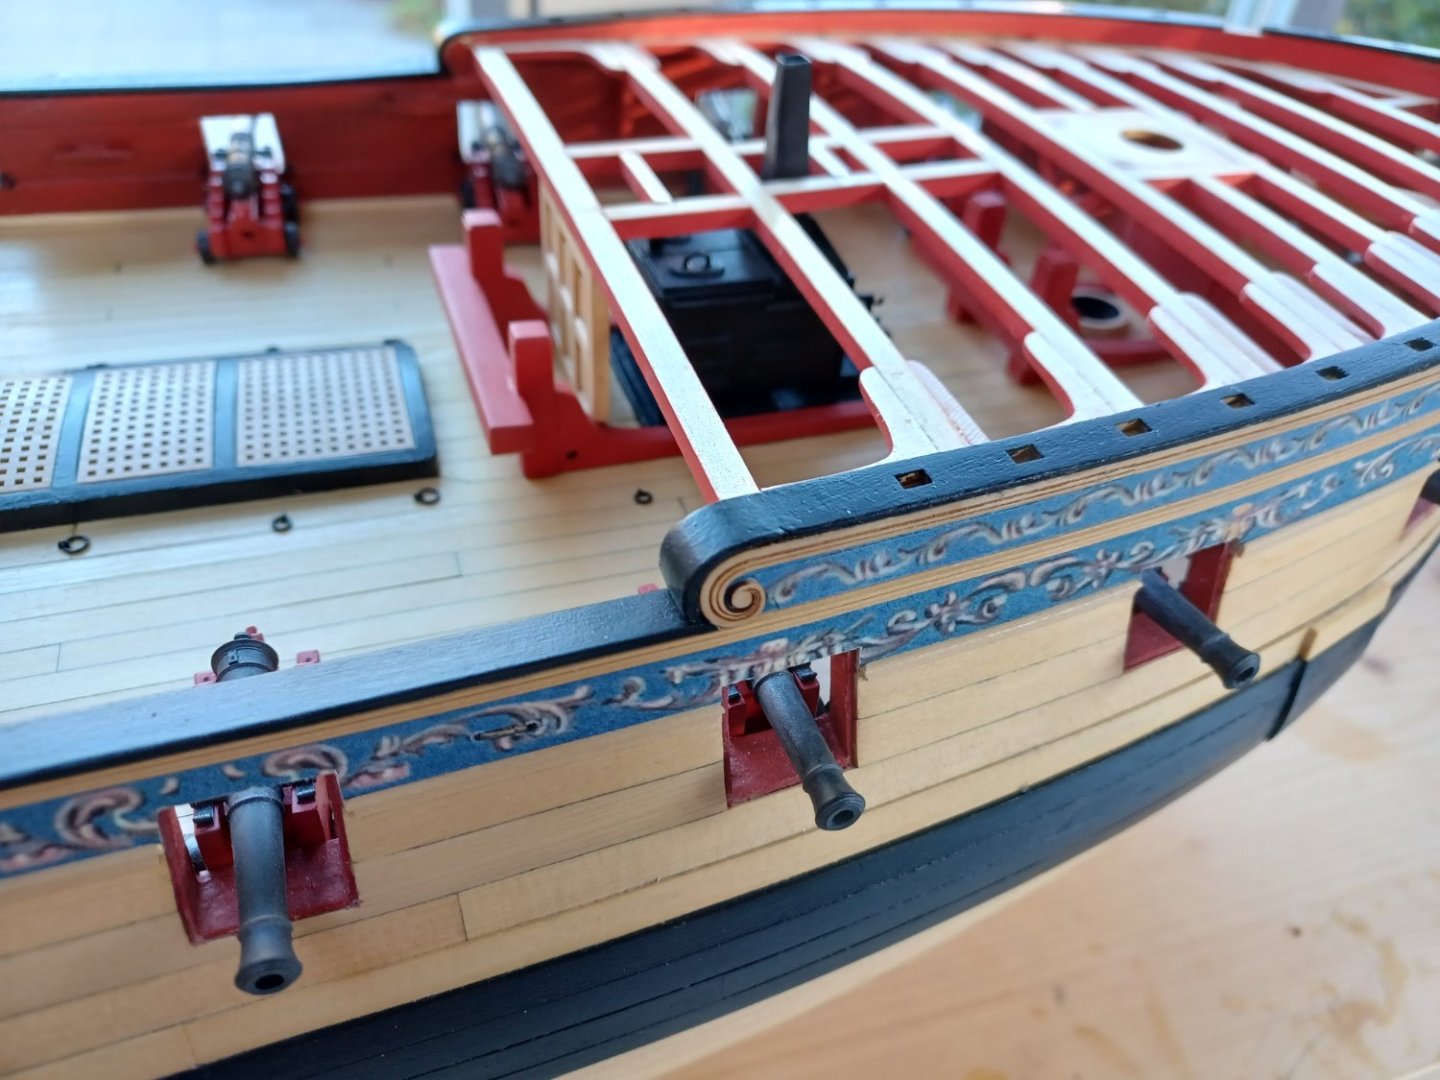
Hello everybody, today I want to show the latest progress. First of all I finished the planking of the forecastle and quarter deck. I know, this does not actually belong into chapter 9, but I wanted to get this done and clean the model, before I add the deck fittings. The first fitting wich will be added to the forecastle ist the belfry. Some of you might remember me using the ivory for the captains cabin. Now most of this is hidden unterneath the quarterdeck planking. So I thought about using this material for some of the upper deck fittings as well. Chuck provided a wonderful mini-kit for the belfry and I follow his way of building it, but replaced a few materials as you can see on the following photos. Matthias
-
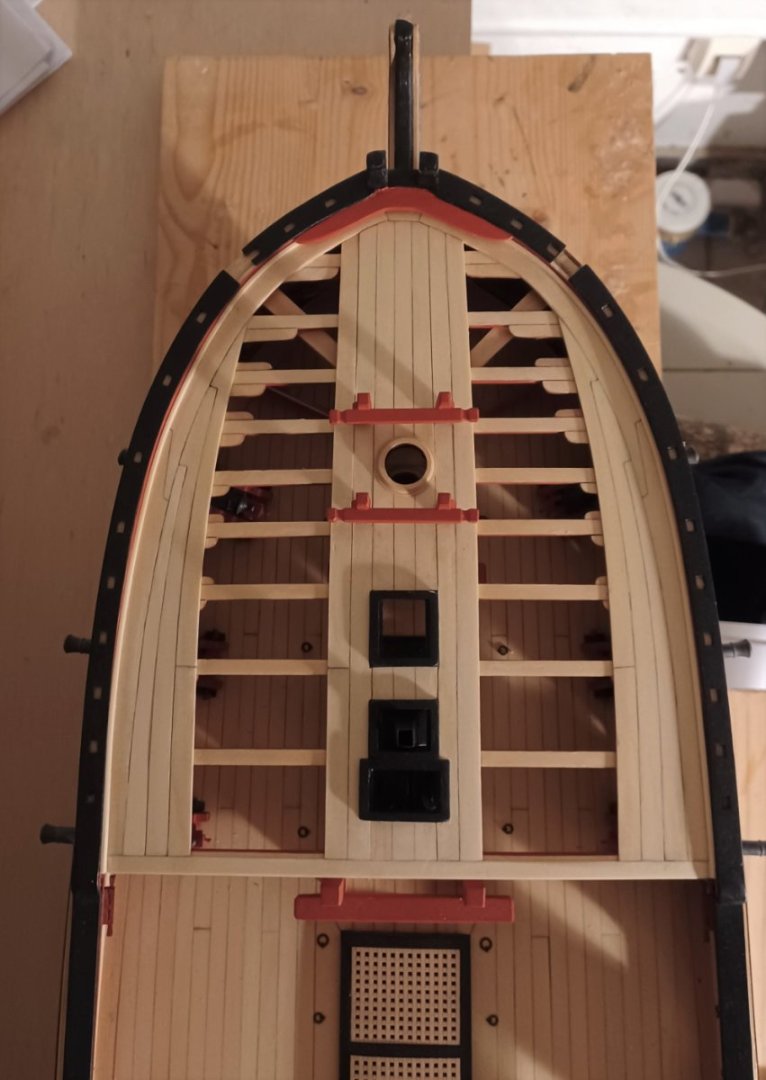
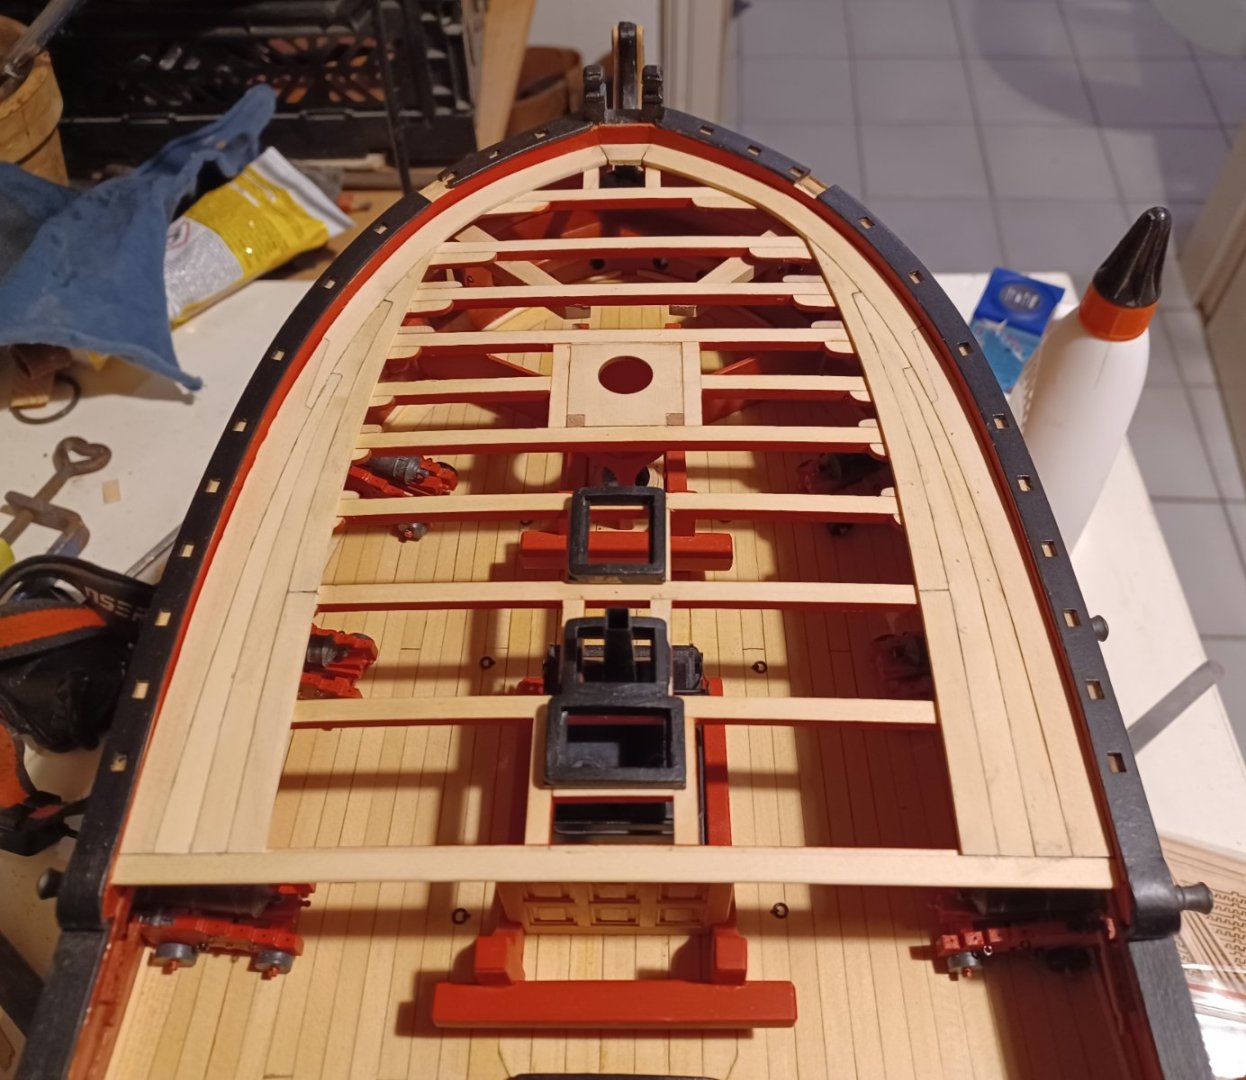
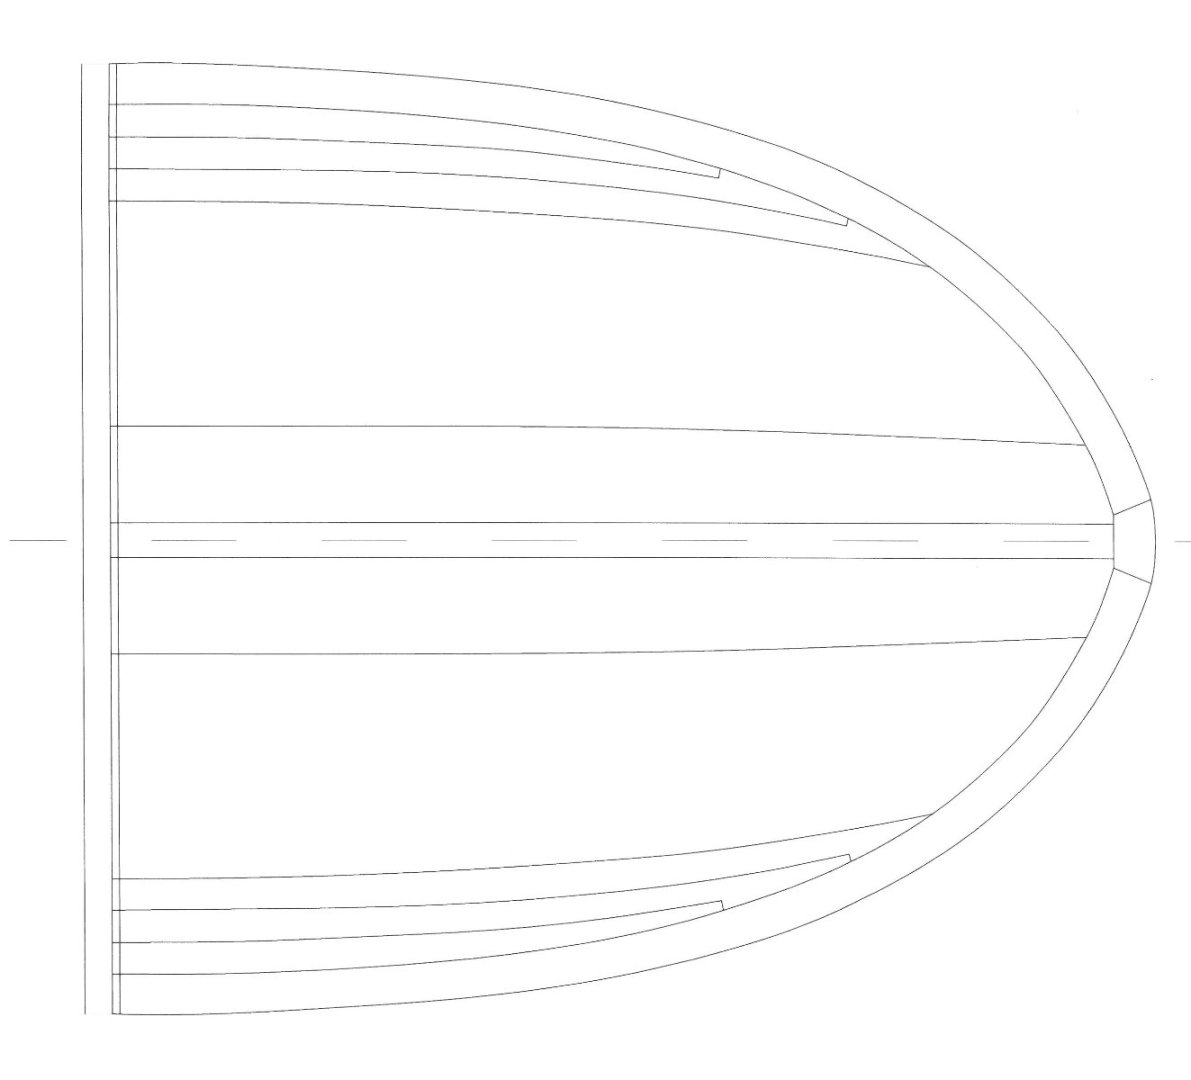
Today's update is all about the first steps of chapter 9 The caprail was added first. This is a nice step, it changes the overall impression of the model so much. Continuing with the margin plank wich I joined before gluing it in position. The planking of the outside bands on the forecastle and quarterdeck is to do next. I reduced the size of the hooks at the top of the planks a bit, as I have seen on the frigate Jylland at Ebeltoft in Denkmark. For this I made a new forecastle template. And here we got with the result on the model. The planking is not cleaned yet, that will be the next thing. Matthias
-
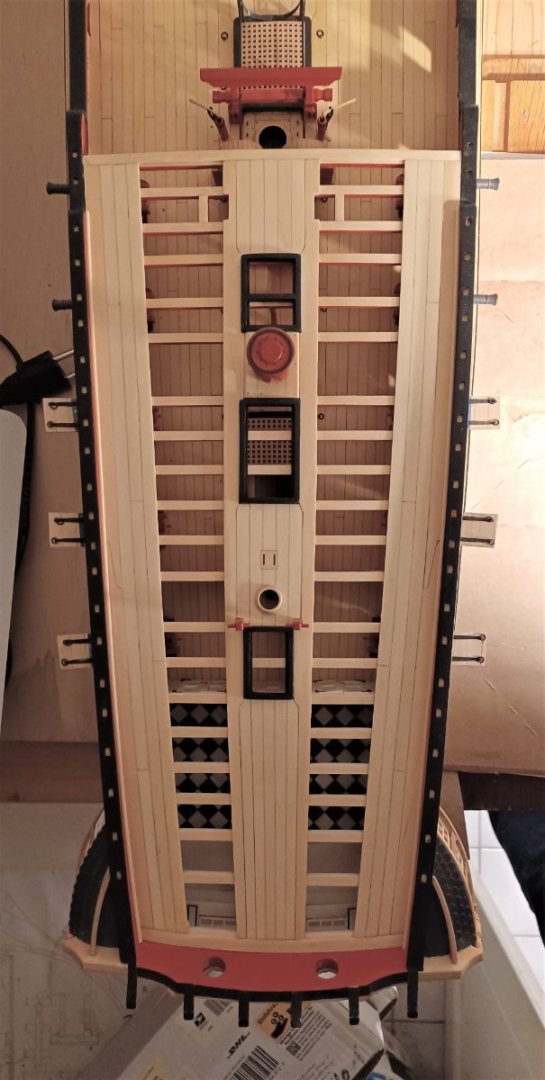
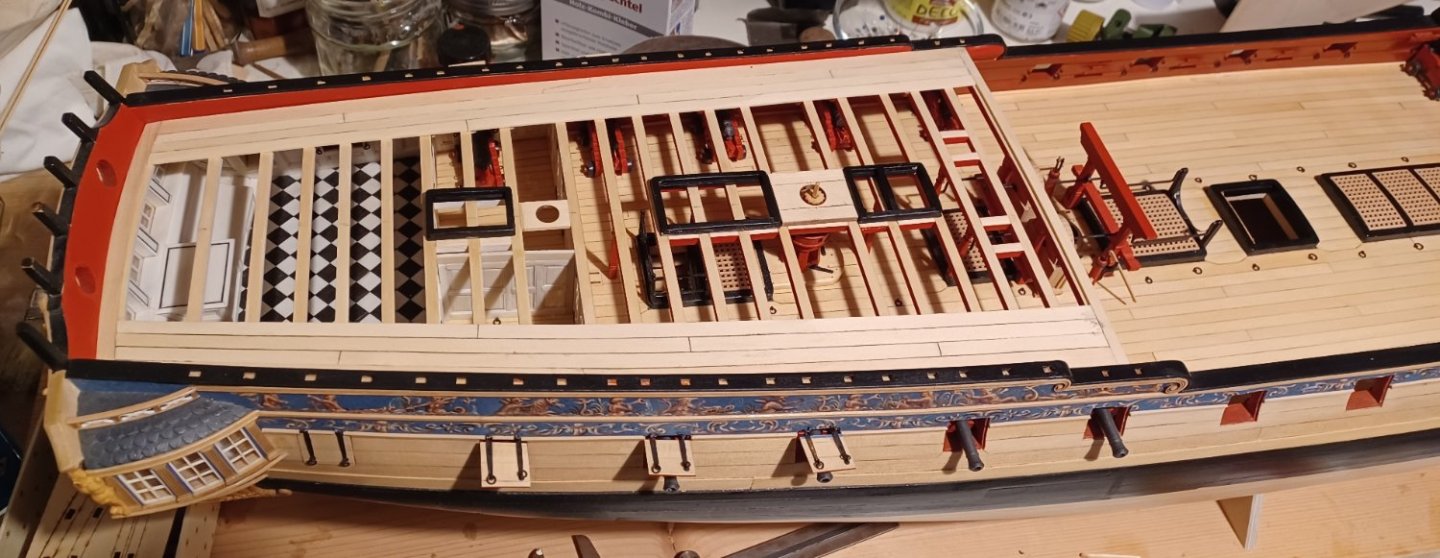
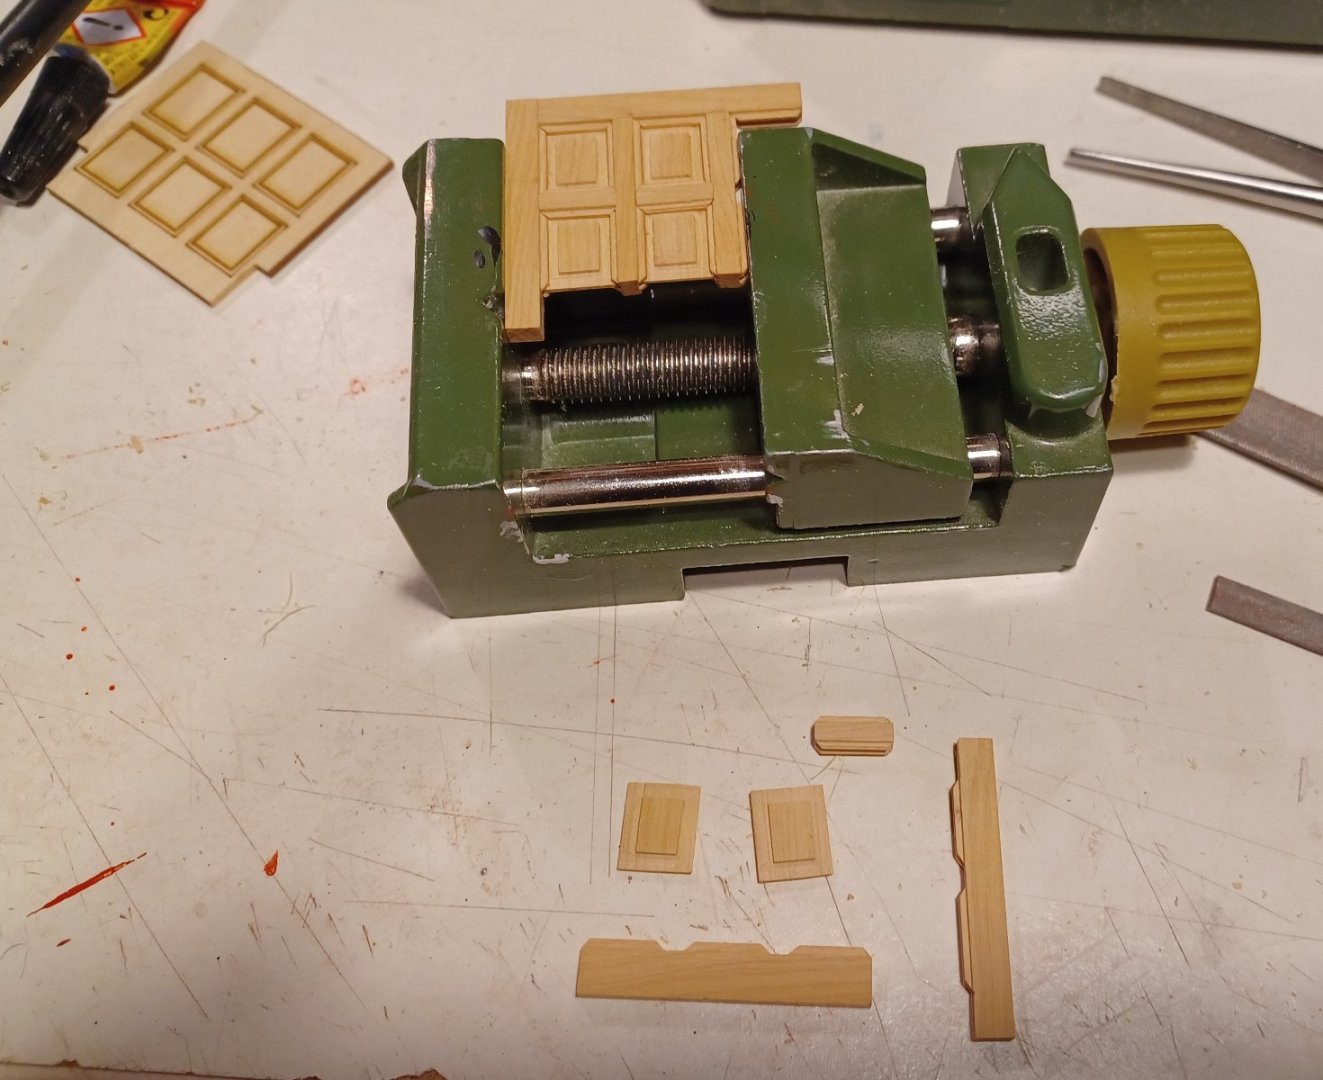
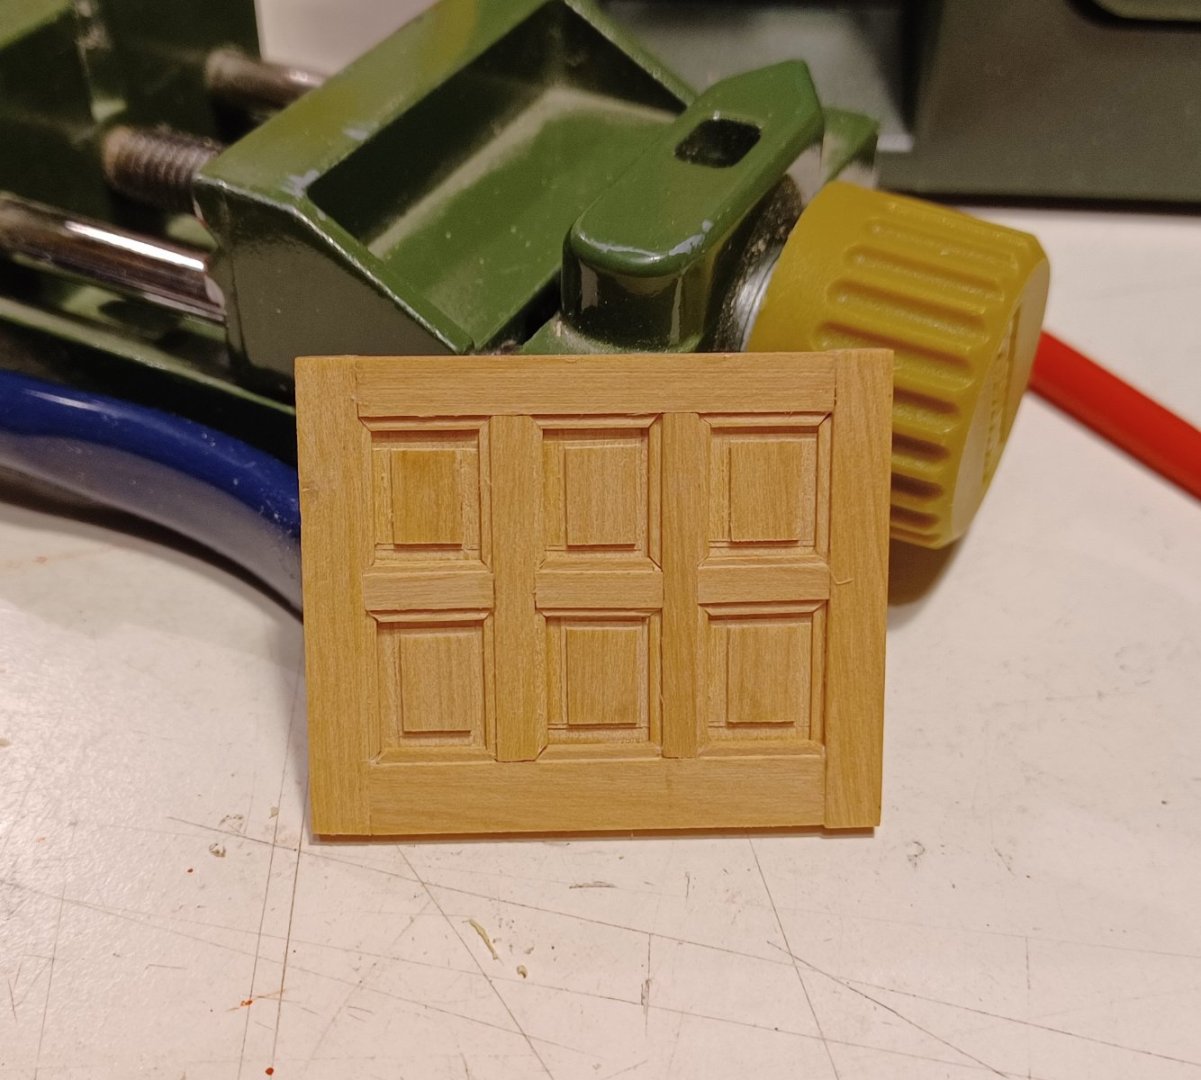
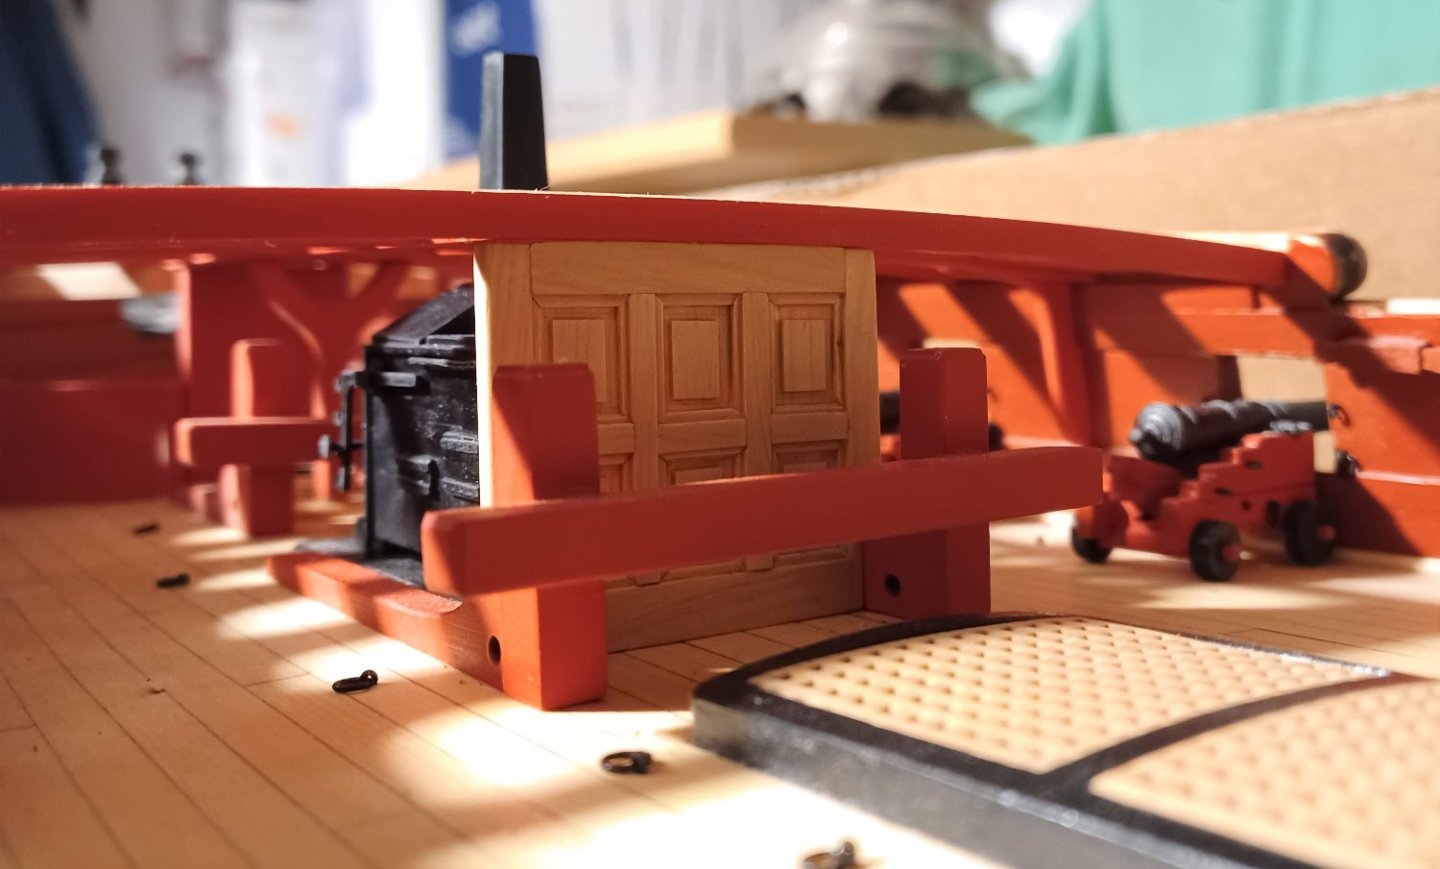
I needed a rest from modelling and painting water, so I continued with Chapter 8 and installed the forecastle fittings, deckbeams etc. Nothing much to tell about, it was as always perfectly prepared by Chuck and no serious problems occured. Next thing will be the front panel, I want to build it from boxwood like I did for the cabin front below the quarterdeck. Matthias
-
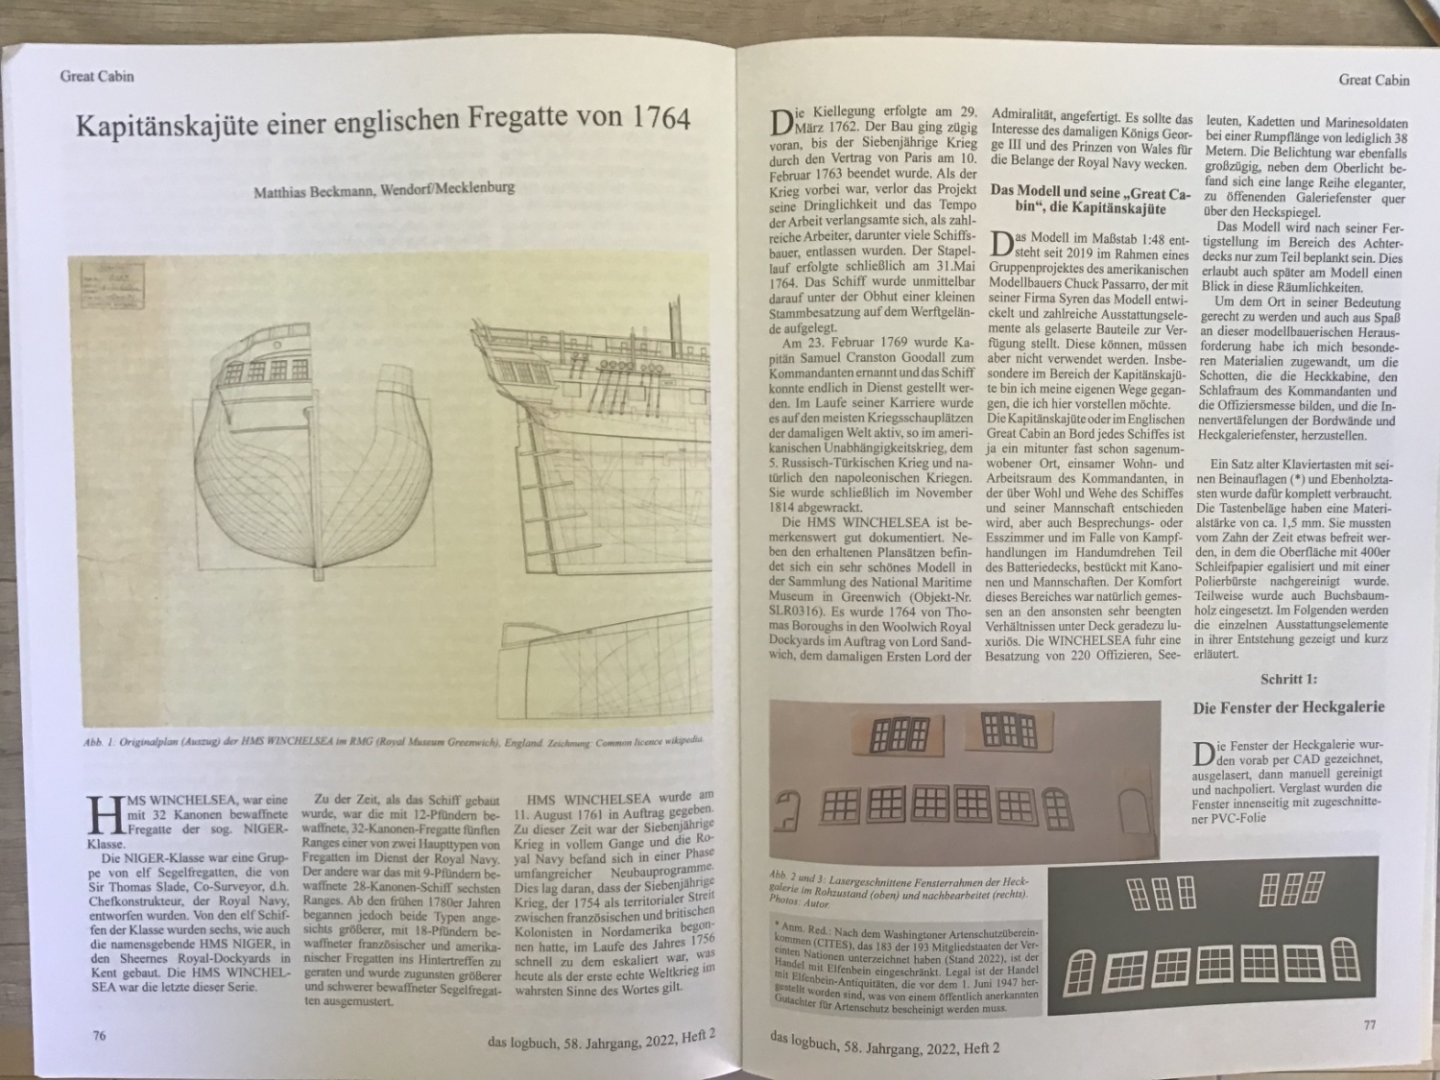
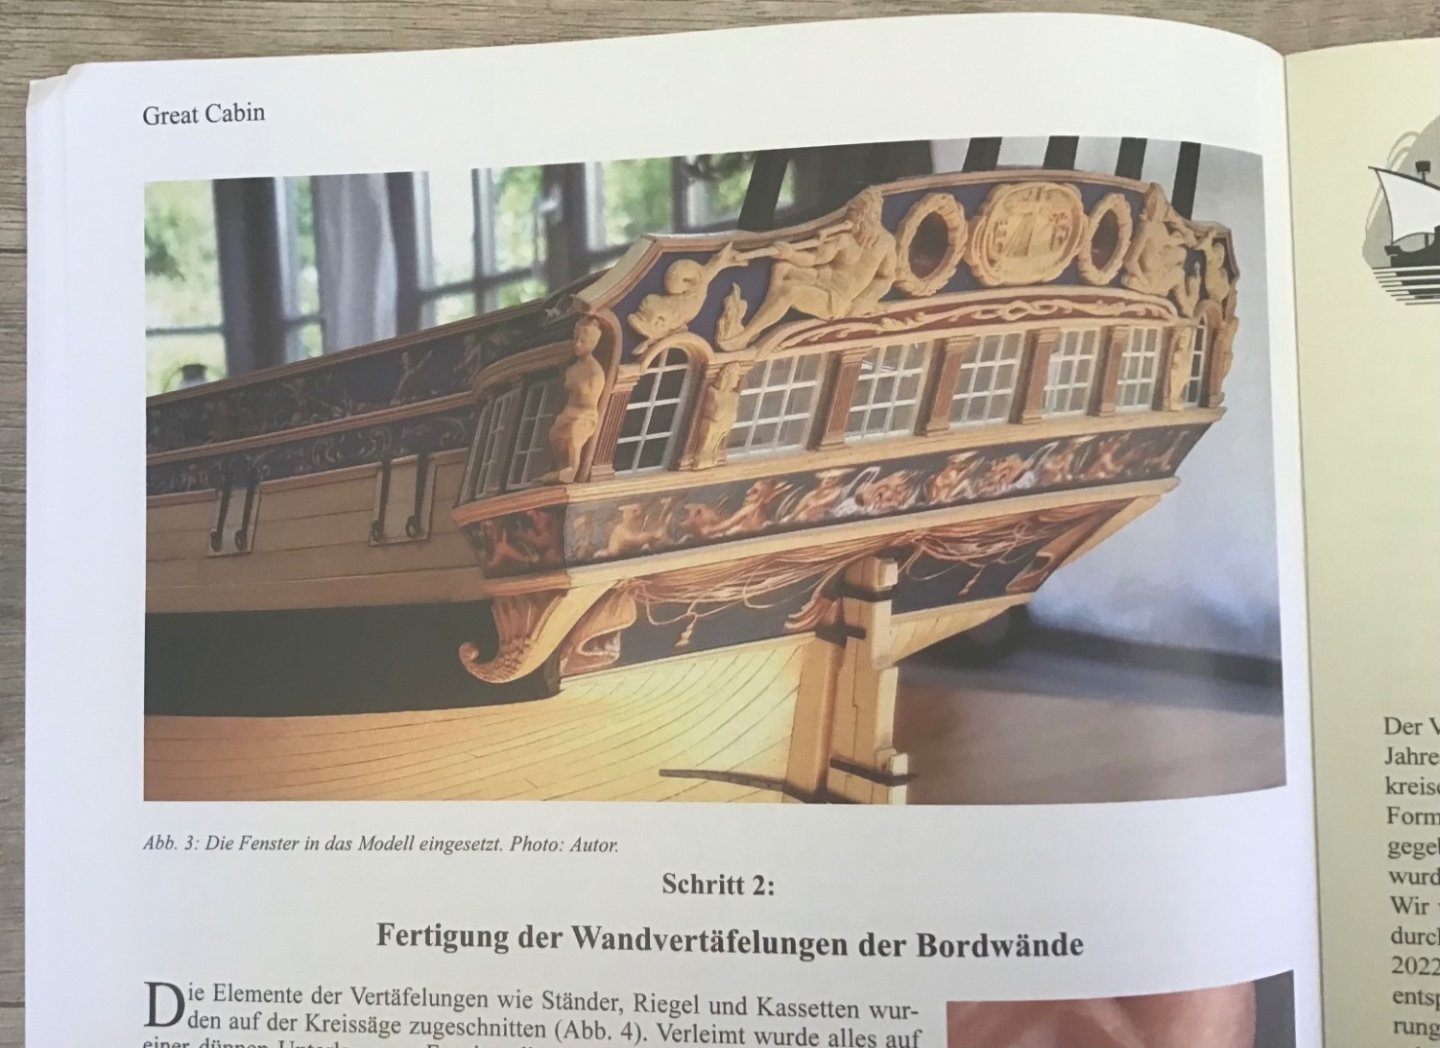
Hi Chuck, no progress since my last post, but I will continue soon! I was asked to write a little article about the Winchelsea, and especially the great cabin for the magazin „Logbuch“ of our Arbeitskreis Historischer Schiffbau. So I was busy doing that. I hope, that is some good promotion for you as well. I put your contact information in the article. At the moment, I am finishing an old project, wich I startet 10 years ago. It is the HMS Unicorn, a frigate from the 1740’s. Scale 1:72, fully rigged. I had to finish some rigging, now I am working on the display case. I want to make this as a waterline-model, because the ships hull is not as well built, as I wish it would have been, and I like the idea of a waterline-scenery. After this is done, Winchelsea will be continued. Matthias
-
Perhaps: "slow and steady"?
- 1,784 replies
-
- winchelsea
- Syren Ship Model Company
-
(and 1 more)
Tagged with:
-
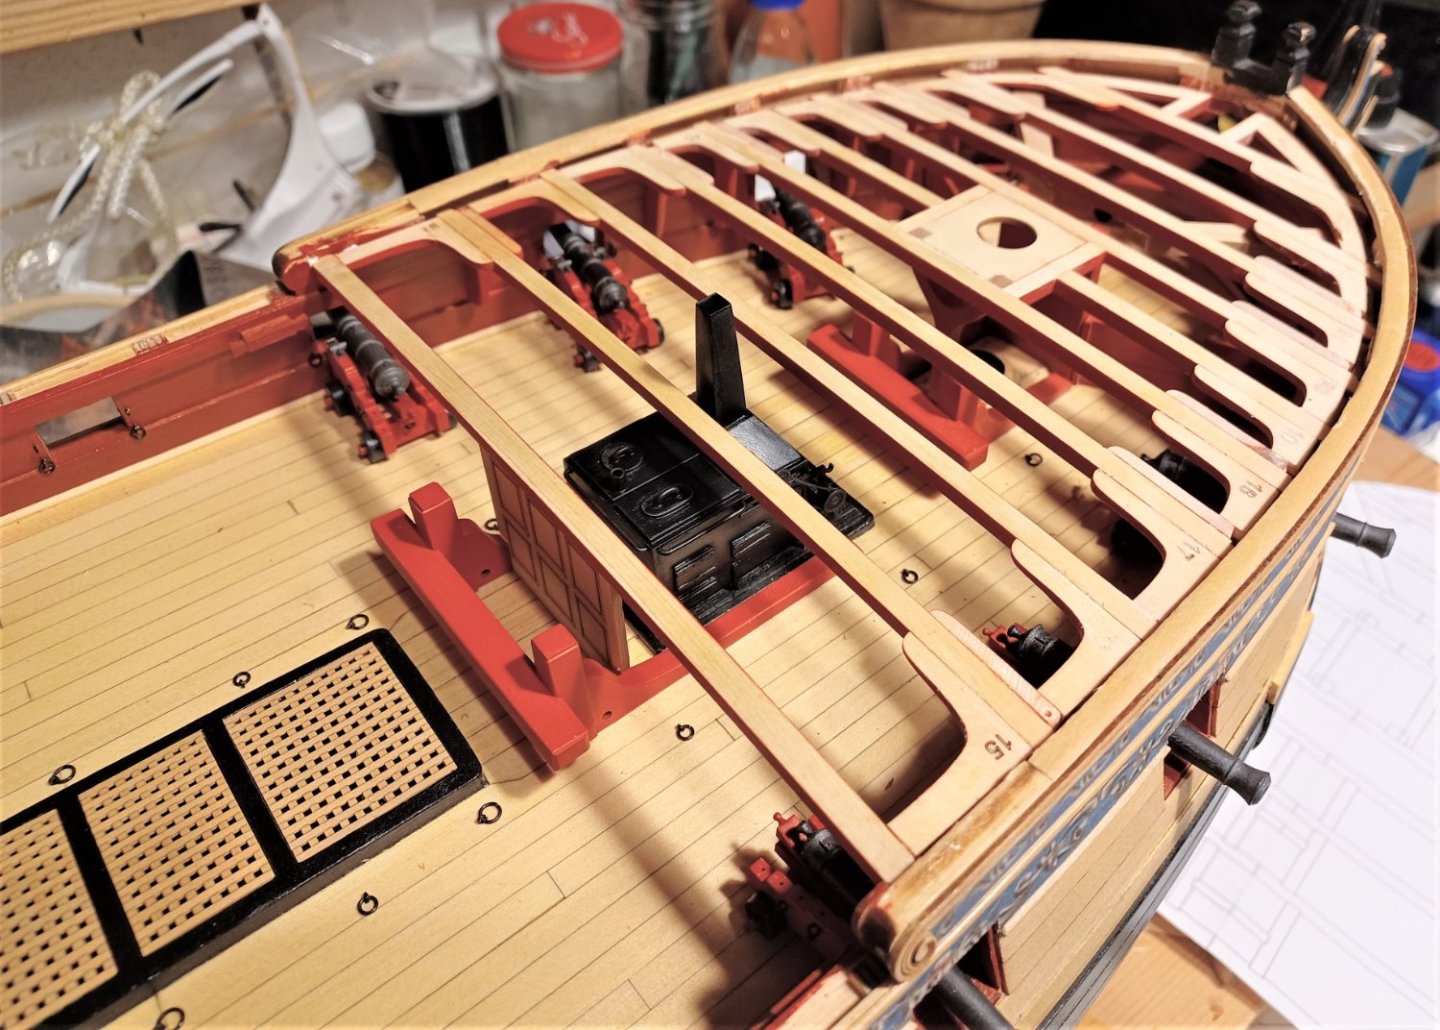
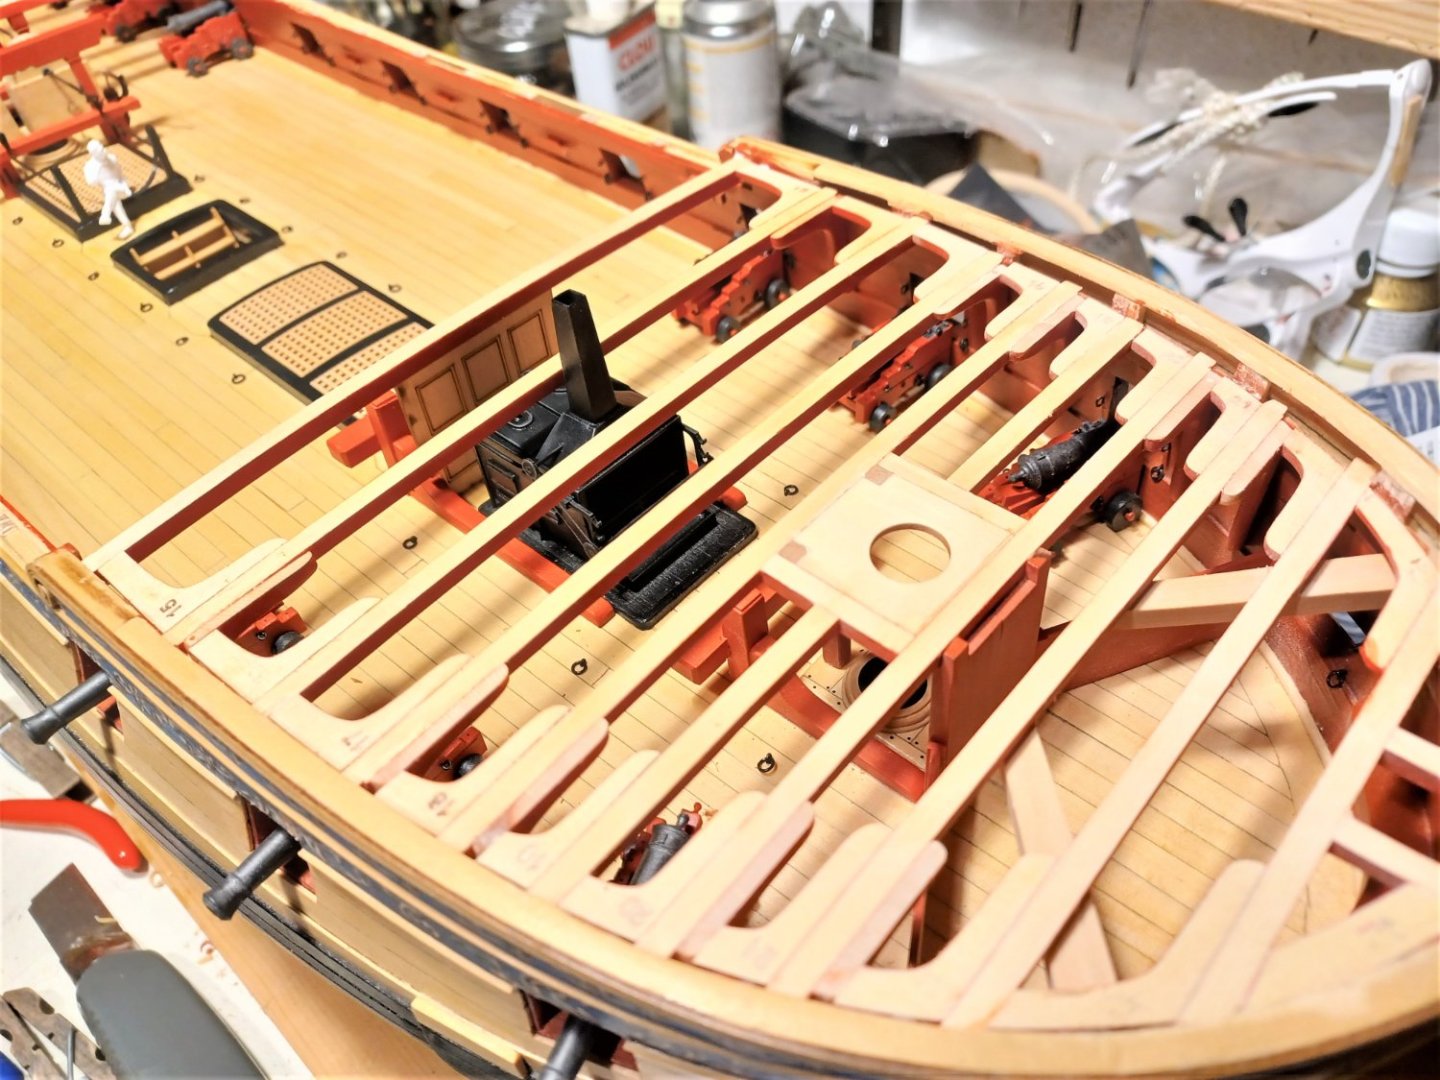
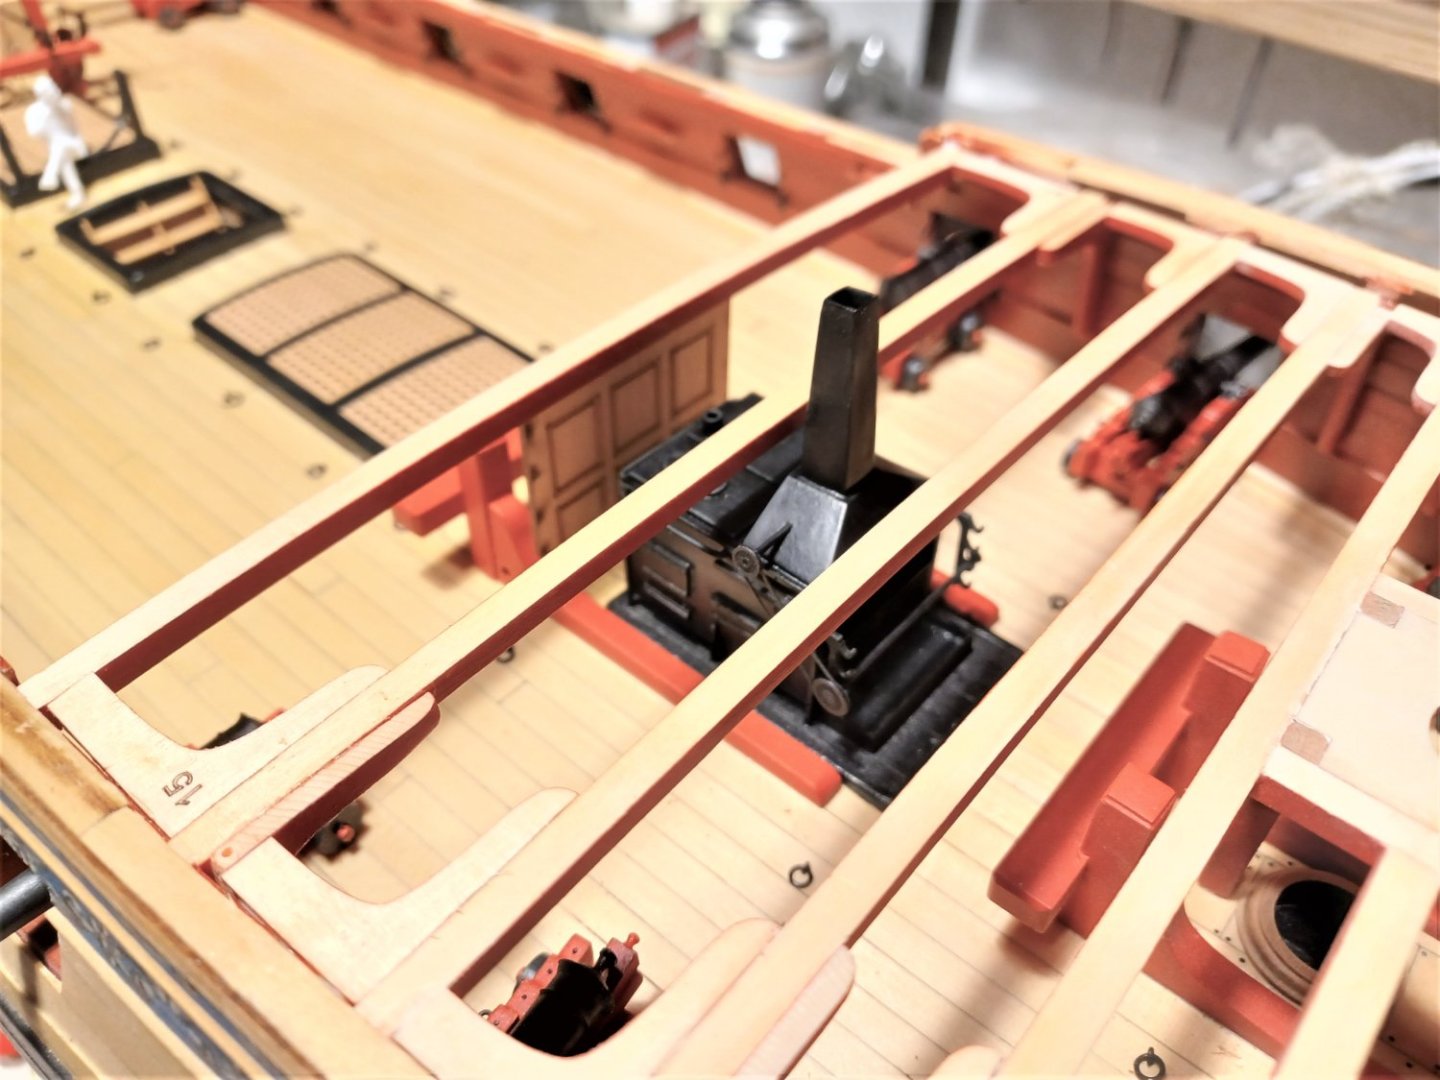
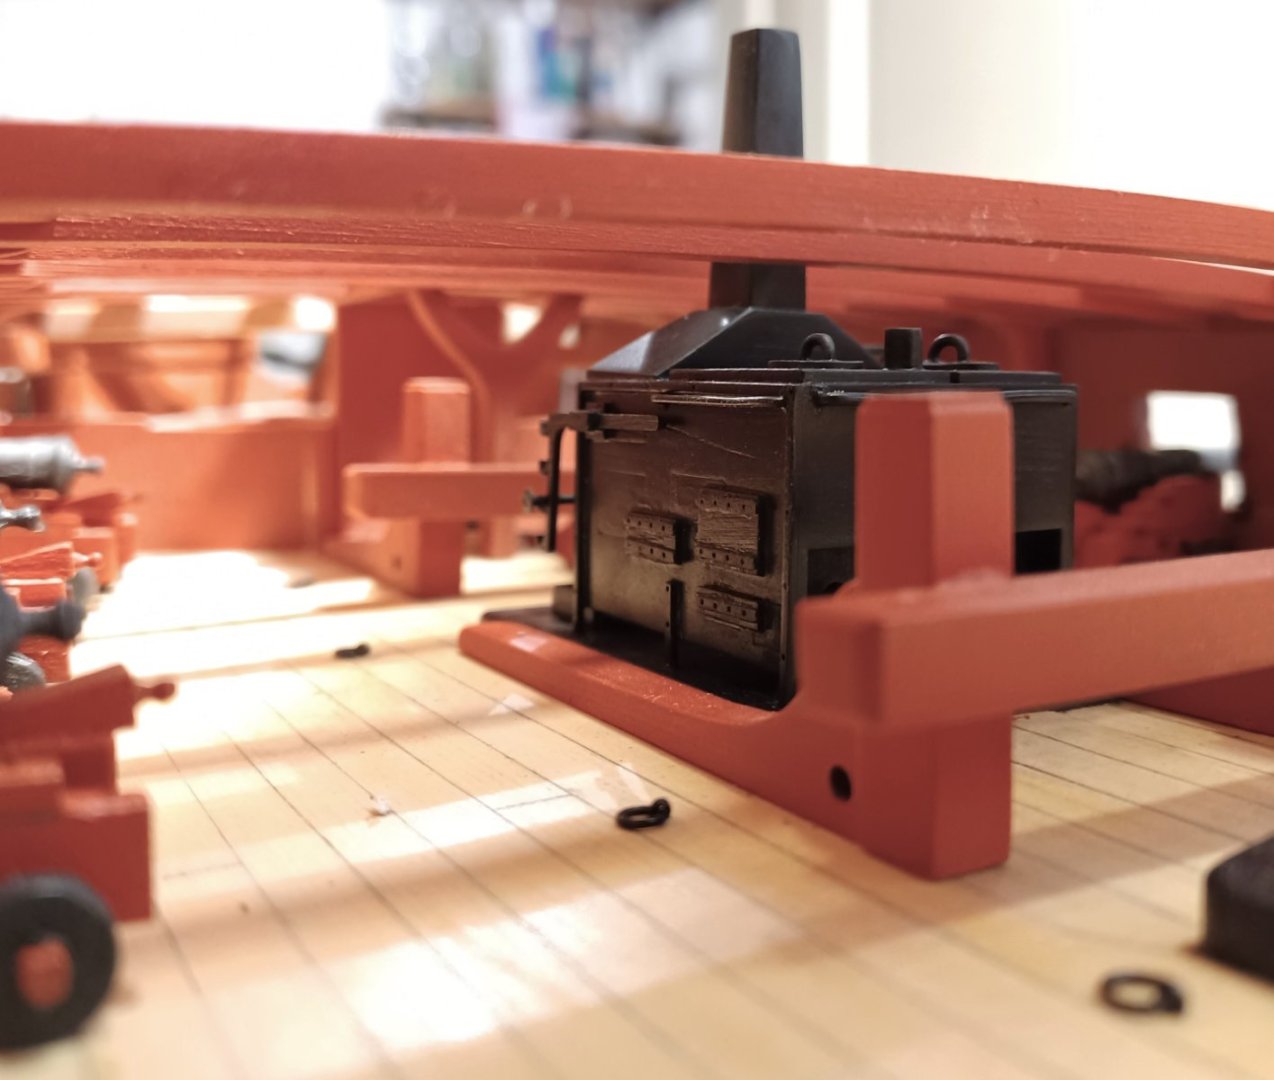
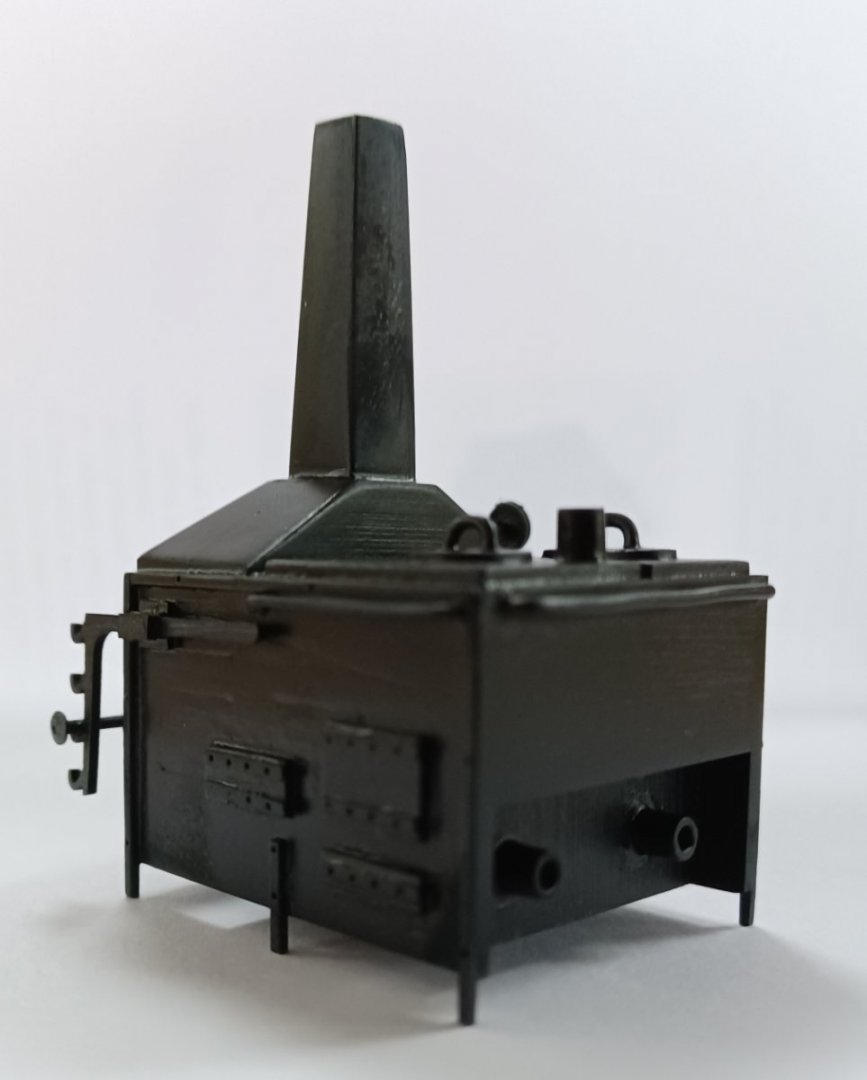
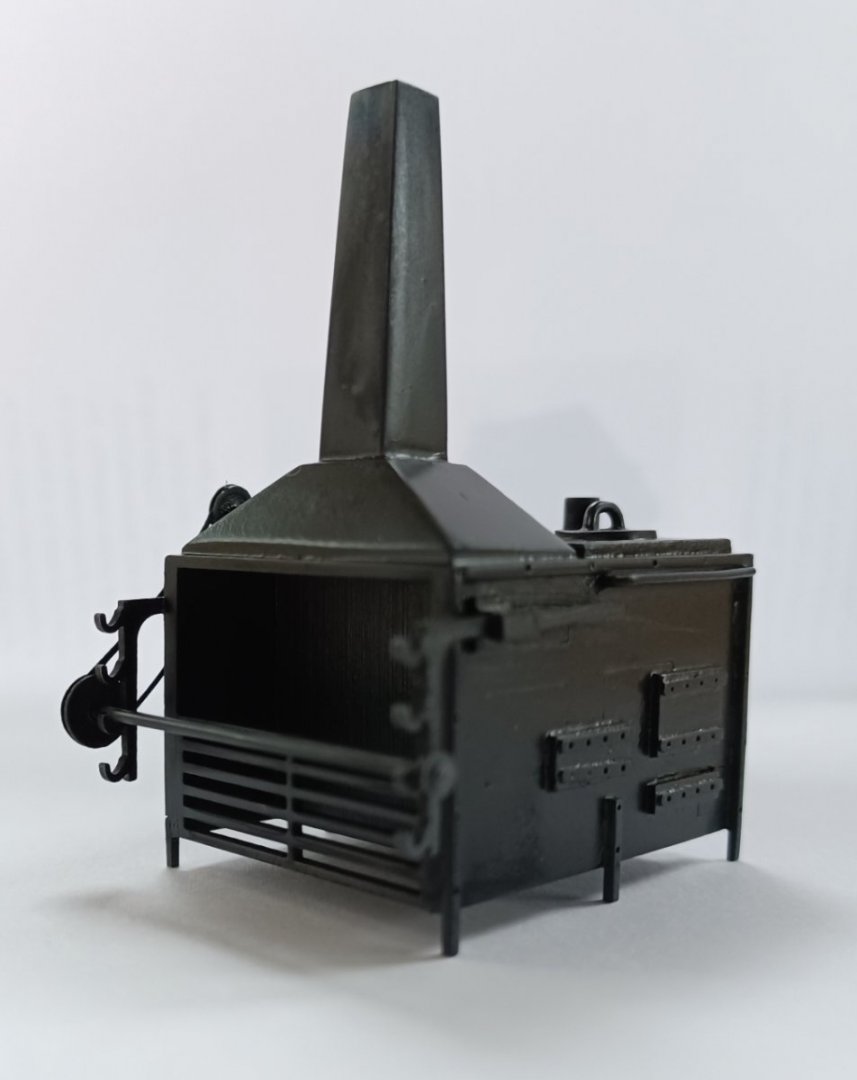
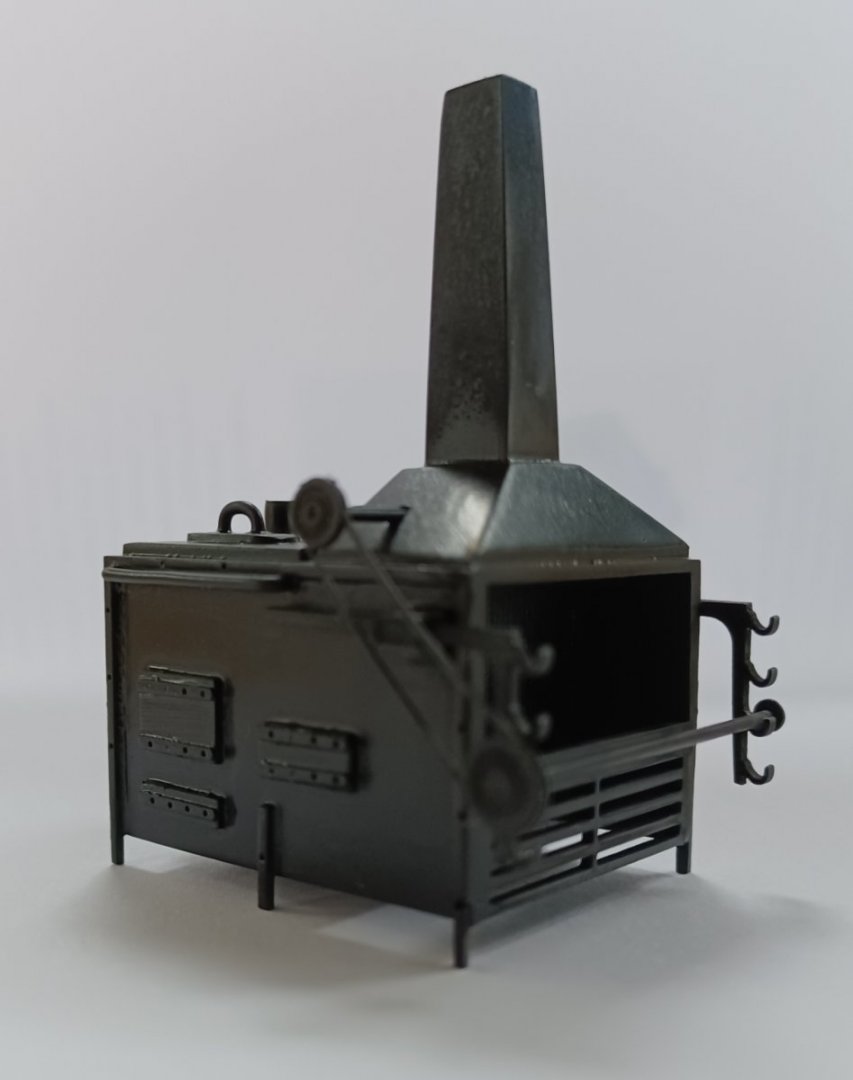
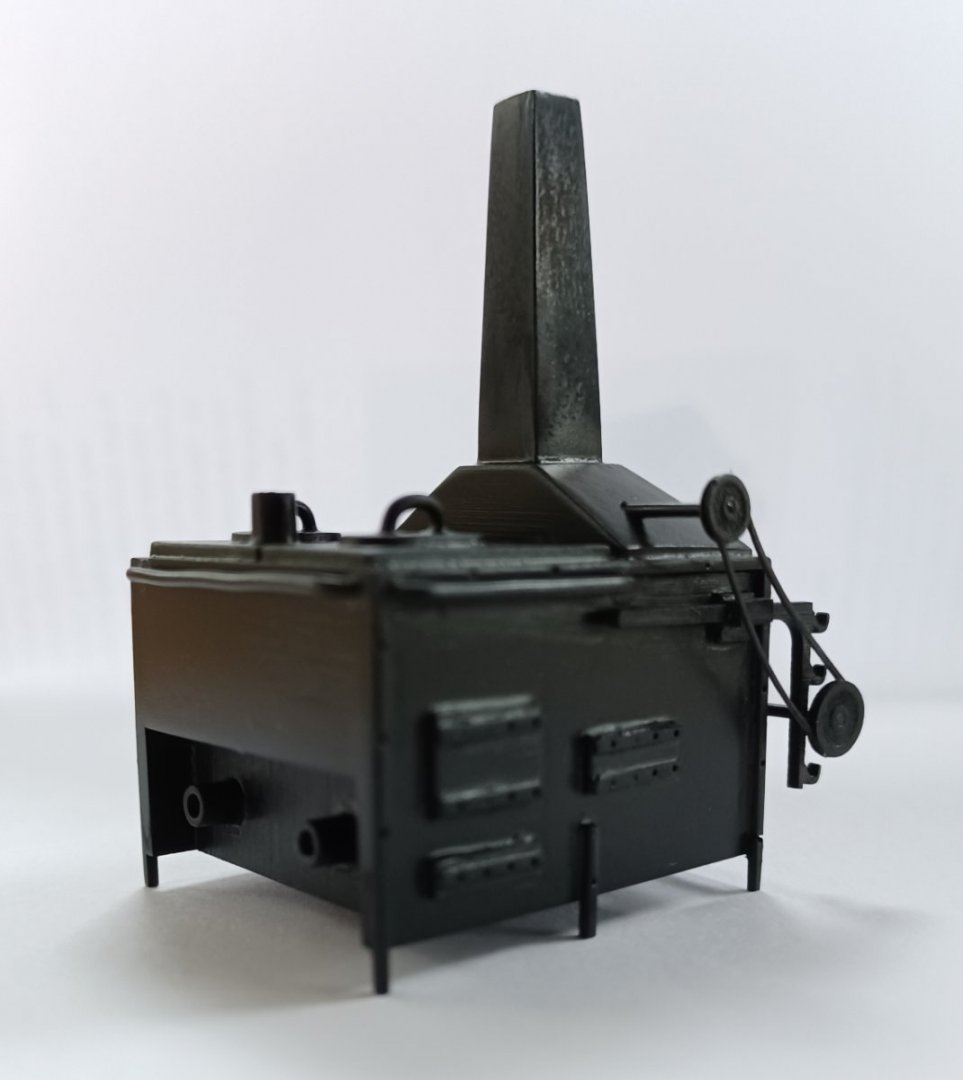
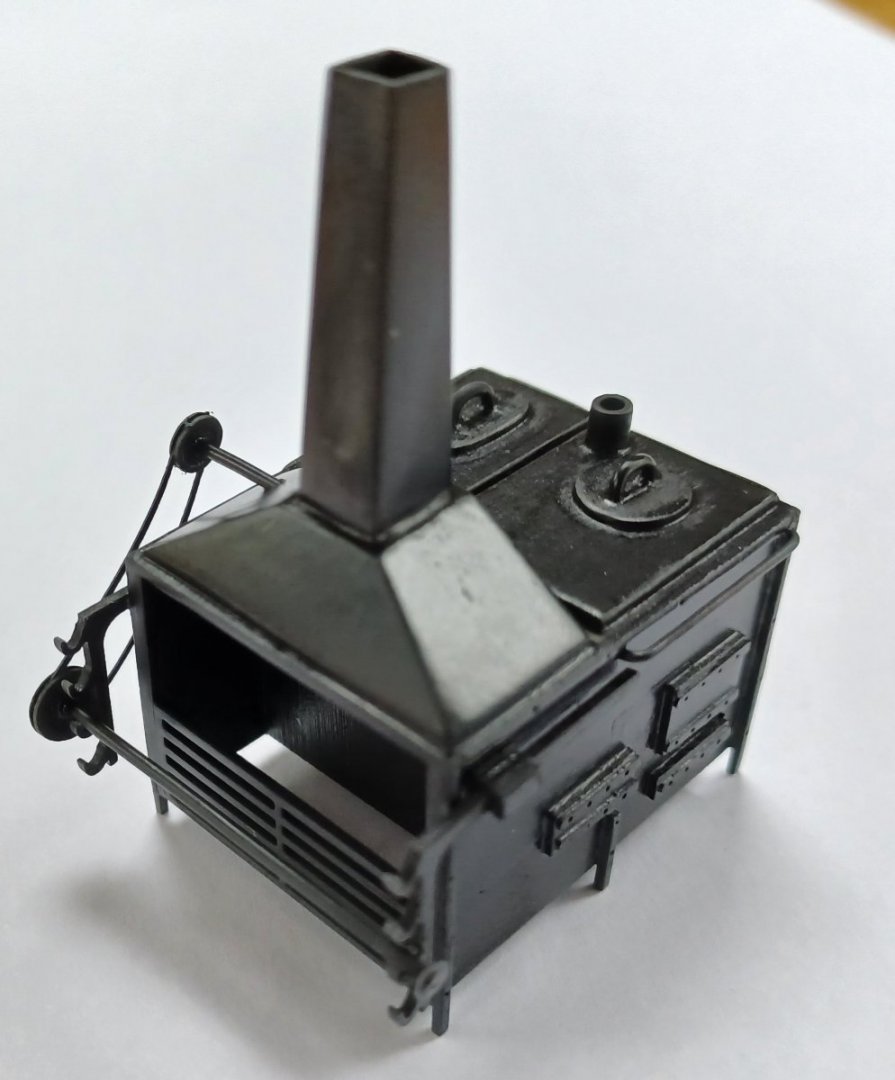
Hello everybody, I didn't have much progress for a while, In preparation for chapter 8 I just recently finished the mini-kit for the stove. Here are some pictures, not very sharp, but it is somehow difficult to take good photos of black objects. I am not shure about the wheathering yet. Maybe I will try to wheather it a bit, maybe I leave it as it is. Matthias
-
Fregat and Snau: Small Cruisers in the Danish Navy 1650-1750
Beckmann replied to bruce d's topic in Nautical/Naval History
Wow, that ist phantastic, M-V, that is Mecklenburg-Vorpommern, this is the region, where I live, thank you very much, I will try to contact him. Matthias
About us
Modelshipworld - Advancing Ship Modeling through Research
SSL Secured
Your security is important for us so this Website is SSL-Secured
NRG Mailing Address
Nautical Research Guild
237 South Lincoln Street
Westmont IL, 60559-1917
Model Ship World ® and the MSW logo are Registered Trademarks, and belong to the Nautical Research Guild (United States Patent and Trademark Office: No. 6,929,264 & No. 6,929,274, registered Dec. 20, 2022)
Helpful Links
About the NRG
If you enjoy building ship models that are historically accurate as well as beautiful, then The Nautical Research Guild (NRG) is just right for you.
The Guild is a non-profit educational organization whose mission is to “Advance Ship Modeling Through Research”. We provide support to our members in their efforts to raise the quality of their model ships.
The Nautical Research Guild has published our world-renowned quarterly magazine, The Nautical Research Journal, since 1955. The pages of the Journal are full of articles by accomplished ship modelers who show you how they create those exquisite details on their models, and by maritime historians who show you the correct details to build. The Journal is available in both print and digital editions. Go to the NRG web site (www.thenrg.org) to download a complimentary digital copy of the Journal. The NRG also publishes plan sets, books and compilations of back issues of the Journal and the former Ships in Scale and Model Ship Builder magazines.

