drobinson02199
-
Posts
1,076 -
Joined
-
Last visited
Content Type
Profiles
Forums
Gallery
Events
Everything posted by drobinson02199
-
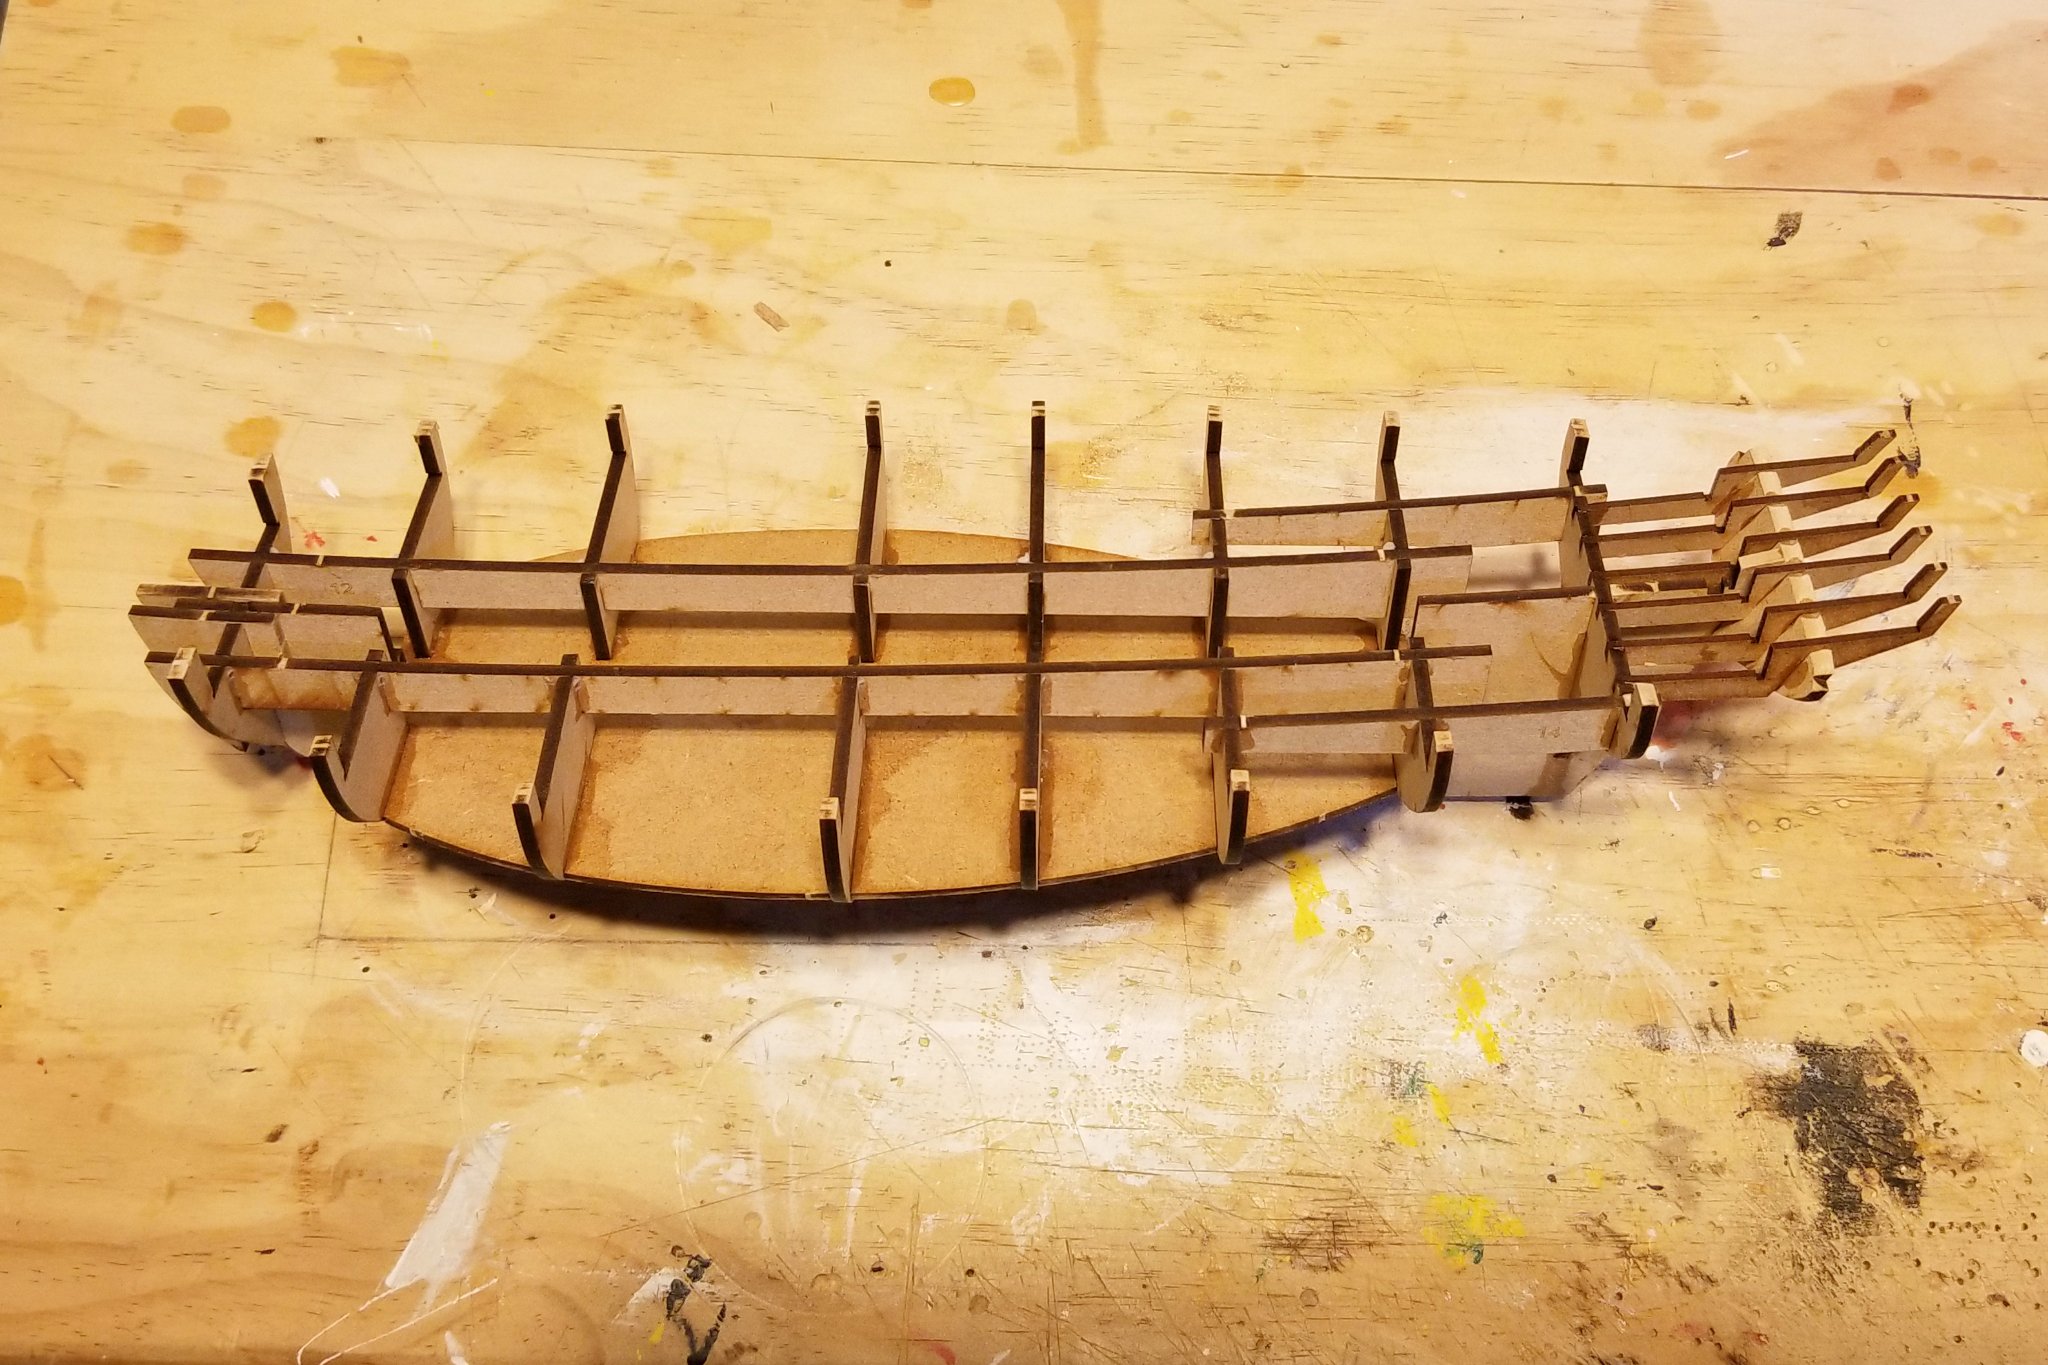
 Here's more of the hull structure. Regards, David
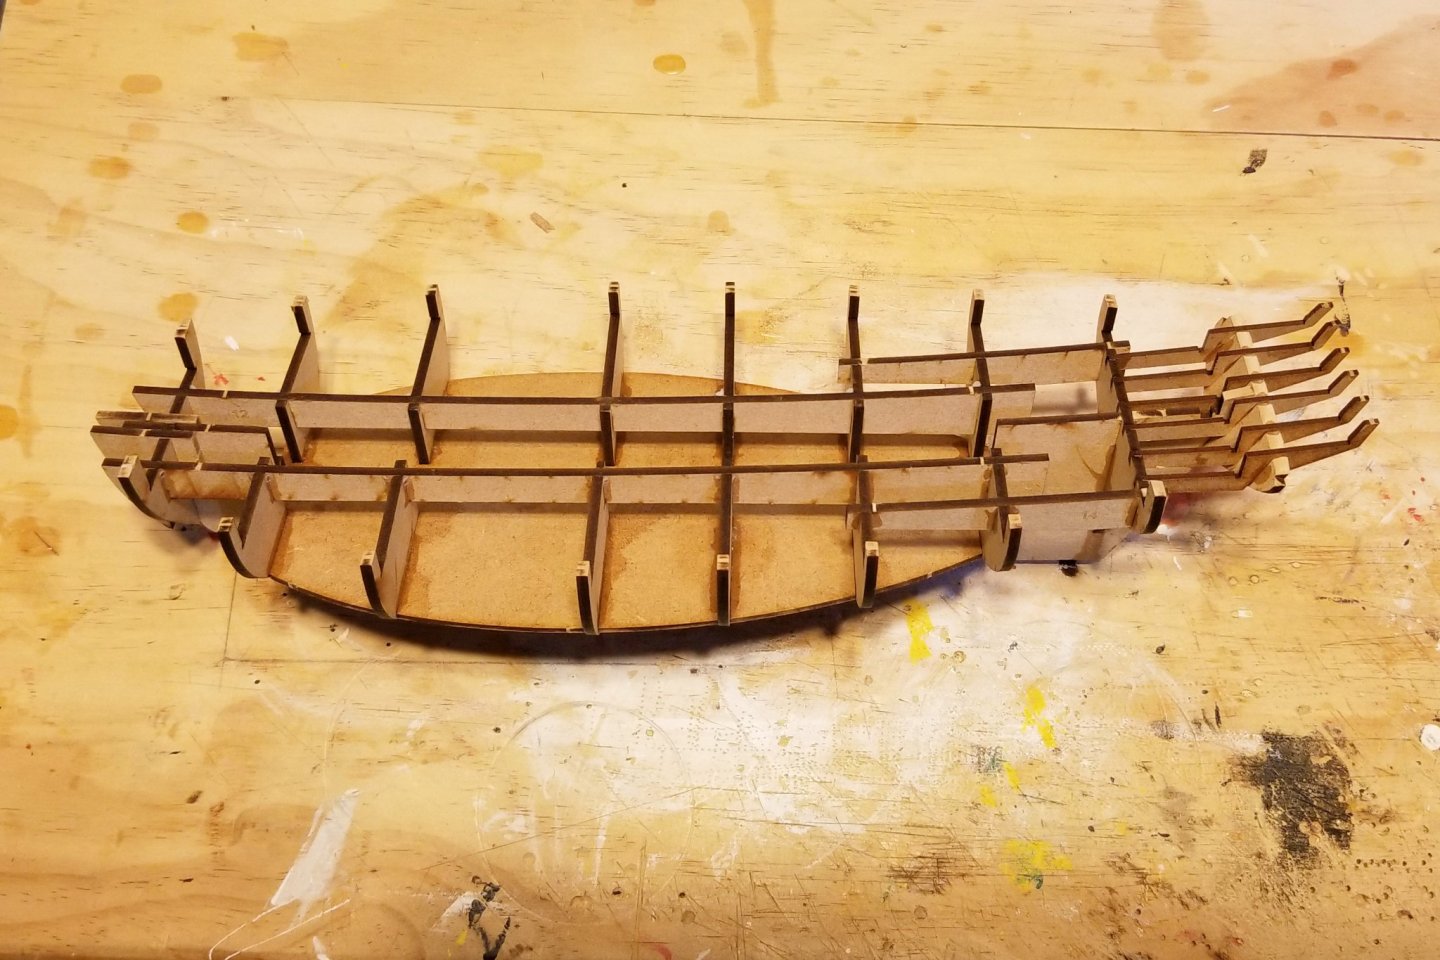
-
Thanks. Based on that I think I'll skip planking it. Regards, David
-
VTHokiEE: Timely question. I hadn't planned to. What is the angle -- through the hatchways? All of them or just one? I'm also going to leave the hull natural vs. painting it white. Regards, David
-
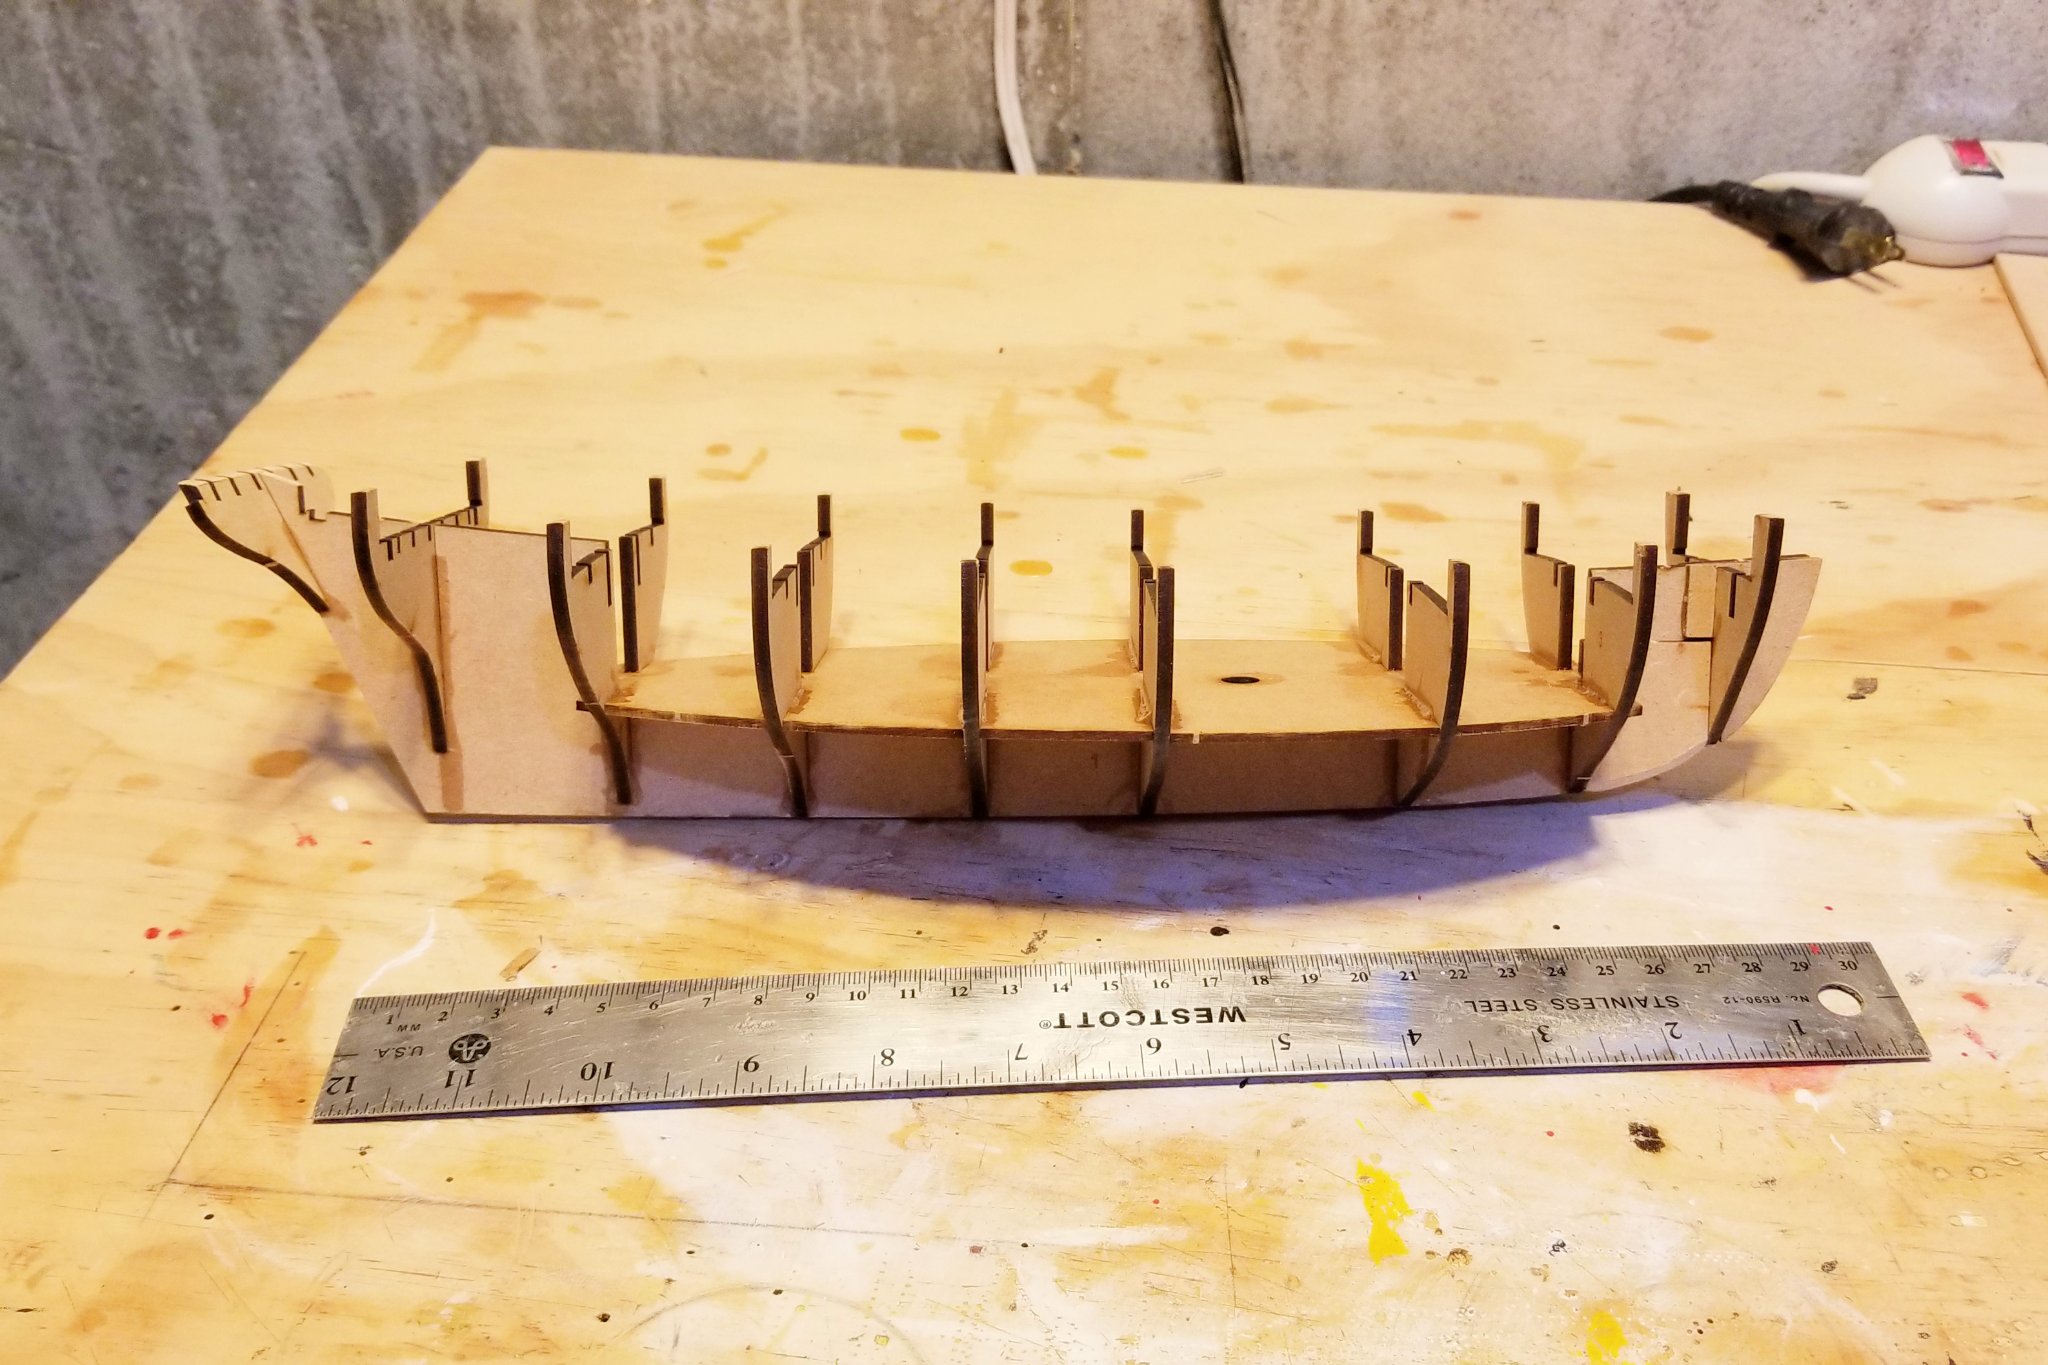
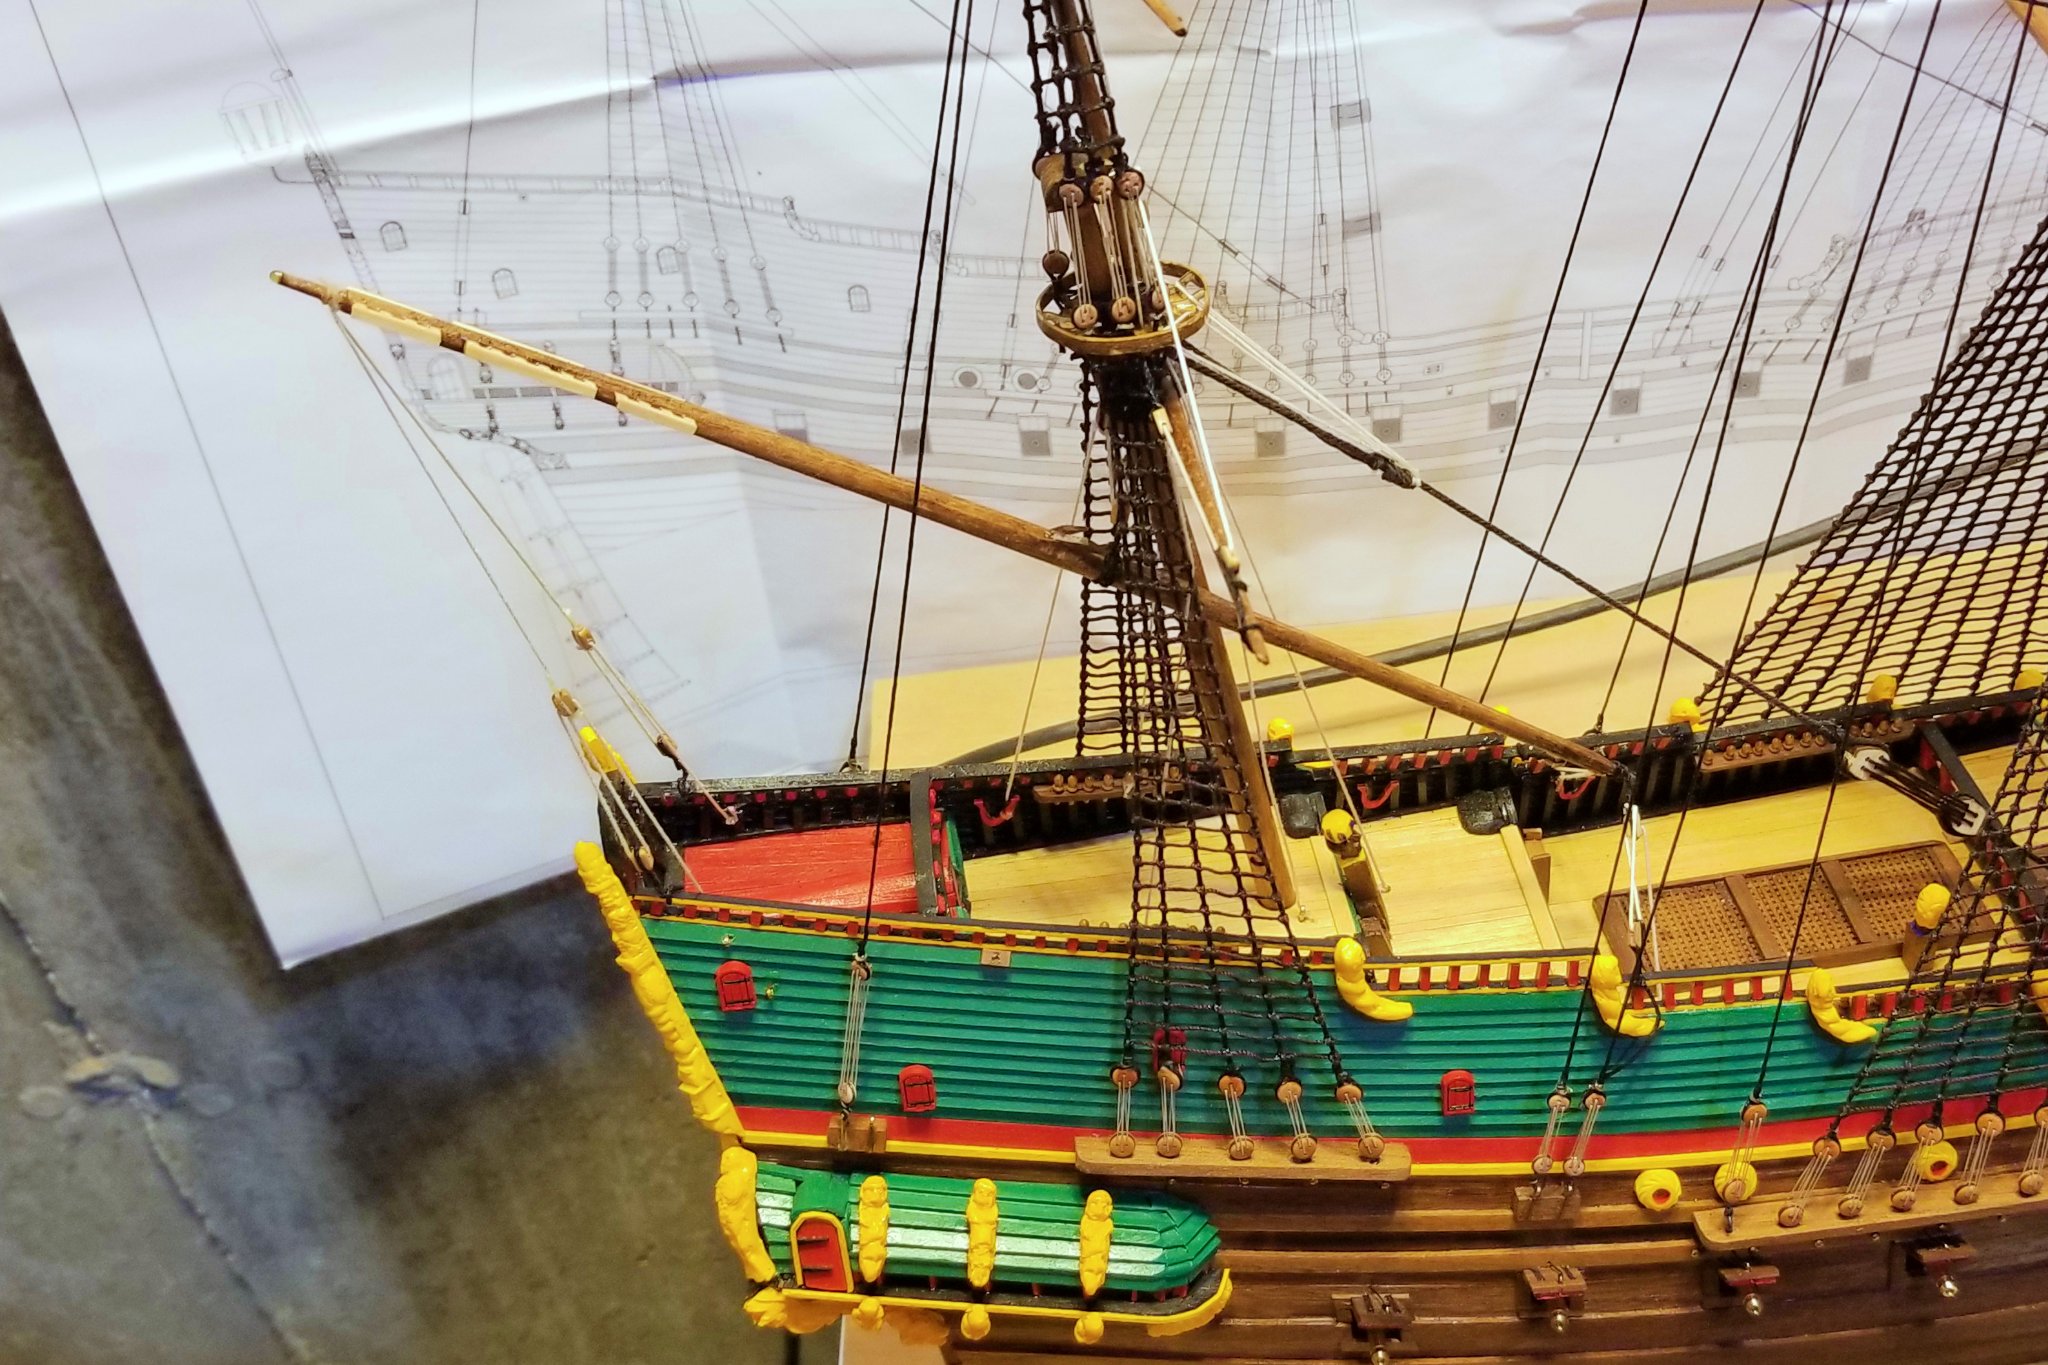
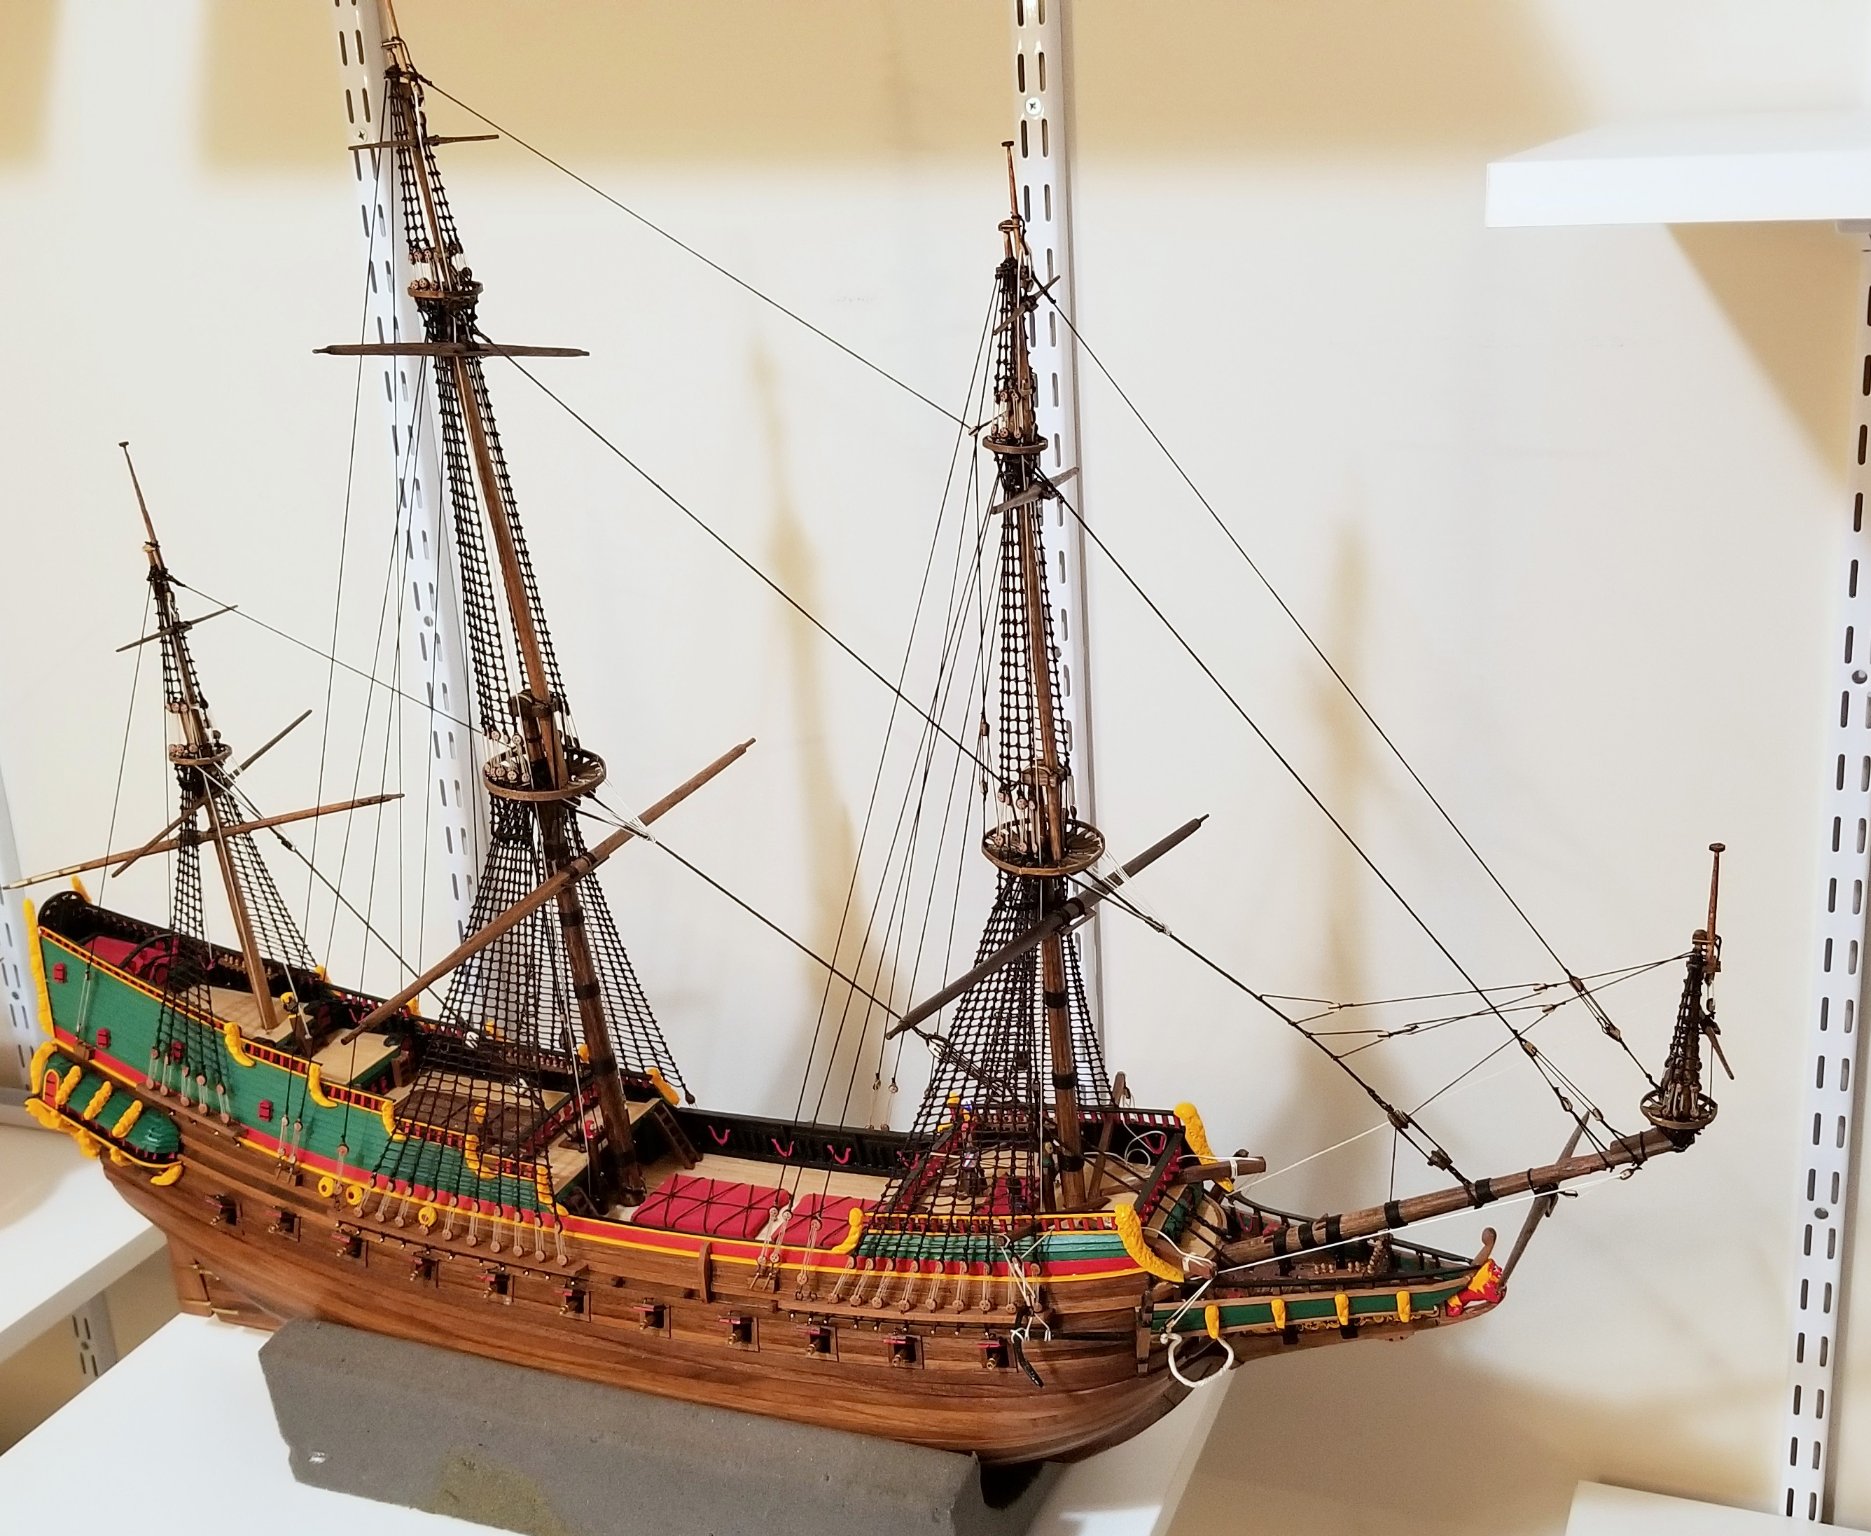
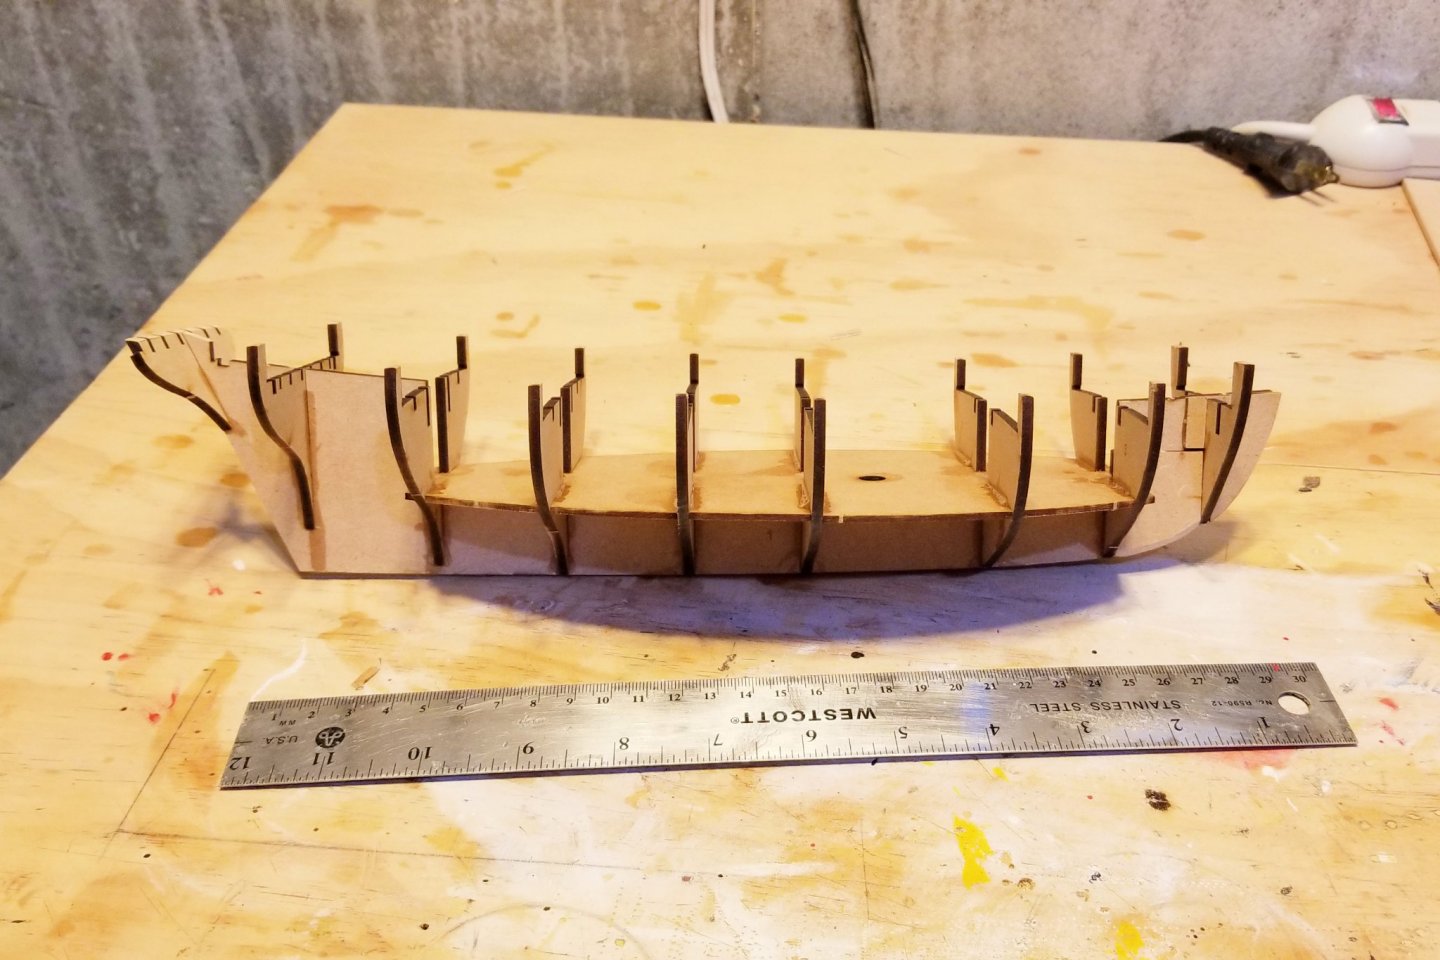
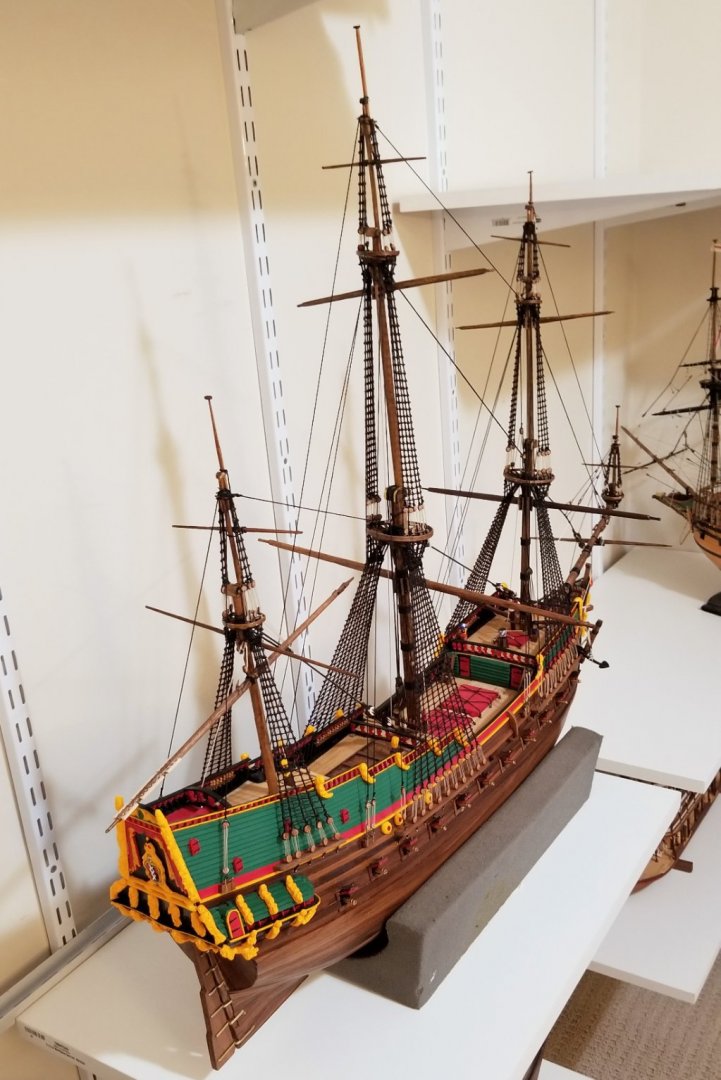
Have partially finished the hull structure. Some more to go. The ruler is 300mm long and gives you a sense of the size of this ship. Regards, David
-
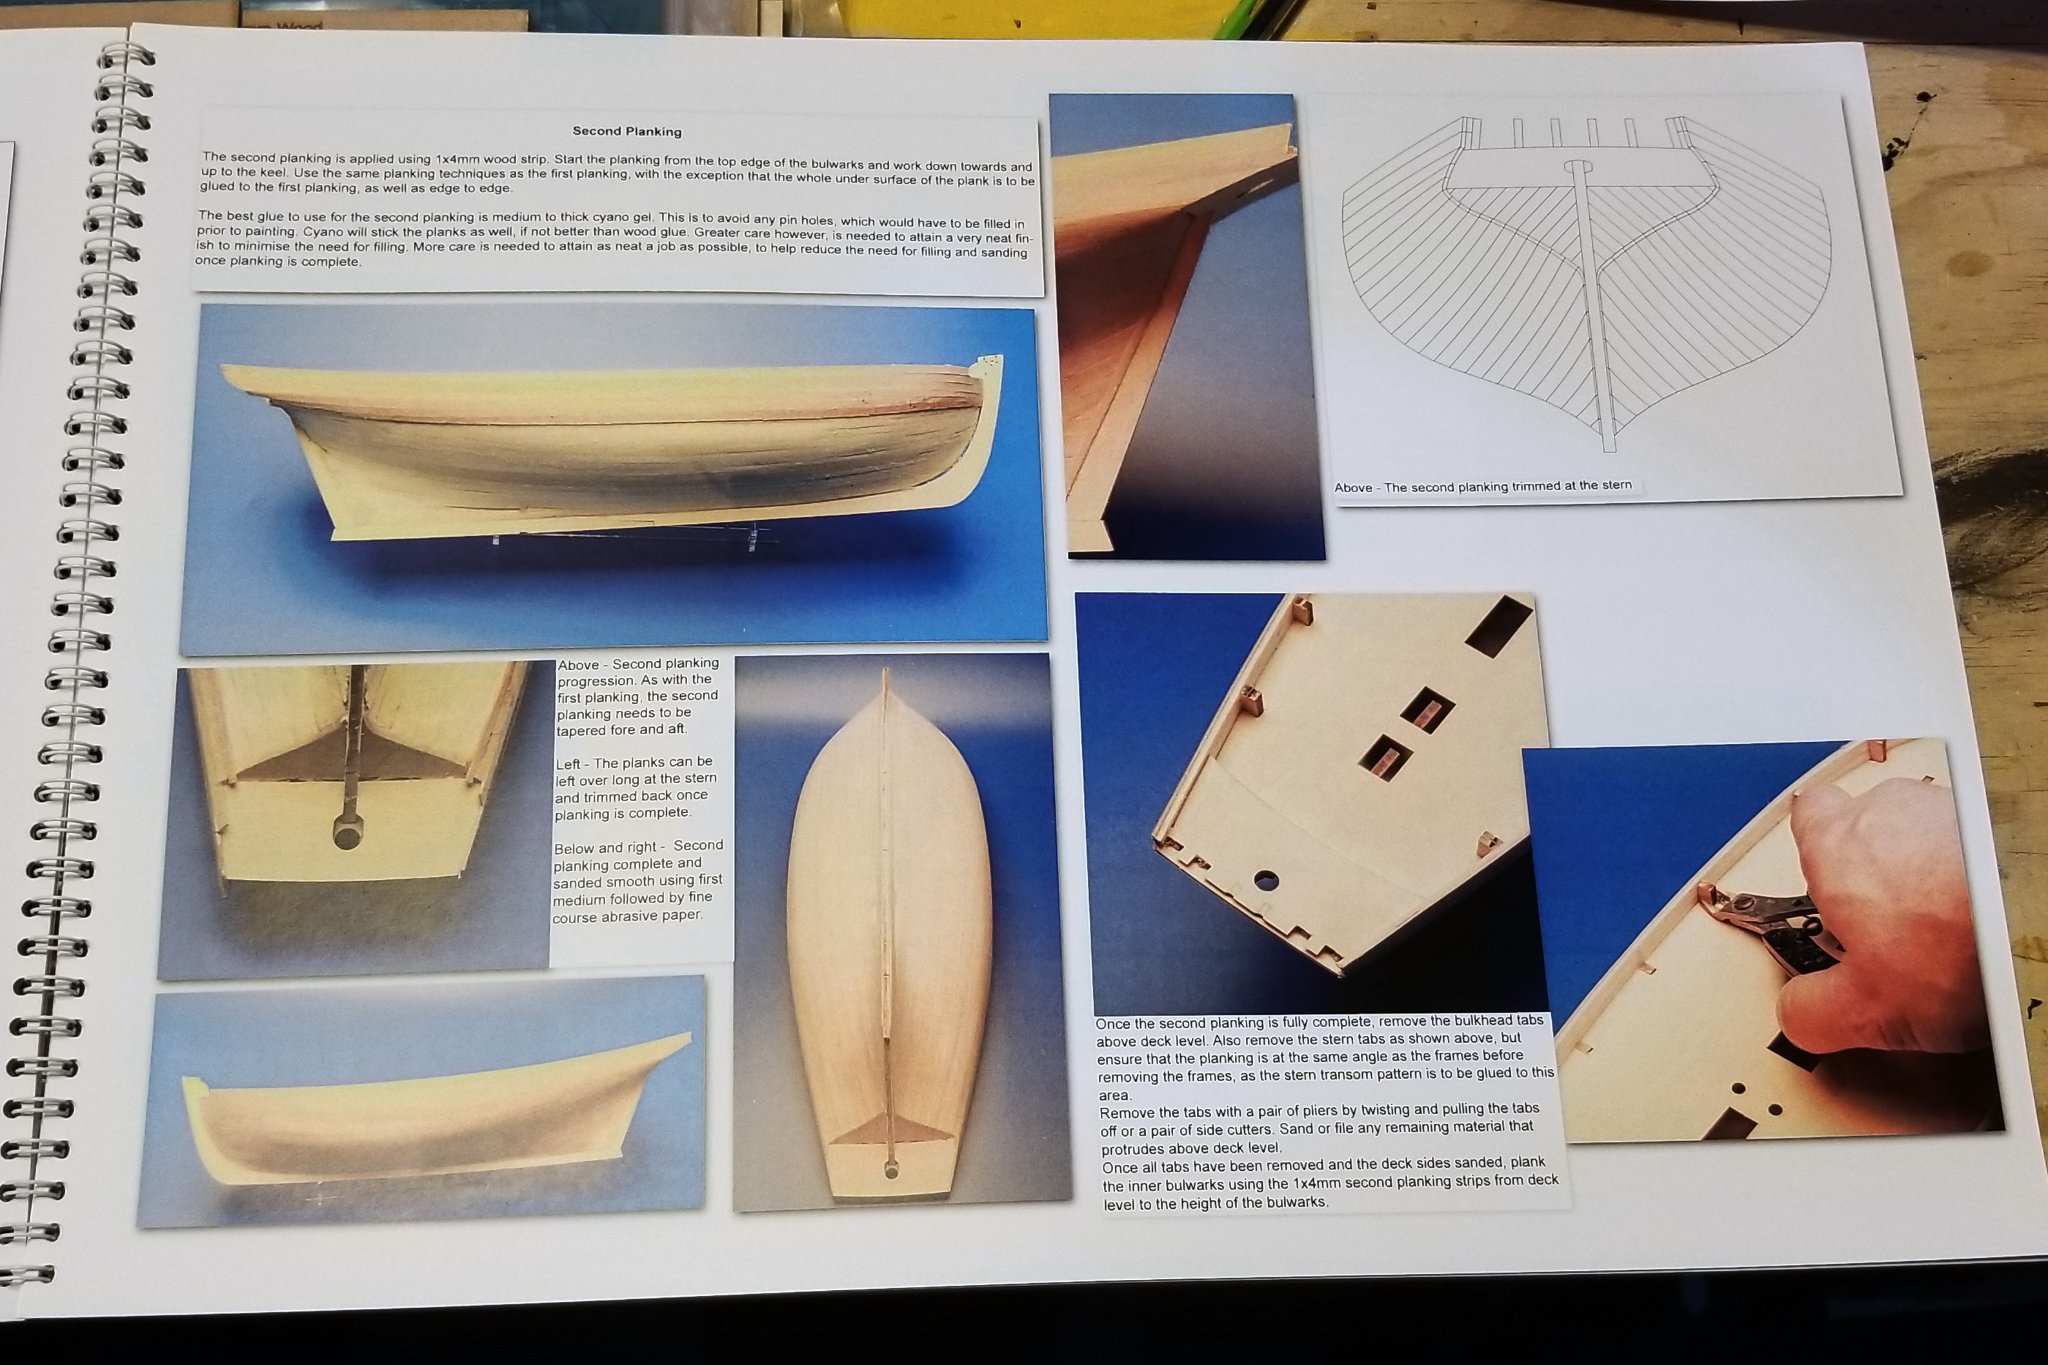
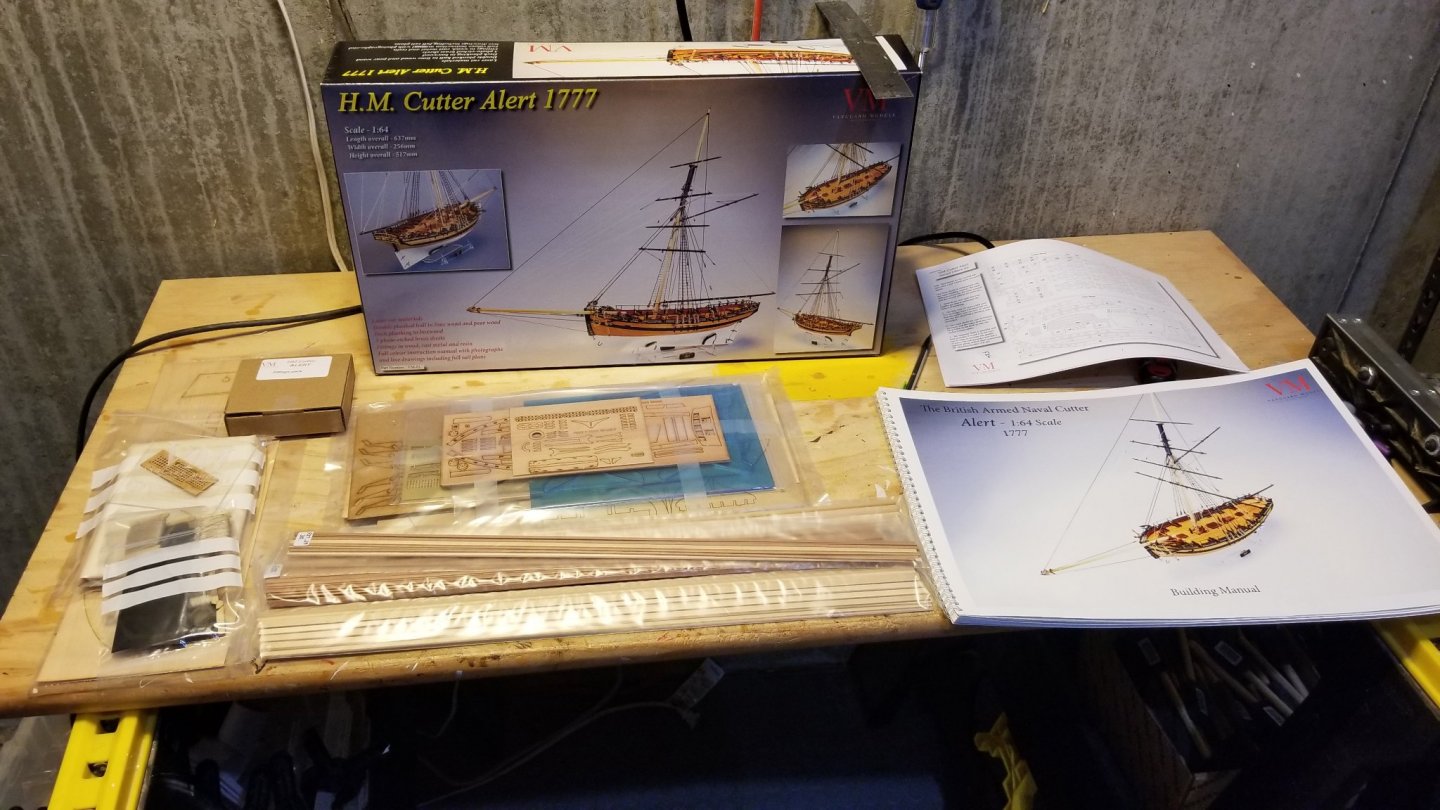
I have built the Amati Revenge and Fly from the Victory Models series, and both were terrific builds with outstanding kit quality. These were designed by Chris Watton, so when I saw that he had formed his own modeling company, Vanguard Models, I really wanted to try one to see how the kit quality and ship appearance compared. Opening the box, the kit quality looks outstanding. Everything neatly packed and shrink-wrapped, and the wood looks great. The manual is also something to behold: large lie-flat with heavy pages and lots of 4-color pictures and drawings. I'm looking forward to starting this one and will post a log as I go. Regards, David

-
Thanks, Hans. 7 months almost to the day, which for me seems like a longer time. My longest build to date. Regards, David
-
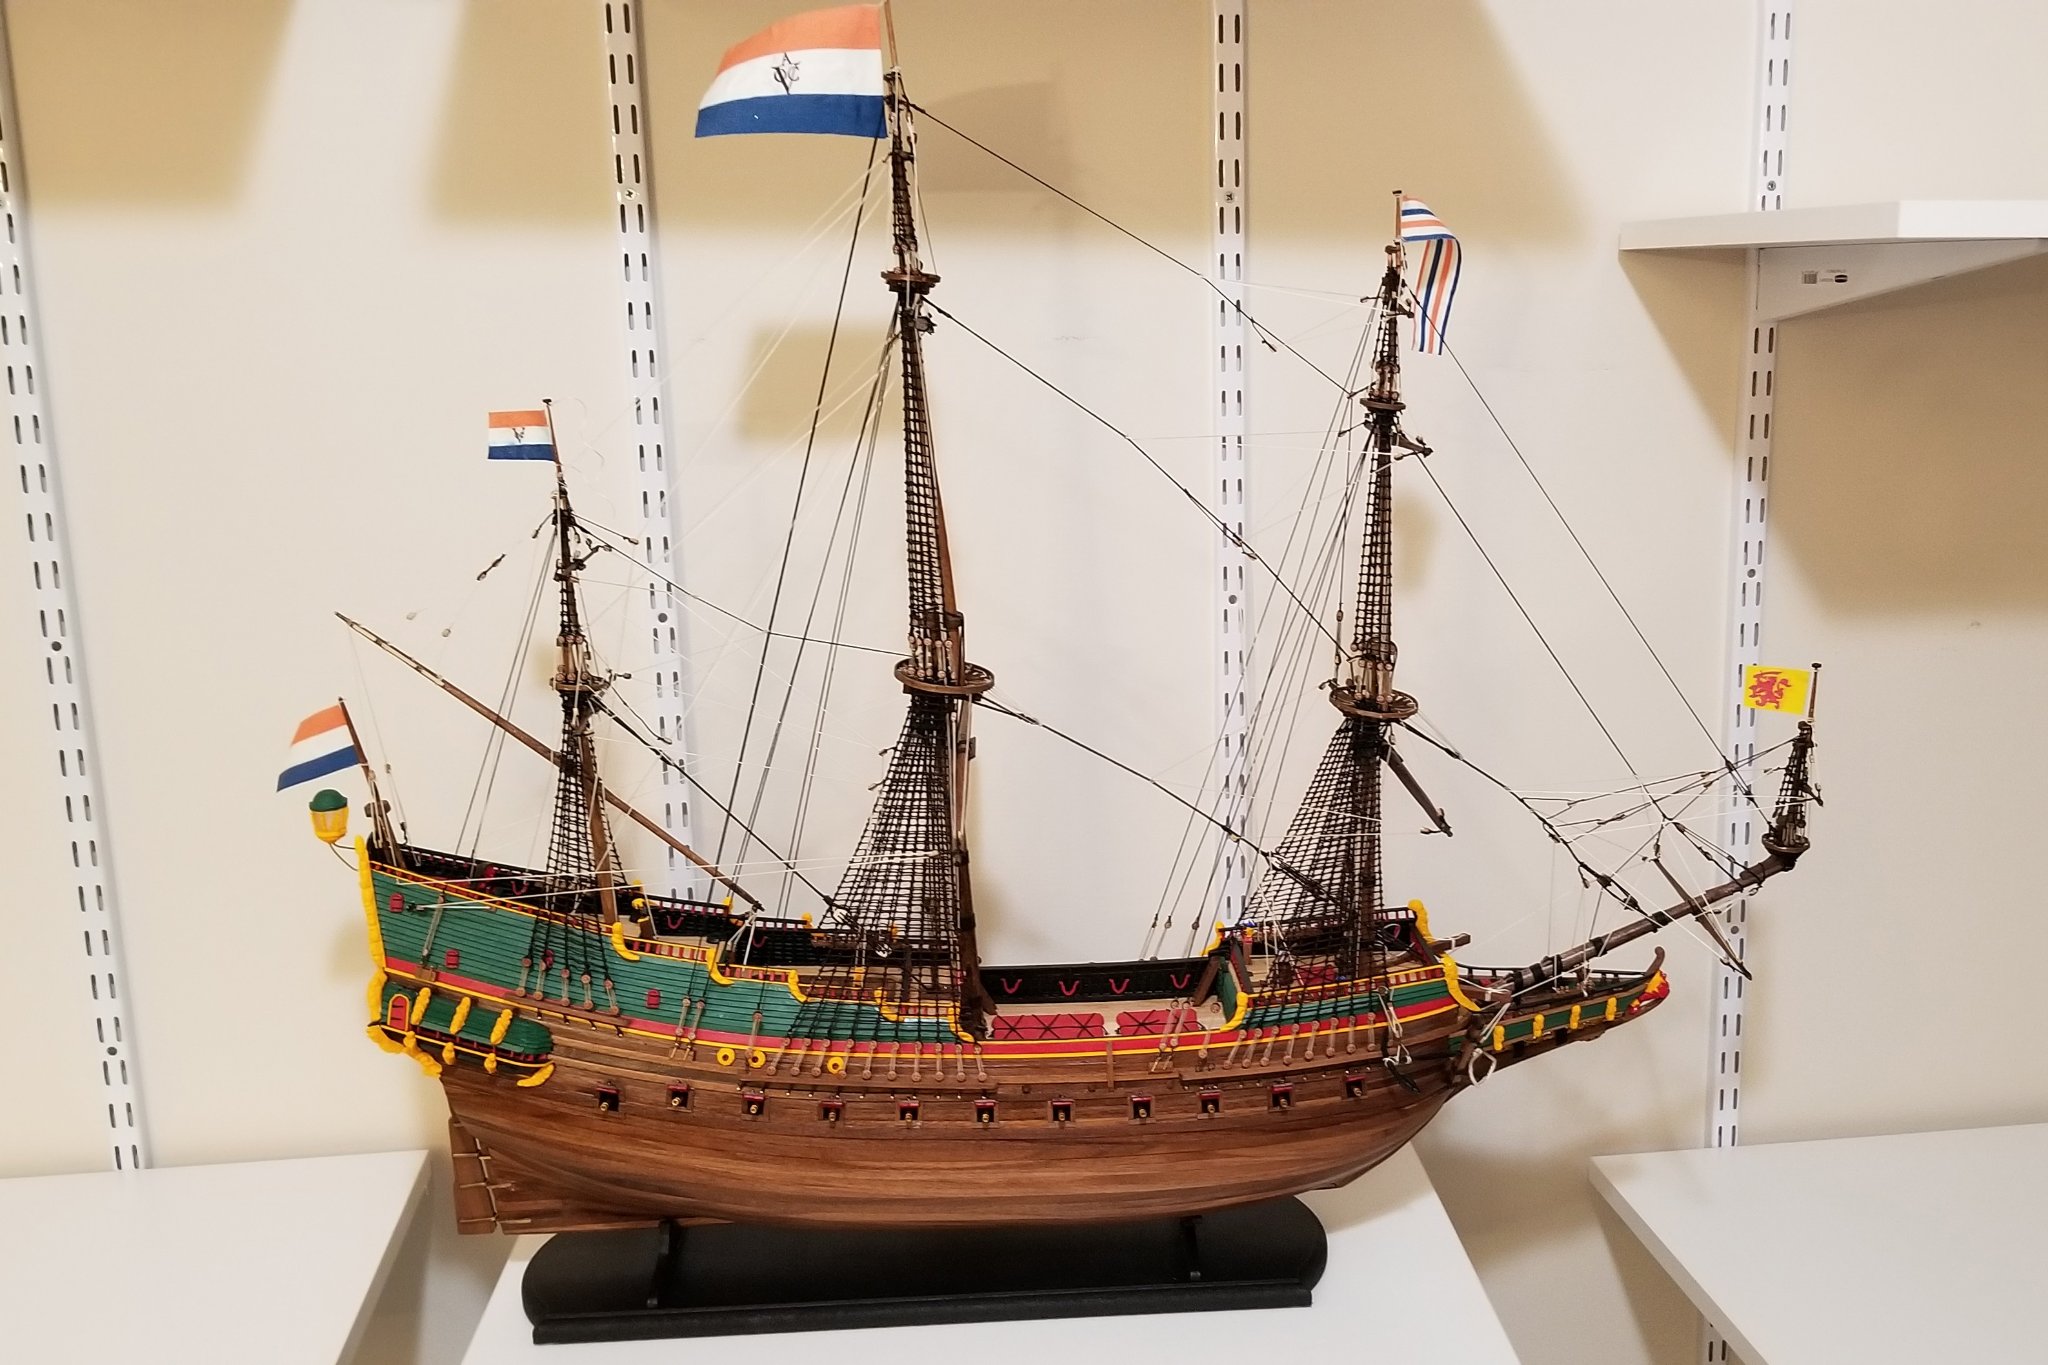
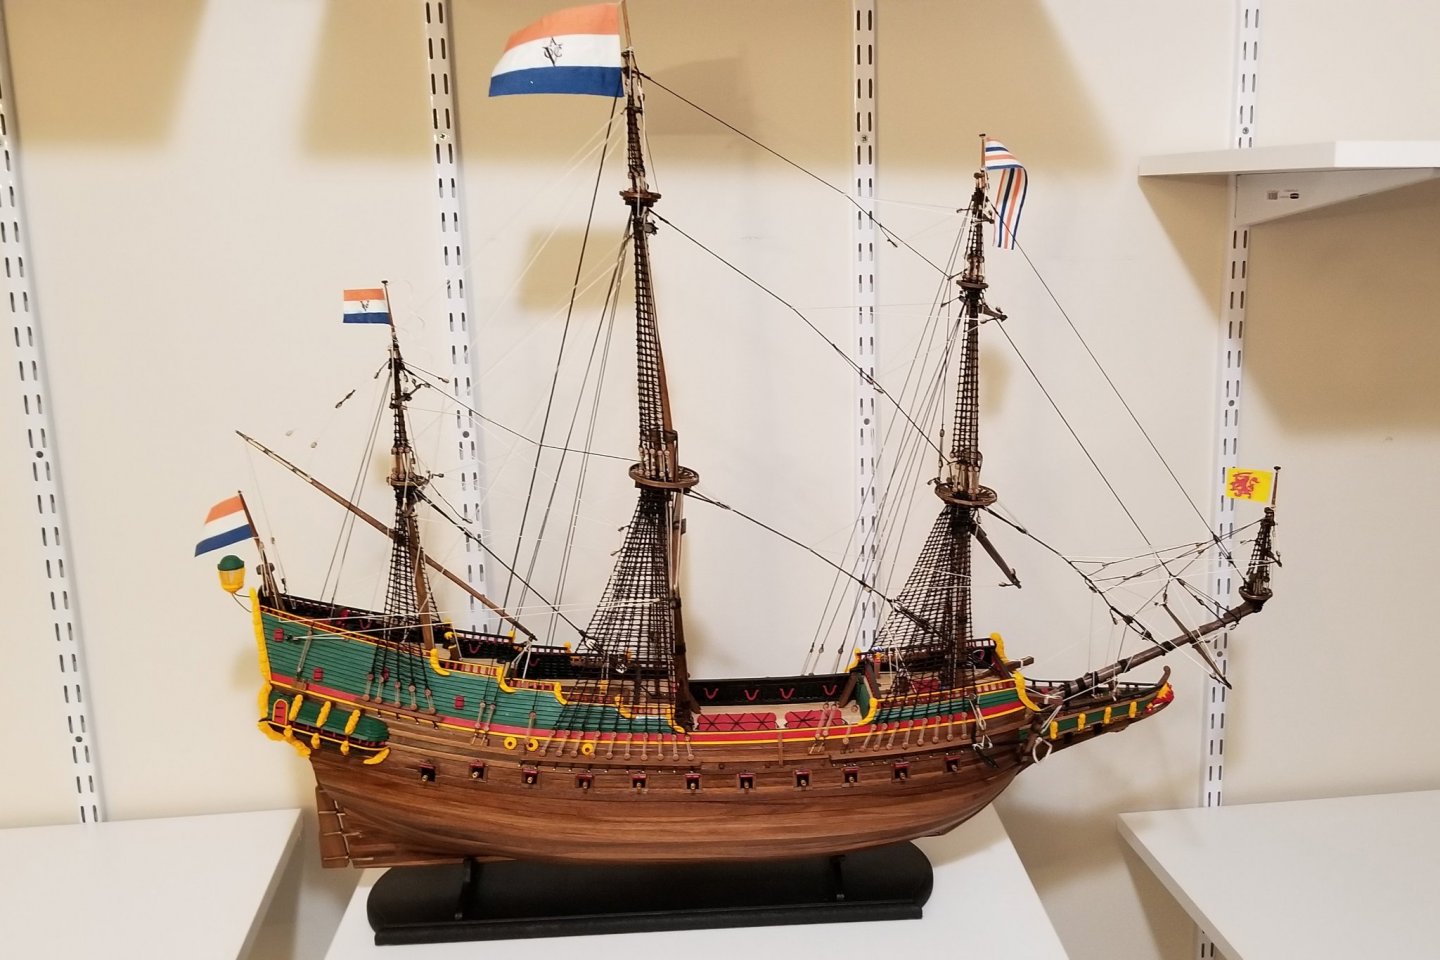
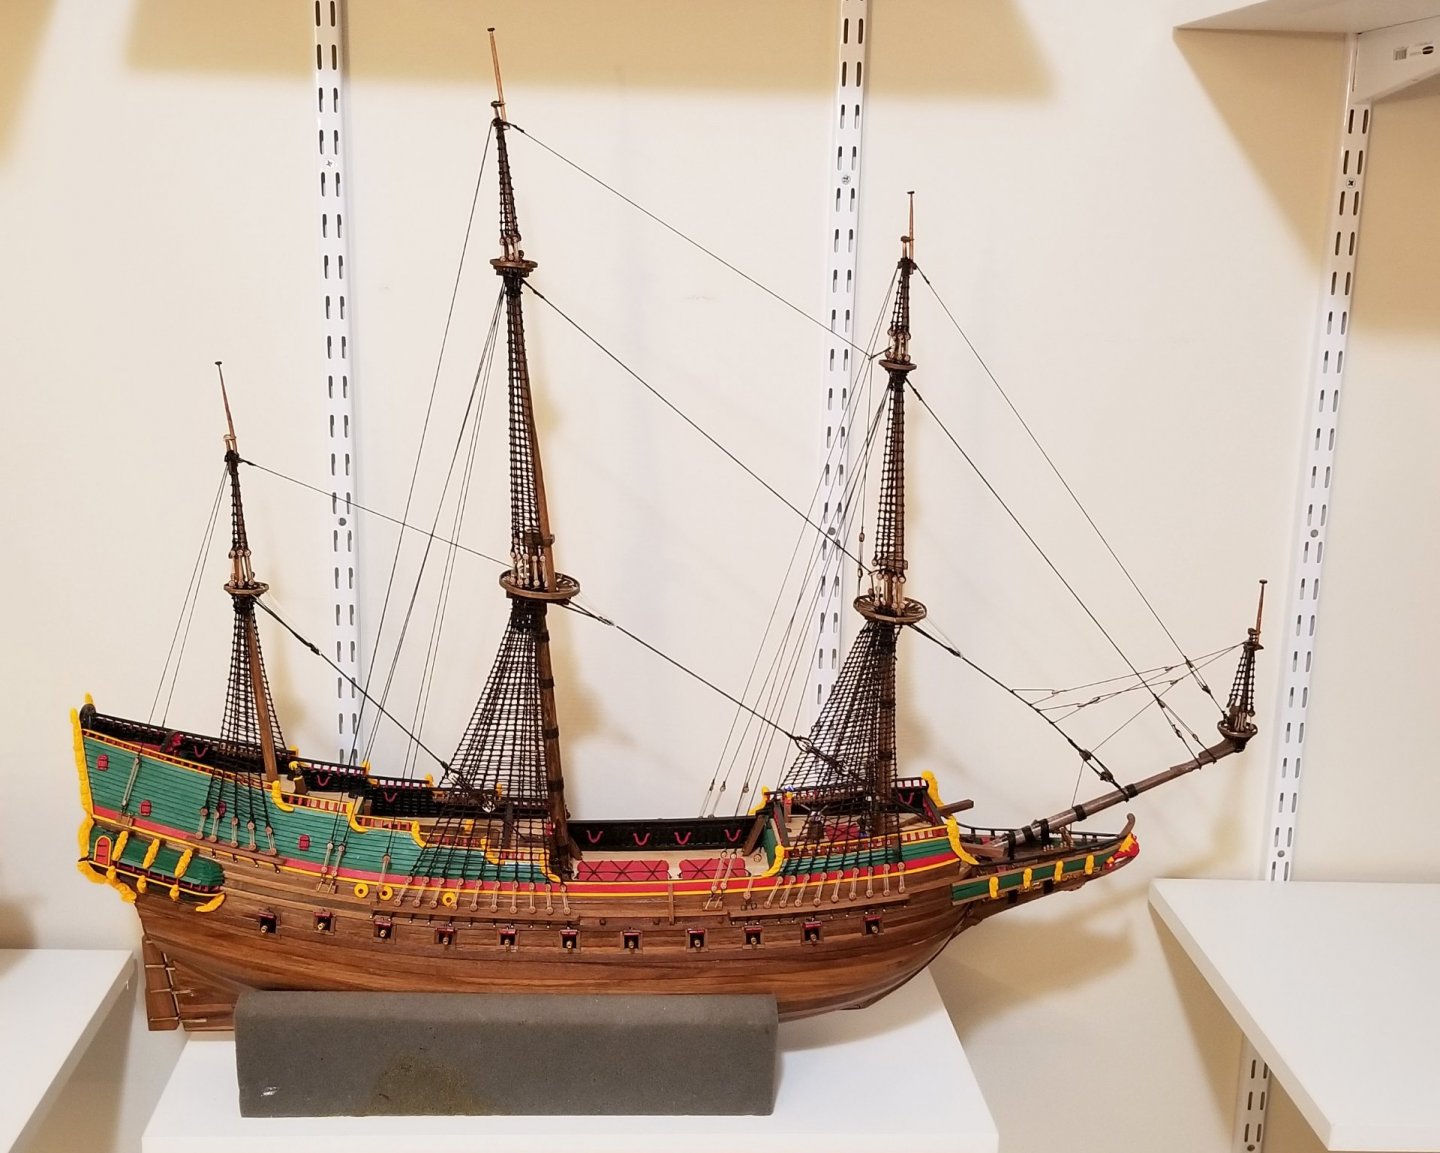
Batavia is finished! Completion photos have been posted to the kit-built ship gallery. Kudos to Kolderstok Models for a really high quality kit, and thanks to Hans (the owner of Kolderstok) for all of his help at times along the way. Regards, David
- 136 replies
-
- 16
-

-

-
- kolderstok
- batavia
- (and 1 more)
-
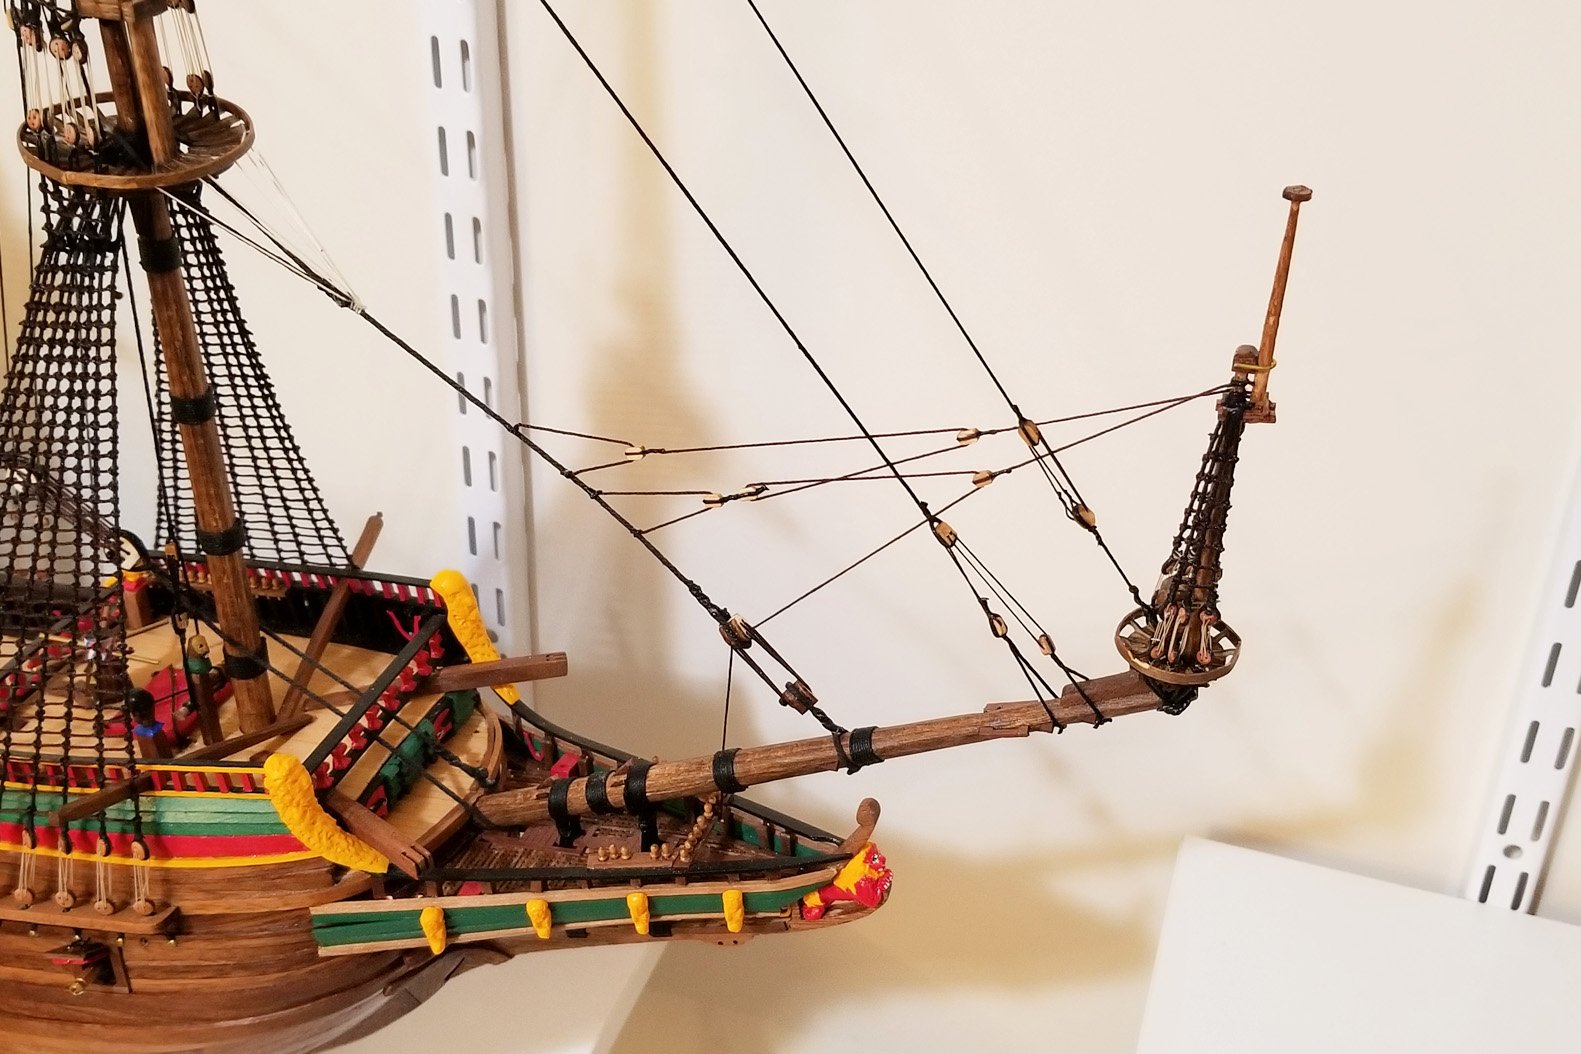
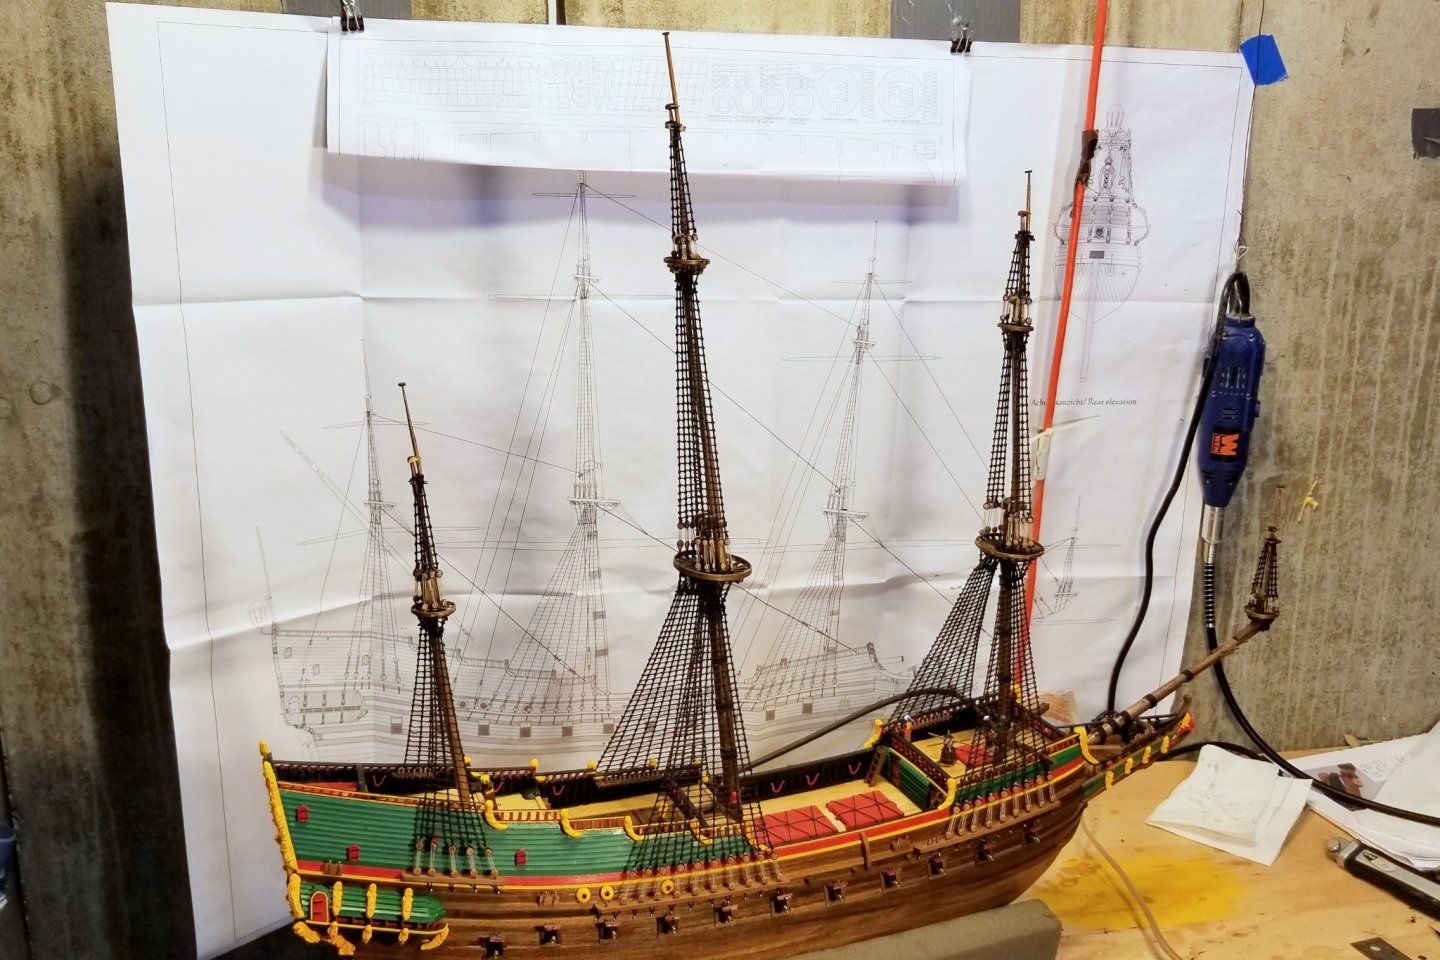
Running rigging is complete now. All that remains is the rear flagpole, the rear lantern, the flags, and the stand. Getting close! Regards, David

- 136 replies
-
- 7
-
-
- kolderstok
- batavia
- (and 1 more)
-
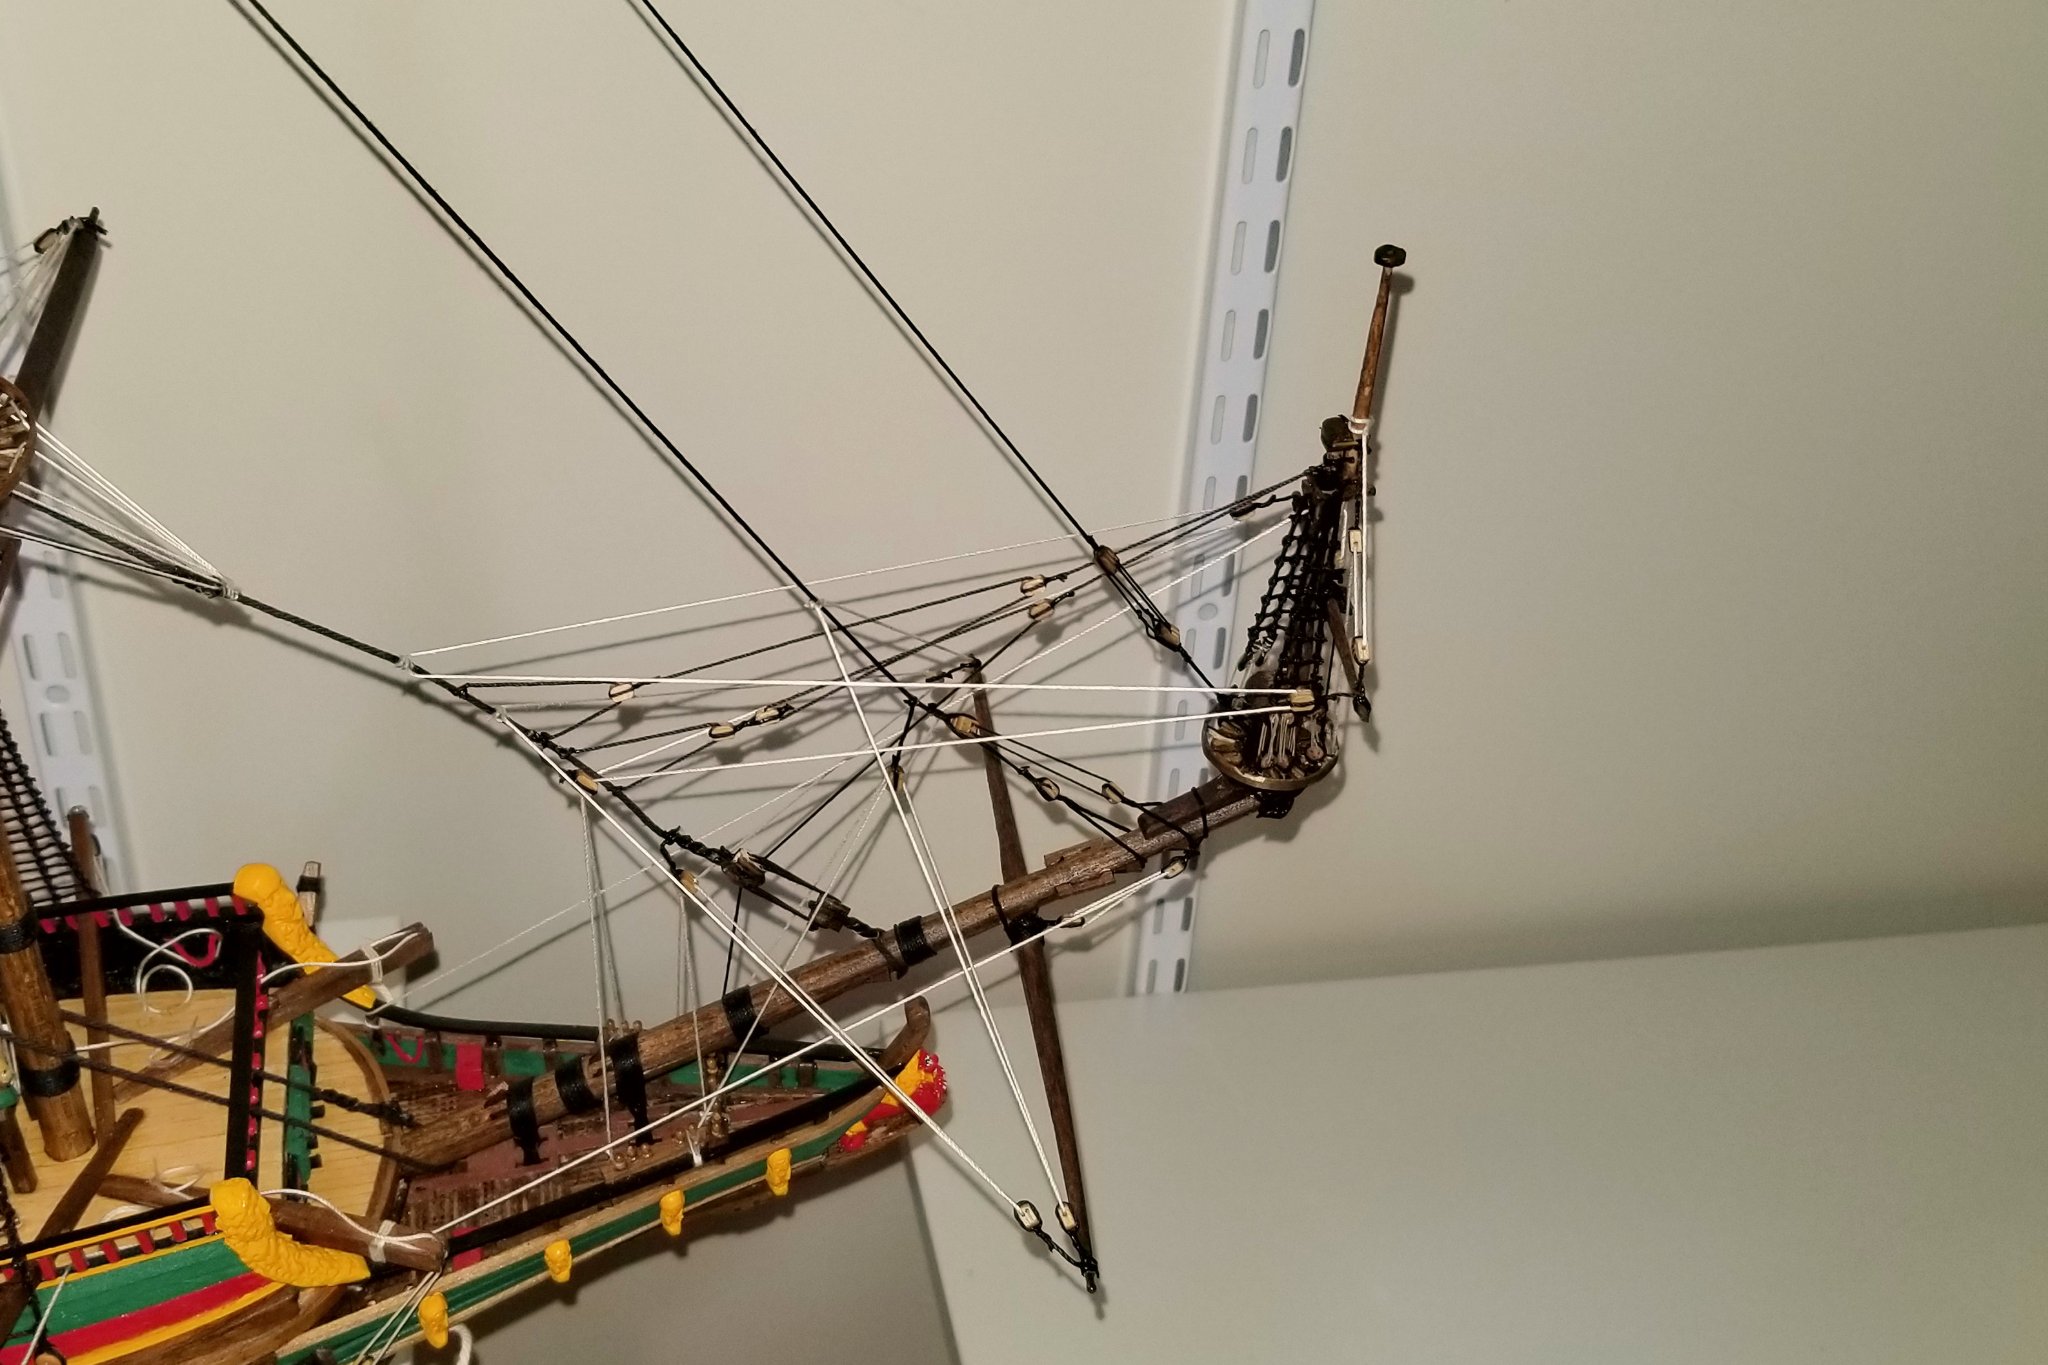
And here's the remaining lateen rigging that wasn't in the previous post. Regards, David
- 136 replies
-
- 3
-
-
- kolderstok
- batavia
- (and 1 more)
-
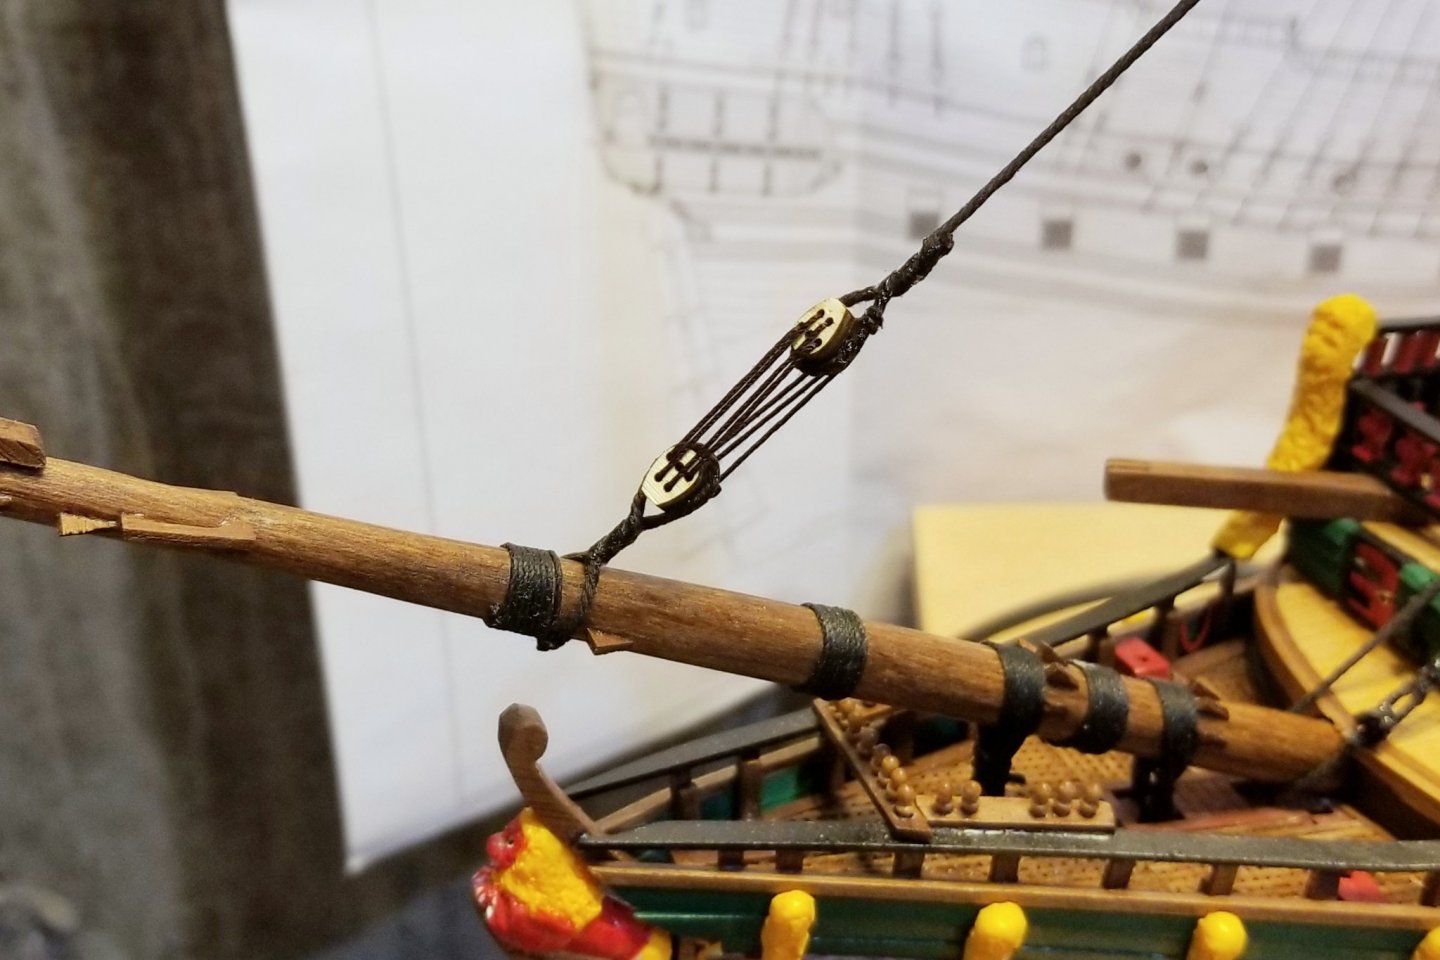
Lower yard lifts done; lateen yard rigged. Actually, partially rigged. There is some more rigging from the lateen to the mizzen that I have to do. Regards, David


- 136 replies
-
- 6
-
-
- kolderstok
- batavia
- (and 1 more)
-
I used the wood supplied in the kit and finished it with satin polyurethane varnish -- no stain. I wonder if you got a different wood type? Regards, David
-
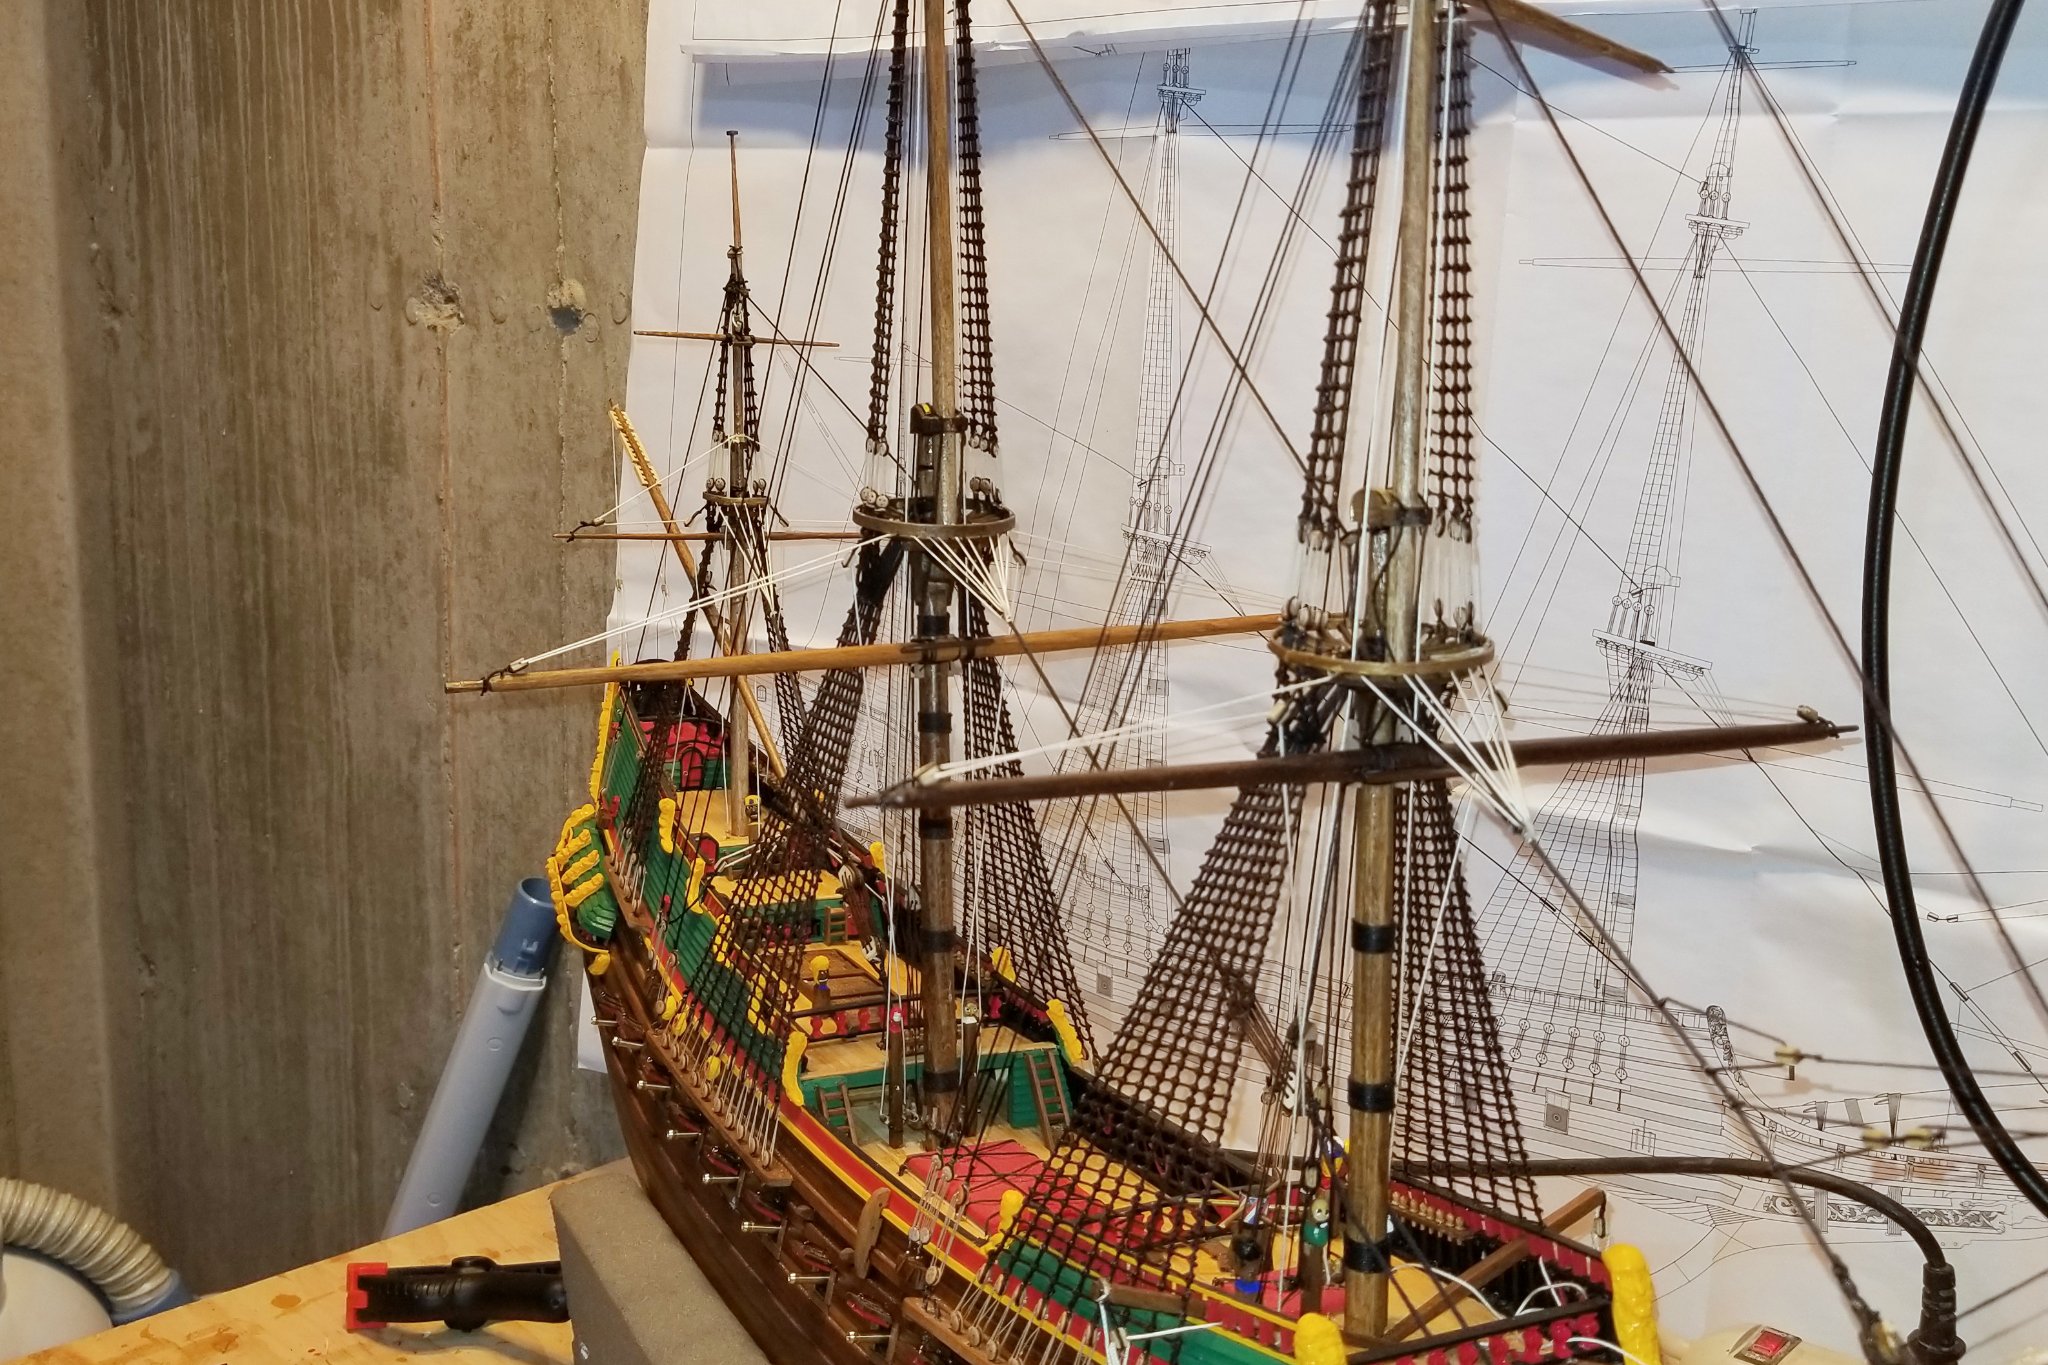
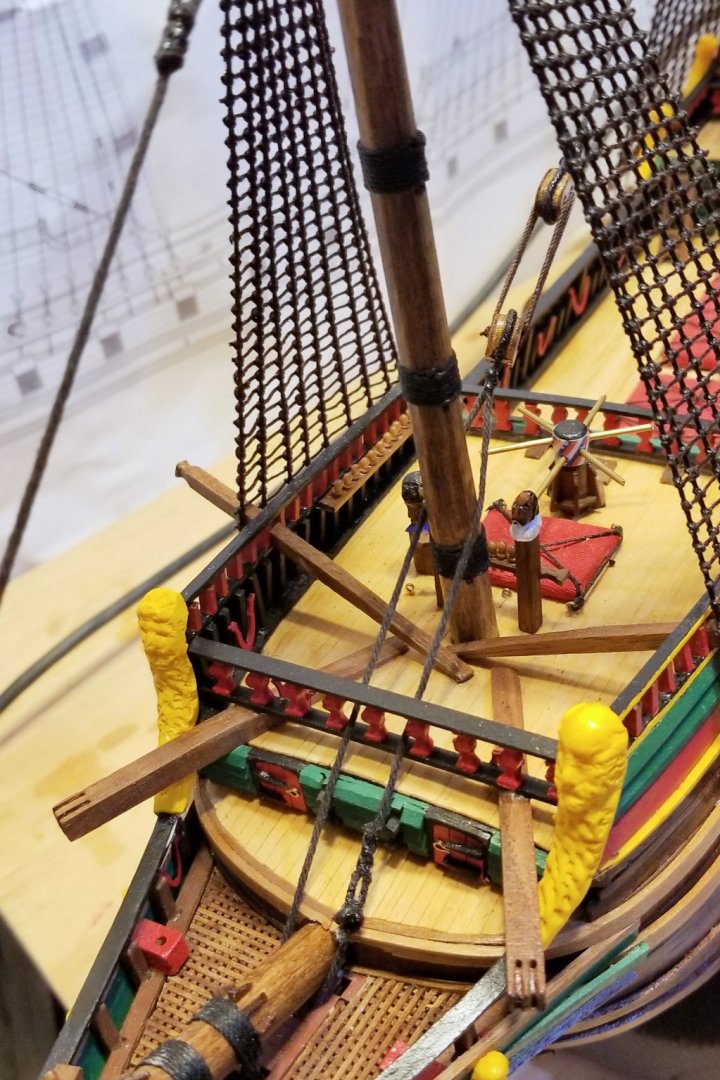
All yards now mounted. Ready for running rigging. Regards, David

- 136 replies
-
- 3
-
-
- kolderstok
- batavia
- (and 1 more)
-
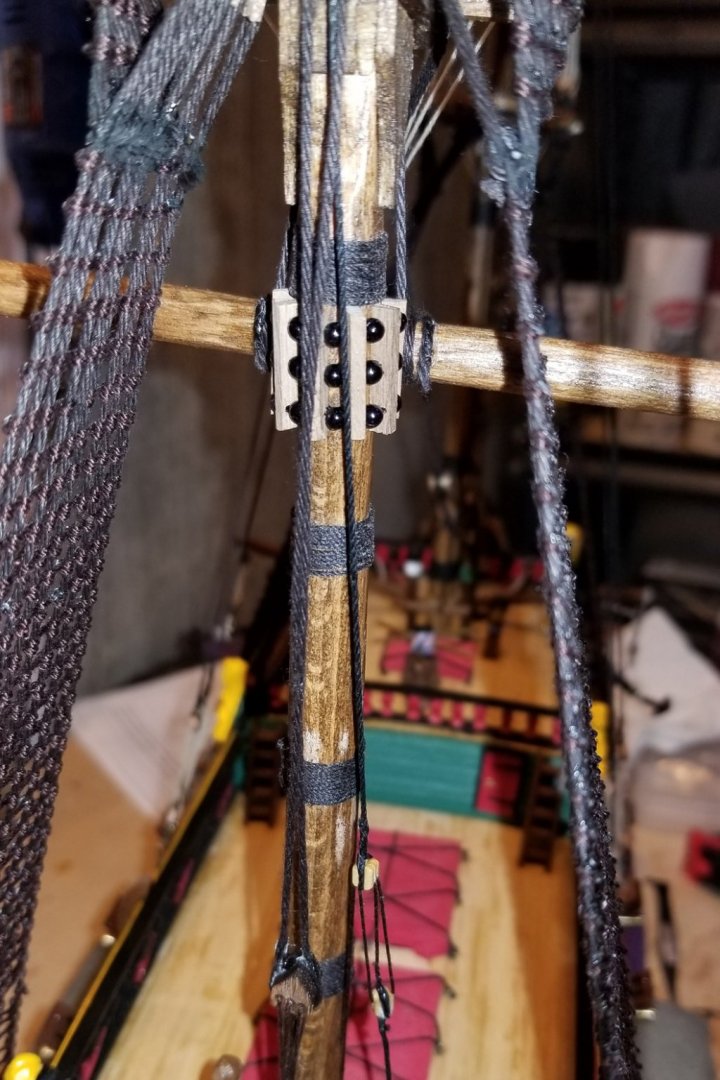
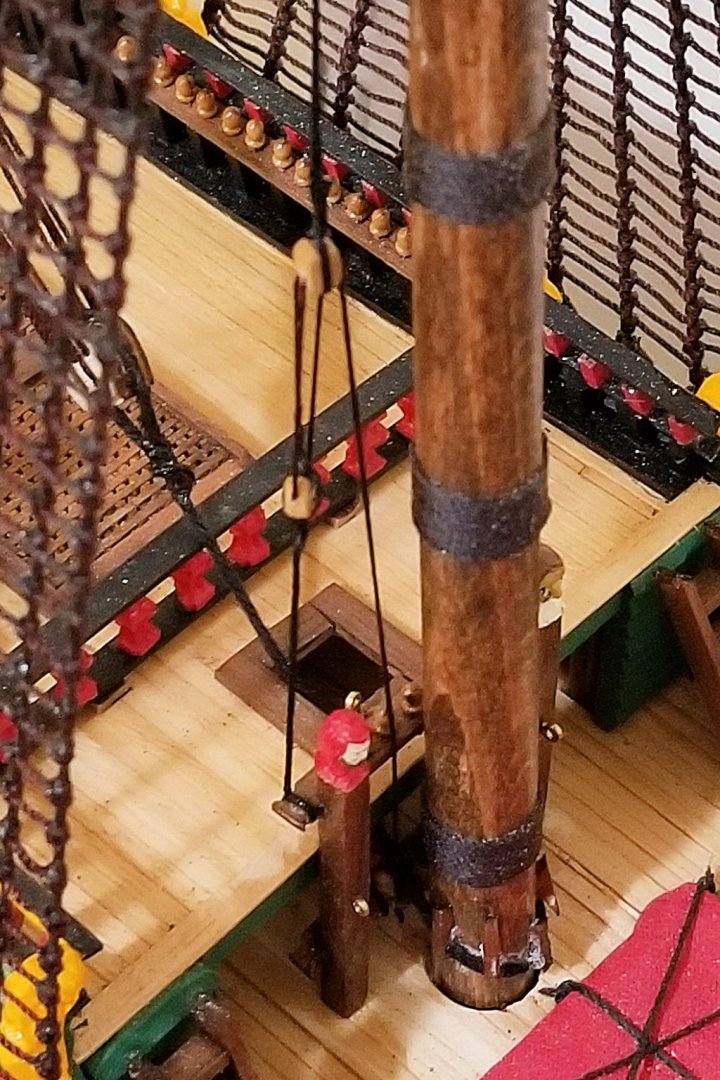
Lower main yard mounted. Close up of parrel beads & blocks. Regards, David

- 136 replies
-
- 5
-
-
- kolderstok
- batavia
- (and 1 more)
-
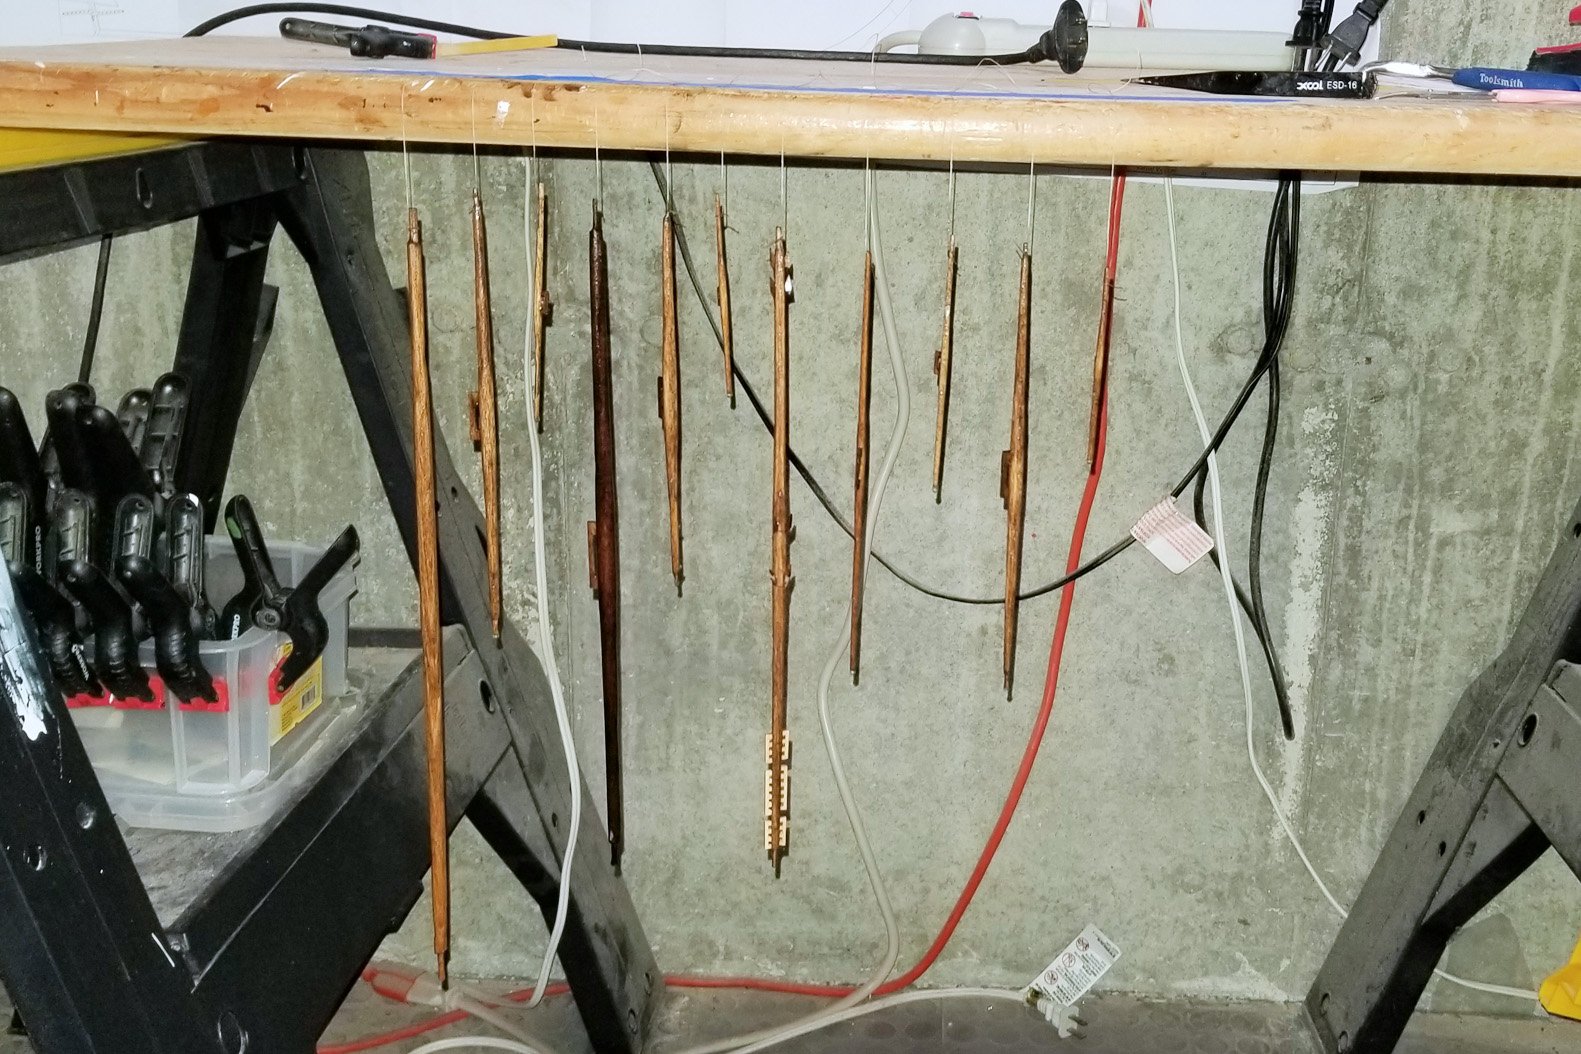
For fun, I took this picture of the yards with varnish drying. They look like sausages hanging. I may have mentioned this in an earlier post, but before starting the masts and yards, I went through all of my dowels and labeled them in terms of which piece would be shaped from them. Important so you don't run out of a size you need. You'll notice one of the yards is darker. That's natural walnut that I took from my spare wood supply -- the others are stained. The issue was that the dowel I had allocated for that yard was double the diameter needed (the only option), and when I got to it I didn't feel like shaping all that wood down. I did have a walnut piece that was the right diameter, so used that. The mismatch in color isn't as dramatic as it looks in the picture. Regards, David

- 136 replies
-
- 1
-
-
- kolderstok
- batavia
- (and 1 more)
-
Completed all of the stays. Now on to the yards, anchor, and stern light. Regards, David

- 136 replies
-
- 10
-
-
- kolderstok
- batavia
- (and 1 more)
-
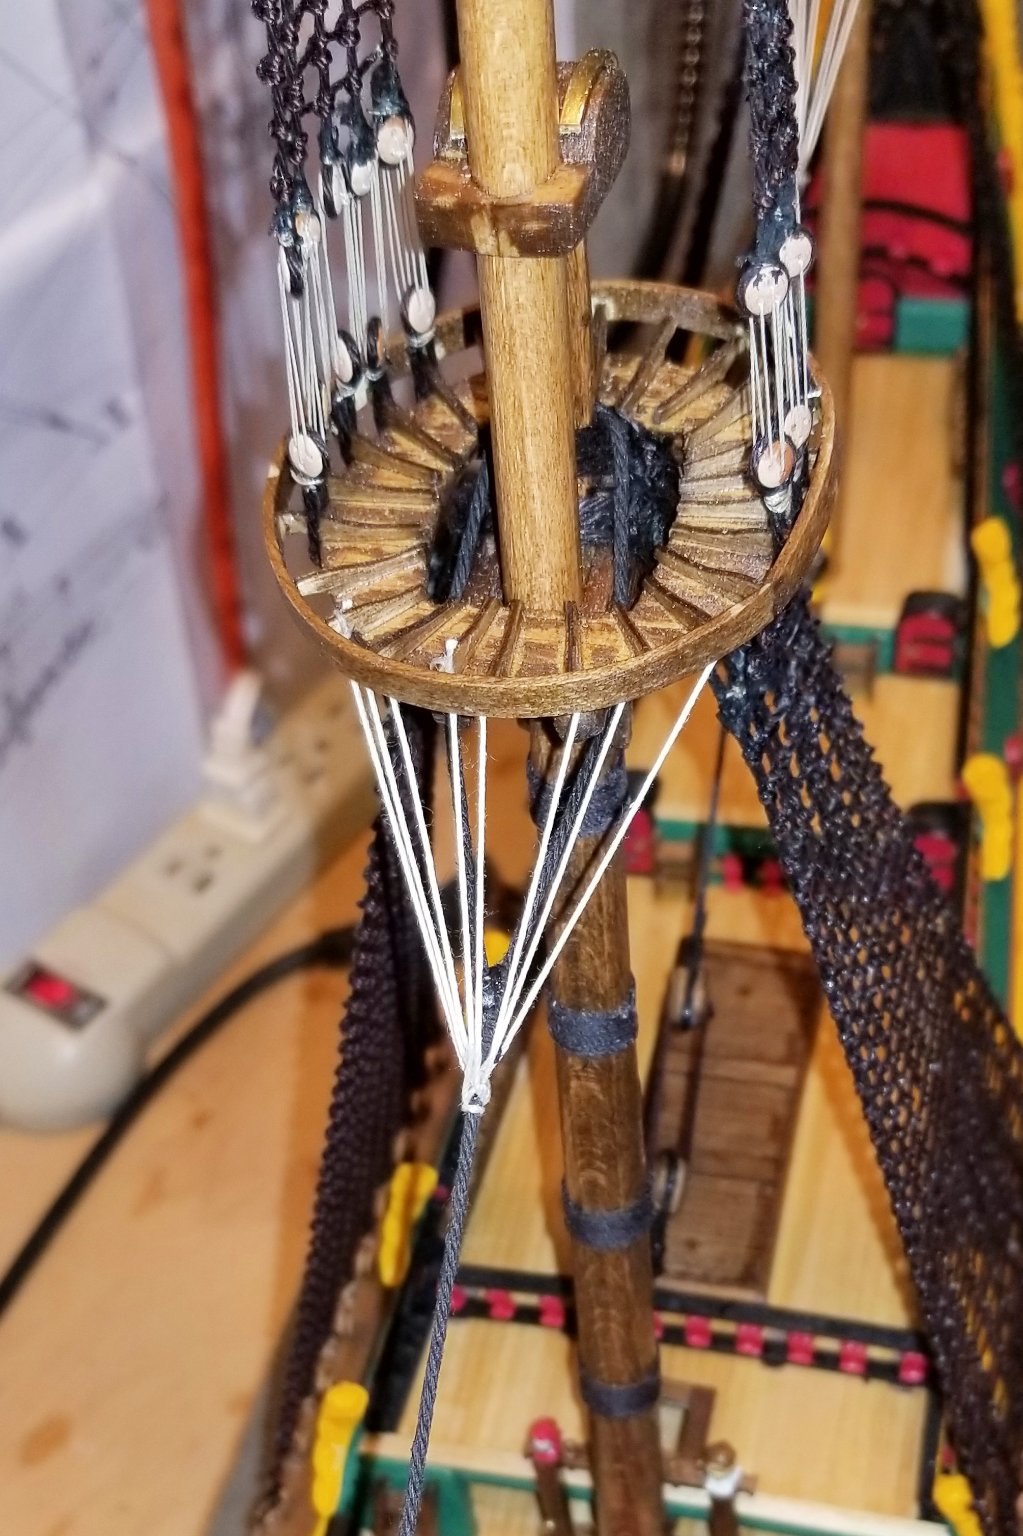
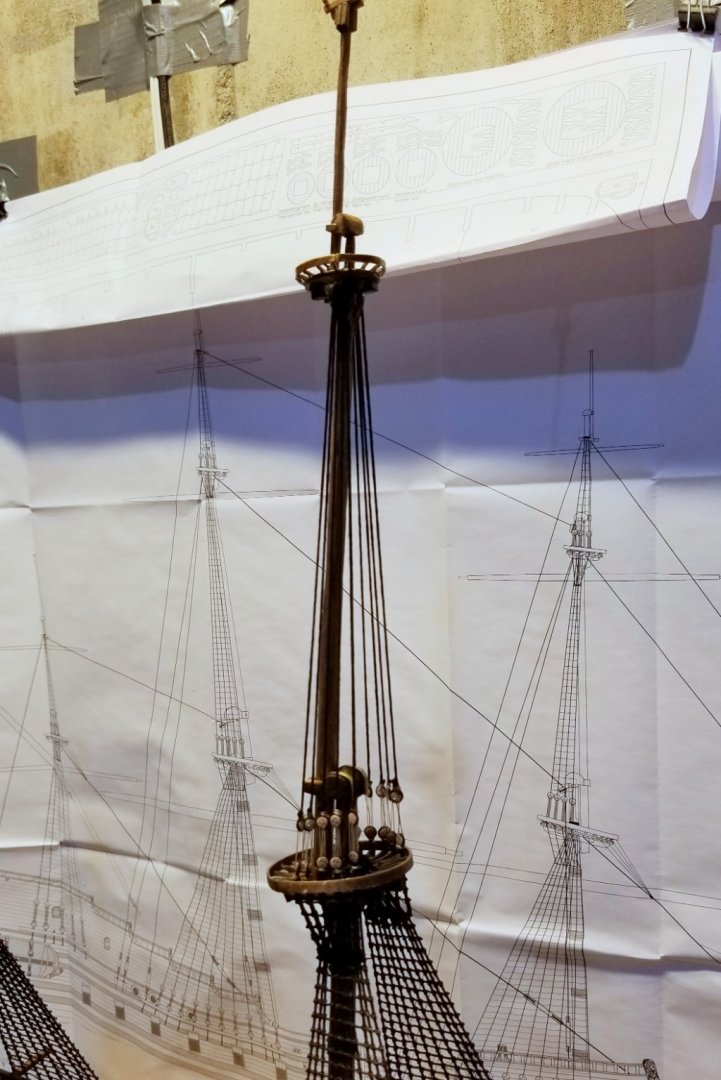
Installed crow's foot rigging at the top of each stay. Regards, David


- 136 replies
-
- 5
-
-
- kolderstok
- batavia
- (and 1 more)
-
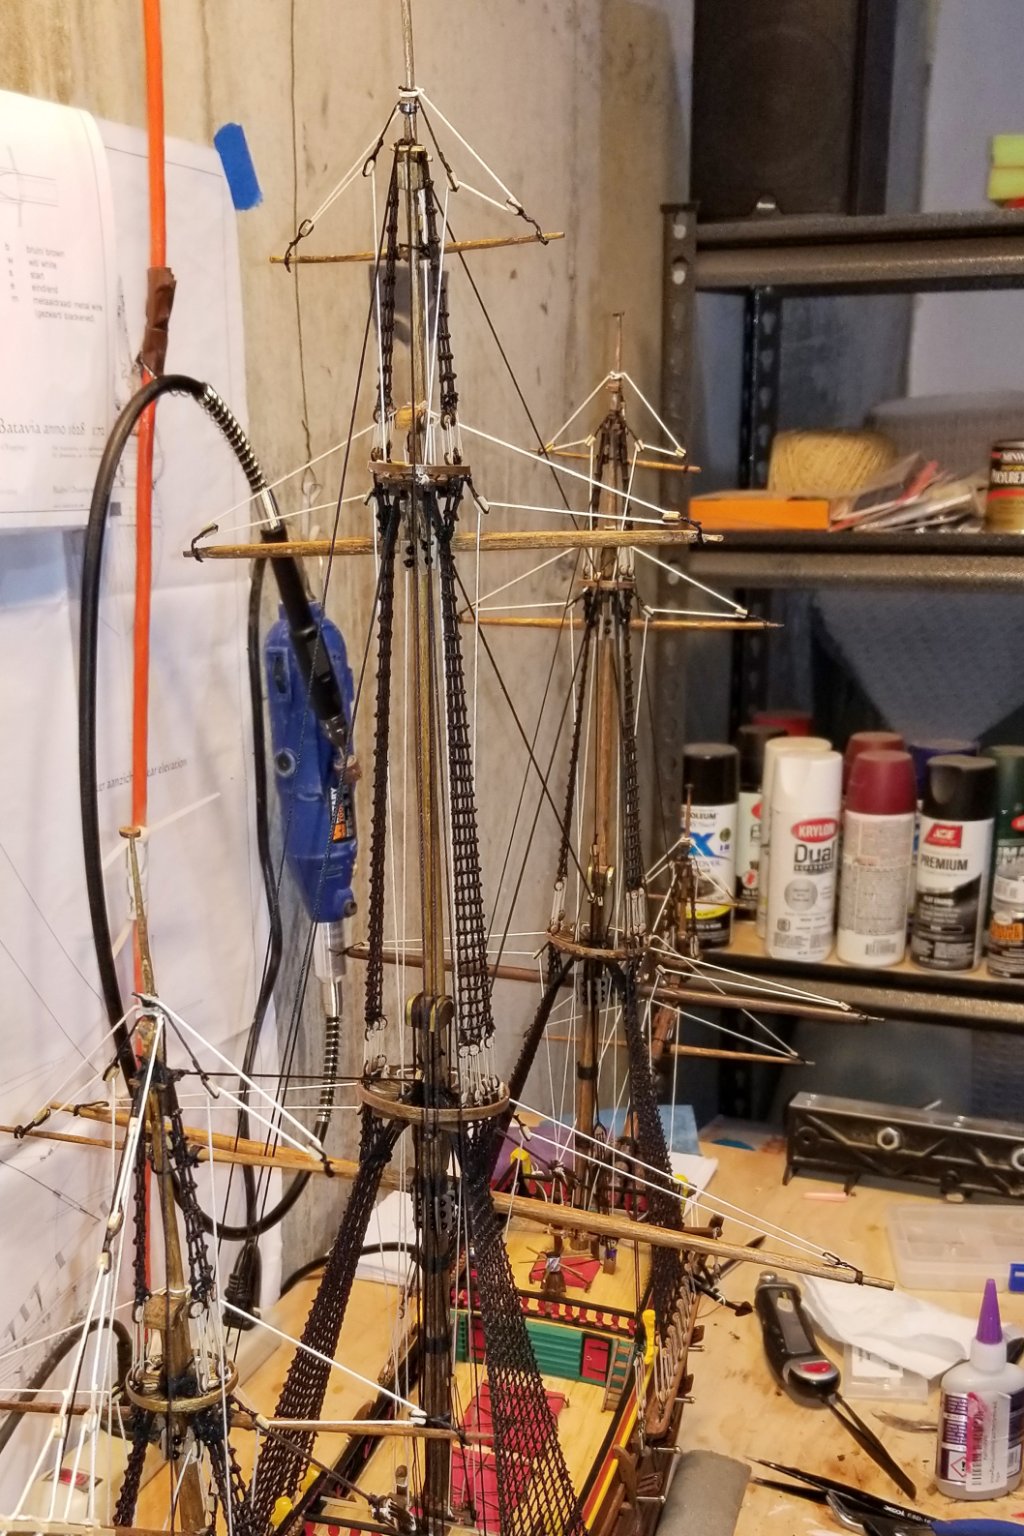
Now all 3 of the large forestays are done. Work goes faster now that the shrouds and ratlines are done. Regards, David


- 136 replies
-
- 6
-
-
- kolderstok
- batavia
- (and 1 more)
-
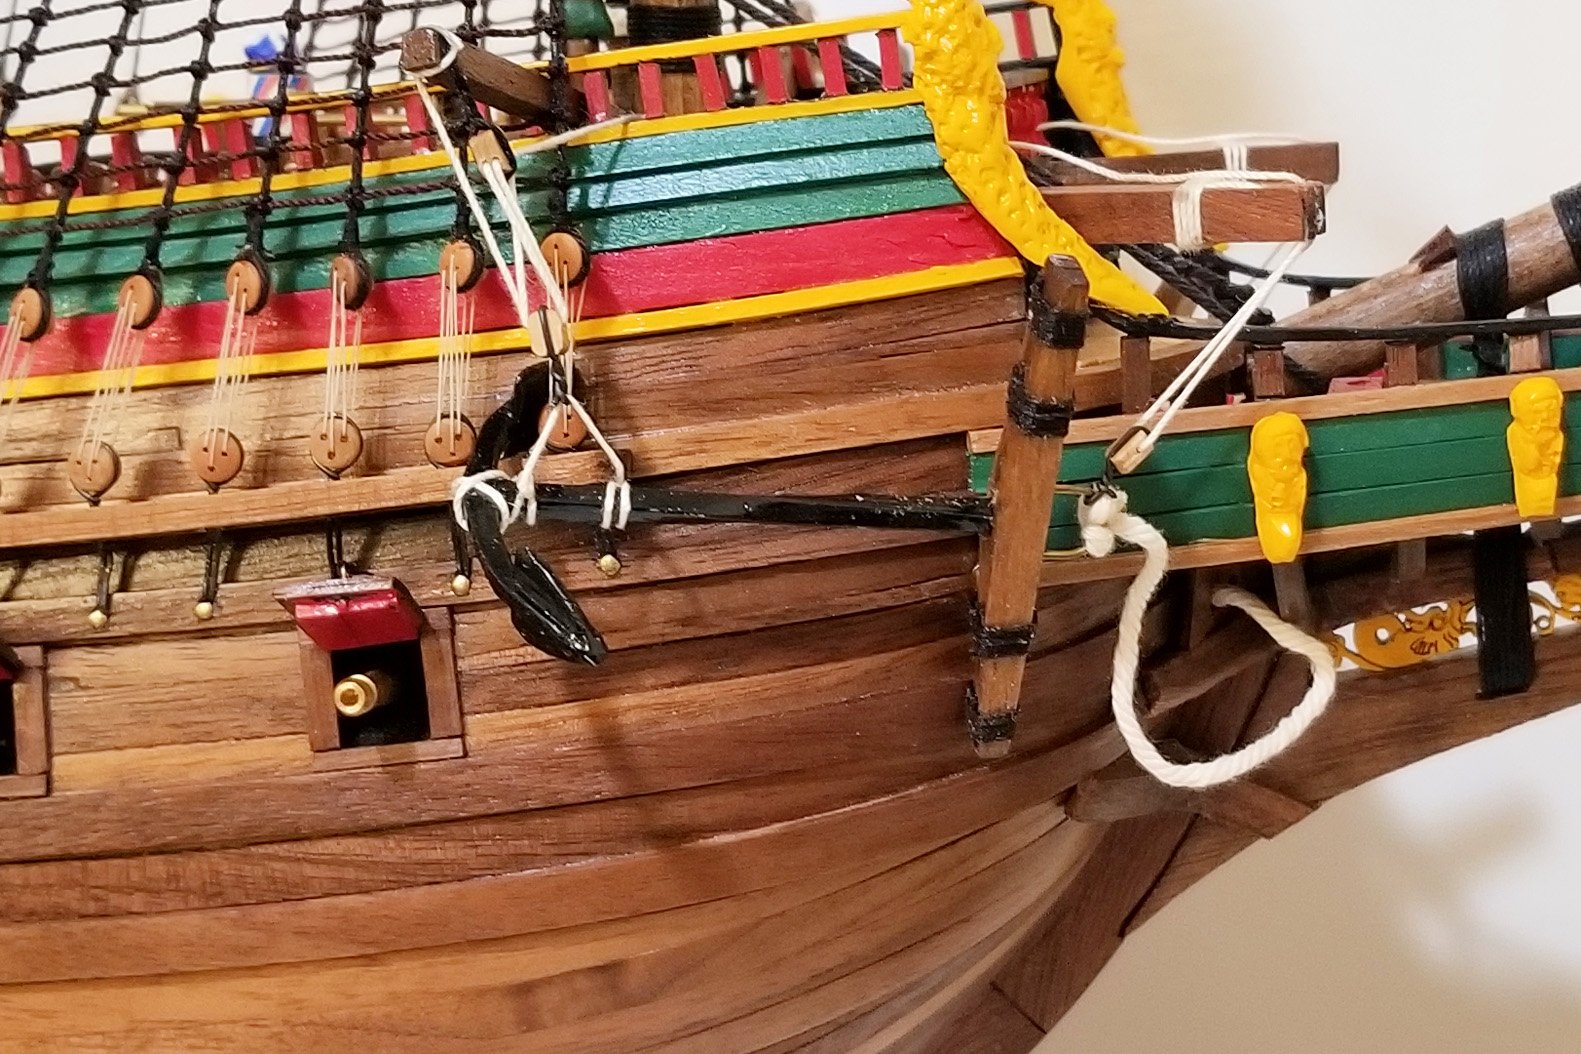
Finally, all shrouds and ratlines done. I looked back at my log, and I've been working on shrouds and ratlines for 3 months! That's not so much a reflection of kit difficulty as it is my slower work pace (I've been reading more during the pandemic). One tip for others: the deadeye holes are very small, and a thinner line is needed for those than what's shown on the plans. I used some leftover thin white that I had from a previous kit (Revenge). One thing about that white line is that it leaves a sloppier tie-off than I would like (someone with better skills would have done it better). So I decided to dress those tie-offs with black paint, and the result is shown in before and after pics below. Now on to the stays! Regards, David


- 136 replies
-
- 4
-
-
- kolderstok
- batavia
- (and 1 more)
-
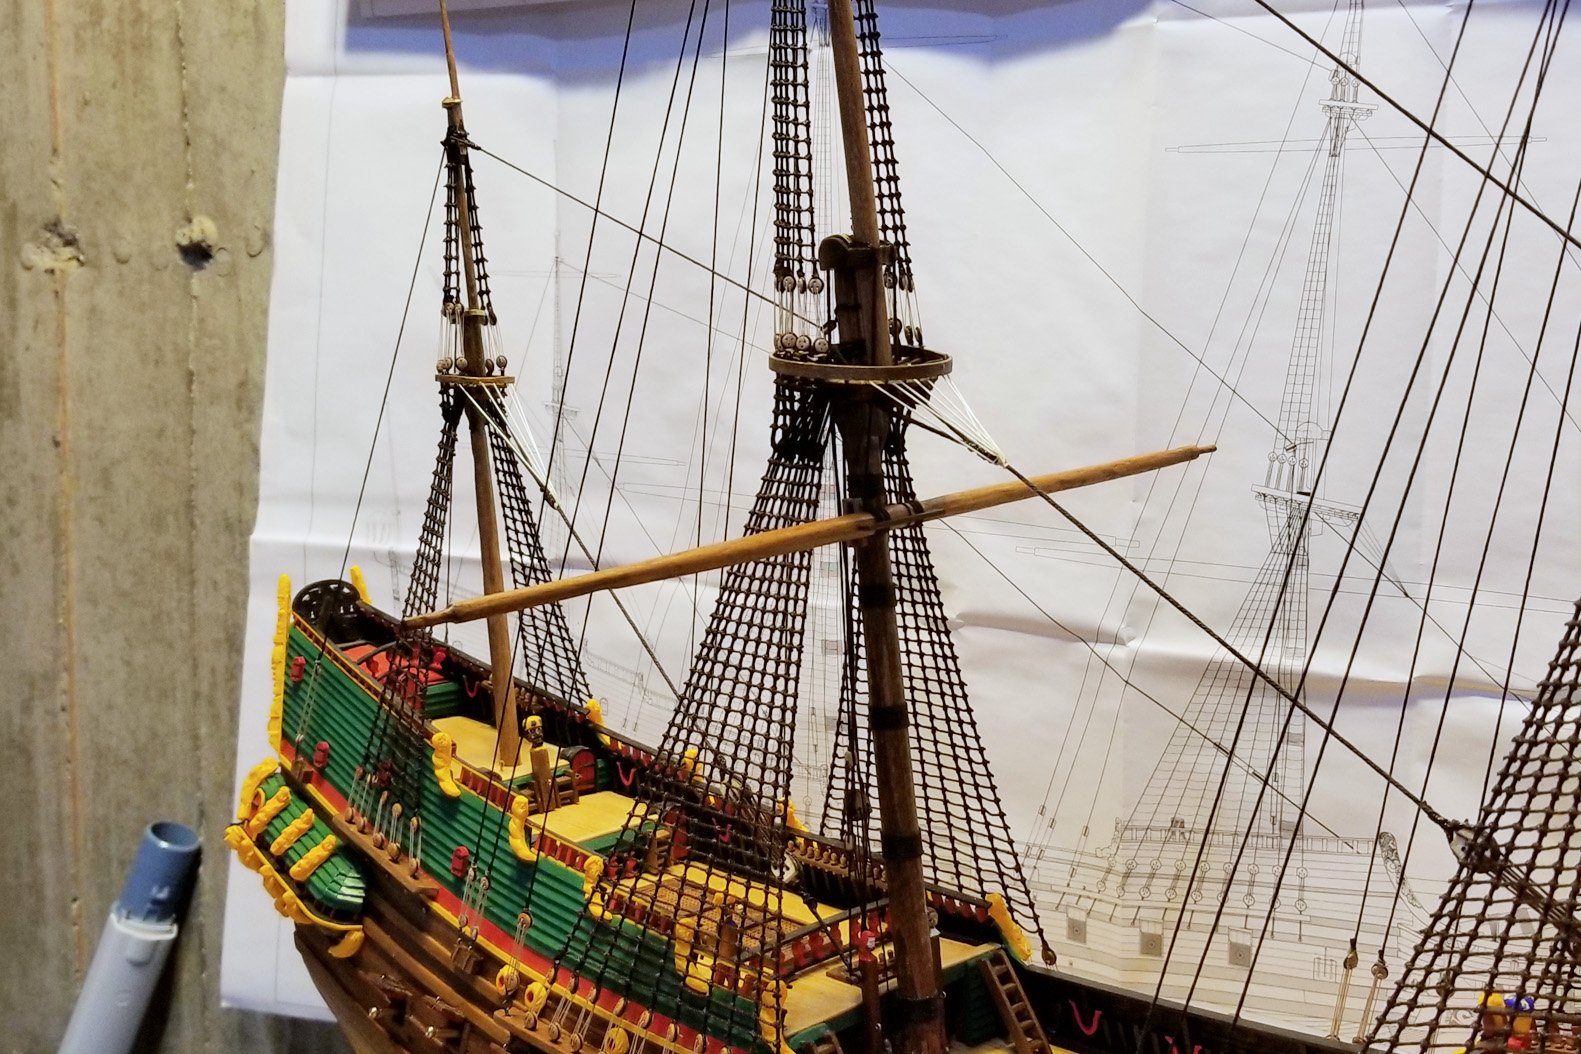
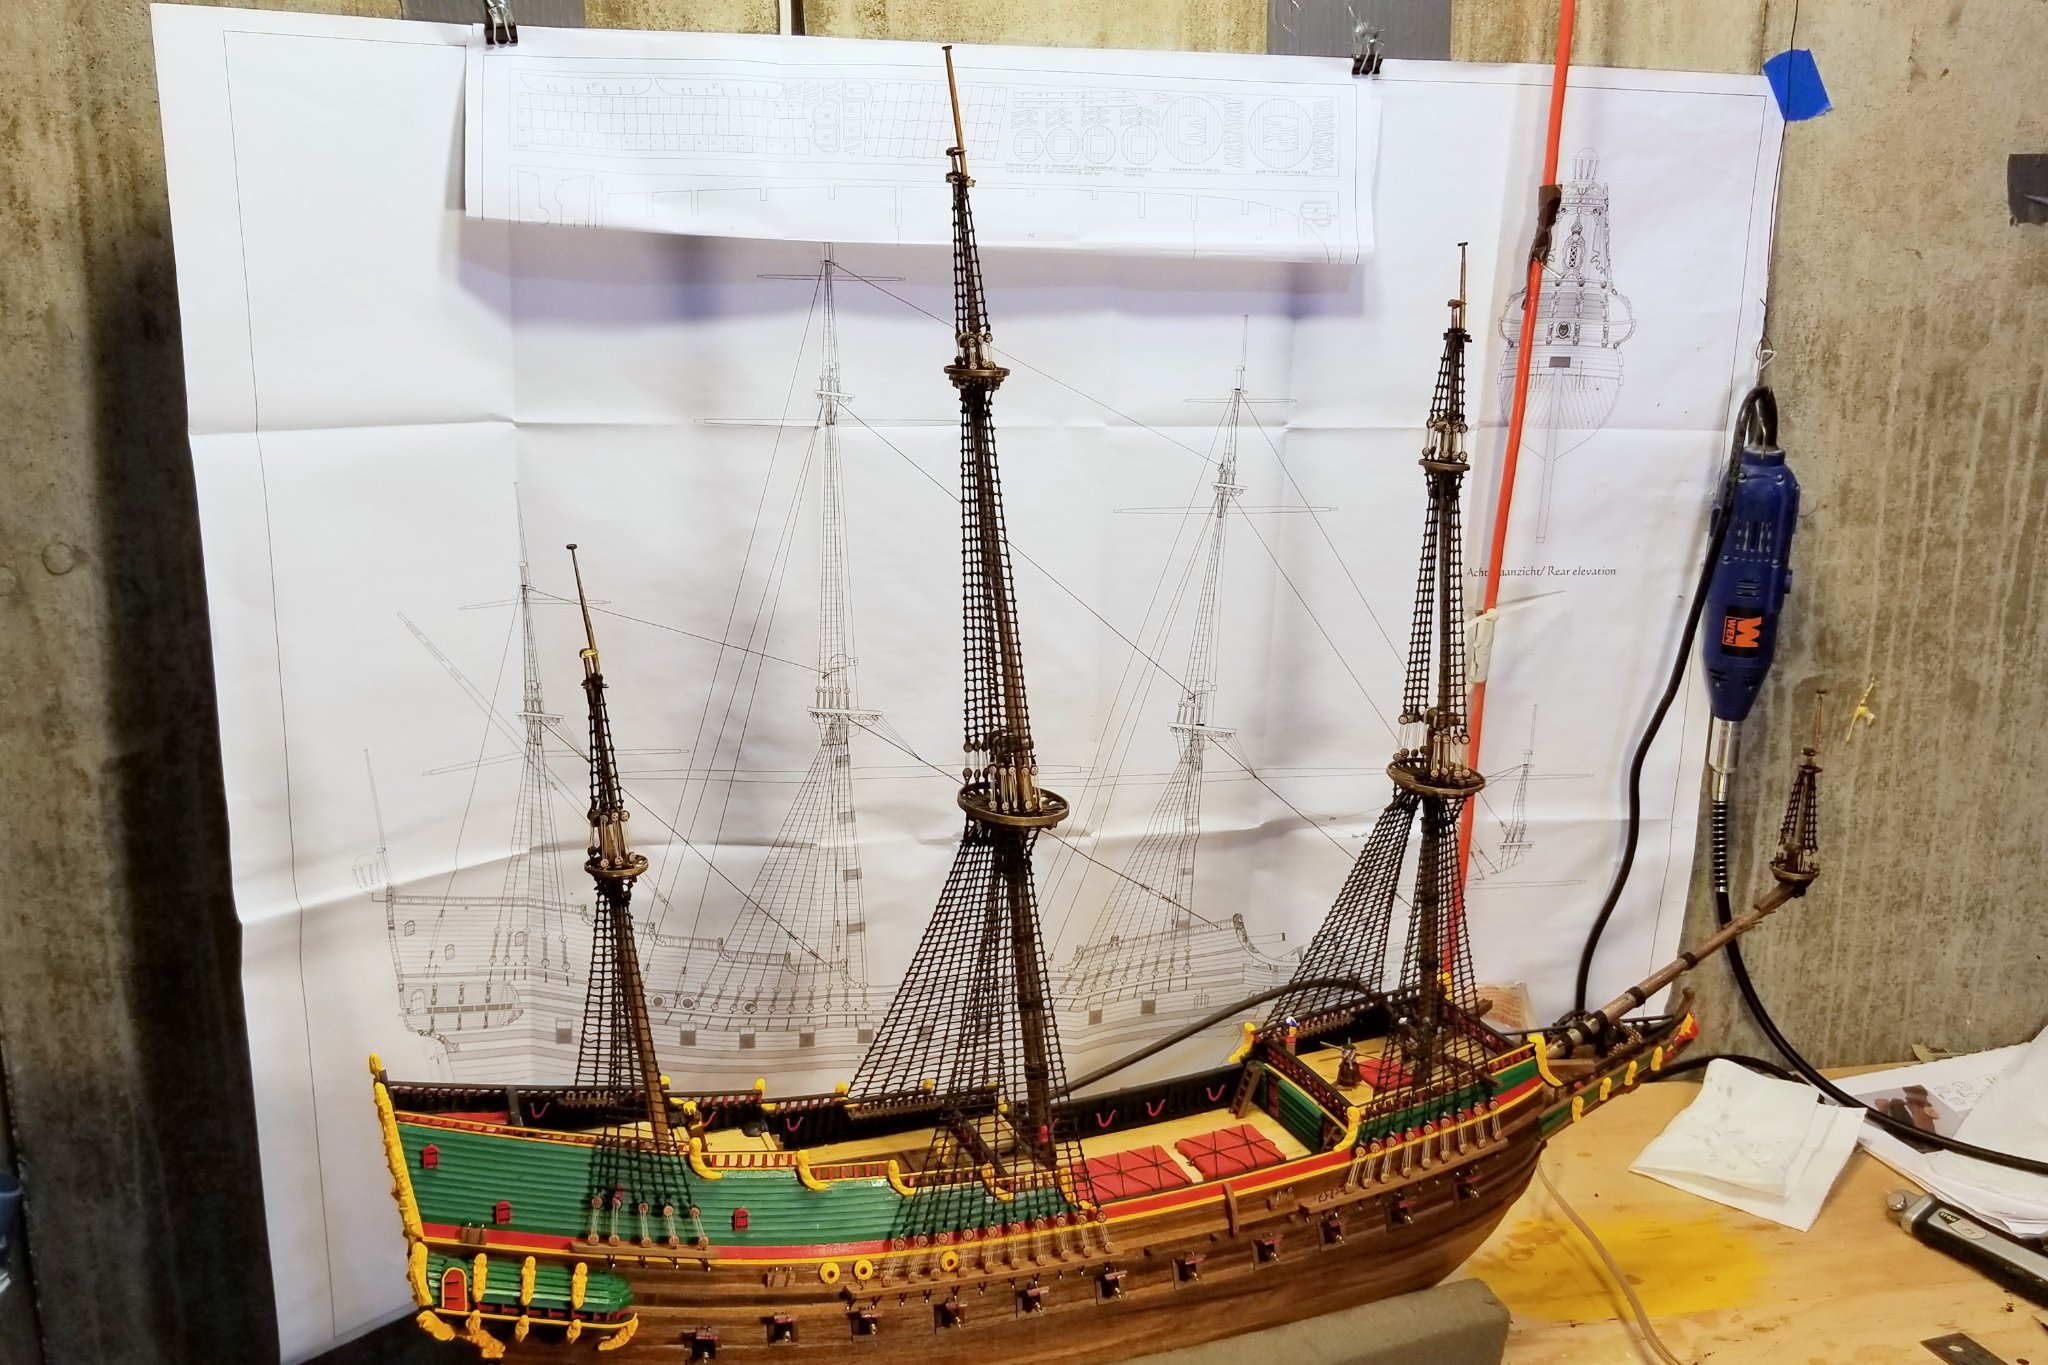
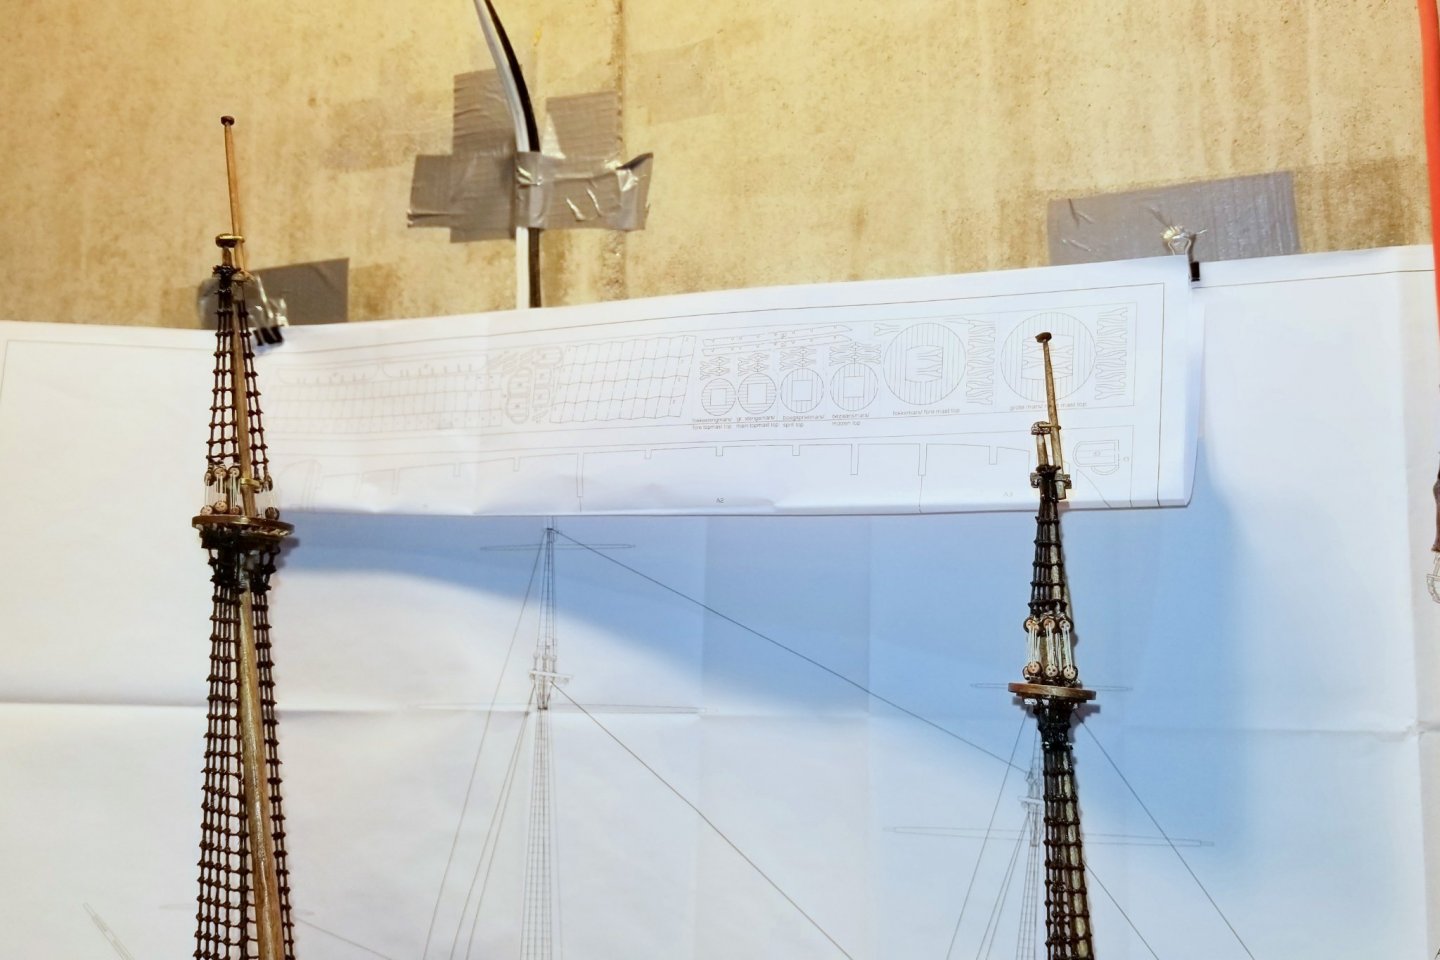
Midmast shrouds and ratlines completed. Now just need to get two tops. Regards, David


- 136 replies
-
- 13
-
-
- kolderstok
- batavia
- (and 1 more)
-
It's been a while, so I looked at my spray paint cans, and I THINK . . . The blue on the hull is RustOleum Painters Touch 2X Ultra Cover Satin Ink Blue The white is same paint, Blossom White I haven't painted anything else that color blue, so I think that's right. Any bright white will do for the white part. Regards, David
-
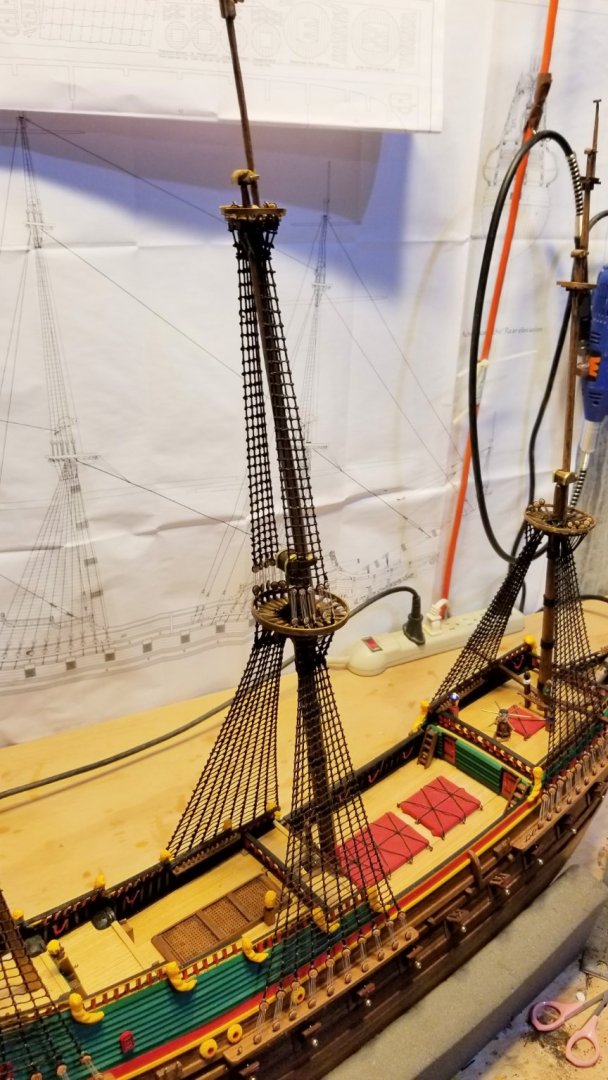
Main mast upper shrouds and ratlines done. Regards, David
- 136 replies
-
- 5
-
-
- kolderstok
- batavia
- (and 1 more)
-
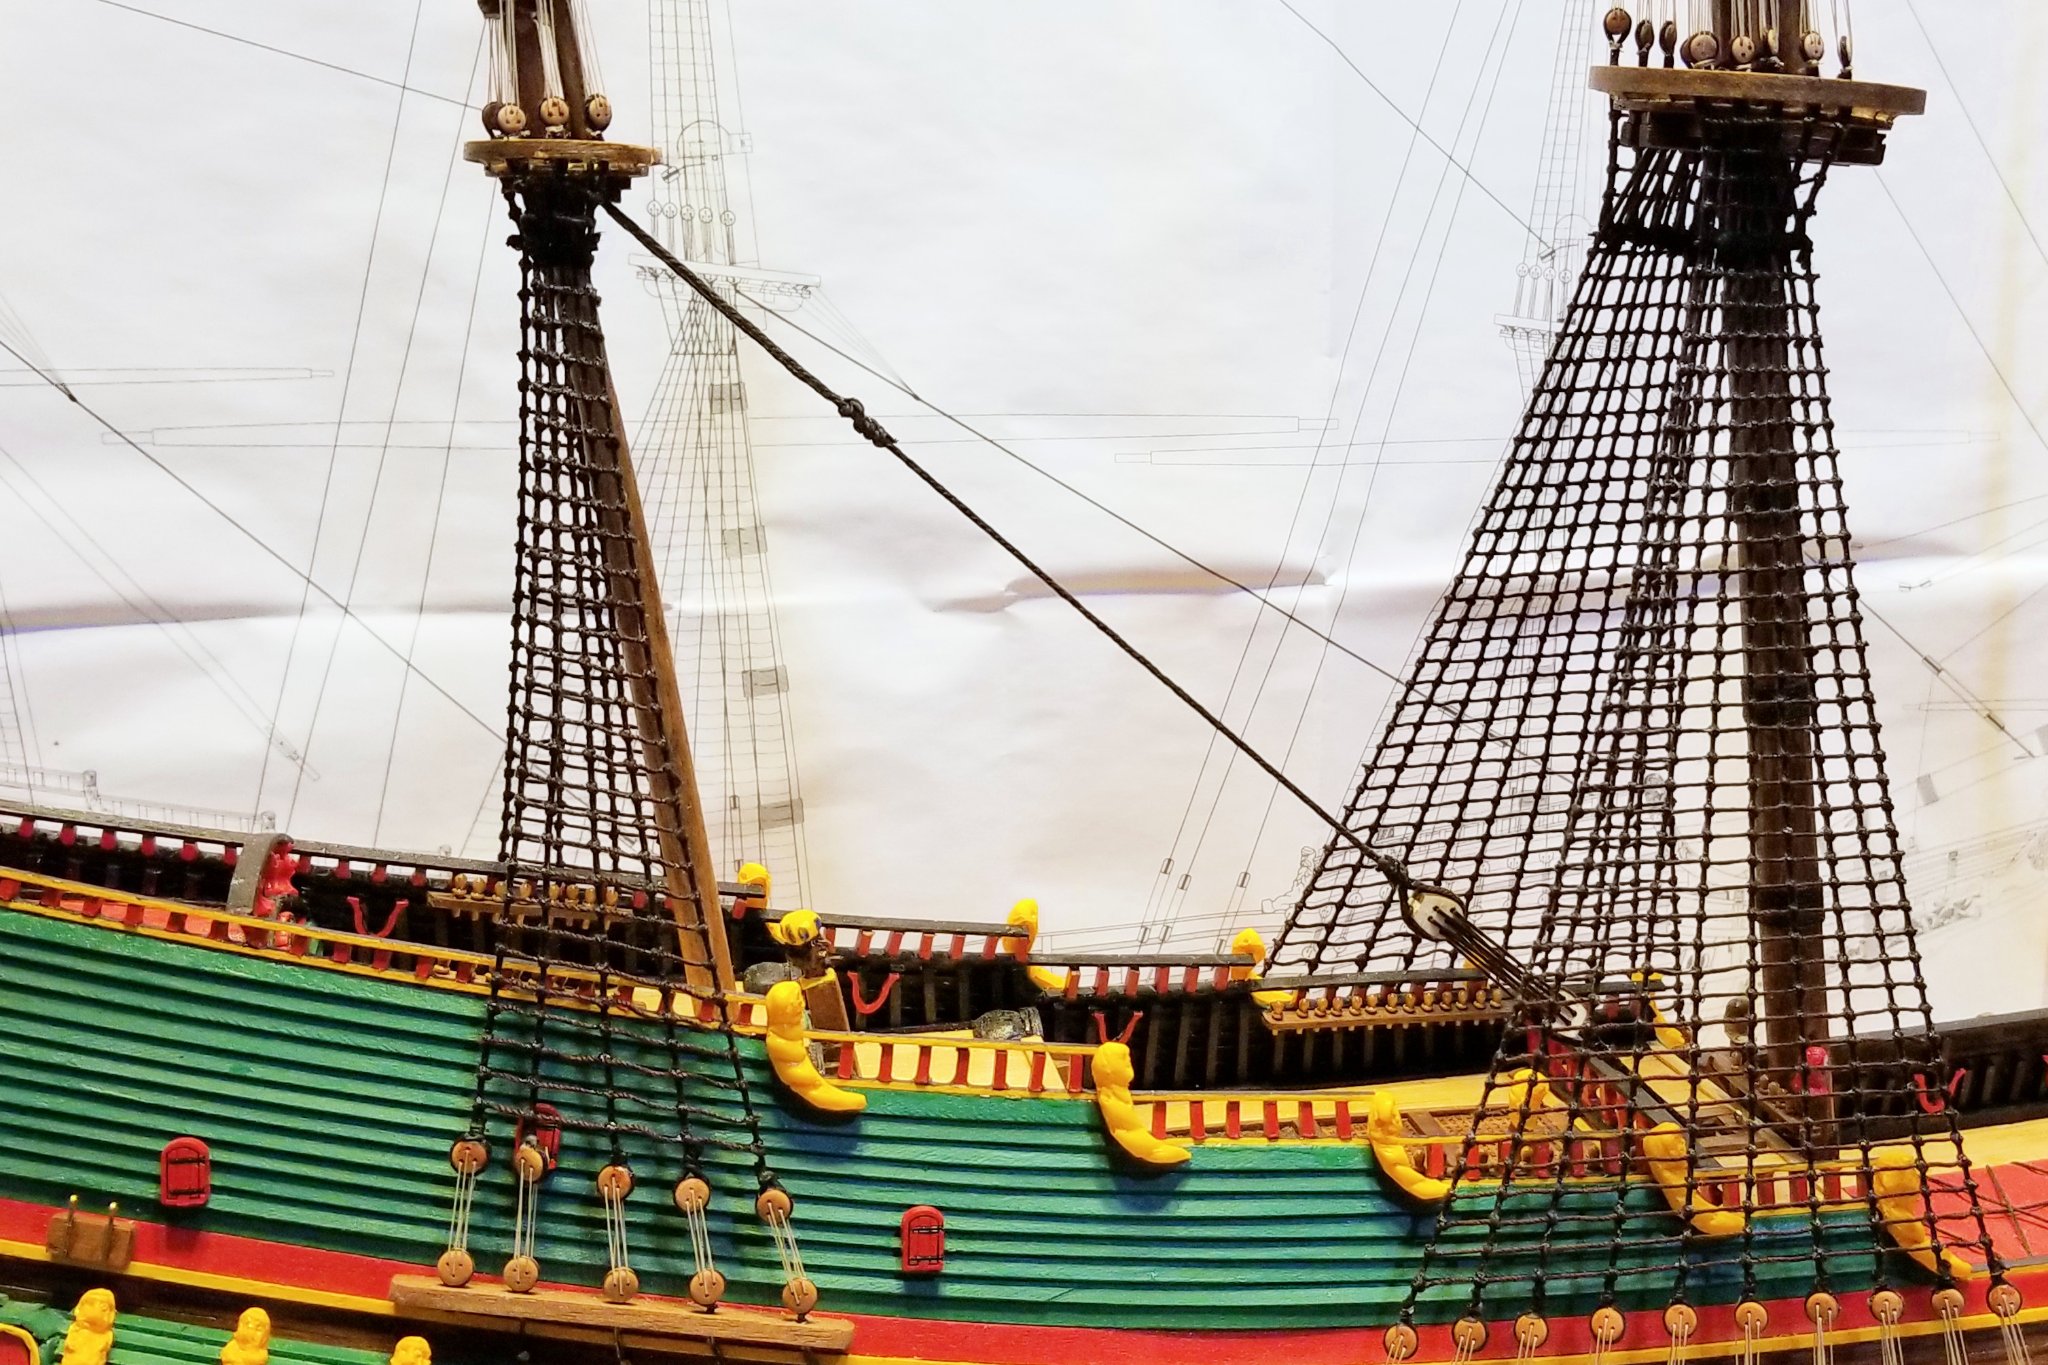
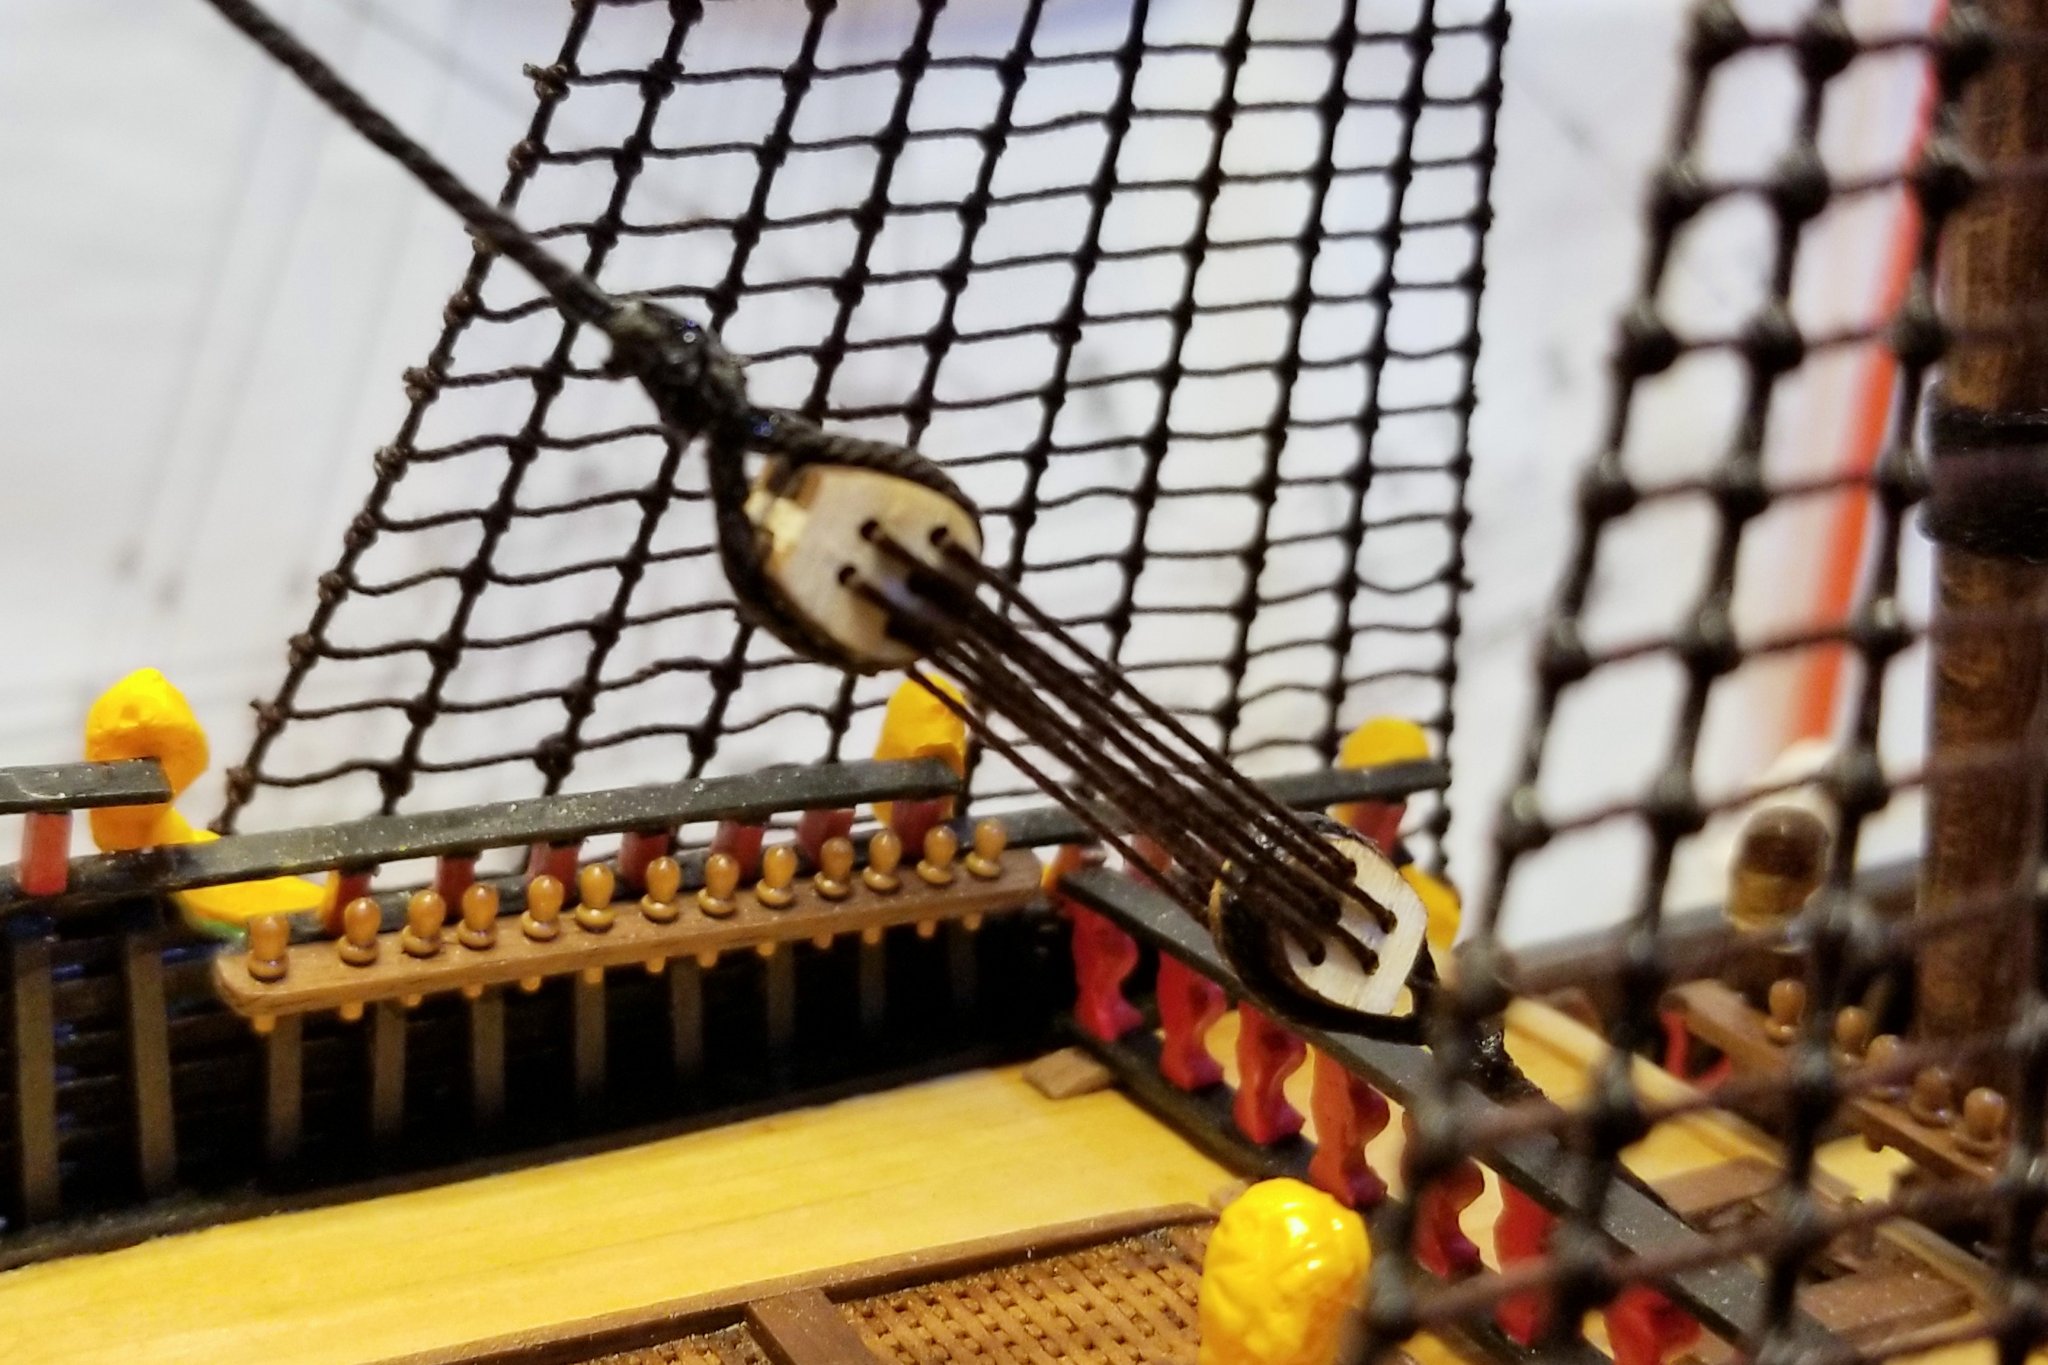
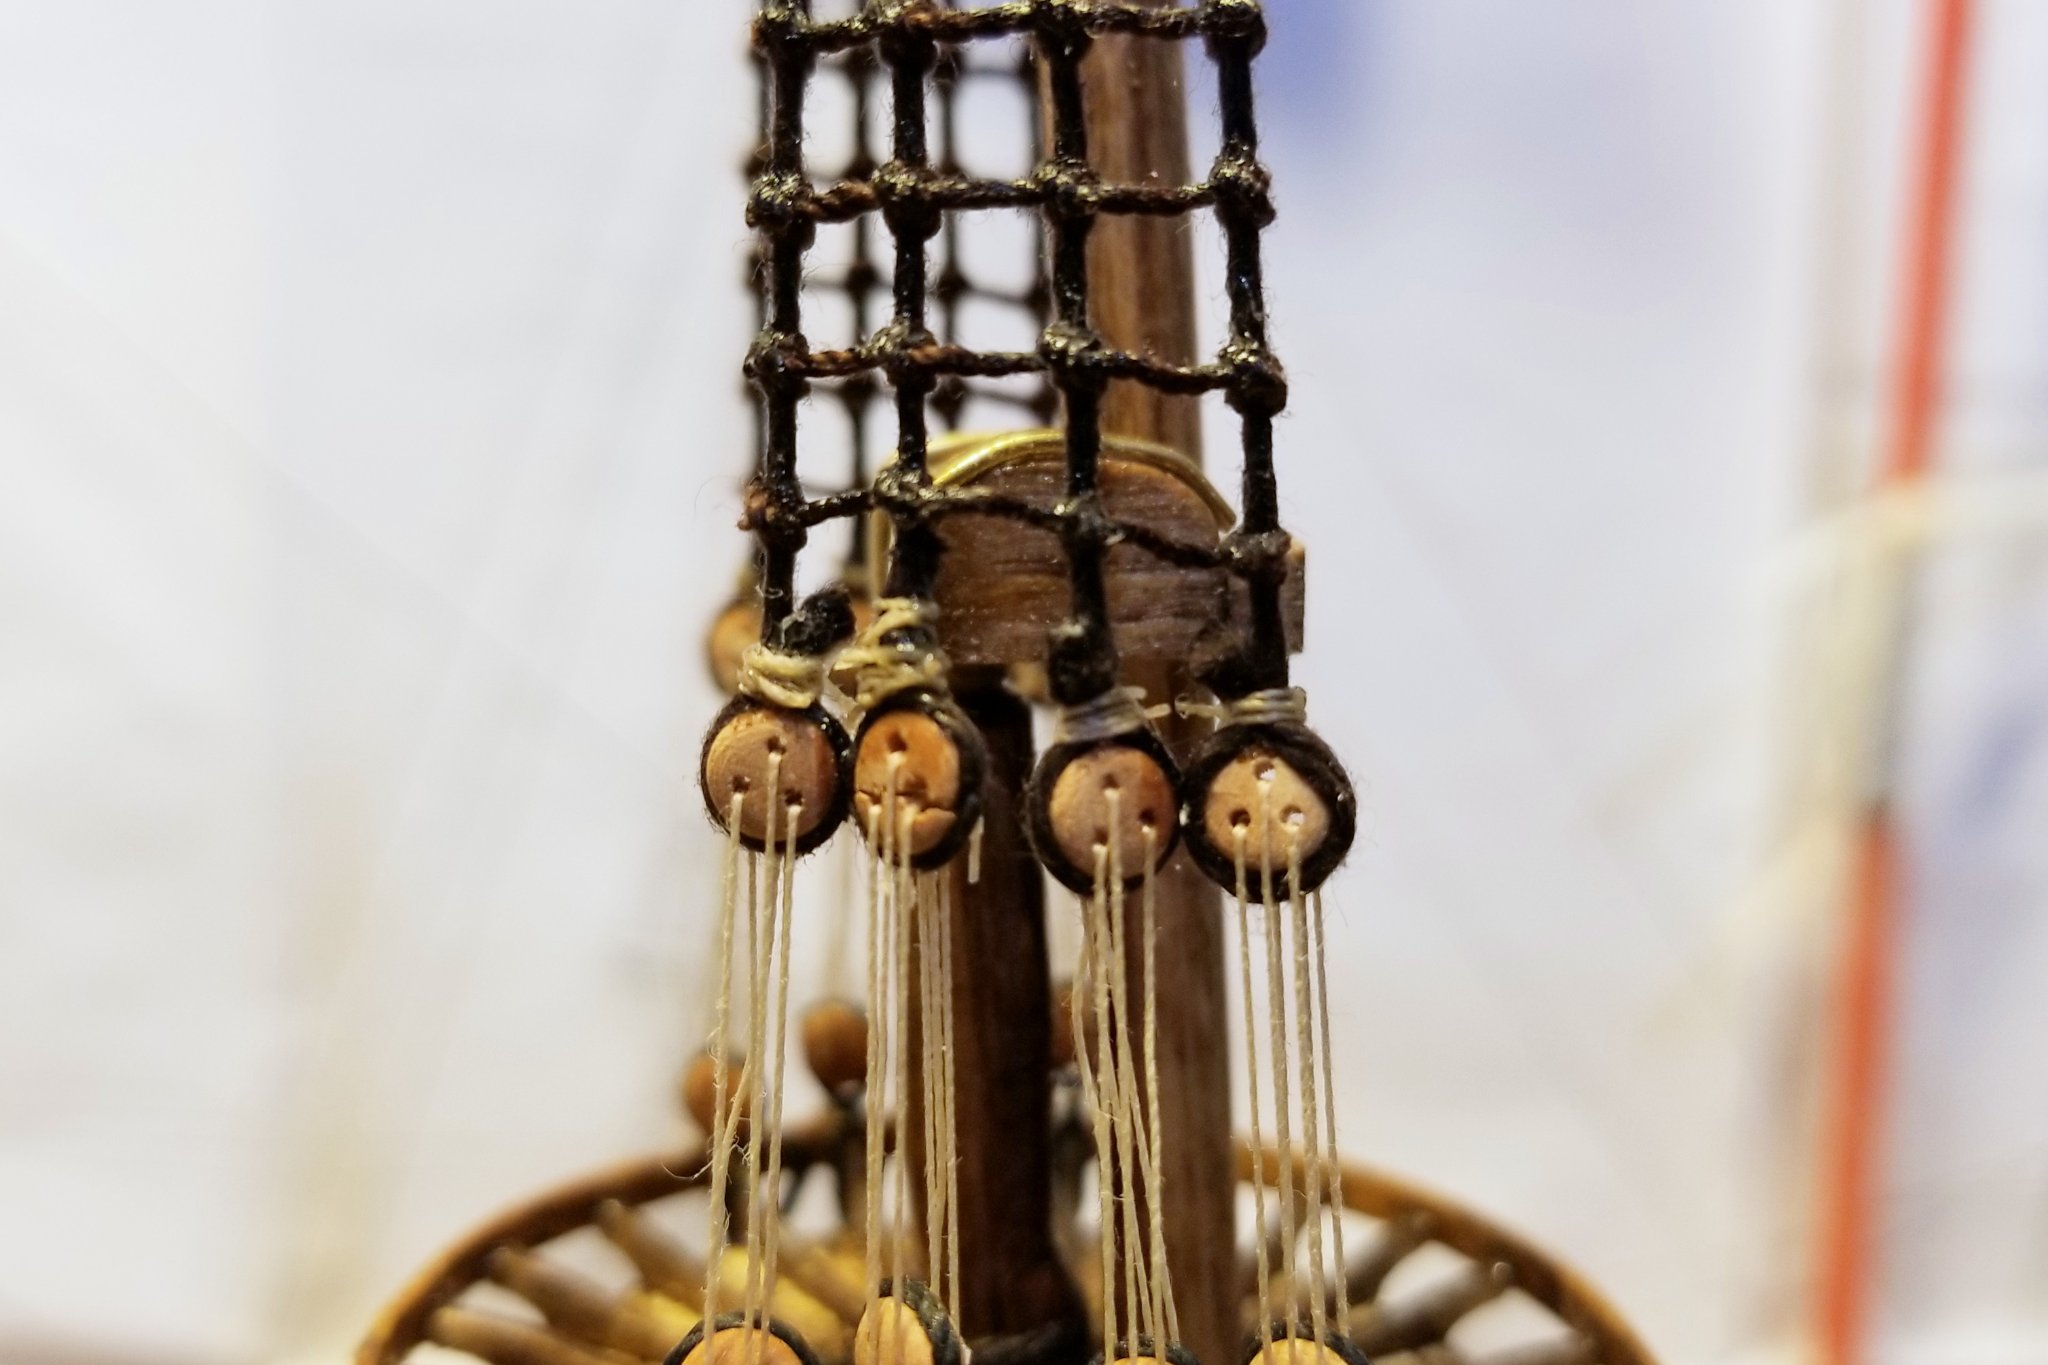
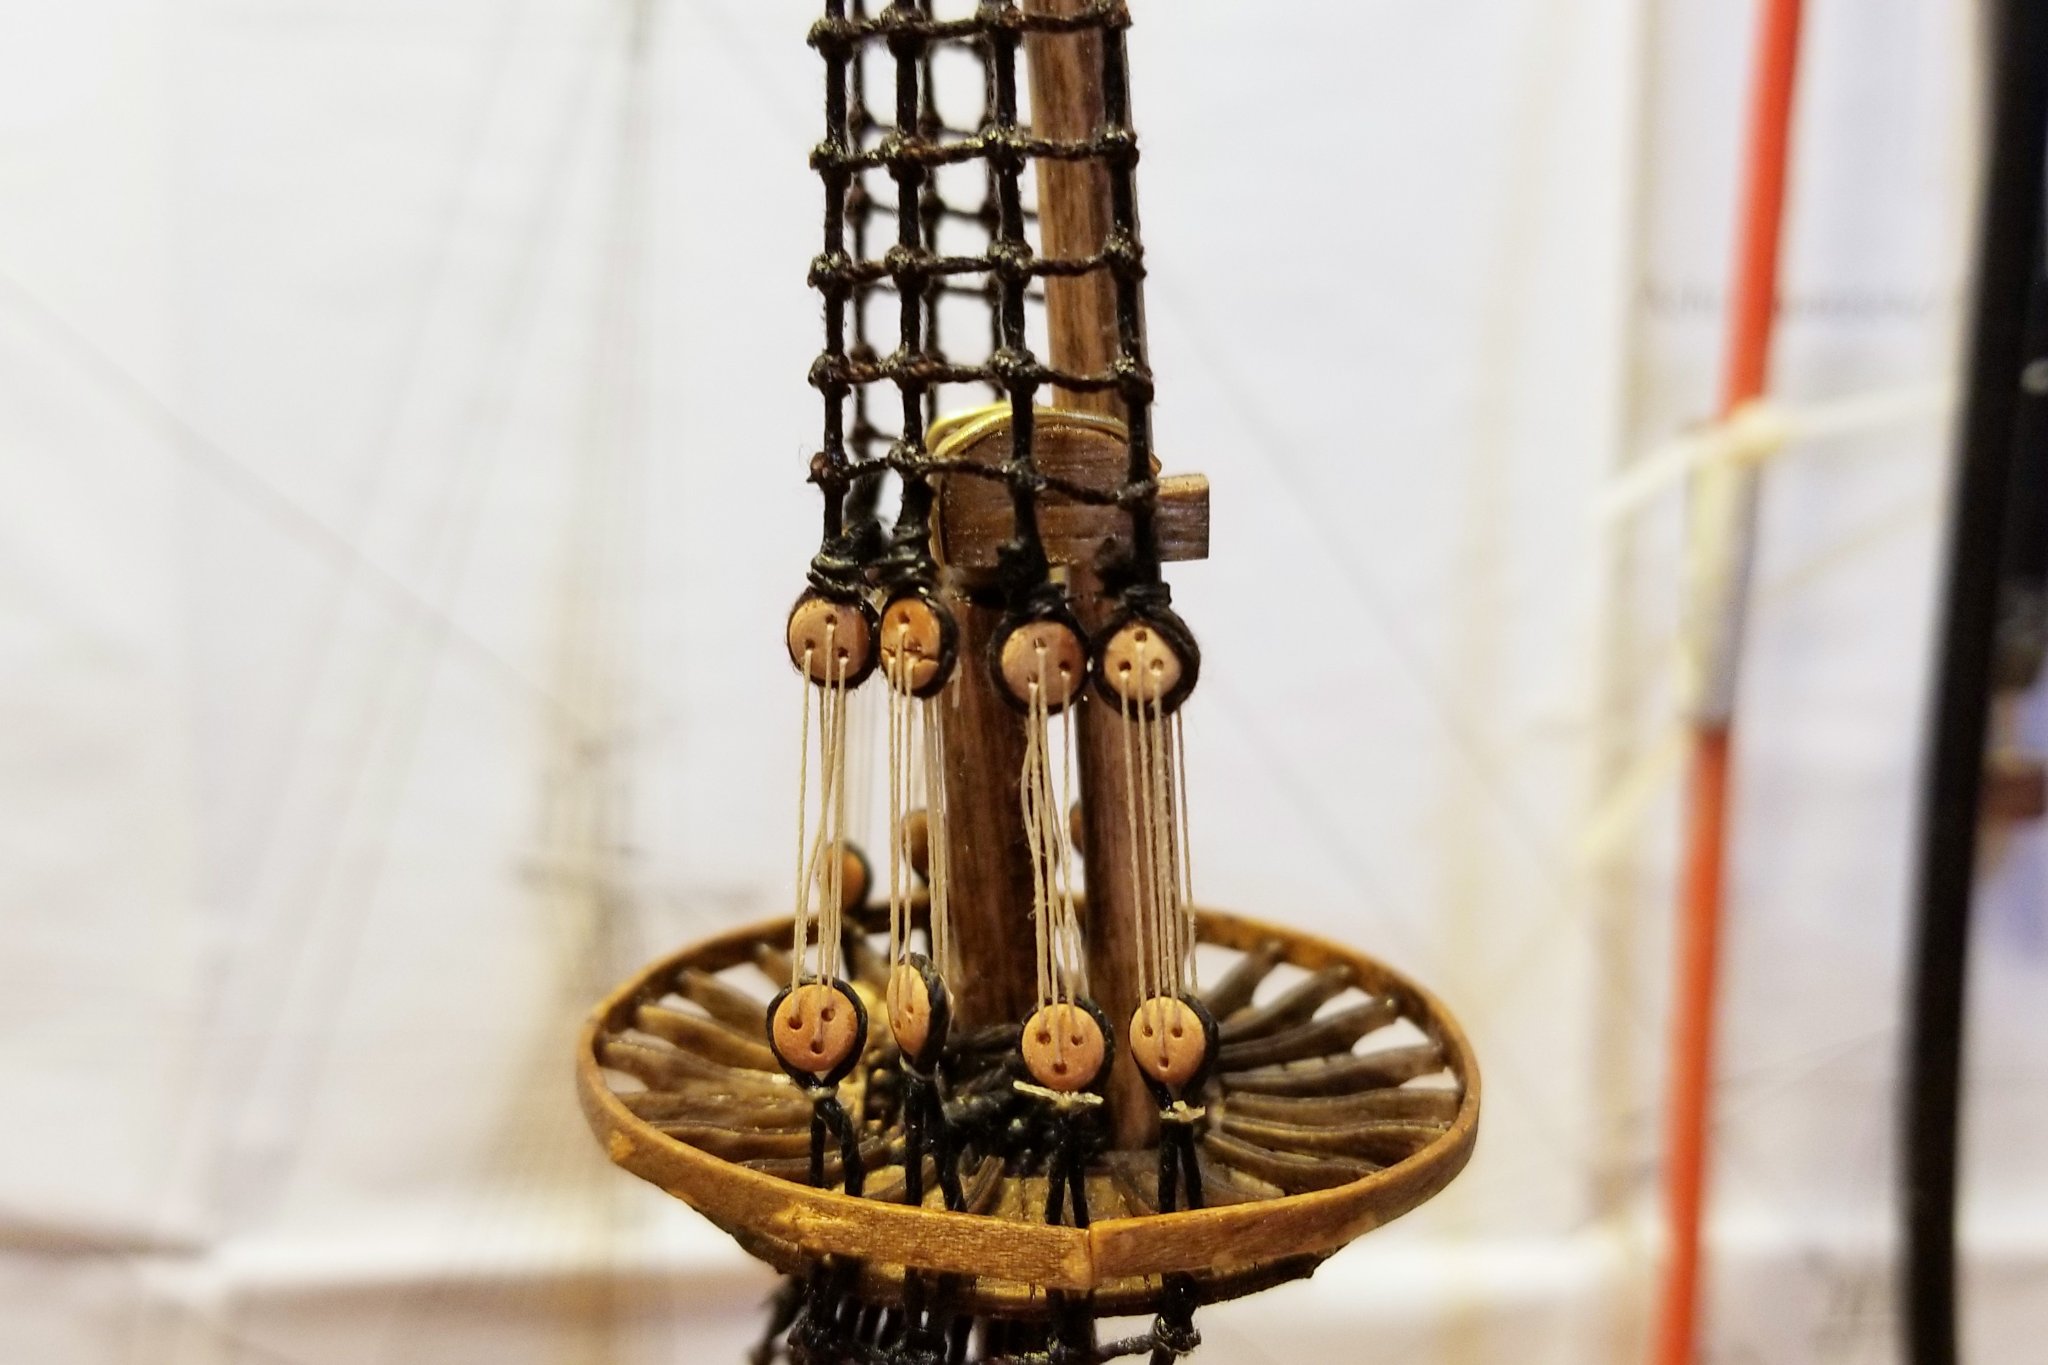
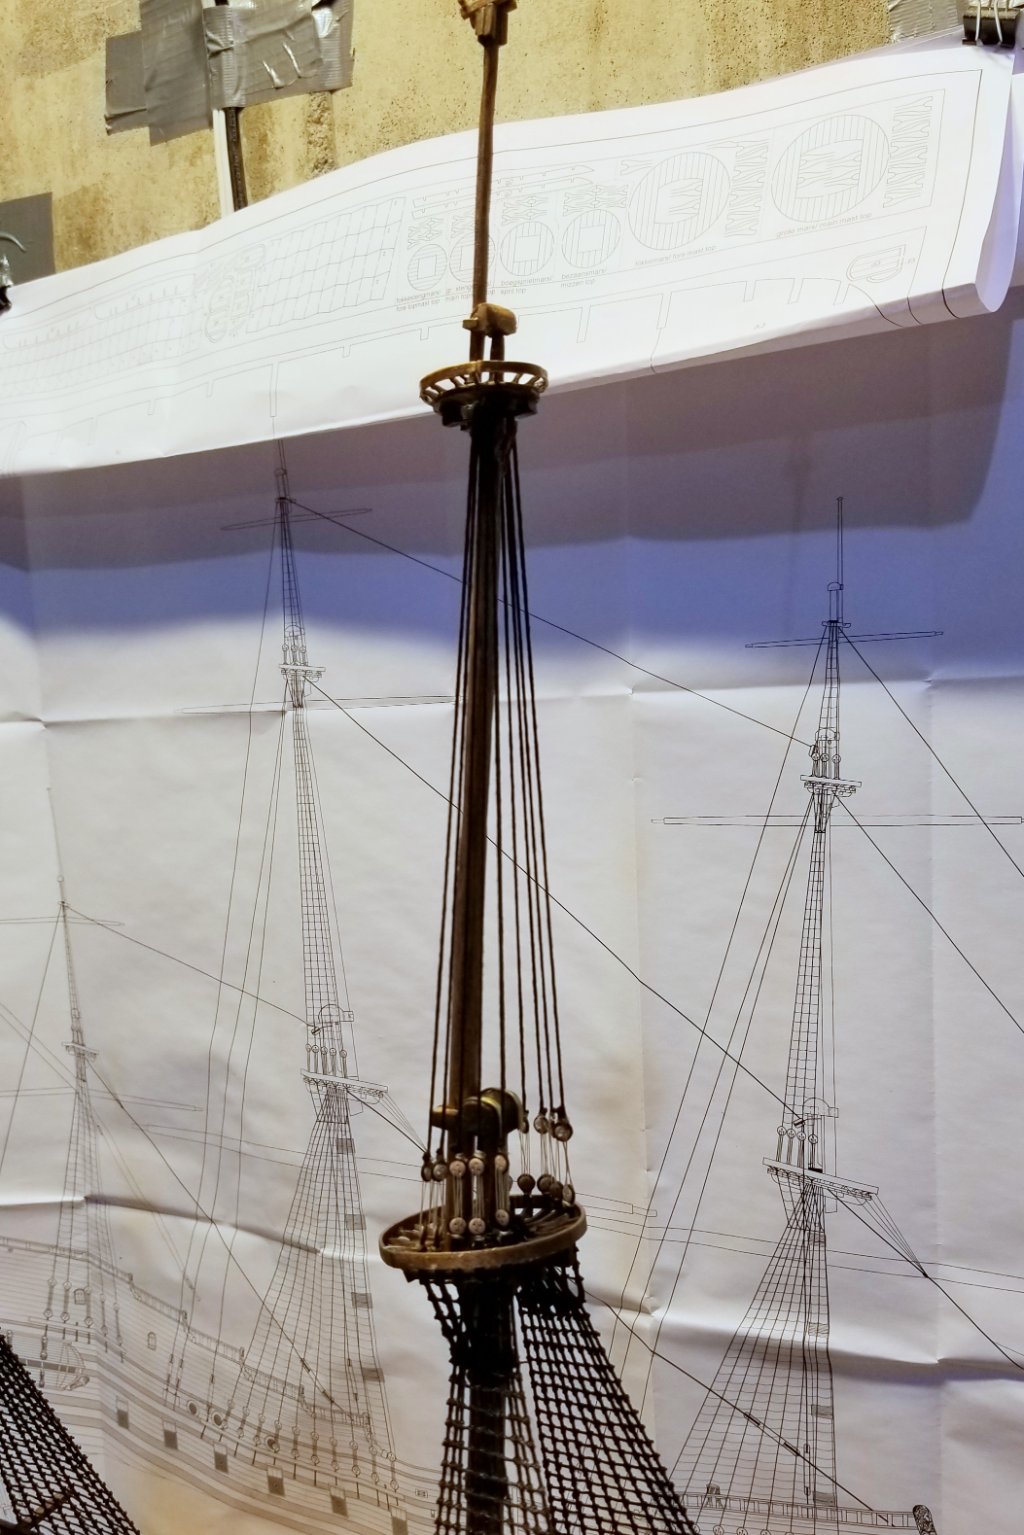
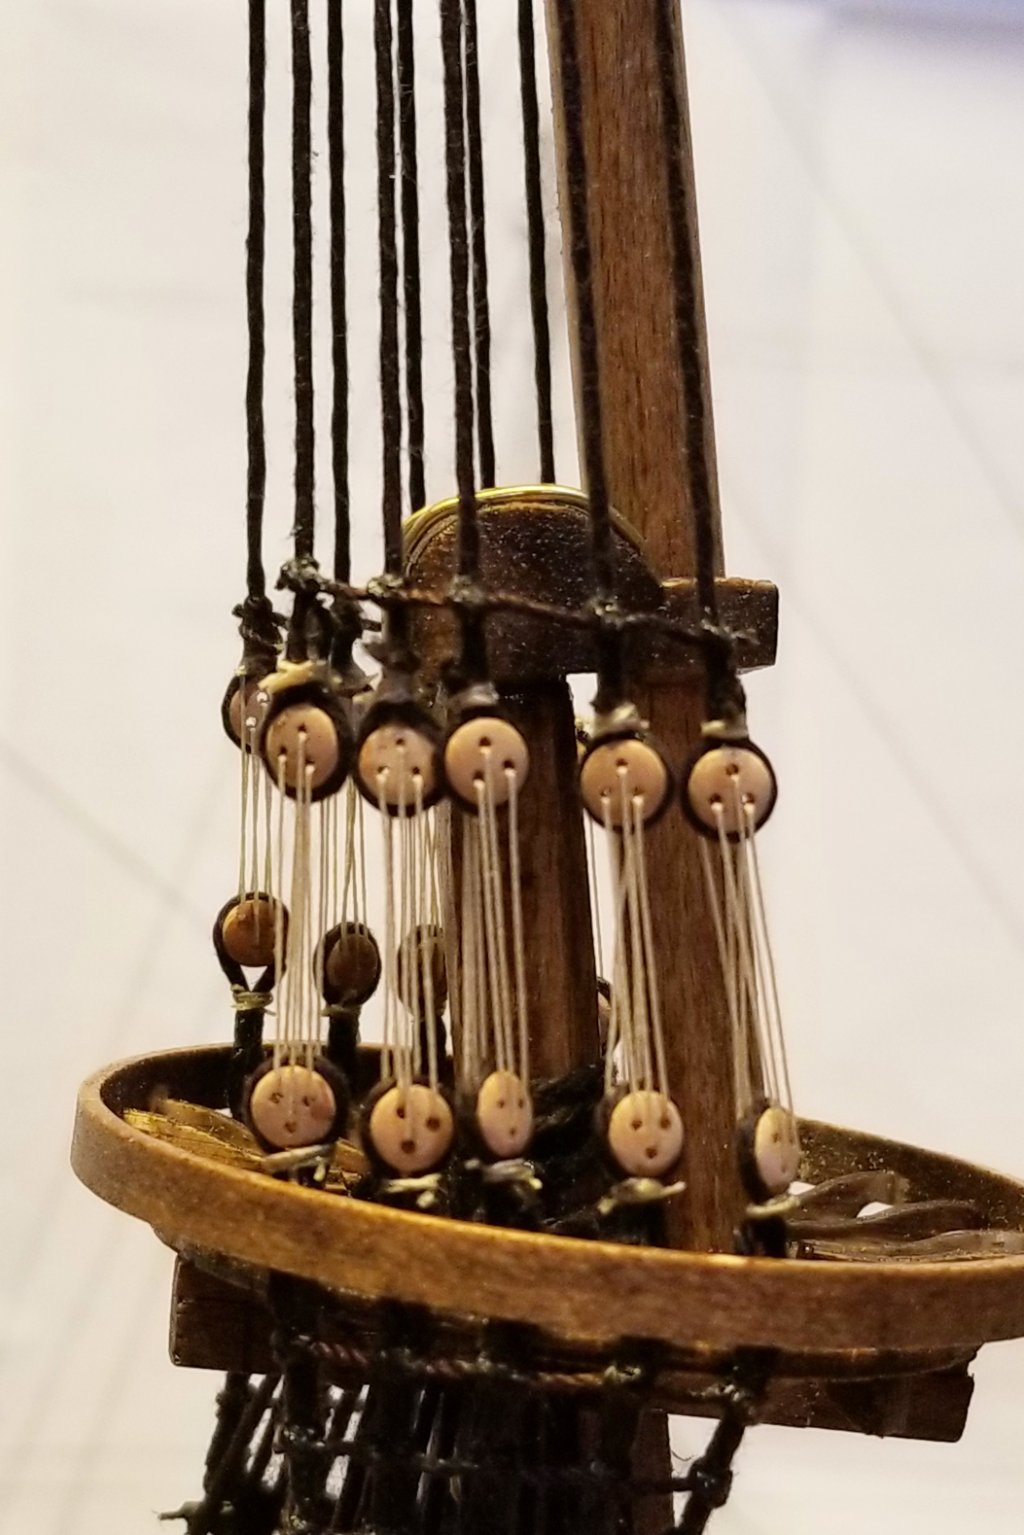
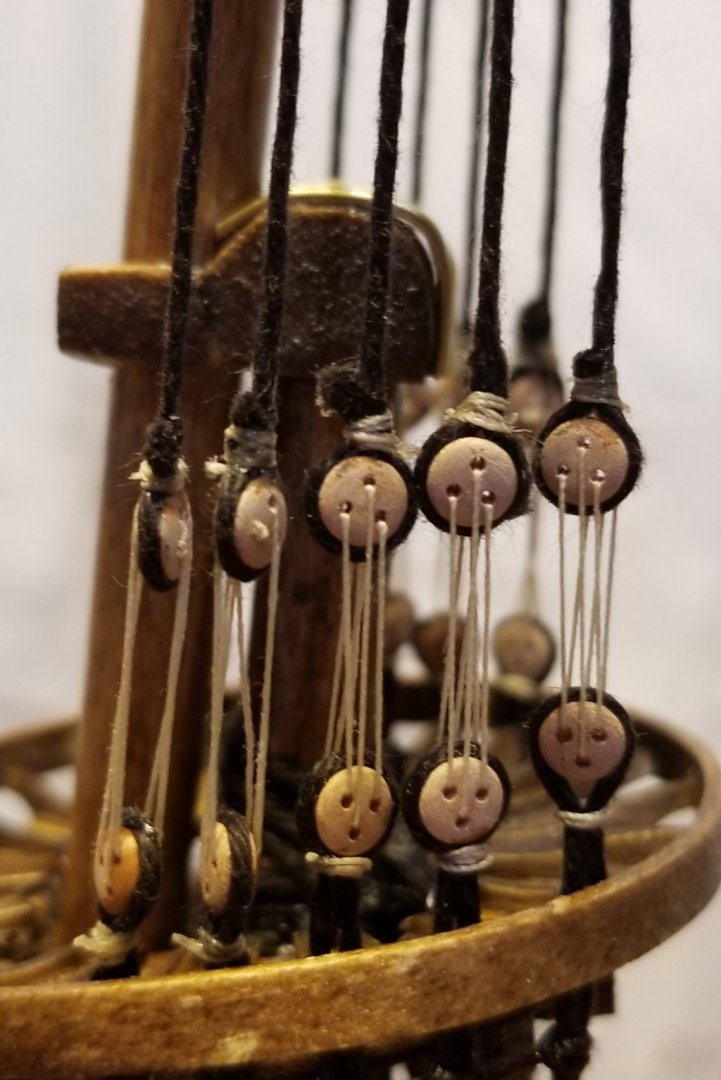
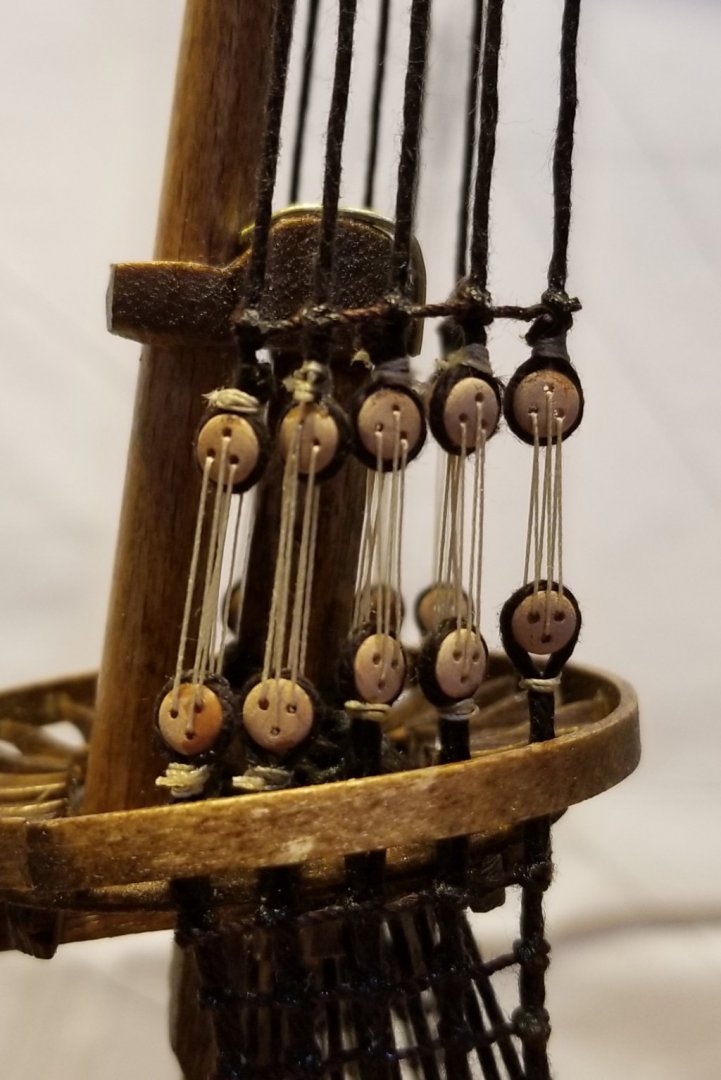
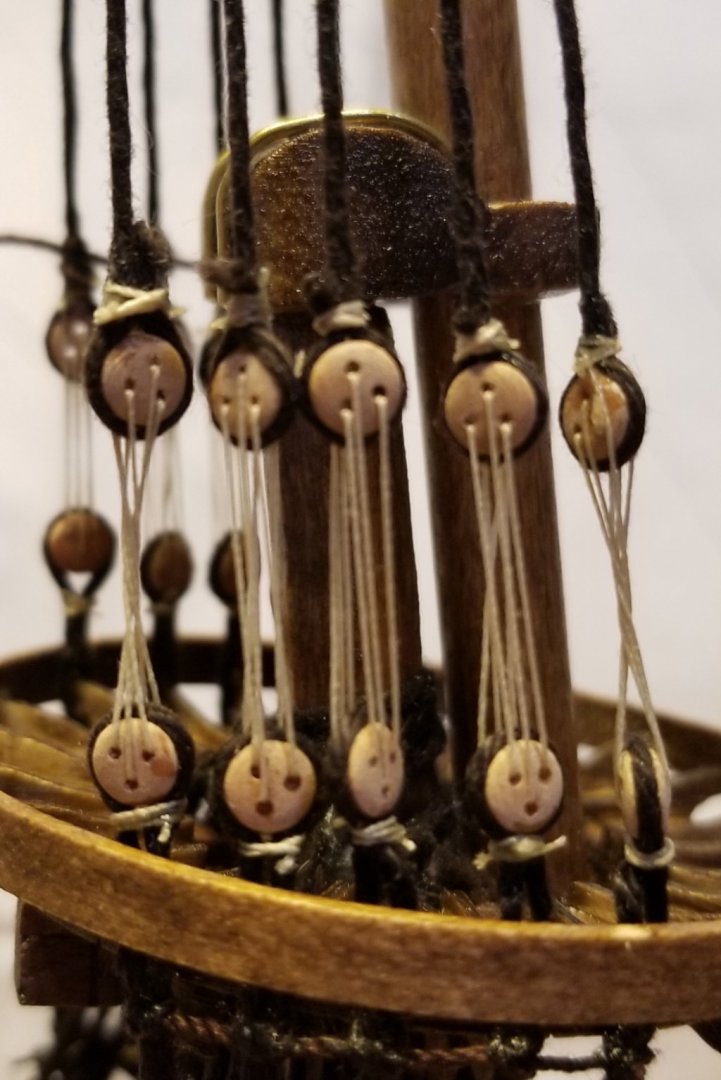
Started working on the upper main mast shrouds and ratlines. One issue with these is that the lower deadeye in each pair is mounted with thread, which leads to a lot of swivel. That in turn leads to upper deadeyes that are aligned vertically, but that don't face forward uniformly. That is shown in the "before" closeup pictures. The way I solved this was to carefully install the first ratline by aligning each shroud and then gluing the ratline knot before going to the next shroud. That got the upper deadeyes to face mostly forward as you can see in the "after" closeup pictures. Regards, David

- 136 replies
-
- 4
-
-
- kolderstok
- batavia
- (and 1 more)